Make a Model Truck in Fusion 360
by Zammer 3D in Workshop > 3D Printing
996 Views, 3 Favorites, 0 Comments
Make a Model Truck in Fusion 360
Hi, I'm Zeke, and in this post I'll show you how to make your own model truck in Fusion 360. This is definitely not for complete beginners, so I'd suggest making a vase first. This model is fun to 3D print, and is highly customizable. I am a homeschooler in Indiana, and I'm in 8th grade. Enjoy the project! THIS WAS SUPPOSED TO BE IN A CONTEST, BUT INSTRUCTABLES WON'T LET ME RE-SUBMIT IT!
Supplies
All you need is Fusion 360, a popular and powerful design software.
In the end we will create an STL file, which you can do anything with.
Make a Sketch
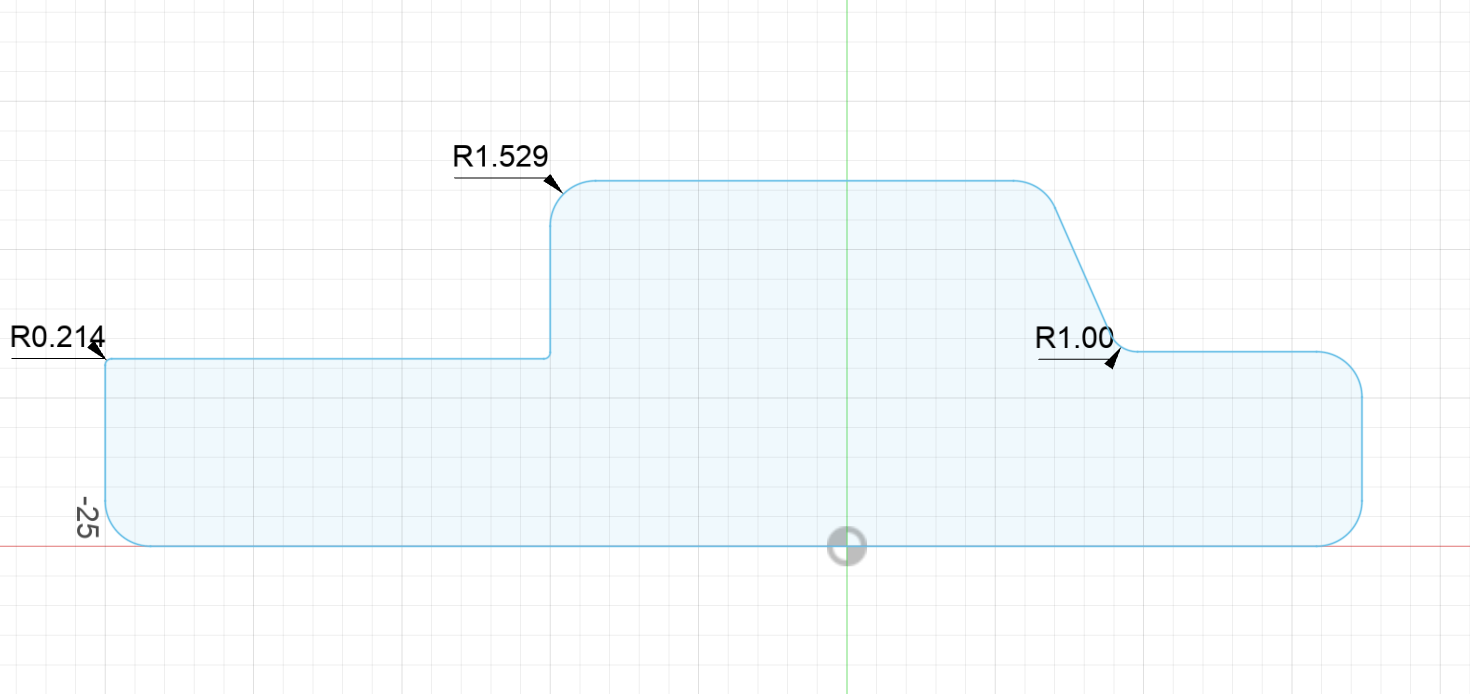
Start by making a sketch on the front plane. Now make a basic outline of your truck. Start with a boxy shape, then add fillets.
Add Some Details
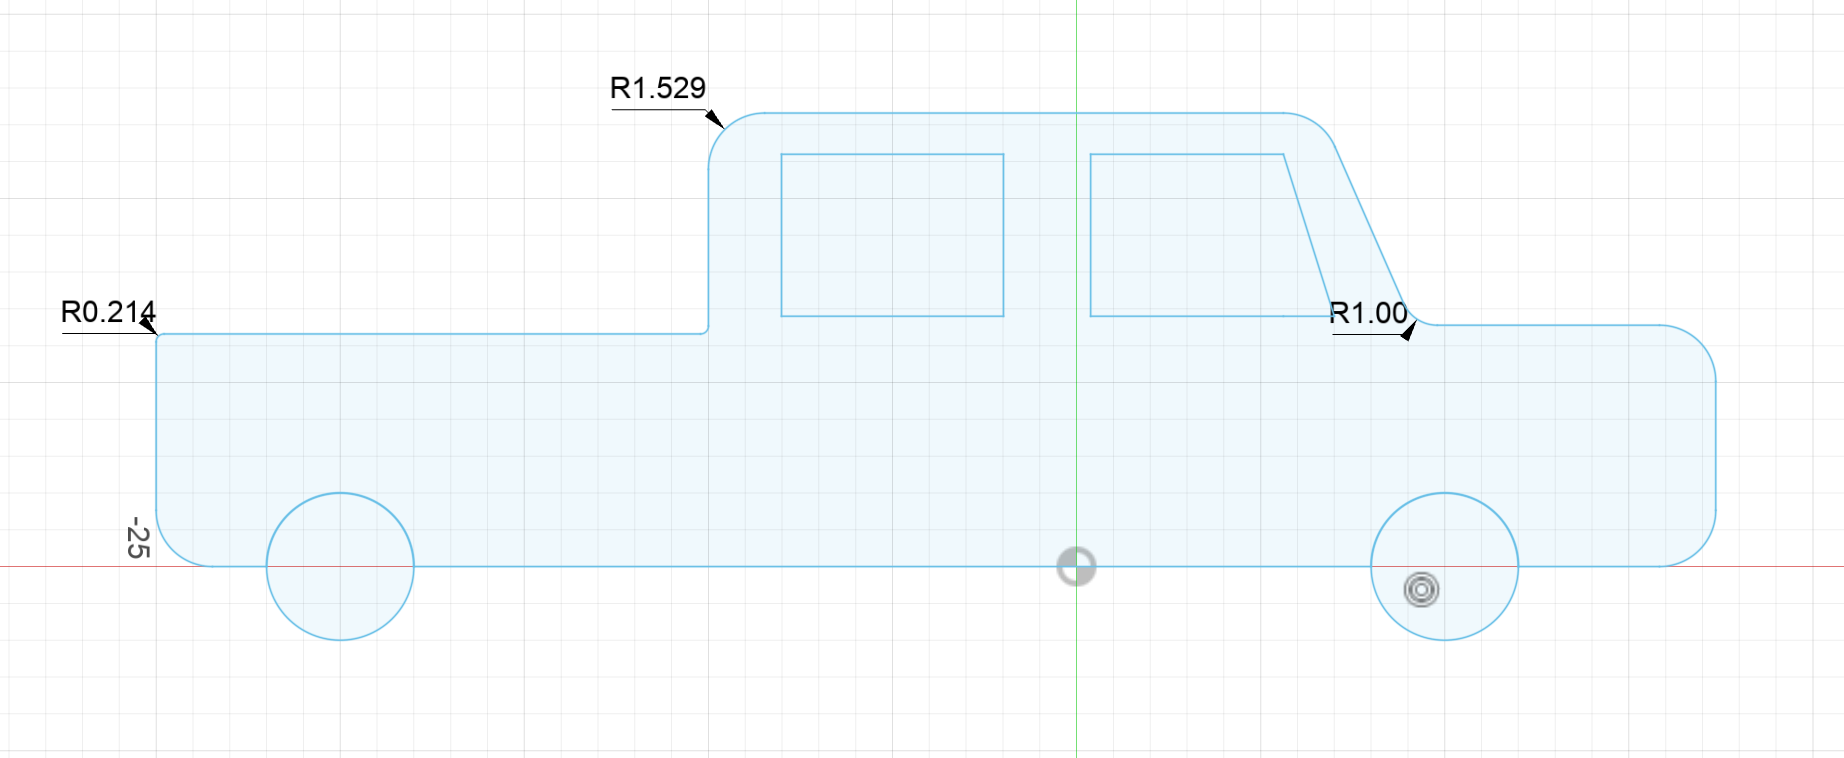
Now we need to add wheels and some windows.
Extrude
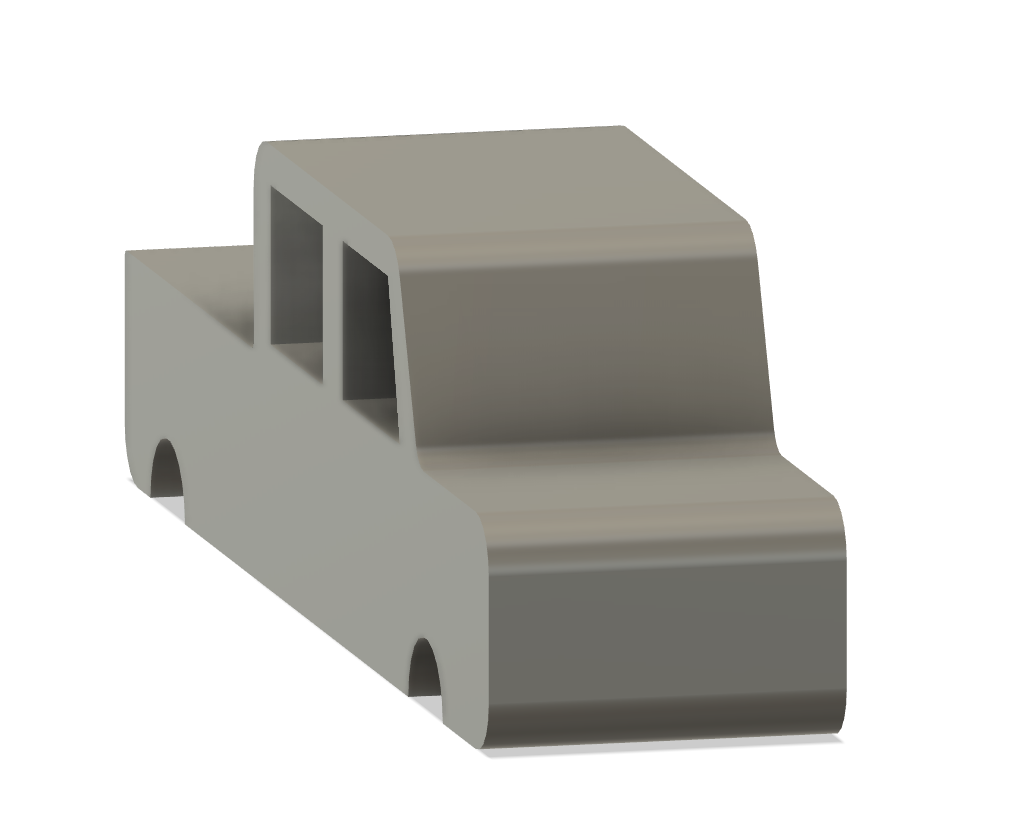
Extrude your sketch so that it looks about the right size in proportion to the other parts of your design.
Windshield
Add a windshield by selecting where it should go and creating a sketch on that plane. Then create a rectangle. Finish the sketch and extrude it through the front of the truck. Don't go too far! Tip: Don't worry if it cuts into the inside of the truck a little bit, we'll fix that later.
The Truck Bed
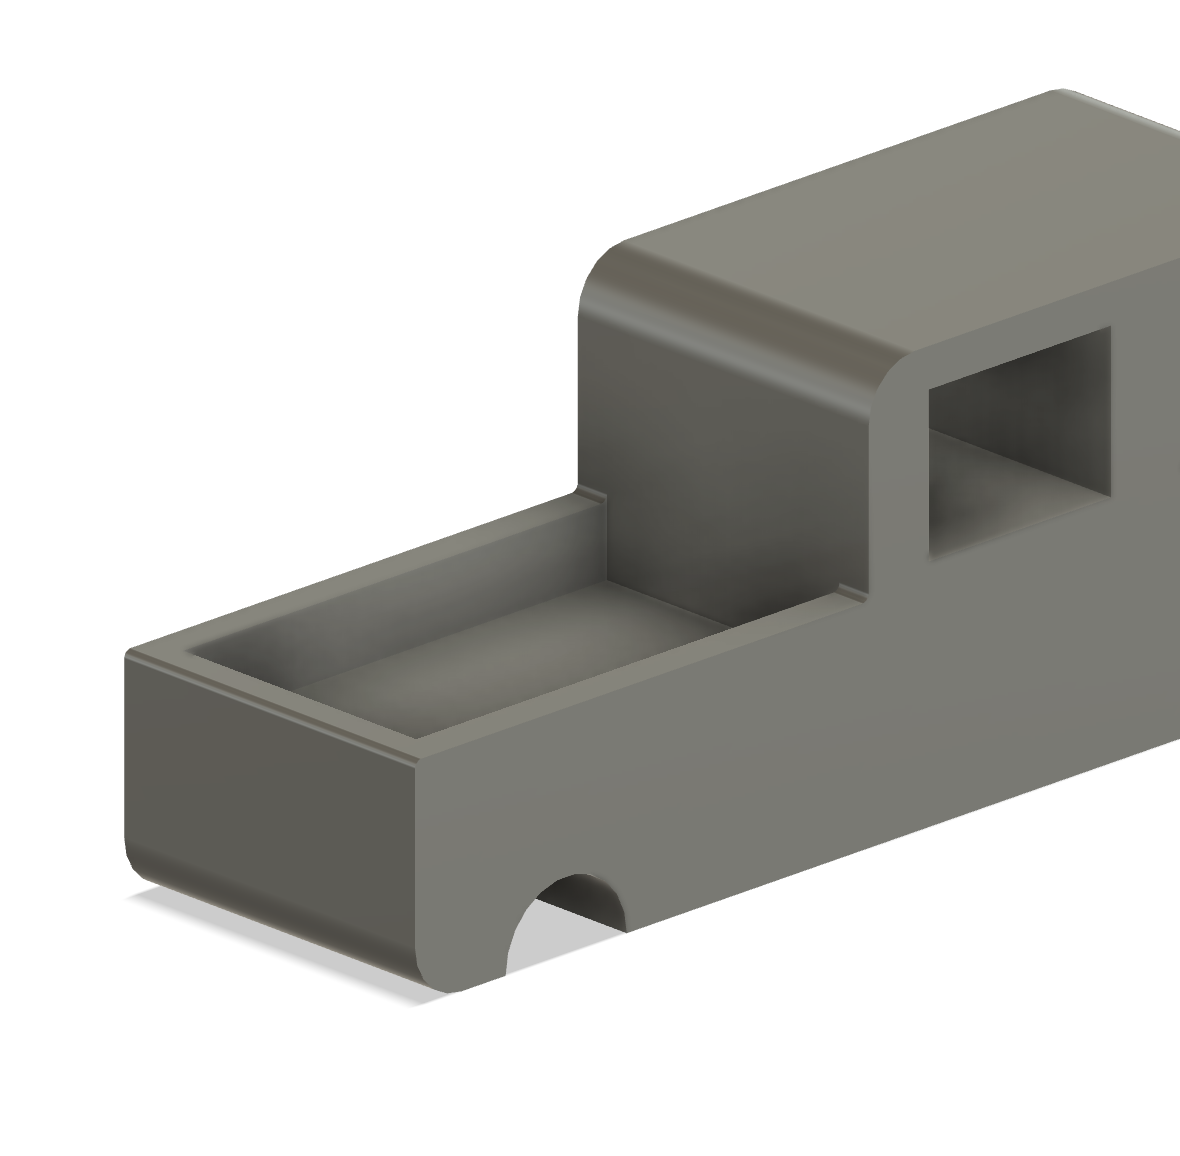
Now we need to add a lip to the bed of the truck. Do this by creating a sketch on the plane where it should go, then make a rectangle. Extrude it down a little bit, and you're good to go!
Seating
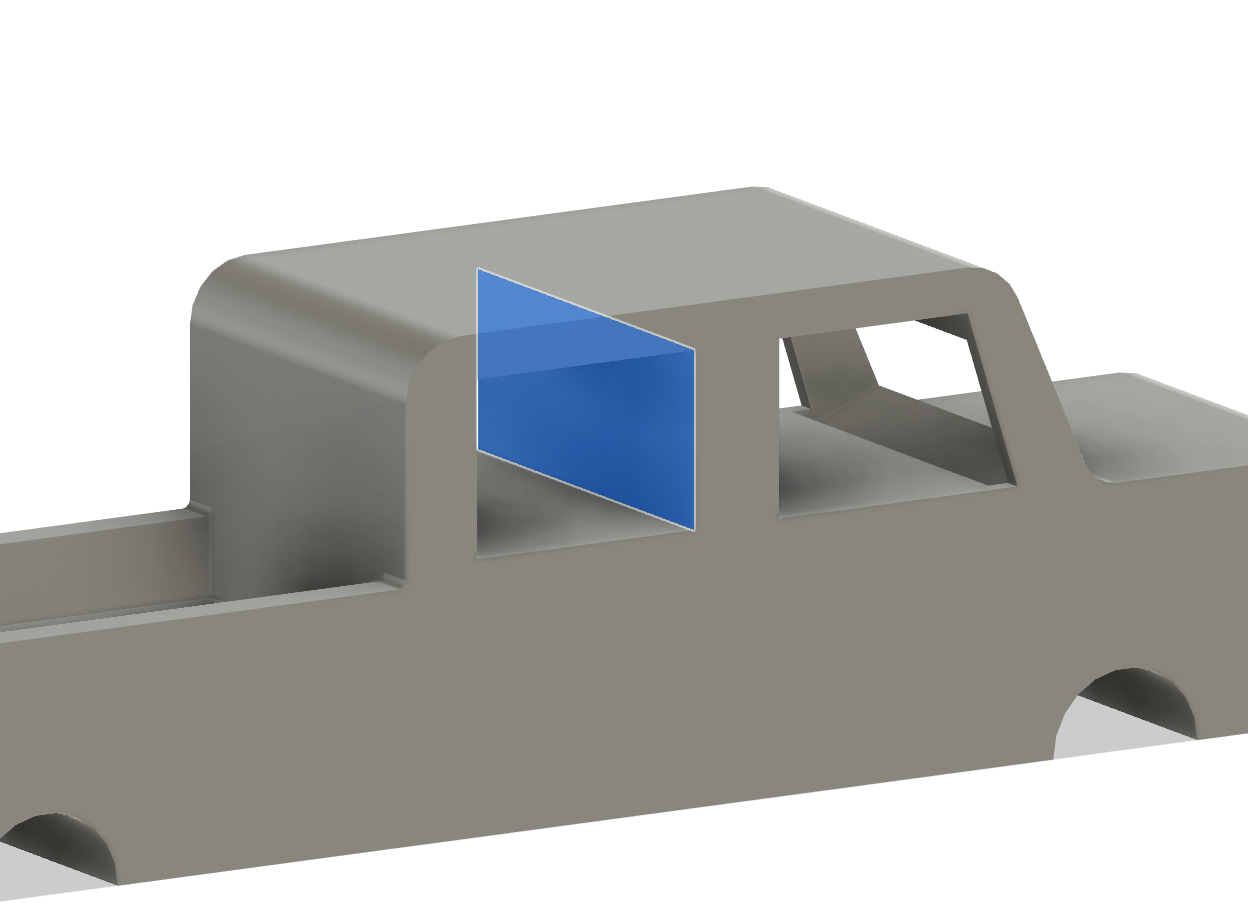
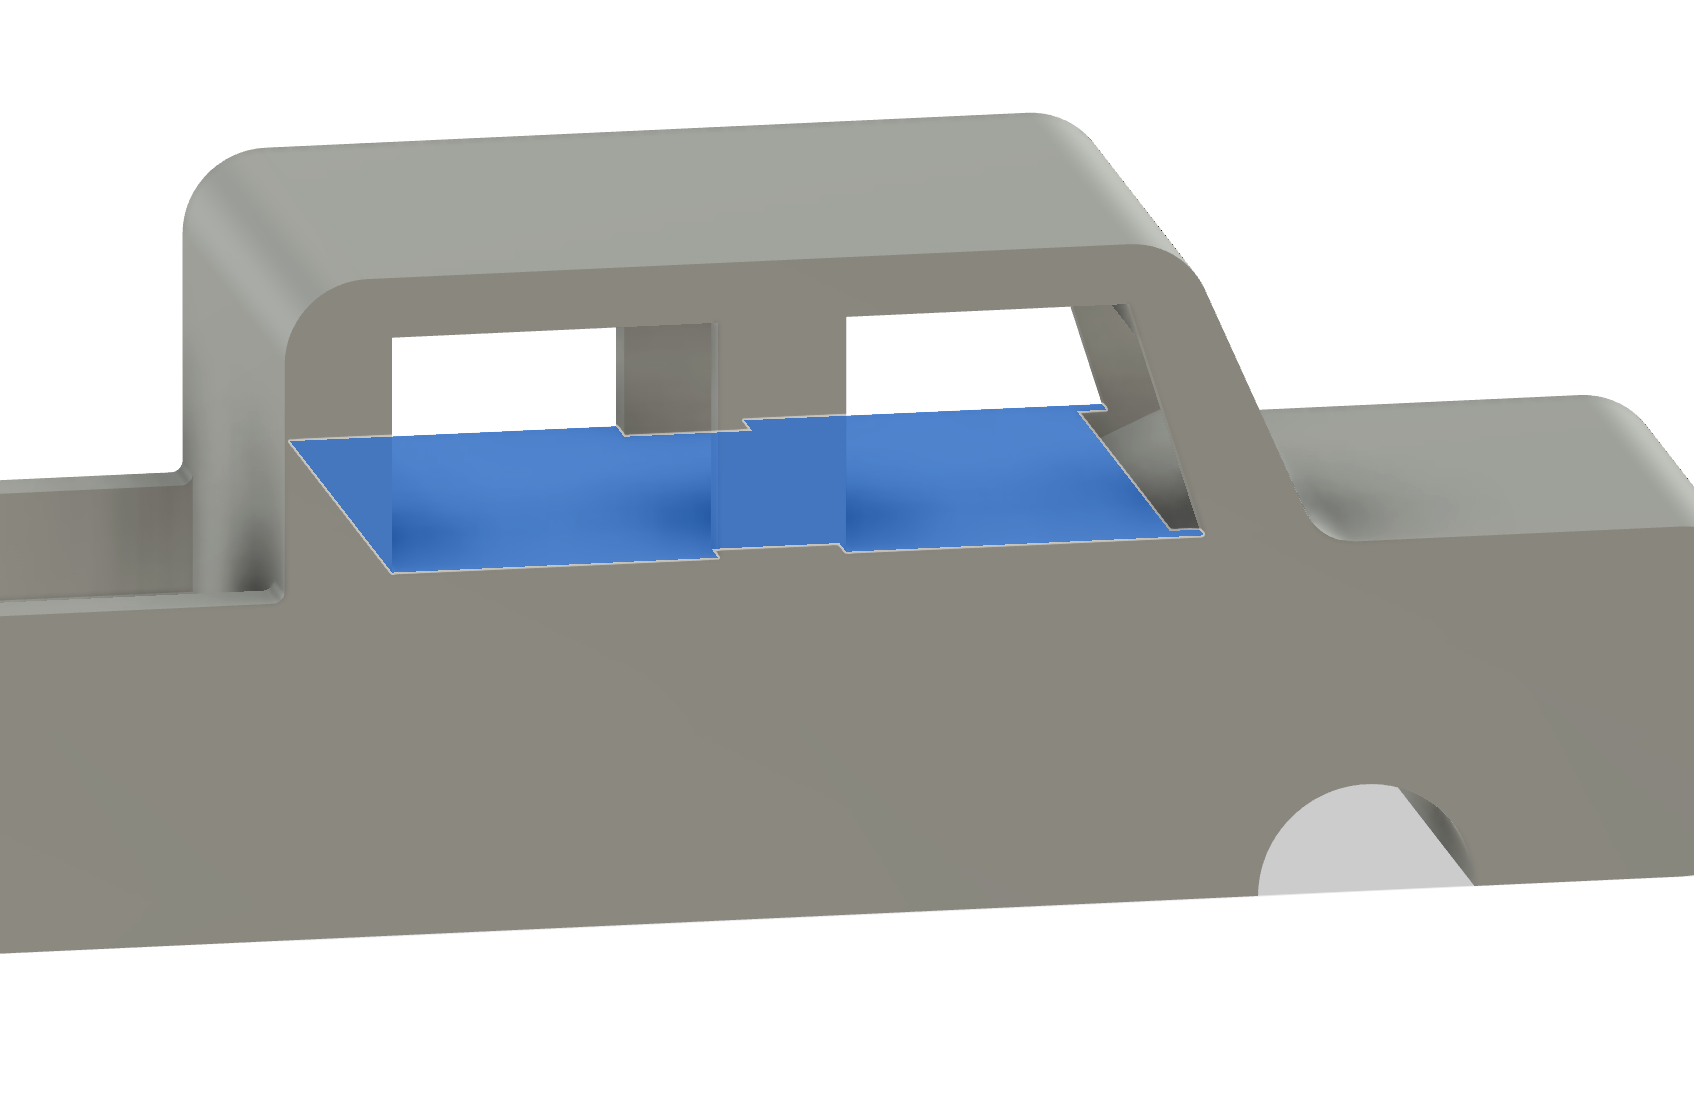
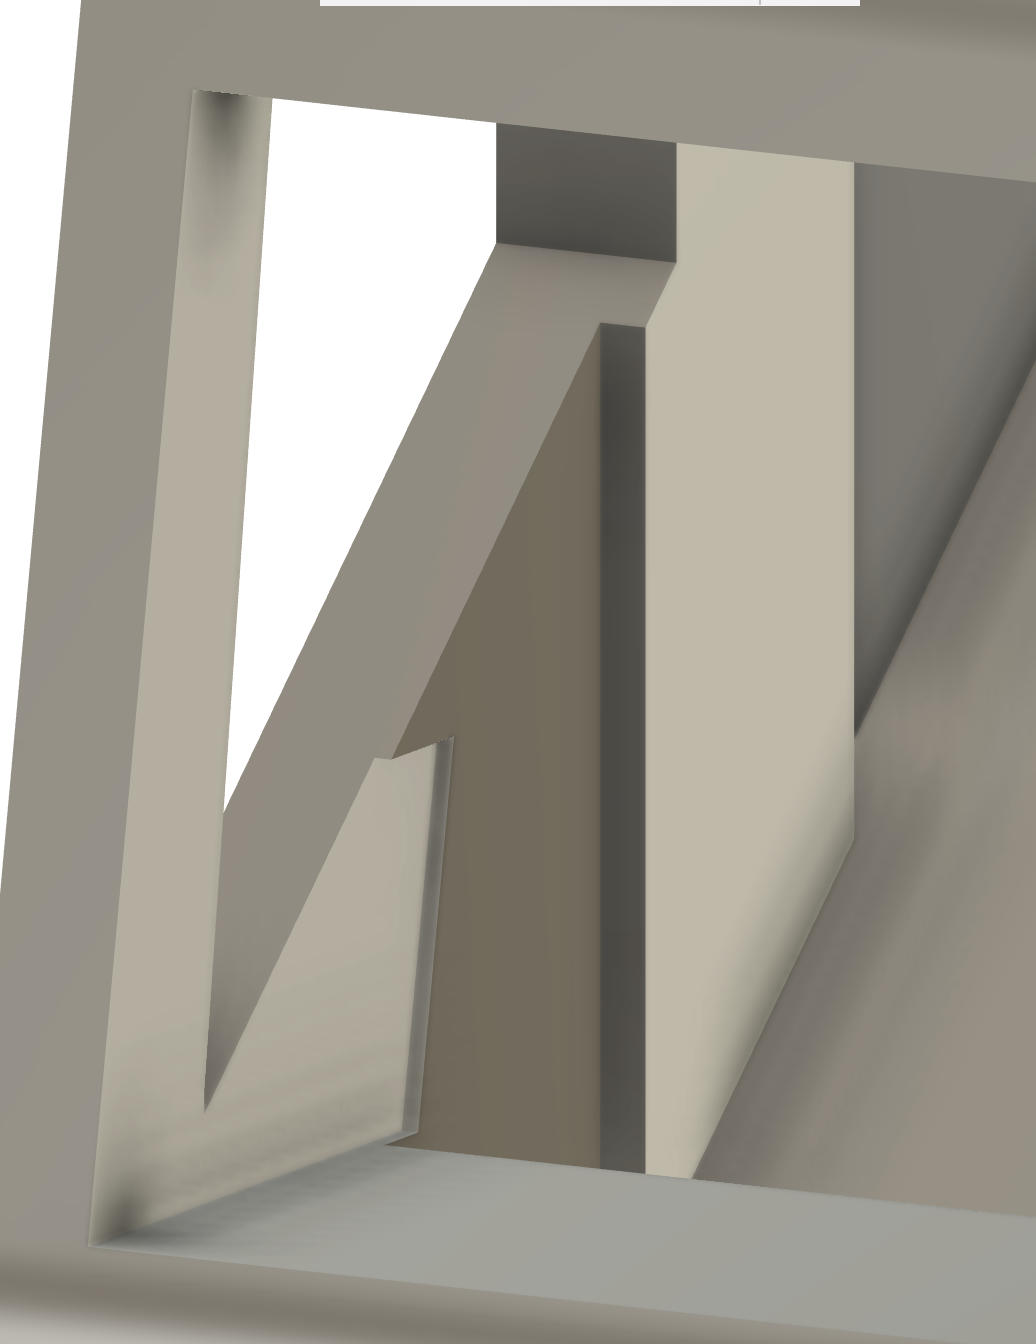
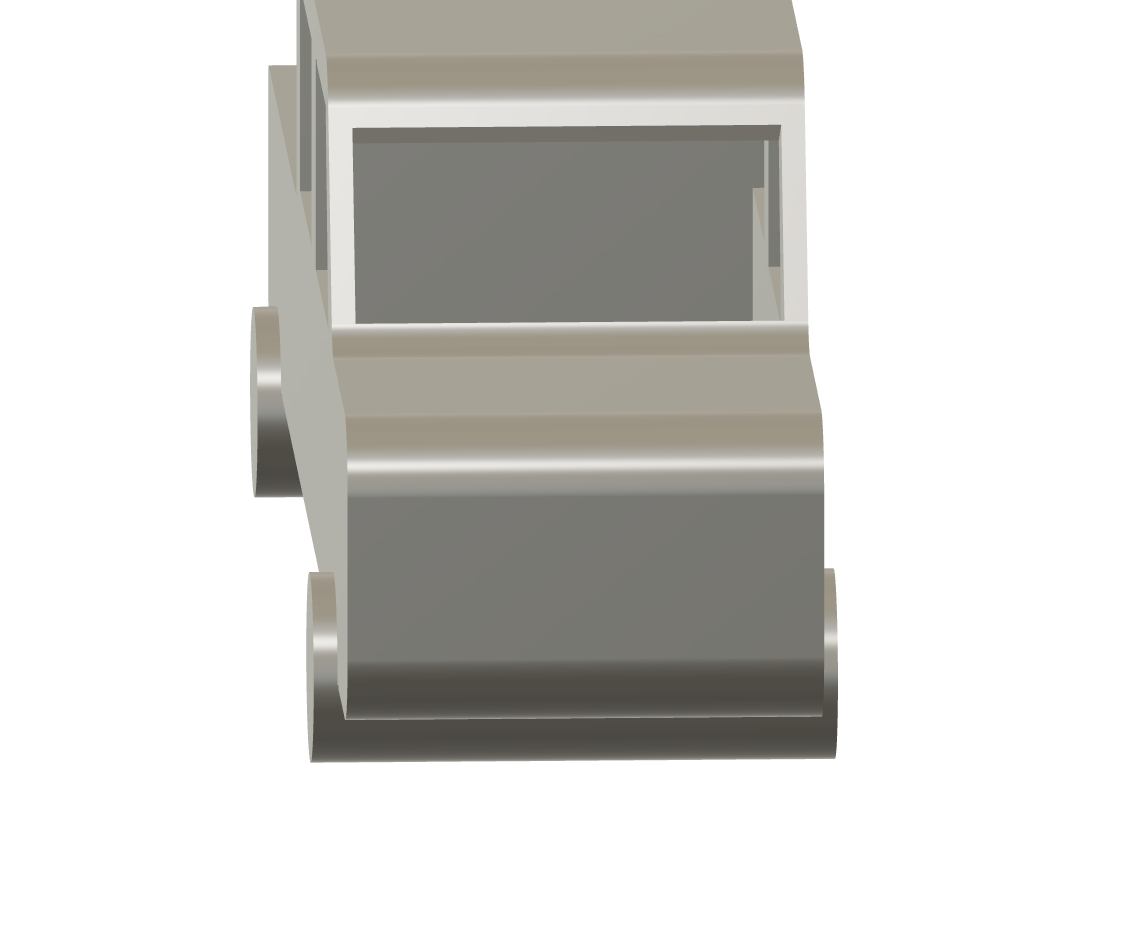
We aren't going to add detailed seats, but we at least need some room in the cab! To start, make a sketch on the rectangle highlighted in fig. 1. Then make a rectangle slightly smaller than that plane. Make sure it goes all the way up to the roof. (fig. 2)
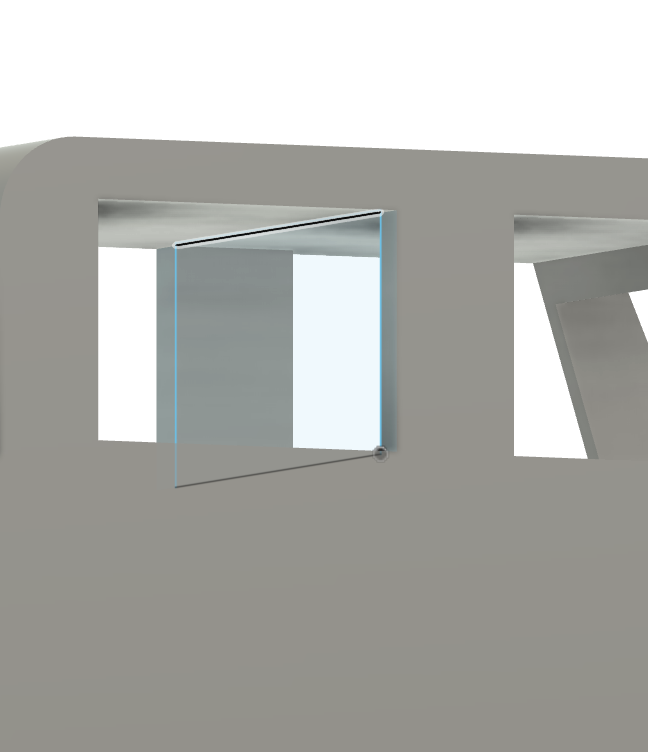
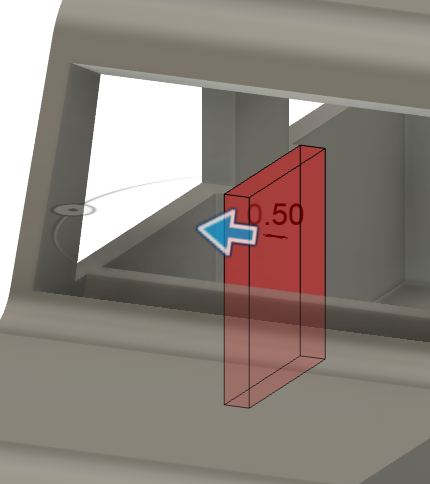
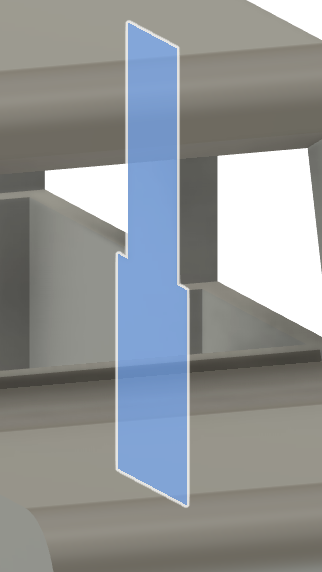
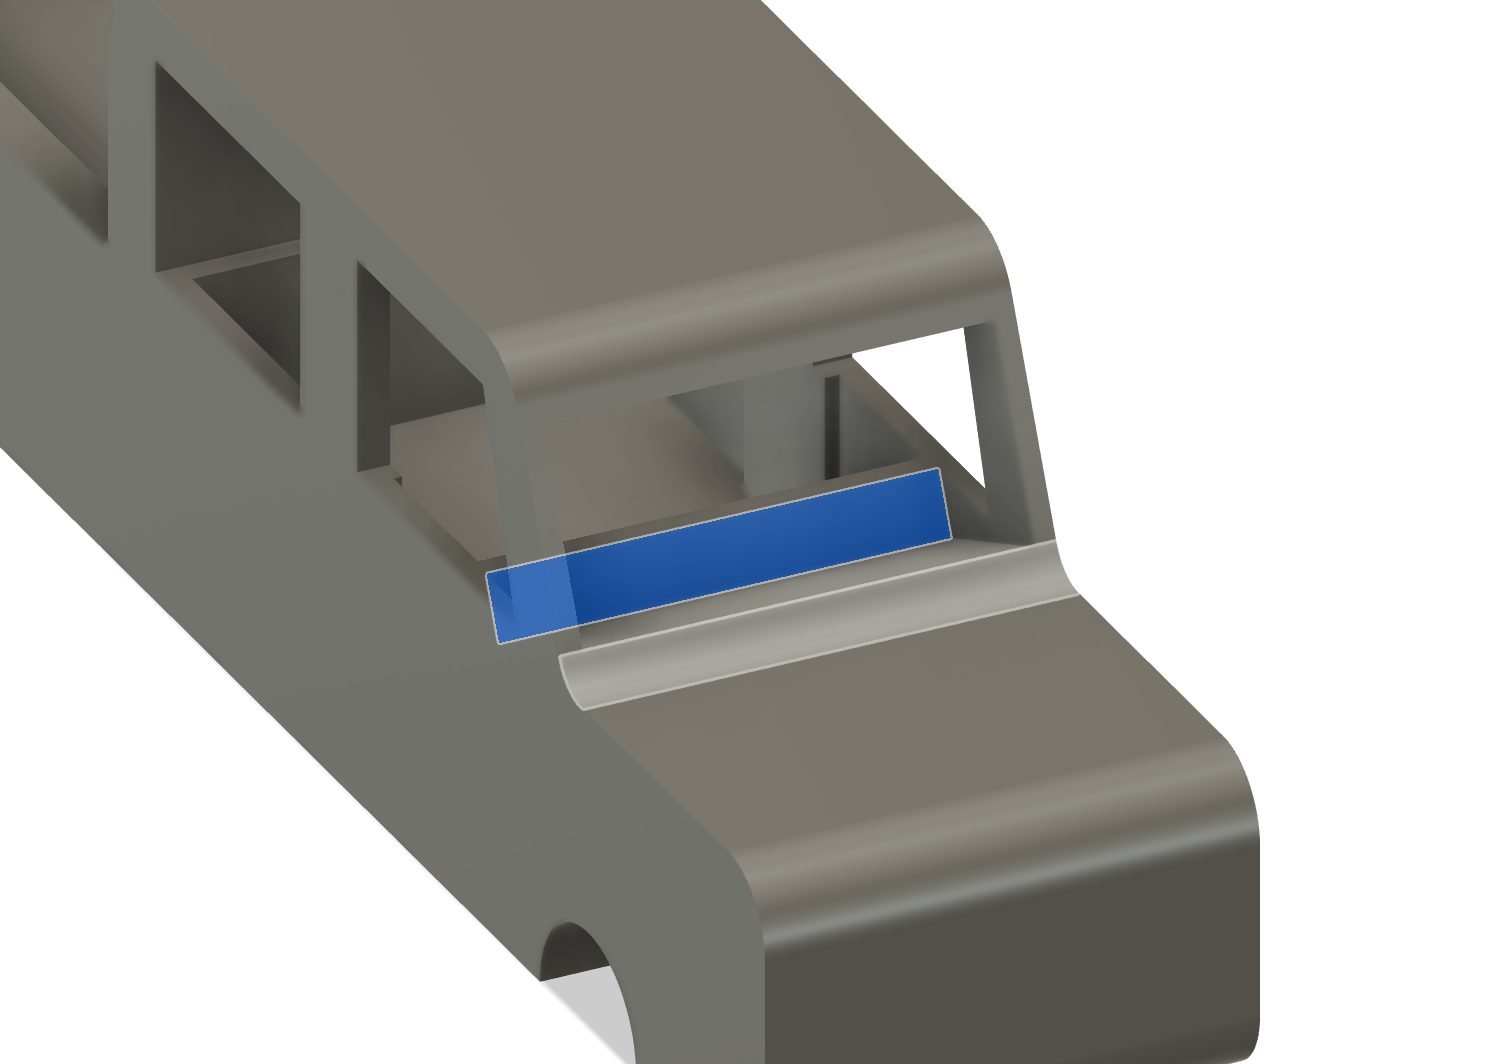
Now we need to make some room underneath the windows. Select the big flat plane in fig. 3, then make a sketch on it. Orbit so that you can see that plane again, and project (p) that plane onto your sketch. Offset it slightly, then extrude that down some. Select the plane in fig. 4 and extrude it to be lever with the inside of that wall. (You can just click on that wall.) Repeat with the mirrored plane on the other side. Both sides should now look like fig. 5. Next remove any sort of lip behind the windshield, like the one in fig. 6.
Clean Up
The inside of your truck may look a bit rough. To fix this, simple extrude all of the uneven planes to one another by clicking extrude, selecting a plane, then selecting another plane of a different width.
Wheels
Use a two sided extrude and make the wheels bump out a bit on each side.
Grill
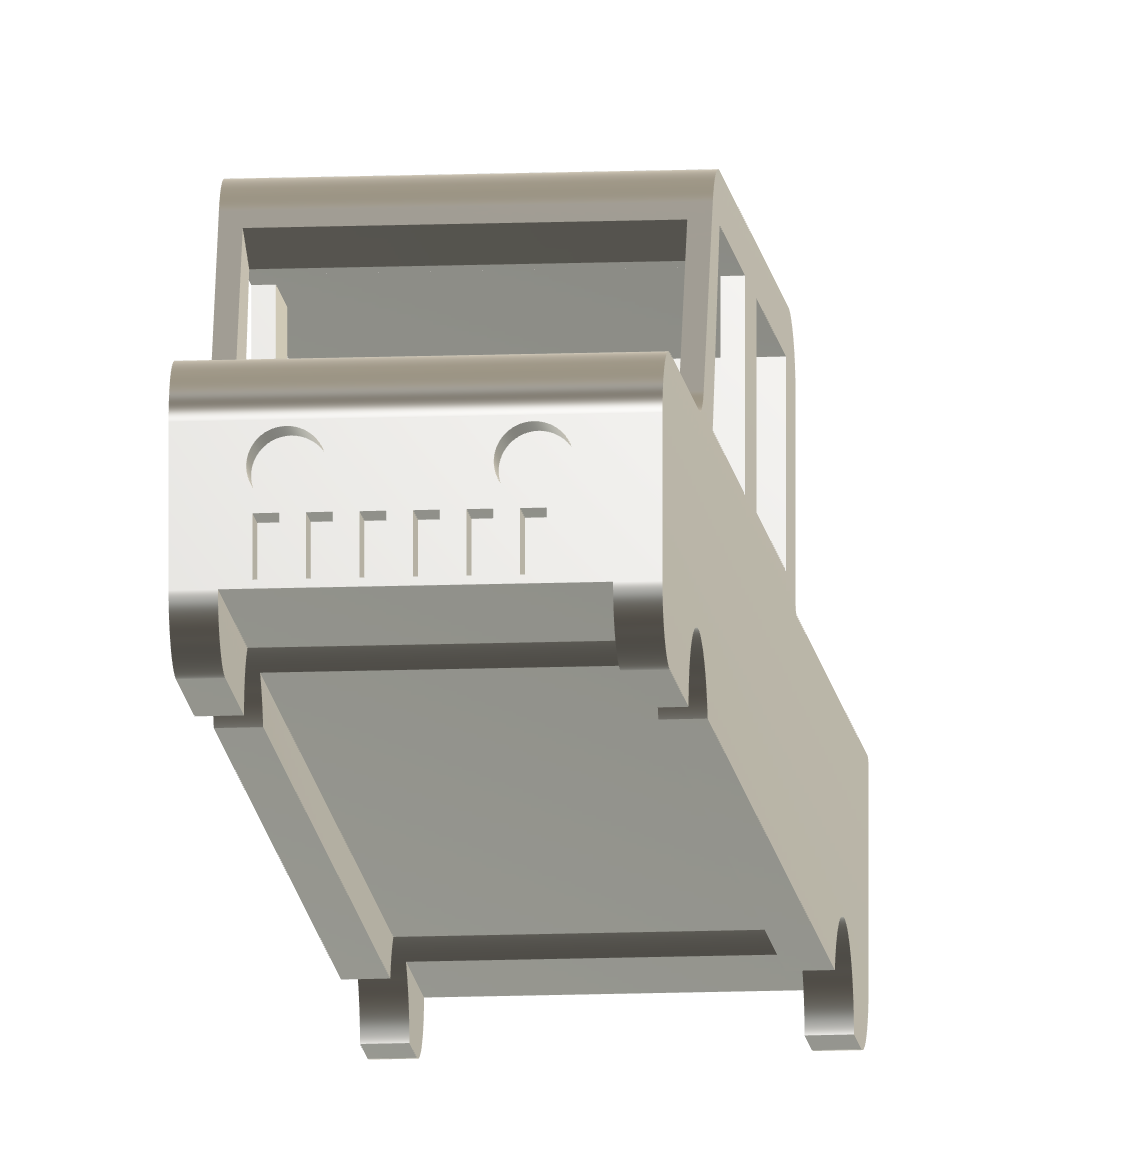
Make a sketch on the grill. Now add circles and filleted rectangles to make a grill. You can use a rectangular pattern to go faster. Extrude it backwards. Make another sketch on the same plane, and add a rectangle near the bottom of your truck. Extrude it all the way through the truck. This will also remove the weird parts of the wheel from the last step.
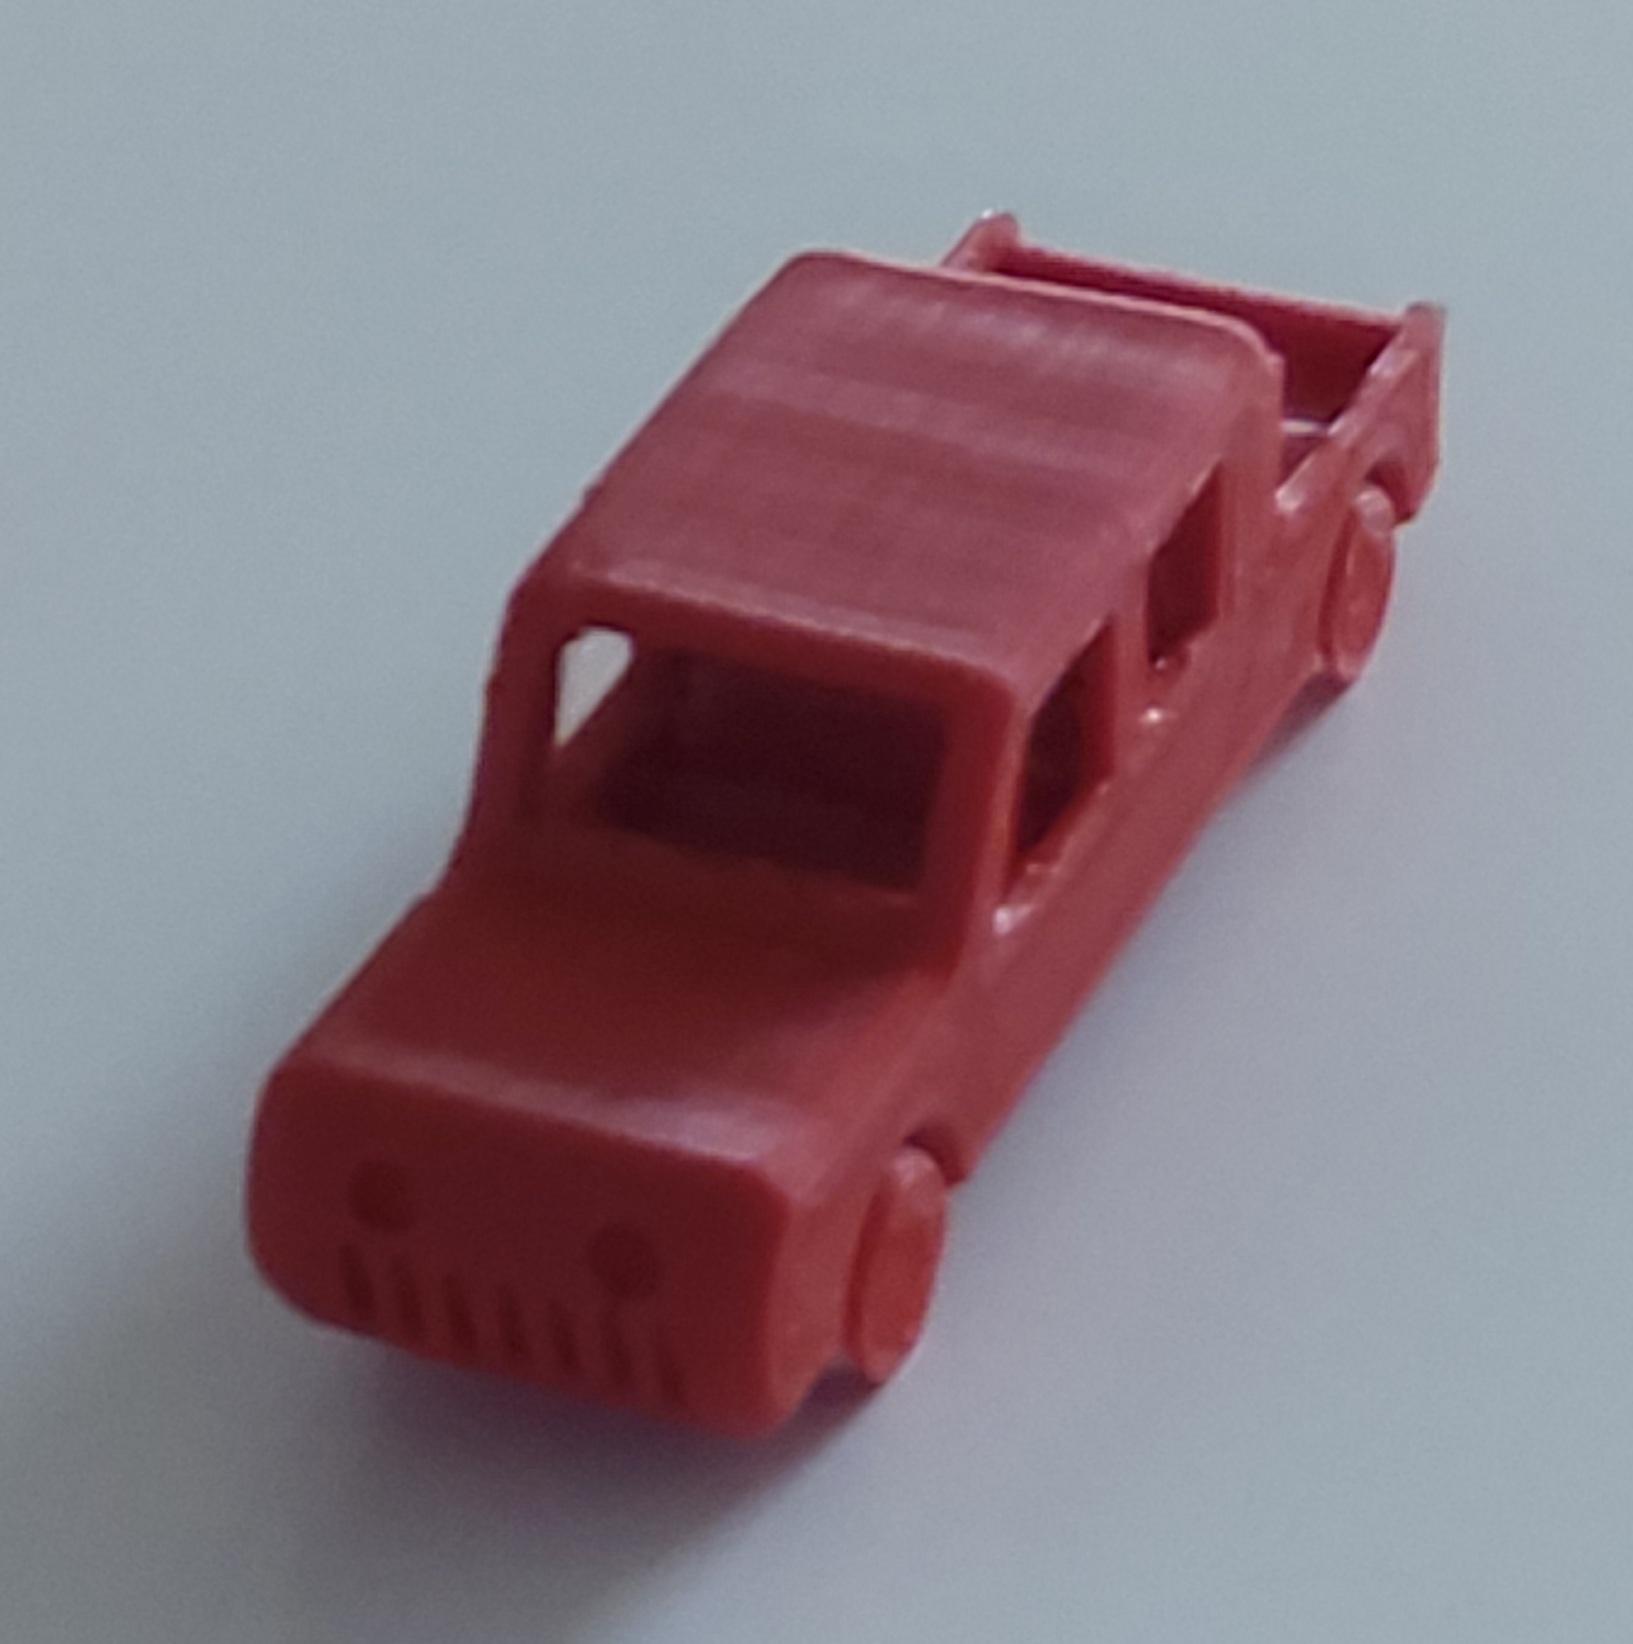
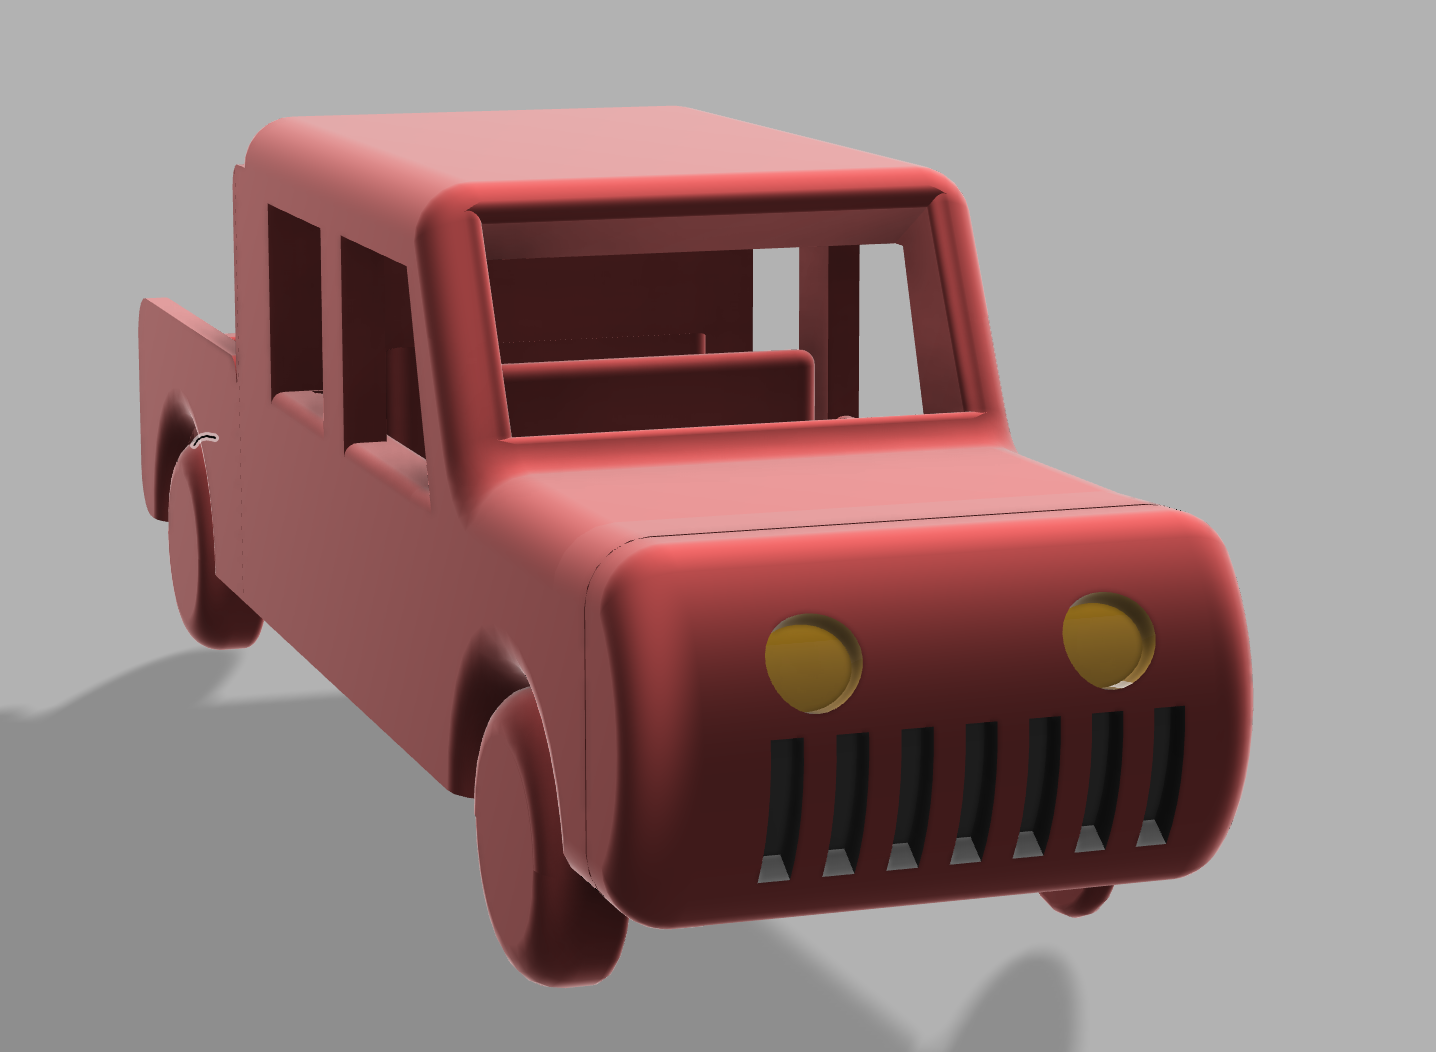
Finish
You're done! Now slice this file (with supports), export it as an STL, make it an OBJ, or whatever you want to do!
Any Thoughts?
If you have any suggestions for improvements, or tips for other users, please leave a comment. Make sure to screenshot your design and share it as a make!
If you want to learn more about Fusion 360, check out these links: