Make a Little Folded Christmas Book
by Puzzledd in Living > Christmas
11205 Views, 5 Favorites, 0 Comments
Make a Little Folded Christmas Book
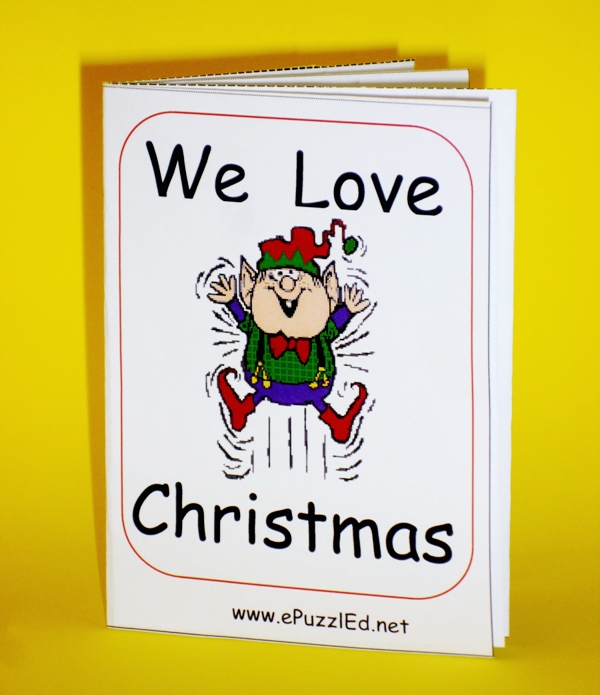
These “tiny books” are a lovely little gift for a young child, or fun to make with a child. You can make the text suit your child, and use clipart pictures or stickers, draw your own or let your child illustrate the book. Very simple text is best, so these books are great “first readers”, too.
If you do your book on a computer, you can print or photocopy multiple copies to give away (great for teachers/carers of littlies).
I have made several of these tiny books which I share with my reading students and on my website, www.ePuzzlEd.net. It took me ages to work out how to do them on the computer, with the text going opposite ways, but I’ve finally worked out the “sideways” technique, as presented here.
Planning.
First, you need to work out a simple 6- or 7-page “story” (you can leave the last page blank, as a back cover, or use it for your story).
To get your ideas, you could start with :
1. The pictures- look at the clipart available (see Notes for some good, free Christmas clipart sites or do a search for some); or you could think about the things you can draw, if you are going to do your own illustrations. You could also use stamps, stickers or simple collage for the pictures.
2. A simple story line, nursery rhyme, poem or song that would be good for you or your child to illustrate.
3. A little story that your child has made up. (It may need to be simplified for the book).
You may want to do a simple “pictures with labels” type of book.
If you are making up a story, keep the sentences very short and simple. Repetitive structure is very good for little kids (especially for beginning readers). Try to add a little “twist” on the last page, to add interest and to define the end of the story.
This Instructable is for a Christmas book, but of course you can make up a little book about anything that will fit in 6-7 pages. You could use clear photos of family and/or pets. To get some ideas, you may like to look at my website: http://www.epuzzled.net/freeminibookstoprint.htm.
I have included instructions in this Instructable for a book made on the computer using Microsoft Word, with or without text and/or clipart. Just use the steps you need.
If you don’t want to make your book on the computer using Word, you can print off a blank book layout that I have made, and add your own text and pictures. The blank book is at the website link above.
You can also use the layout to make a book by hand: just rule an A4 page into 8 sections as in the layout (you don’t need the borders – your pages will just be a little bigger as they won’t need the edges trimmed off). Follow the assembly instructions to make the book, then write and/or draw in it as you like.
Draw the Layout
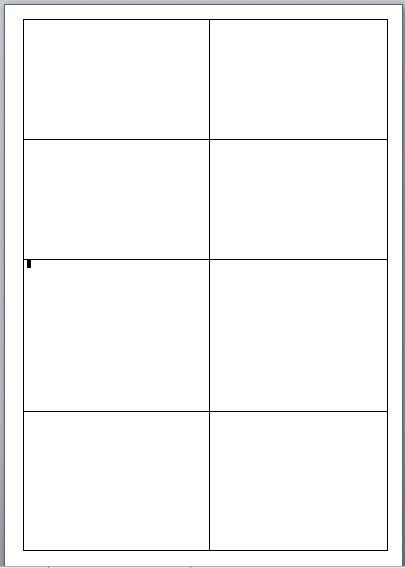
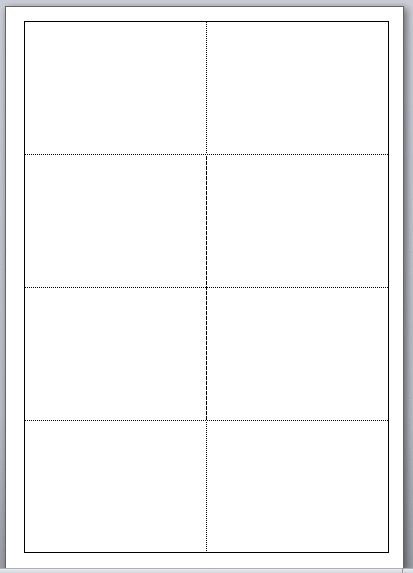
If you don’t want to do this as Word document, you can draw lines on a page by hand- just rule an A4 page into 8 sections as in the layout. You don’t need the borders.
To make a book using MS Word:
Fig.1. Open a Word document. Pull back the margins to about 1/4inch.
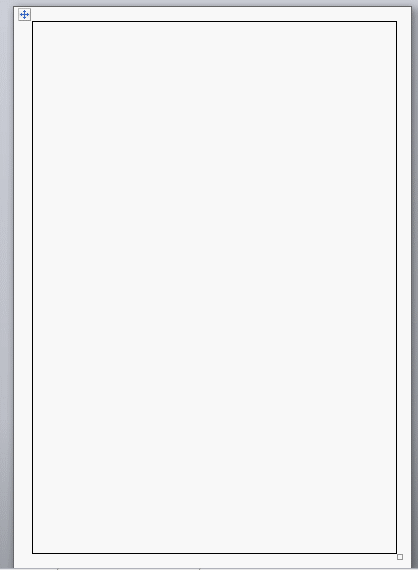
Fig.2. Draw a large table to fill the page, just leaving the narrow margins. (Then pull the bottom margin right down to get rid of the “next” page).
Fig.3. Draw one line down middle and three lines across the table.
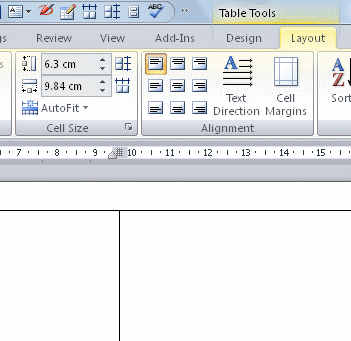
Fig.4. Select Table Tools- Layout- distribute columns, rows evenly.
The next steps are optional- they just help with assembling the book, showing where to fold or cut.
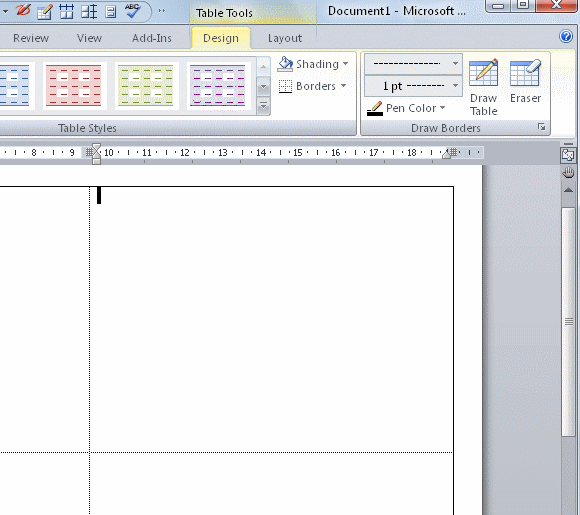
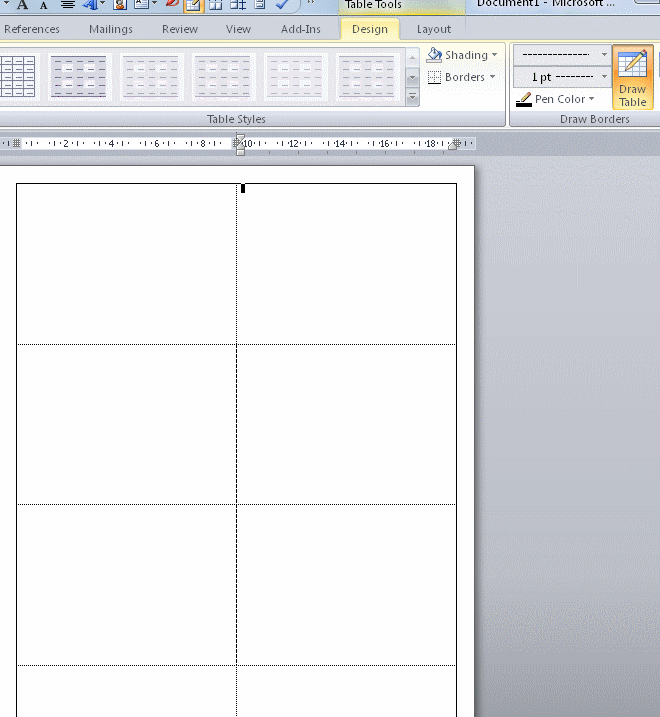
Fig.5. Select Table Tools- Design- dotted lines; change your inside lines to dotted.
Fig.6. Change the middle 2 sections of middle line to dashed style (to show the cutting line).
Fig.7. Your layout should now look like this.
Number the Pages

You don’t have to number the pages, but it does help if you have a story line.
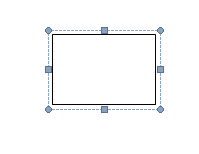
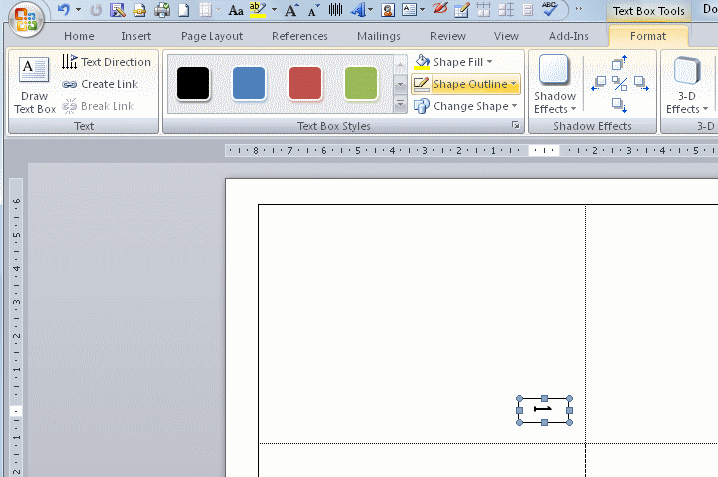
Fig. 1. Select insert- text box- draw text box
Fig. 2. Draw a small text box in the top left cell.
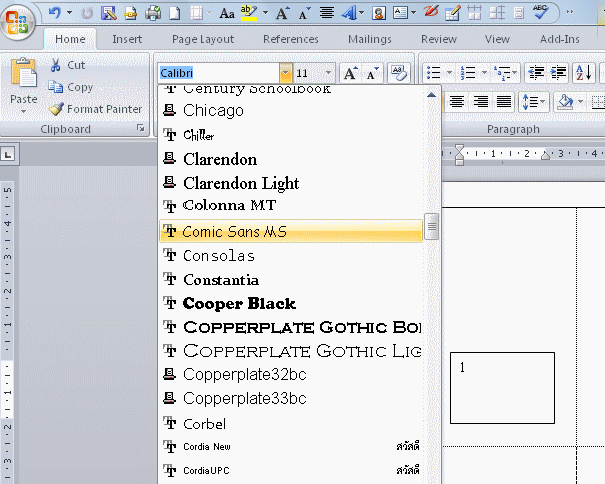
Fig.3. Select Home- fonts; format the font to your taste. Select the text size you want (you can always re-size later. I ended up reducing my page numbers).
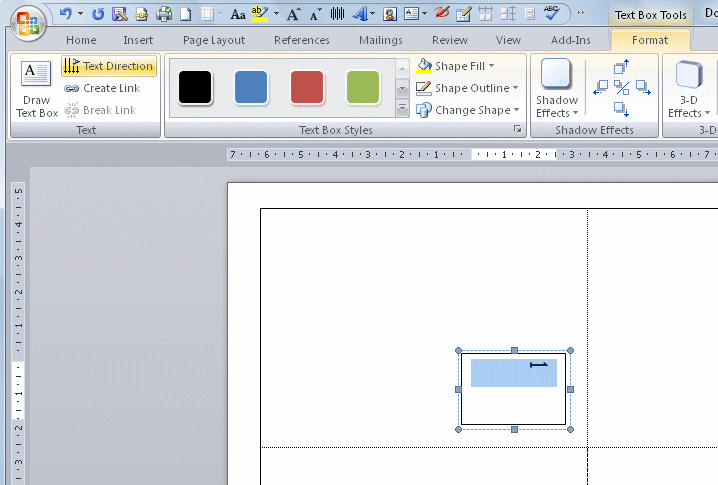
Fig.4. Select Text Box Tools- Text Direction - click once to make text go sideways for left side of page layout.
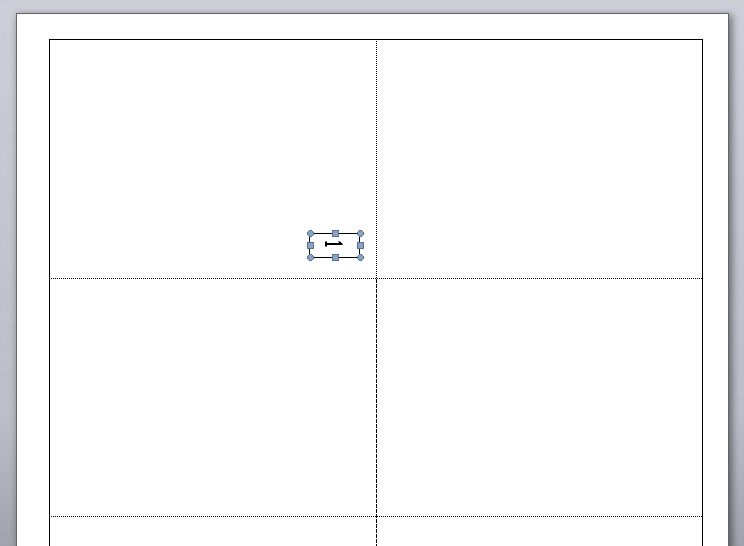
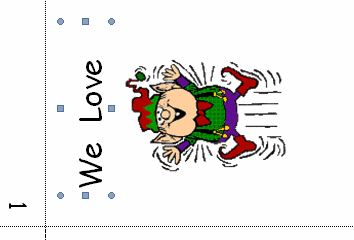
Fig. 5. Drag in the corners of box to fit (not too close), then drag the box to the corner of the page.
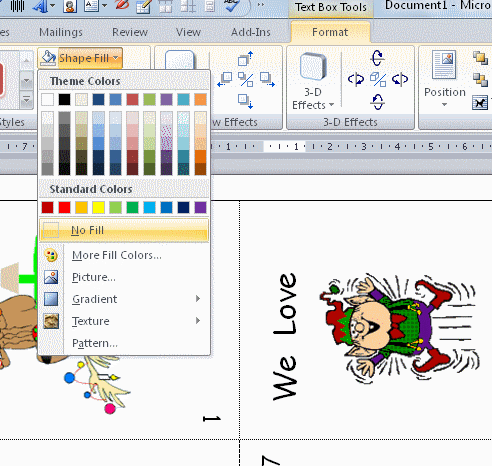
Fig.6. Select shape outline > no outline; then fill > no fill. (This is to get rid of the borders of your text box and make the background in the box transparent, so that you can place it where you want without blocking off anything else on the page).
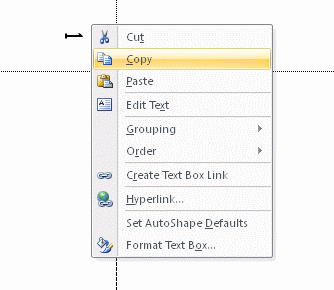
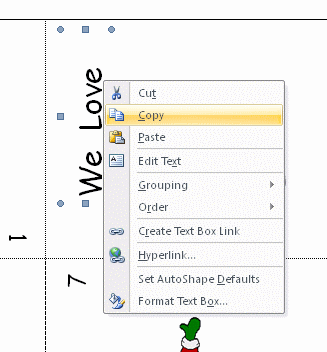
Fig.7. Make another copy of the text box : click inside the box, then move the cursor to edge until little 4-way arrow shows, then Right click and select copy; move the cursor outside the box, Right click and select paste. To move the text box, you need to get the little 4-way arrow again.
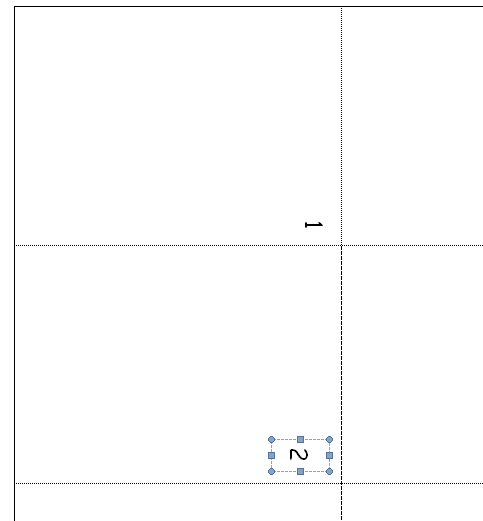
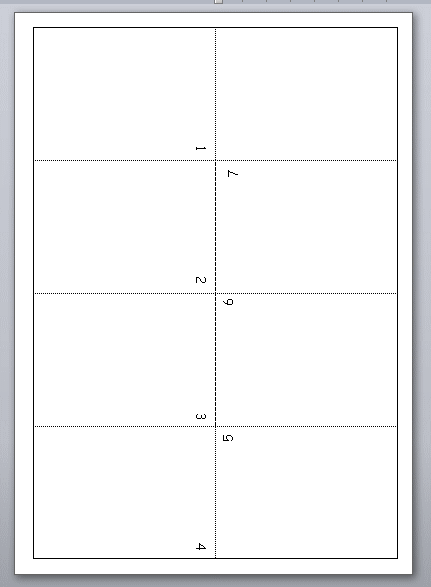
Fig.8. Move to the next corner. Change the number in the text box (click in the text box, backspace and type in the new number). Repeat for all corners, going anti-clockwise till you get to page 7; change the text direction for the pages on the right side. The last space will be the cover.
Fig.9. The pages should all be numbered, leaving the cover blank.
Add the Pictures
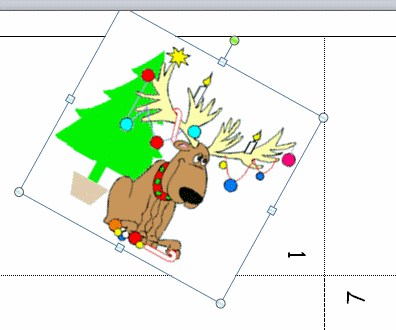
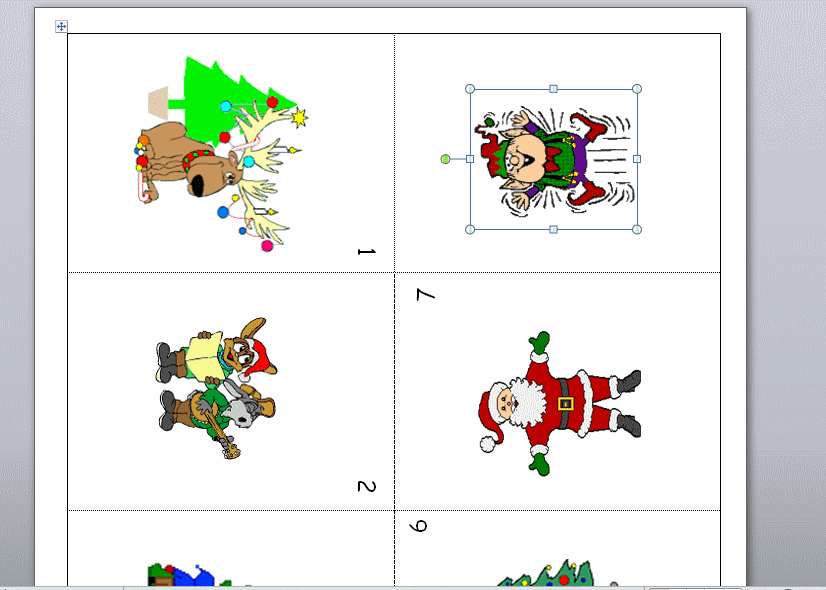
If you are using clipart, you can add the pictures now, or you could add them after the text if you prefer.
Fig.1. Paste in the clipart pictures; rotate, re-size and arrange to fit the middle of each page.
Fig.2. Make sure all the pictures on the left are facing left and the ones on the right face the other way.
Note- you can draw a shape on the cover if you like as a border, before you add the cover picture. Just select Insert - shapes, and select your shape. Draw it and position in the "cover" section (top right cell).
Add the Text
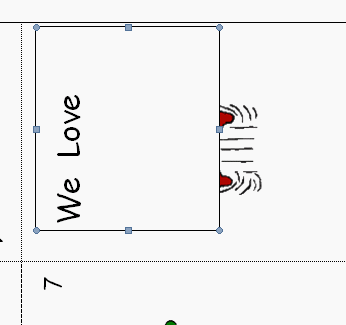
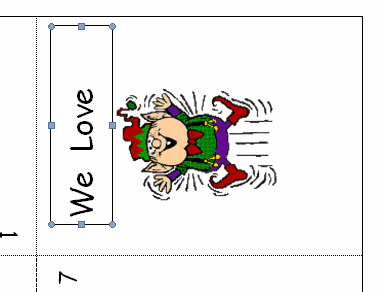
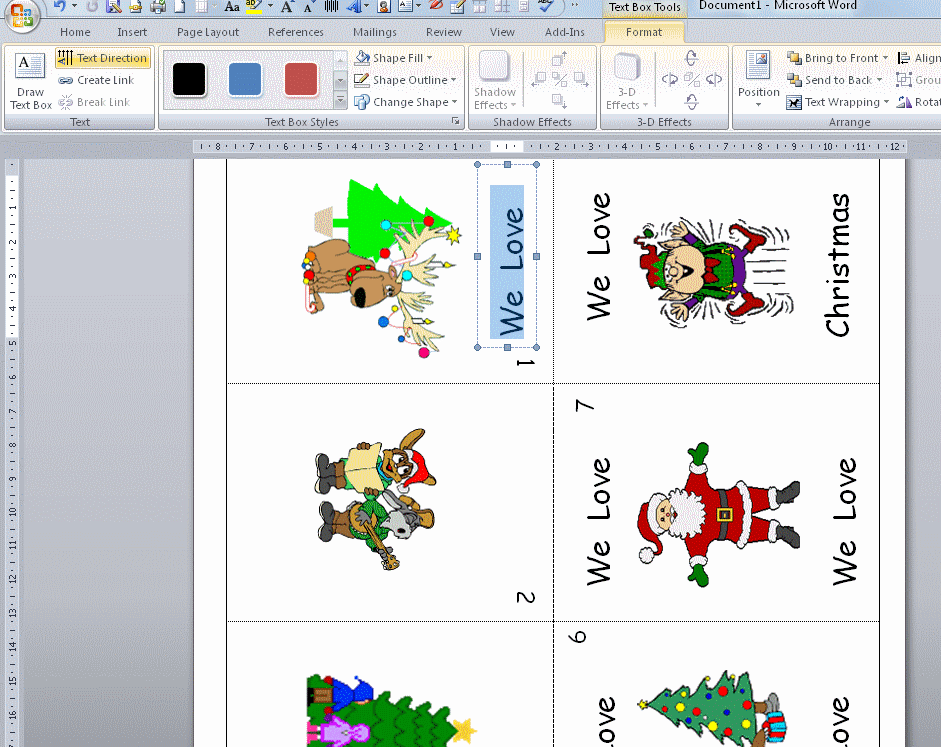
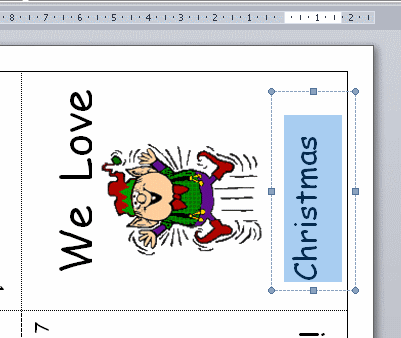
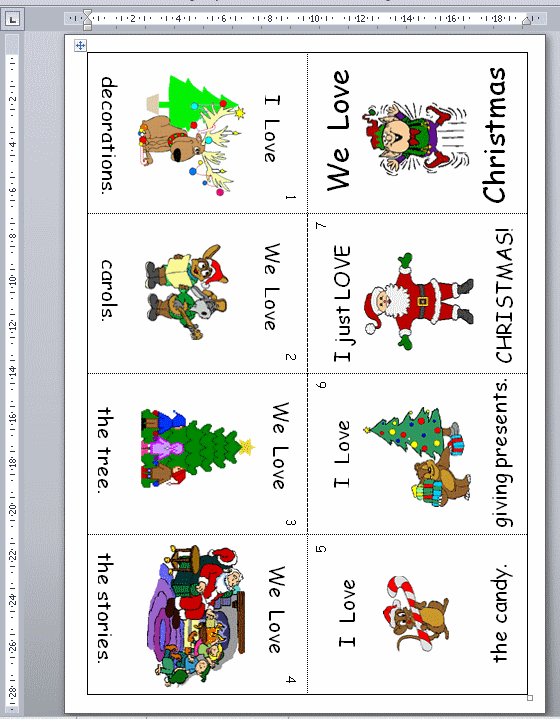
You can just write in your text by hand if you like after your layout is printed, or you can type it in on your computer before printing.
If you're adding your text using MS Word, you need to make text boxes so that you can move the text around and change the direction. This step tells you how to do that.
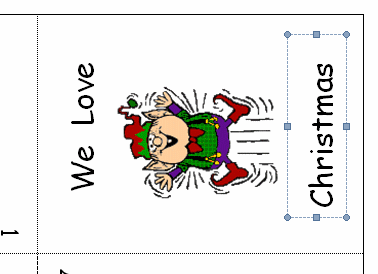
Fig.1. Create a new text box as in Step 2- longer than before, to fit across one of your little pages. Type in the first line of your text.
Fig.2. Drag the text box into a square to fit in all your text, then change the text direction.
Fig.3. Resize the text box to fit your new text orientation. Note- don’t bring the text box borders in too close to the text; mine looked fine until I printed, then the bottom of the words was cut off (see the pictures of the finished book!).
Fig.4. Select no outline, no fill, as in Step 2.
Fig.5. Position your first text box on its "page".
Fig.6. Copy and paste to make new text boxes as in Step 2.
Fig.7. Move the copied text box into place; backspace and type in new text. This is a bit tricky, as you’re going sideways!
Resize the text box as needed (note that the text box in this picture was too shallow and the bottom of my text was cut off).
Fig.8. Repeat paste, move and re-type for each section of text, changing text direction for side 2.
Fig.9. You can resize the title text to make it bigger, dragging the text box bigger to fit. (I also later added an empty shape as a border- it would have been better to add it before the pictures and text).
Fig.10. The finished book layout is now ready to print.
Note- You will need to tell your printer to ignore the “margins set outside print area”. The borders are only there to allow for printers that may print crookedly or off-centre. I’ve always found that the borders print OK, on several different printers. (If you had problems, you could re-size the table by dragging in from the bottom right corner and re-setting the page margins, but you may have to re-arrange your pictures and text to fit, too).
Cut and Assemble the Book
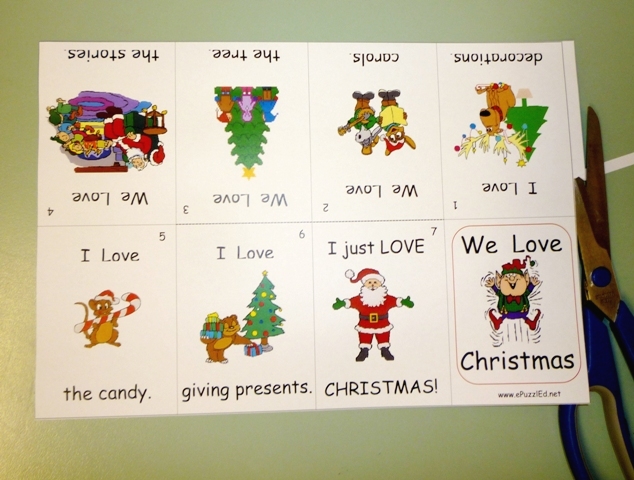
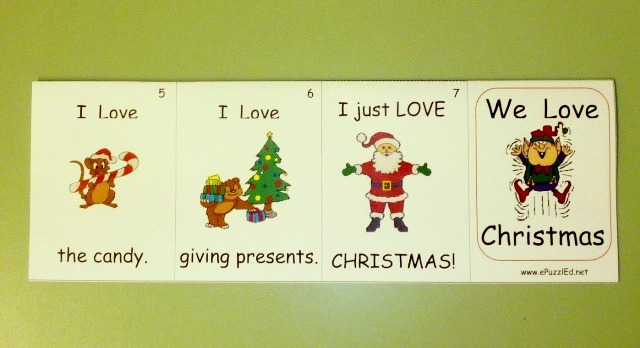
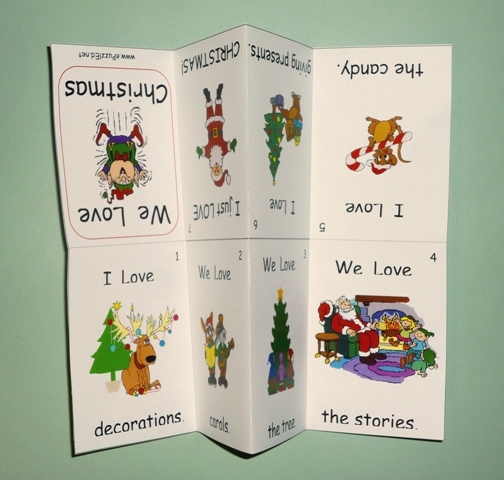
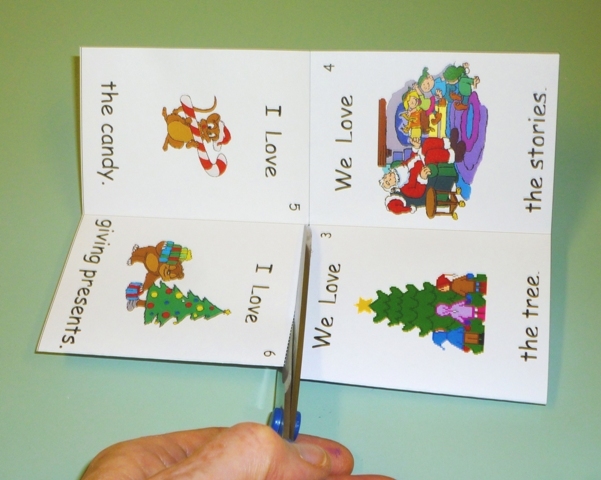
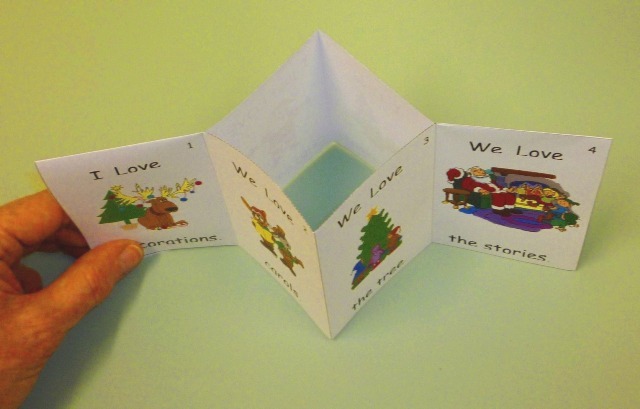
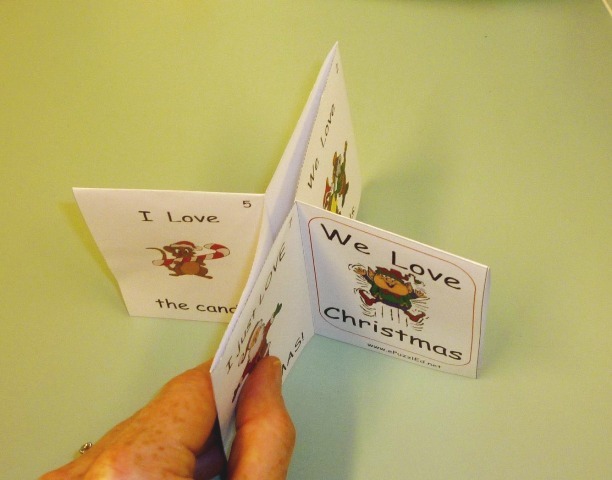
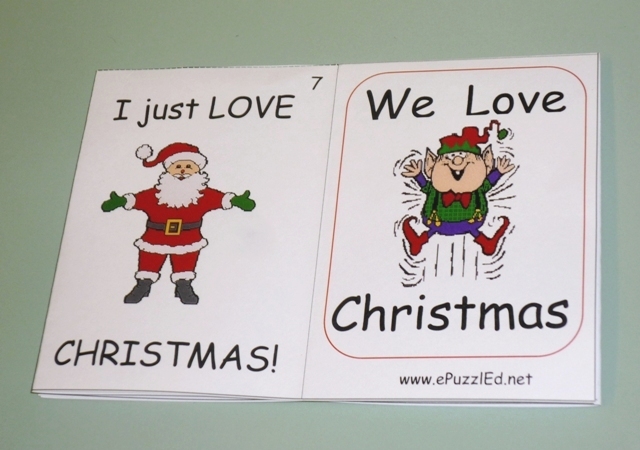
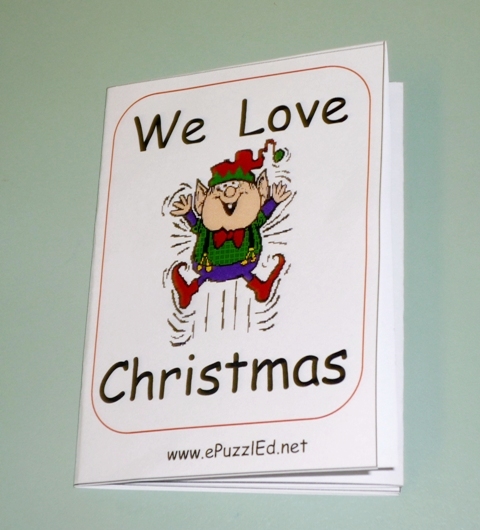
Whether you have printed your layout or drawn your own, here's how to assemble your tiny book.
Note- the cutting & creasing must be very accurate, or your book will be wonky!
Fig. 1. Trim off all the edges along the solid lines, very carefully.
Fig. 2. Fold in half lengthwise; crease carefully, then open out again.
Fig. 3. Fold in half across the page, then fold each end up.
Crease carefully.
Fig. 4. With sheet still folded in half, cut carefully along the dashed line from the middle fold (just one section, not all the way).
Fig. 5-6. Fold in half lengthwise again. Push ends in towards middle to make a “star” shape.
Fig. 7. Flatten the book down, turn the pages, and check that all creases are sharp and that the pages line up.
Finish with the cover at the top.
Fig. 8. Fold the front back against the other pages, and crease to make your book!
Notes
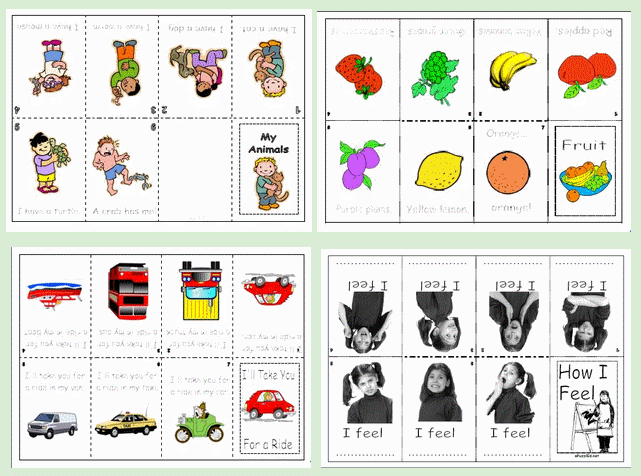
Once you’ve made one tiny book, you can keep thinking of other themes/looking for good clipart etc. Children love to have their own “library” of tiny books that they can read themselves.
If you made a Word layout, you can keep a copy to re-use next time- just change the pictures and the text in the text boxes, so it will be quicker ;)
Some good sites for little Christmas pictures that you can use freely are:
http://www.christmas-graphics-plus.com/ - a lovely selection of clipart, mostly small, and many in gif format with transparent backgrounds -as I noticed after I had cut out some images for my game!
http://www.wmfclipart.com/clipart/free-clipart-Christmas.html - this site has lots of clipart, including Christmas themes.
http://www.clipartpal.com/clipart_pd/holiday/christmas/candycane1.html - This is a commercial site, but it has a good section of Public Domain clipart. If you go to this page, there is an index on the side for lots of other free Christmas images.
http://freeclipartnow.com/holidays/christmas/ This site has a huge collection of Public Domain clipart. The Christmas clips tend to be in JPG format, with opague backgroun
You can also do a search for free Christmas clipart.
If you are making a book with photos in, select clear pictures with one large subject or group – crop if you can. The background should ideally be plain and should contrast with the subject.
If you or your child are illustrating the book, it’s best to use non-smudge media like pencils, gel pens or permanent markers, if feasible (open out the sheet of paper when drawing with markers, to avoid the ink going through the pages).
If you are pasting in “collage” pictures, keep them simple and fairly flat. Use good glue if you can so the paper doesn’t wrinkle. You may like to draw the pictures and add collage or sticker touches.
If you don’t like the idea of sending Christmas cards that will get thrown away, you could make a tiny book to give as a “card” for a child- fold the sheet in half and write your message on the blank side. You’ll need to show them how to assemble it, though, or give them the link to the page with instructions: http://www.epuzzled.net/freeminibookstoprint.htm
Note that assembling these tiny books is fiddly. An adult can help if children are doing it, as it needs careful cutting and precise folding.
If you make tiny books of your own, I’d love to see them! You may like to post a photo here. If you’d like to share any on my website, send me a message :)