Make a Gear in Tinkercad
by tinkercad-support in Workshop > 3D Design
14764 Views, 12 Favorites, 0 Comments
Make a Gear in Tinkercad
This project shows you basic tools used to make a gear in Tinkercad.
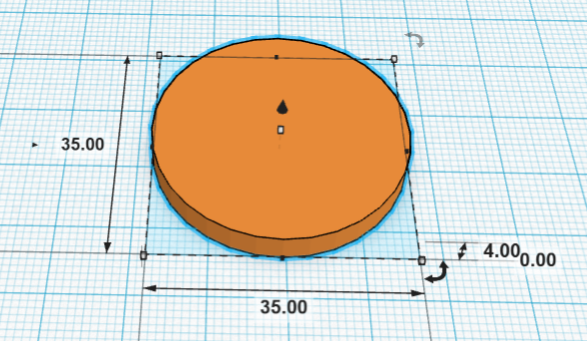
Adding a Cylinder

Adding a Box
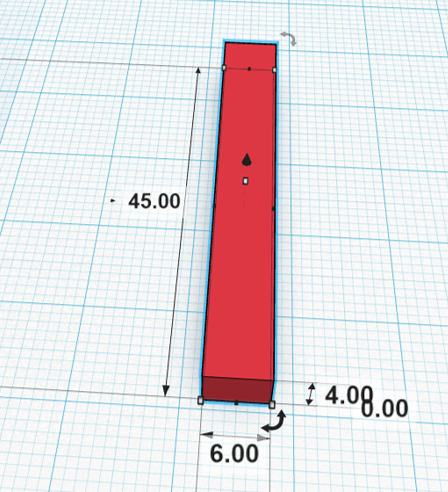
Adding and resizing a box to the Workplane.
Instructions
- Click and drag "Box" onto the Workplane.
- Change the box dimensions to 45mm x 6mm x 4mm.

- Stuck?
HINT:
Use the top white square to change the height.
- Continue to next step.
Centering the Box in the Circle
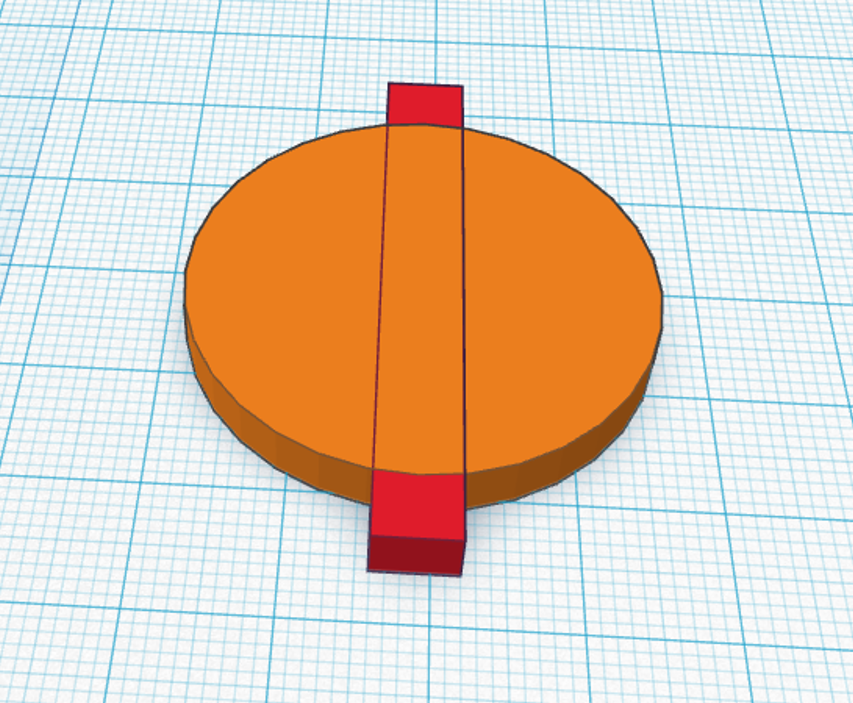
Moving the box into the center of the circle.
Instructions
- Left click and drag to select both the cylinder and the box.

- Select Align button on the toolbar. Click on the two middle dots to center.

- Once aligned, click the "x" on the bottom of the screen to close the align function.

- Continue to next step.
Adding More Boxes
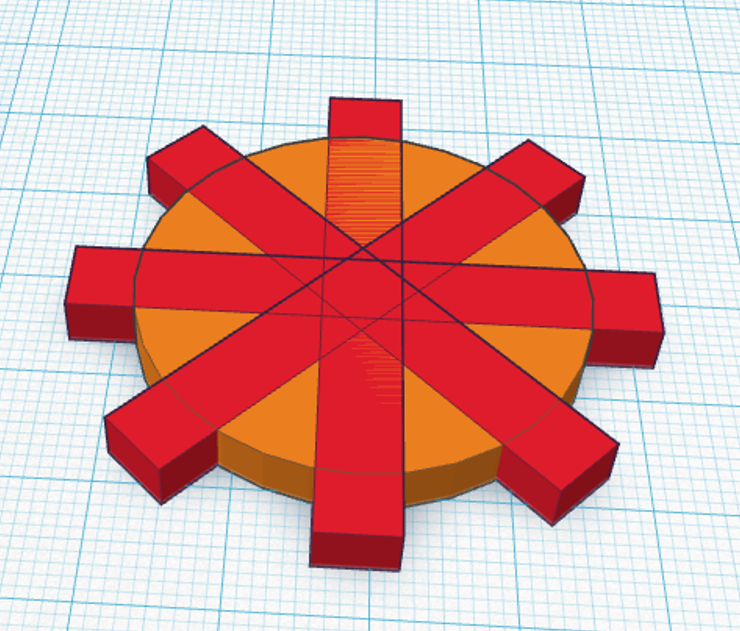
Add more boxes for the teeth of the gear
Instructions
- Select the aligned box.
- Copy this shape by typing "CRTL" + "C" or clicking the Copy button on the toolbar.
- Paste this shape by typing "CRTL" + "V" or clicking the Paste button on the toolbar.
- Using the curved arrow, rotate this box within the circle 45 degrees

- Use the align tool again to center the new box.
- Copy, paste, rotate, and align two more boxes
- Continue to next step.
Adding the Hole
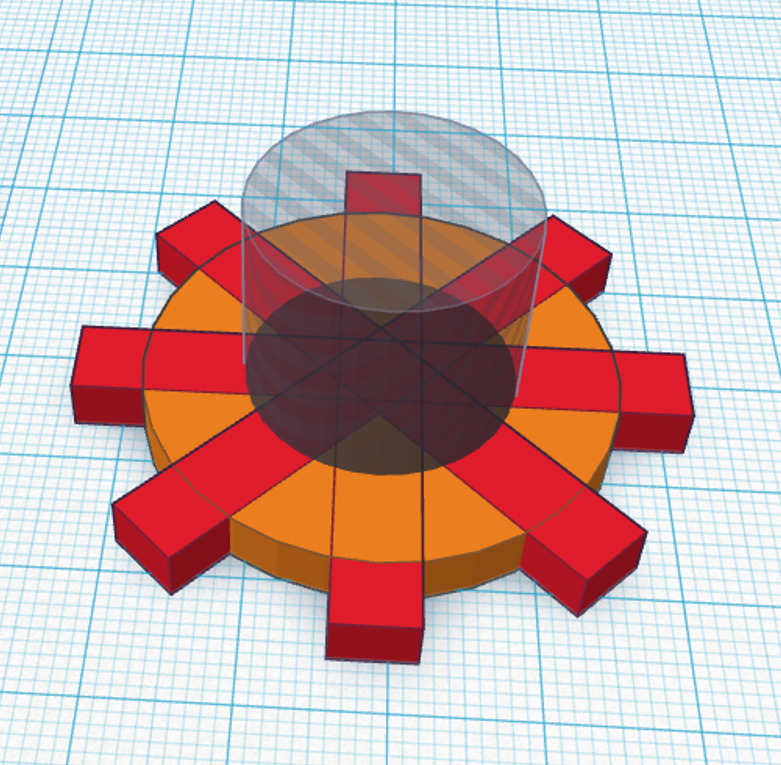
Adding a hole to the center of the gear.
Instructions
- Drag and drop another cylinder onto the work plane. Do not resize.

- Drag and select every shape and use the align tool to center.
- Select new cylinder, then click "hole" option in the shape panel near the top right corner of the 3D editor.

- Continue to next step.
Finishing Up
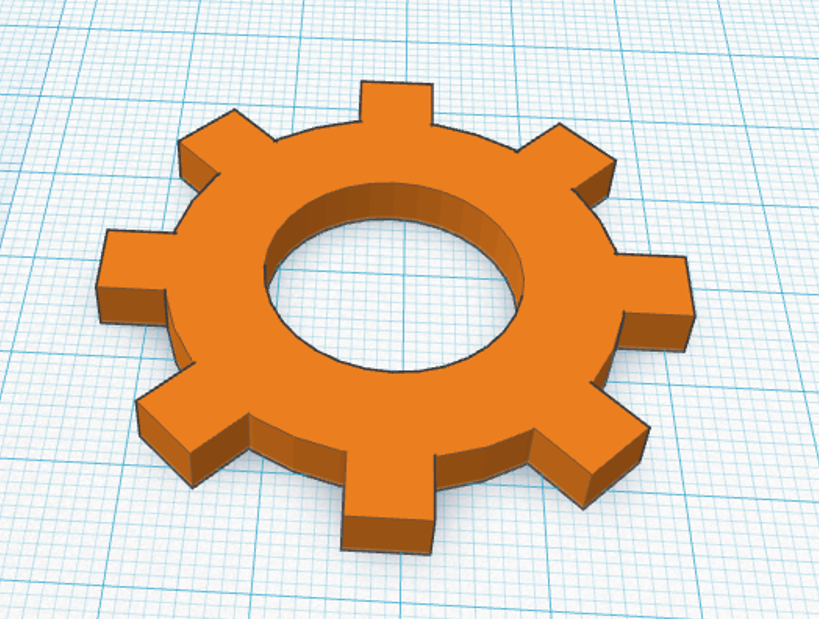
Finish the gear!
Instructions
- Select new cylinder, then click "hole" in top right of the screen.
- Click and drag to select all shapes.
- Click the Group button on the toolbar to combine the shapes in the the final gear.
- You've done it! Enjoy your gear!
Congratulations!
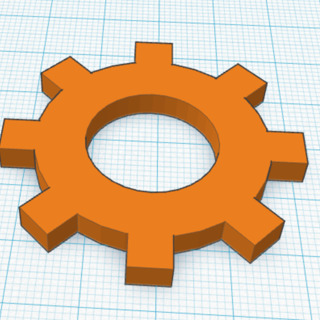
You did it!
Instructions
- Select new cylinder, then click "hole" in top right of the screen.
- Click and drag to select all shapes.
- Click the Group button on the toolbar to combine the shapes in the the final gear.
- Continue to the next step.