Make a Game Console Using Your Raspberry Pi!
by ashah1002 in Circuits > Raspberry Pi
7518 Views, 25 Favorites, 0 Comments
Make a Game Console Using Your Raspberry Pi!
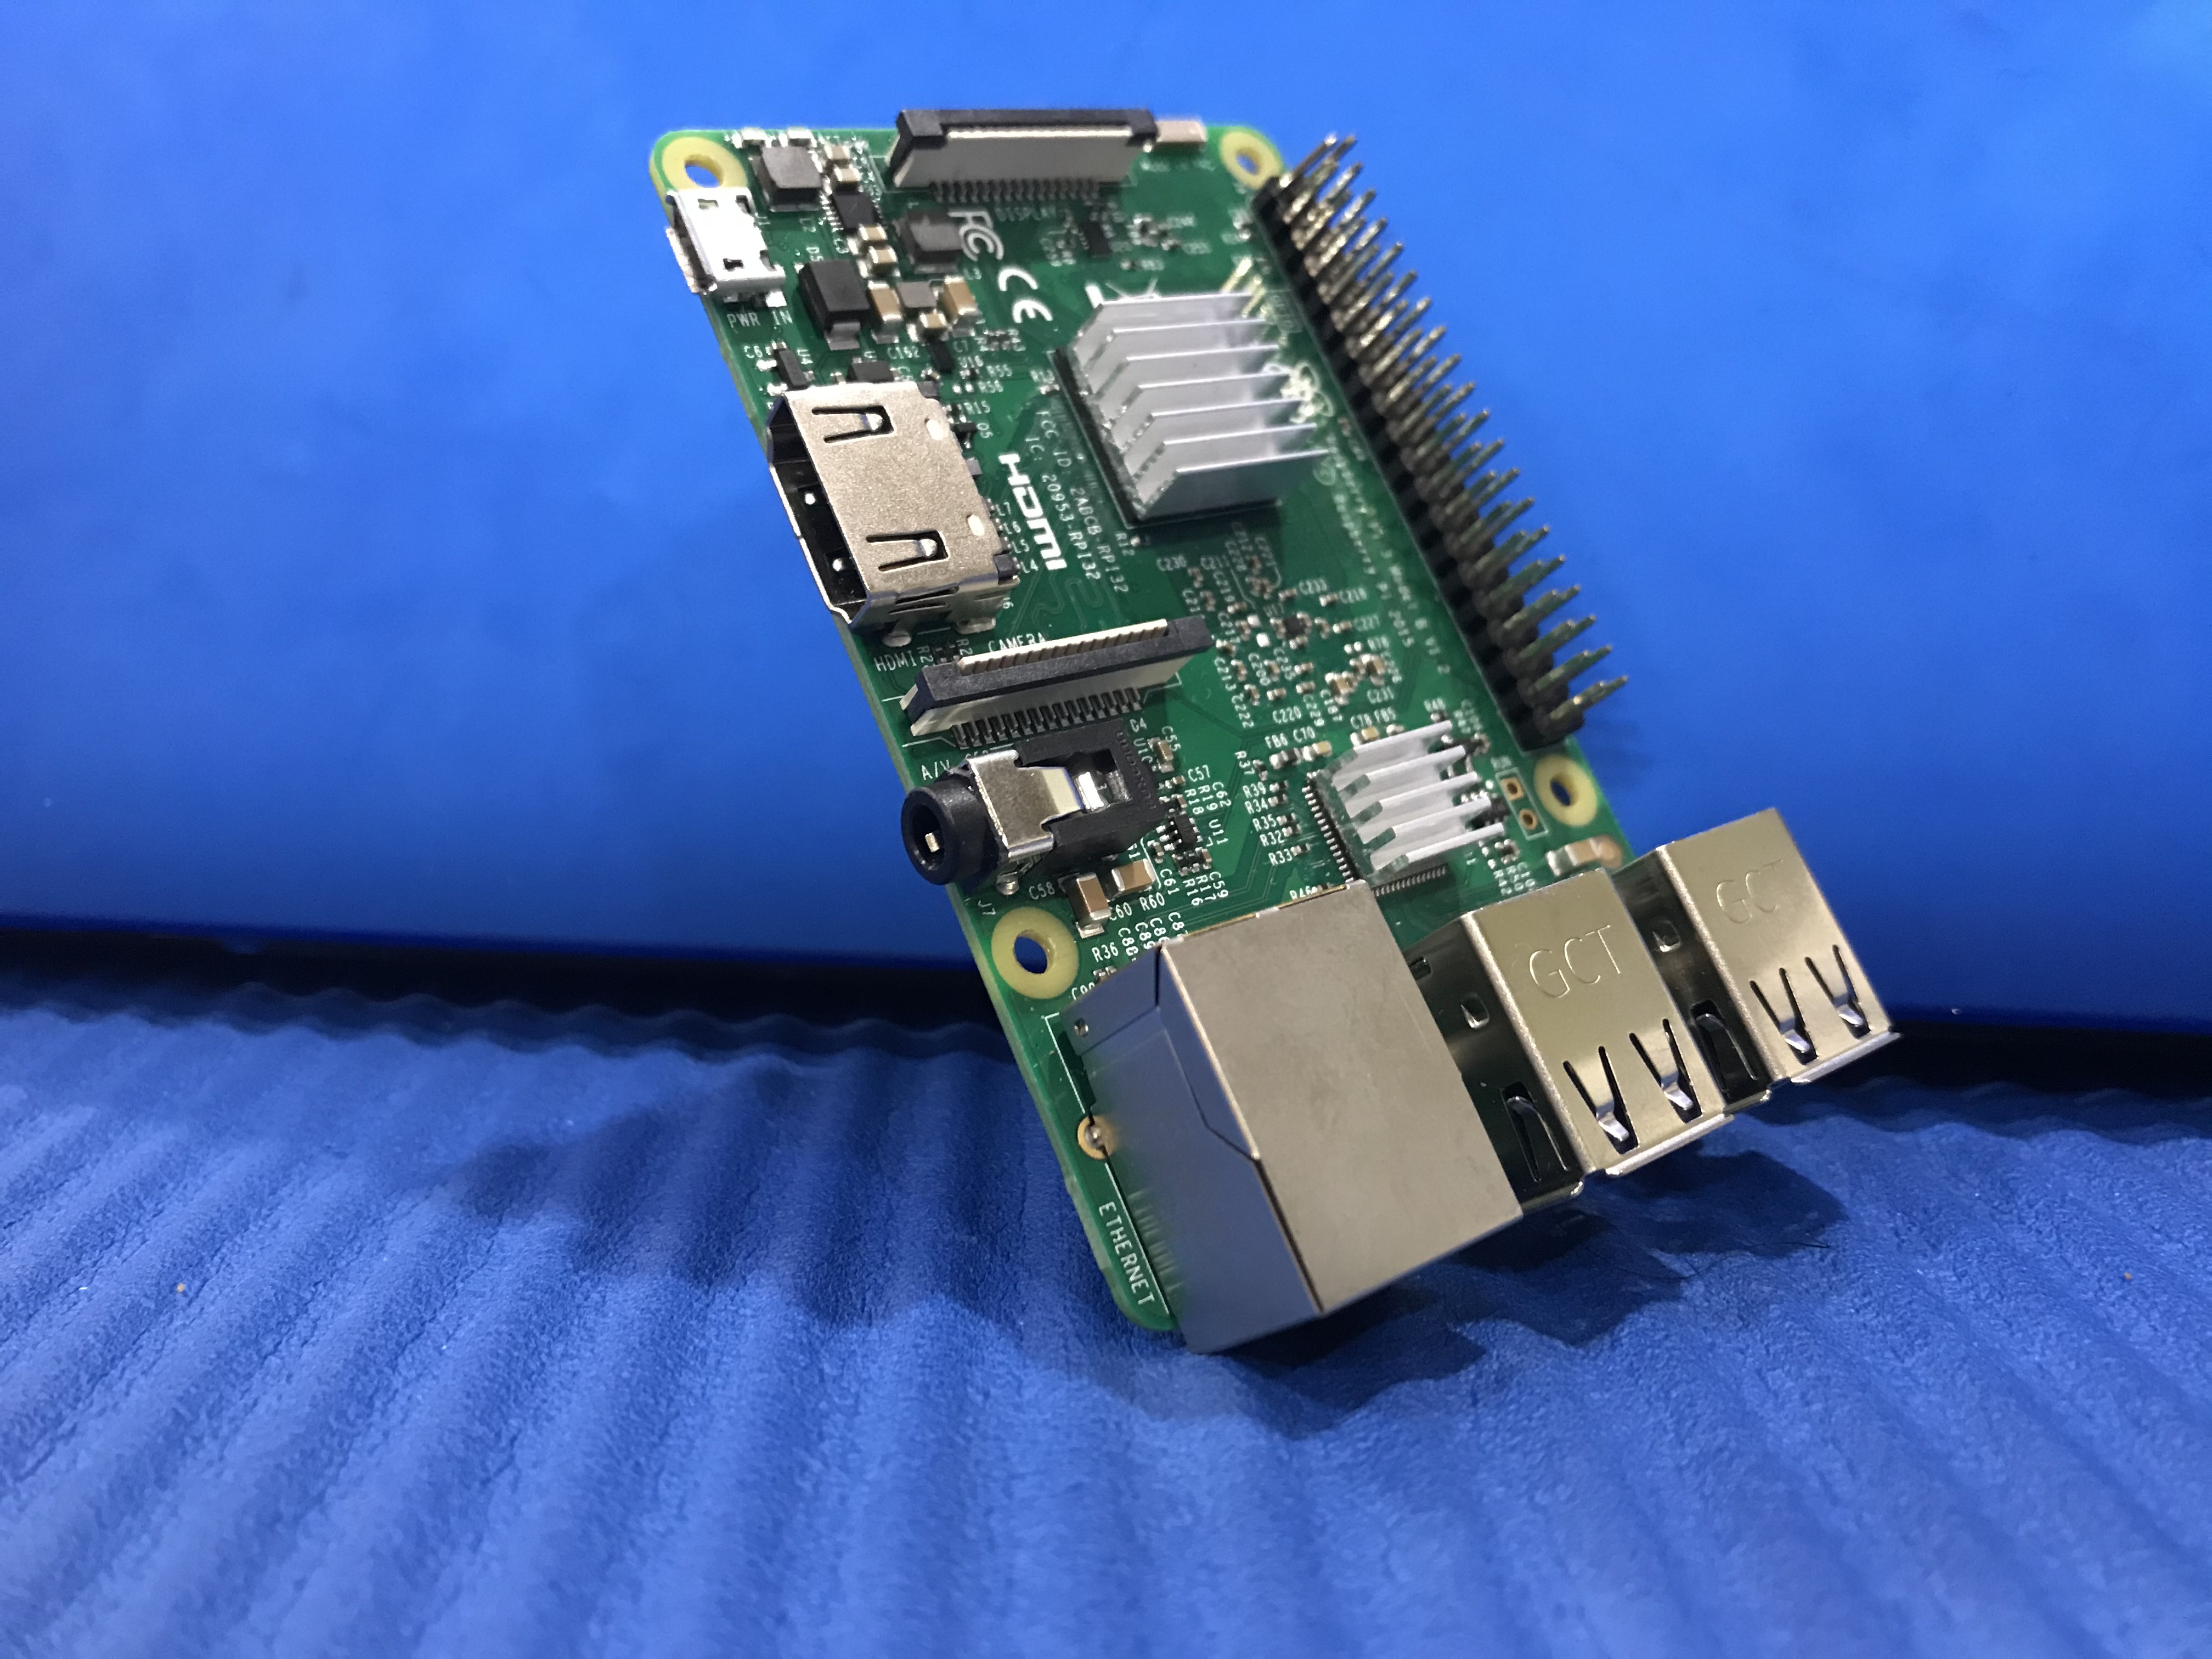
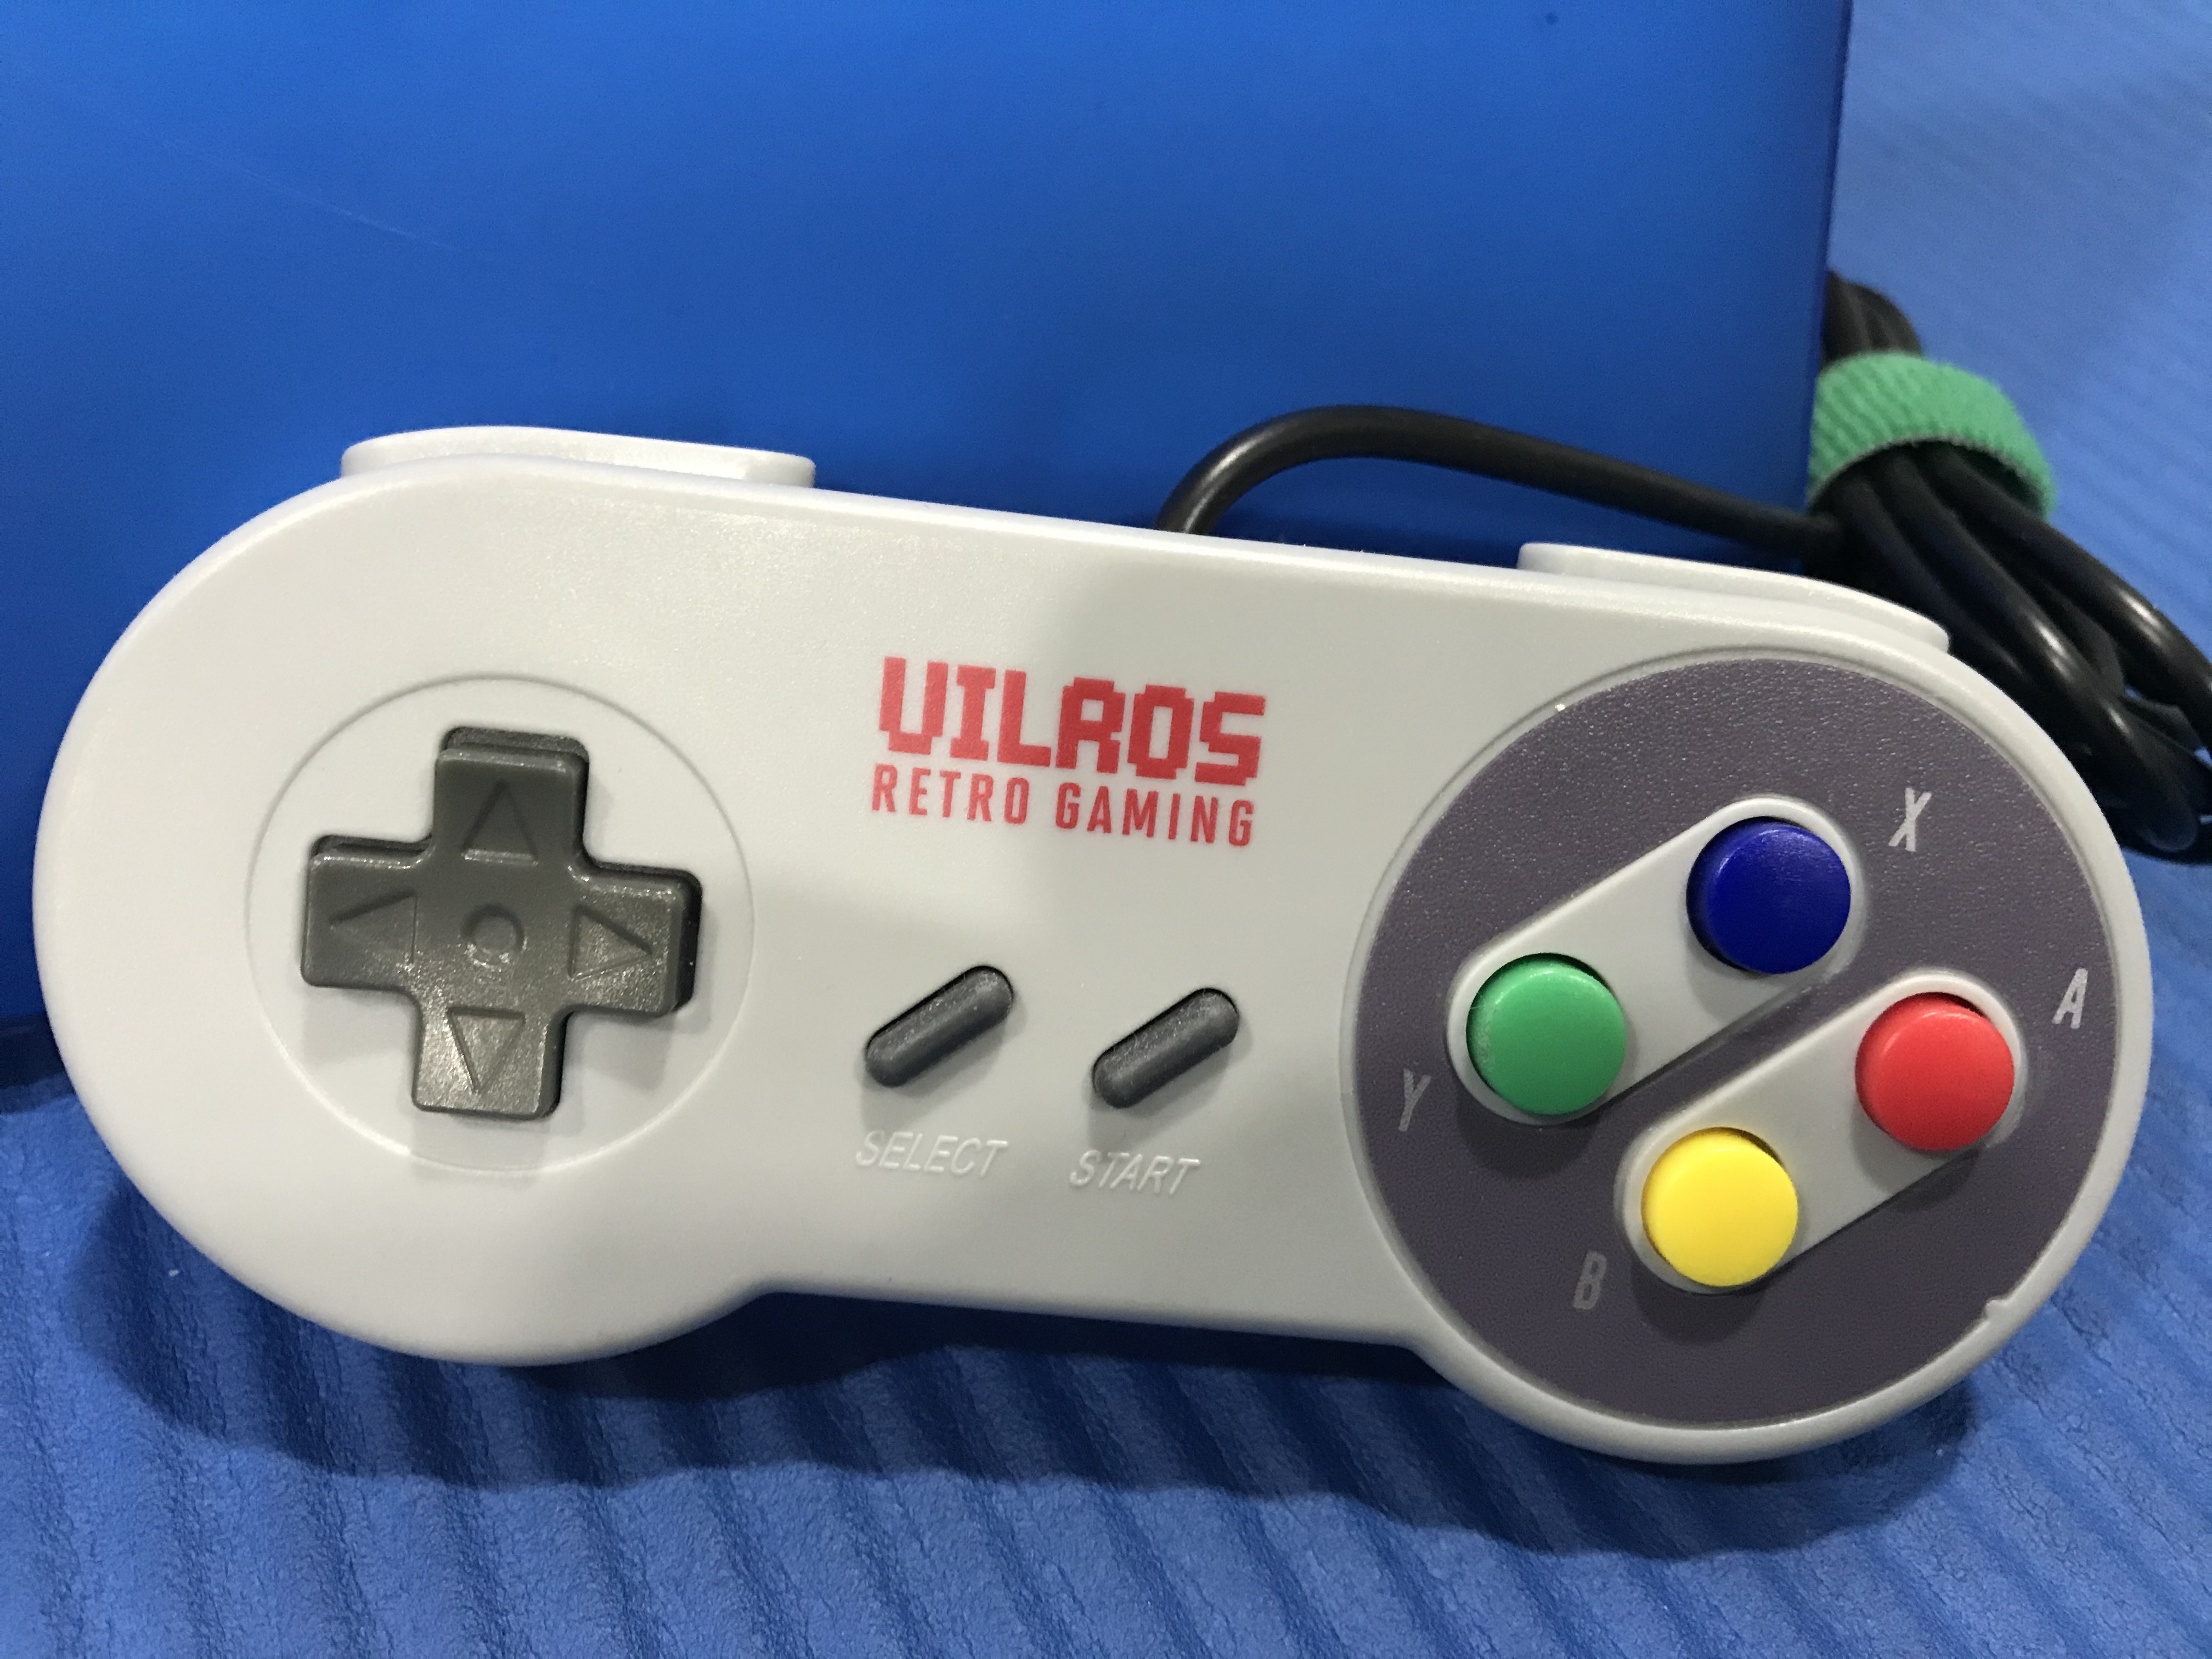
Do you want to play retro games without paying for the expensive old consoles? You can do just that with the Raspberry Pi. The Raspberry Pi is a "credit card-sized computer" that is capable of many cool things. There are many different types of these. The Pi is readily available in most online retailers like Amazon. In this project, you will learn how to turn your Raspberry Pi into a full-on gaming console emulator using RetroPie.
Difficulty: Easy
Time: < 1 Hour (May take longer)
Cost: $65 - $110 (USD)
**May cost more**
Supplies
1.) Raspberry Pi (0,1,2,3)
Recommended Pi 3: https://www.amazon.com/CanaKit-Raspberry-Premium-Supply-Listed/dp/B01C6EQNNK/ref=sr_1_3?keywords=raspberry+pi+3&qid=1579971473&sr=8-3
2.) Micro-SD Card with Adapter
Included with Pi
3.) Working Laptop or PC
4.) Monitor or TV
5.) USB Gamepad(s)
SNES Controller: https://www.amazon.com/Controller-Gamepad-Joystick-Gamestick-Raspberry/dp/B01MYUDDCV/ref=sr_1_6?keywords=usb+gamepad+snes&qid=1579971550&sr=8-6
6.) USB
7.) Keyboard (Only if using Wifi)
8.) Ethernet Cable (If Applicable)
8.) Some free time!
Installing RetroPie
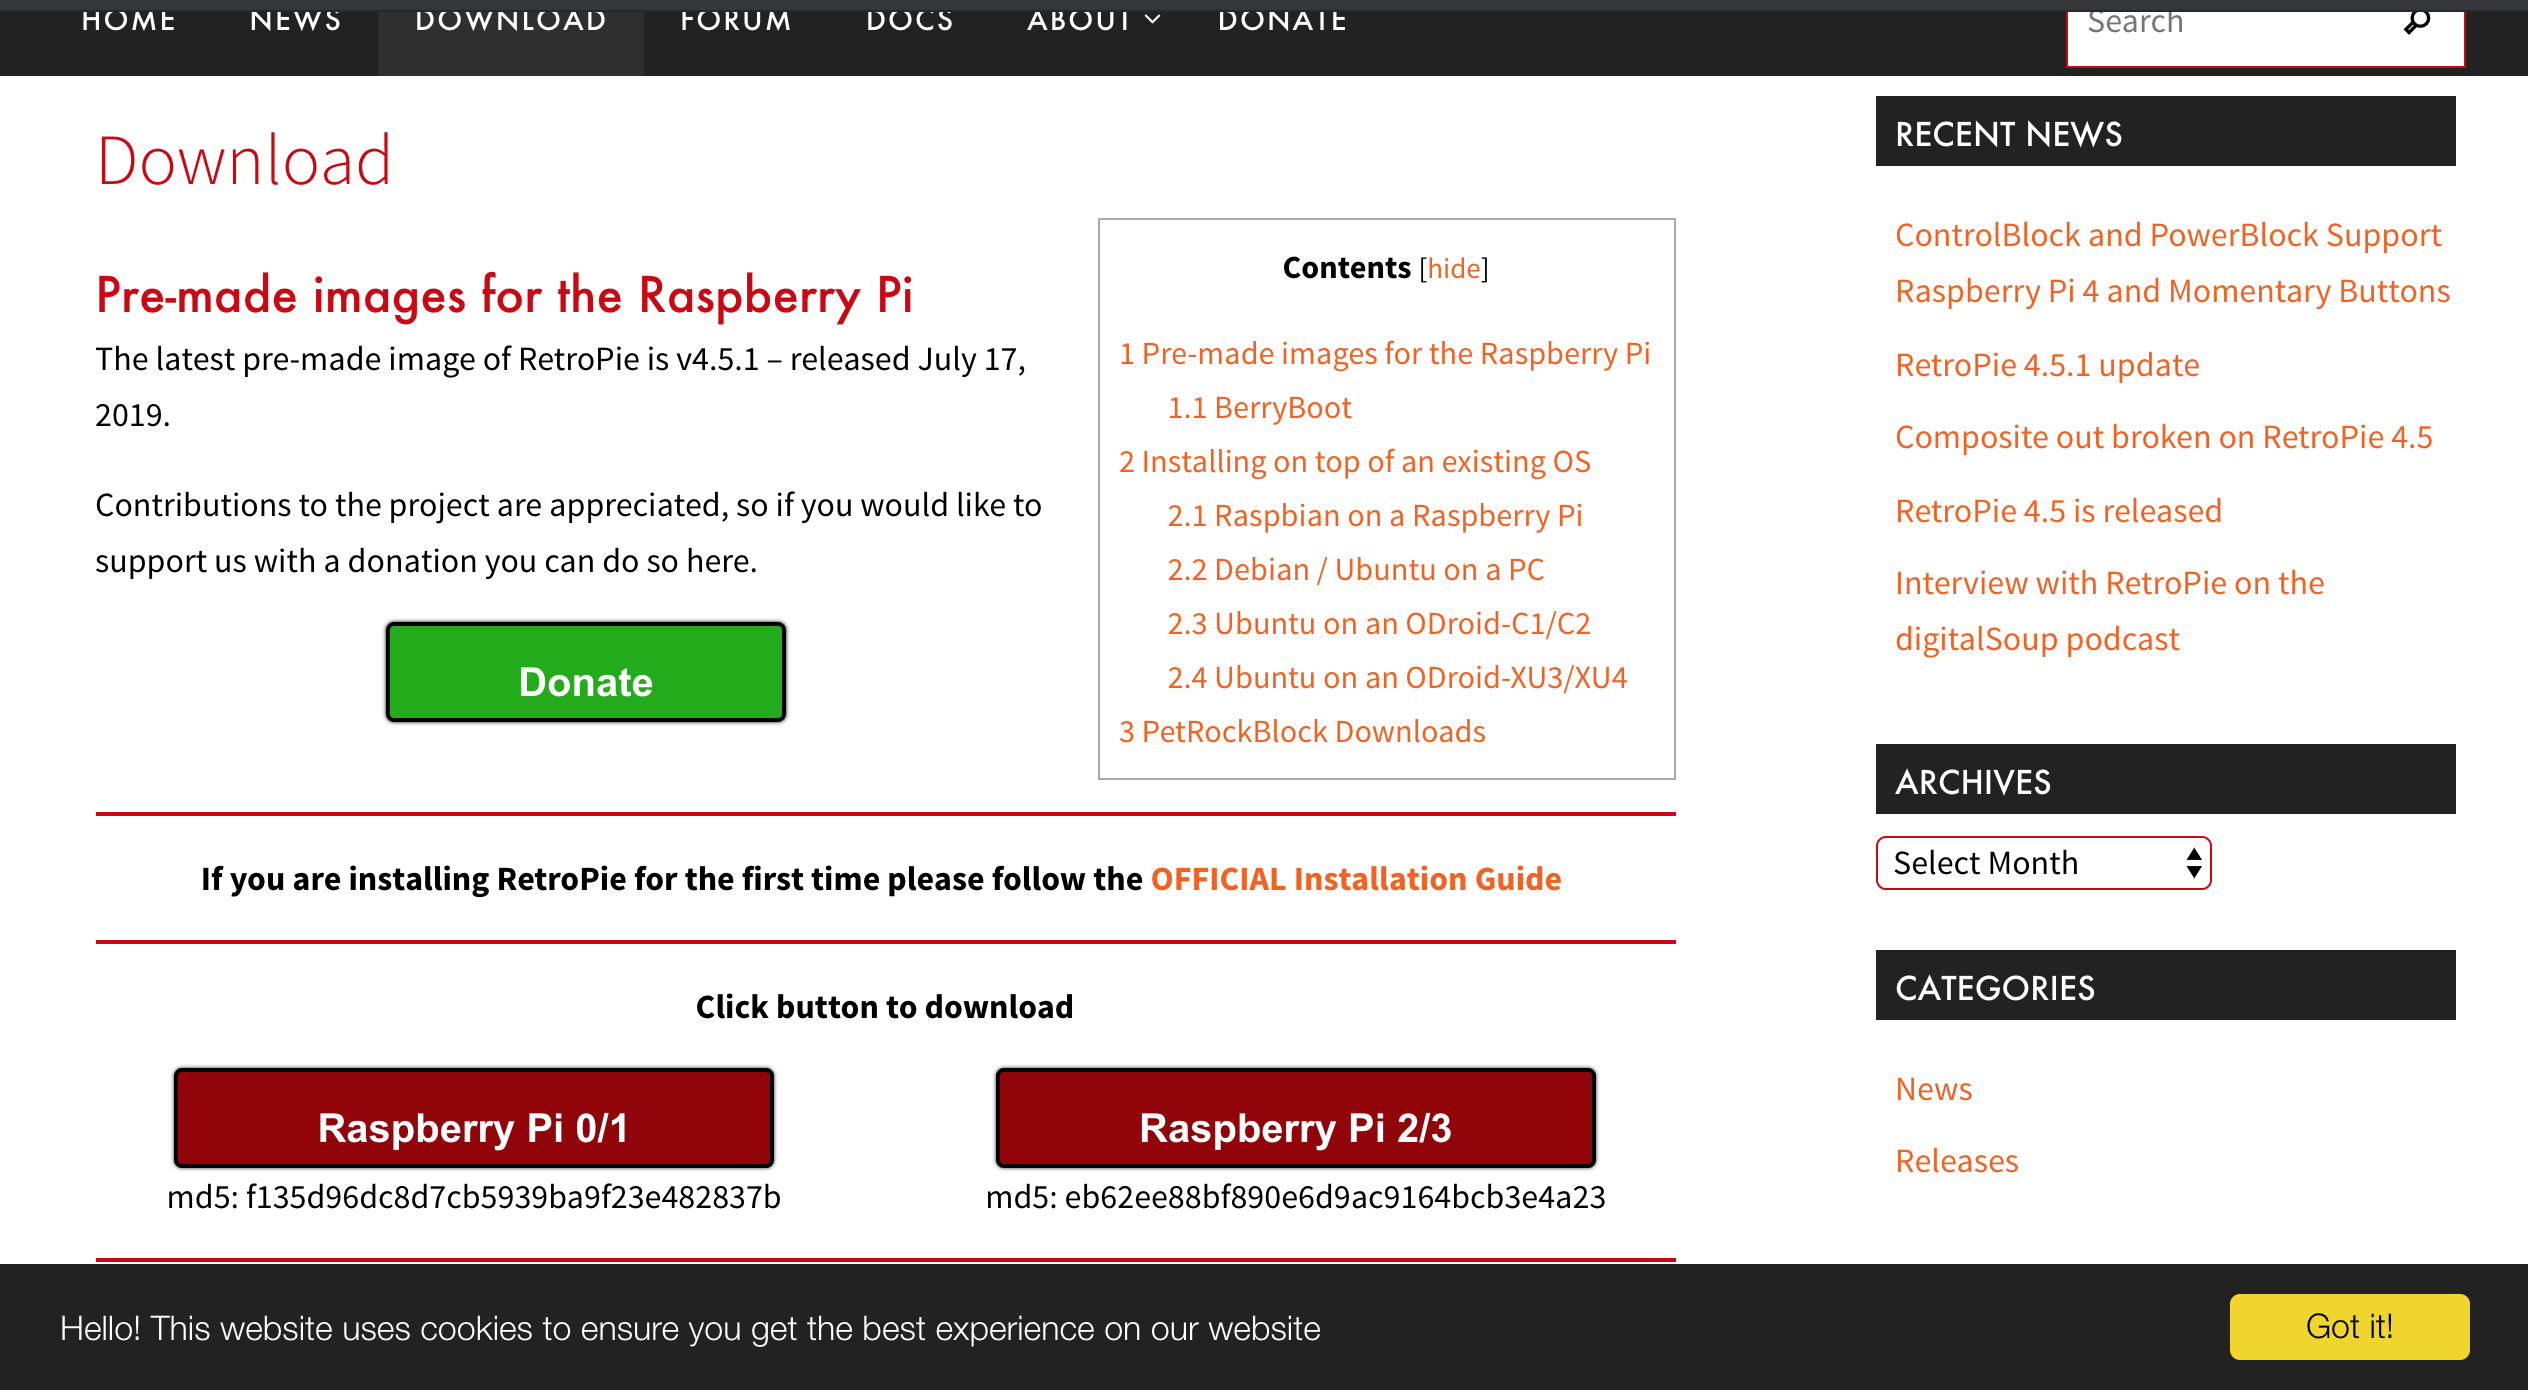
The software we are going to be using for this project is RetroPie. RetroPie is a very simple software. To install RetroPie: Go to https://retropie.org.uk/download/ on your Laptop/PC to install RetroPie. When RetroPie has finished installing you will find a .zip file. Extract the file to open it up. Next Install Etcher with this link: https://etcher.download/. Open up Etcher and select your file. Take your MicroSD and your adapter and connect the two. Next, plug that into your Laptop/PC. Select that MicroSD card on your device and click the "Flash!" button on Etcher. It will ask you to format your SD card. Ignore that and eject the adapter and take out your MicroSD card.
Setting Up the Pi
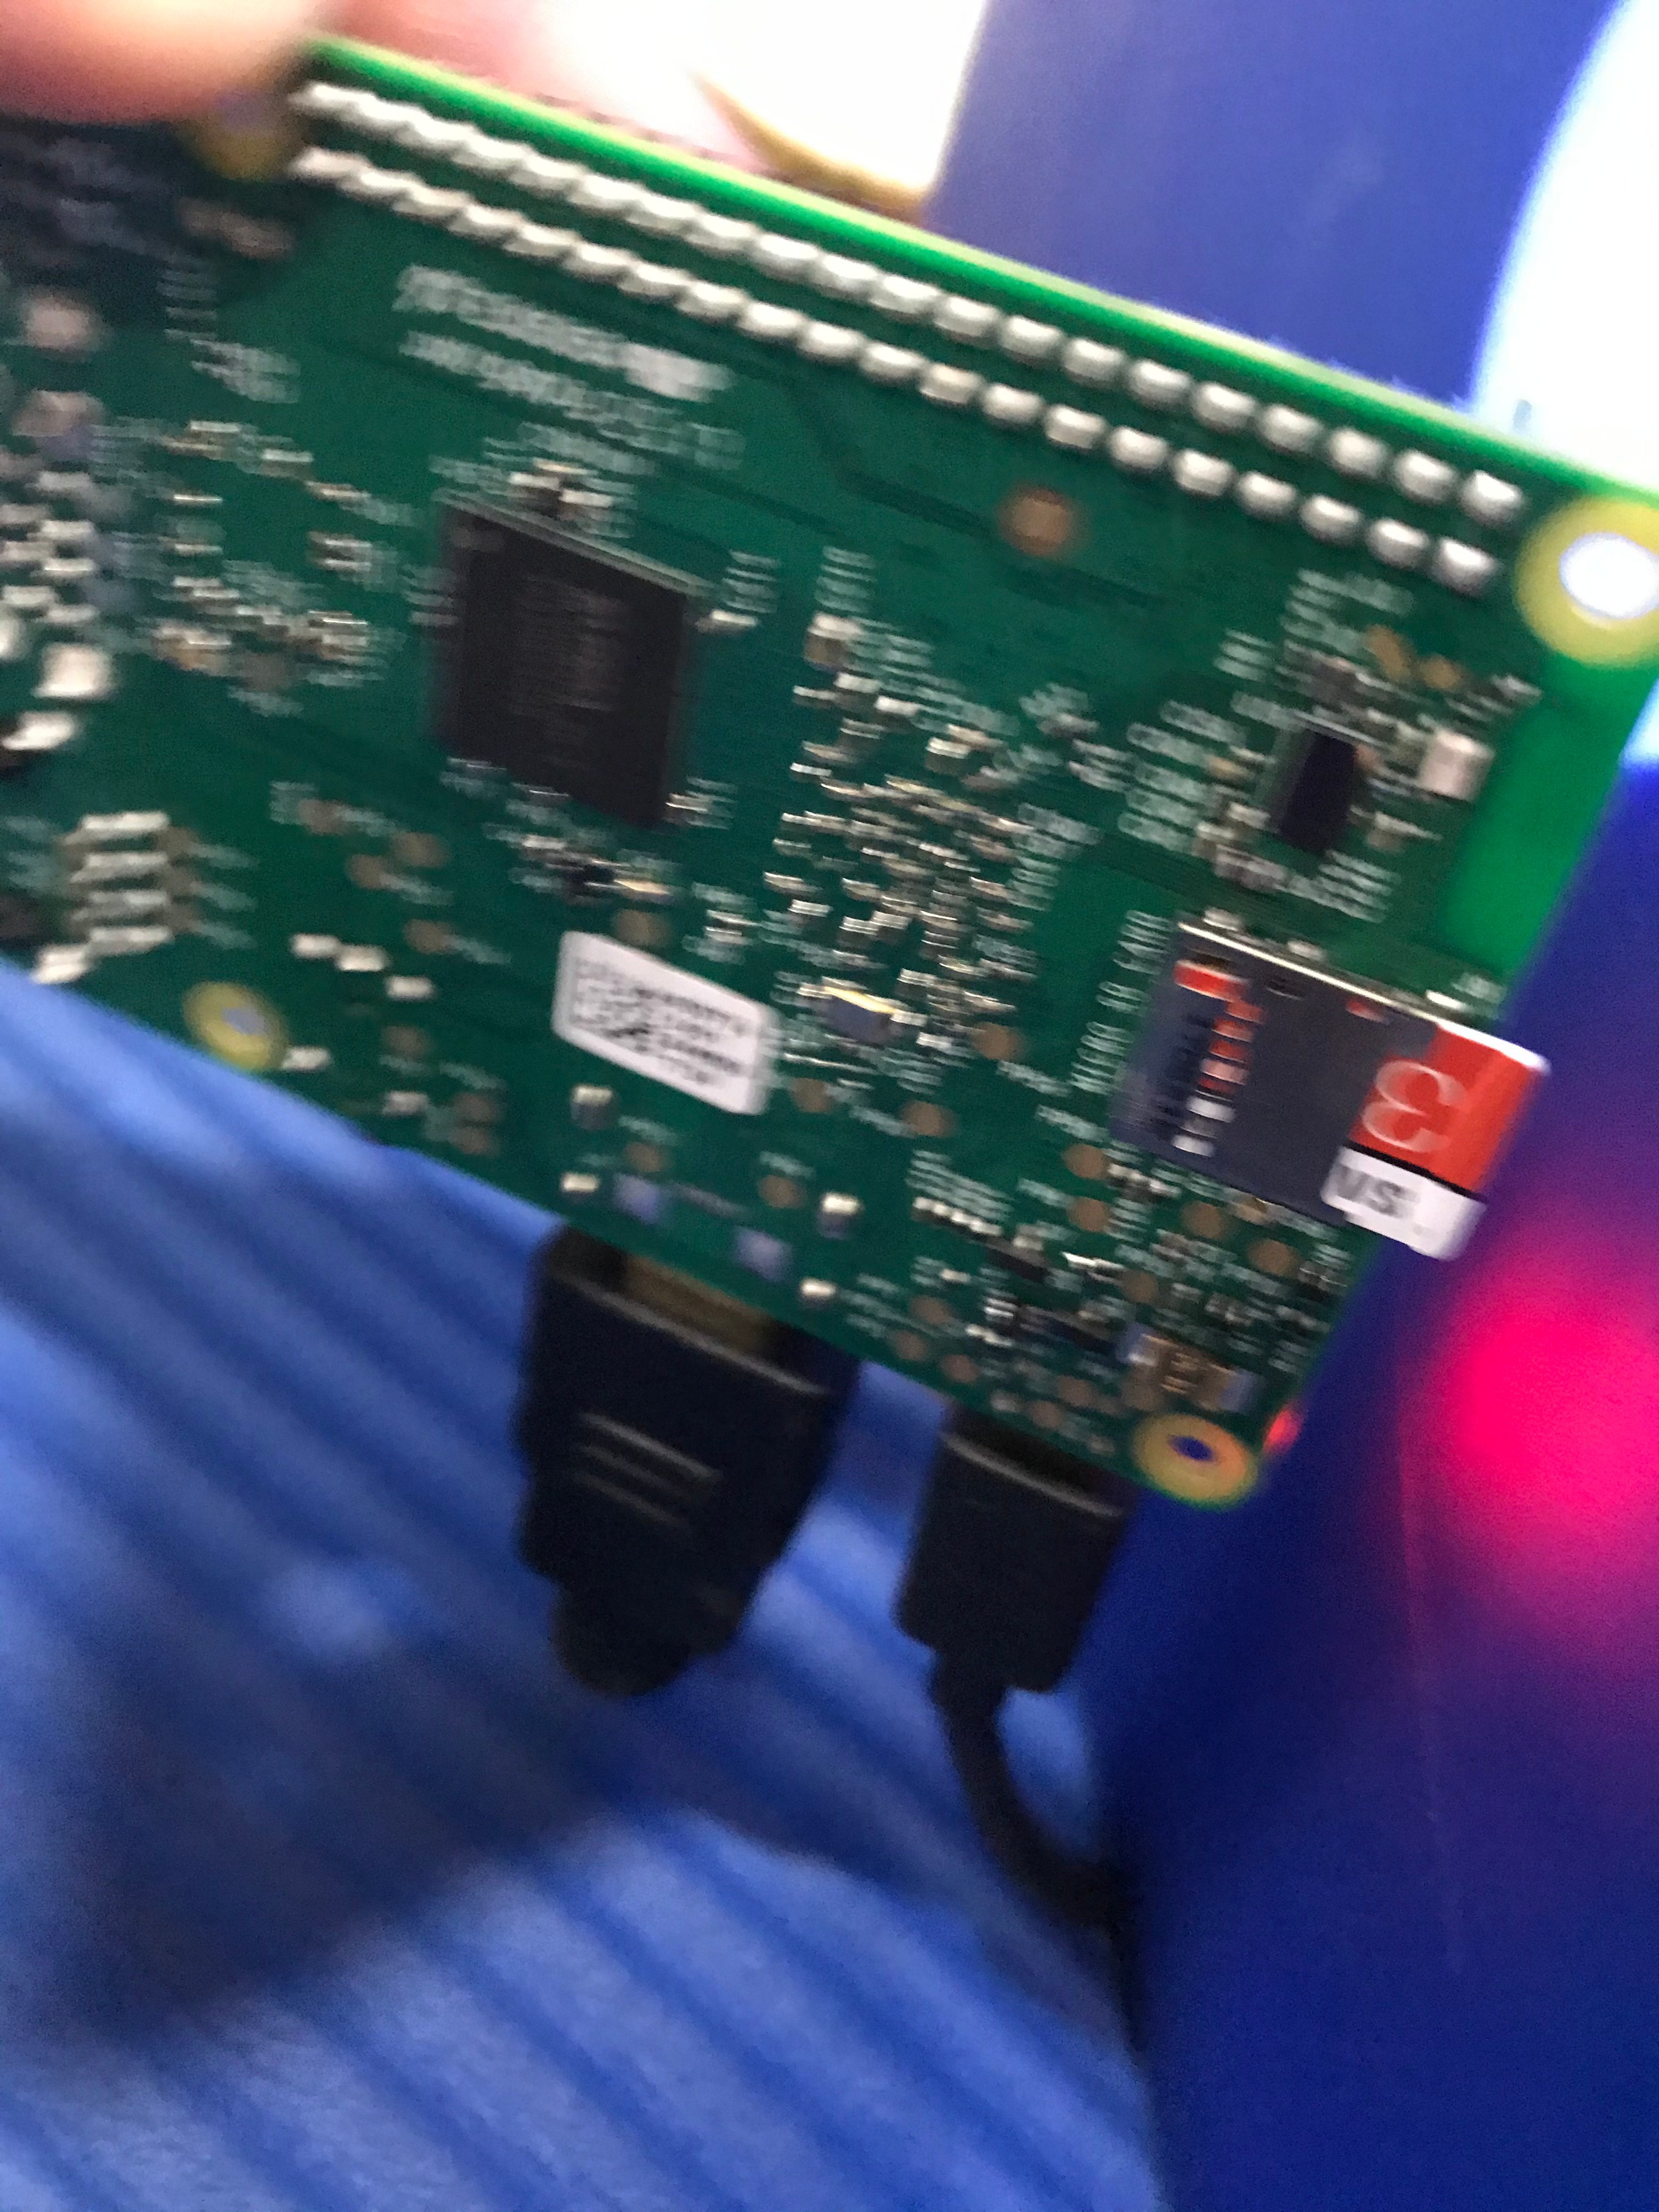
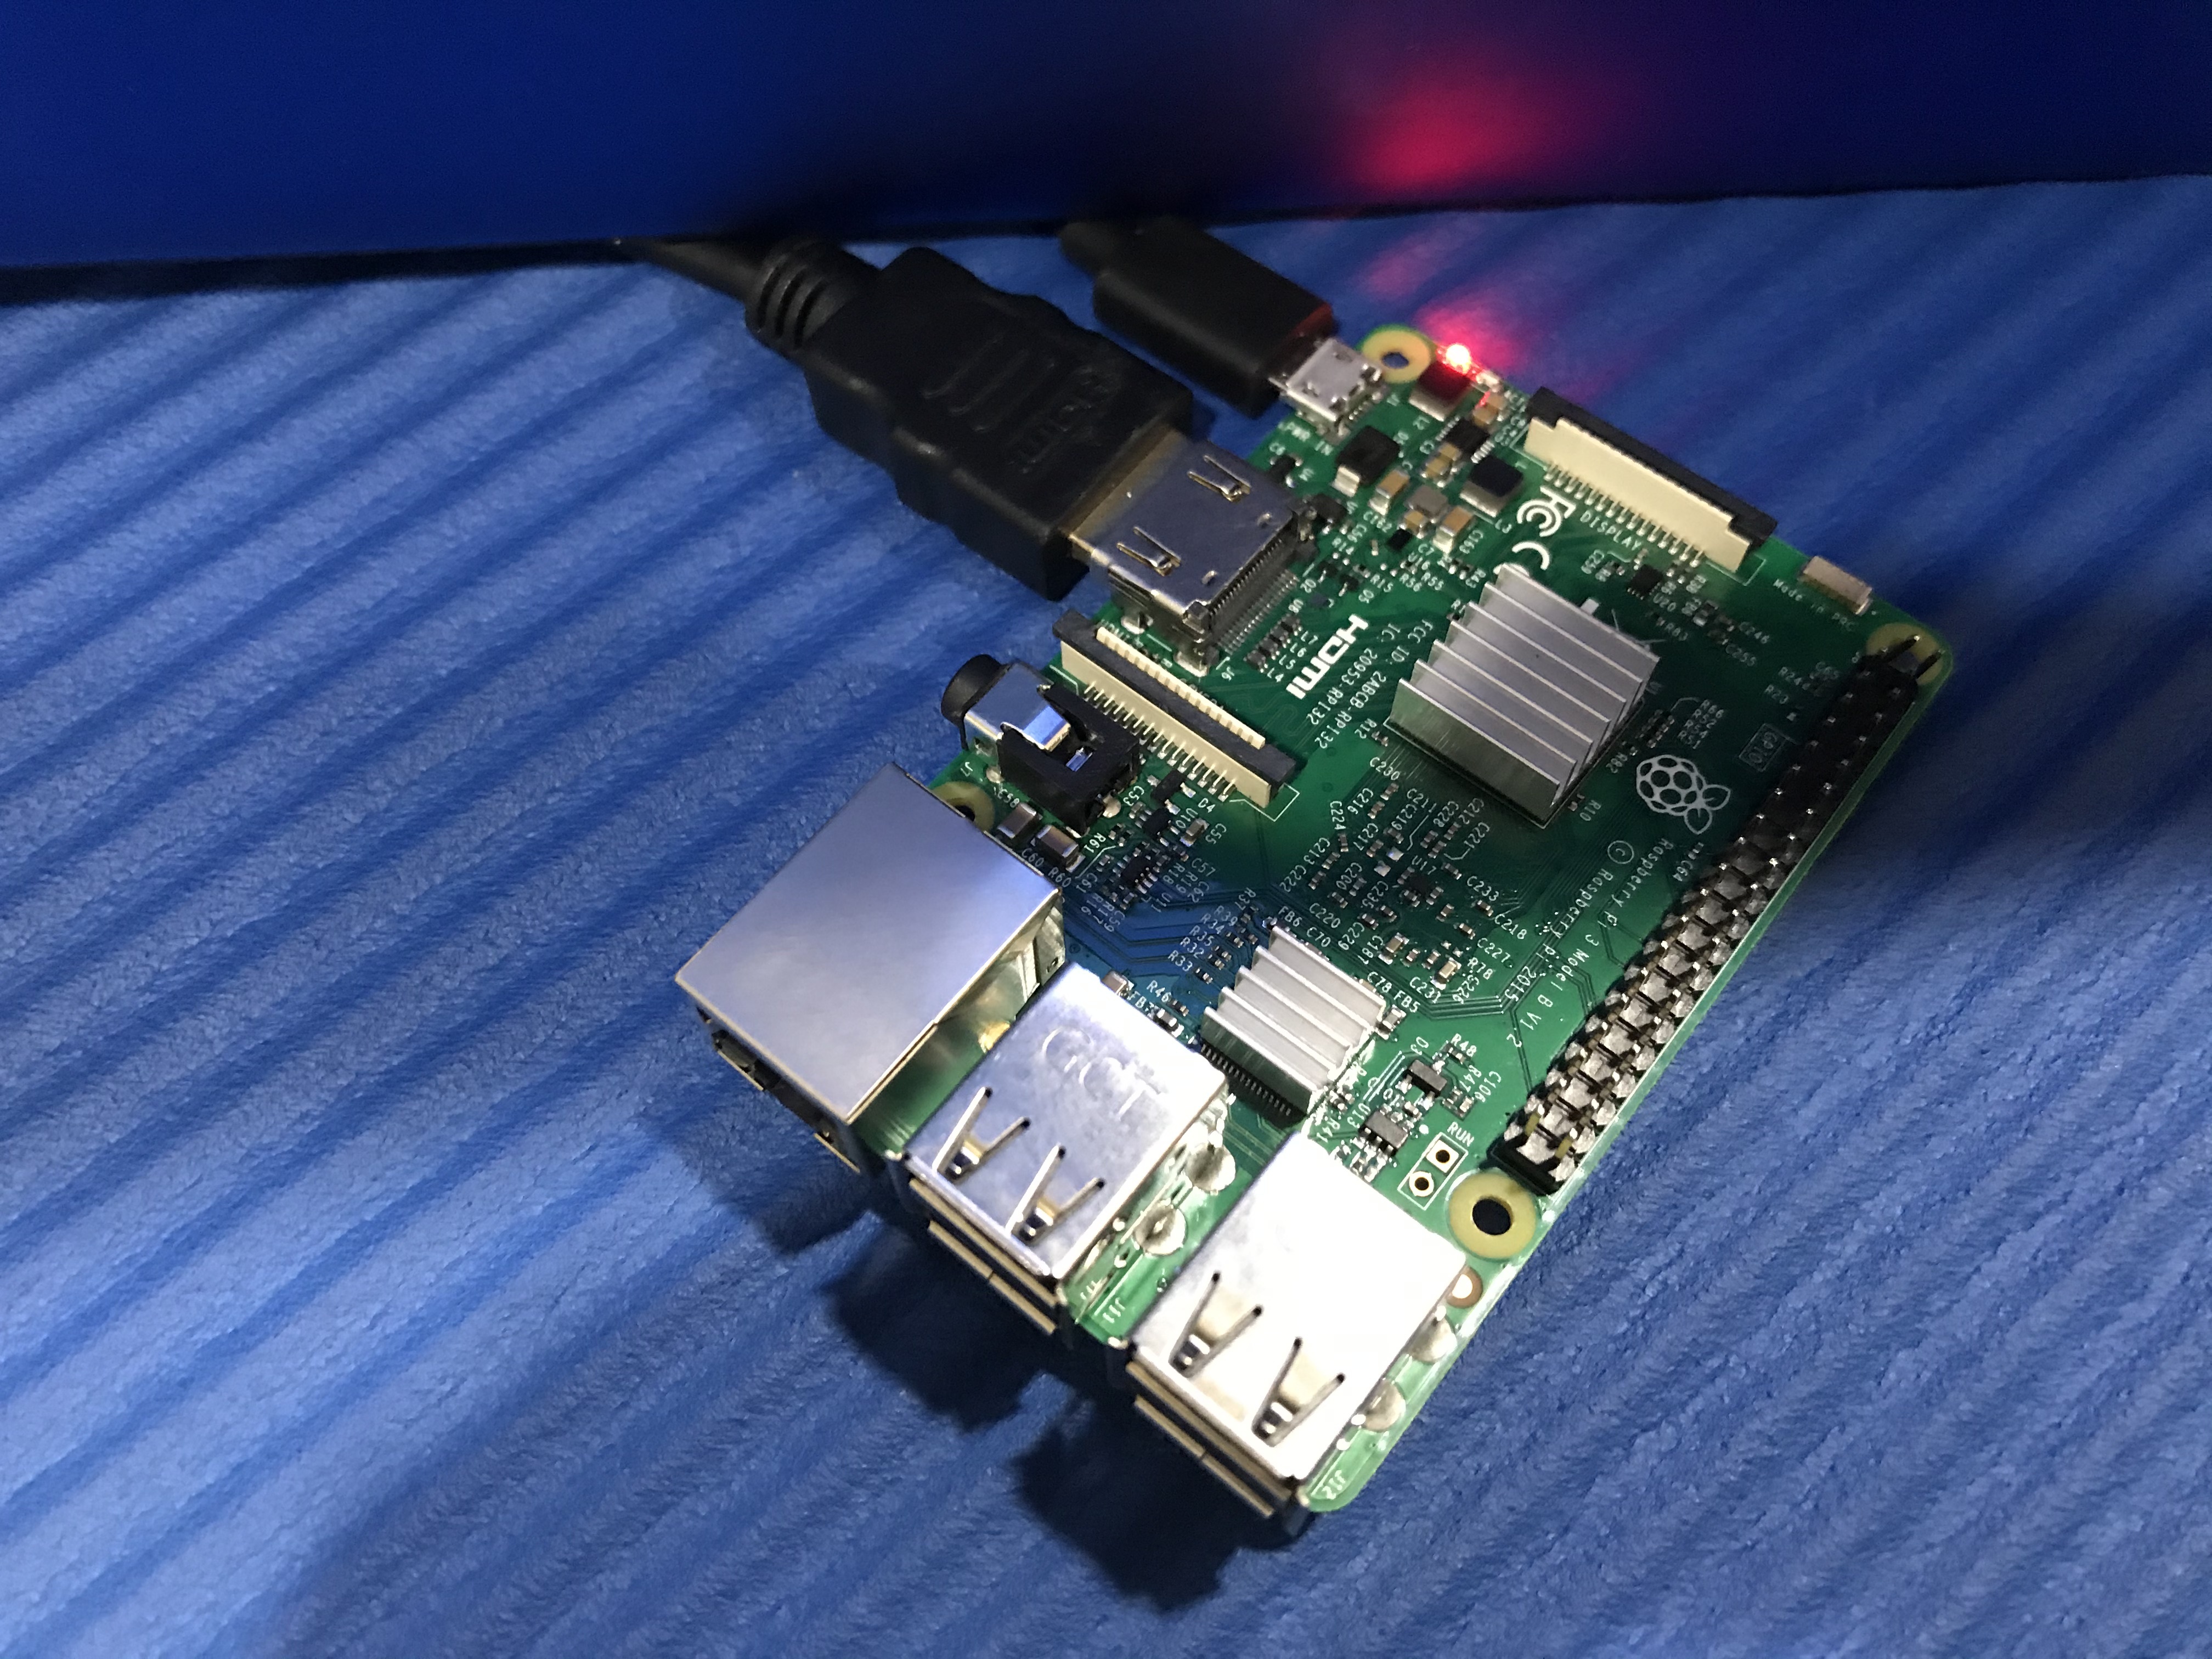
Next, we want to set up our Pi. Take your MicroSD card and plug it into your Pi. Next plug the MicroUSB power adapter and the HDMI cord that outputs to your Monitor/TV and plug them into your Pi. You should see a red light on your Pi and it should be booting up on your TV/Monitor. If not make sure you installed RetroPie correctly. Also, check if you plugged in your Pi correctly.
Note: Your Pi resizing the file system is completely normal.
Plugging in the Controllers
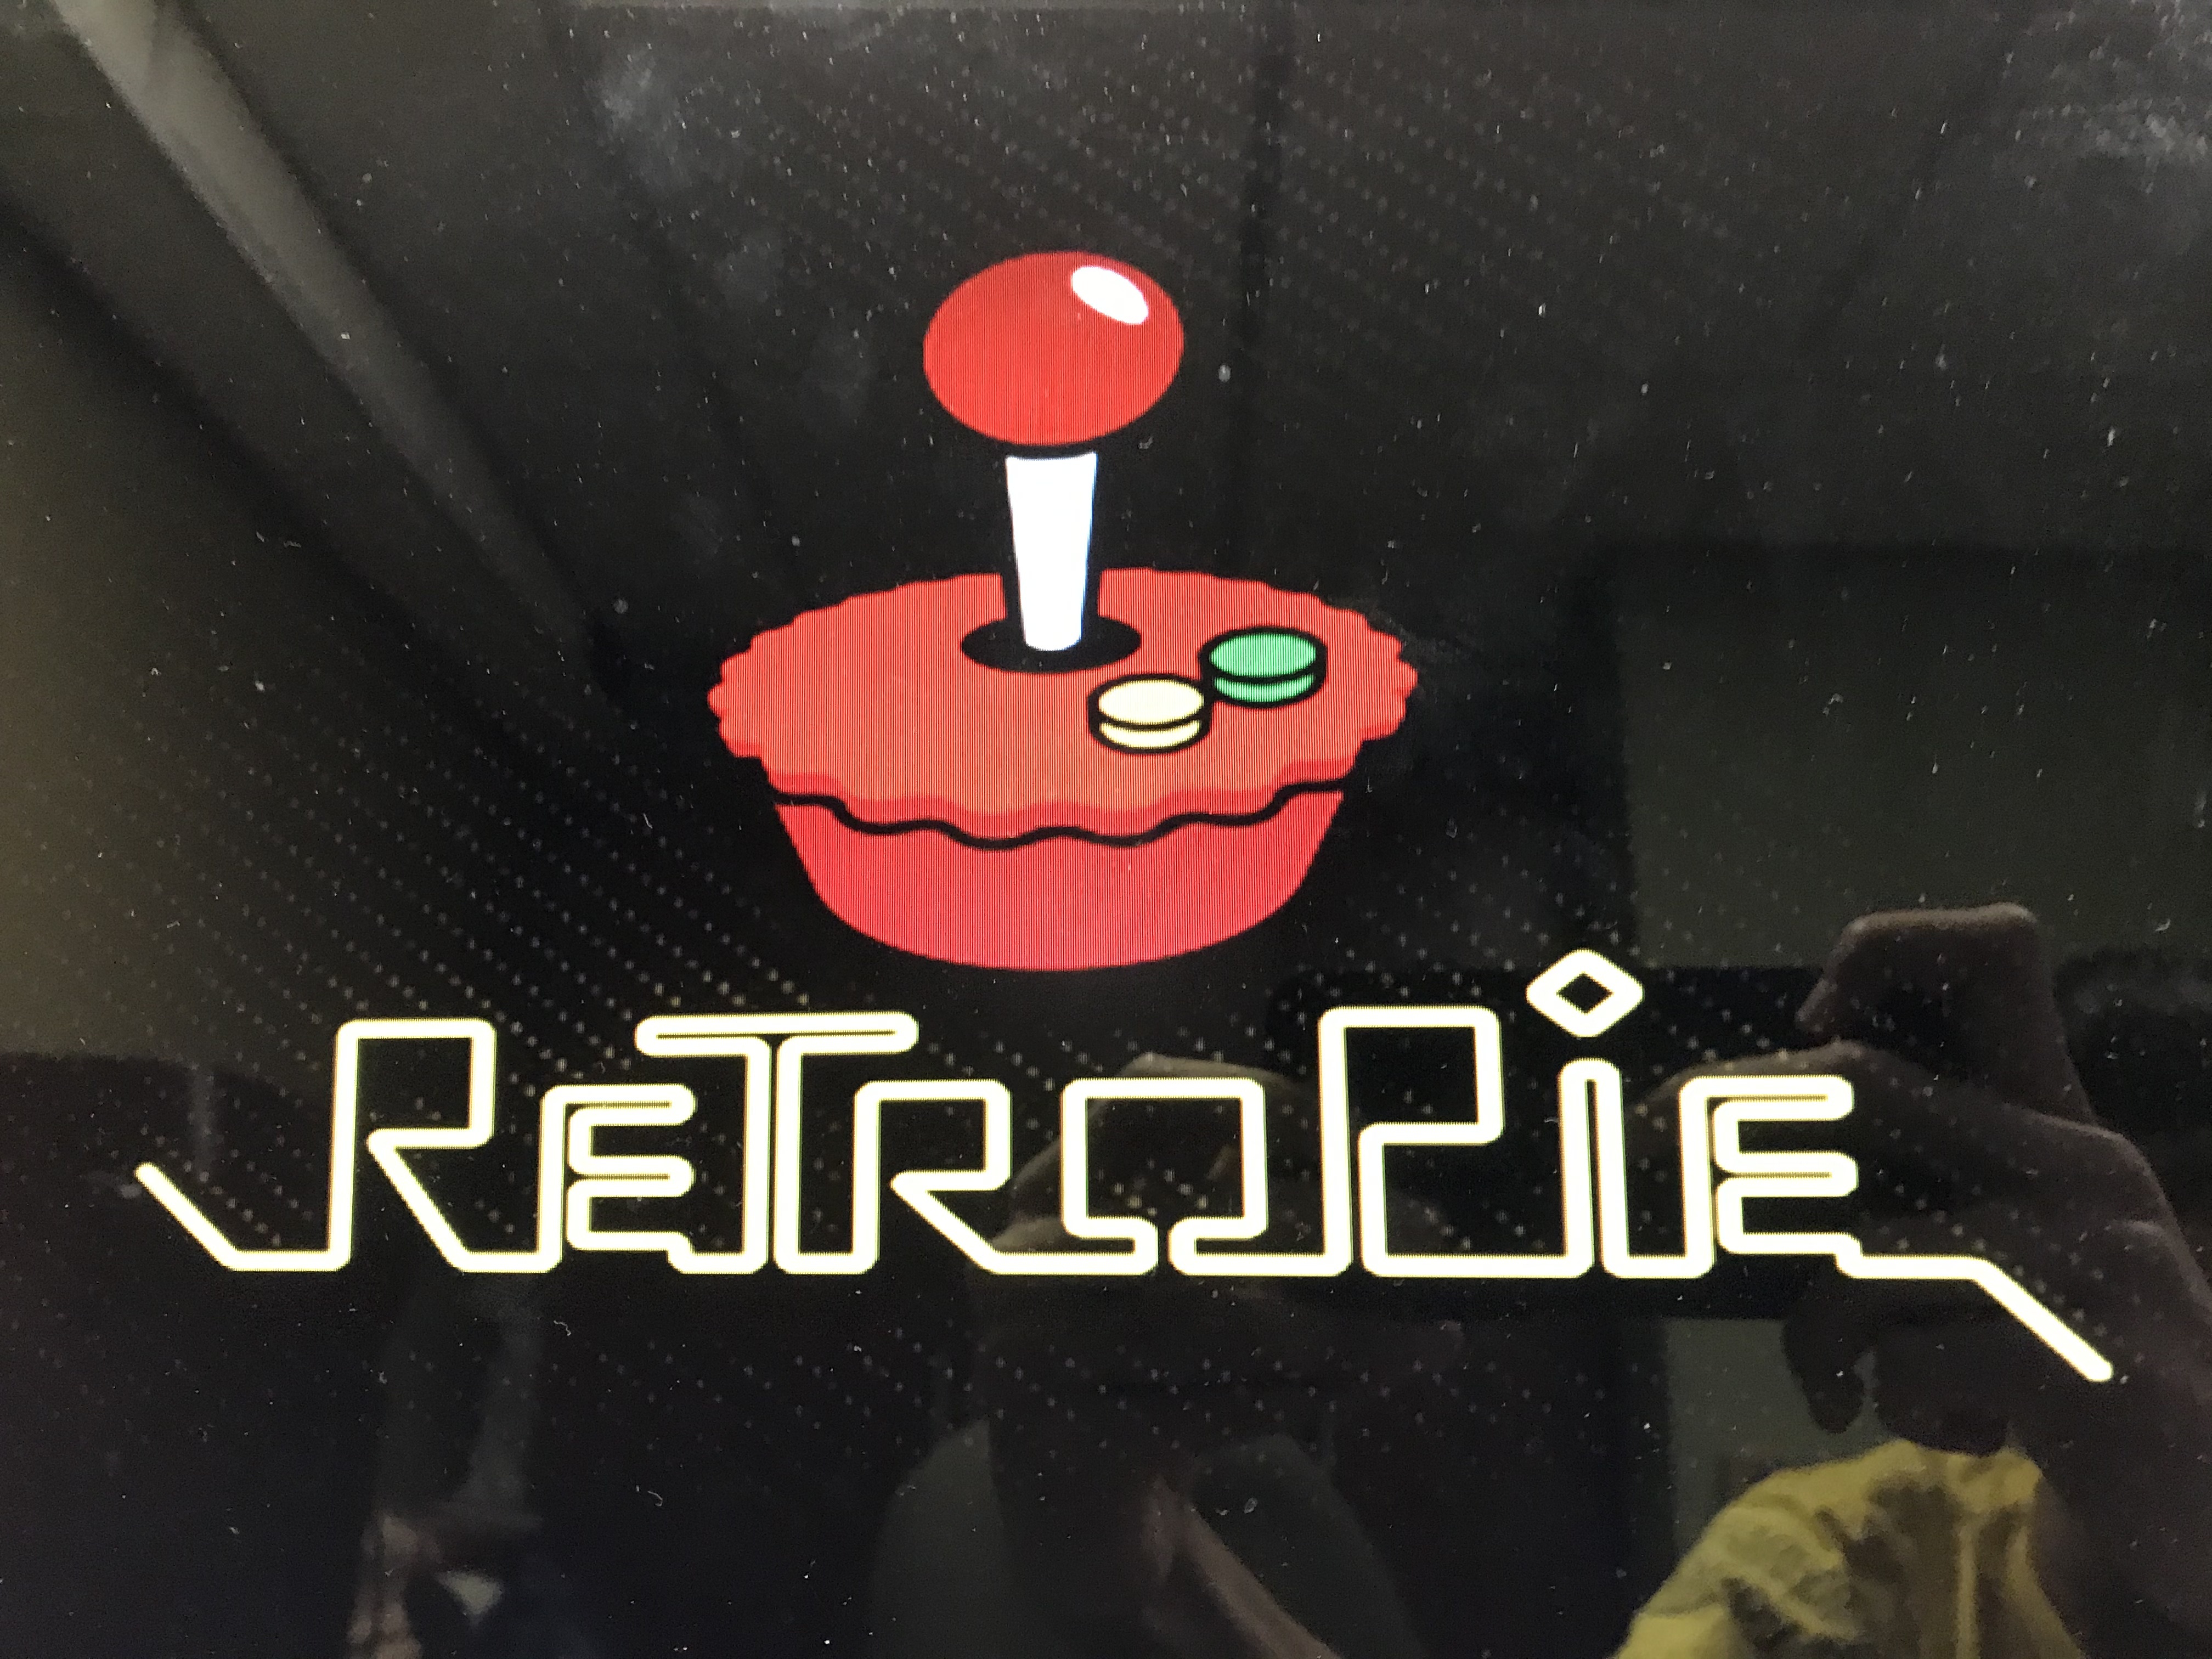
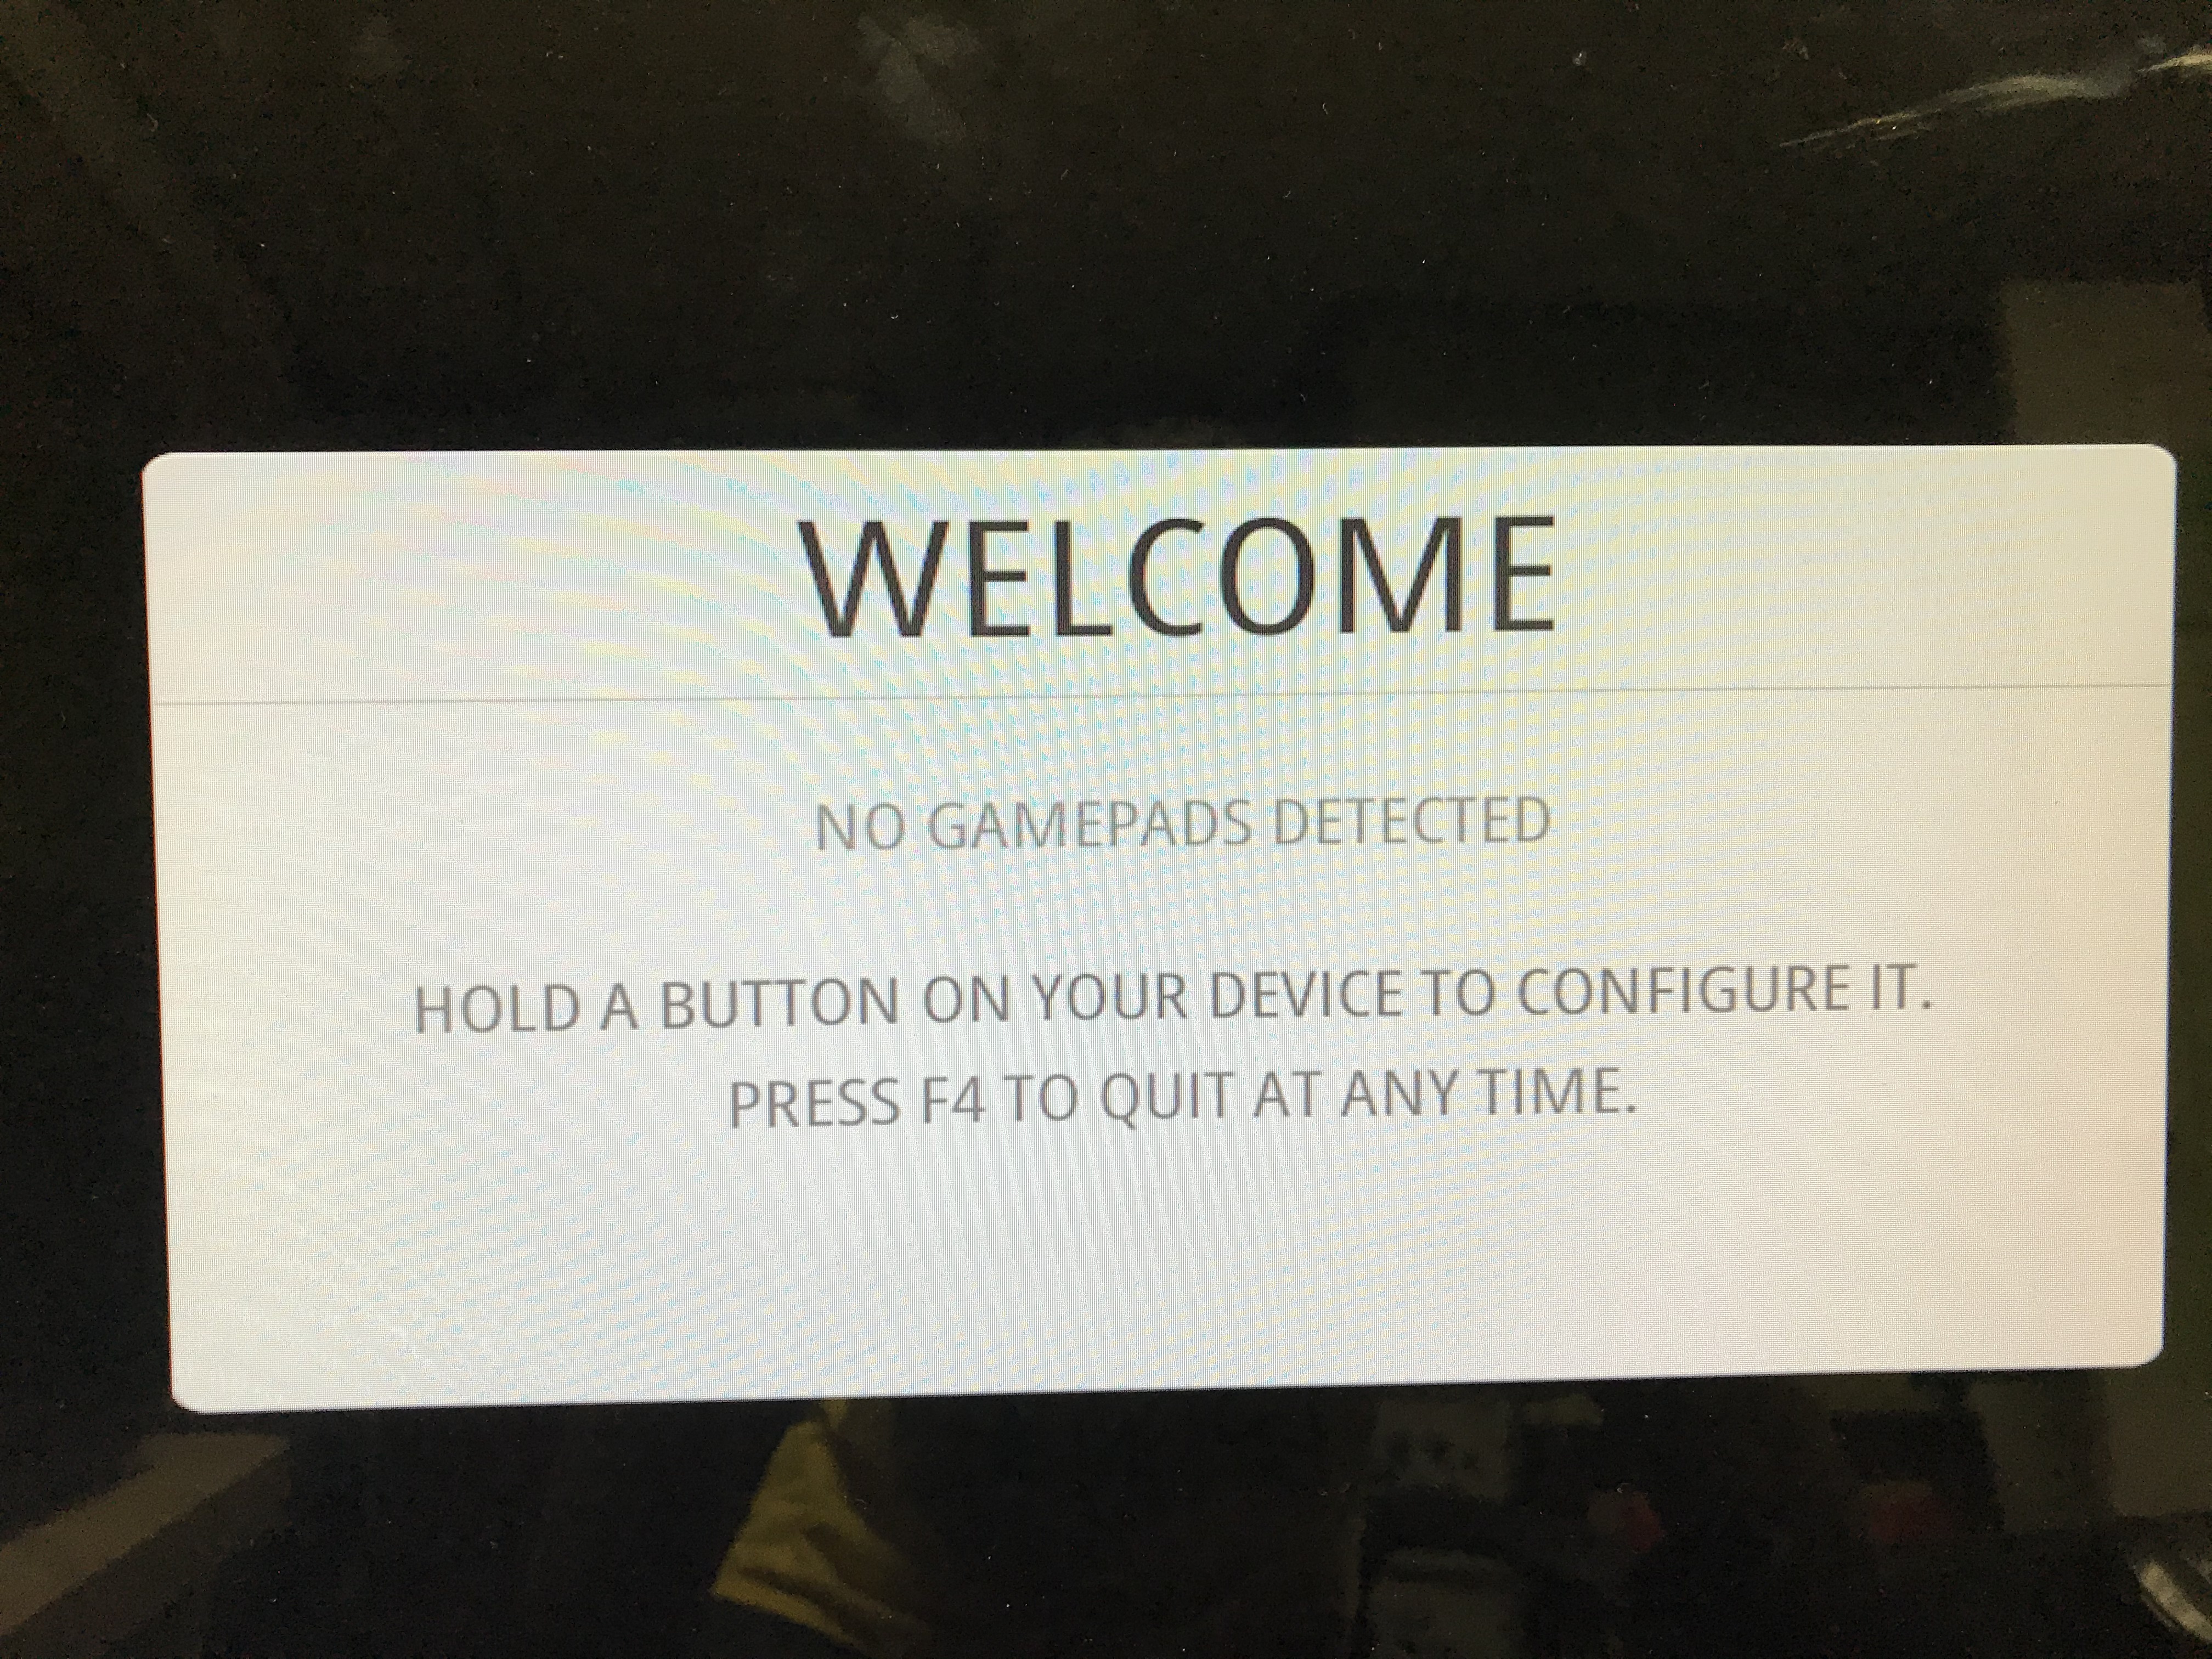
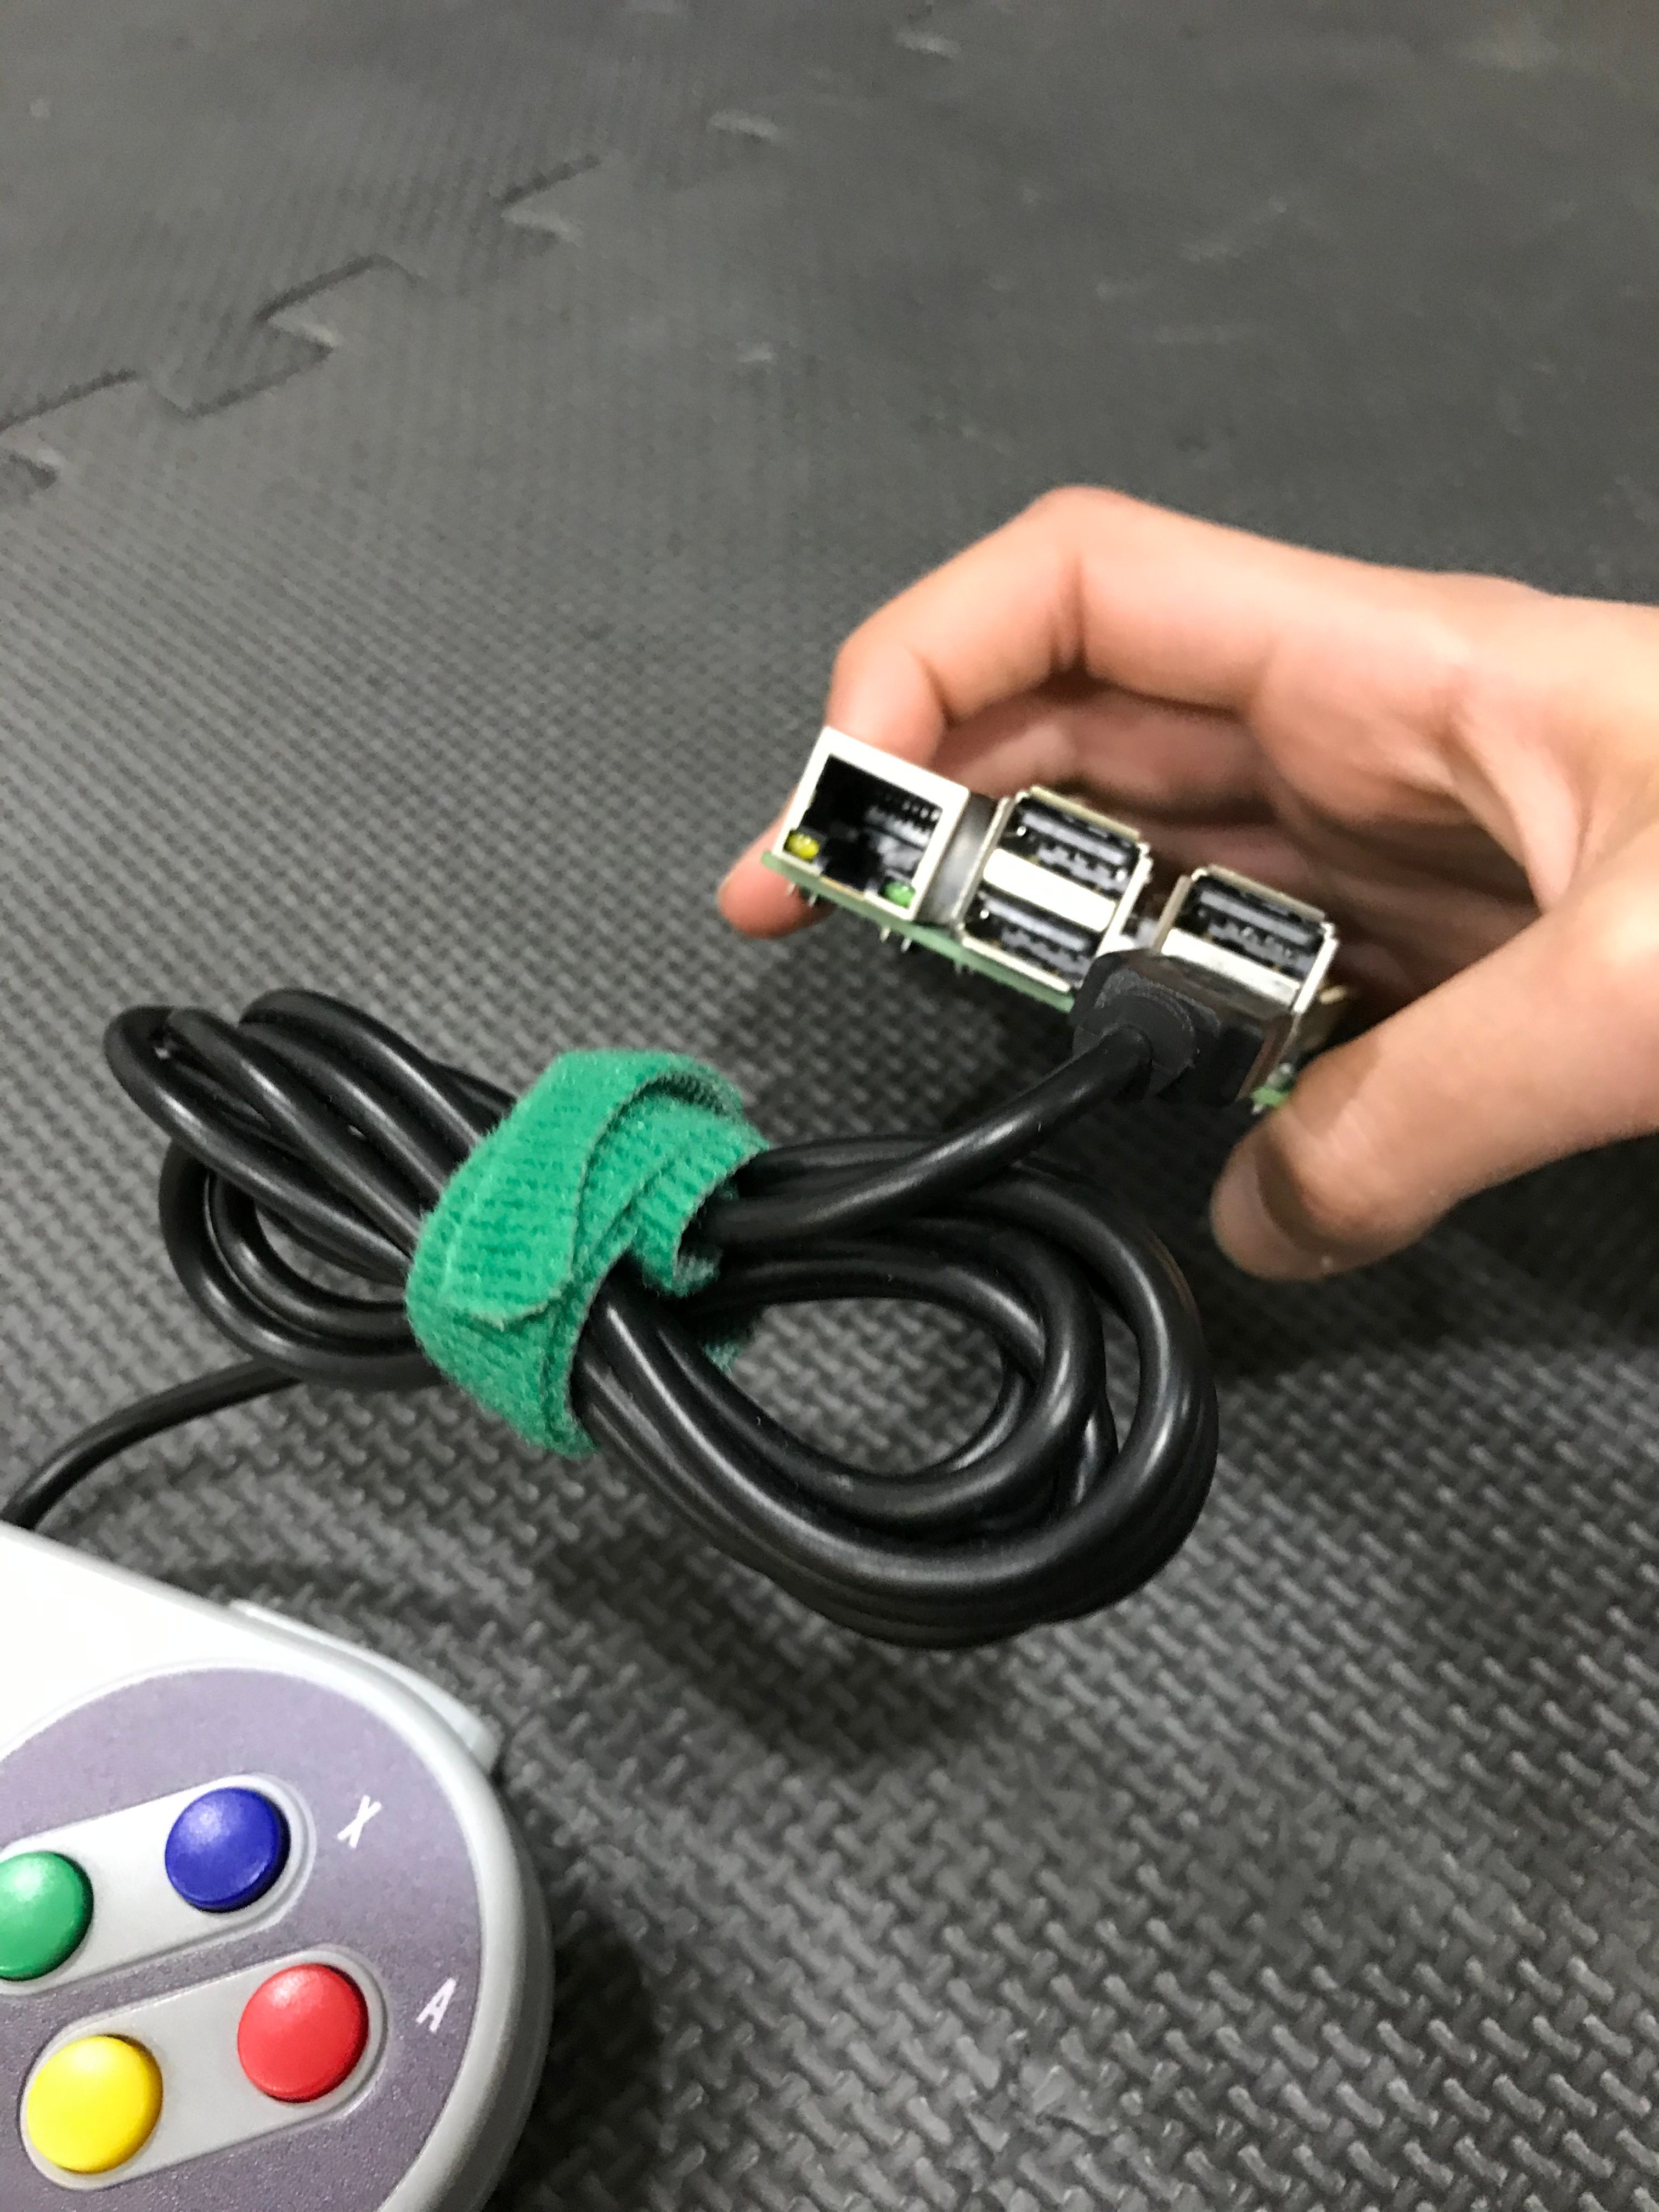
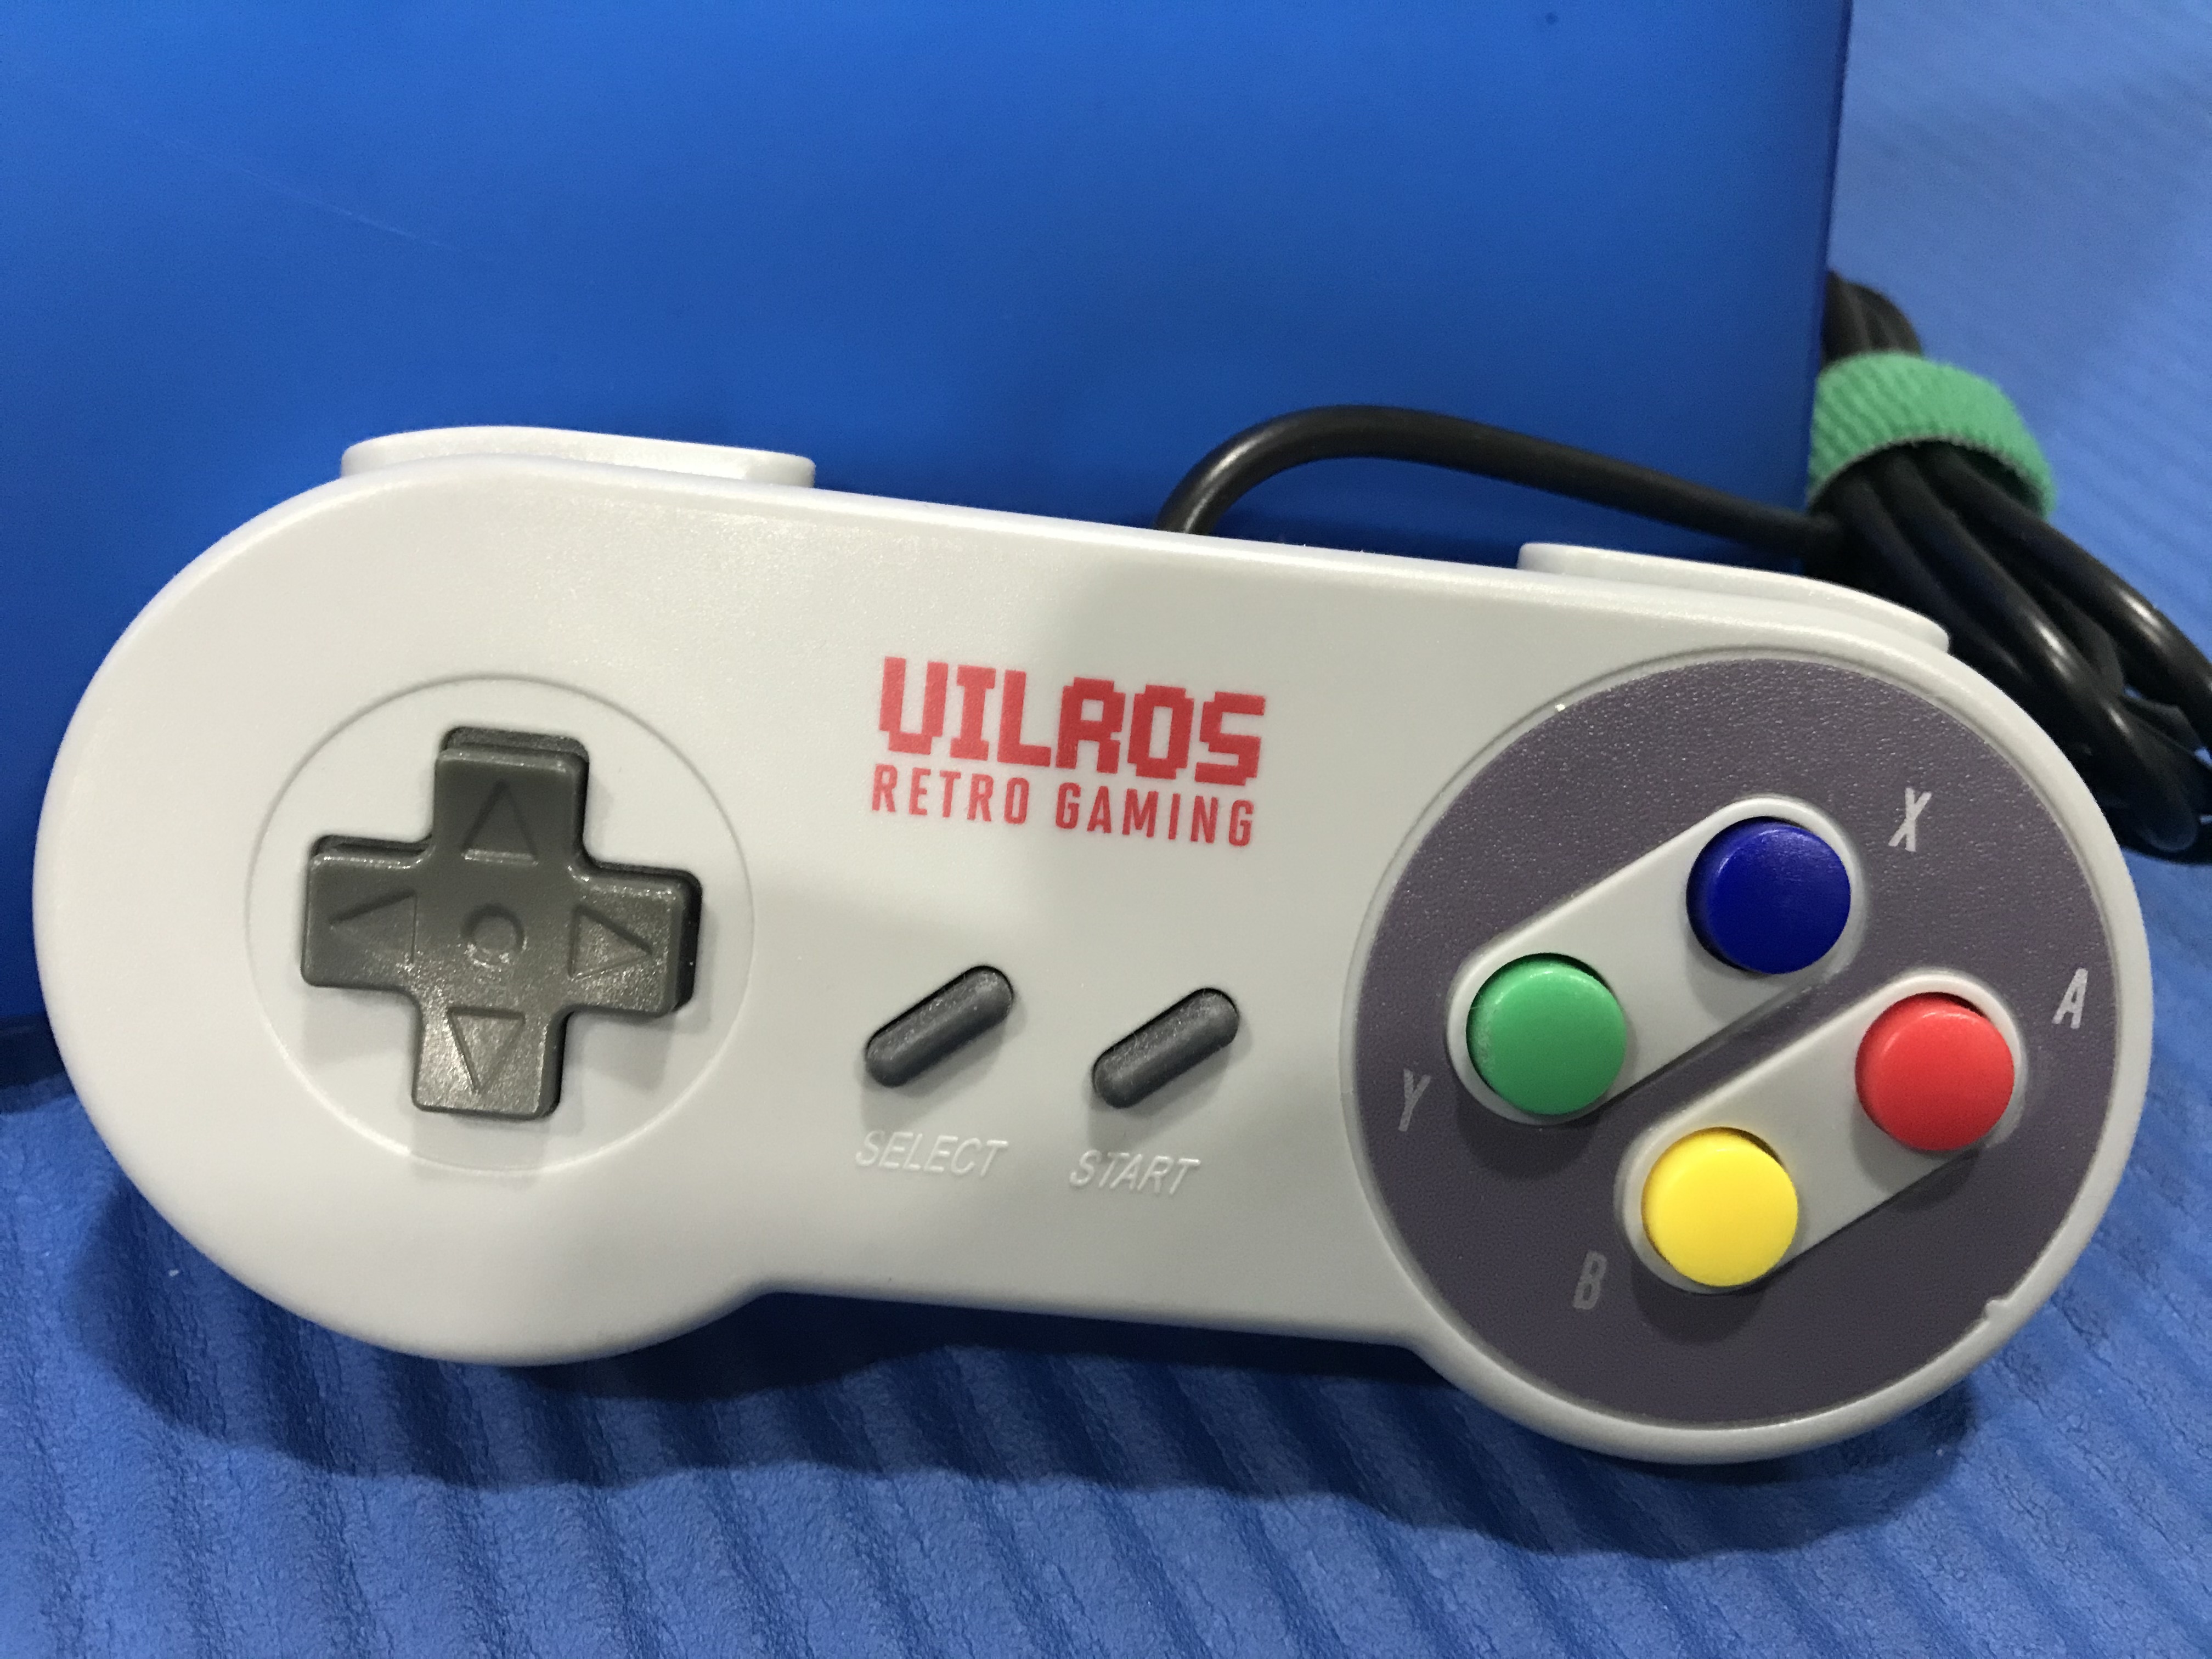
If you have made it this far, congrats!! You are well on your way to playing retro games with your Pi. You should see the RetroPie logo flash up on your Monitor/TV, this means you have installed RetroPie correctly and you are good to go. Once the Pi has finished booting up, you should get a message stating that there is no gamepad detected. Next, you want to install the controller(s). Plug your controller(s) into the USB ports on your Pi. You can either purchase a USB gamepad to imitate an older controller or you can use a modern controller like the Dualshock 4. RetroPie will ask you to configure your controllers and please do so by pressing the buttons on your gamepad.
Connecting to WiFi (or Ethernet)
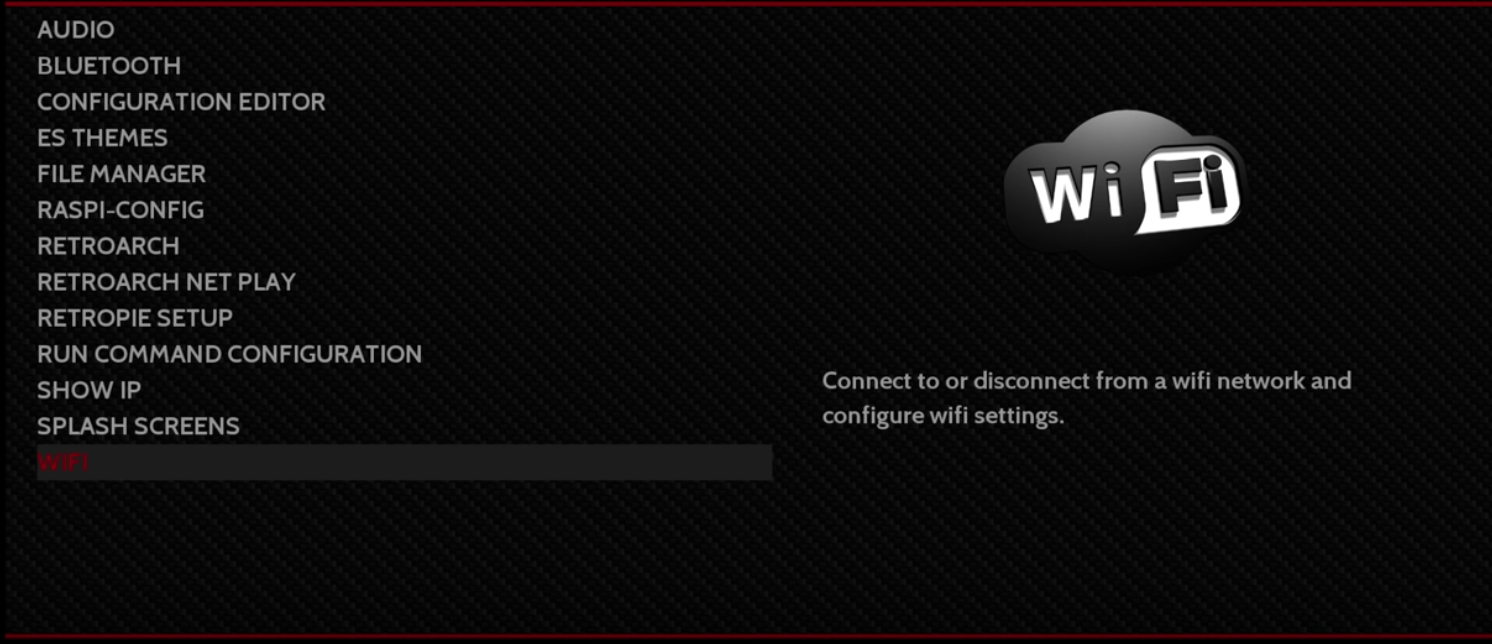
If Using Ethernet: Connect your cable into your Raspberry Pi.
If Using WiFi: Press your Menu button on your controller and scroll down to WiFi. Connect your keyboard with the USB adapter and plug it into your Pi. Next, enter your WiFi details. After this, you can exit out of the menu and move on to the next step.
If you're having trouble connecting your WiFi, I would recommend rebooting your Pi and trying again.
Adding Games
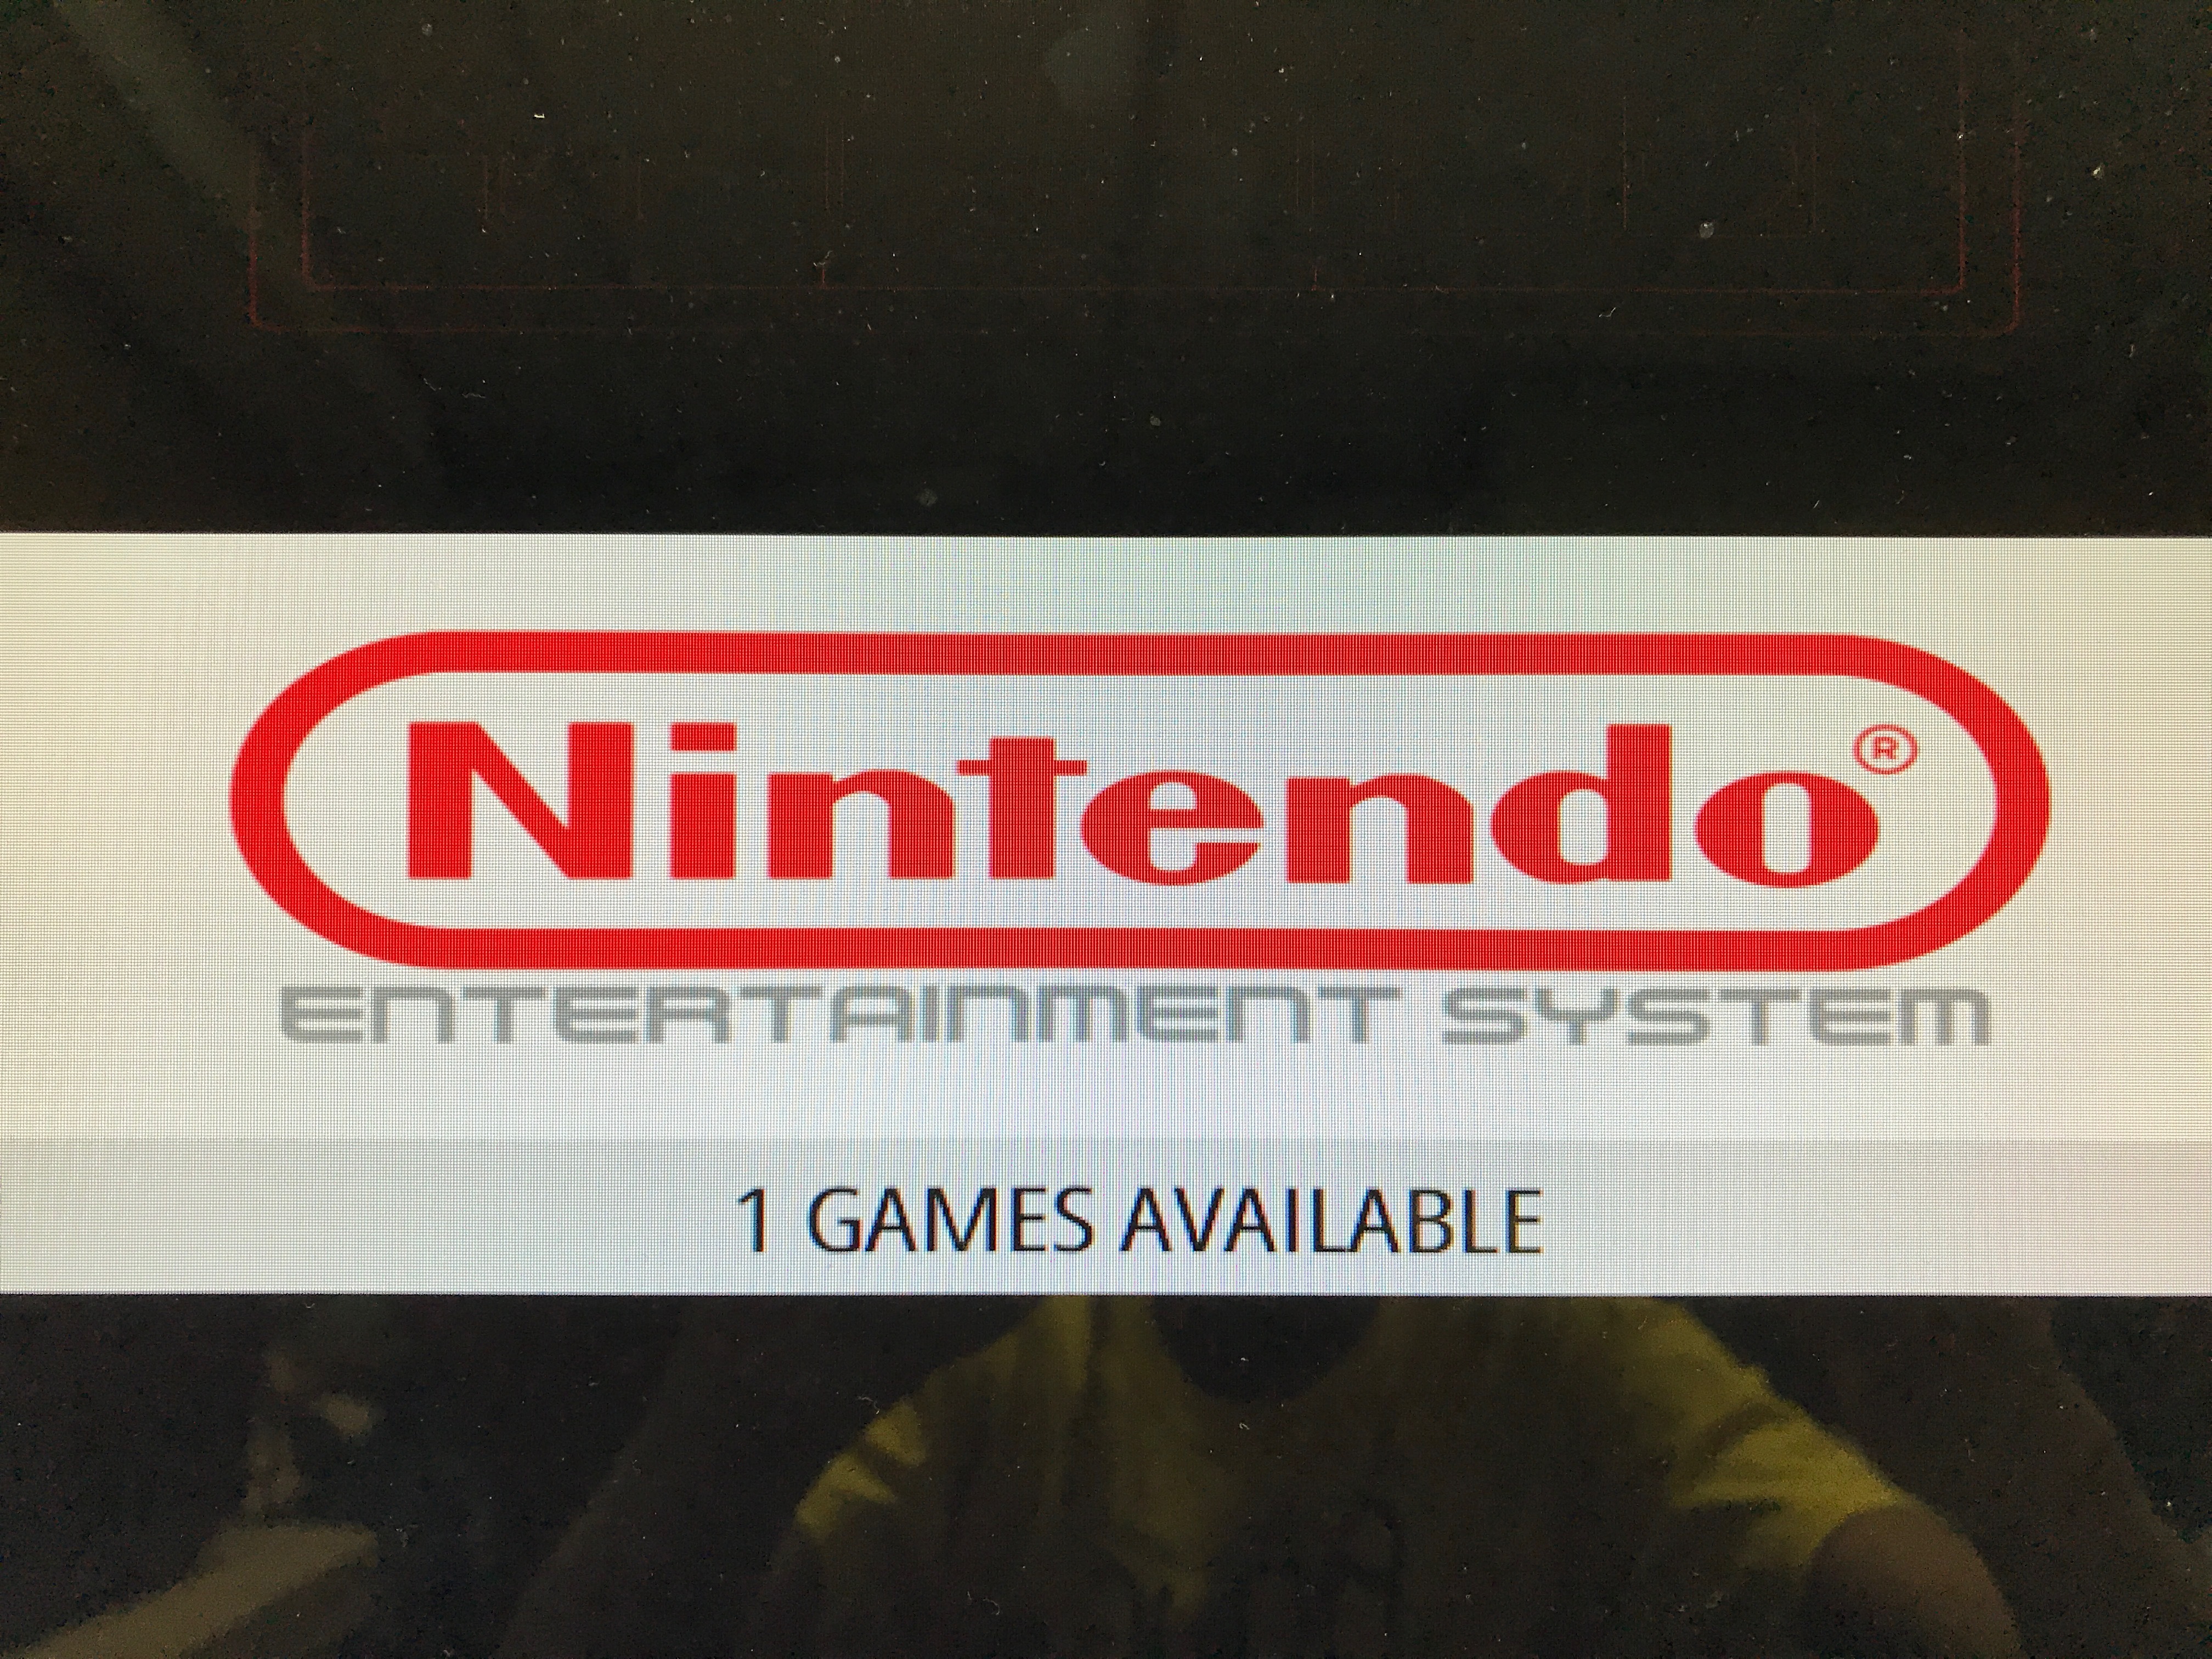
Now that you have a working emulator, I recommend going to these trusted websites to get your ROMS (Games for emulators):
Once you have downloaded your games, open up File Explorer (Finder on Mac). Click onto the Quick Access bar and type in: \\RETROPIE
This will connect you to the Raspberry Pi over your internet. Open up the "Roms" folder. Drag your games you downloaded into this folder. Go back to your Pi and click the start button. Next, scroll down to Quit and select Restart EmulationStation. Once this happens all your games will be on your Pi, ready to play!
Your Done!
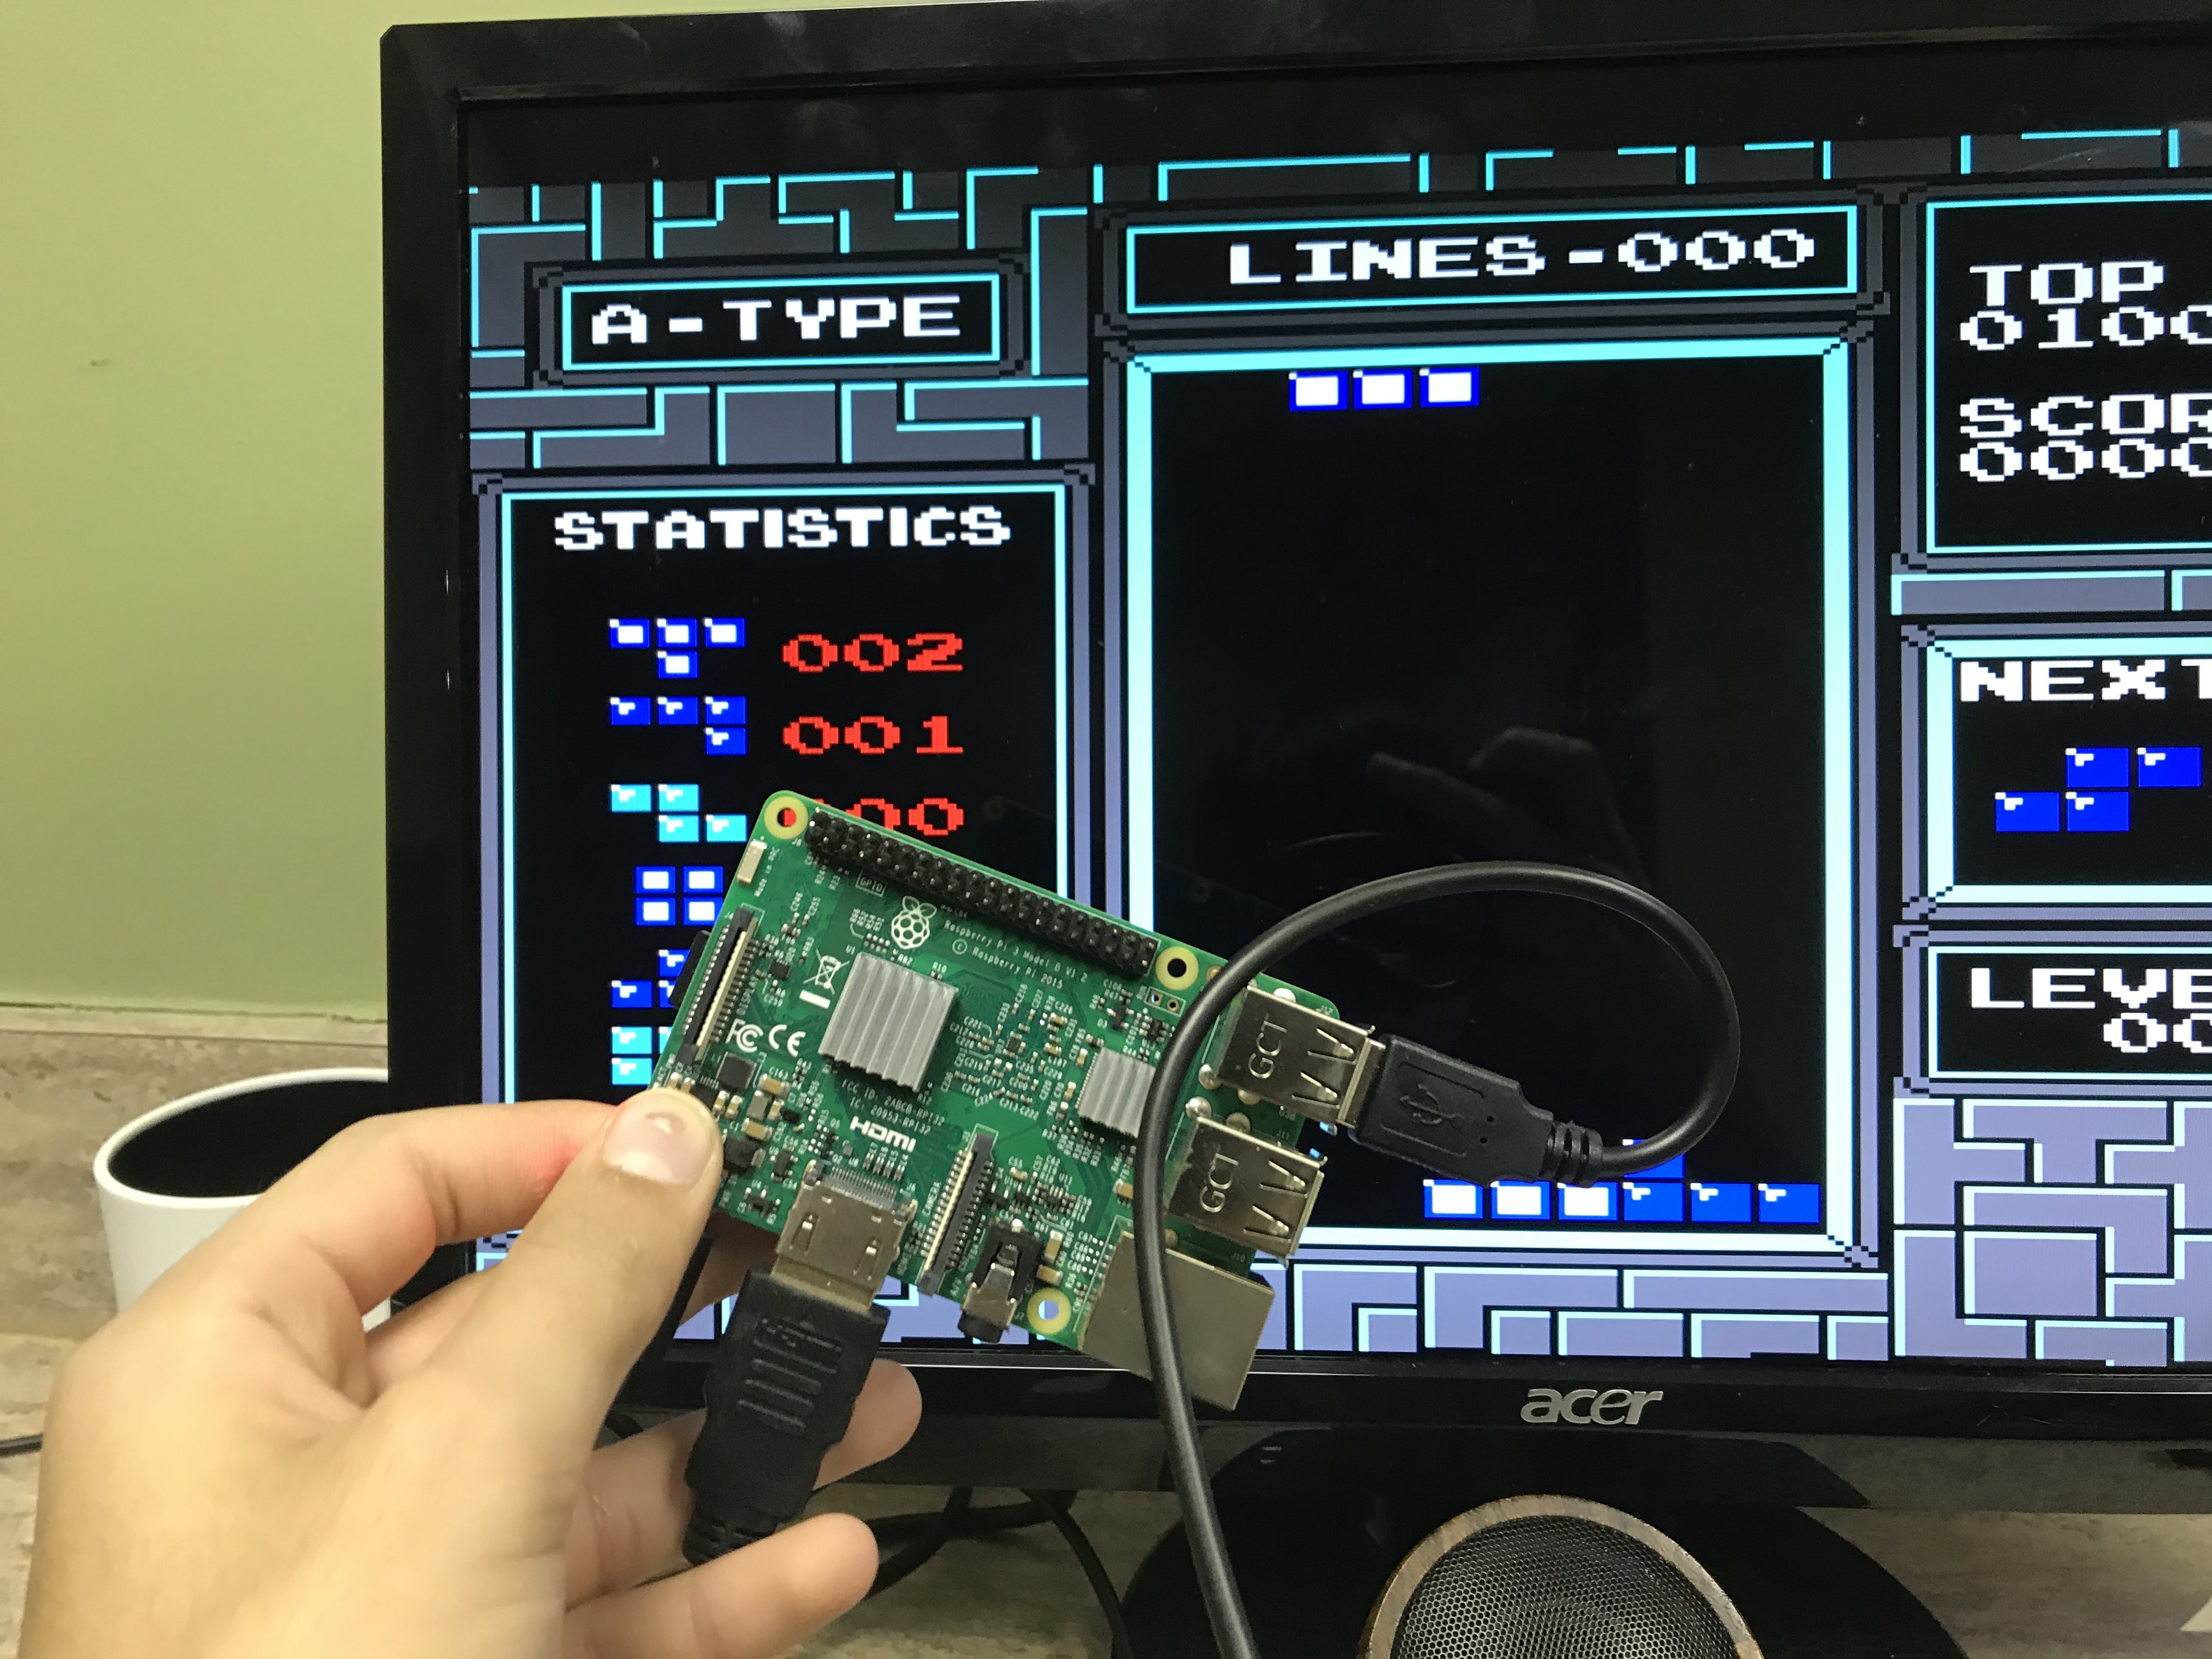
Hope you have fun with your emulator. The photo above is a picture of me playing Tetris on RetroPie. I also have purchased a case for my Pi which is optional:
https://www.amazon.com/Hikig-NES-Raspberry-Model-Models/dp/B075WWN1TN/ref=sr_1_7?keywords=raspberry+pi+nes+case&qid=1580073808&sr=8-7 (Case is for Pi 3B and 2B)