Make a Fancy Jewellery Box Using Fusion
by alamtania in Design > Software
1811 Views, 8 Favorites, 0 Comments
Make a Fancy Jewellery Box Using Fusion
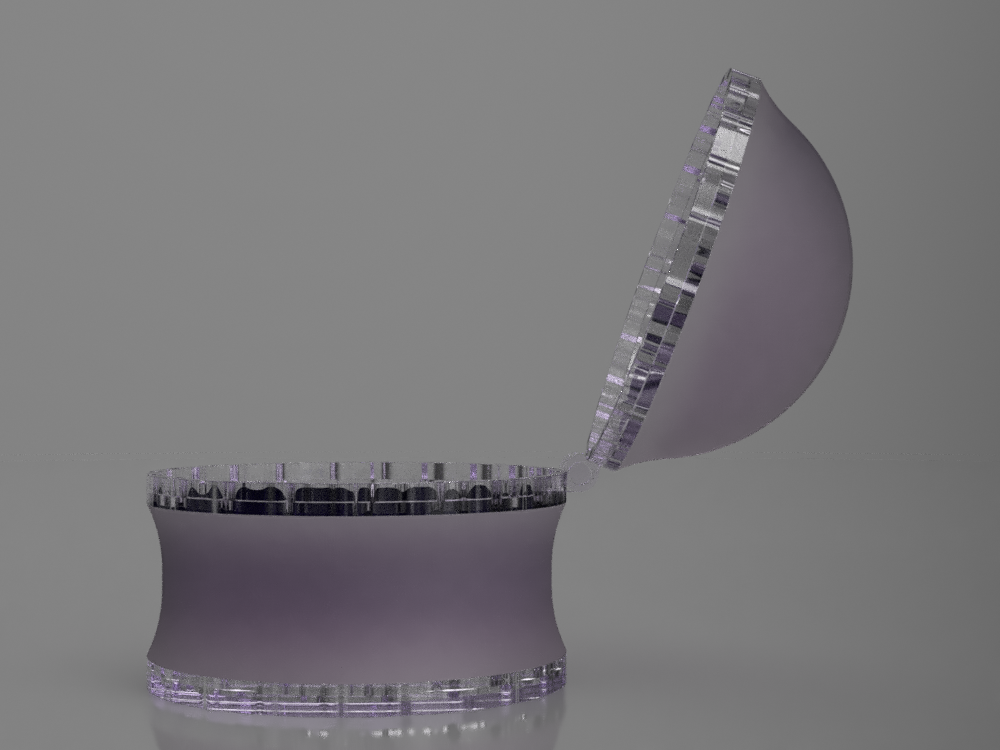
This is one of the girliest things I did with Fusion. I've used glass as the material as it will help me to see through. I know the pain of searching you jewellery ;)
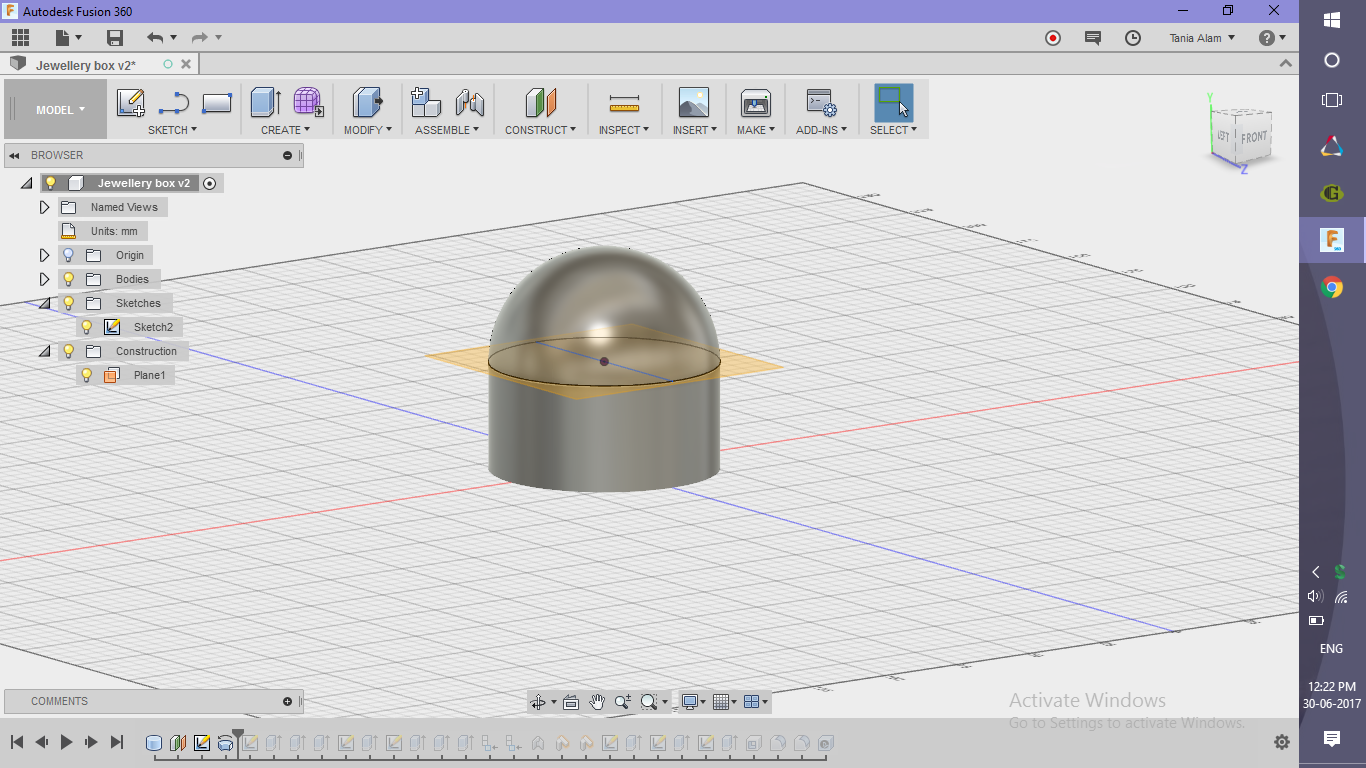
Create the Box Body
.png)
.png)
.png)
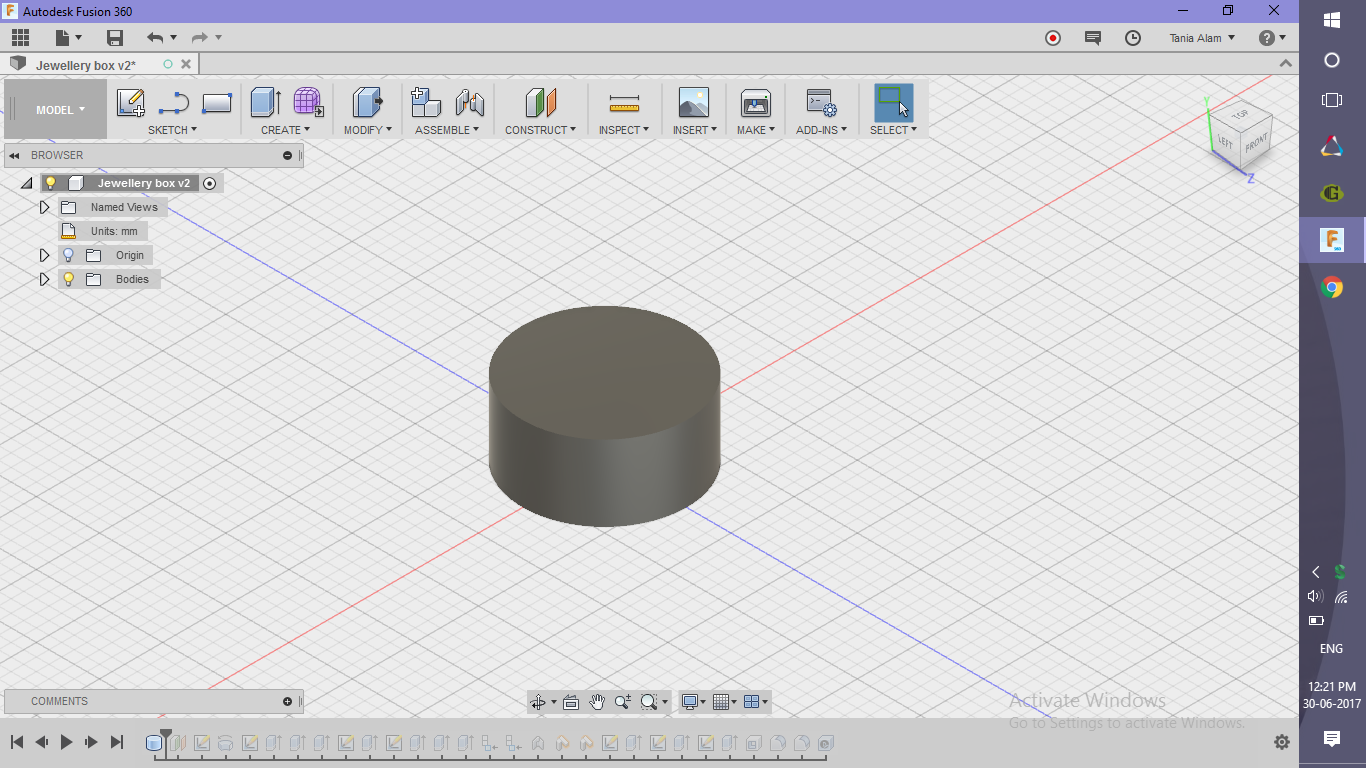
- Create a cylinder
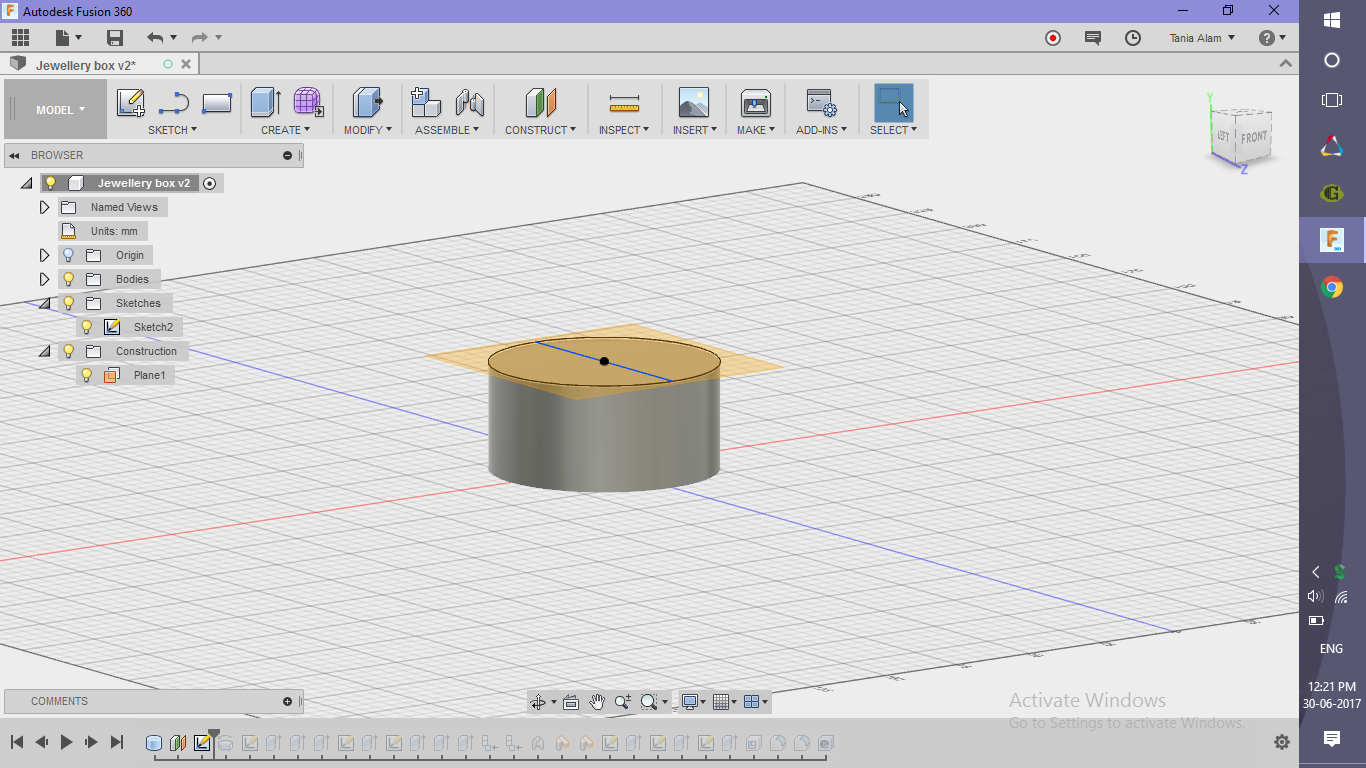
- Create a plane at some distance offset to the upper surface
- Sketch a circle and it's diameter on this plane
Create the Box Lid
.png)
.png)
.png)
.png)
.png)
.png)
- Revolve the circle half, using the diameter as the axis to make the lid
- Create a sketch for the connection and extrude it
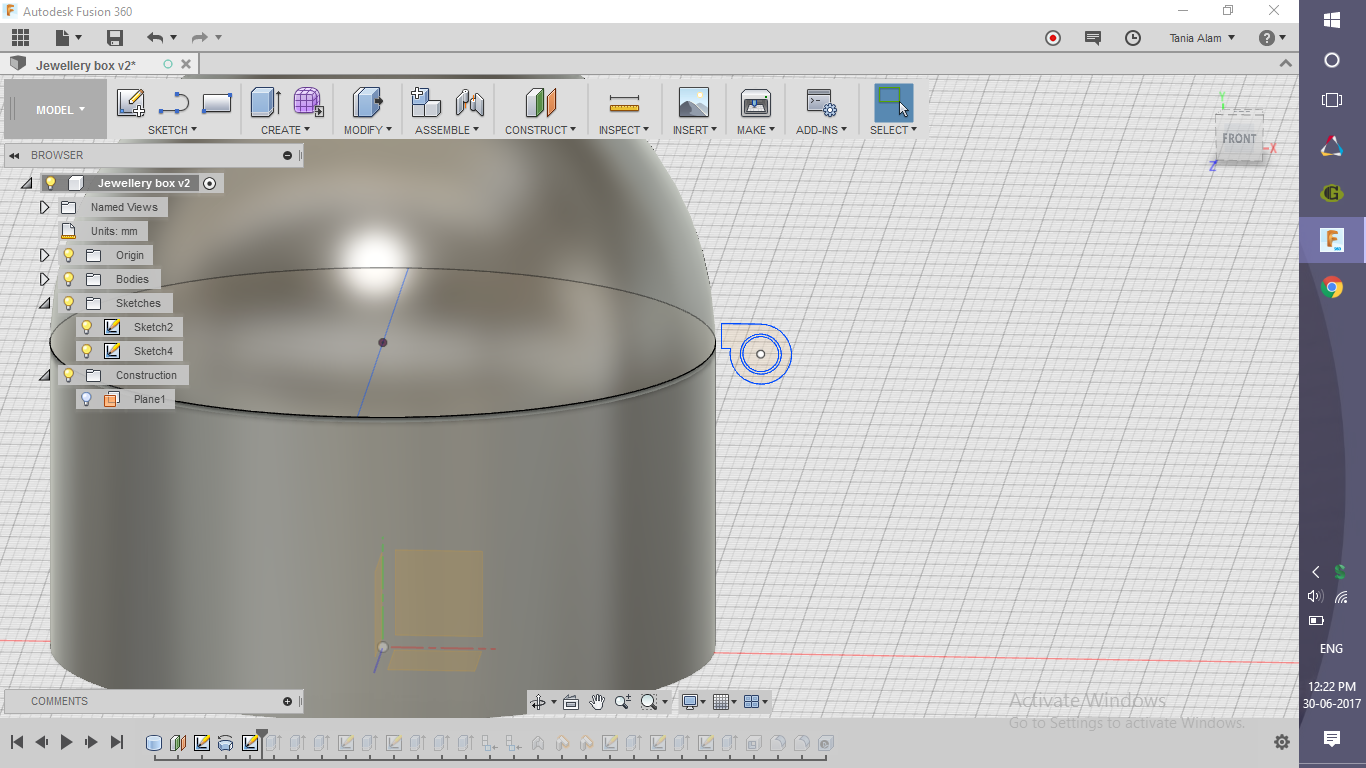
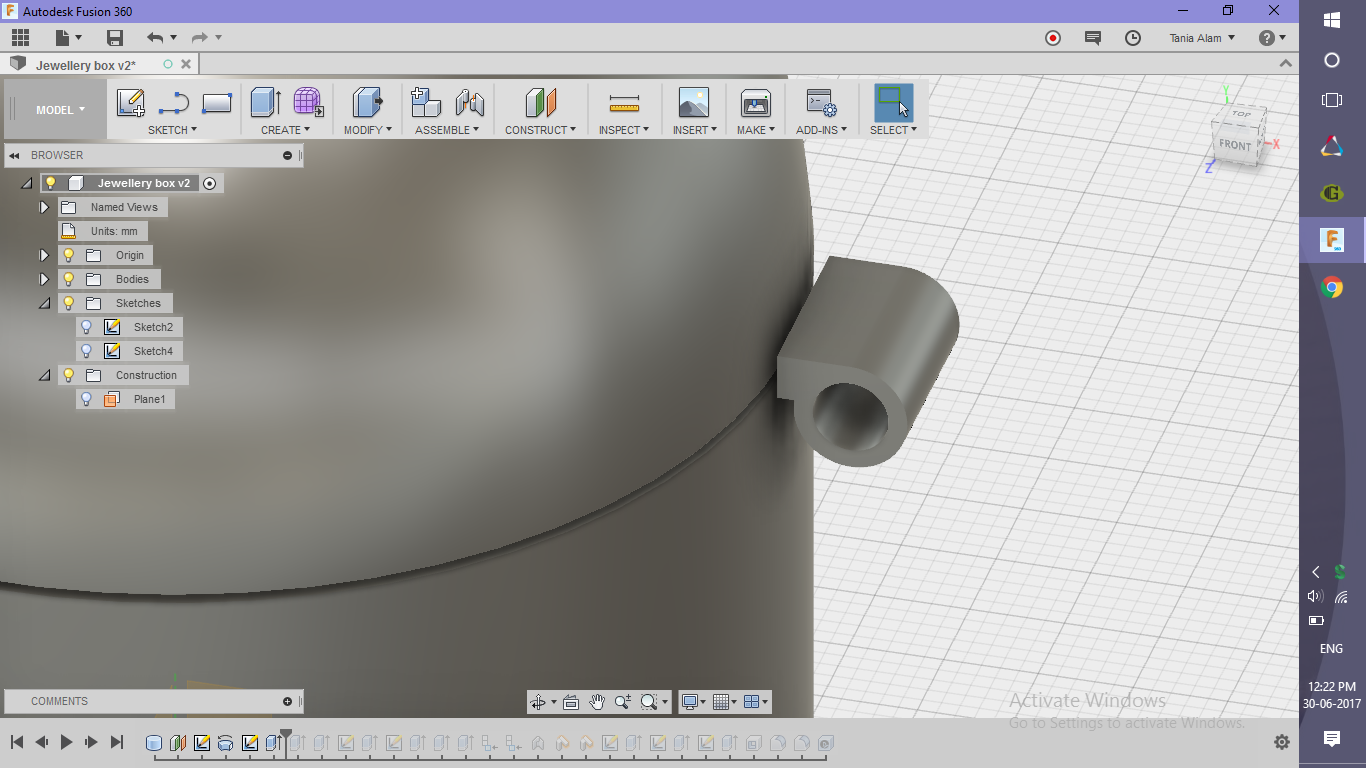
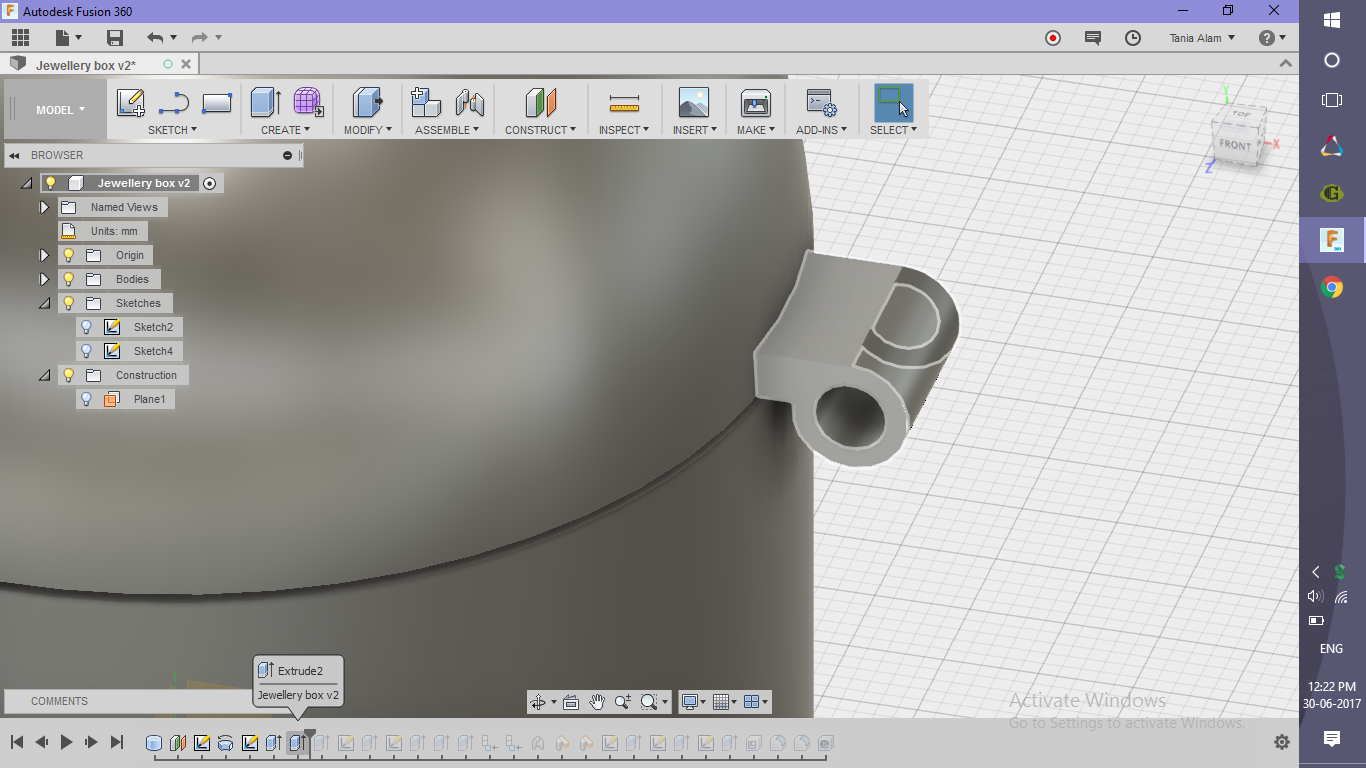
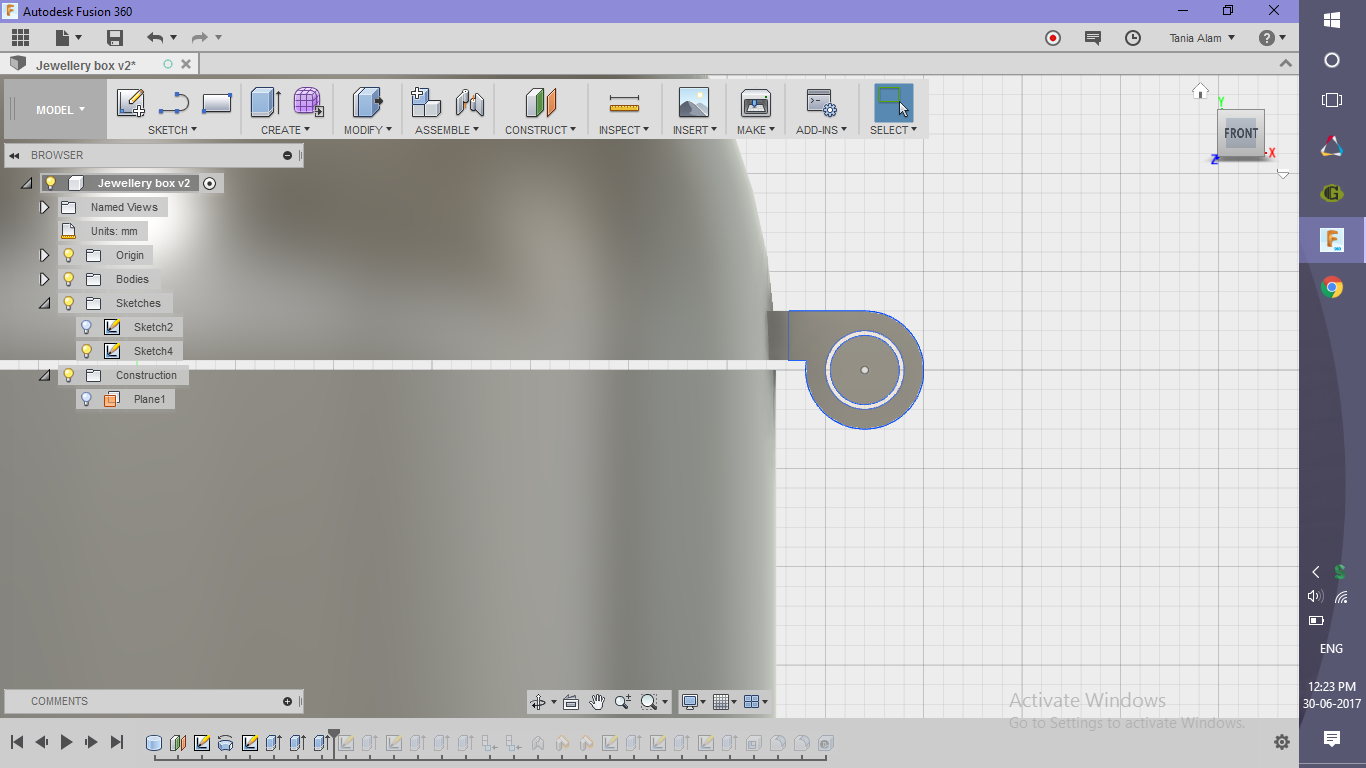
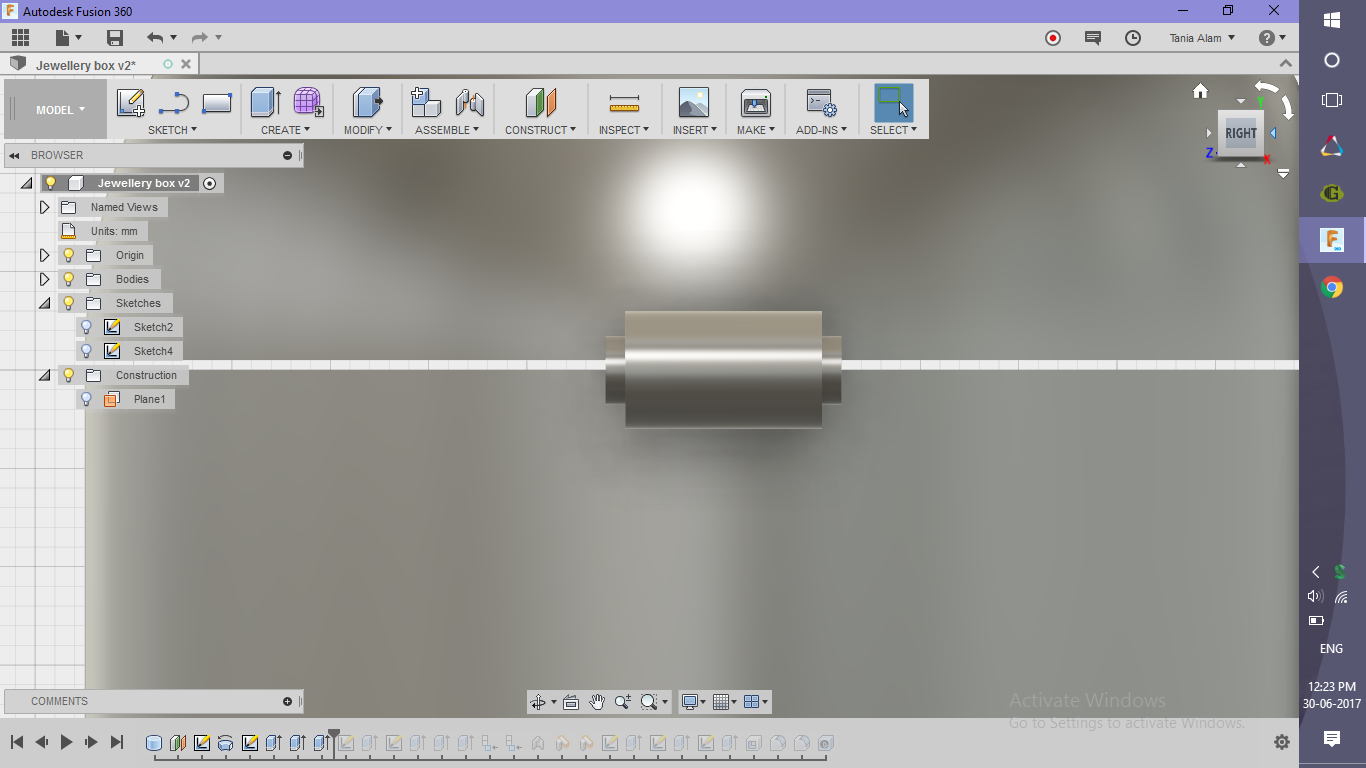
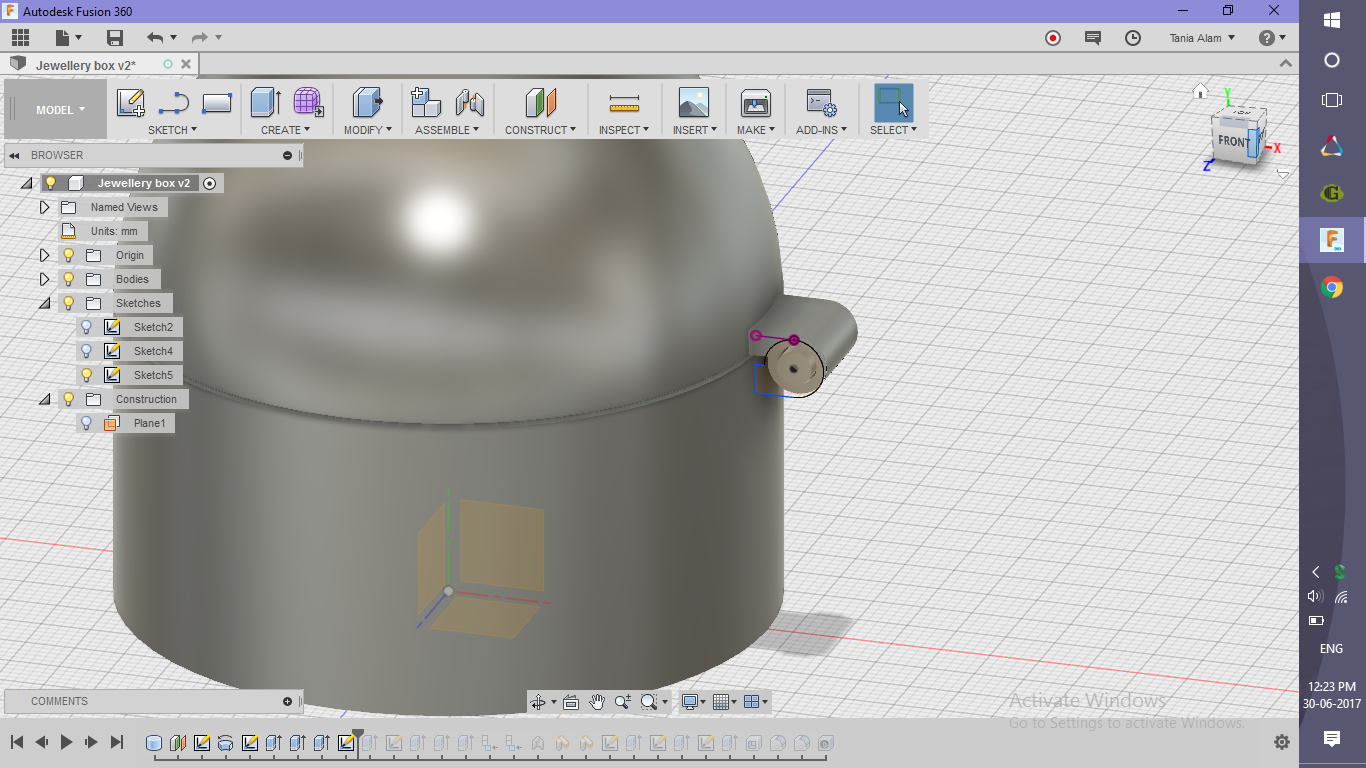
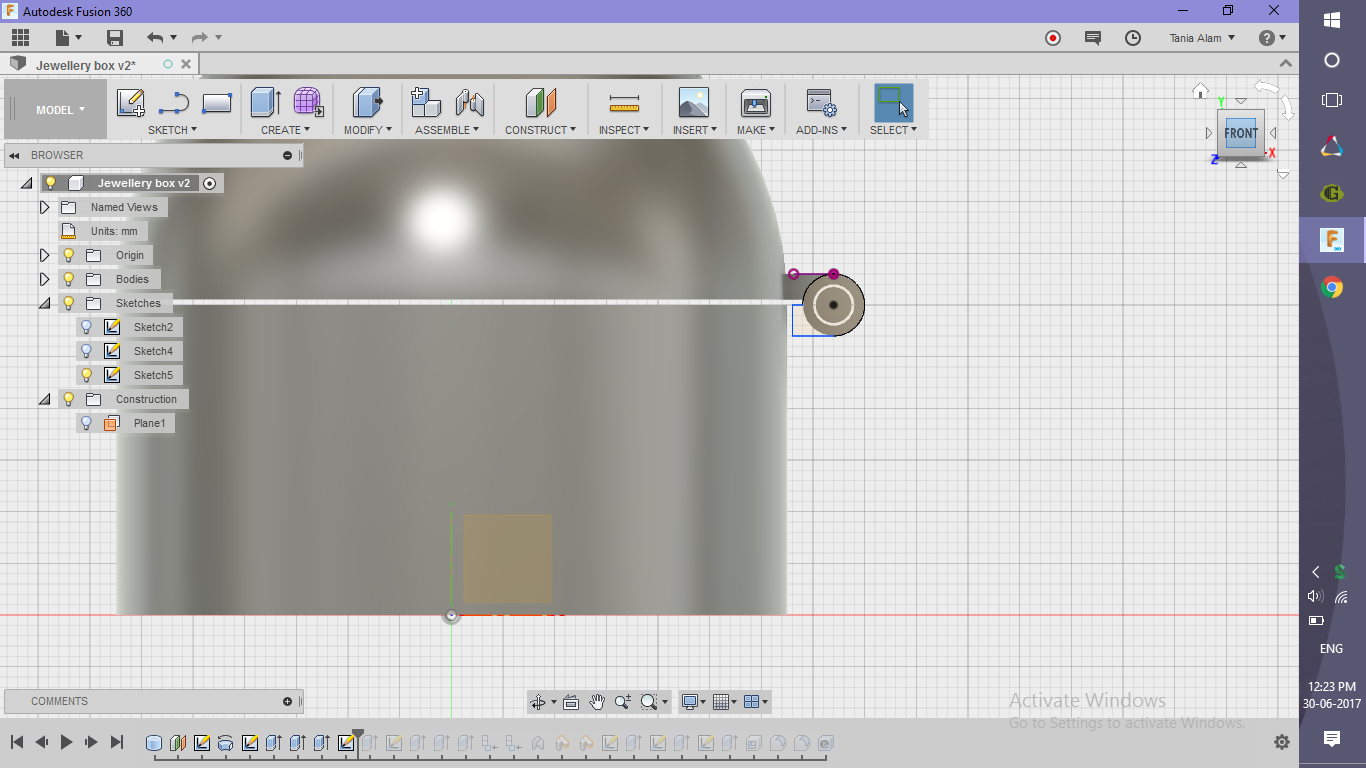
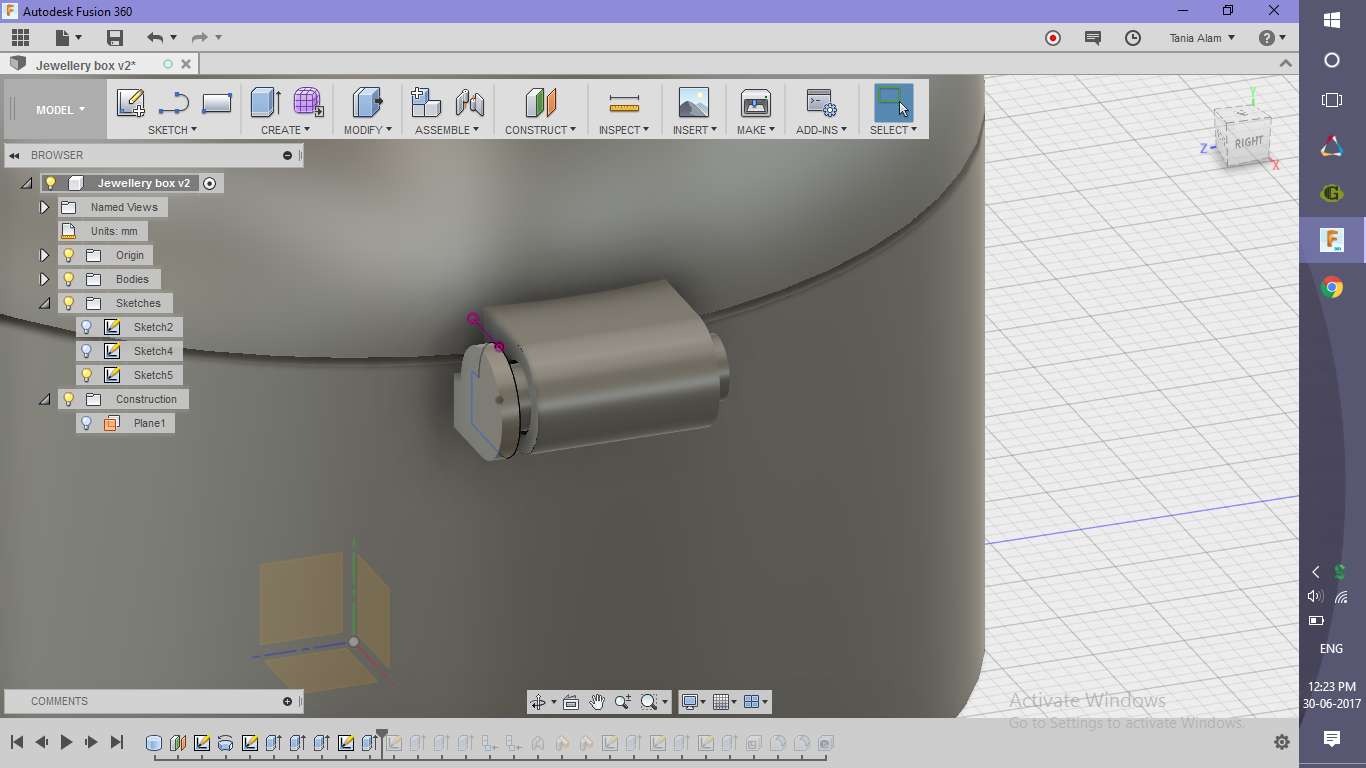
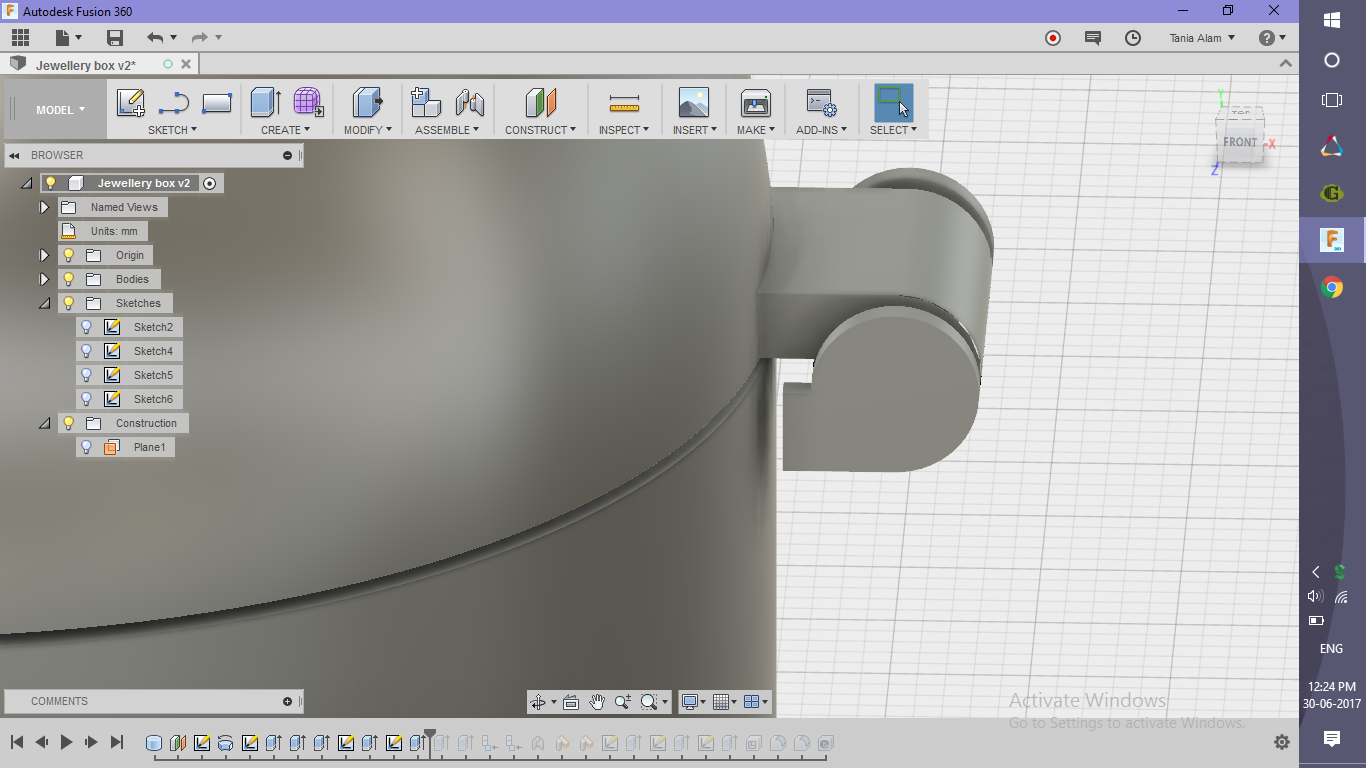
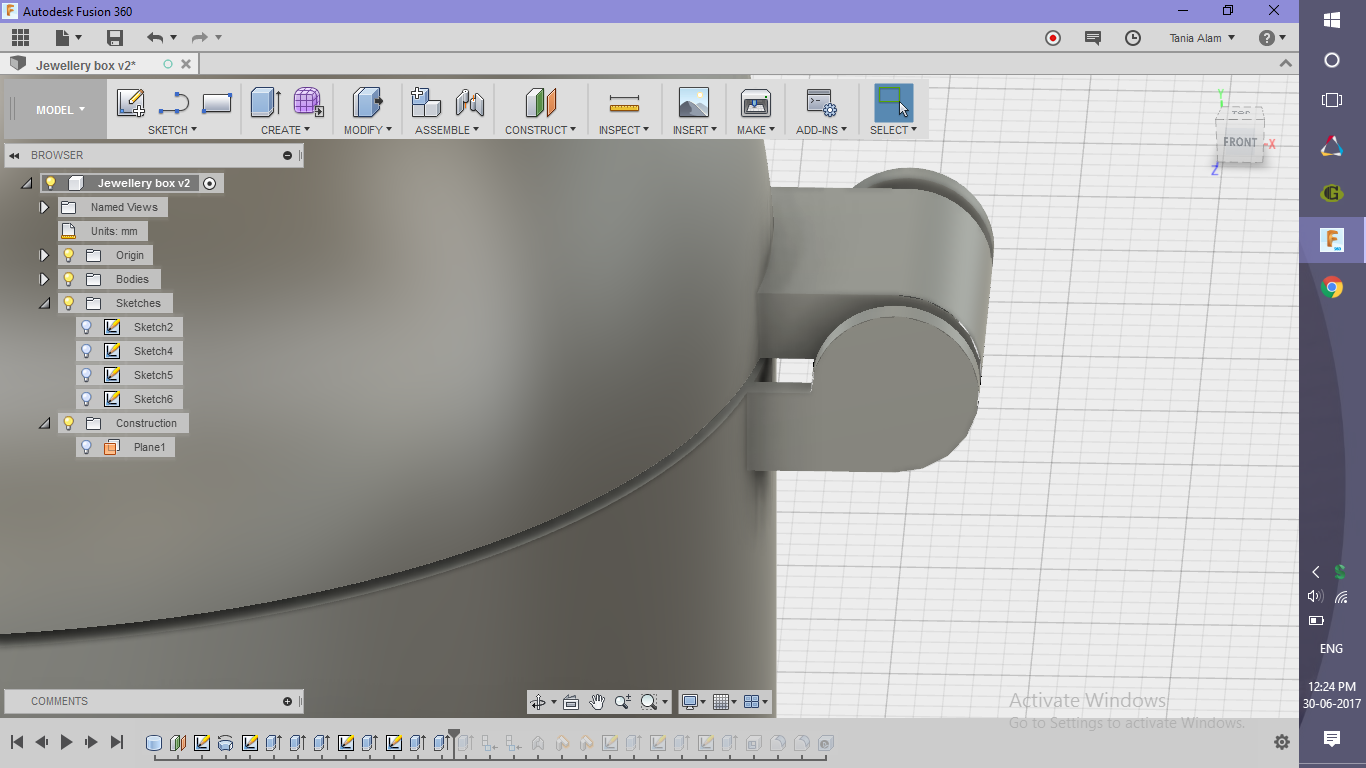
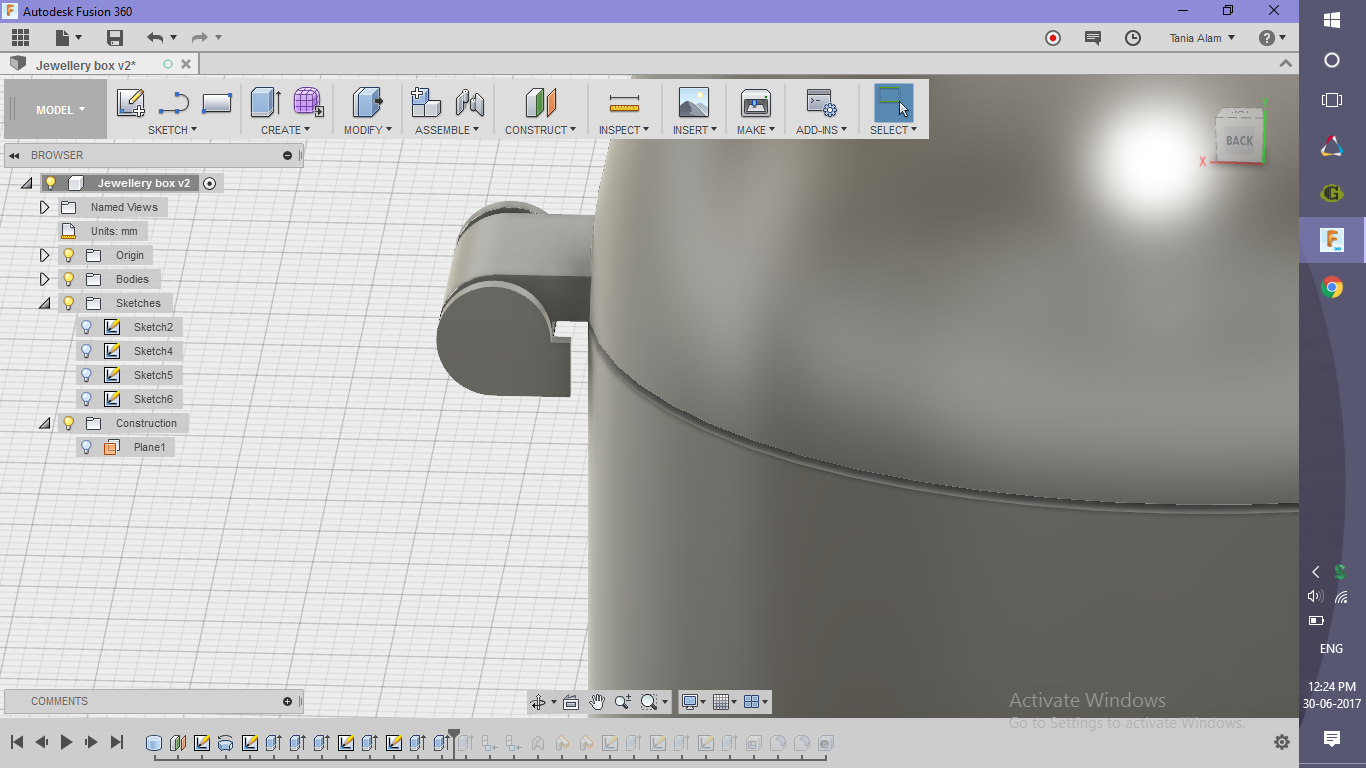
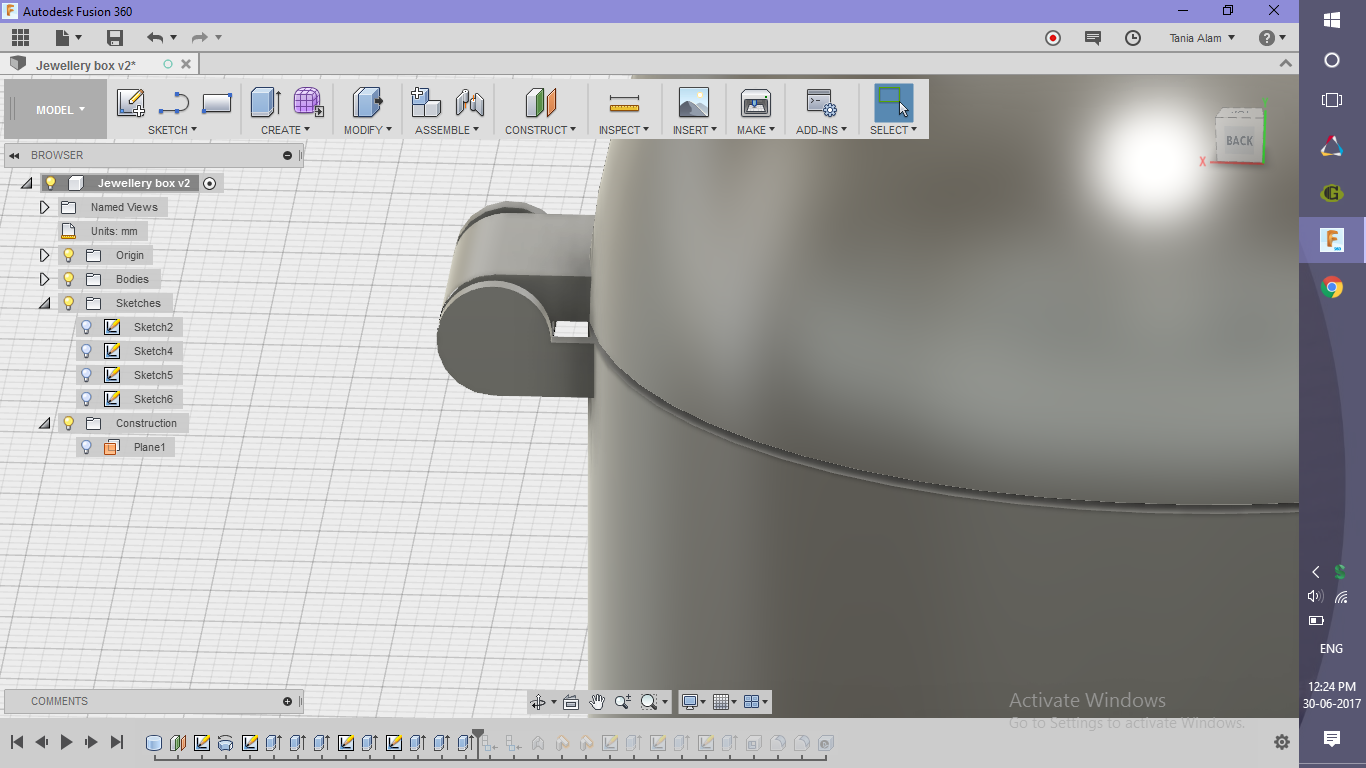
Create the Connection Between the Box and It's Lid
.png)
.png)
.png)
.png)
.png)
.png)
.png)
.png)
.png)
.png)
.png)
- Create a complimentary sketch for the connection on the box body
- To join the ends perfectly with the cylinder, use "To object" option of Extrude
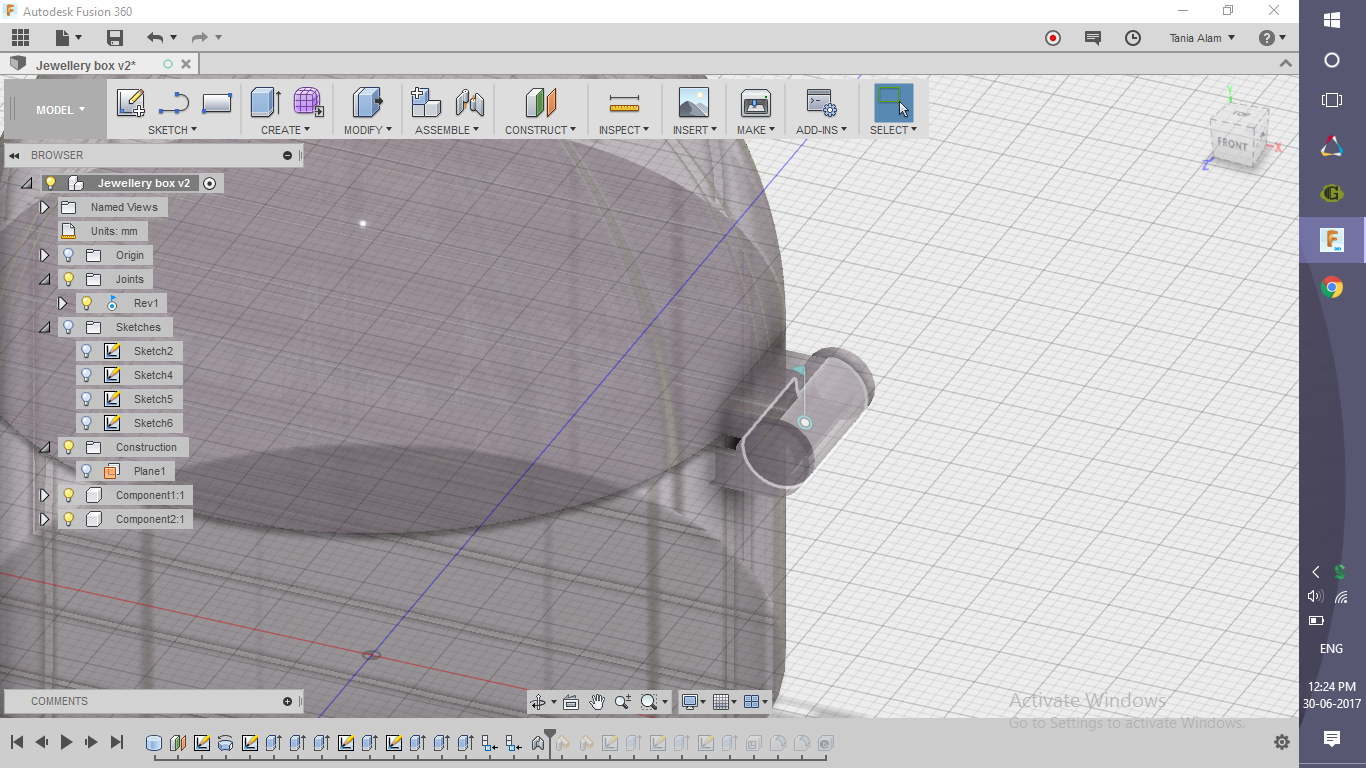
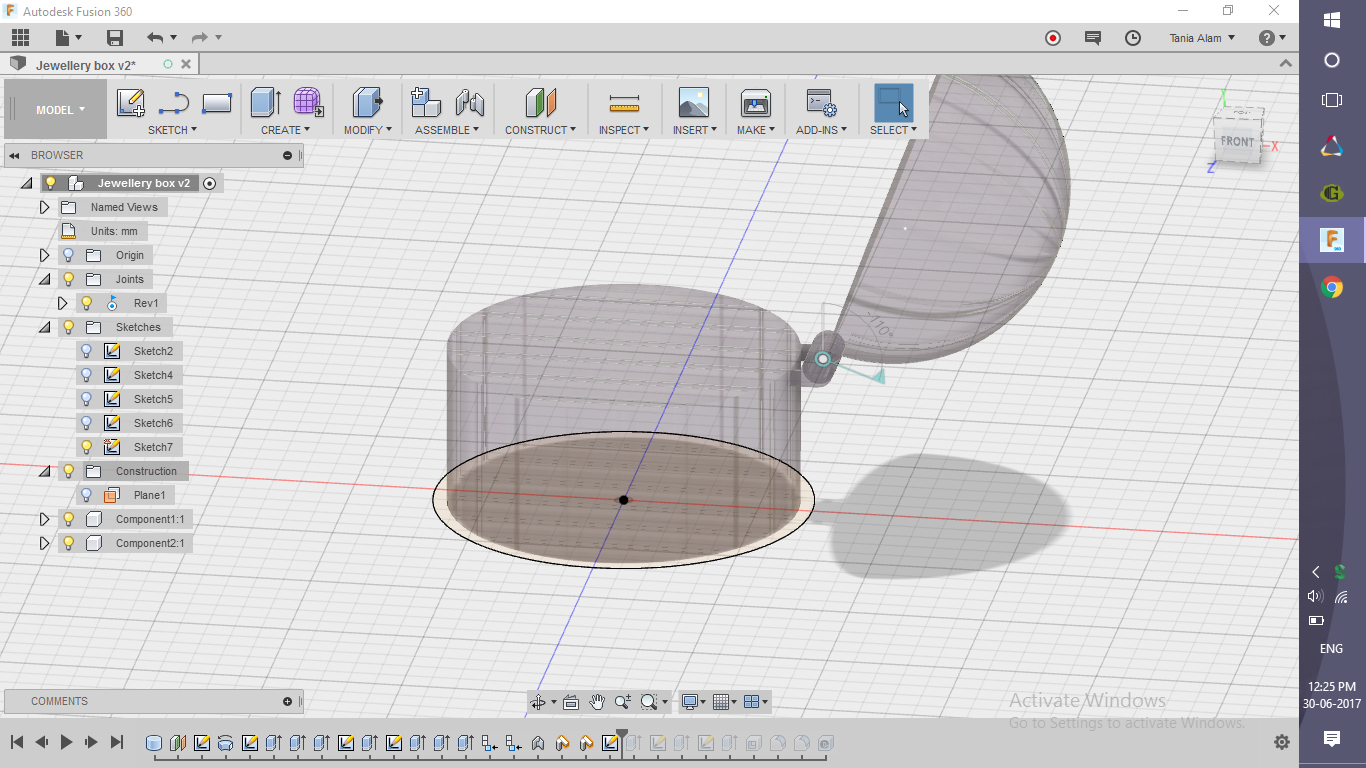
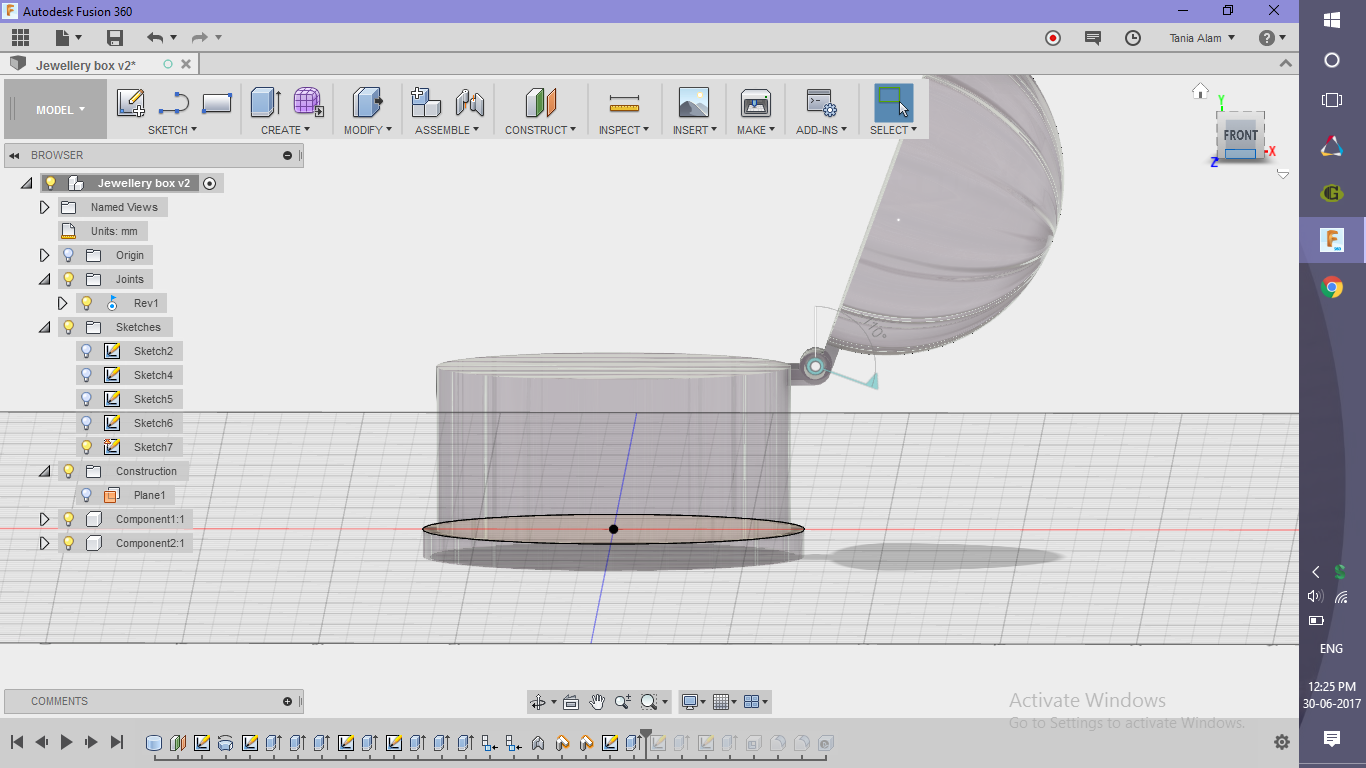
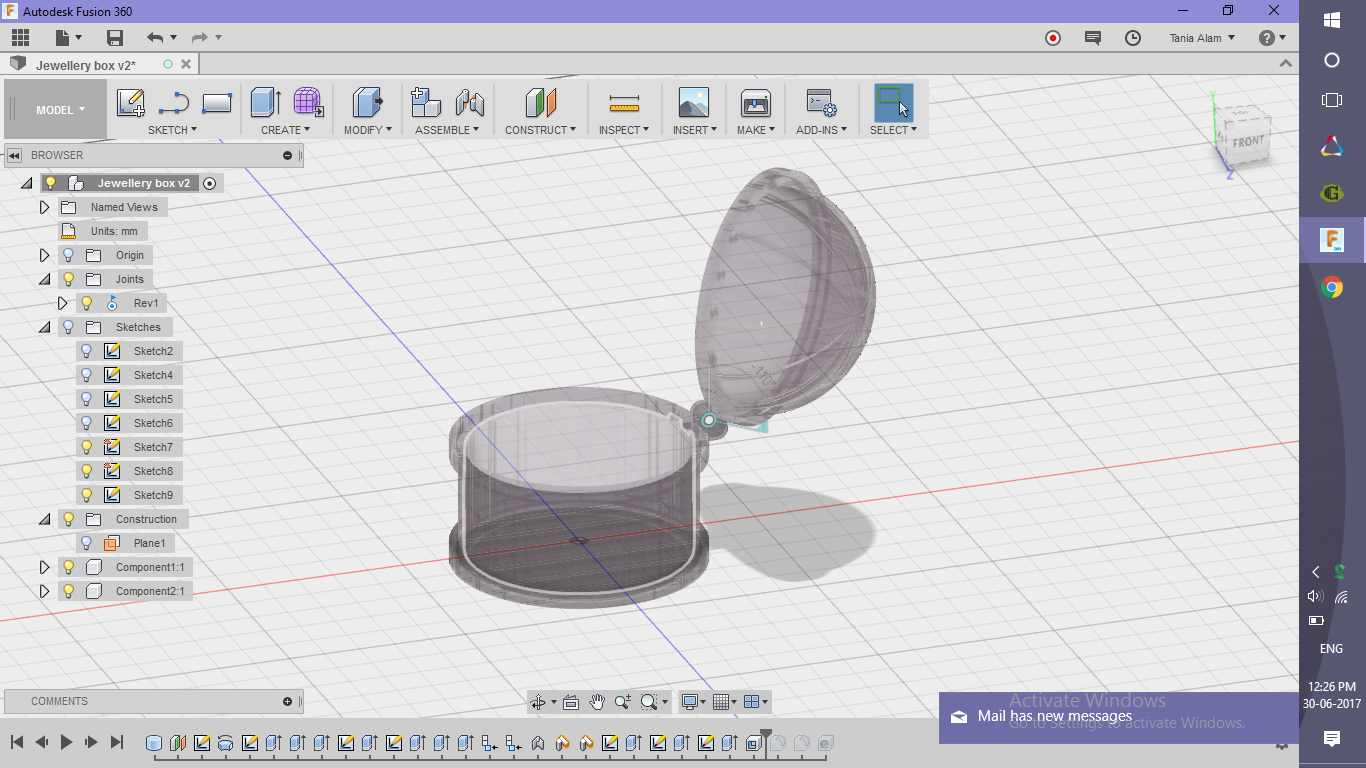
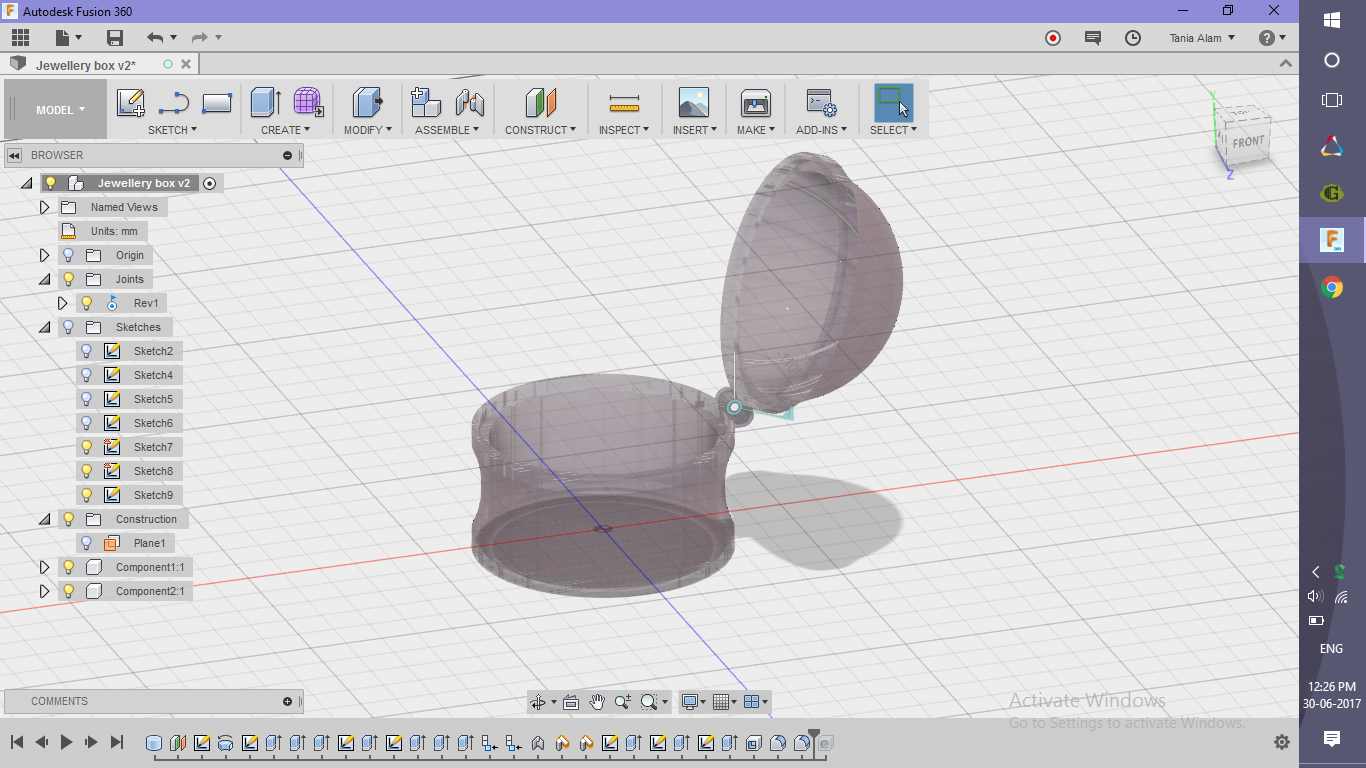
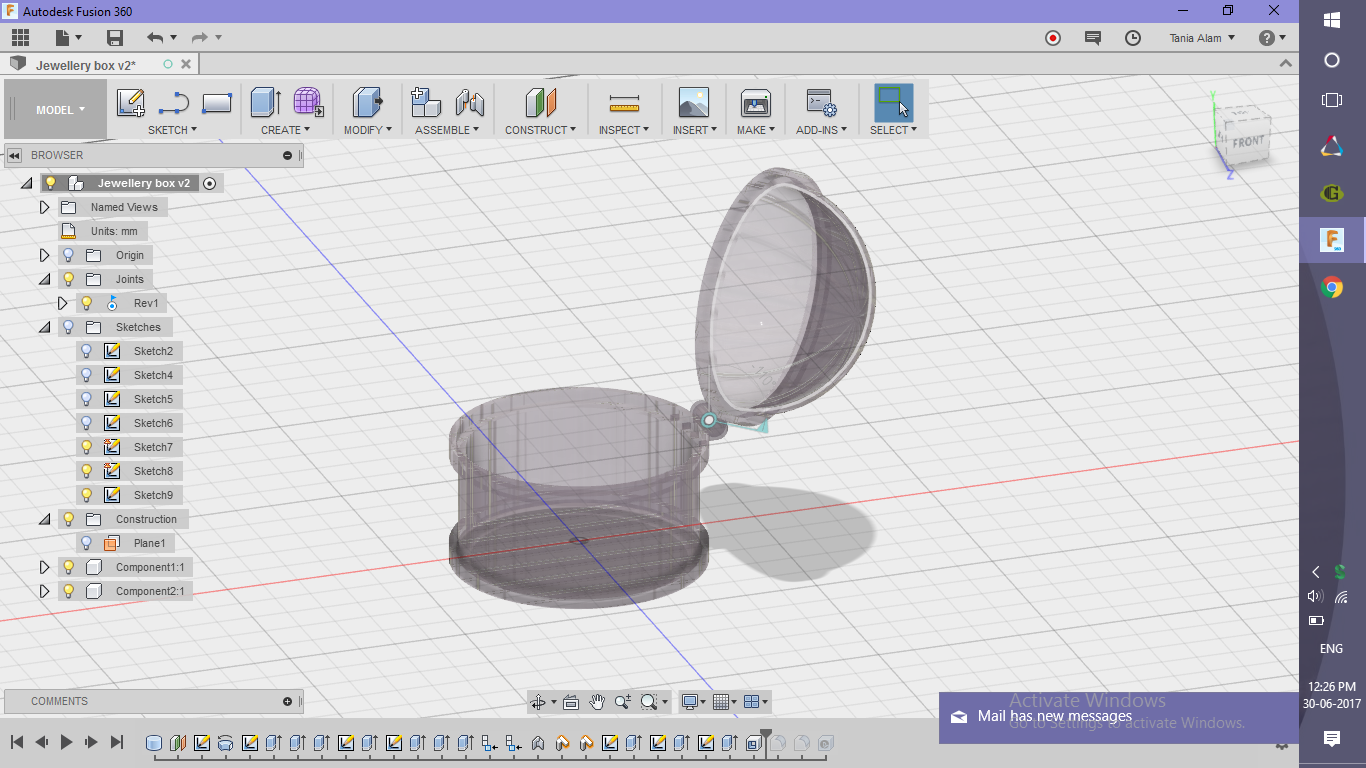
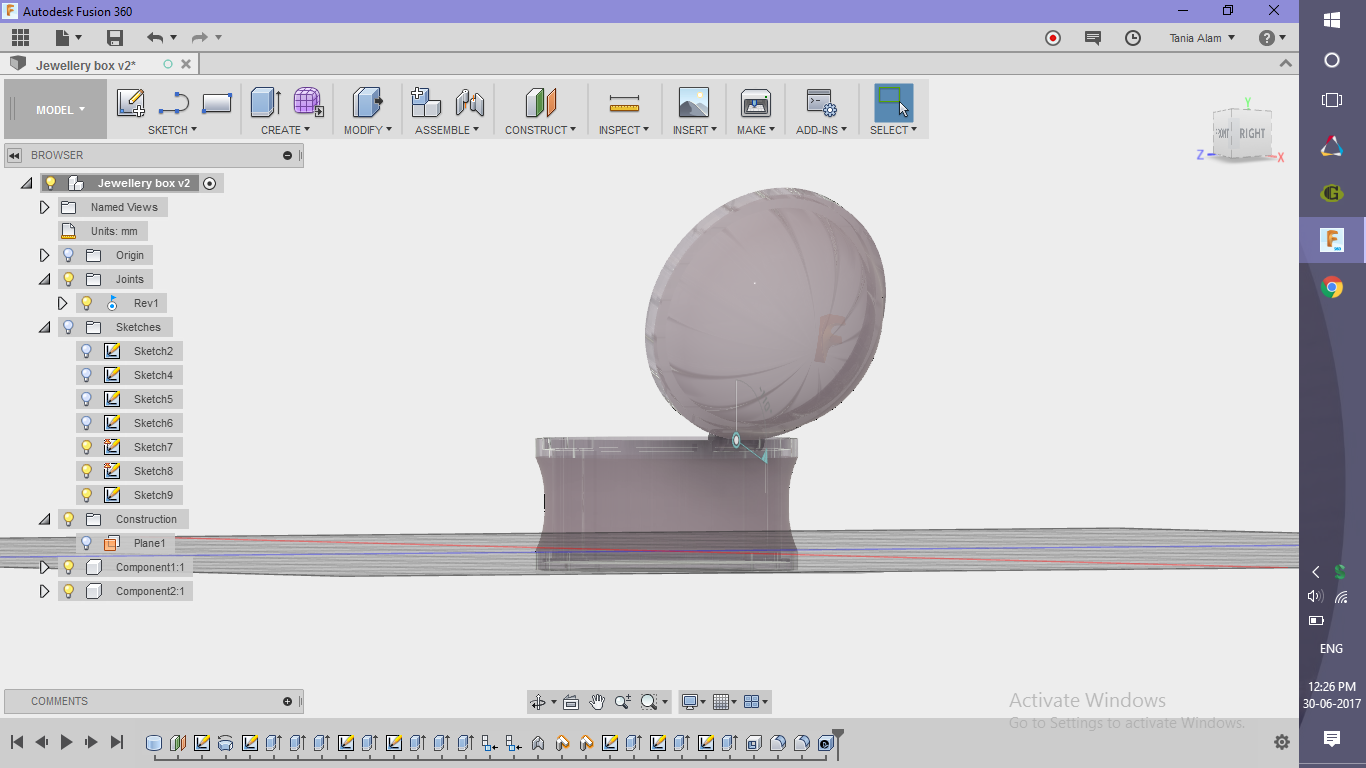
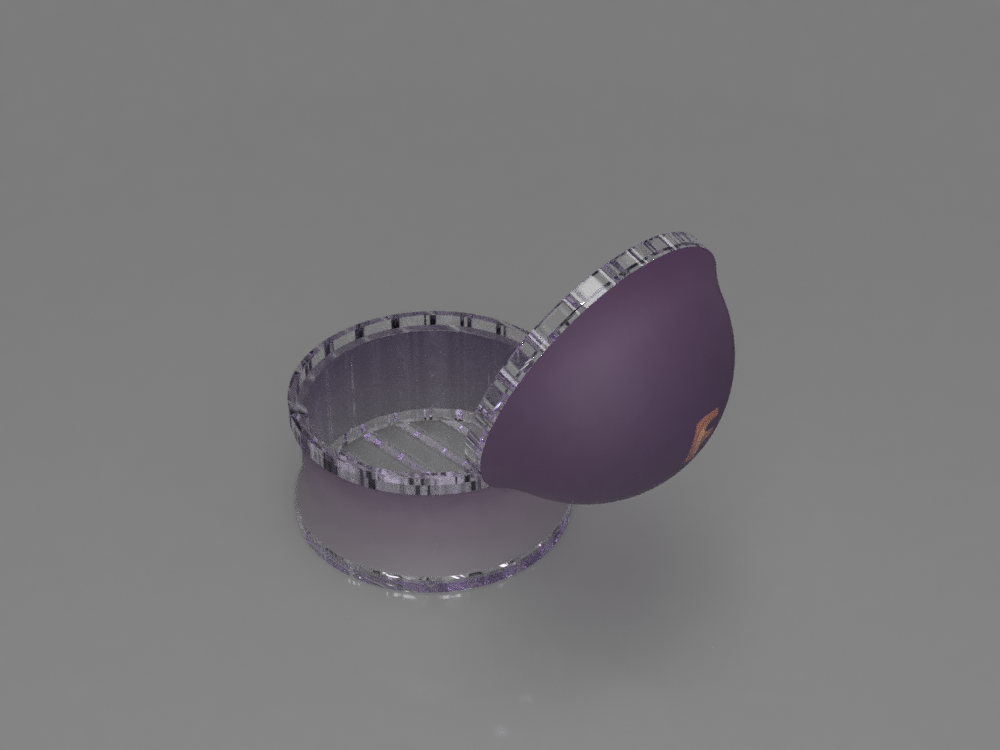
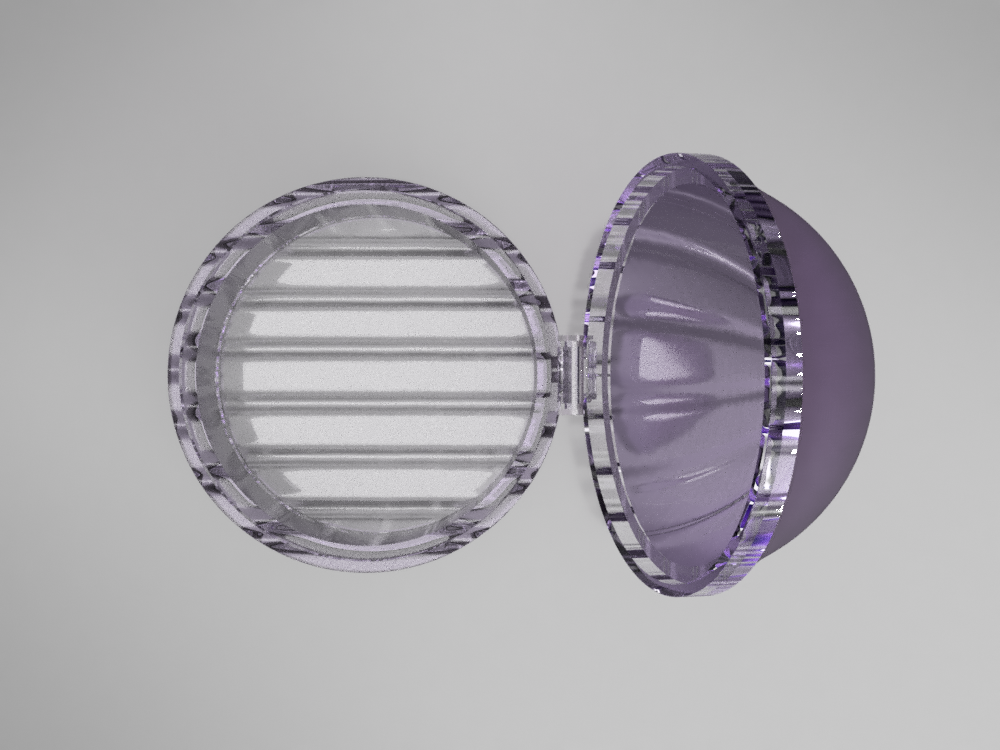
Make the Lid Work
.png)
.png)
.png)
.png)
- Convert all the bodies to components
- Use "As-built" joint to define a revolute connection
- Use "Drive joint" to incline it at a different angle so that we can see both the body and the lid properly
- Create a motion study
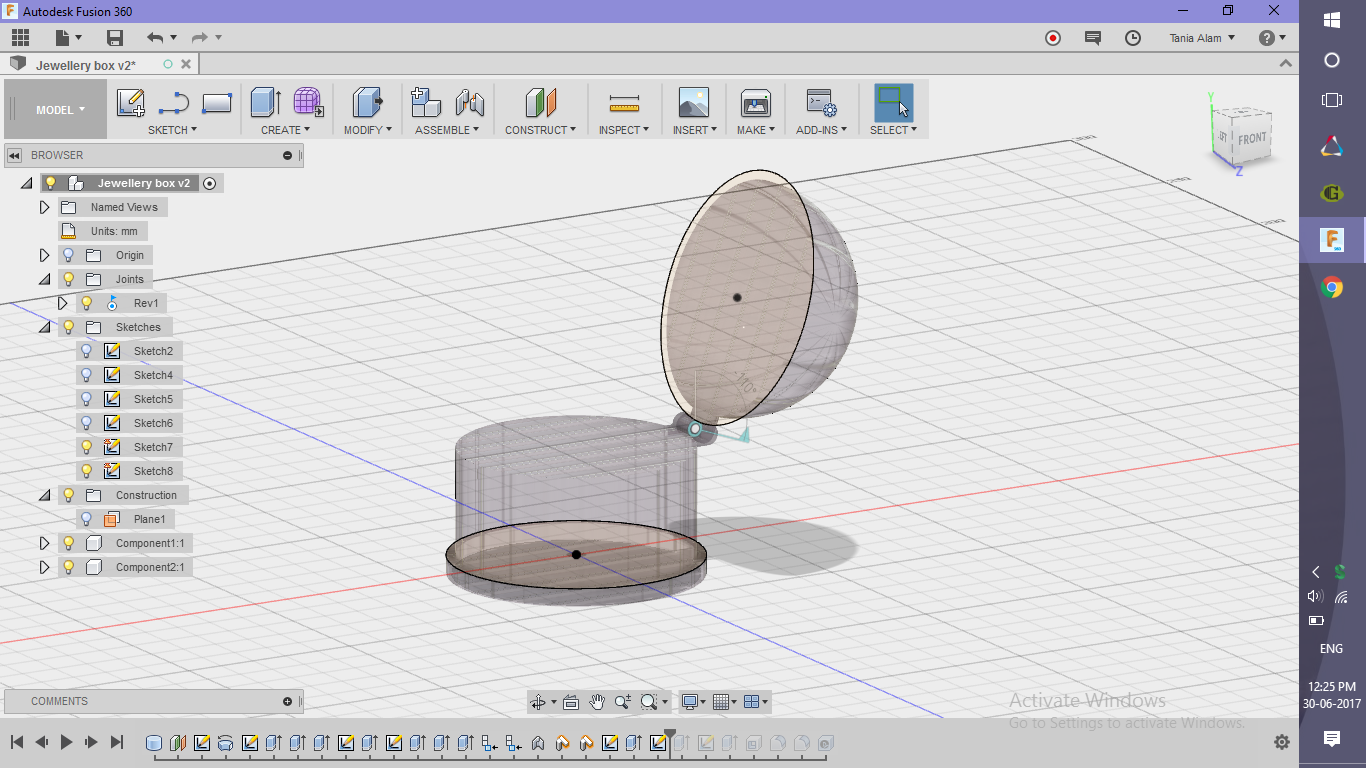
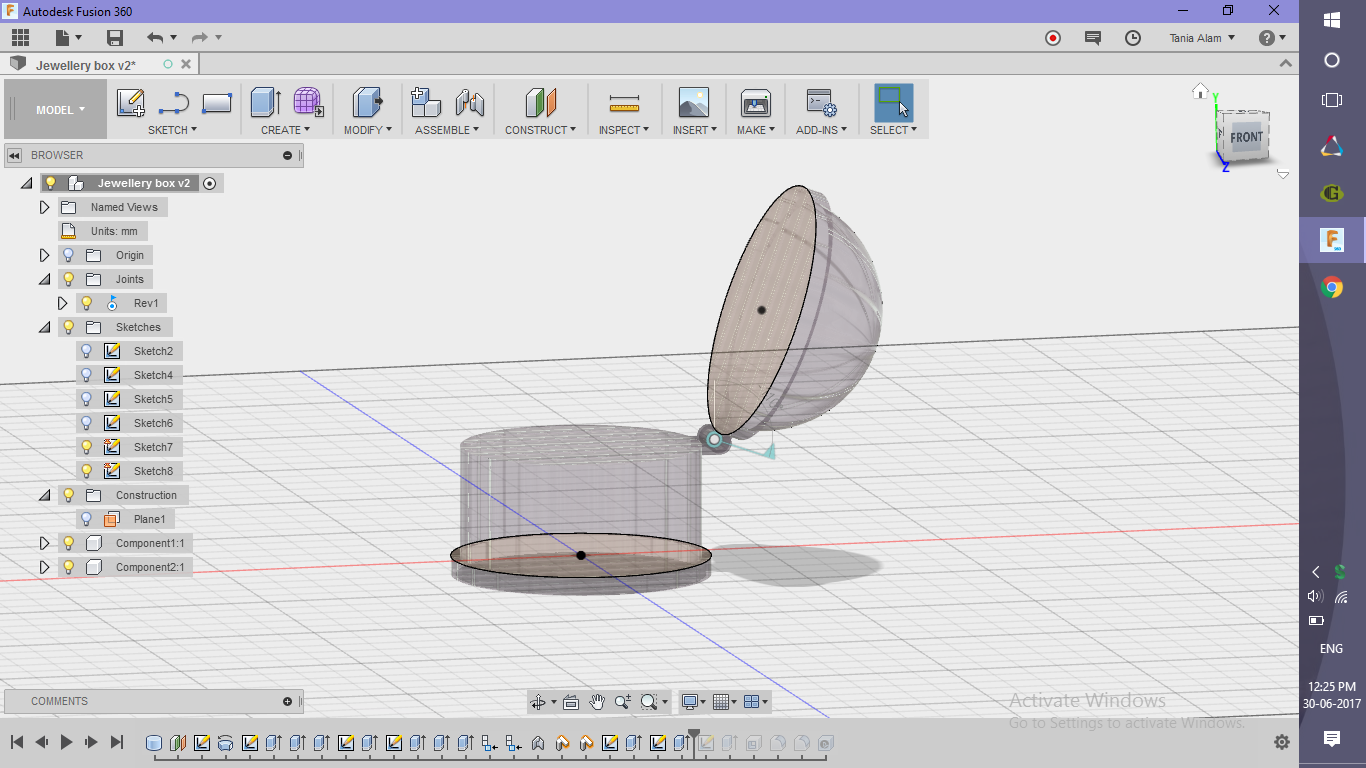
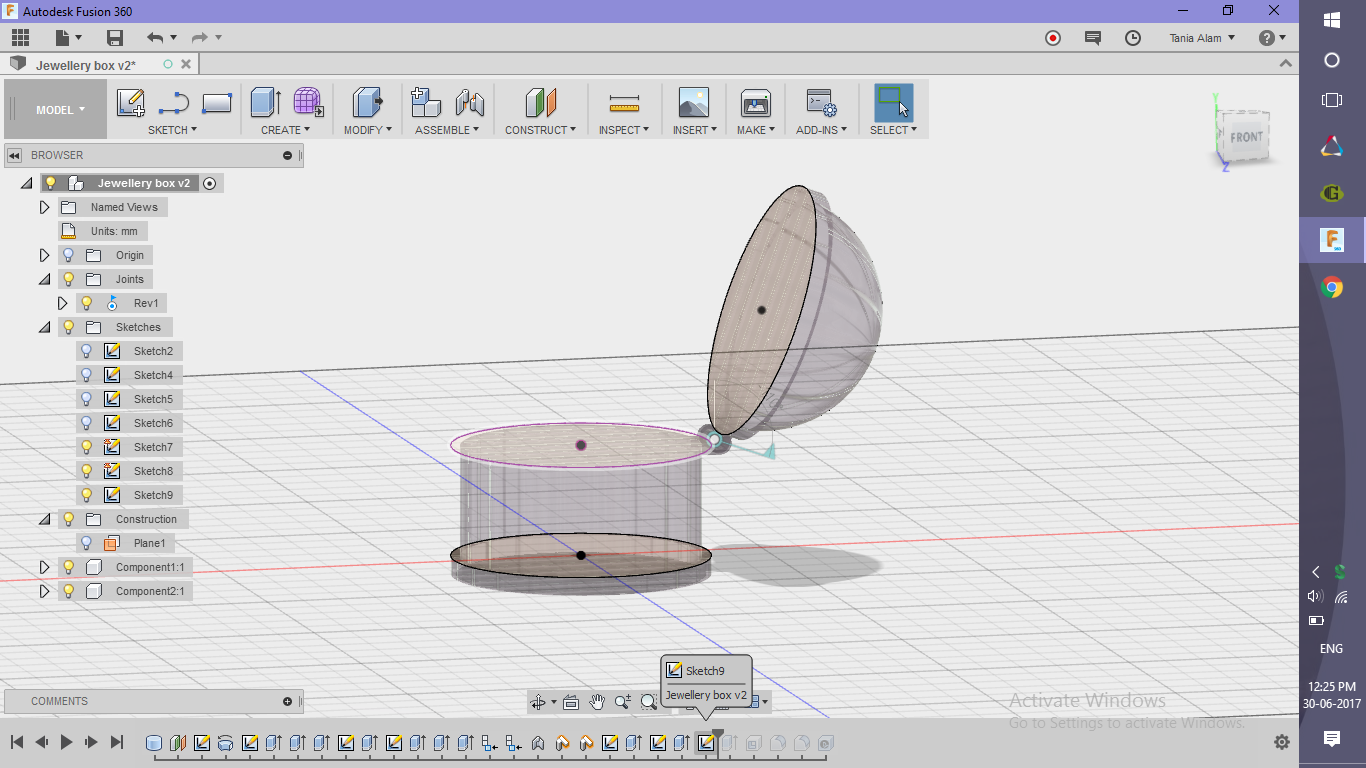
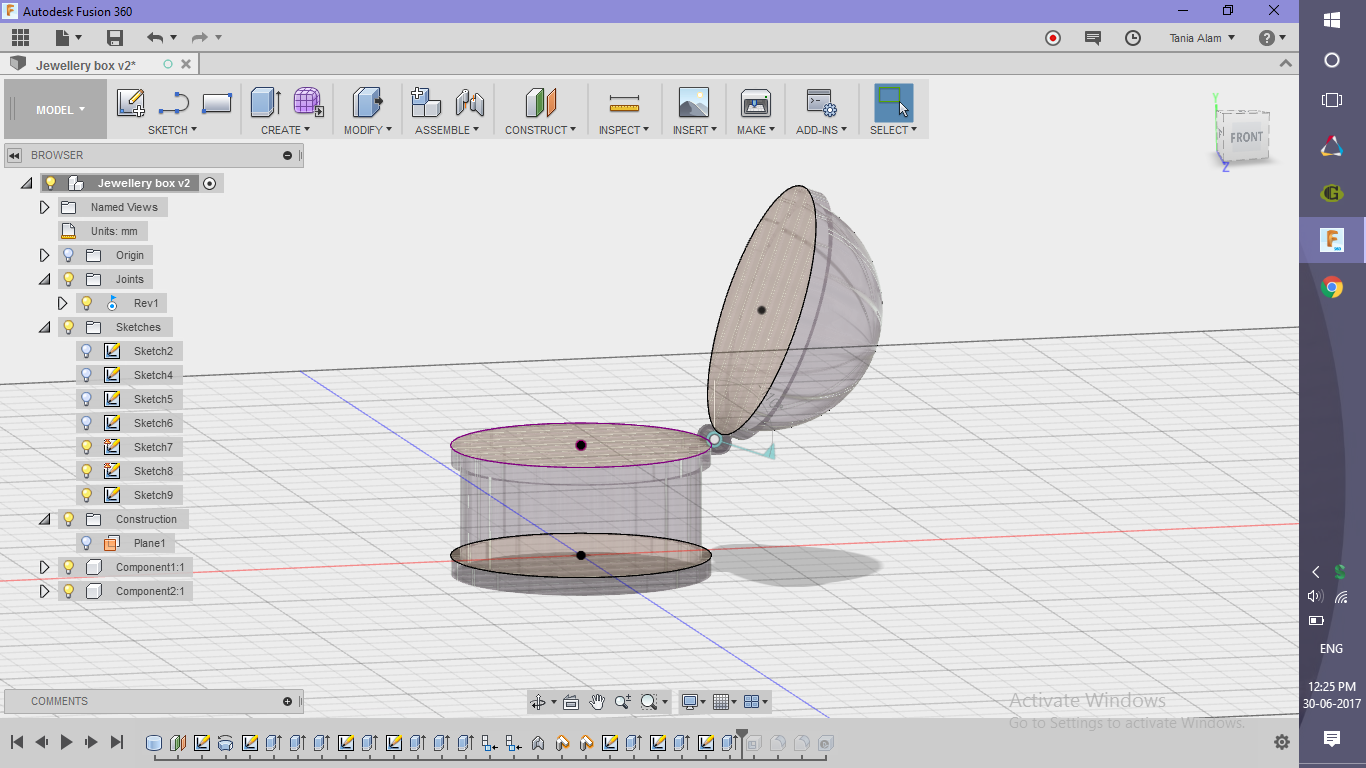
Make Some Space to Keep Stuffs in It
.png)
.png)
.png)
.png)
.png)
.png)
.png)
- Make some cylinders to give it a better look
- Use "Shell" command to make it hollow
Add Some Finishing and Get the Renderings
.png)
.png)
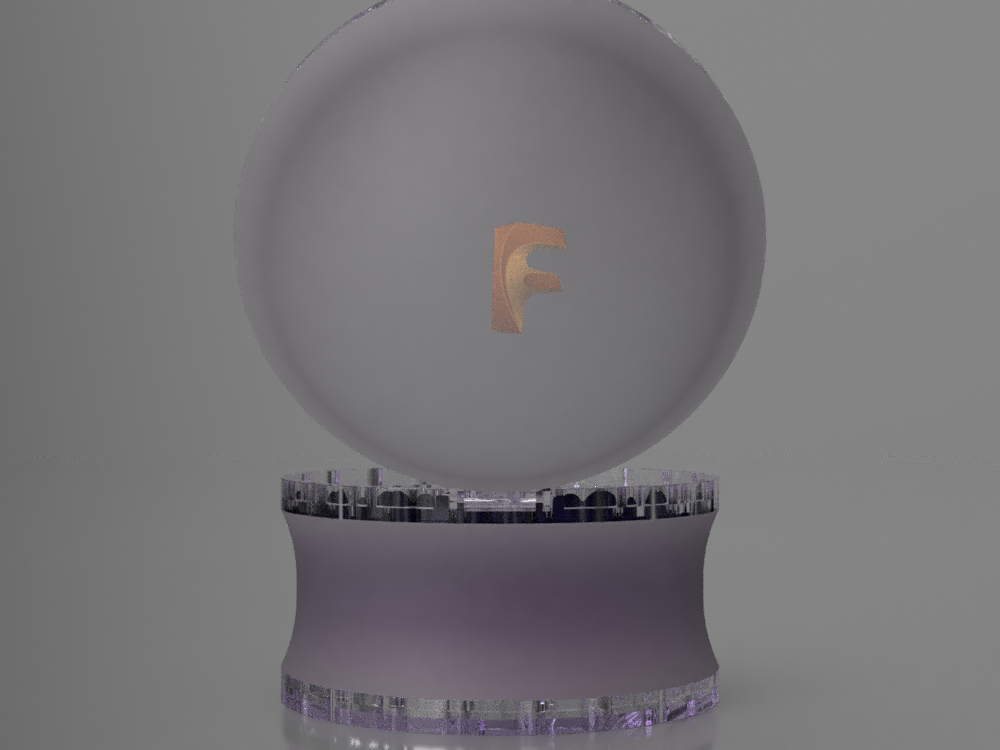
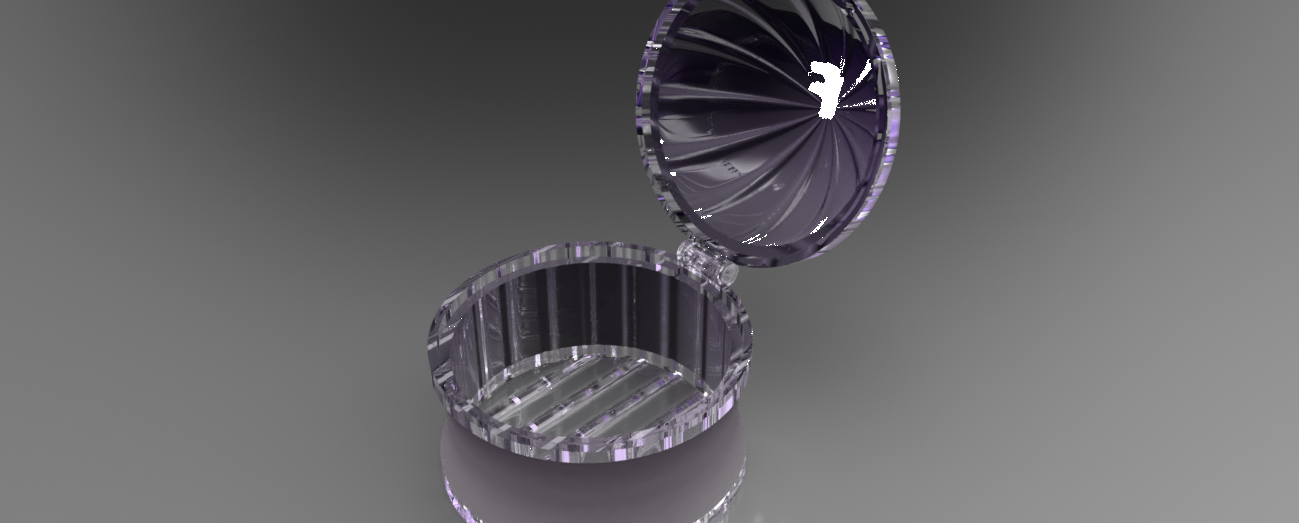
- Add "Glass" as the Physical Material
- Choose a cool "Appearance" for the components
- Add some decals if you wish
- Edit the scene settings
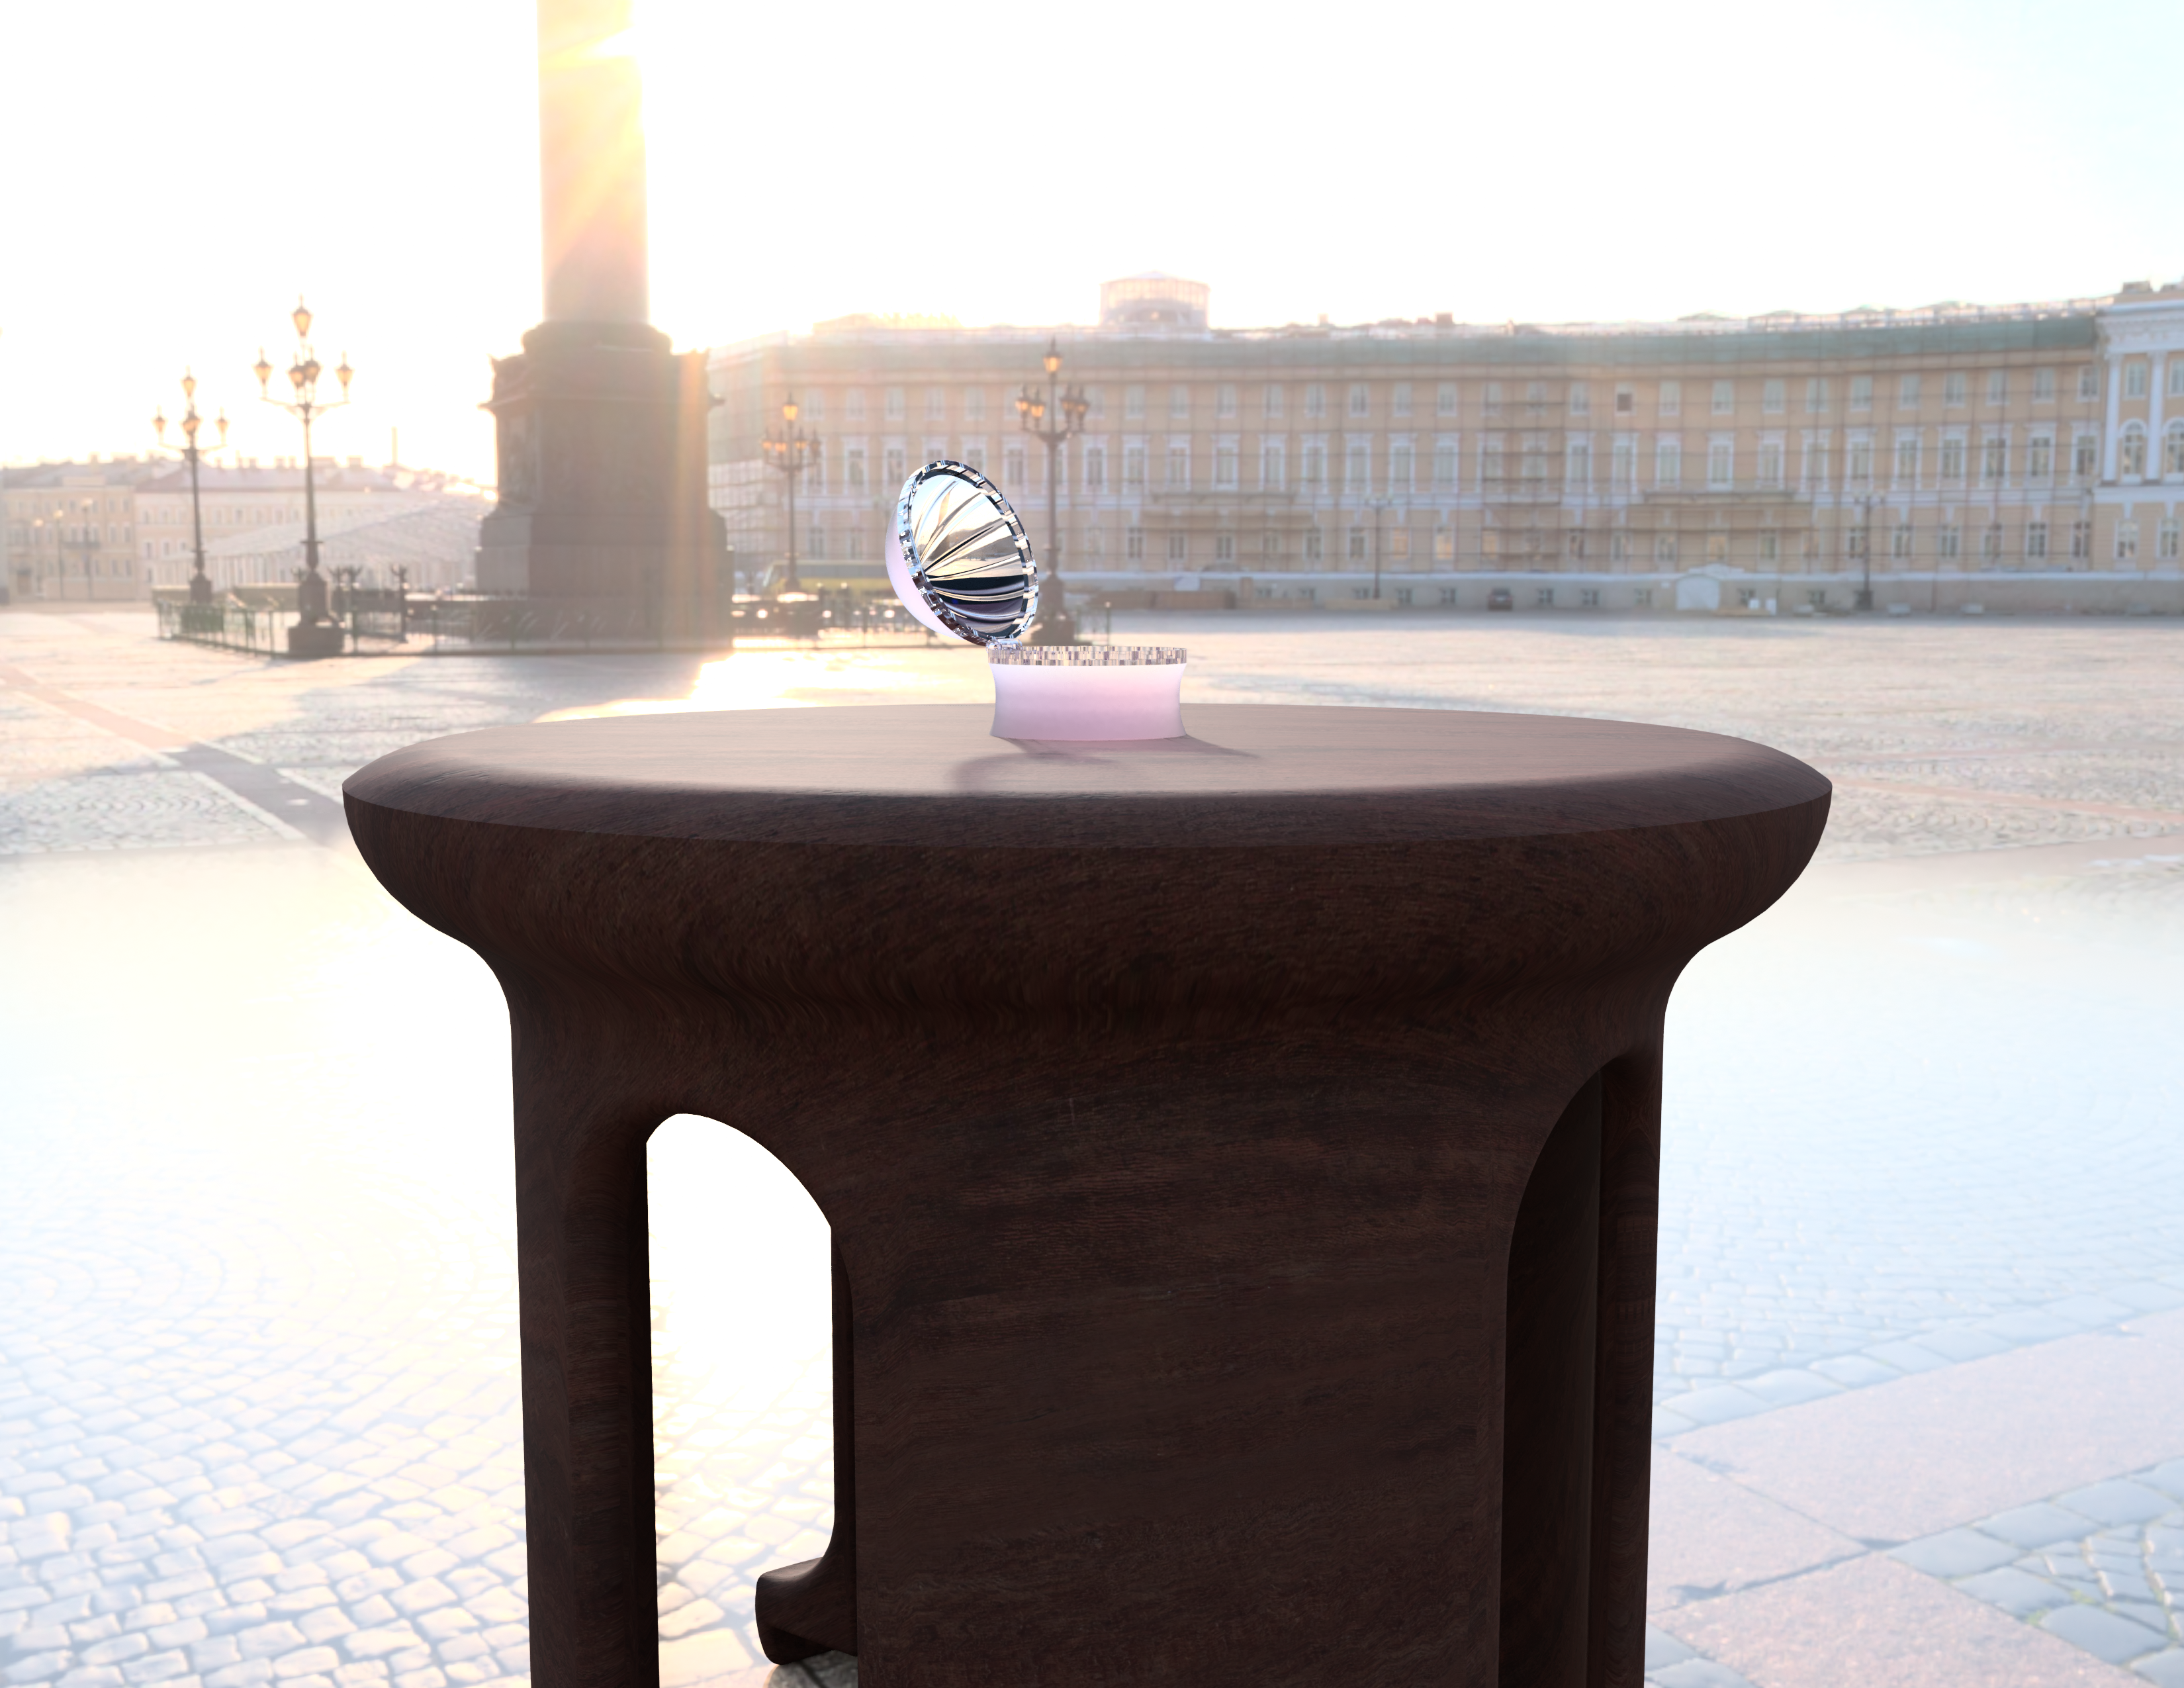
Once you save the file, it will automatically start rendering. Once done, share your renderings here using the "I Made It" button!
Also if you liked this one, I would suggest taking a look at these glasses too.
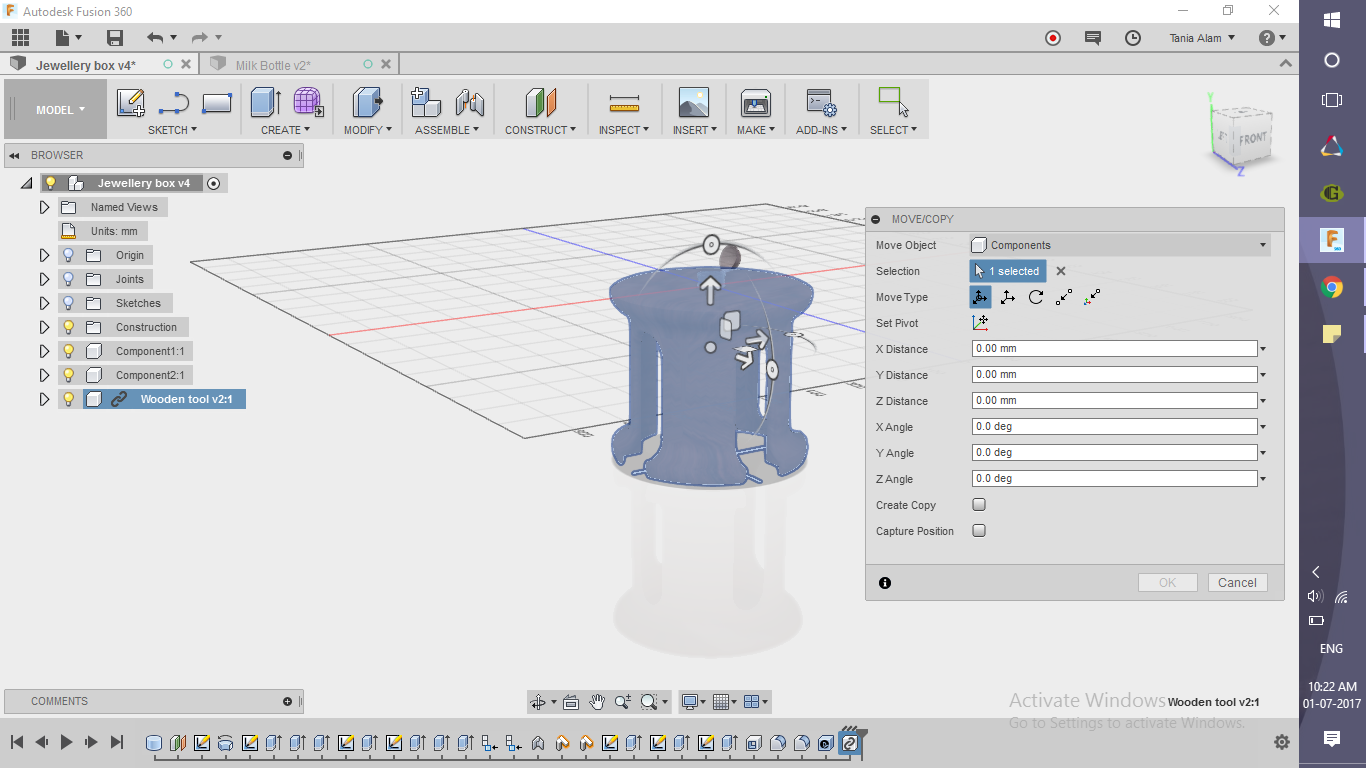
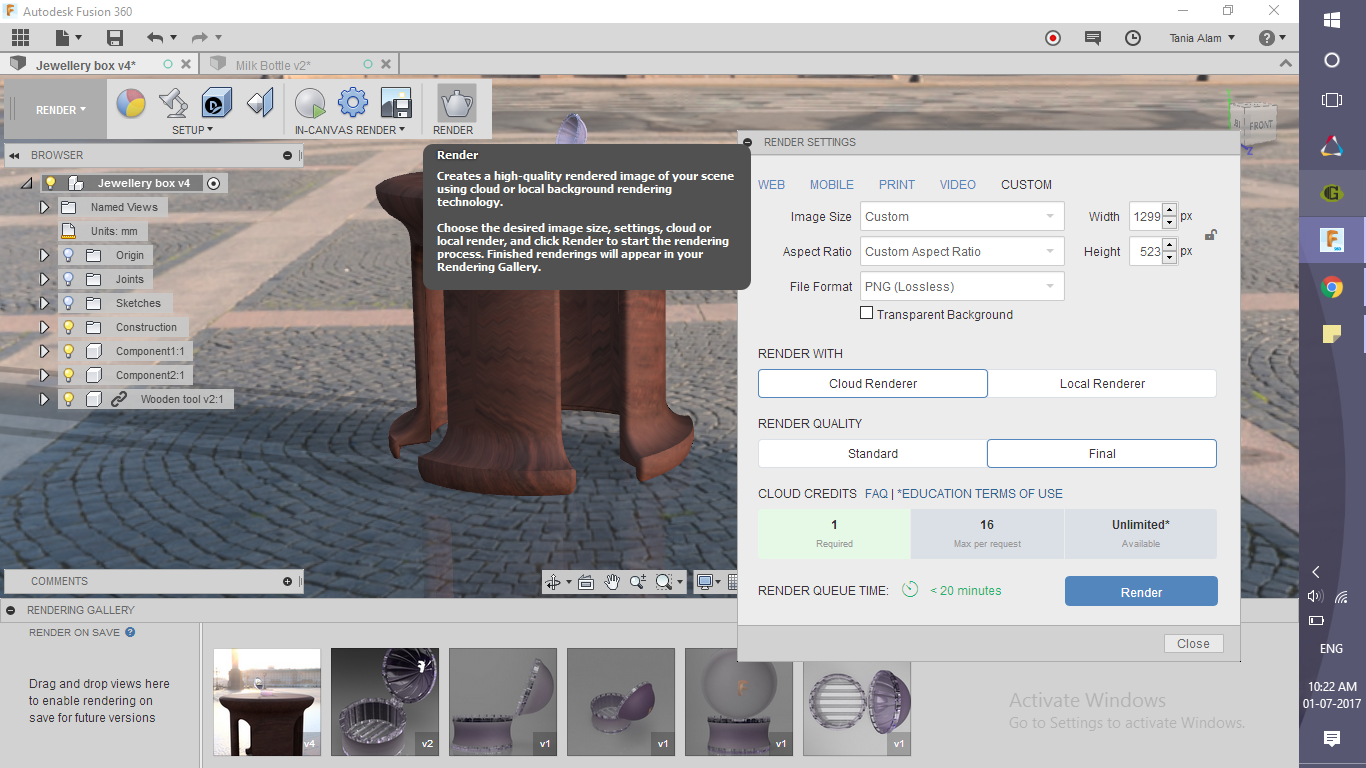
Apply Some Advanced Settings (optional)
.png)
.png)
.png)
This step is for those who have made this tool using my tutorial. If you already have some models of tables, you can use them too. These are the steps you need to follow to get a similar rendering.
- Find the file of the tool in Fusion, right click and choose "Insert into current design"
- Position it accordingly with the box
- Go to the rendering workspace and click on the "render" option!