Make a Detailed Paper Model Plane Template/pattern Using Sketchup + Inkscape (2024)
by the making faset in Design > Digital Graphics
1325 Views, 13 Favorites, 0 Comments
Make a Detailed Paper Model Plane Template/pattern Using Sketchup + Inkscape (2024)
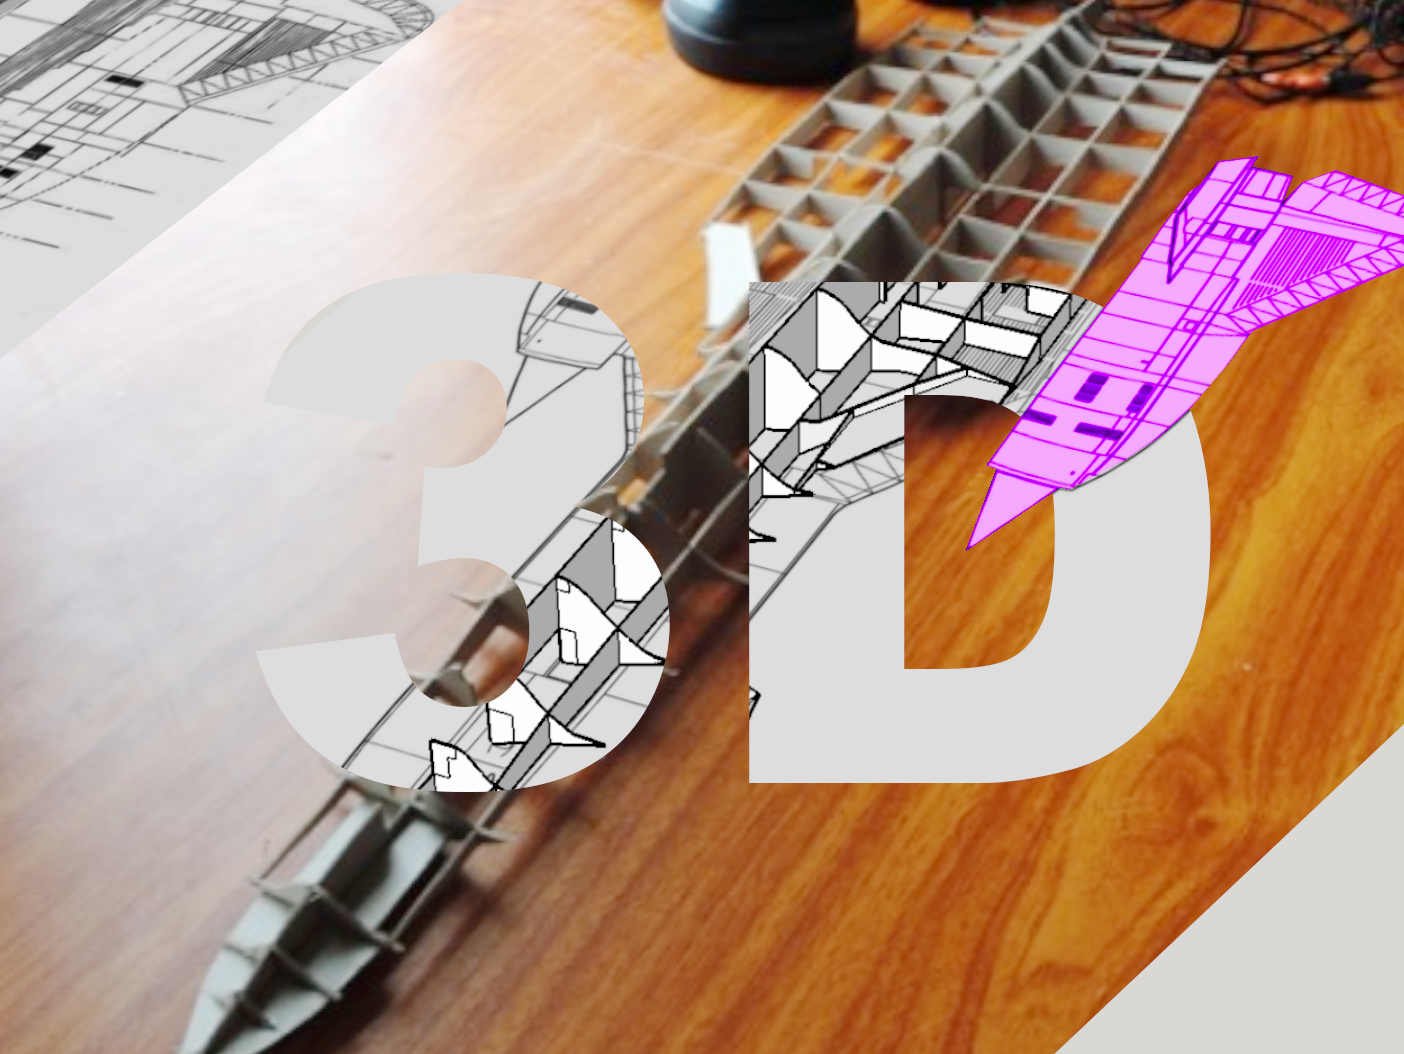
Have you seen those amazingly smooth, complex paper model planes and you just wonder how on earth are they designed?
Well I might have cracked the code as I have designed an SR-71 FROM scratch using the methods I will share soon. (Still in progress its been a year so far...)
I hope you can learn something from this! (3D modeling has a learning curve so get a You-tube degree before attempting :))))
Now this is not a 100% complete tutorial (that would be better suited for a video) But this is meant to give a decent guide-line on what you need,what to do, and basic procedure :)
Supplies


For this tutorial you MUST have:
- Sketchup (I am using the 100% 2017 version)
- Flattery plugin
- InkScape (Latest version with shape builder)
- Unwrap & Flatten plugin (for Sketchup)
- Gimp (for cutting blueprint into chunks)
Links for download: (I Beleve these are safe sources but download at your own risk)
https://download.cnet.com/sketchup-make-2017/3000-6677_4-10257337.html
https://inkscape.org/release/inkscape-1.3.2/
https://www.gimp.org/downloads/
https://3dwarehouse.sketchup.com/model/ec349d5c-2d0a-407c-958b-37023f2614e8/Unwrap-and-Flatten-Faces
https://sketchucation.com/plugin/1301-flattery
Lets get started.
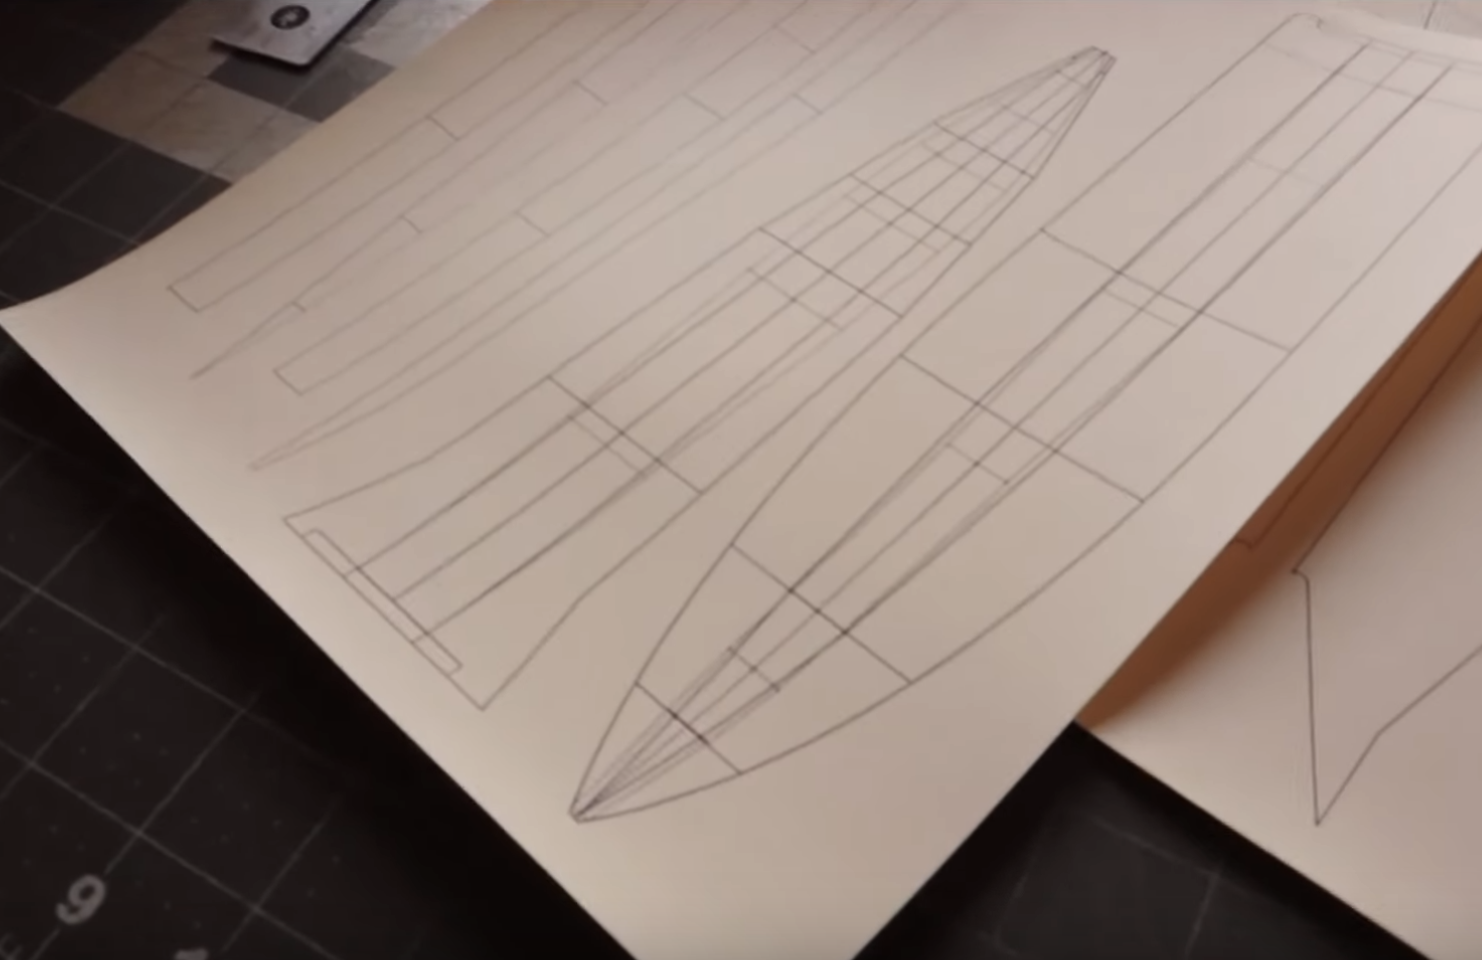
Set Up Blueprints
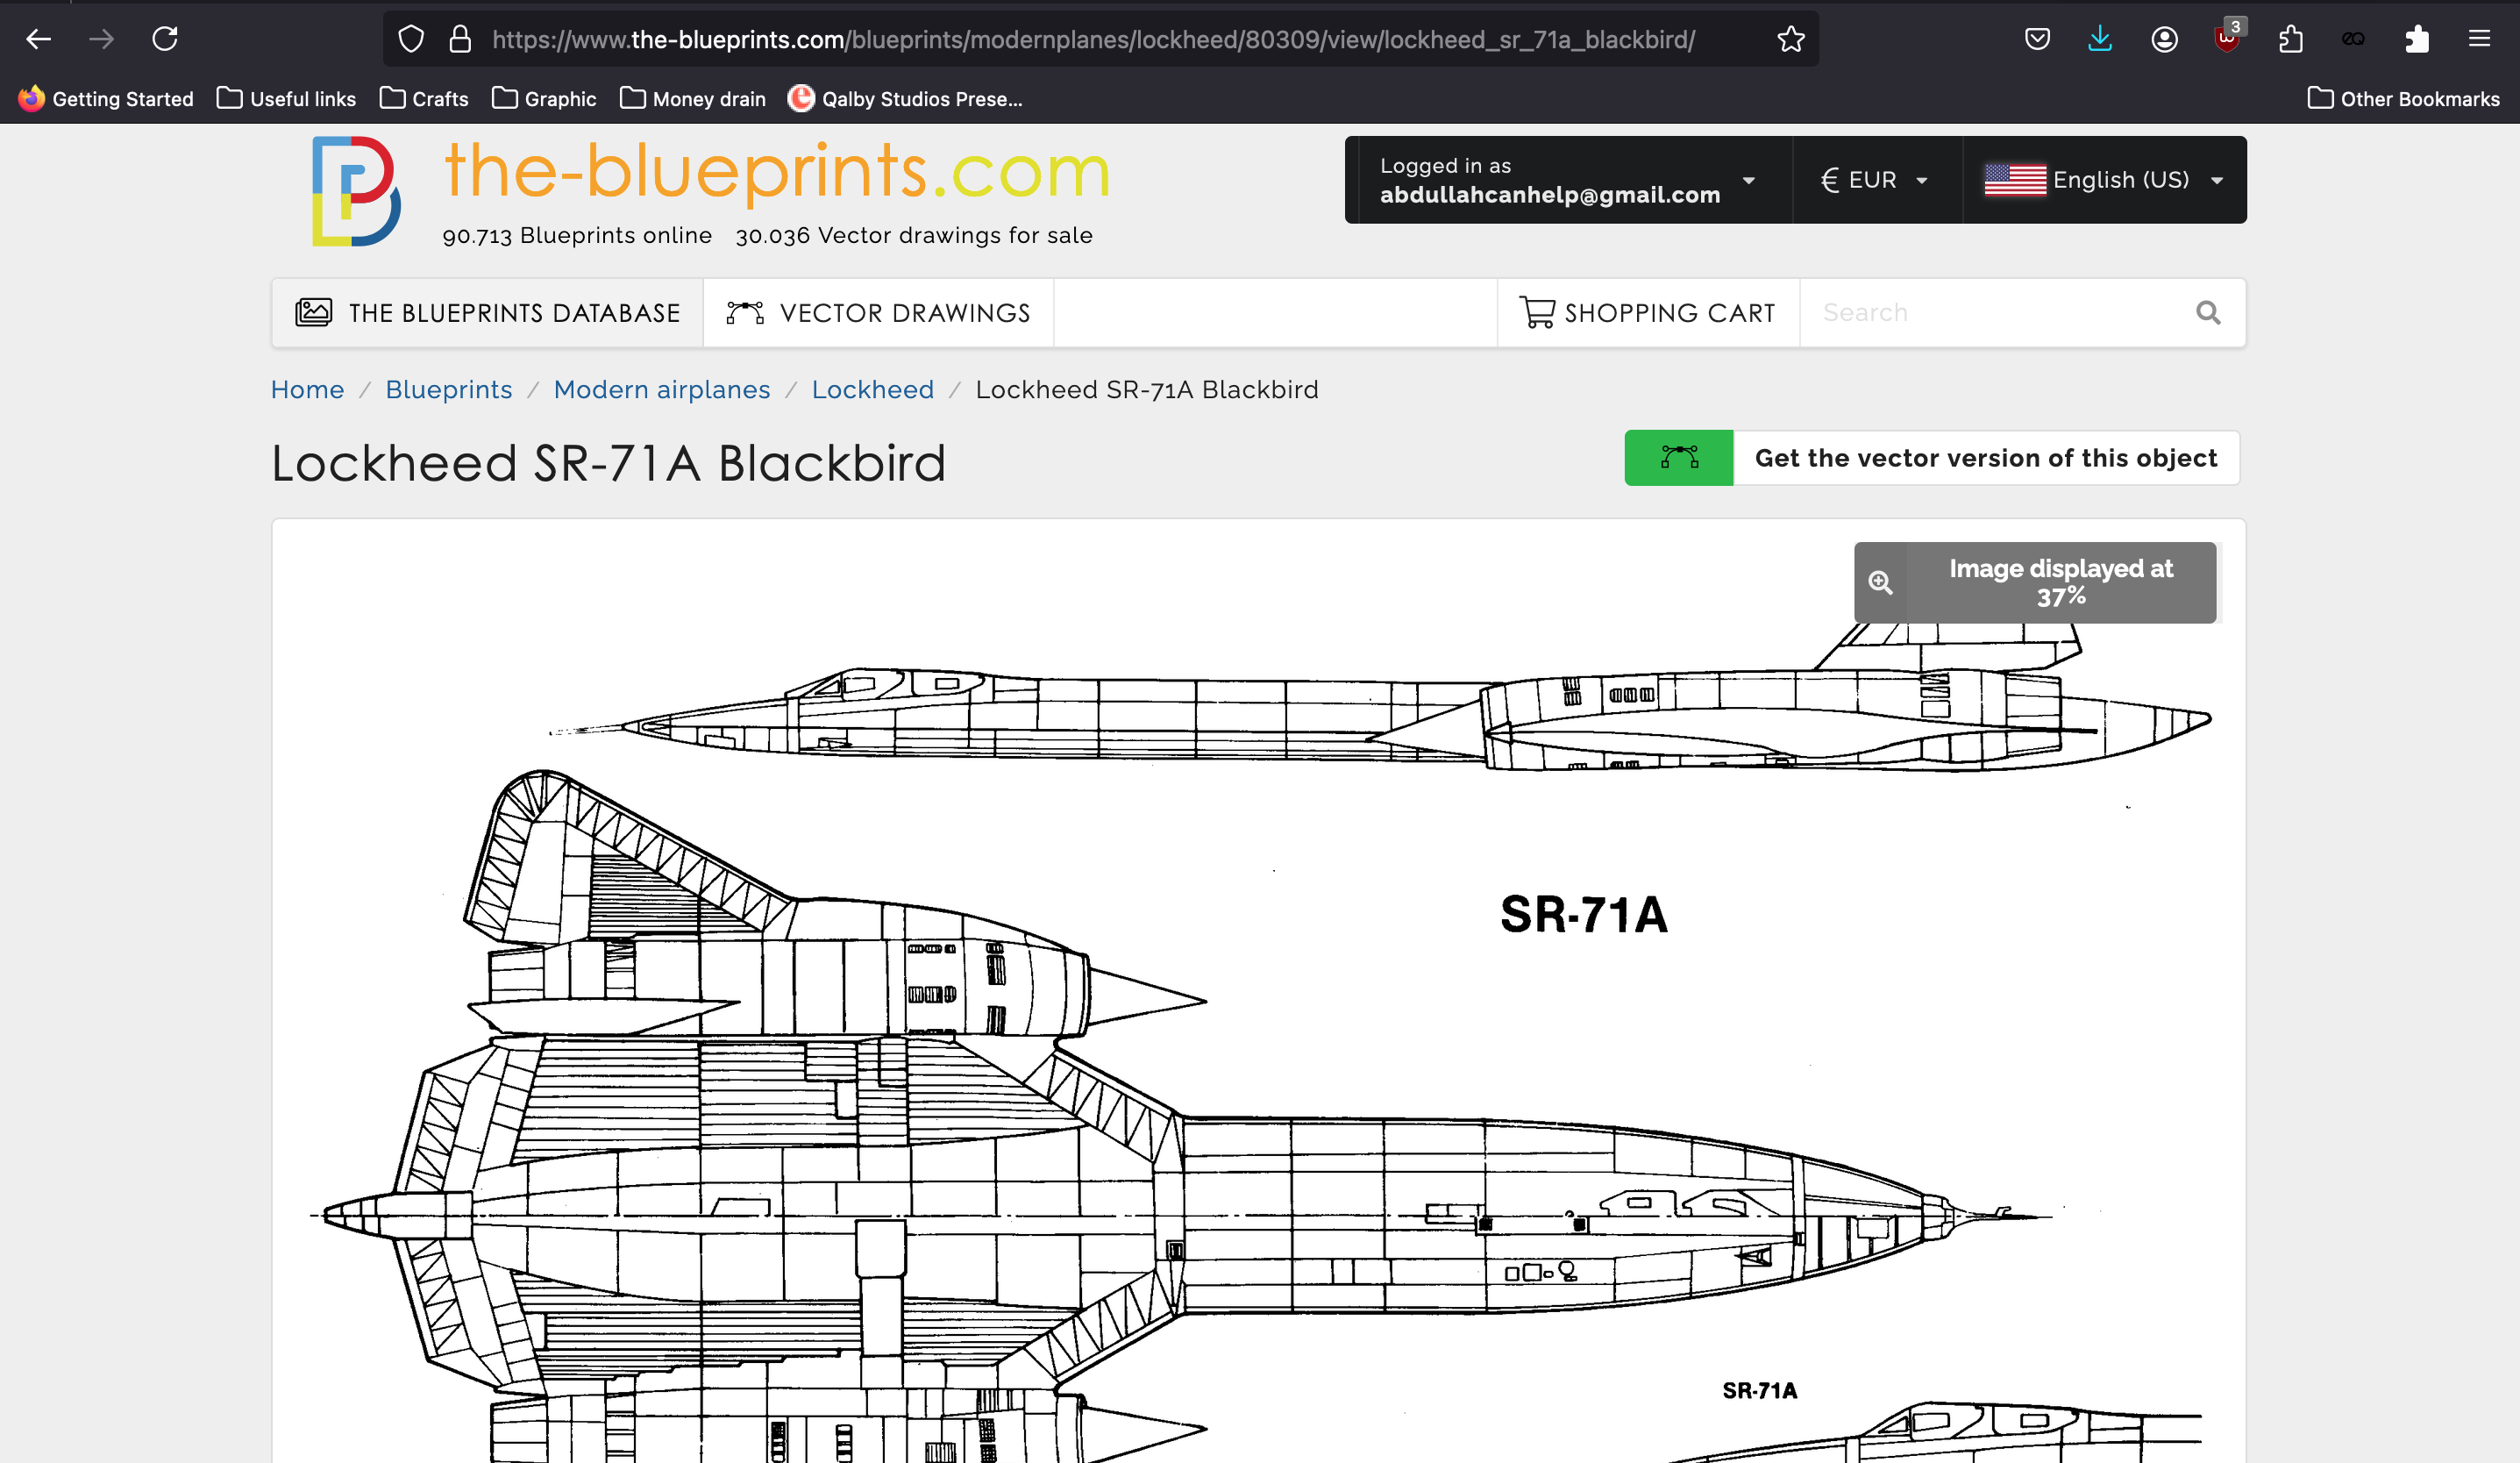
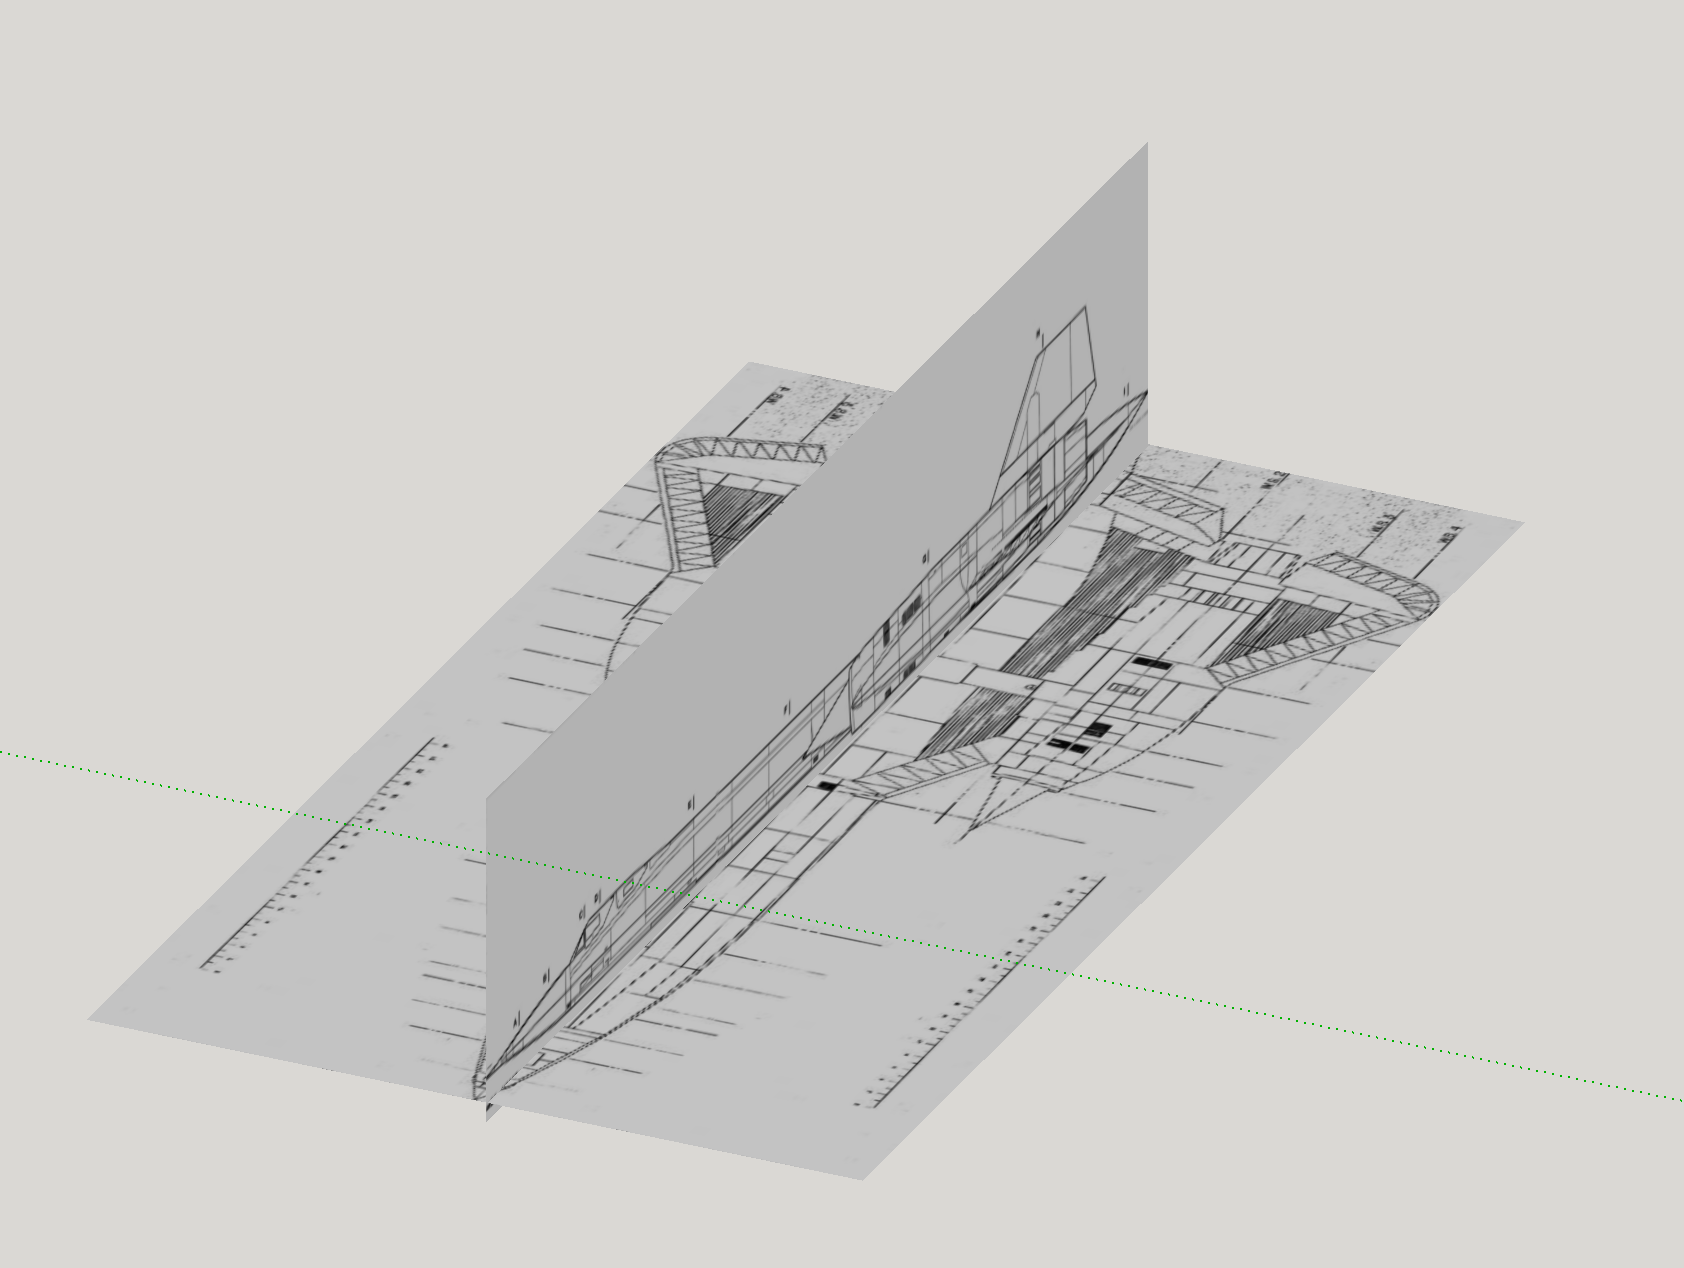
You can find them off of google. Or if you want something more premium I like to use "the-blueprints.com" for all my blueprint needs.
If God is blessing you then you might find a blueprint with cross sections!!! this is PURE GOLD.
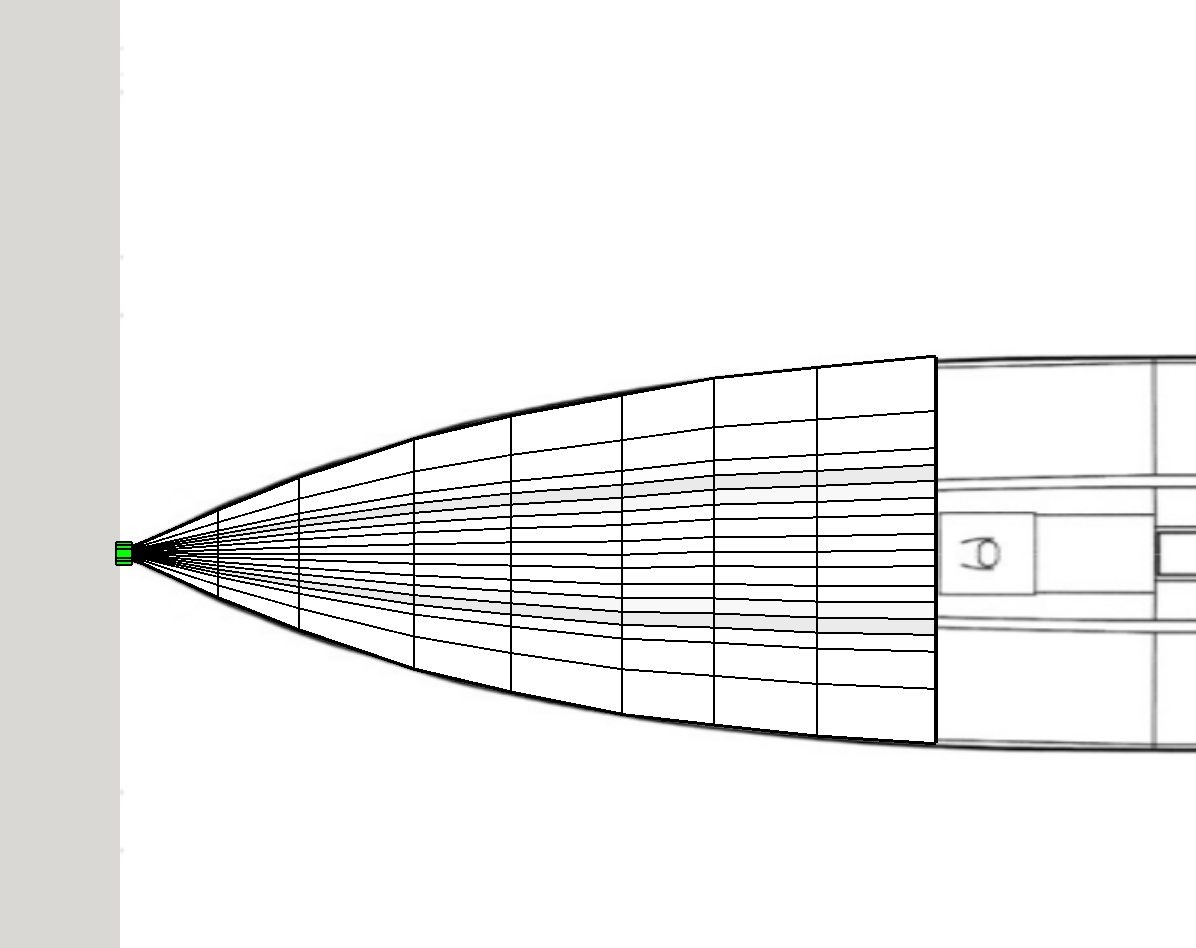
Now I used Gimp to cut the images into sections: TOP. SIDE. FRONT.
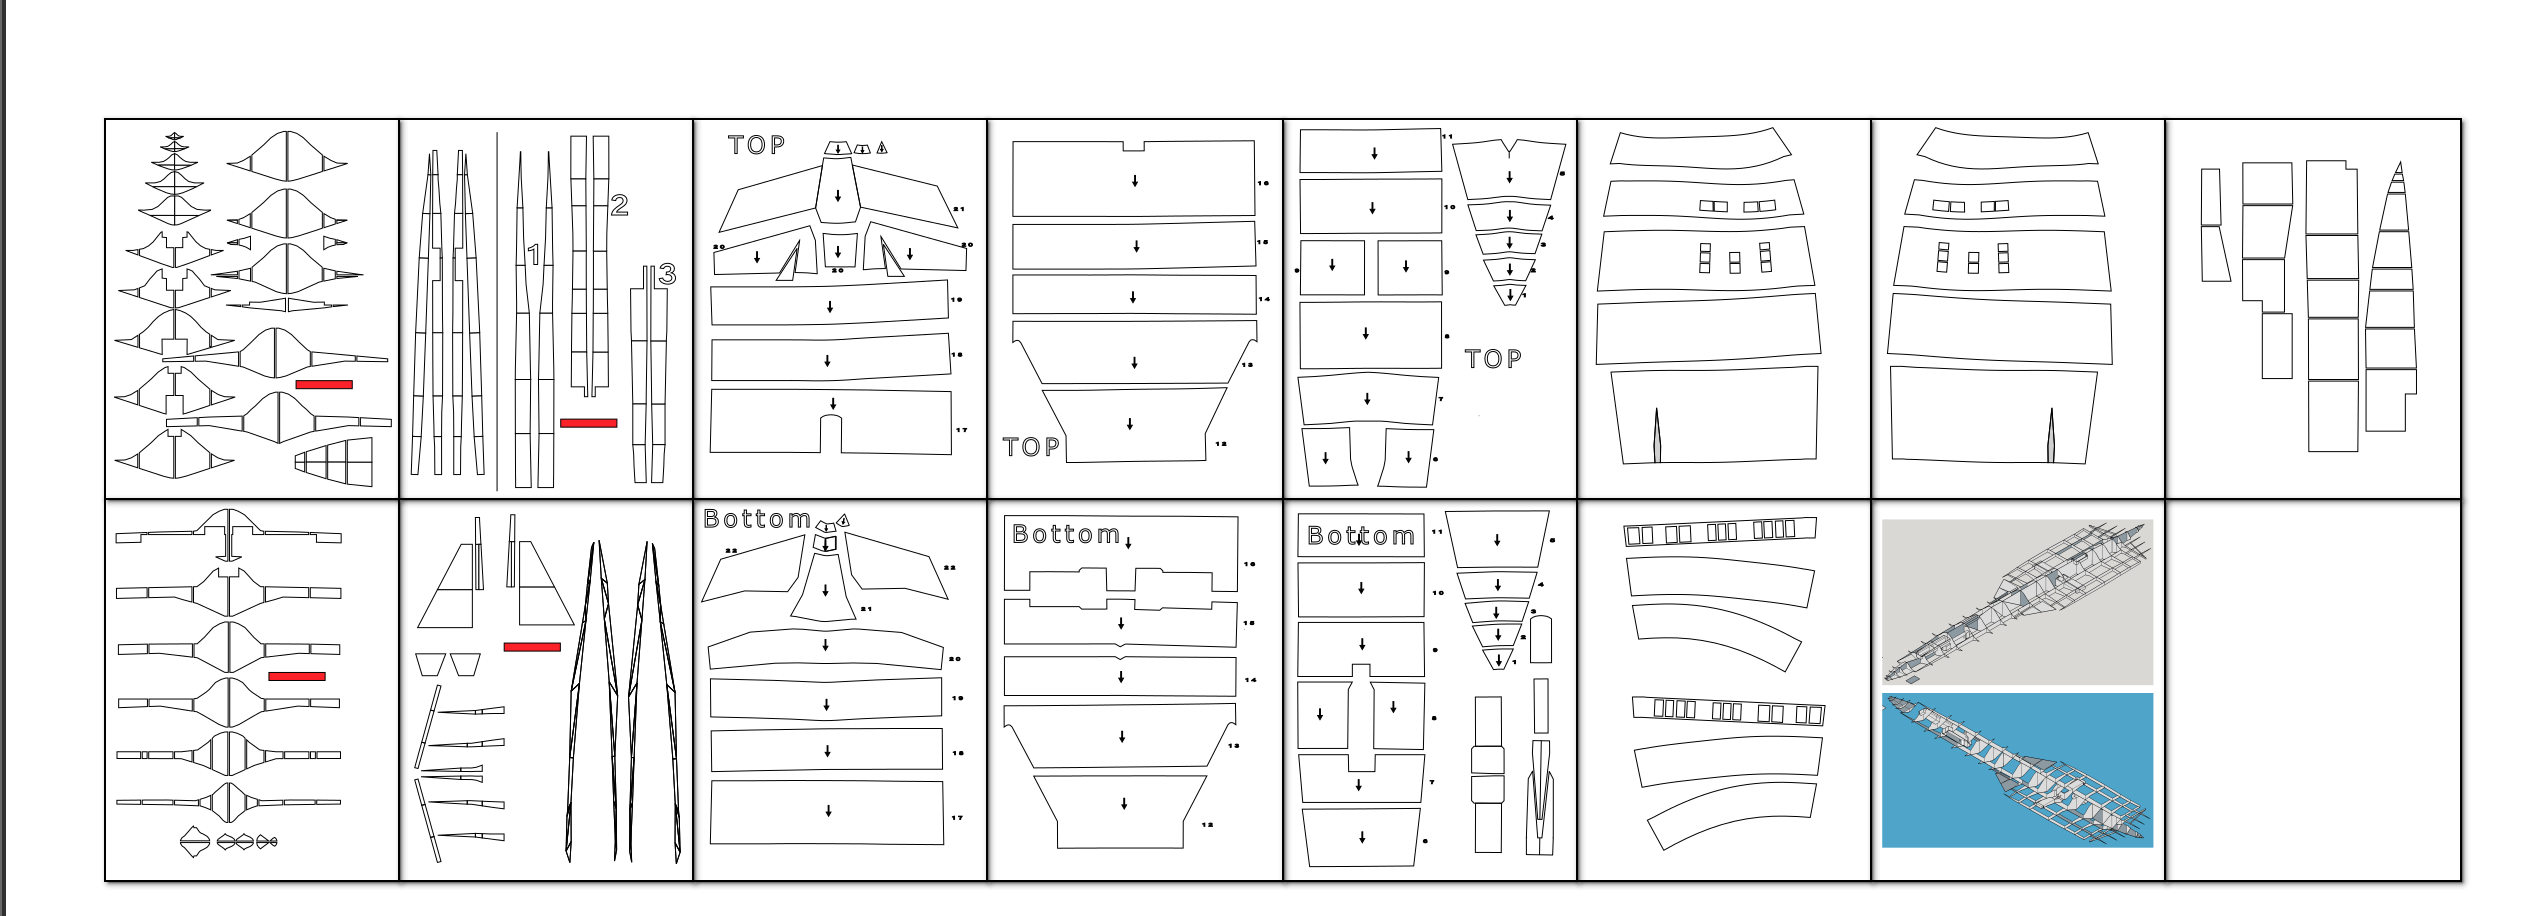
& I imported them into Sketchup and made the layout in image #3.
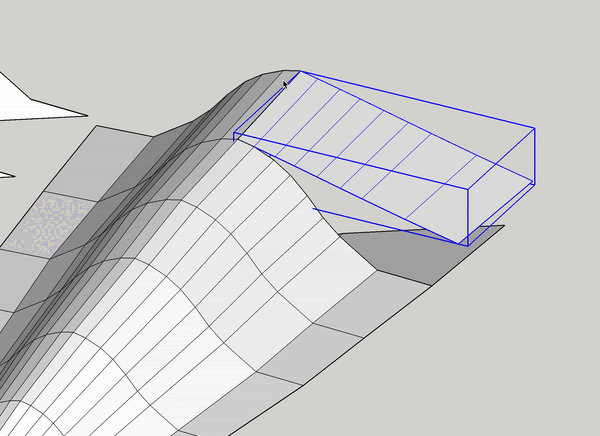
Tracing Using Line Tool
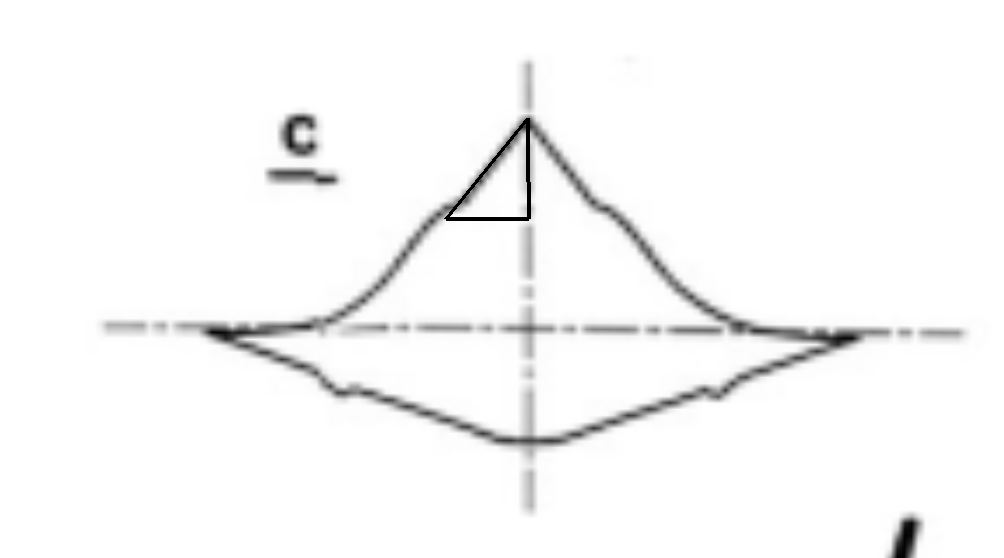
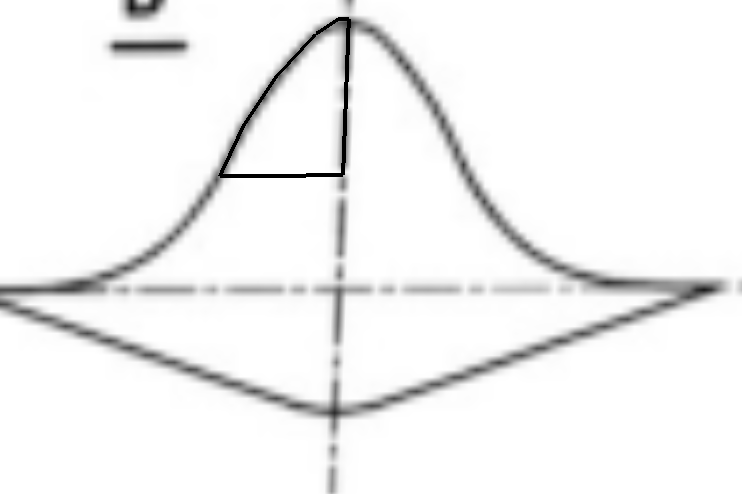
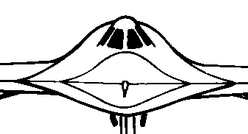
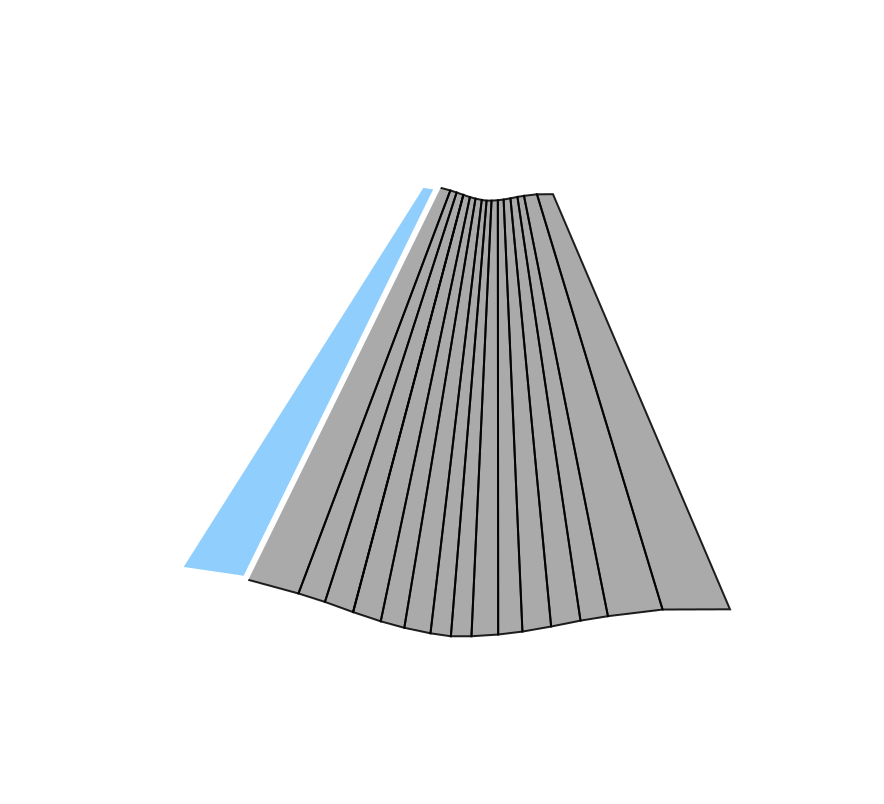
Using the blueprint trace the front (Cross section) silhouette and placi it on the corrosponding area on the top view.
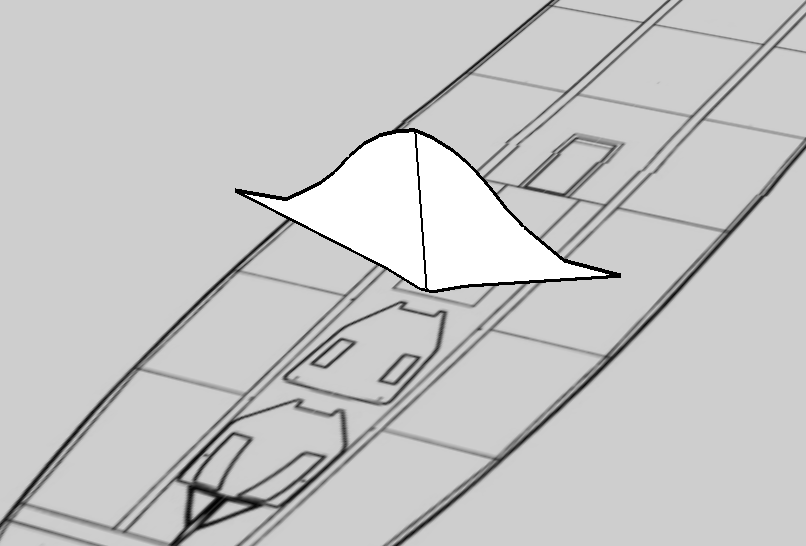
Extrude + Scale
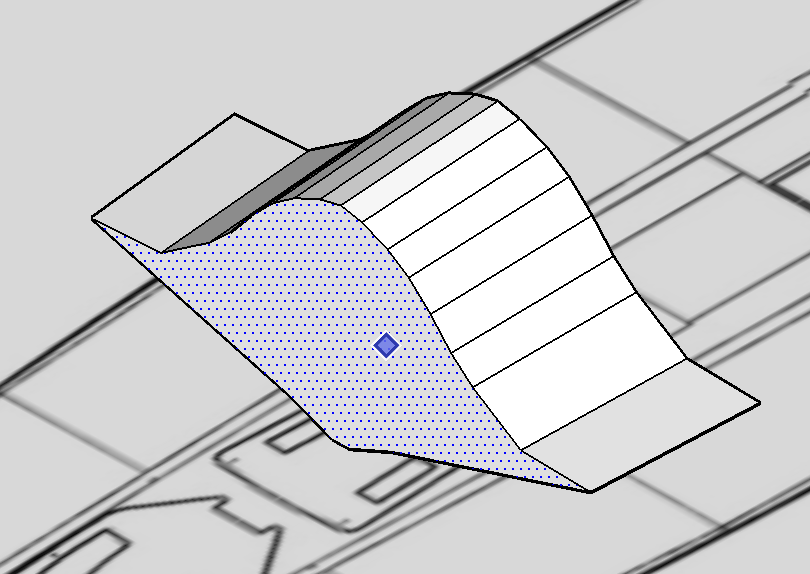
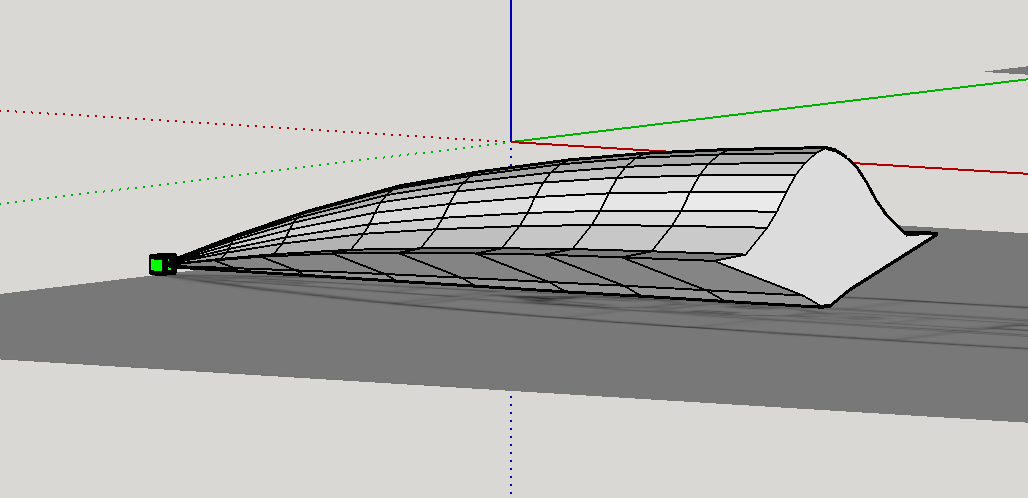
Using the "Extrude/pull" tool pull the first cross section to "fit" the blueprint contours.
Continue as long as the blueprint allows.
NOTE: (Sometimes you will come to a point in which the original blueprint no longer fits. example: You build up to a point where the cross section changes shape. in this situation it is SIMPLE!!!:
- draw out NEW cross section with pen tool and MANUALLY draw connecting lines from the new part to the old part using lines in a triangle-like manner.)
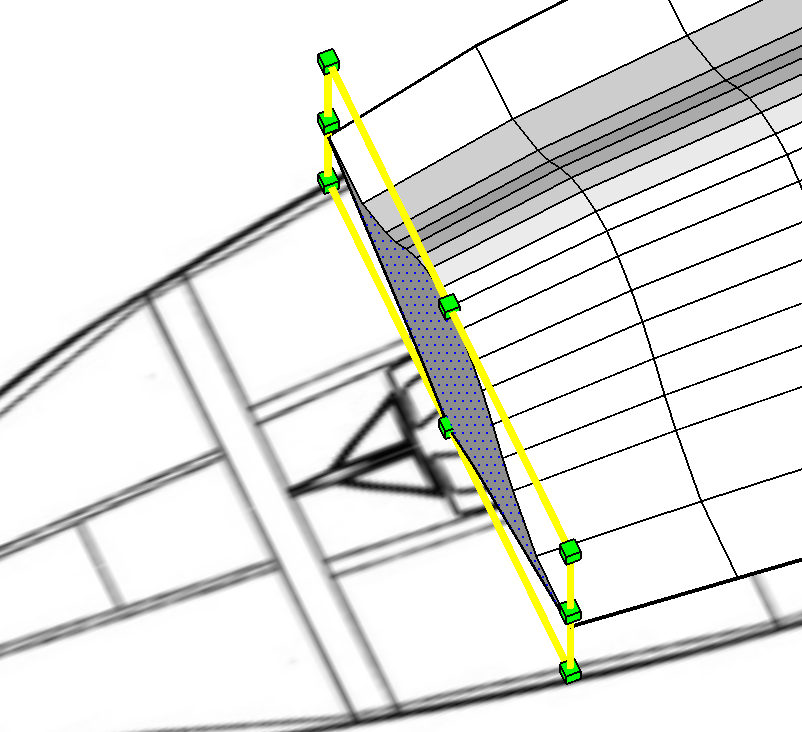
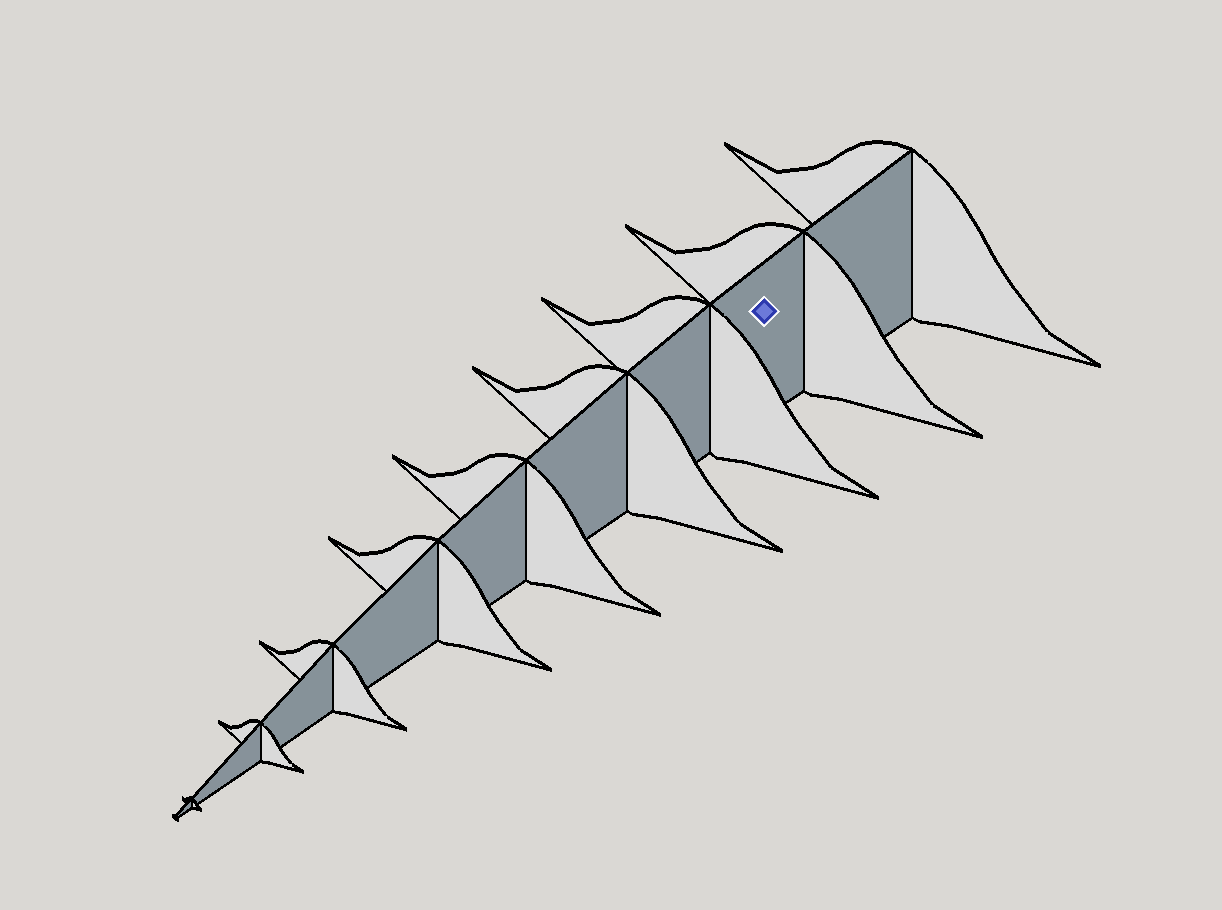
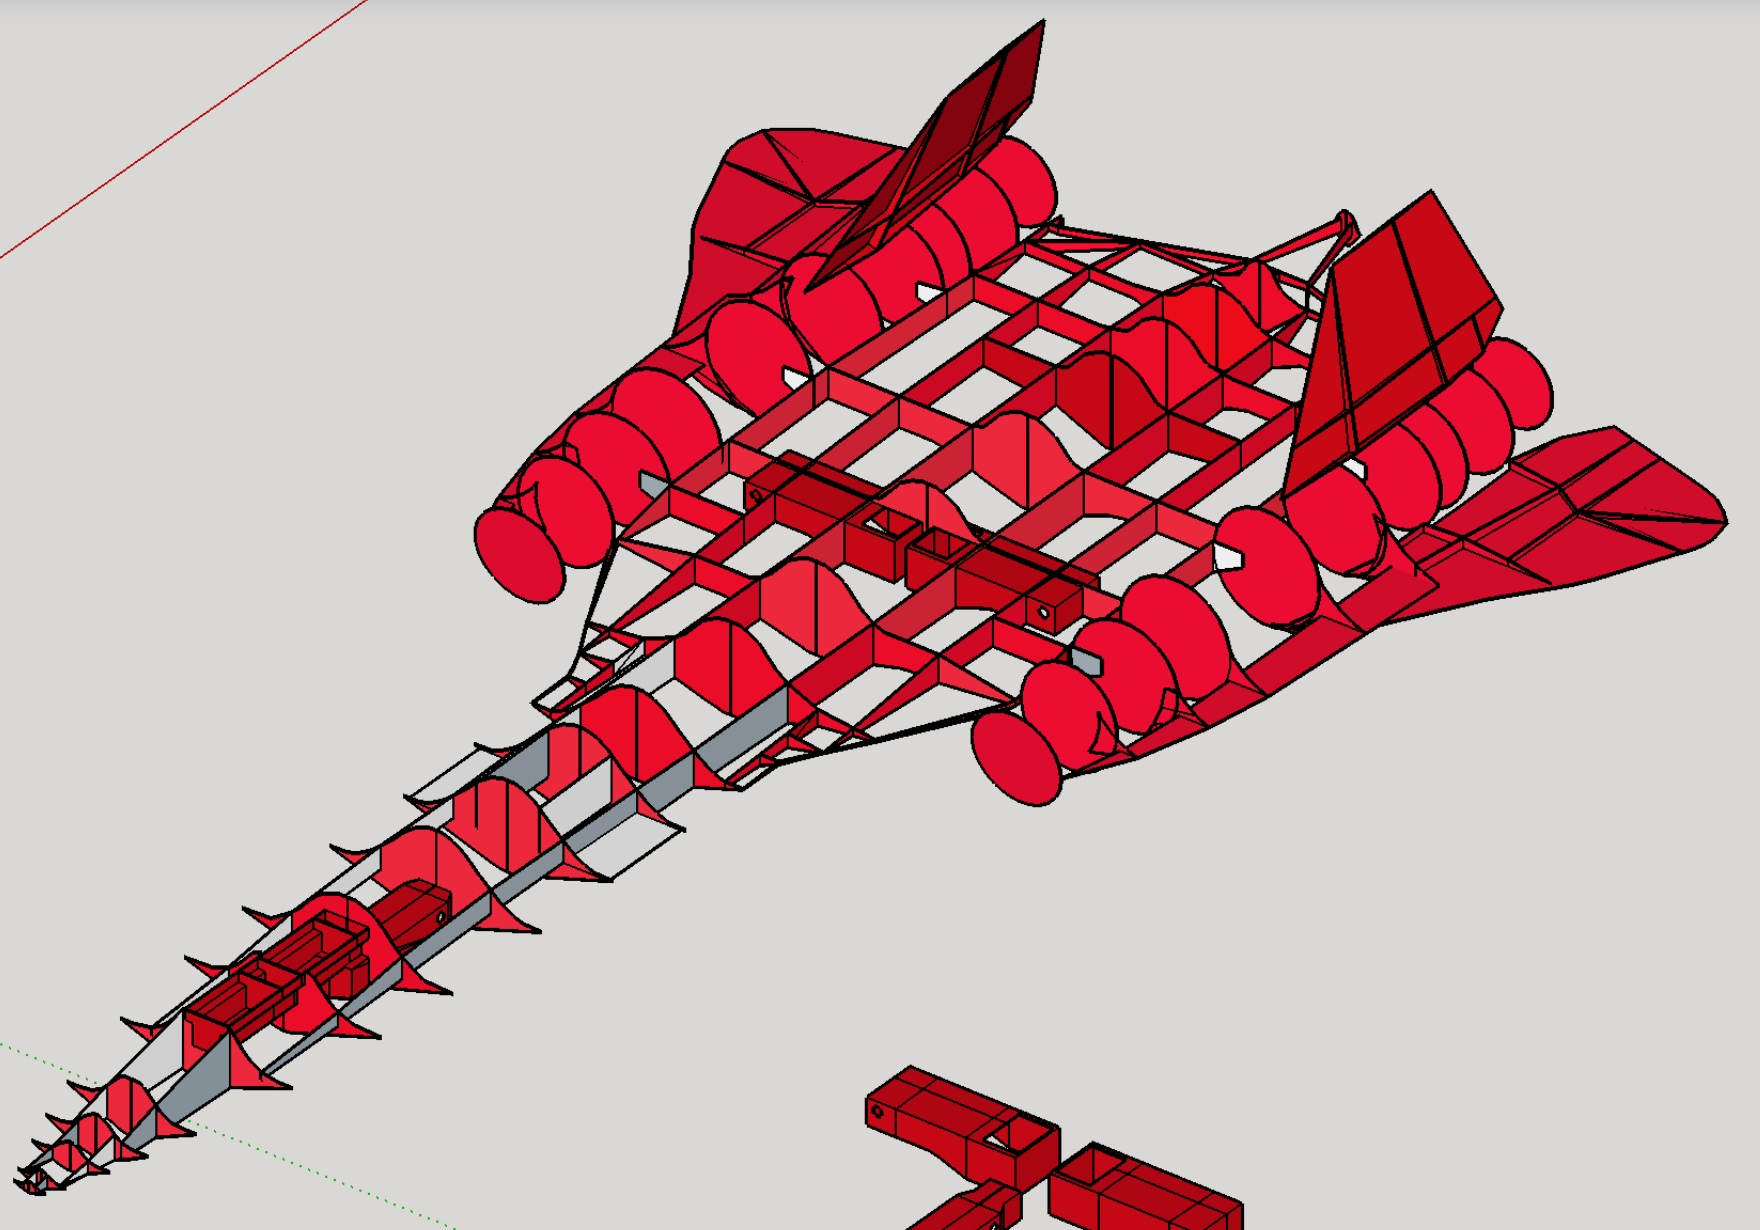
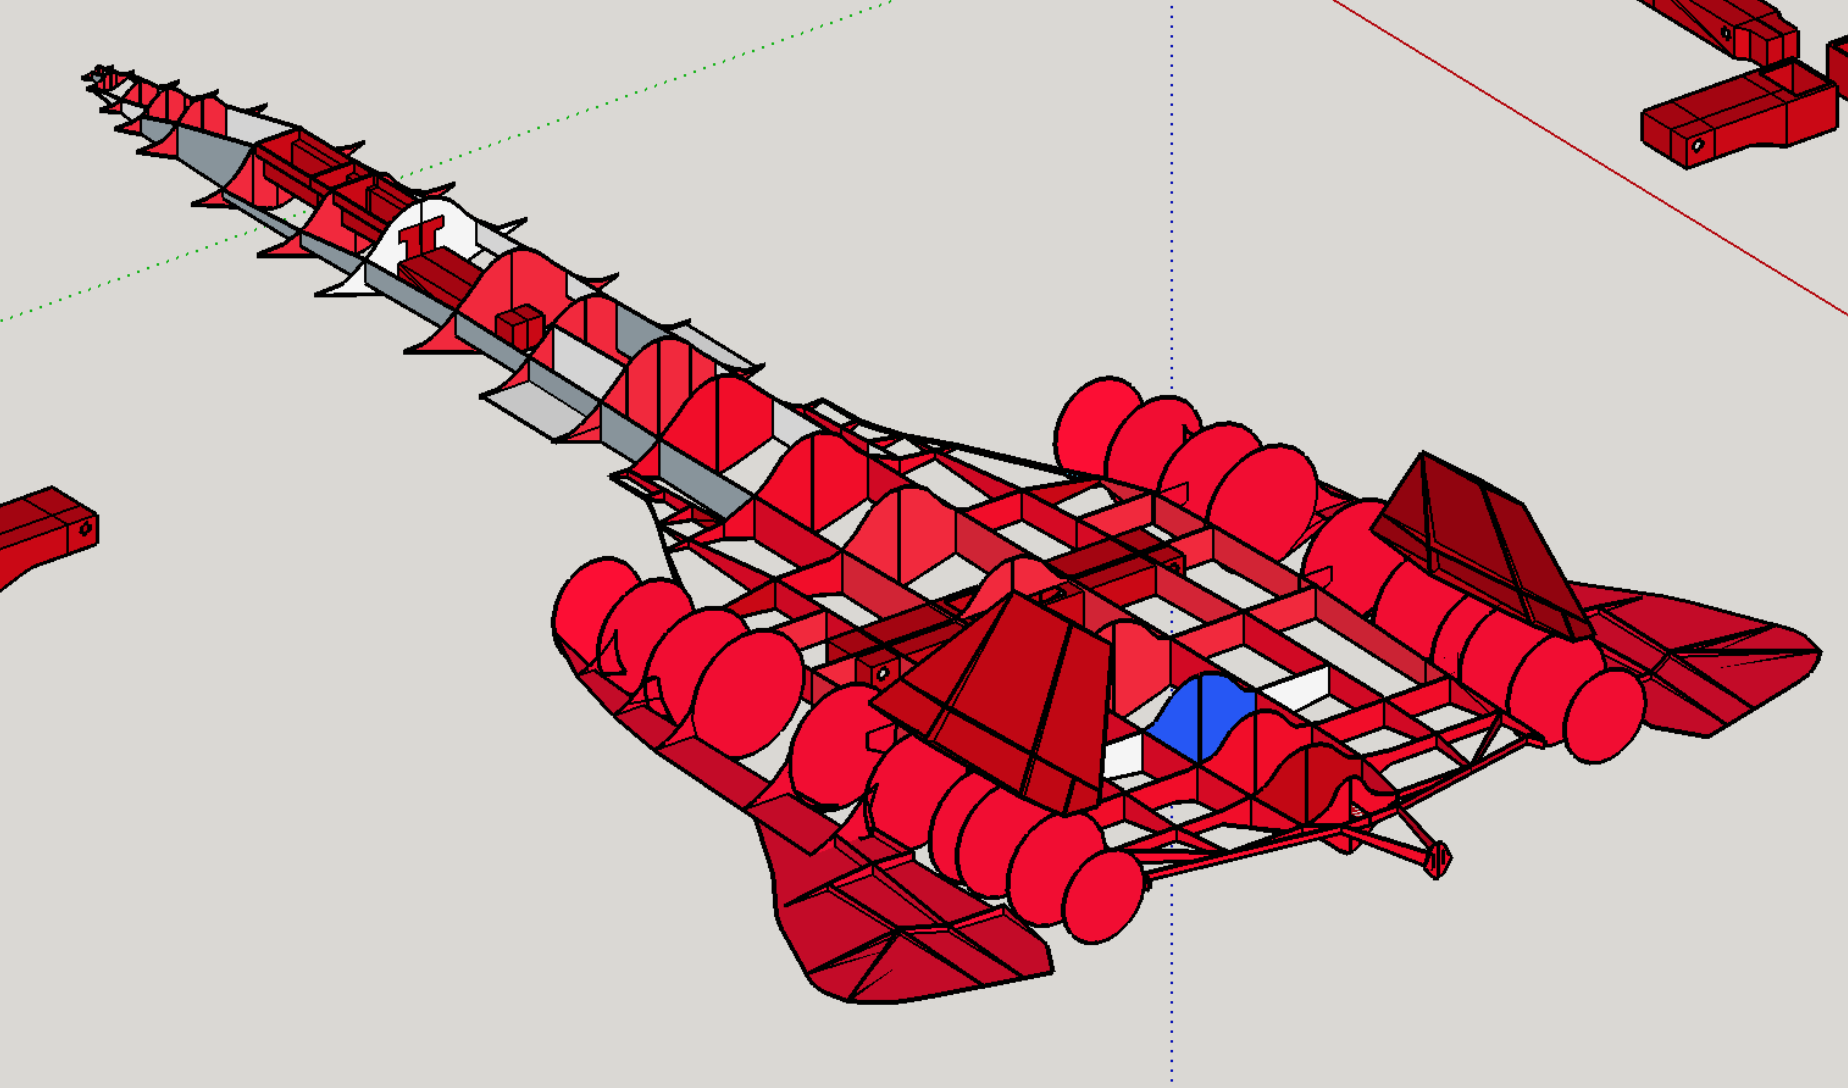
BONES!!!!!

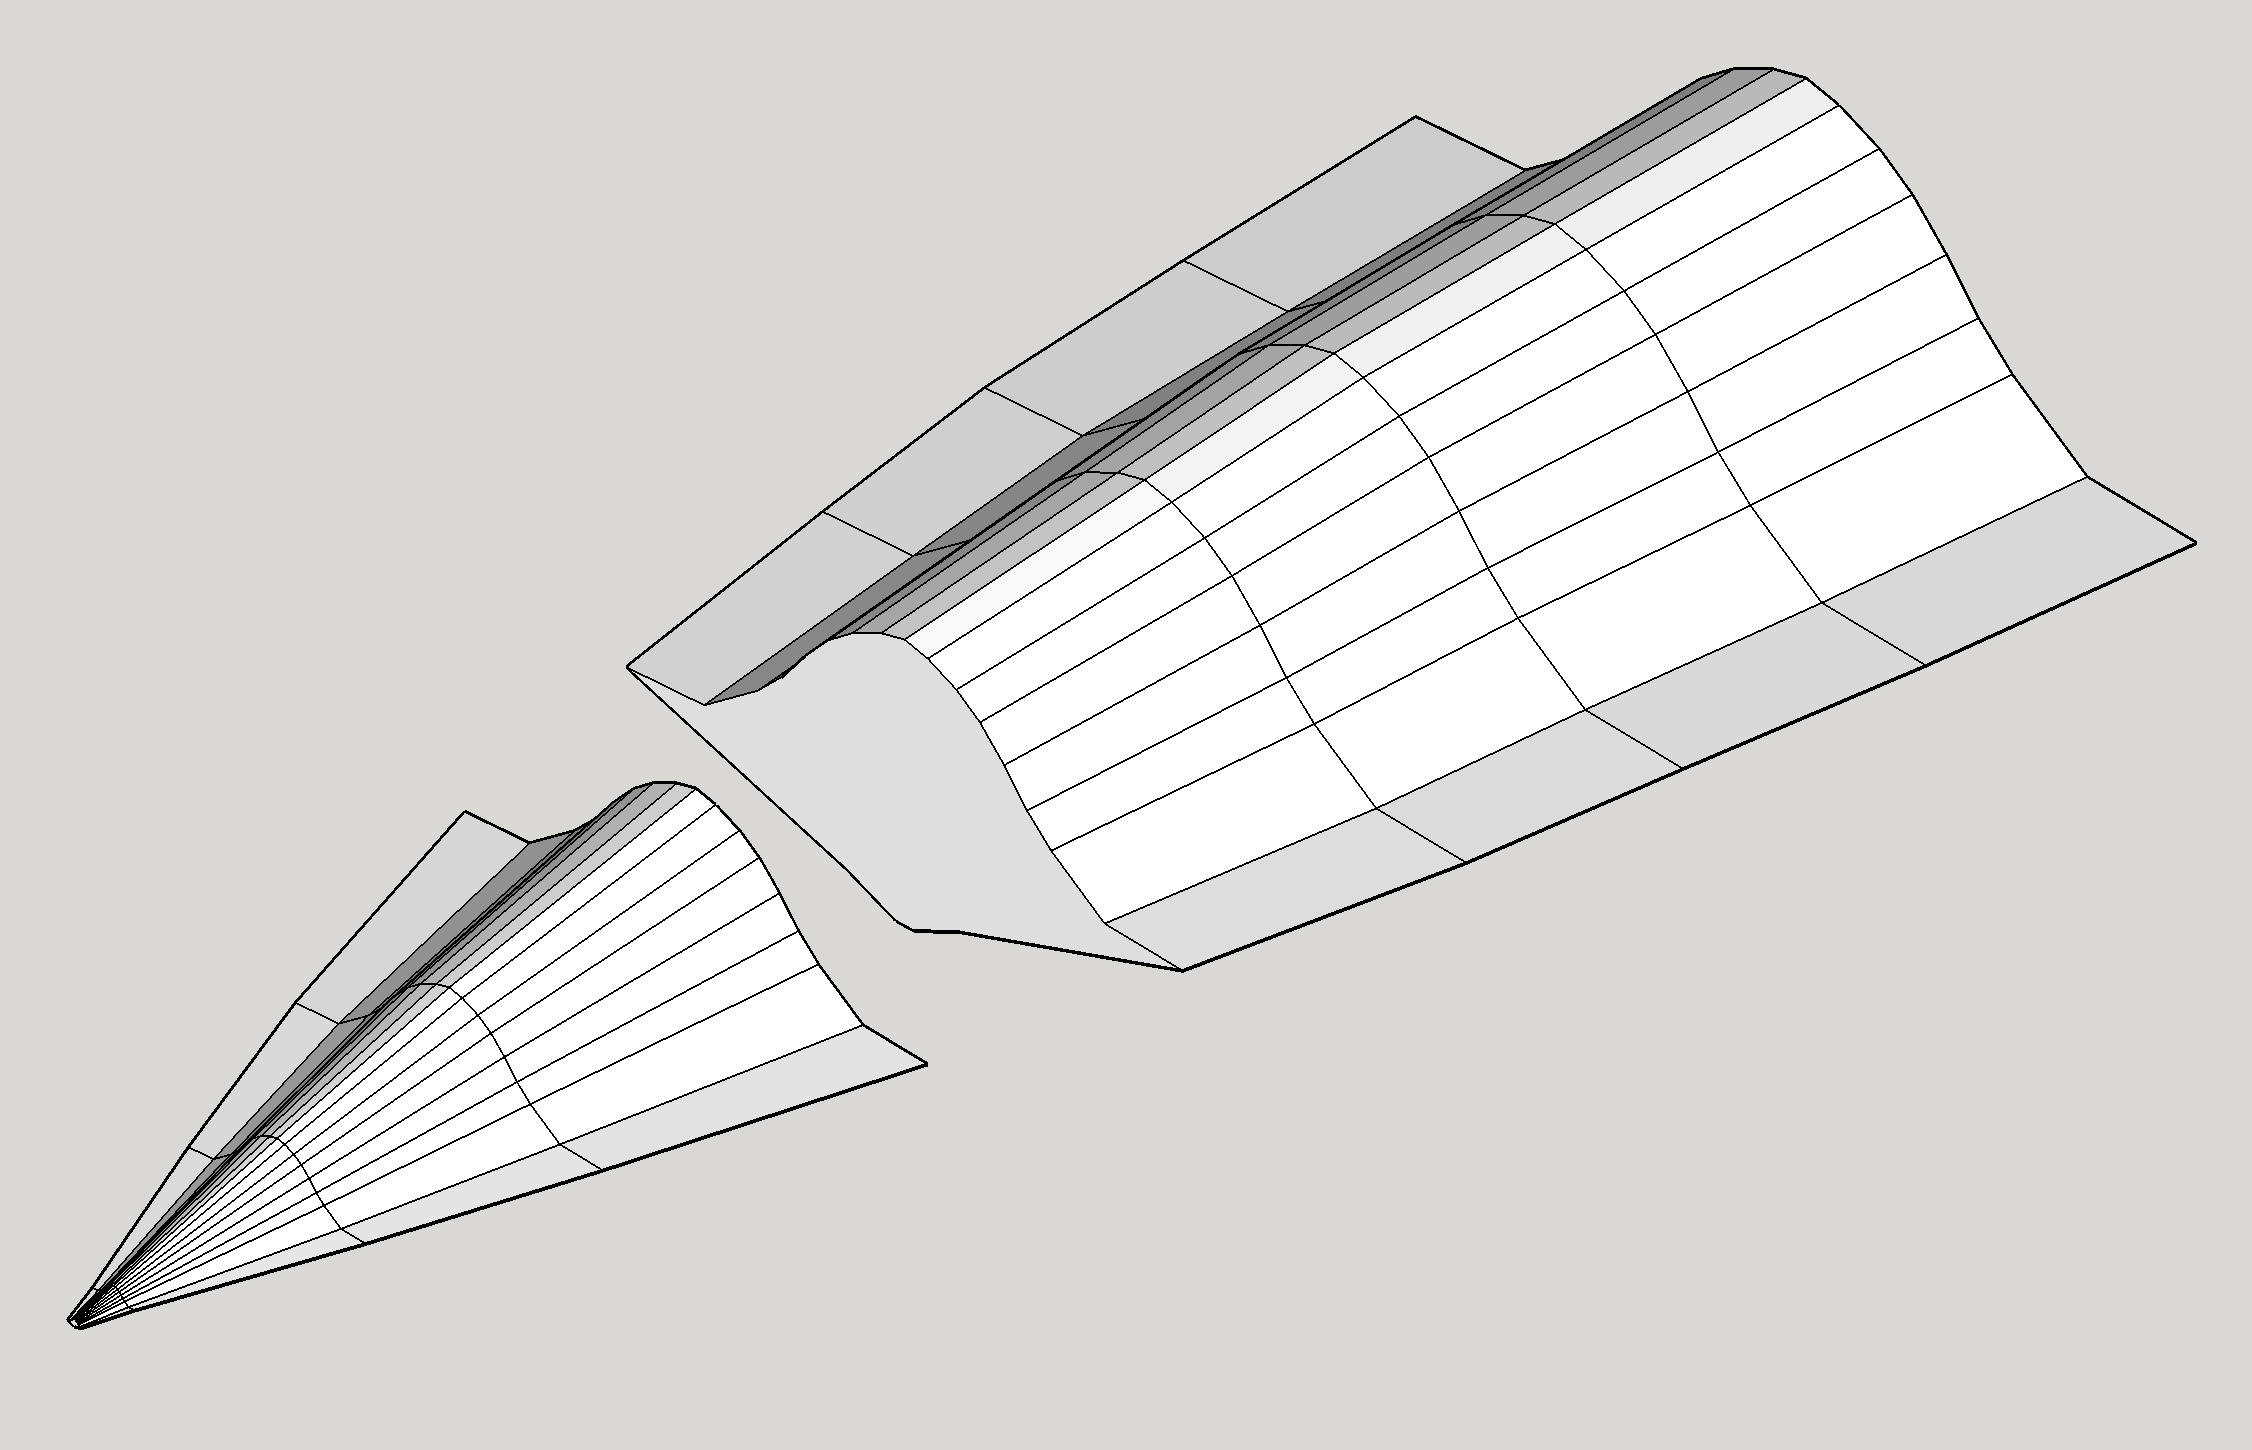
To make a paper model you need to have some kind of inner structure to keep the "skin" in the right position.
To do so:
- DUPLICATE the completed shape (reference step 3 Img 5) SAVE ONE COPY FOR LATER
- DELETE connecting lines
- RECONNECT any broken cross sections in the shape
See Gif :)
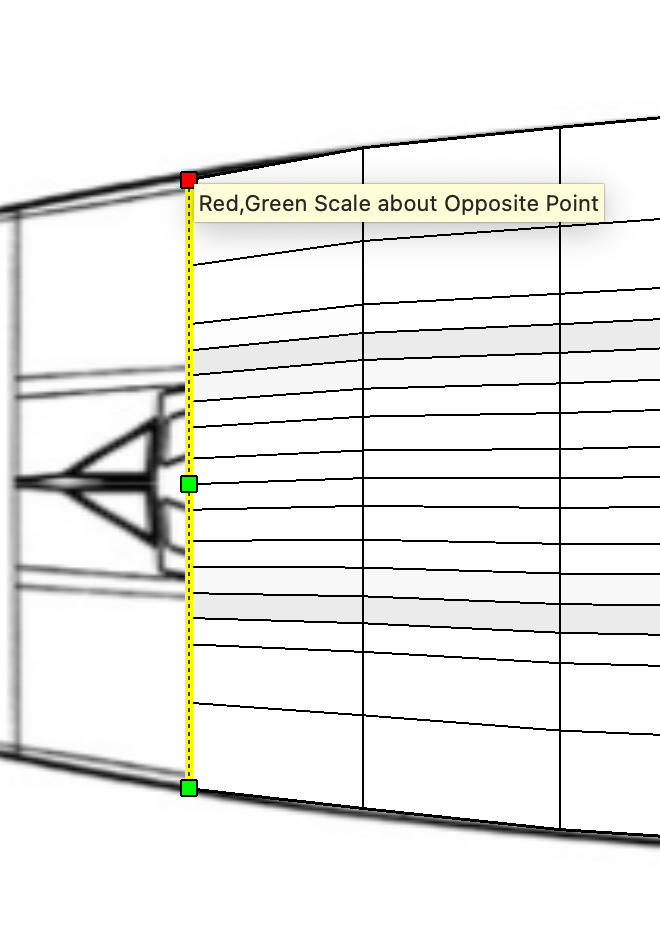
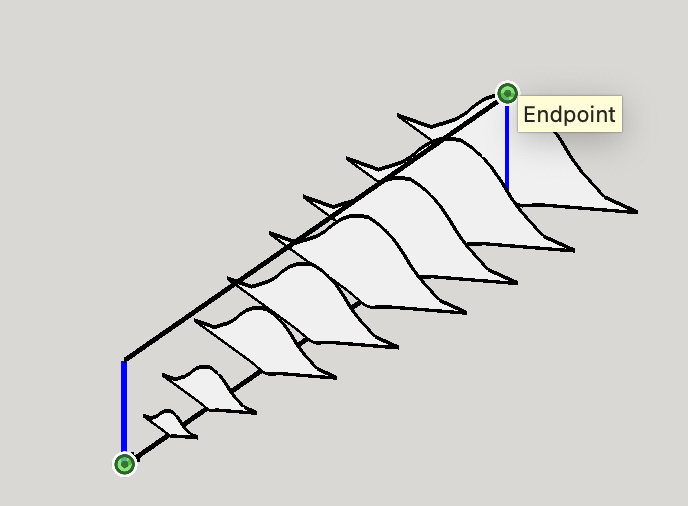
Center Line
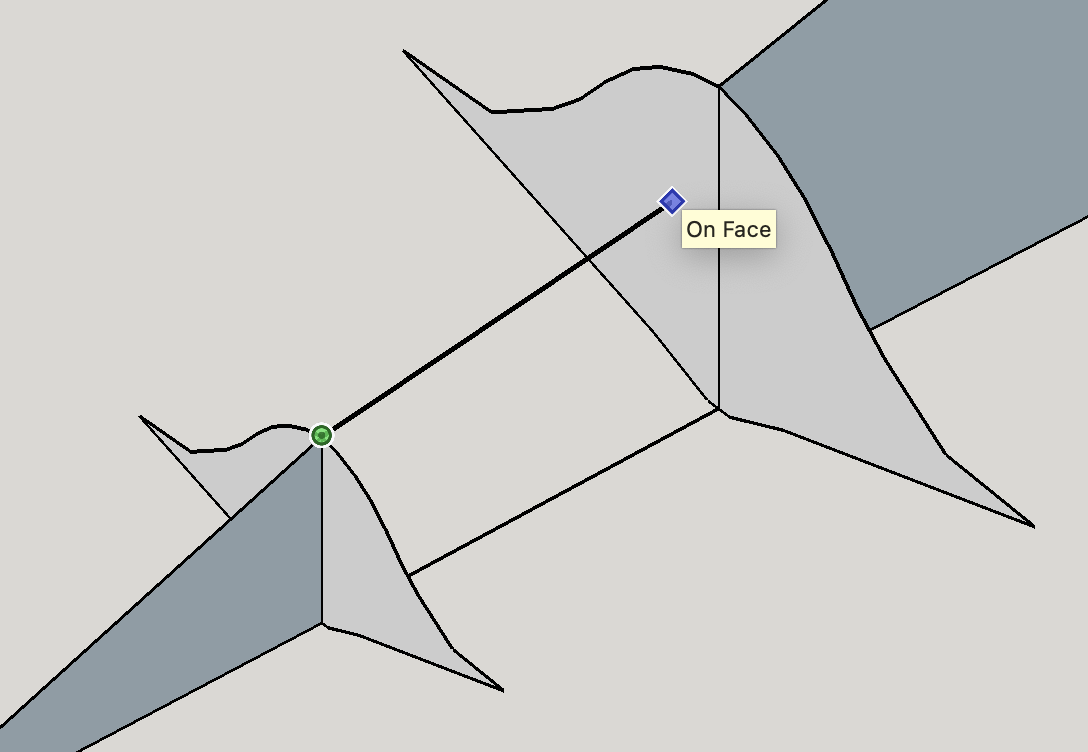
Using the pen tool draw a line to make a center-line between EACH cross section.
If it just WON'T close and INSISTS on being open, then do the following:
- Take a deep breath
- Double check to make sure you are clicking on the right node
- Be sure you are drawing vertically down the cross section in a STRAIGHT LINE
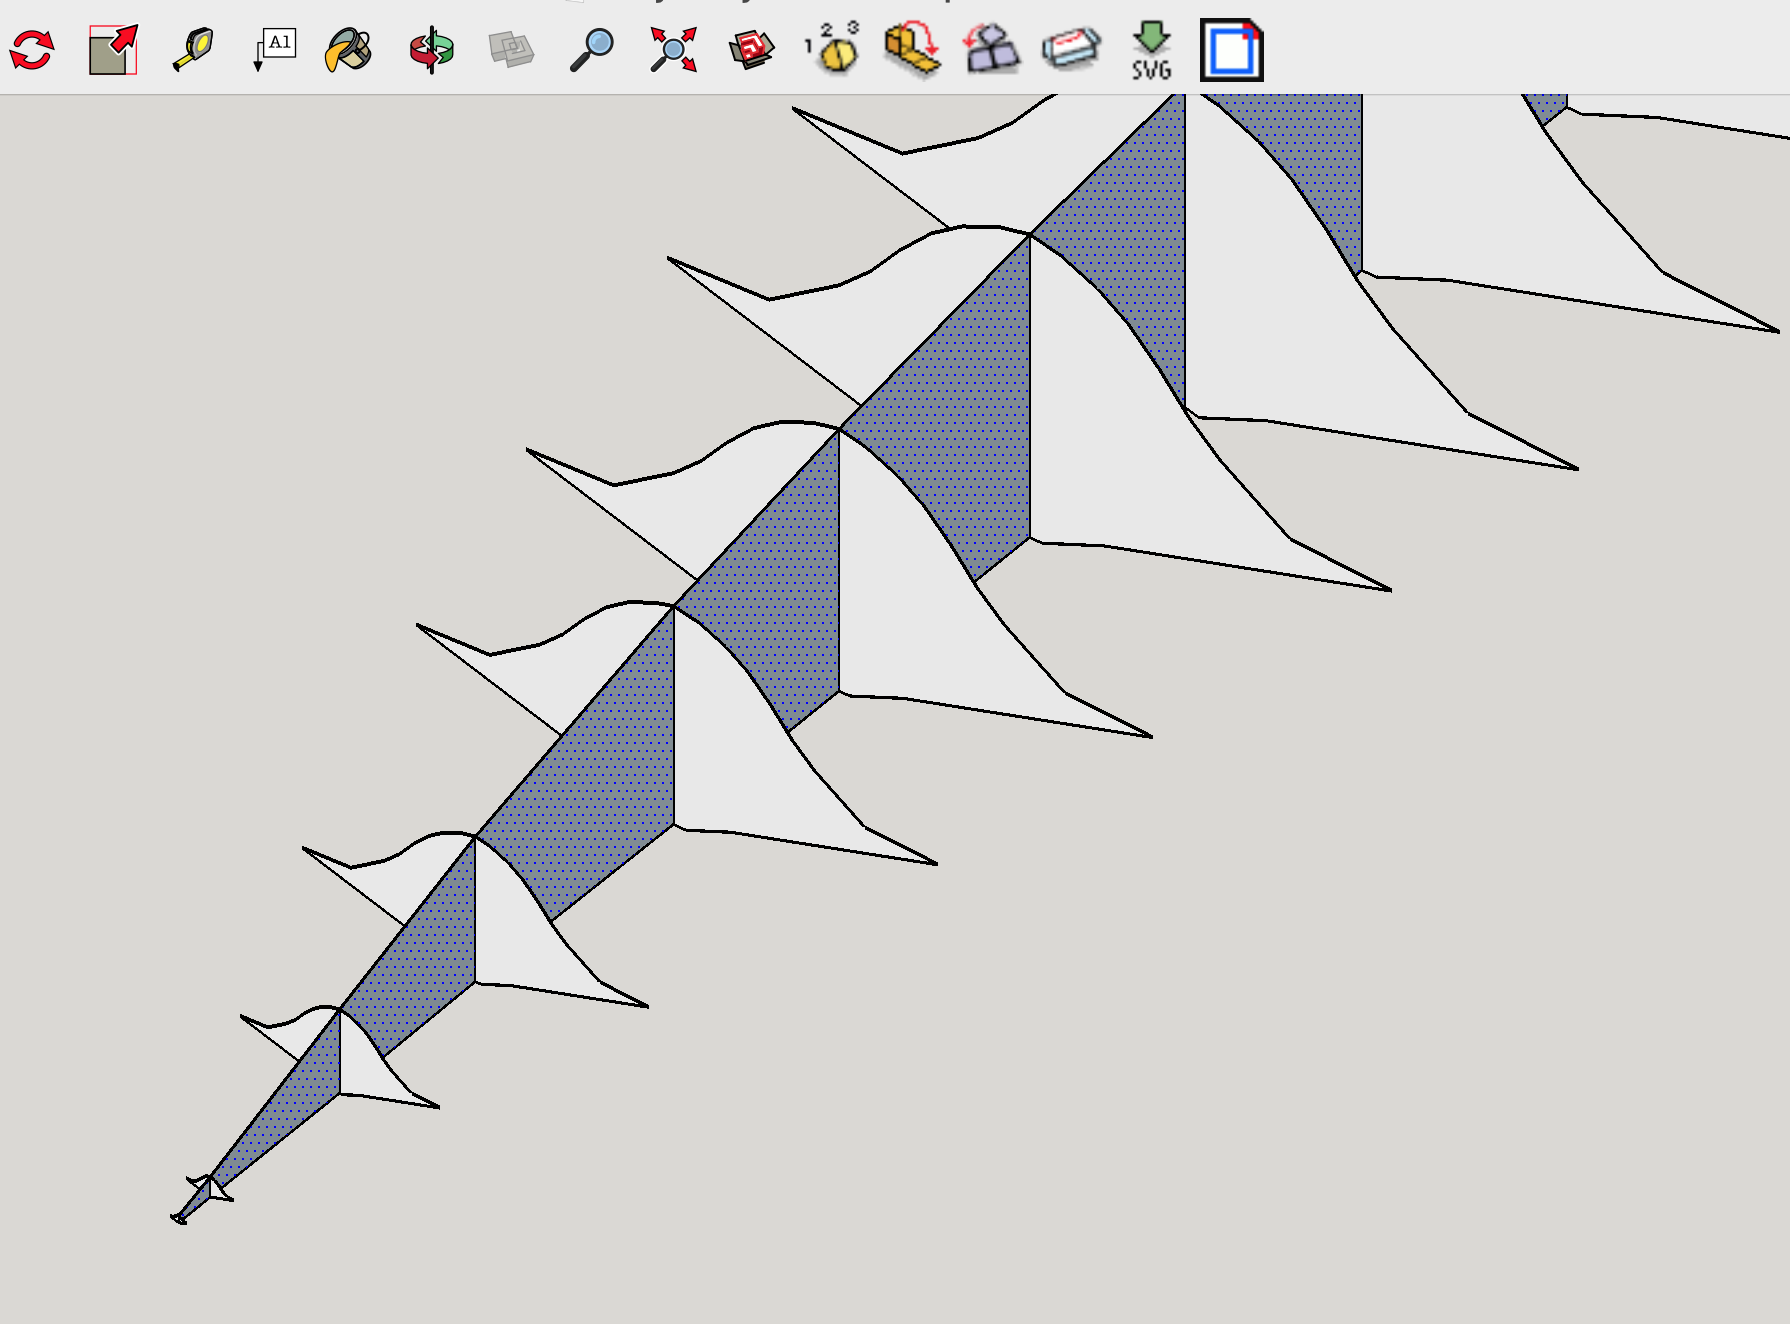
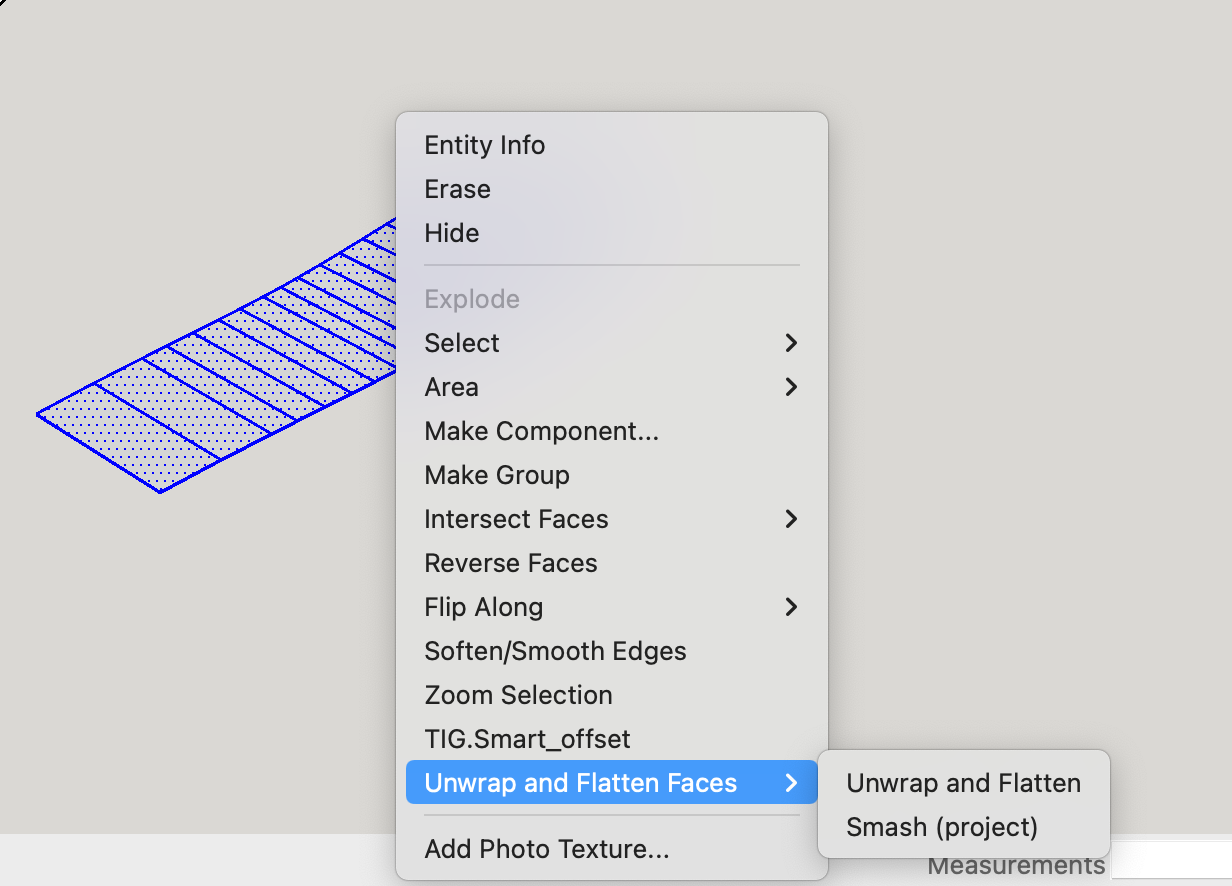
Unwrap and Flatten
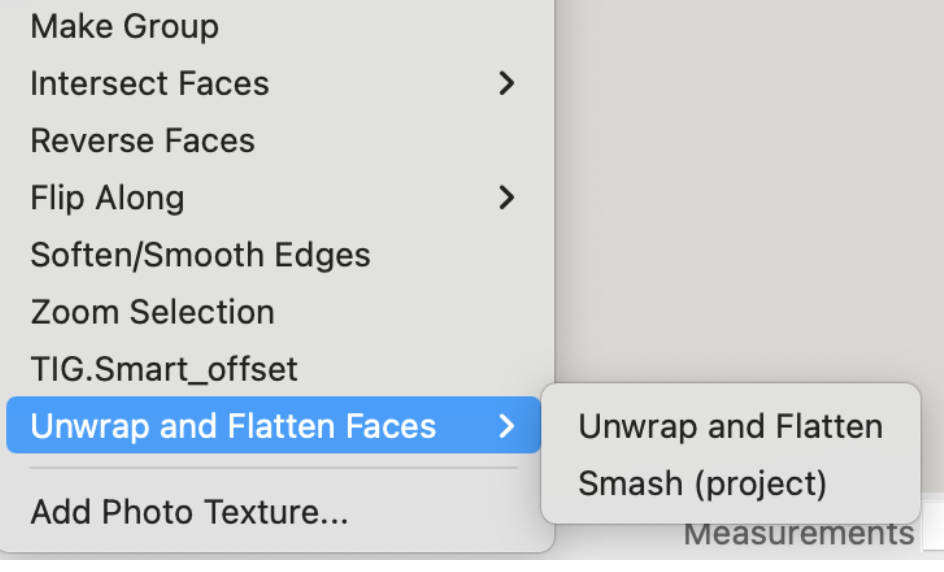
Here are the steps:
- Make sure that everything is un-grouped
- Click on one of the cross-sections if you did it right one cross section will be made up of two halves.
- Right-click and scroll down to Unwrap and flatten faces > Unwrap and flatten
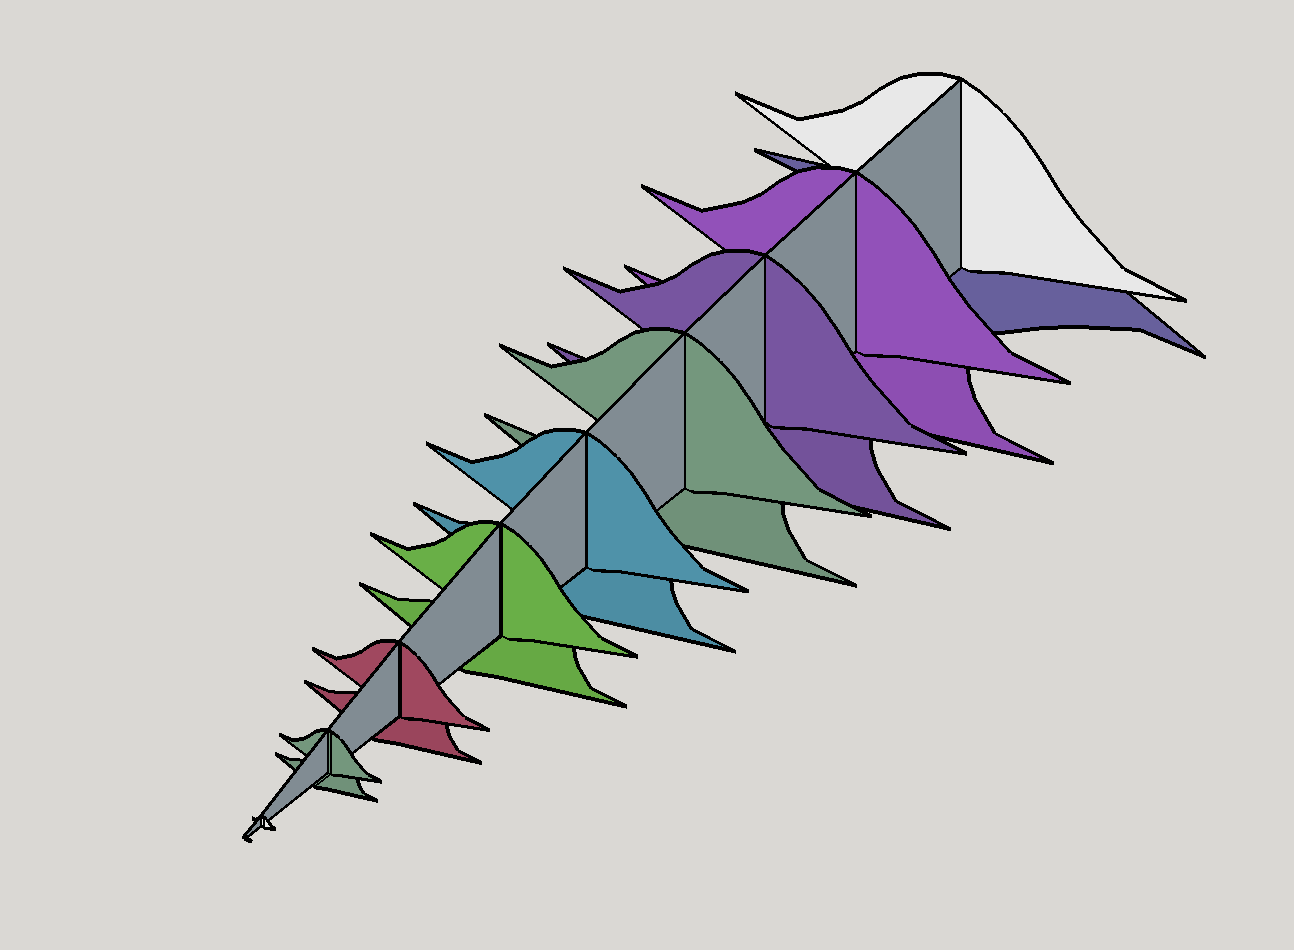
Back to the Skin

Now back to the hollow skin that you have (hopefully) saved. We will use FLATTERY for this.
- Click once on the unfolded cube graphic on the tool-bar
- Click on the first facet of the shape and continue clicking on all of the facets until you have a flattenedsheet.
More Flattening
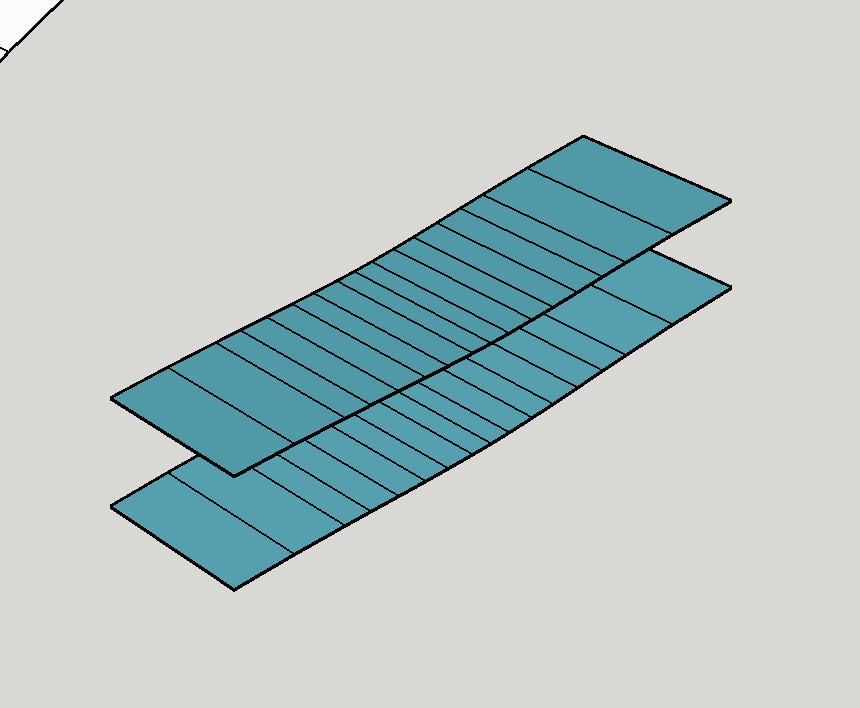
Now we will use the "Unwrap and flatten" plugin.
- Make sure the part is ungrouped
- right click and go to: Unwrap and flatten Faces > Unwrap and flatten
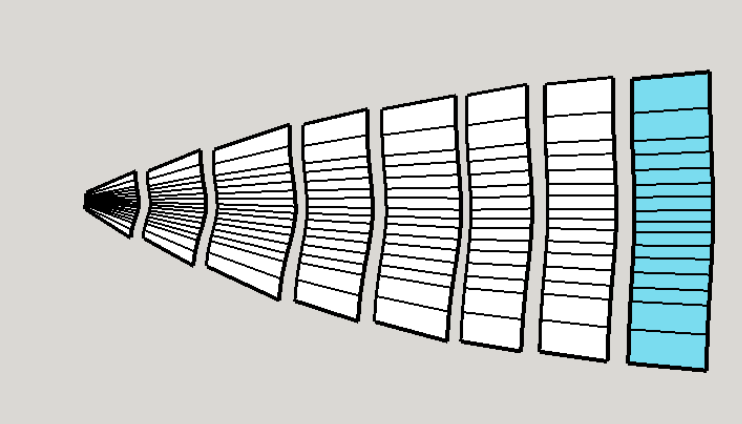
You should have something similar to img#3 :)))
Export using the Flattery: "Export as SVG"
Inkscape
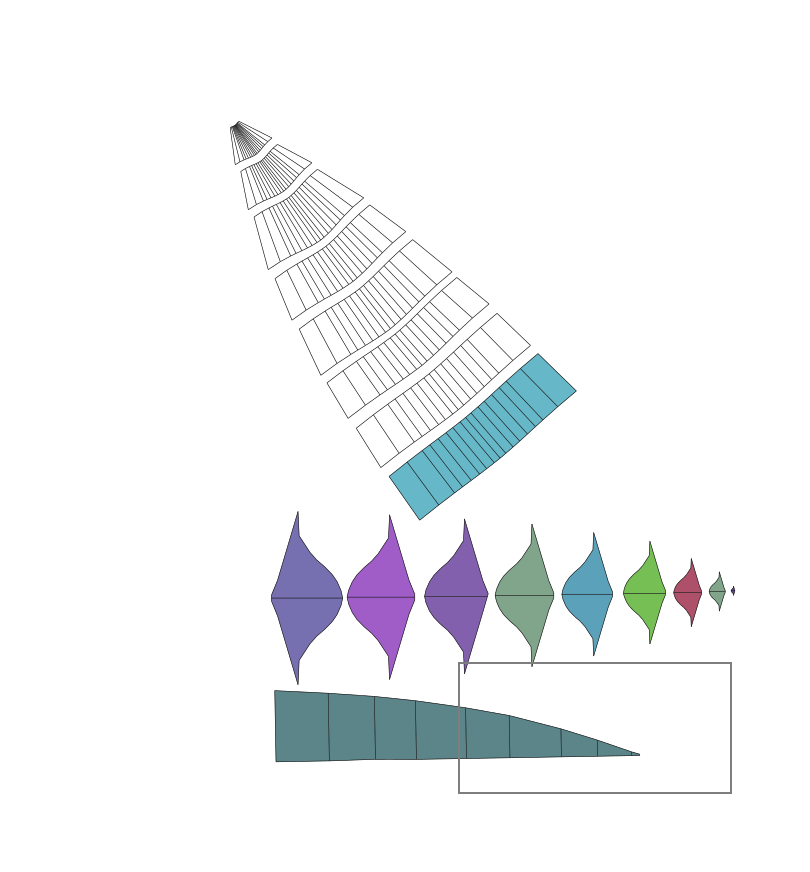
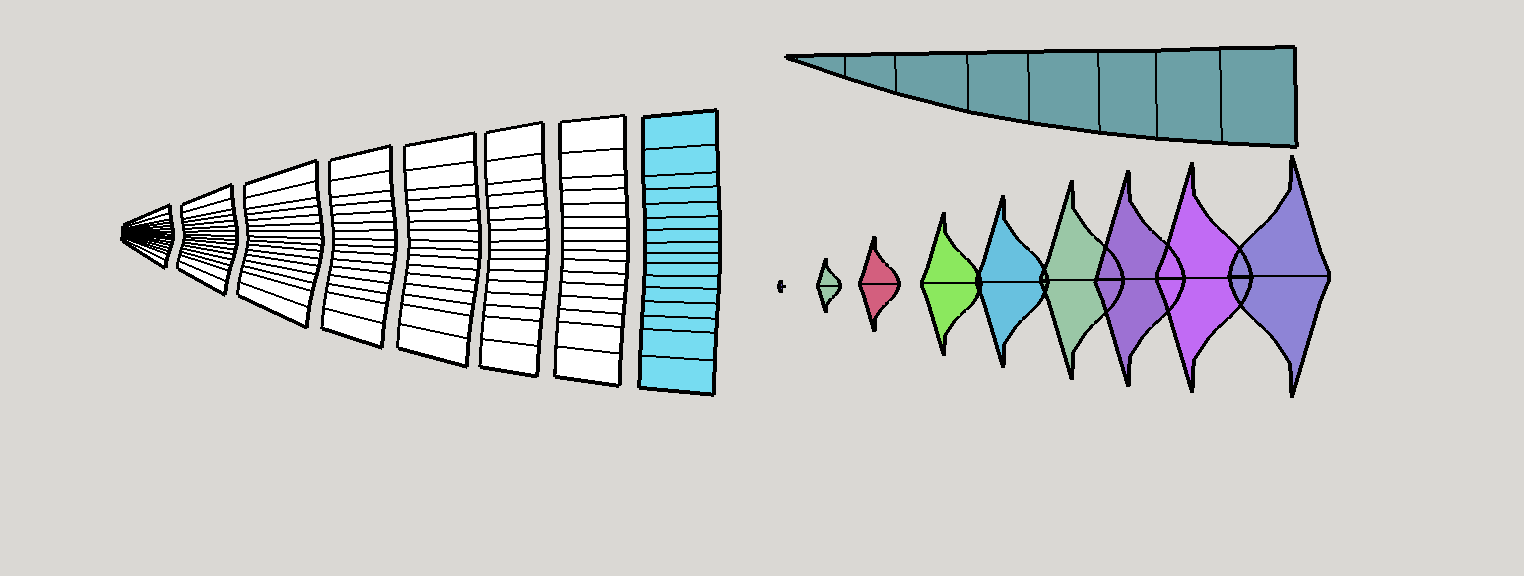
Now we need to clean it up using Inkscape using shape builder.
This will make it into one shape instead of broken lines.
IMPORTANT: you must offset the 'Bone' parts by double the width of the paper you will be using :)
Done...pretty Much
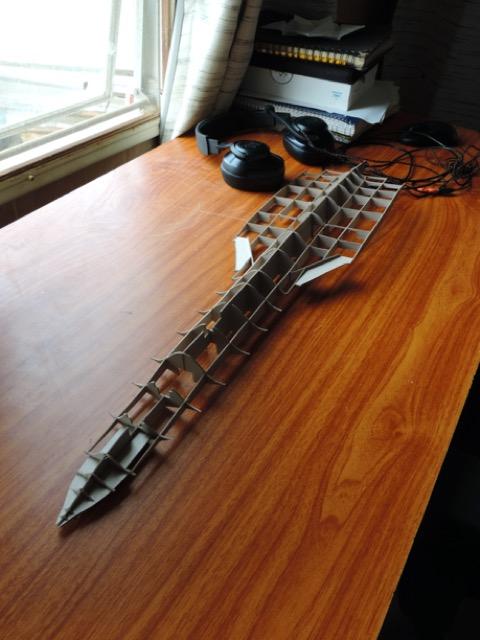
No this is actually a real project I am doing on and off.
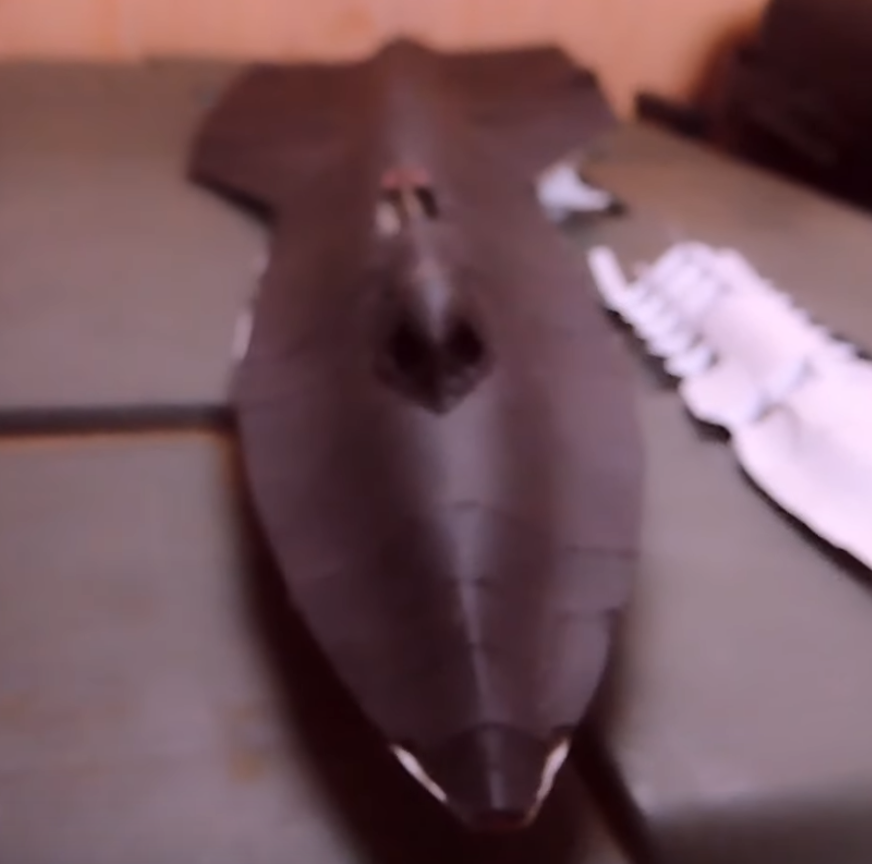
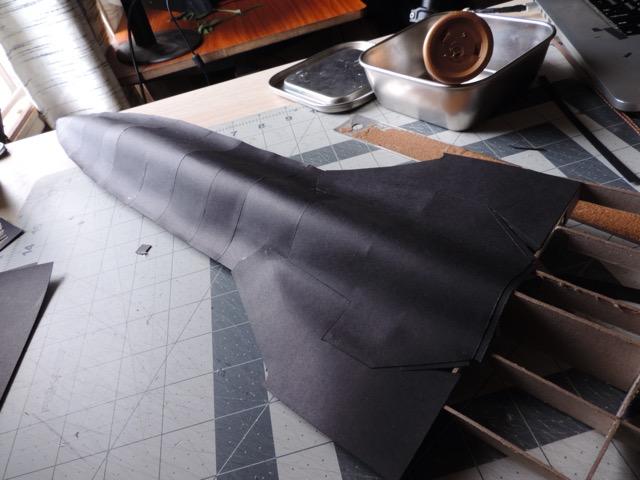
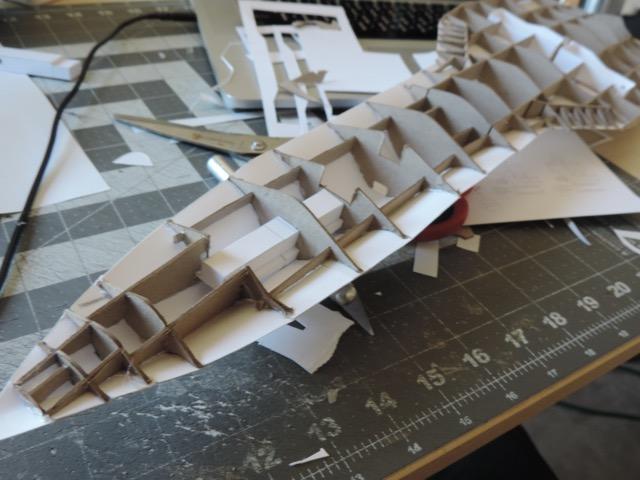
I printed the templates and they work very well. I have attached an image of the entire bone structure comleted.
And an image with the skin applyed. I used black paper cause its a blackbird.
If you try this method with an airliner, or an F-86, or star-fighter it will be EVEN easier.
Extra Images of My Progress
I built what you see over the span of a month. It looks complicated but believe it or not this was my FIRST experience with sketchup, I just started and learned as I went.
I hope this helps in a way! and see you later!!!!!!!