Make a DIY Heart With Paper, Resin and MDF
by waylightcreate in Design > Art
1259 Views, 9 Favorites, 0 Comments
Make a DIY Heart With Paper, Resin and MDF

Making this heart wall art was really just a culmination of a few different things going on at once. One, we wanted to experiment a little more with coating paper transfers with resin and two; Valentine's Day is right around the corner so we thought – why not?
There is a pattern / image available for this on our website that you can get for free - Download Free Template
What you'll need
Materials
- MDF or thin piece of sheet materialColored
- Printout (inkjet will work)
- Clear Resin (we used Famowood Glaze Coat)
- Black acrylic paint
- Painters Tape or Contact Paper
Tools
- Scroll Saw
- Paint Brush
- Resin supplies (cups, stir stick, gloves)
Check Out the Video

Here is a short video of us making the heart from start to finish. If you aren't the video watching type, and would rather check out the images and step-by-step details, continue onto the next step.
Applying the Pattern
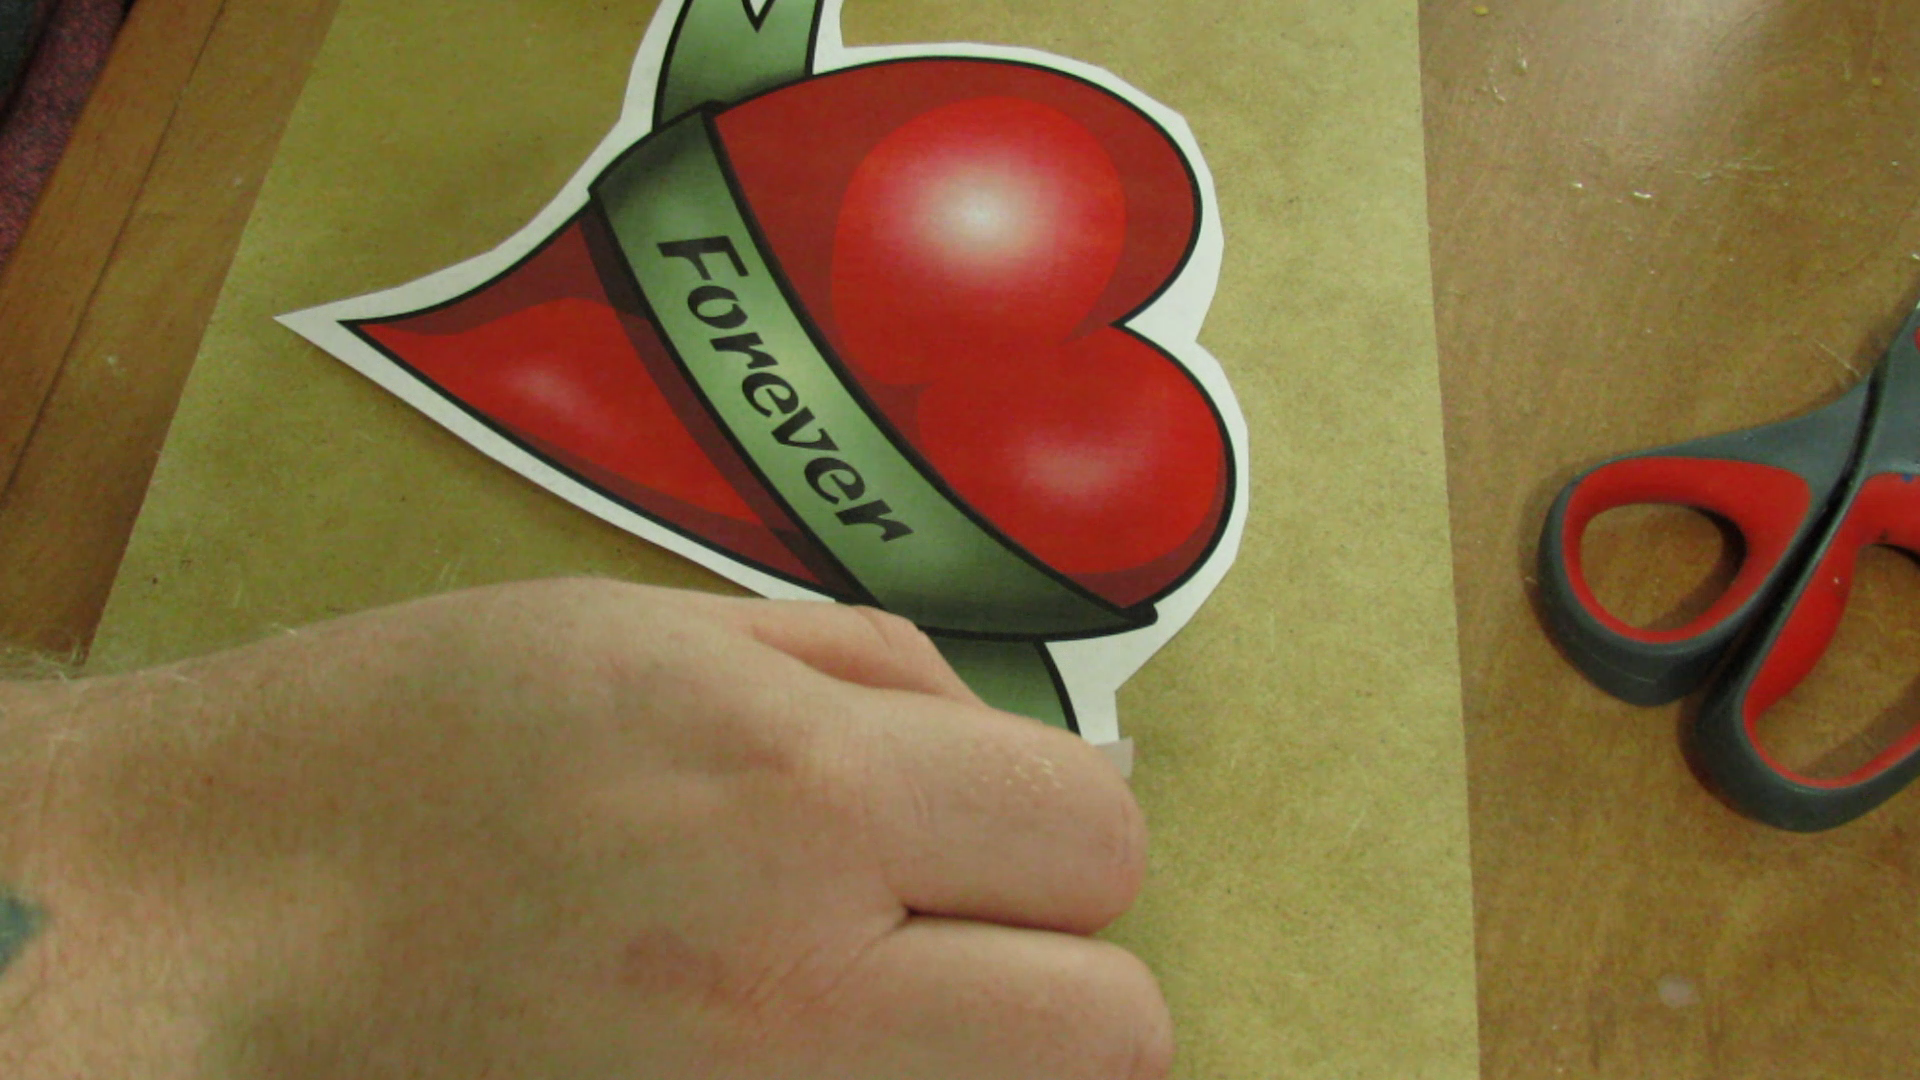
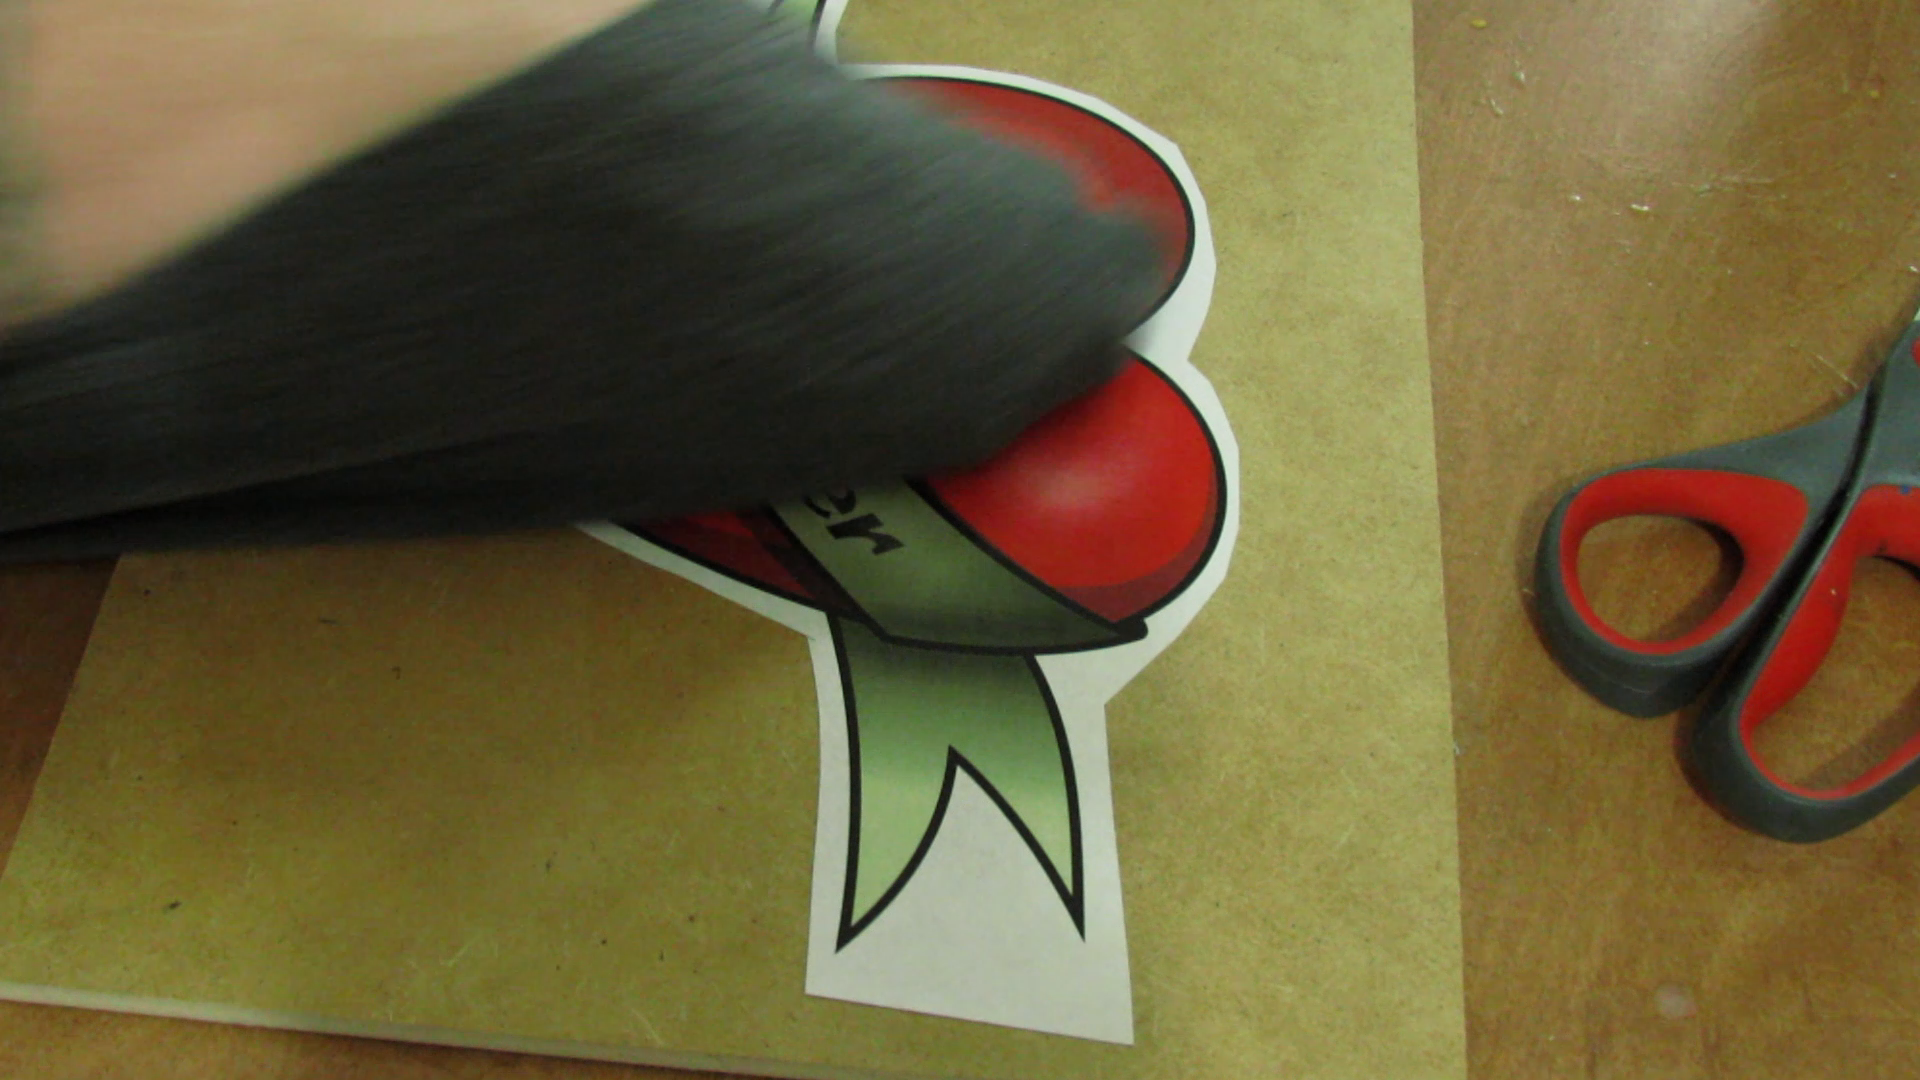
There are many ways to apply the printout. You could use Mod Podge, spray adhesive or the resin itself. We chose to go with a spray adhesive and it worked really well. You can get spray adhesive at most any store. We used the Elmer's spray adhesive. We made sure we used a t-shirt to firmly press it into the piece of MDF. The MDF used was 1/4" thick.
Sealing the Image
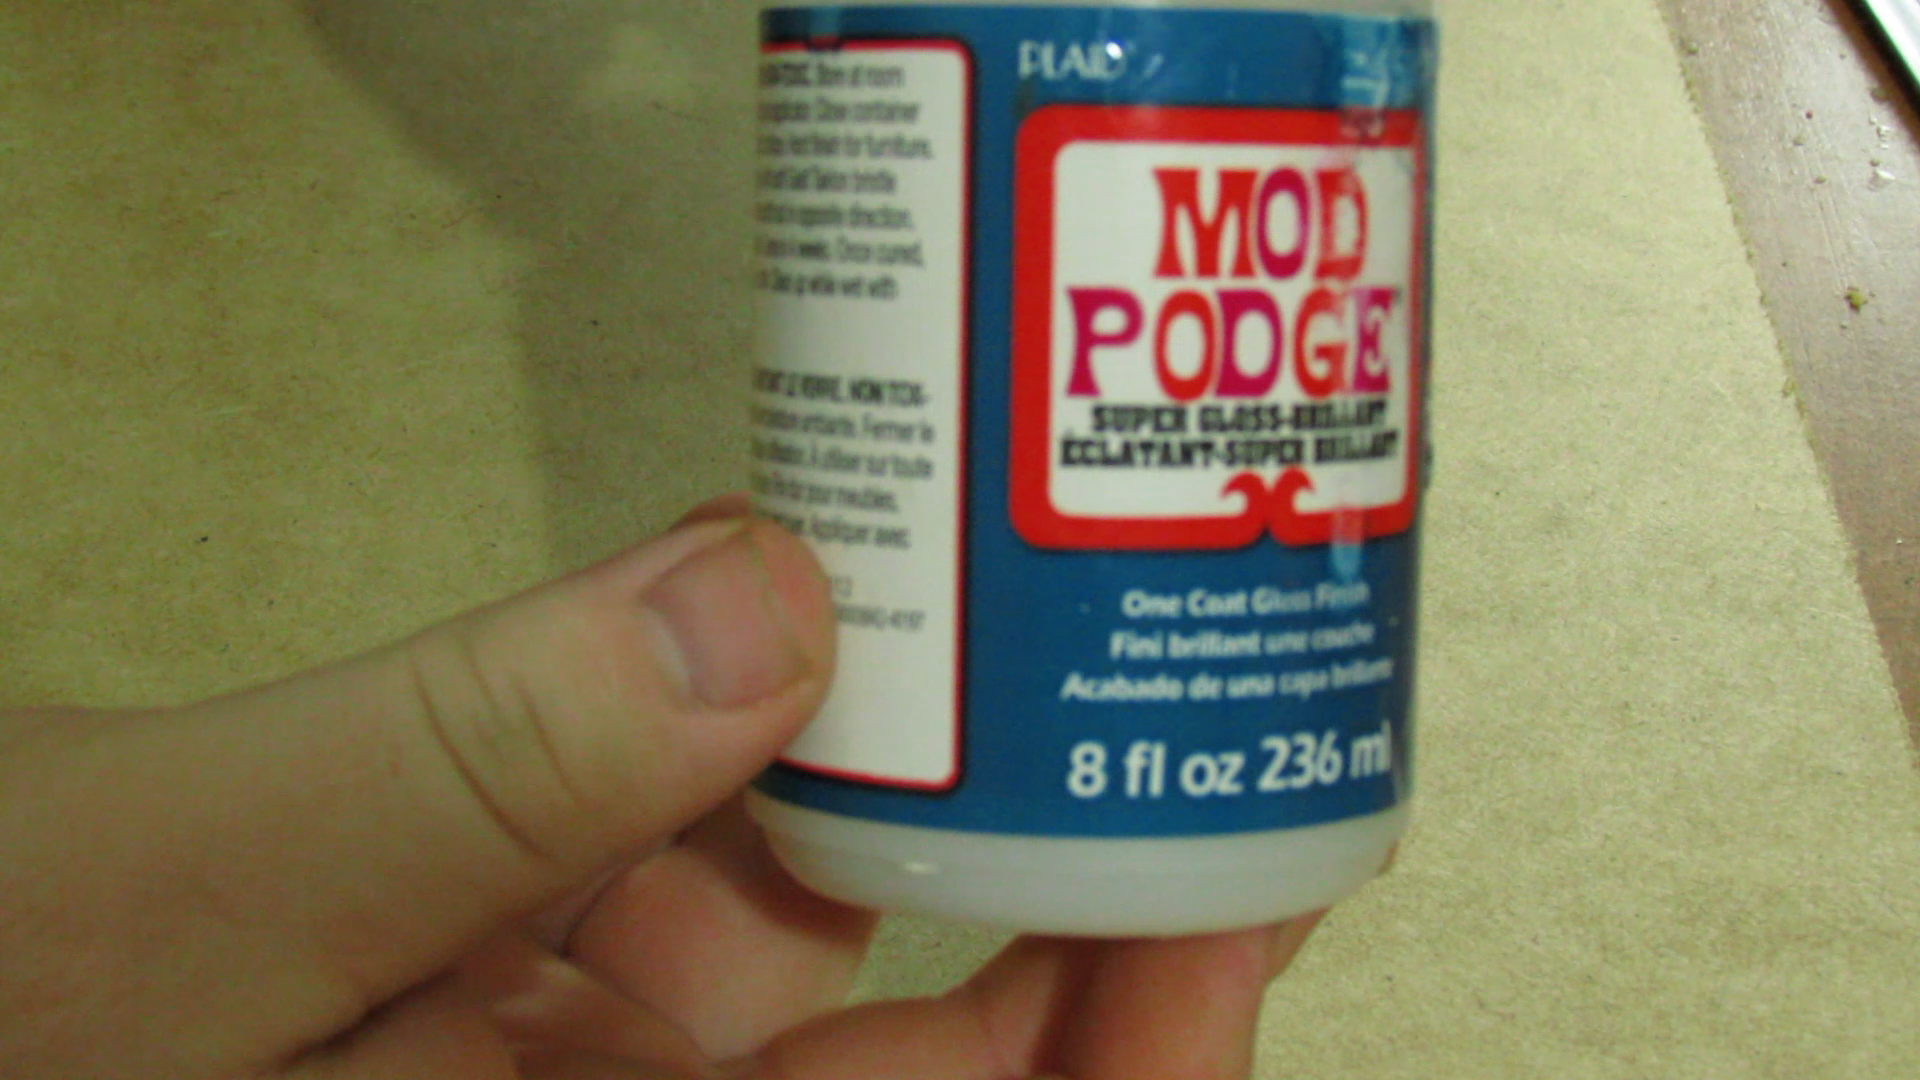
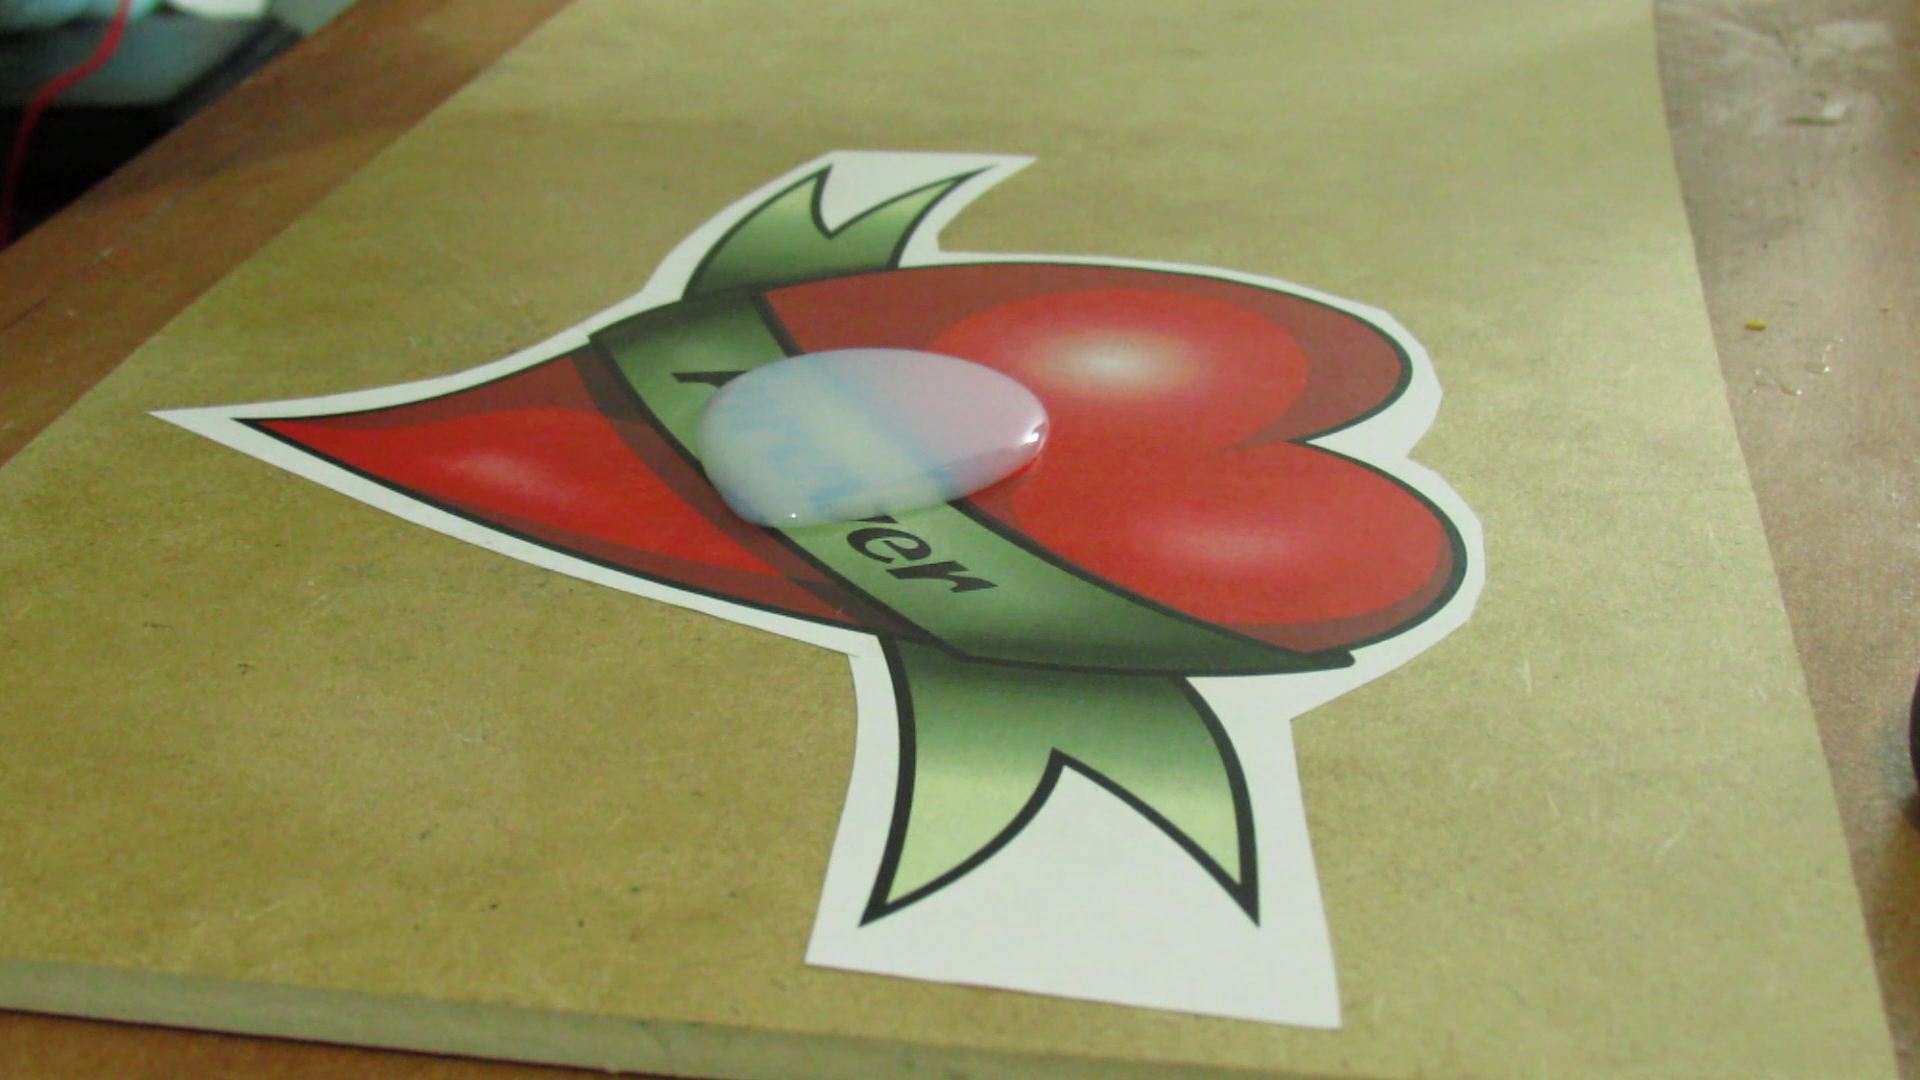

To prevent the resin, which will be poured later, from seeping into the paper image, we coated the whole thing with Mod Podge. There are quite a few different varieties of Mod Podge. We used the blue label, which is a bit thicker. We applies it using a squeegee.
Cutting Out the Heart
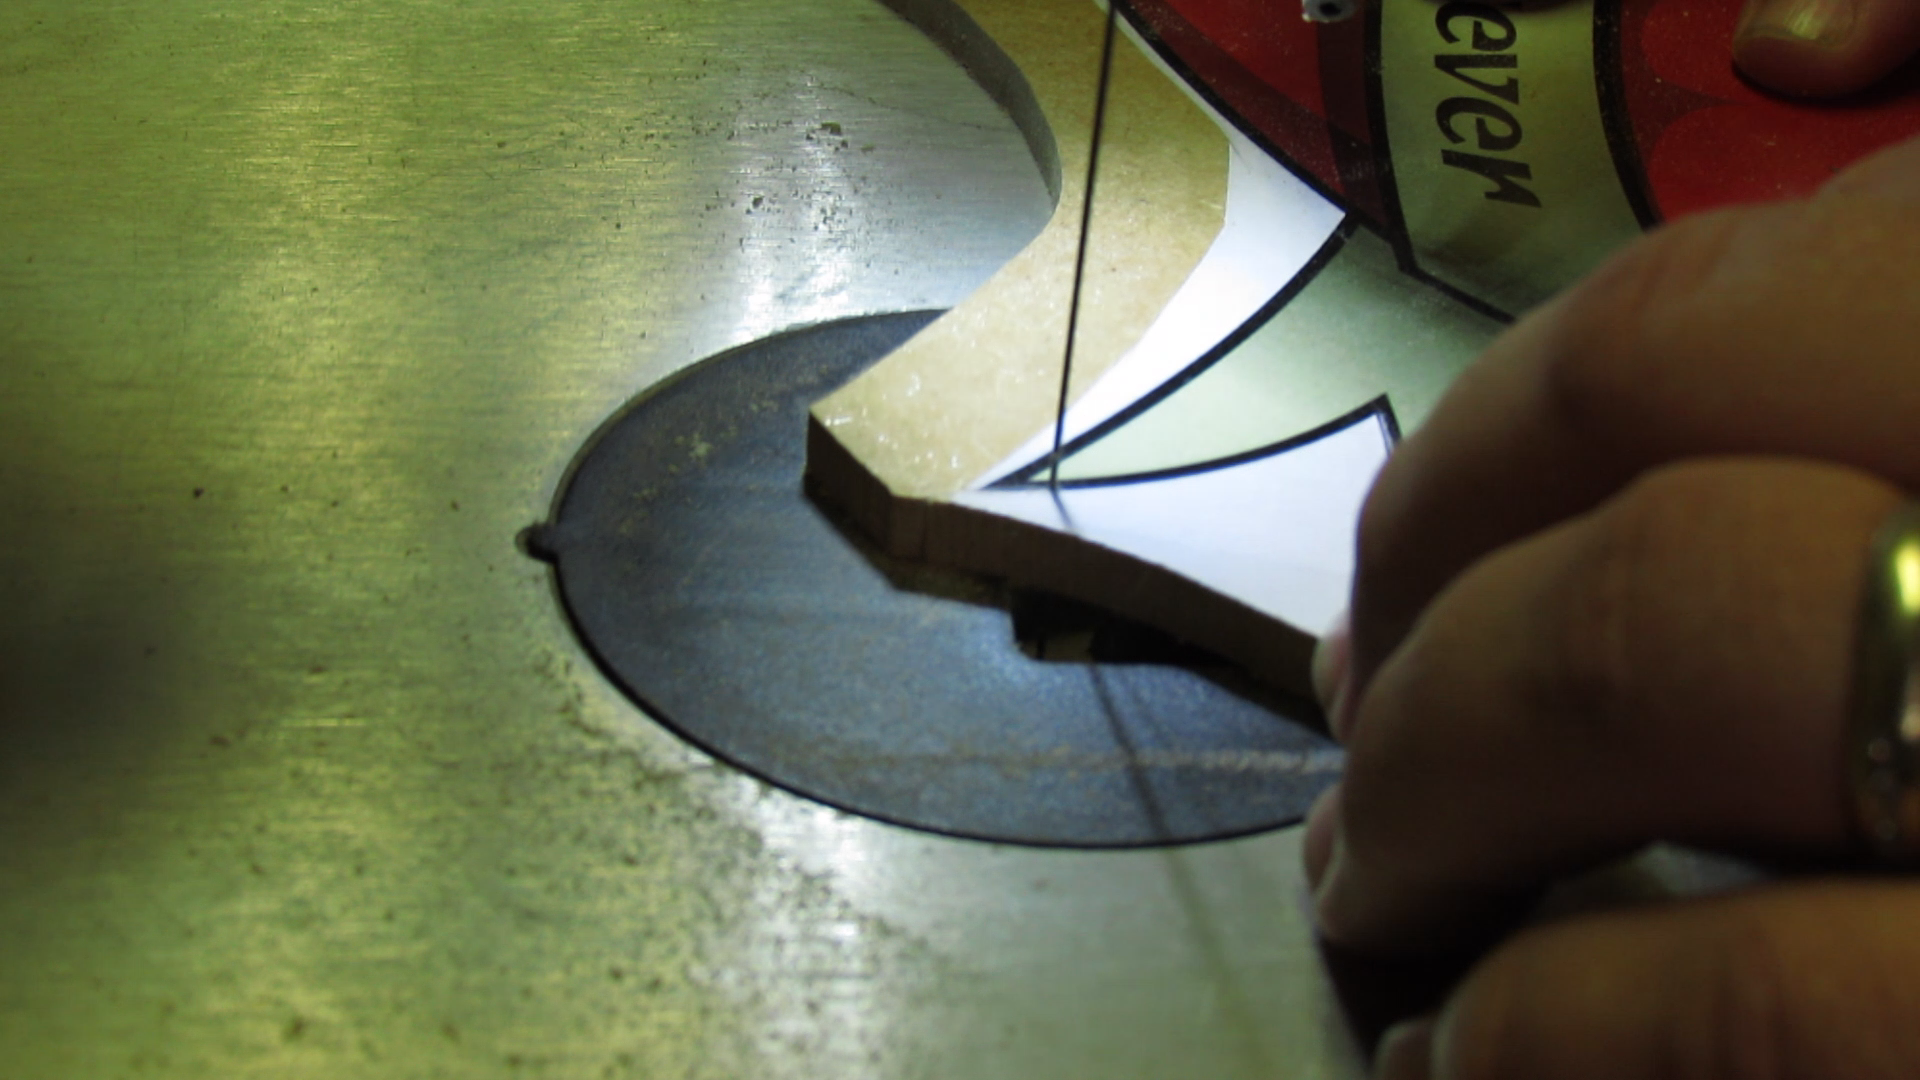
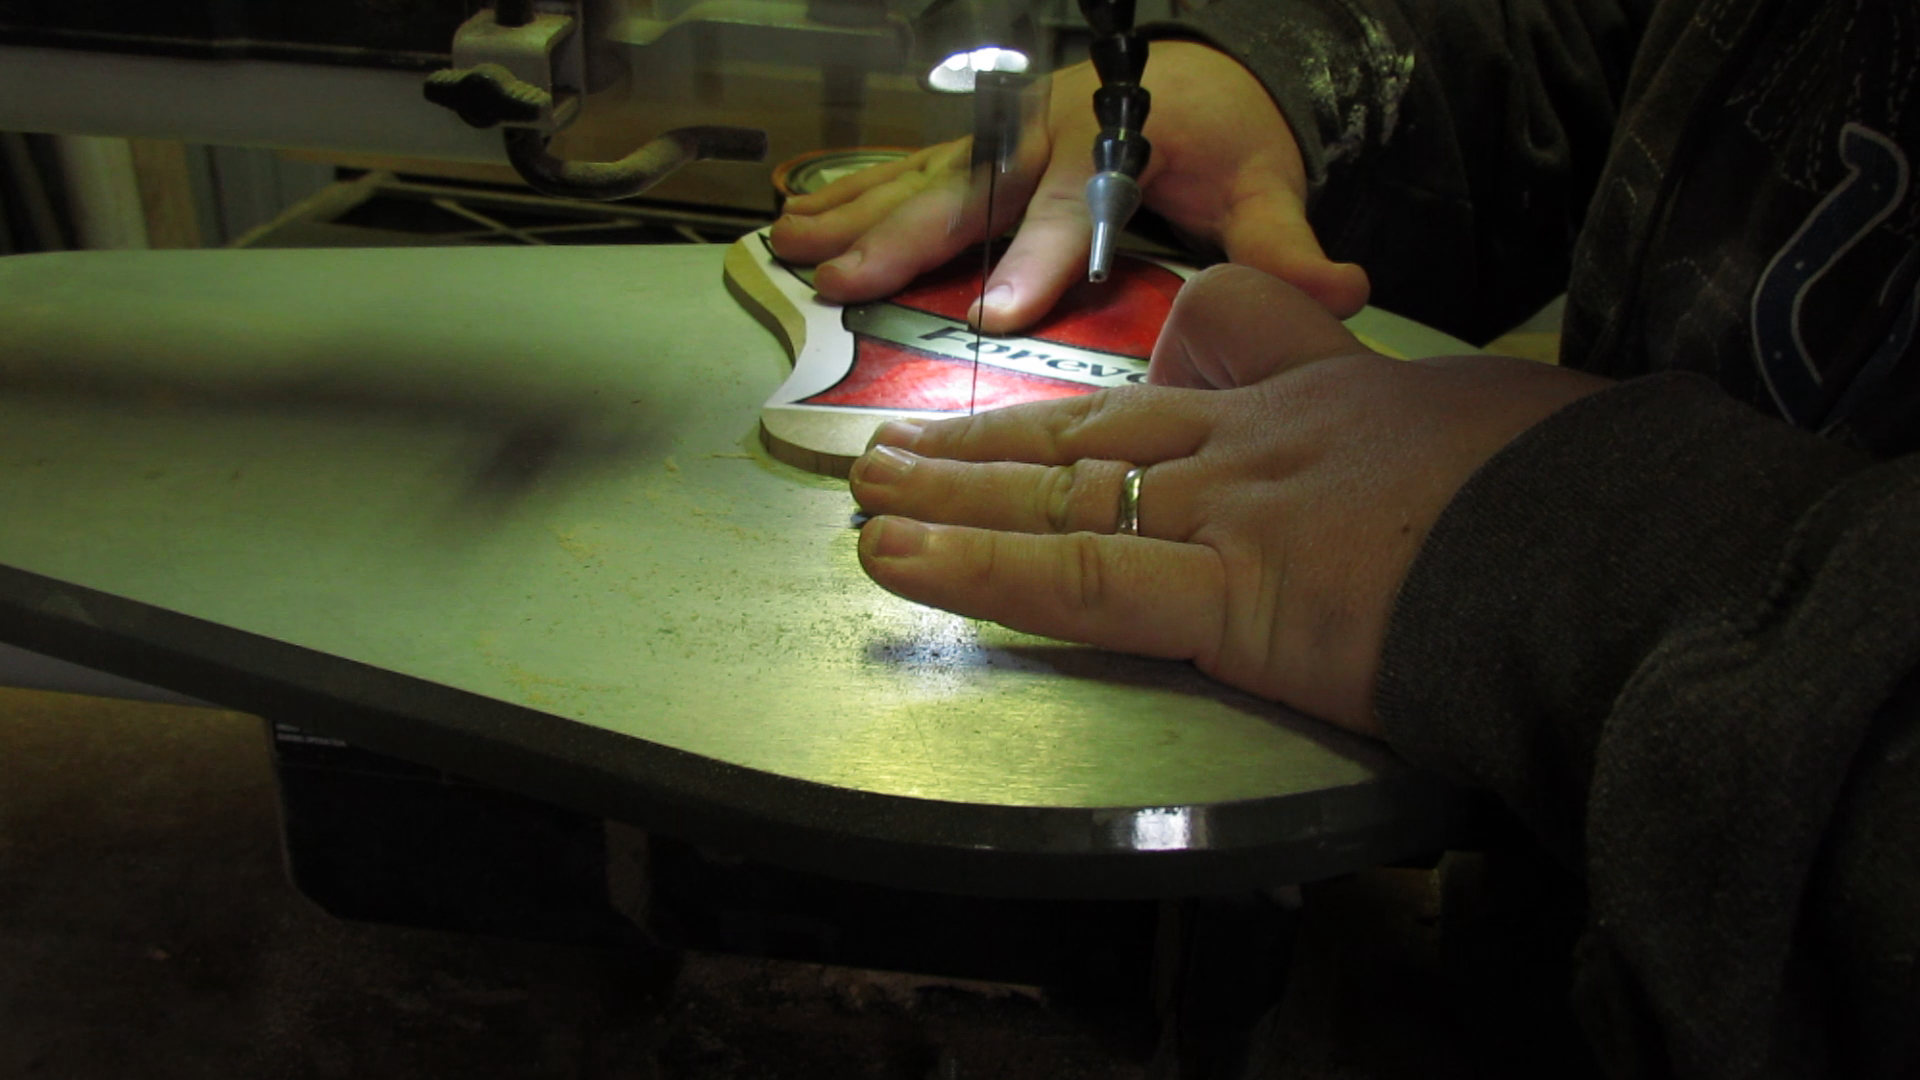
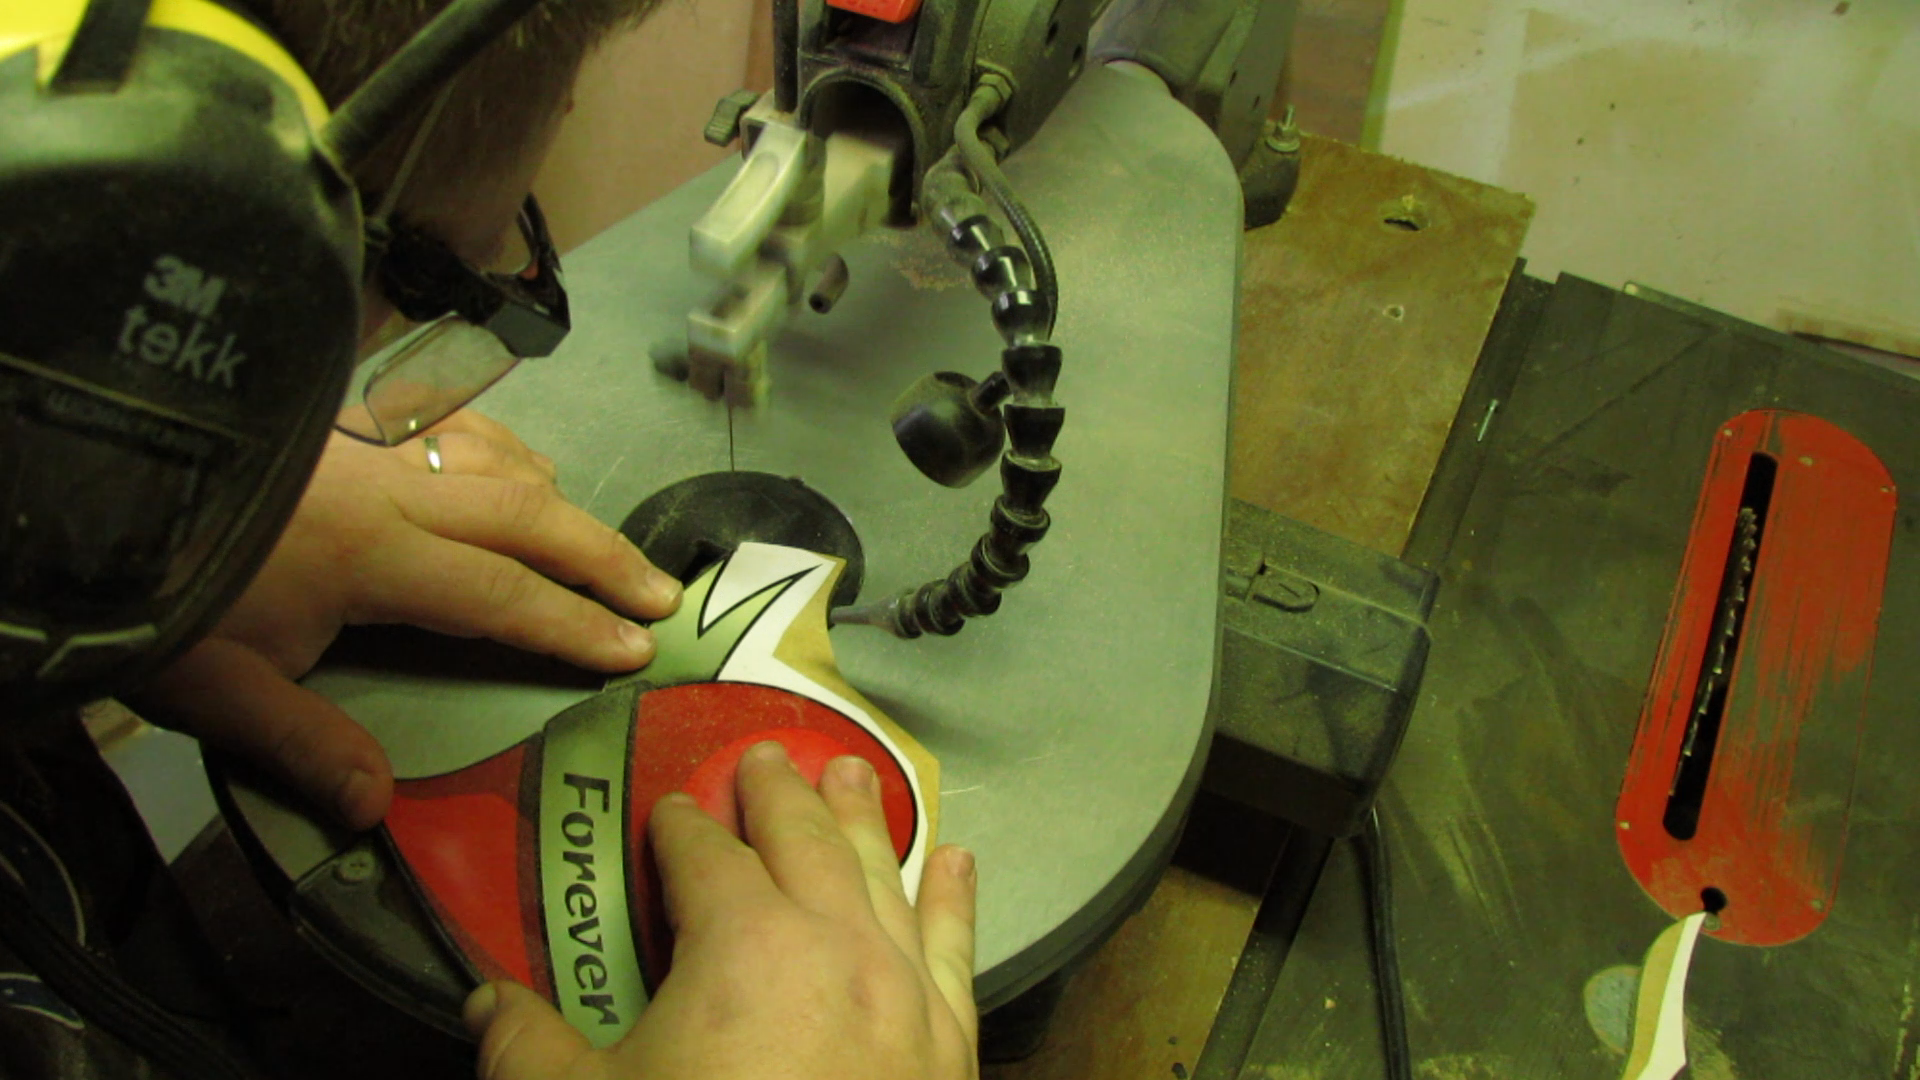
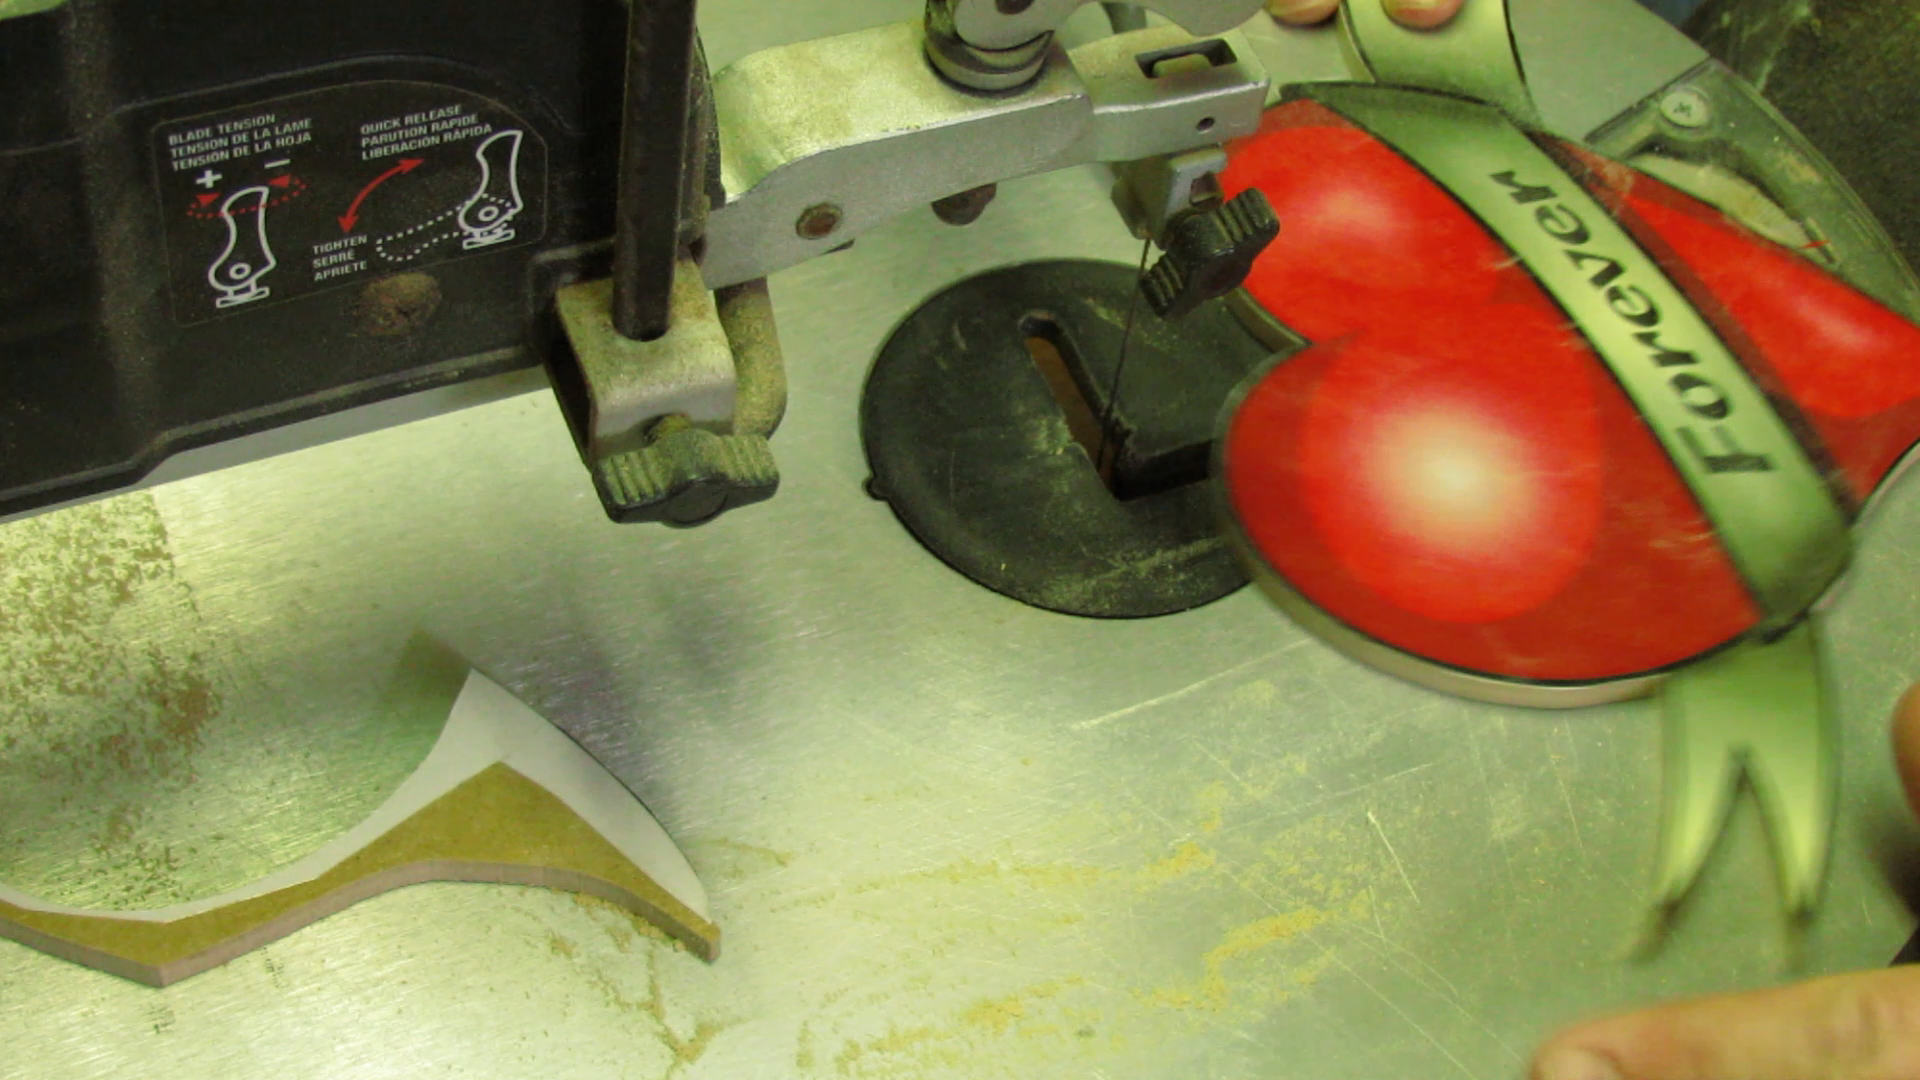
Once everything was dry we cut out the heart on the scroll saw. It could also be done using a coping saw or maybe even a band saw. Unlike most projects like this that we do, we actually tried really hard to cut right on the line. Some of the corners on this piece are sharp, so we knew a lot of sanding wouldn't have been ideal.
Painting
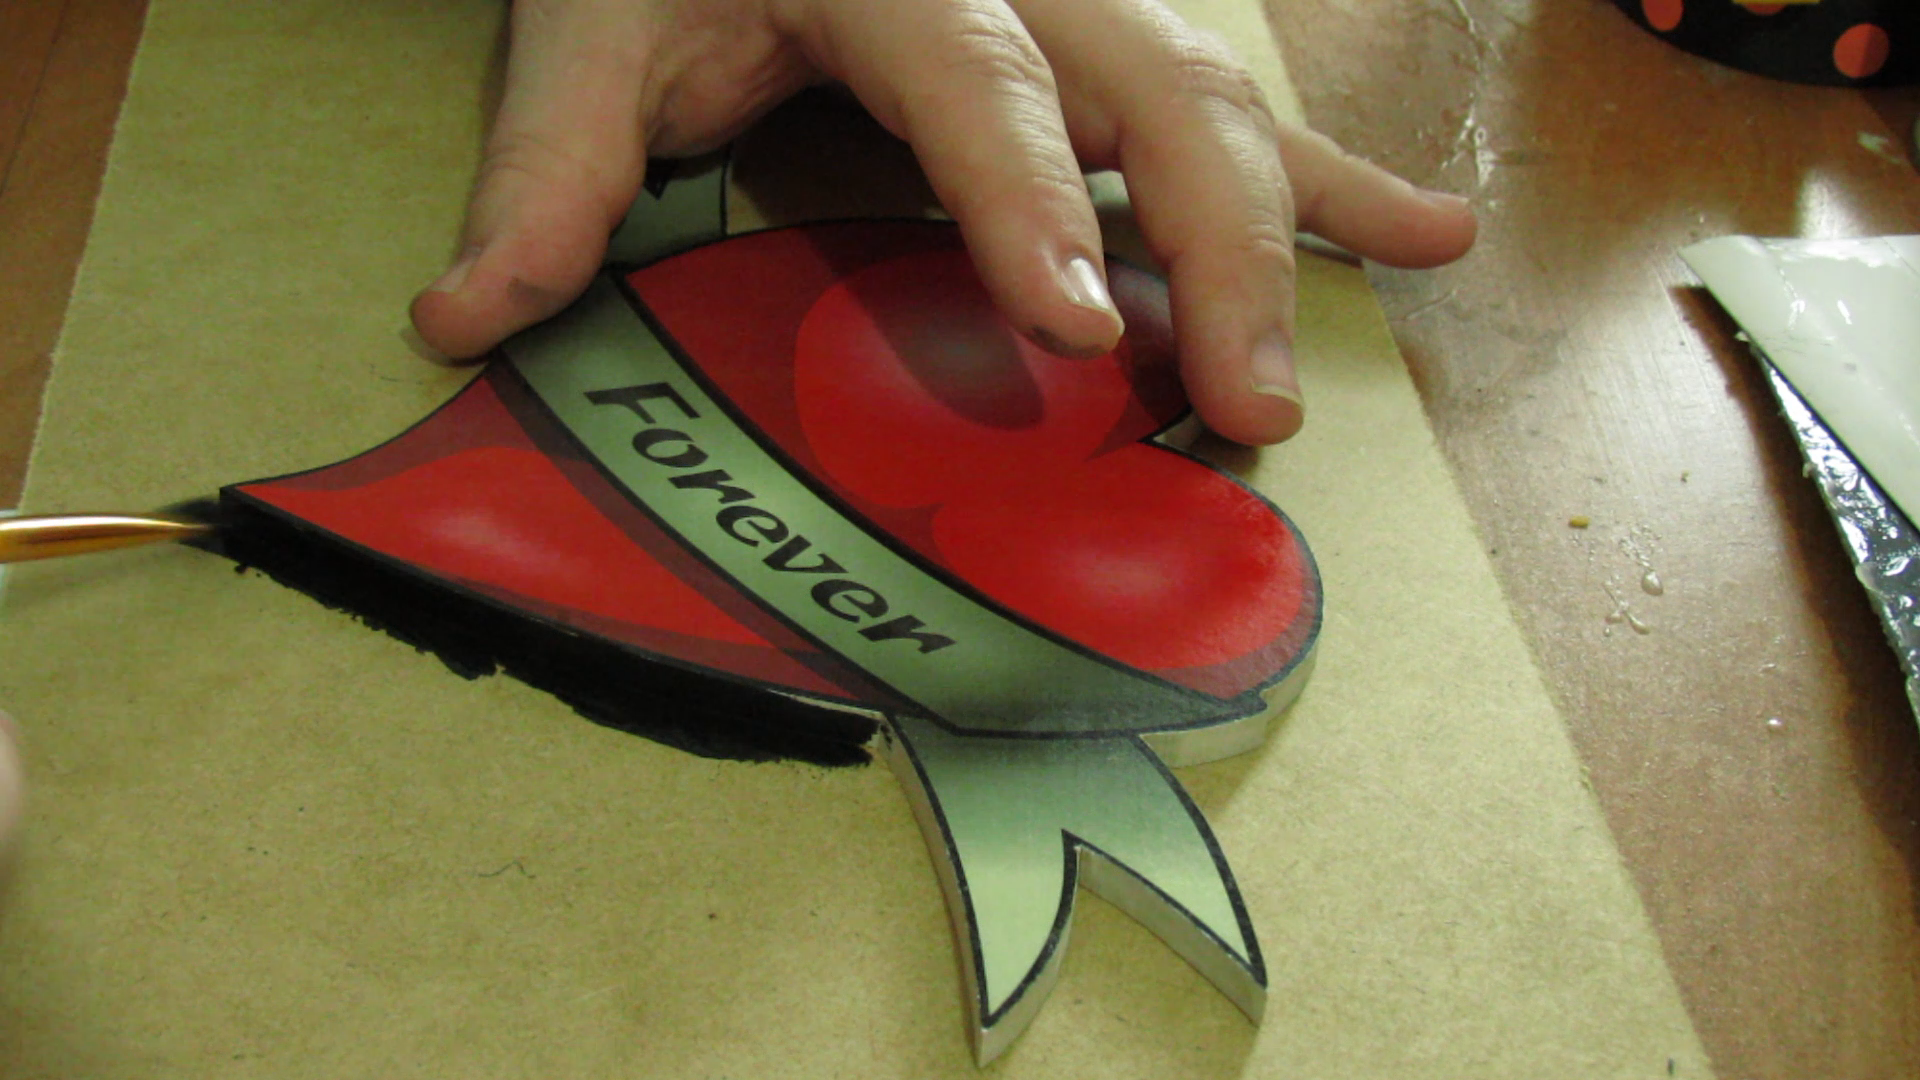
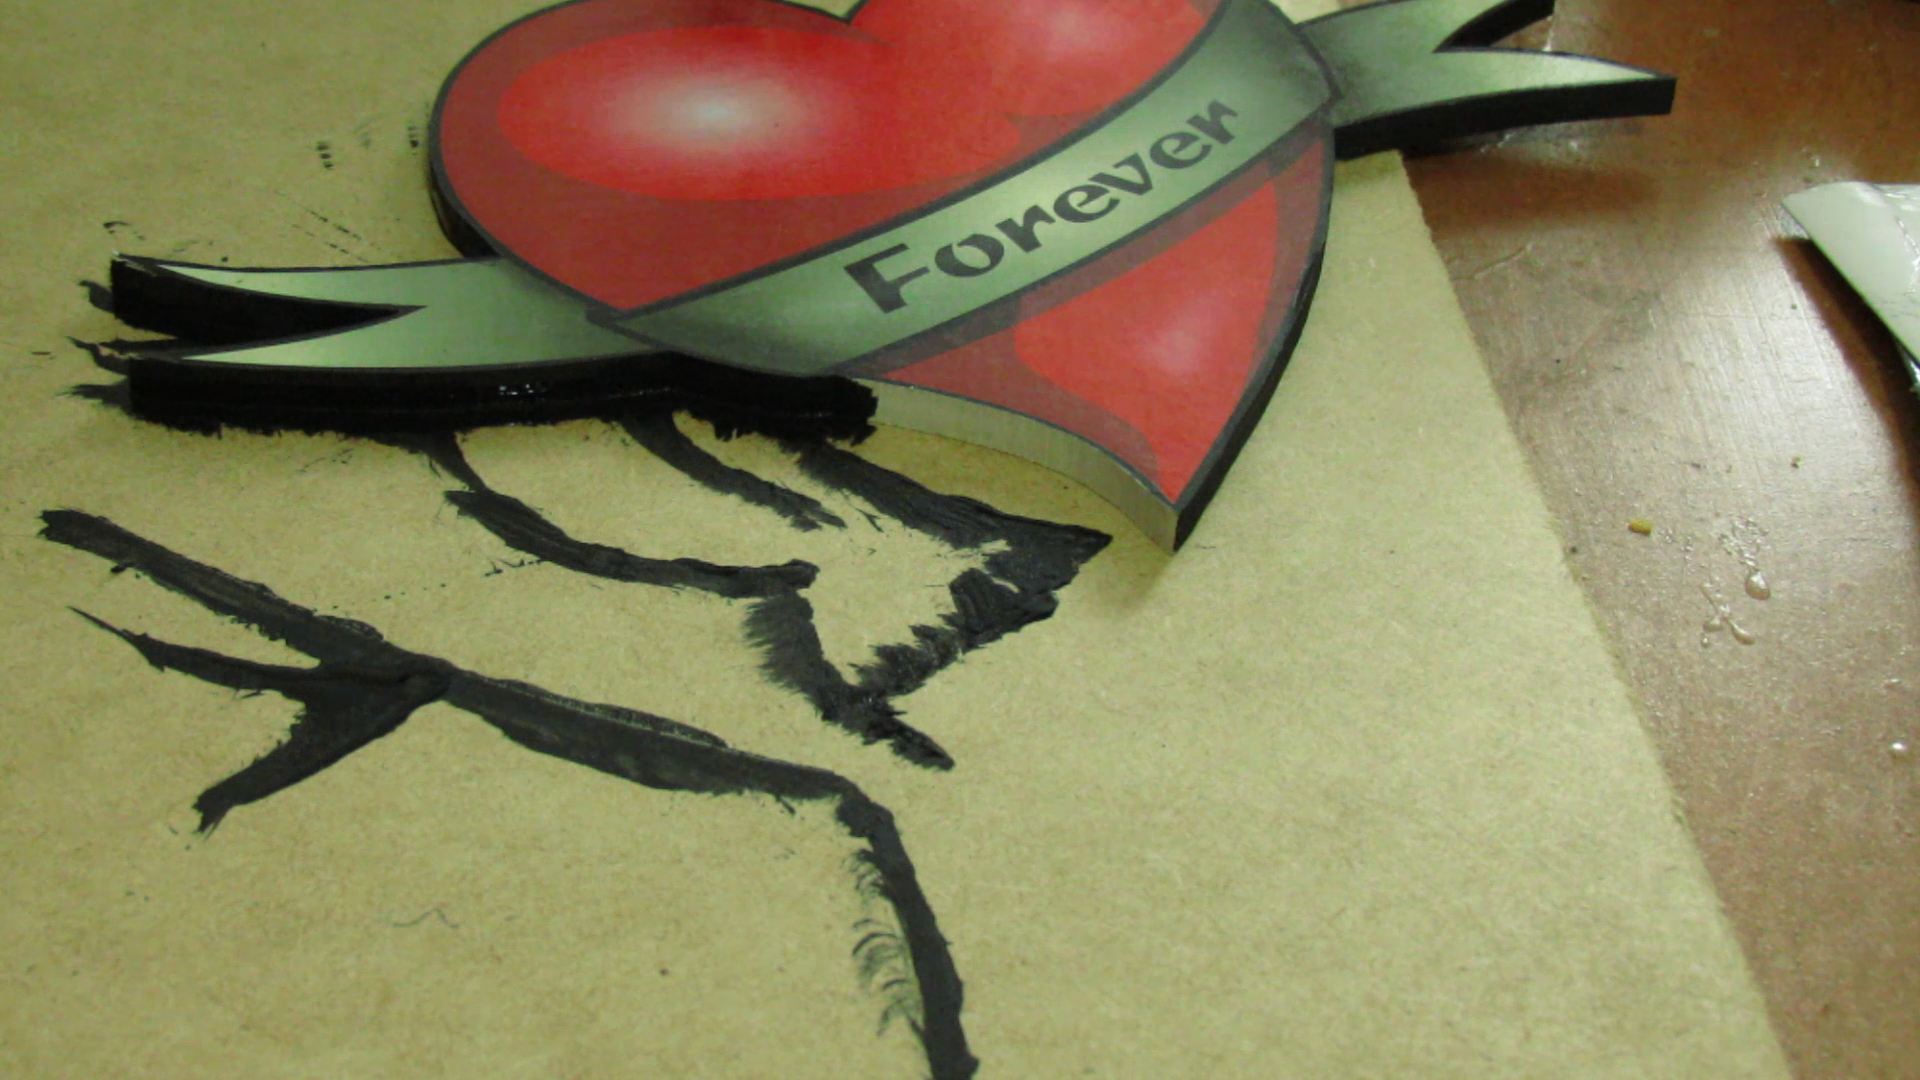
Painting the edges really makes the whole piece come together. Since the border of the image is black, painting the edges of the MDF really makes it seamless.
Mixing and Prepping the Resin
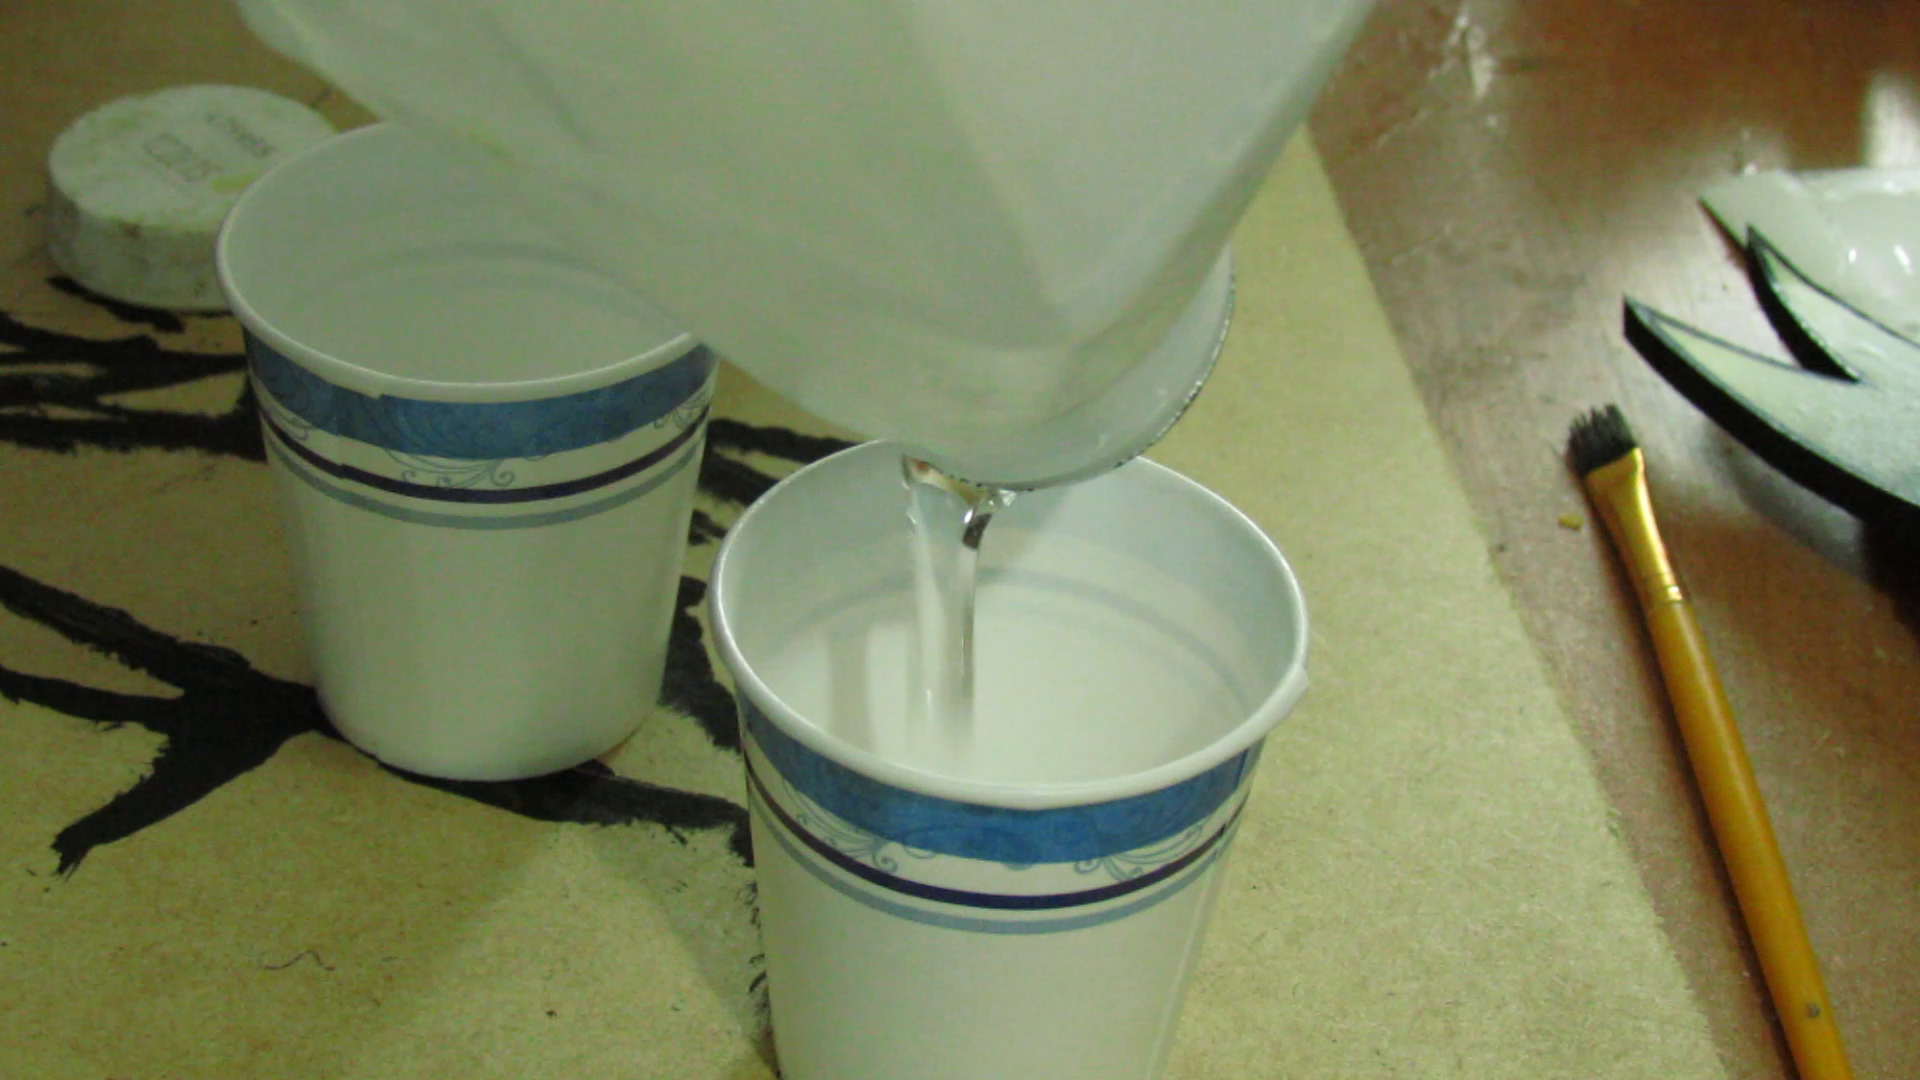
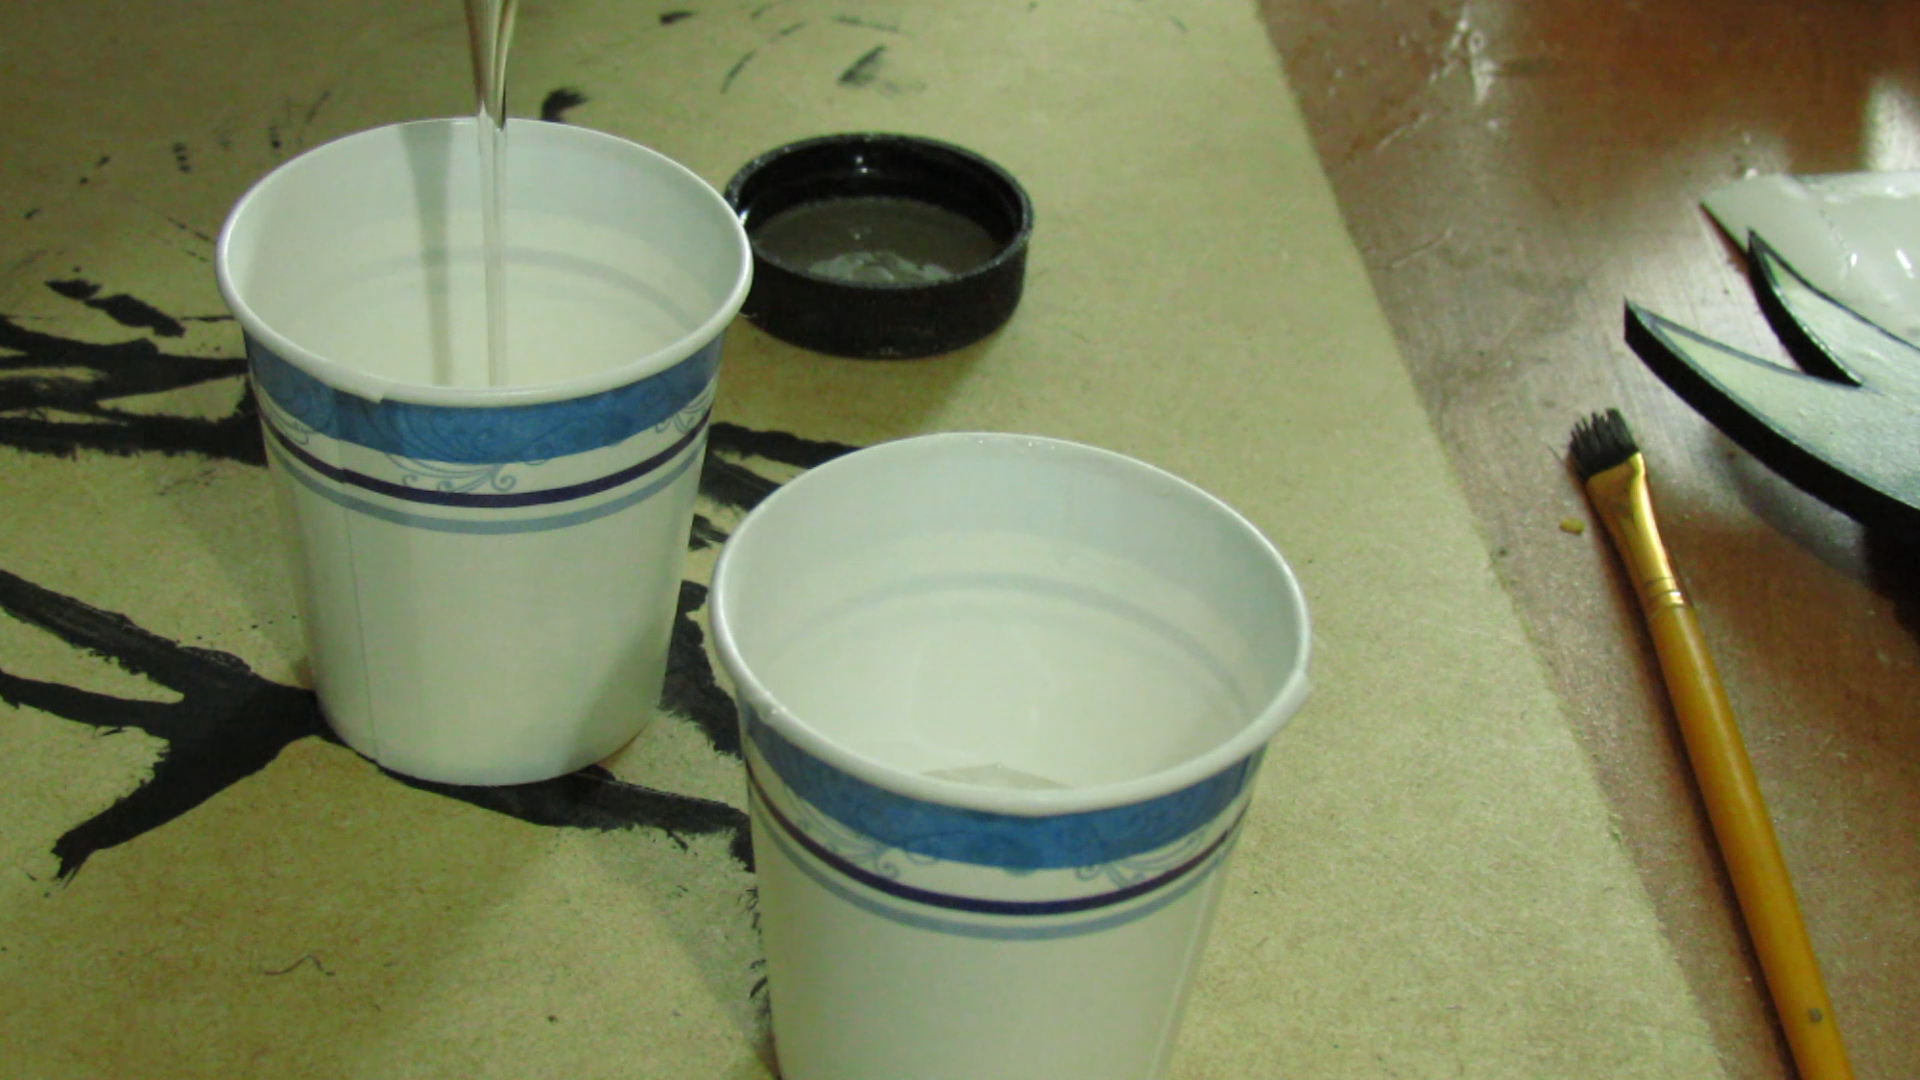
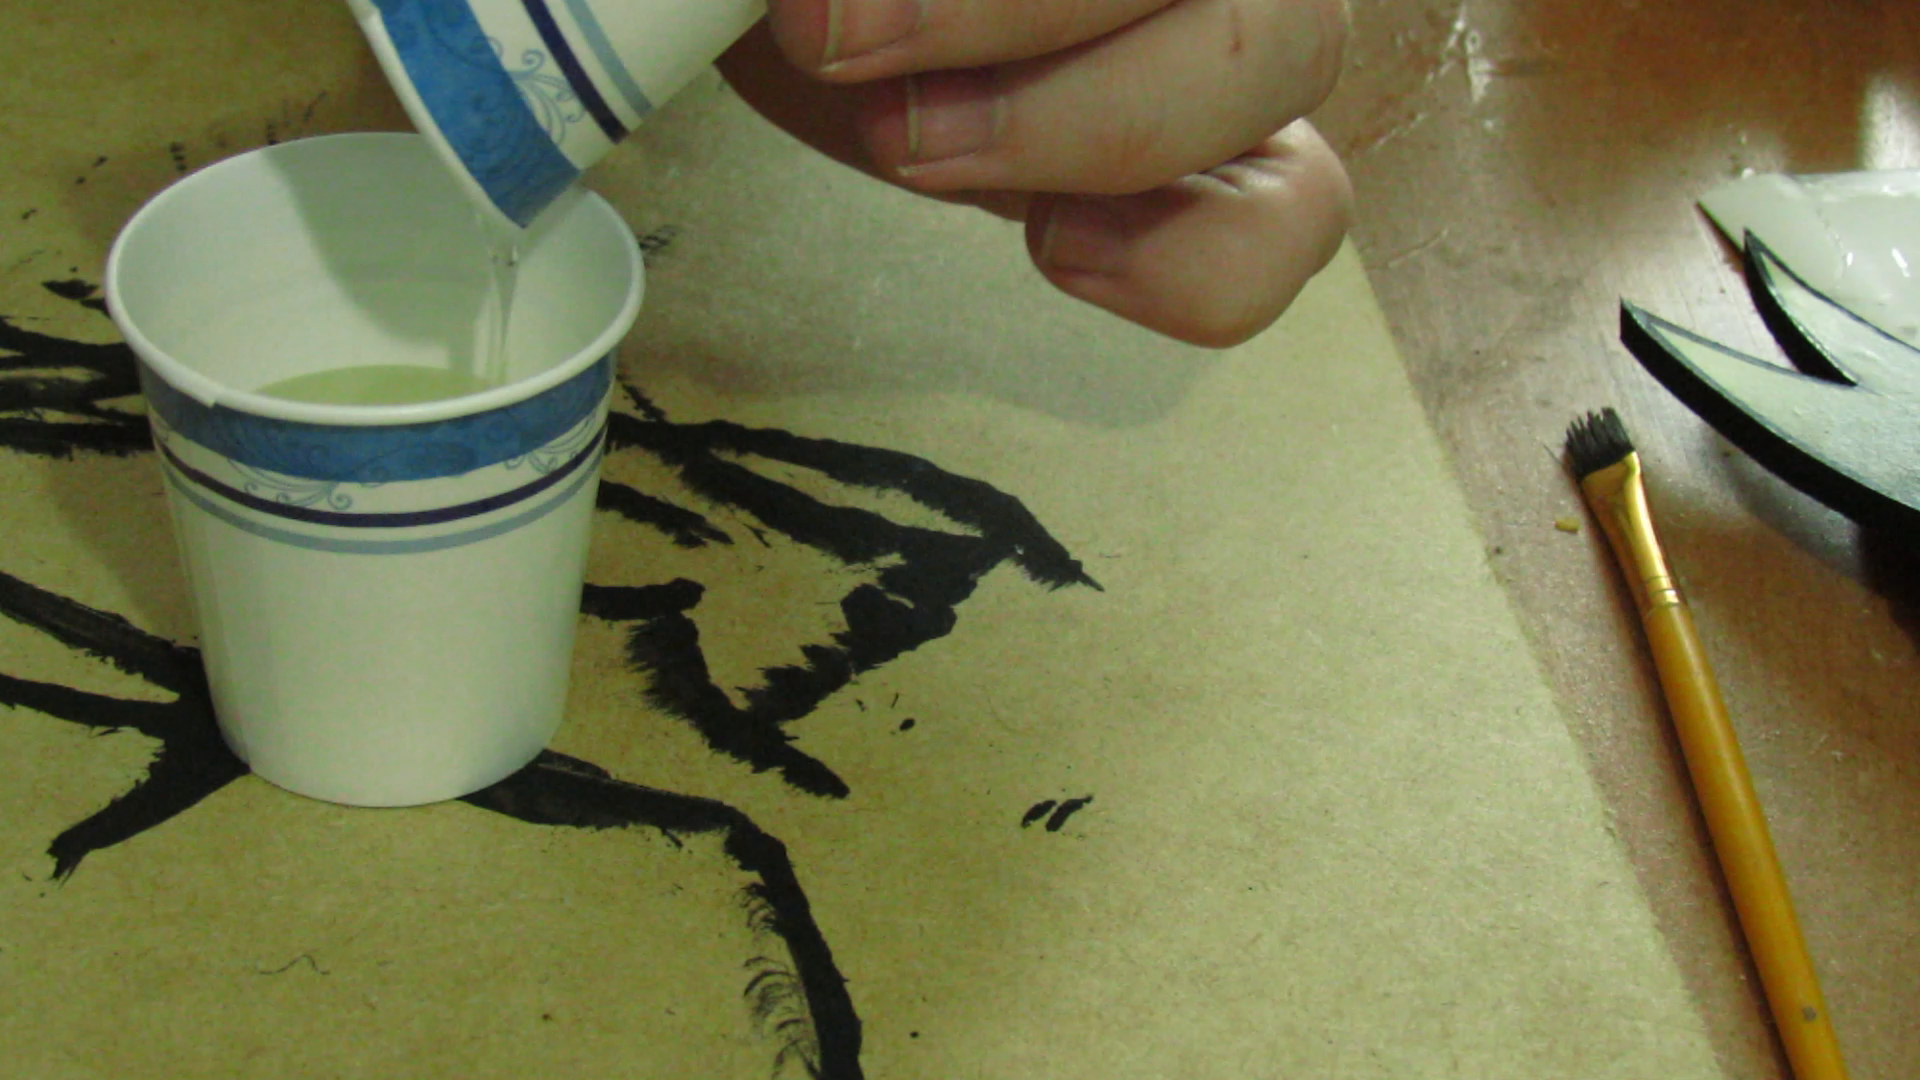
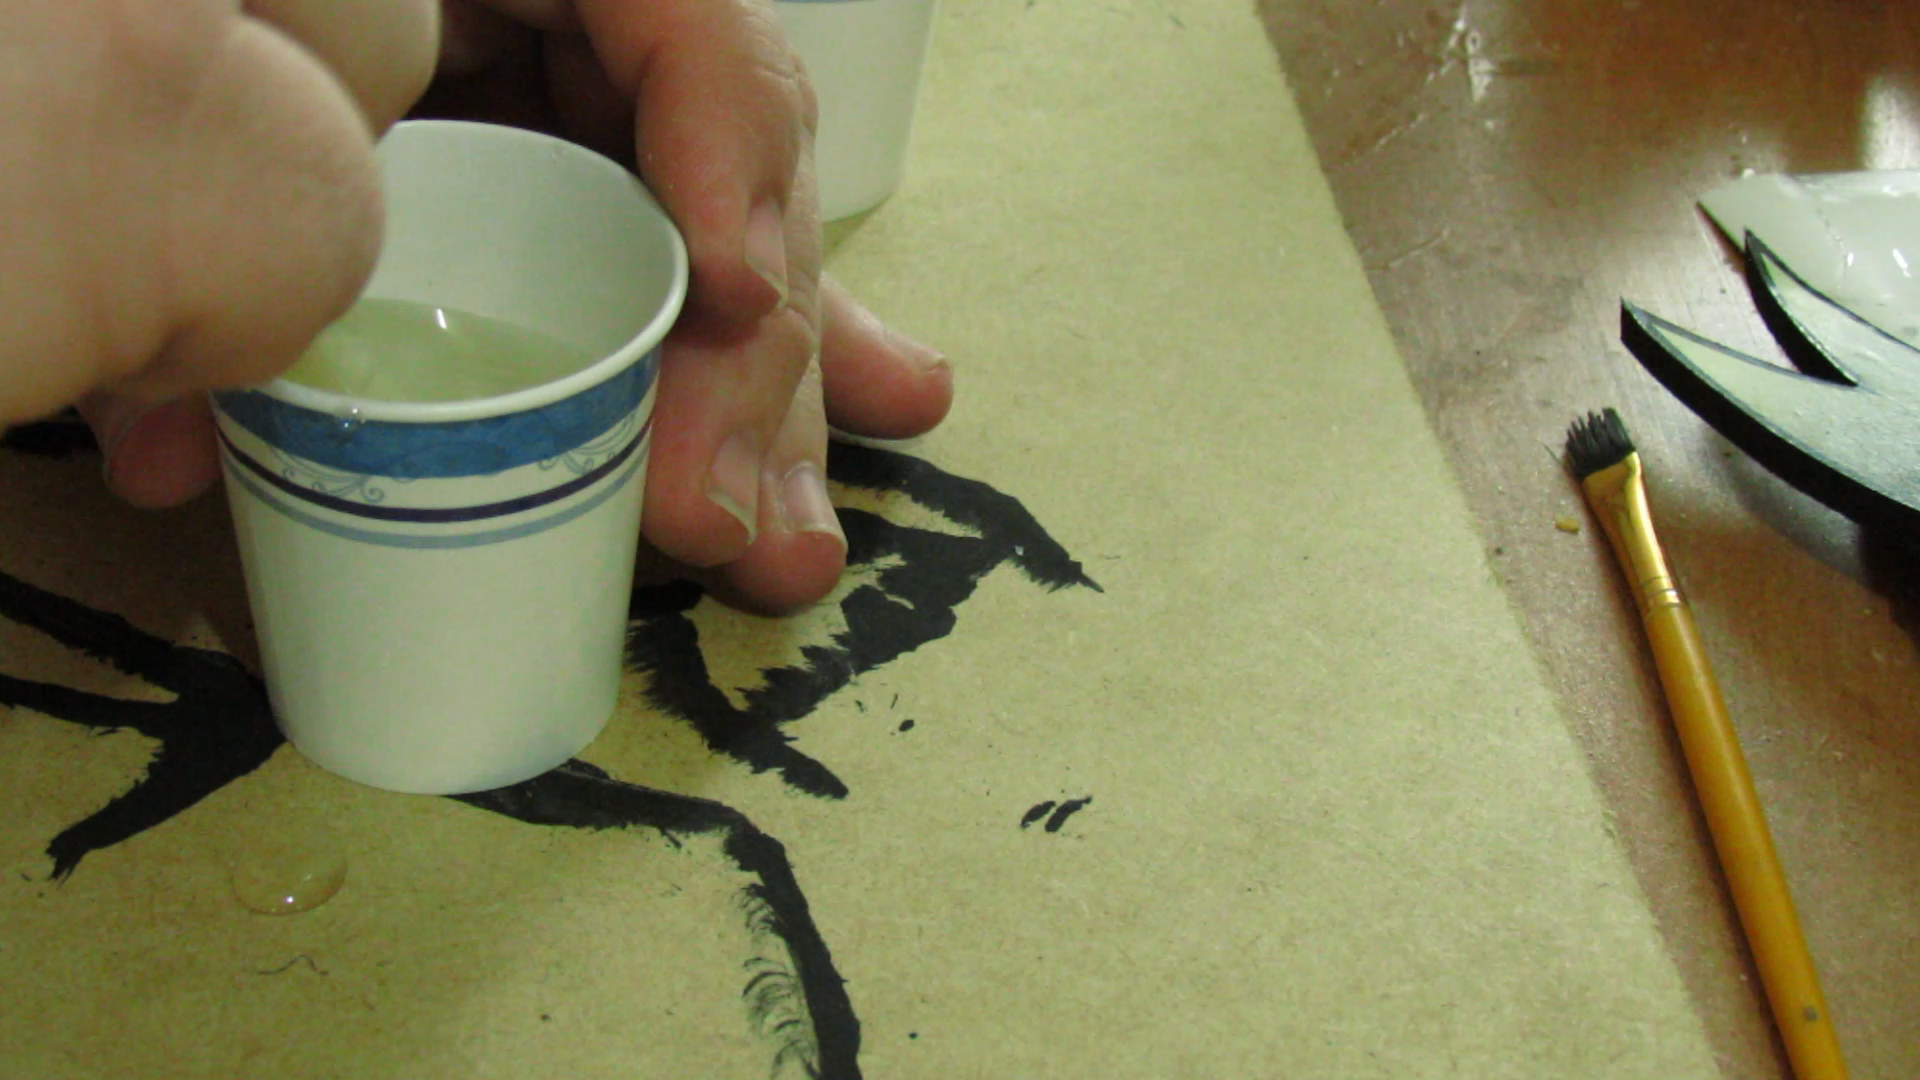
I won't go into too much detail about mixing the resin because every brand is different. I will say that this is a two-part resin and works phenomenally. It is Famowood Glaze Coat and if you want to know more about how we mix ours you can check this out - https://www.youtube.com/watch?v=wz29pJnCc0Q
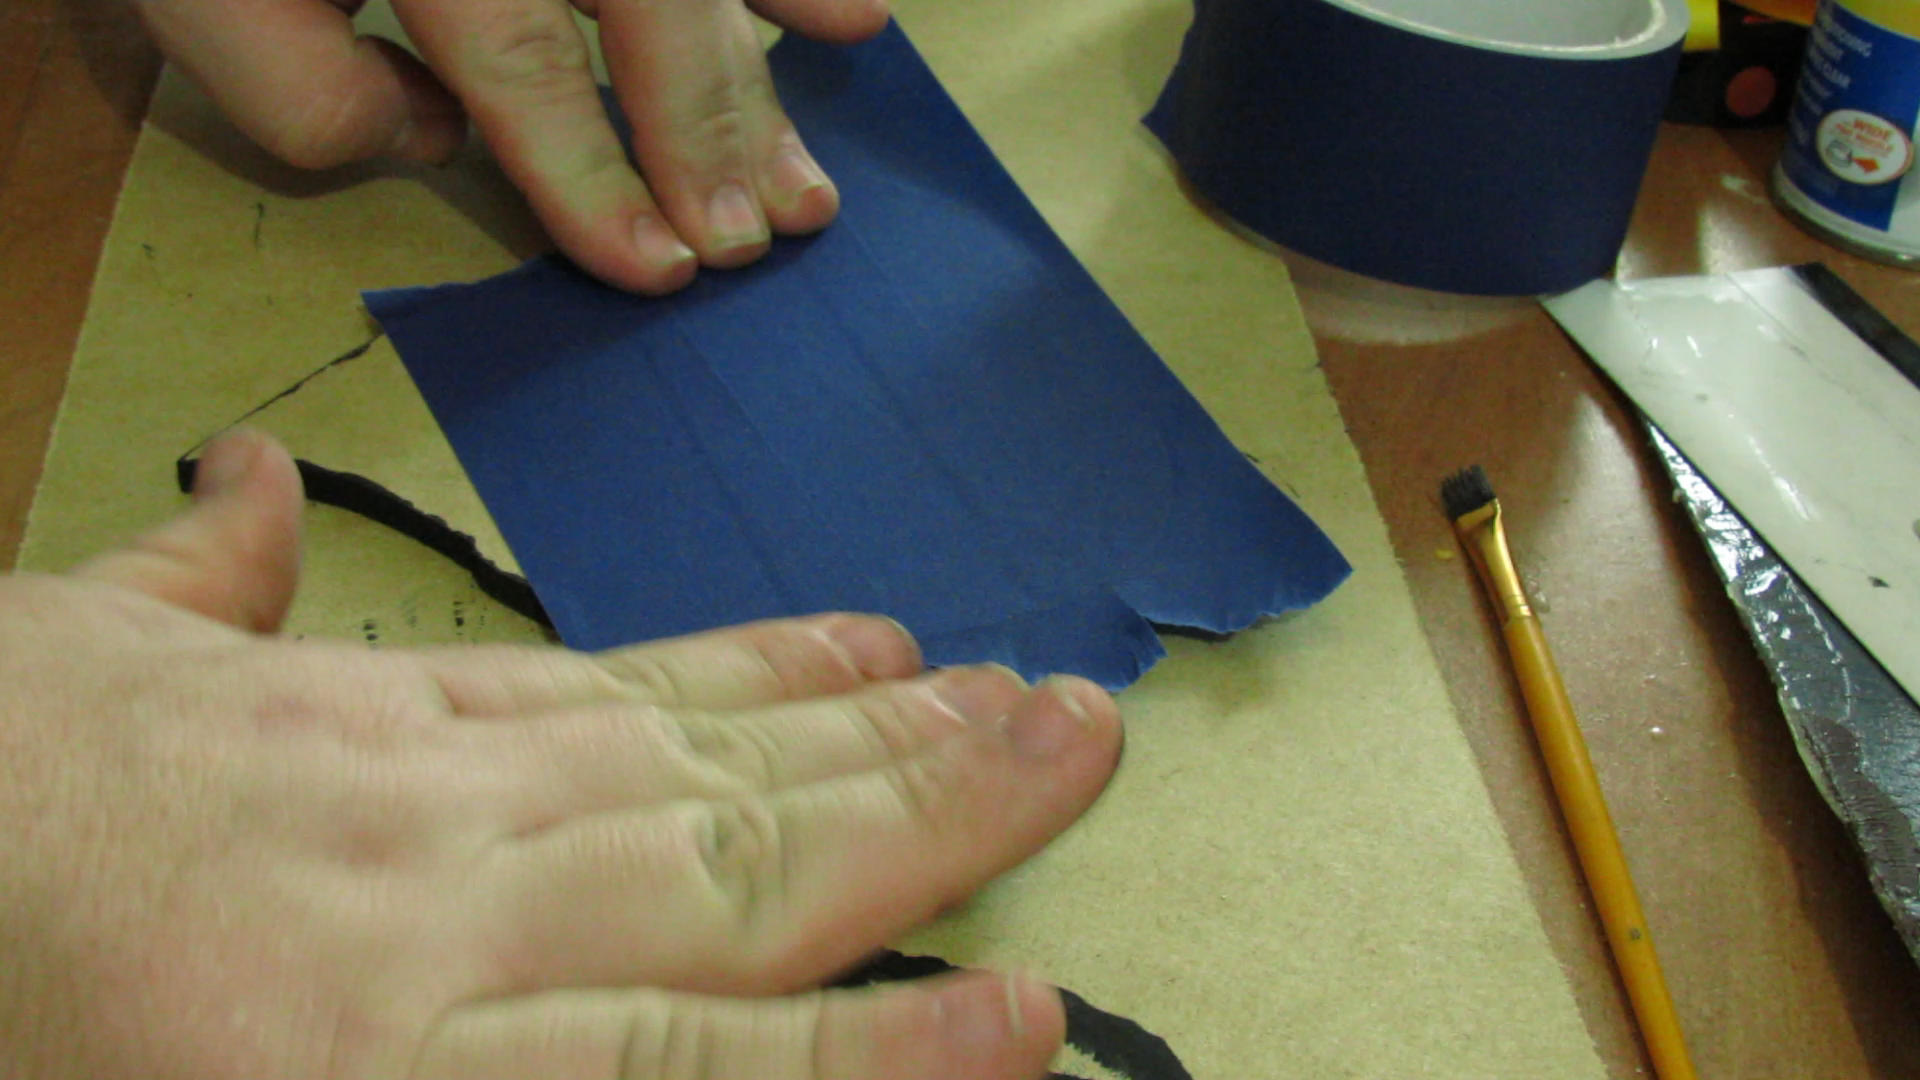
One other thing that is important is the backing of the piece. Painters tape or contact paper needs to be applied to the back to keep the runoff from dripping down onto the back. If it gets on the back it isn't impossible to get off, but much harder when trimming.
Pouring the Resin
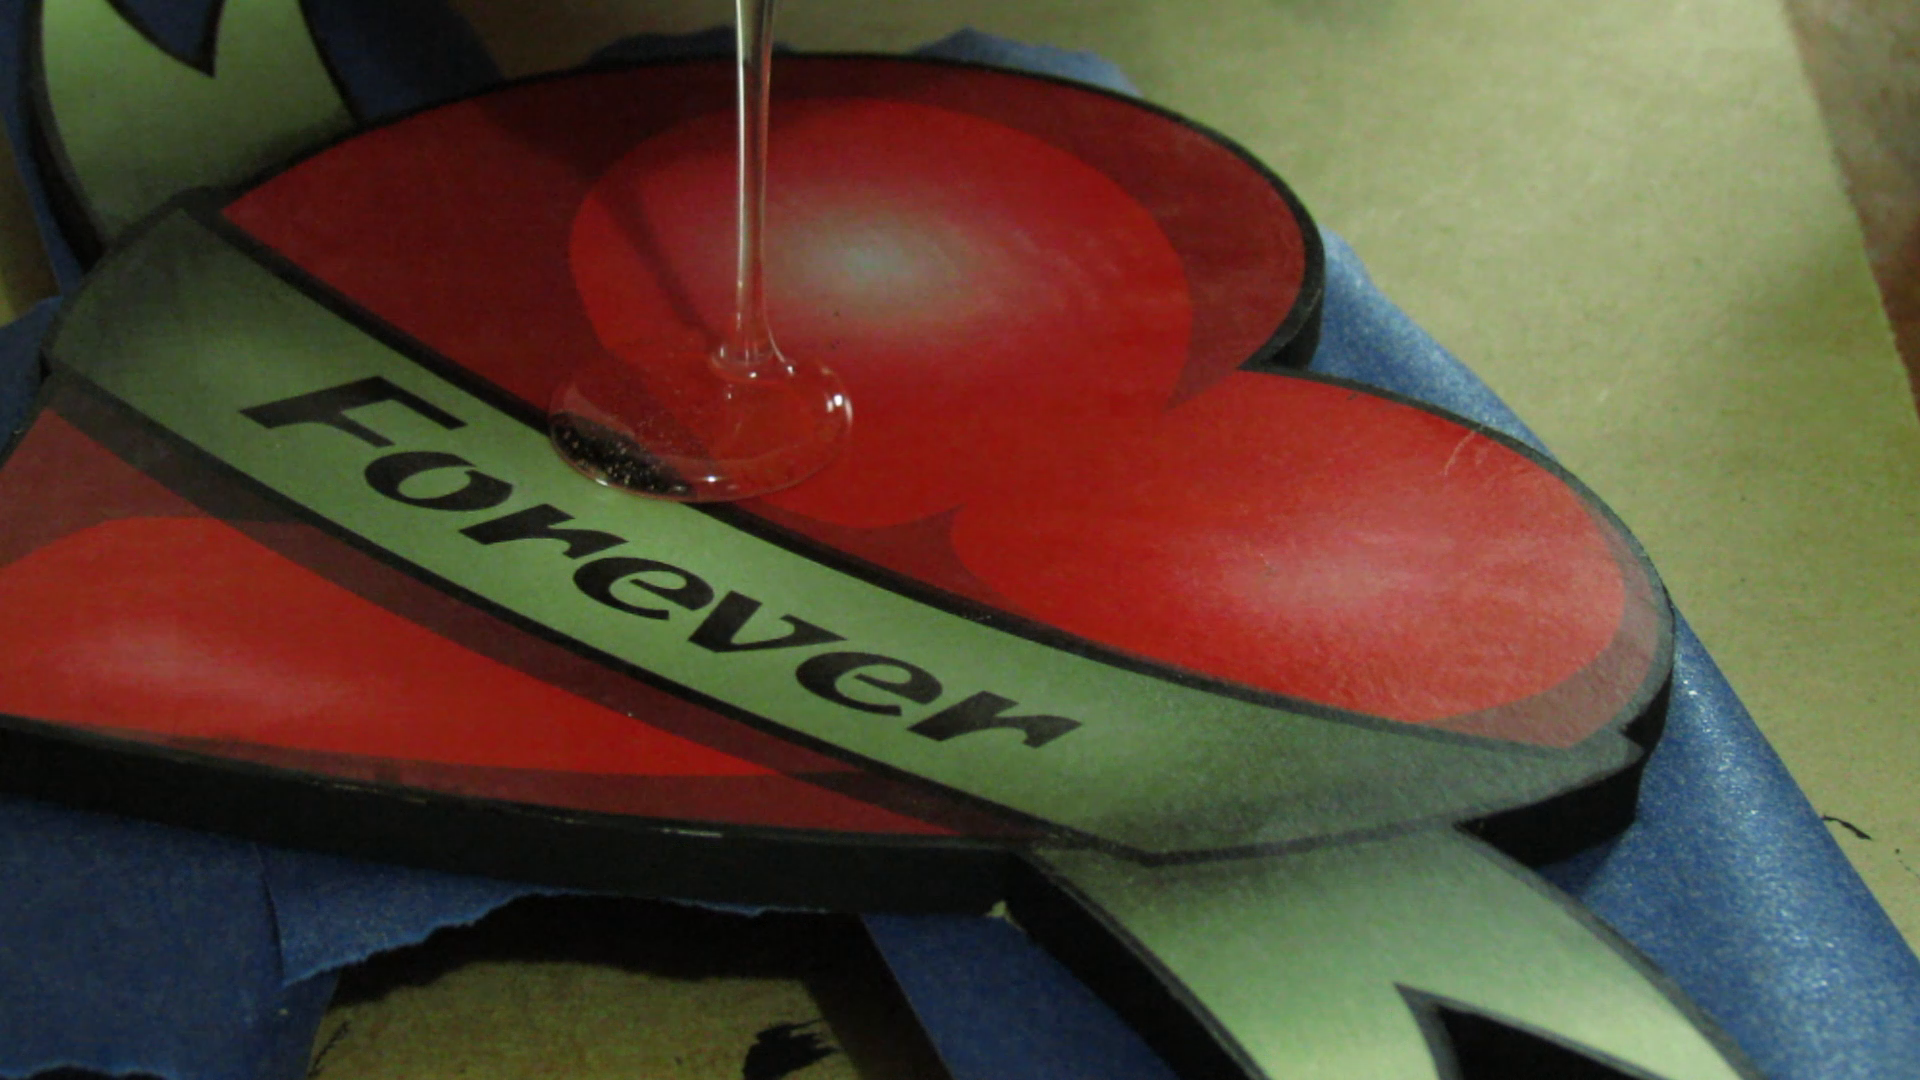
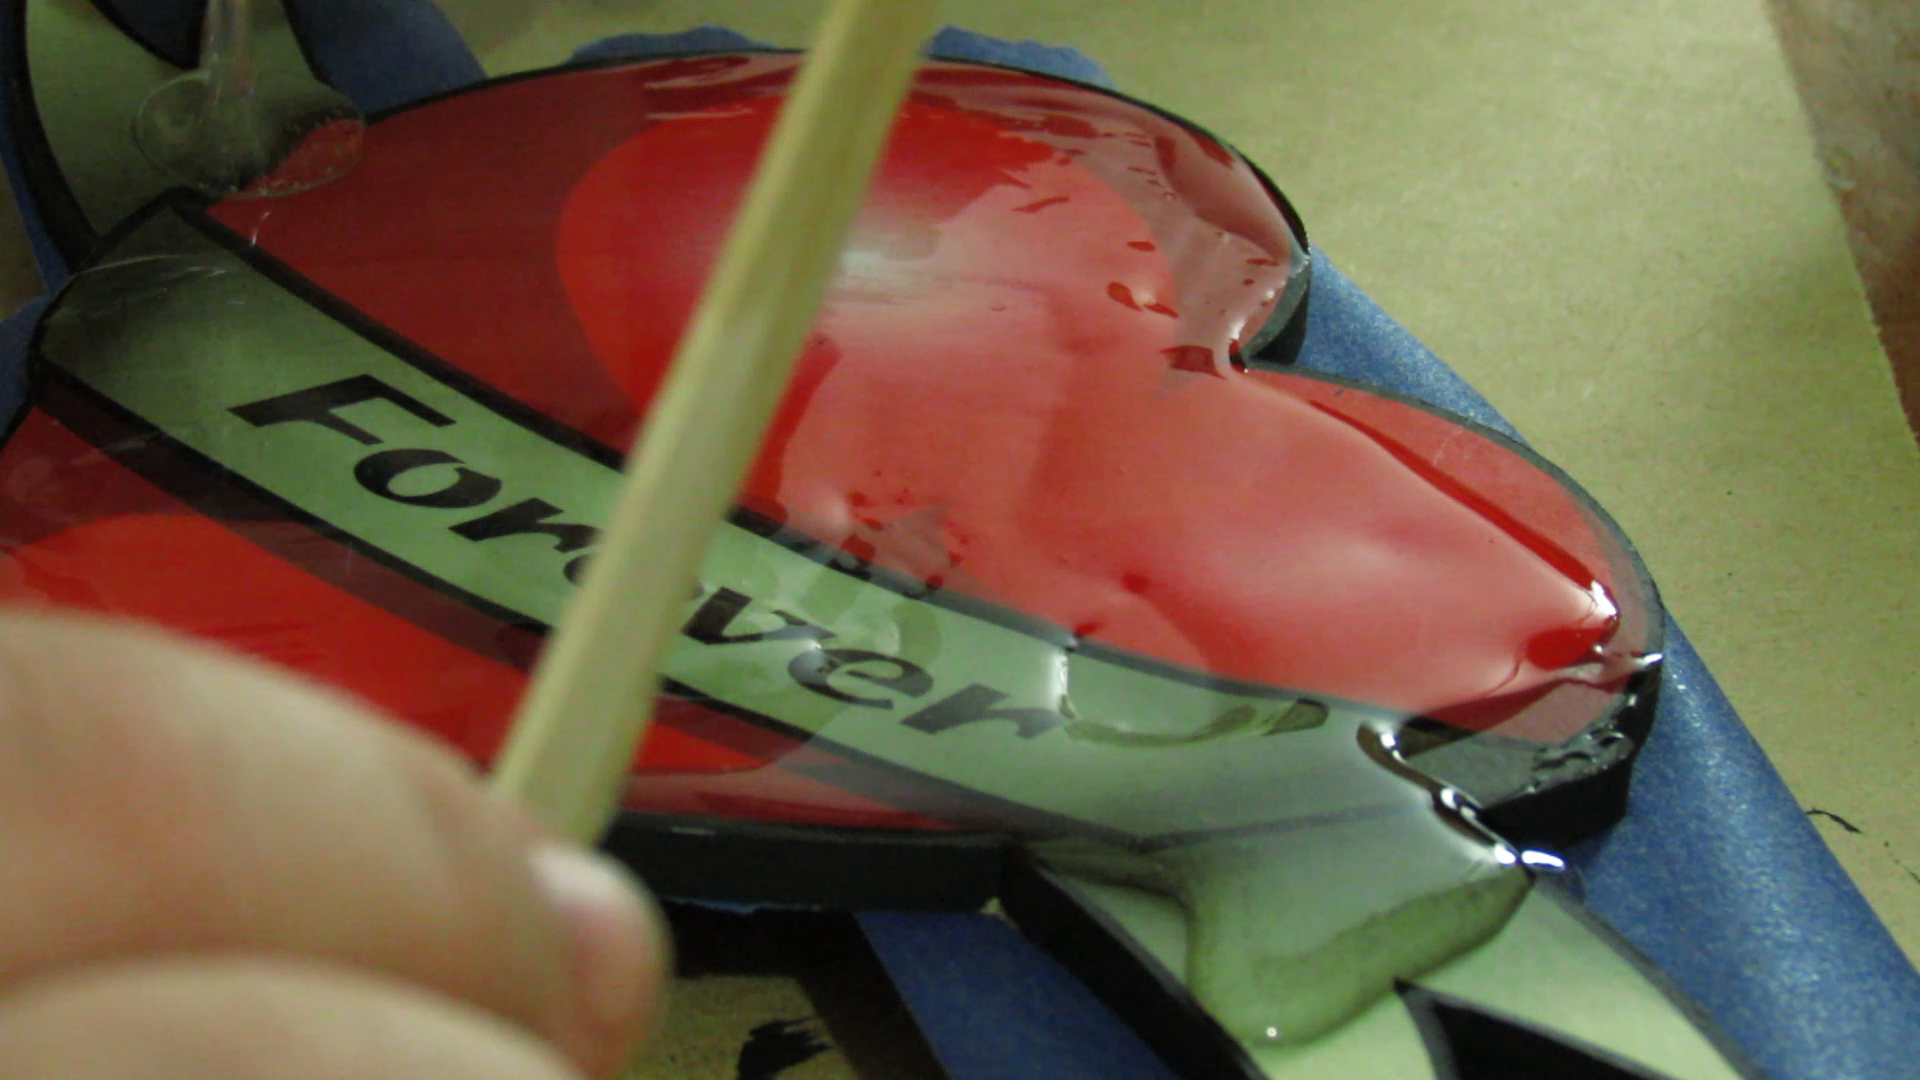
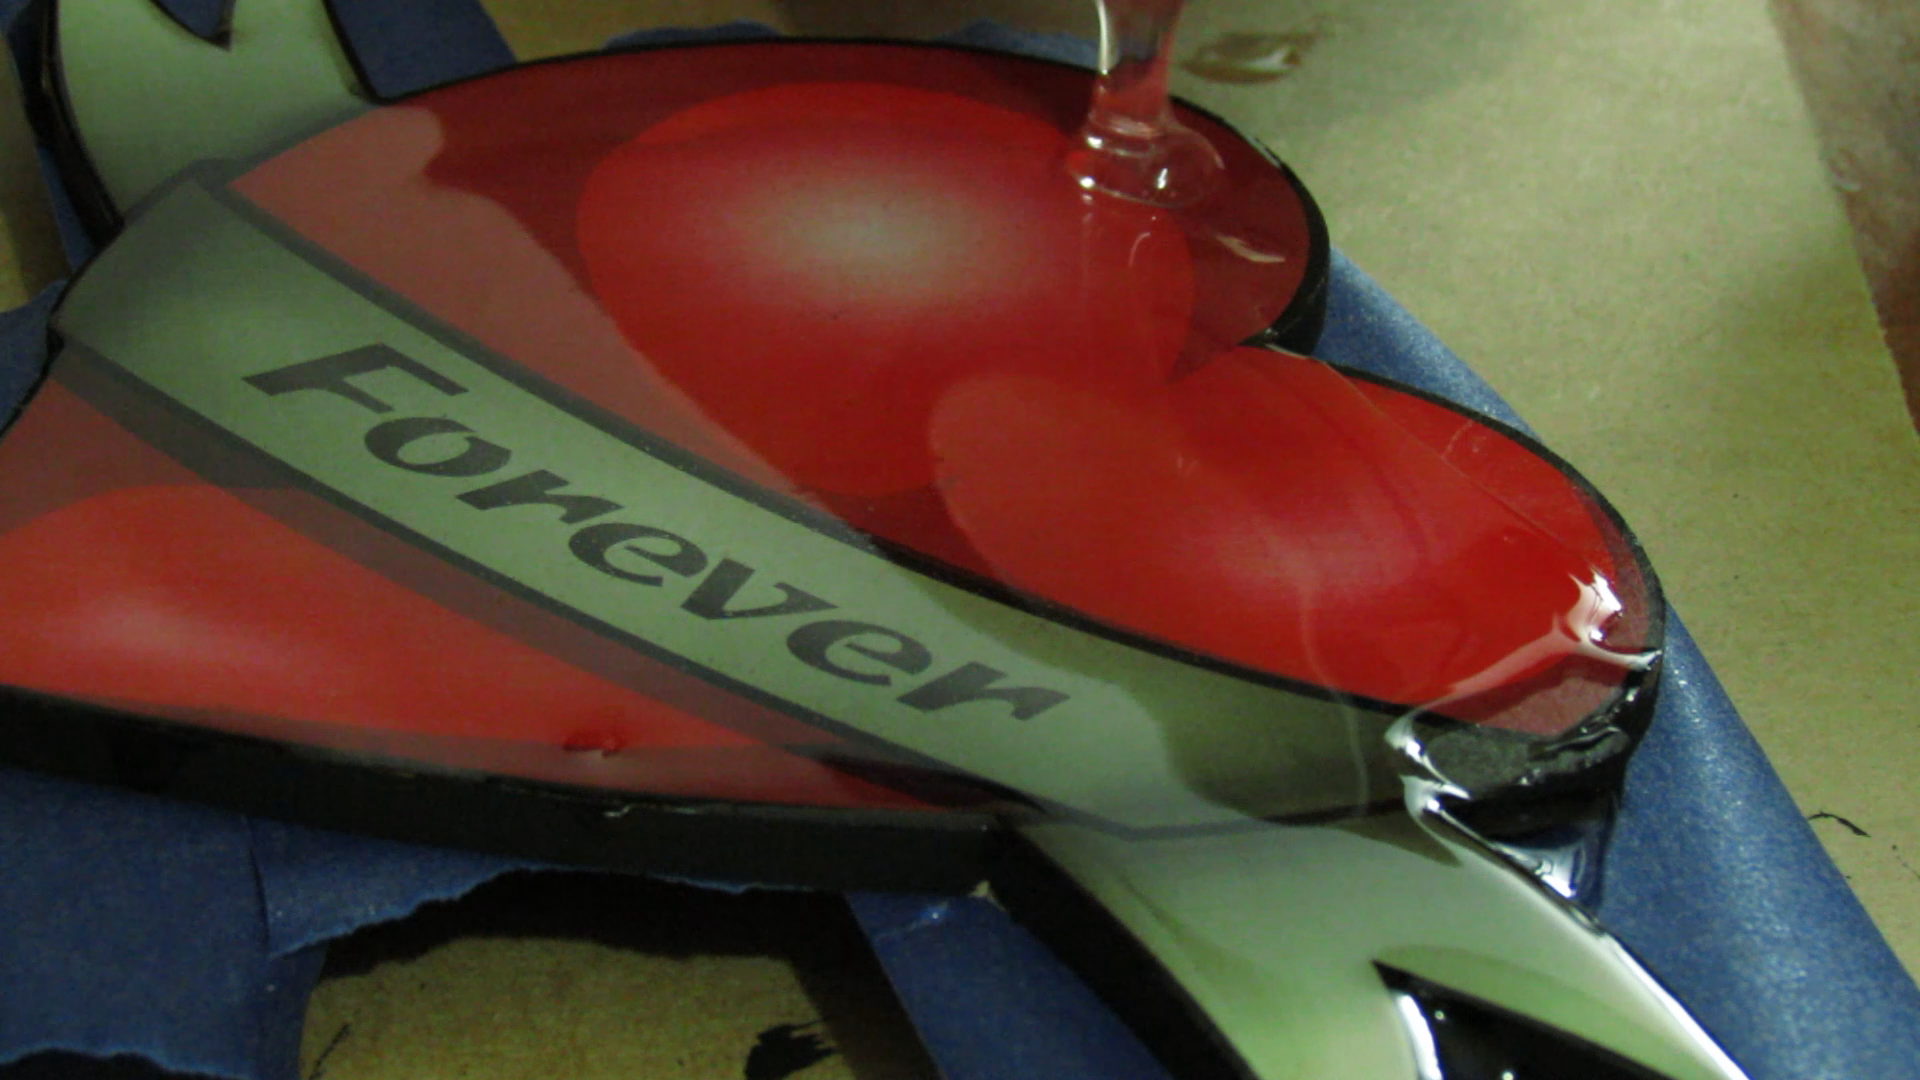
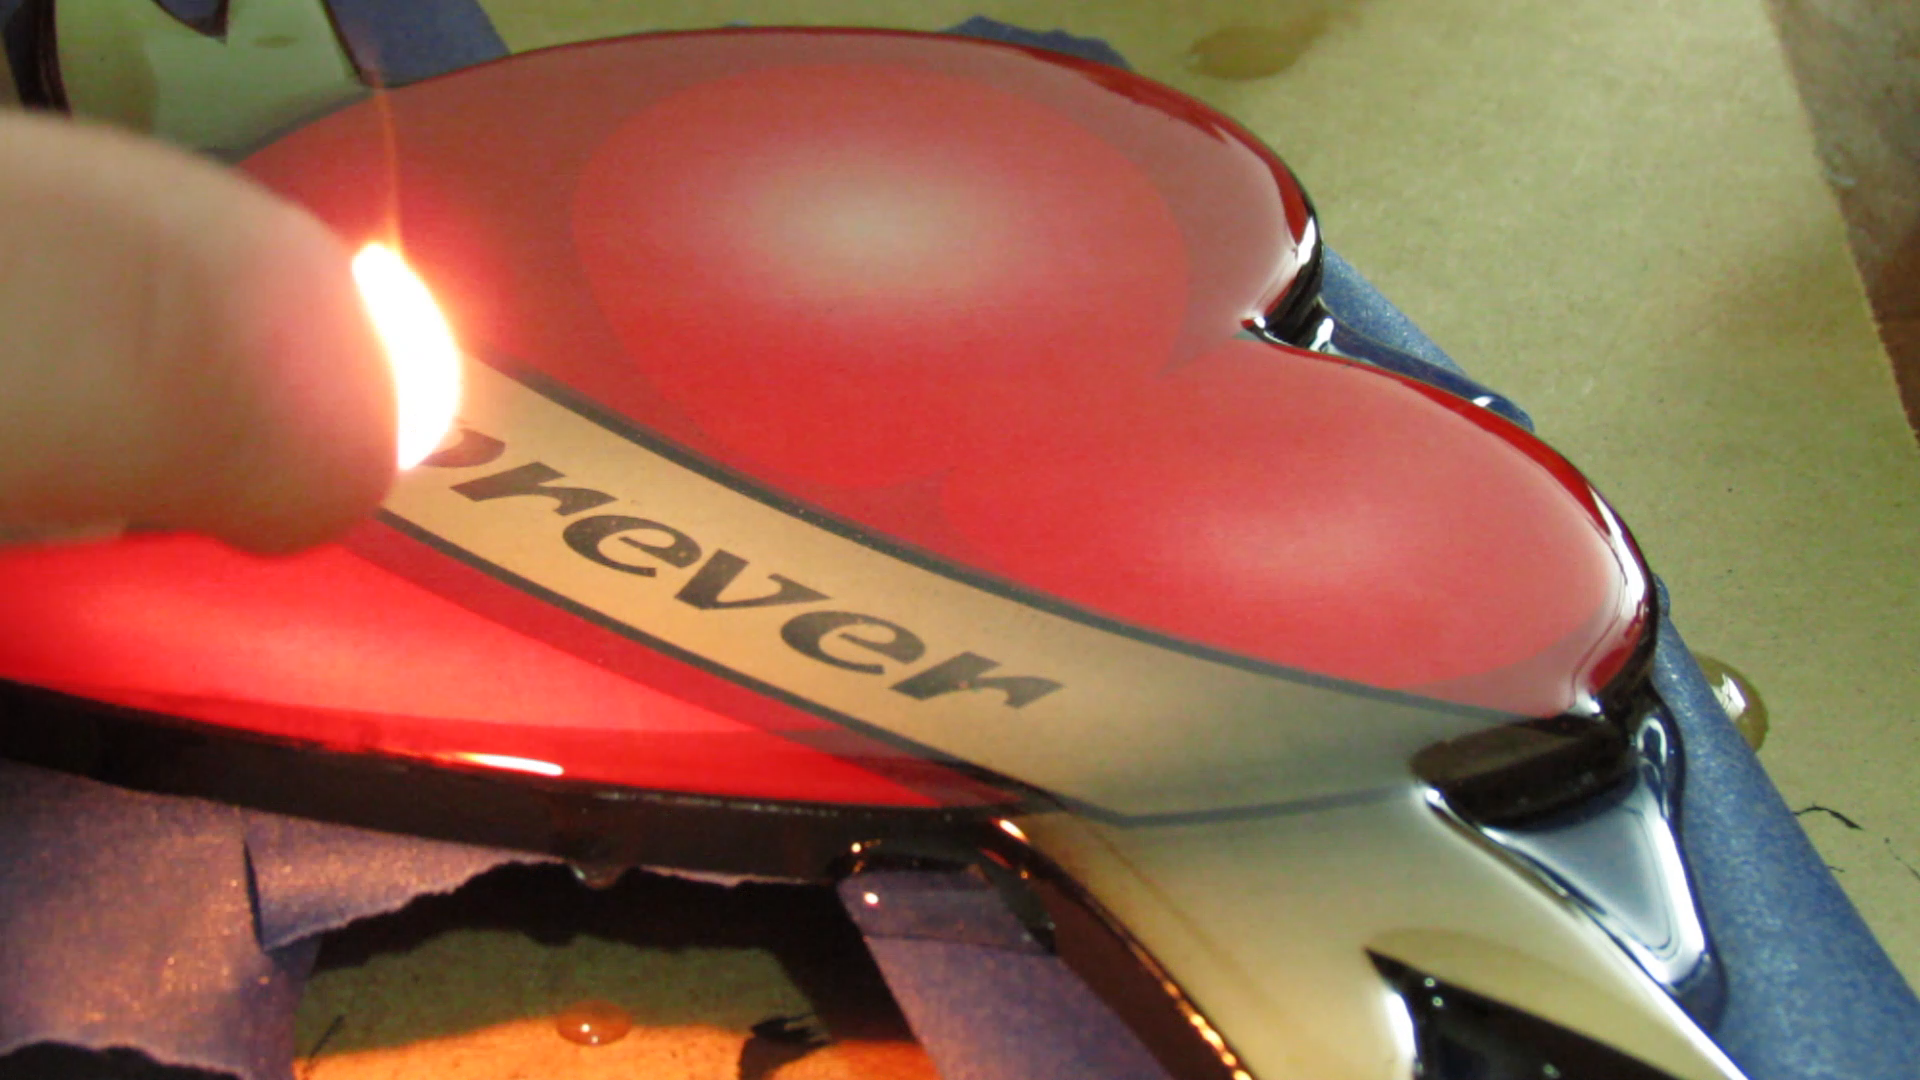
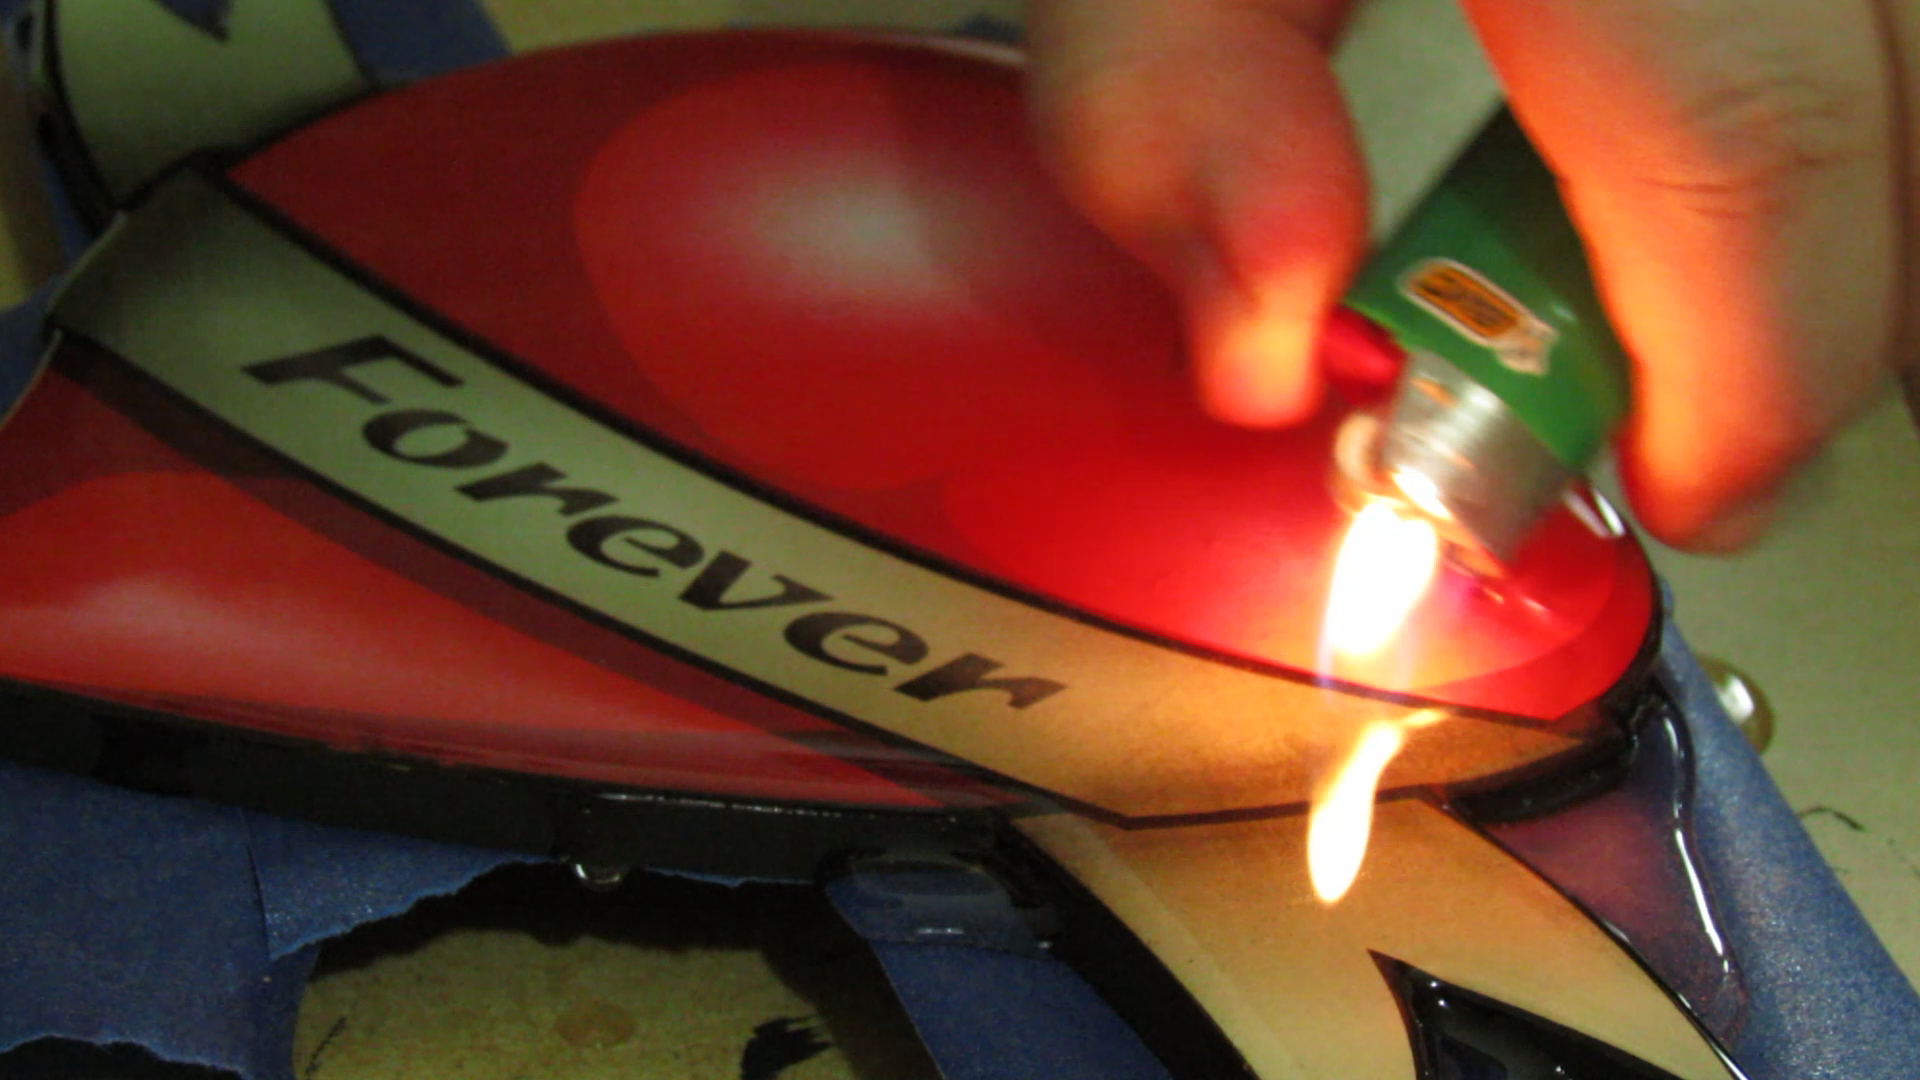
Pouring the resin is simple. You may need to work it around to the edges, but for the most part it is self leveling and shouldn't be an issue. Once it has settled for a minute or two, passing a lighter or torch over it will pop the air bubbles that are present. Then you will have to wait for the resin to cure which will vary depending on the brand of resin you use.
Clean Up
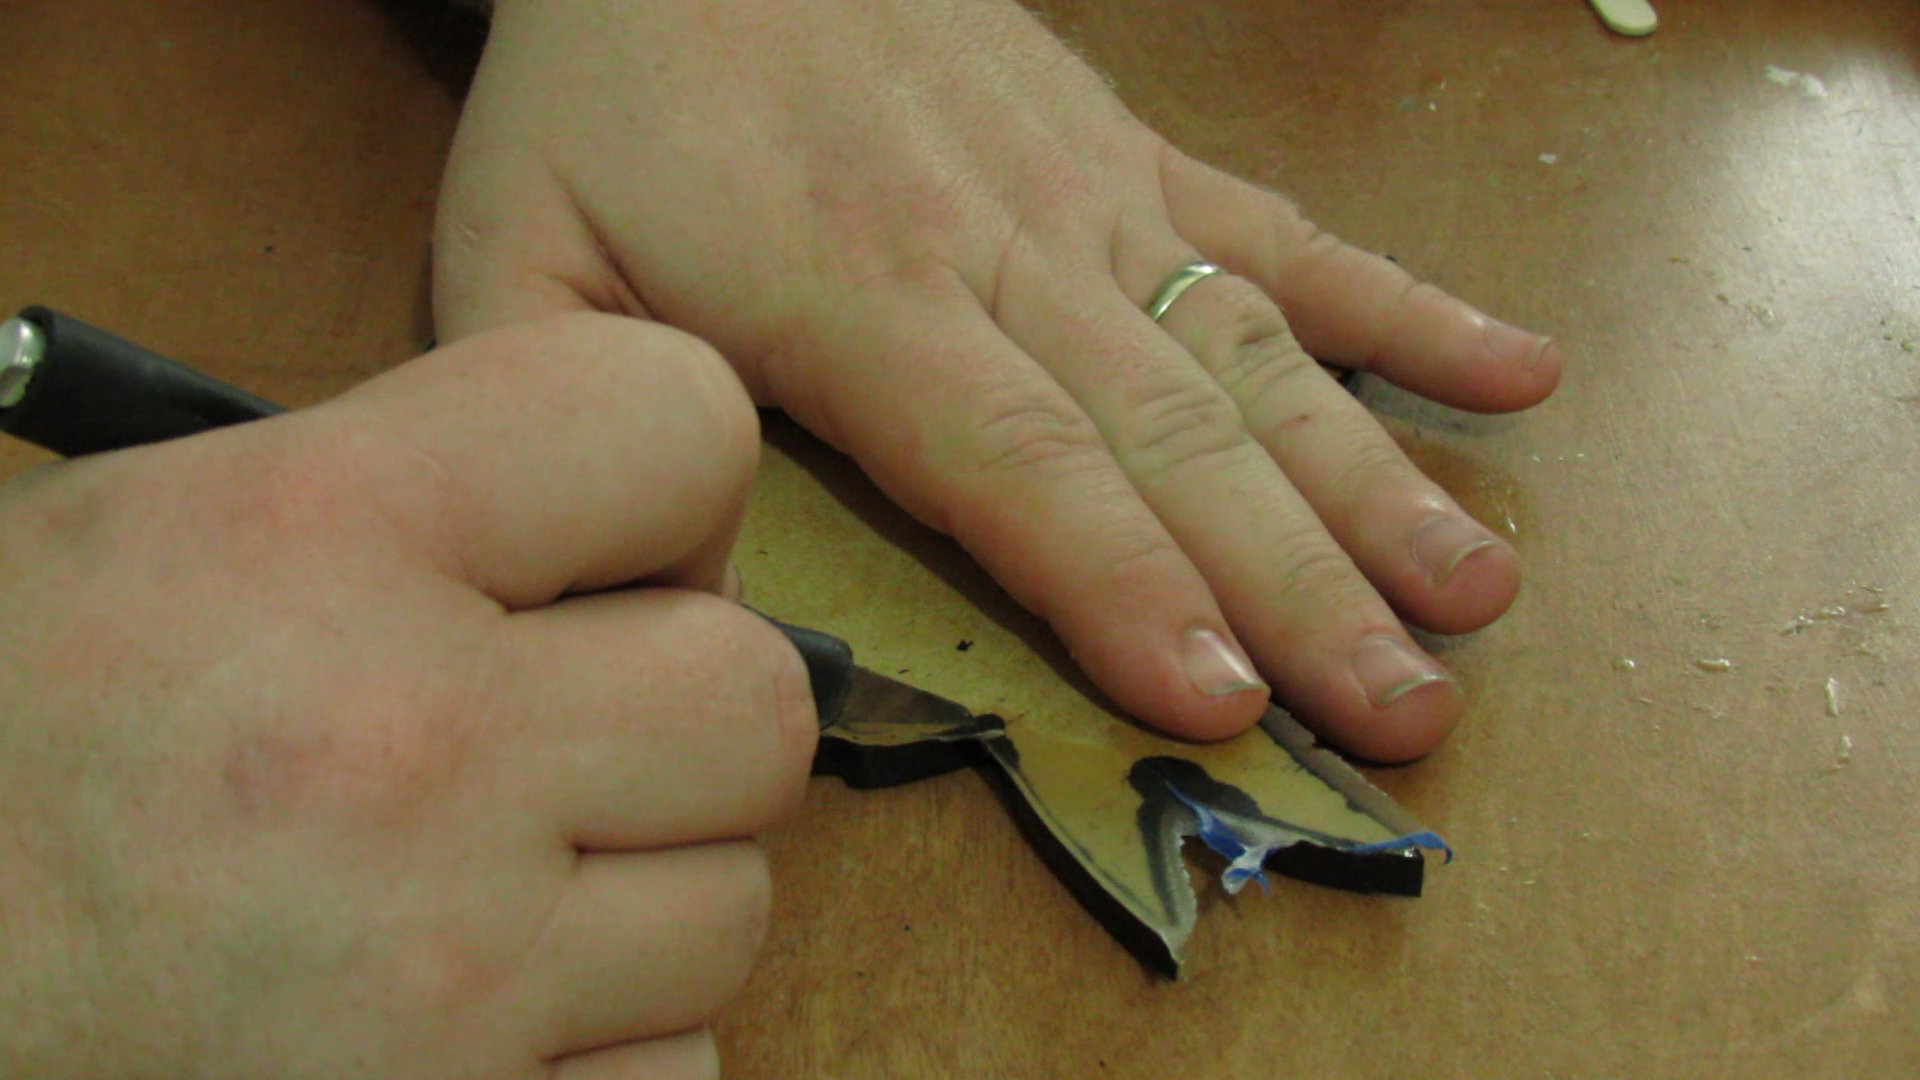
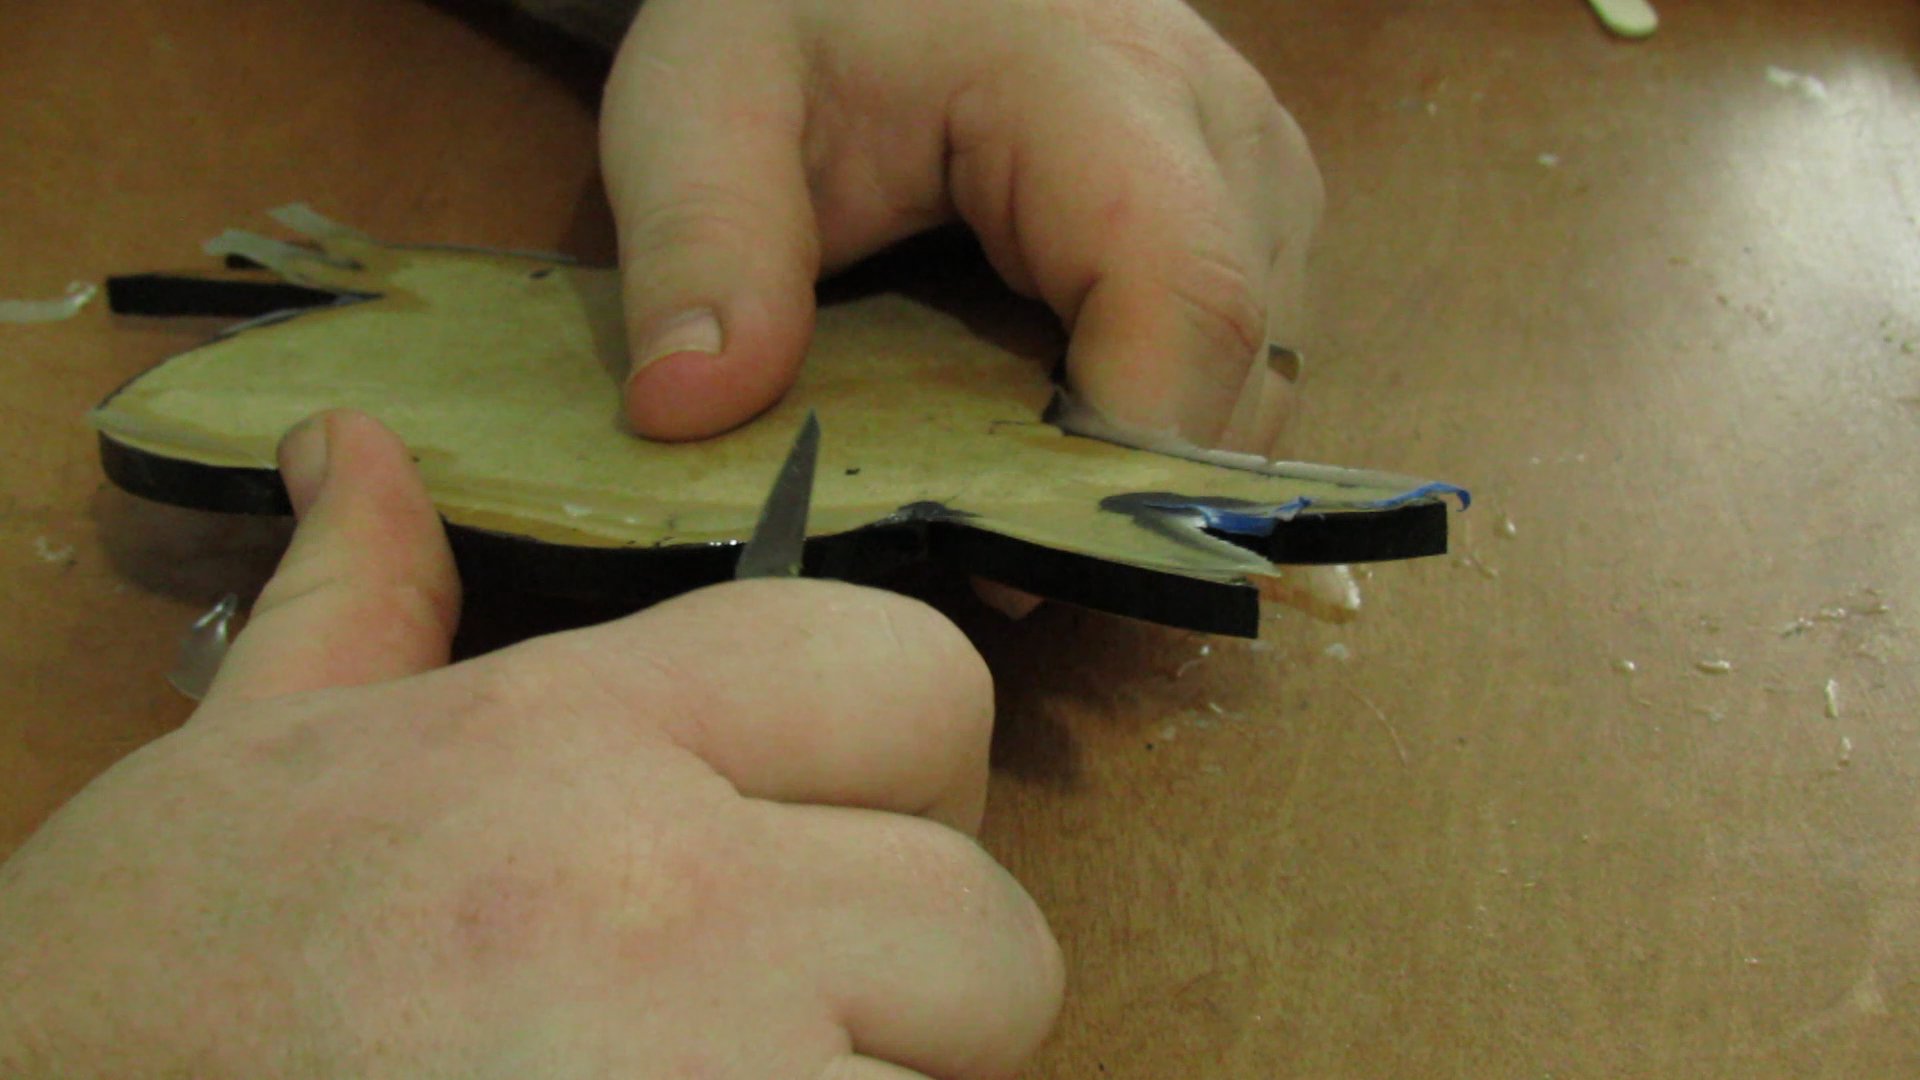
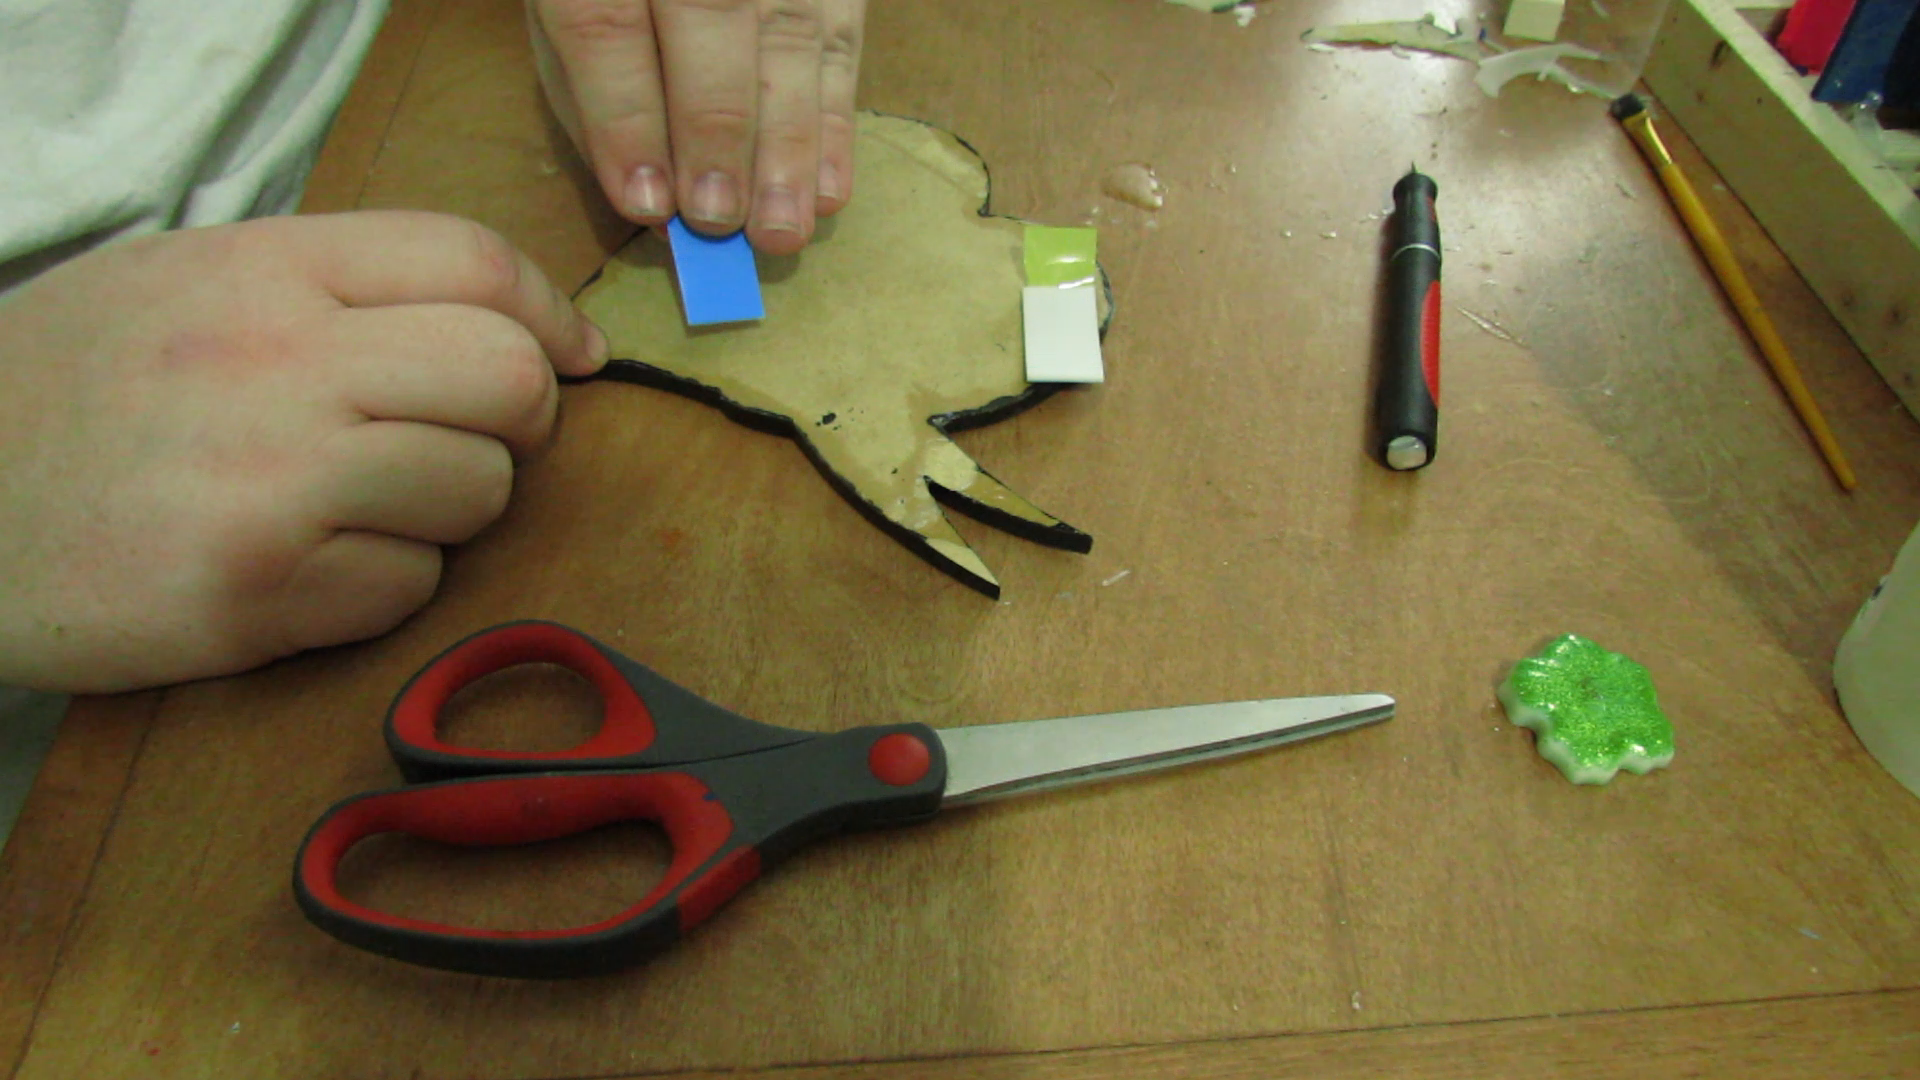
Trimming the resin off the edges is pretty painless and can be accomplished with a craft knife. You will also need to add some sticky backing to the back so you can hang it on the wall. We used some double sided temporary tape, but you could also use 3M poster tabs.
All Done!
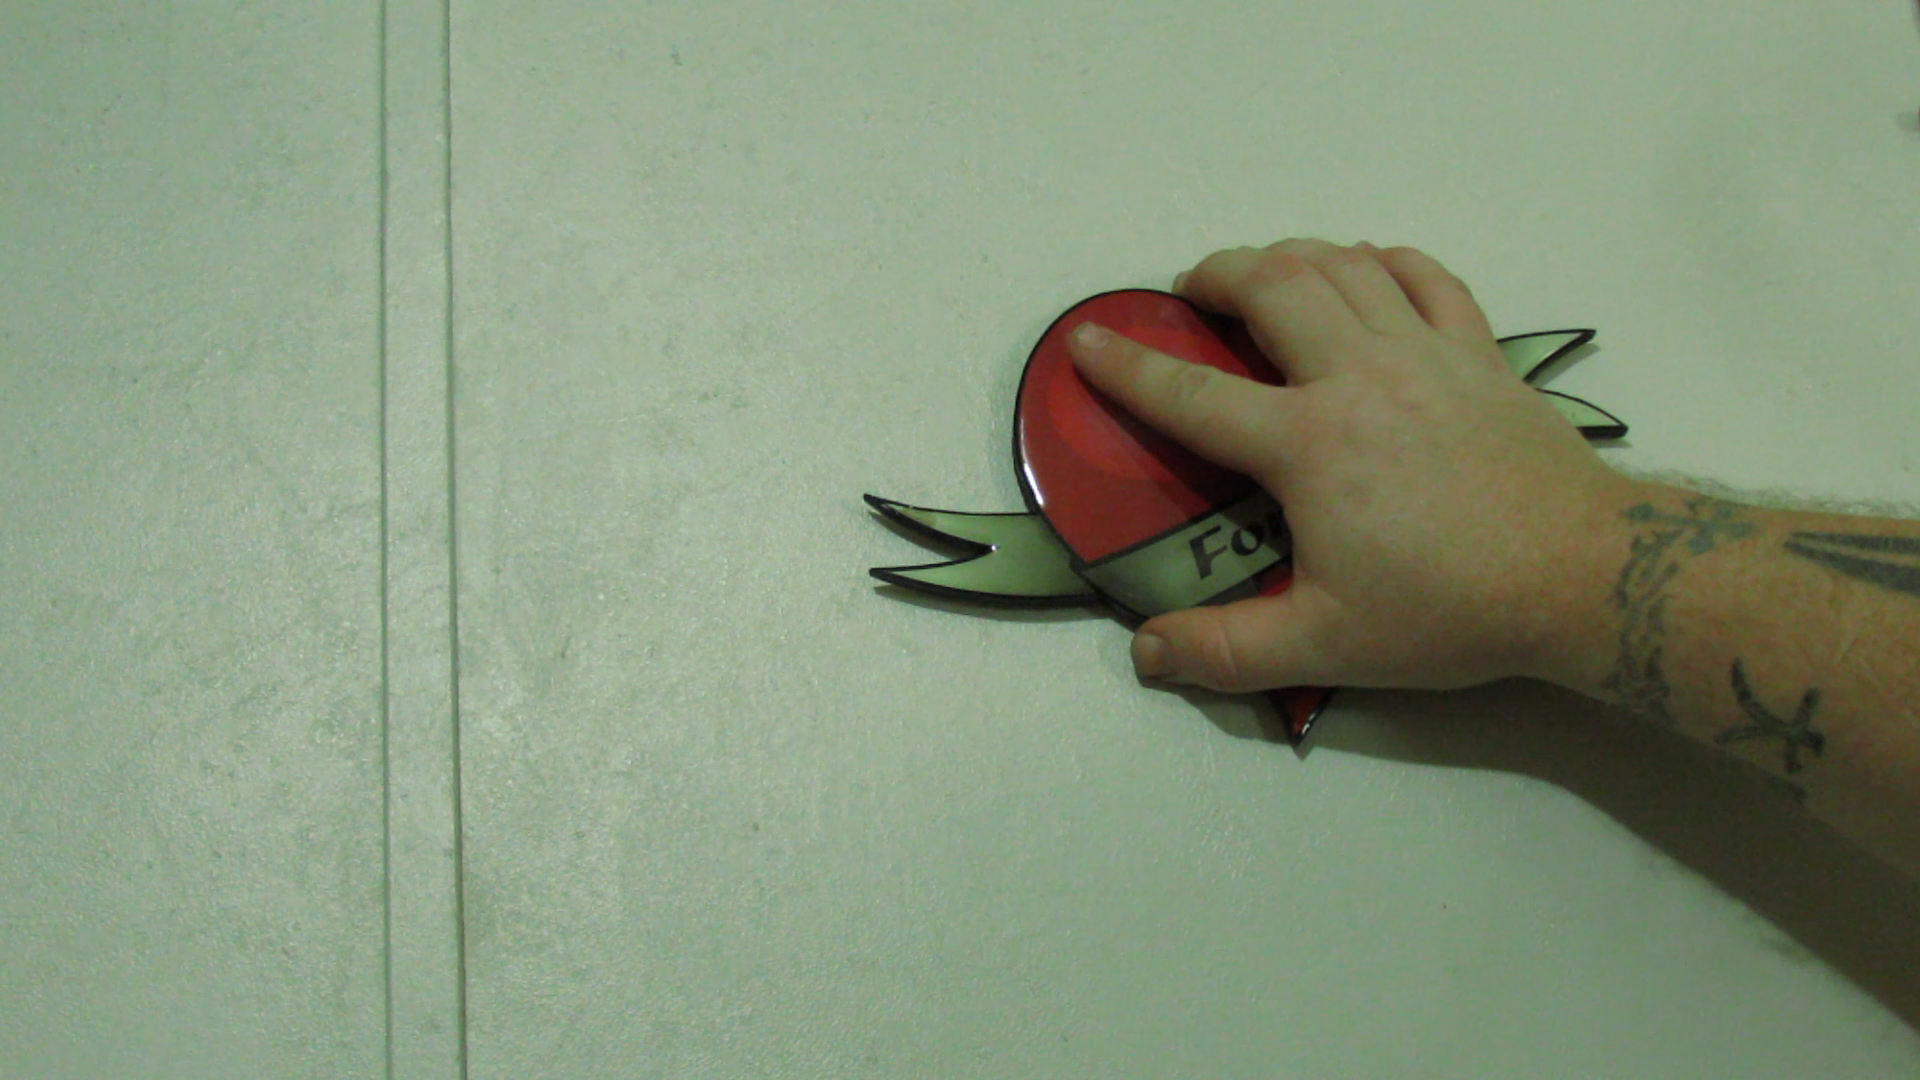

Now you can place it on the wall or give it away as a gift. It should only take about 2 days to make it and most of that time will be spent waiting for the resin to cure.
We hope you enjoyed this DIY project and the video that goes along with it. If you have any questions or comments please let us know, we'd be more than happy to help you out. Thanks for checking out this Instructable.