Make a Custom LED Lithophane Lamp With Your 3D Printer!
by Madfugu in Workshop > Lighting
1272 Views, 17 Favorites, 0 Comments
Make a Custom LED Lithophane Lamp With Your 3D Printer!

This step-by-step guide shows you how to create a portable nightlight in 3D, customizable with your own photos or designs. With a budget of less than €10, this project is accessible to all :)
Supplies
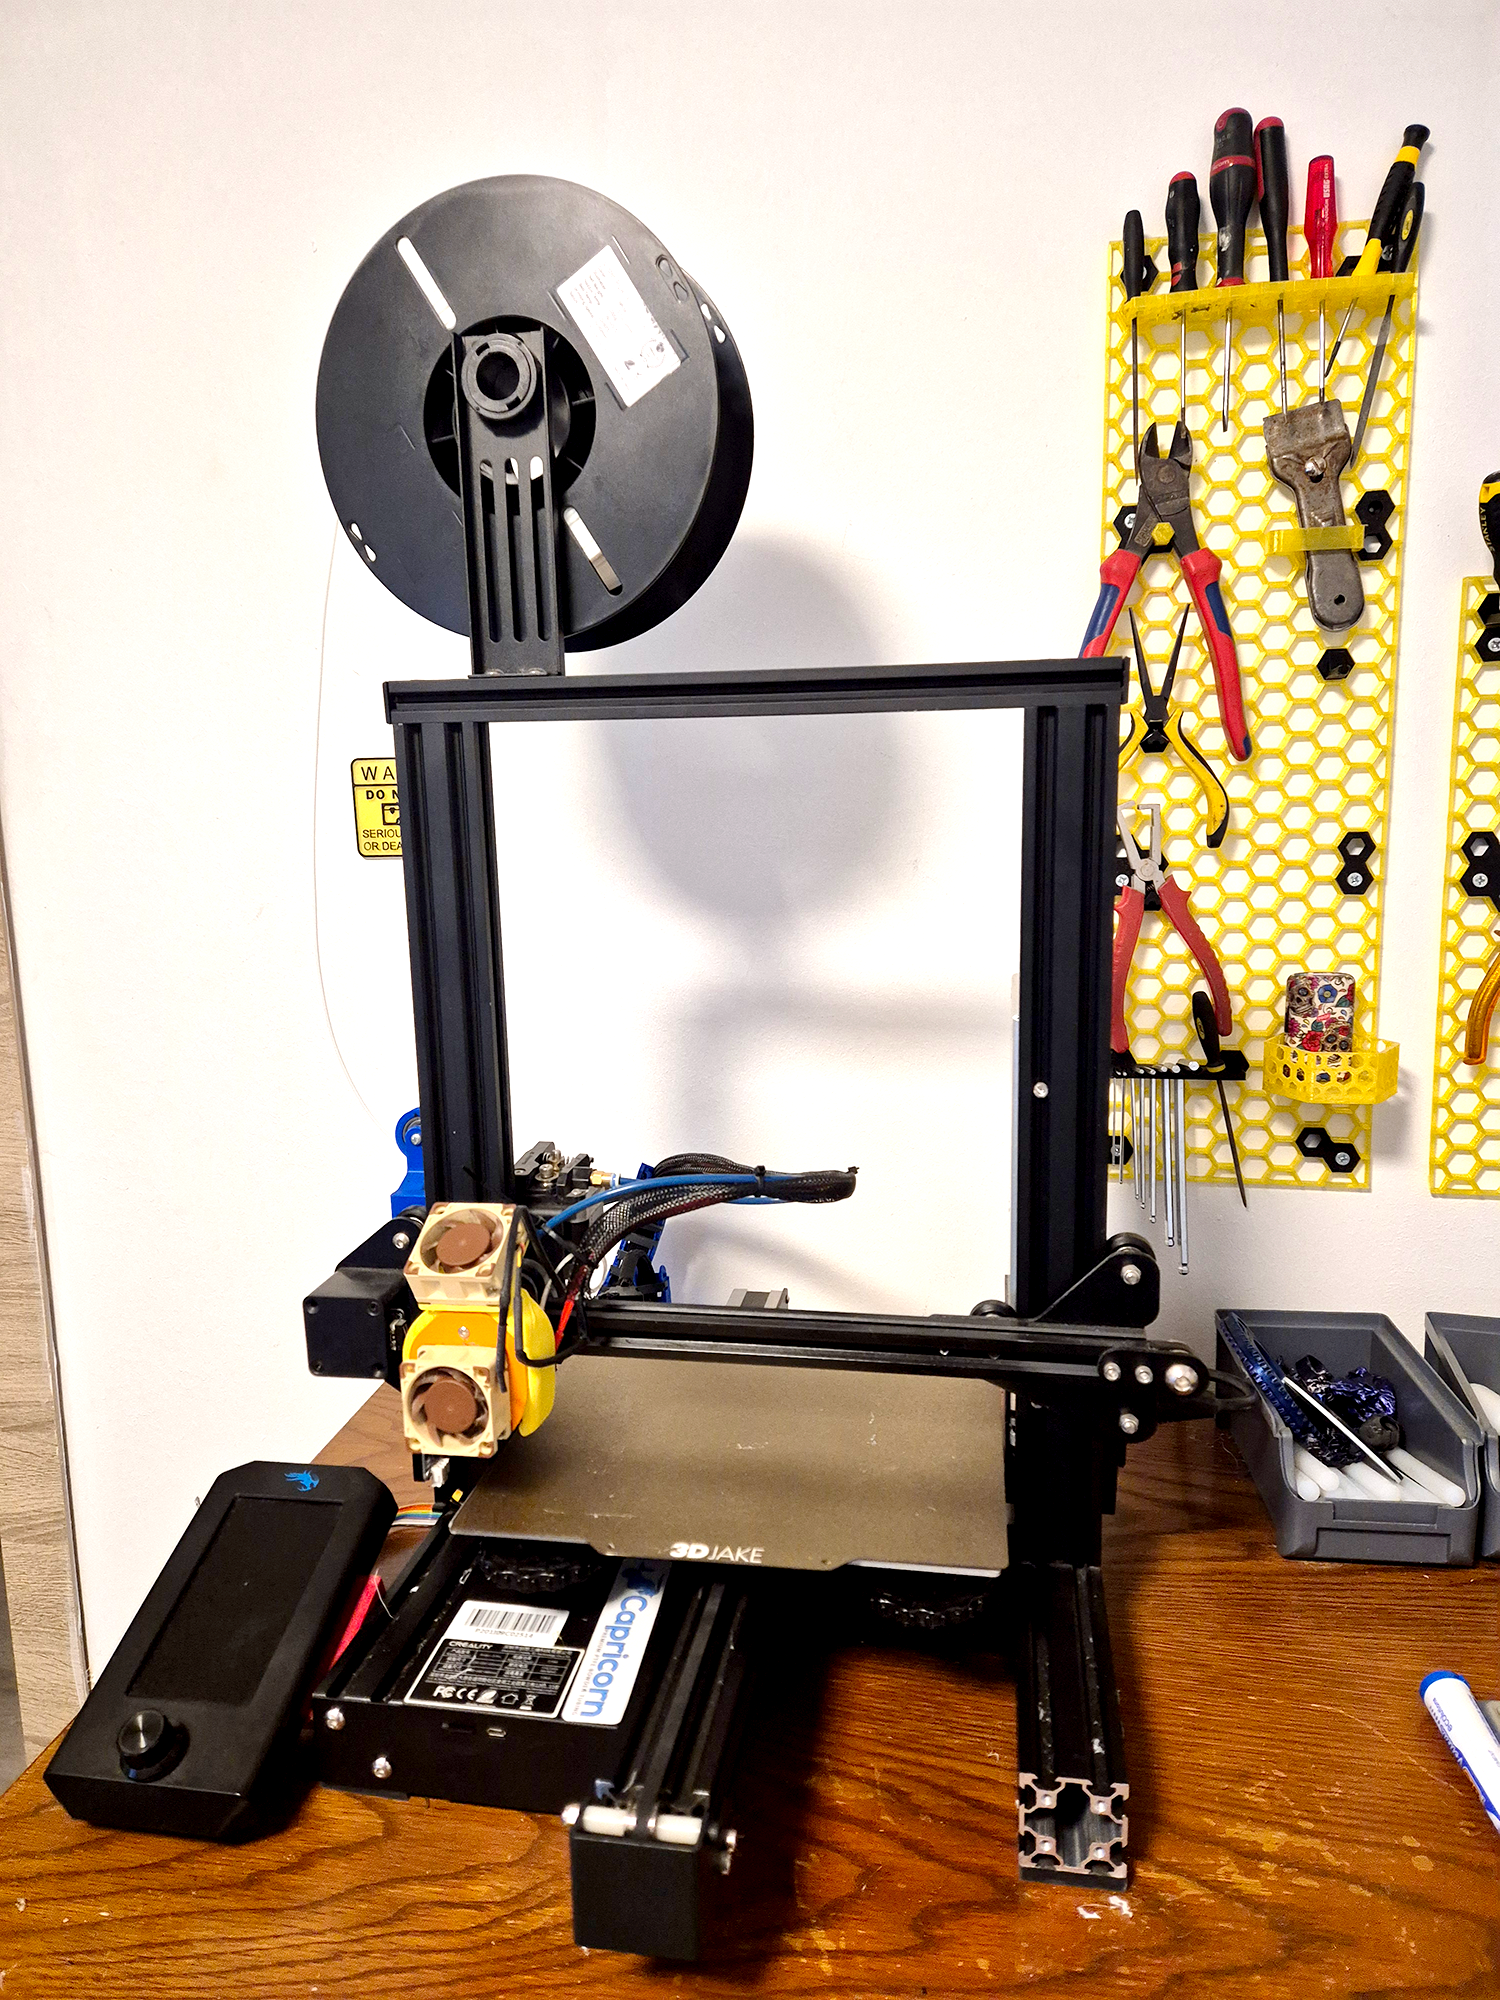
A 3D printer with PLA filament (1 white spool, 1 colored spool).
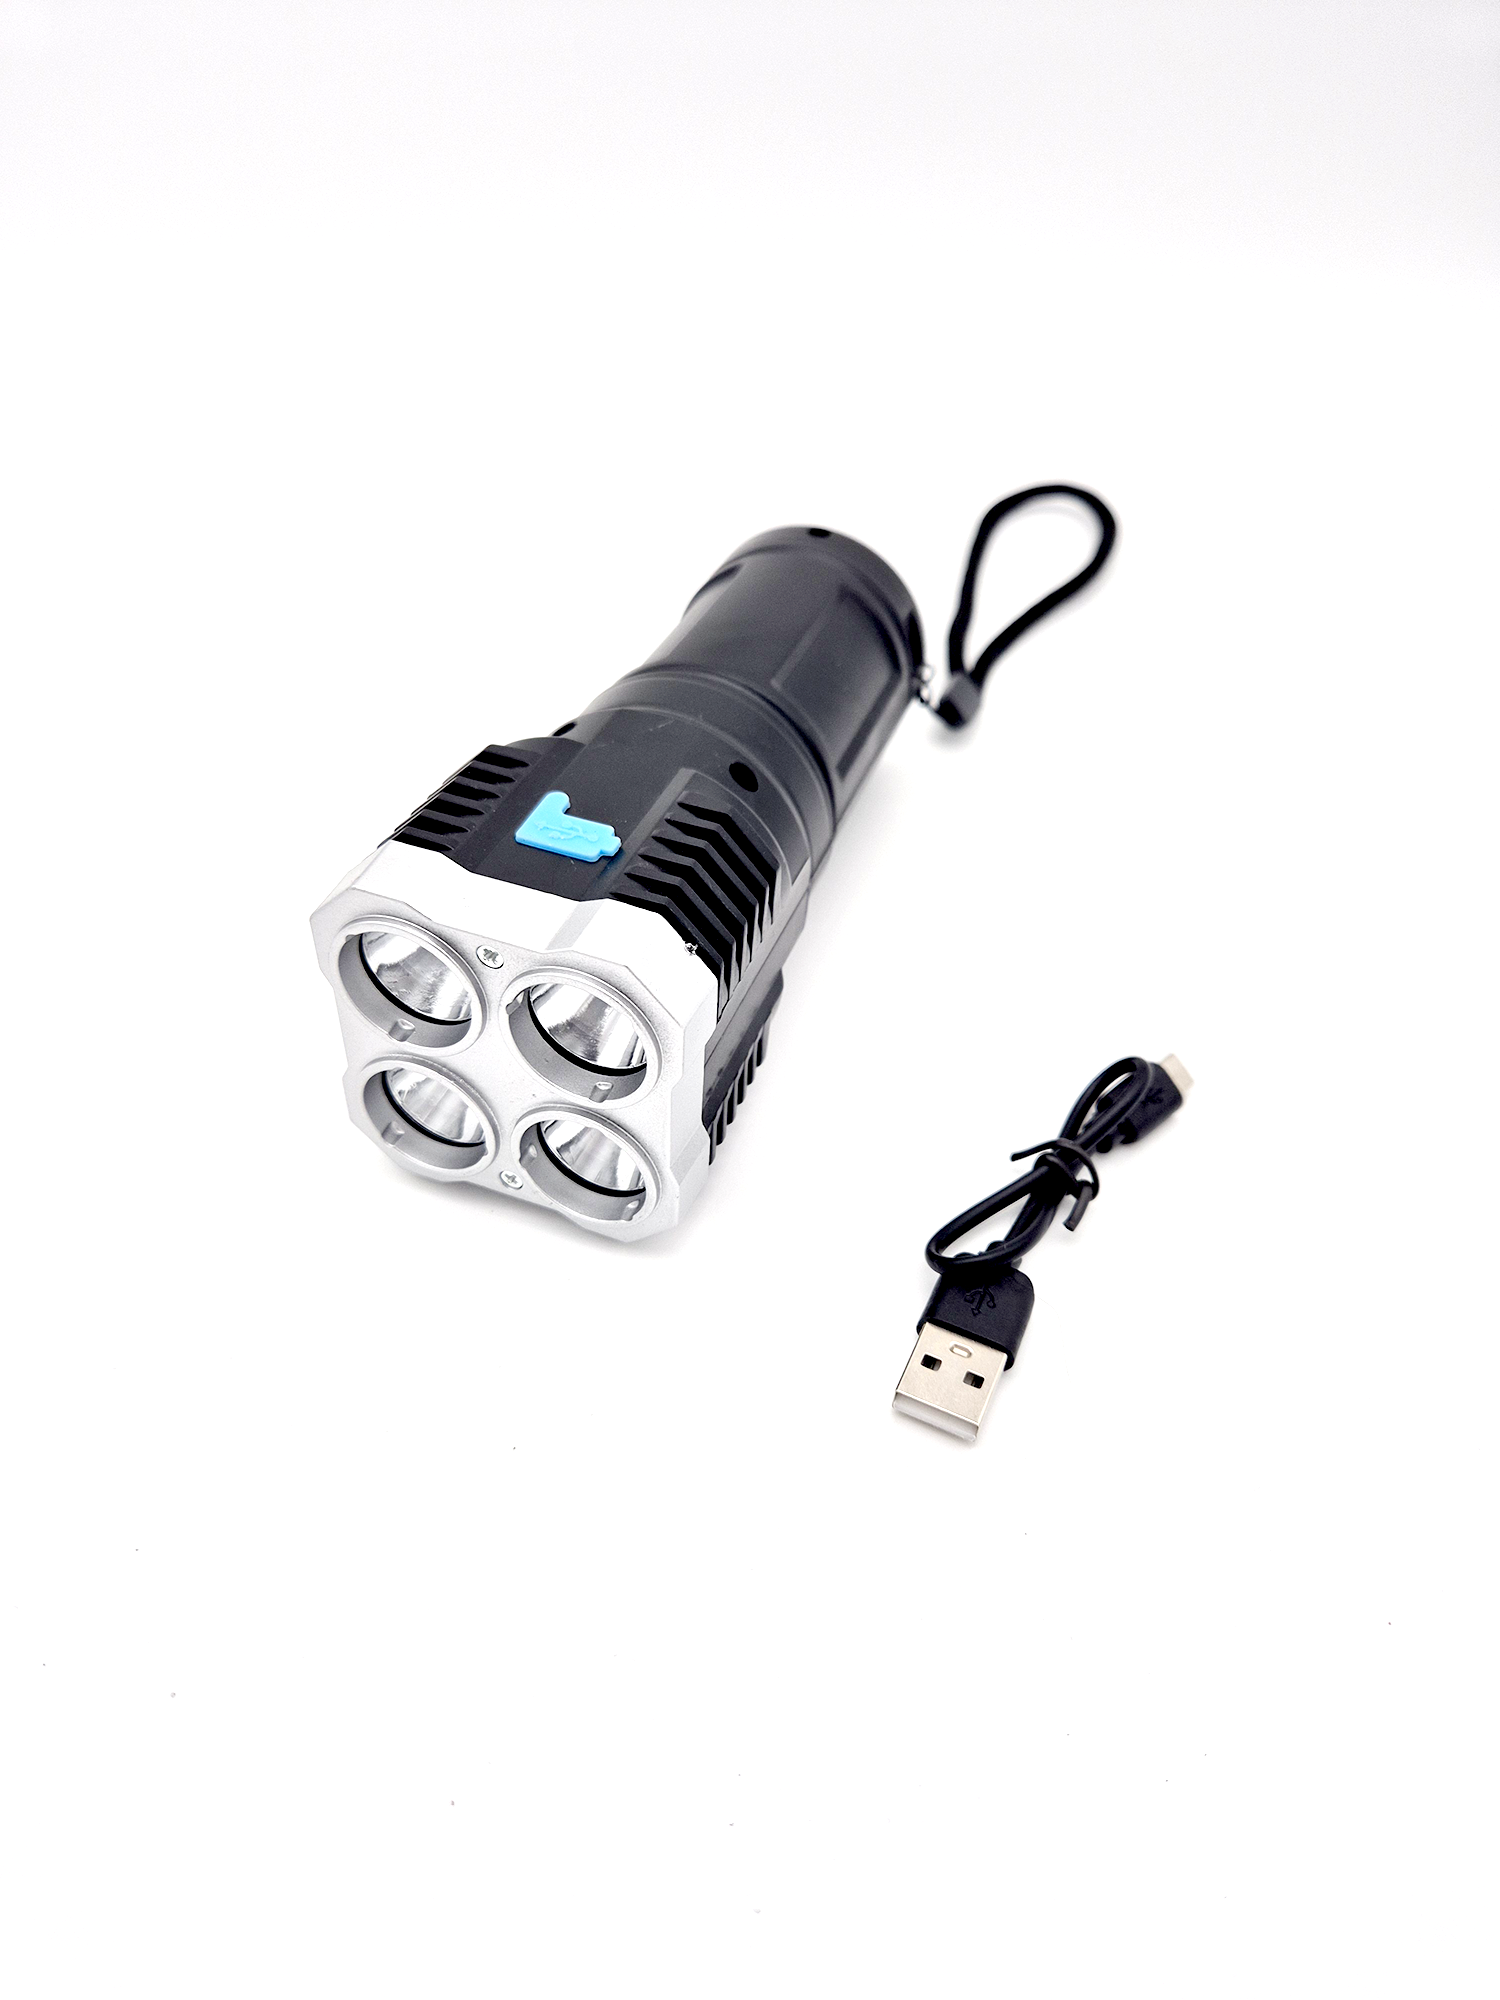
A four-beam LED flashlight (available online for ~€4).
A 3D file (available on Cults3D - Small model - Large model).
A photo in the corezsponding size (large model: 18.75 x 10 cm, small model: 7.2 x 9 cm).
A soldering iron
4 électrical wires (0.5 mm)
A strong glue.


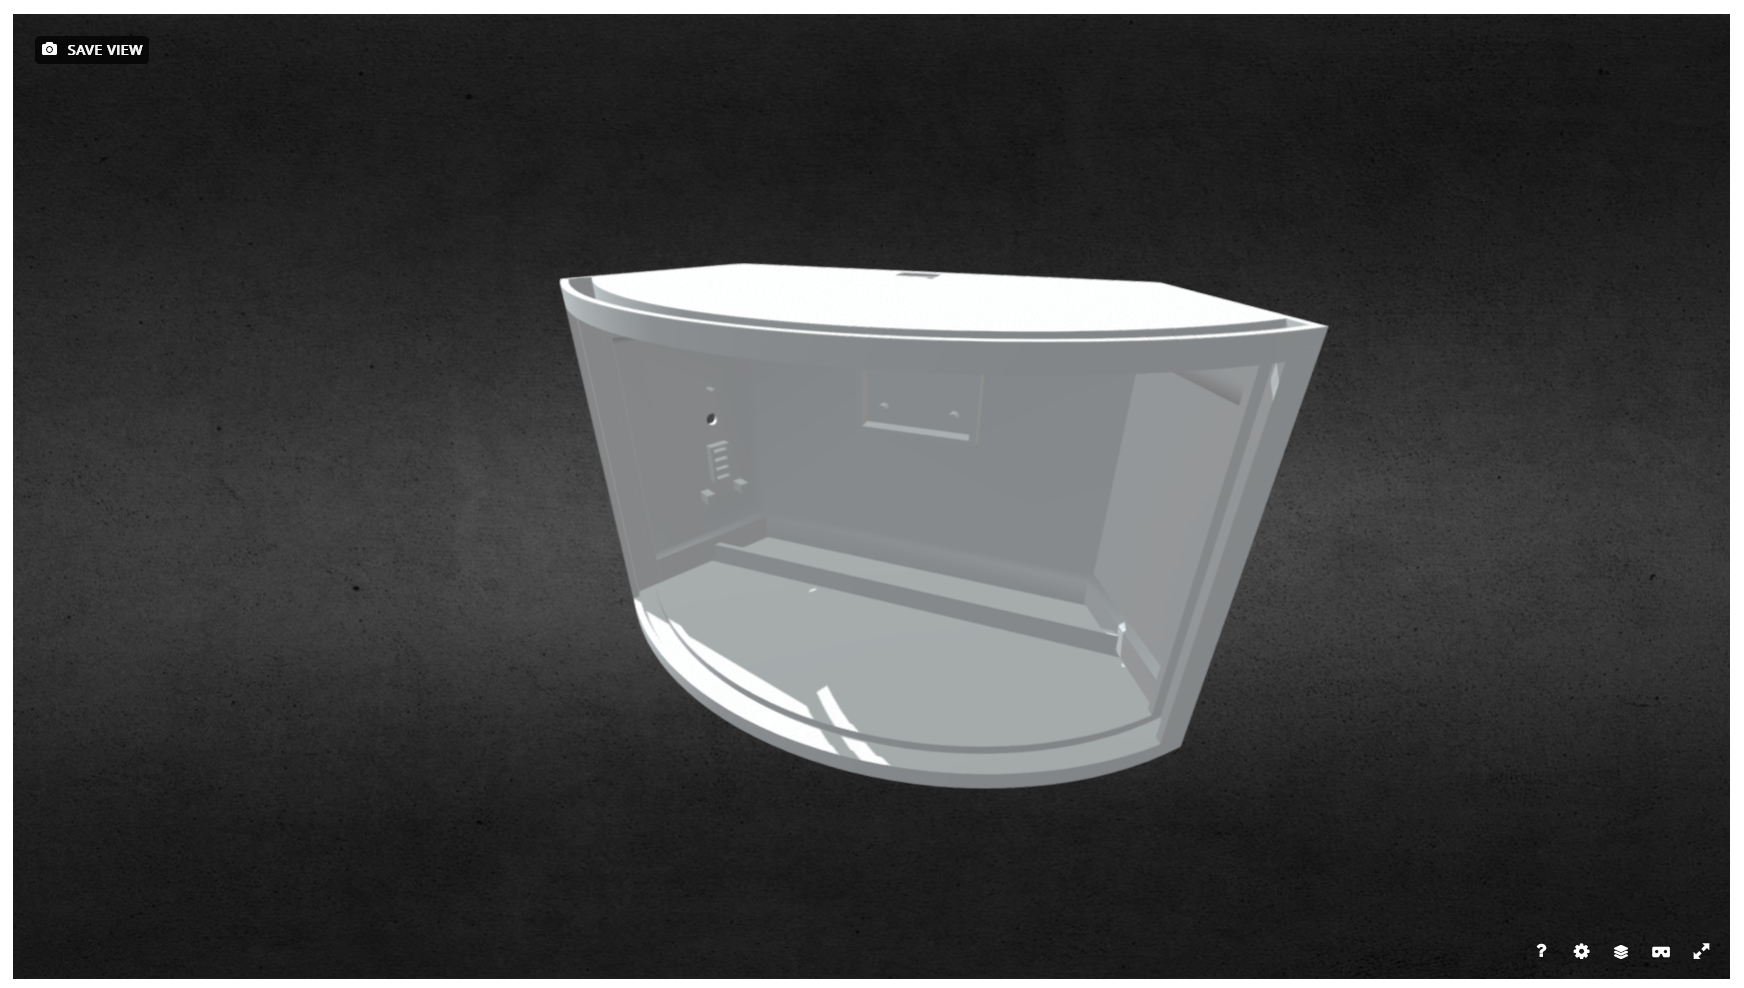
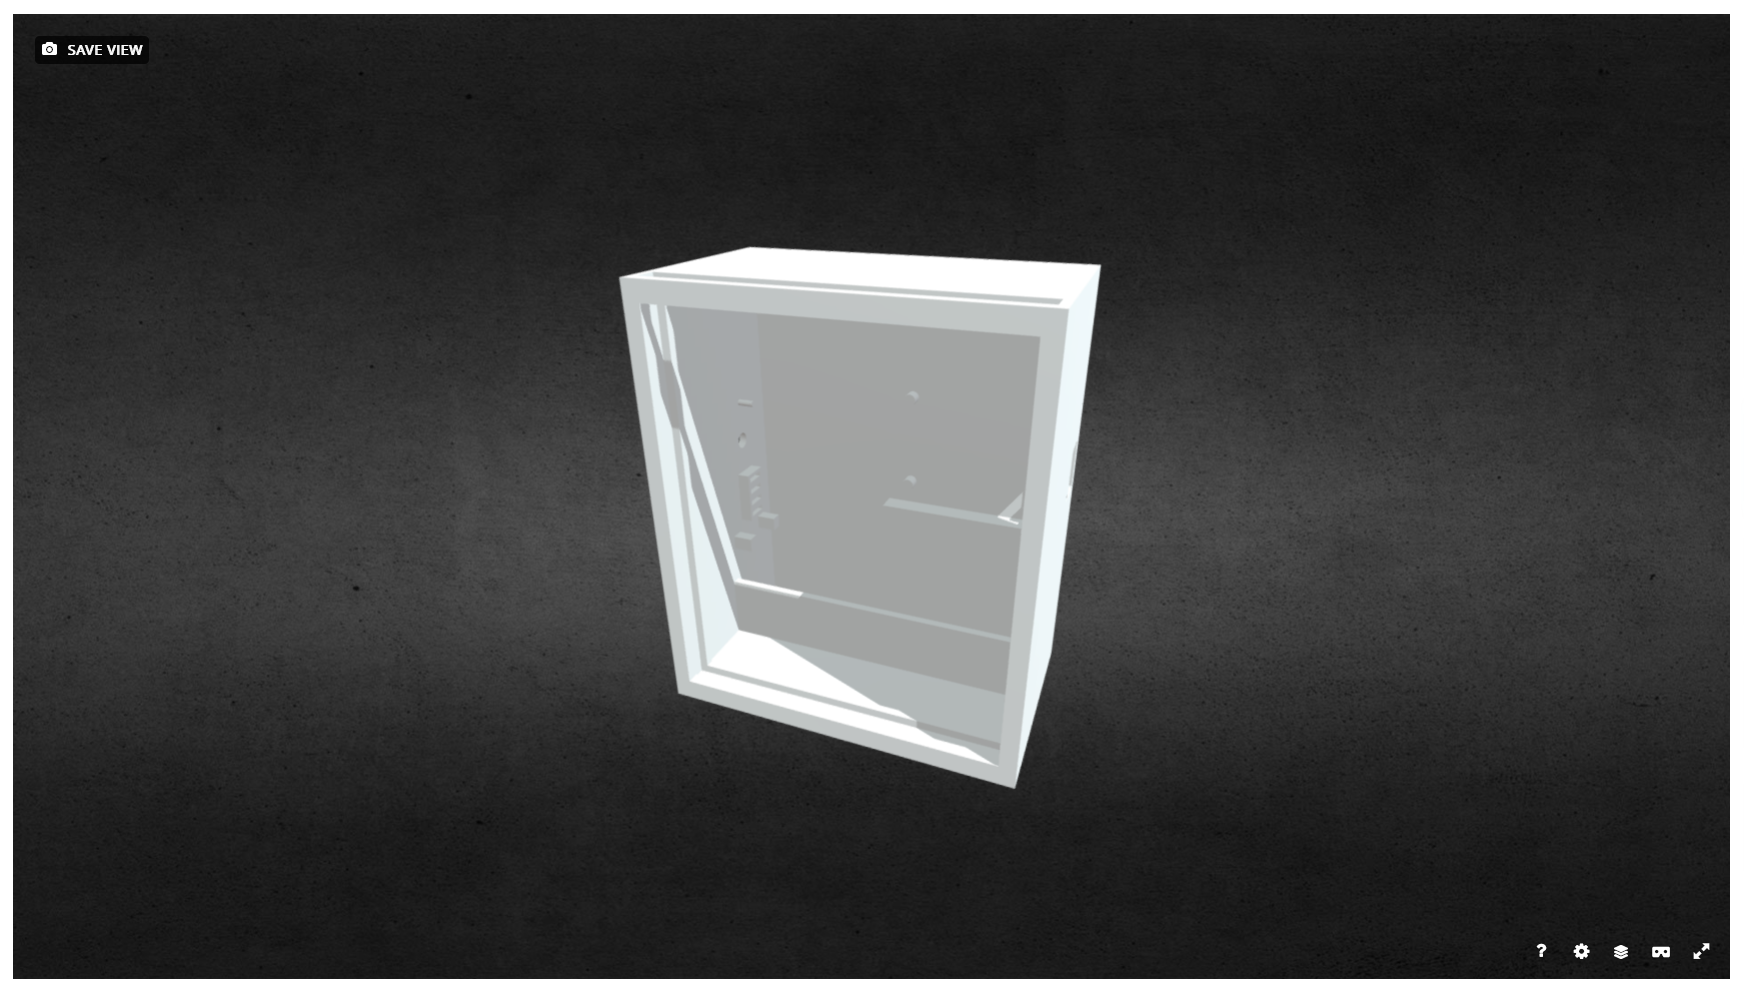
3D Print the Parts:
- Download the STL file (available on Cults3D - Small model - Large model).
- Print the components:
- The large box requires 3 parts to be assembled with glue.
- The small box can be printed in one go with supports.
- Use colored PLA for the casing.
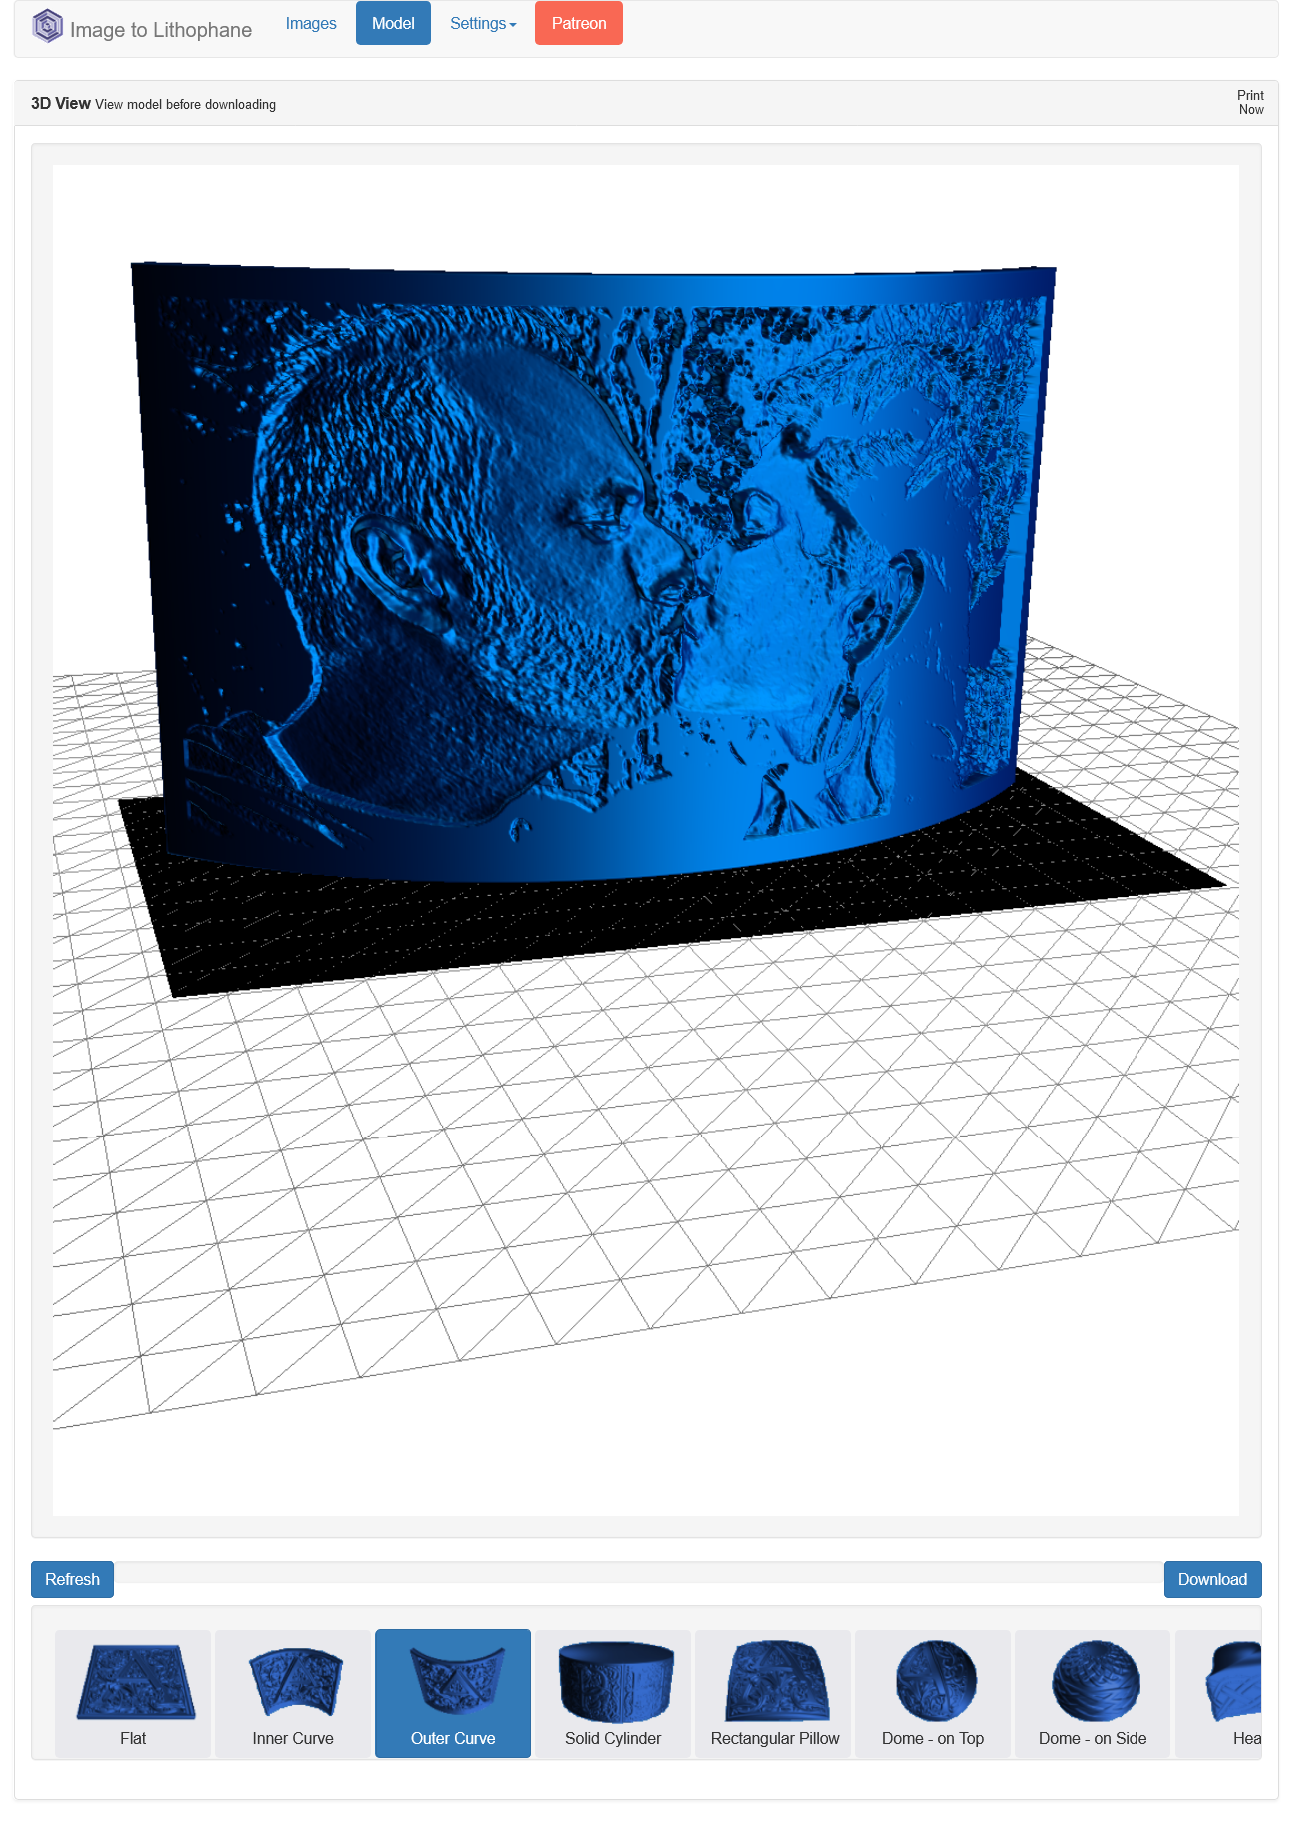
Create the Lithophane:
- Visit the free tool 3dp.rocks Lithophane.
- Upload your photo and select settings based on your model:
- Large model: 18.75 cm wide, 10 cm tall.
- Small model: 7.2 cm wide, 9 cm tall.
- Print the lithophane in white PLA for optimal light diffusion.
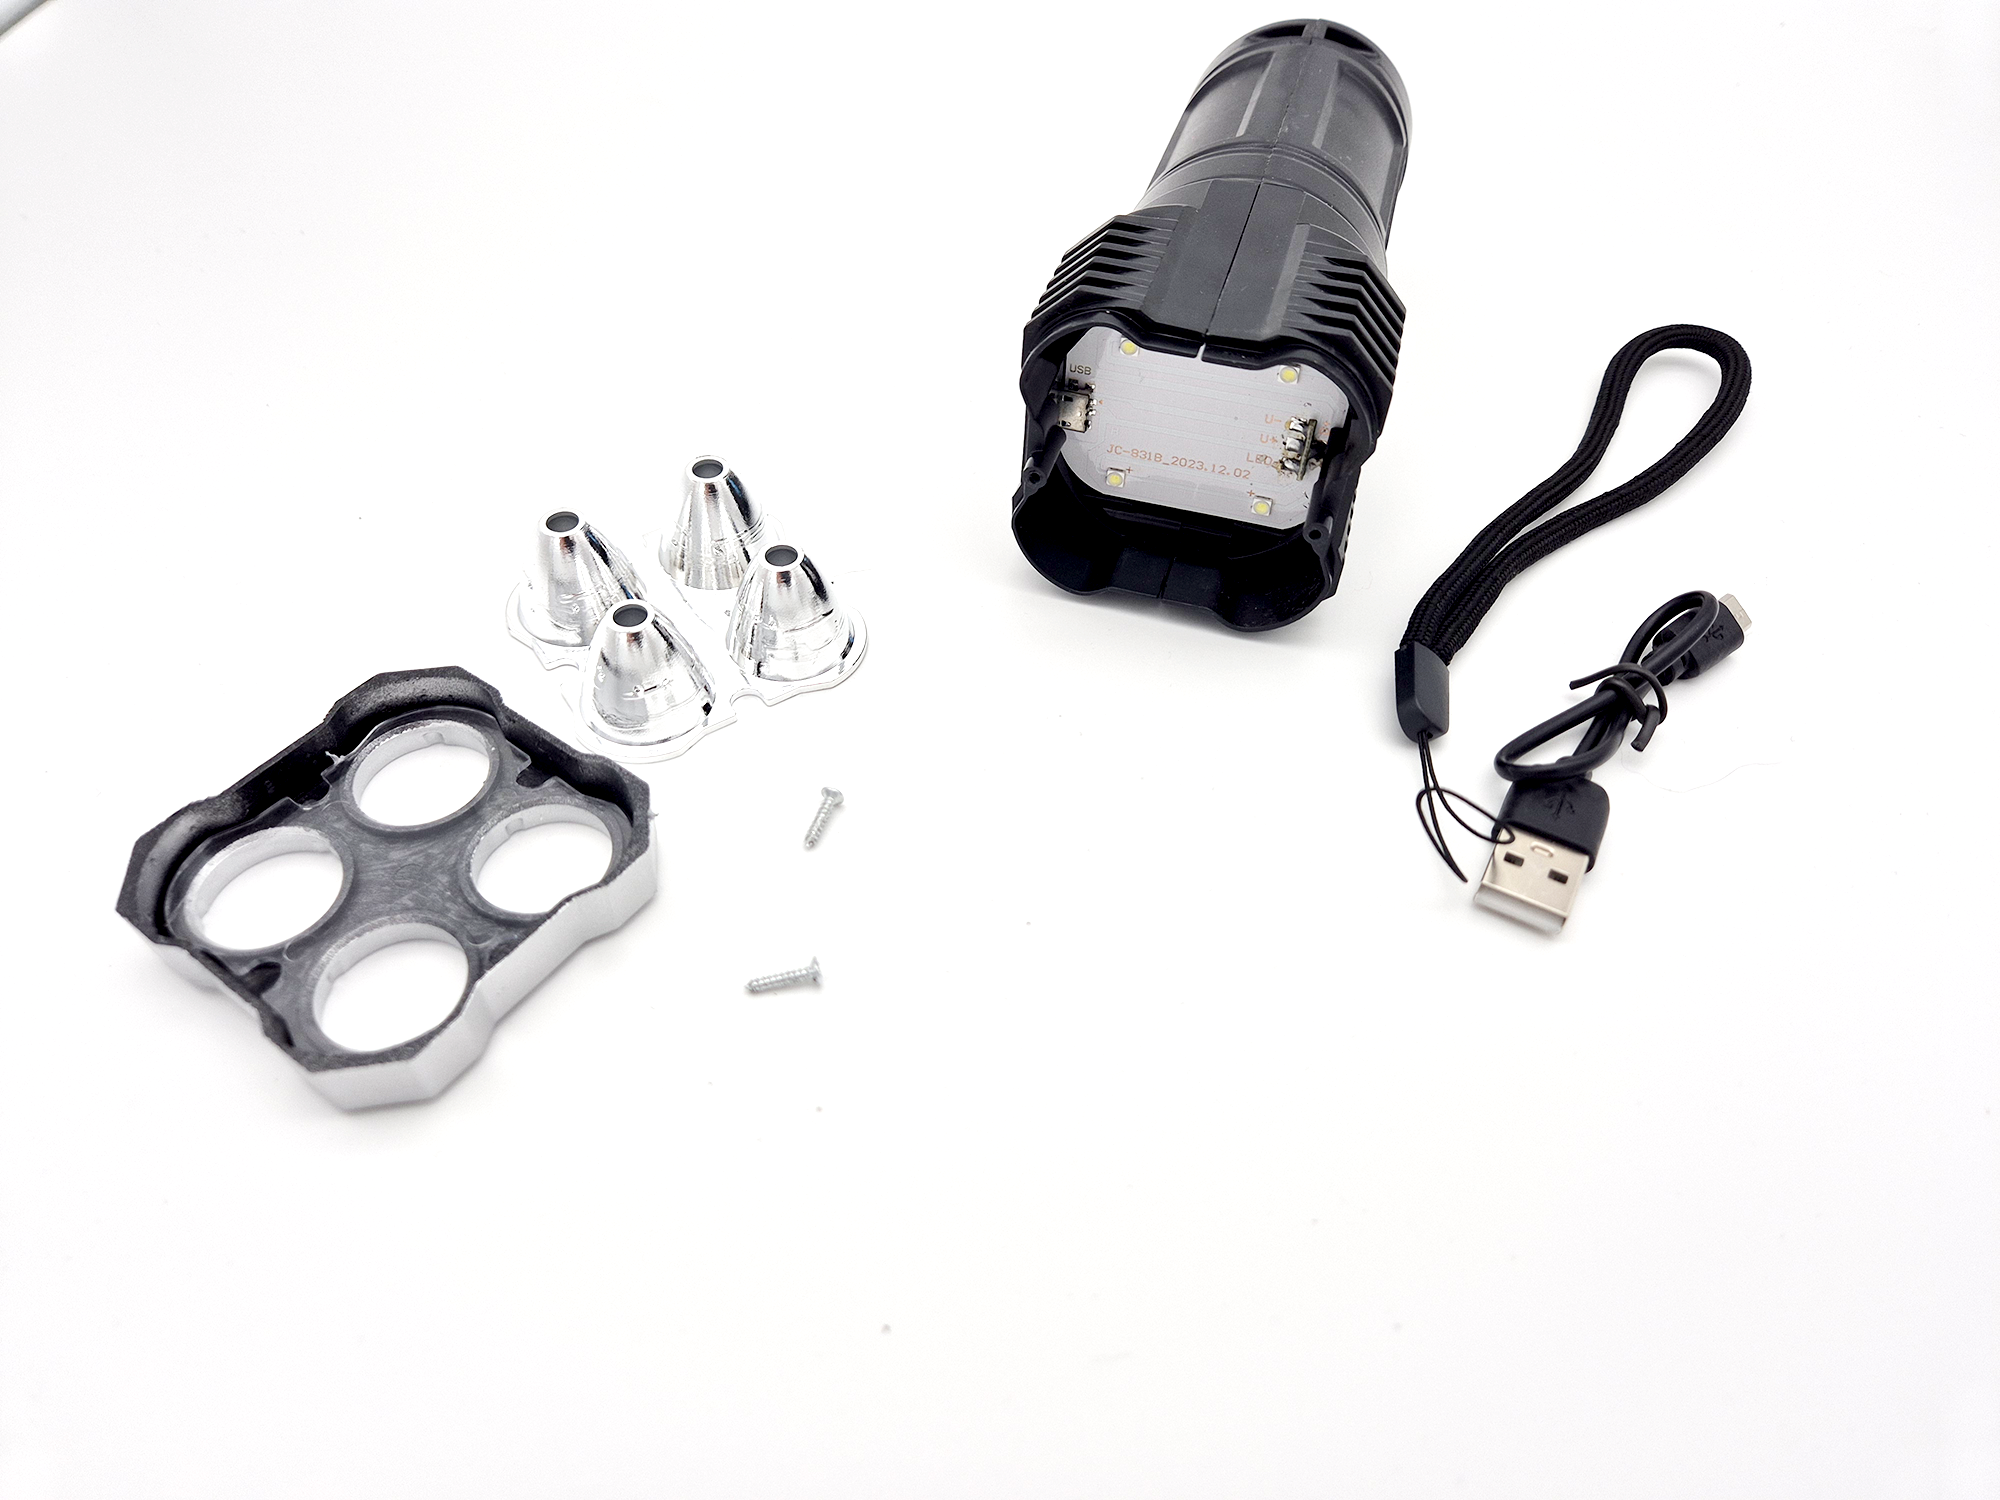
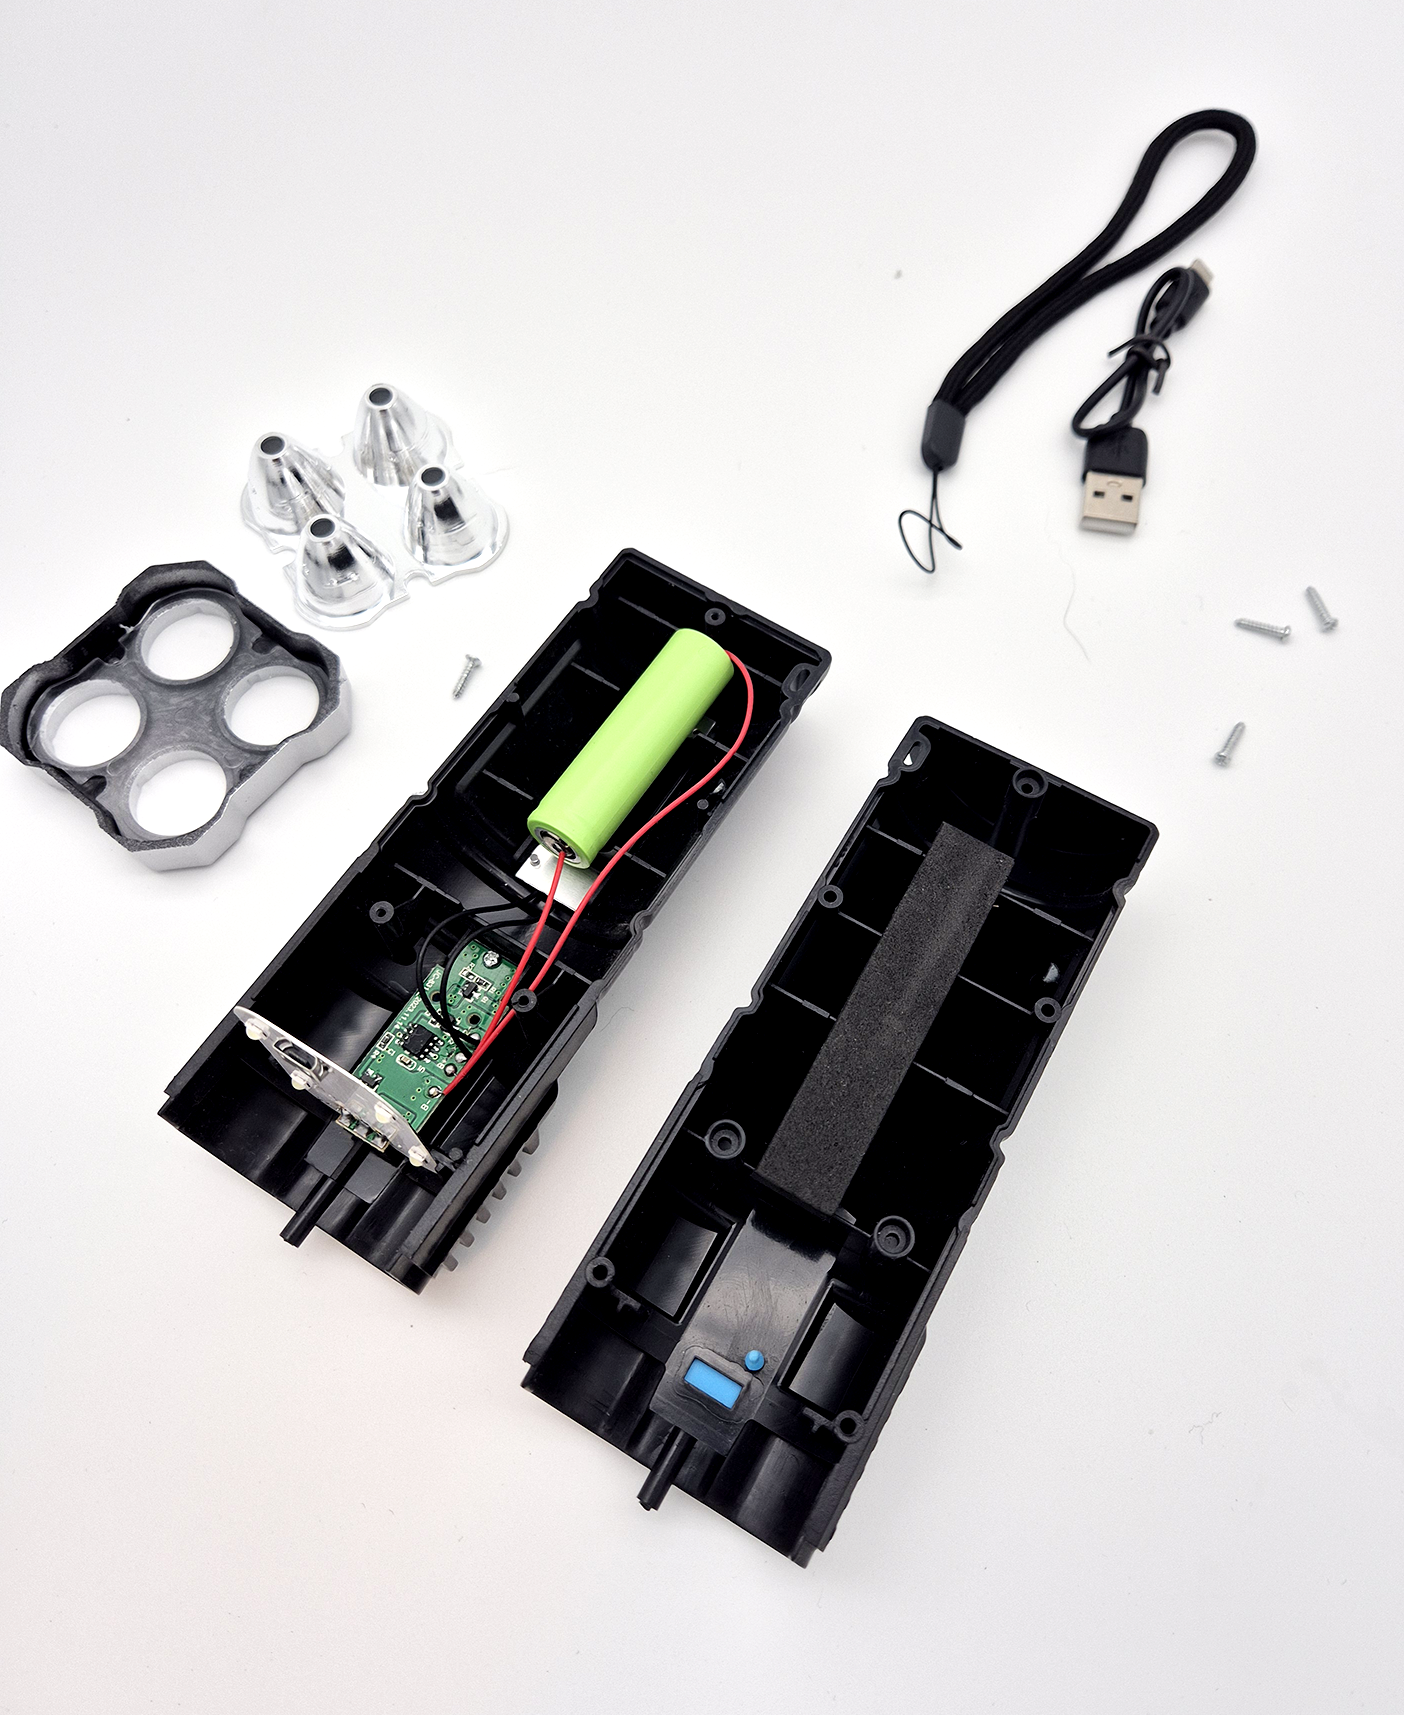
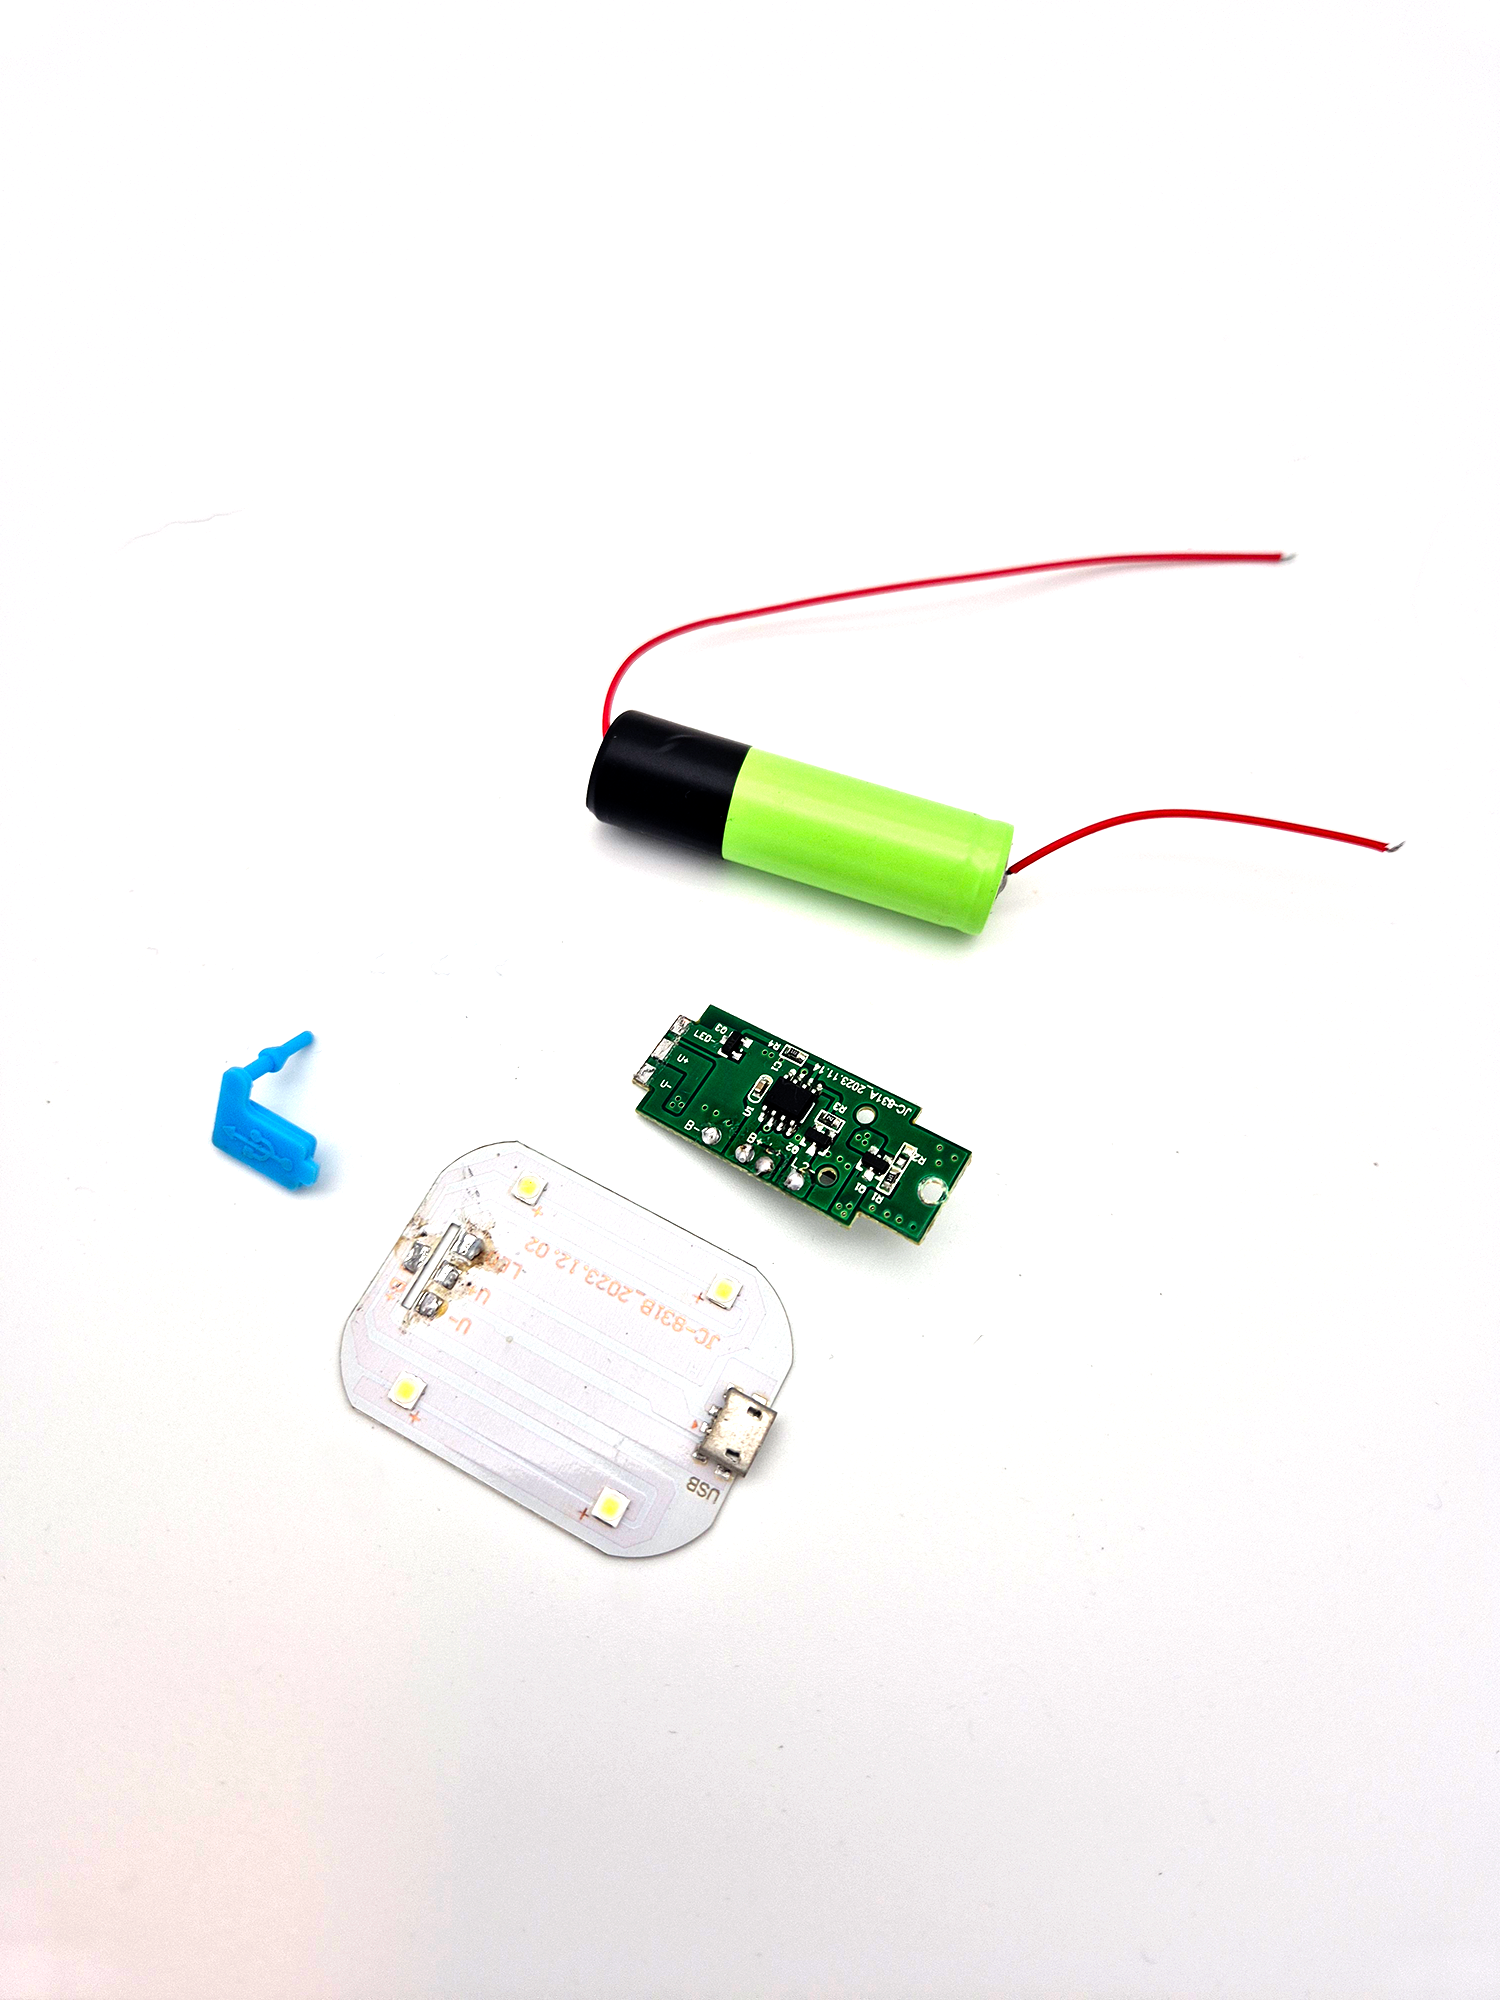
Disassemble the LED Flashlight:
- Carefully disassemble the flashlight:
- Remove the screws on the front screen to open the casing.
- Unscrew the base to access internal components.
- Identify and keep:
- The LED support board.
- The switch.
- The battery.
- Set aside unused parts like the second LED.
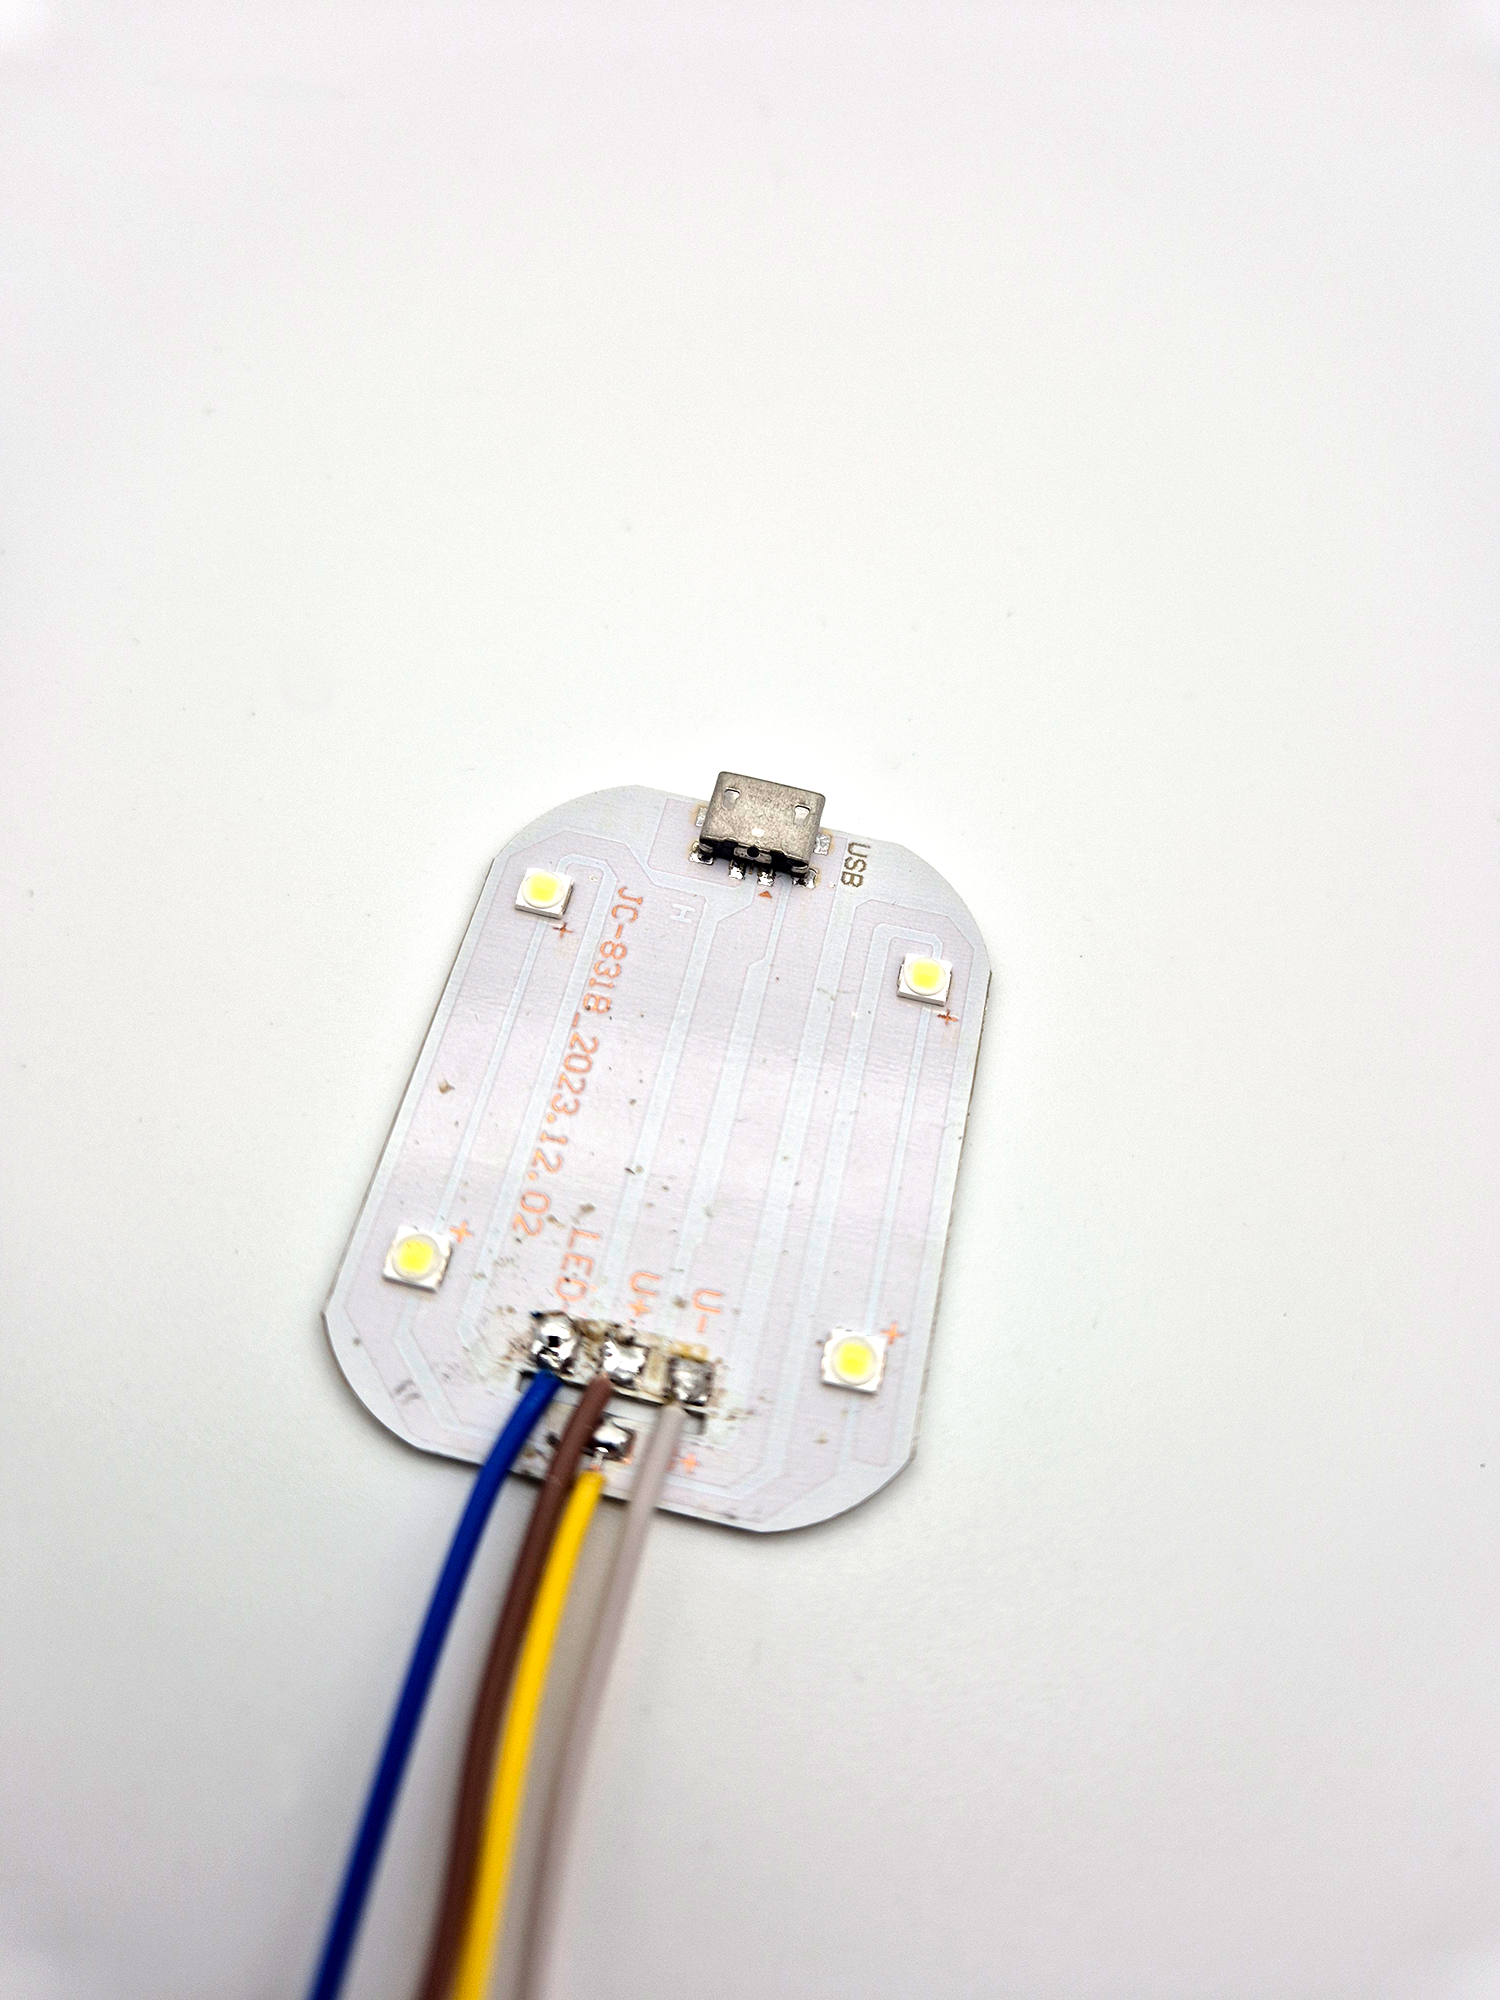
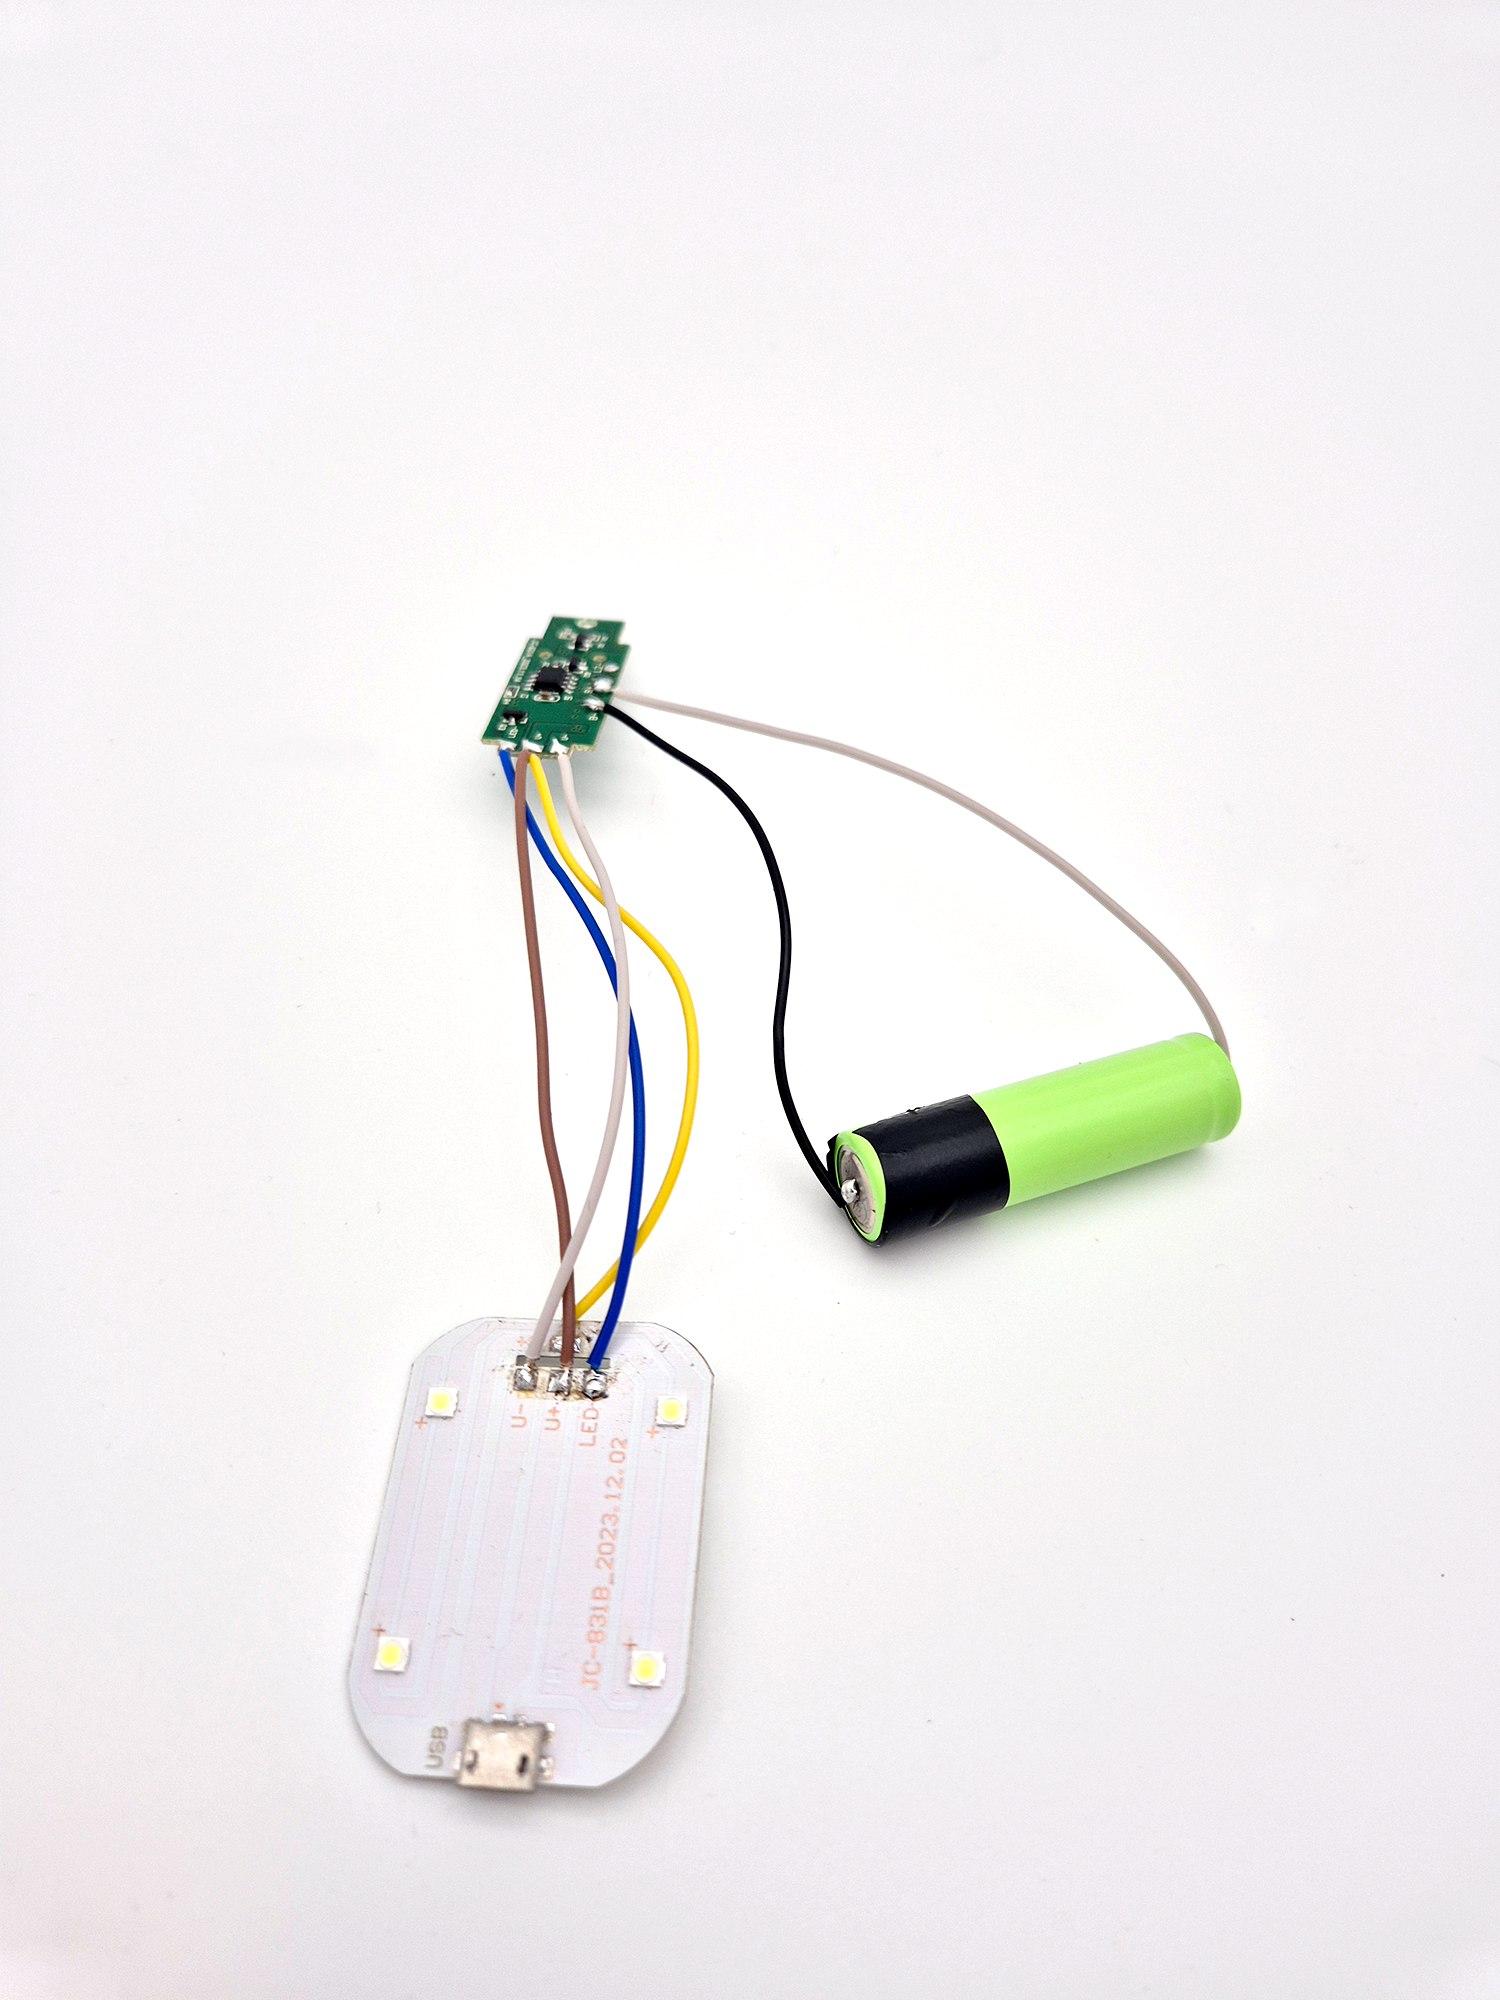
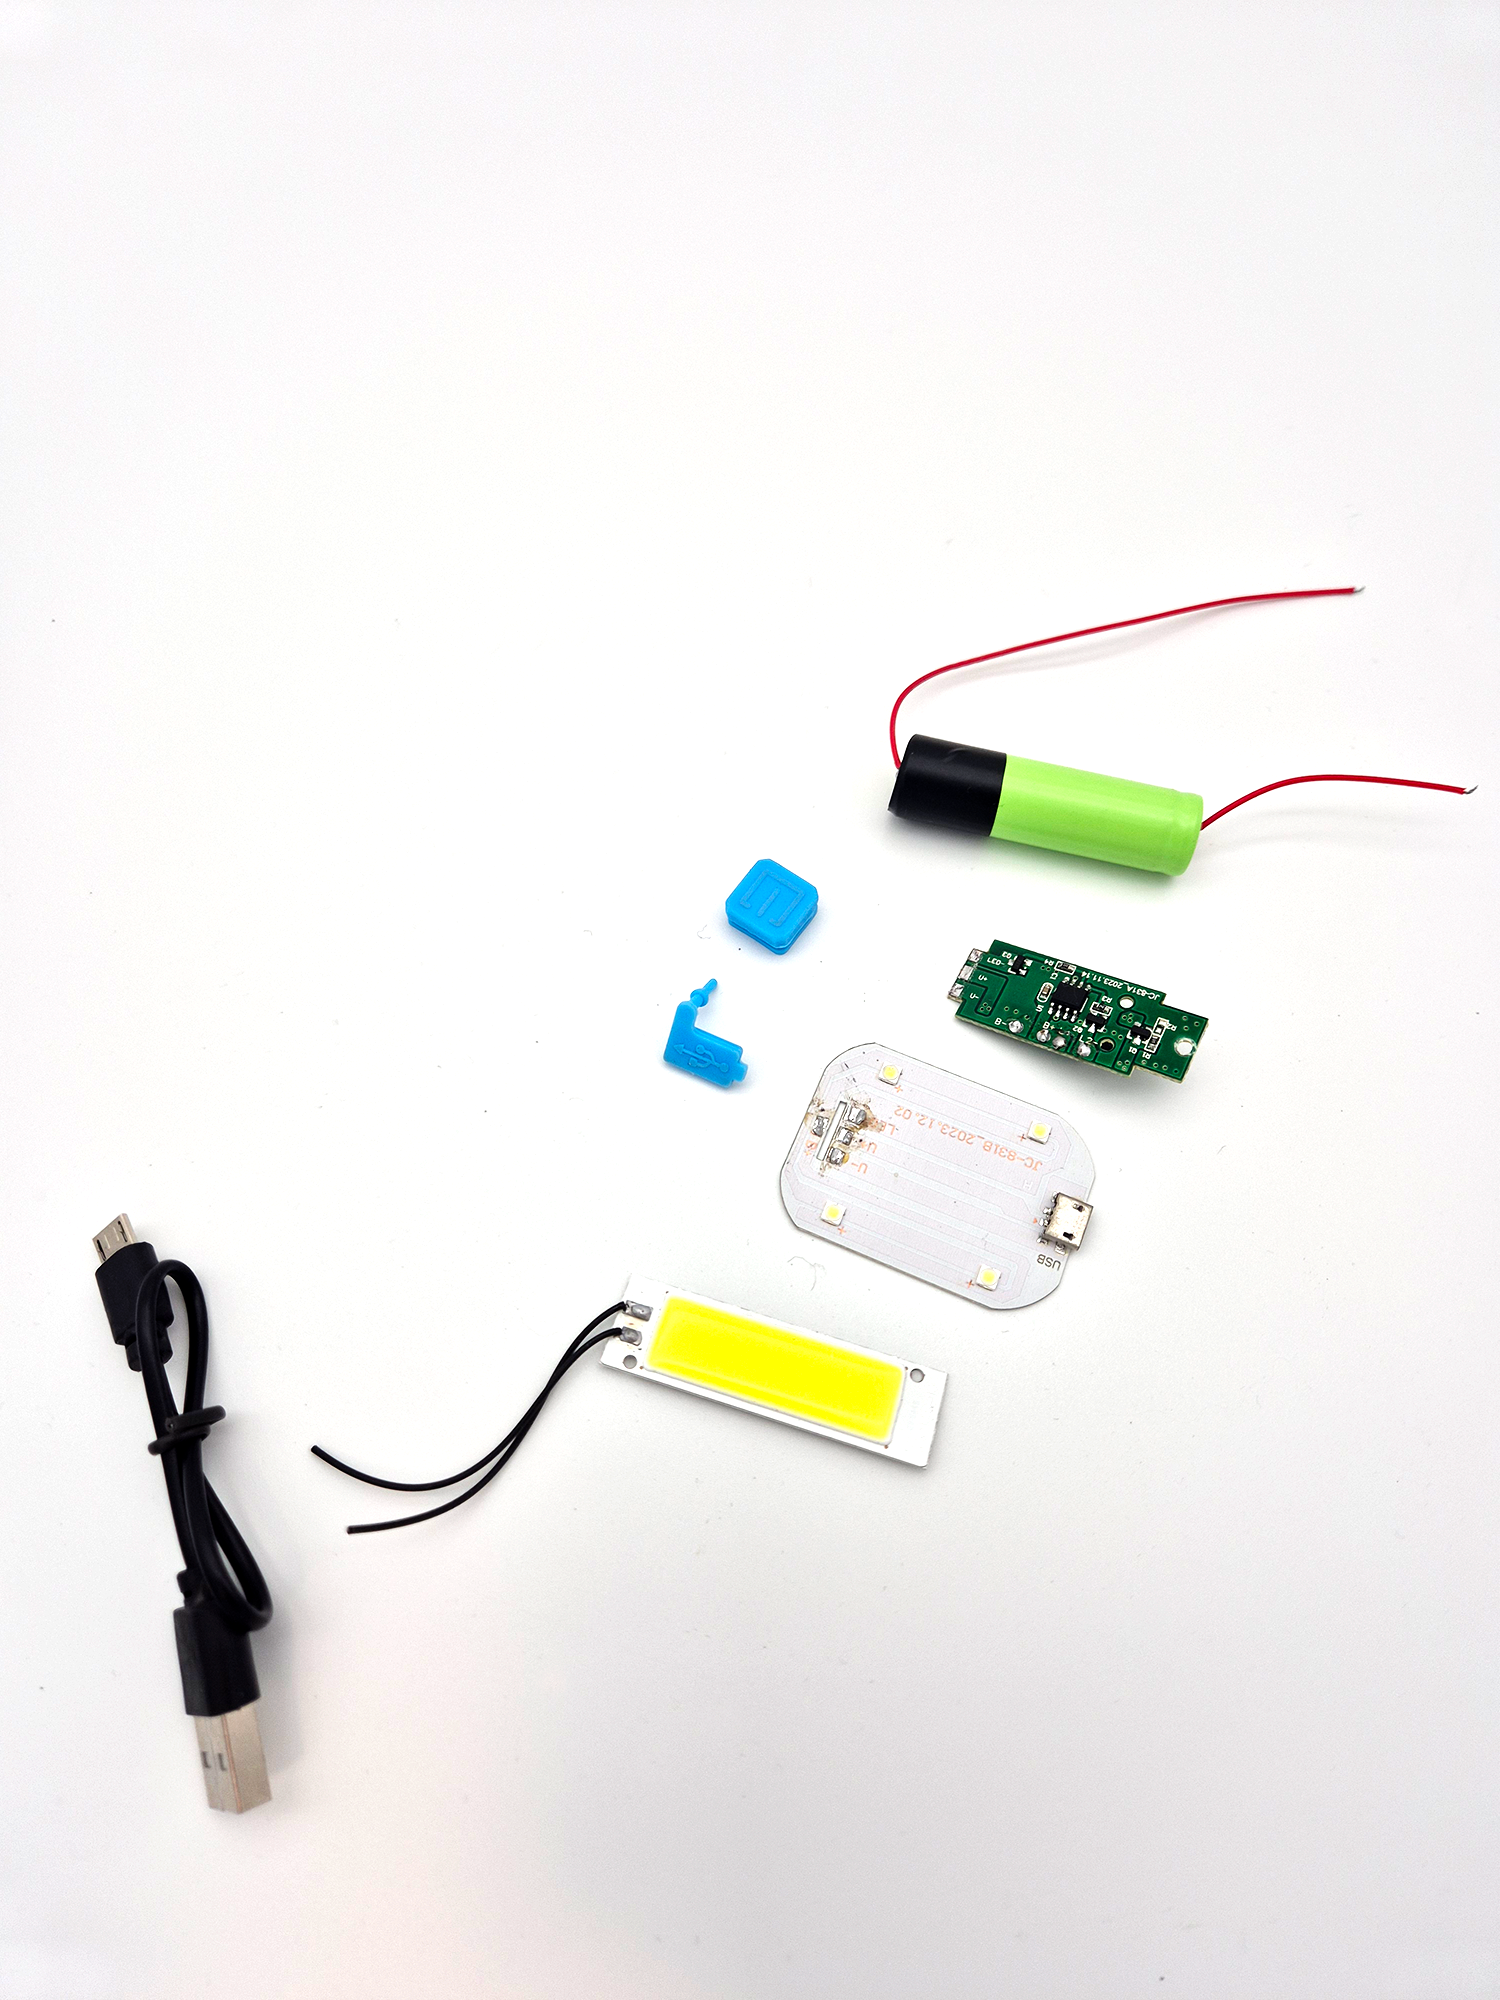
Solder the Components:
To fit the components into the 3D-printed casing:
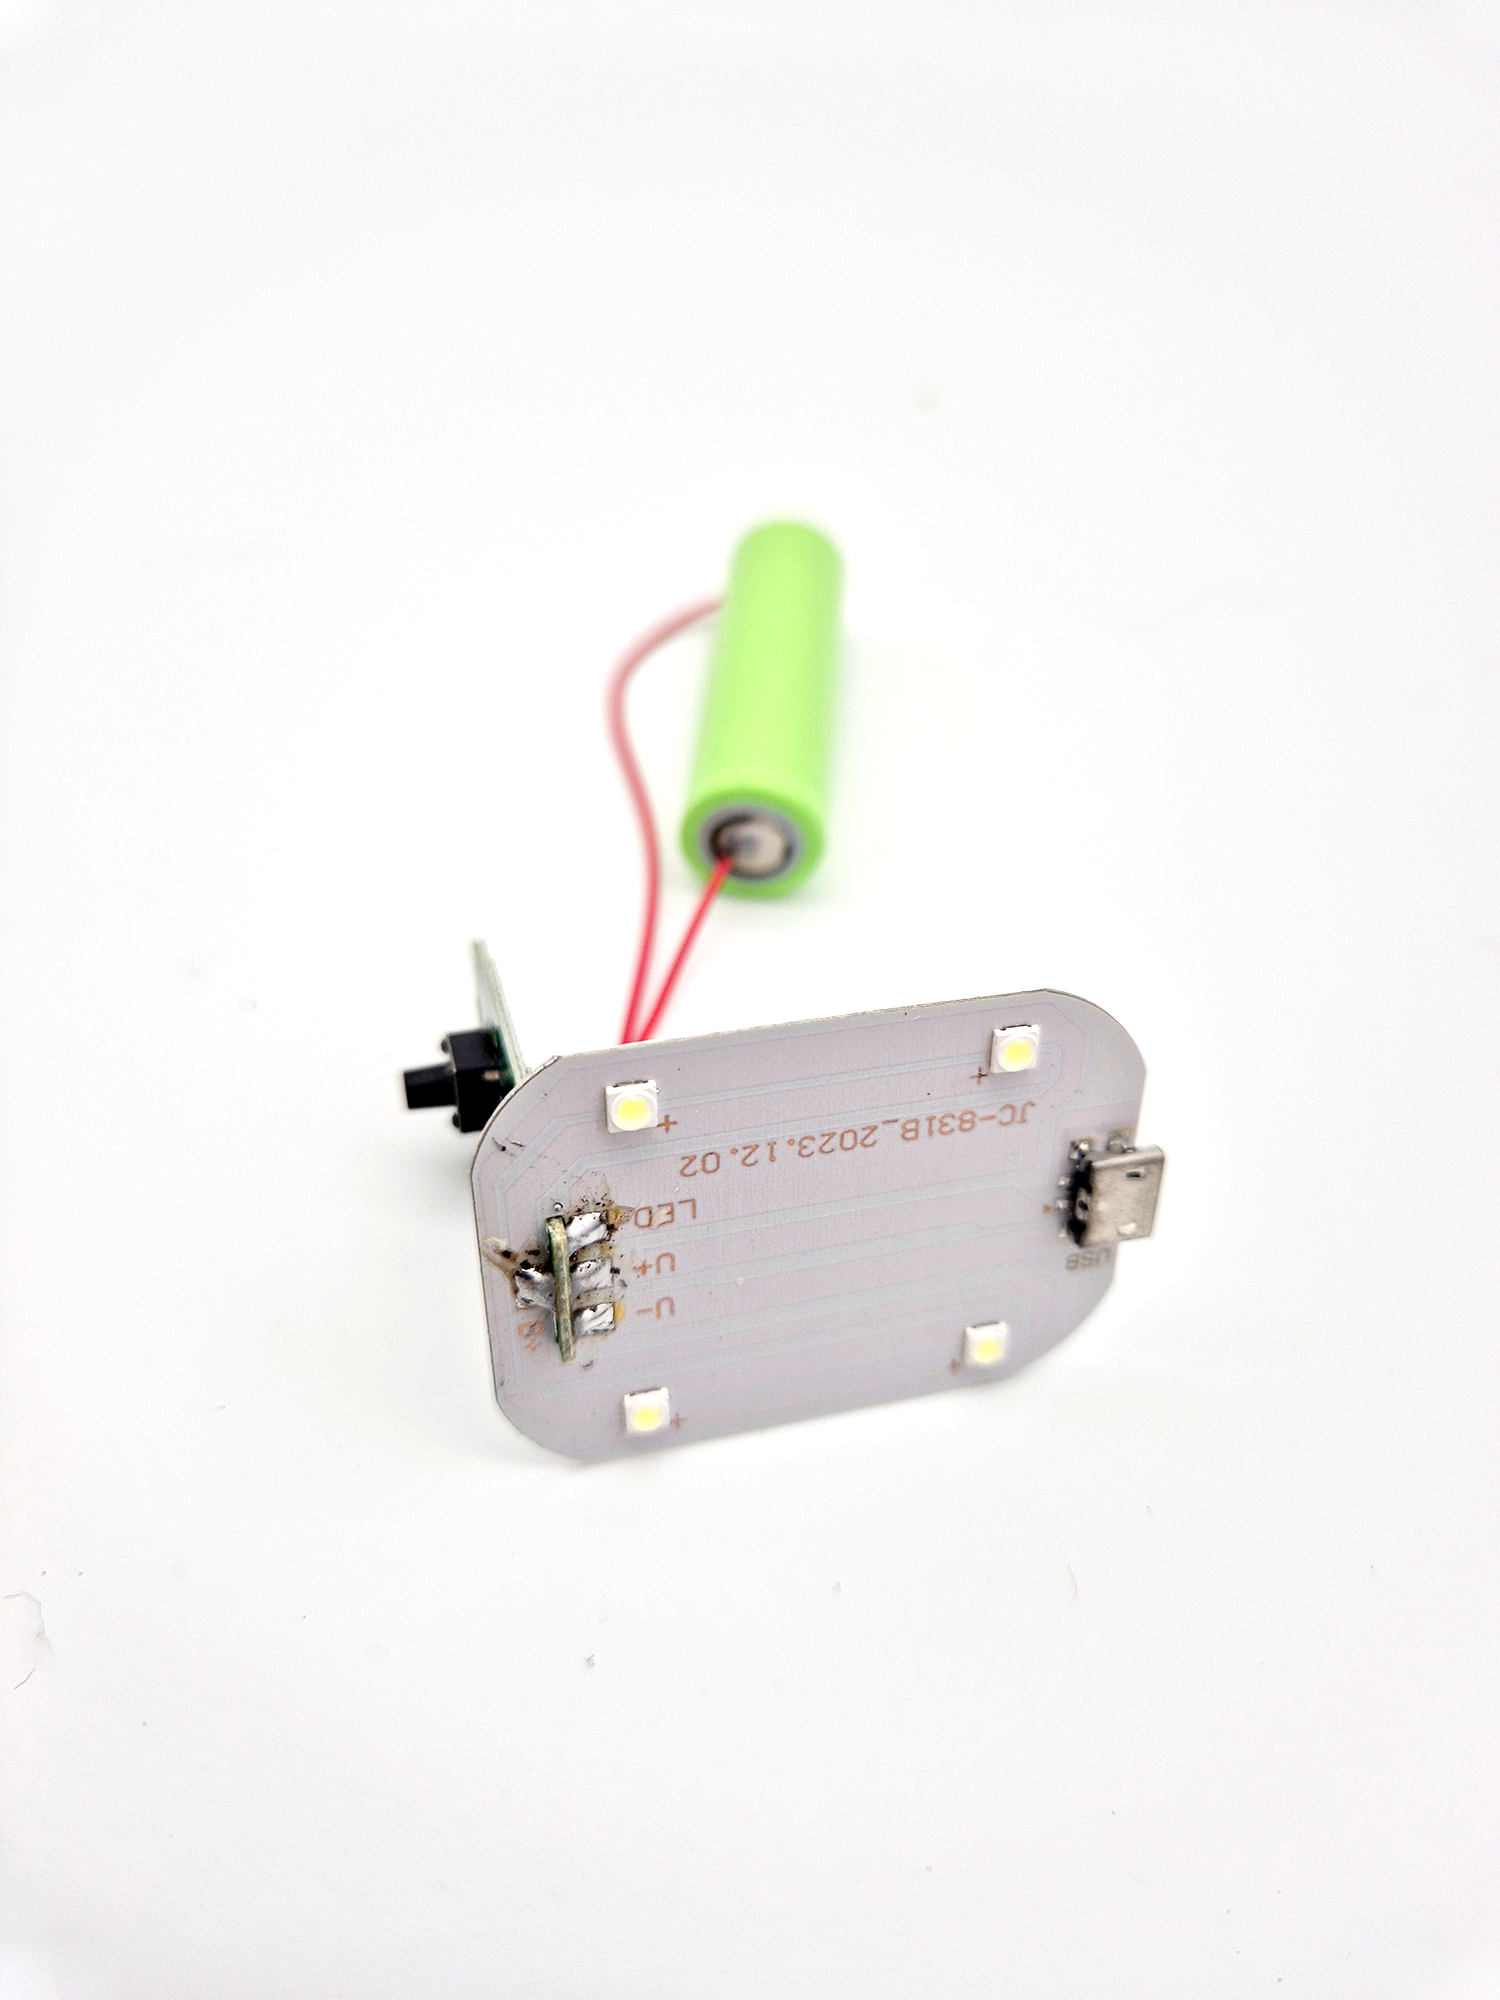
- Prepare the Battery:
- Desolder the battery.
- Identify its positive (+) and negative (-) poles.
- Modify the Switch:
- Desolder the switch from the LED module.
- Extend Connections:
- Solder 4 wires (0.5 mm) to extend the connections between the switch, and LED module.
- Ensure proper polarity throughout the process.
- Reconnect the Battery:
- Solder the battery back to the switch, respecting polarity.
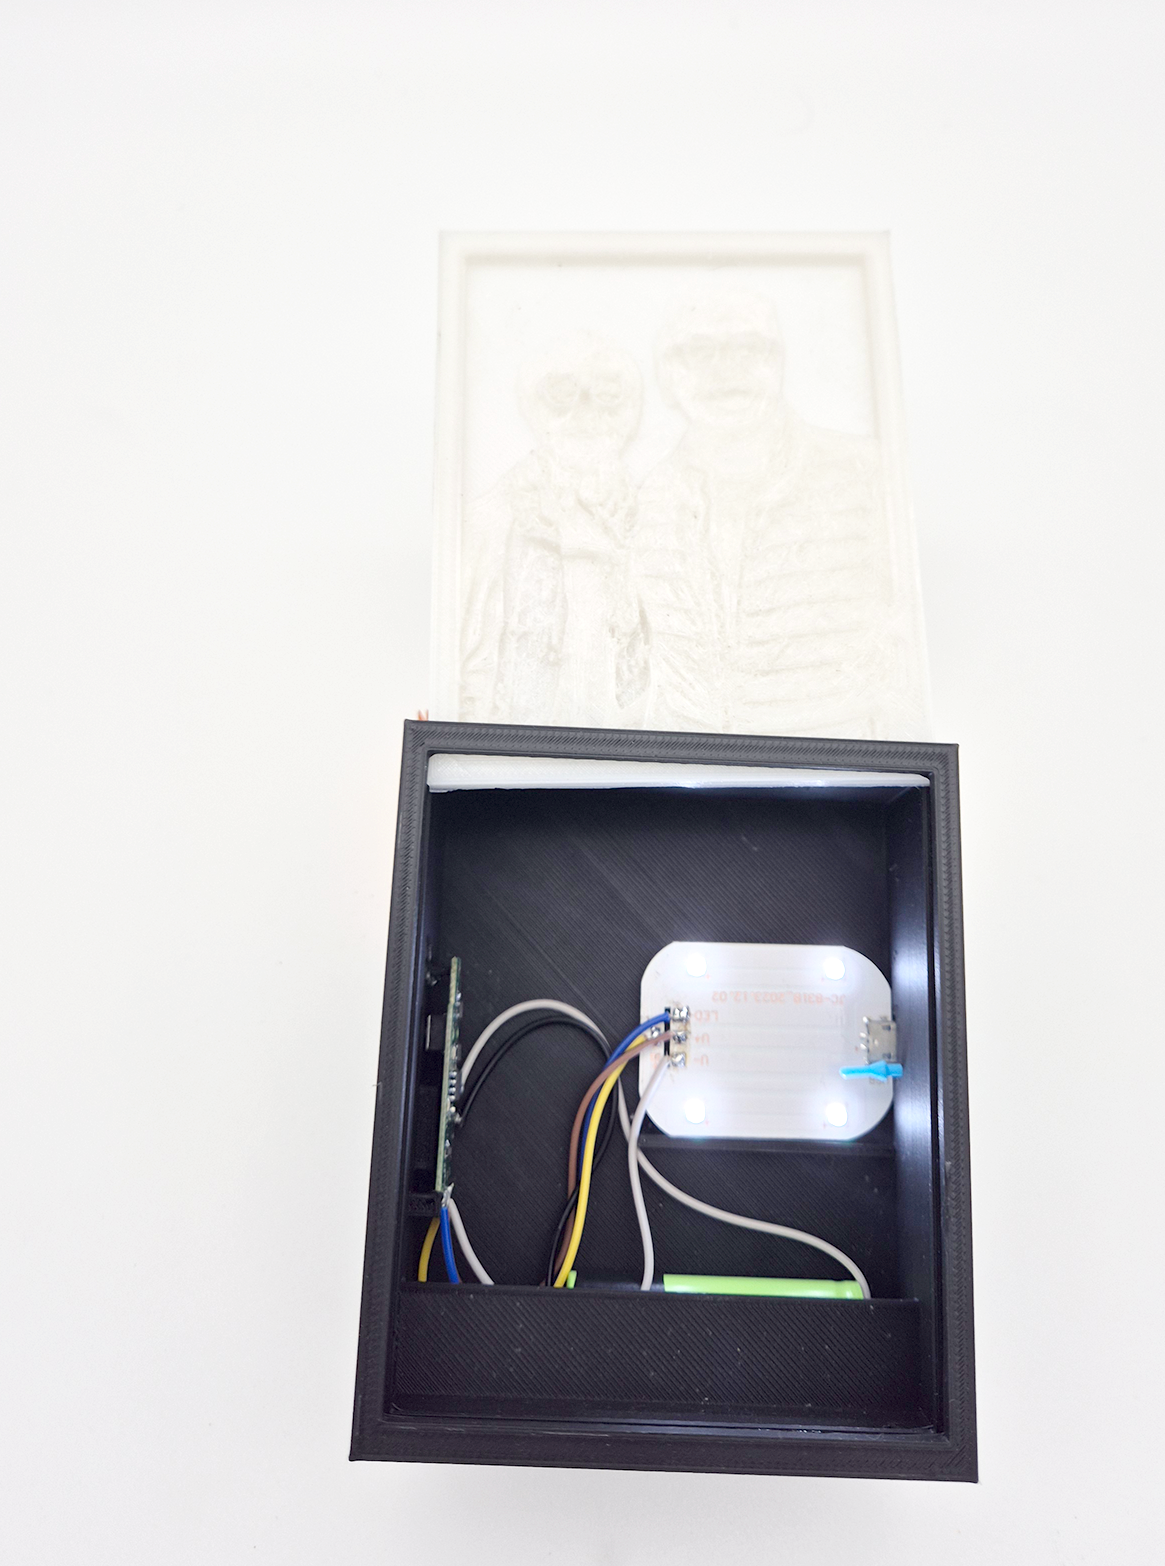
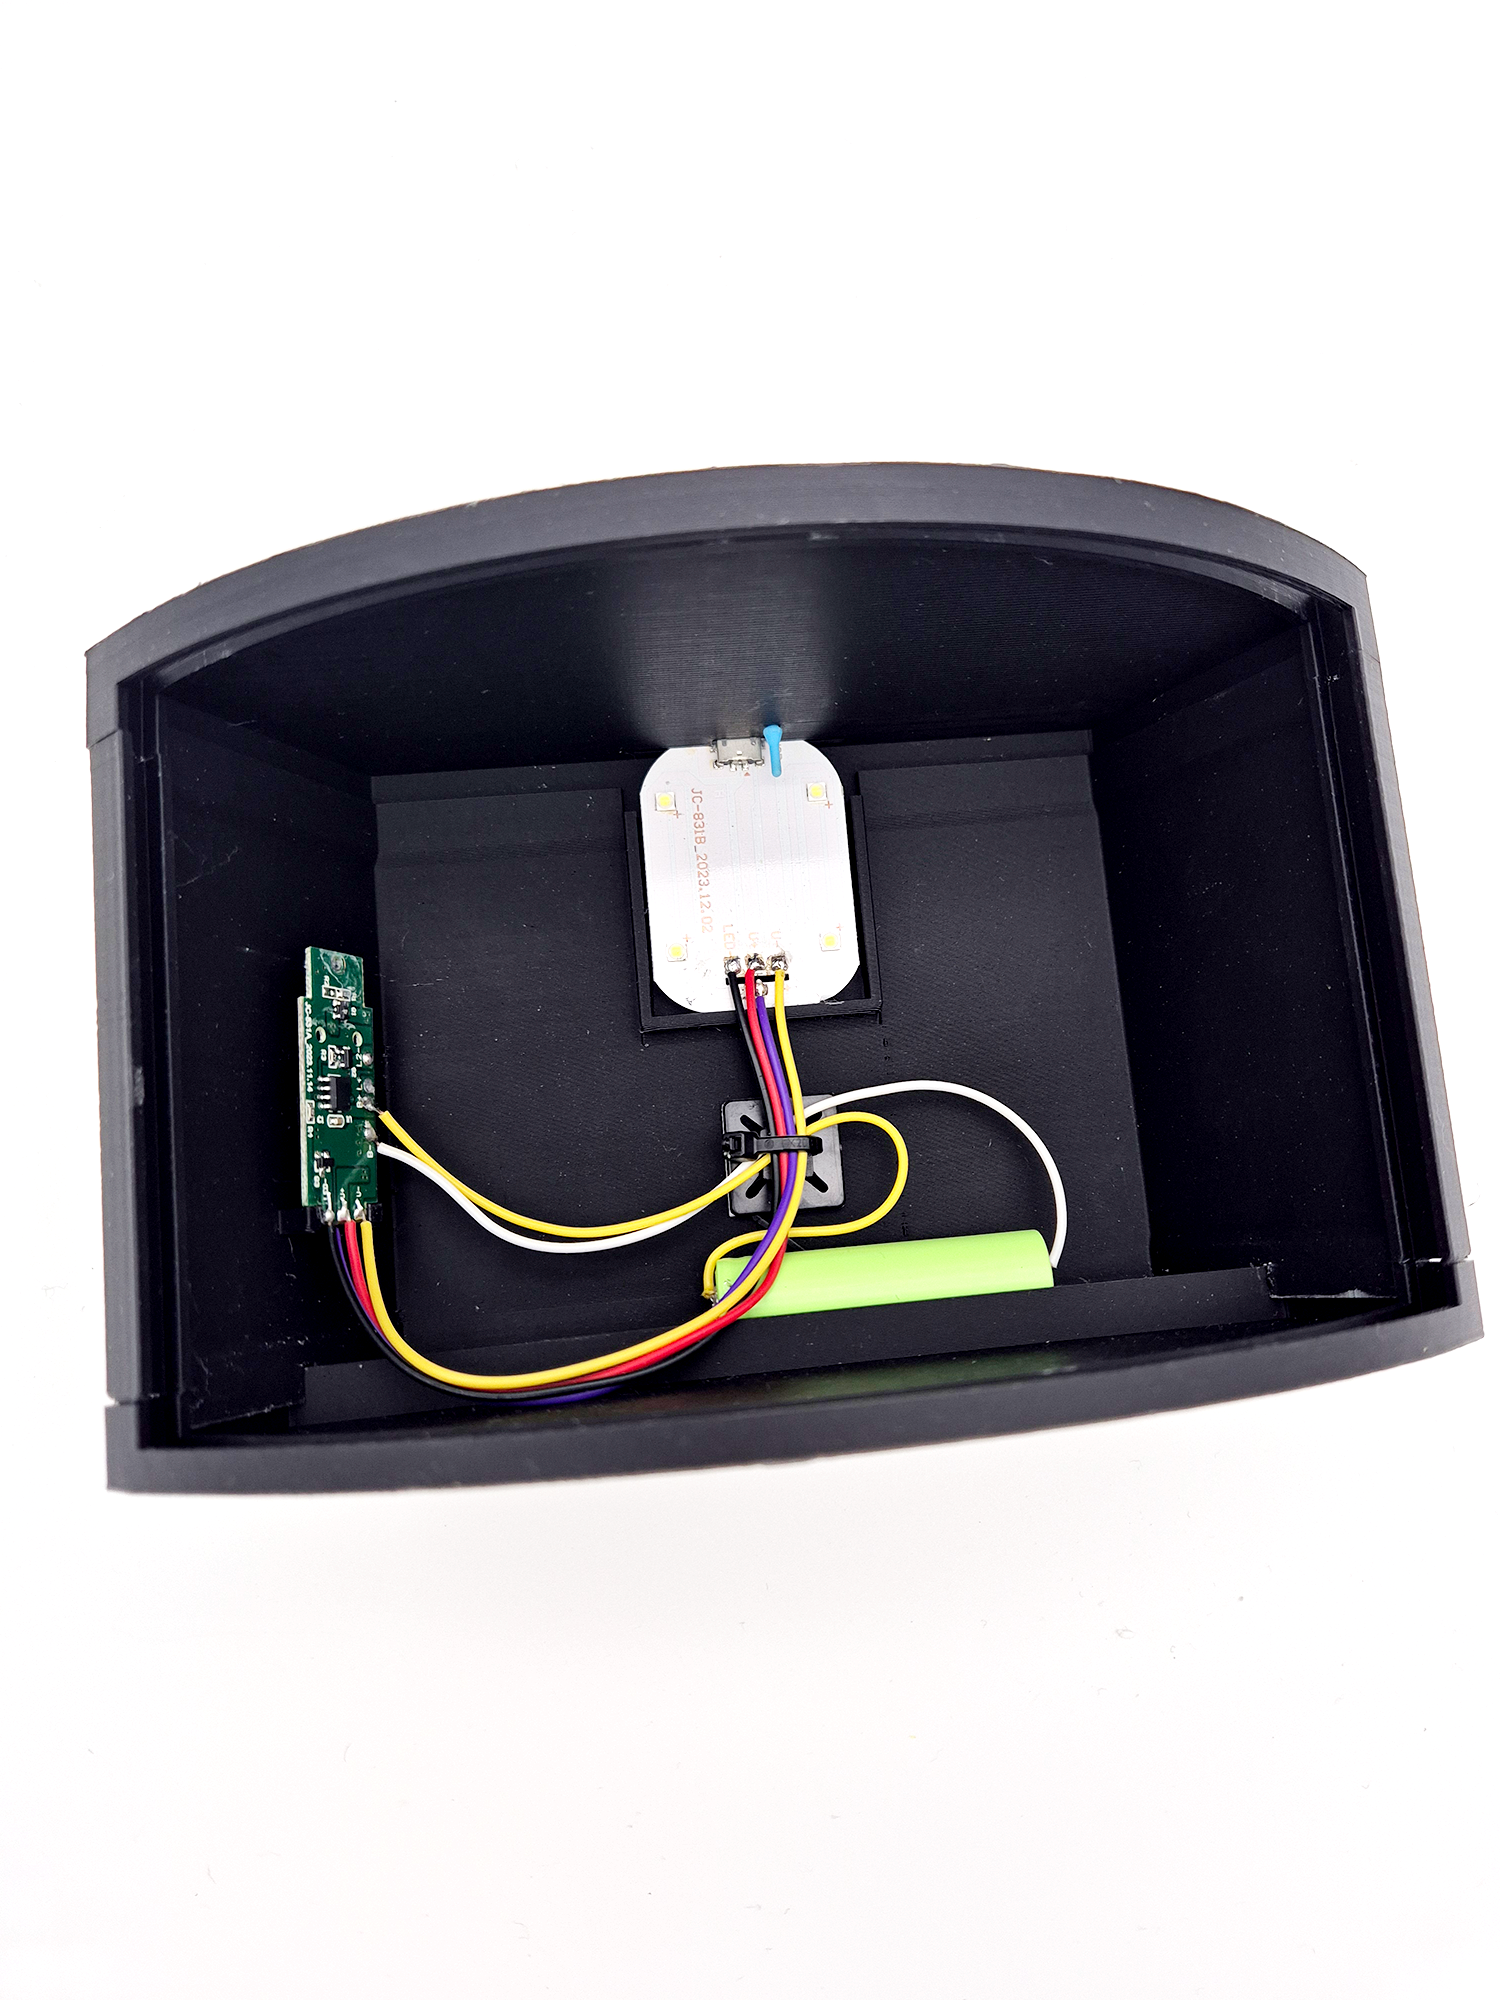
Final Assembly:
- Install the LED Module:
- Glue the LED module into the casing, aligning the USB charger port with its slot.
- Secure it using the 4 designated mounts.
- Position the Switch:
- Place the switch facing the charge indicator and button.
- Fix it using the 3 provided mounts.
- Fit the Battery:
- Lay the battery into its designated slot inside the casing.
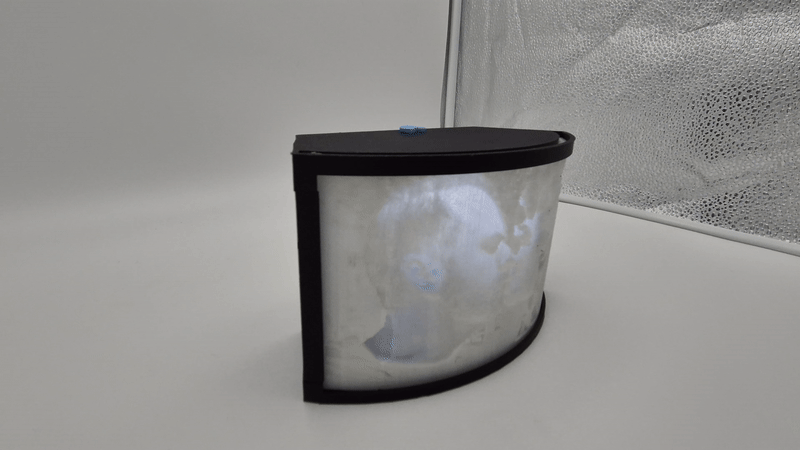
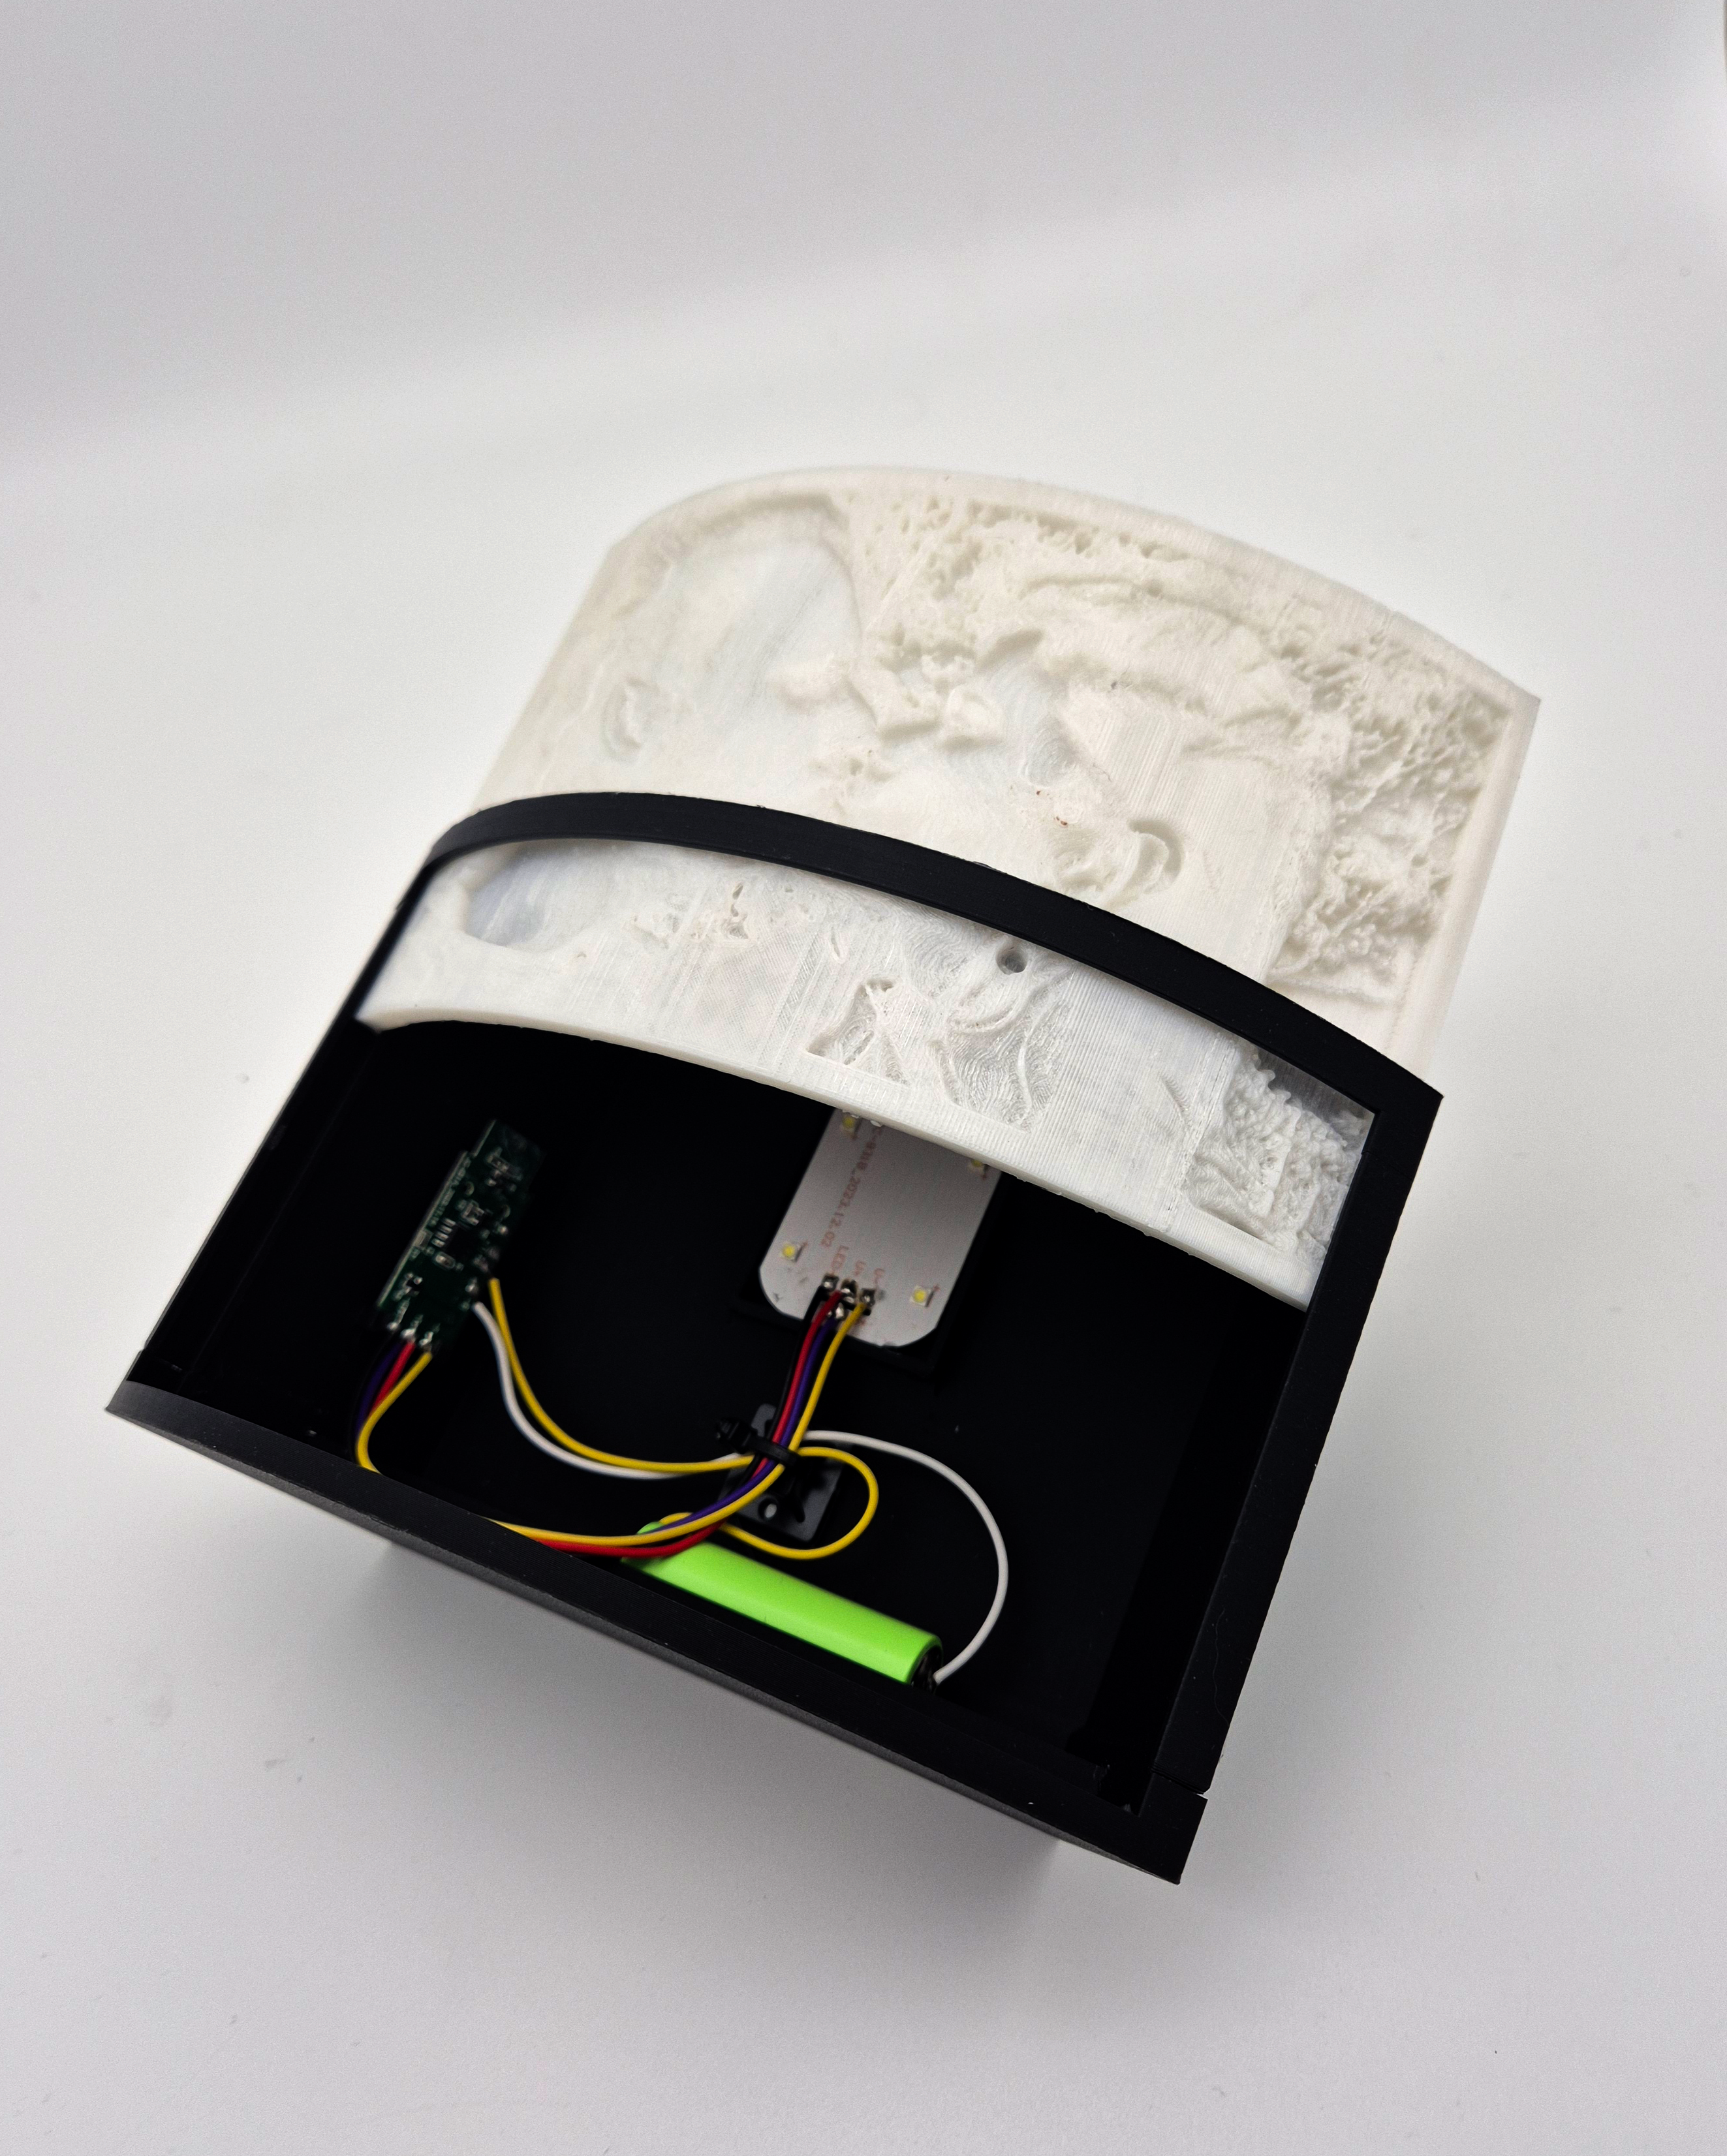
- Insert the Lithophane:
- Slide the white-printed lithophane into the front slot of the casing.