Make a 3D Printable Vase!
by Zammer 3D in Workshop > 3D Printing
2218 Views, 18 Favorites, 0 Comments
Make a 3D Printable Vase!
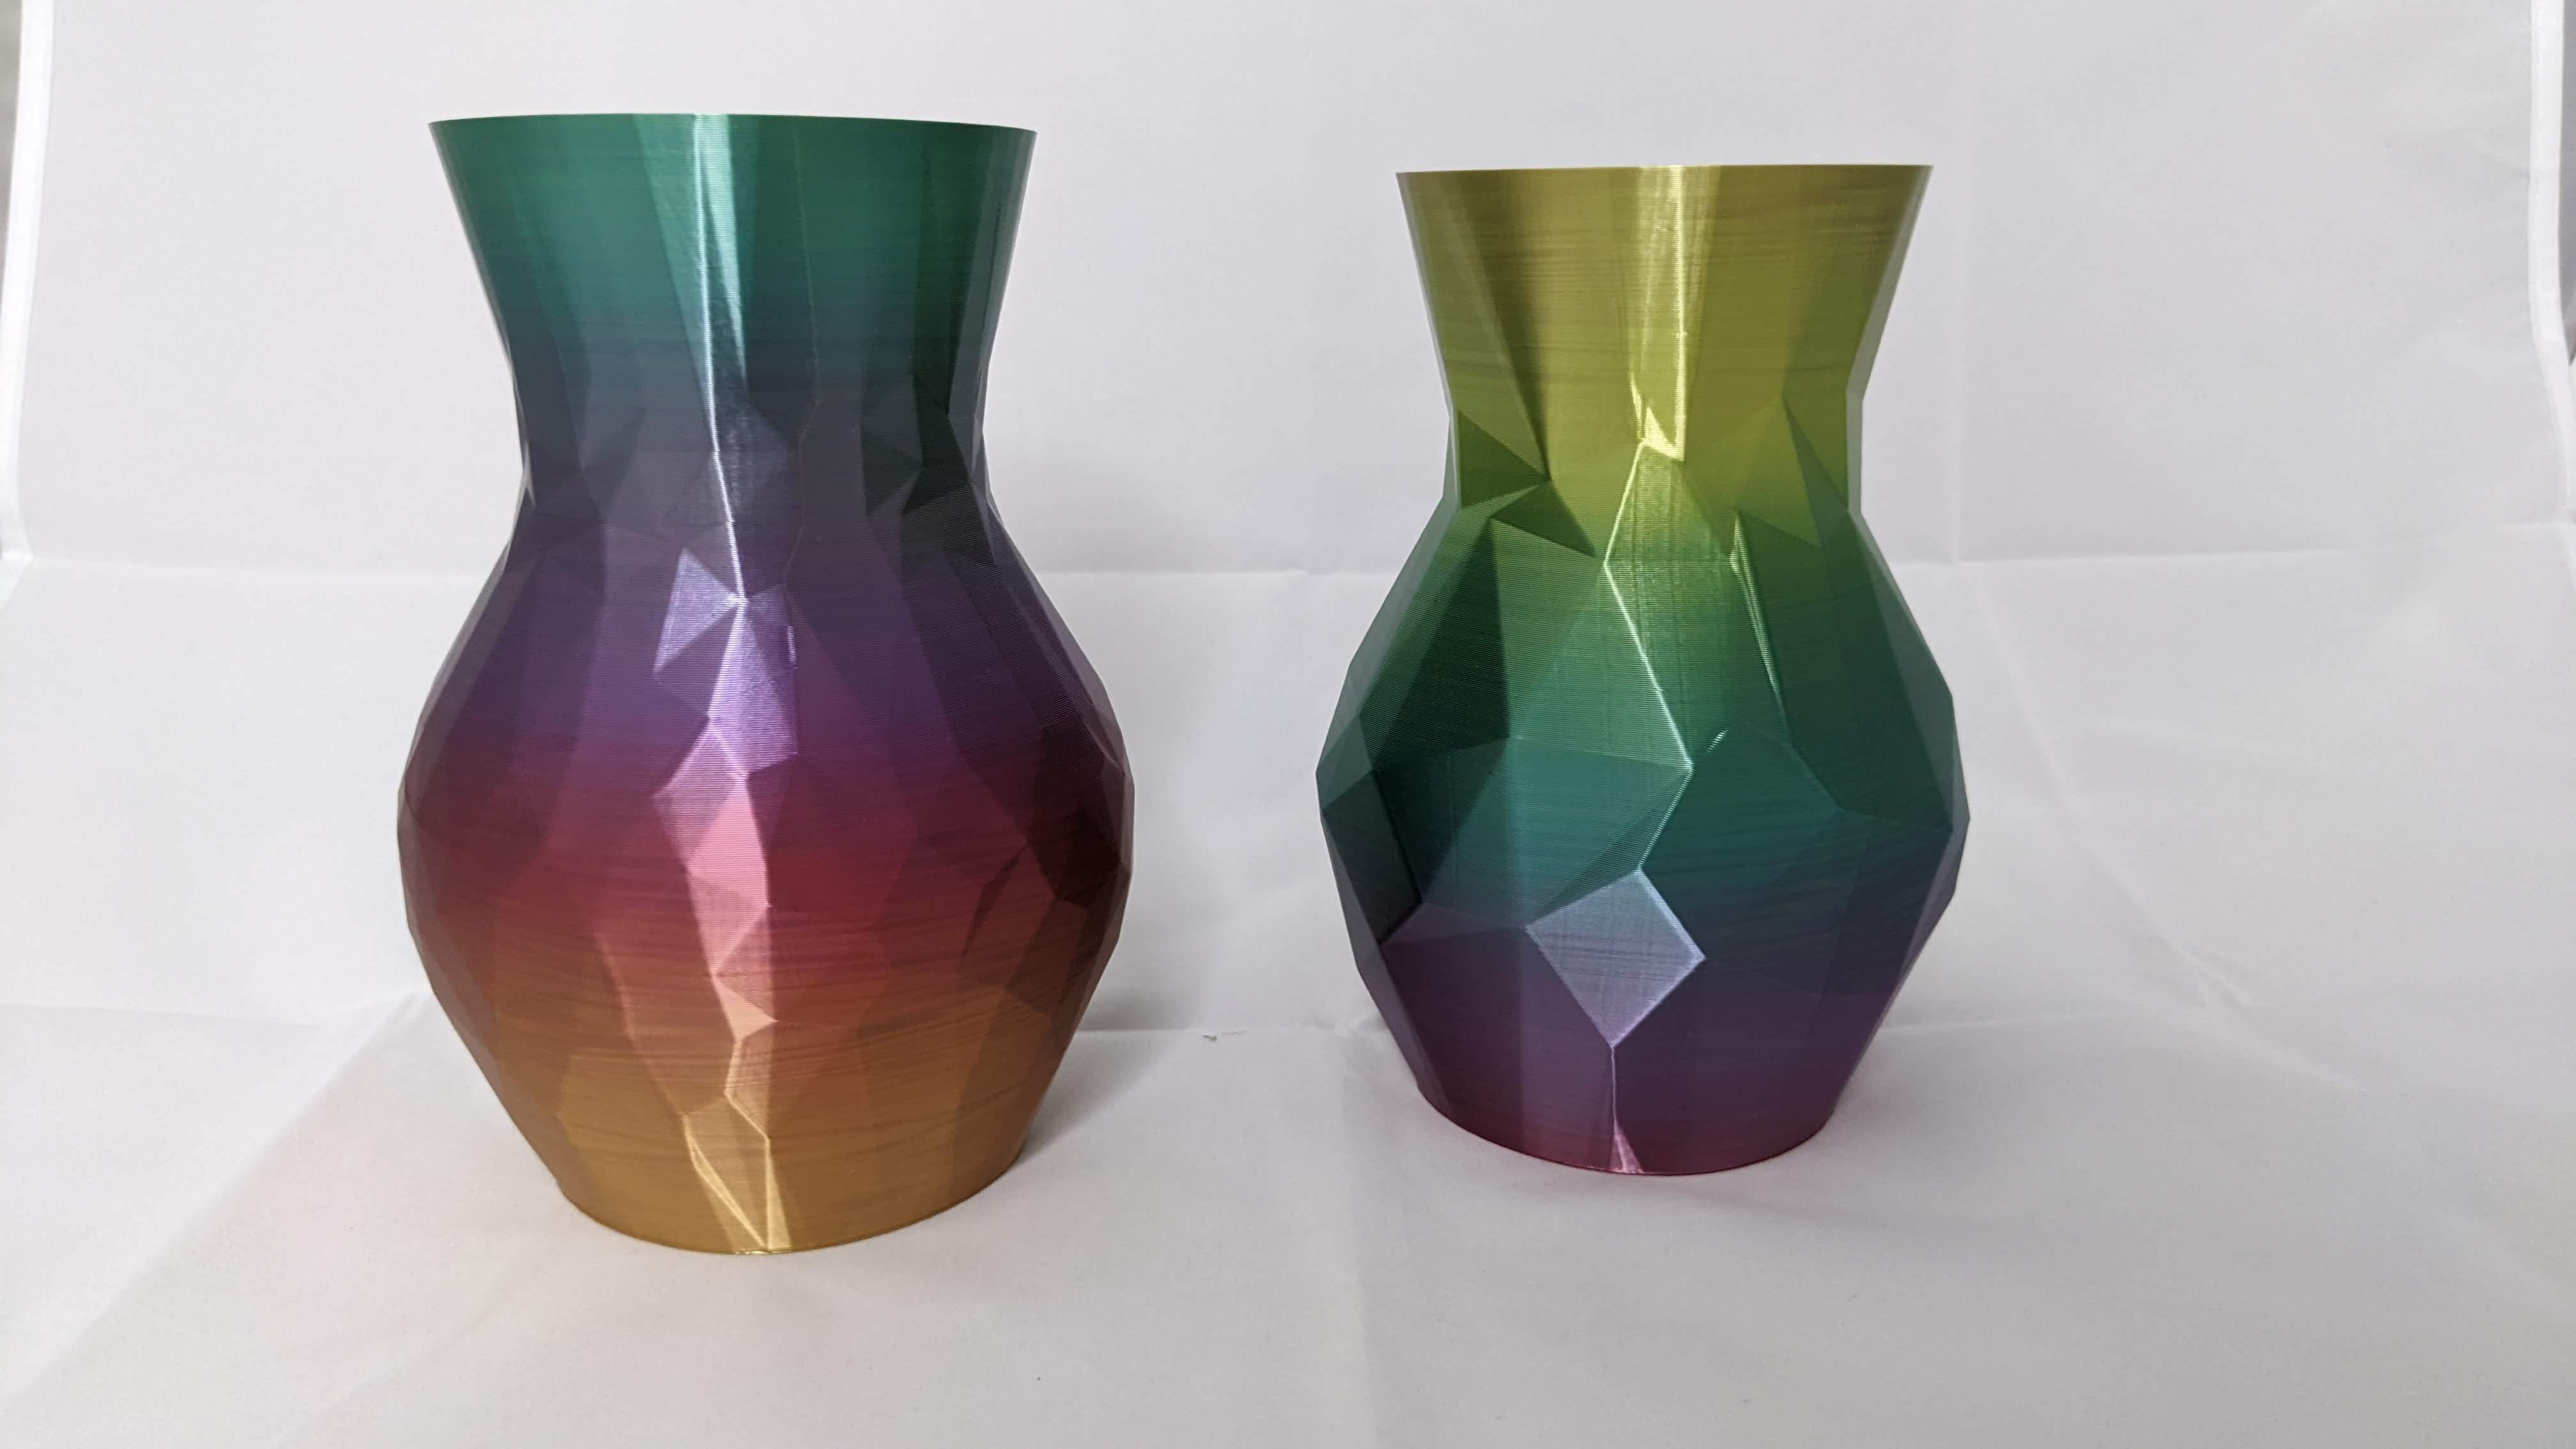
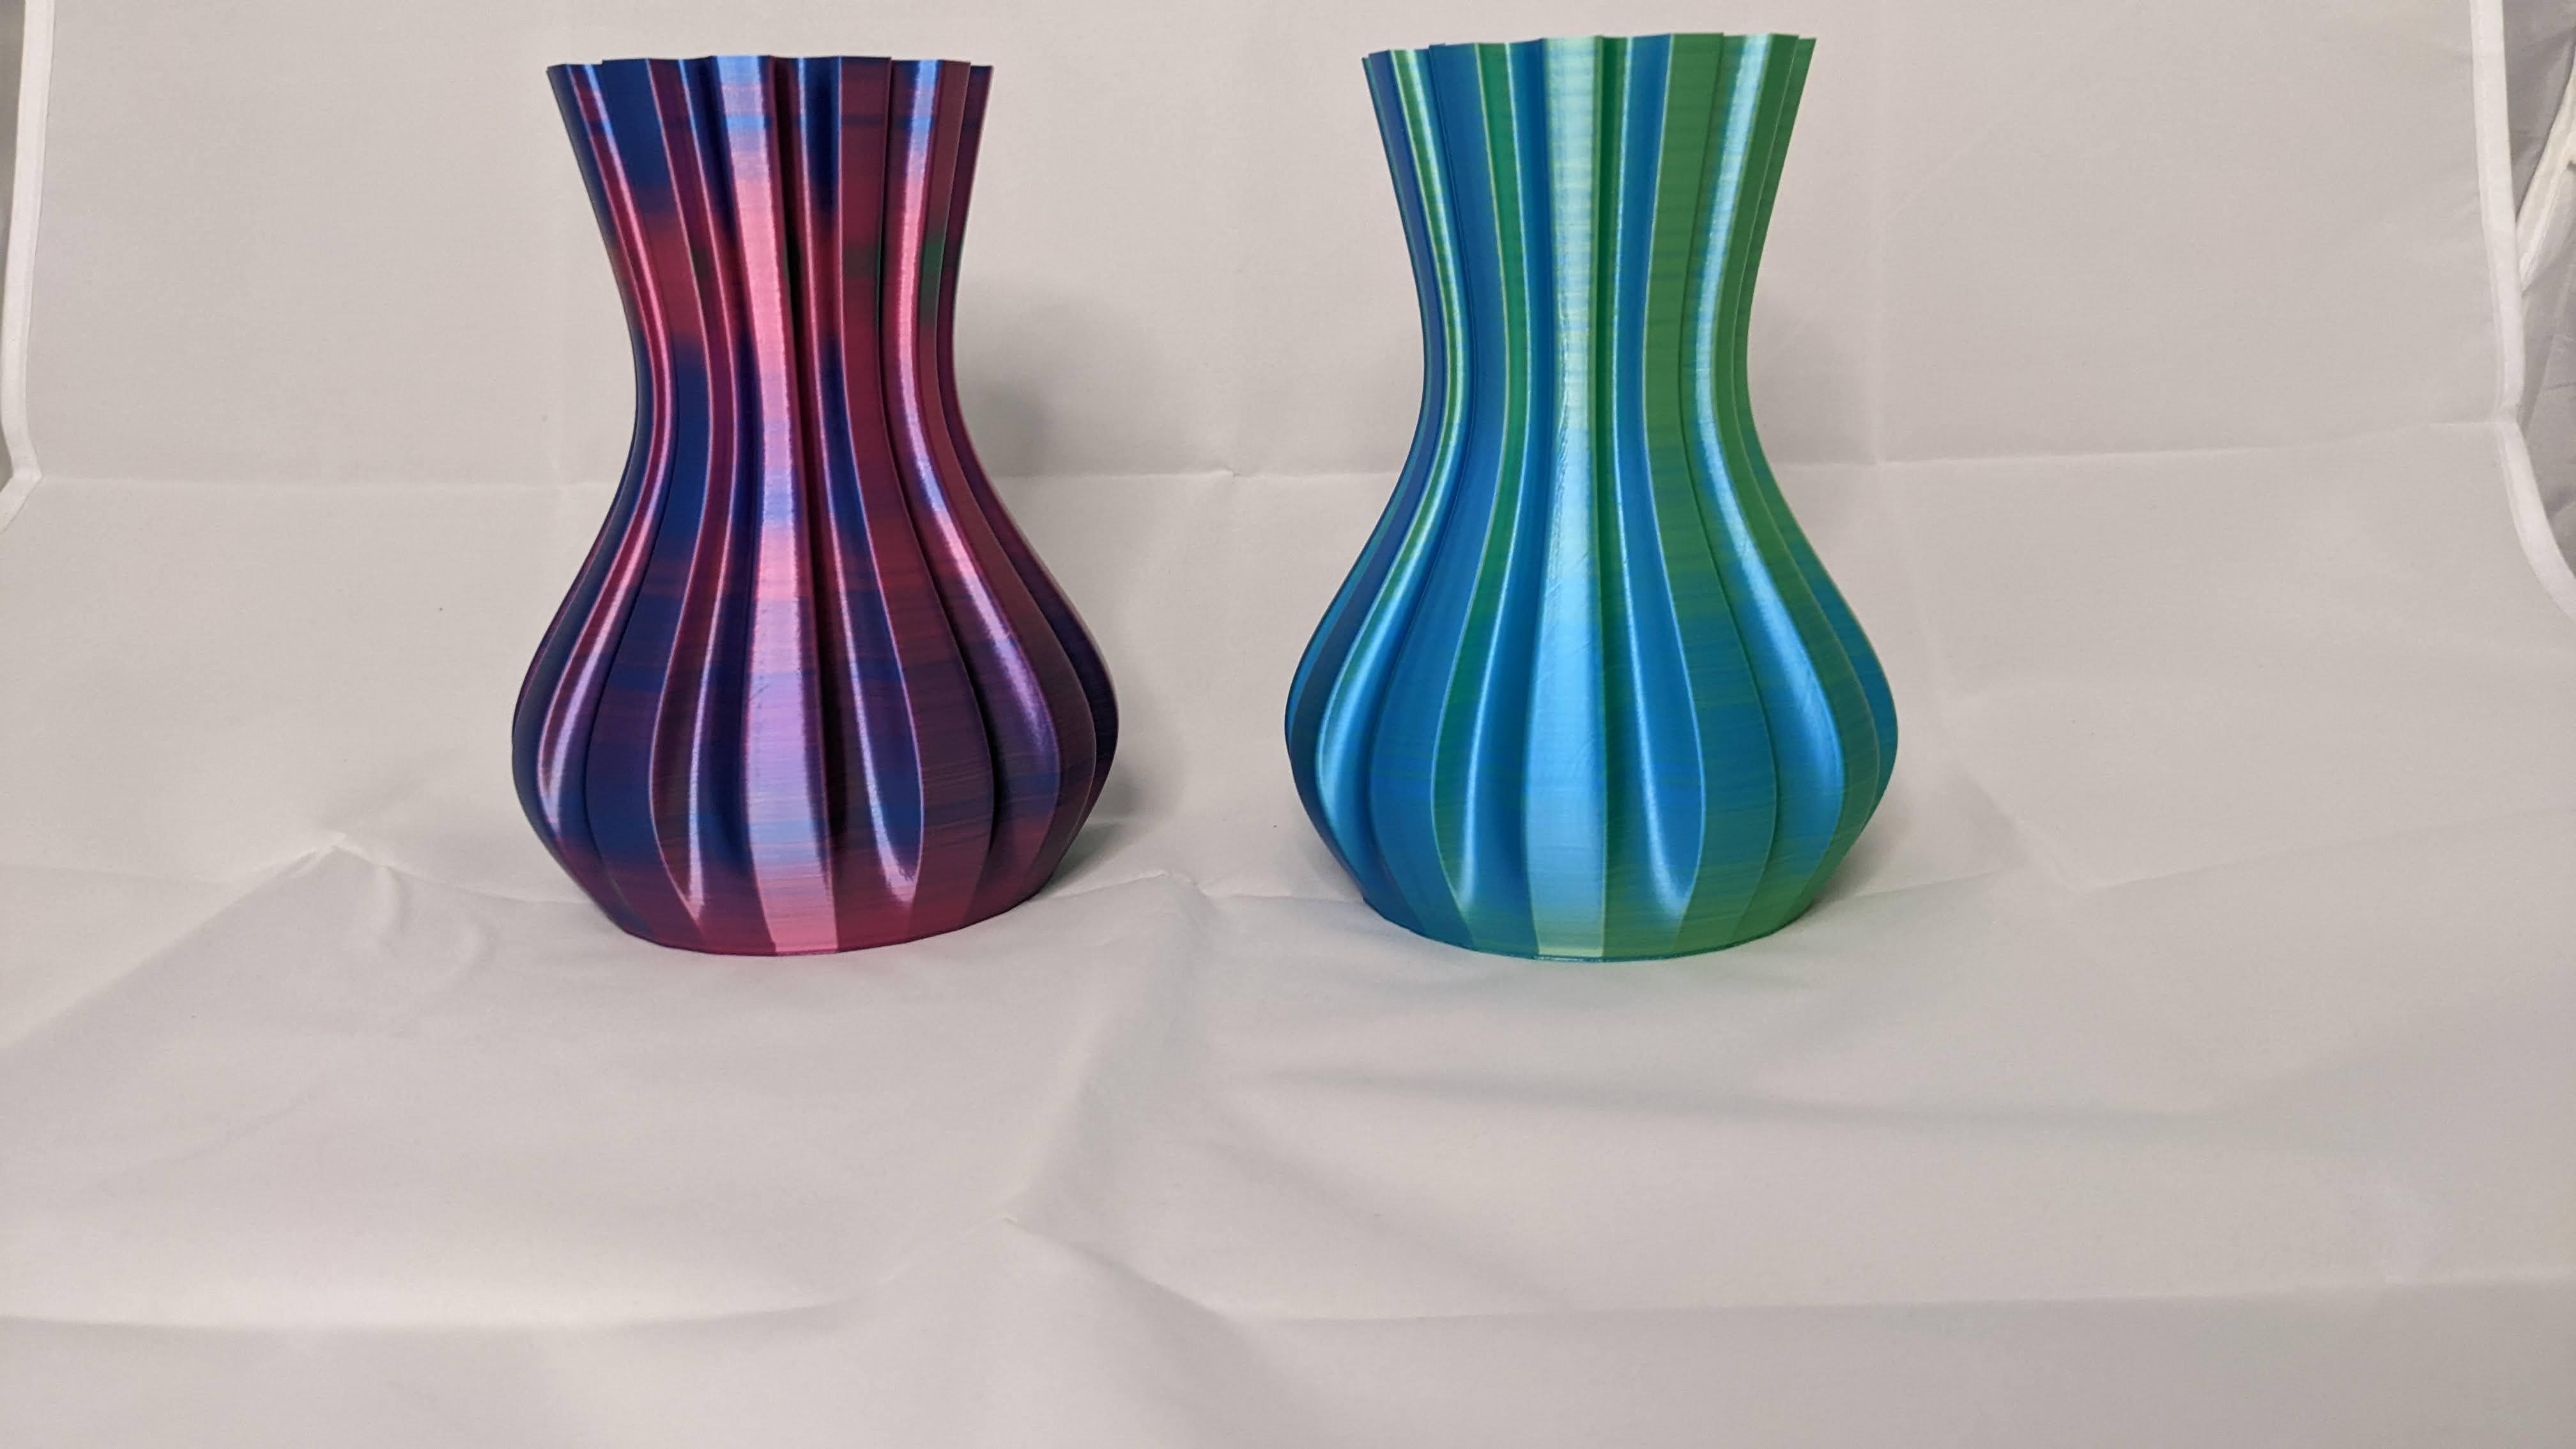
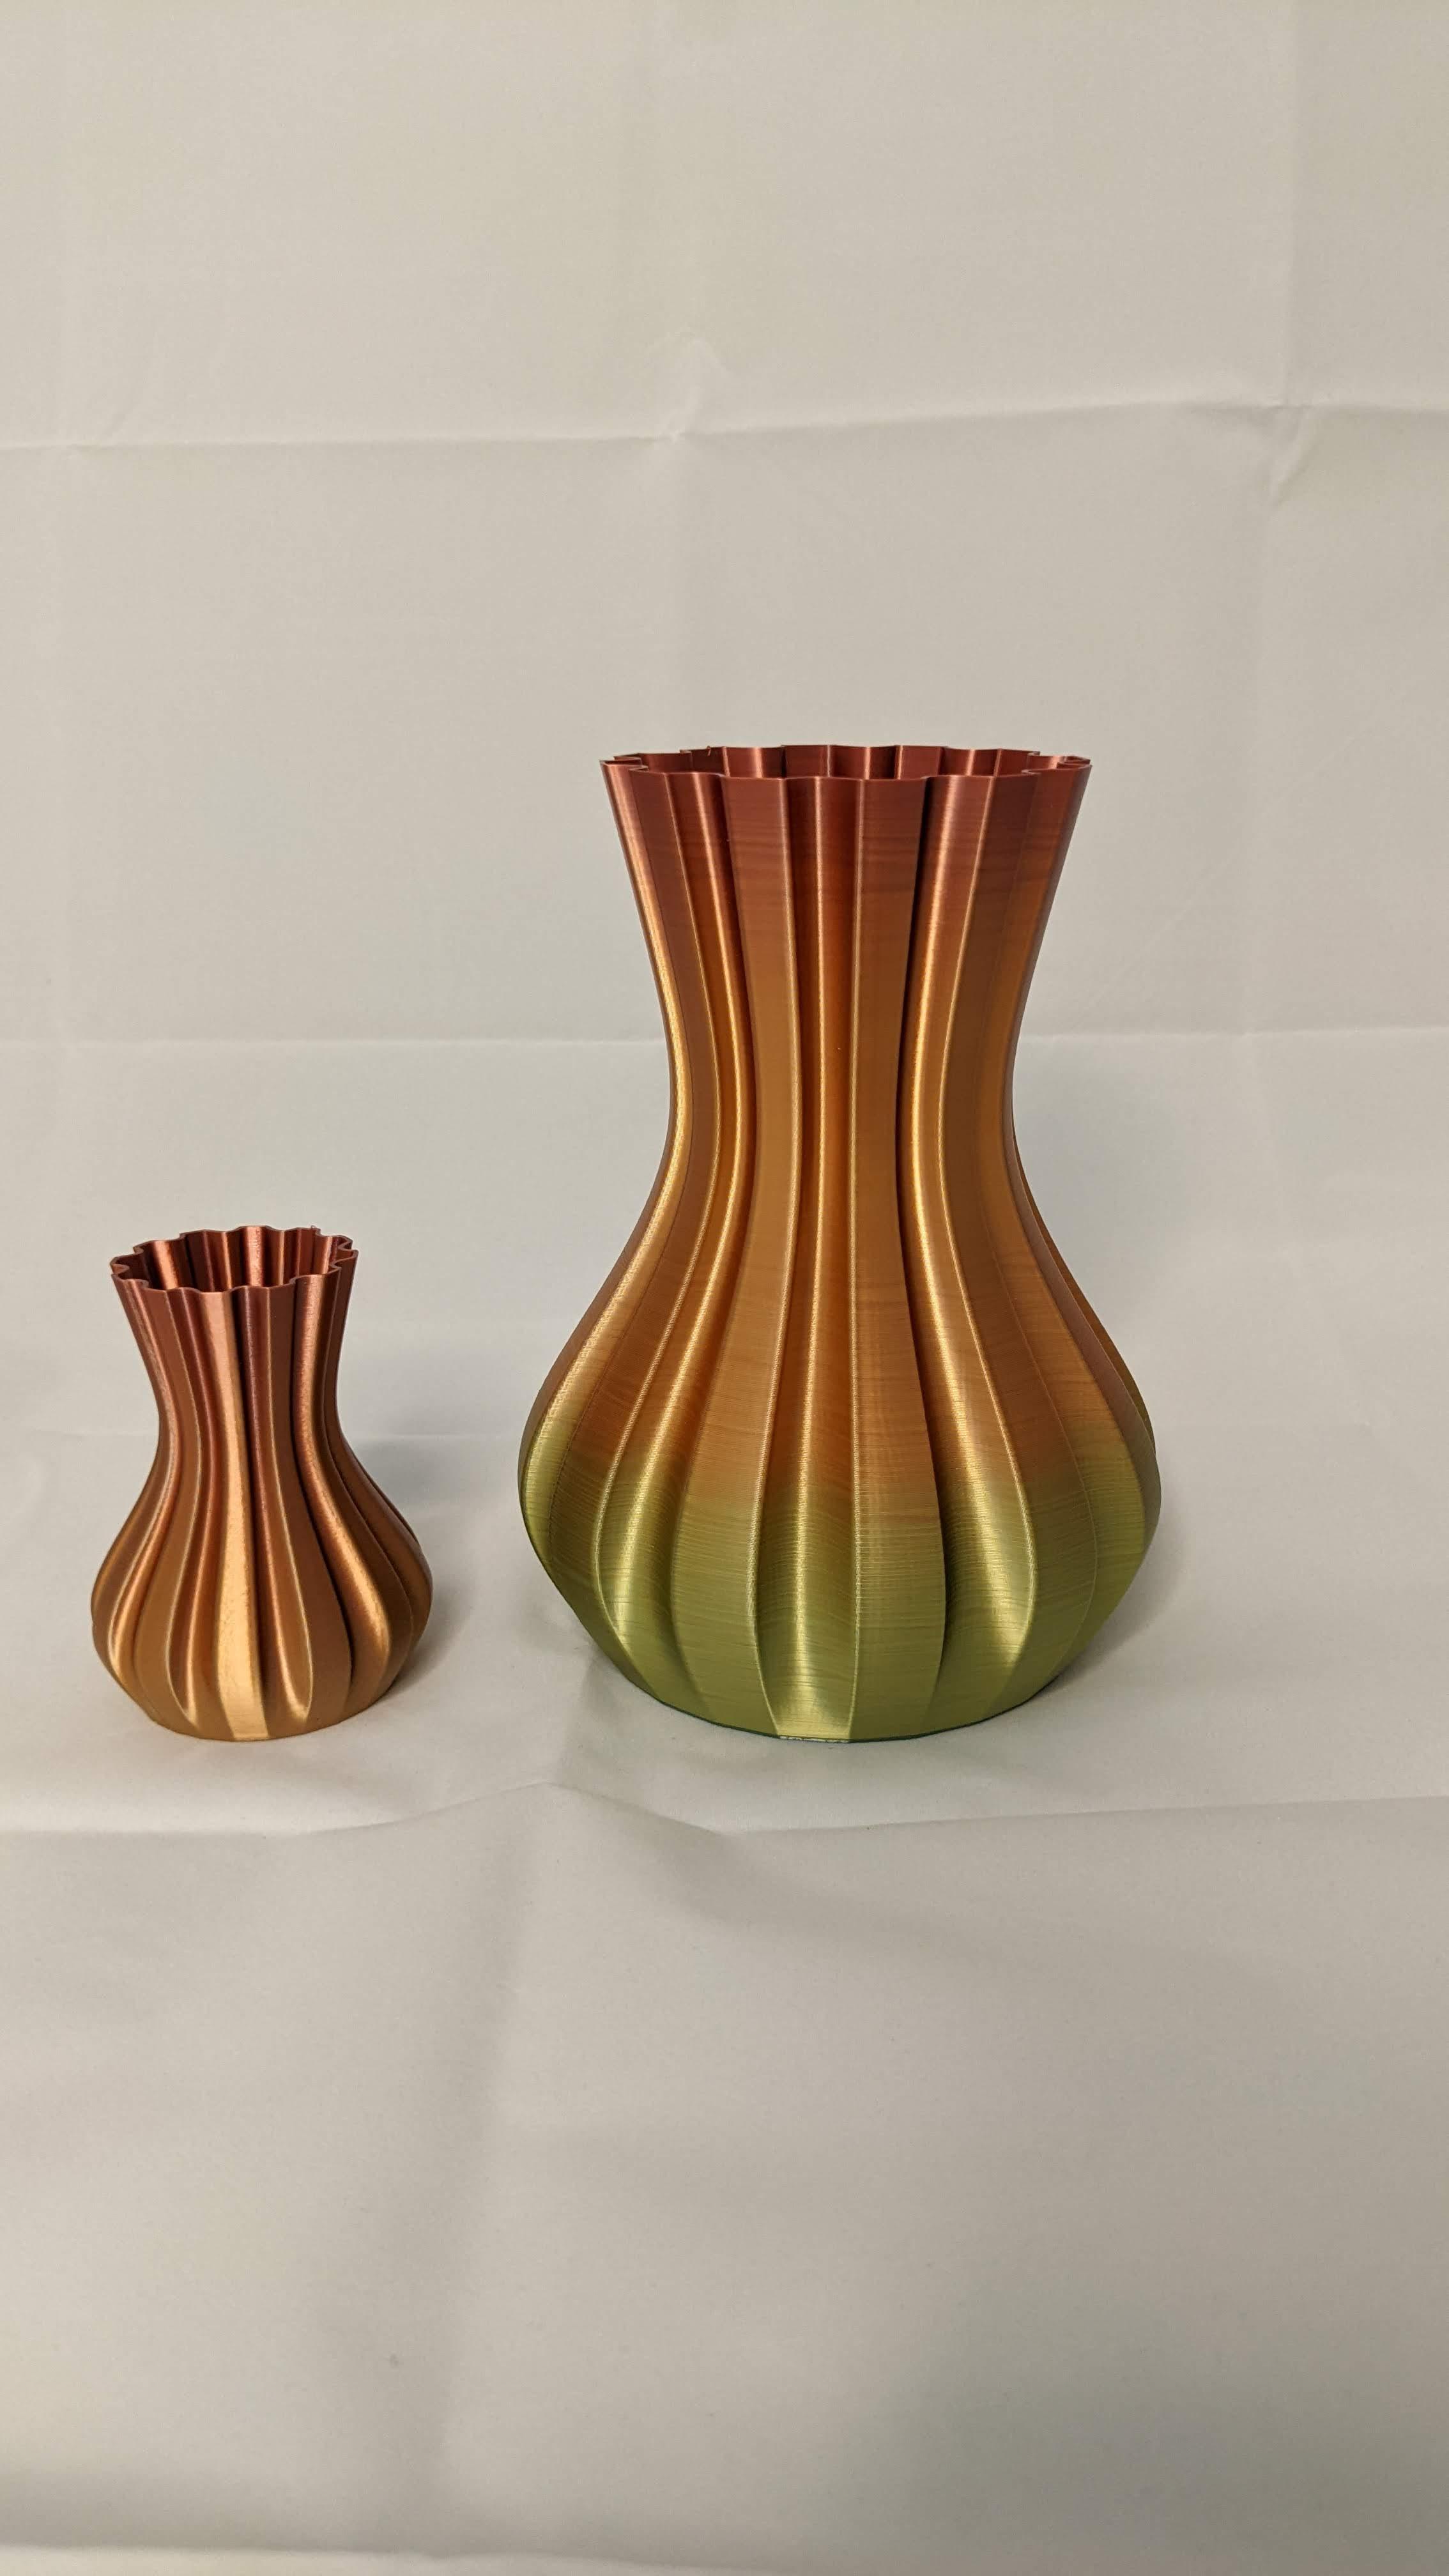
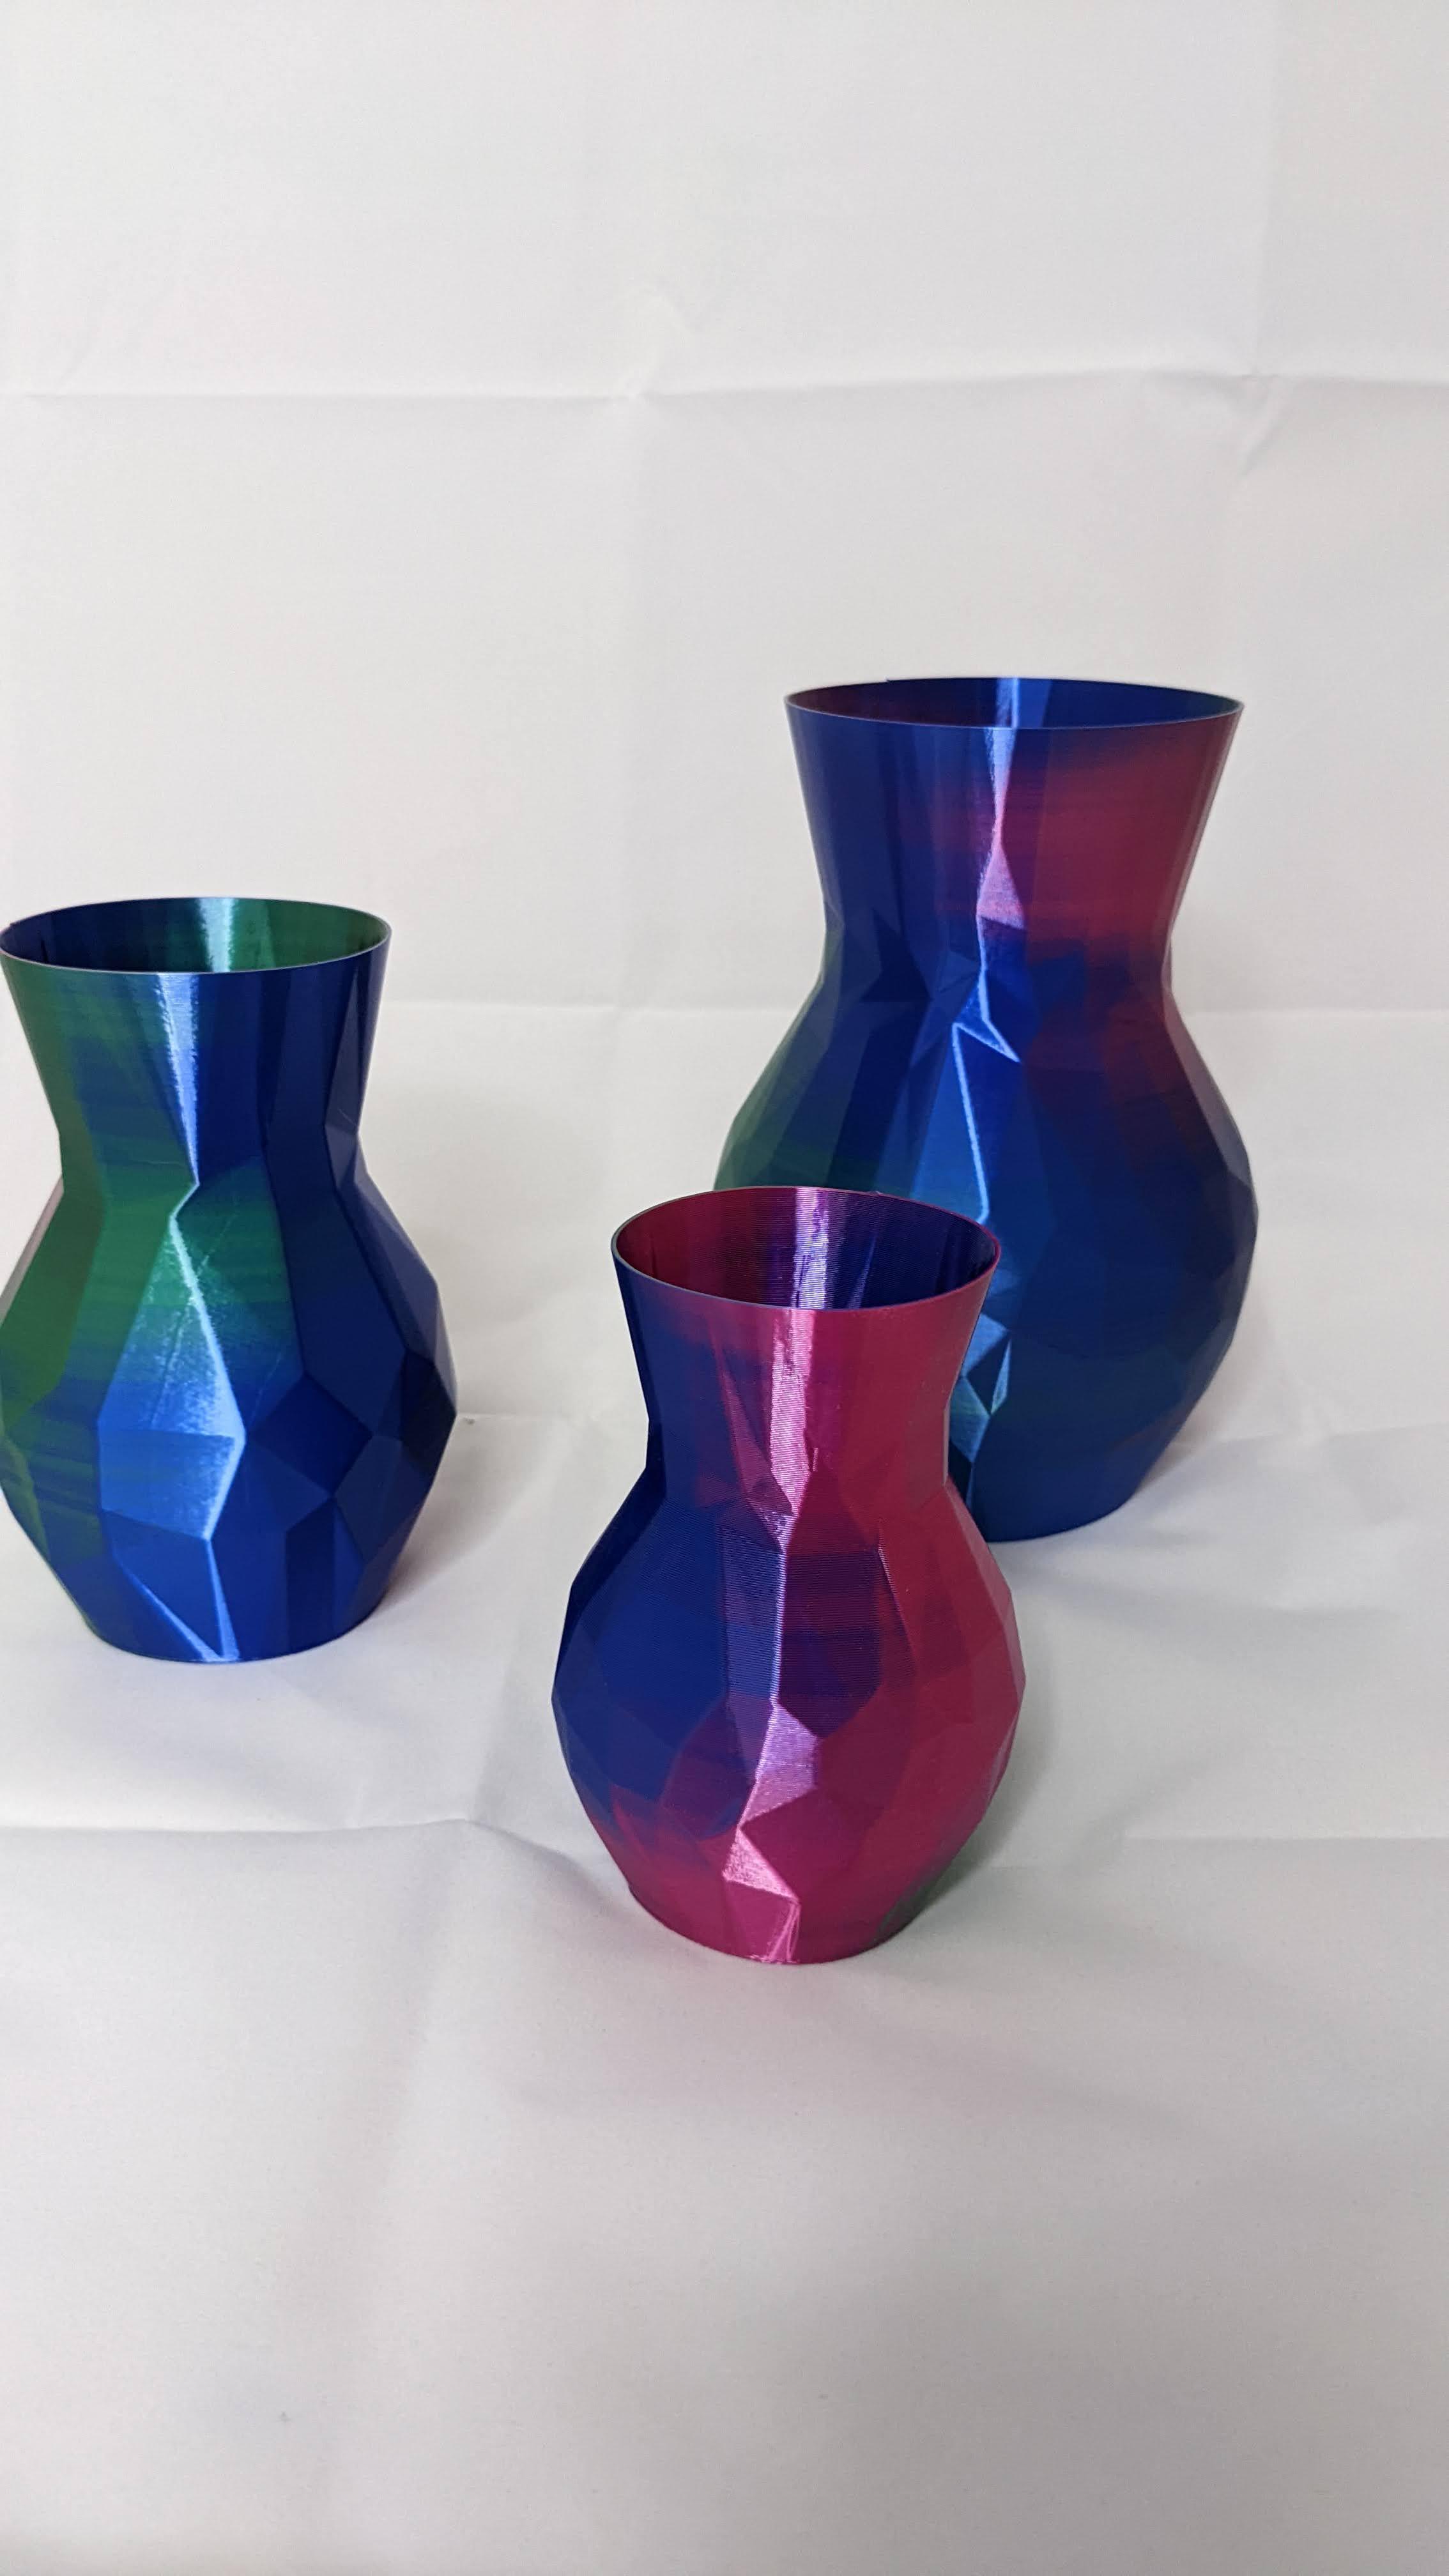
Hi! I'm Zammer 3D, and I make designs on MakerWorld. You can see some of my vase designs above. In this short tutorial, I'll show you how to make your own vases that are water tight and easy to print.
Supplies
All you need is Fusion 360, a popular and powerful design software. In the end we will create an STL file, which you can do anything with.
A Rough Idea
Before you actually open Fusion, you may want to picture your vase's design in your head. You may choose to draw it on paper as well.
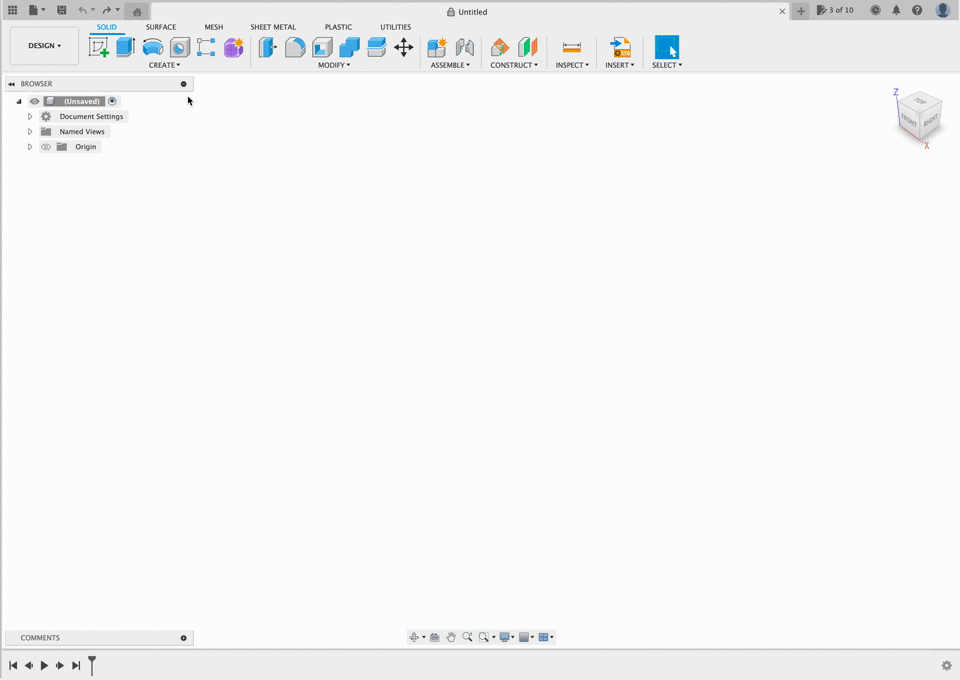
Opening Fusion 360
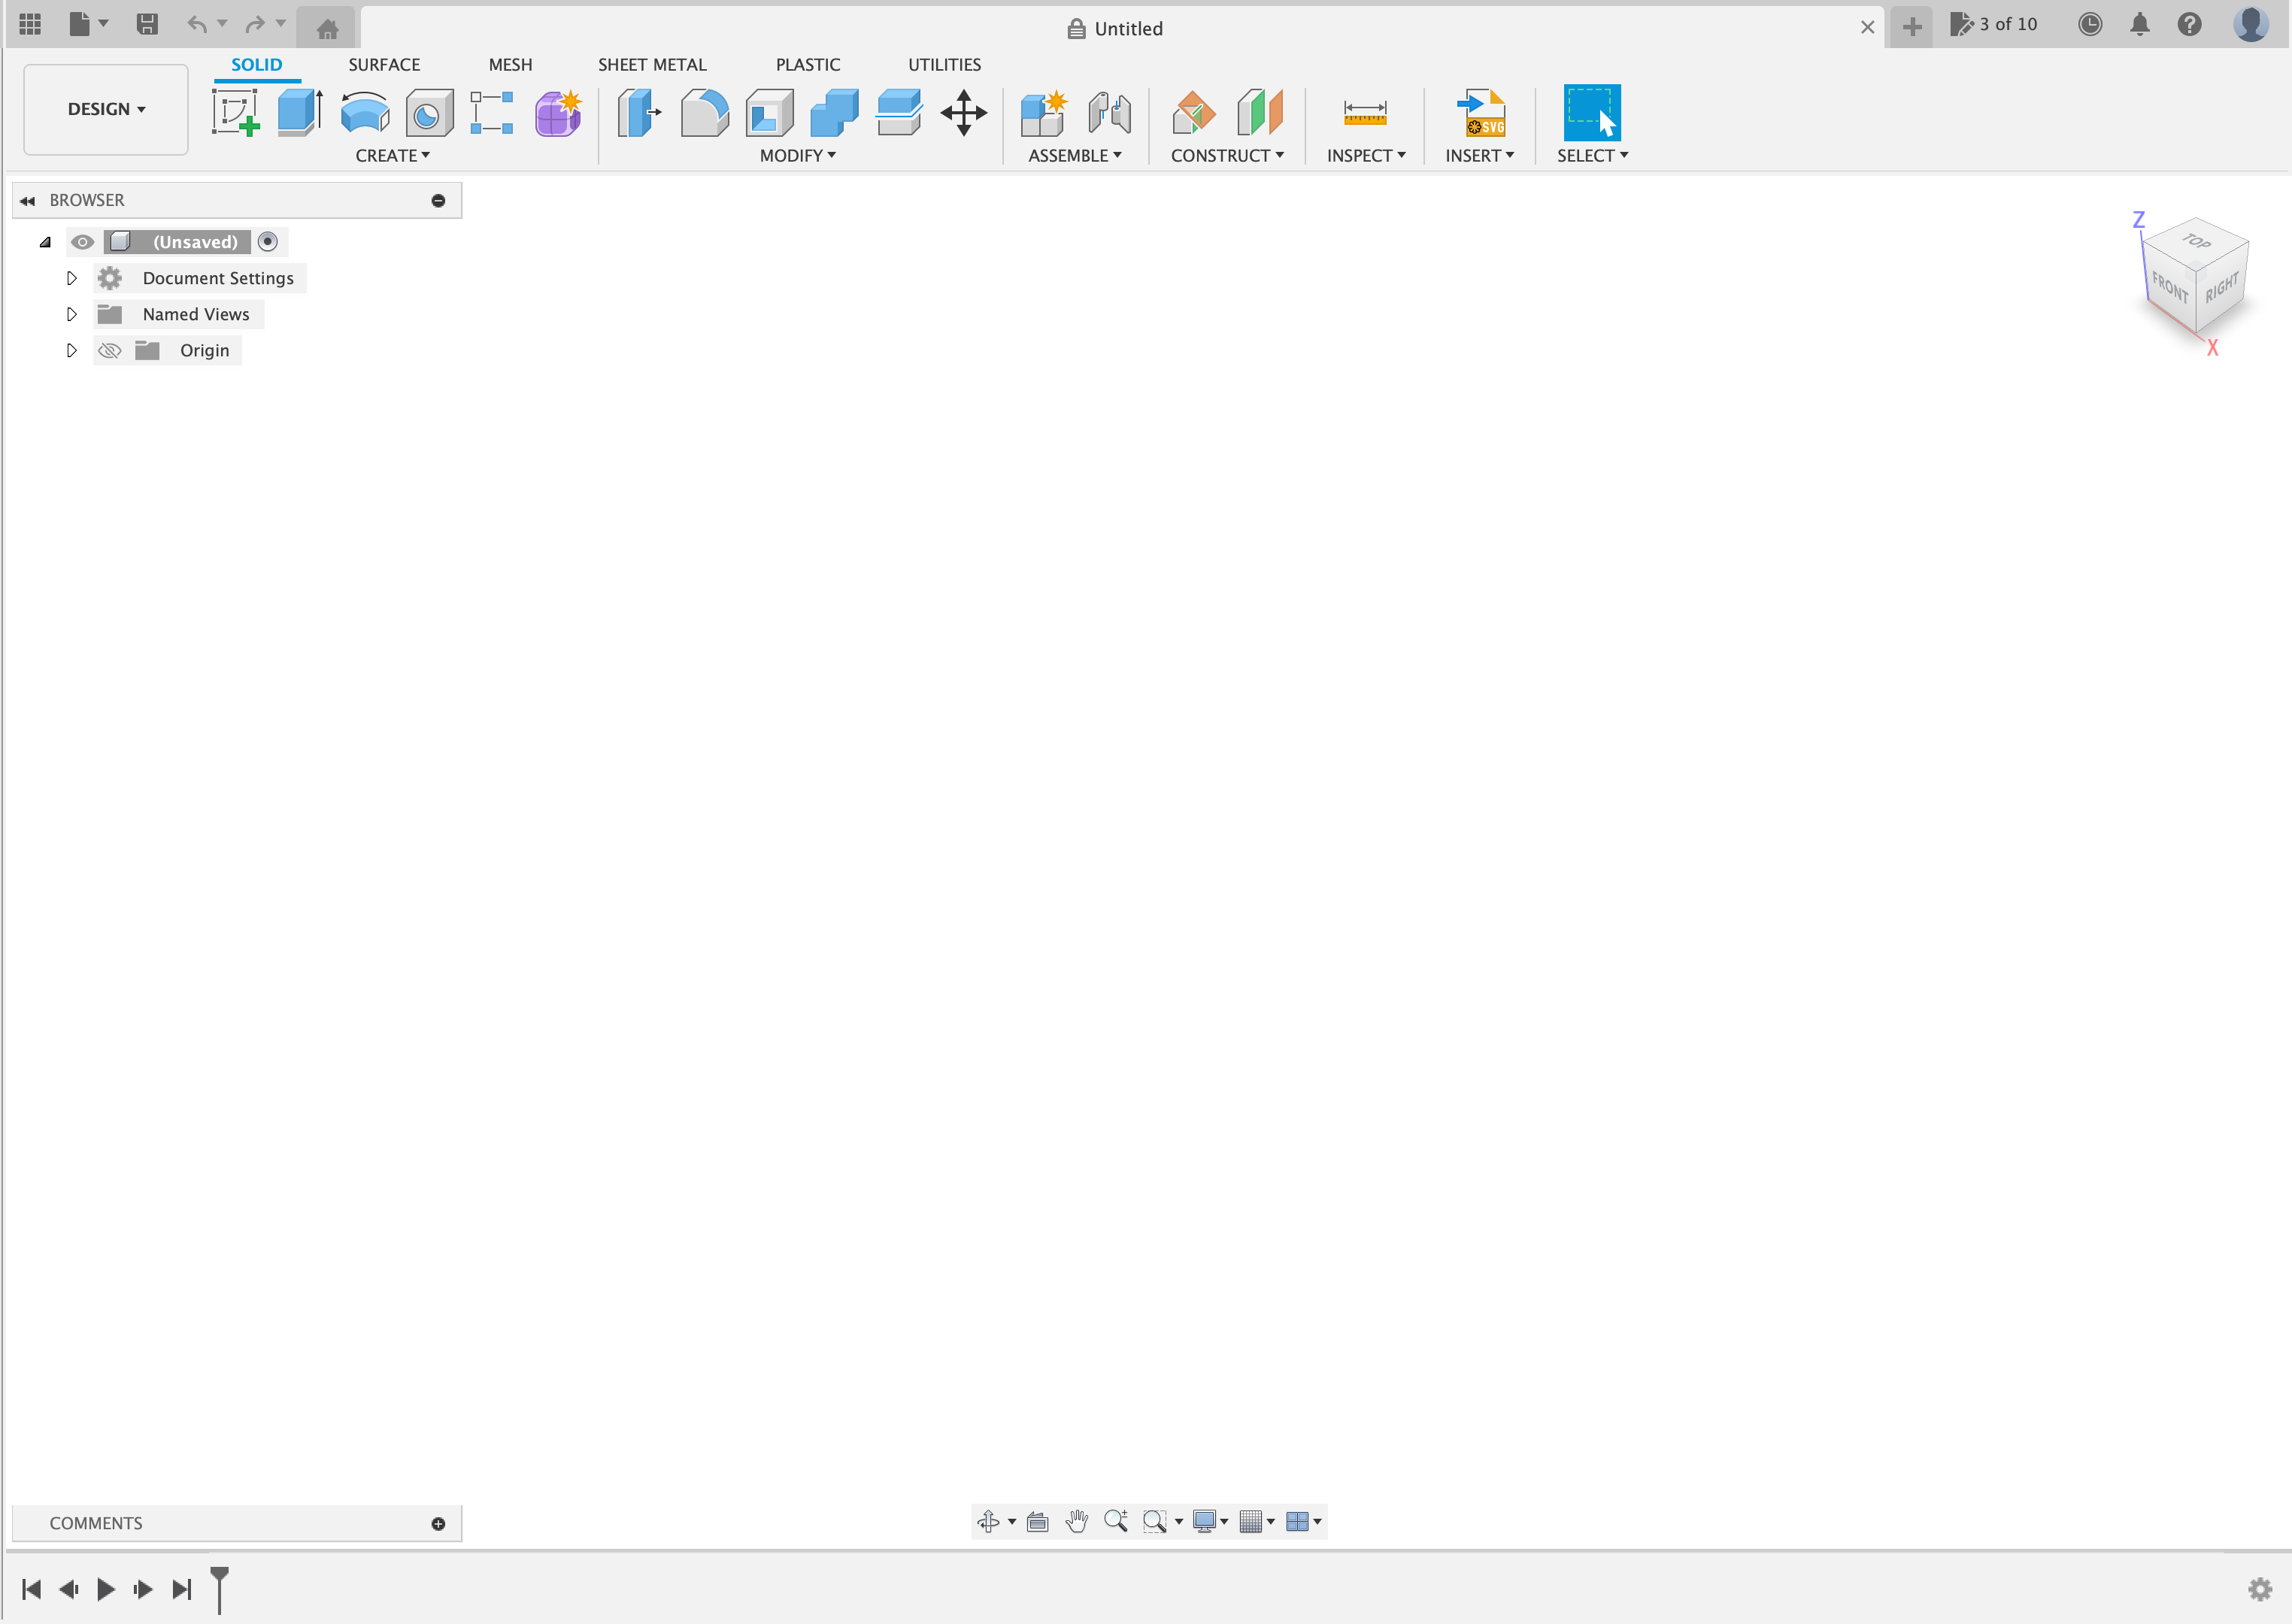

For anyone who doesn't already know how to use Fusion 360, here is how to get started:
- Download the software
- Open the file that is downloaded, and follow the instructions on your computer
- Open the application, which should be wherever you have your application files
- Log in or create an account
- Your screen should look like the one above
That's it!
Forming a Beginning

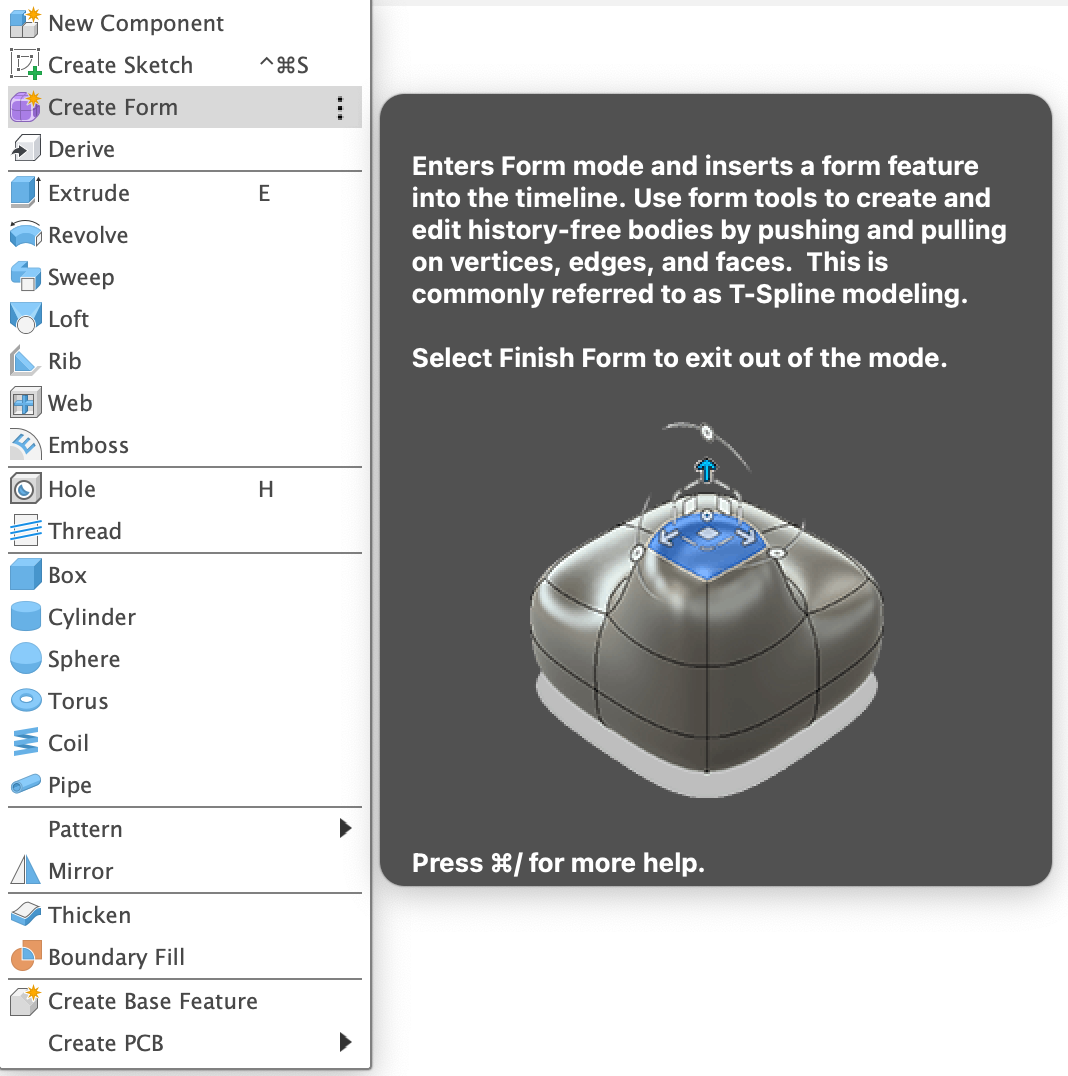
We need to make what's called a "form" to make a vase. Here's how:
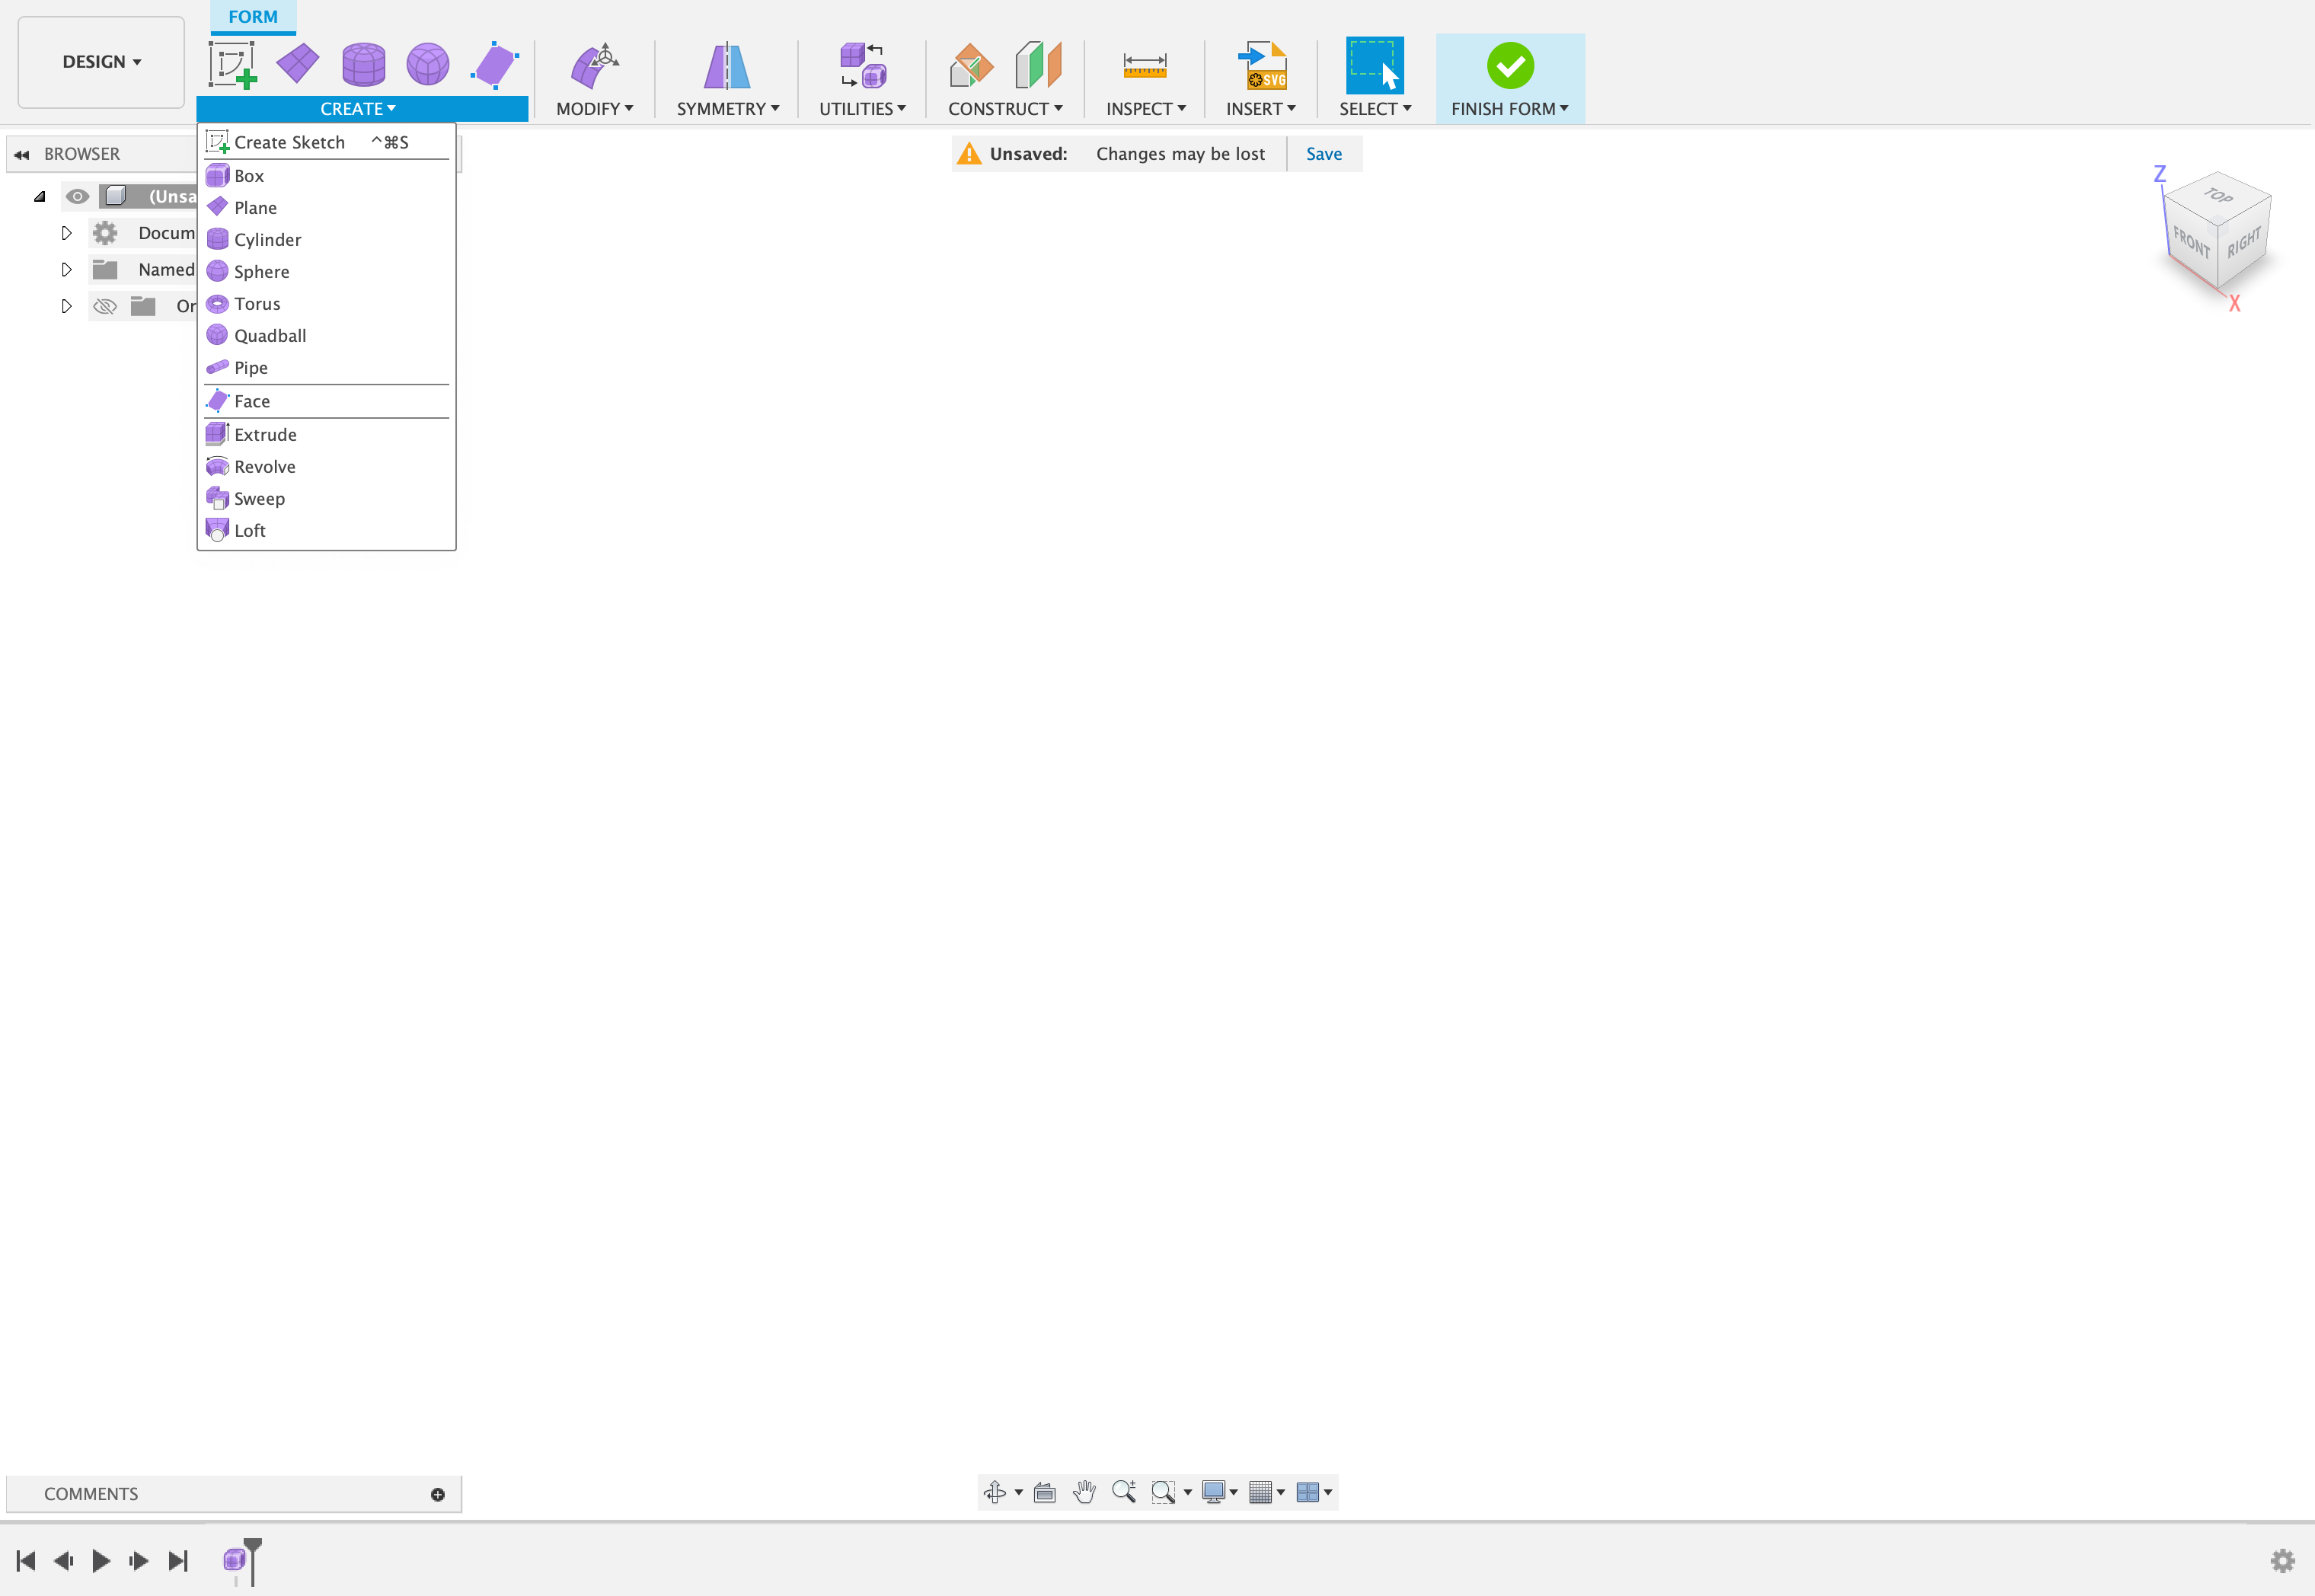
Click on the "Create Form" icon (fig. 2), the purple cube with what looks like an explosion next to it. (fig. 1)
If you don't see it, click on the "CREATE" text, then select "Create Form" (fig. 3).
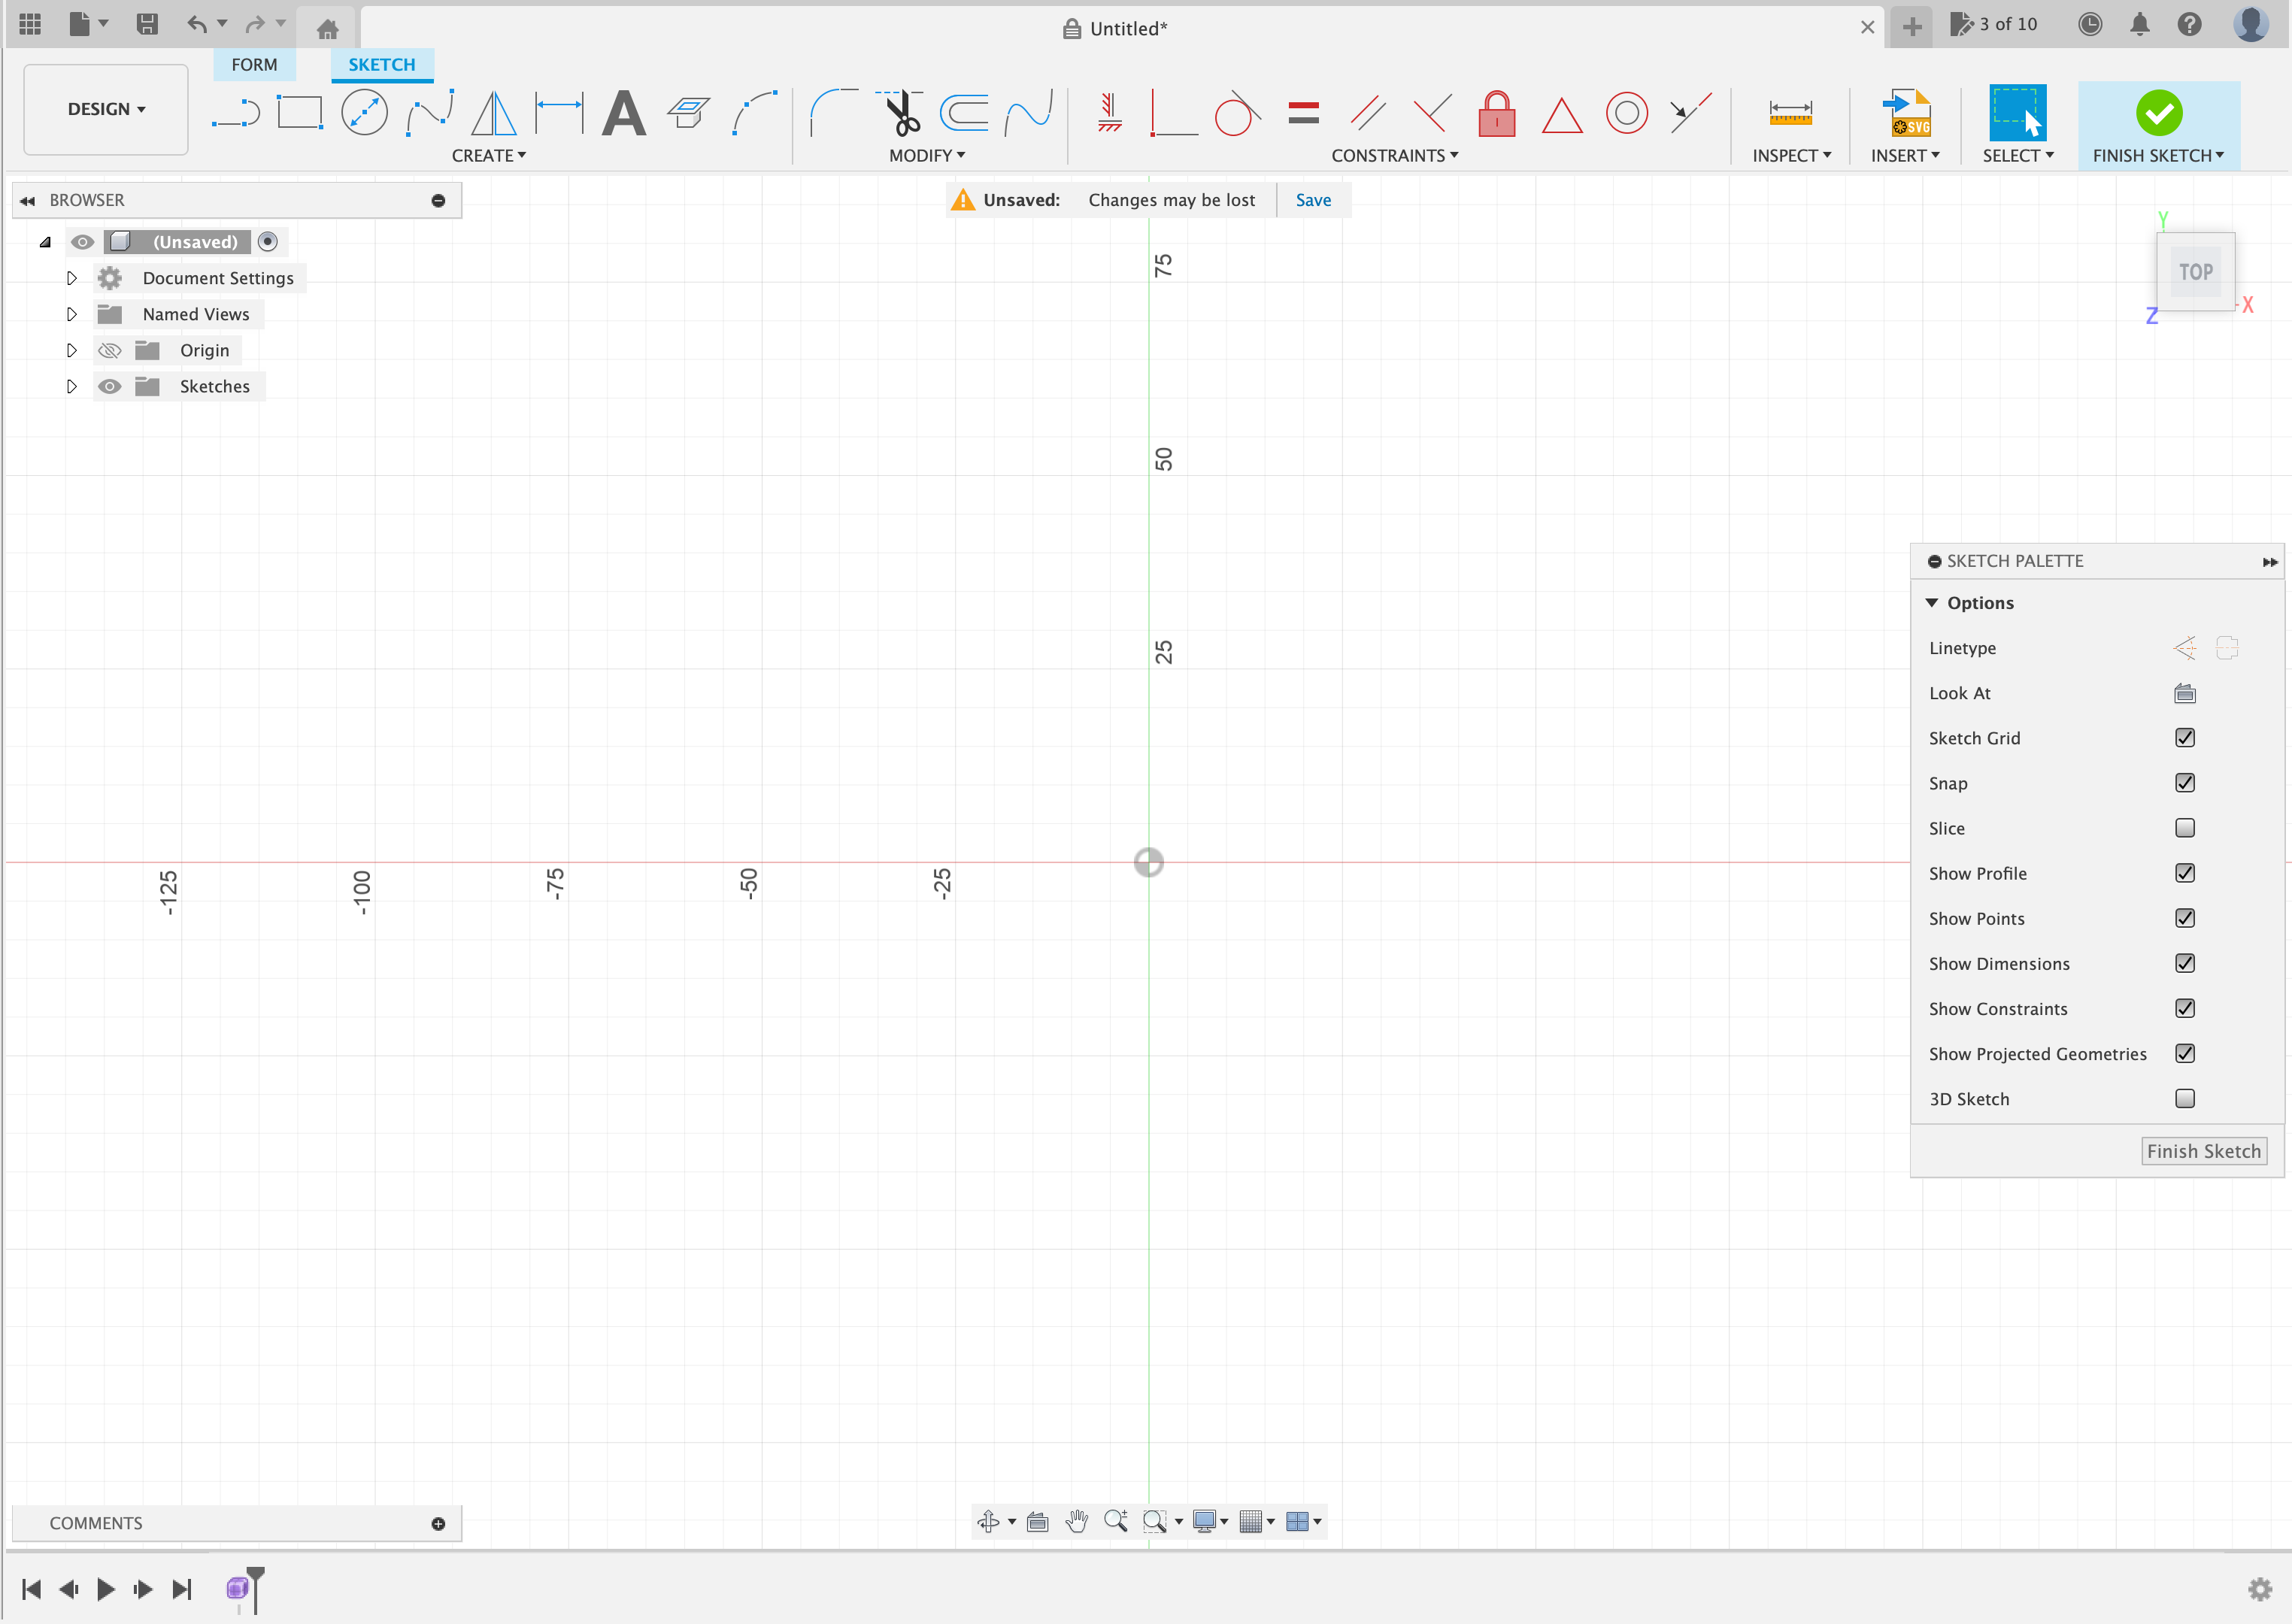
Sketching a Plan

A sketch might not make sense, but it's the best way to convert your idea into a reality- at least until mind reading becomes a thing.
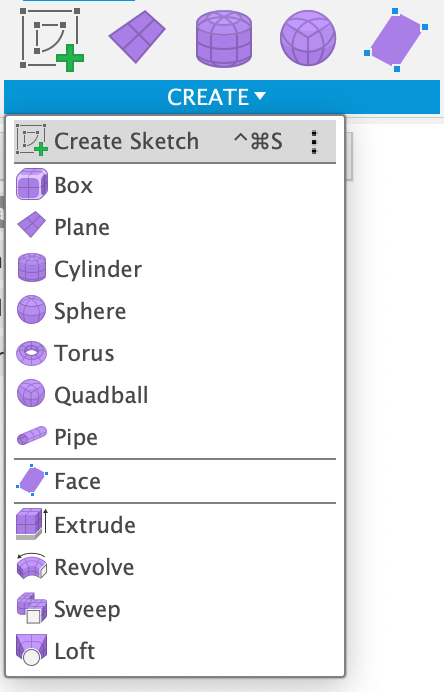
To make a sketch click on the "Create Sketch" icon near the top left of the window, or click "Create" then "Create Sketch".
Choosing a Plane
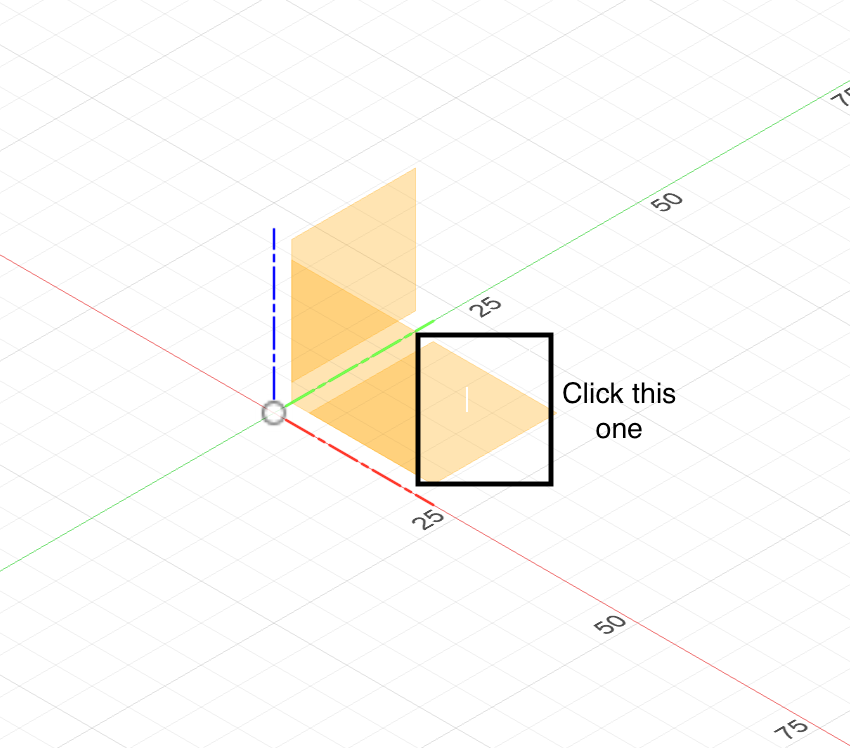
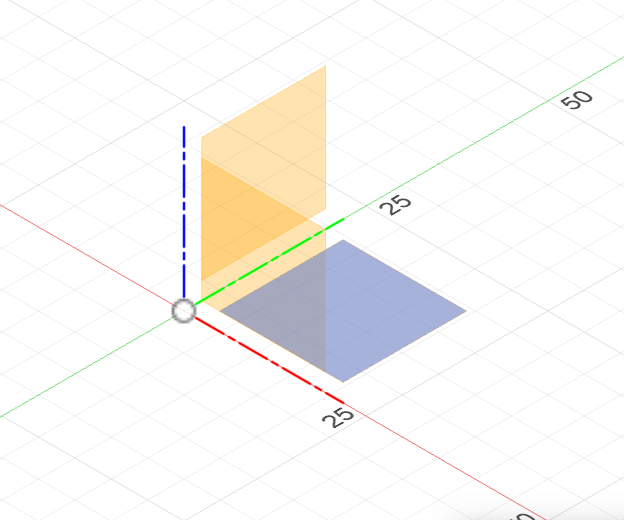
After creating a sketch, you need to choose a plane. We want to choose the "top plane" for this sketch. When you hover over it, it should turn blue. Only the one shown in the image above should turn blue, and no other ones. If you think you have selected the correct plane, click it and move on to the next step. If you aren't sure, don't worry: it doesn't matter too much.
Making a Base
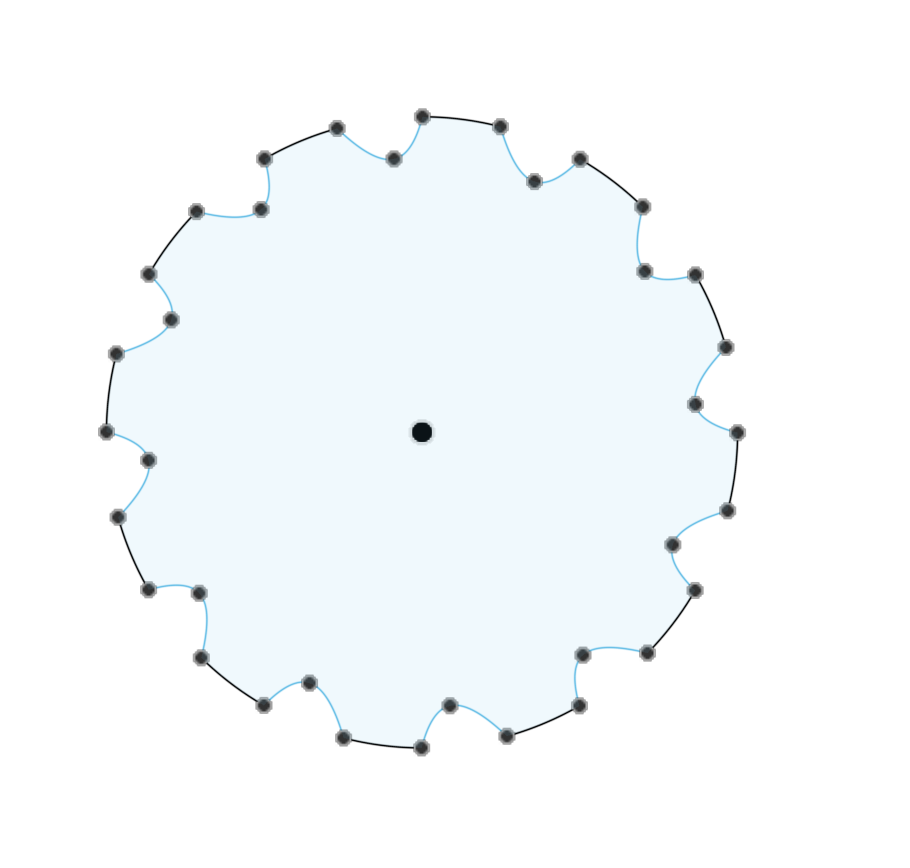
Your screen should look like Figure 1 above. If it does, we'll need to create a shape for our base. We can do this in many ways, but this is the easiest. To start, think about a simple "top down" style view of your vase, but do it the opposite way, so you're looking at the bottom of the vase like in Figure 2. We will then make that sketch tall, scaling it in and out, and rotating it as it gets taller. The sketch in Fig. 2 turns into the vase in Fig. 3. To make this sketch, we need to learn about sketch tools in Fusion 360. Sketches are made of simple shapes, like rectangles, circles, polygons, lines, arcs, points, and more. Those simple shapes can then be modified using things like Circular Patterns, Trims, and more. I would suggest making this sketch along with me to learn all of the tools.
A Sample Sketch
Play around with the tools in the "create" menu, and make a simple sketch. To exit a tool click ESCAPE. To use something like a Circular pattern, you'll need to click "OK" to actually make the change. To undo a mistake (don't worry, it happens) press CTRL+Z (it may be CMD+Z on a Mac).
Make Your Own
Experiment with Fusion 360's sketch tools to create your own sketch. You'll get better with practice, so feel free to restart by clicking and dragging over your whole design and pressing delete. Once you're happy with your sketch move on to the next step.
2D to 3D!
Now that you have a 2D sketch, we need to make that 3D. To do that we need to extrude the sketch. Hopefully you used Modify>Trim to remove any excess lines in your sketch, but if not, now would be a good time to do so. Remember: CTRL (or CMD) + Z is your friend!
Extrusion
Here's how to extrude an object in Fusion 360:
- Click on the green checkmark for "Finish Sketch"
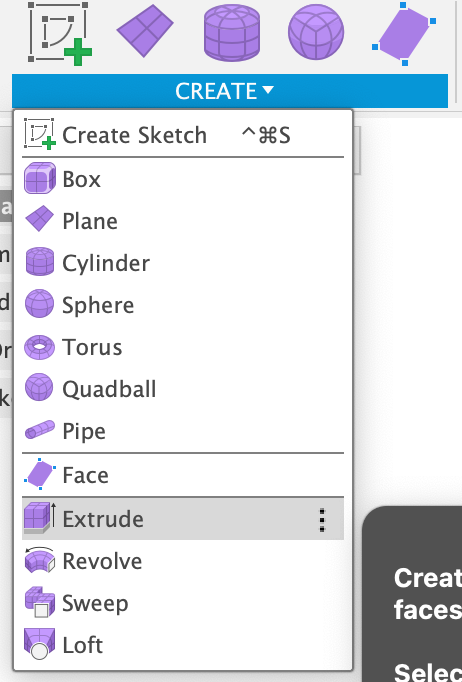
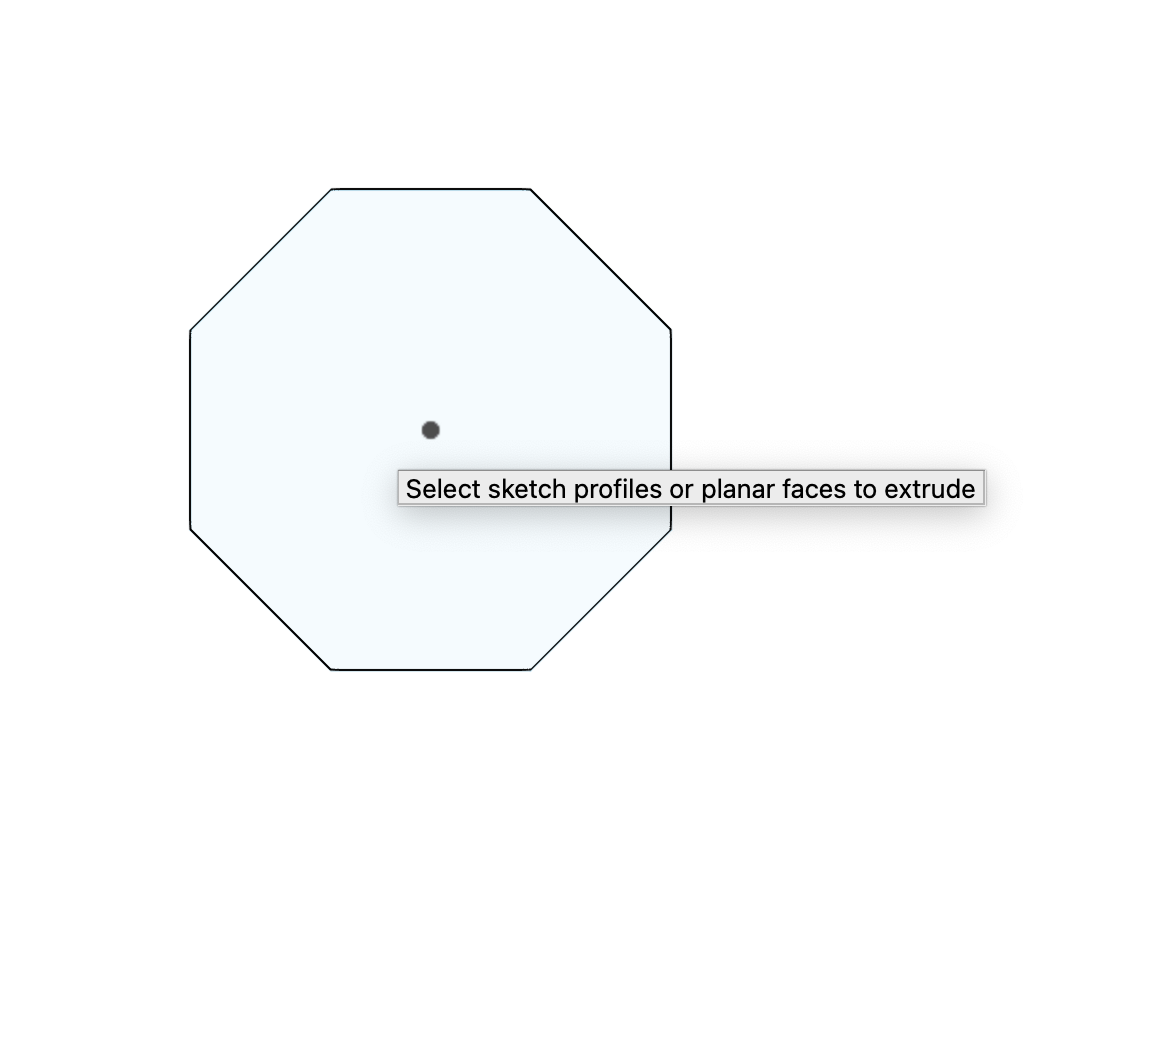
- Click "Create" and locate the option for "Extrude" (click it). (fig. 1)
- Now click your main shape. (fig. 2) It should turn blue. (fig. 3)
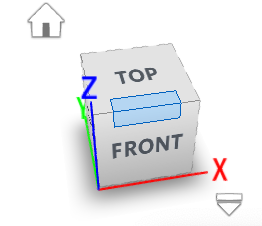
- Hold shift and your middle mouse button to Orbit around the model. Get used to the movement and mechanics. The view cube near the top right corner of your screen should move as you orbit. This tells you what direction you are looking at your sketch from.
- Click on the corner between "TOP" and "FRONT". (The blue corner in fig. 4) This should adjust your view.
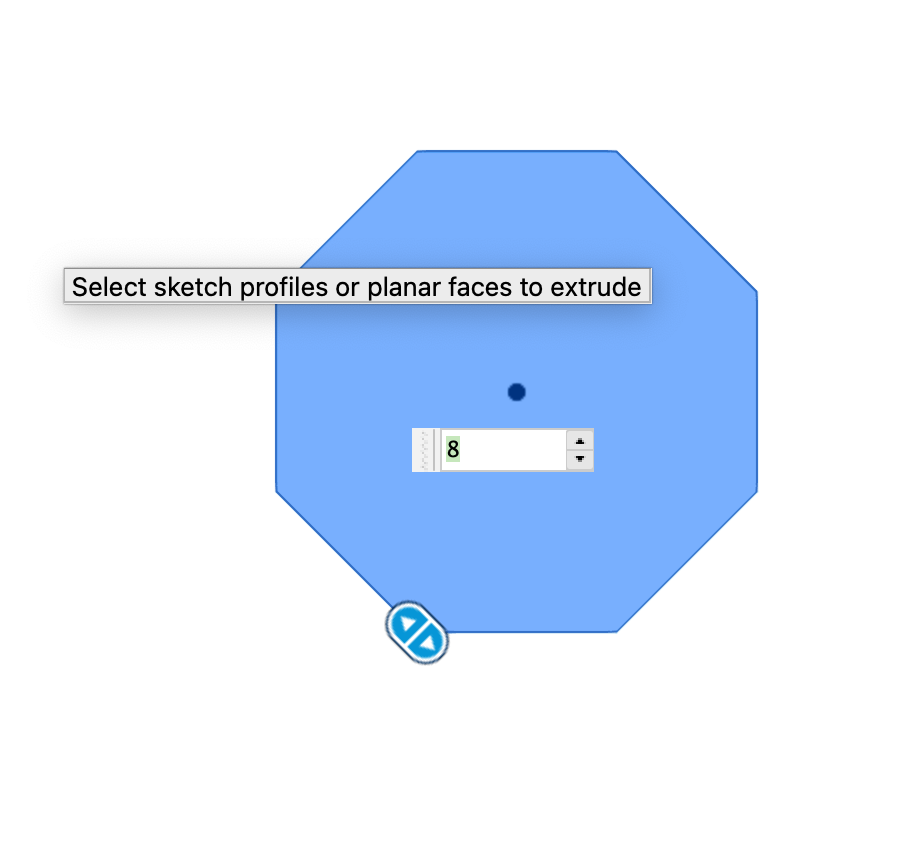
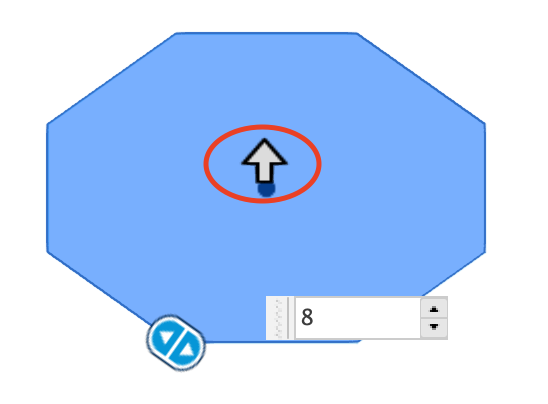
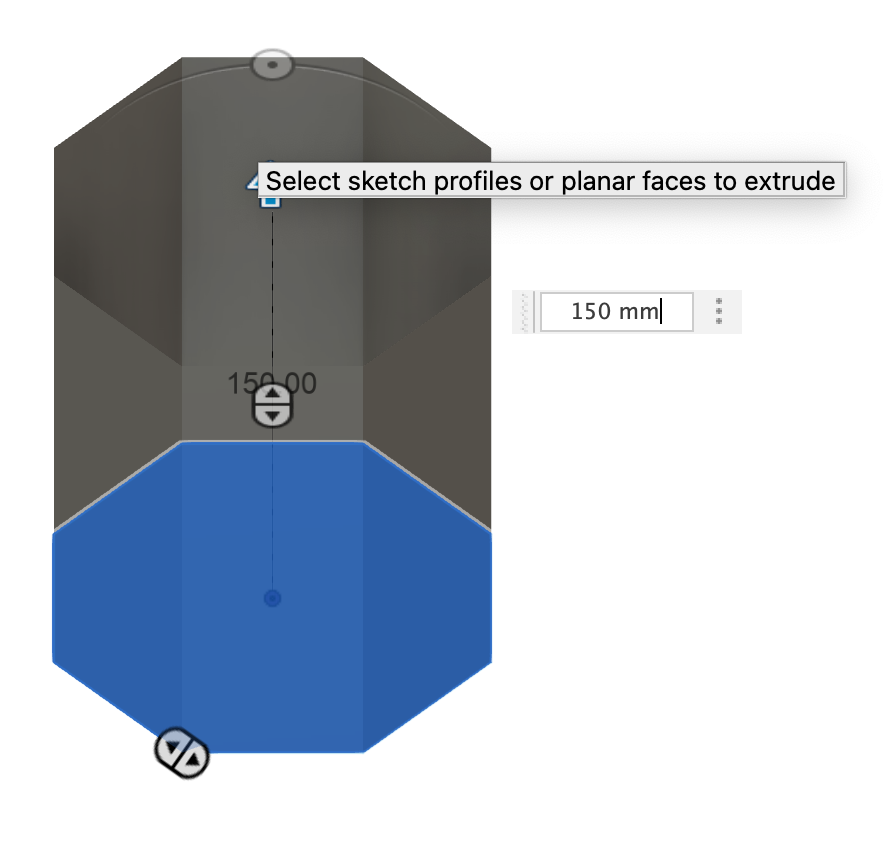
- There should be an arrow near the middle of your shape. (fig. 5)
- Click and drag it up. Drag it as high as you want your vase to be. You can also click on the number near the arrow once you start dragging to adjust the height. (fig. 6)
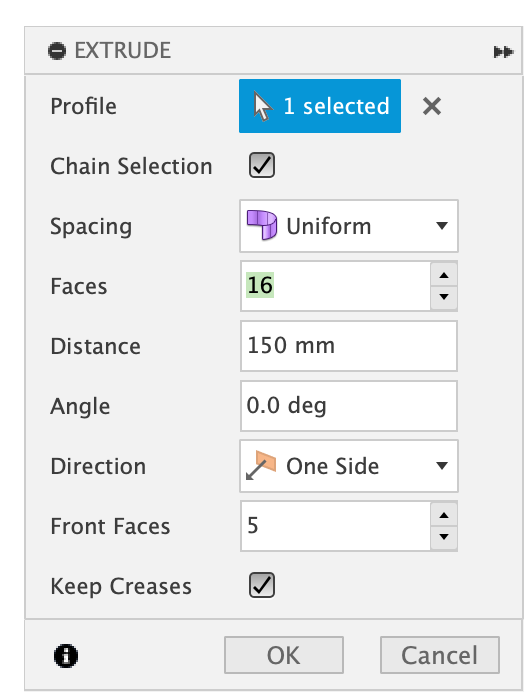
- On the "control panel" near the left side of your screen (fig. 7), increase the number of "front faces". The more faces you have the more control you have over your model. I suggest 5-6 to start with. Then click "OK"
Adjusting
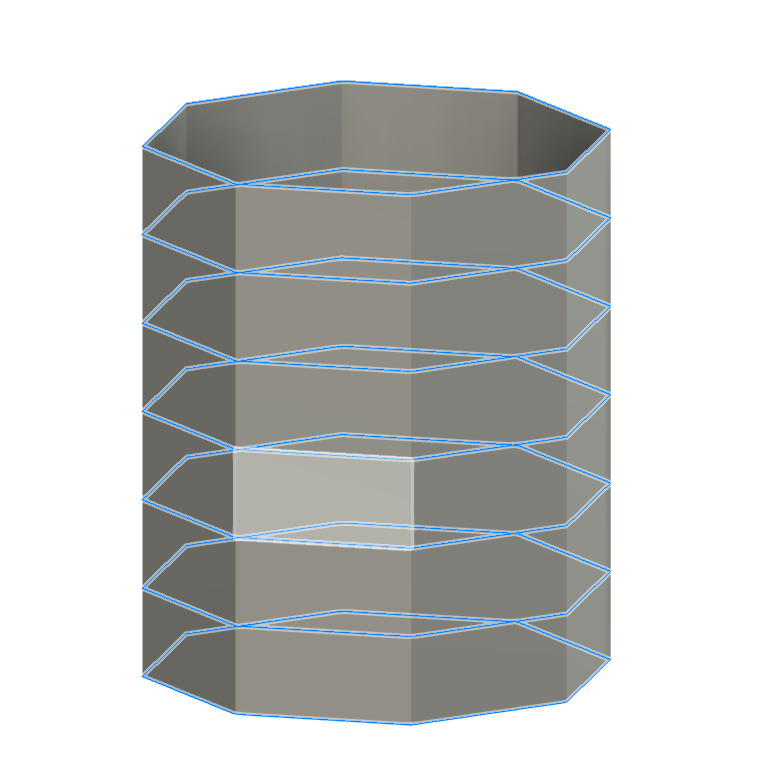

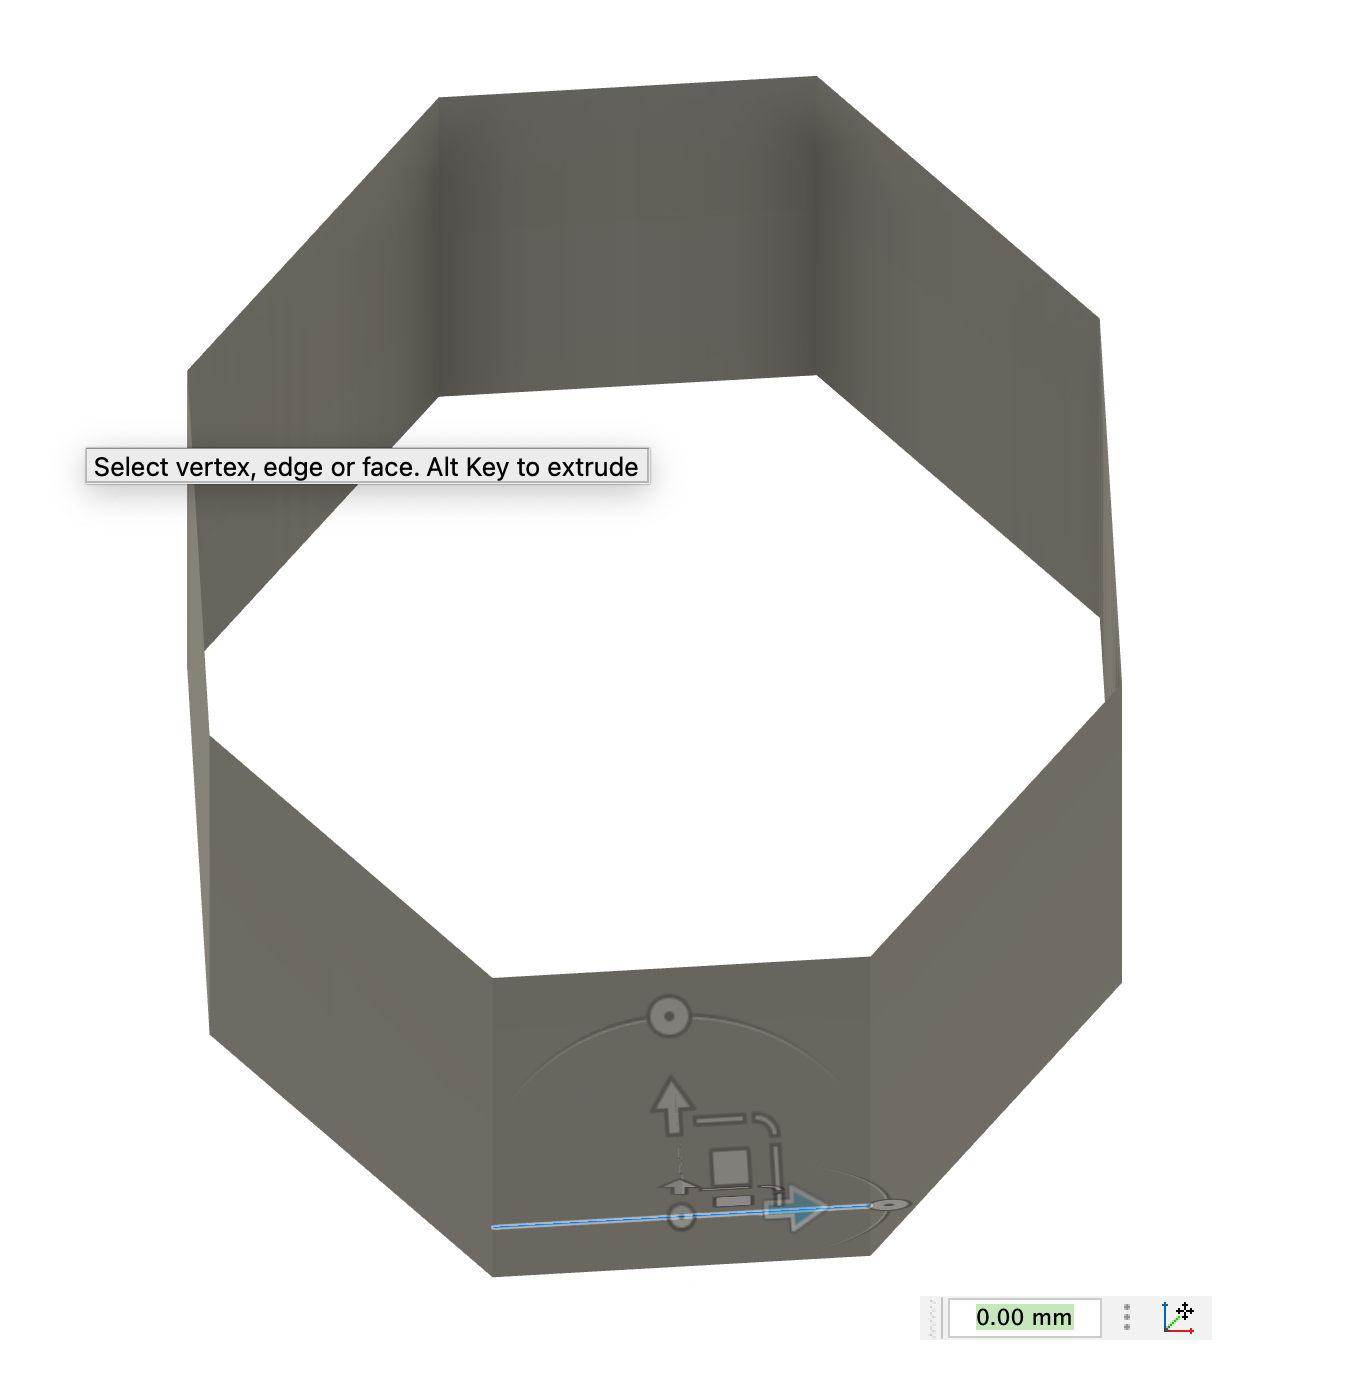
You should have several lines running horizontal along your model. (fig. 1). Double click one, and it should "loop select", meaning it will select all of the other horizontal lines in that loop. Then click on the "Edit Form" icon (fig. 2)
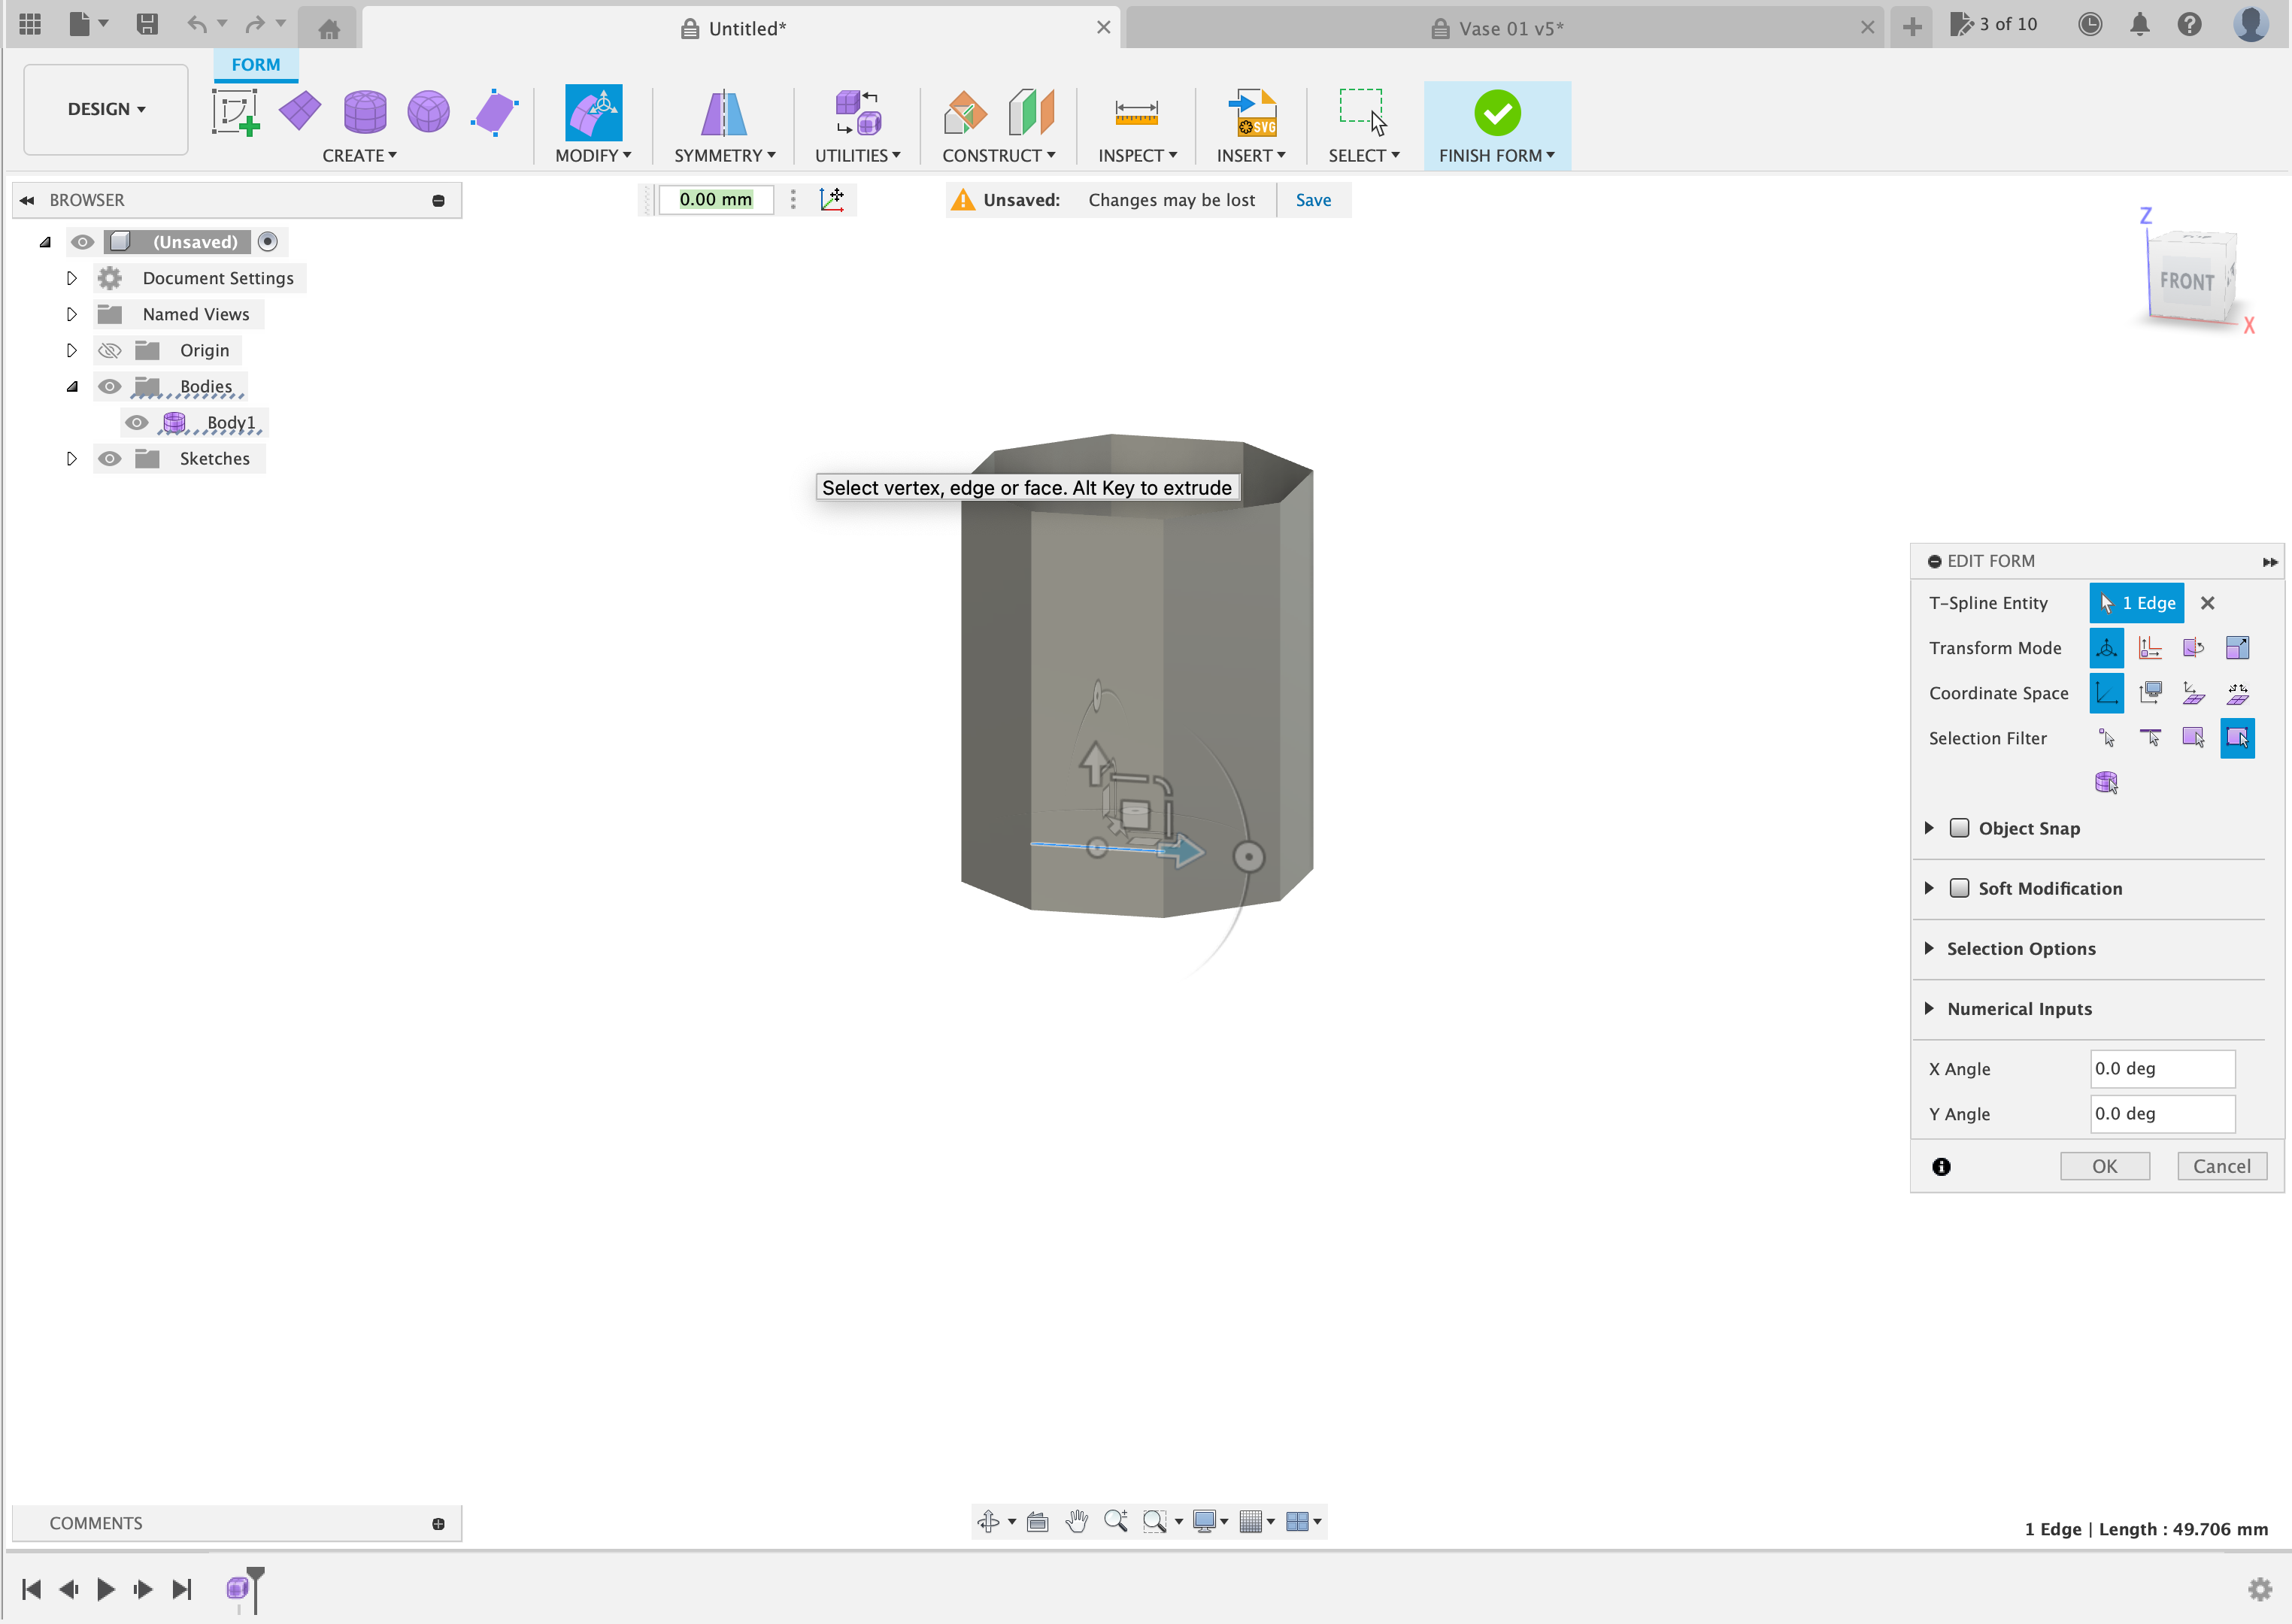
You should see a dialog box and a small control area on the model itself. (fig. 3)
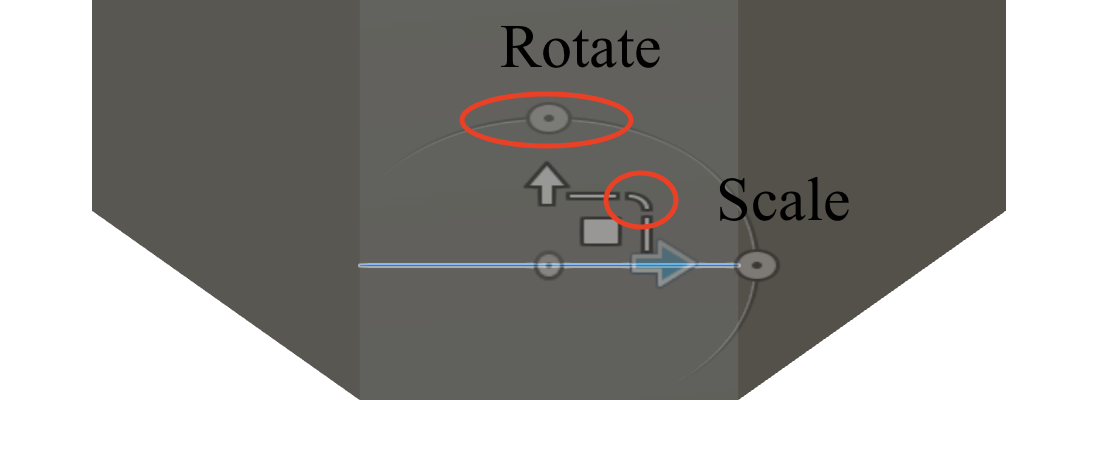
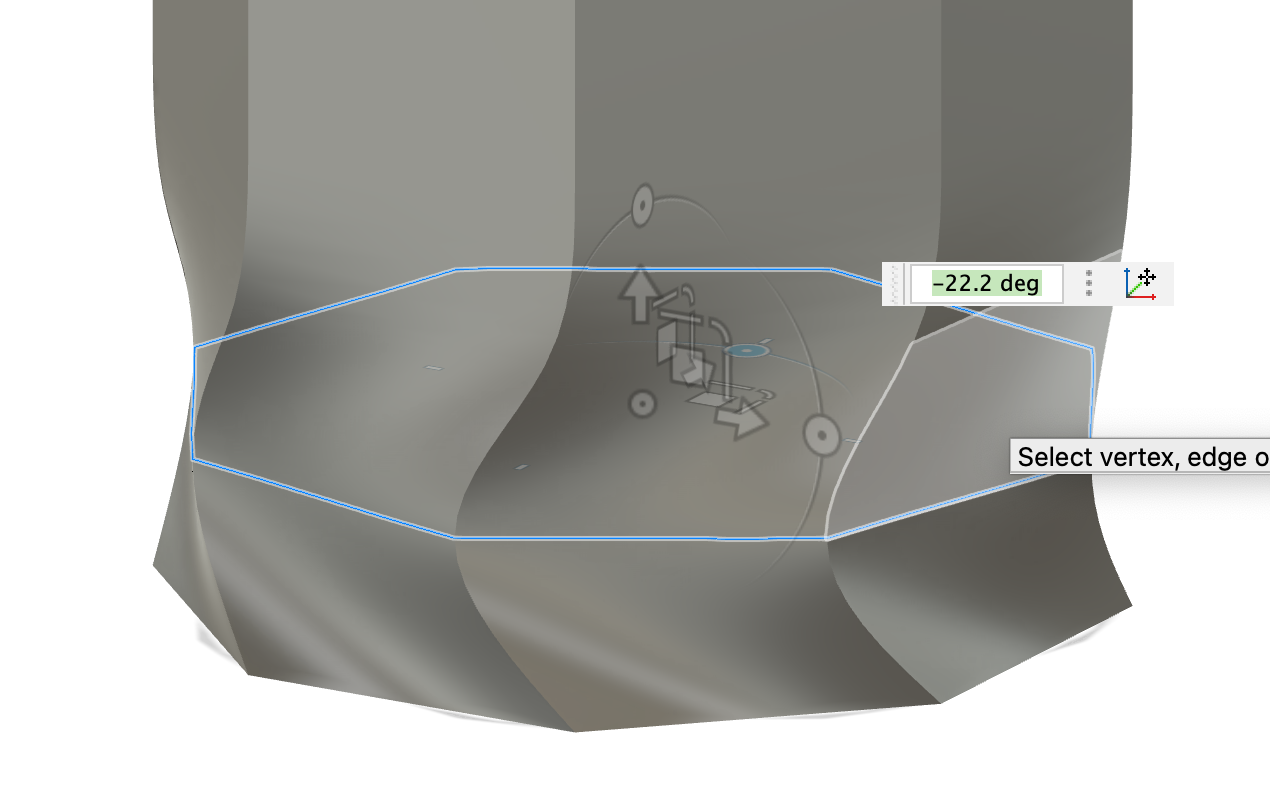
On the control panel, use the "scale" and "rotate" options to adjust that loop. (fig. 4)
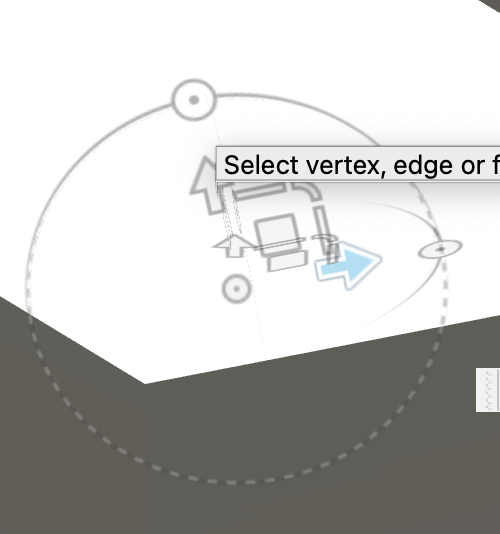
Make sure to use the correct ones on the right axes. To check which ones you need to adjust, orbit around the object until you are looking at it from nearly top down (but not quite or the object will disappear). (fig. 5) (fig. 6)
Adjust one of the handles and see if it is the type of motion you want to create. If not, just undo with CTRL/CMD + Z.
Keep adjusting handles until you get a shape you want on that loop. (fig. 7)
Now click "OK"
Repeat this process on all of the other loops that you want to adjust. If you hold down CTRL/CMD, it will let you select multiple. Remember to double click to loop select. If you want a more unique design, you don't have to loop select.
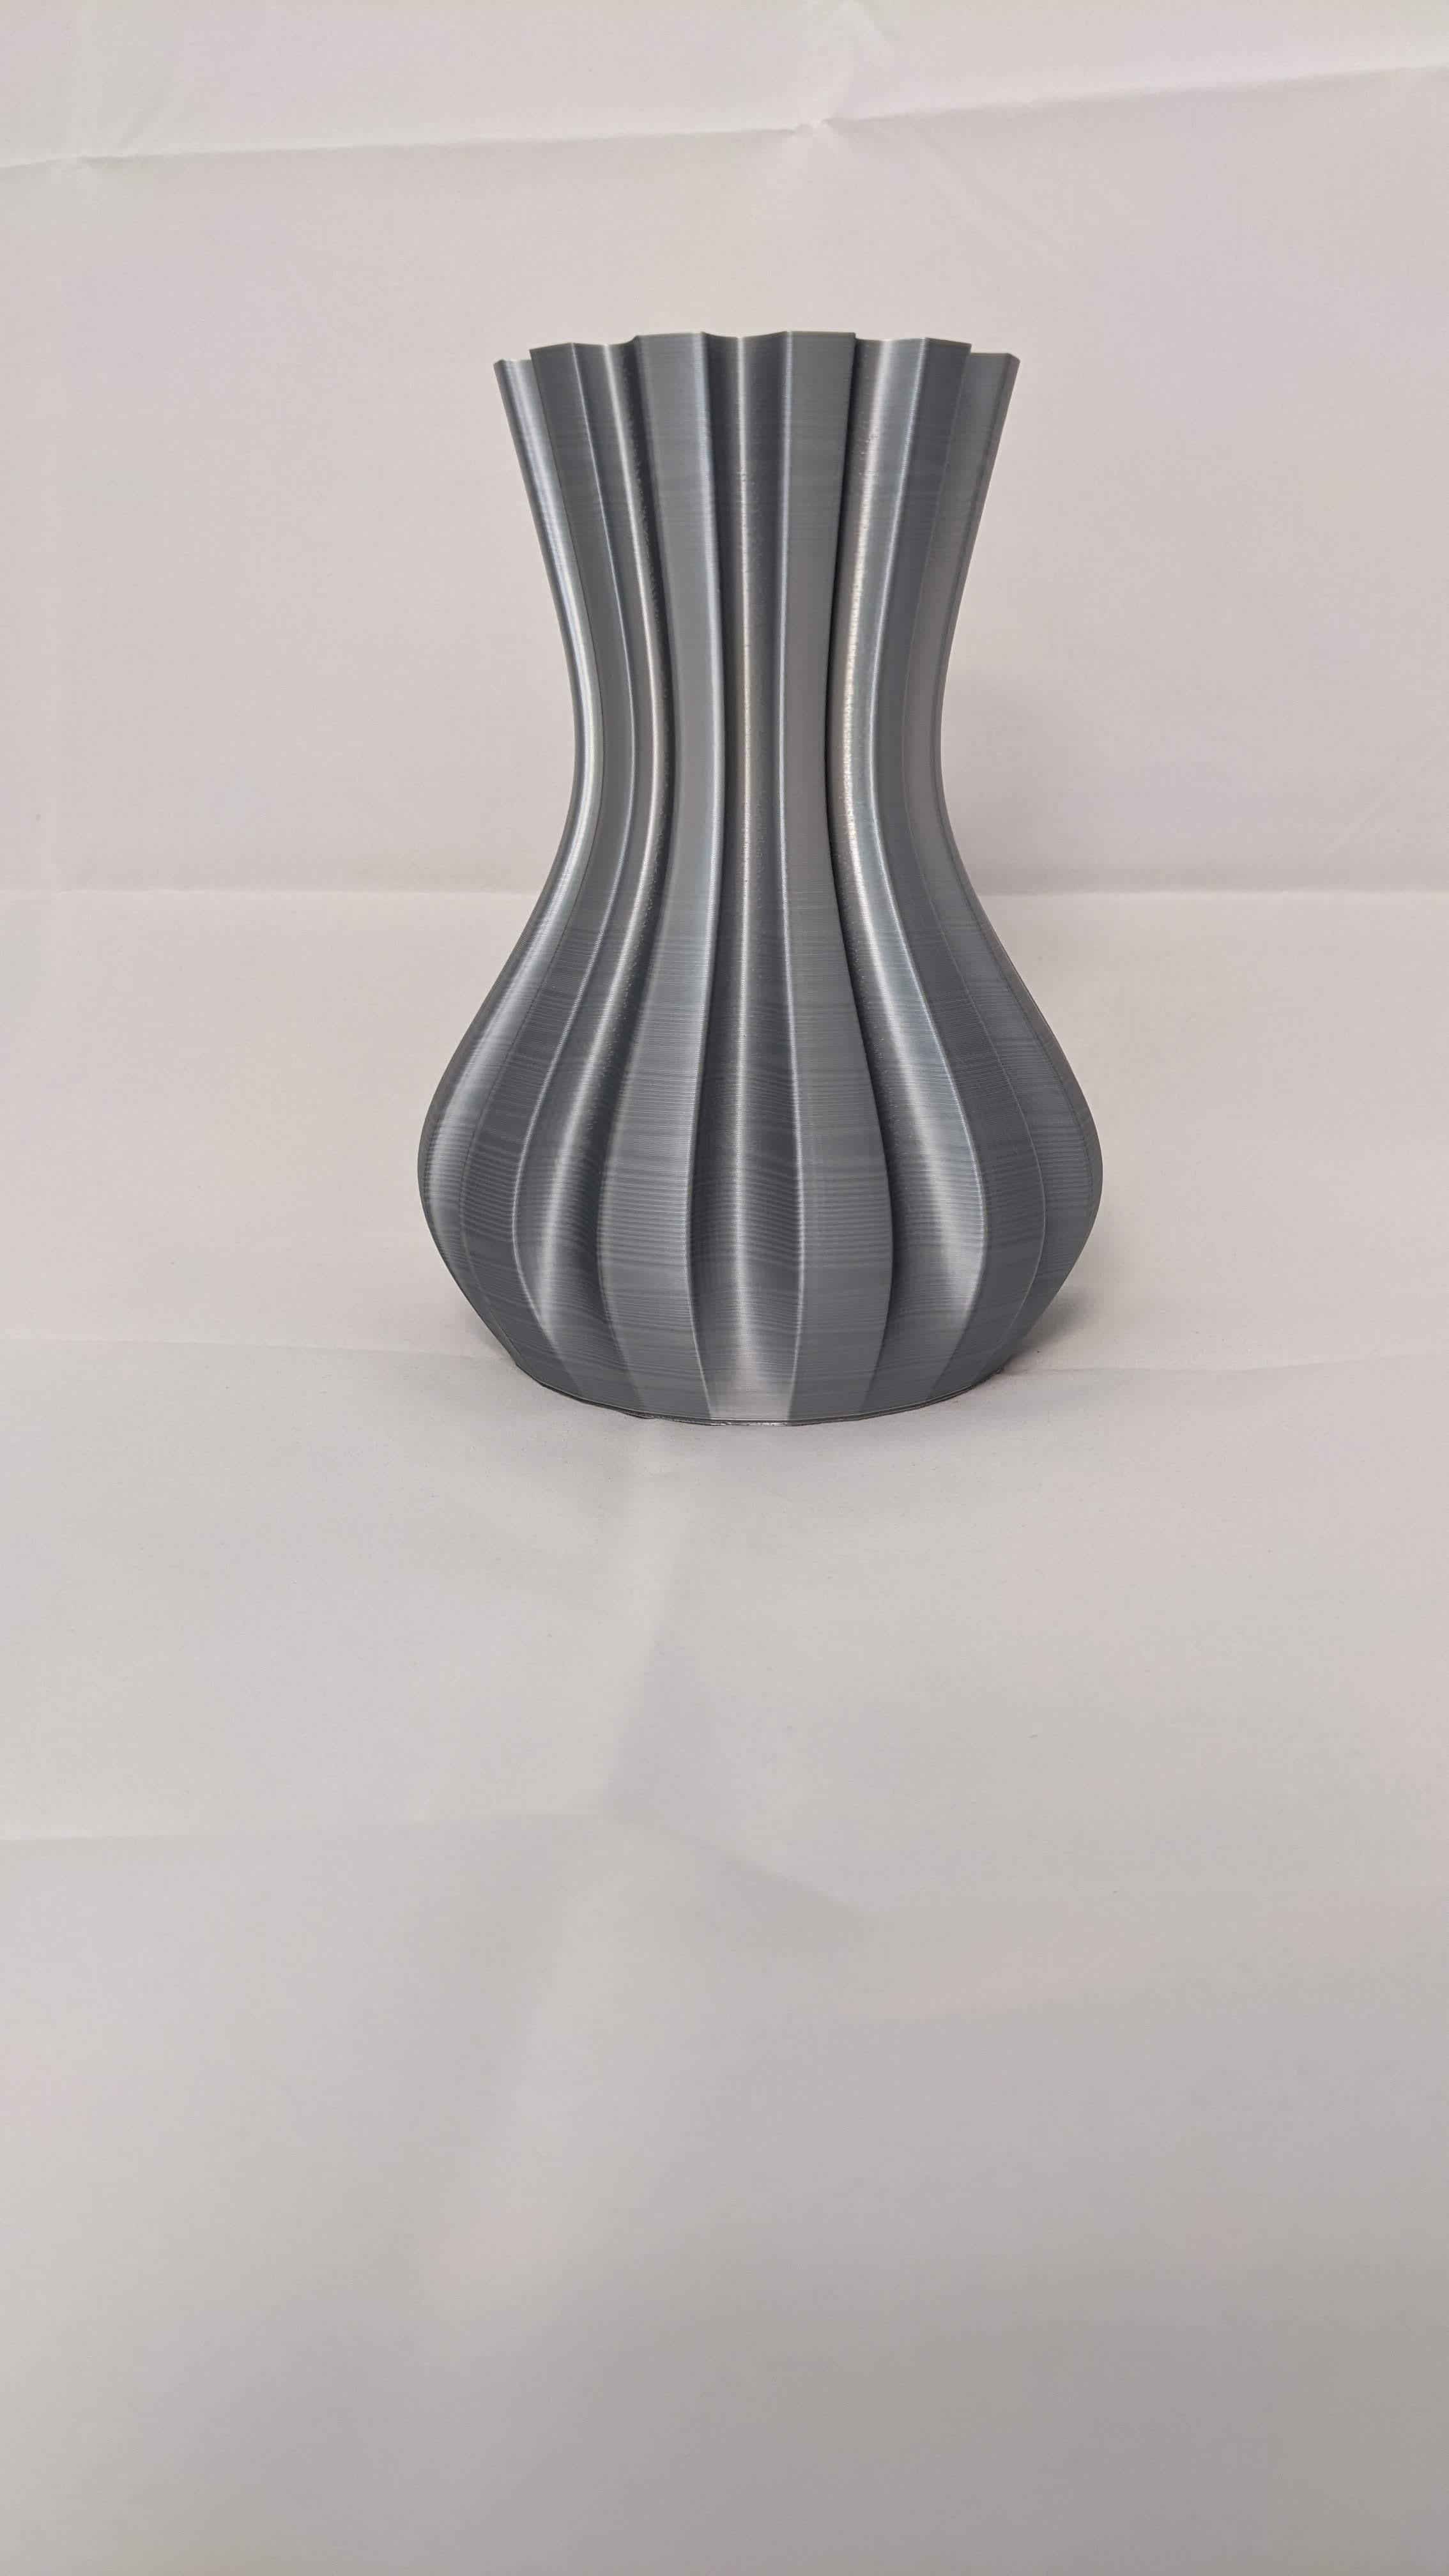
Finishing the Design (part 1)

Here's my final design. It's definitely not my best vase, but it is still pretty cool. There's tons of different shapes and patterns you can make with this technique.
We aren't done yet; we still need an STL. To wrap up this project follow these steps:
Finishing the Design (Part 2)
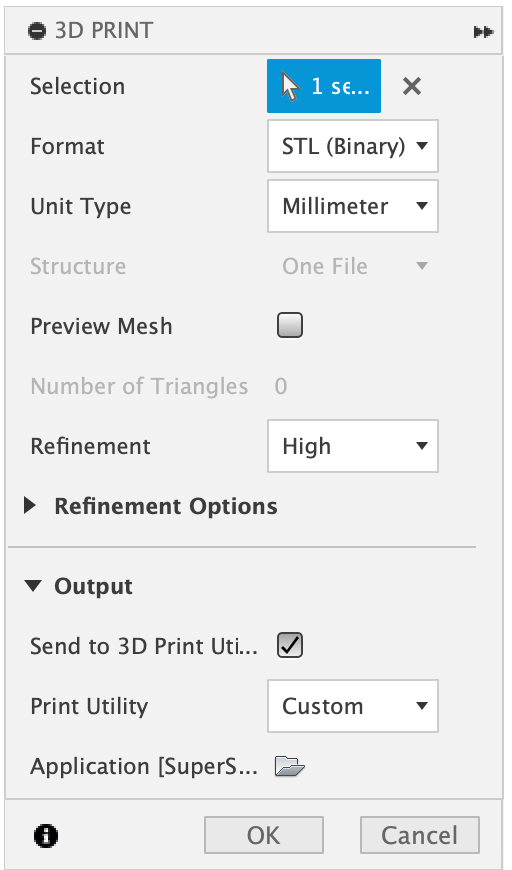
- Click the green "Finish Form" checkmark
- Click the "Utilities" tab in the top toolbar
- Click "Make" then "3D Print"
- Click your model so that it turns blue
- Uncheck the box that says "Send to 3D print utility" (fig. 1)
- Click "OK"
- Type in a name for your model
- Near the bottom of the dialog box, click the (...)
- Navigate to a folder where you want to put your model, and click "Open"
- Click the blue "Save" button
- Find the folder in your file system.
This vase will only print in vase mode, but it is done!
Any Thoughts?
If you have any suggestions for improvements, or tips for other users, please leave a comment. Make sure to screenshot your design and share it as a make!
If you want to learn more about Fusion 360, check out these links:
My vases: https://makerworld.com/collections/1315260
Thanks!