Make Your Very Own Woolen Chick! 🐤
by Nellieta in Craft > Fiber Arts
1736 Views, 7 Favorites, 0 Comments
Make Your Very Own Woolen Chick! 🐤


Hey there and welcome to my Instructable!
We all love chicks: they are probably the cutest baby birds of them all! Just by seeing one, they make you feel happy (...and let you know that you are in the spring season!).
Today, I will be showing you how to make a cute and amazing little woolen chick. You could make this for easter decoration, or something along those lines. Either way, I will try to show you every single step to follow, and if you need to, you can watch my YouTube video for more information.
Gather Your Supplies

.png)
.png)
.png)
- Wool (yellow and red/orange)
- Scissors
- Hot glue gun (and glue sticks)
- Two dark blue/black spherical beads
Let's Make the Body
.png)
.png)
.png)
.png)
.png)
To make the body, get your yellow yarn and wrap it around your fingers 120 times. When done, cut the strand. Now get another strand of your yellow wool and wrap it around the ball, then tie it. Now cut the sides of your ball to open it up, forming a pom-pom. Then, clean your pom-pom up by cutting the edge strands.
Let's Make the Head
.png)
.png)
.png)
.png)
.PNG)
Repeat the same process to do the head but only wrap the yarn around your finger 100 times because the head is smaller than the body.
Glue the Head and the Body Together!
.png)
.png)
Use hot-glue to connect the body and the head together.
Let's Make the Feet
.png)
.png)
.png)
.png)
.png)
.png)
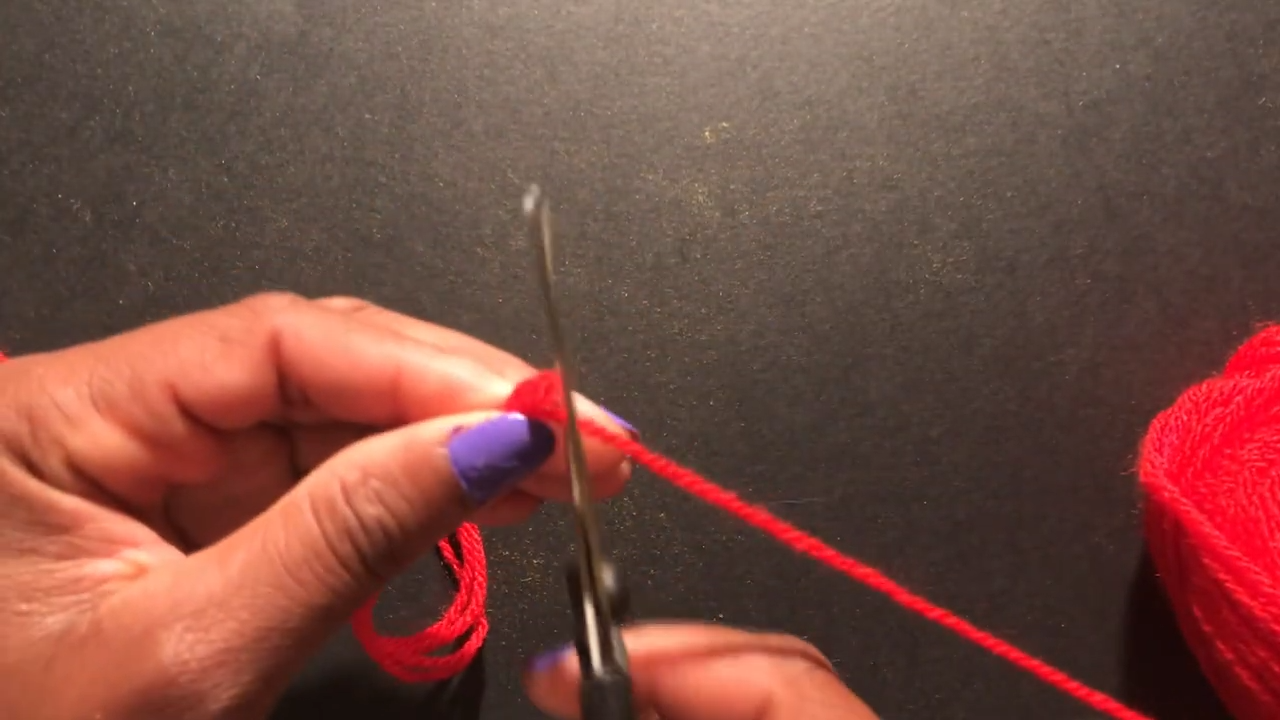
To make the feet, take your red yarn and cut 5 strands of the same length, make a weave, do three of these then tie the three together and cut to size depending on the size of your chick. Make 2 feet, once done, glue them onto the body of your chick with your hot-glue.
Let's Make the Beak and the Eyes!
.PNG)
.PNG)
To make the beak, using your red yarn, cut 5 strands of the same length then double it in the middle and do knots. Repeat knots several times depending on the size of your chick. Cut the end and glue it onto the face then for the eyes, take two blue pearls and glue them onto the face and your chick is complete!