Make Your Own Vintage Postcards
by jocomakerspace in Craft > Paper
5273 Views, 6 Favorites, 0 Comments
Make Your Own Vintage Postcards
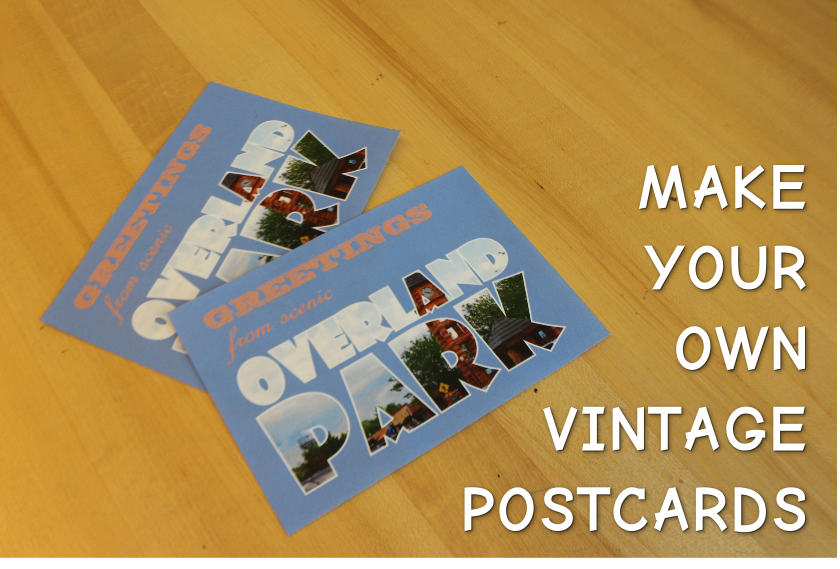
Ever looked for a postcard to send after going on vacation without being able to find just the right one? Ever wanted to design a custom piece of vintage Americana because your hometown just didn't exist yet? Ever struggled to find a postcard for a thank you note to your county librarian on the way back from a conference?
Fear no longer! In this tutorial, we will show you exactly how to do that using freely available resources and software!
Supplies
For this tutorial you will need:
- A computer
- A color printer
- Some printer paper and cardstock
- An installed copy of free software Inkscape - https://inkscape.org/
- An Internet connection for research
- A straight cutter or a ruler
- An X-acto blade
Look for Inspiration!
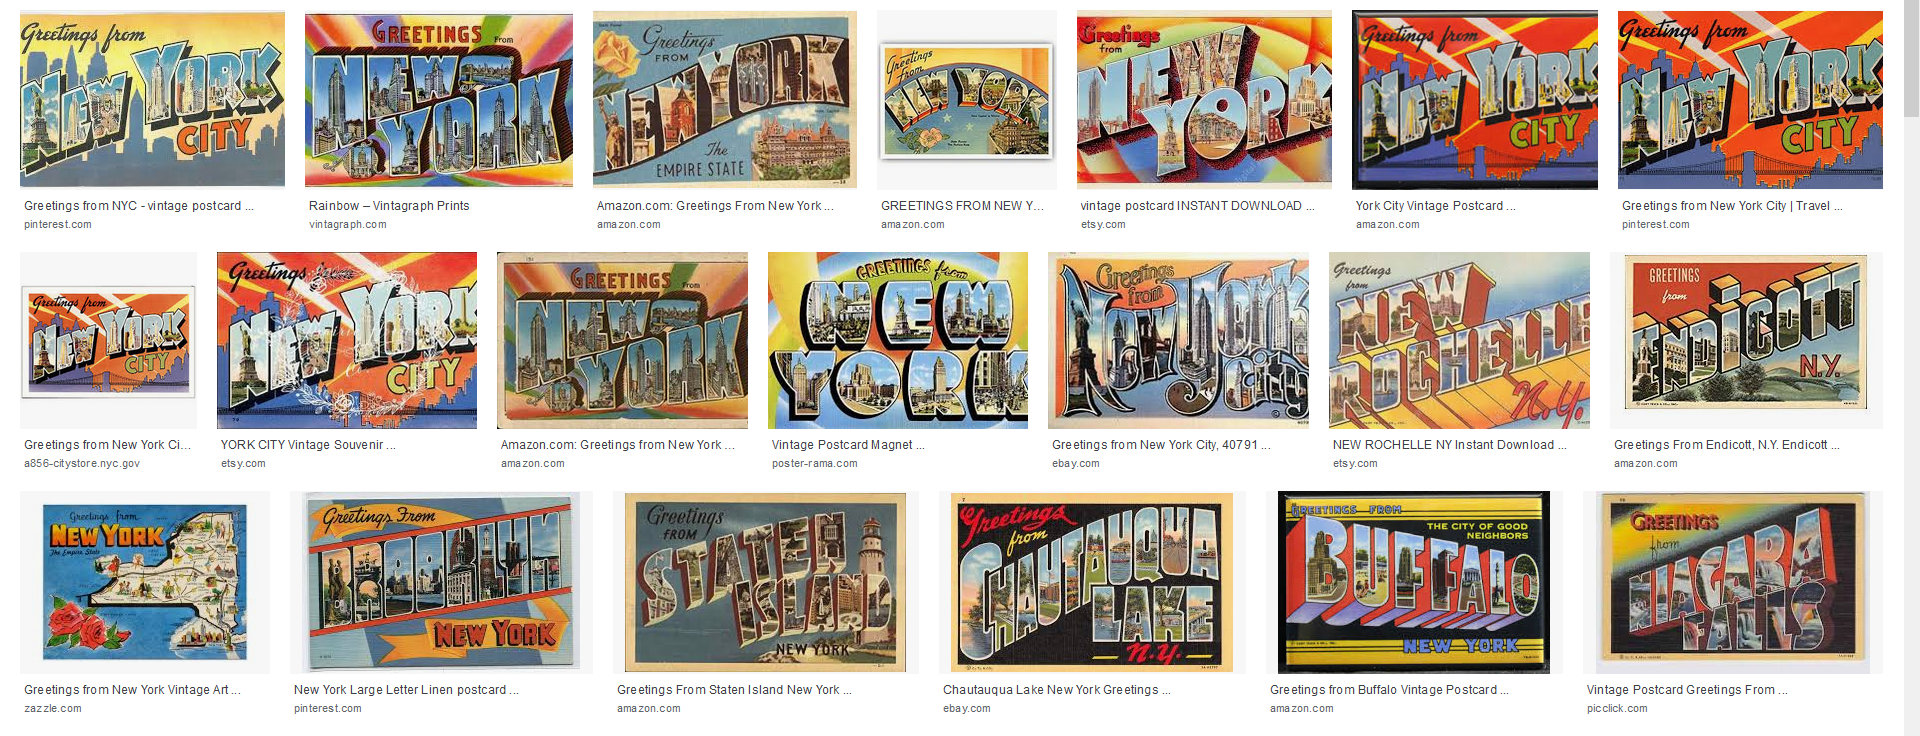
When you start a project from scratch, it's always a good idea to look around for inspiration! A quick search on your favorite search engine's Images section with keywords like vintage postcards greetings from should bring up a lot of examples that match what we are trying to make: you can find the results page for our own Google search here and in the gallery above.
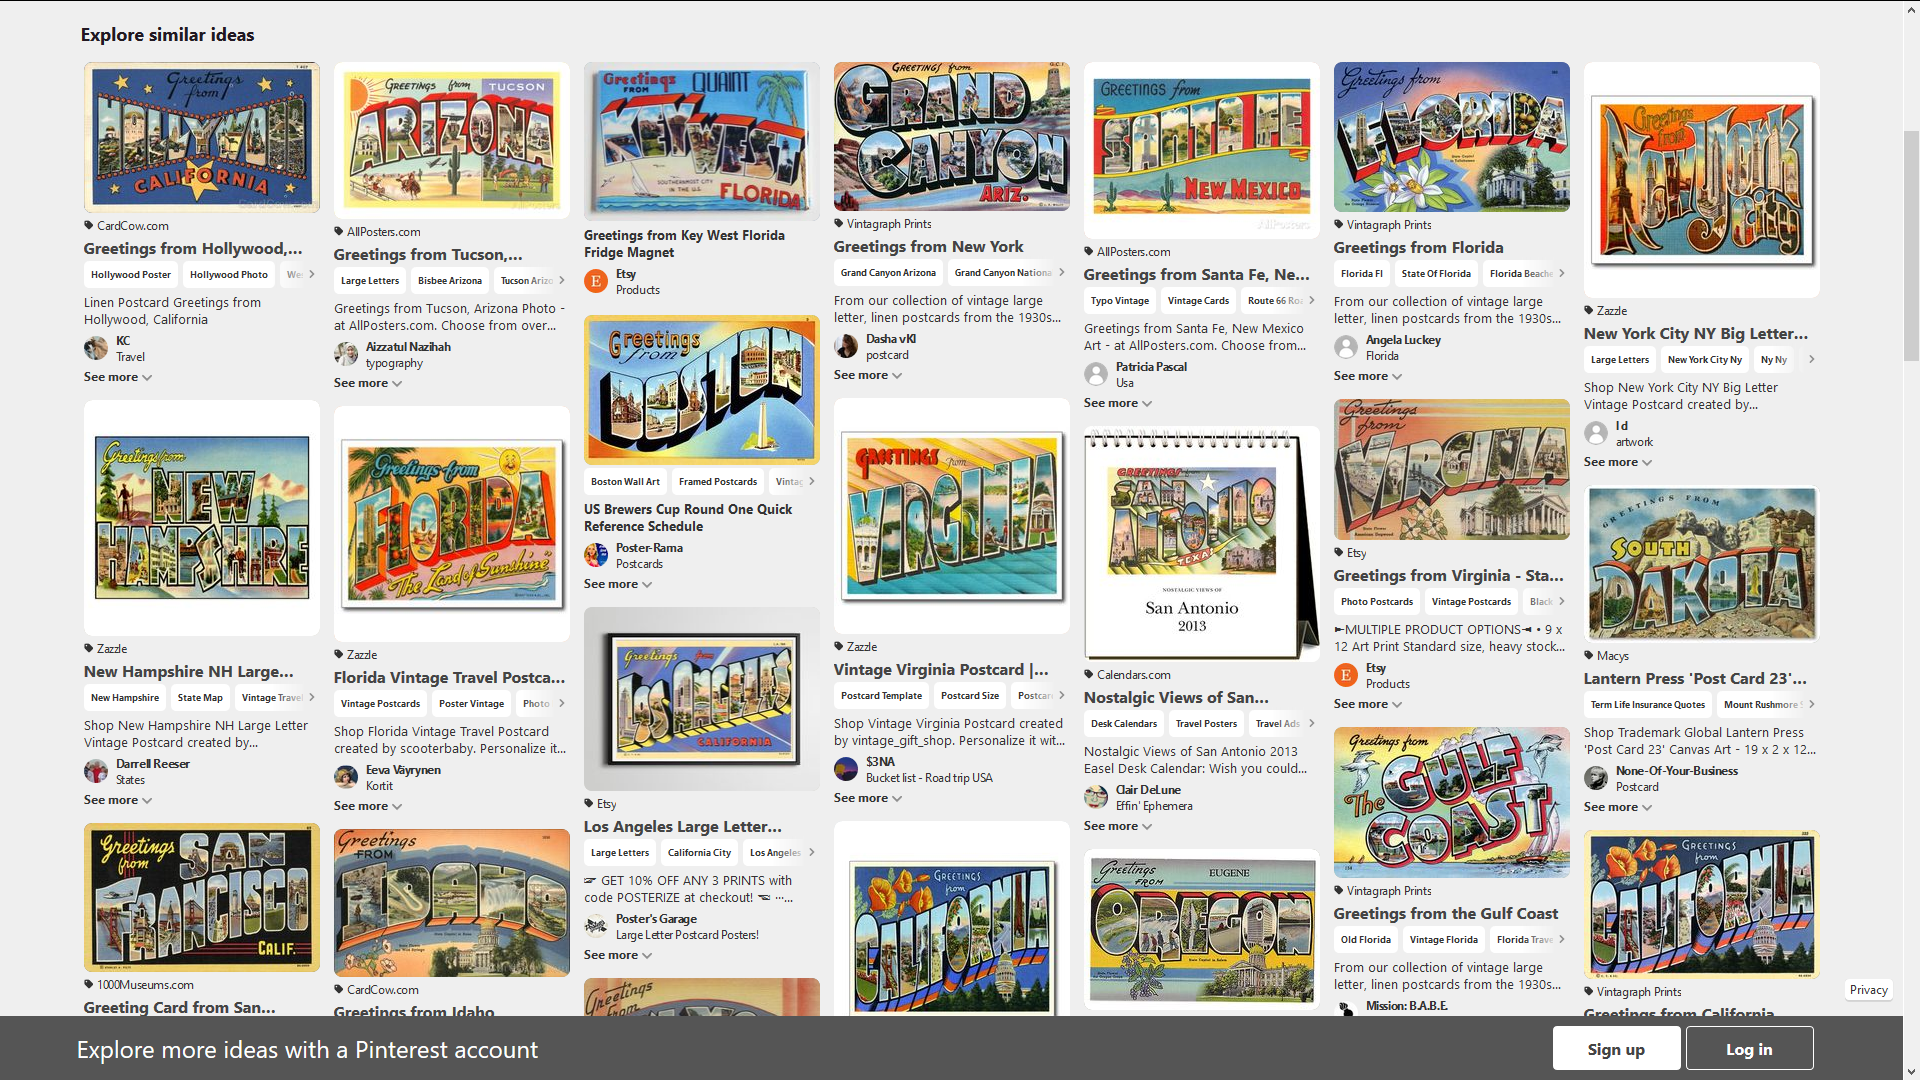
Another place to look for inspiration is Pinterest - just add "Pinterest" to your keywords to bring up collections users have built to share, or search directly on the website. You can also see the results of our DuckDuckGo search with links to several collections here.
What can we learn from this?
- On a postcard, the words "Greetings from" are usually in the top left corner of the postcard in a smaller or cursive font;
- The name of the landmark, city or state is usually in big bold letters;
- The inside of the landmark's letters is often decorated with pictures, photochrom pictures or drawings of the area;
- The background of the postcard is often a solid color, a color gradient and sometimes a drawing - a city skyline, a state or city flower or emblem.
Keep digging into your search results until you find something you like and make sure to save all the pictures that inspire you! We will import some of them in Inkscape later for reference, so you don't have to search for them again when you need them.
Create Your Postcard Template in Inkscape
Now that we know what we are looking for in a good old postcard, it's time to create our template in Inkscape!
Start a new document, then go to File > Save to save it - ideally in the same folder where you saved all your reference!
Next, let's tweak that document to match the right size for a postcard! According to the United States Postal Services website, a postcard should be:
- Rectangular;
- At least 3-1/2 inches high x 5 inches long x 0.007 inch thick;
- No more than 4-1/4 inches high, by 6 inches long and 0.016 inches thick.
In order to change your Inkscape file to the the right size:
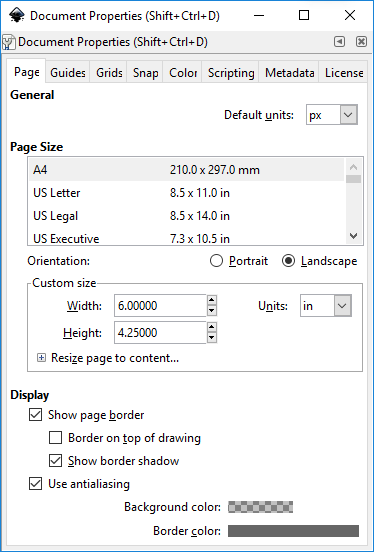
- Go to File > Document Properties
- Change the units to inches using the drop down menu
- Type in the width and height you chose (in our example, we'll be using the maximum measurements from the USPS)
Next, let's use Layers to organize your document.
Think of layers as several sheets of transparent paper on top of each other: if you want to experiment with a part of your design (change one set of words but not another), if you want to group elements that all belong to the same family (all your reference pictures together), you can do that with several layers.
Using layers doesn't always make sense for very small projects, but as soon as your projects become complicated they will make your life so much easier - so it's definitely worth using them early in on!
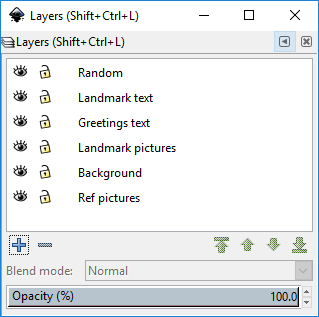
Open the Layers menu with Layer > Layers. You can add new layers by clicking on the + icon in the Layers tool. In the following order, create:
- Reference pictures - We will put all our reference pictures there.
- Card background - This is where we will keep the background of the postcard
- Landmark picture - This is where your landmark picture(s) will go
- Greetings from - This will be the layer for our "Greetings from" text
- Landmark text - This is where your landmark text will go
- Random - It's always nice to have a layer where
Check the gallery above for an example of what your layers setup should look like!
Choose Your Pictures and Graphics
Now that we have a postcard template, and that we have a rough idea of what makers up in a vintage postcard, it's time to look for pictures and graphics to make up our custom design!
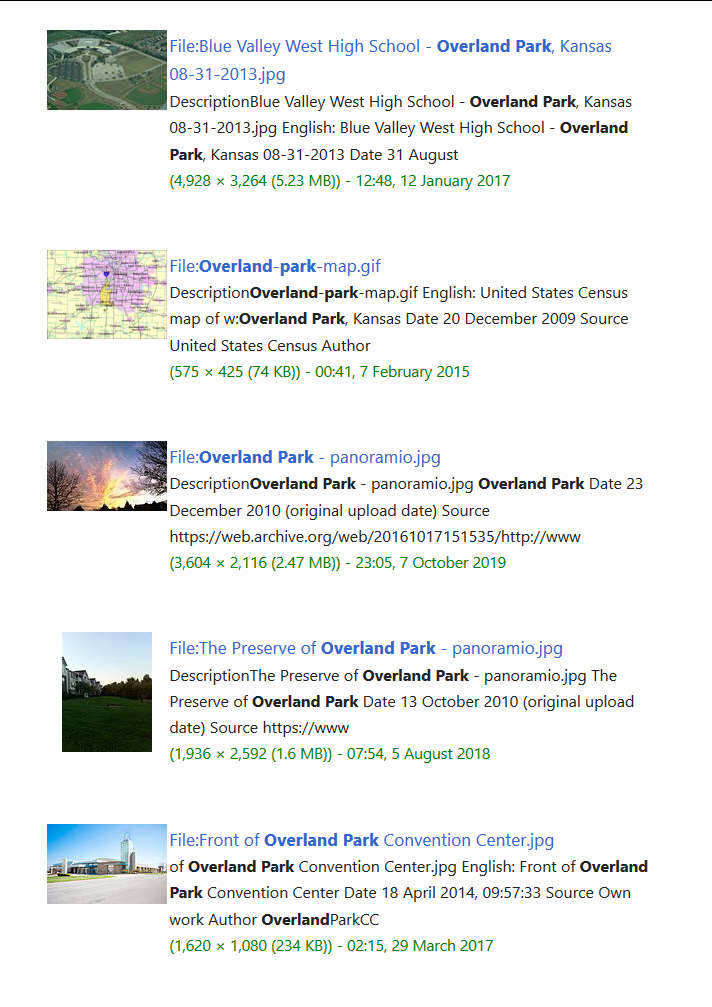
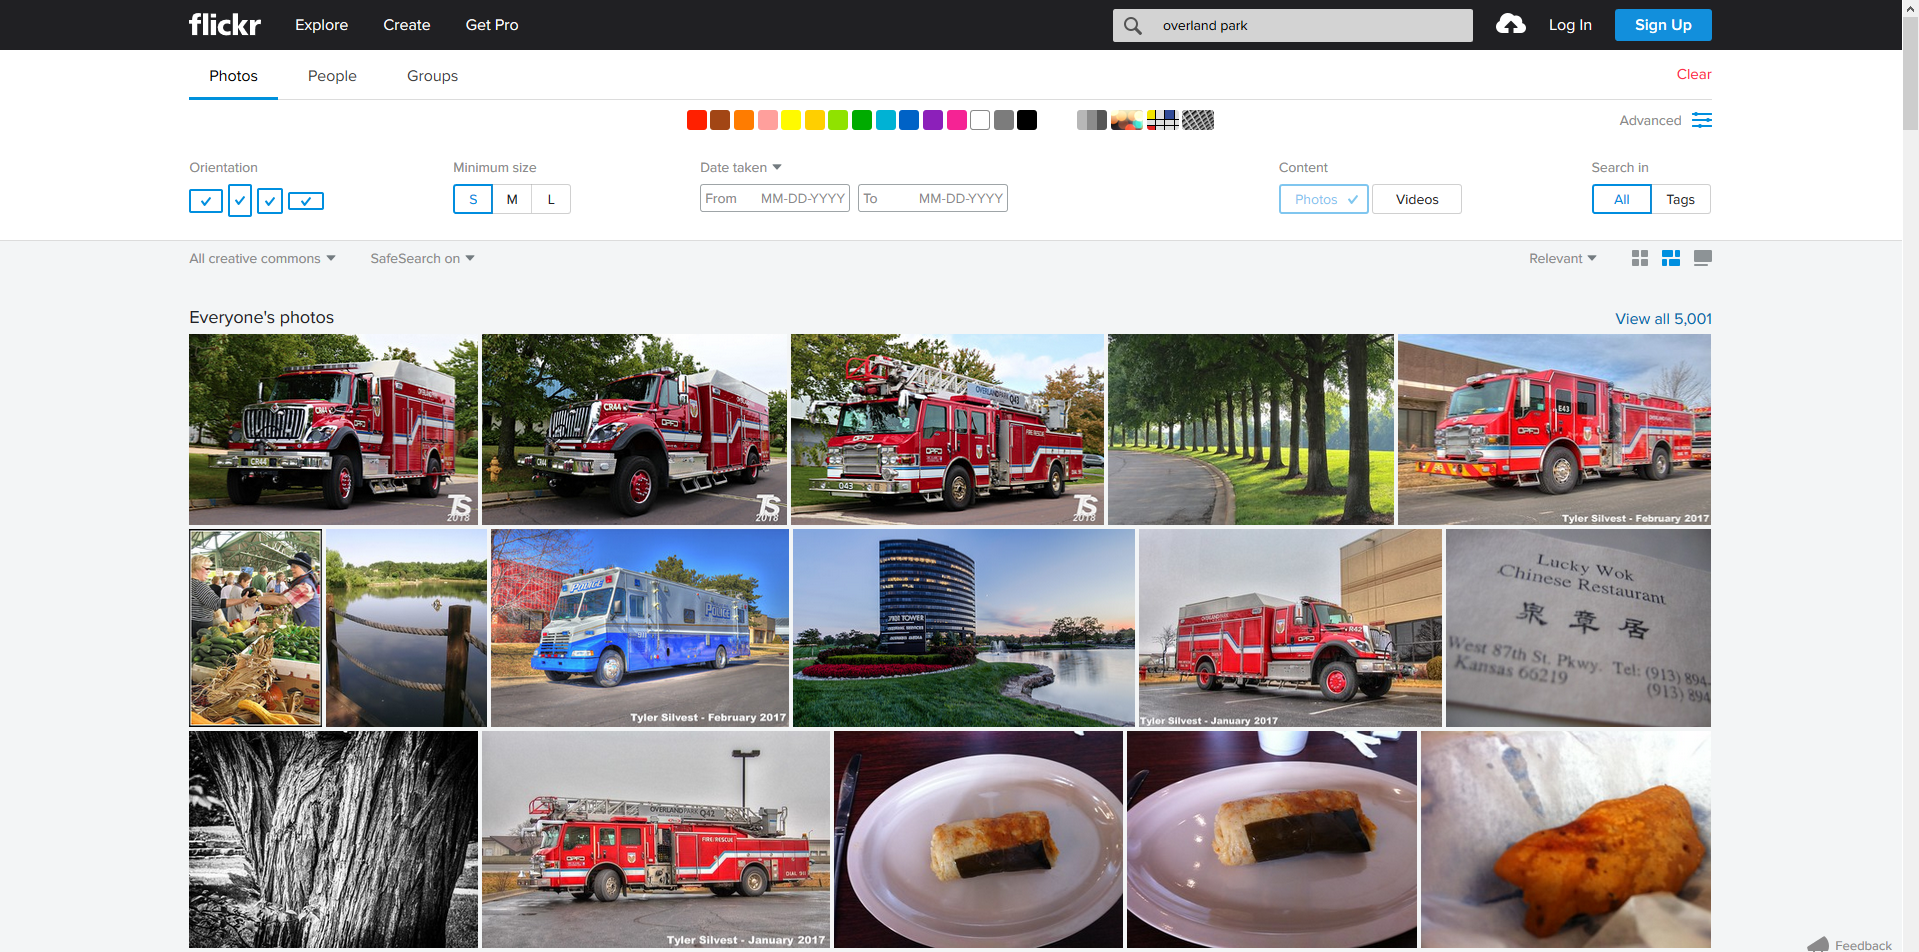
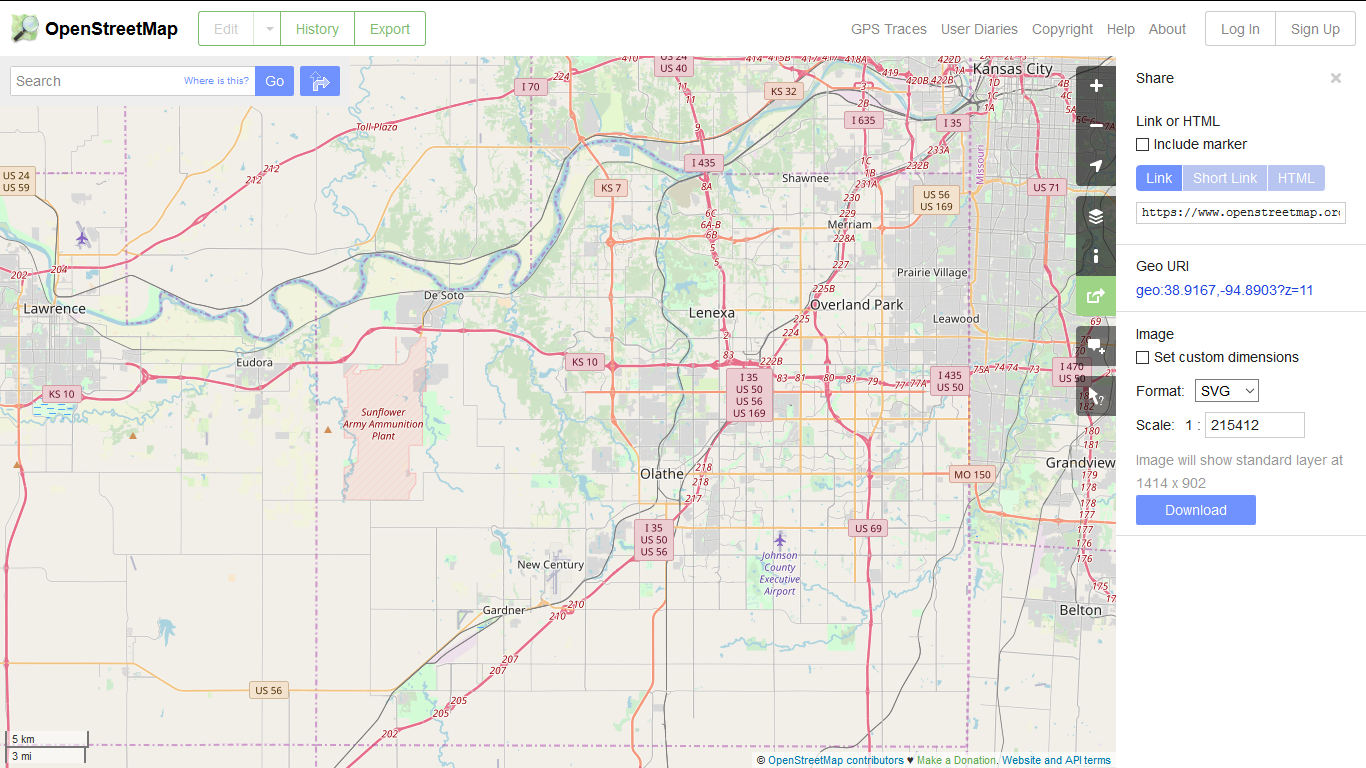
Let's give you an example with beautiful Overland Park (where the Central Resource Library and the Black & Veatch MakerSpace are located). For an easy way to find pictures of Overland Park we can use, we can go back to your search for inspiration materials from earlier, as well as:
- Wikimedia Commons and FlickR: No matter how un-scenic you might think someplace is, I would bet there are pictures of it on Wikimedia Commons. These two search engines are a great place to find pictures under Creative Commons licenses.
- Google Street View: you can just make your own screen captures of an angle you like, a monument that has a special meaning for you using tools like the Snipping Tool if you're using Windows or the ??? if you're using a Mac computer. Just know that depending on when the Street View car was driving by, you might end up having people in the pictures you'll be using!
- Open StreetMap: if you want to use street maps in your design, Open StreetMap is the way to go! Not only can you reuse the maps as much as you like since they are distributed under an open license, but you can also export them in high definition which is GREAT for any picture-editing application.
Remember to save all your pictures in the same folder - not just your Downloads folder! - and give your files descriptive names! I promise it will save you a lot of time later.
Choose Your Fonts
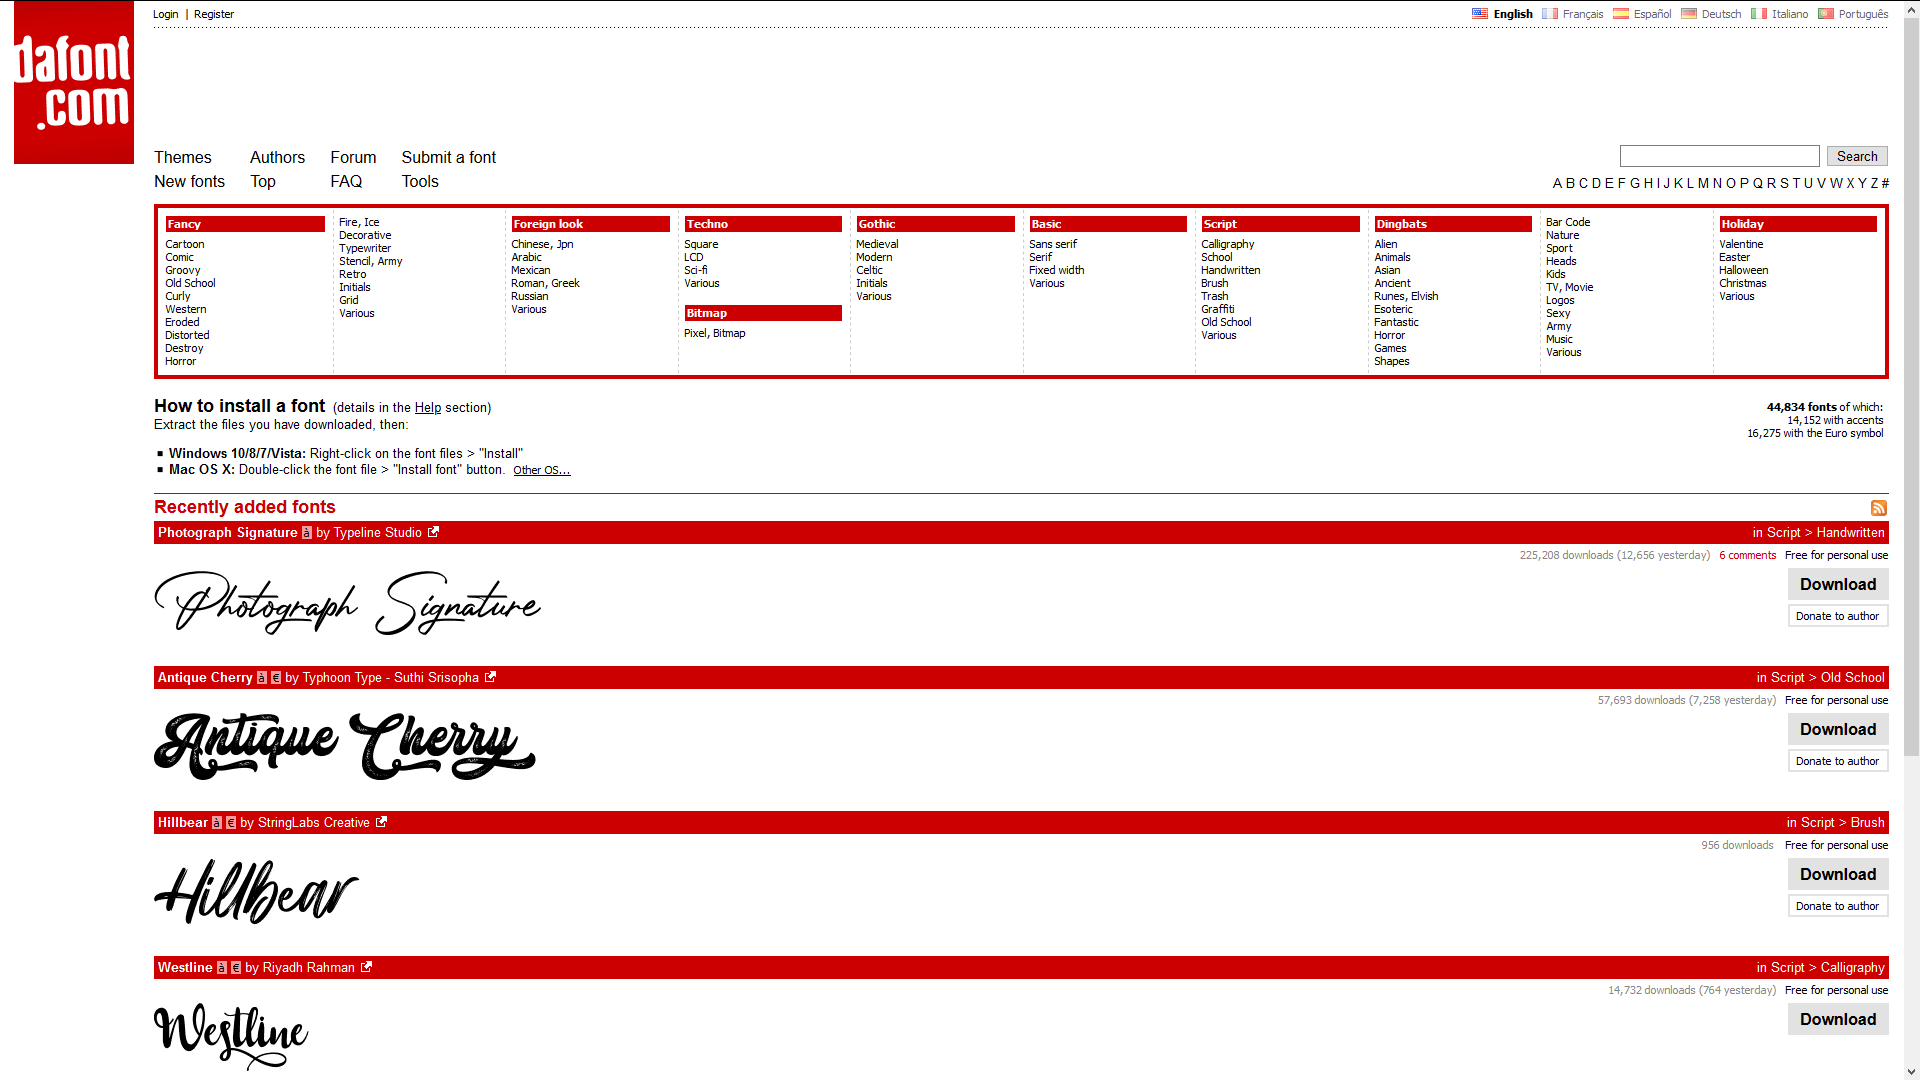
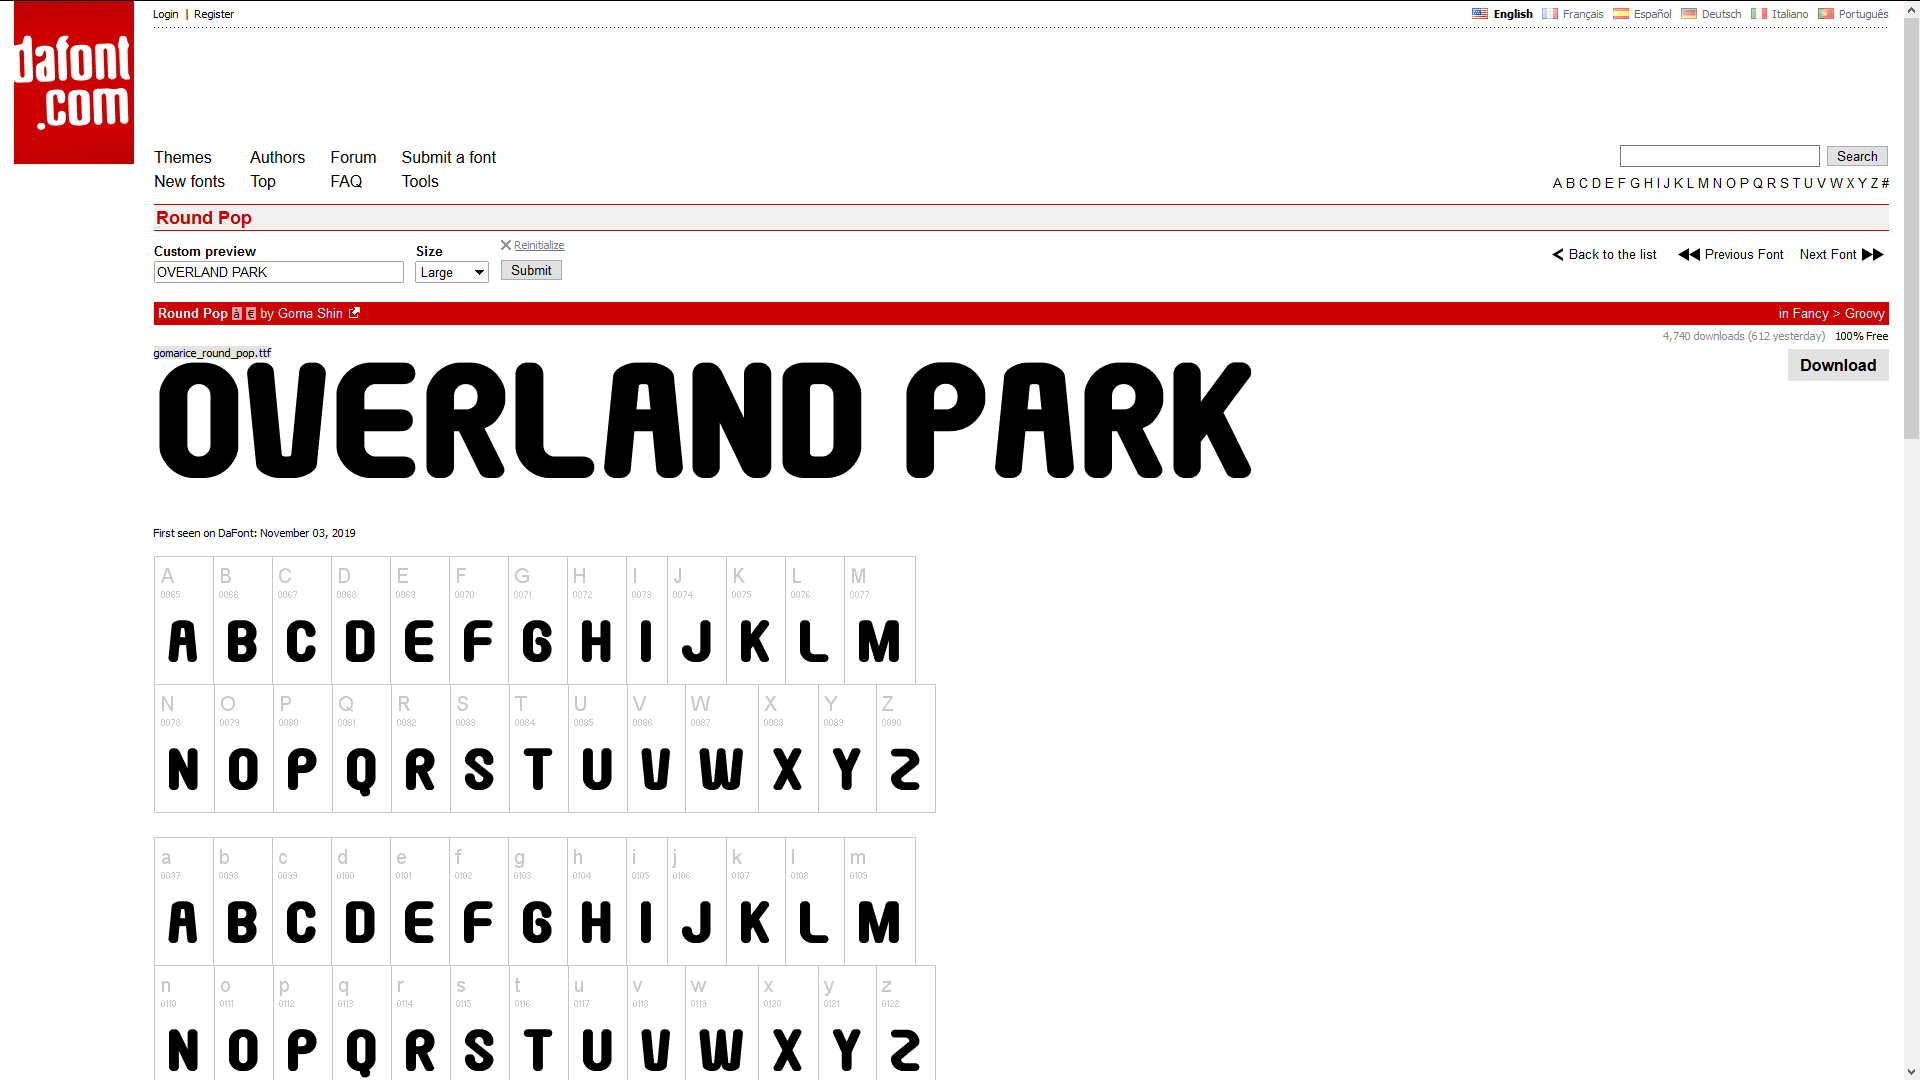
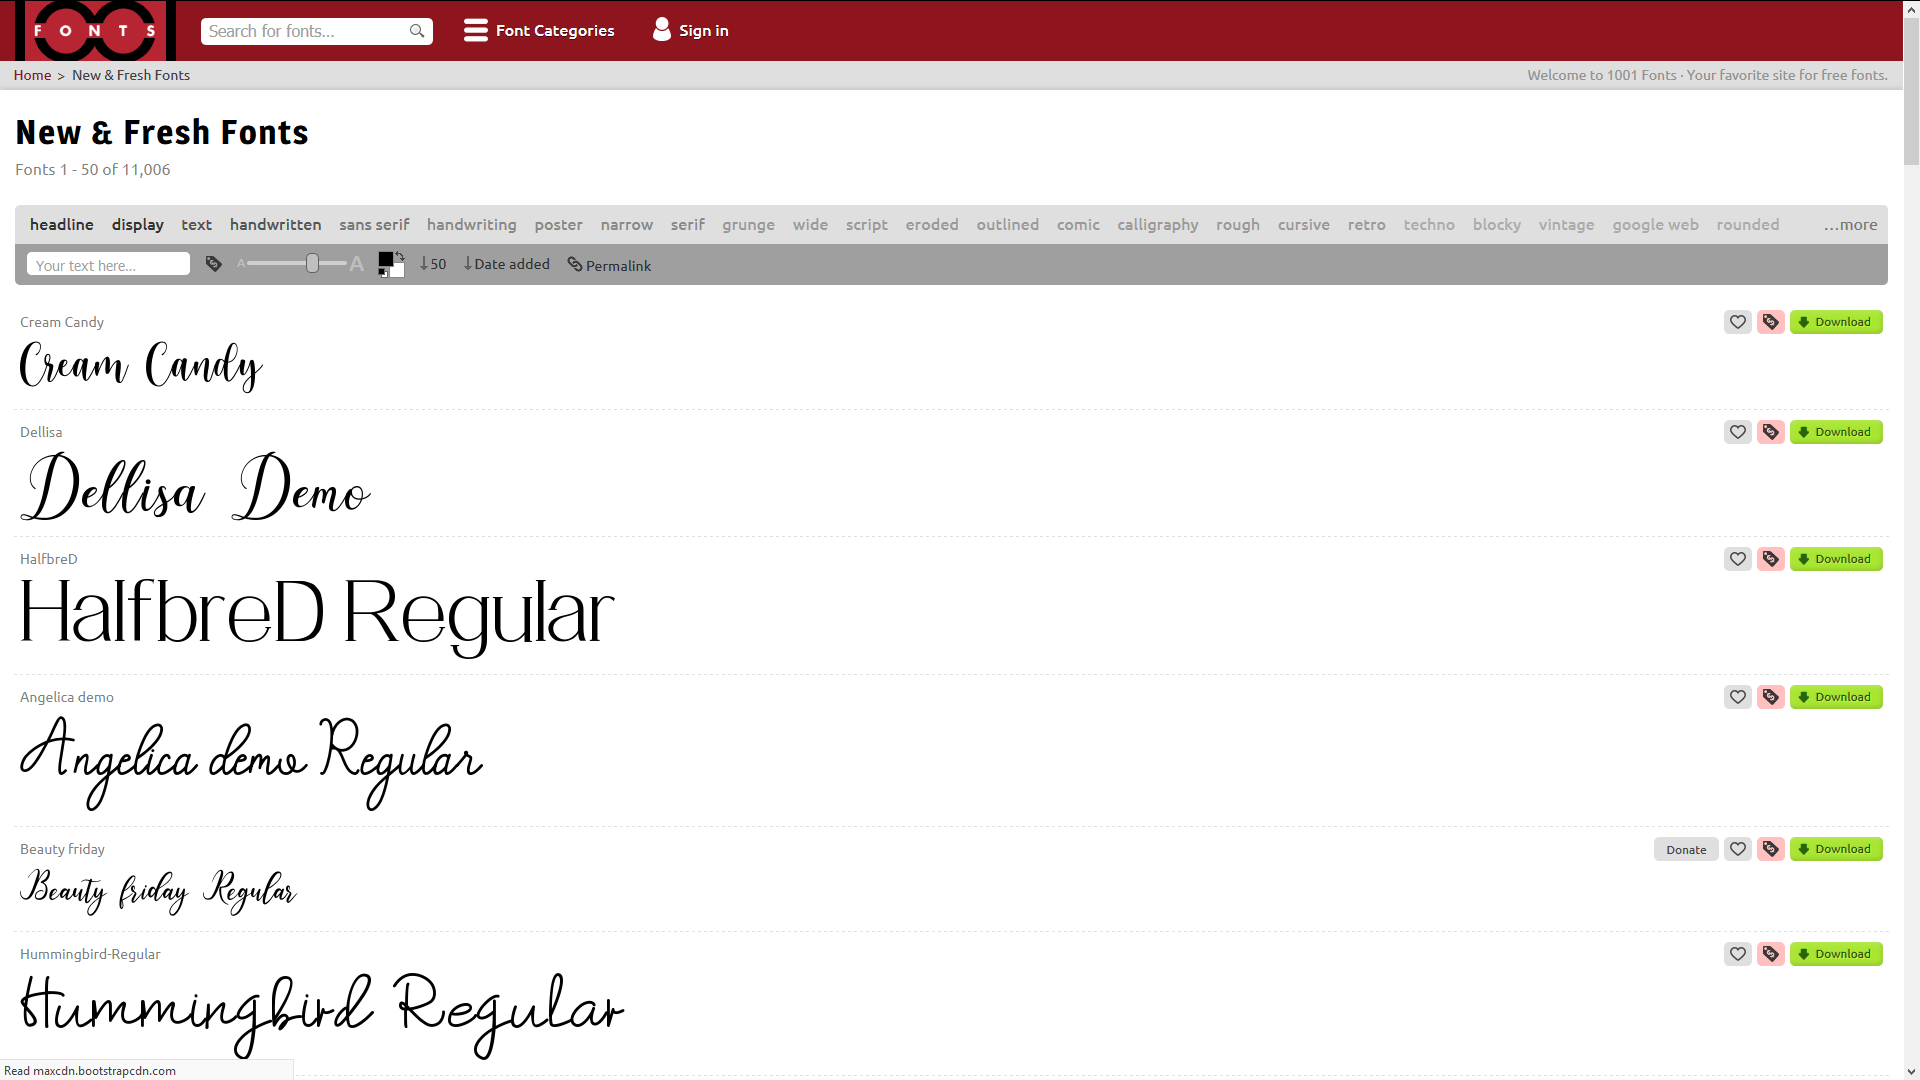

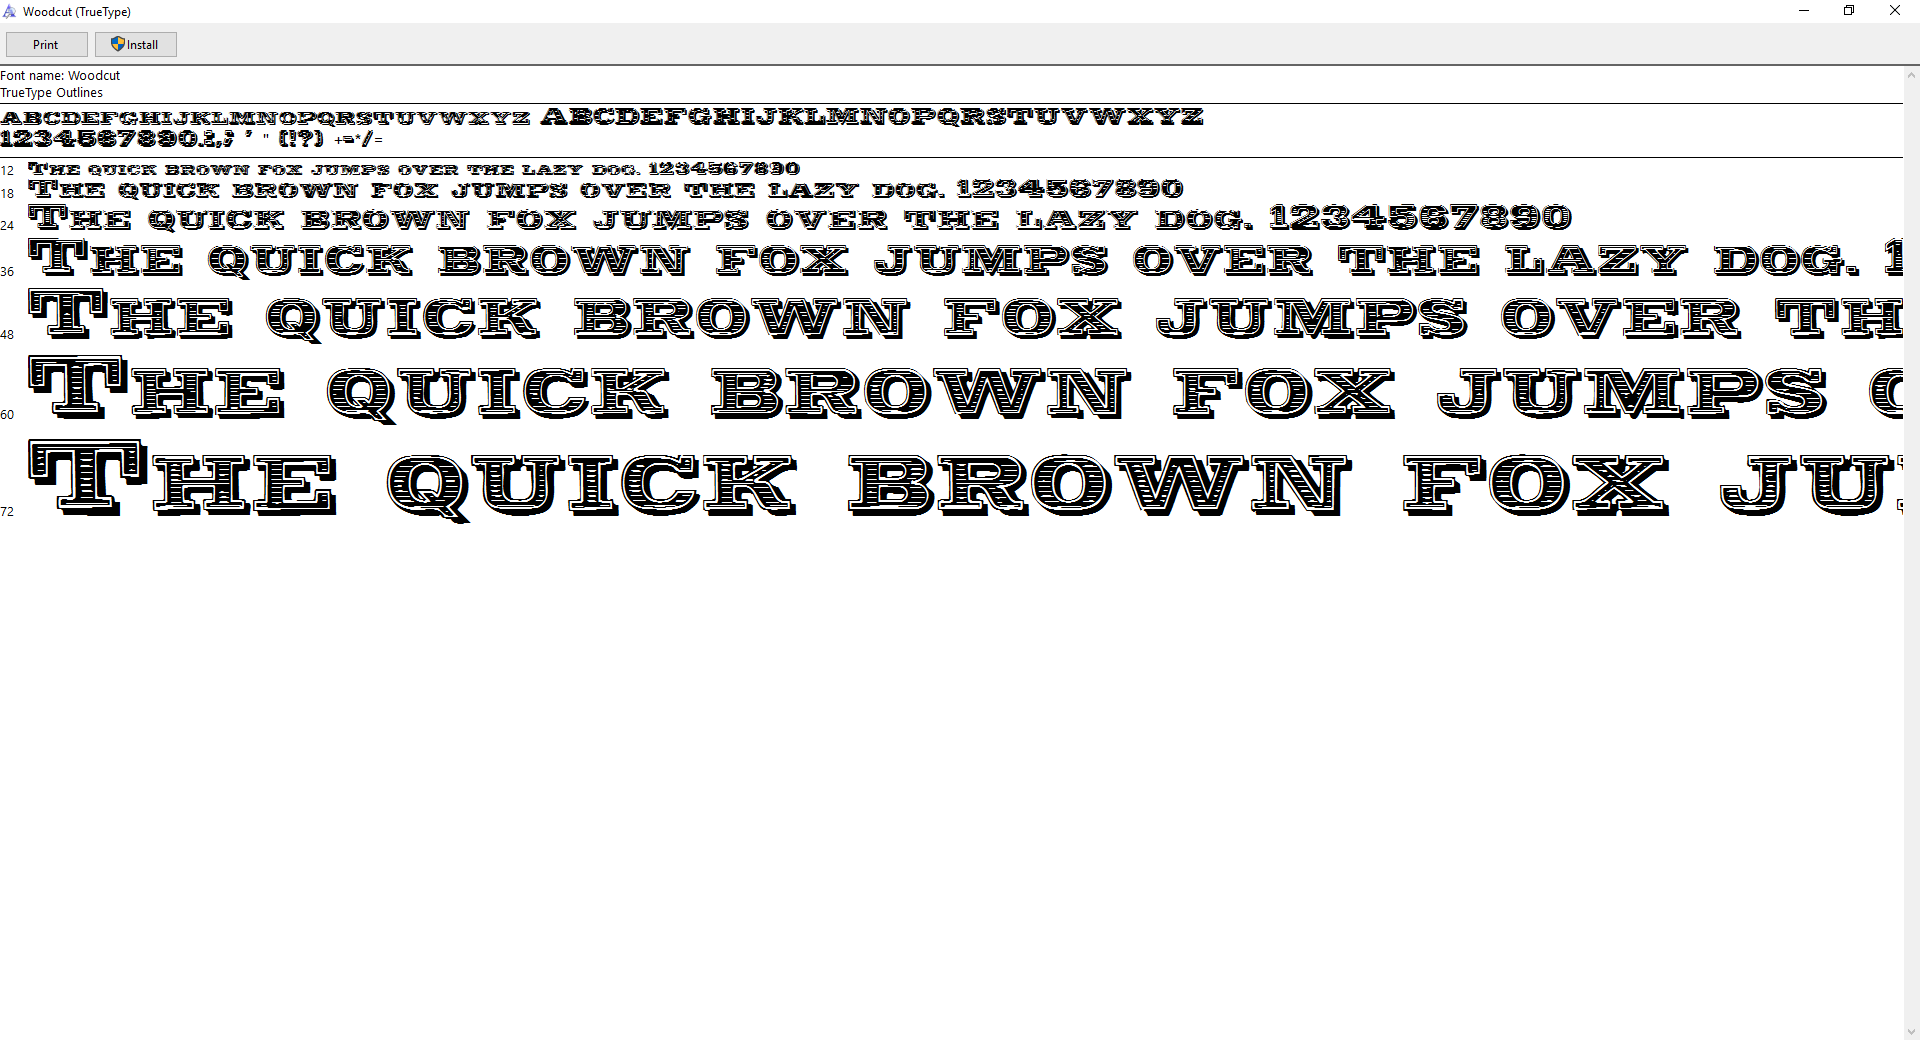
Few things add a personal touch like just the right font. For your postcard, we're actually going to pick at least two - one for our "Greetings" text, and one for our "Landmark text"
Your computer comes with a bunch of pre-installed fonts, but if none of them seem to do the work you can always find more, free for personal use, at the following websites:
- 1001fonts - https://www.1001fonts.com/ (the general term of services fonts are here)
- DaFont - https://www.dafont.com/ (the FAQ about copyright and usage is here)
For our example Overland Park postcard, we will go with:
- the Woodcut font - https://www.dafont.com/woodcut.font - for the "Greetings" text, and
- the Showcard Gothic font - https://www.dafont.com/round-pop.font - for the "Landmark" text.
- We're also throwing in French Script MT for the "from scenic" piece of text, to lighten things up a bit.
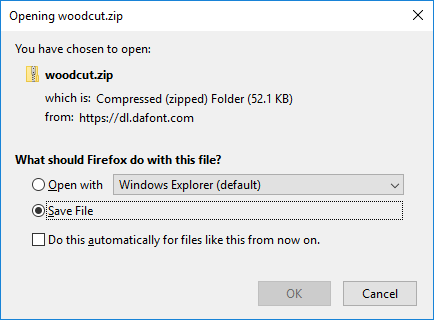
After downloading fonts, what's next?
- Double-click on the file you downloaded. Very often it will be a compressed archive file with as a .ZIP extension.
- When a new window opens, double-click your font file. Its extension will often be .TTF or .OTF.
- You should now be looking at a font preview (check the gallery for an example).
- Finally, click Install and your font should install automatically to your computer!
-
Save your Inkscape file and restart the program: this will refresh the list of fonts available.
Things are a little different when you use a MakerSpace computer. If you need a new font on one of our machines, let us know and we'll help you out!
Organize Your Postcard Elements
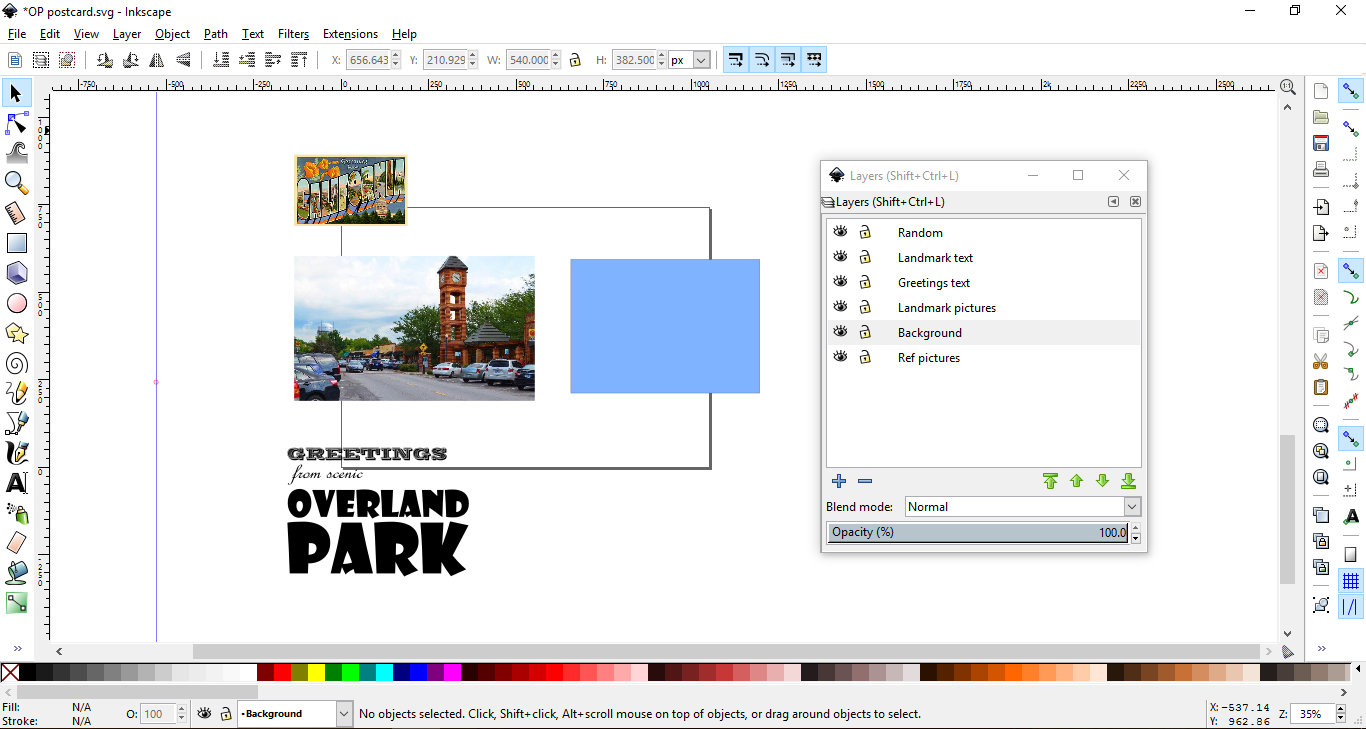
Now that we have everything we need for inspiration, it's time to bring it all together in the document we created earlier!
- Import all the pictures you picked into your Inkscape document using File > Import or by dragging and dropping your files into your Inkscape document.
- Right-click your pictures, and send them to the appropriate layer with the Send to Layer tool (reference in the Reference layer, landmark in the Landmark layer, etc.).
- Activate the Greetings layer with a click and use the Text tool to type your text in it.
- Activate the Landmark layer with a click and (you guessed it) use the Text tool to type your text in it.
- Adjust the text's position, size and color on both layers until you're happy with the result!
Clip Your Landmark Picture Into Your Text
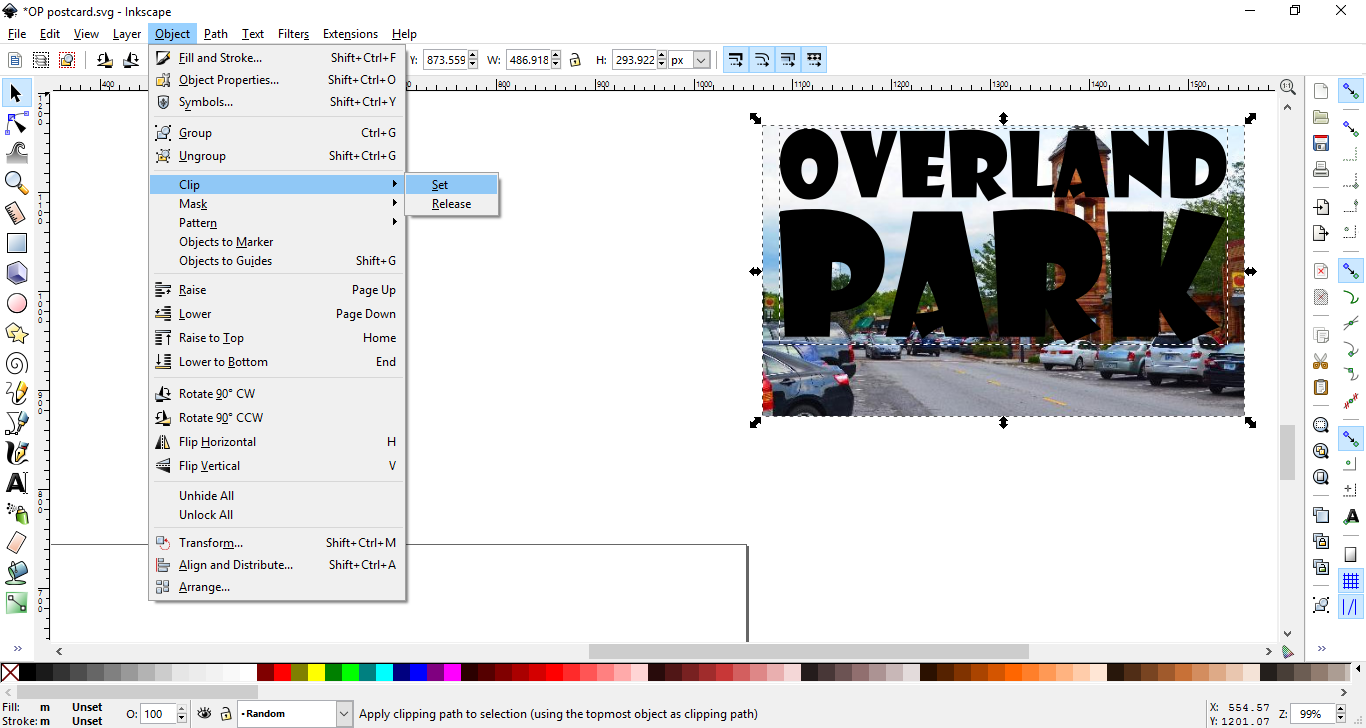
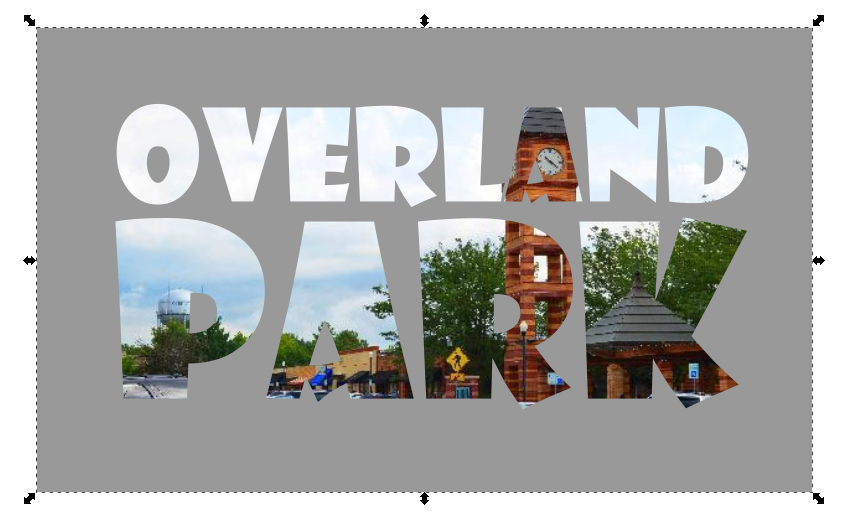

Now that mostly everything is in place, it's time to work with your Landmark picture. This is where our random layer comes into play! Once you hare happy with the text's size and positioning:
- Copy and paste your Landmark text.
- Copy and paste the Landmark picture.
- Send both text and picture to the Random layer, just like when you organized everything earlier.
- Make sure the Landmark text is above the picture using the ordering buttons
- Finally, select your picture and text and use Object > Clip. Your picture will take the shape of your text!
This is where you might make a few changes just because they work better. In our example, we changed the font to a nice little script for the words "from scenic" because it looked a little lighter that way. We also played around with extra copies of the text to create a stroke and a colored offset for our clipped text to see what we liked.
Export, Print and Cut!
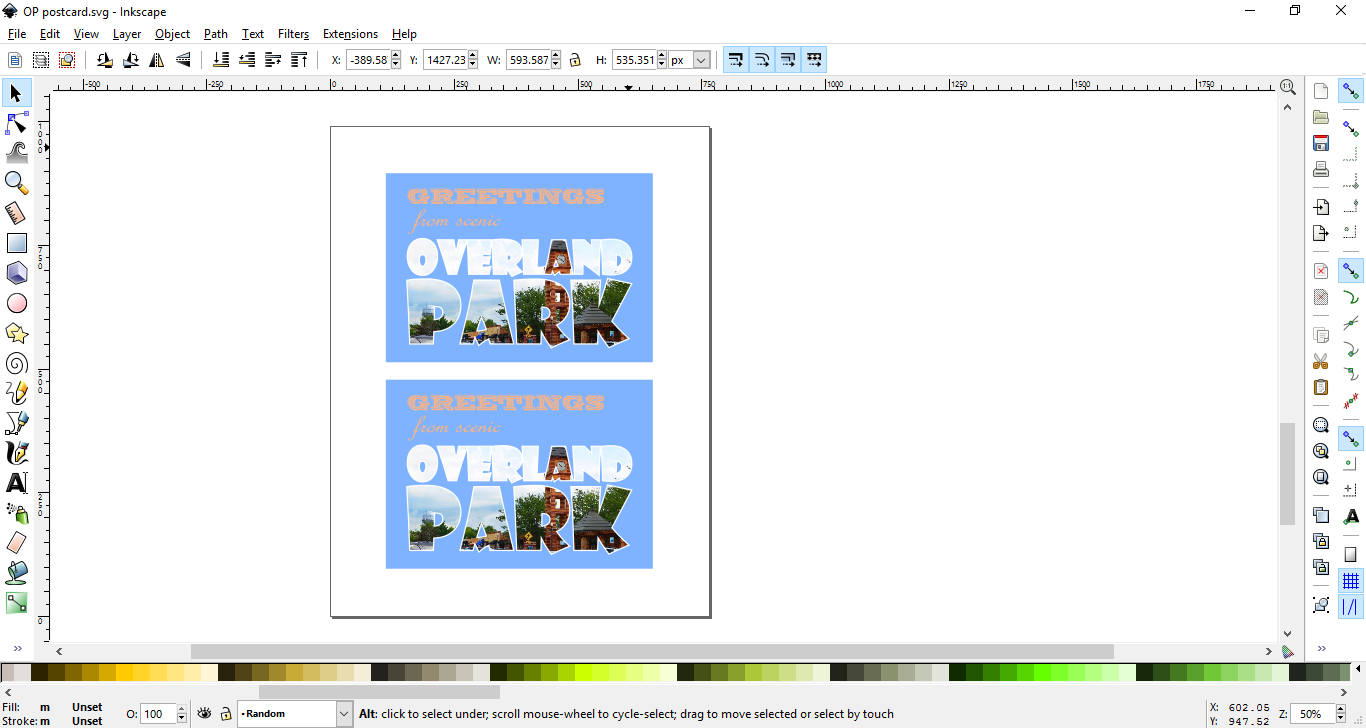
Once you're happy with the final result, you can finally export your card for printing!
- Resize your document to Letter size using the Document Properties menu from earlier.
- Set two postcards on your page - more, and you might risk being outside of your printer's margins.
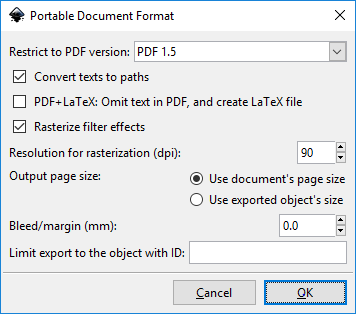
- Save your document as a PDF with the File > Save a Copy menu. The default options are usually good enough, but make sure to Convert text to paths: that way your postcard will always display as originally designed.
- Print a test sheet on paper to make sure everything is fine.
- When everything looks good, print on cardstock and cut to size!
Congratulations on your custom vintage postcard! Now that you have one down, experiment with different styles and graphics. You can also just get away from real places all together and make your own postcards from fictional places - have fun!