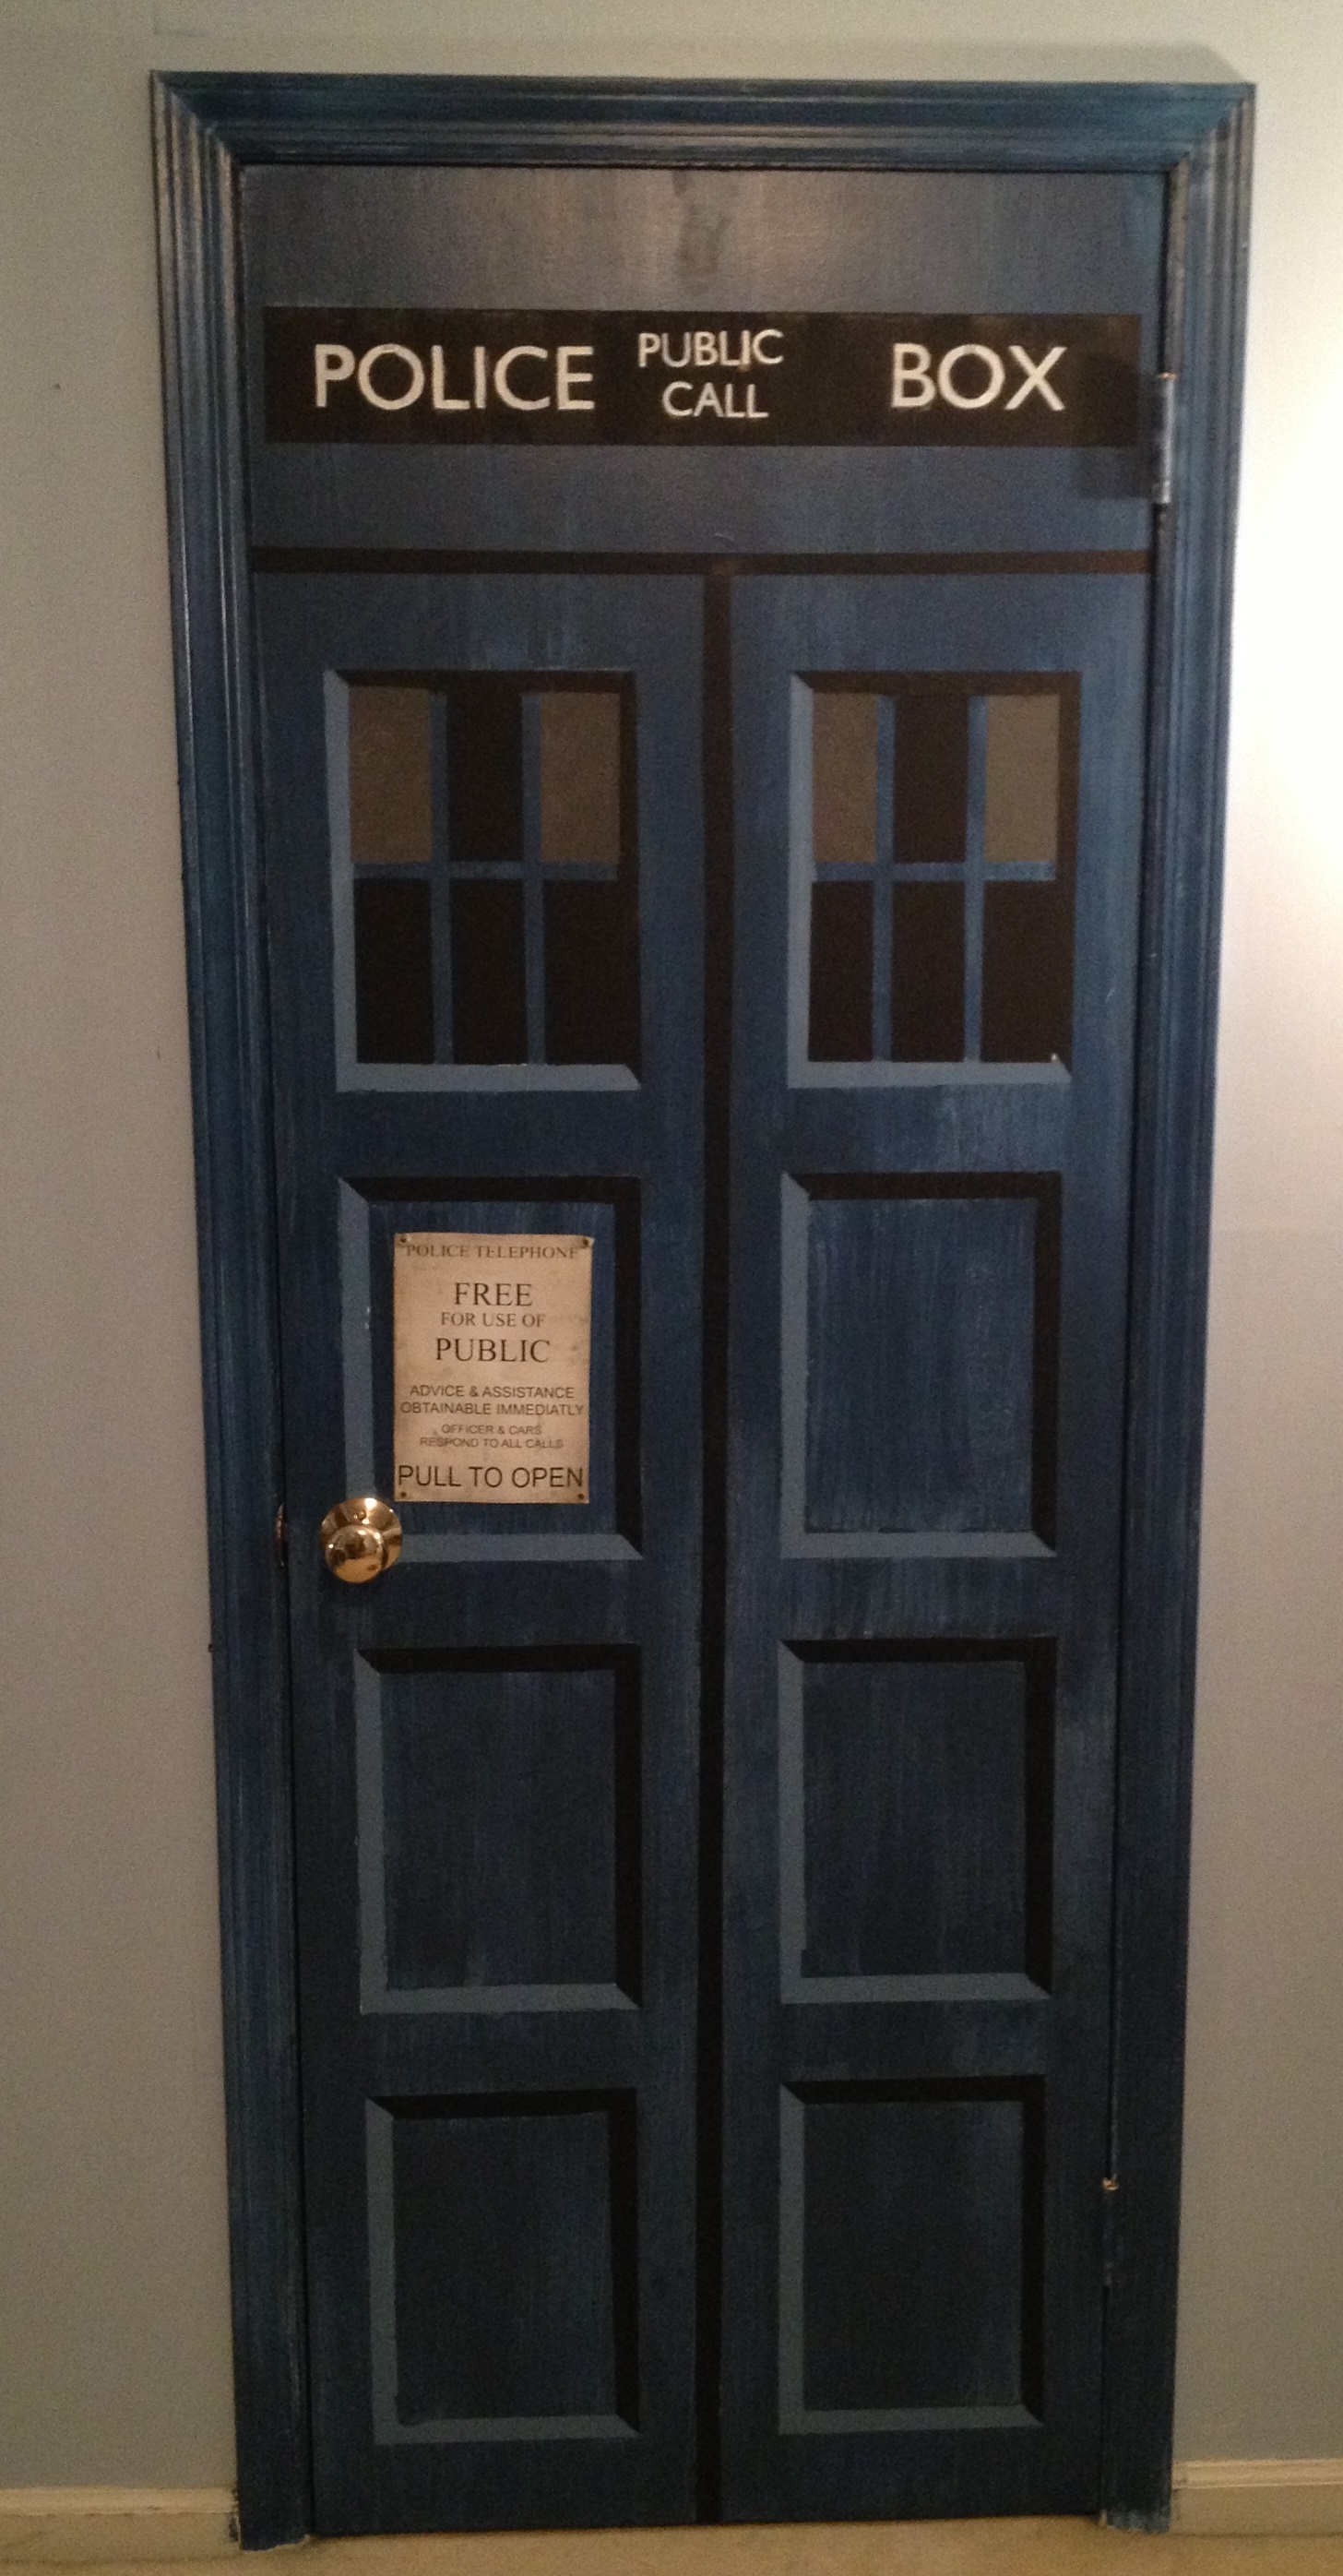
Make Your Own Tardis Door
by Cstukane in Living > Decorating
199988 Views, 1064 Favorites, 0 Comments
Make Your Own Tardis Door

Before I start I have to give credit to this Instructable here that gave me the idea for this project. That Instructable however is just pictures, so after making my own, I thought I'd make a step-by-step instruction so all of you DIYers can make your own Tardis doors or rooms. I didn't have the necessary items to build an entire Tardis, but I thought this alone would add some interesting depth to the room.
Materials:
* Tape Measure
* Steel Square
* Ruler
* Painters Tape
* Paint (Black, White, Blue. I used "Captivating" 24-14 by Pratt & Lambert, but use your discretion to what color you want)
* Paintbrushes (1", 2")
* Newspapers or Dropcloth
* Screwdrivers
* Pencil
* Sharpie
* Eraser
* Printer
* Exacto Knife or sharp blade
Measuring!

I was able to find a diagram online of a full Tardis' dimensions, but I needed to scale it down to the size of my door, so after some calculations I came up with this. The decimals were because I had to scale it down, but for the not so simple ones I added the fractions. For reference, my door was 79 in x 28 in. Feel free to scale this up or down to the size of your door.
Materials:
* Printer
Materials:
* Printer
Measure, Measure, Measure


Take off the doorknob with your screwdrivers. You can do the same with the hinge, but I'd keep that on for now.
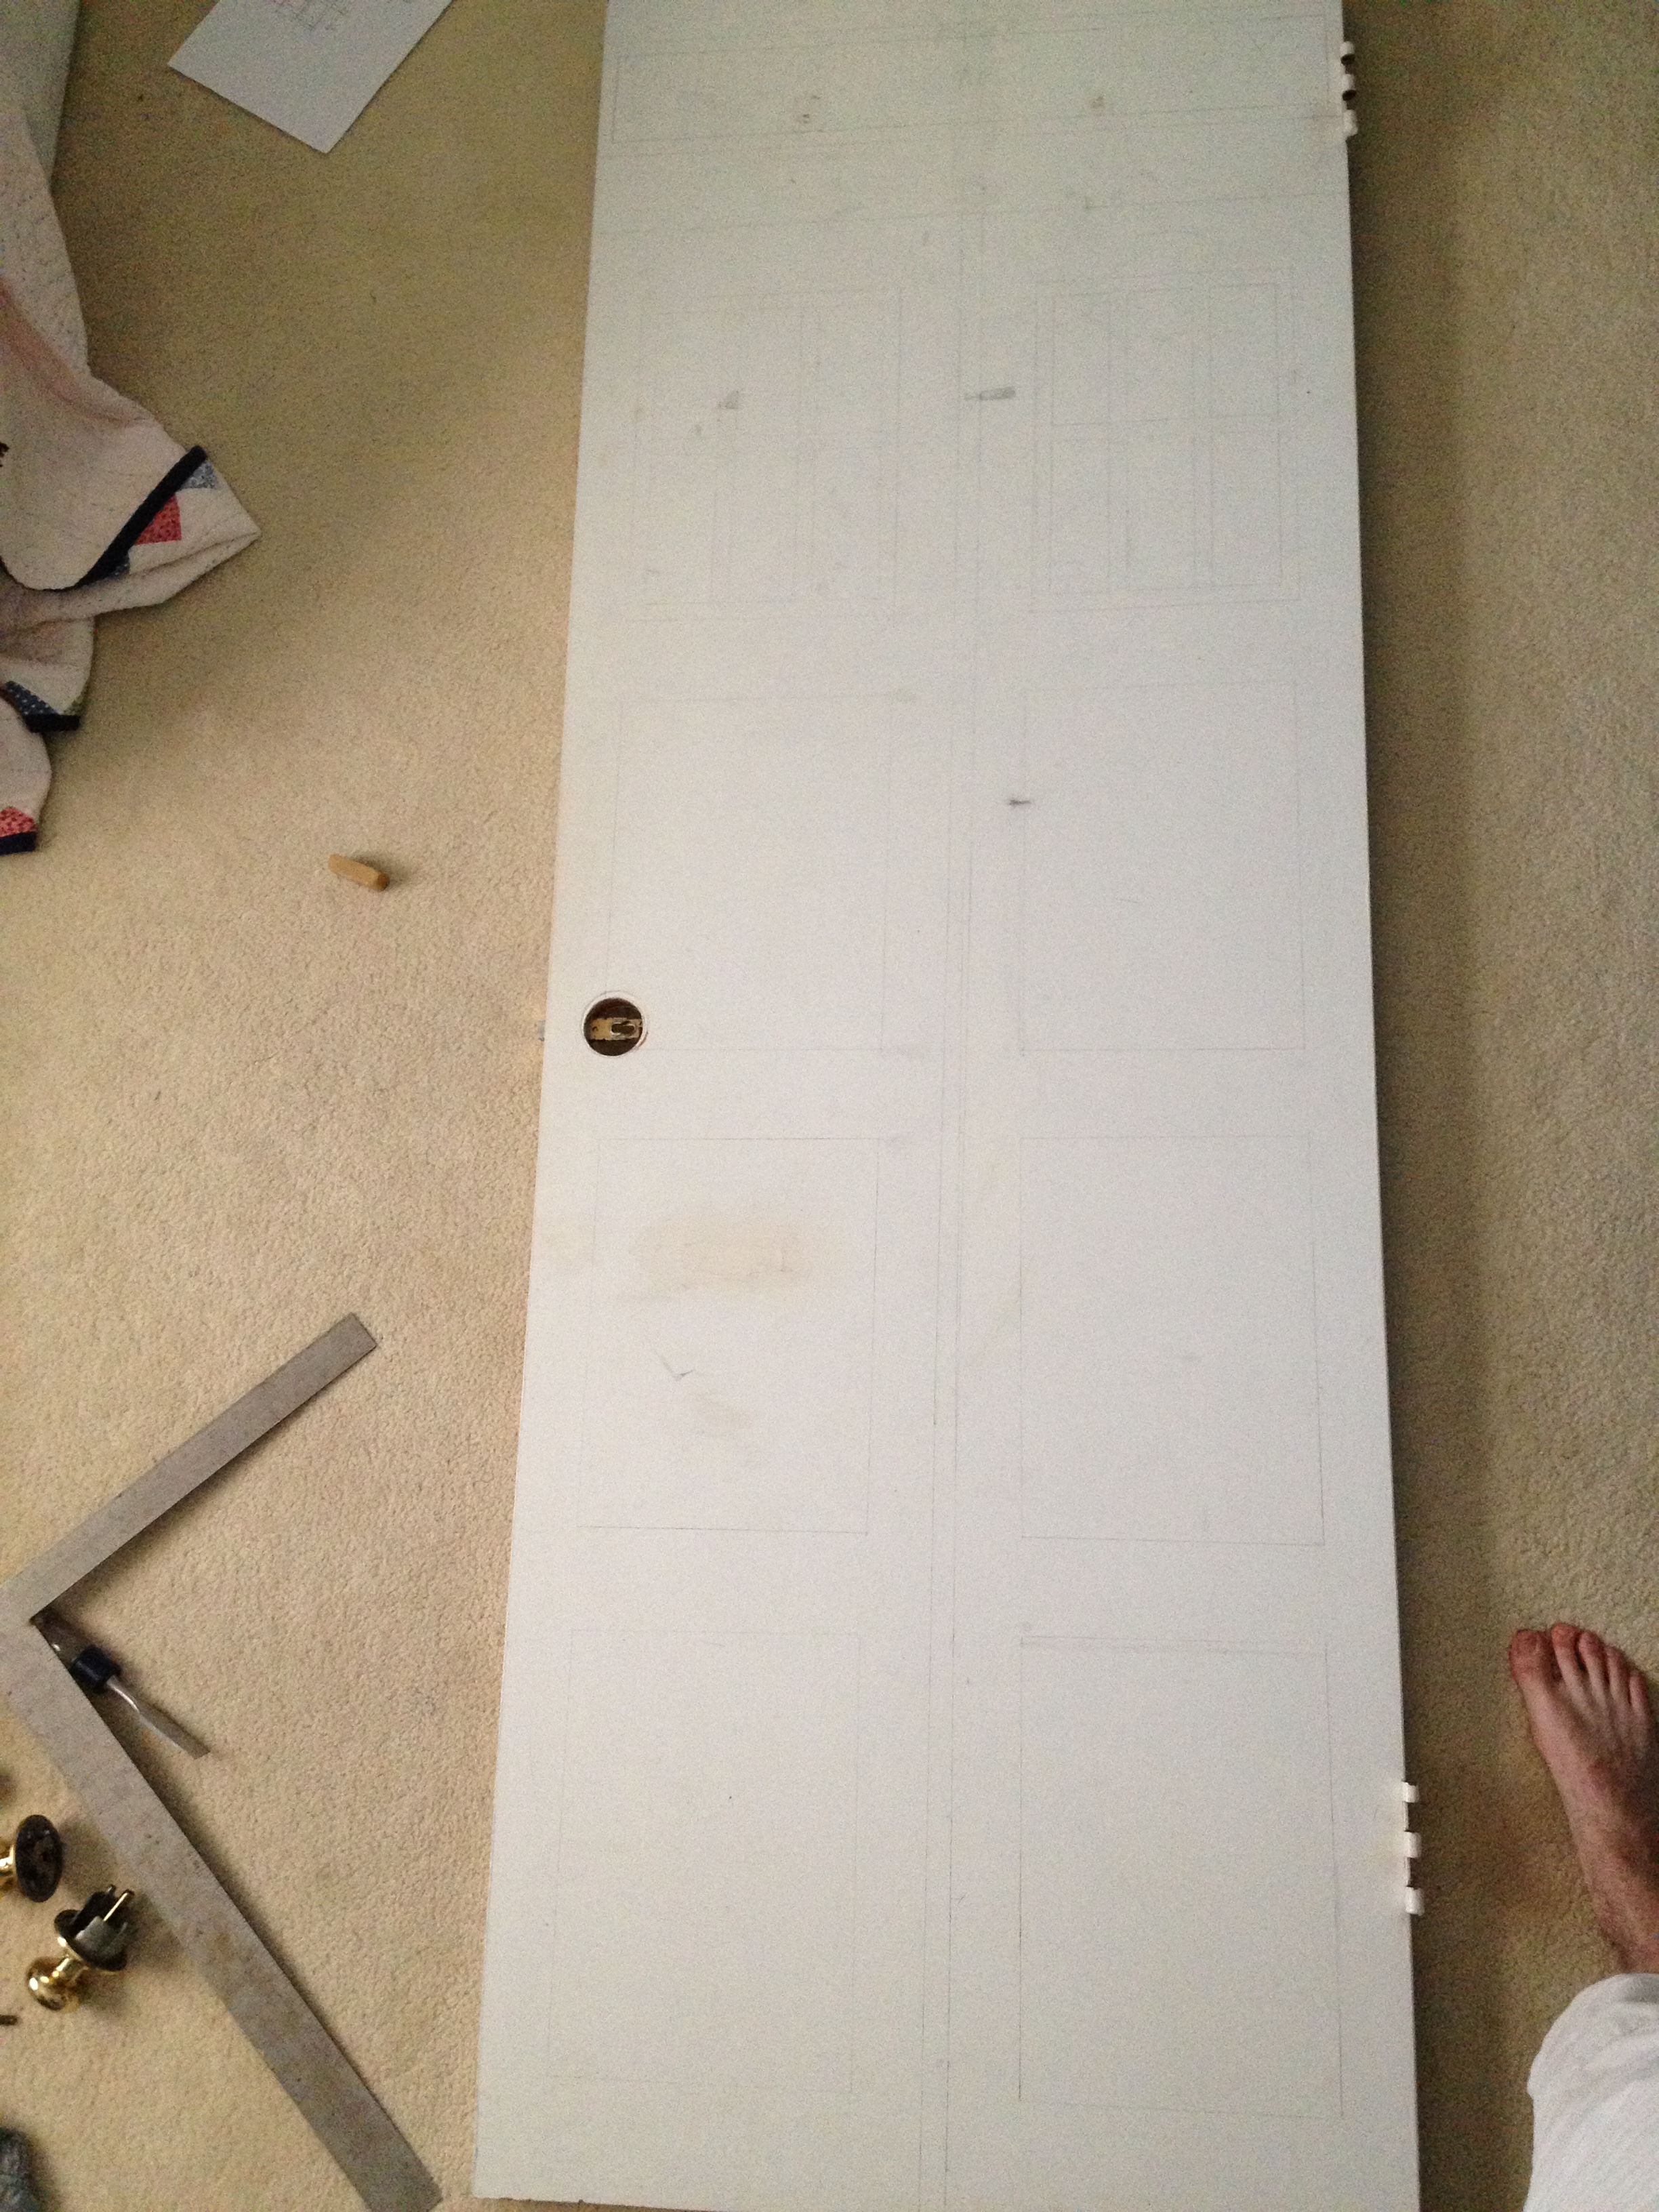
Measure, mark it off, and draw the outline of the design on your door. The square is great for right angles, but the ruler will be better for straight lines. Don't forget to add an inner box in the panels for shading!
Materials:
* Tape Measure
* Steel Square
* Ruler
* Pencil
* Eraser
* Screwdrivers
Measure, mark it off, and draw the outline of the design on your door. The square is great for right angles, but the ruler will be better for straight lines. Don't forget to add an inner box in the panels for shading!
Materials:
* Tape Measure
* Steel Square
* Ruler
* Pencil
* Eraser
* Screwdrivers
Time for Tape

Tape off everything that won't be the main blue. It might be uneven in the inner shading boxes you marked off because some tape isn't thin enough, but well touch that up later.
Materials:
* Painters Tape
* Scissors
Materials:
* Painters Tape
* Scissors
Paint It Blue

Lay out your newspapers or dropcloth so you don't mess up your floor. I forgot to take a picture of just the blue, but feel free to paint right over the tape, get all the paint to the edges.
Materials:
* Painters Tape
* Scissors
* Blue Paint
* 2" Paintbrush
Materials:
* Painters Tape
* Scissors
* Blue Paint
* 2" Paintbrush
Paint It Black

Take off the tape on the black parts only, retape around them, and paint away! The shading will go on the upper and right sides of each of the boxes. In this picture, it looks like I've done the bottom and left, but that's just because I painted over the tape, we want a lighter look.
Materials:
* Painters Tape
* Scissors
* Black Paint
* 1" Paintbrush
Materials:
* Painters Tape
* Scissors
* Black Paint
* 1" Paintbrush
Show Me the Light


I mixed the blue with the white paint to find a color I liked, and now that is in the lower and left sides of the panels. Still be careful to angle the corners.
The white up top is Police Public Call Box. I printed a stencil and cut it out with my Exacto knife. The font is called Gill Sans, and if you don't have it installed, you can download it here.
Materials:
* Painters Tape
* Scissors
* Blue, White Paint
* 1" Paintbrush
The white up top is Police Public Call Box. I printed a stencil and cut it out with my Exacto knife. The font is called Gill Sans, and if you don't have it installed, you can download it here.
Materials:
* Painters Tape
* Scissors
* Blue, White Paint
* 1" Paintbrush
Touch It Up!

Fill in any white areas from where tape peeled paint with a small brush. For any white paint bleeding around the Police Box words, you can get really close with a Sharpie and a steady hand.
Materials:
* Painters Tape
* Scissors
* Blue Paint
* Small Paintbrush
* Sharpie
Materials:
* Painters Tape
* Scissors
* Blue Paint
* Small Paintbrush
* Sharpie
Can You See the Final Stretch?


Time to tape around the windows and paint them. I mixed the black and white for that greyish. You may notice it's upside down of Matt Smith's Tardis, but I wanted to add some depth to the shading, so I made the "T" of black face down.
Print out either this "Pull to Open" sign, or search Google for it, I used this one, cut it out, and screw it in to give it the authentic look. If you can't find screws, you may be able to use glue or double sided tape, but that may ruin the door or the sign if you have to remove it.
If you want, I attached a "St. John's Ambulance" sticker, though I didn't use it myself.
Materials:
* Painters Tape
* Scissors
* Black, White Paint
* 1" Paintbrush
* Printer
* Exacto Knife
* Screwdriver
* Small Screws
Hang It Up!

I painted my door frame with the same blue for a larger look, then reattach it on the hinges. Enjoy your new Tardis!