Make Your Own Study Table in Fusion
by alamtania in Design > Software
1280 Views, 7 Favorites, 0 Comments
Make Your Own Study Table in Fusion


I was trying to make a 3D model of my own desk. This one is the first attempt in the process!
I'm sharing this one as I think this out will turn out to be suitable for the beginners.
Software required:
Fusion 360 by Autodesk
Pre-requisites:
Although the Instructables is meant to be for beginners, it is recommended to have some basic knowledge of the software.
Lessons recommended:
Fusion 360 class (Lessons: 1-5 and 9)
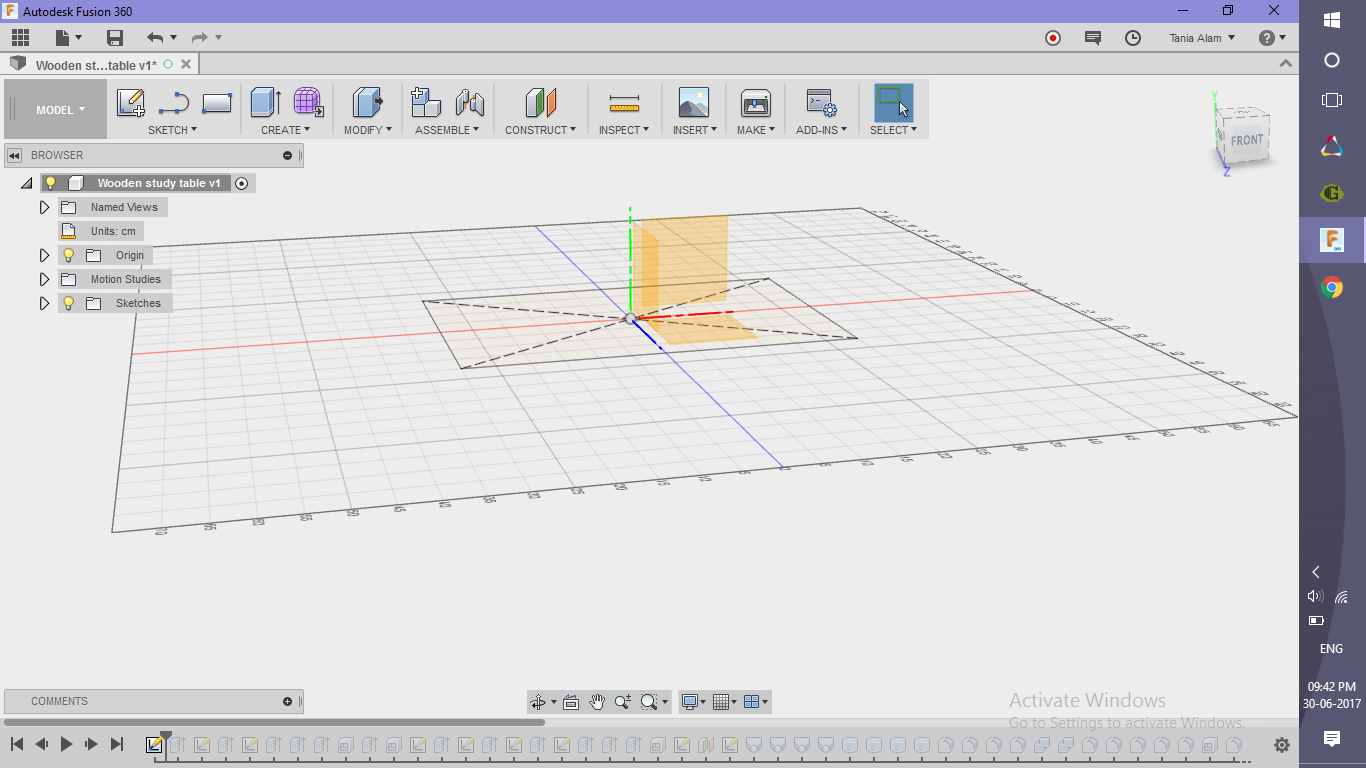
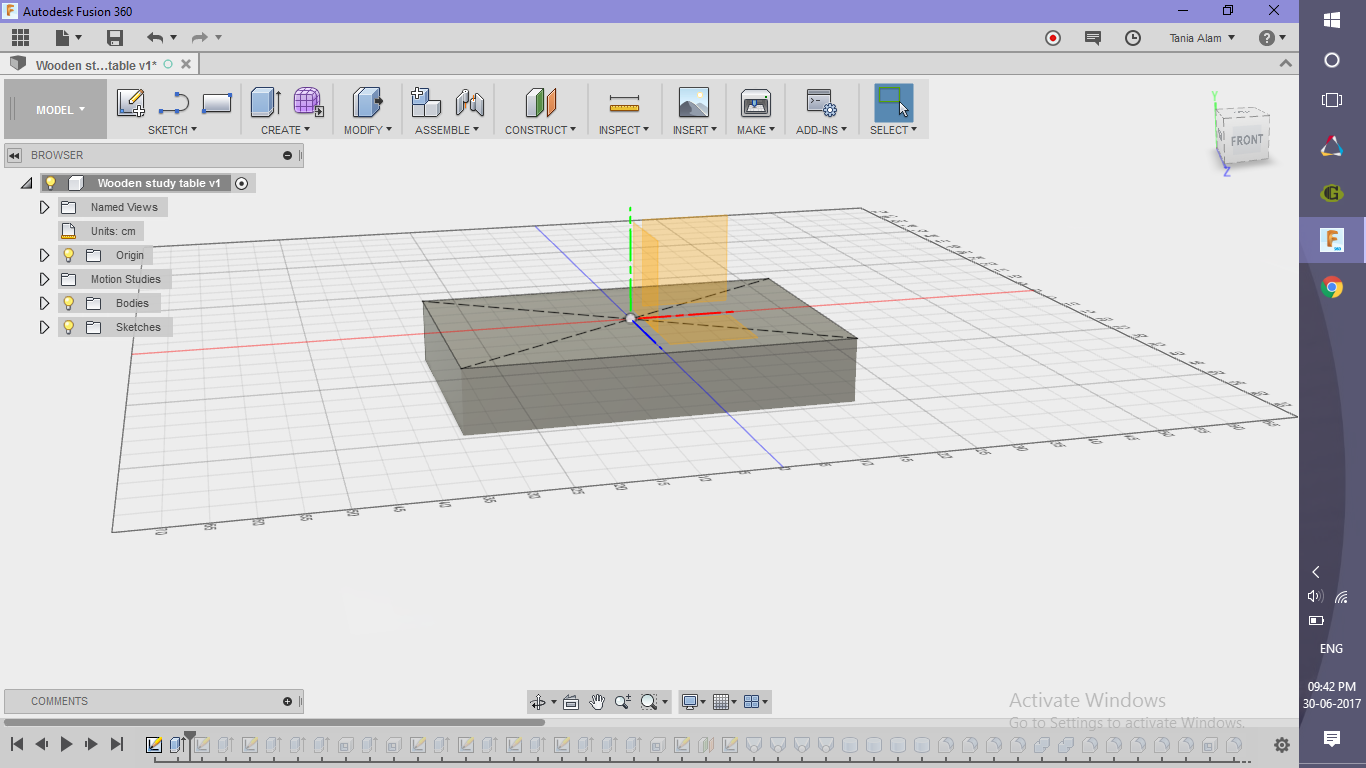
Make the Table Top
.png)
.png)
.png)
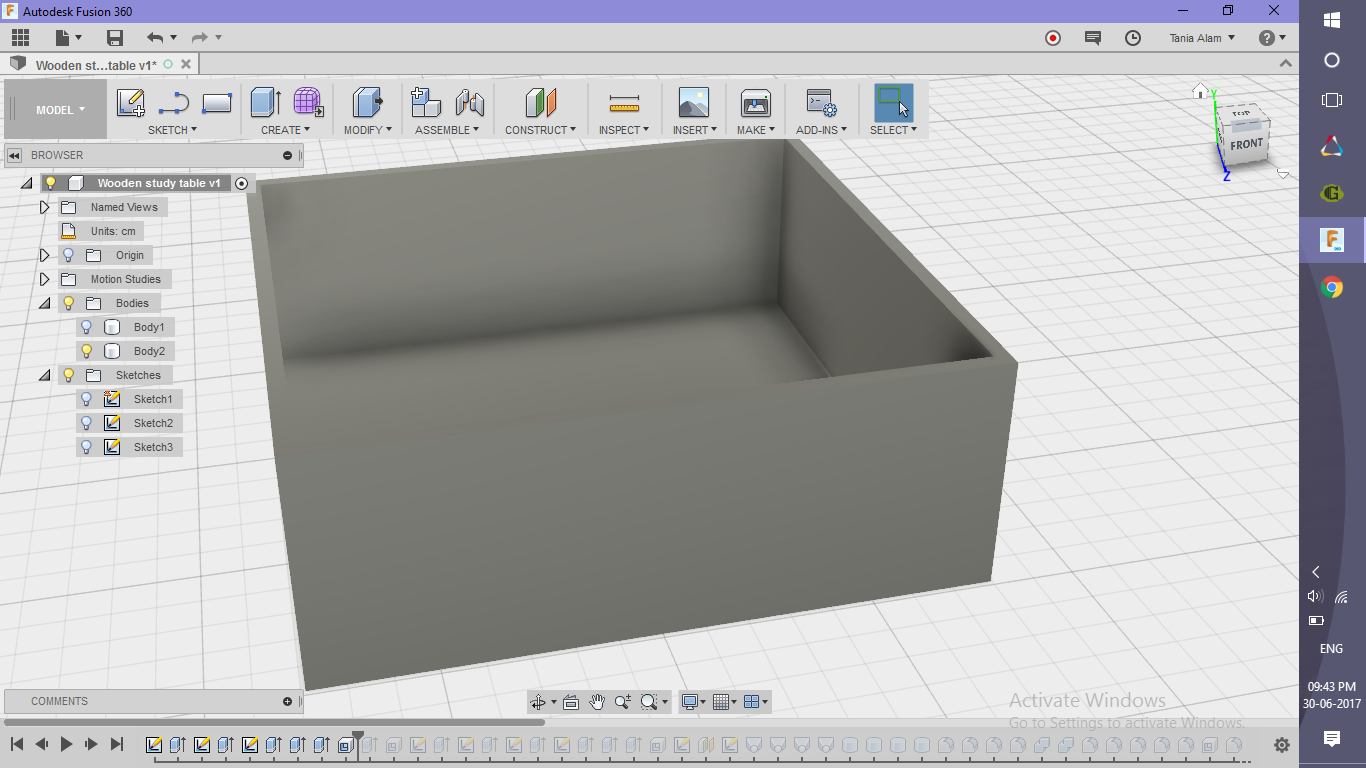
- Sketch a rectangle
- Go to Sketch tab
- Click on Rectangle field (choose any one of the three options)
- Draw a rectangle on the base plane
- Extrude it to make the base
- Go to Create tab
- Click on Extrude command
- Choose the sketch of the rectangle as the profile
- Give a distance to it
Make the Desk
.png)
.png)
.png)
.png)
.png)
.png)
.png)
.png)
.png)
.png)
.png)
.png)
.png)
.png)
.png)
.png)
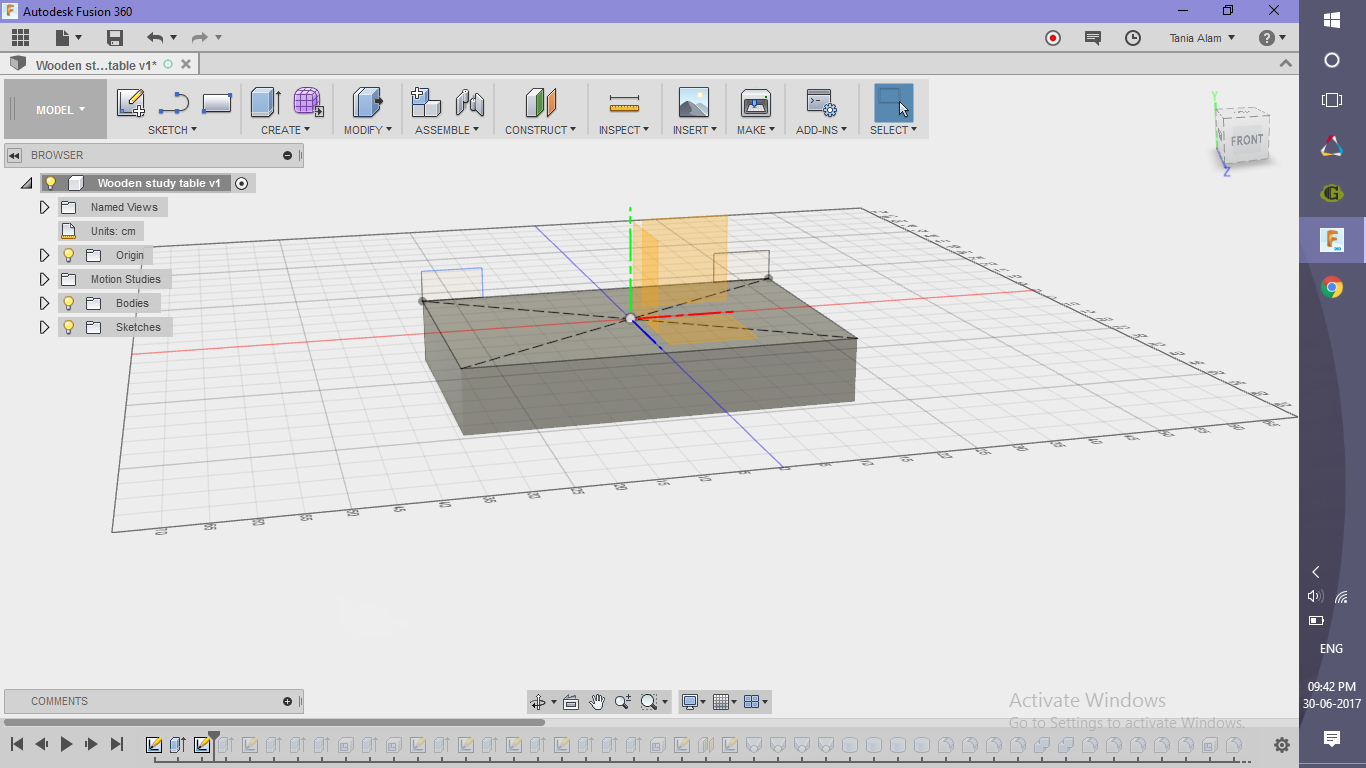
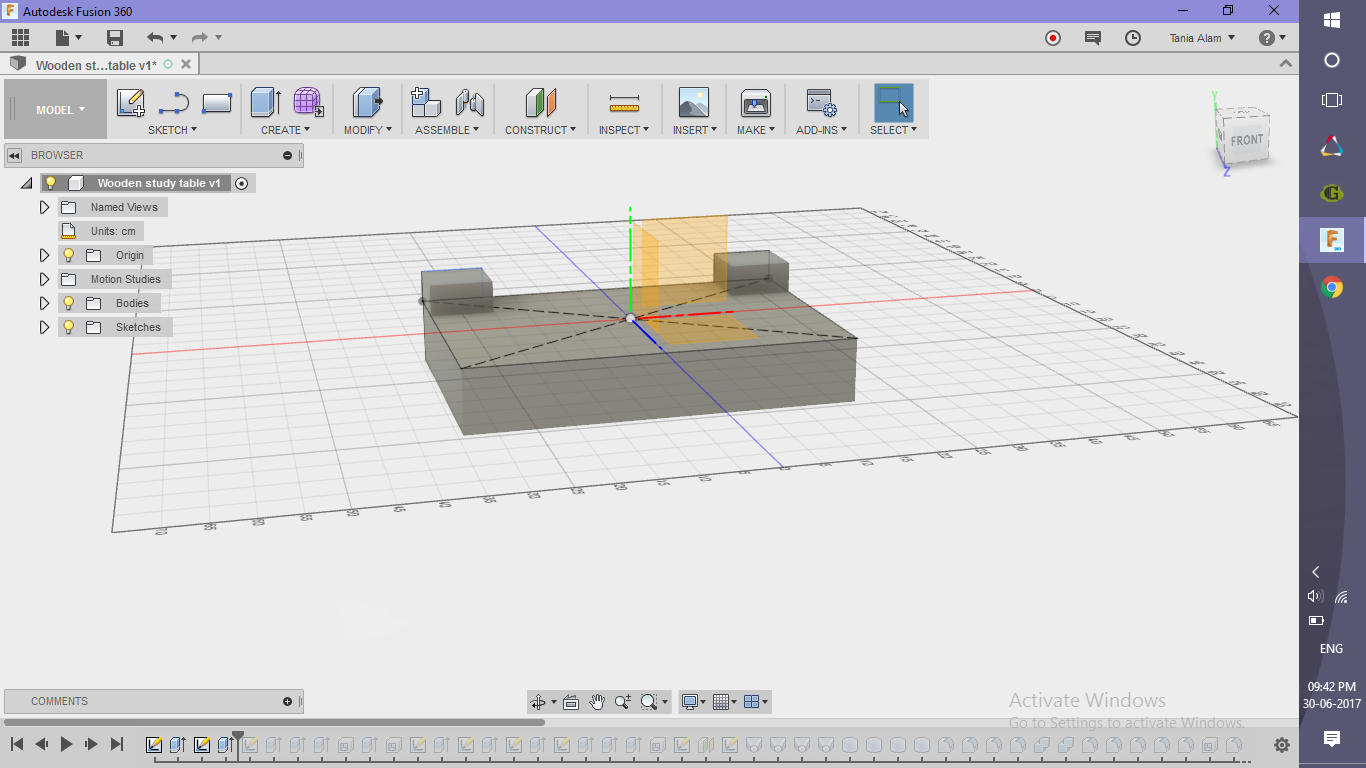
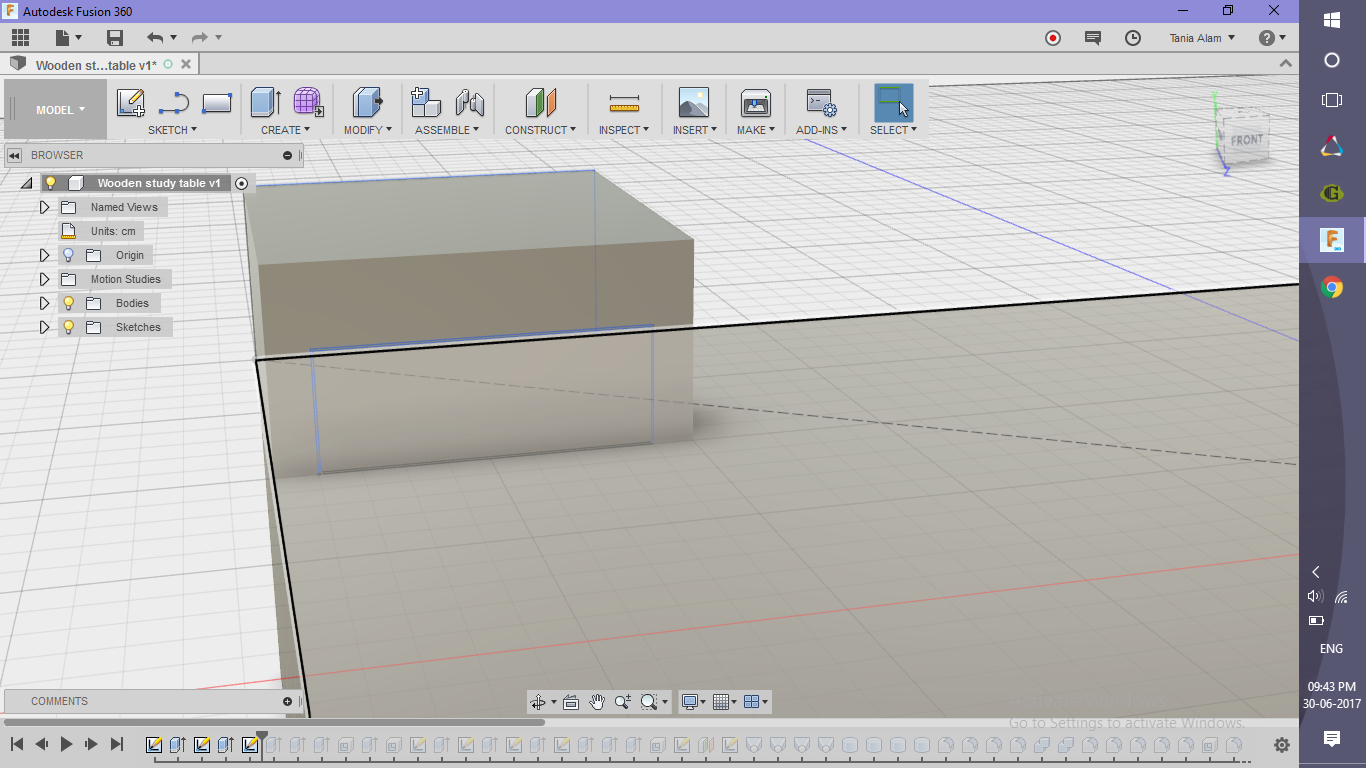
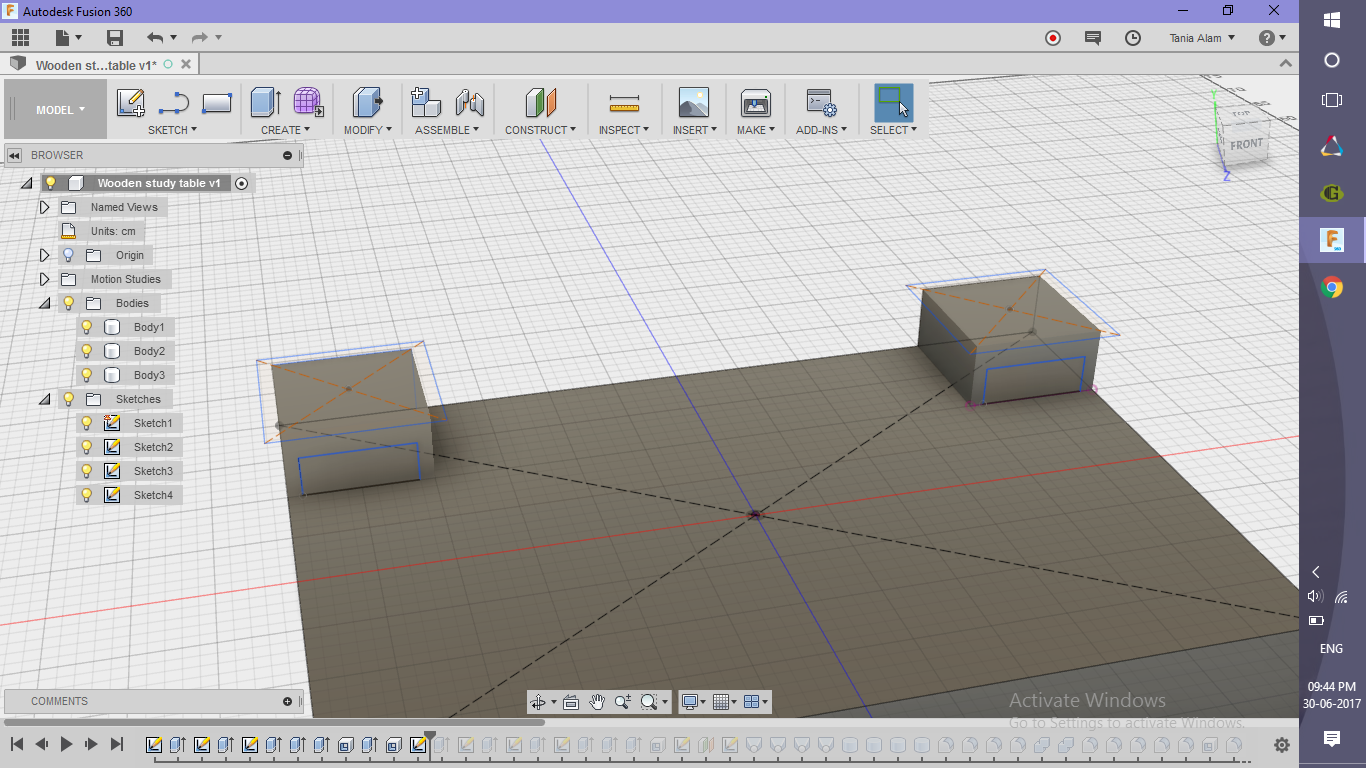
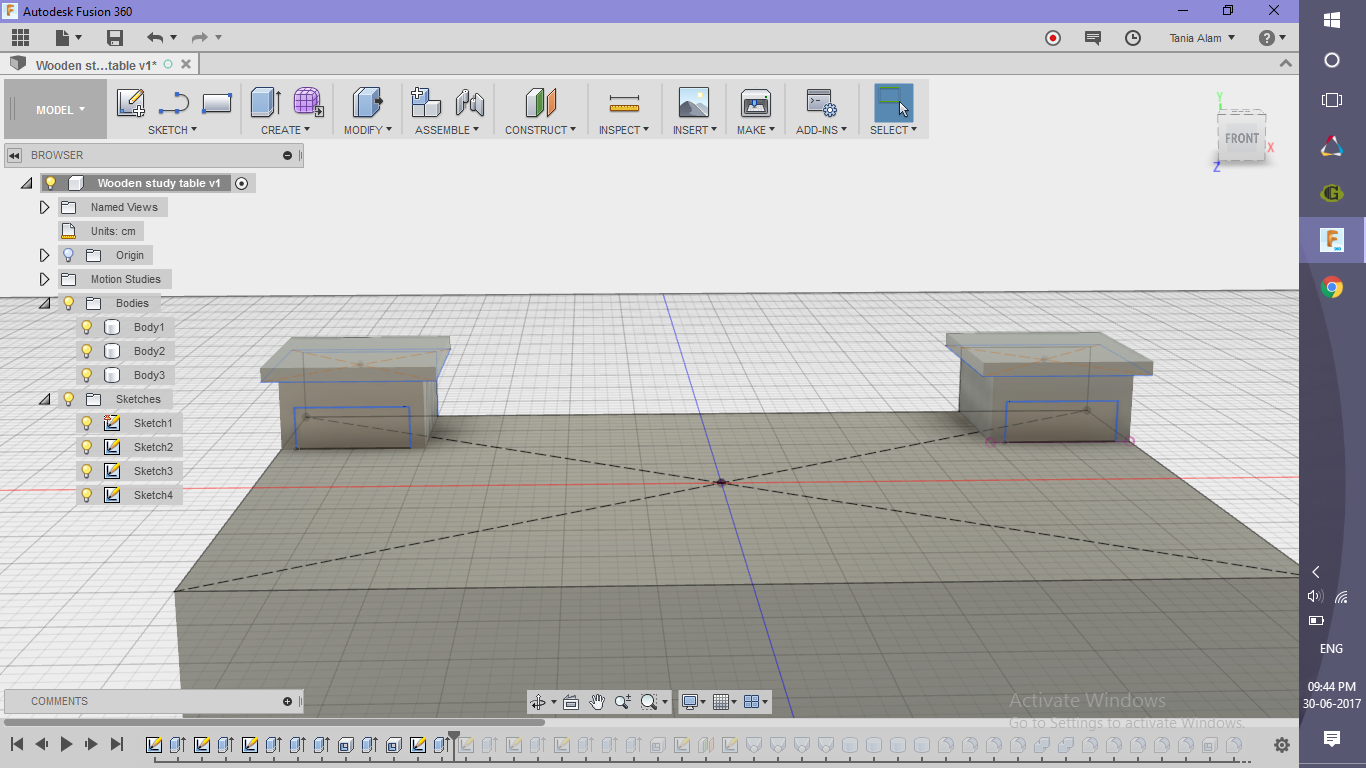
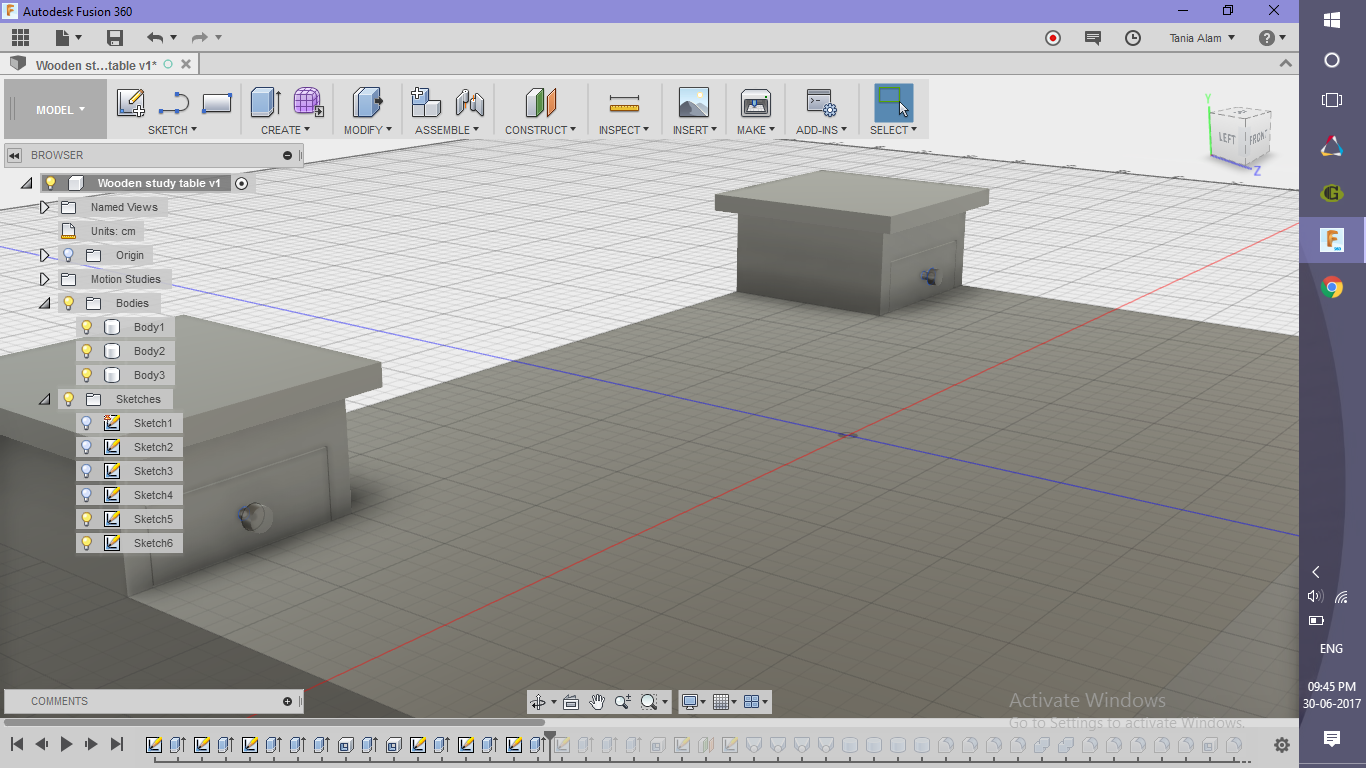
- Make the desk on two sides
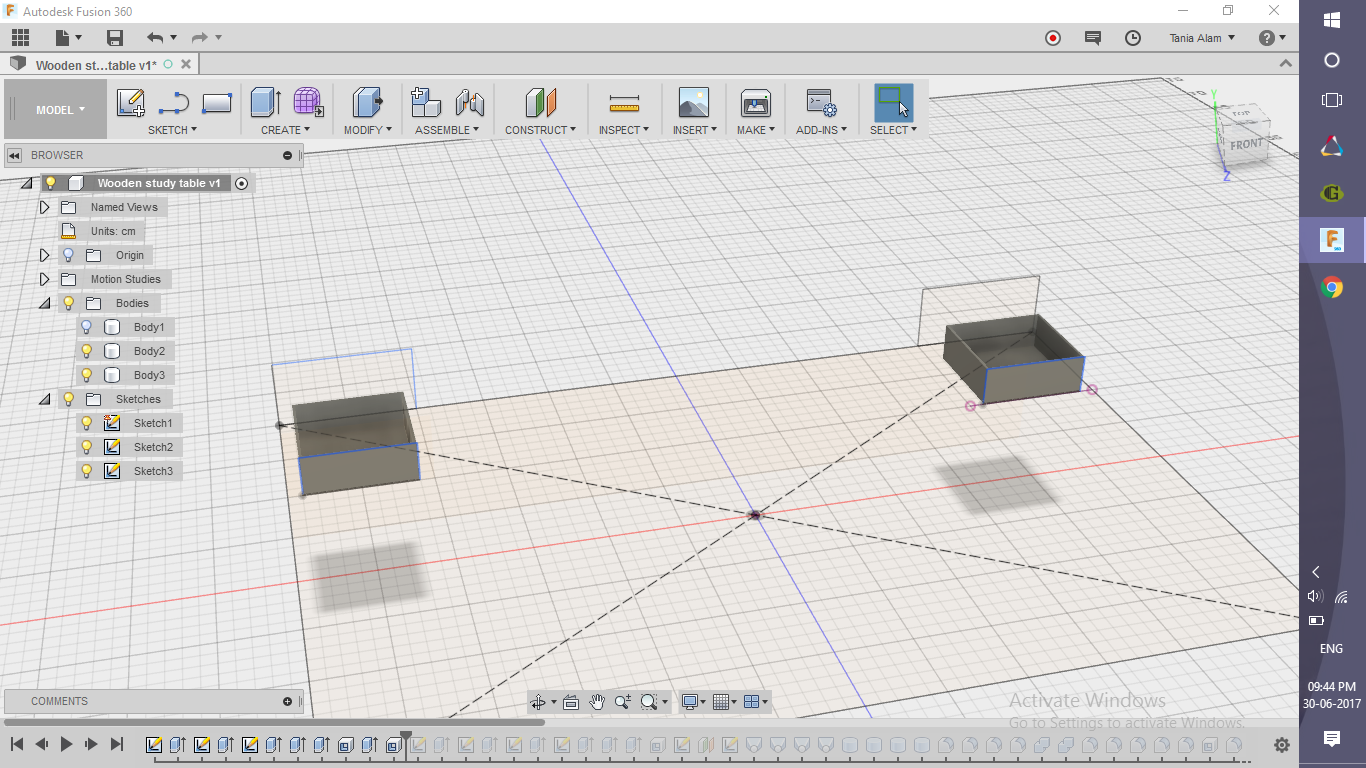
- Create sketch>> Rectangle
- Choose the top surface of the plane as the sketch plane
- Sketch two rectangles on two corners of the table top
- Extrude them up to a certain height
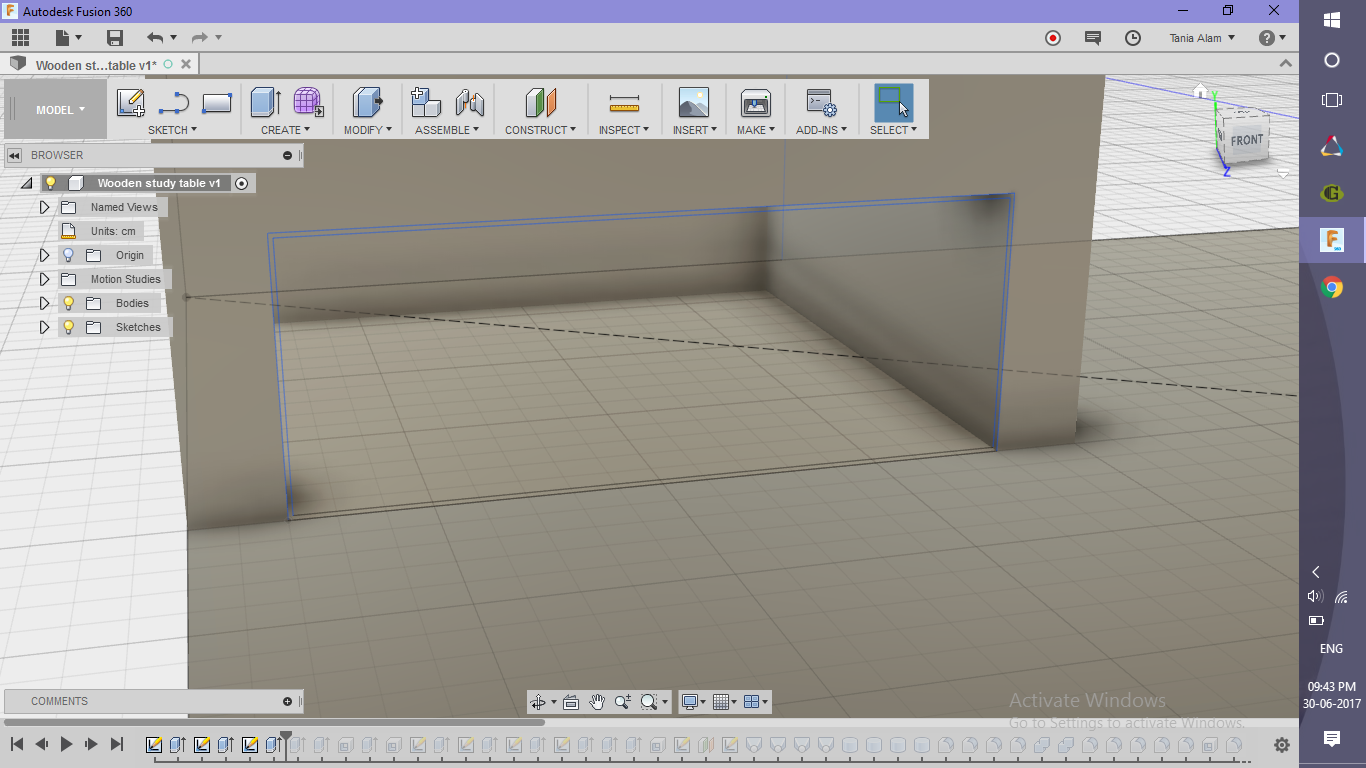
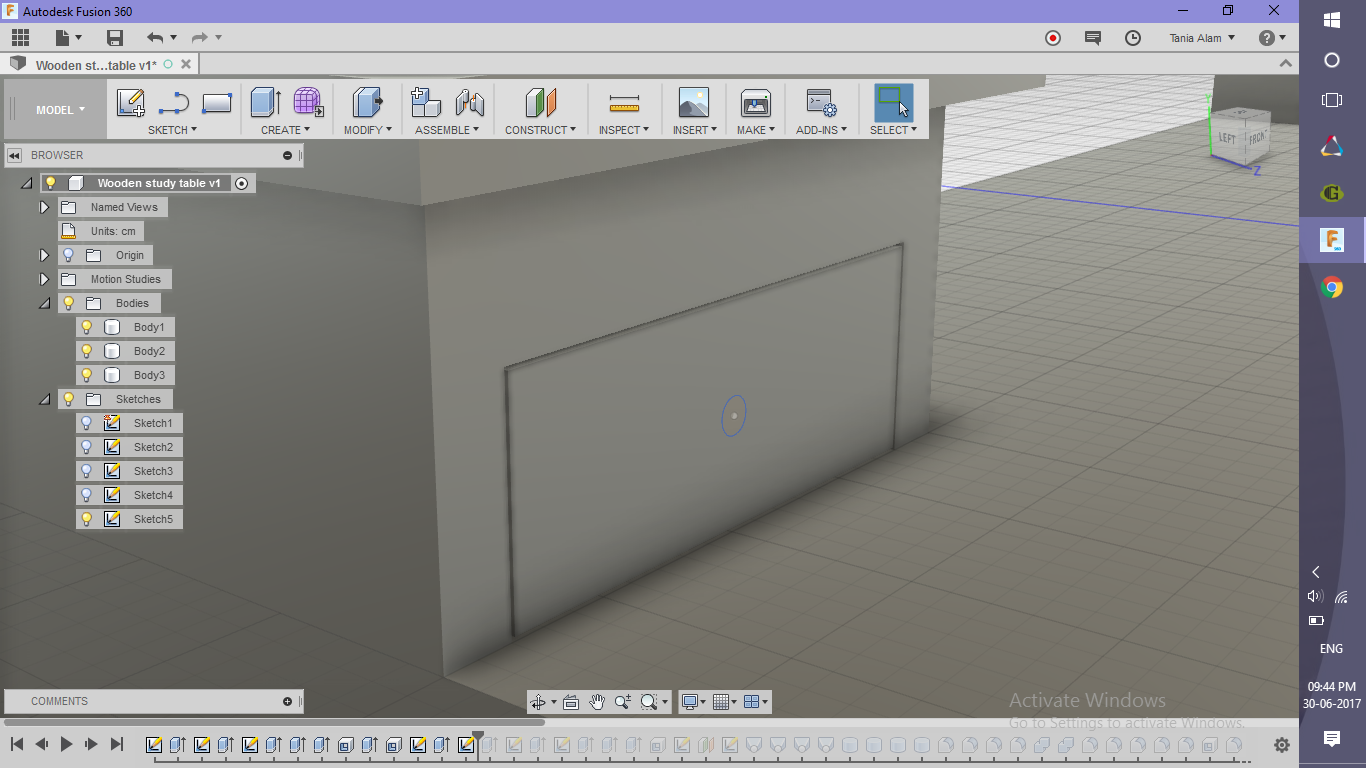
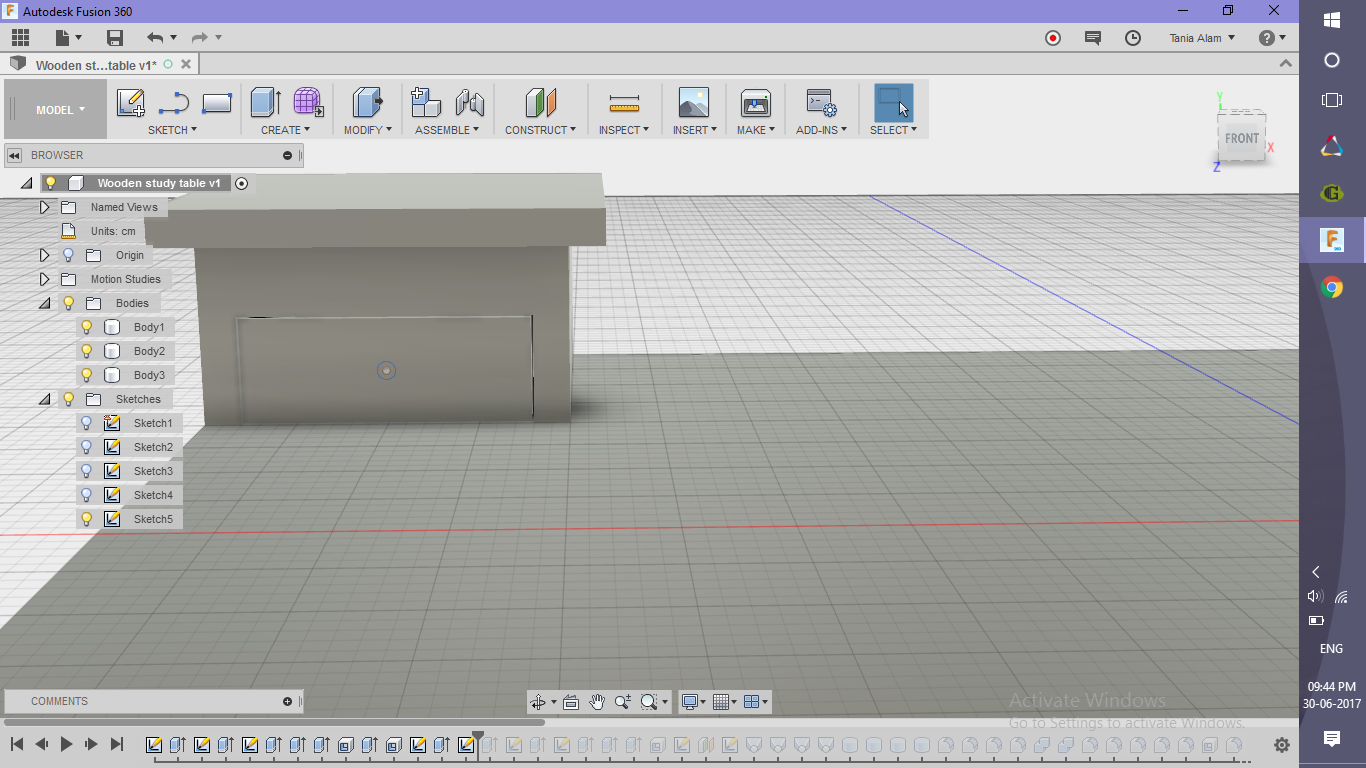
- Make the drawers of two desks
- Create sketch>> Rectangle
- Choose the front surface of the drawer
- Sketch a rectangle
- Sketch another rectangle using Create Sketch>> Offset (offset=0.05cm)
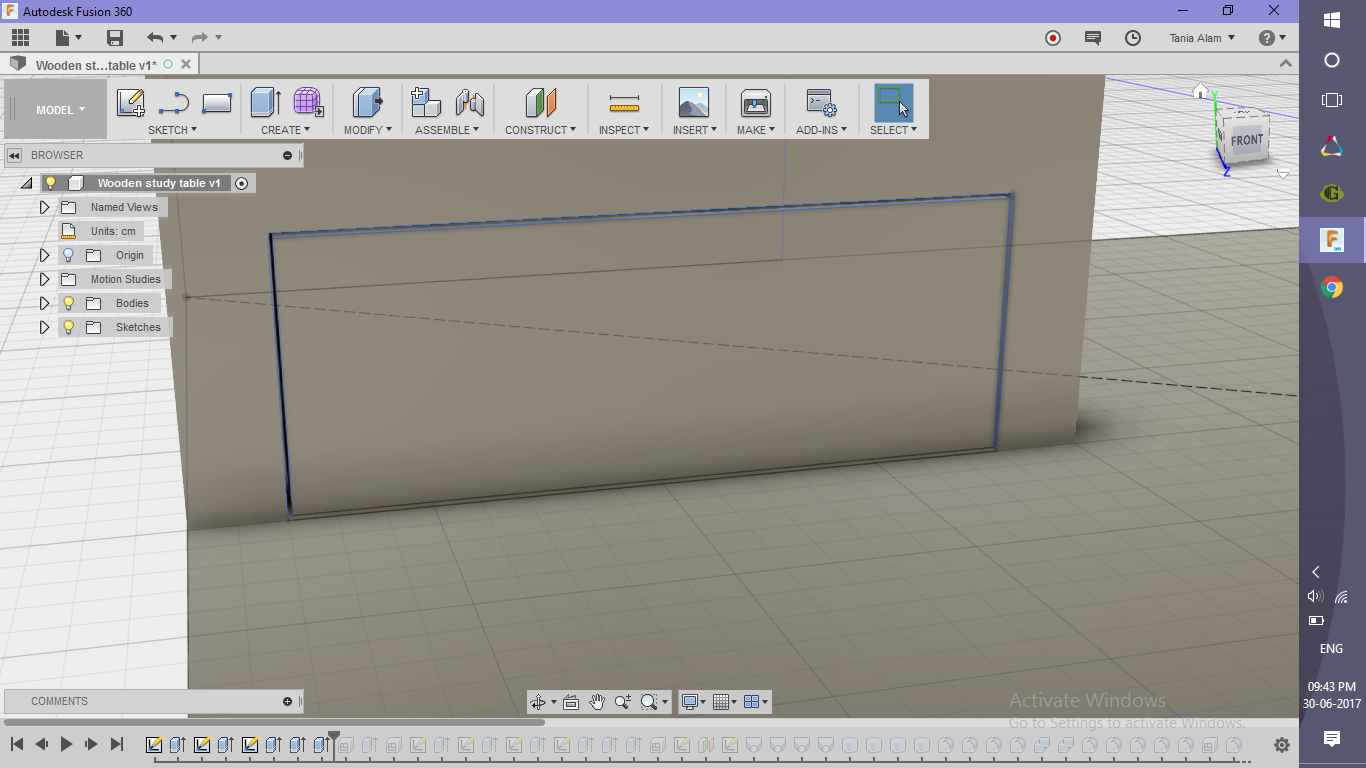
- Extrude the outer rectangle to cut the desk and make a hollow space
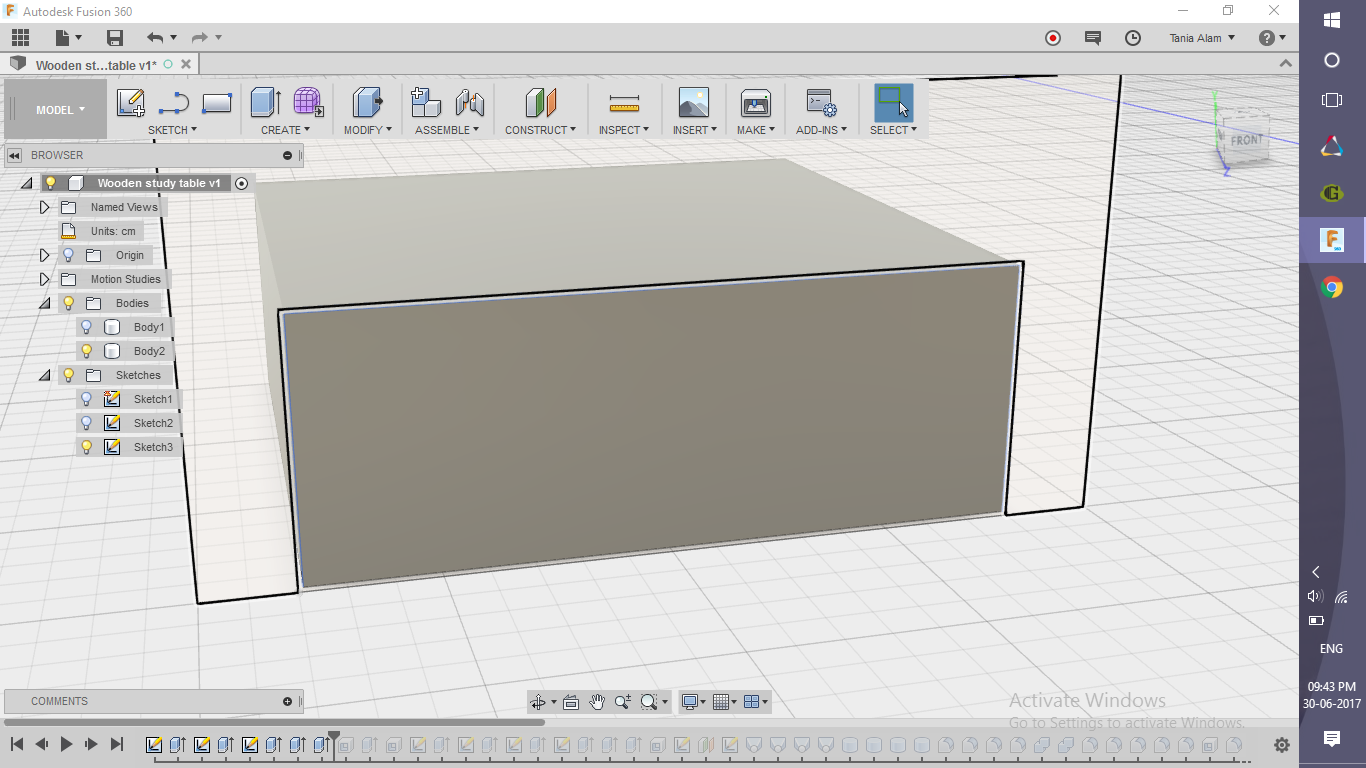
- Extrude inner circle to make the drawers
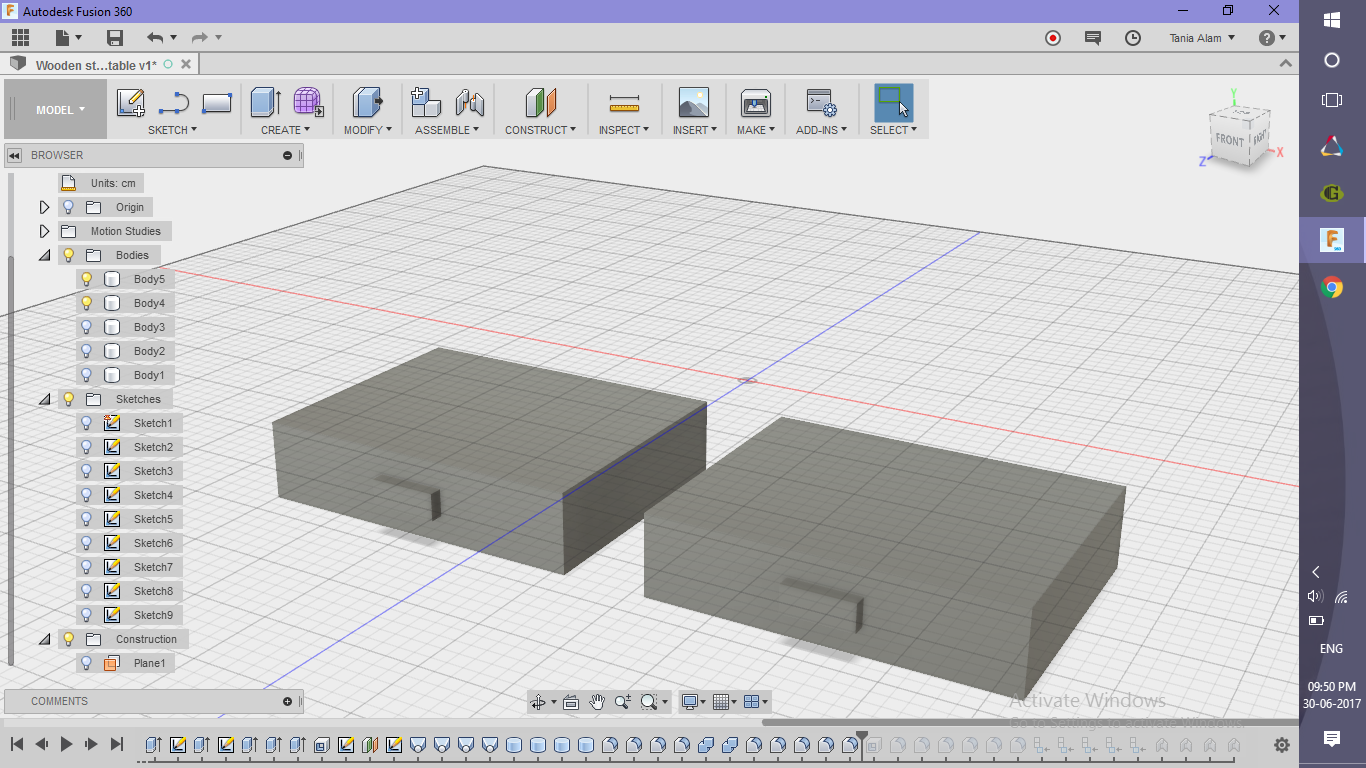
- Hide all the bodies except the drawers (use the bulb-like button beside the name of the body in the browser)
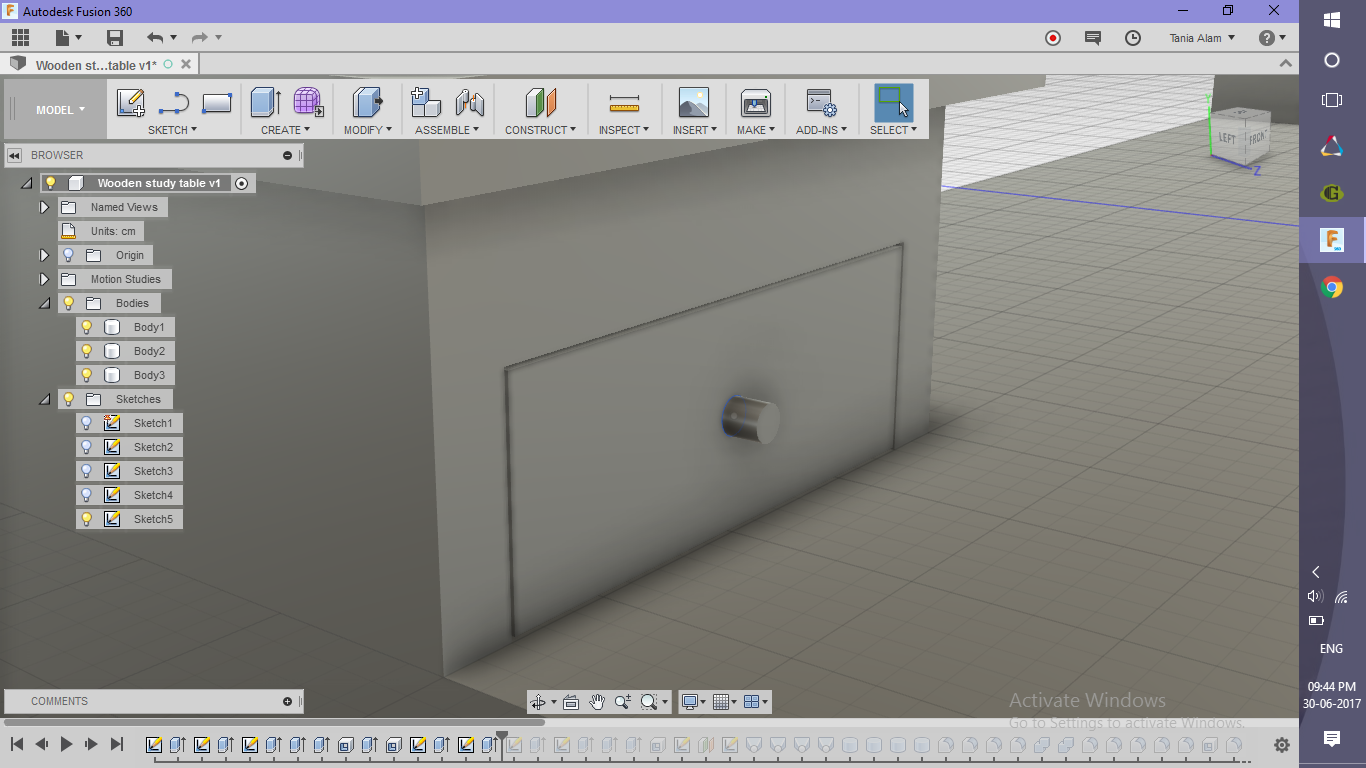
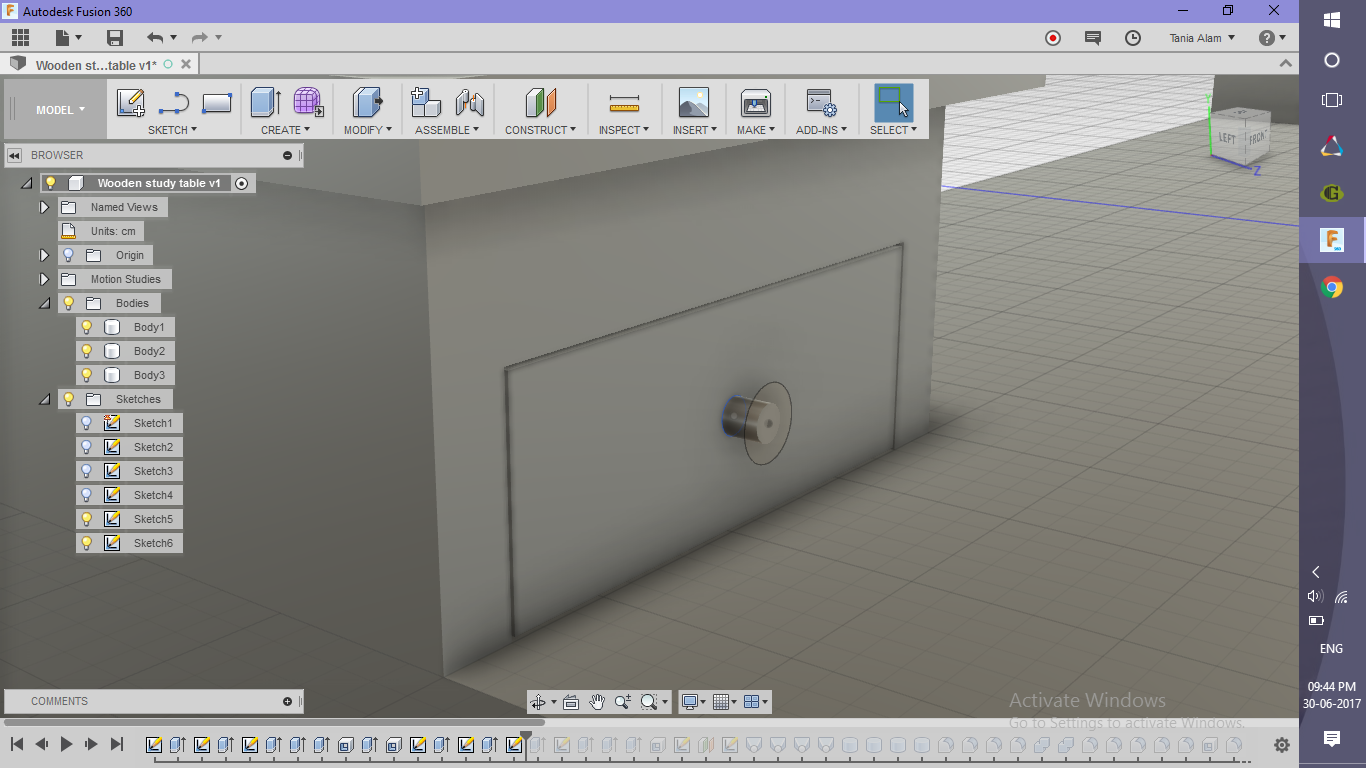
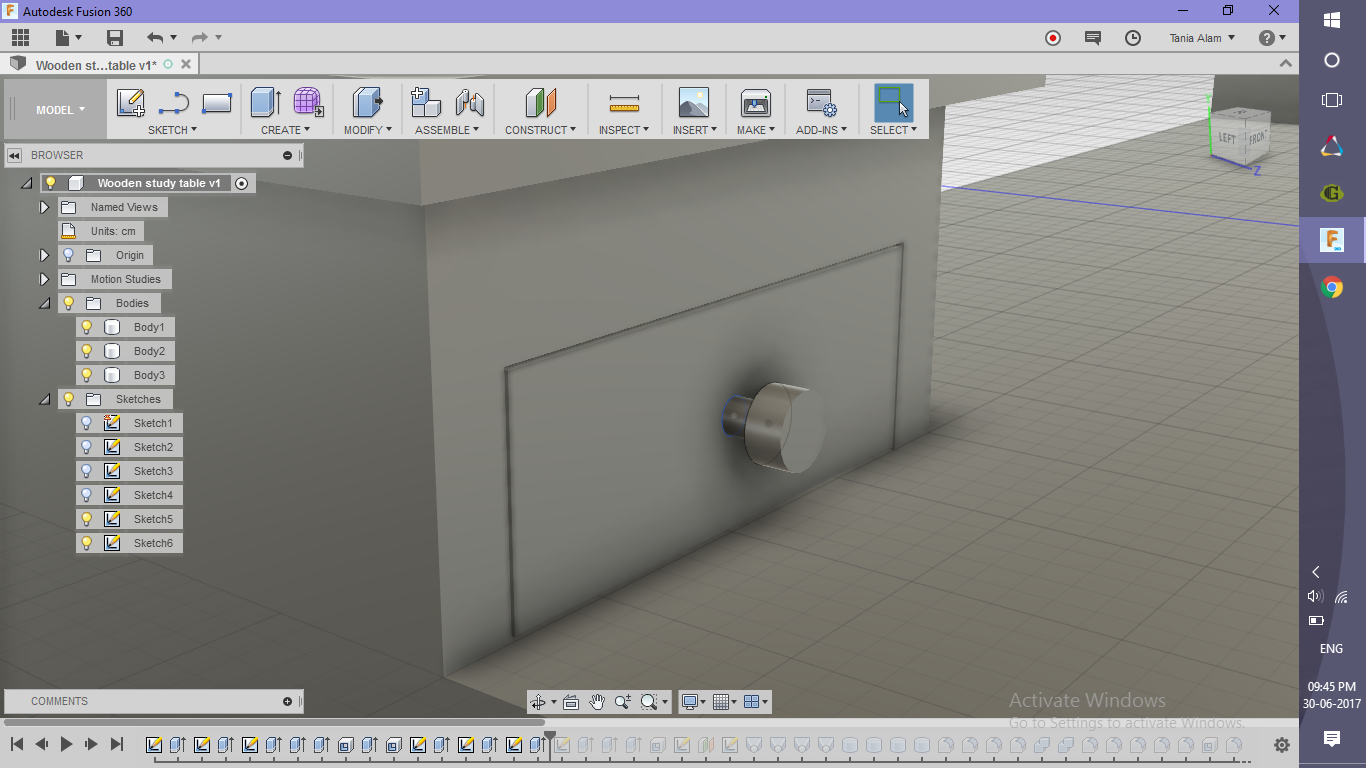
- Create>> Cylinder
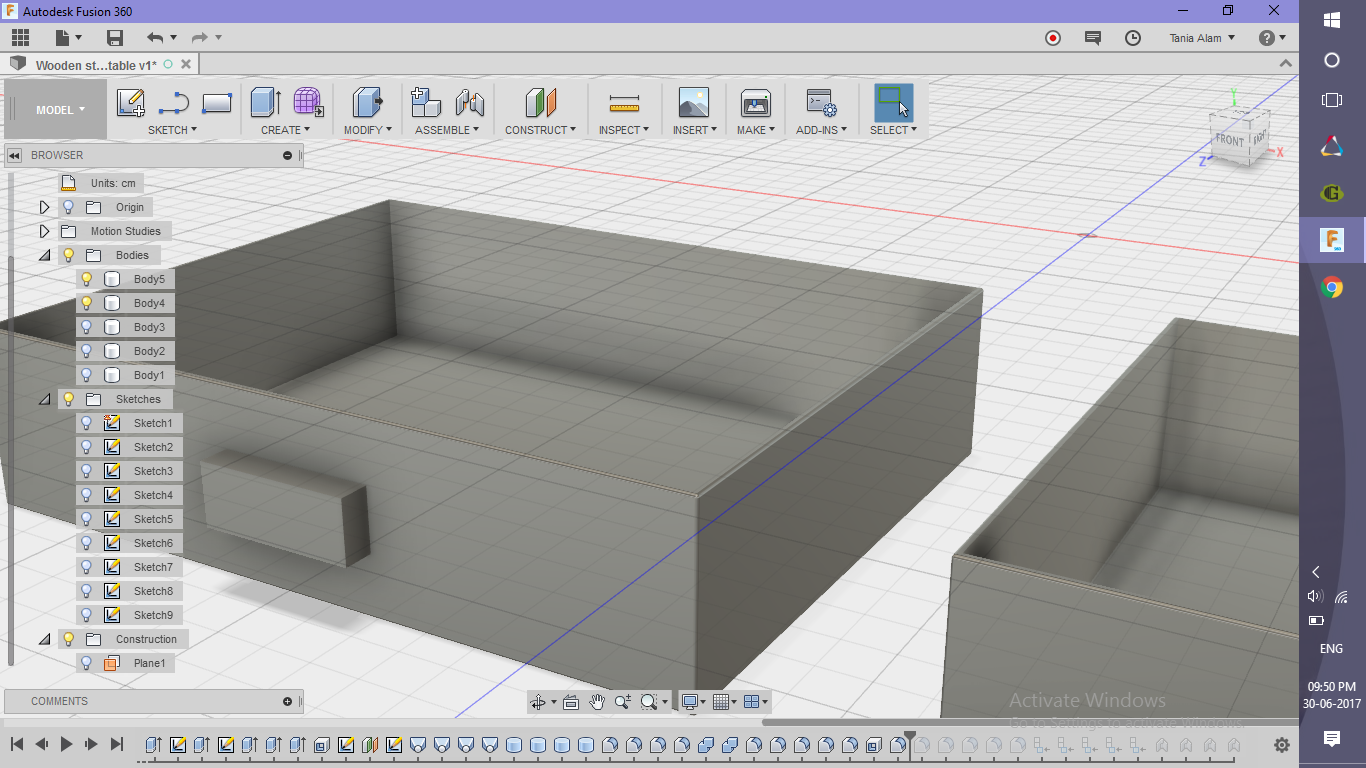
- Choose one drawer and make a cylinder using which you can pull out the drawer
- Do the same thing for another drawer
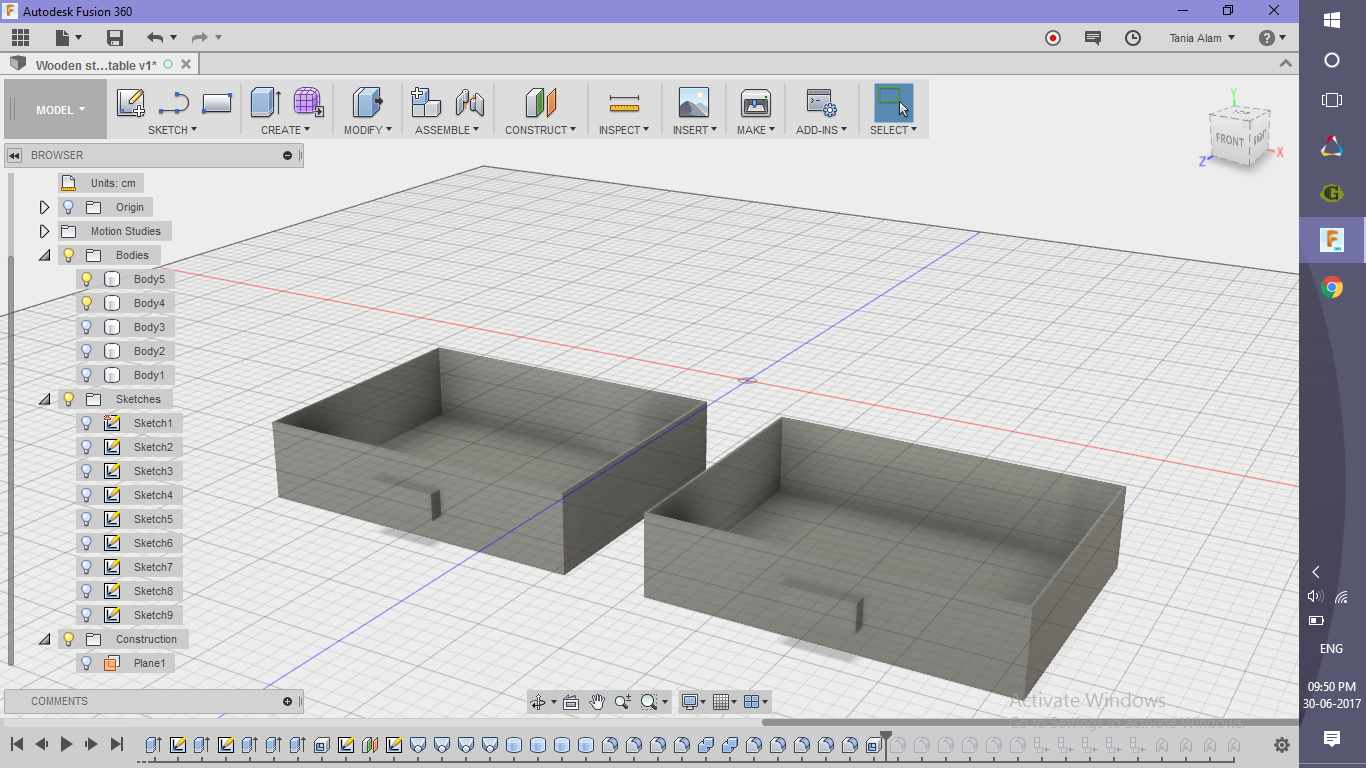
- Use shell command to make some space inside the drawer
Make the Lower Drawers
.png)
.png)
.png)
.png)
.png)
.png)
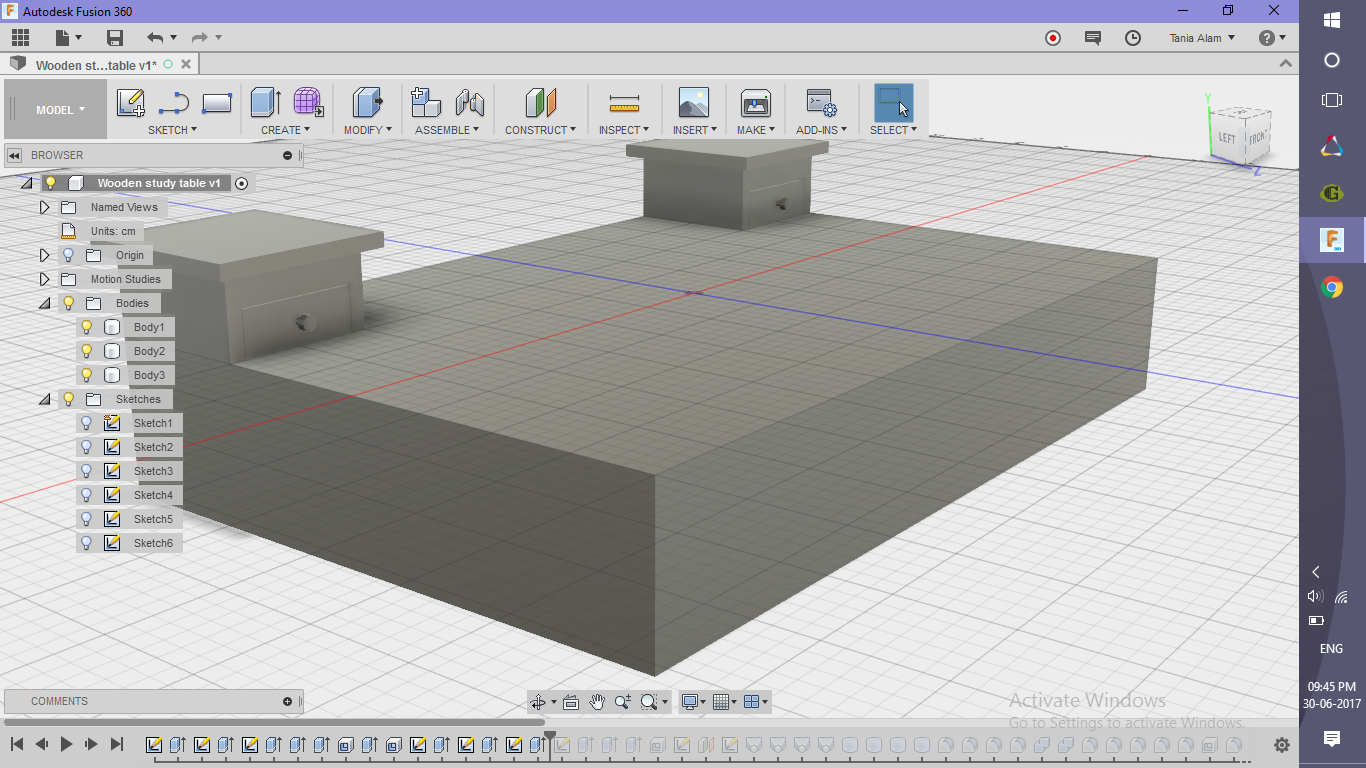
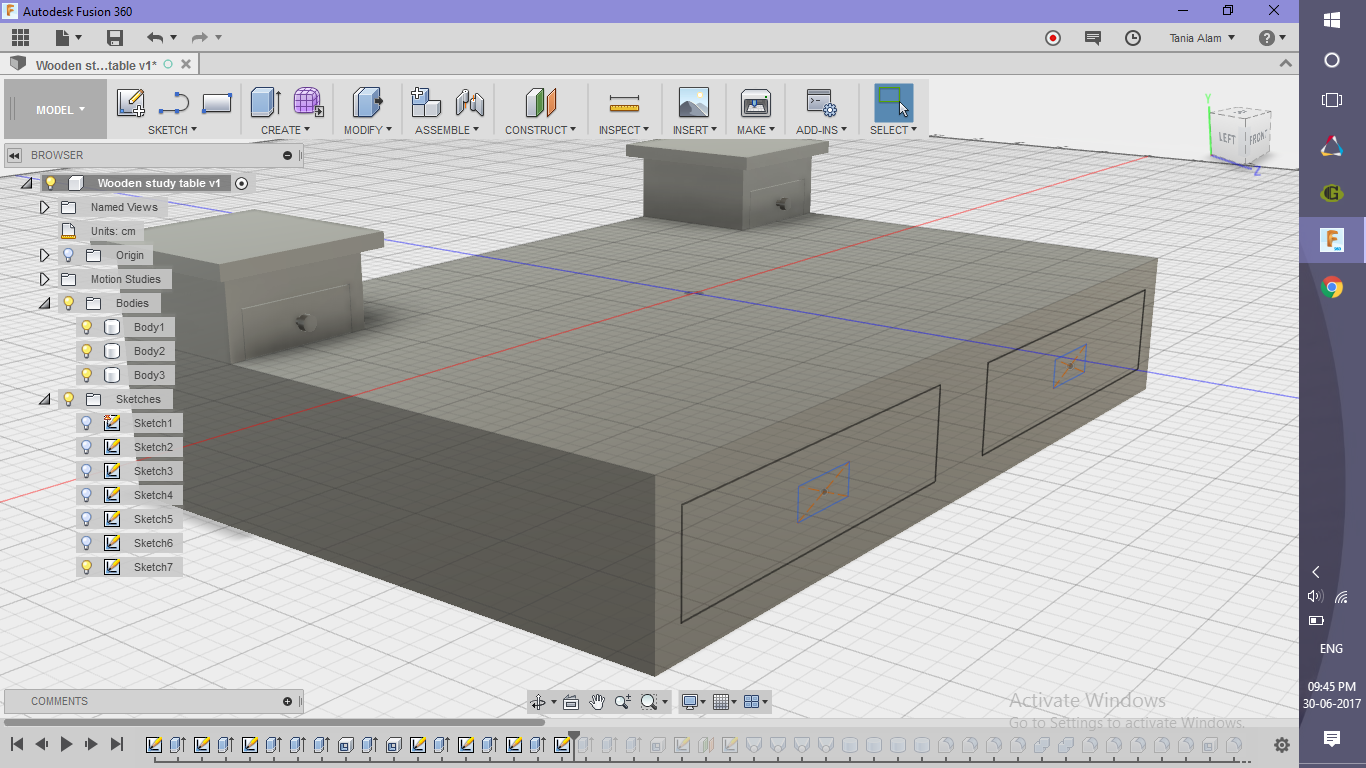
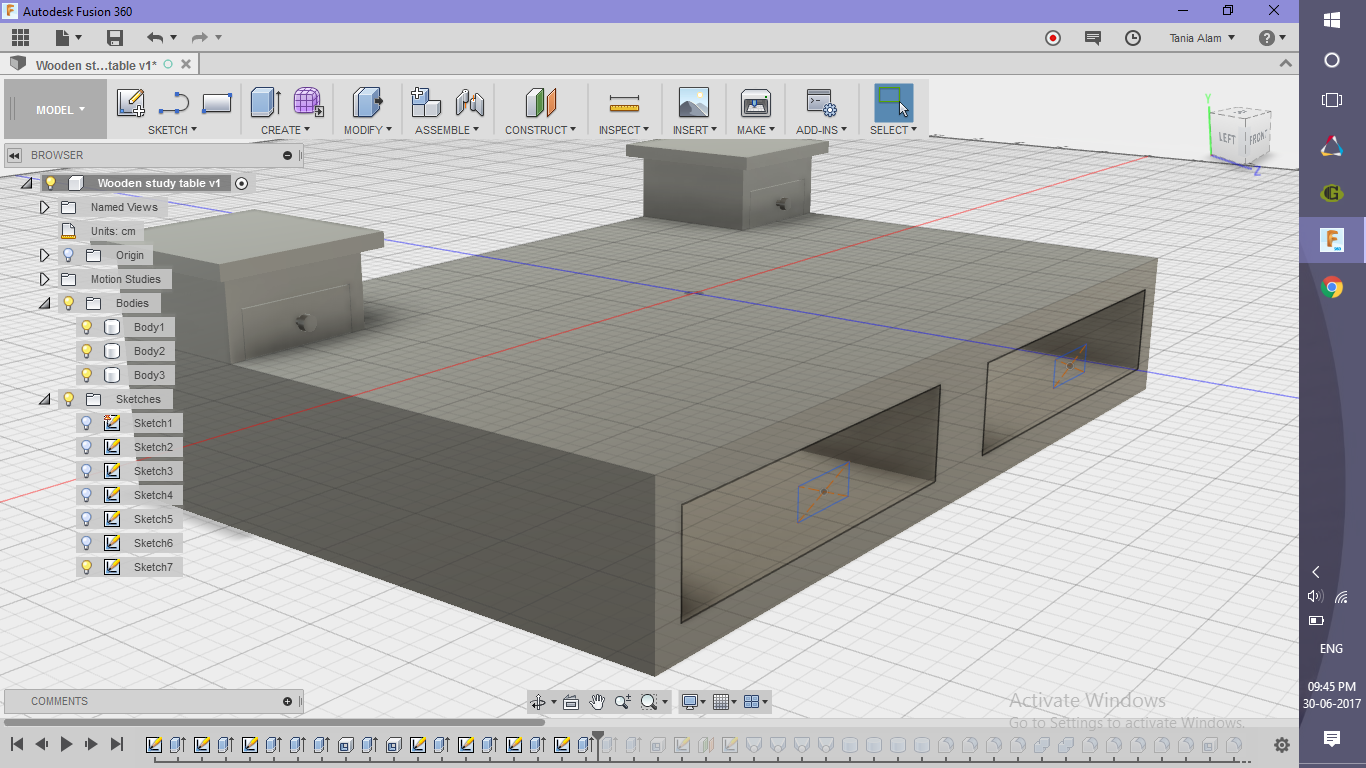
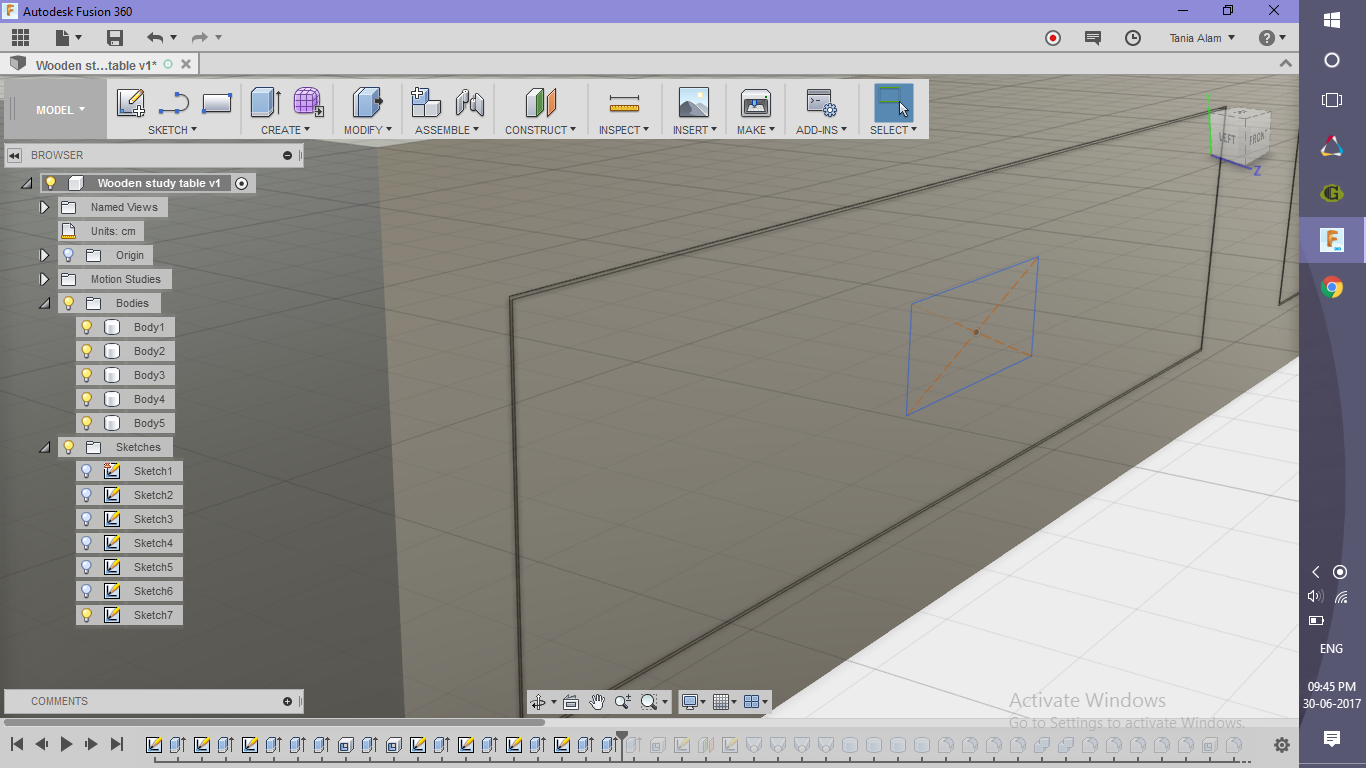
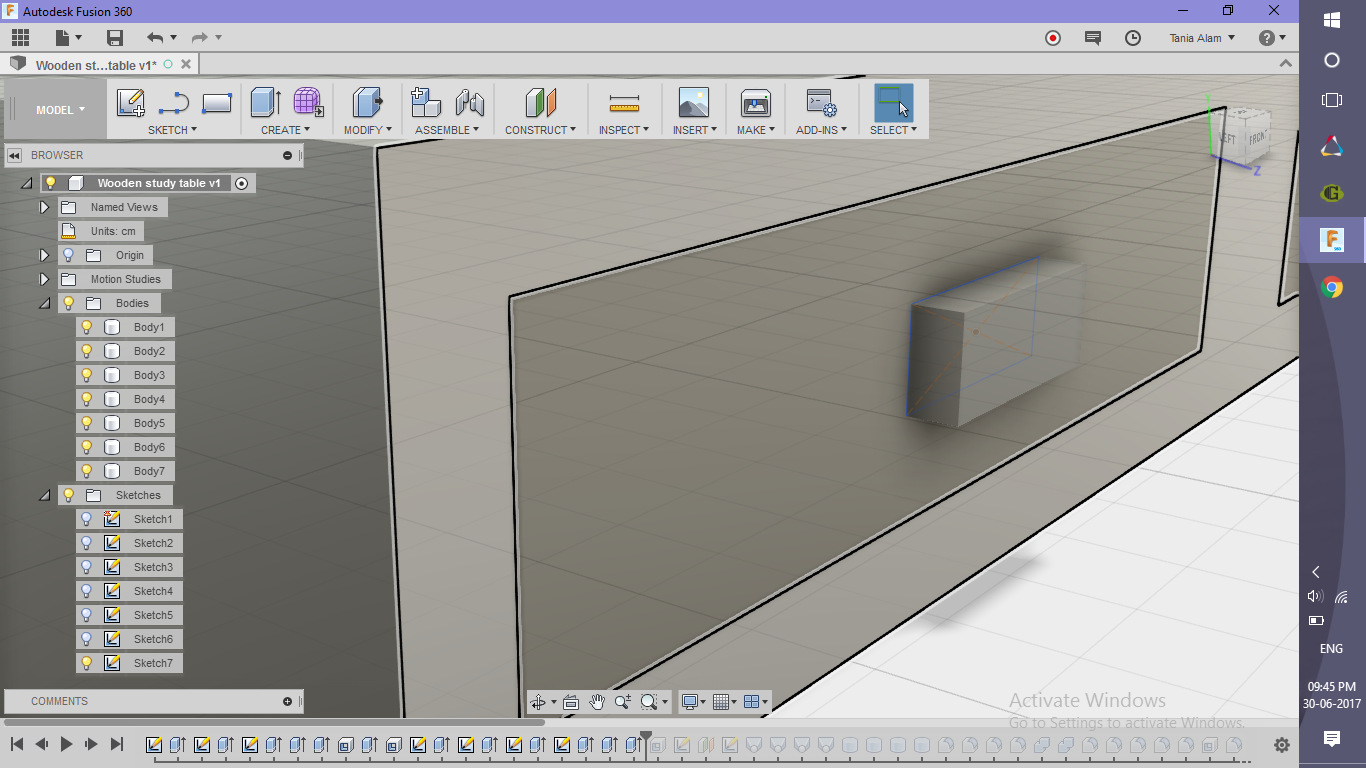
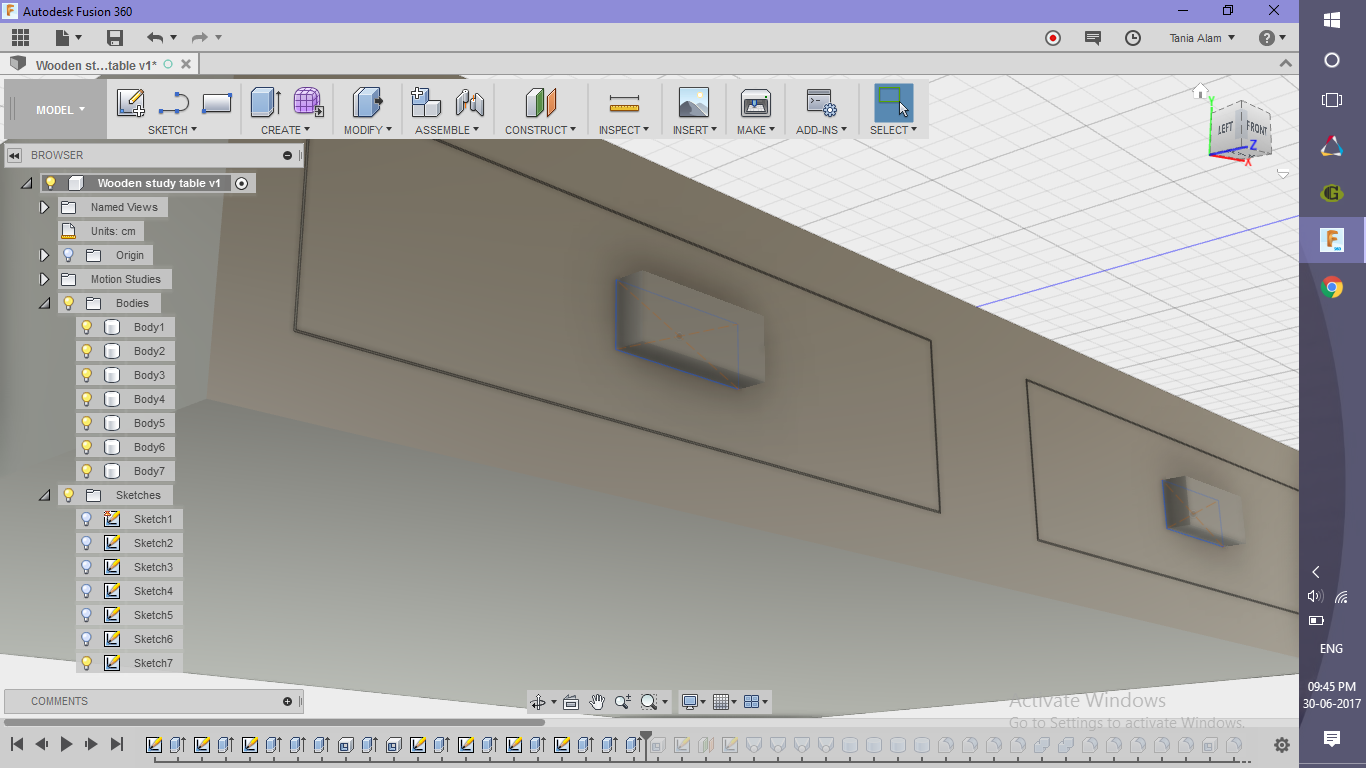
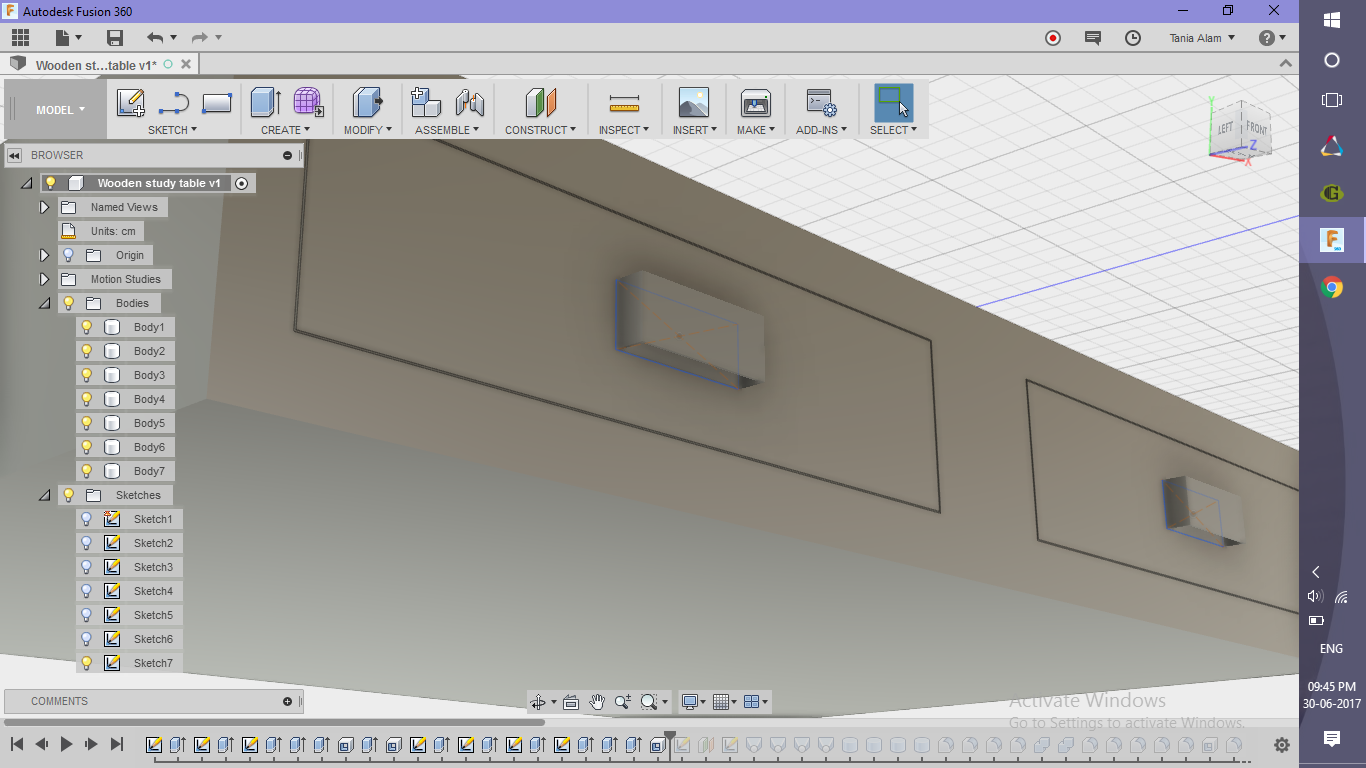
Now that you have already created the drawers for two upper drawers, it'll be very easy for you to do the same steps for the lower drawers as well. Still, for your reference, I'm providing the screenshots of my work and also summing the steps again here:
- Create a sketch of two rectangles on the front face of the table
- Extrude them
- Sketch two rectangles (offset=0.05cm)
- Extrude the outer rectangle to cut the desk and make a hollow space
- Extrude inner circle to make the drawers
- Add a similar structure which will eventually help to pull/push the drawer using extrude
Make the Stand
.png)
.png)
.png)
.png)
.png)
.png)
.png)
.png)
.png)
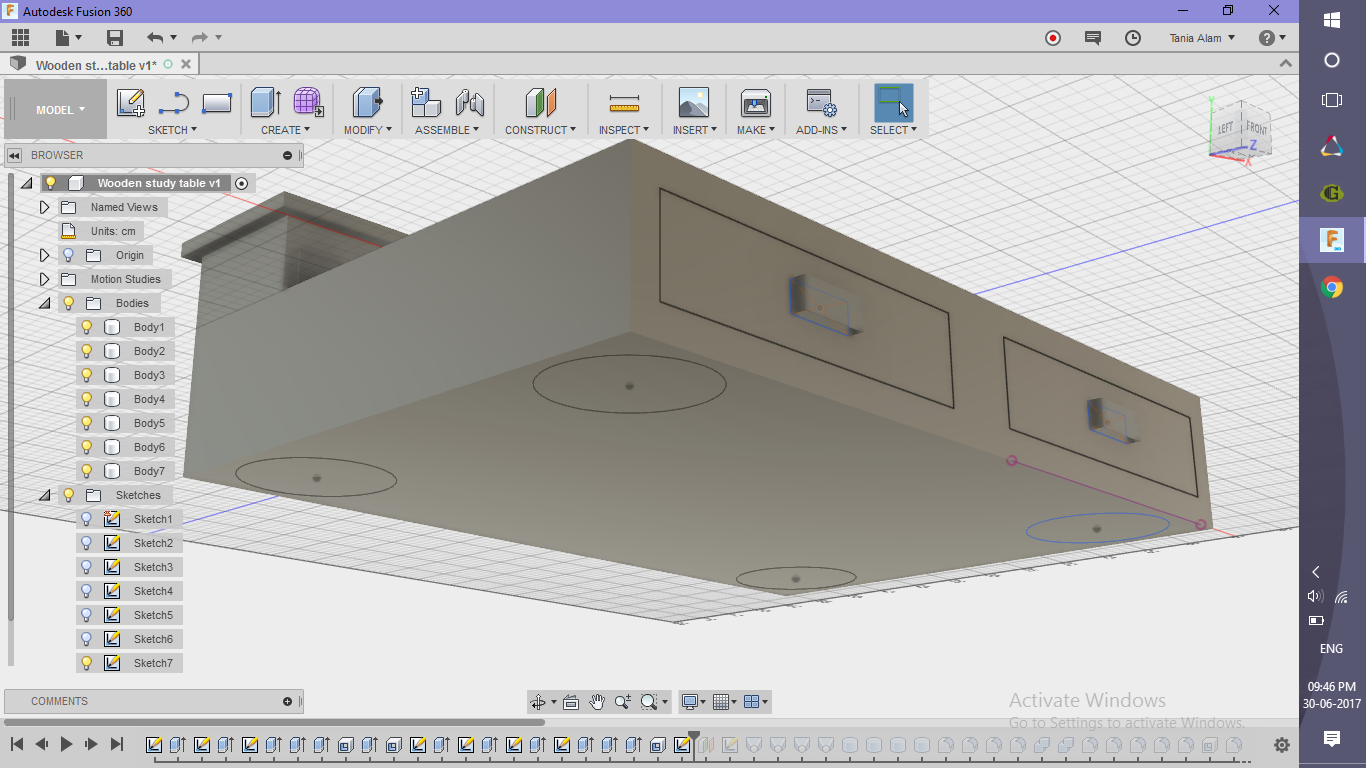
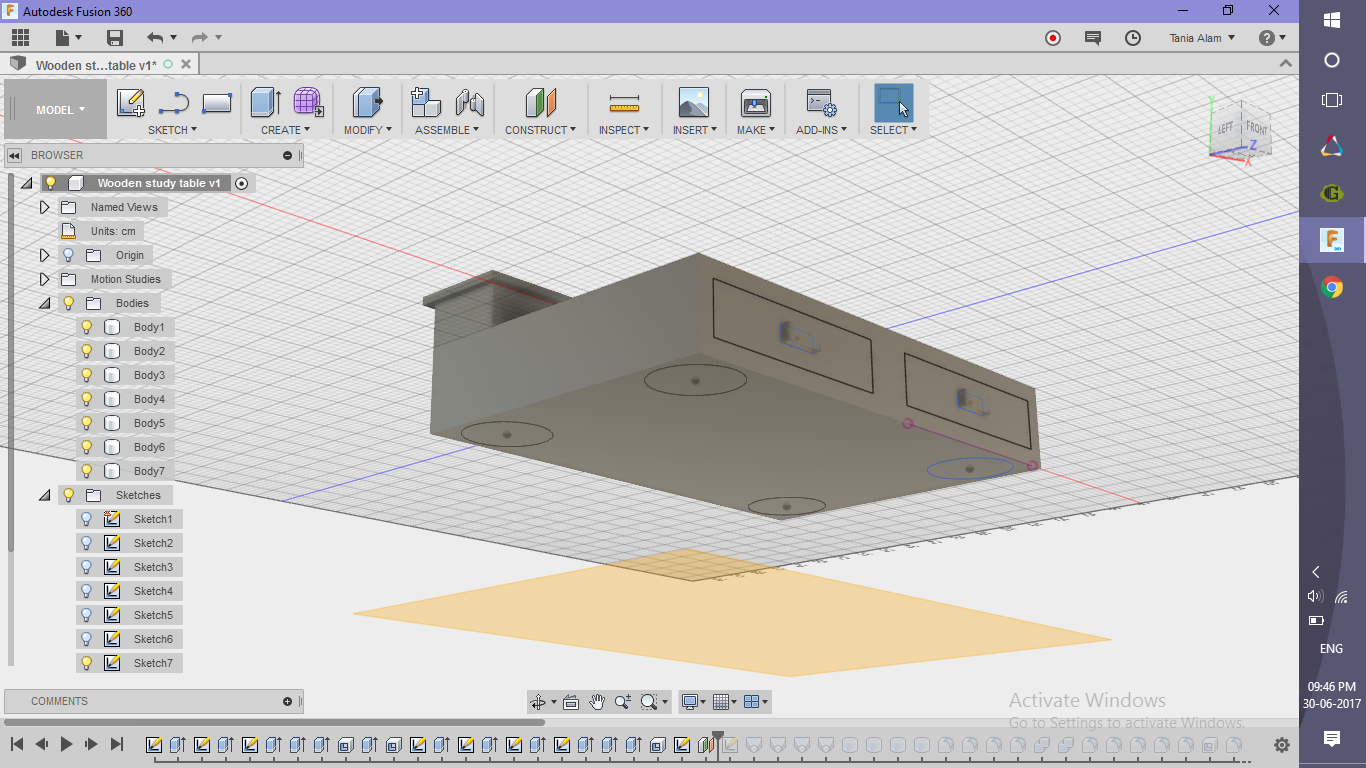
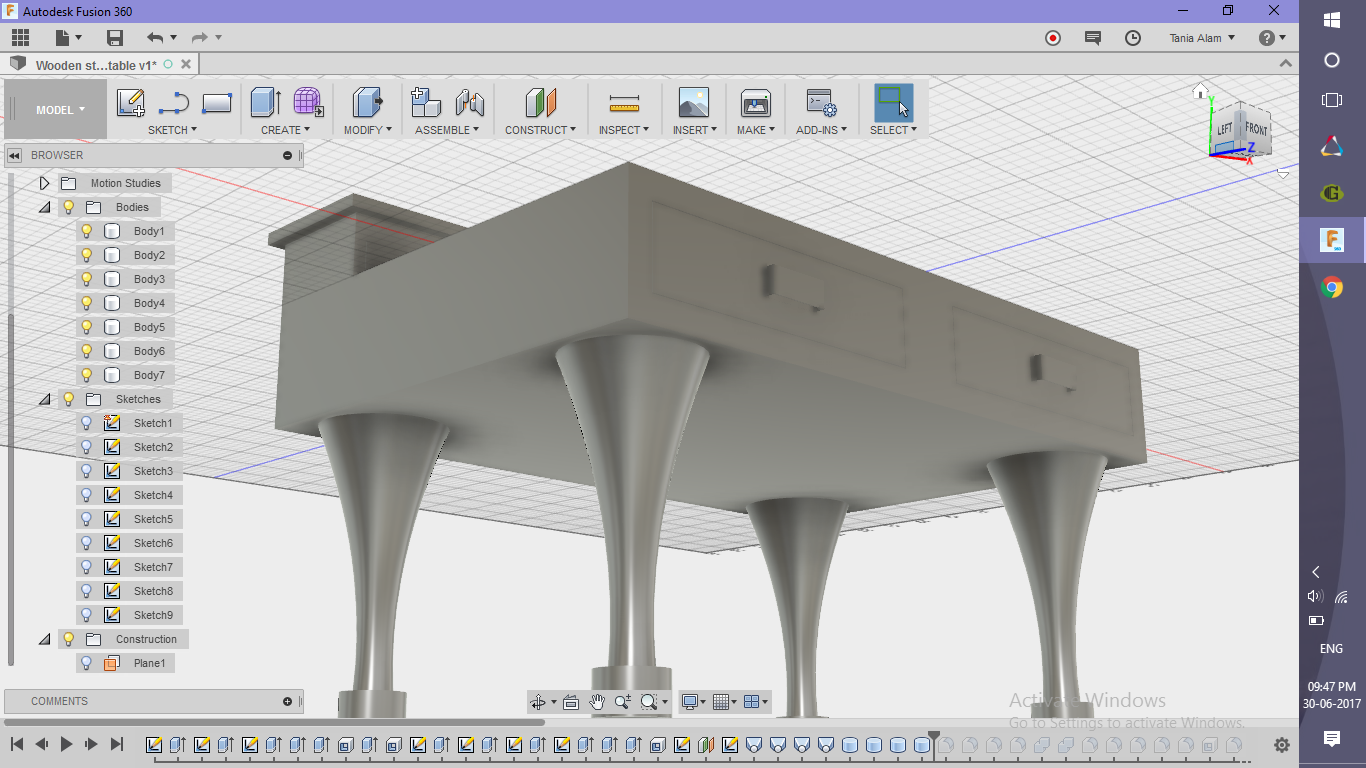
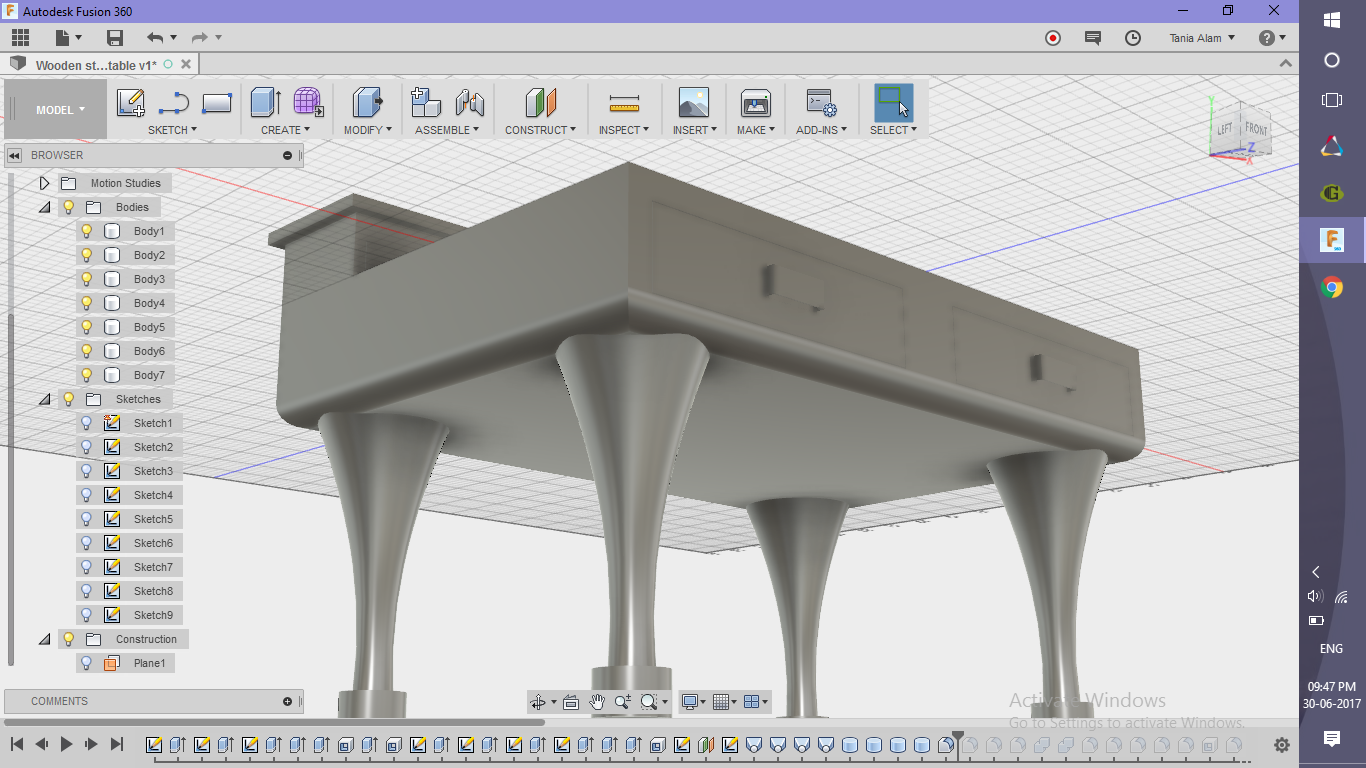
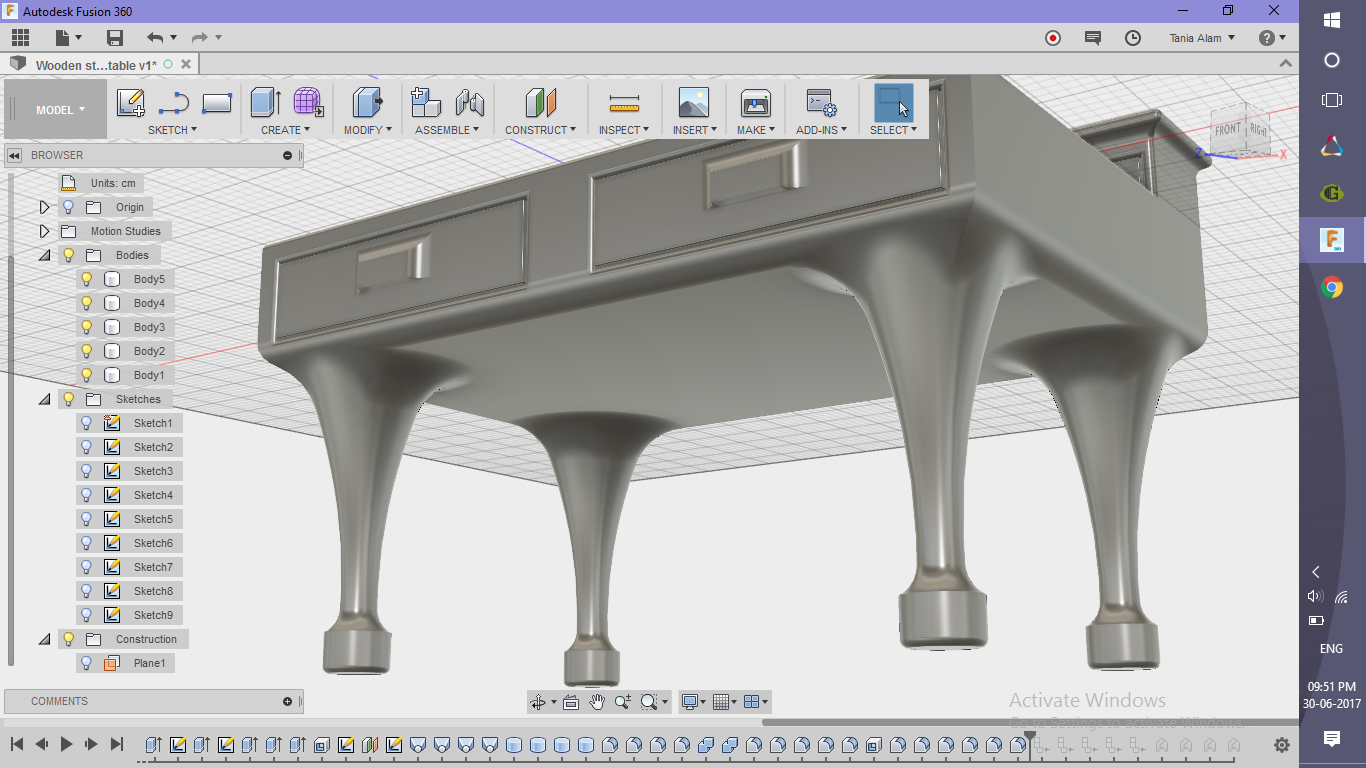
- Create four circles on the base of the desk
- Create Sketch>> Circle
- Choose the lower surface of the table as the sketch plane
- Draw 4 circles on four sides
- Use dimension to place them uniformly along the table
- Enter "d" for the dimension command
- Click on two points to mention the distance between them
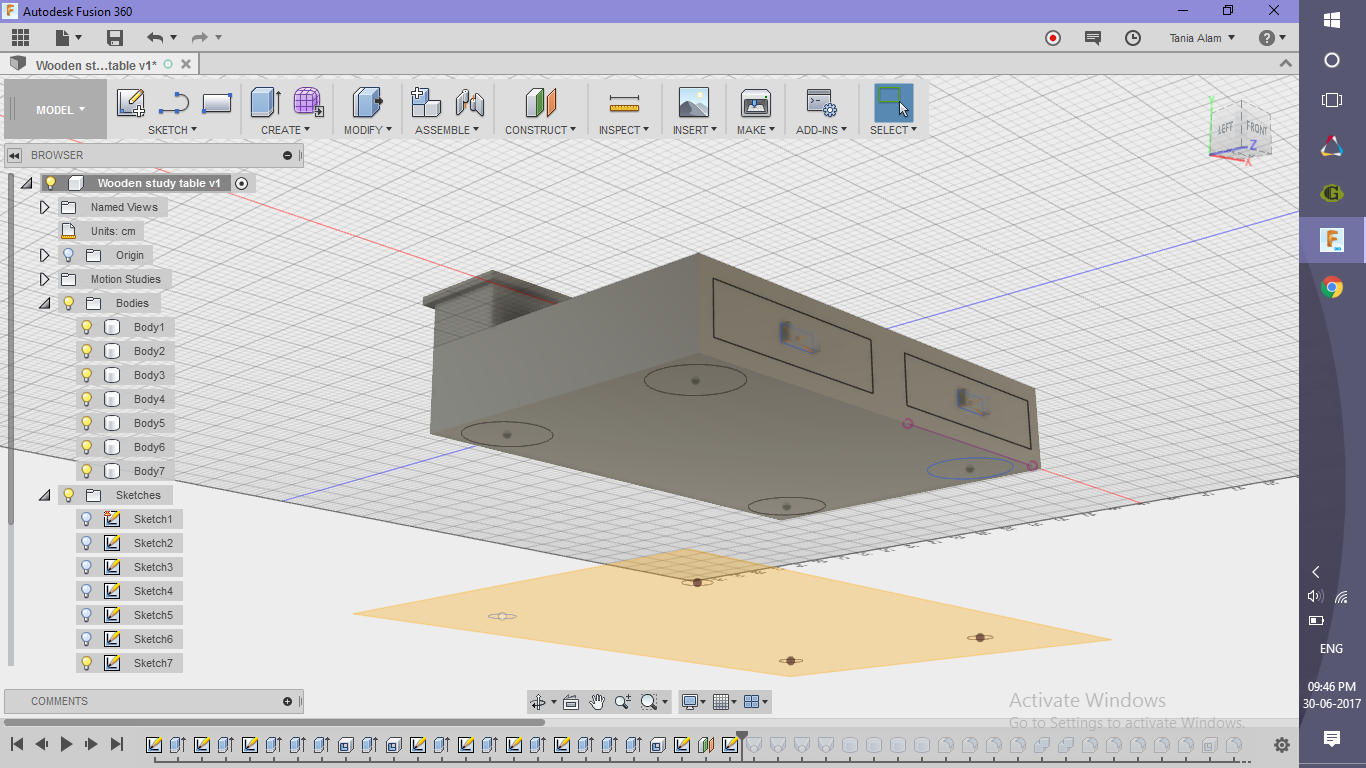
- Create another four circles on a plane at some distance below
- Choose the lower surface of the table as the sketch plane
- Draw 4 circles on four sides
- Refer to the center points of the previous set of circles
- Choose a smaller diameter
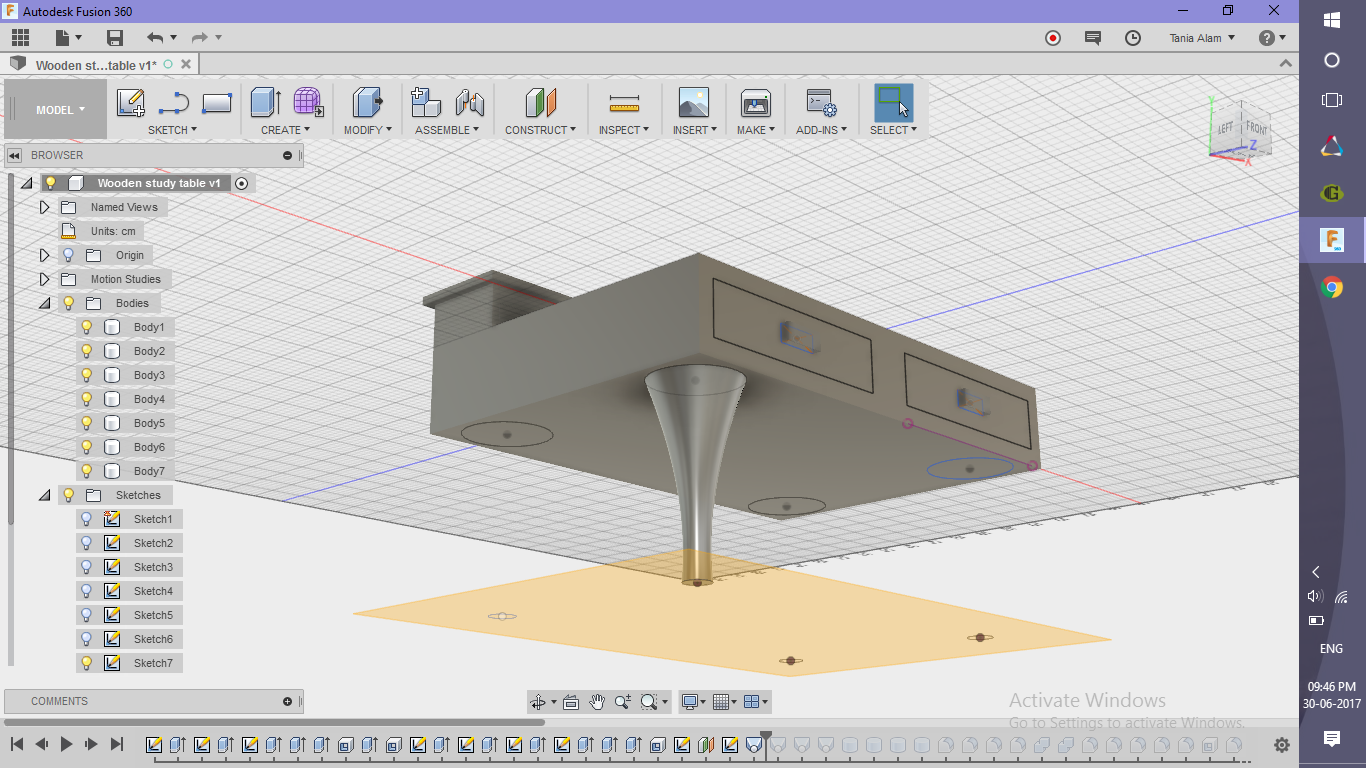
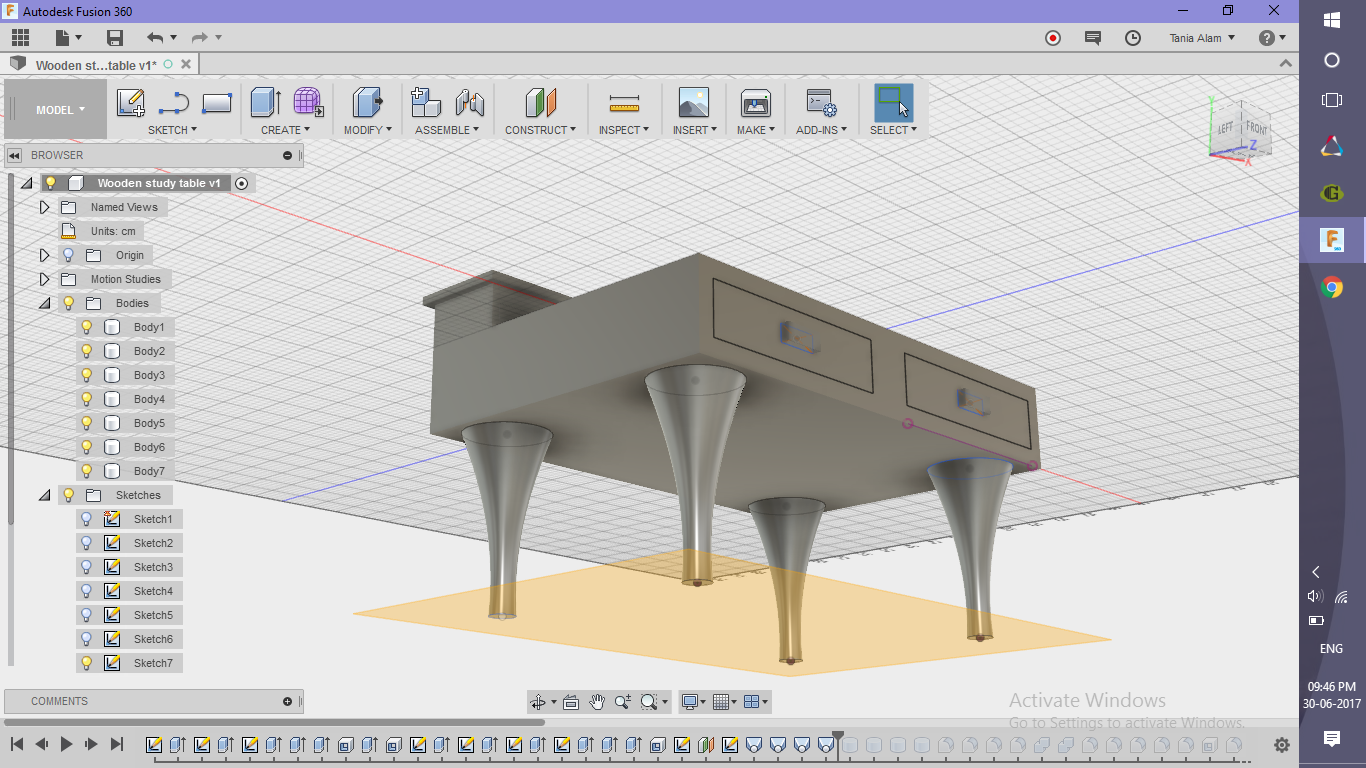
- Use loft to create the stands
- Go to "Create" tab
- Click on "Loft" command
- Choose the circle on the top plane
- Choose the circle on the offset plane
- Play with the angle to get the desired shape
- Note this angle and use it for other three stands as well
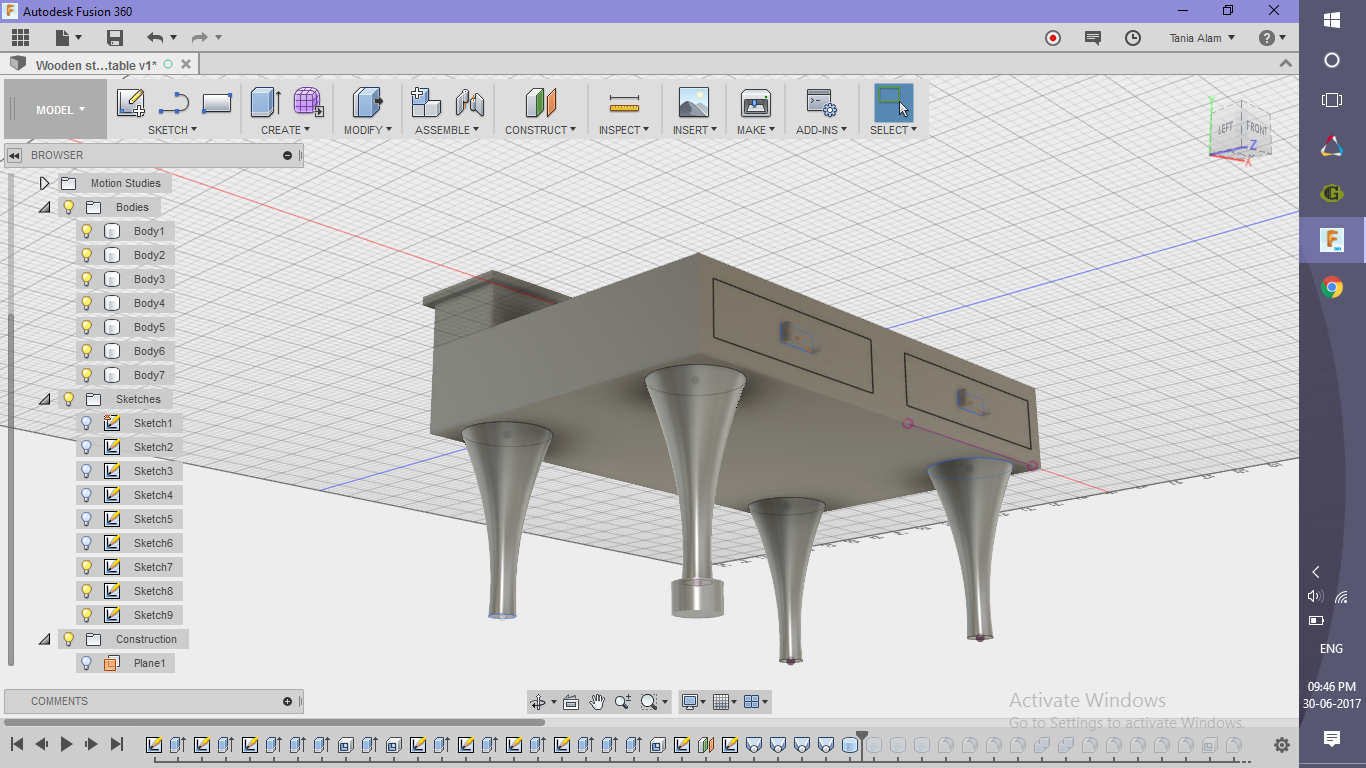
- Use Cylinder for the stand base
- Go to "Create" tab
- Click on cylinder command
- Choose the center of the base circle as the center of the cylinder
- Give it some diameter and height
Add Some Finishing
.png)
.png)
.png)
.png)
.png)
.png)
.png)
.png)
.png)
.png)
.png)
.png)
.png)
.png)
.png)
.png)
.png)
.png)
.png)
.png)
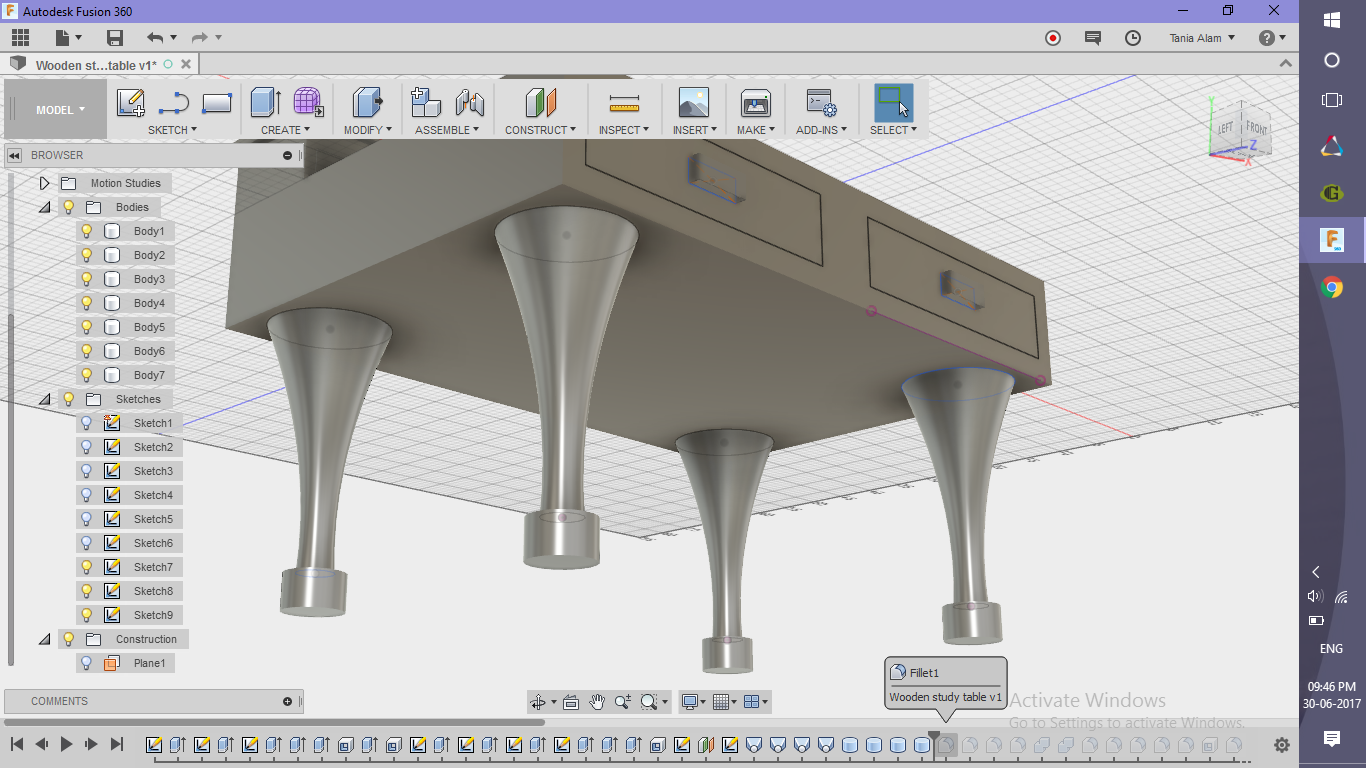
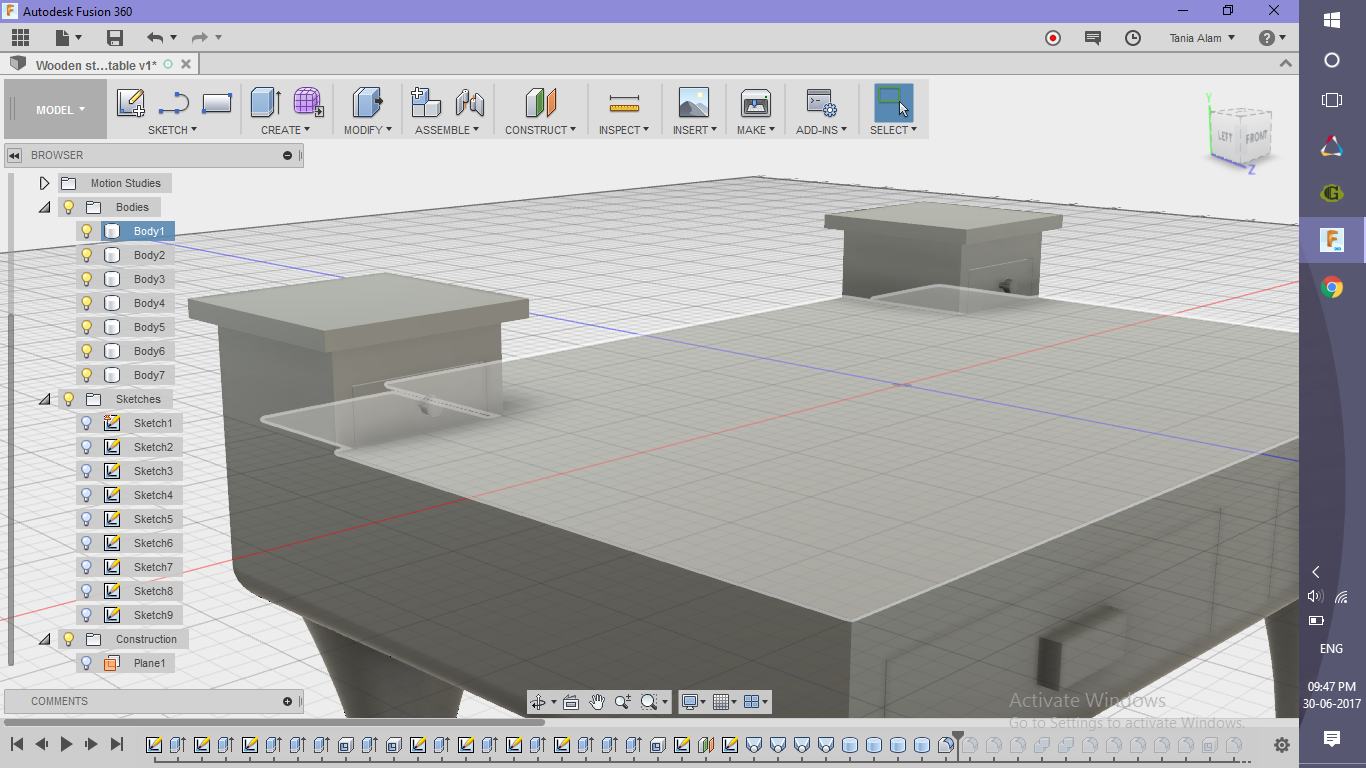
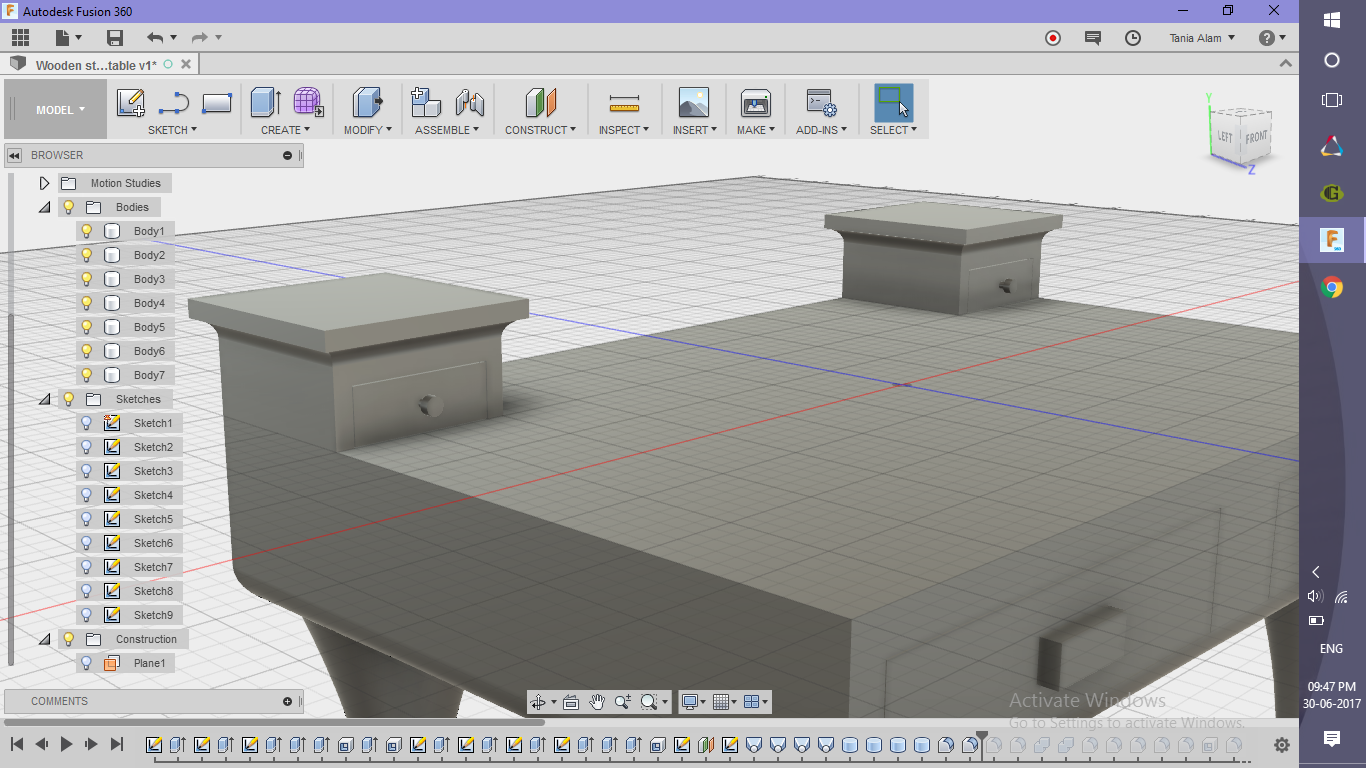
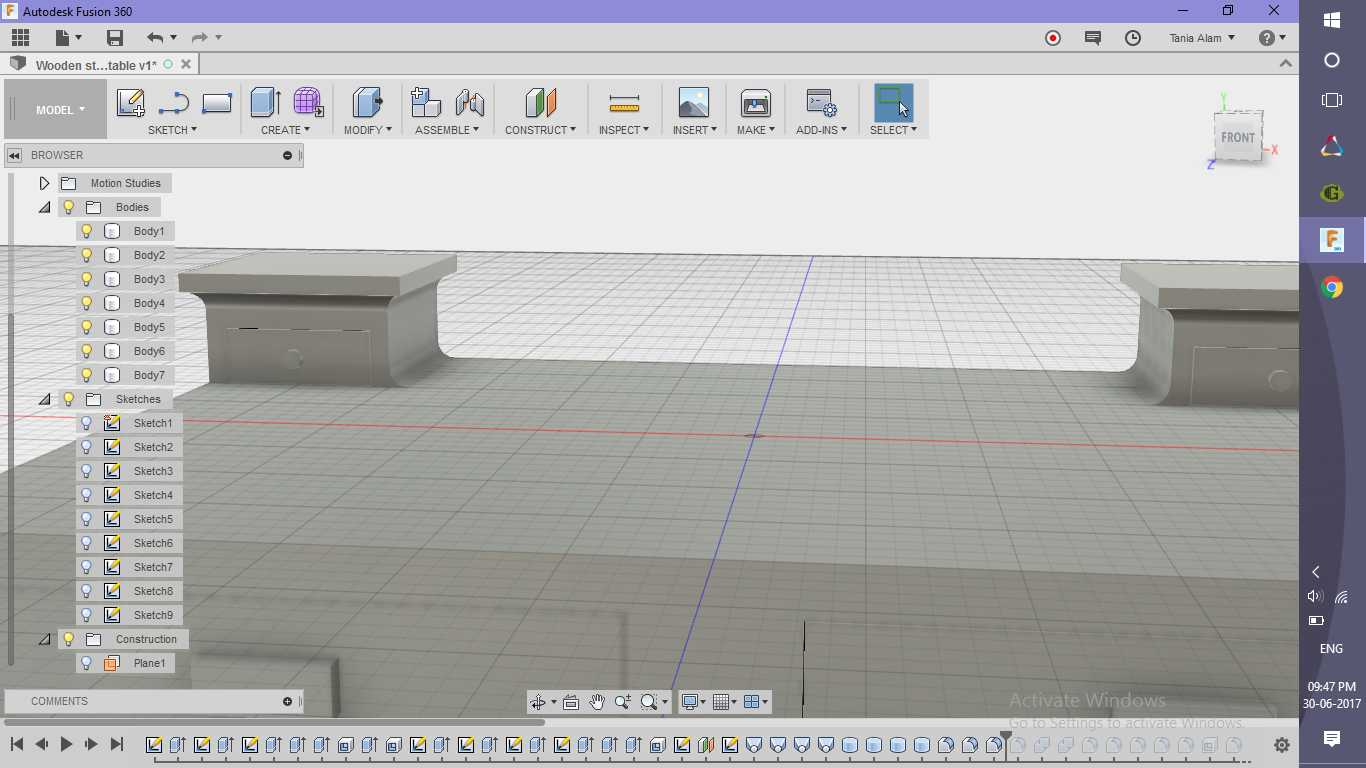
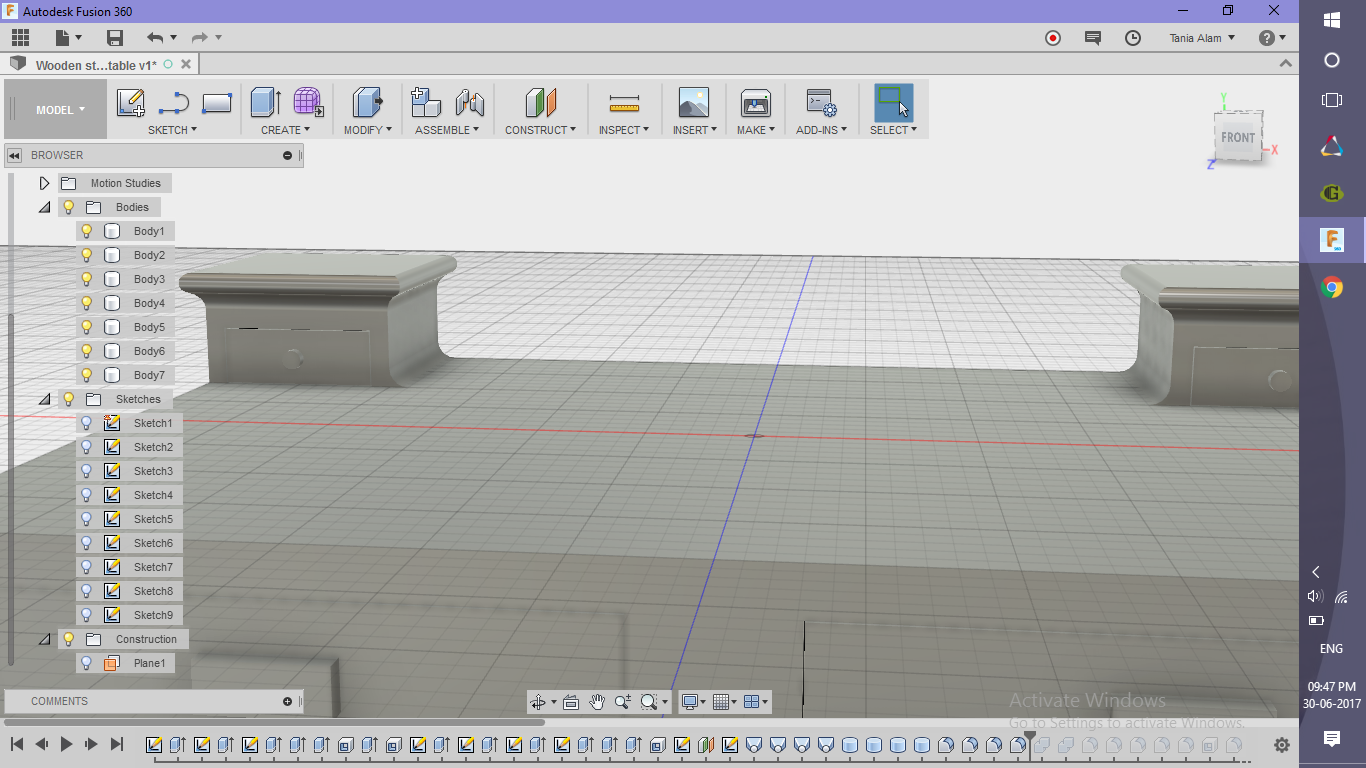
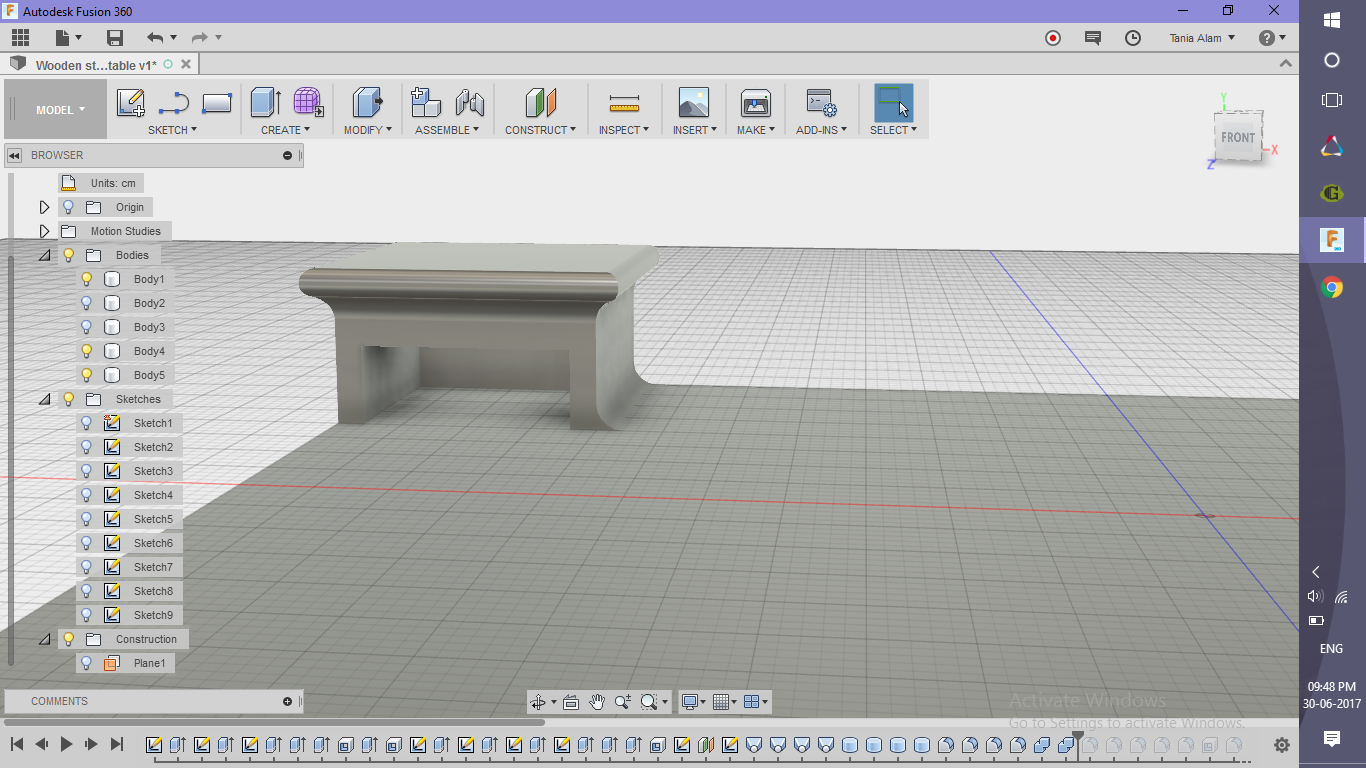
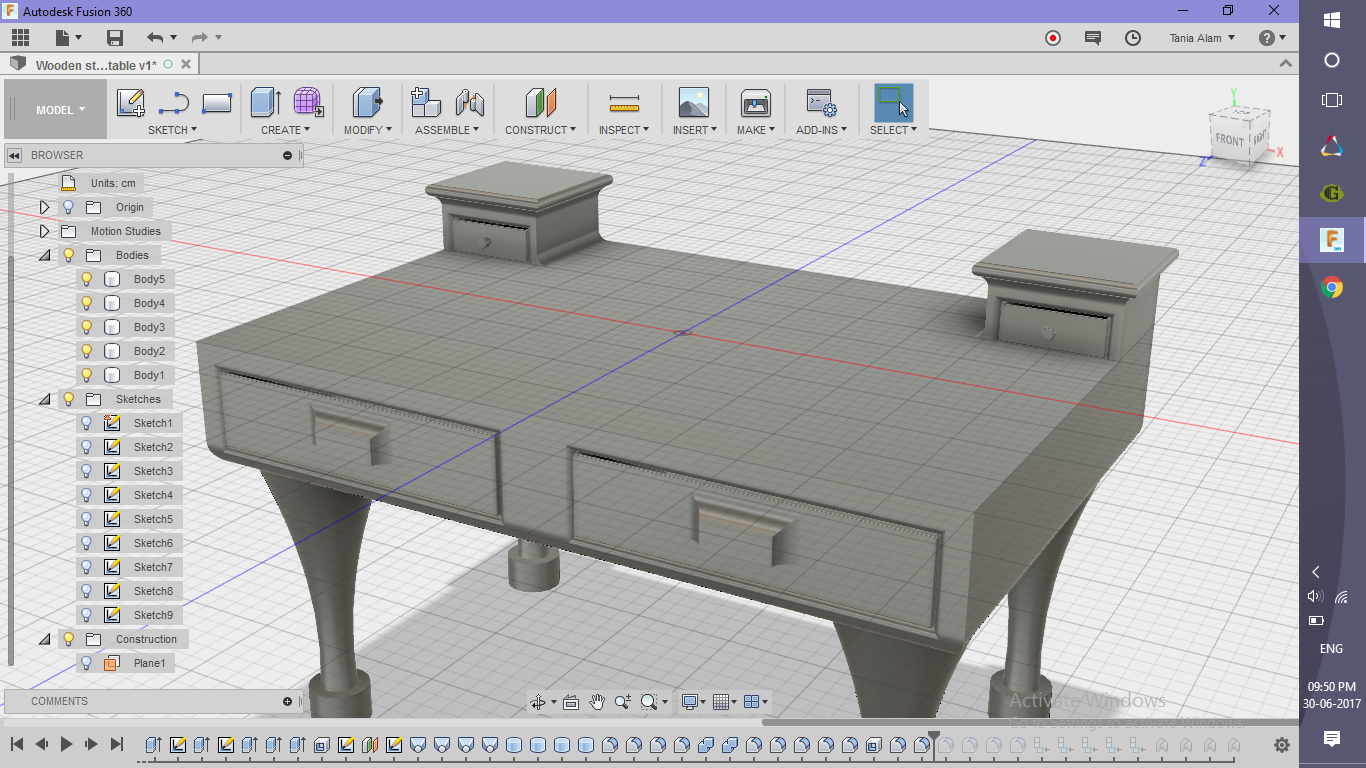
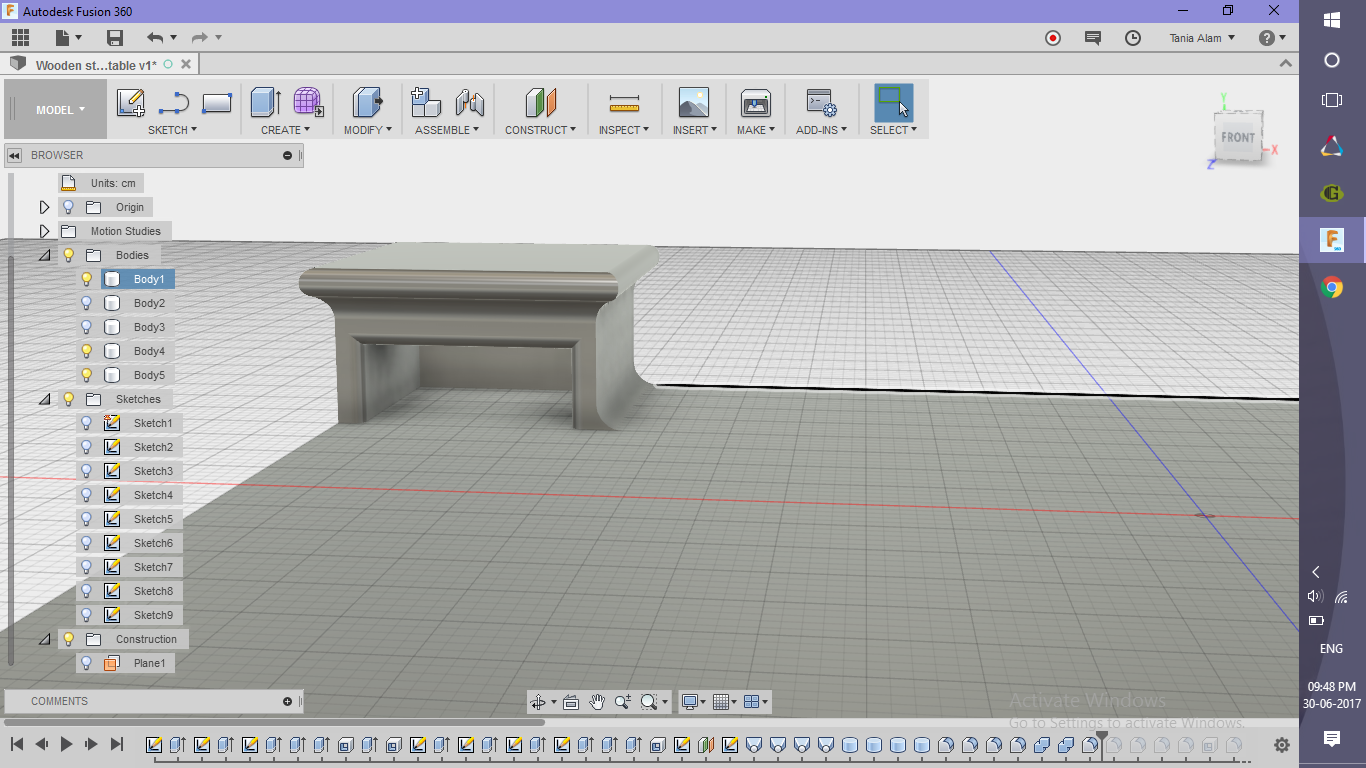
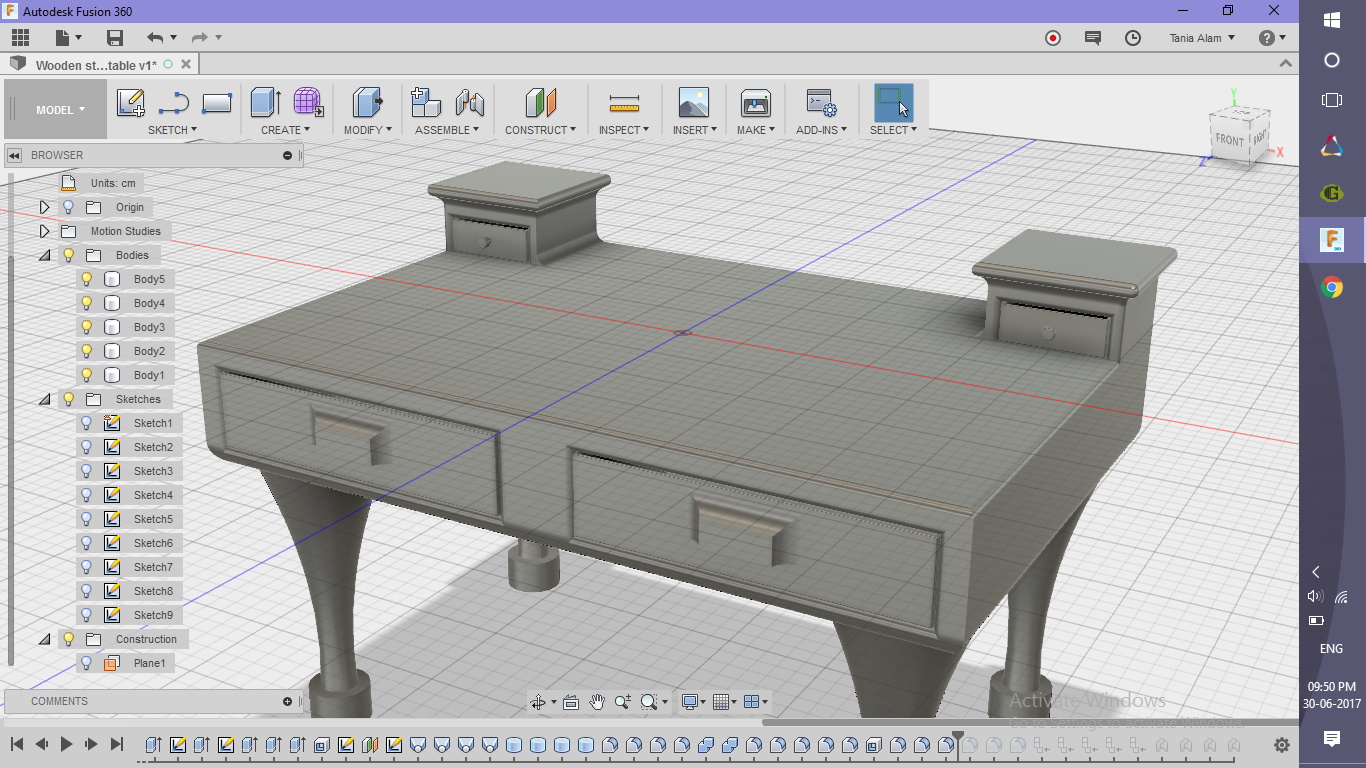
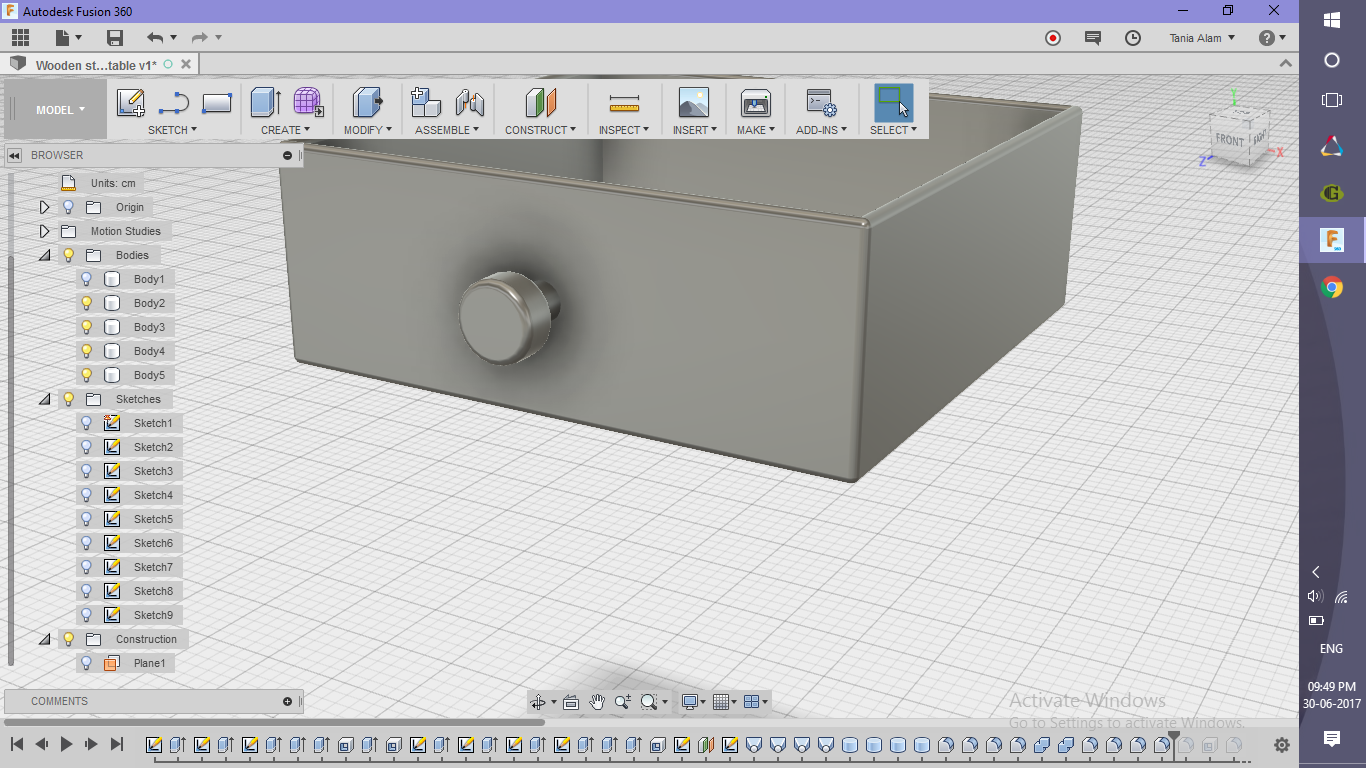
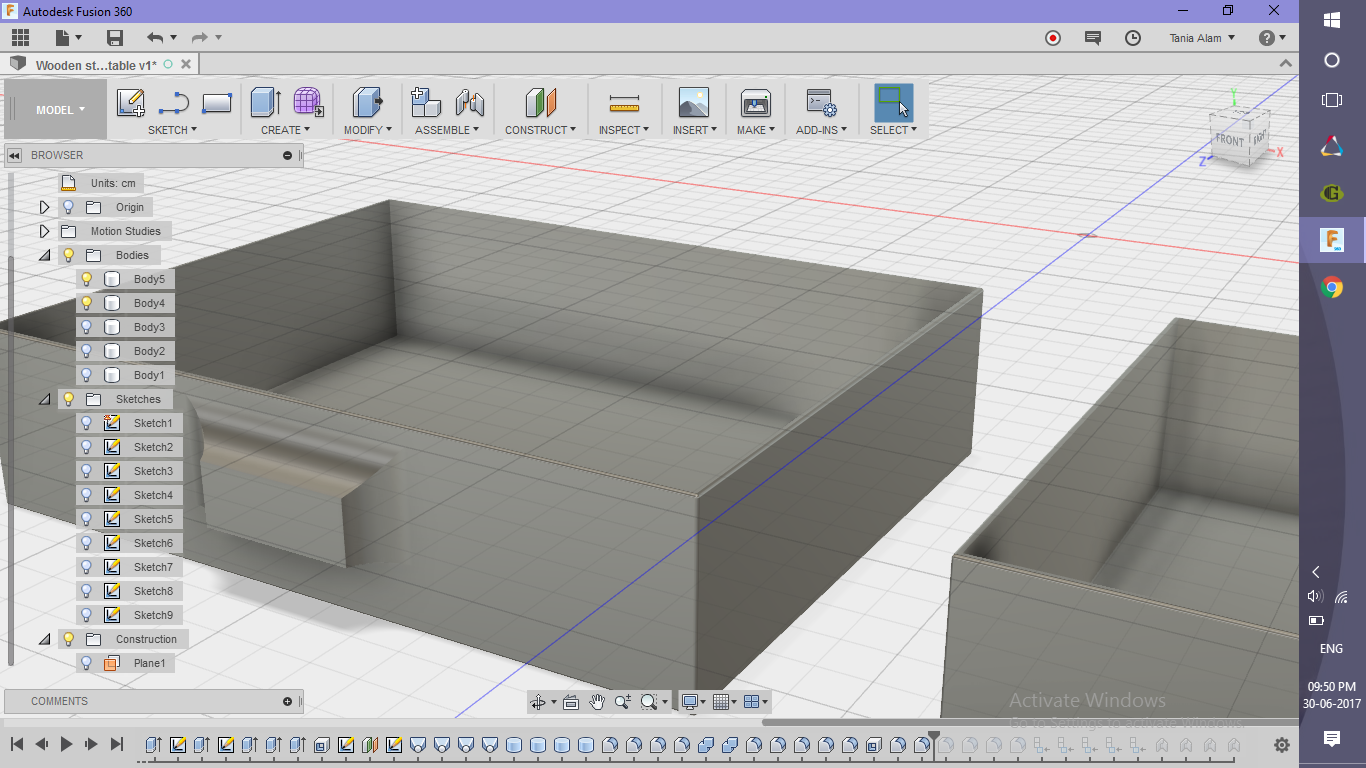
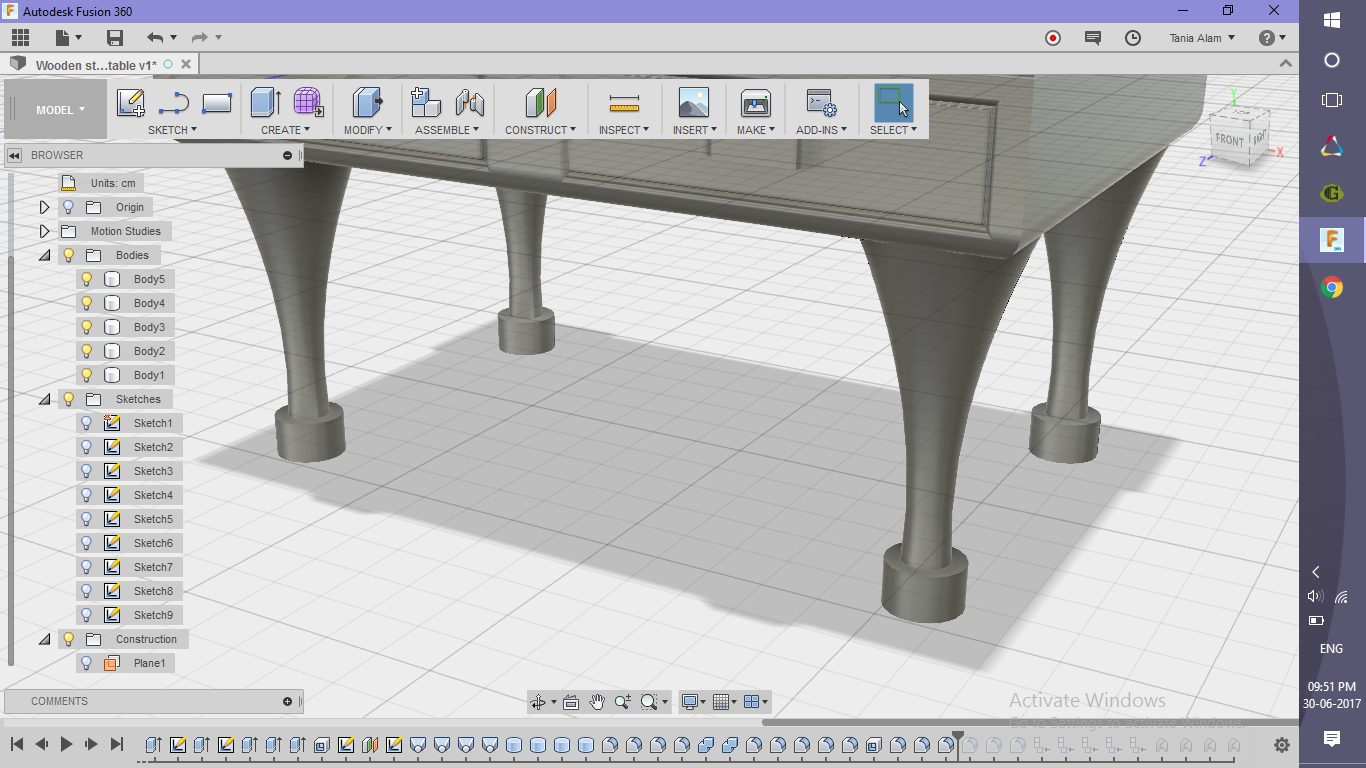
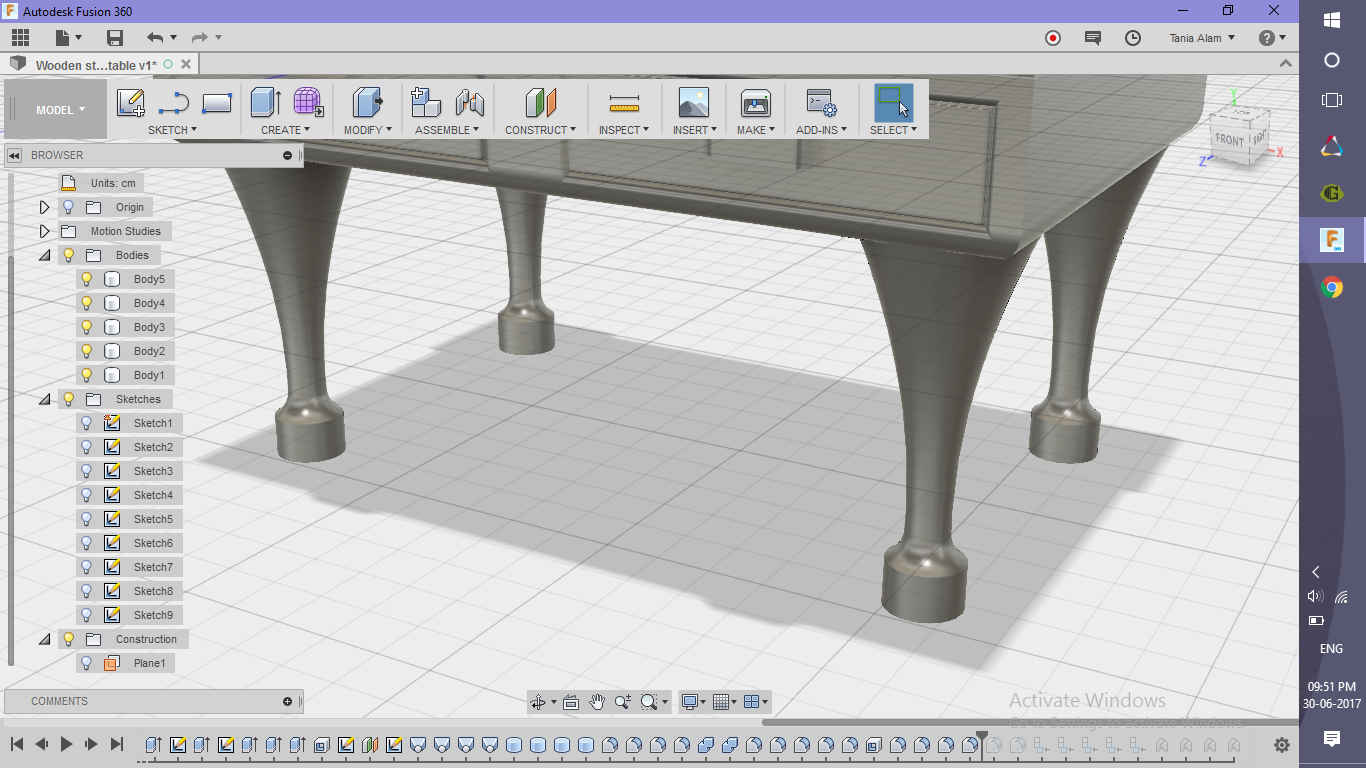
- Click on "F" on your keyboard to activate the fillet command OR Search for it under "Create" tab
- Click all the edges you want to fillet
- Provide a suitable radius
- If you want to apply different radii for different edges, you need to select them separately
- Turn off the visibility of the table by clicking on the bulb-like icon beside it's name in the browser (under "Body")
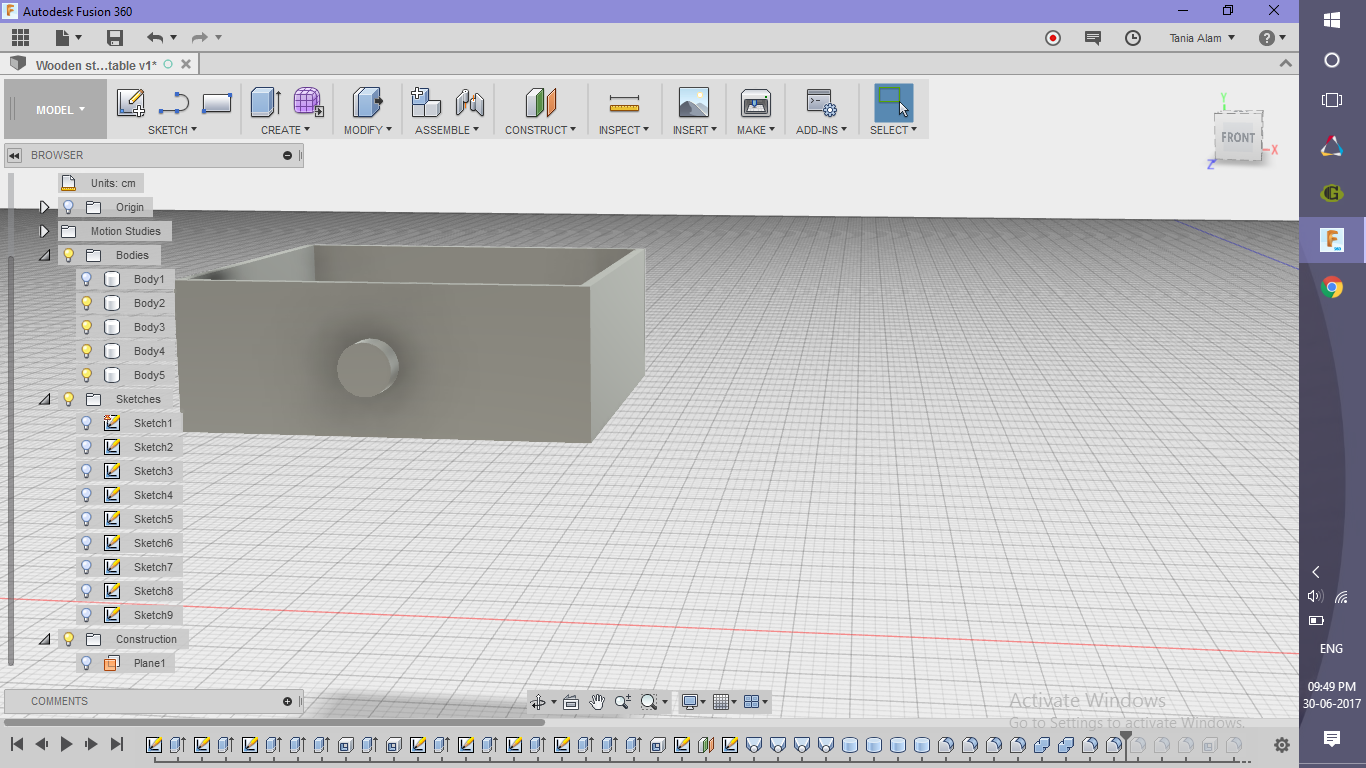
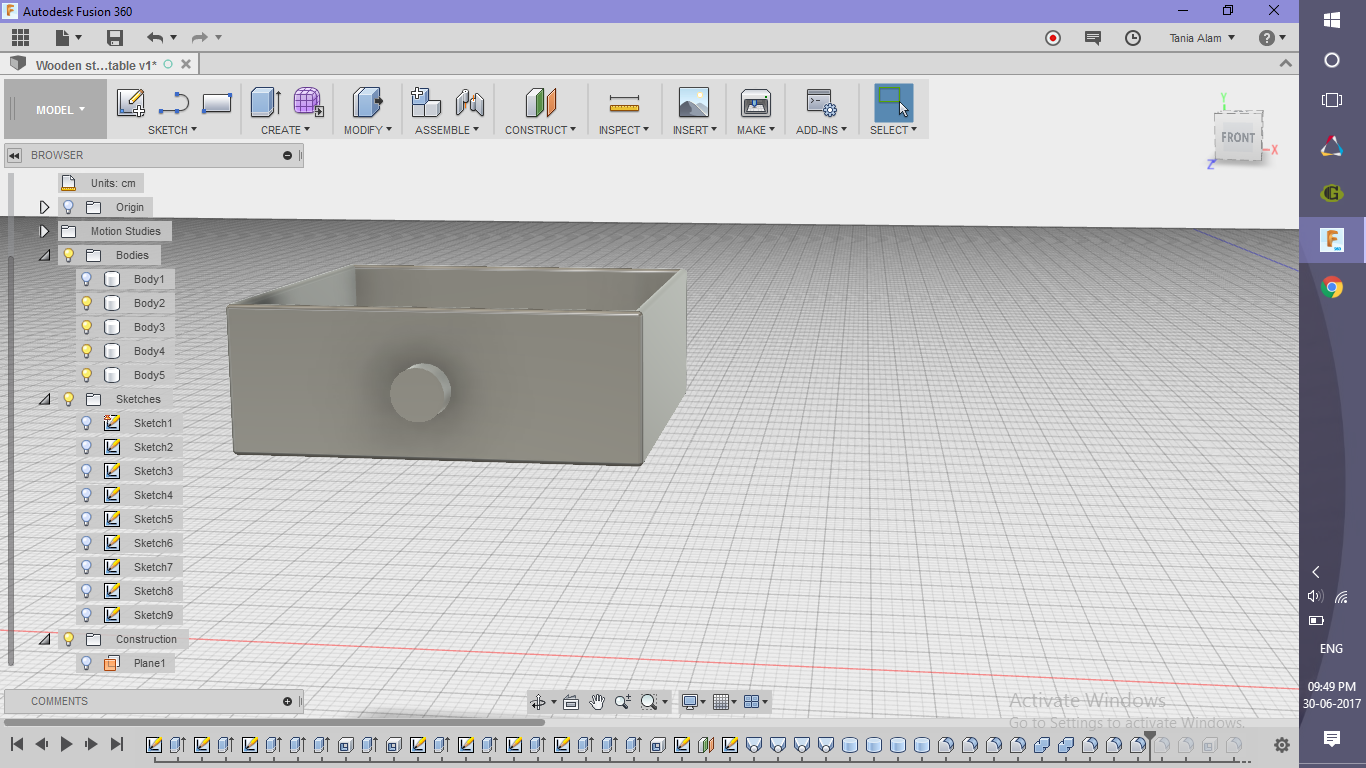
- Apply fillets to the sharp edges of the drawers too
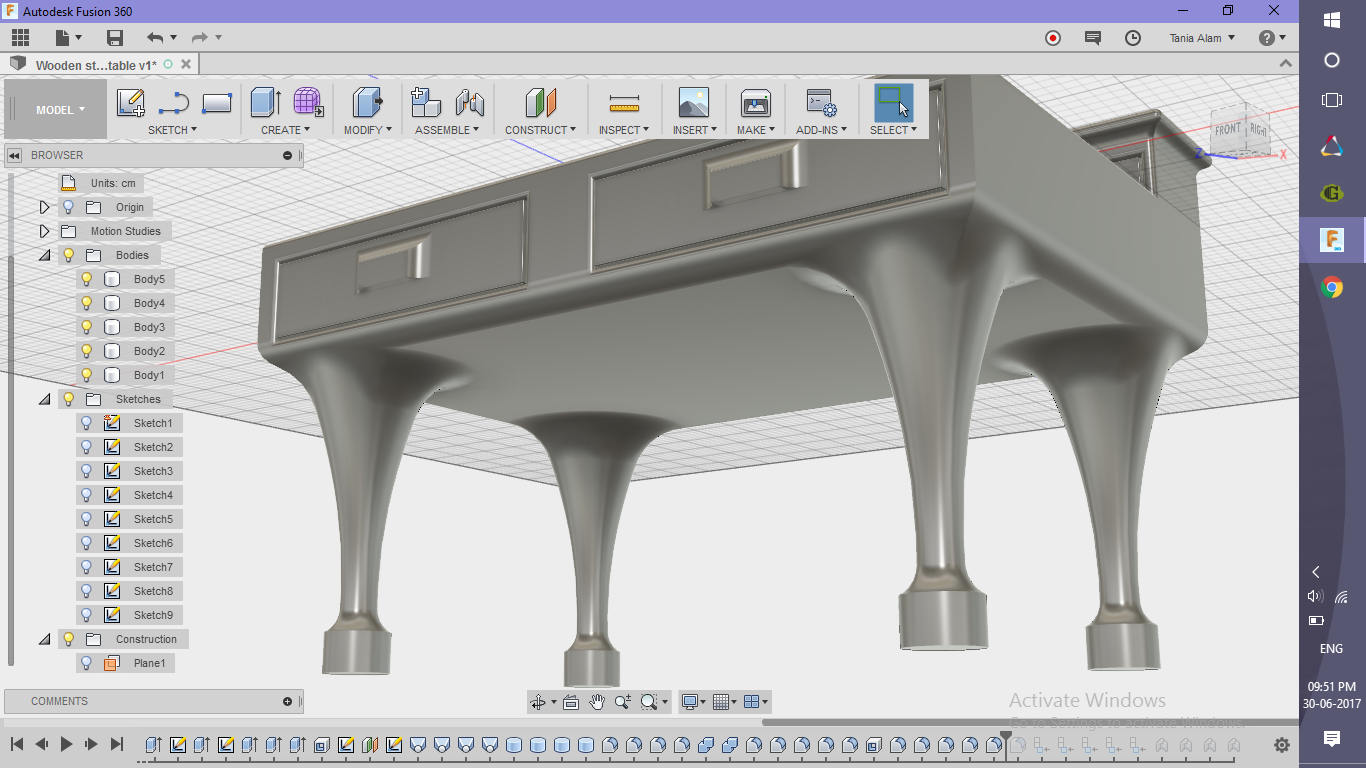
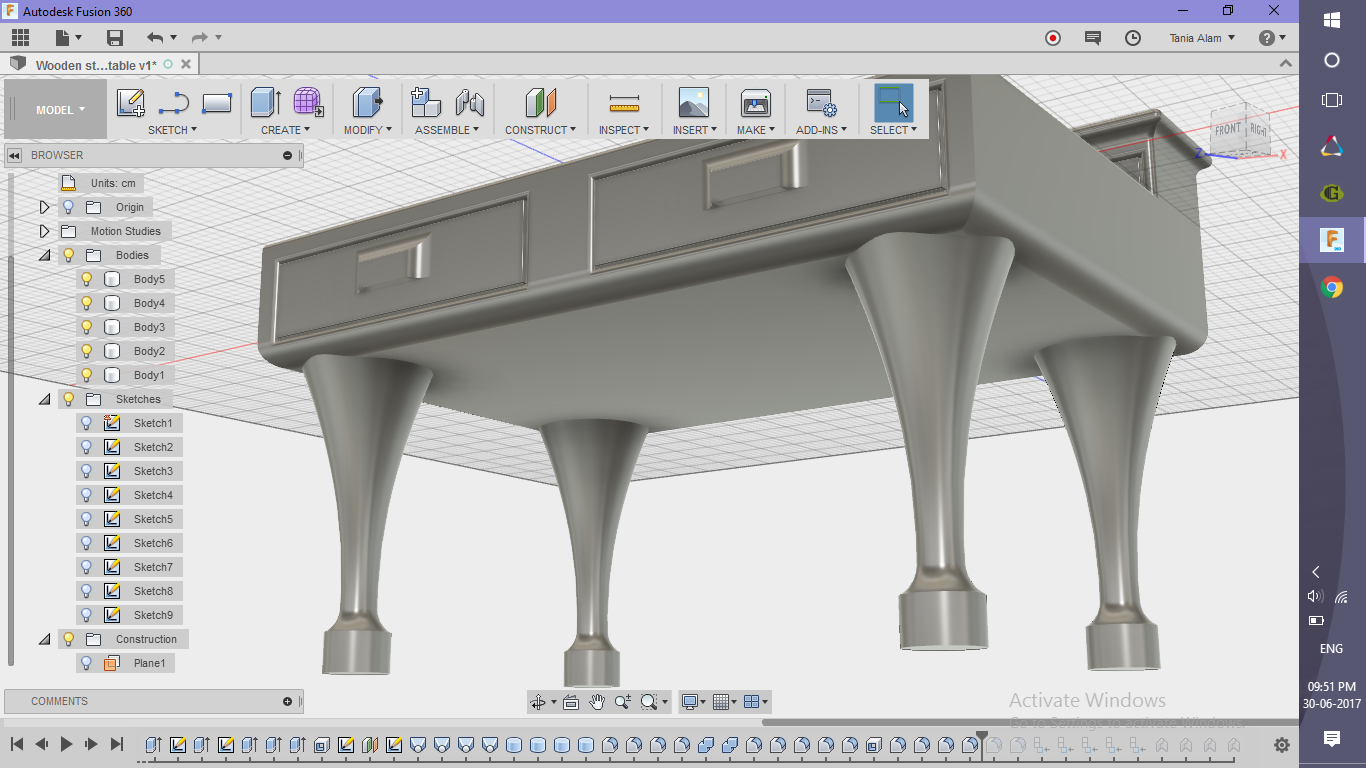
- Do similar steps for the stand as well
Add a Motion Study (optional)
.png)
.png)
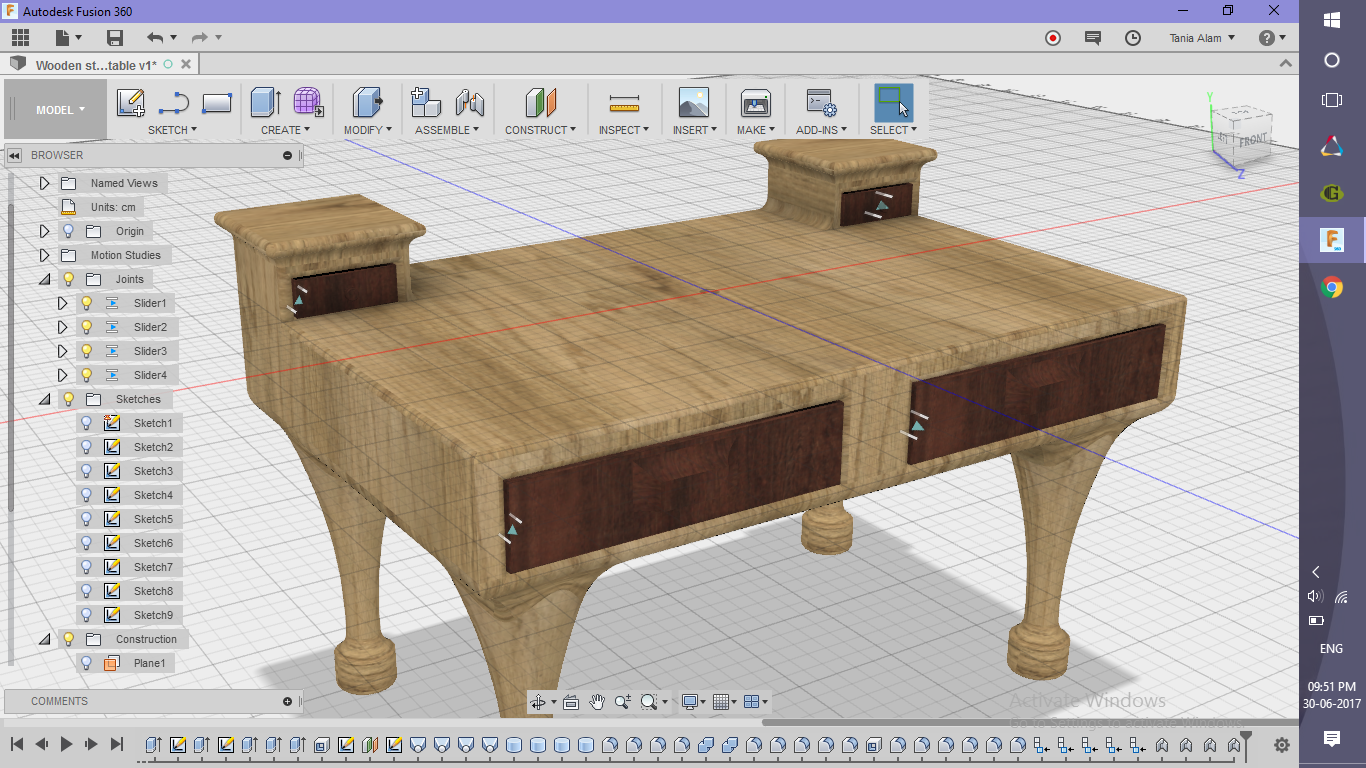
- Add 4 slider joints between the desk and each drawer using "As-Built" joint
- Go to "Assemble" tab
- Click on "As-built" command
- Choose the table and one of the drawers
- Choose the "Slider" option
- Pick up a location for the joint (choose top surface of the table)
- Repeat the same steps for the other three drawers as well
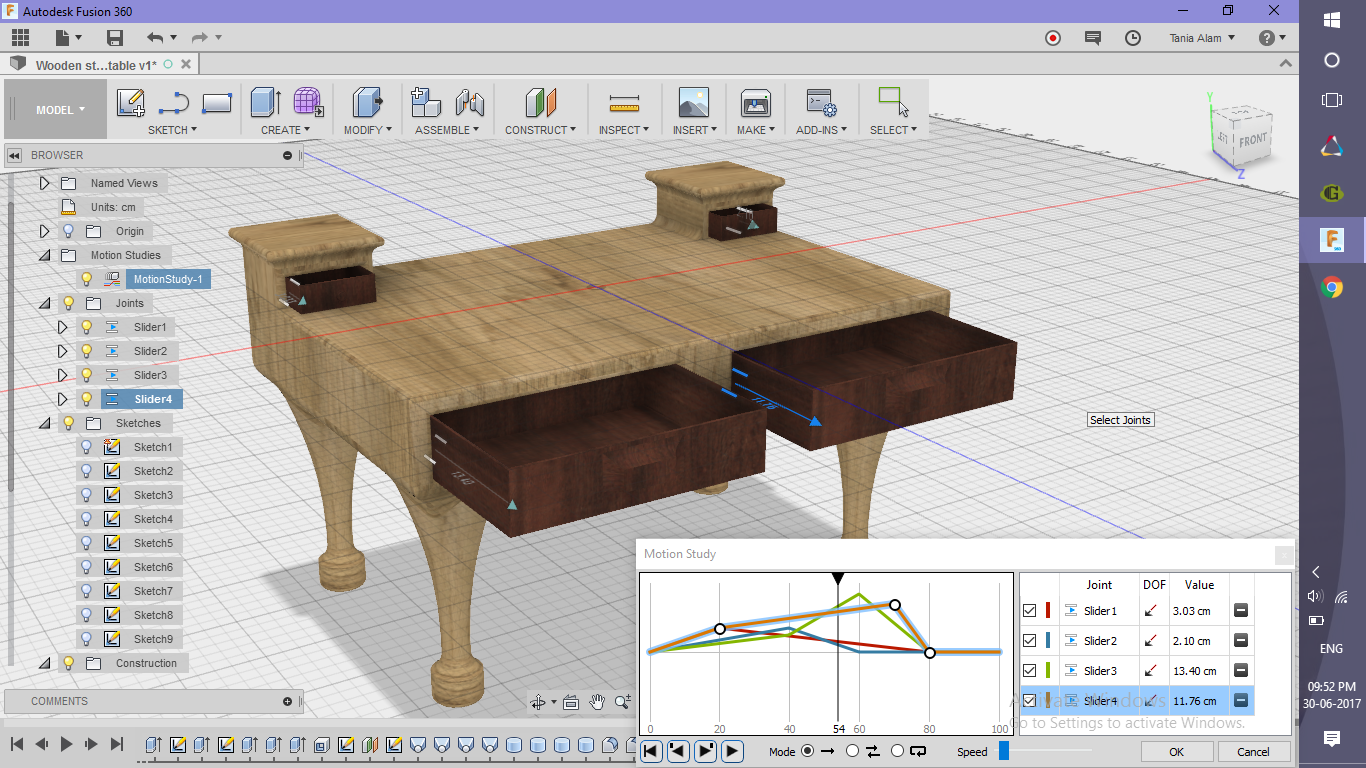
- Create a motion study
- Go to "Assemble" tab
- Click on "Motion Study" option
- Drag the slider to choose steps (eg: drag till 100 for a 10 seconds animation)
- Click on the four slider joints
- Add points by clicking on each of the line representing the joint
- Choose non-uniform and randomly varying distances for each joint
Get the Renderings!
.png)
.png)


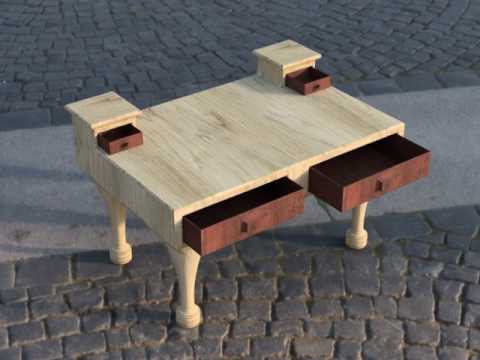
Once you save the file, it will automatically start rendering. If you have created the motion study, choose a view and render it as the motion study using the following steps:
- Position the box according to the view you want to see
- Click on "Render"
- Wait for some time to get the rendering
- Once done, click on that image in the Rendering Gallery
- Click on the first icon after "Render As" (similar to the play button)
- Wait for some time to get the rendering of the motion study
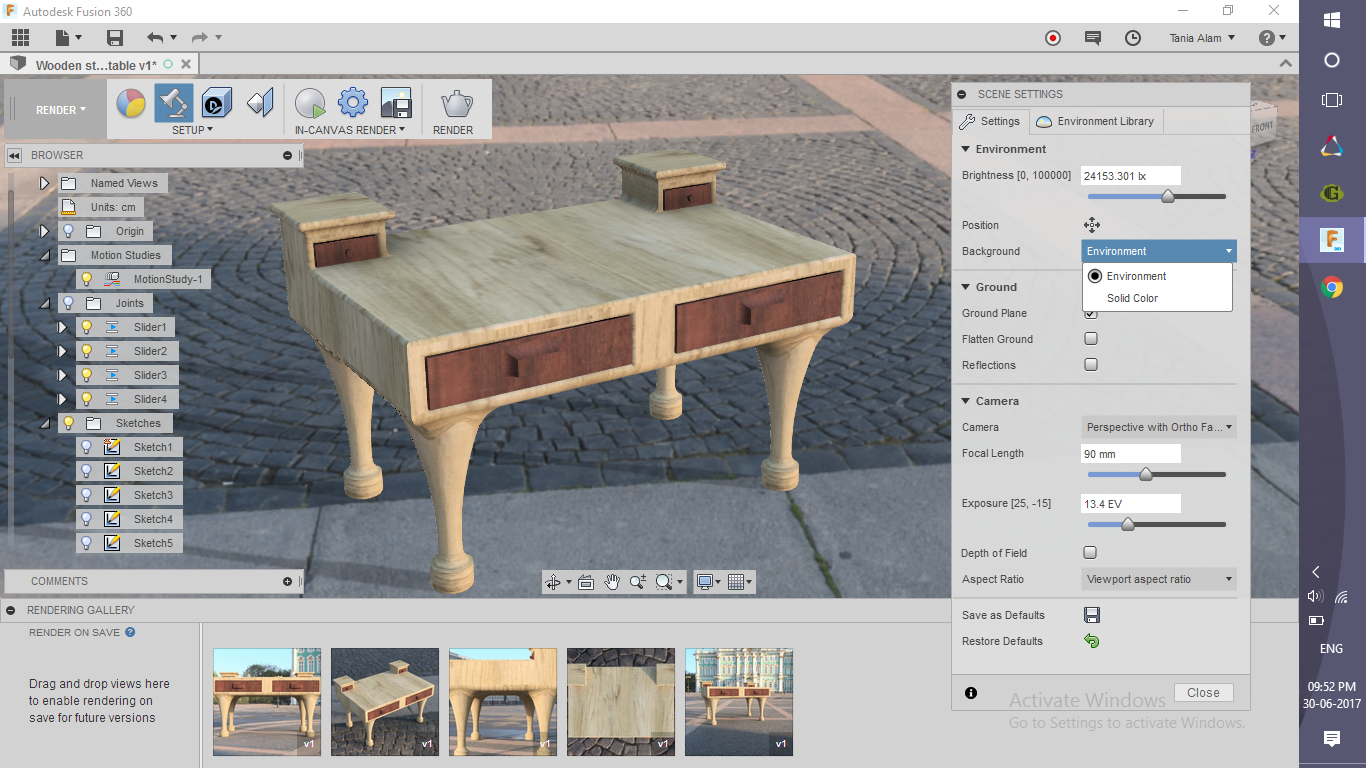
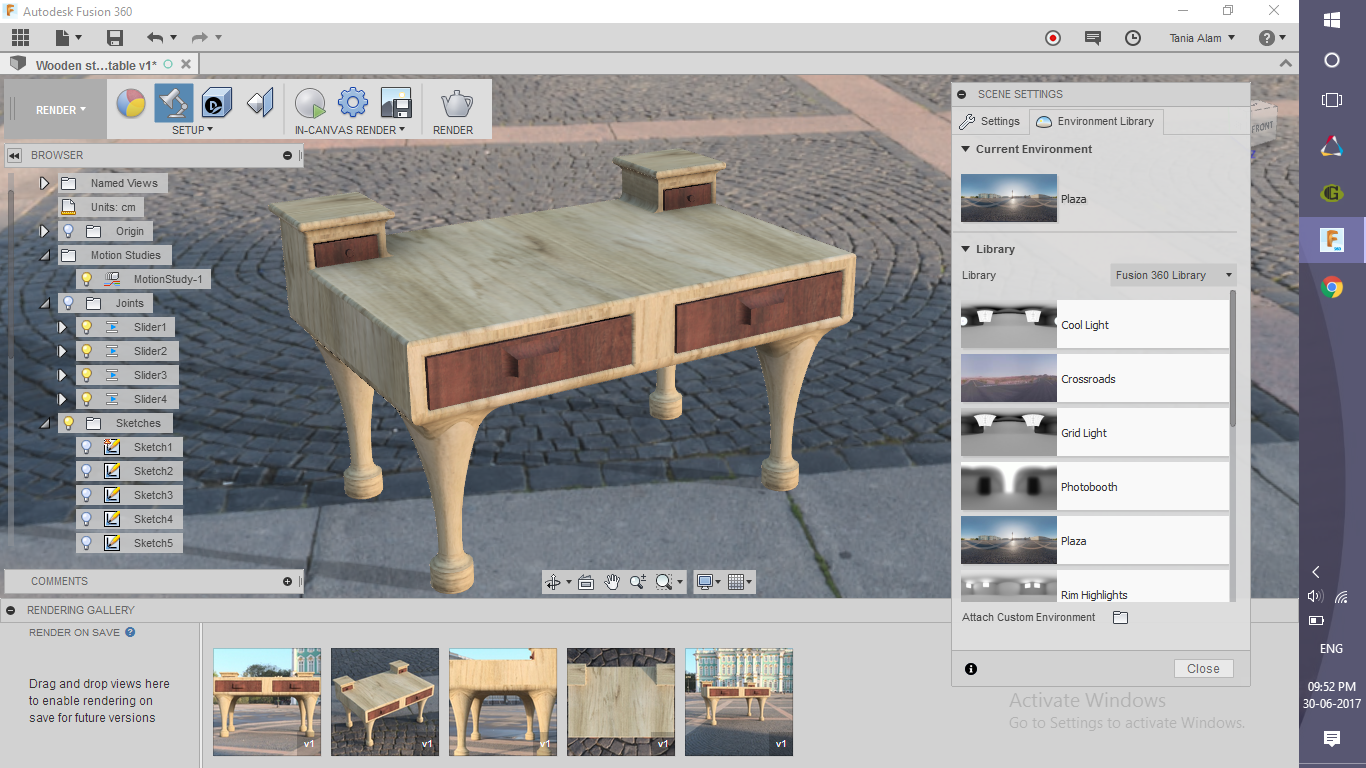
Also, you can change the Scene as I did:
- Go to "Step up" tab
- Click on "Scene Settings"
- Go to Background option in the pop-up
- Activate "Environment" option and choose an environment (I've used "Plaza")
- Click on the Render to get a rendering
- You can render this image as a motion study using the previous steps
Once done, share your renderings here using the "I Made It" button! Also if you liked this one, I would suggest taking a look at this chair too.