Make Your Own Soil Sensor
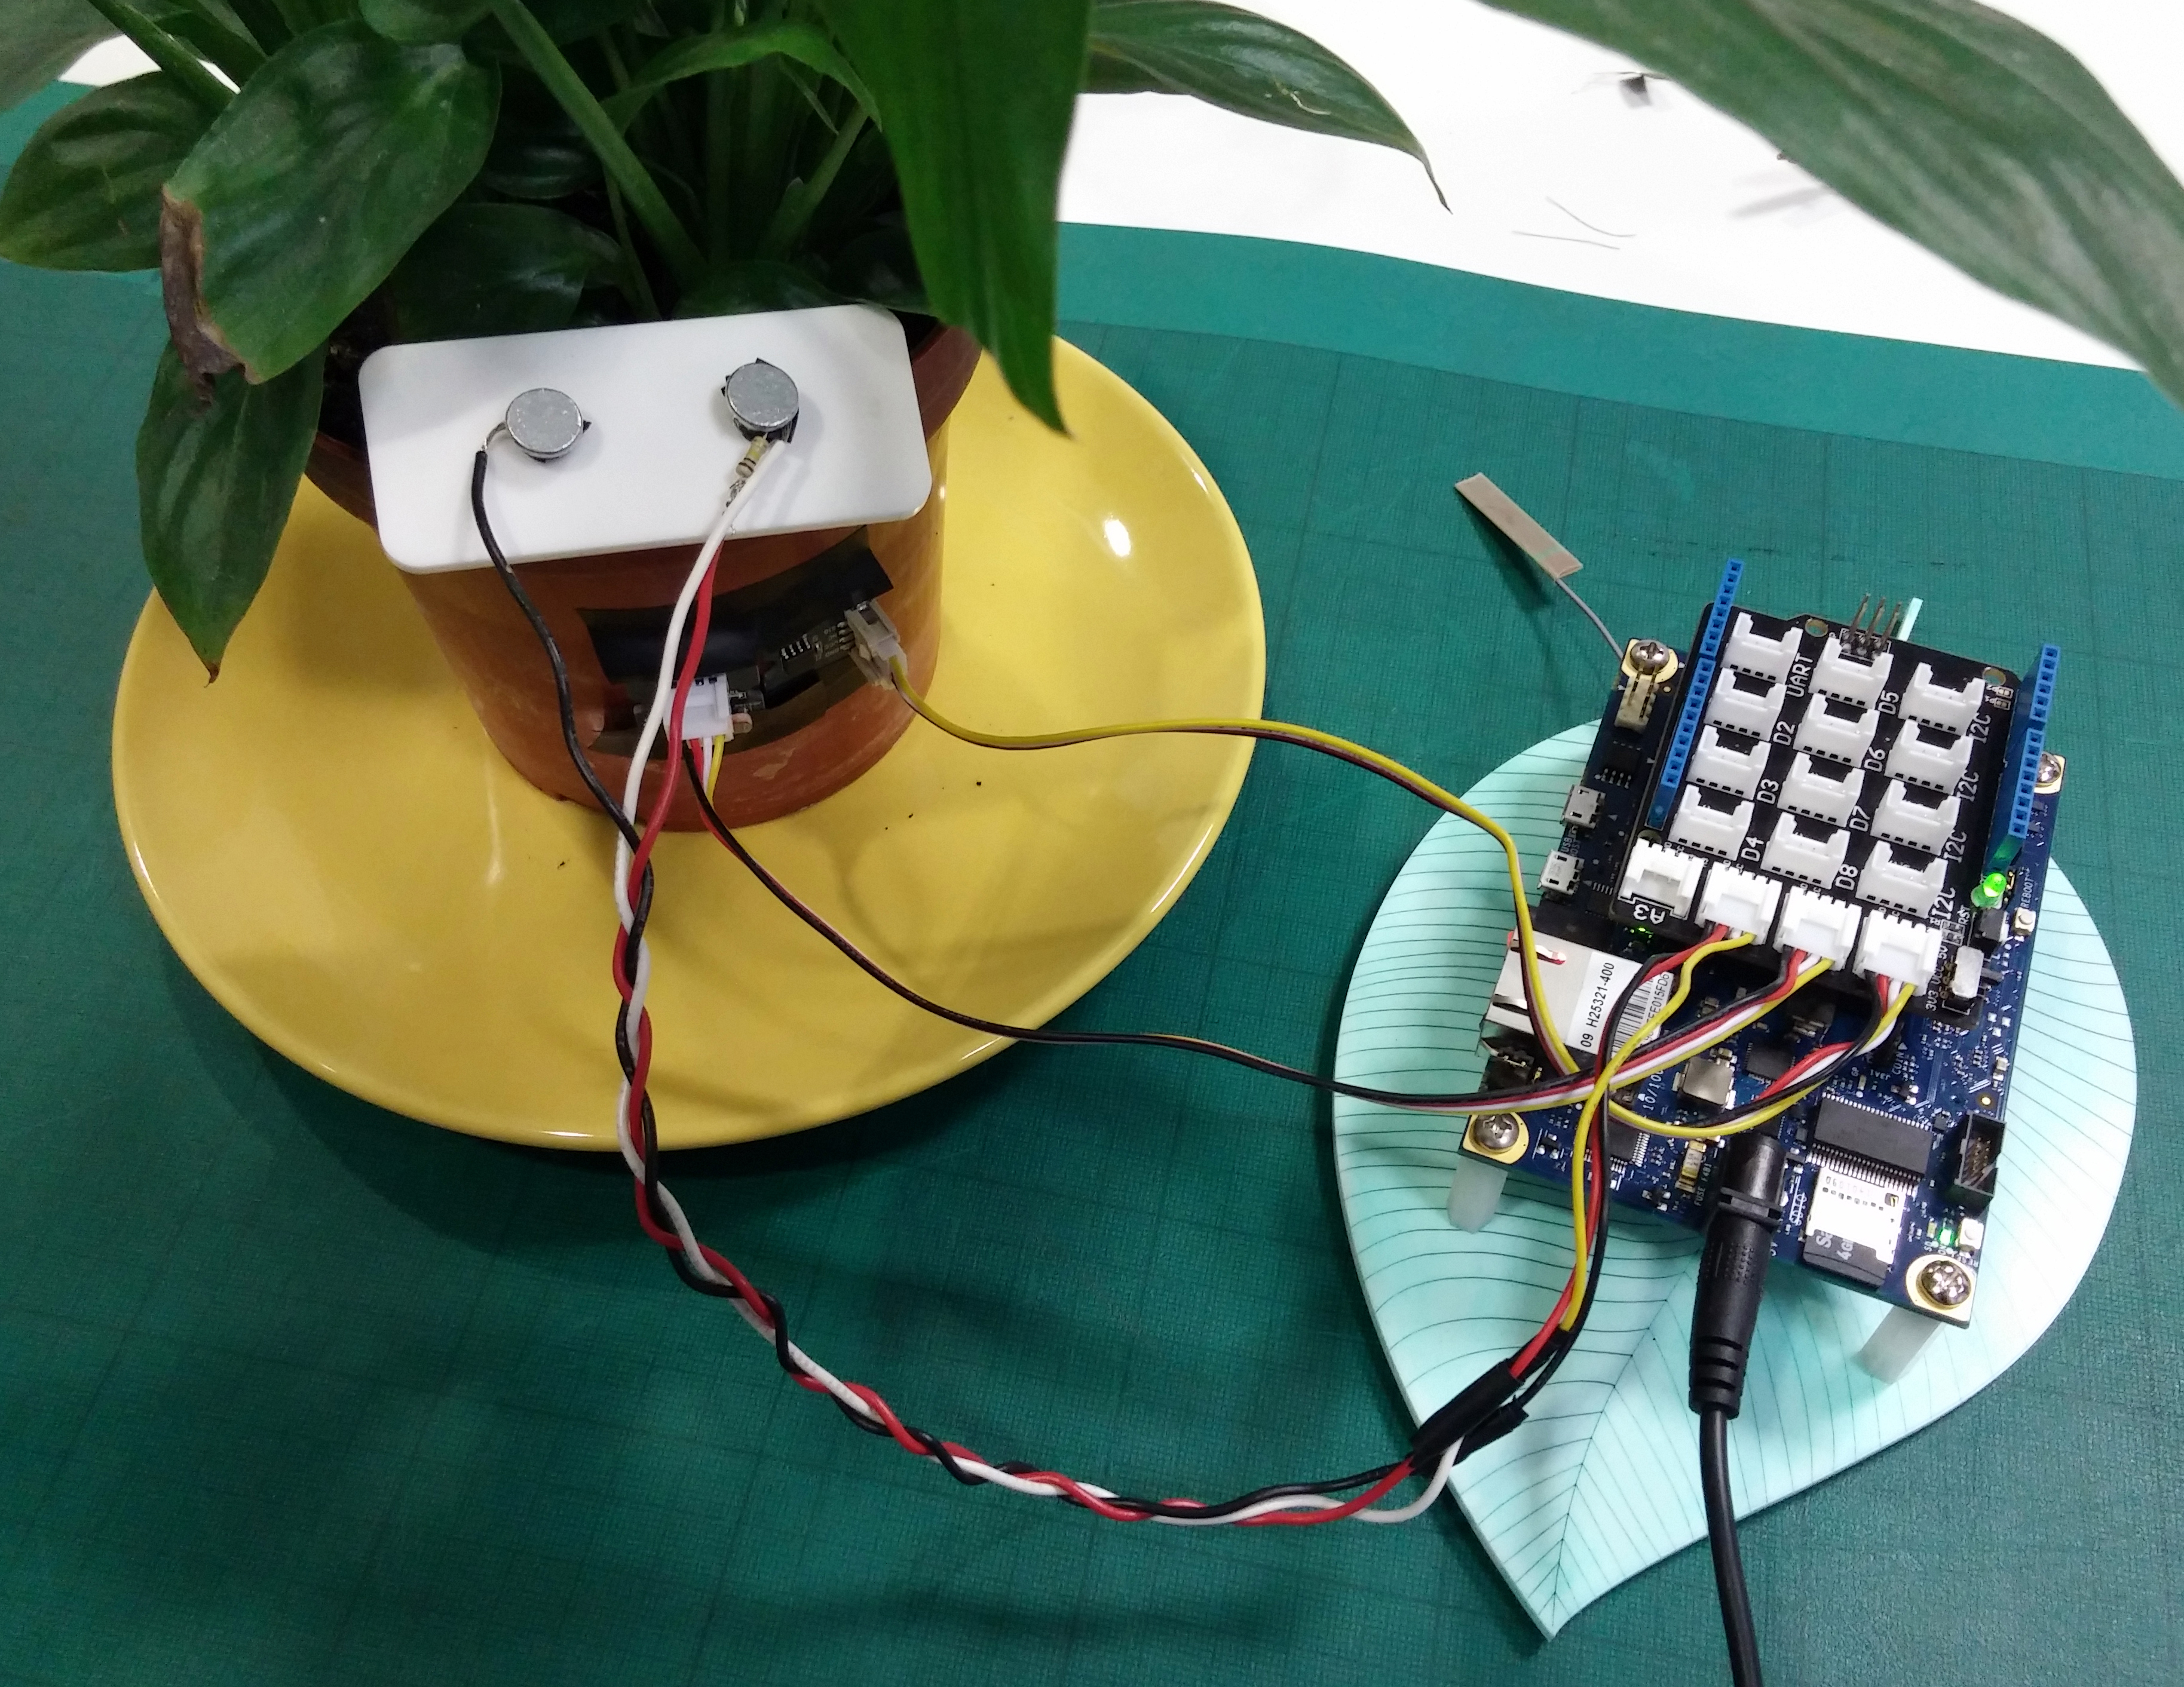
Hello and welcome to the step-by-step instructions for Intel ICRI's Make Your Own Soil Sensor kit.
Using this kit, you'll build a sensor that can measure light, temperature and soil moisture. From start to finish, putting together this kit should take between 10 and 20 minutes.
Let's get started!
Unpack Your Kit
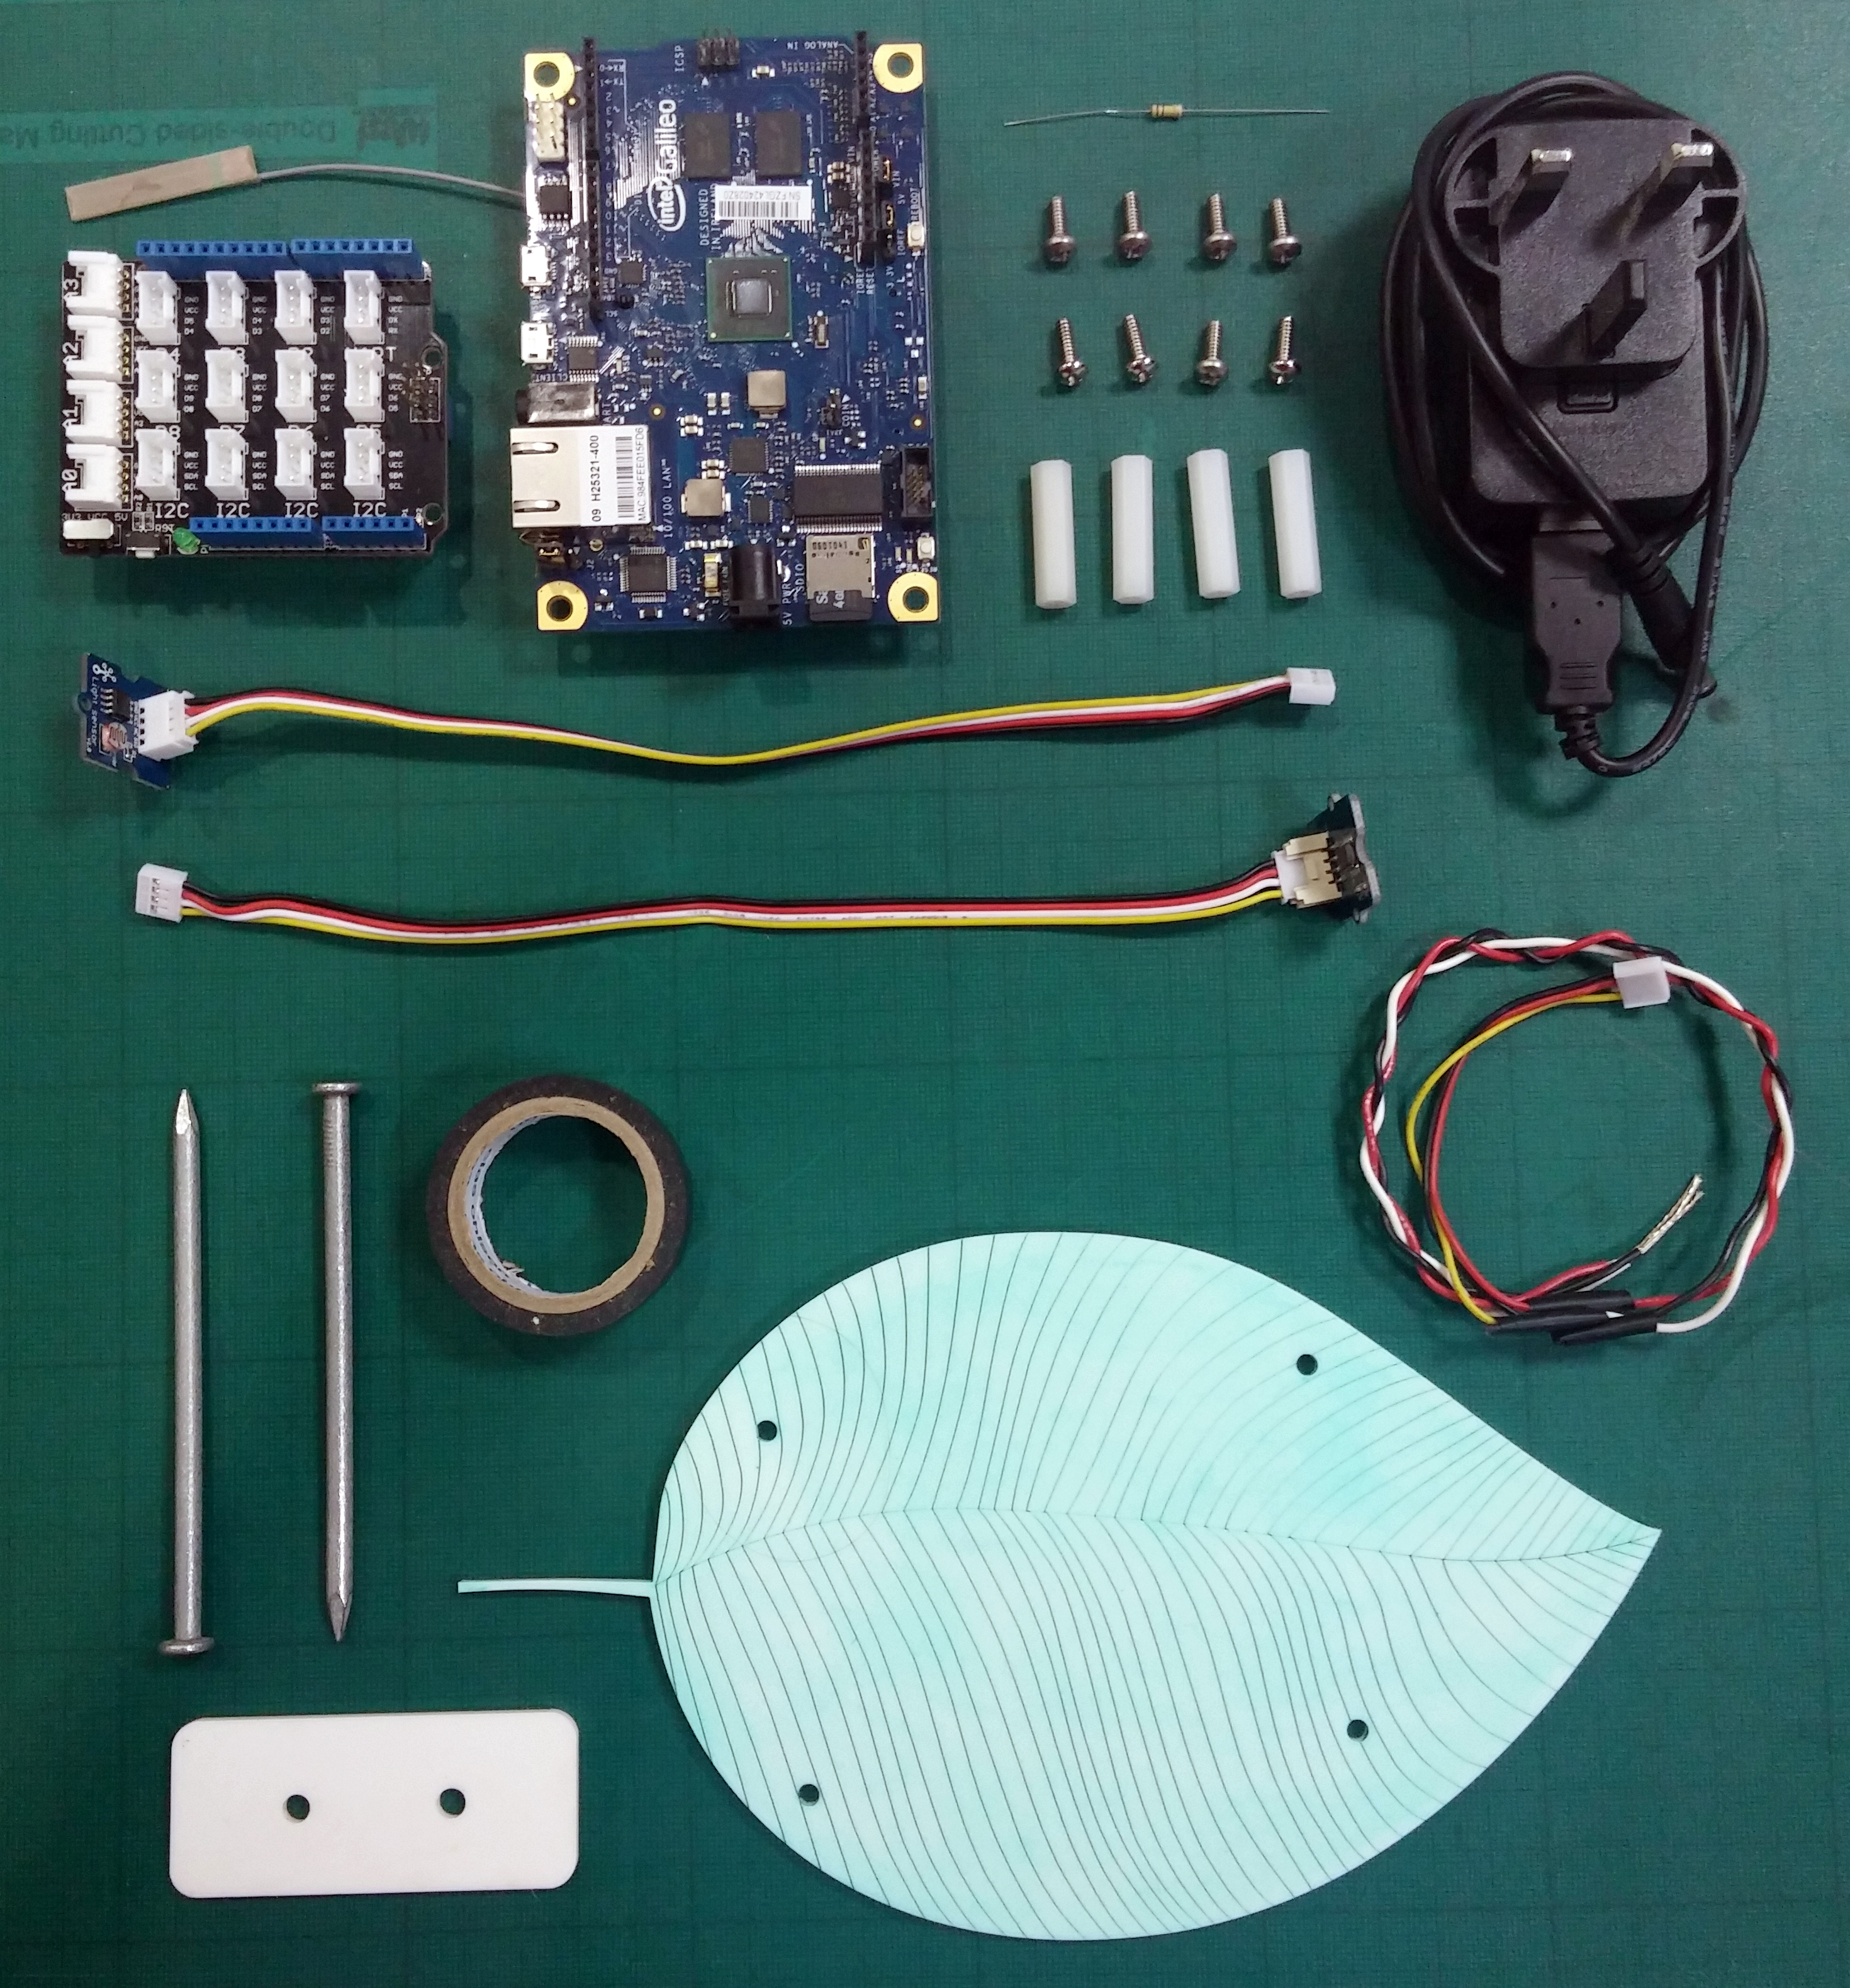
In your kit, you'll find the following:
- Intel Galileo with SD card and Wi-Fi card
- Power supply
- Grove Shield
- Light sensor and Grove connector
- Temperature sensor and Grove connector
- 100K ohm resistor
- Base with mounting screws
- Nails
- Nail mount
- Wire for nails and Grove connector
- Electrical tape
Assemble Base Unit
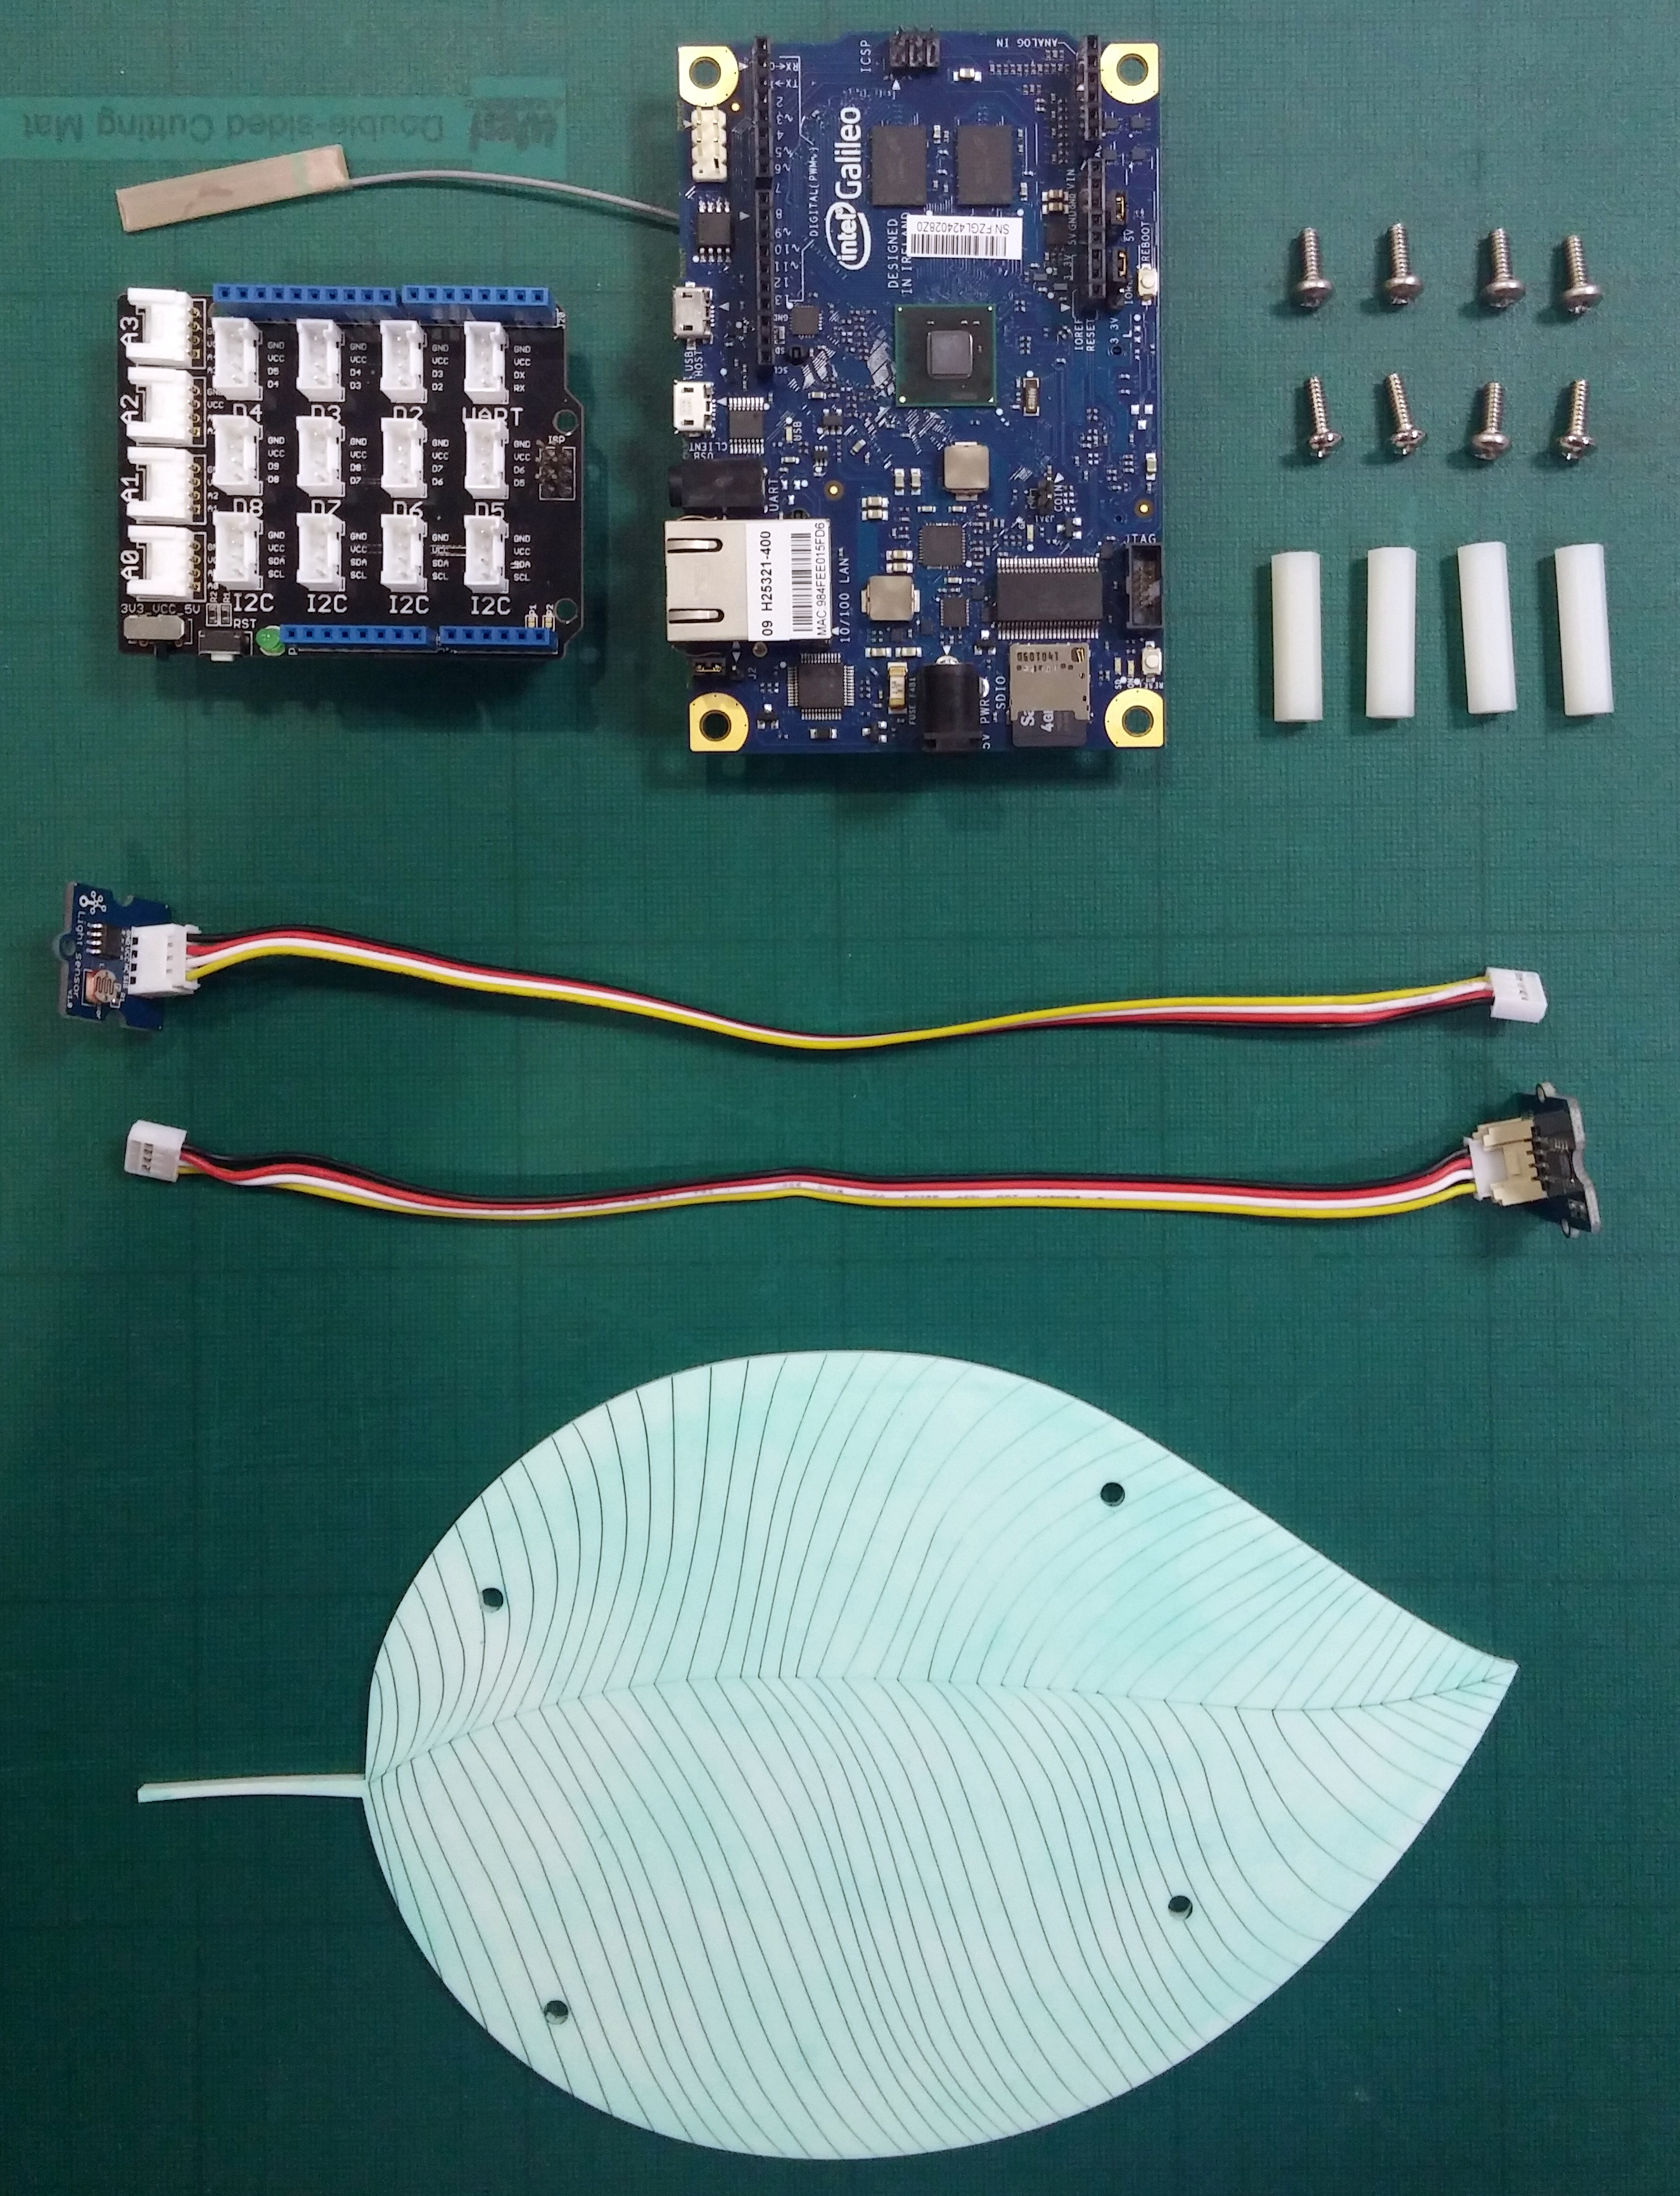
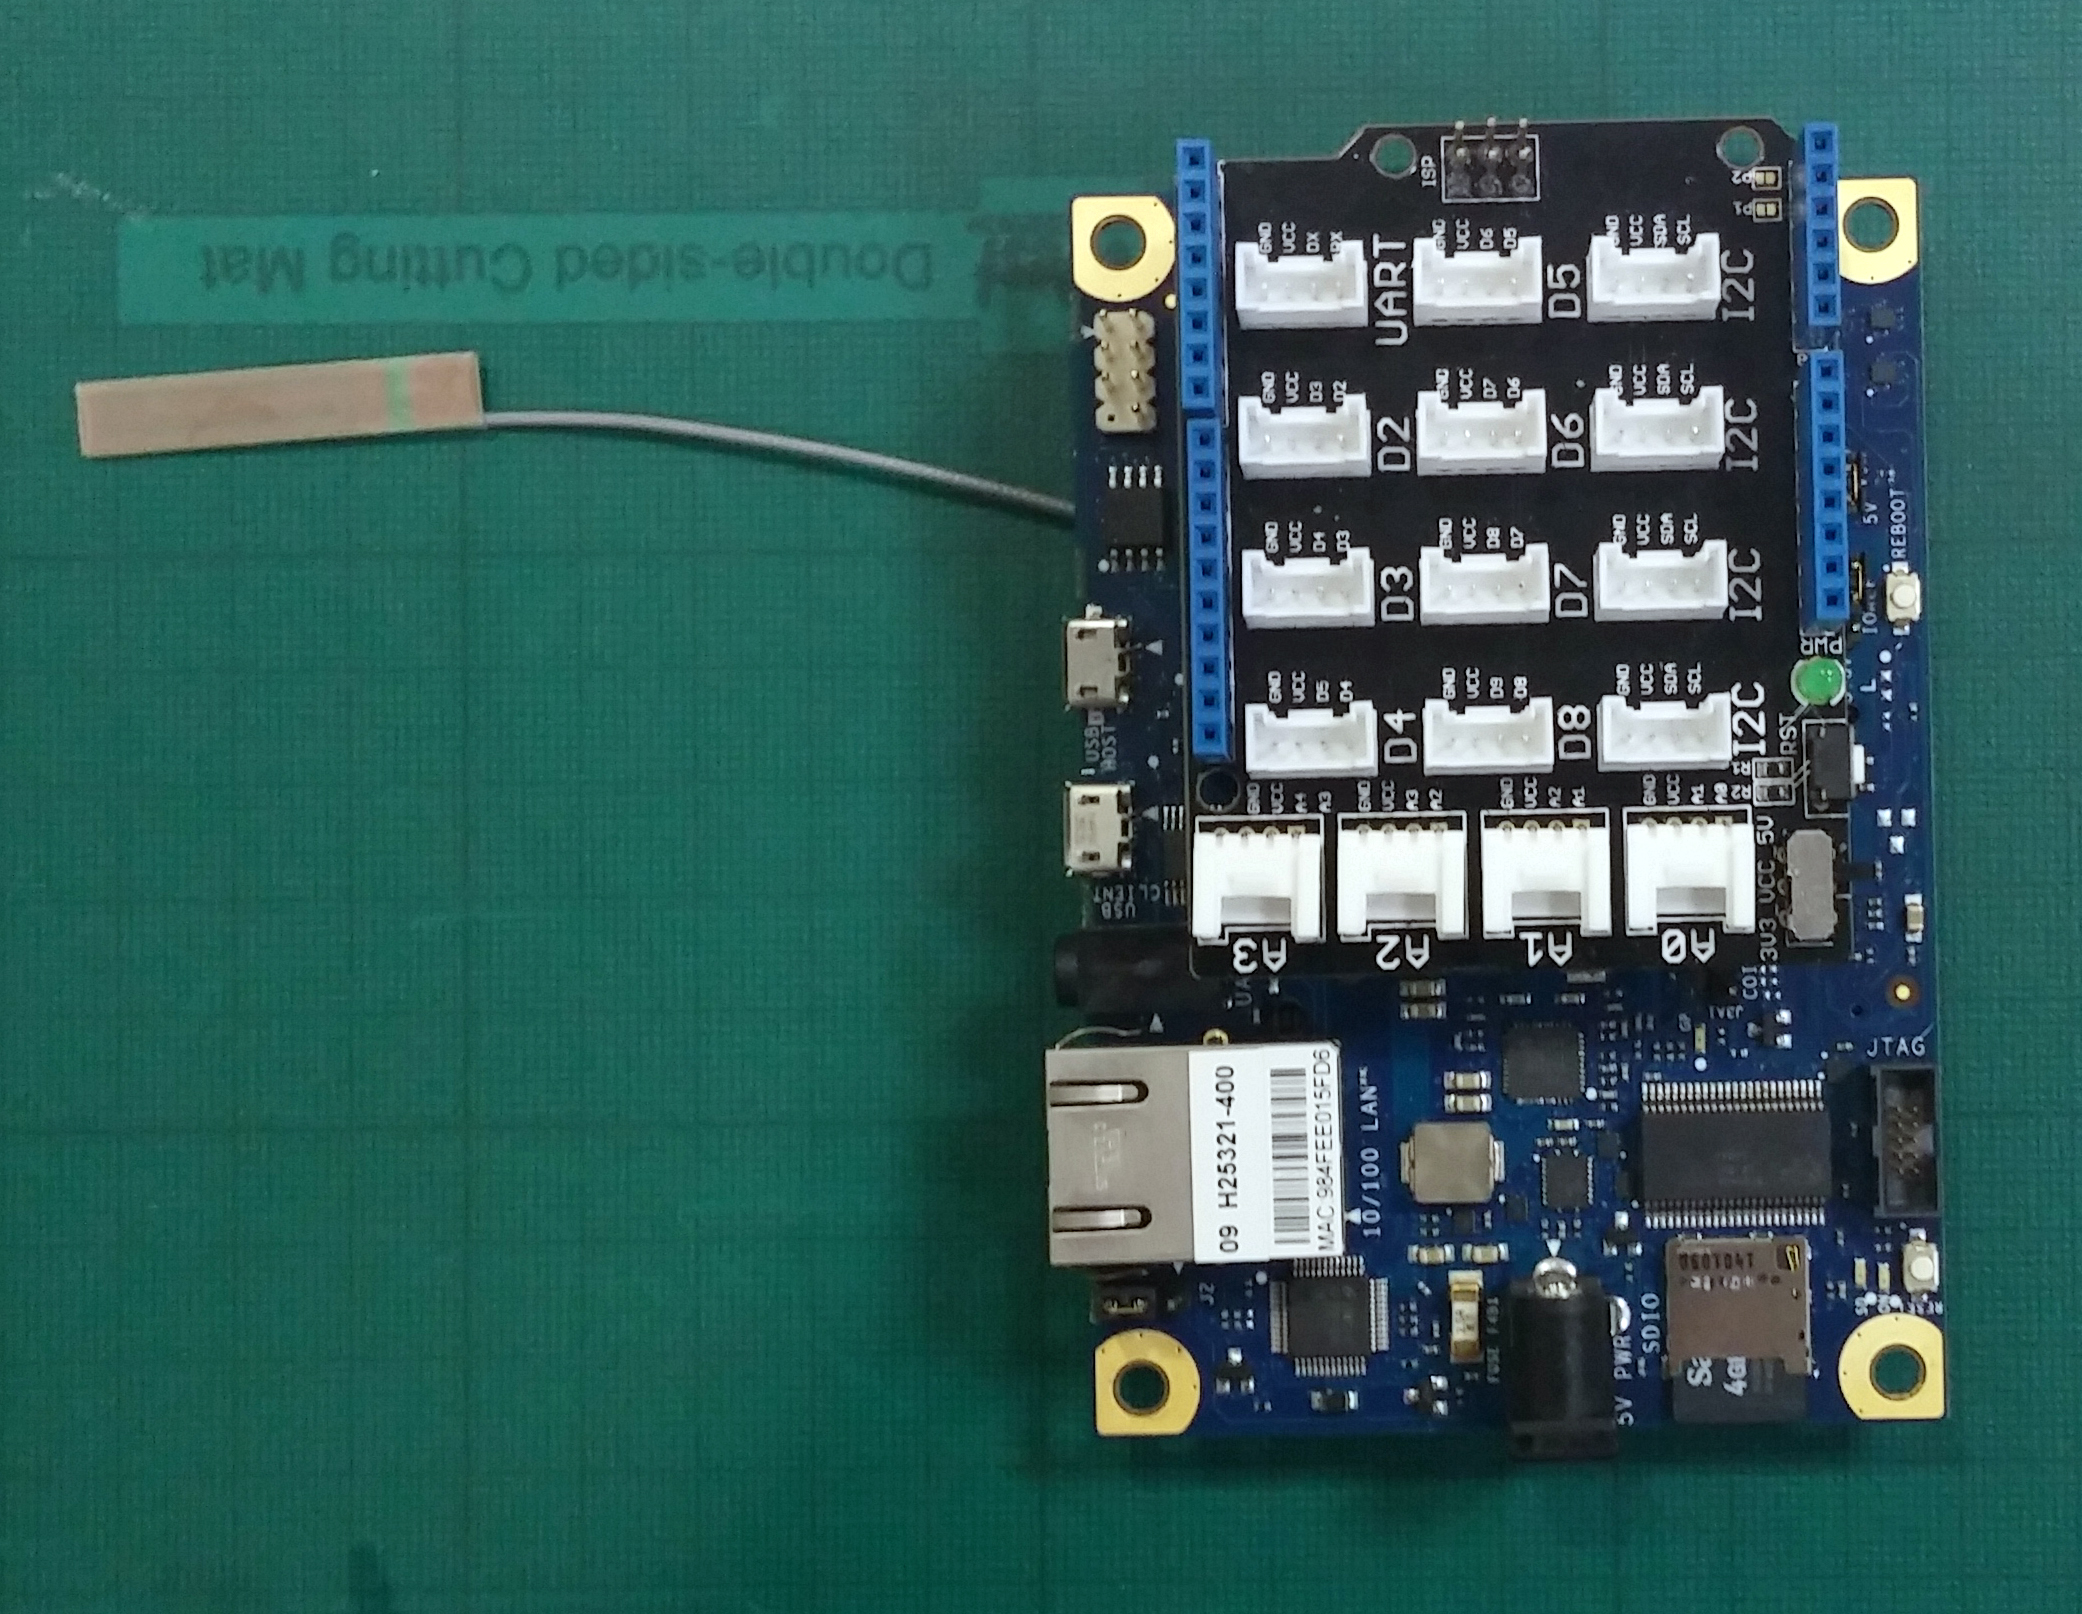
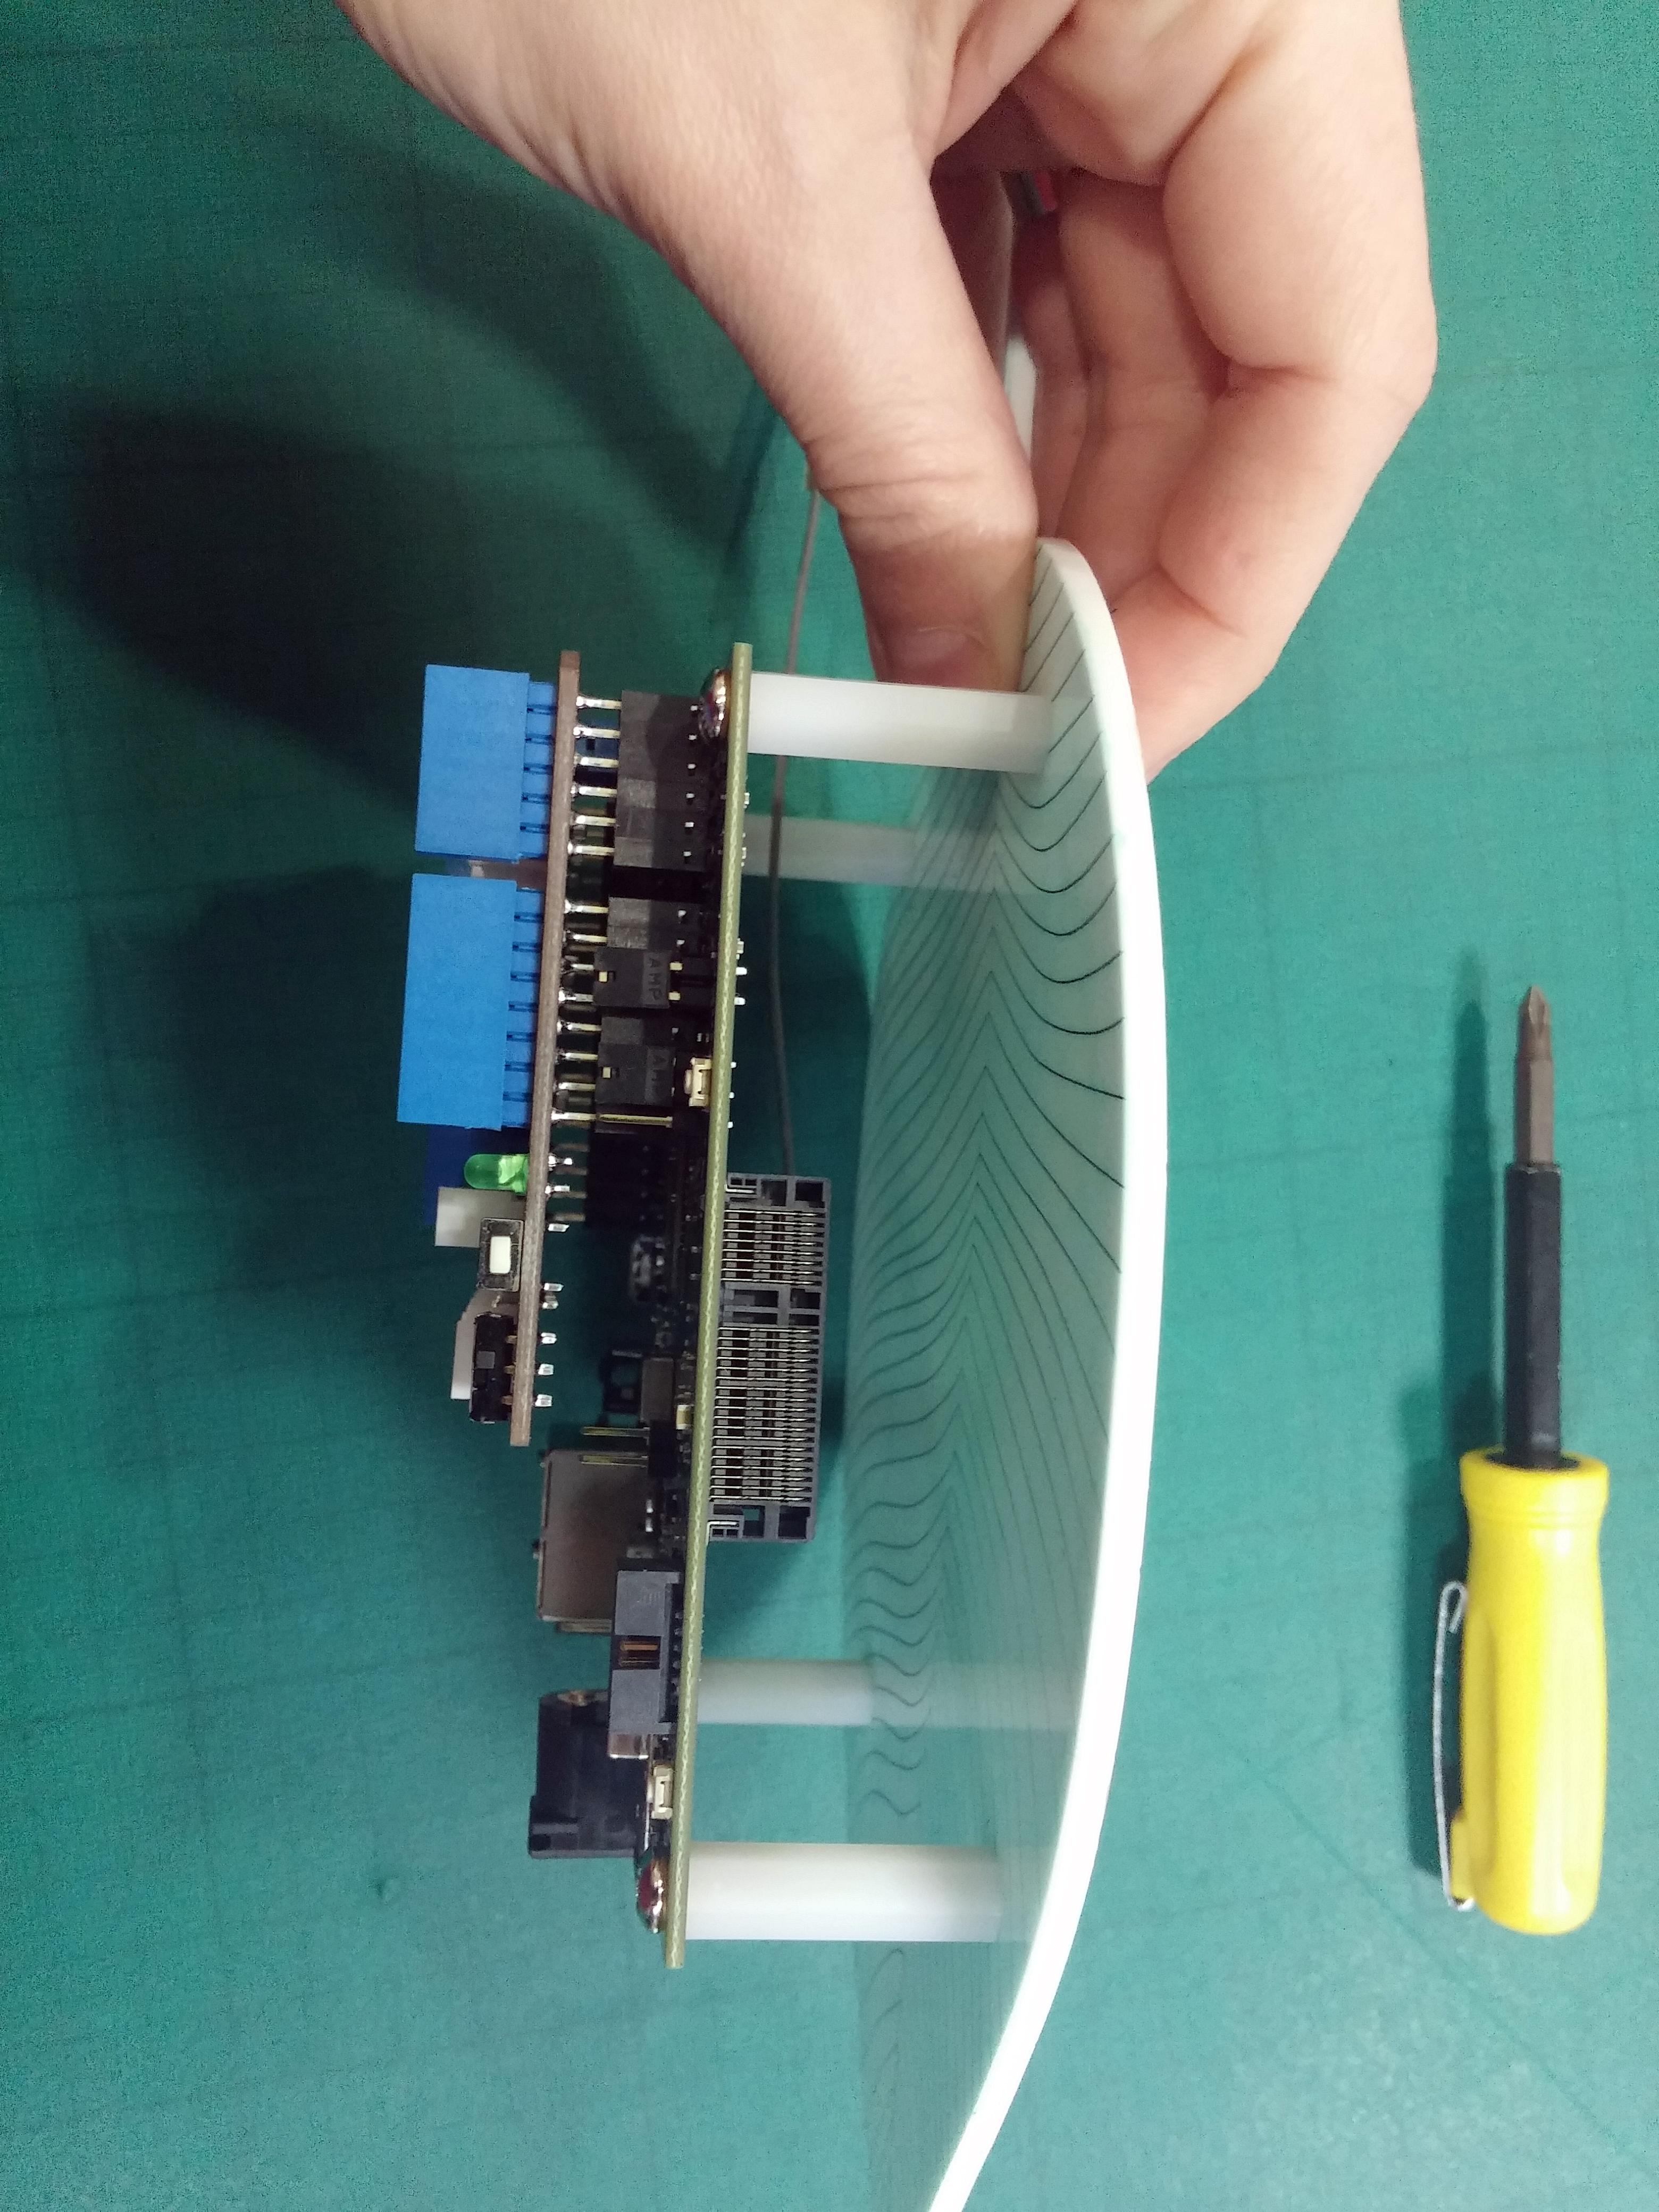
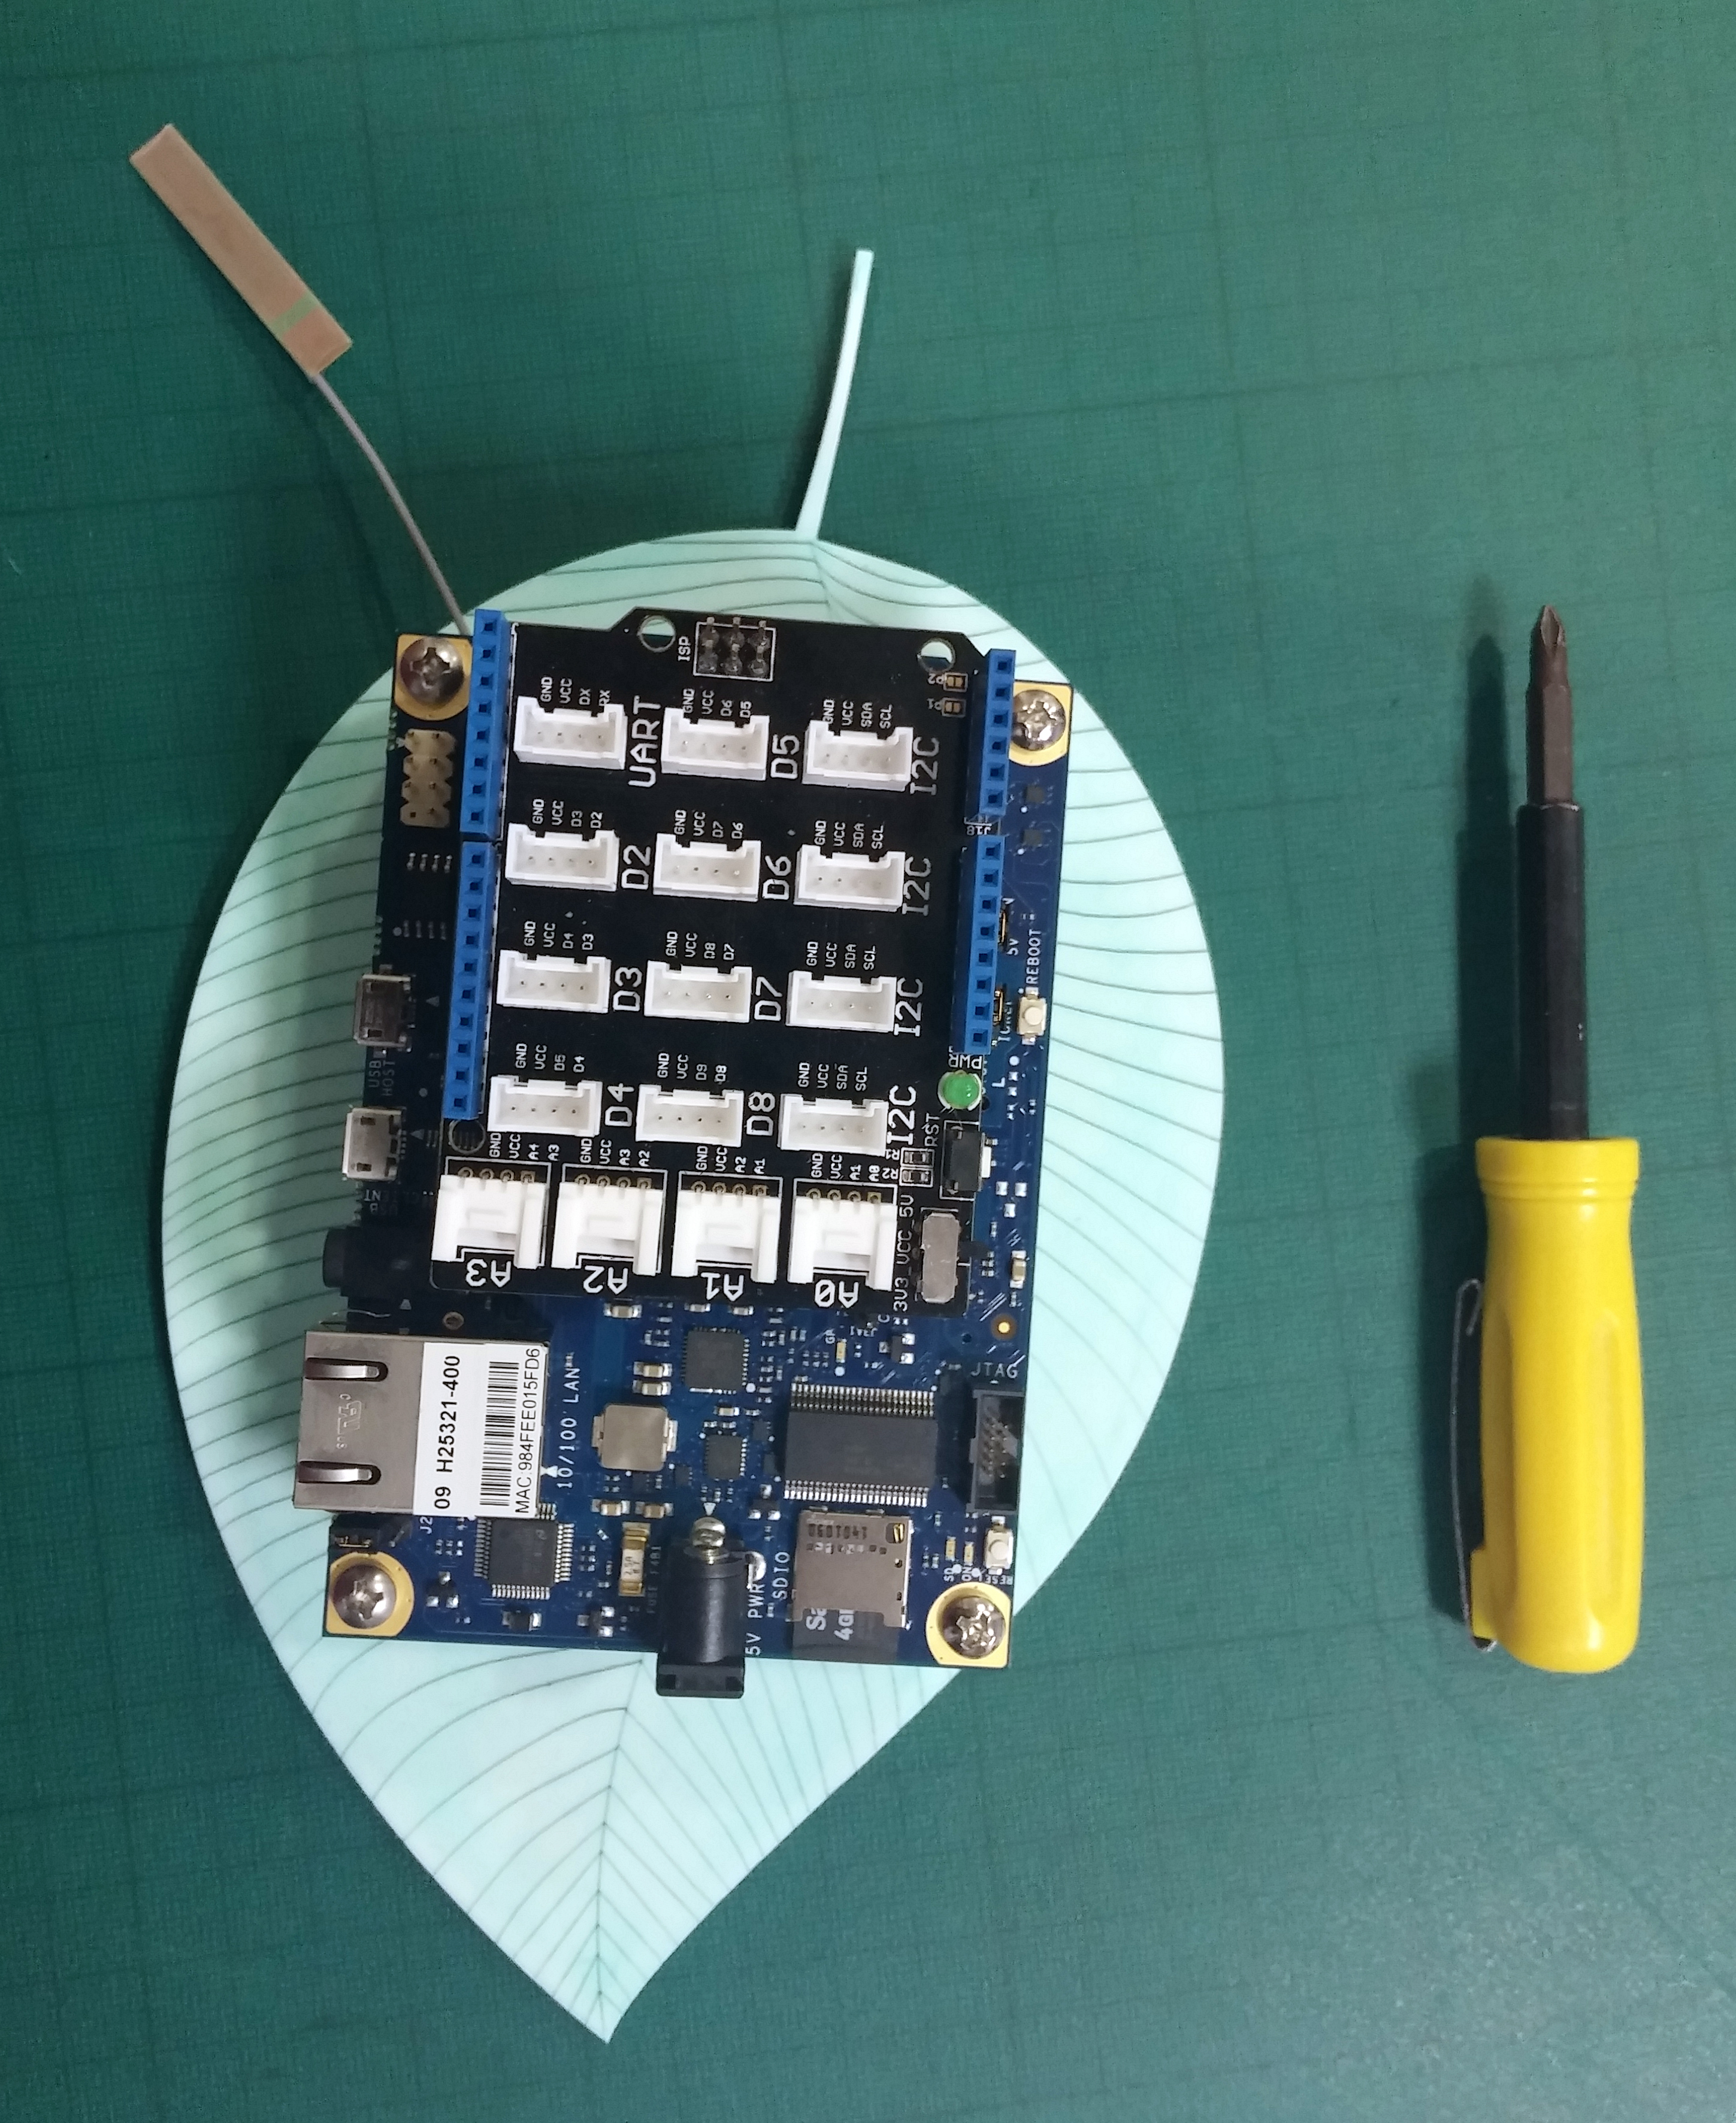
Your Grove Shield has two rows of pins on the underside. Align these pins with the receptors on top of the Galileo and gently push into place.
Next, screw the white mounting blocks in place underneath the Galileo. Use one screw in each corner of the Galileo and one screw in each corner of the leaf base unit as per images three and four.
That's your base unit assembled!
Connect Light and Temperature Sensors
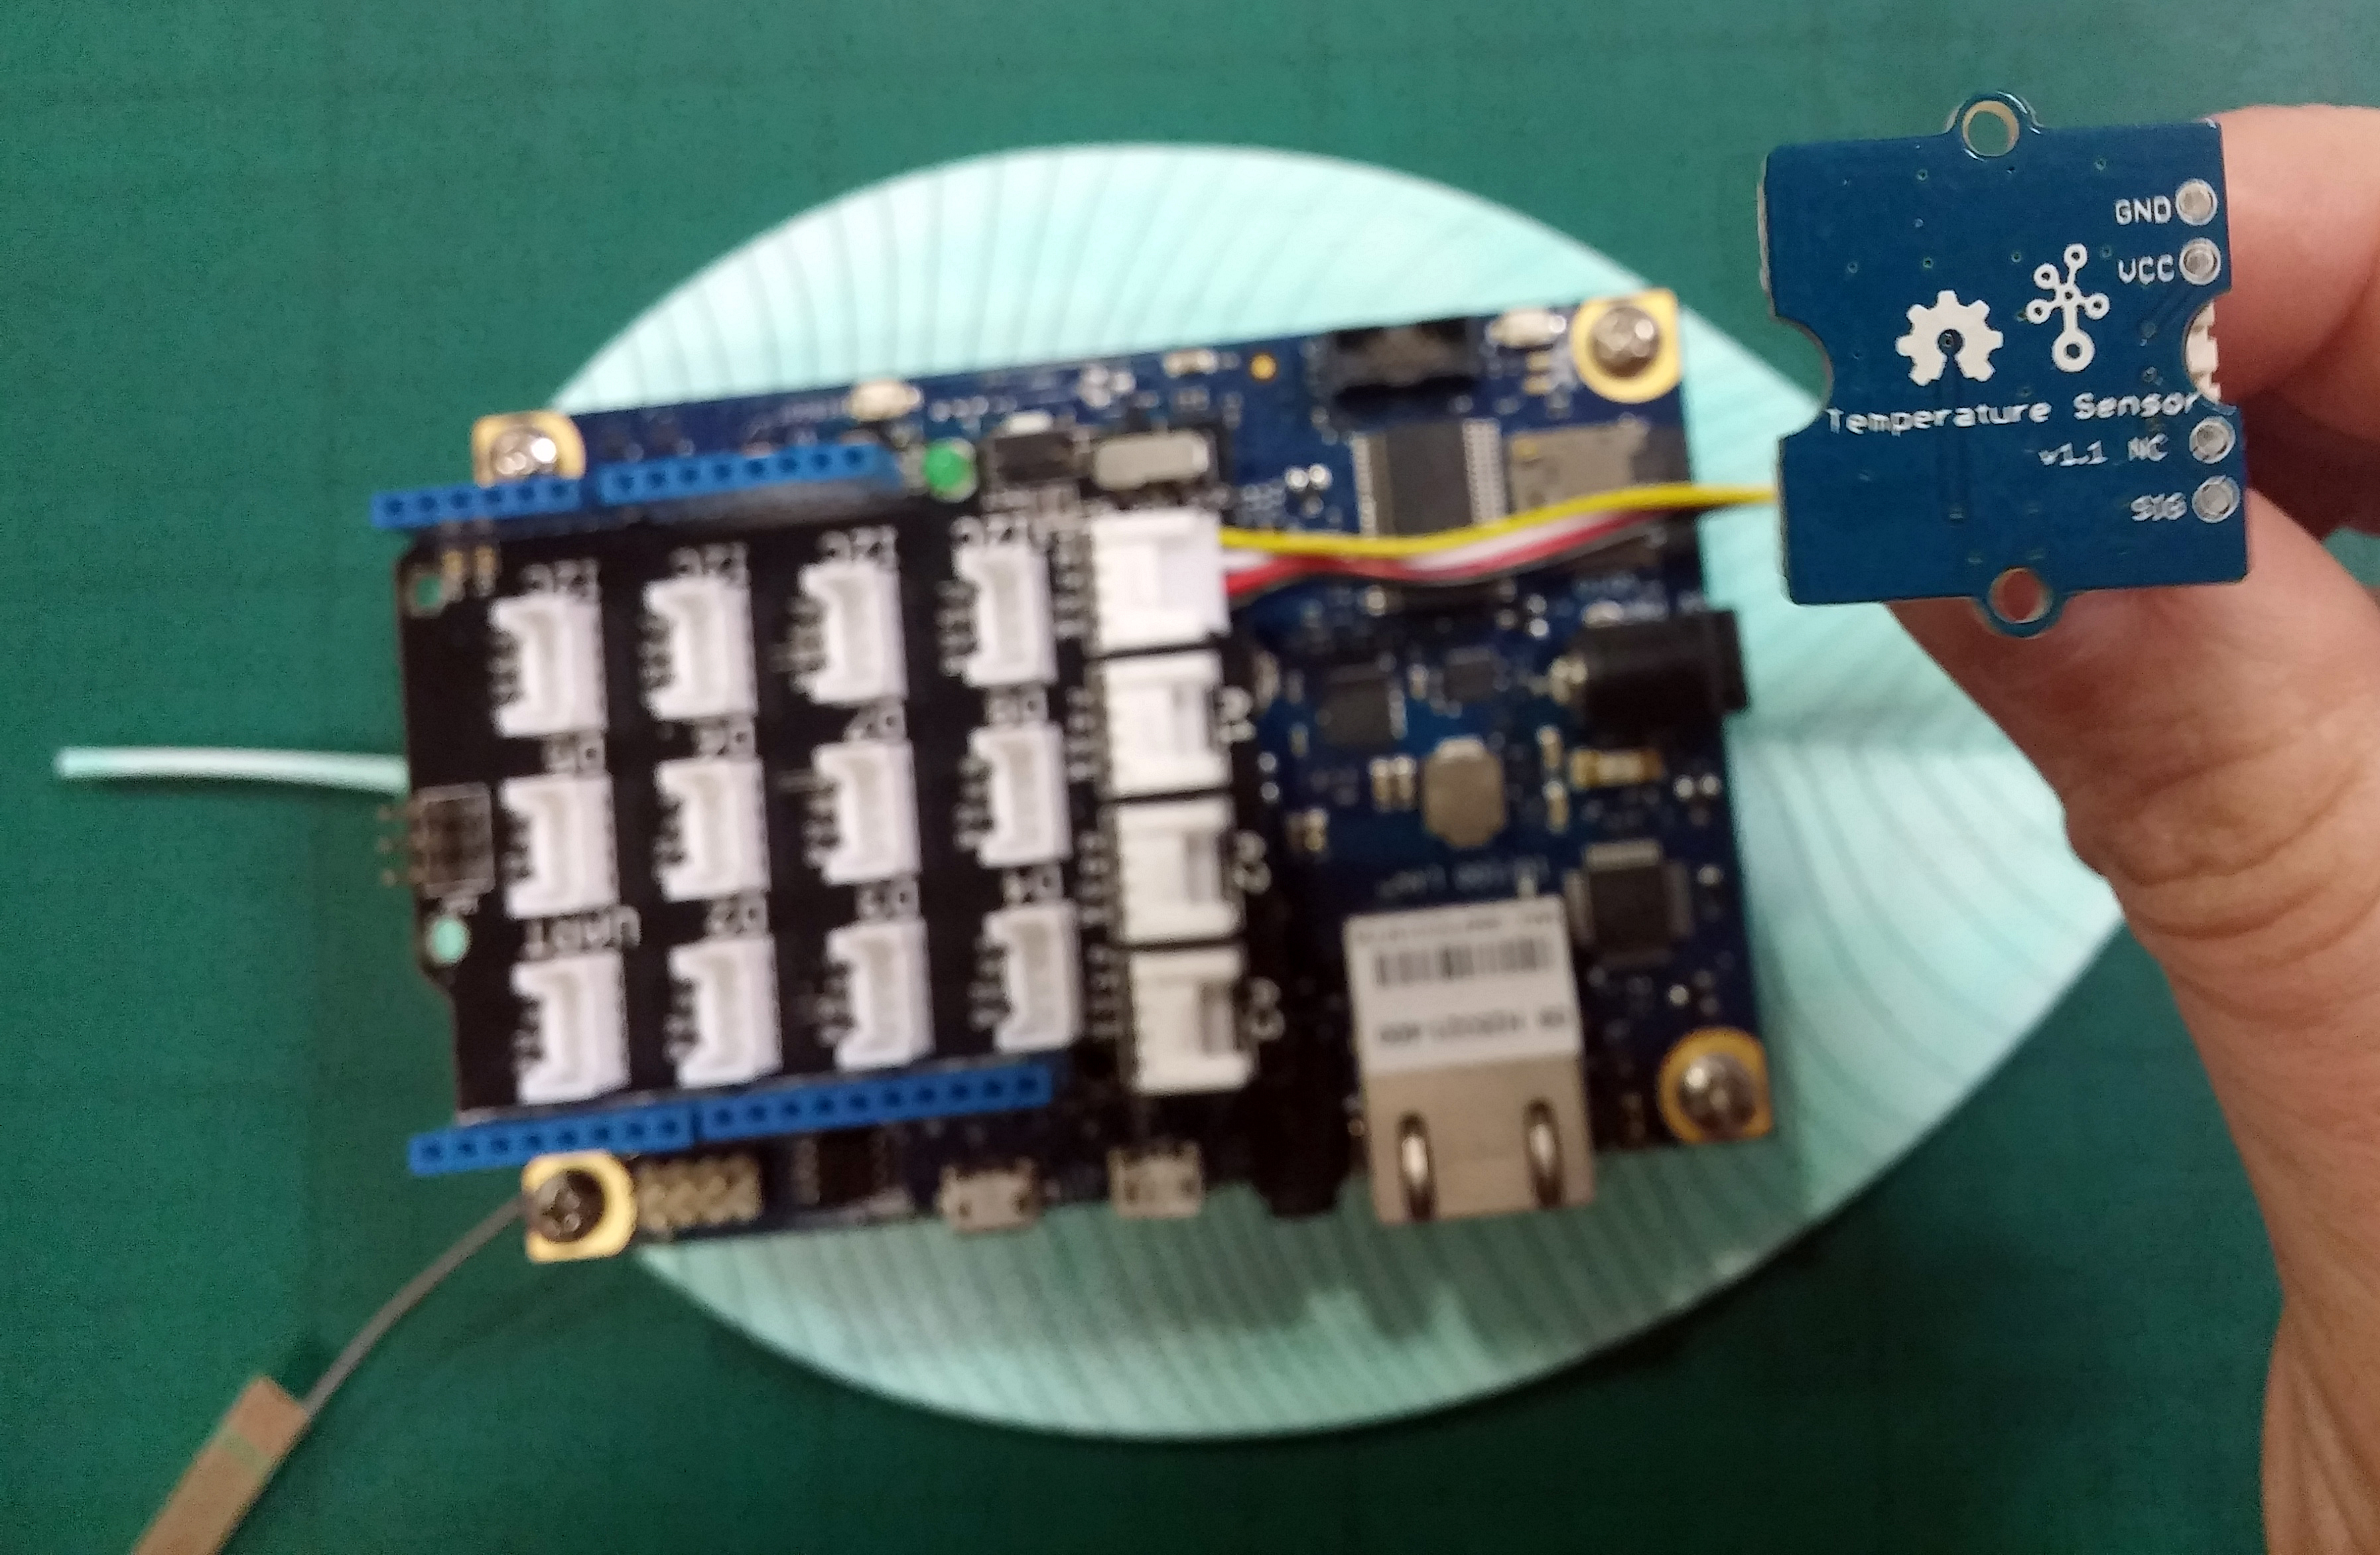
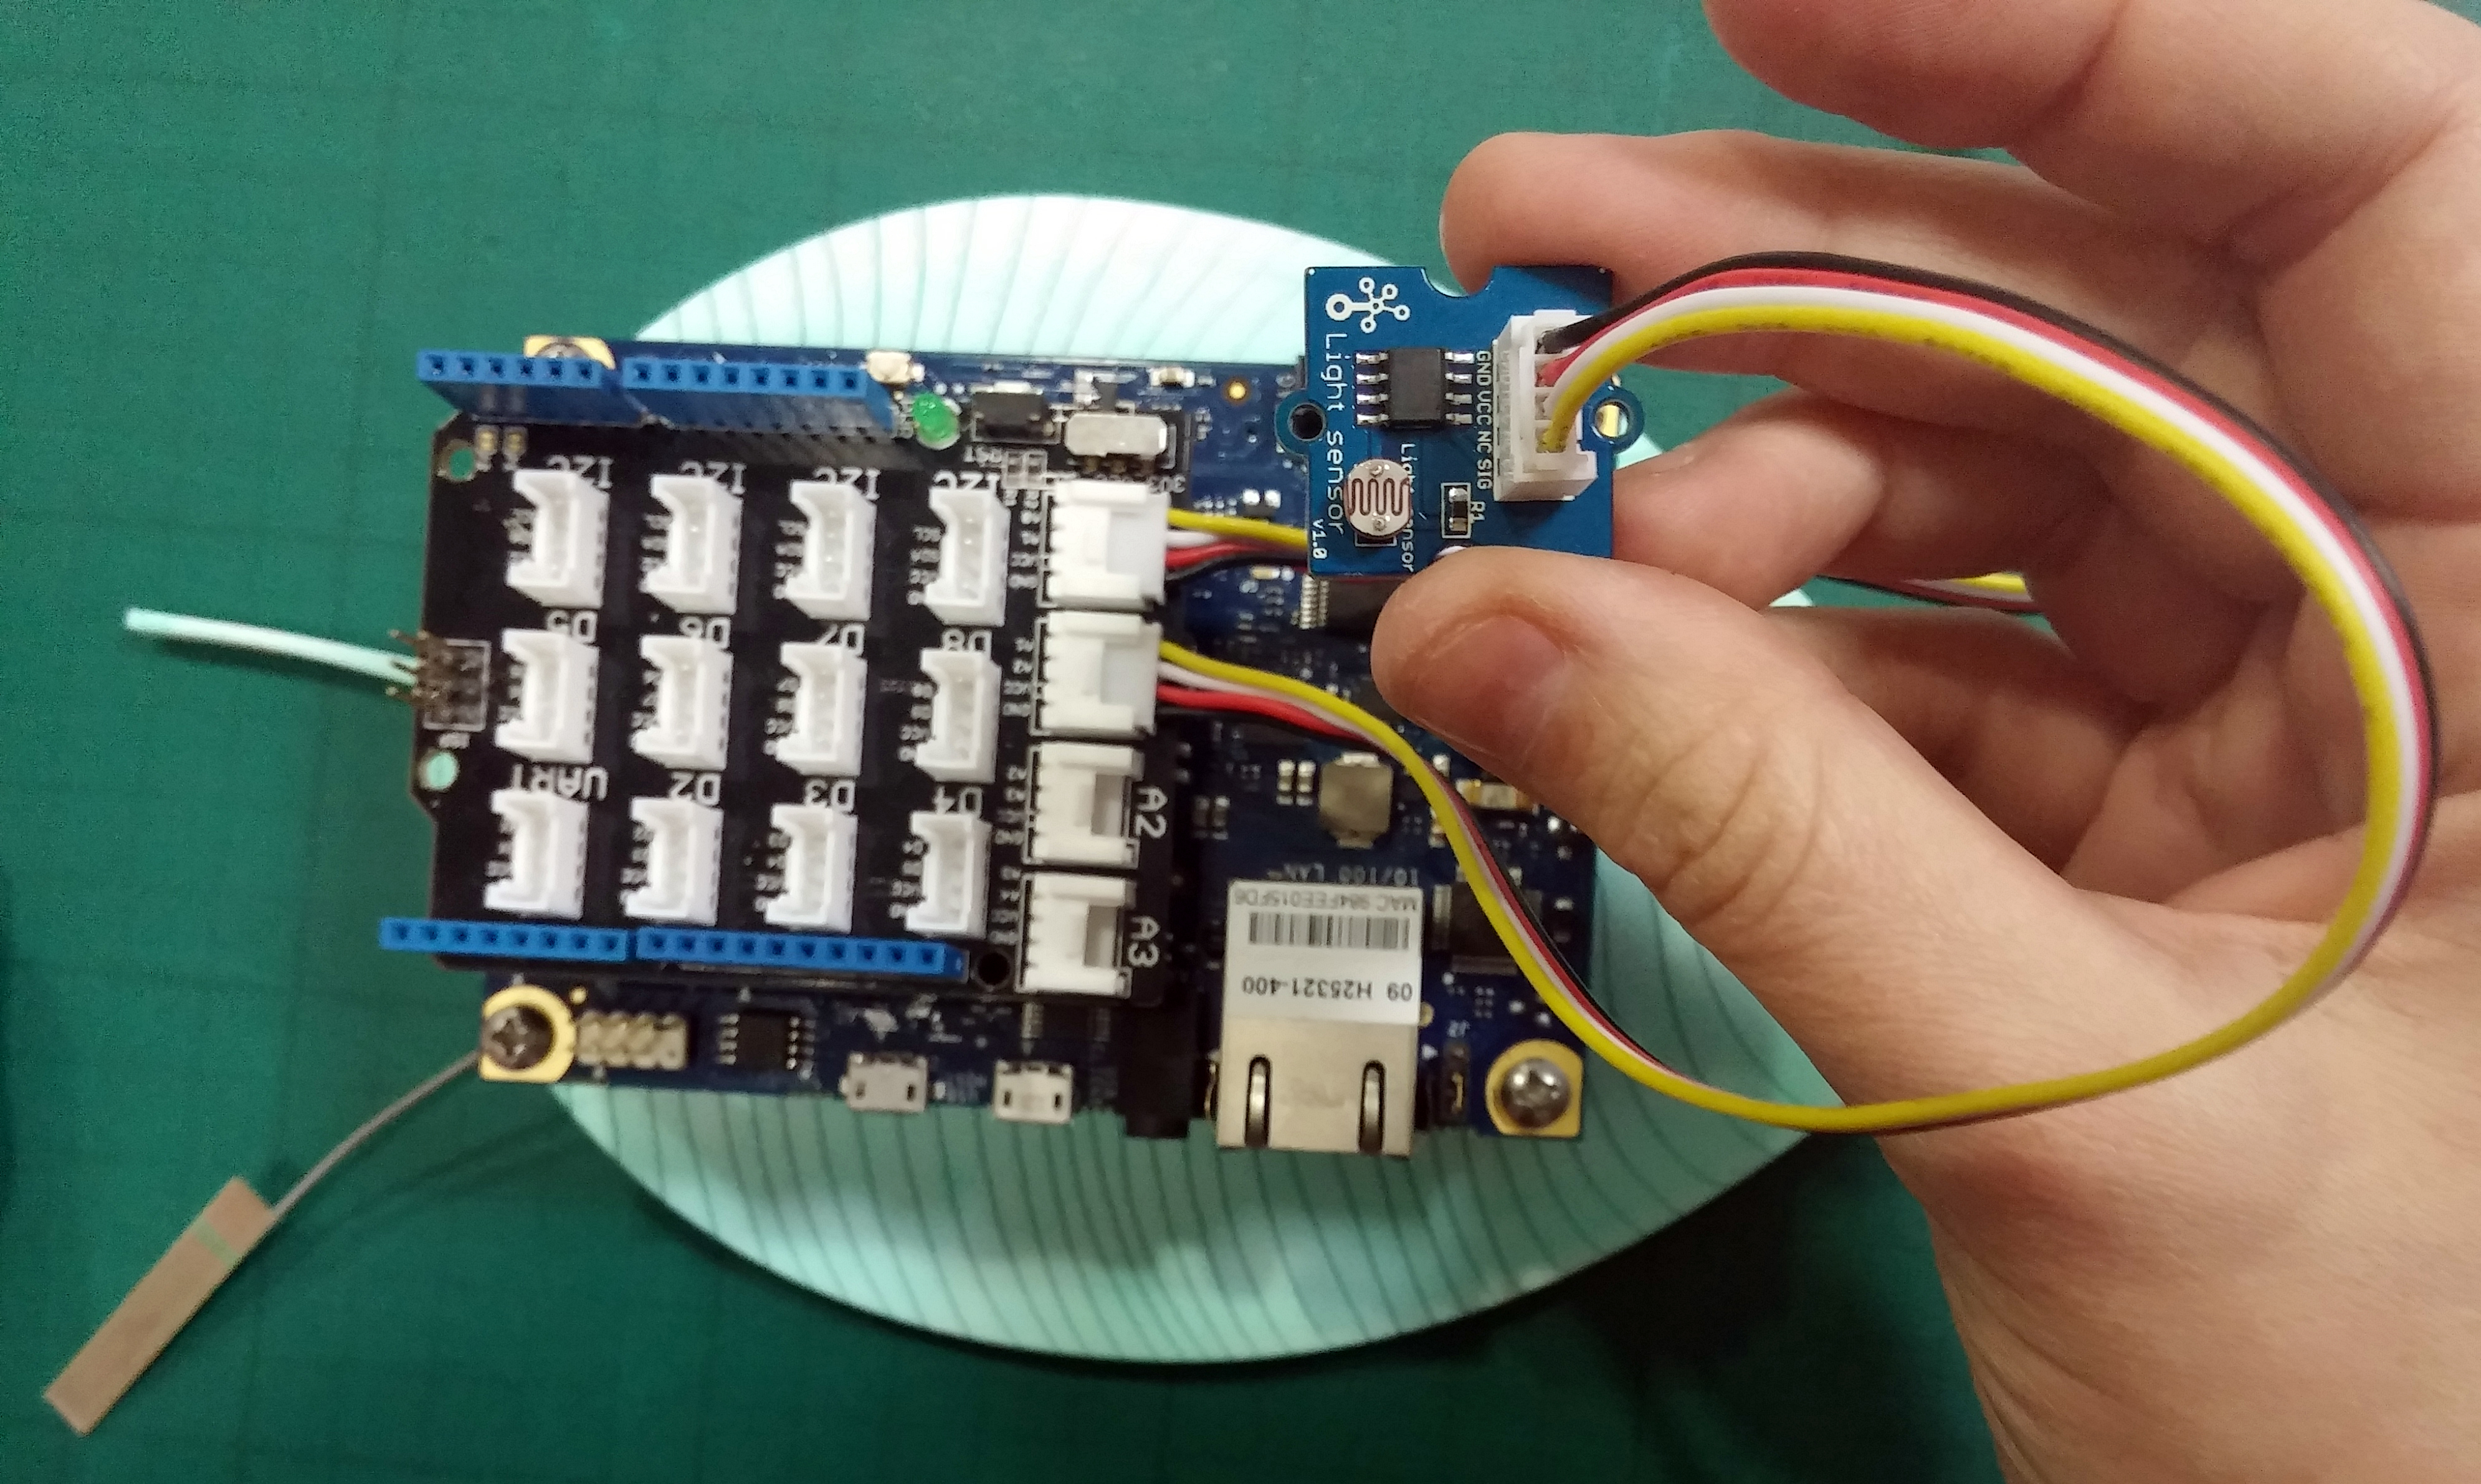
Take your temperature sensor and plug it into the A0 input on your base unit. It will only plug in one way up so make sure it is correctly aligned; don't force it!
Take your light sensor and plug it into the A1 input on your base unit. Again, it will only plug in one way up.
Building Your Soil Moisture Sensor
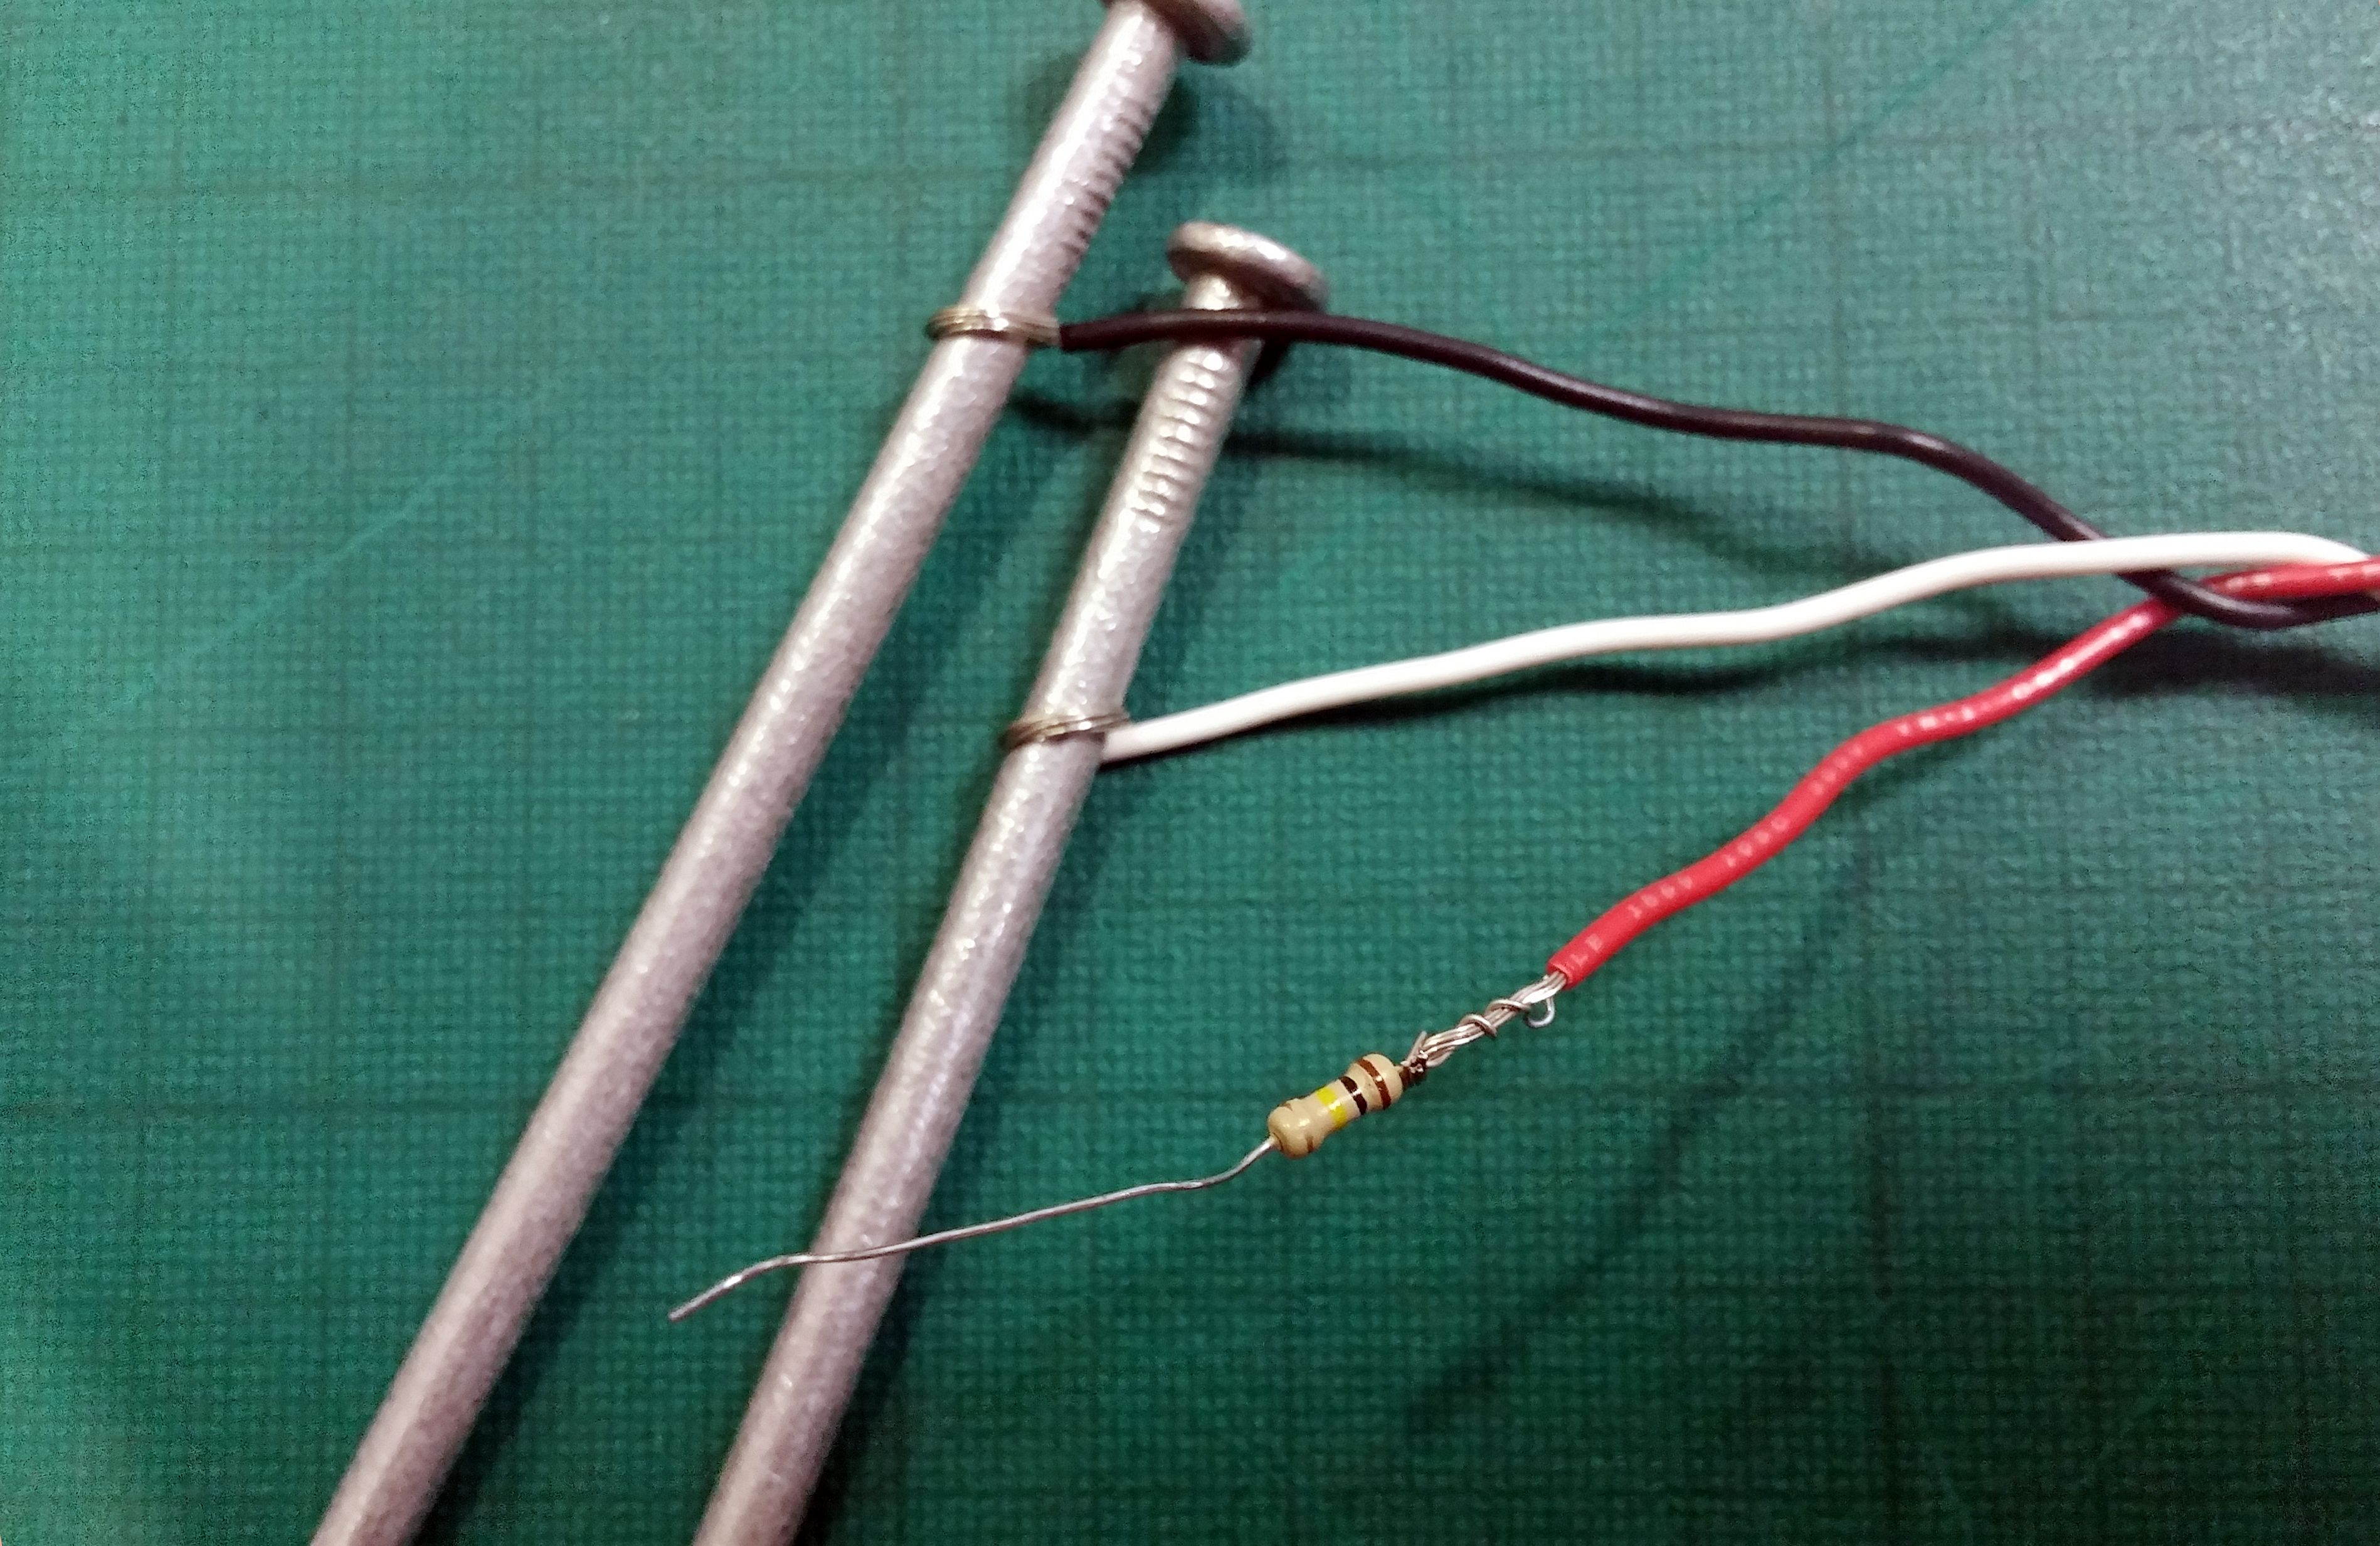
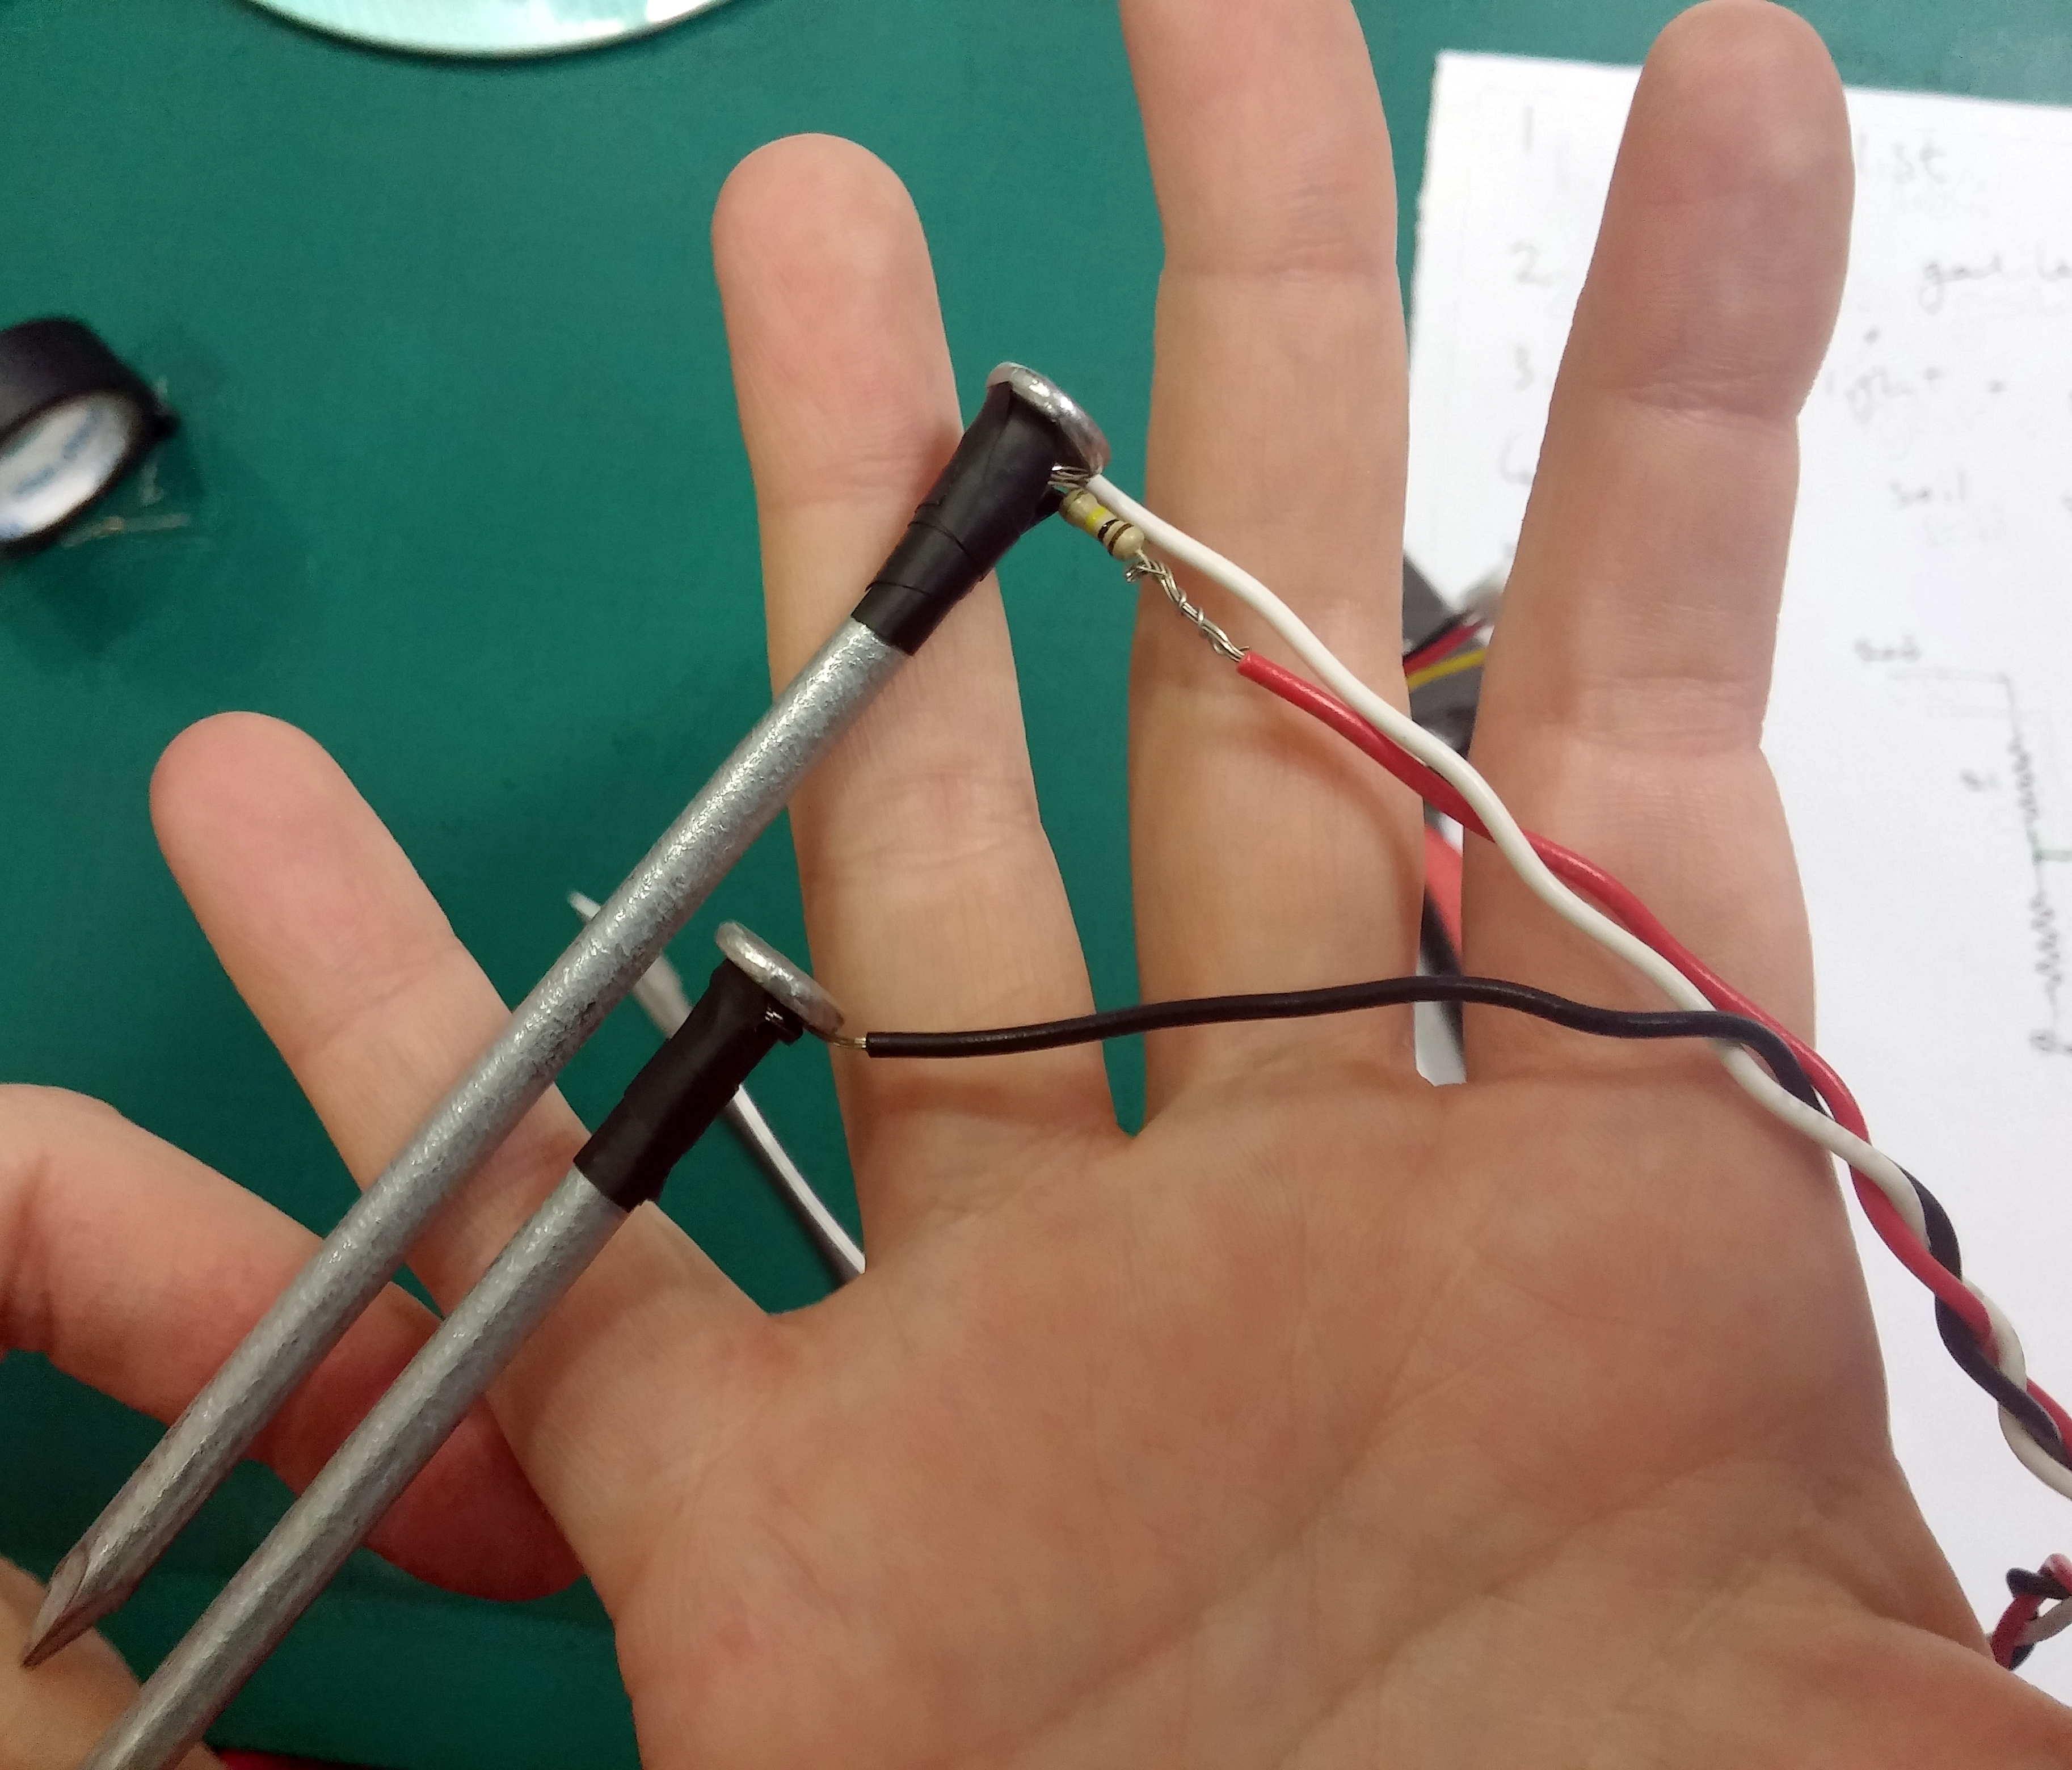
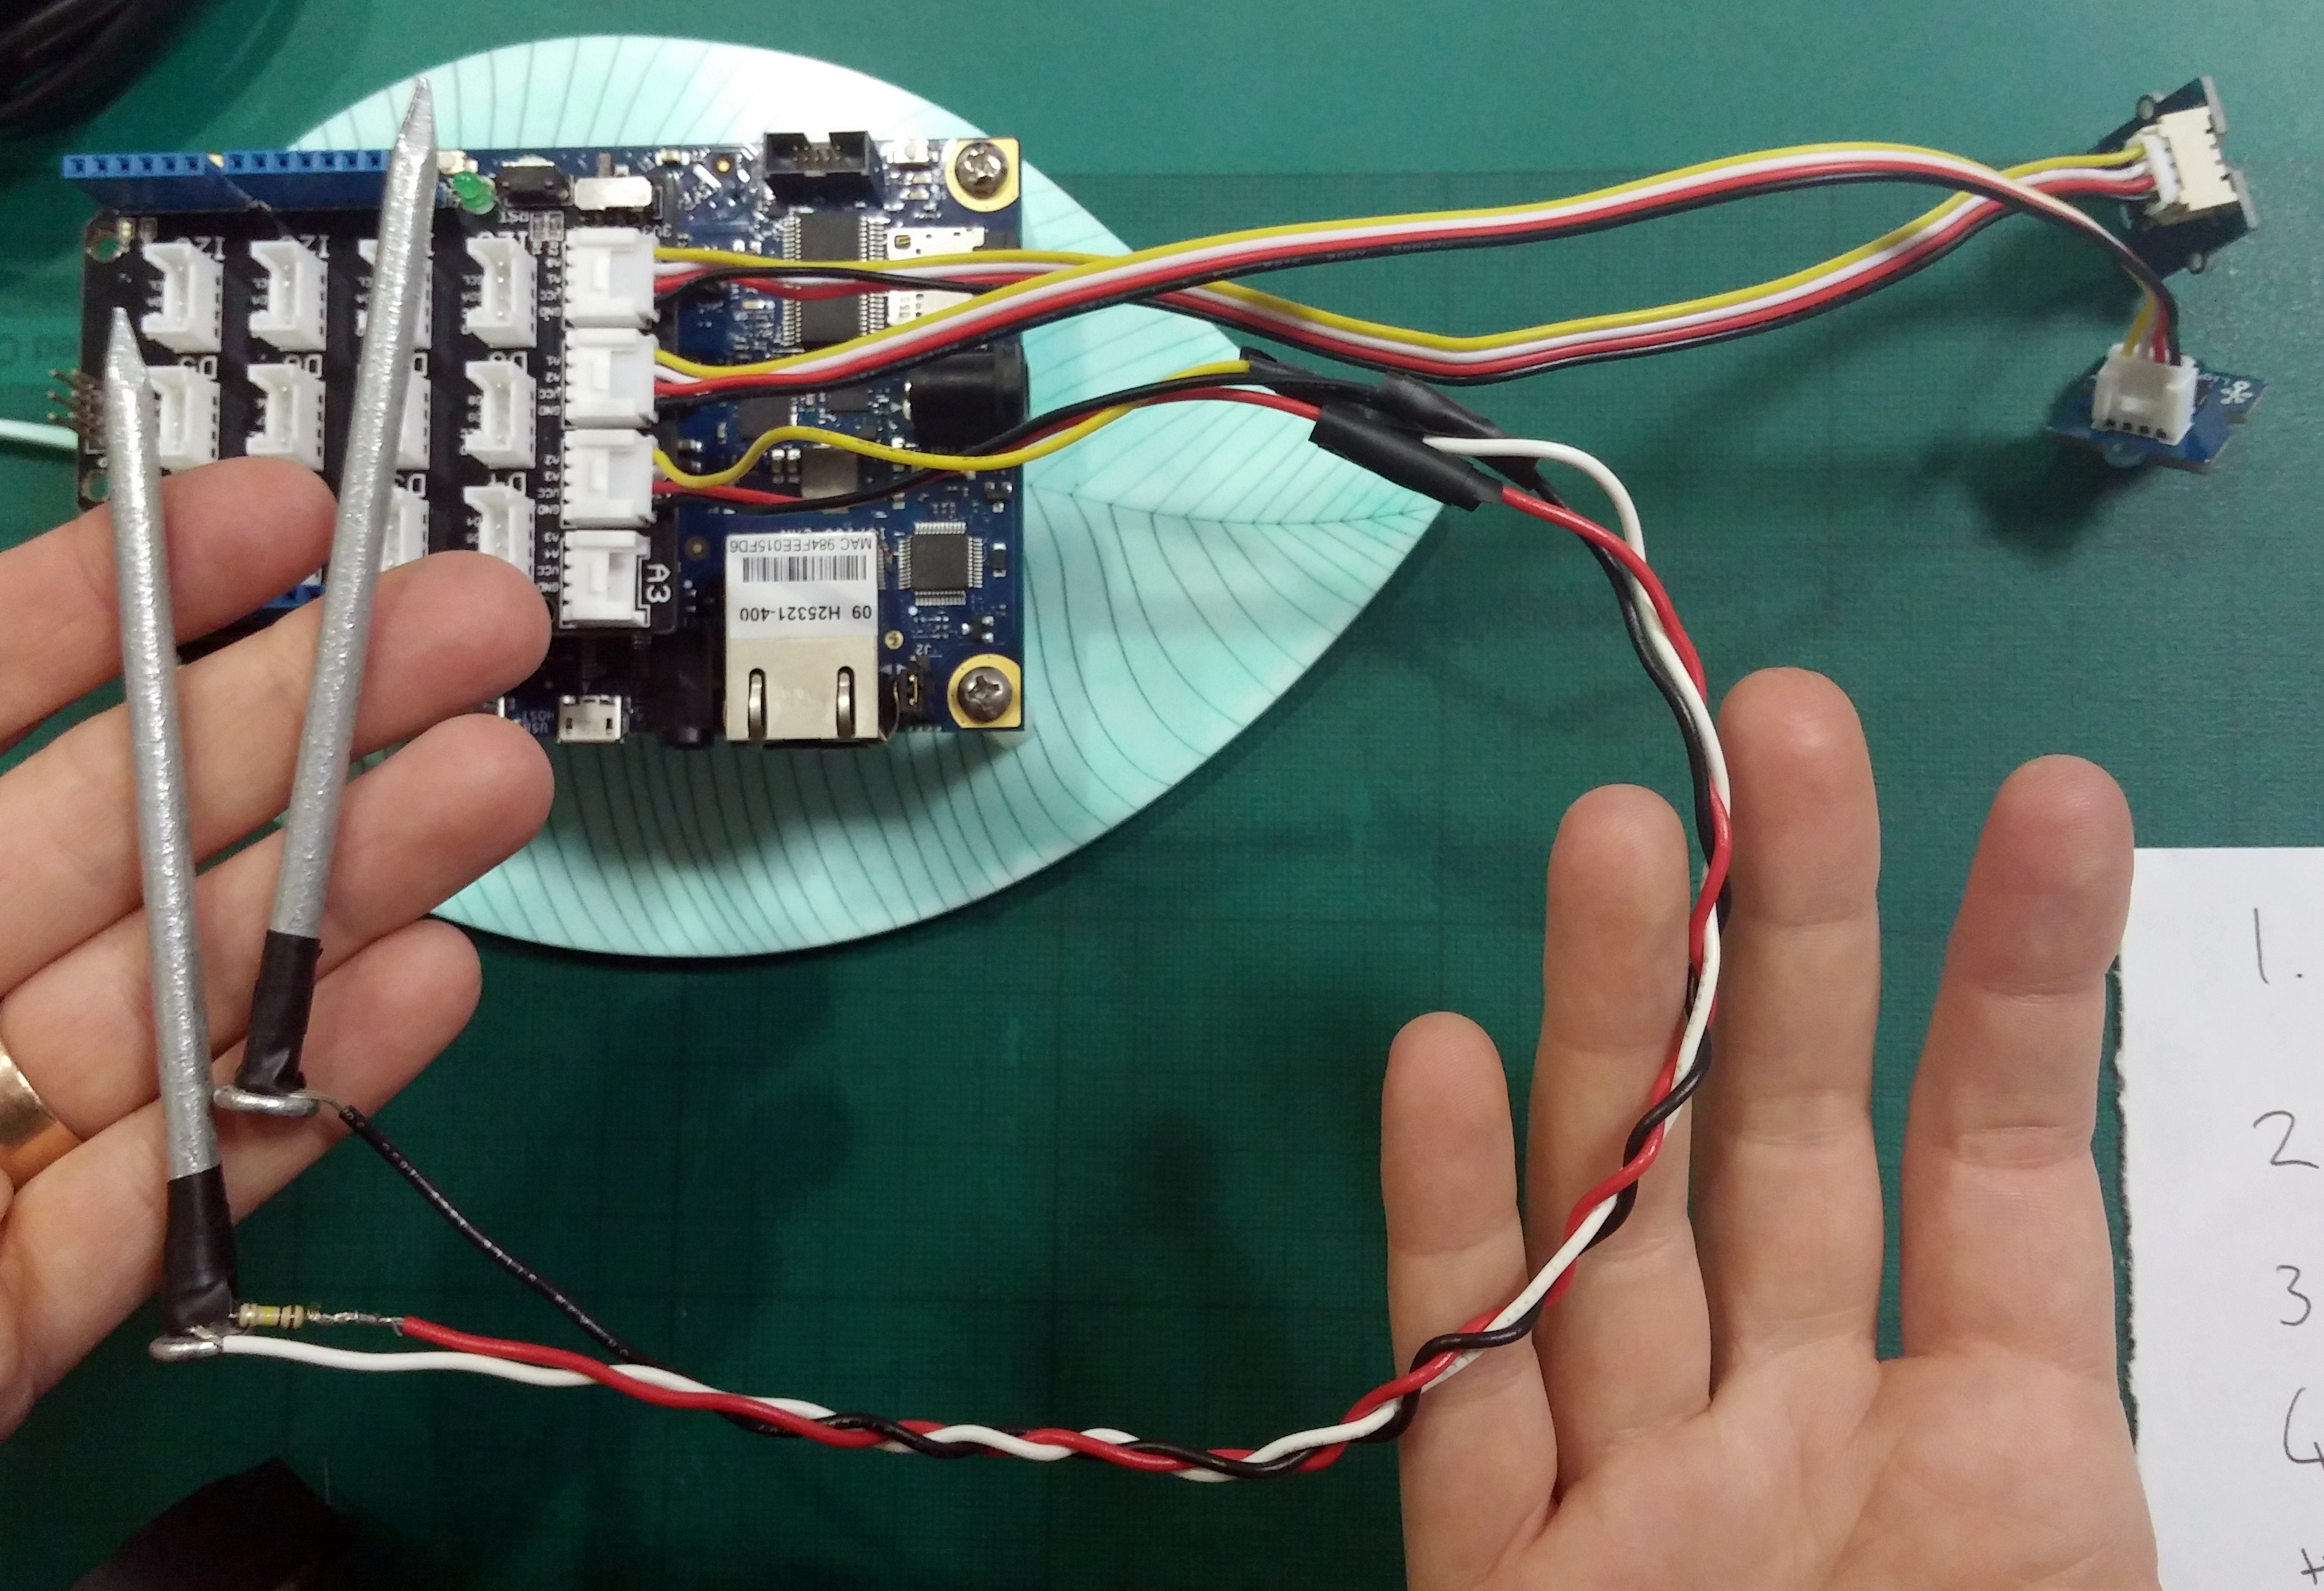
First, wind the bare end of the black wire around one of nails, and wind the bare end of the white wire around the other nail. Now wind one of the ends of the resistor around the bare end of the red wire, as seen in picture one.
Next, take the end of the resistor and wrap this around the same nail as the white wire, then secure both nails with electrical tape, as seen in picture two.
Put your nails securely into the two slots on the nail mount: this puts them an exact distance apart and also keeps them secure.
Finally, take your soil sensor and plug the connector into the A3 input on your base unit. It will only plug in one way up so make sure it is correctly aligned.
Finishing Touches
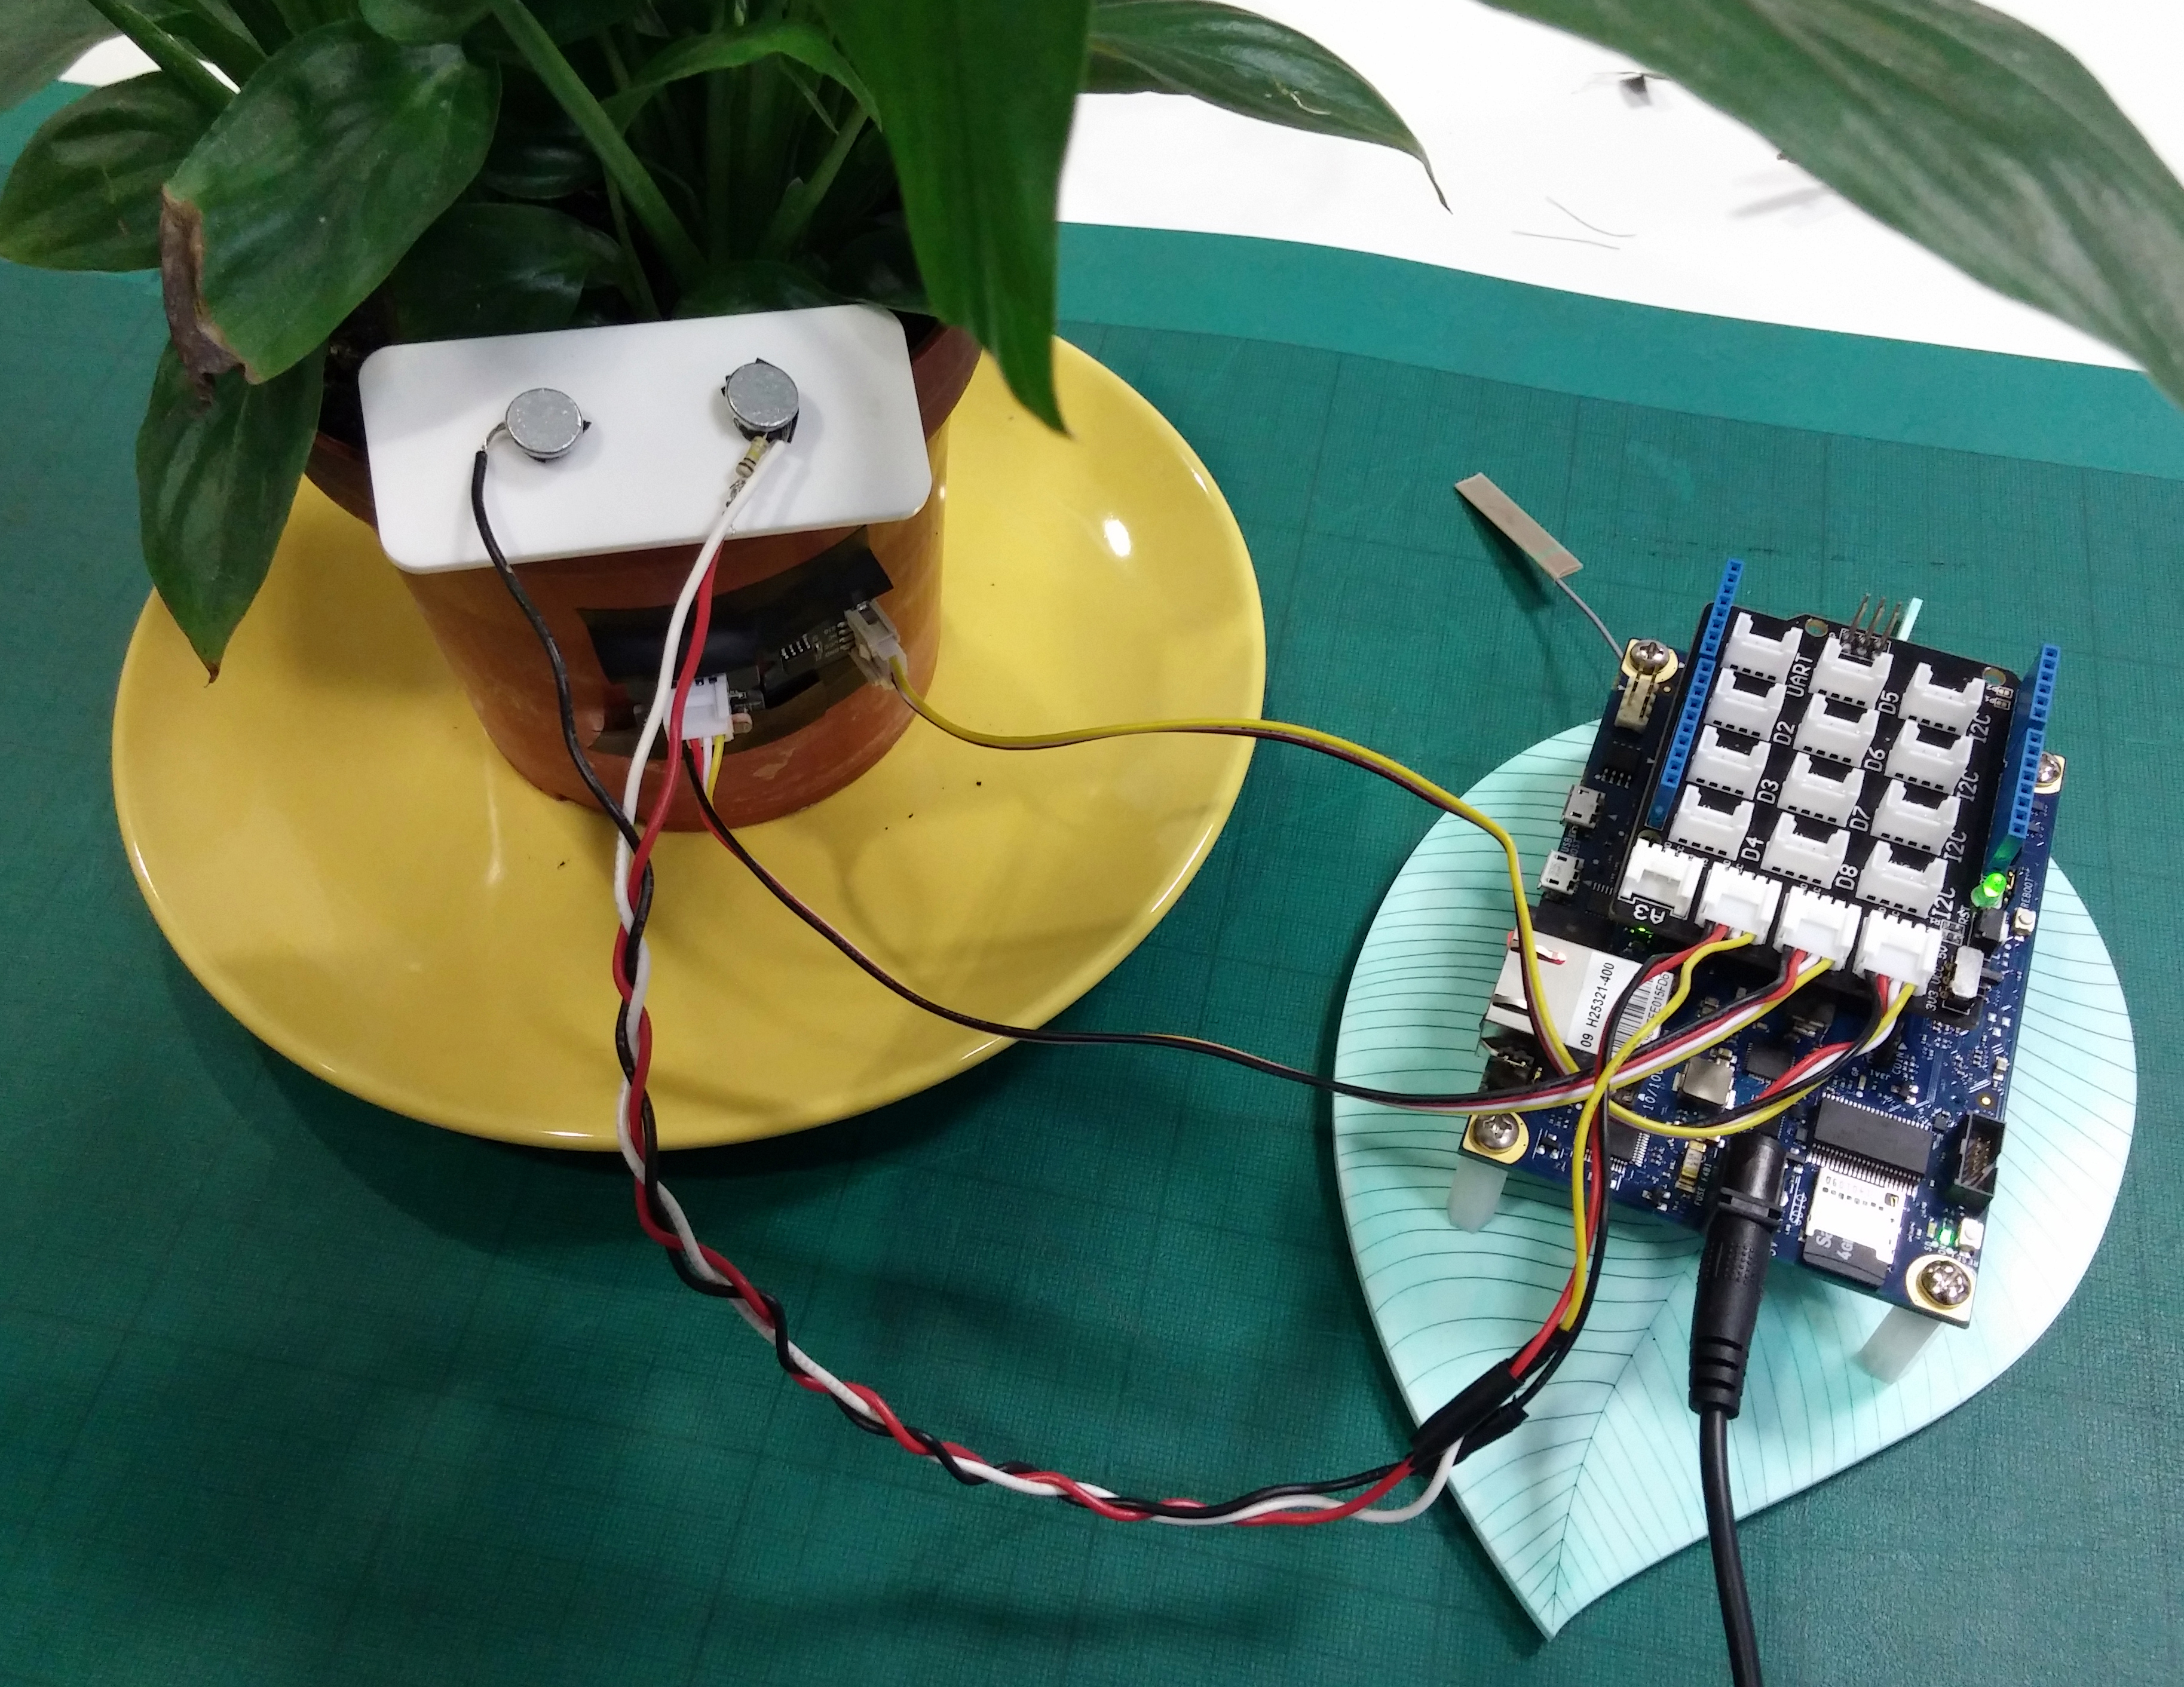
Nice work! You now have a completed soil sensor that can measure light, temperature and soil moisture.
All you need to do to get it working is plug in the power cable and plug in the plant by pushing the two nails into the soil. You'll see a green light on the base unit when it's switched on. Make sure your light and temperature sensors are on or near your plant, as in picture one.
You're all ready to go... what are you going to experiment with first? Have a look at this Instructables on how to use our Internet of (School) Things to explore your data or create an experiment.