Make Your Own Pi-shaped Book Cafe! (Tinkercad)
by Aujeya in Workshop > 3D Printing
970 Views, 0 Favorites, 0 Comments
Make Your Own Pi-shaped Book Cafe! (Tinkercad)
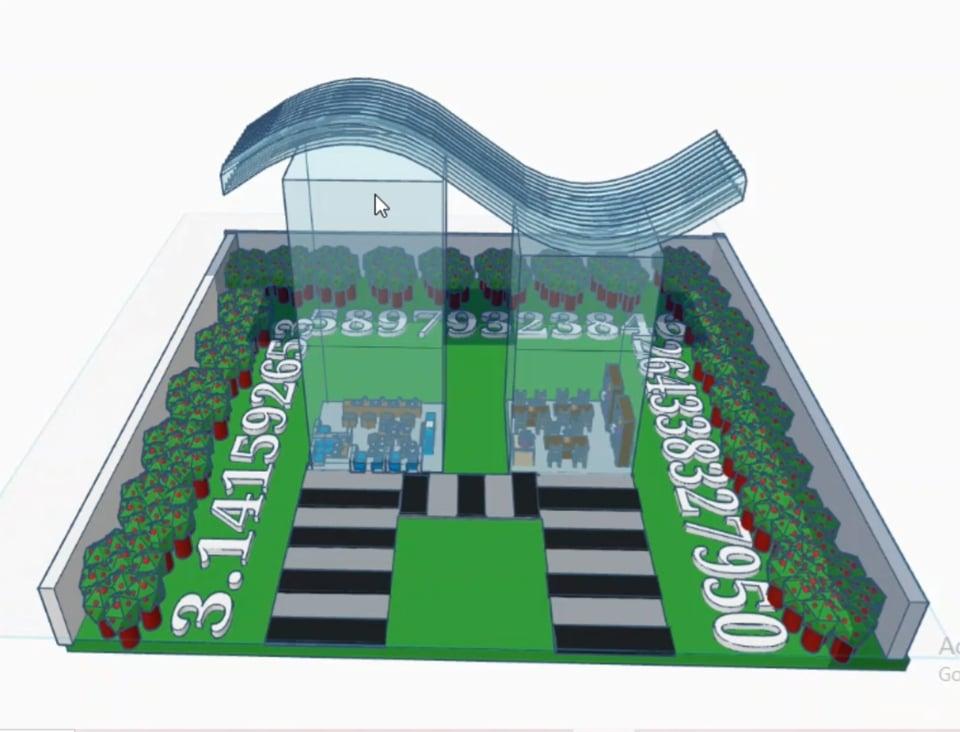
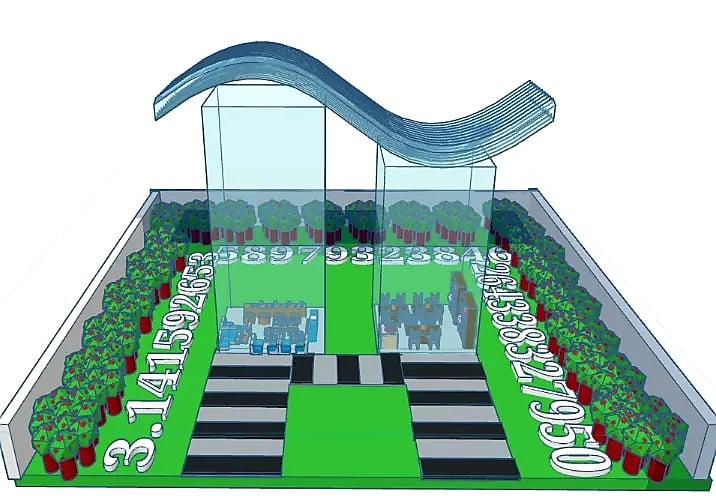
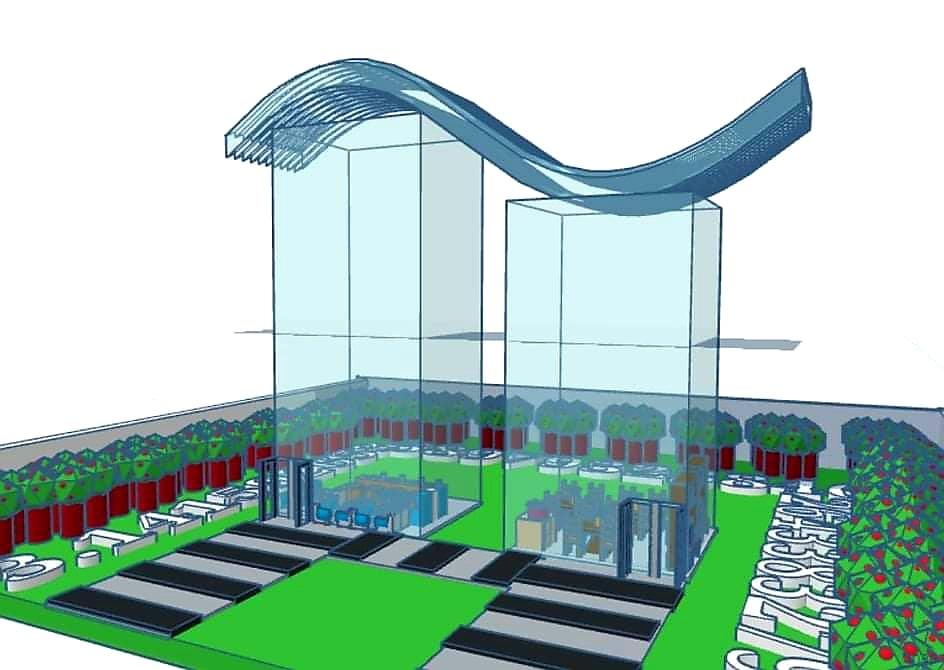
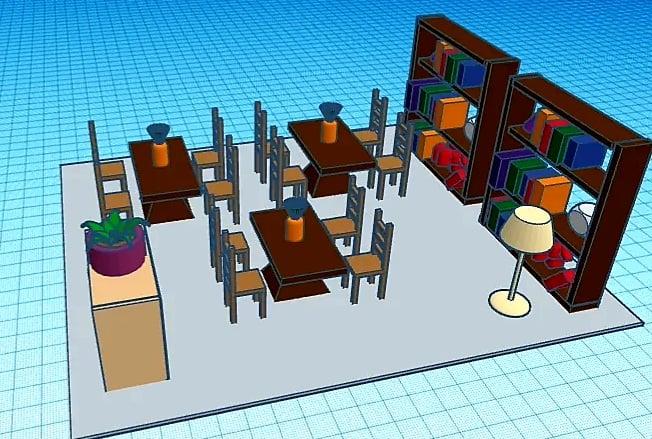
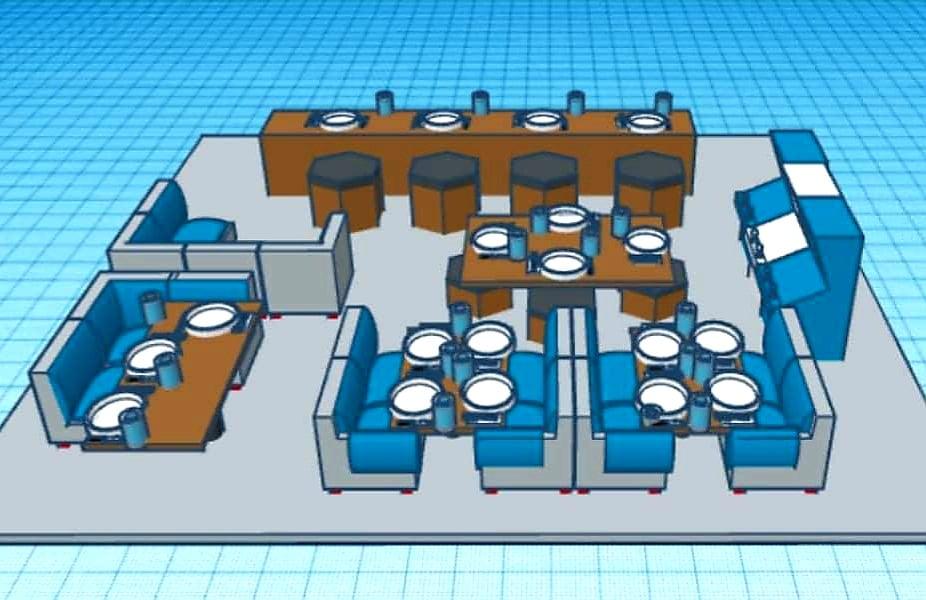
It has always been a dream of our friend circle to open a book-cafe in future and I have been thinking about making a 3D design of it. So when I saw this challenge, I thought why not collab these two brilliant themes and give it a shot!
In this instructable, I have tried my best to explain each step of making this stunning model elaborately and easily. I loved working on this project and I hope you'll enjoy it as well.
Supplies

The supplies you'll need are-
- Tinkercad (a free, easy-to-use web app by Autodesk that equips the next generation of designers and engineers with the foundational skills for innovation)
https://www.tinkercad.com/
- A computer device
- Stable Internet Connection
It also needs some basic planning and 3D digital literacy but don't worry, you'll find all the instructions needed in this instructable.
Making the Cafe
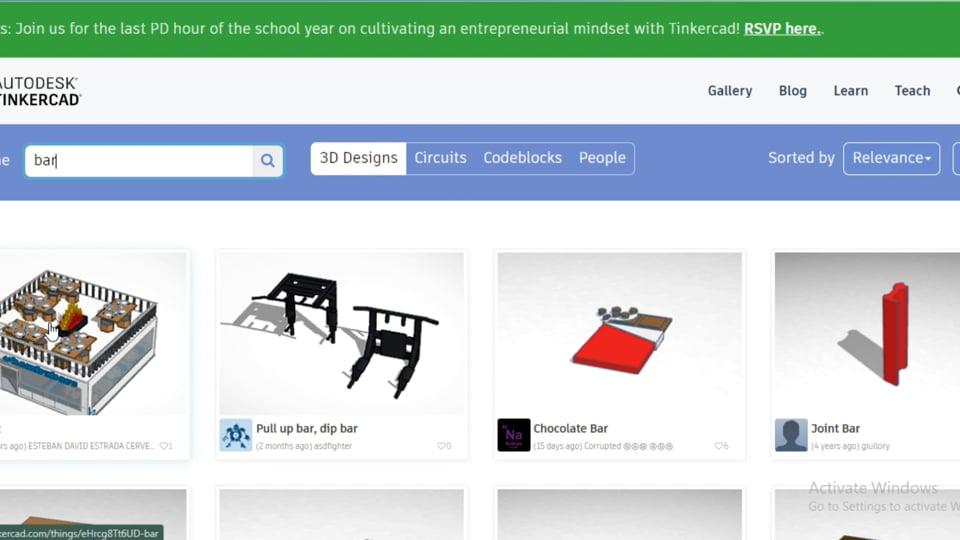
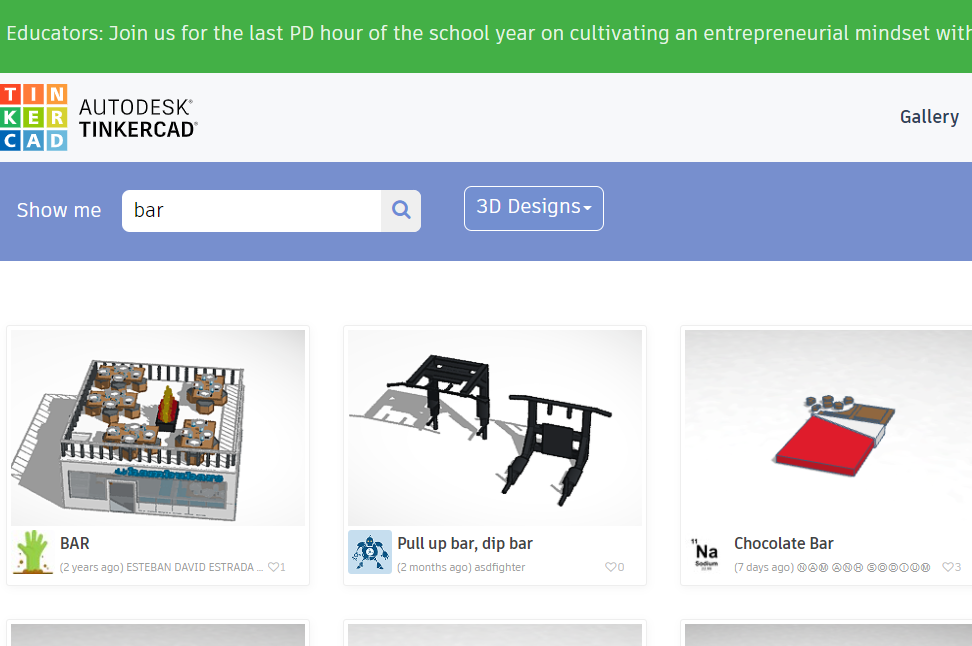
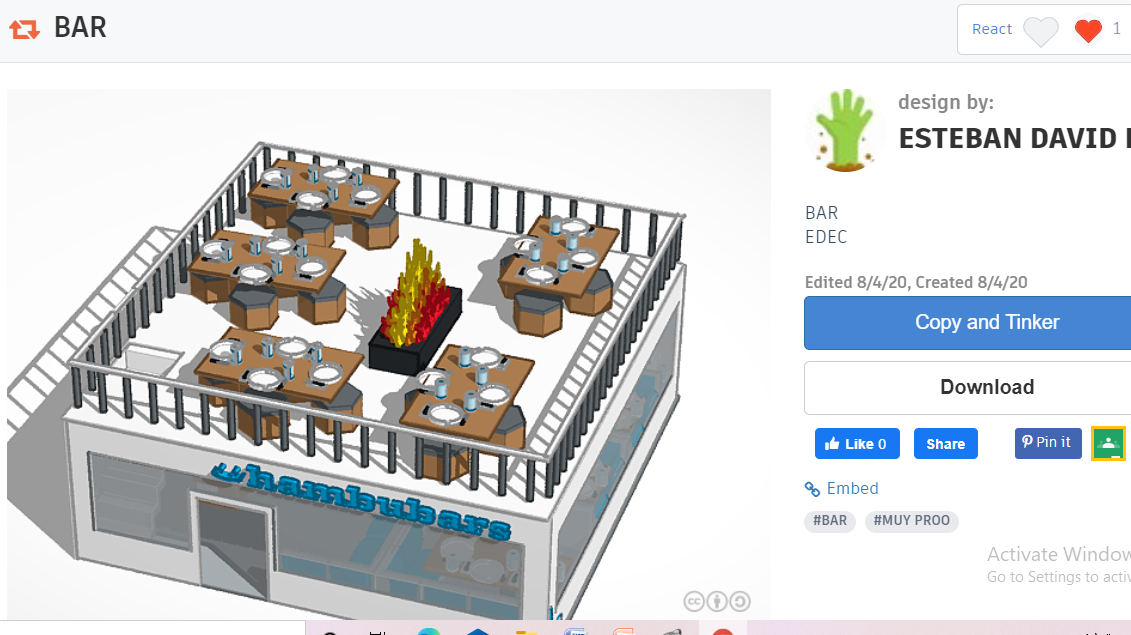
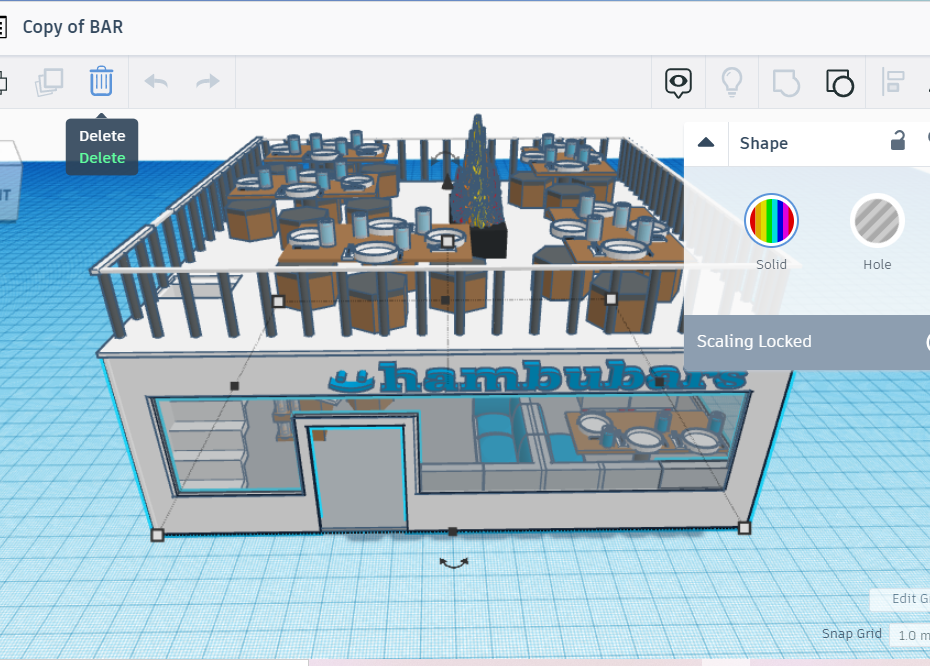
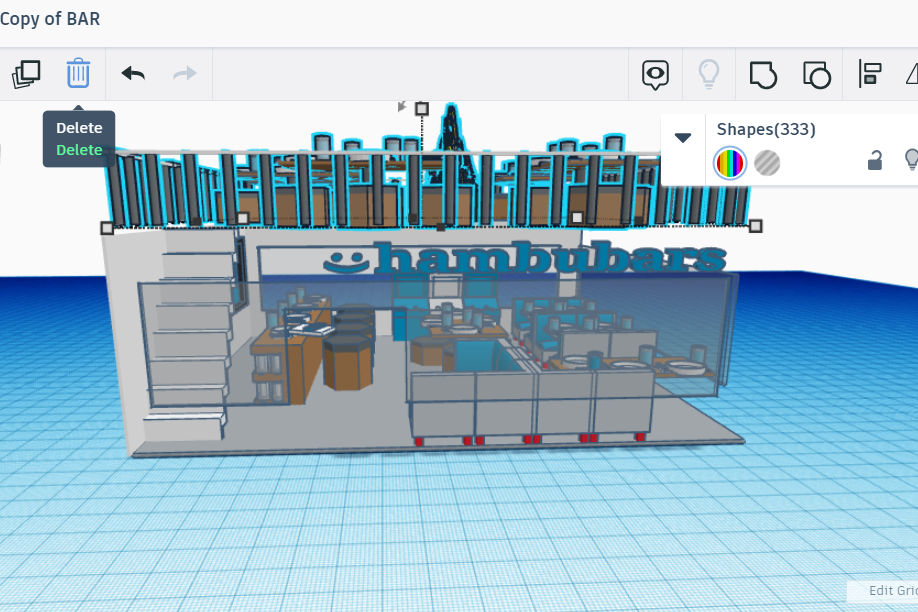
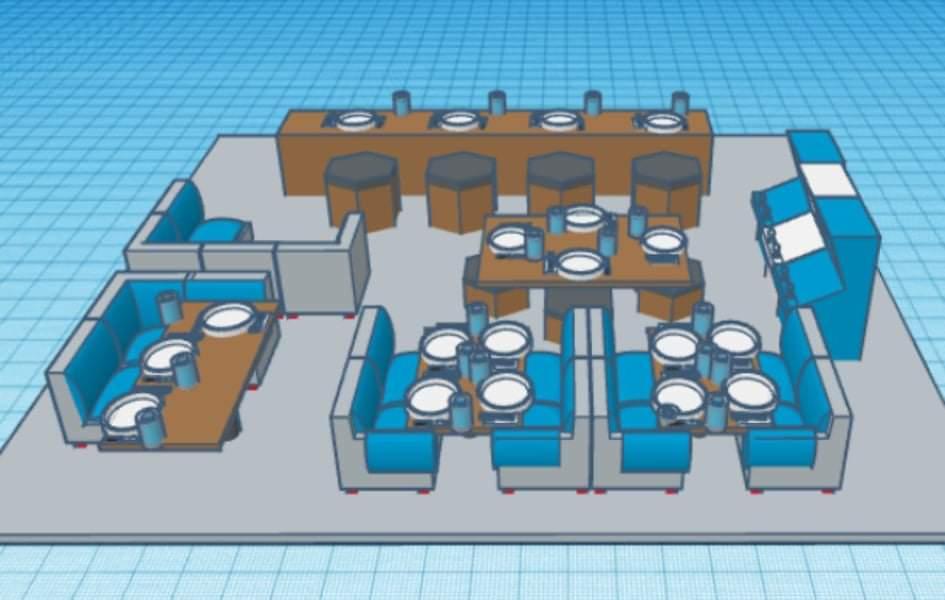
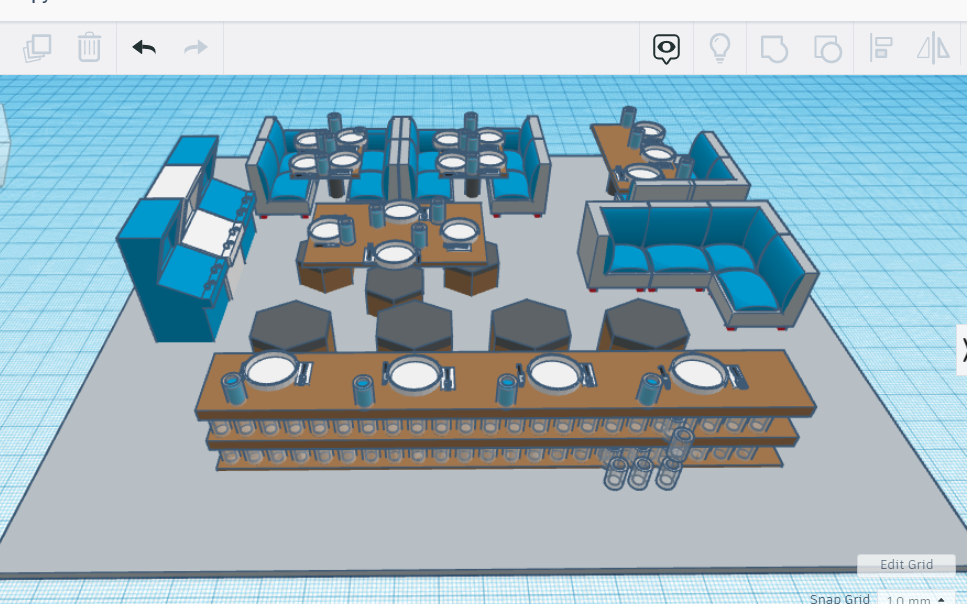
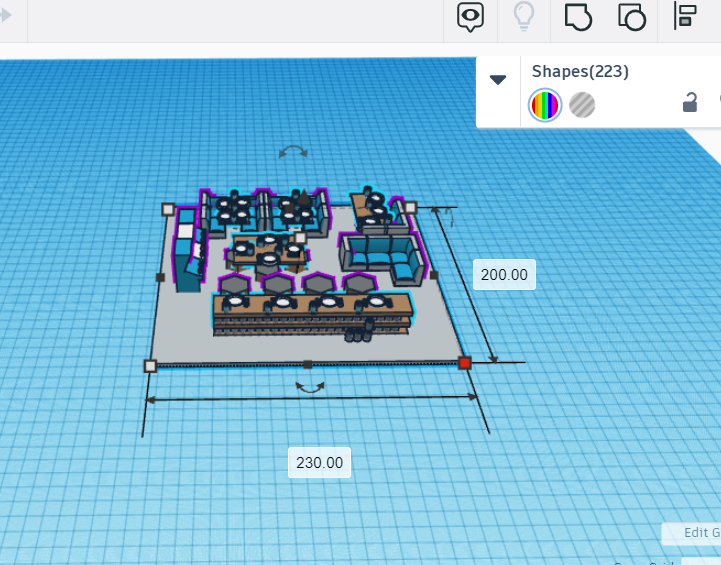
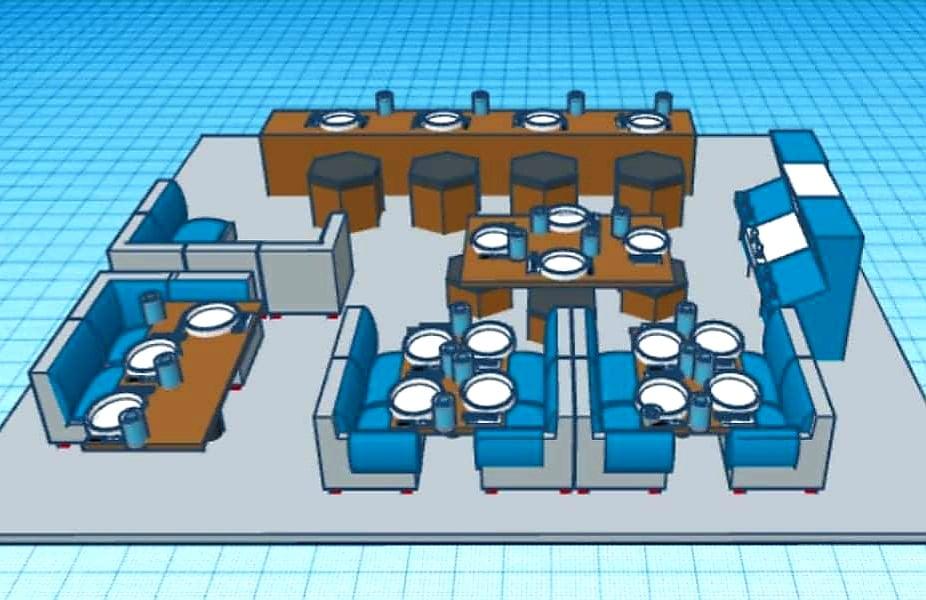
Tinkercad inspires innovation on a great level. So you can use your creativity, design an awesome cafe and make a 3D model of it easily. However as it is time consuming and needs a lot of planning, I decided to use the resources of tinkercad gallery.
Tinkercad gallery showcases amazing creations by its users and gives you the opportunity to copy and use the 3D model in your project.
For making the restaurant,
- Go to the gallery and then search cafe/bar/restaurant
- It will display you numerous creations by other users
- Choose whichever model works best for you
- After that, select "copy and tinker" option and you are ready to use the 3D model
- Because I didn't need all the parts of the 3D model that I chose, I decided to break it into small pieces and just keep the parts that I need
- To do this you need to select the parts you don't want and remove them by selecting "delete"
This part may seem a little tough to the newcomers, so I have added a video to make the instructions clearer
Note- Note down the exact length and width of your flooring, we will need to use it later and try to make it a round figure. In this model I have made the floor 230*200
Collecting Parts for the Library
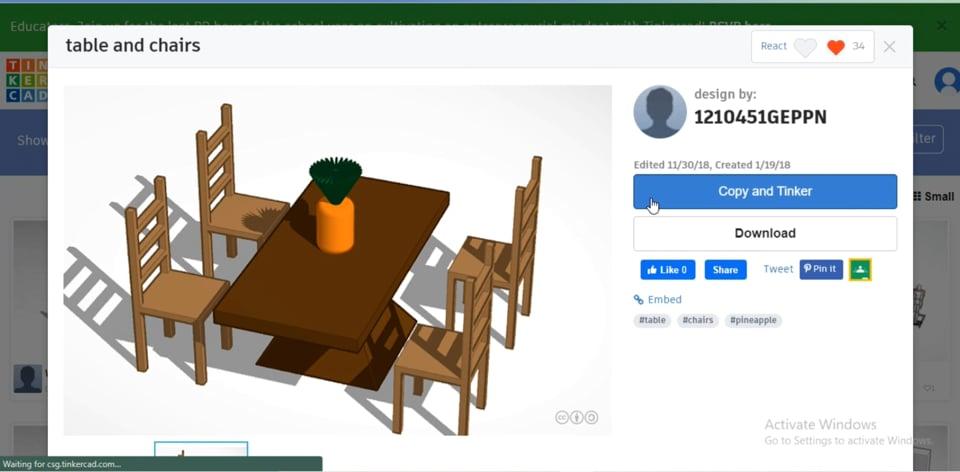
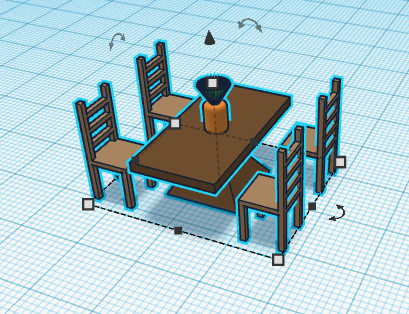
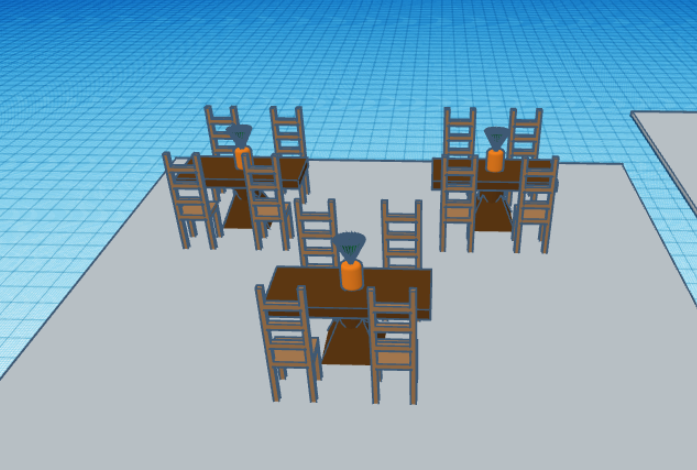
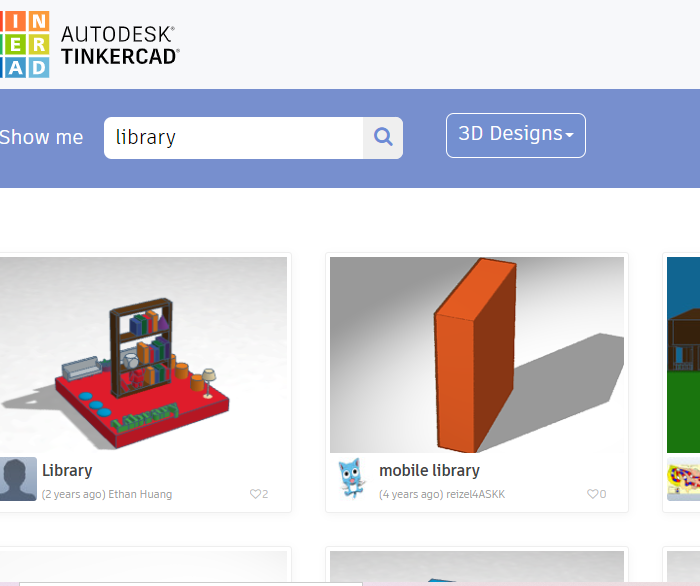
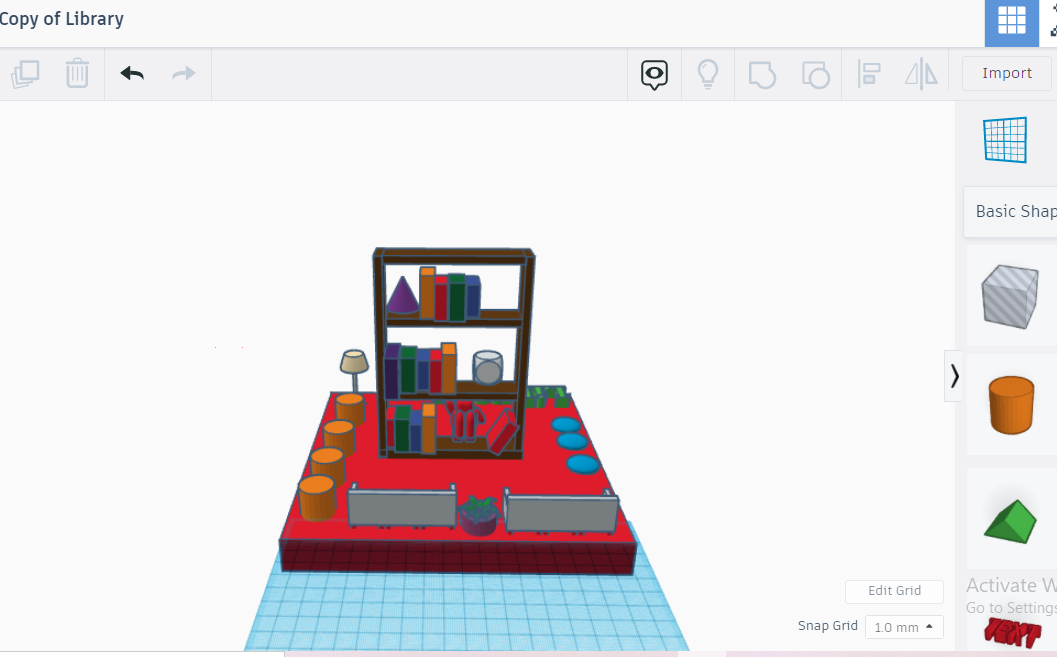
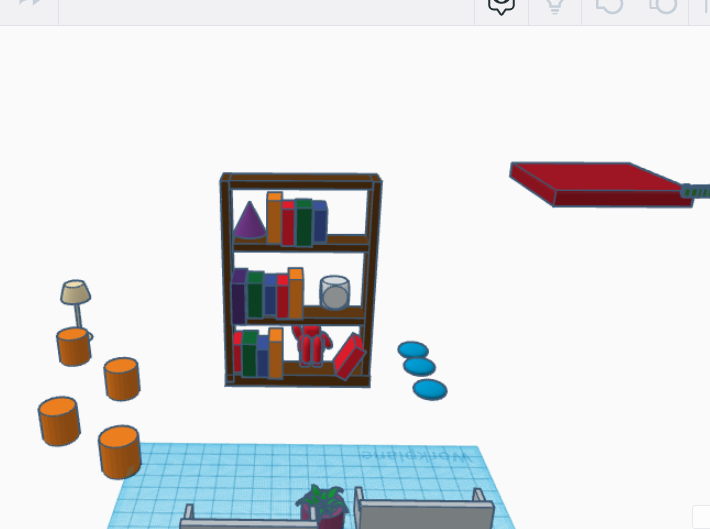
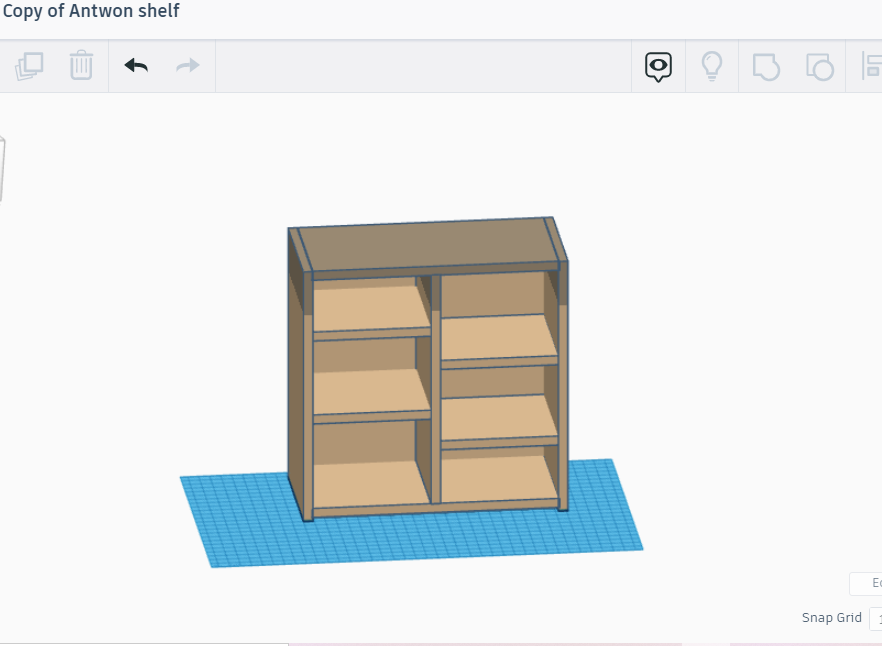
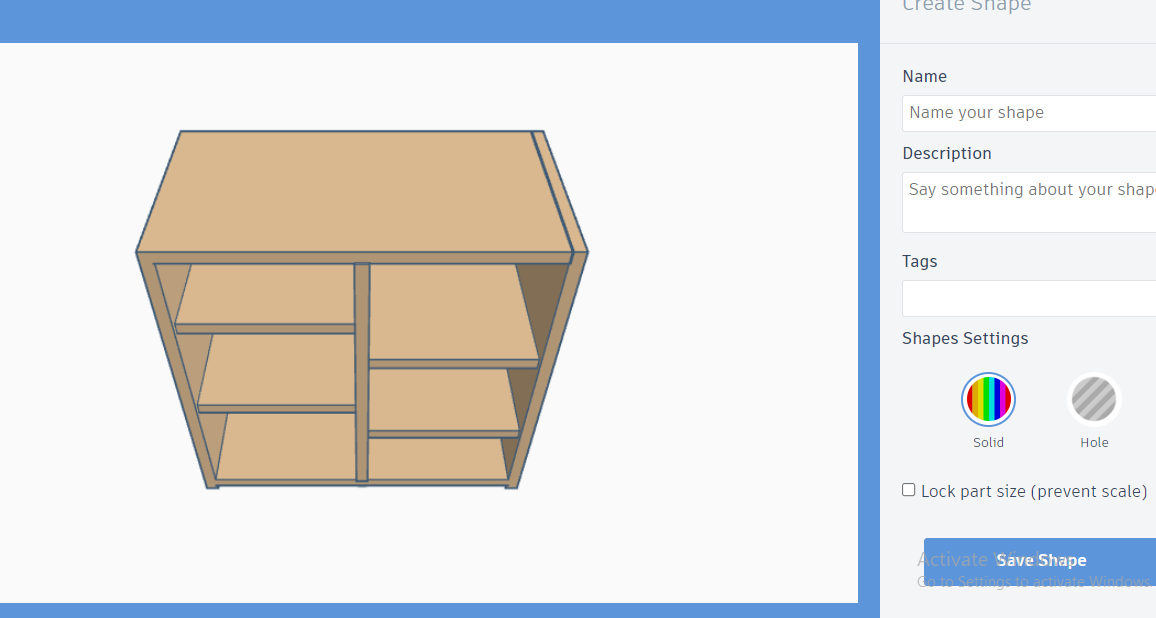
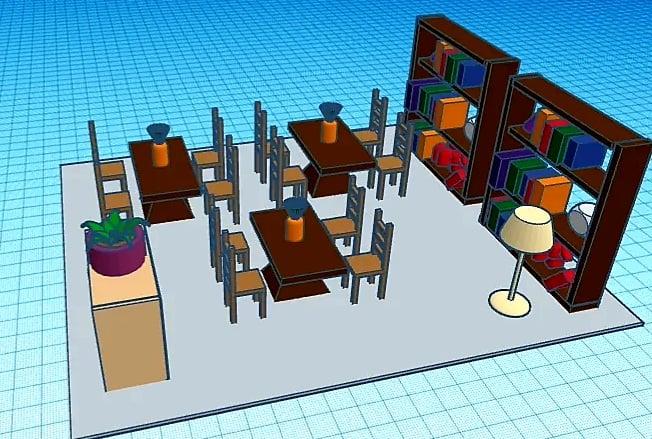
Now it's time to tinker the second part of our book café- the library. I collected the parts I needed to build the library from tinkercad gallery. You can copy and tinker a 3D model and add the model to your own collection and then use it in your project by following these steps
- Search the parts you need
- Choose a model and select "copy and tinker"
- You can make some changes in the 3D model you have chosen if you want
- Then select "your creations" option from the shape library
- Select the whole object and then select "create shape"
- Name your shape and select "save shape"
I have put a video of the whole process. I had collected the book shelves, chairs, tables in the similar process to build my library
You can also design your own chairs, tables, shelves and other things you need for the library and add it to the shape collection
Making the Library
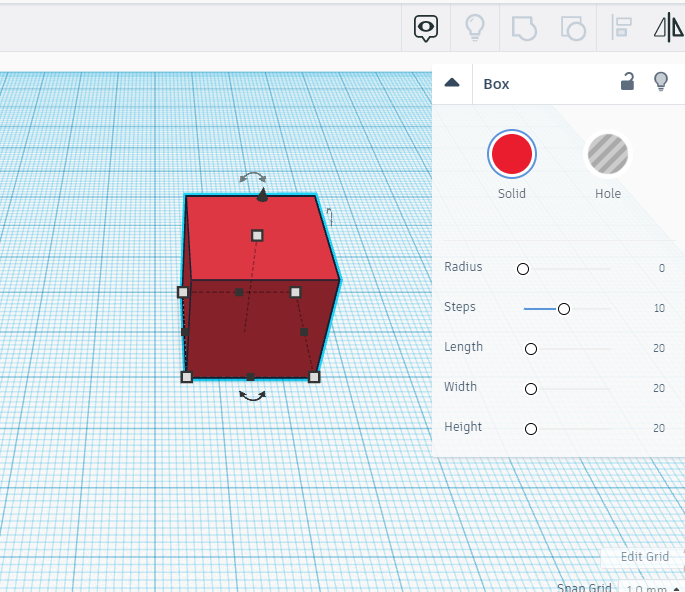
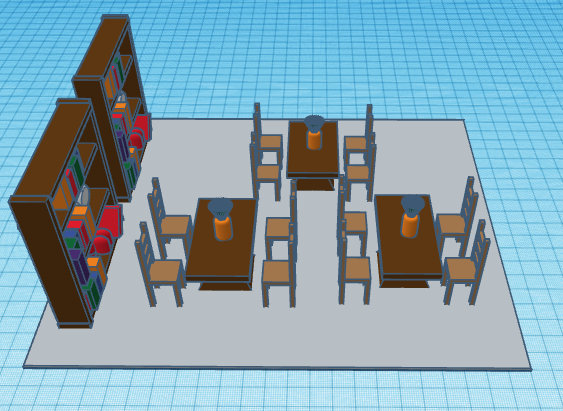
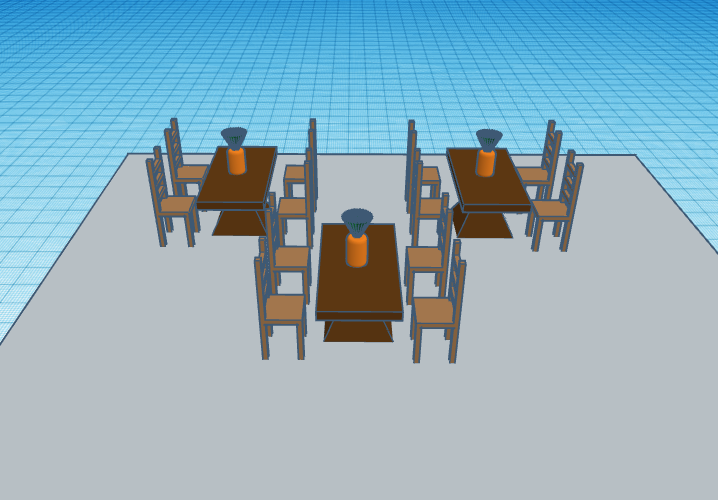
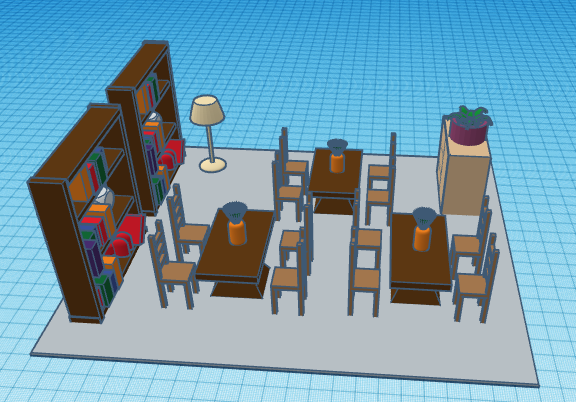
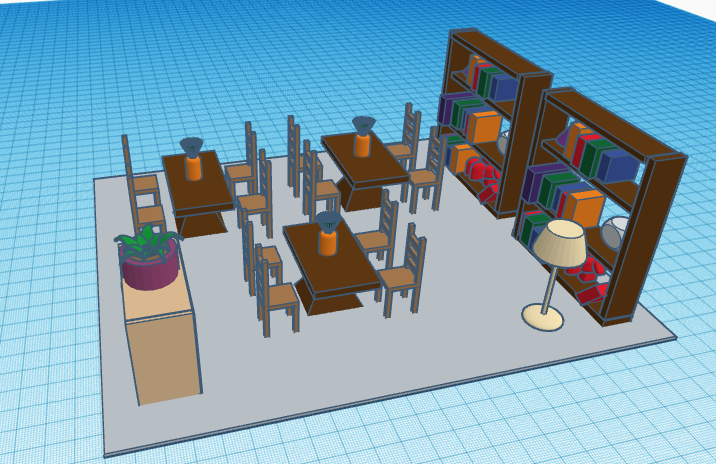
Now it's time to put the parts together.
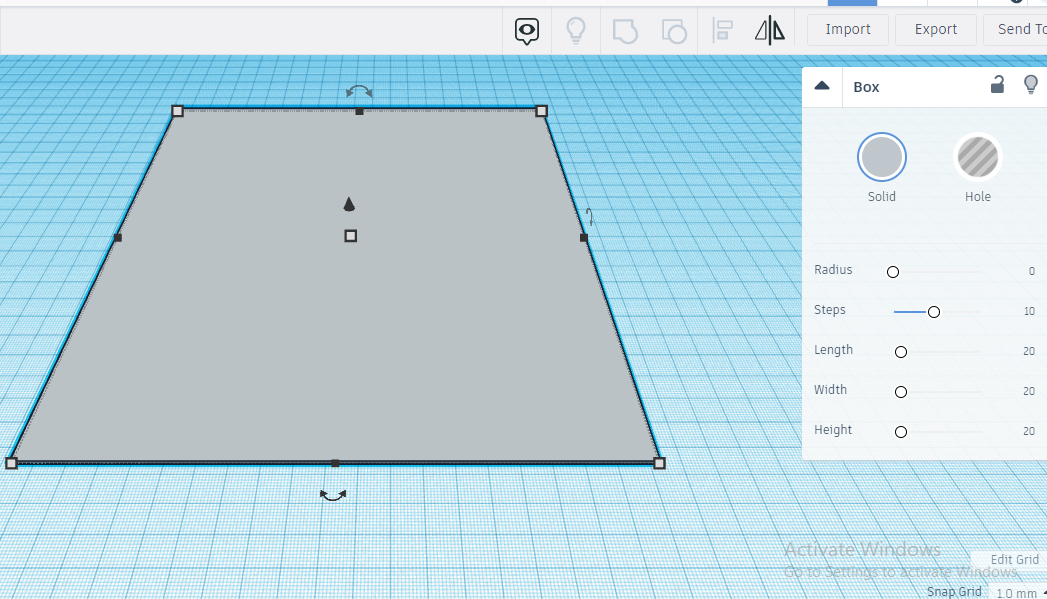
First of all, we need to build the floor-
- Select and drag a block shape to the work plane
- Adjust the shape to the exact measurement you used in the flooring of the cafe
- Change the colour according to your preferences
Now for assembling all the parts-
- Go to the "Your creations" section of the shape library
- Select the shapes (chairs, shelves, tables etc) you added previously and drag it to the work plane
- Adjust them in appropriate height, length and width
- Assemble the shapes properly by dragging them on the work plane
And your library is now ready!
The Main Building
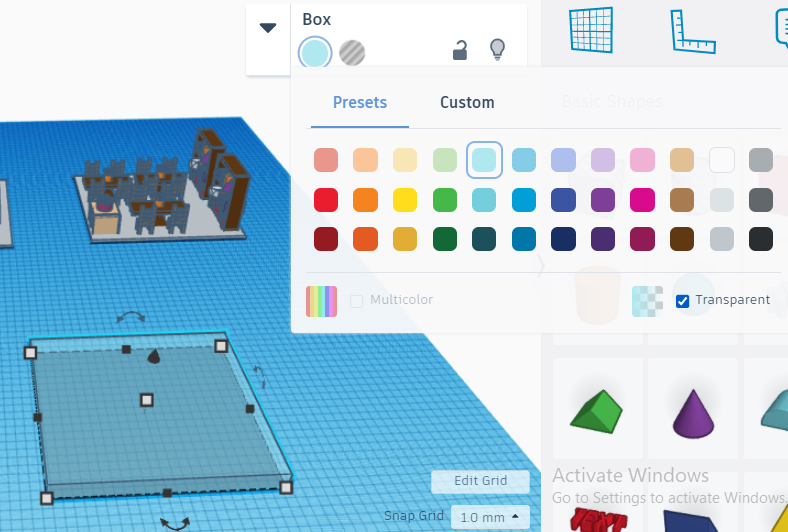
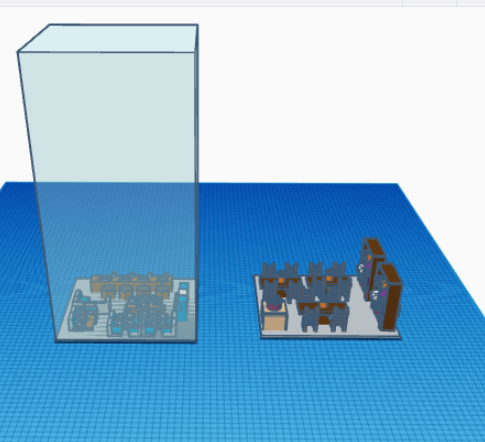
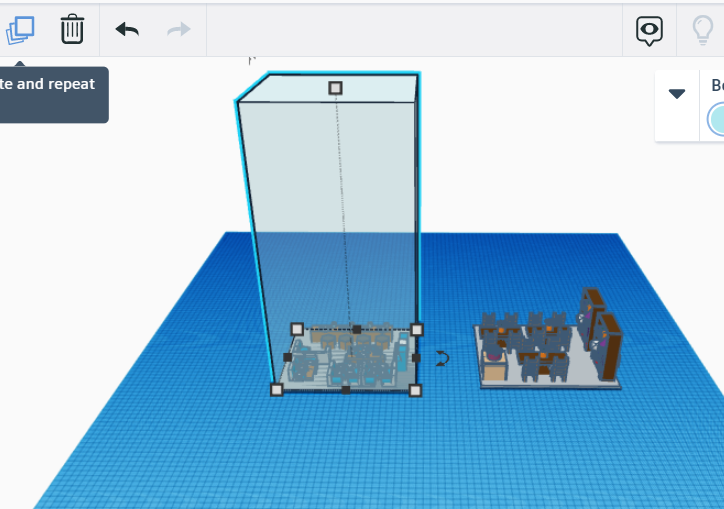
Now comes the fun part. For making the main building
- Drag a block shape on the work plane
- Adjust the shape exactly to the measurement you have used in the flooring of your cafe and library. I have used 230*200 in this model
- Now adjust it's height. The building will resemblance the pi-shape, so keep that in mind while adjusting the height.
- Change its colour to blue and then change it to transparent so that the structure looks like a glass building
- Now the select the object and copy it
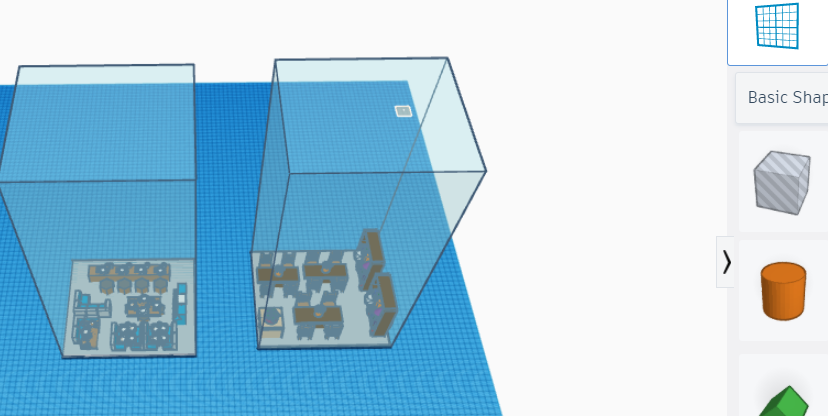
- Select and drag your cafe and library on the center of the work plane. Set them in a position so that they have an appropriate distance between them.
- Now set the two glass buildings on the cafe and library structures
Making the Roof
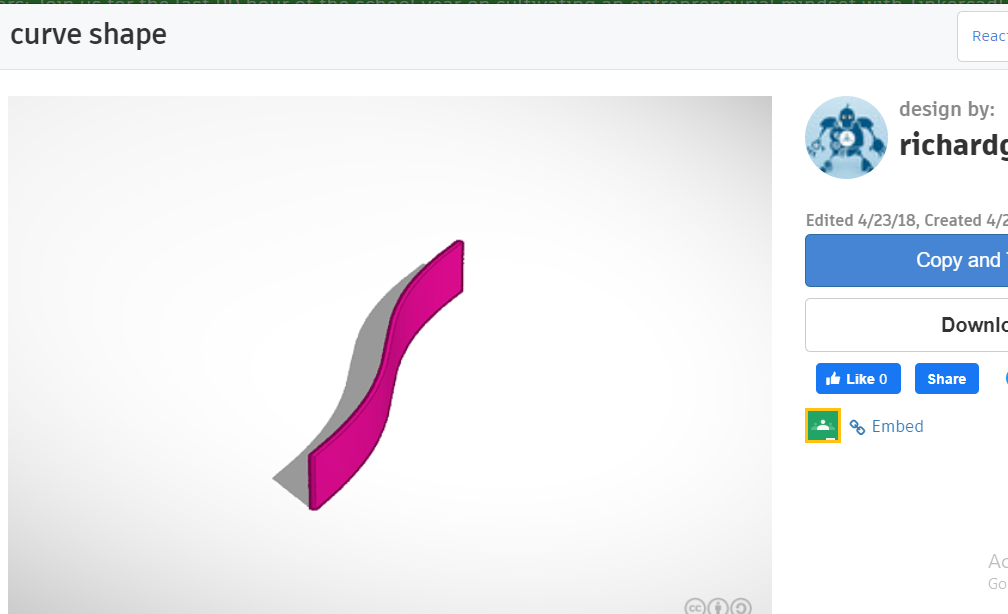
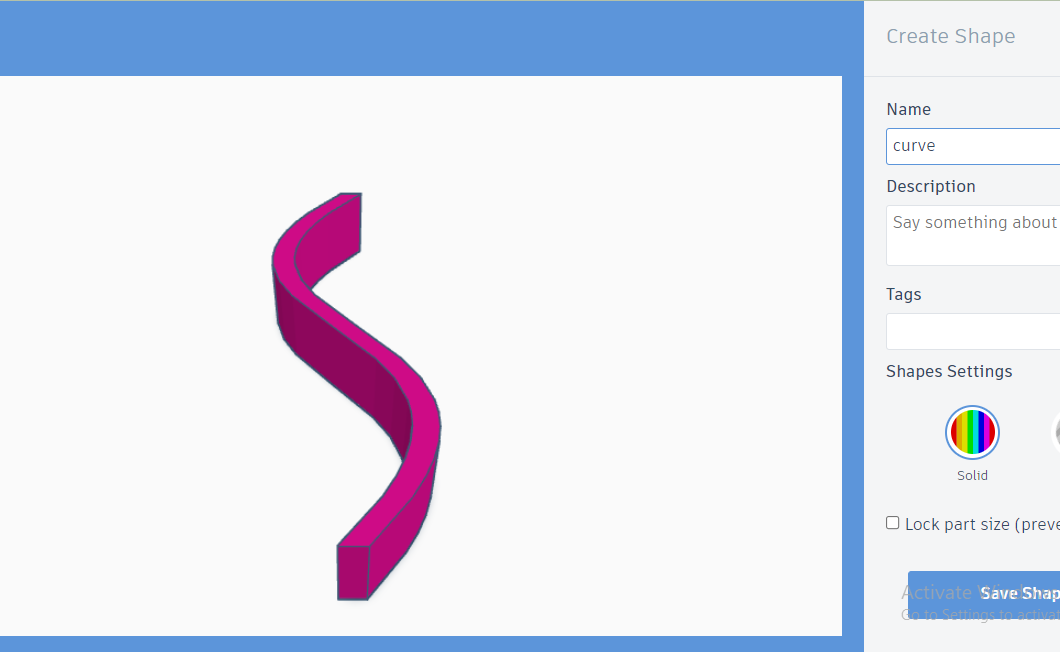
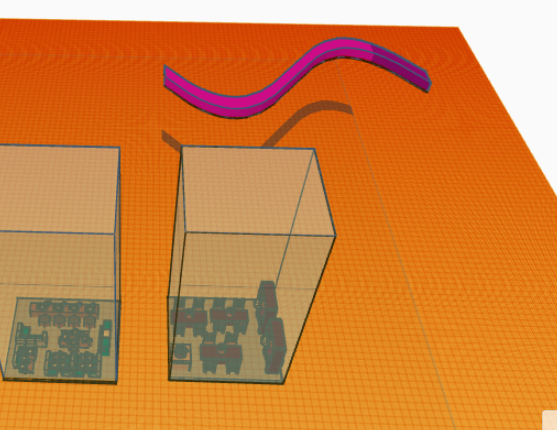
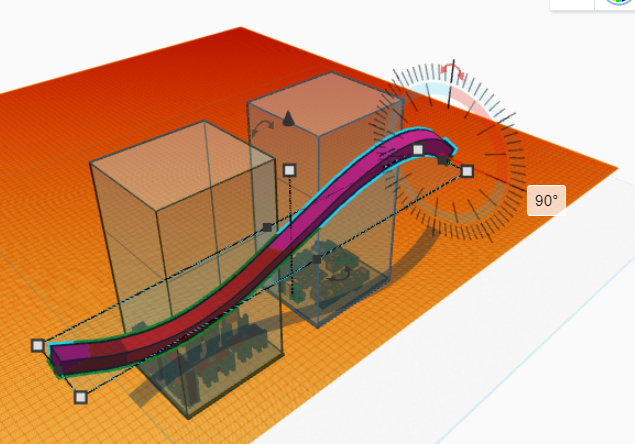
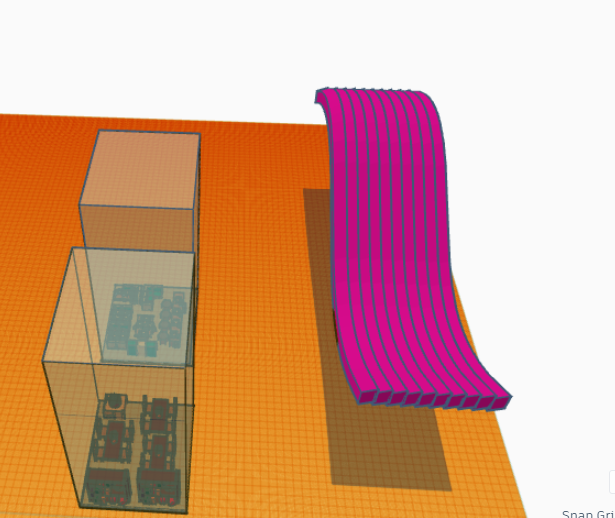
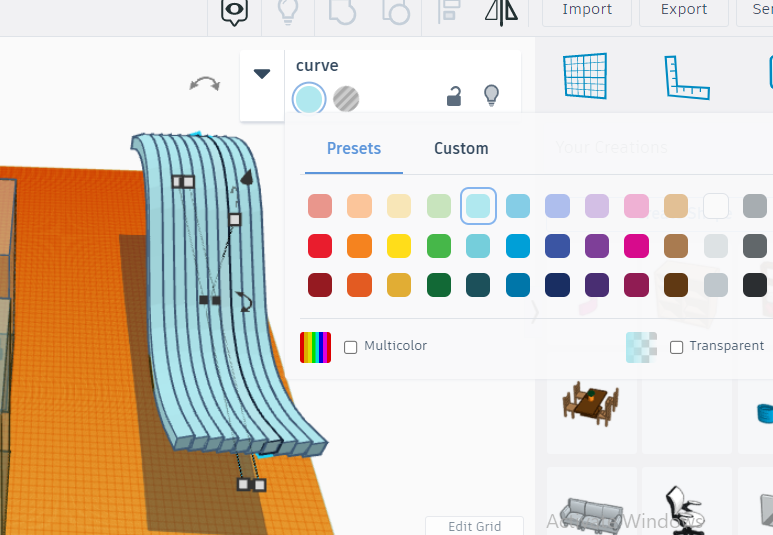
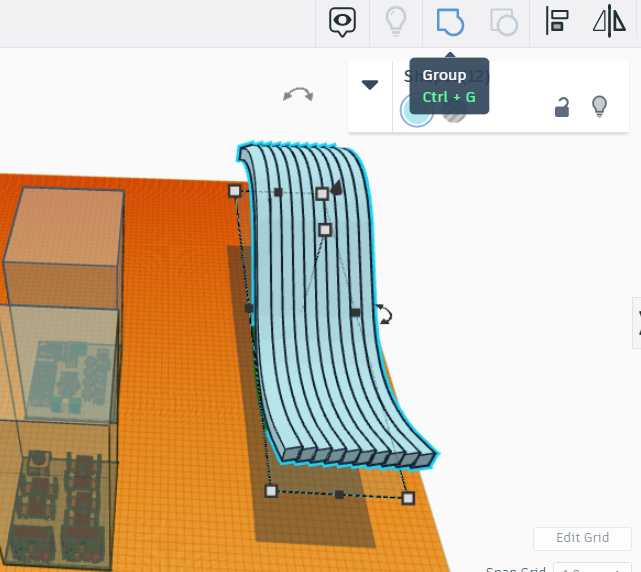
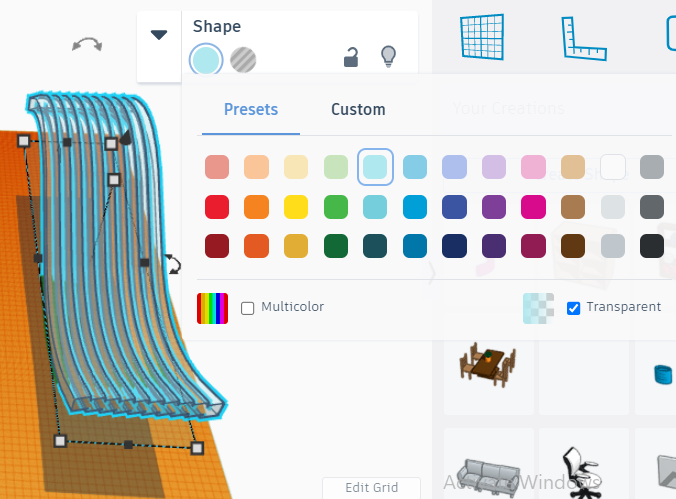
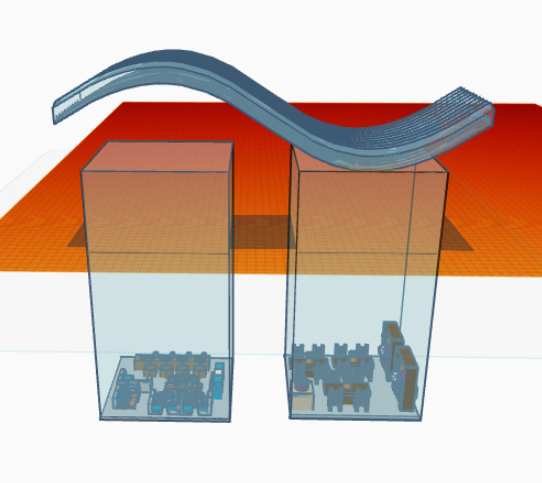
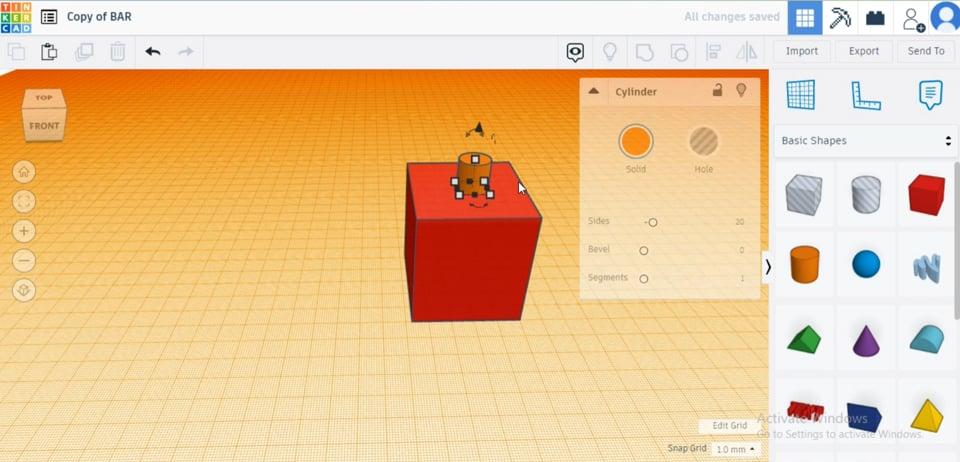
To make the roof of our pi-shaped building
- Go to the tinkercad gallery and search for "curved shape"
- Add the shape to "your creations" section of the shape library by following the same process as before
- Now go back to your project and put a work plane on top of the glass buildings. This might seem a little tricky to the beginners, so I have a put a video to help you with it.
- Select and drag the curved shape on your new work plane
- Adjust it's height, length and width
- Rotate the shape at 90 degree angle vertically
- Drag the shape so that it sits right on top of the building
- Now copy and duplicate the structure several times
- Merge all the copies
- Change the colour to blue and then change it to transparent
- Drag it right on top of the glass building
- Adjust the height of the glass building so that t touches the roof accurately
And you beautiful roof is ready!
Making the Campus Ground
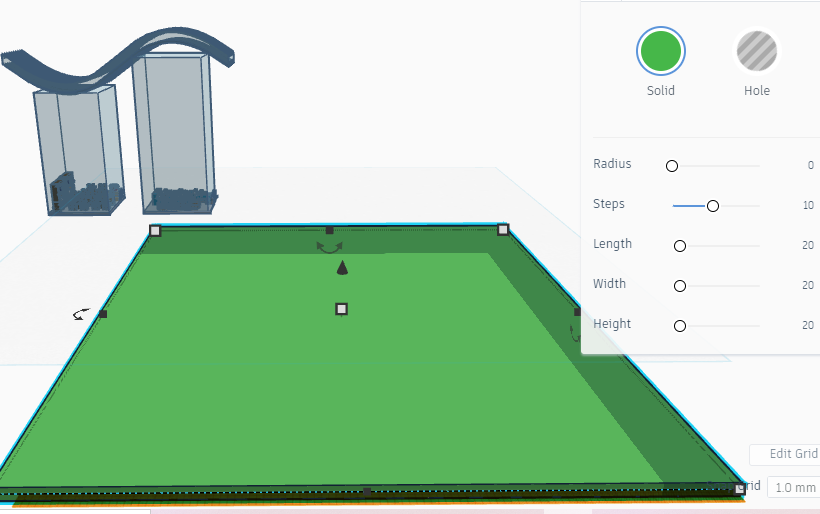
Now that our main structure is completely ready, it's time to work on the campus ground
- Select and drag the main building aside so that you can have ample amount of space to work with
- Drag a block shape on the work plane and adjust its measurement to the length and width you prefer for the ground
- Change the colour to green
Making the Boundary
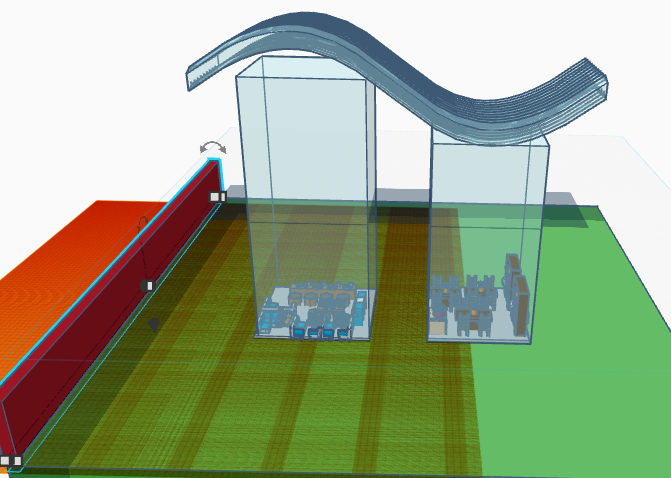
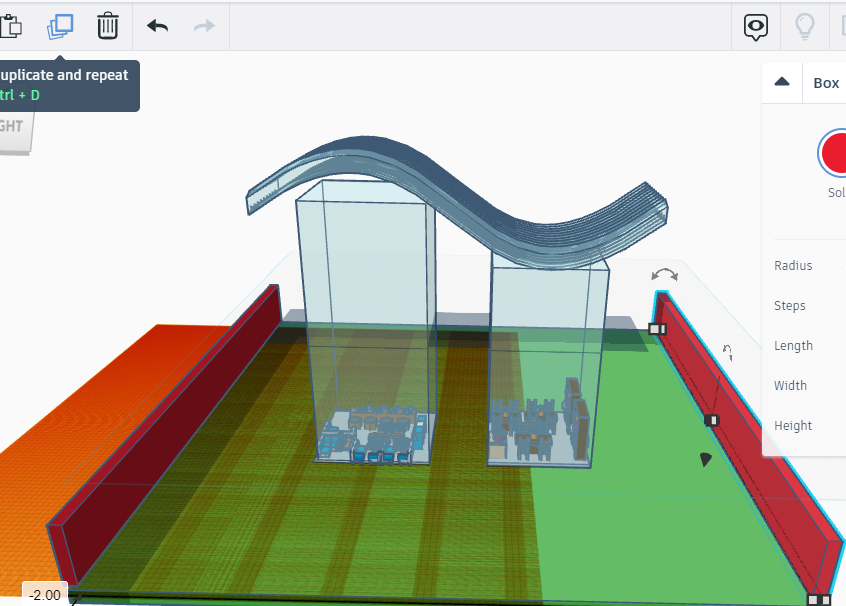
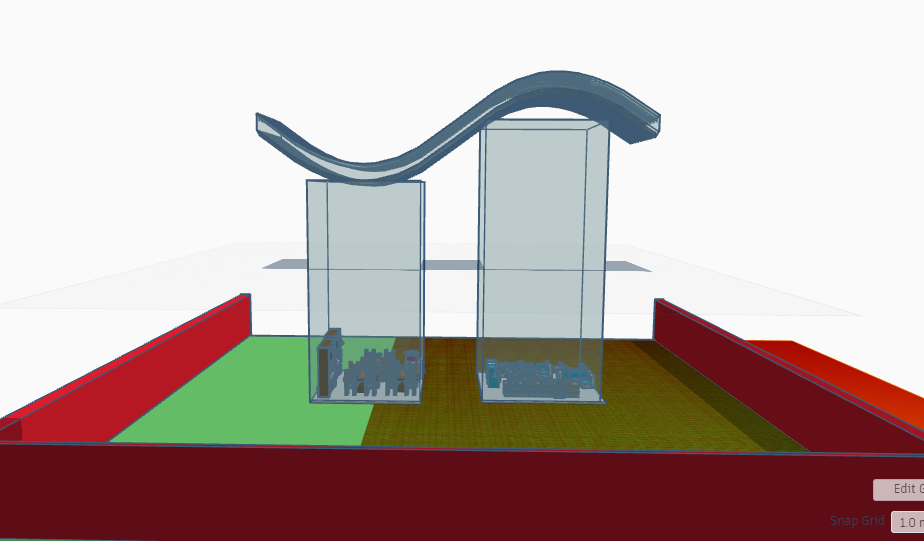
- Add a new work plane on the ground
- Drag a block shape on the work plane
- Adjust its length so that the ground and the border has the same length
- Now set the width and height according to your preferences
- Set it on the border of the ground
- Copy the shape and set the copy on the other side of the ground
- Copy it again and rotate the copy at 90 degree angle laterally
- And set the copy at the backside of the ground
- Change the colour of the boundaries according to your preferences
Making the Path
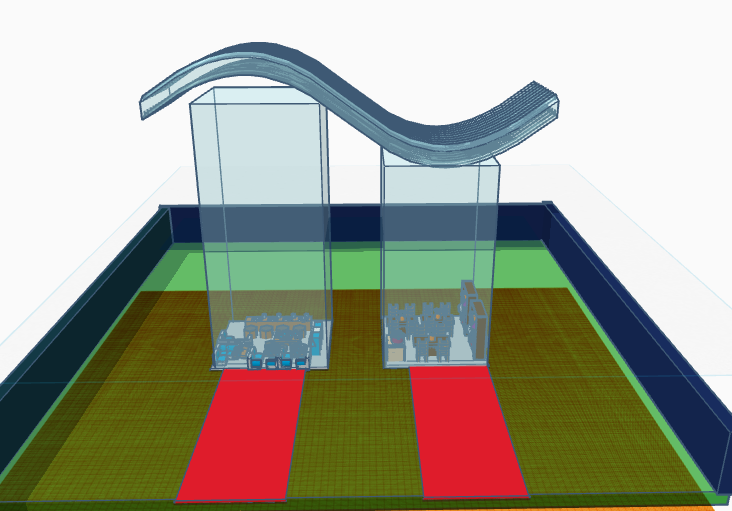
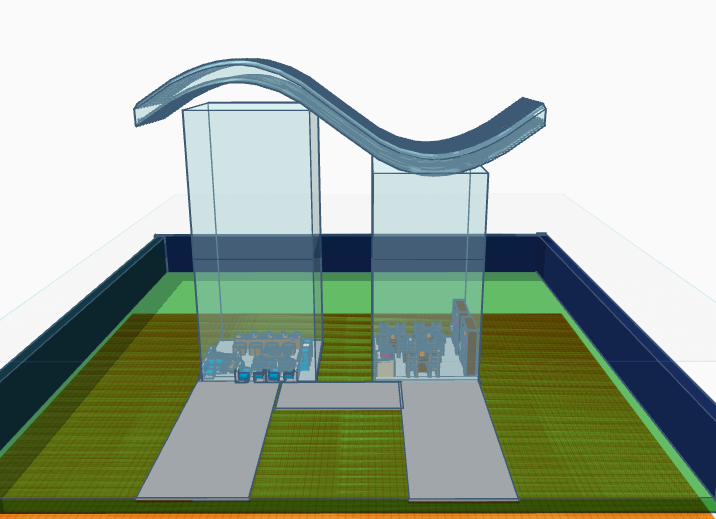
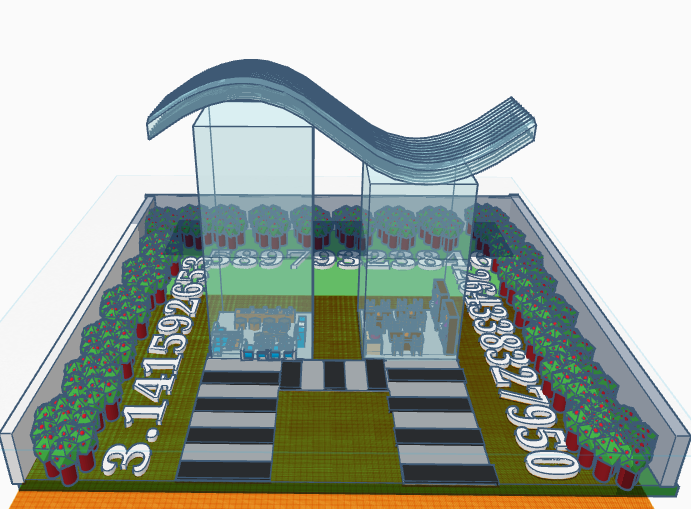
- Select and drag a block shape on the work plane
- Adjust its length, width, height
- Set it in front of the cafe building
- Copy the shape and set the copy in front of the library building
- Change the colour according to your preferences
Note : I have also added some black highlights on the path as part of the decoration. As it was done after some other steps, you may seem a few changes here but don't worry, we'll get to that part soon. For the highlights-
- Drag a block shape and set its width same as the width of the path
- Change the colour to black
- Now copy the shape multiple times
- Assemble the copies
And the path is ready
Making the Doors
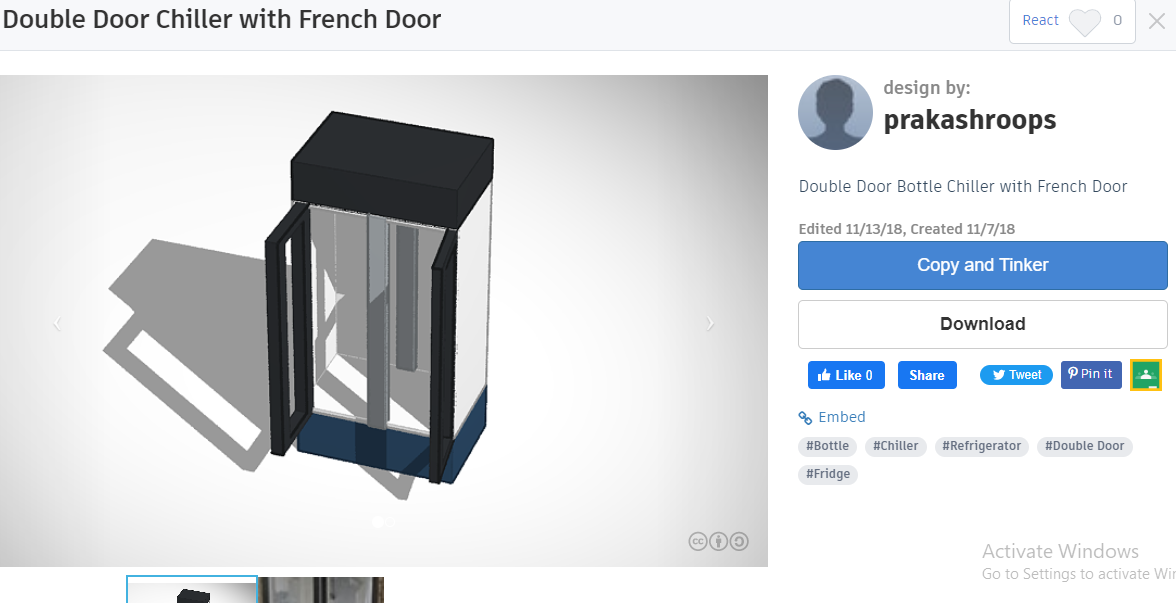
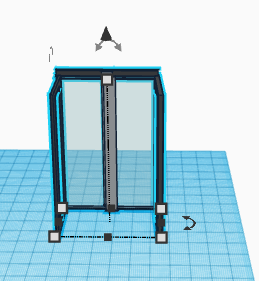
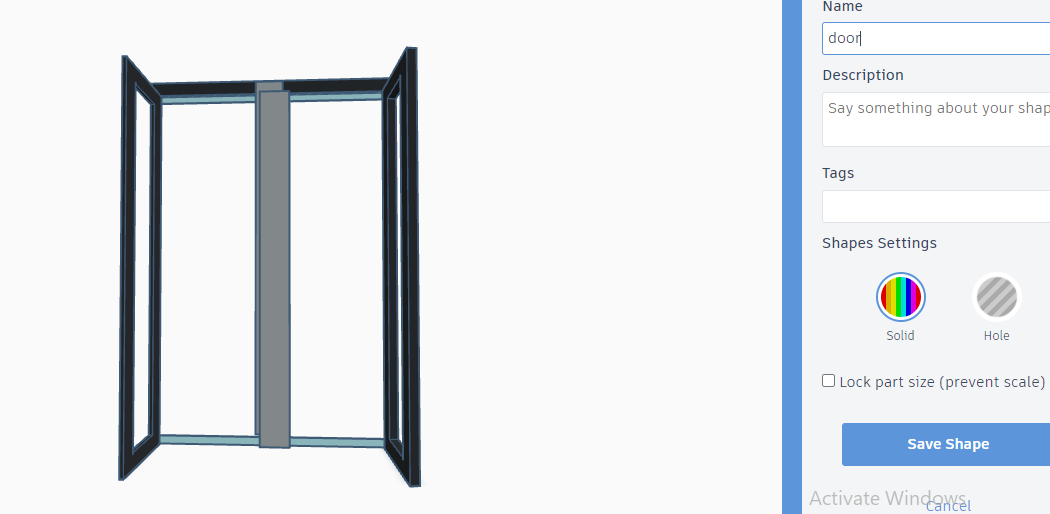
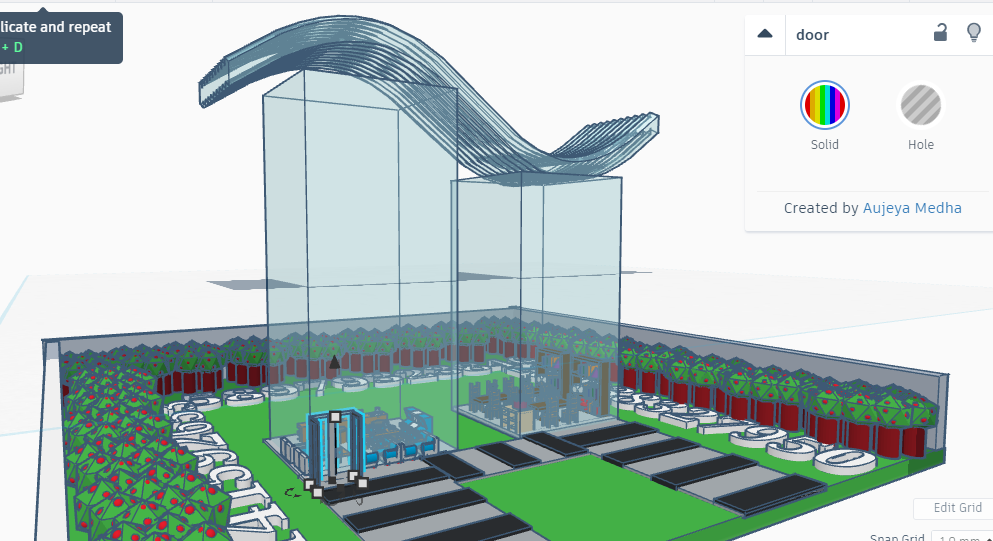
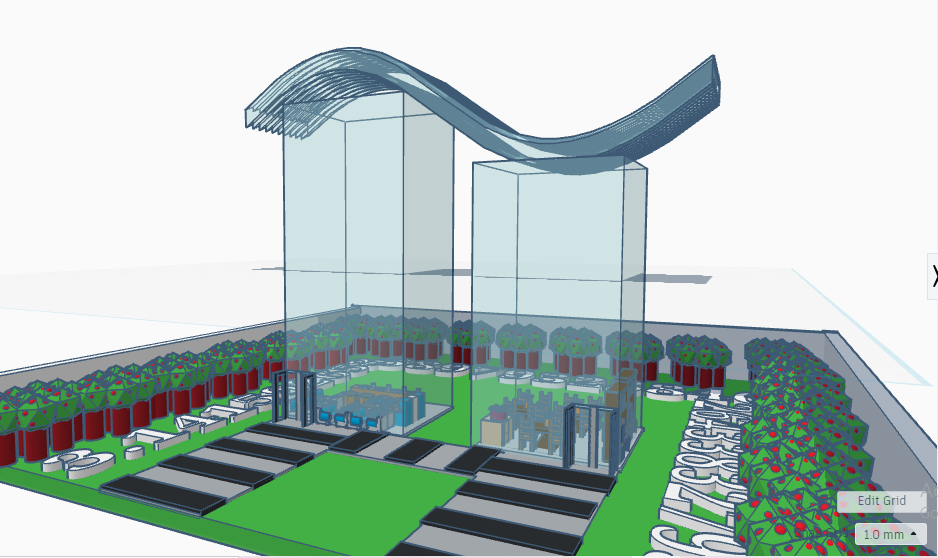
To set the doors of the cafe and library
- Go to the tinkercad gallery
- Search for doors
- Select the creation that suits your design the best
- Do the necessary adjustments needed
- Add it to "your creations" section of the shape library
- Go back to your project
- Select the shape from "your creations" section
- Drag it on the work plane and set it on the proper place of the cafe building
- Copy it and set the copy on the library building
Or you can design your own door and use that
Additional Decorations
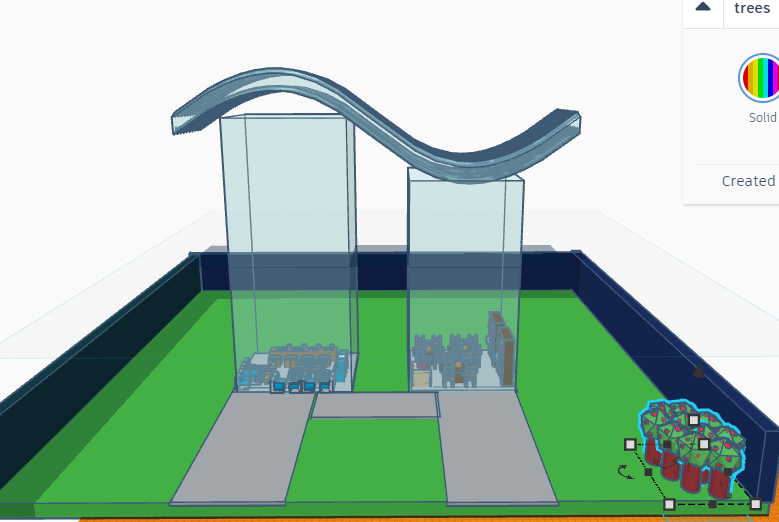
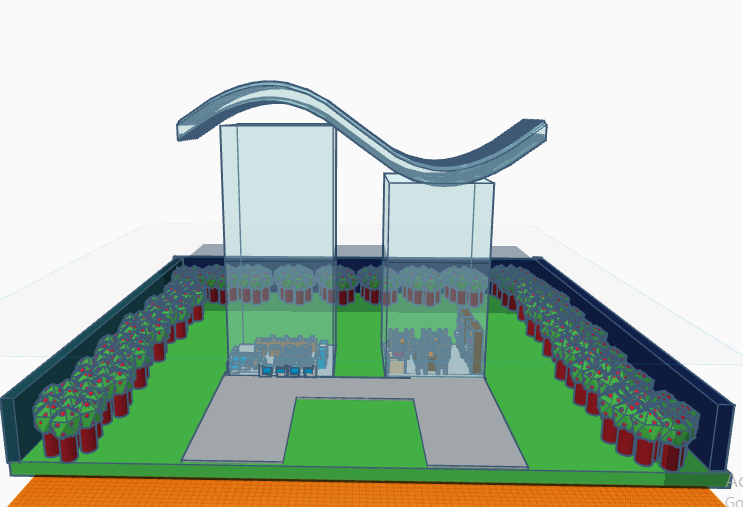
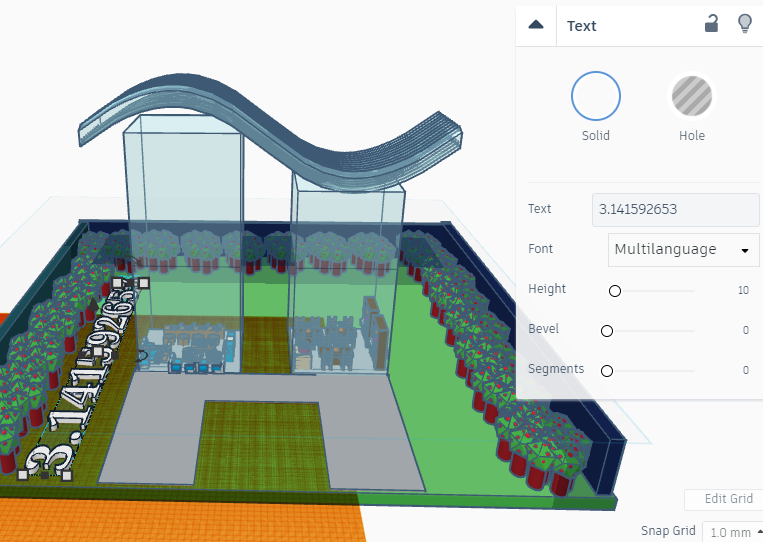
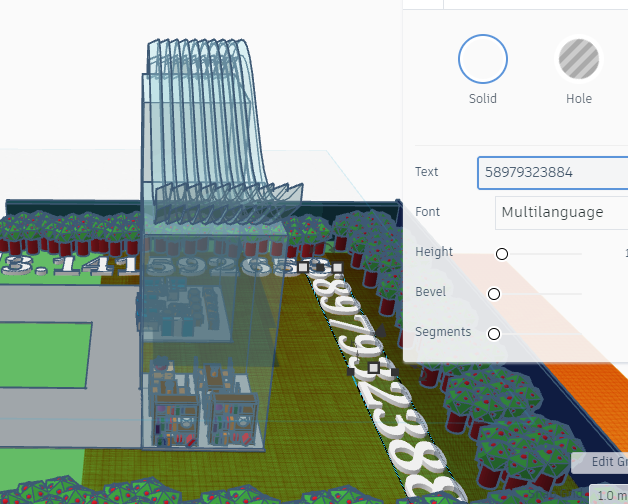
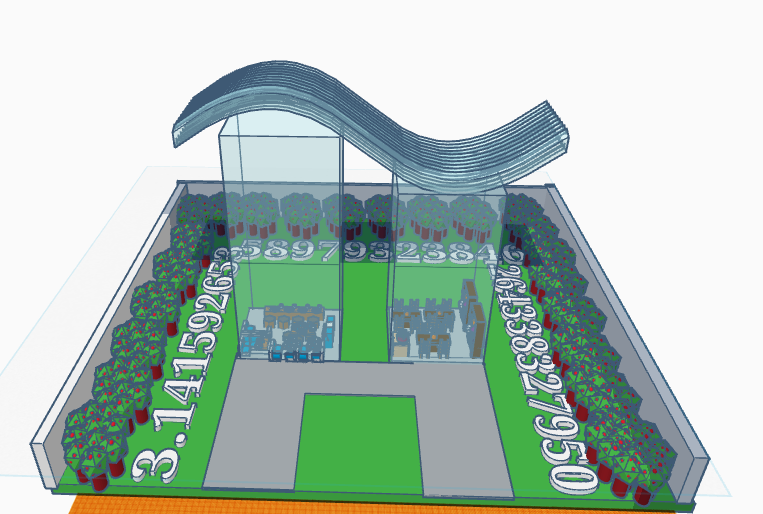
Now it's time to make our book cafe even more fun and innovative.
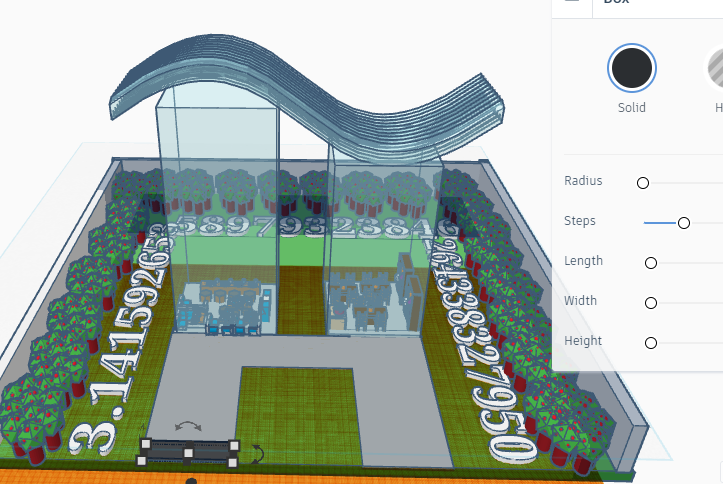
For the decoration I have implanted some beautiful plants on th campus ground with the following steps
- Go to the tinkercad library
- Search trees/plants
- Select your favourite model
- Add it to the "your creations" section of the shape library
- Go back to your project
- Select and drag the tree or plant you have added to the shape library
- Set it along the border
- Now copy it multiple times
- Assemble the copies properly
I have also added the digits of the pi so that it looks like it's embedded on the campus ground by following these steps
- Select the text shape from the shape library and drag it on the work plane
- Write the numbers of pi on the text box
- Change the colour and adjust the length, width and height
- Follow the similar process for all three sides of the ground
Final Words
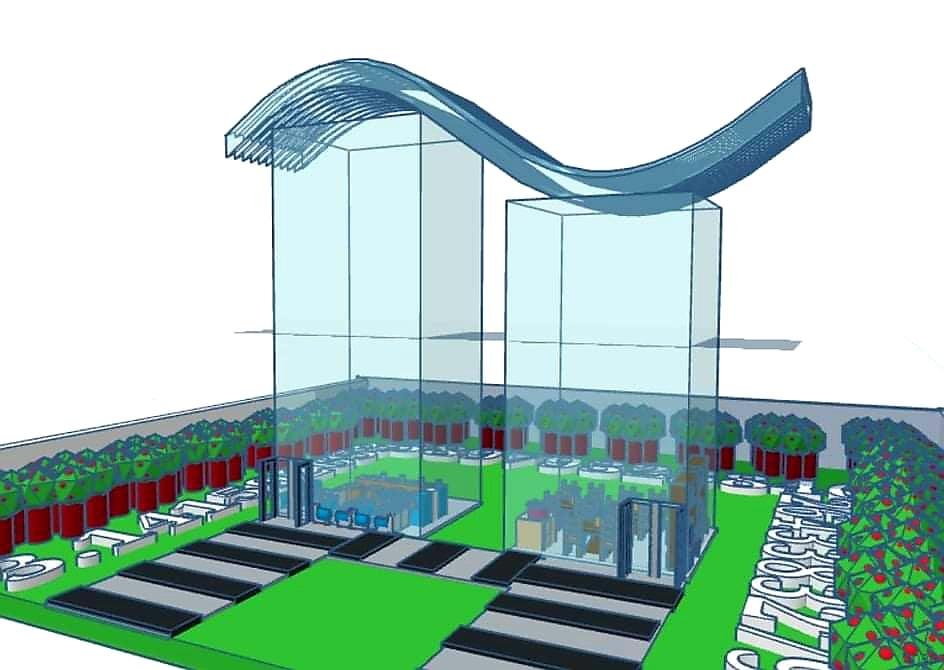
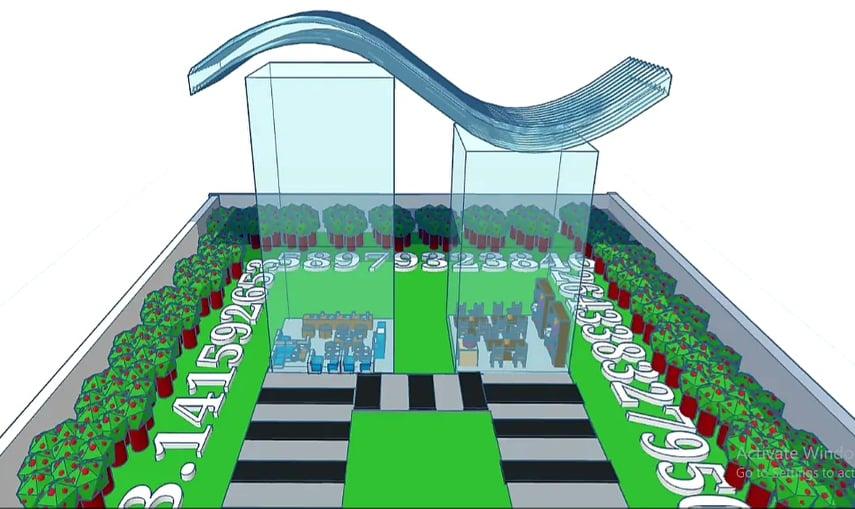
Our 3D design of this stunning book-cafe is now done. Hope you enjoyed the instructable and don't forget to add your own flair while making it!
To conclude, I would like to thank all of you for your time and a special thanks to Autodesk for the inspiration and making this project possible. If you are thinking about making it, don't hesitate and just start with it because I'm sure you'll enjoy it as well!