Make Your Own Arduino Powered 4-in-1 Robot Car | Step by Step Instructions
by Webotricks in Circuits > Arduino
8 Views, 0 Favorites, 0 Comments
Make Your Own Arduino Powered 4-in-1 Robot Car | Step by Step Instructions
.png)
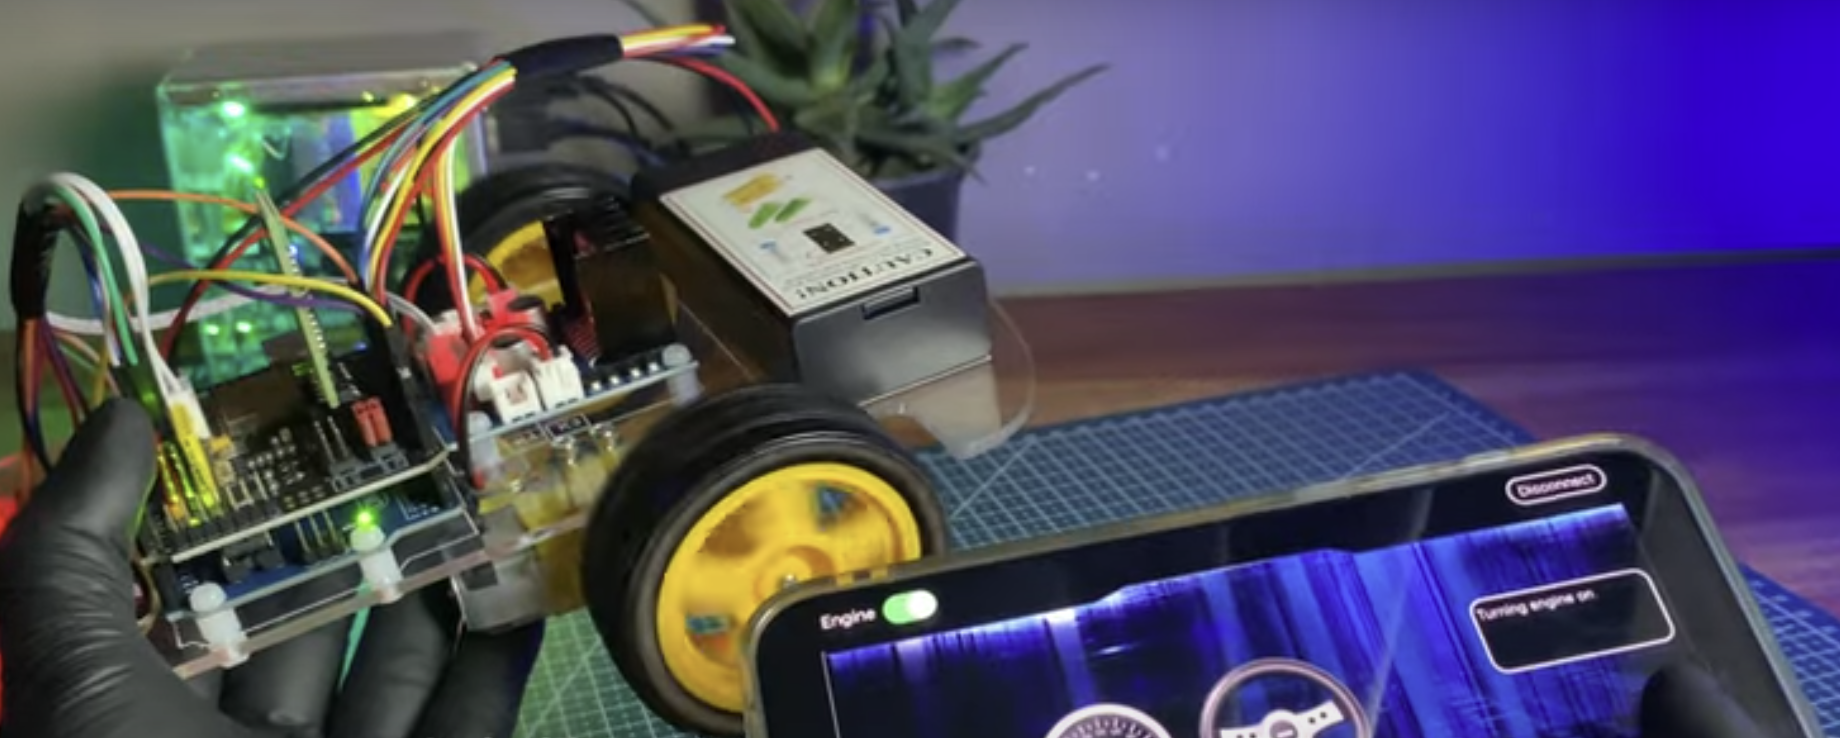
Hello and welcome back! In this project, we will learn how to make a 4-in-1 2WD Robot Car using the Arduino UNO platform. This robot can be controlled in four ways, IR remote control, line tracking, Bluetooth control, and WiFi control. I used the Webotricks 2WD Robot Car Starter Kit, so we don’t need any additional chassis or extra components. You can get this kit at an affordable price using this link. Also, you can easily build and program this robot with the provided instructions. Even if you have no experience with robotics, don’t worry! This blog will guide you step by step, making everything simple to understand. Also this is a great way to learn about Arduino, sensors, motor control, and wireless communication.
Supplies
Components and Supplies
![]()
2WD Car Chassis Kit - BUY NOW
![]()
L298N Motor Driver Module - BUY NOW
Infrared IR Remote Control Sensor Module - BUY NOW
Jumper-Wires - BUY NOW
![]()
USB Cable - Buy Now
Basic Board - Buy Now
18650 Battery Box - Buy Now
Battery charger for 18650 battery
HC Module - Buy Now
UART WI-FI Shield
Jumpers
Assembling
Start by assembling all the necessary components for your robot and ensure you have everything required for the build. unbox your robot package and check all the components inside the box.


Attach the Motor Metal Brackets
Second, remove the robot chassis sticker and attach the motor metal brackets to the motors. Then install them on the chassis.


Install the Caster Wheel
Thirdly, install the caster wheel onto the chassis.

Attach the Wheels
Now, attach the wheels to the gear motors.

Install the Arduino UNO Board
After that, install the Arduino UNO board and the motor driver board onto the robot chassis.

Connect the Motors
Next, connect the motors to the motor driver board. After that, install the battery holder onto the chassis.


Connect the WiFi Shield
Now, connect the WiFi Shield to the Arduino UNO board. Then, install the IR receiver module at the front of the robot.

Install and Connect the Tracking Sensor Modules
Afterward, install the tracking sensor modules onto the chassis.
Okay, now connect the battery holder to the shield. Then, connect the motor driver board, IR receiver, and line tracking modules to the WiFi shield.
Motor Pins
Black — D9Purple — D12Green — D11Yellow — D7White — D8Red — D6
IR Receiver
GND — GND5V — VCCD10 — S
Left Tracking Sensor
VCC — 5VGND — GNDDO — D2
Right Tracking Sensor
VCC — 5VGND — GNDDO — D3
Arrange the Wires
Afterward, arrange the wires neatly using tape. Then, charge the 18650 Li-ion batteries and place them into the battery holder.

Upload the Programs
Now, let’s upload the programs one by one to the robot car. Follow the instructions below for each step.
IR Control of the Robot Car
Connect your robot to the computer. Then, copy and paste the following code into the Arduino IDE. Also, make sure to include the IRremote library in the Arduino IDE before uploading the code.
