Make Your Art Fly! Turn a Painting Into an Augmented Reality Experience
by vicenzobit in Design > Art
1179 Views, 16 Favorites, 0 Comments
Make Your Art Fly! Turn a Painting Into an Augmented Reality Experience
.png)
.gif)
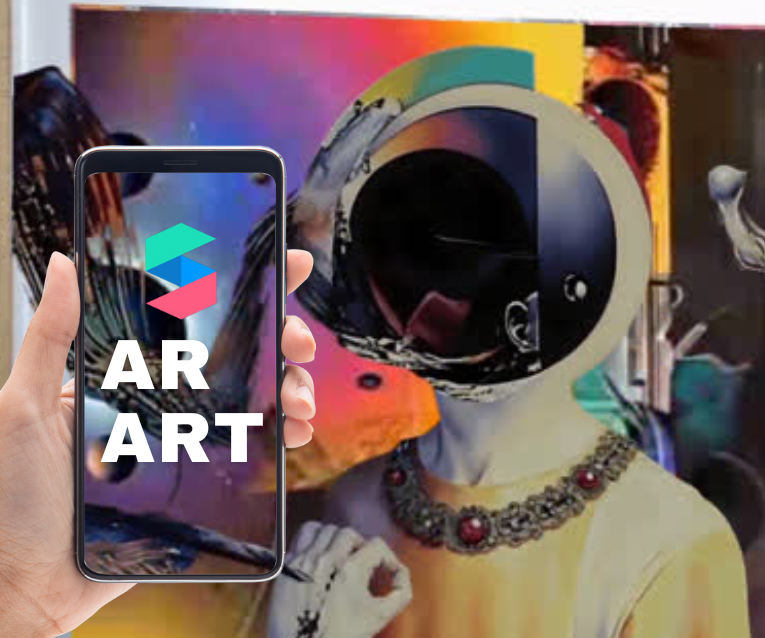
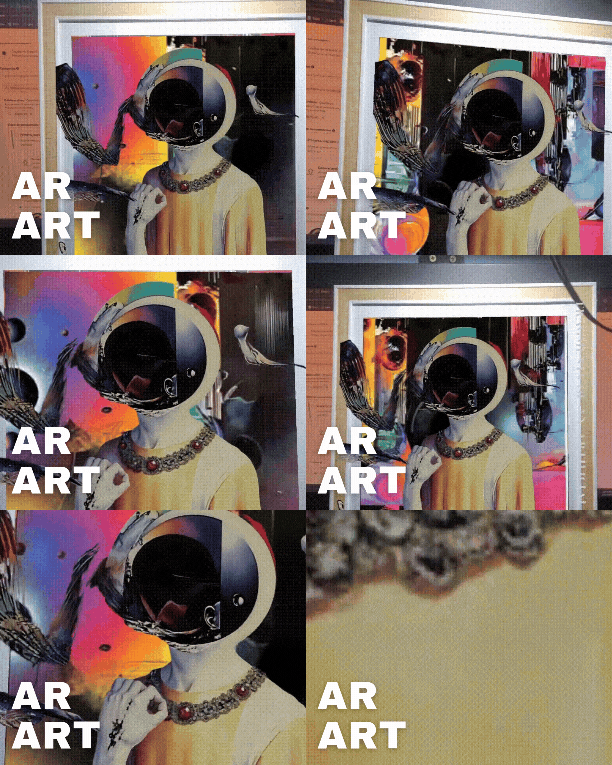
Can you imagine transforming a static painting into an interactive augmented reality (AR) experience? In this instructable, you will learn step-by-step how to use Spark AR to bring your artwork to life.
This project emerges as an extension of my digital art collection titled "Fragments of an Artificial Renaissance", a series that seeks to merge classical art inspired by masters such as Hieronymus Bosch with the generative glitch style. The collection combines the detail and narrative of the classical with the unpredictability and dynamism of modern digital tools. This instructable not only invites you to explore this approach, but also to add another layer of interactivity and technology to your own works.
The idea is to mix the magic of a physical painting with the innovation of digital effects. If you have basic knowledge of Spark AR, great. If not, don't worry: each step comes with detailed instructions and videos (which will be of great help to you). In addition, practical tips, recommendations, and creative examples will be included to help you customize the project to your style. Get ready to let your creativity take off and explore new ways to bring your art to life. It's time to take off and let your creativity reach new heights!
Options to Create Your Art:
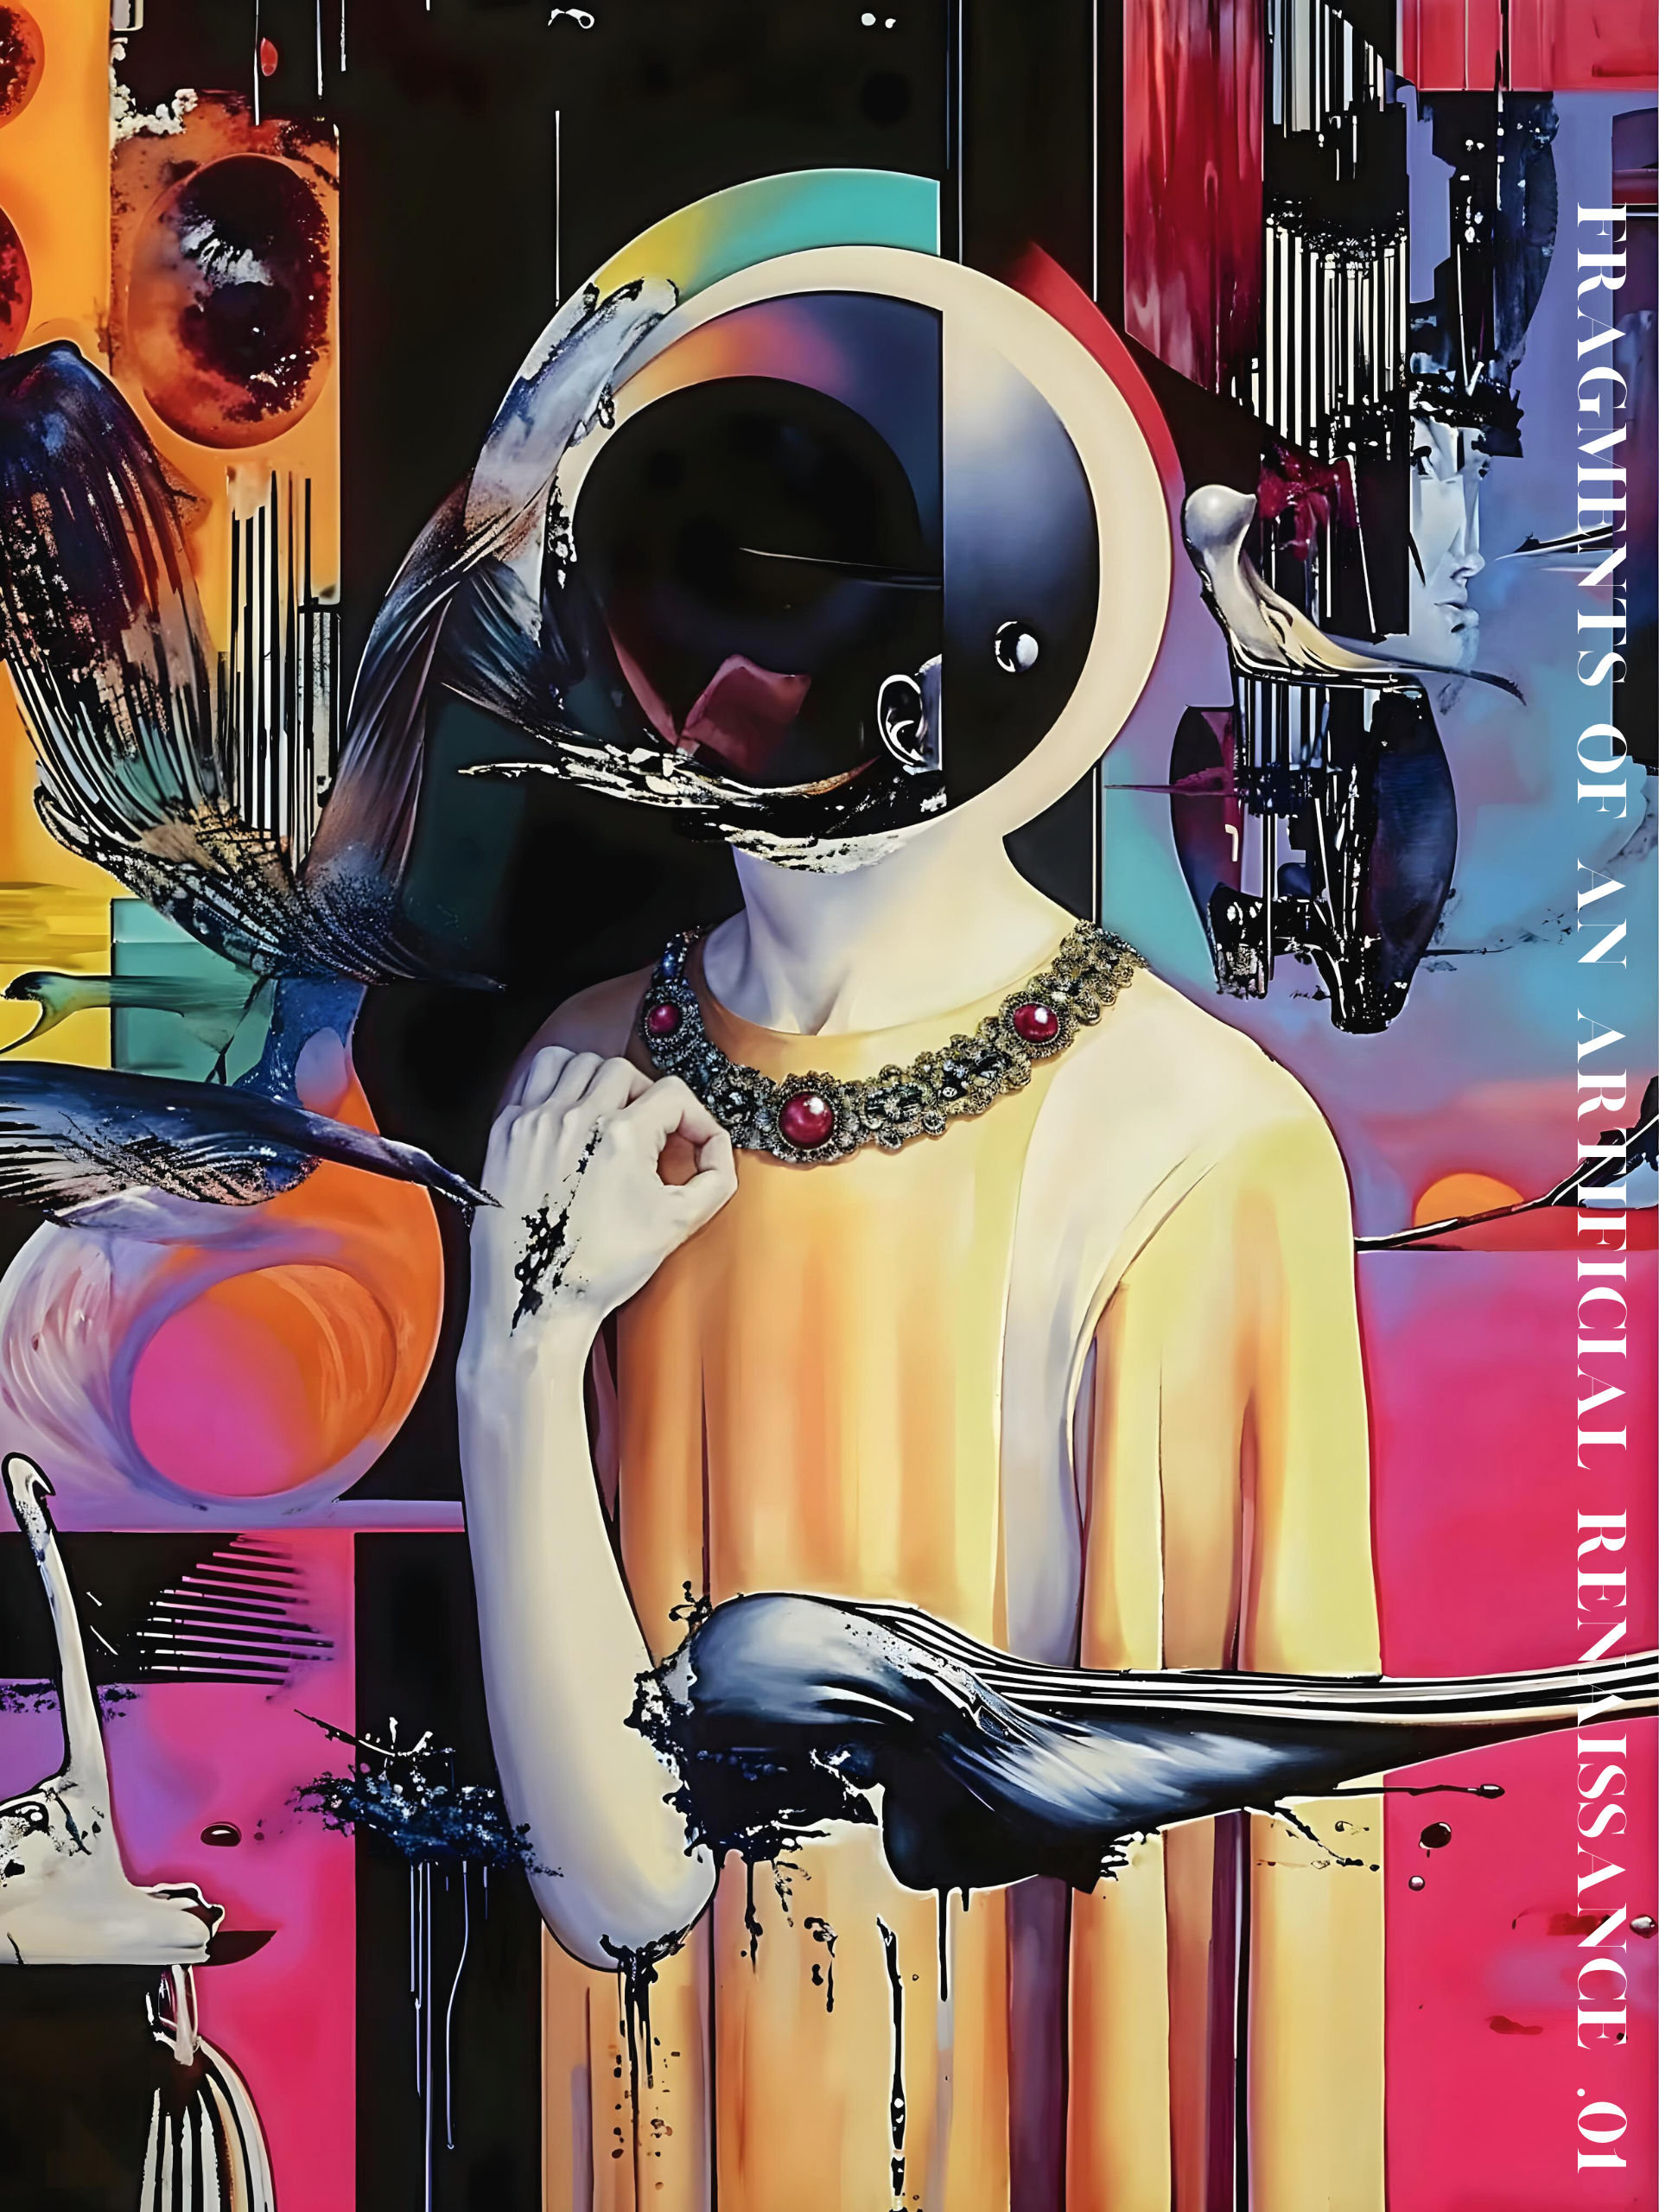
The first thing is to create your work of art, which will be the basis of the entire experience.
Options to create your art:
AI-Generated Art: (What I Made) Use tools like DALL·E, MidJourney, or Stable Diffusion to generate a unique design that will wow anyone. These platforms allow you to explore varied styles and unexpected concepts.
Digital art: Create your artwork in programs like Procreate, Photoshop, or Illustrator. These tools will allow you to work with minute details and experiment with advanced digital techniques.
Traditional art: Draw or paint your artwork, using mixed media, and then digitize it with a high-resolution scanner or camera to maintain quality. You can add additional details digitally after scanning.
💡Tip: Design something that can be divided into separate layers or elements, as this will be essential for AR effects. You can even think of themes that connect with the concept of flight, such as birds, hot air balloons, fantastical skies, or surreal worlds
Divide Your Work Into Layers
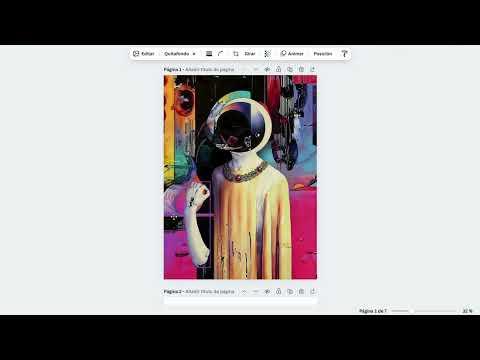
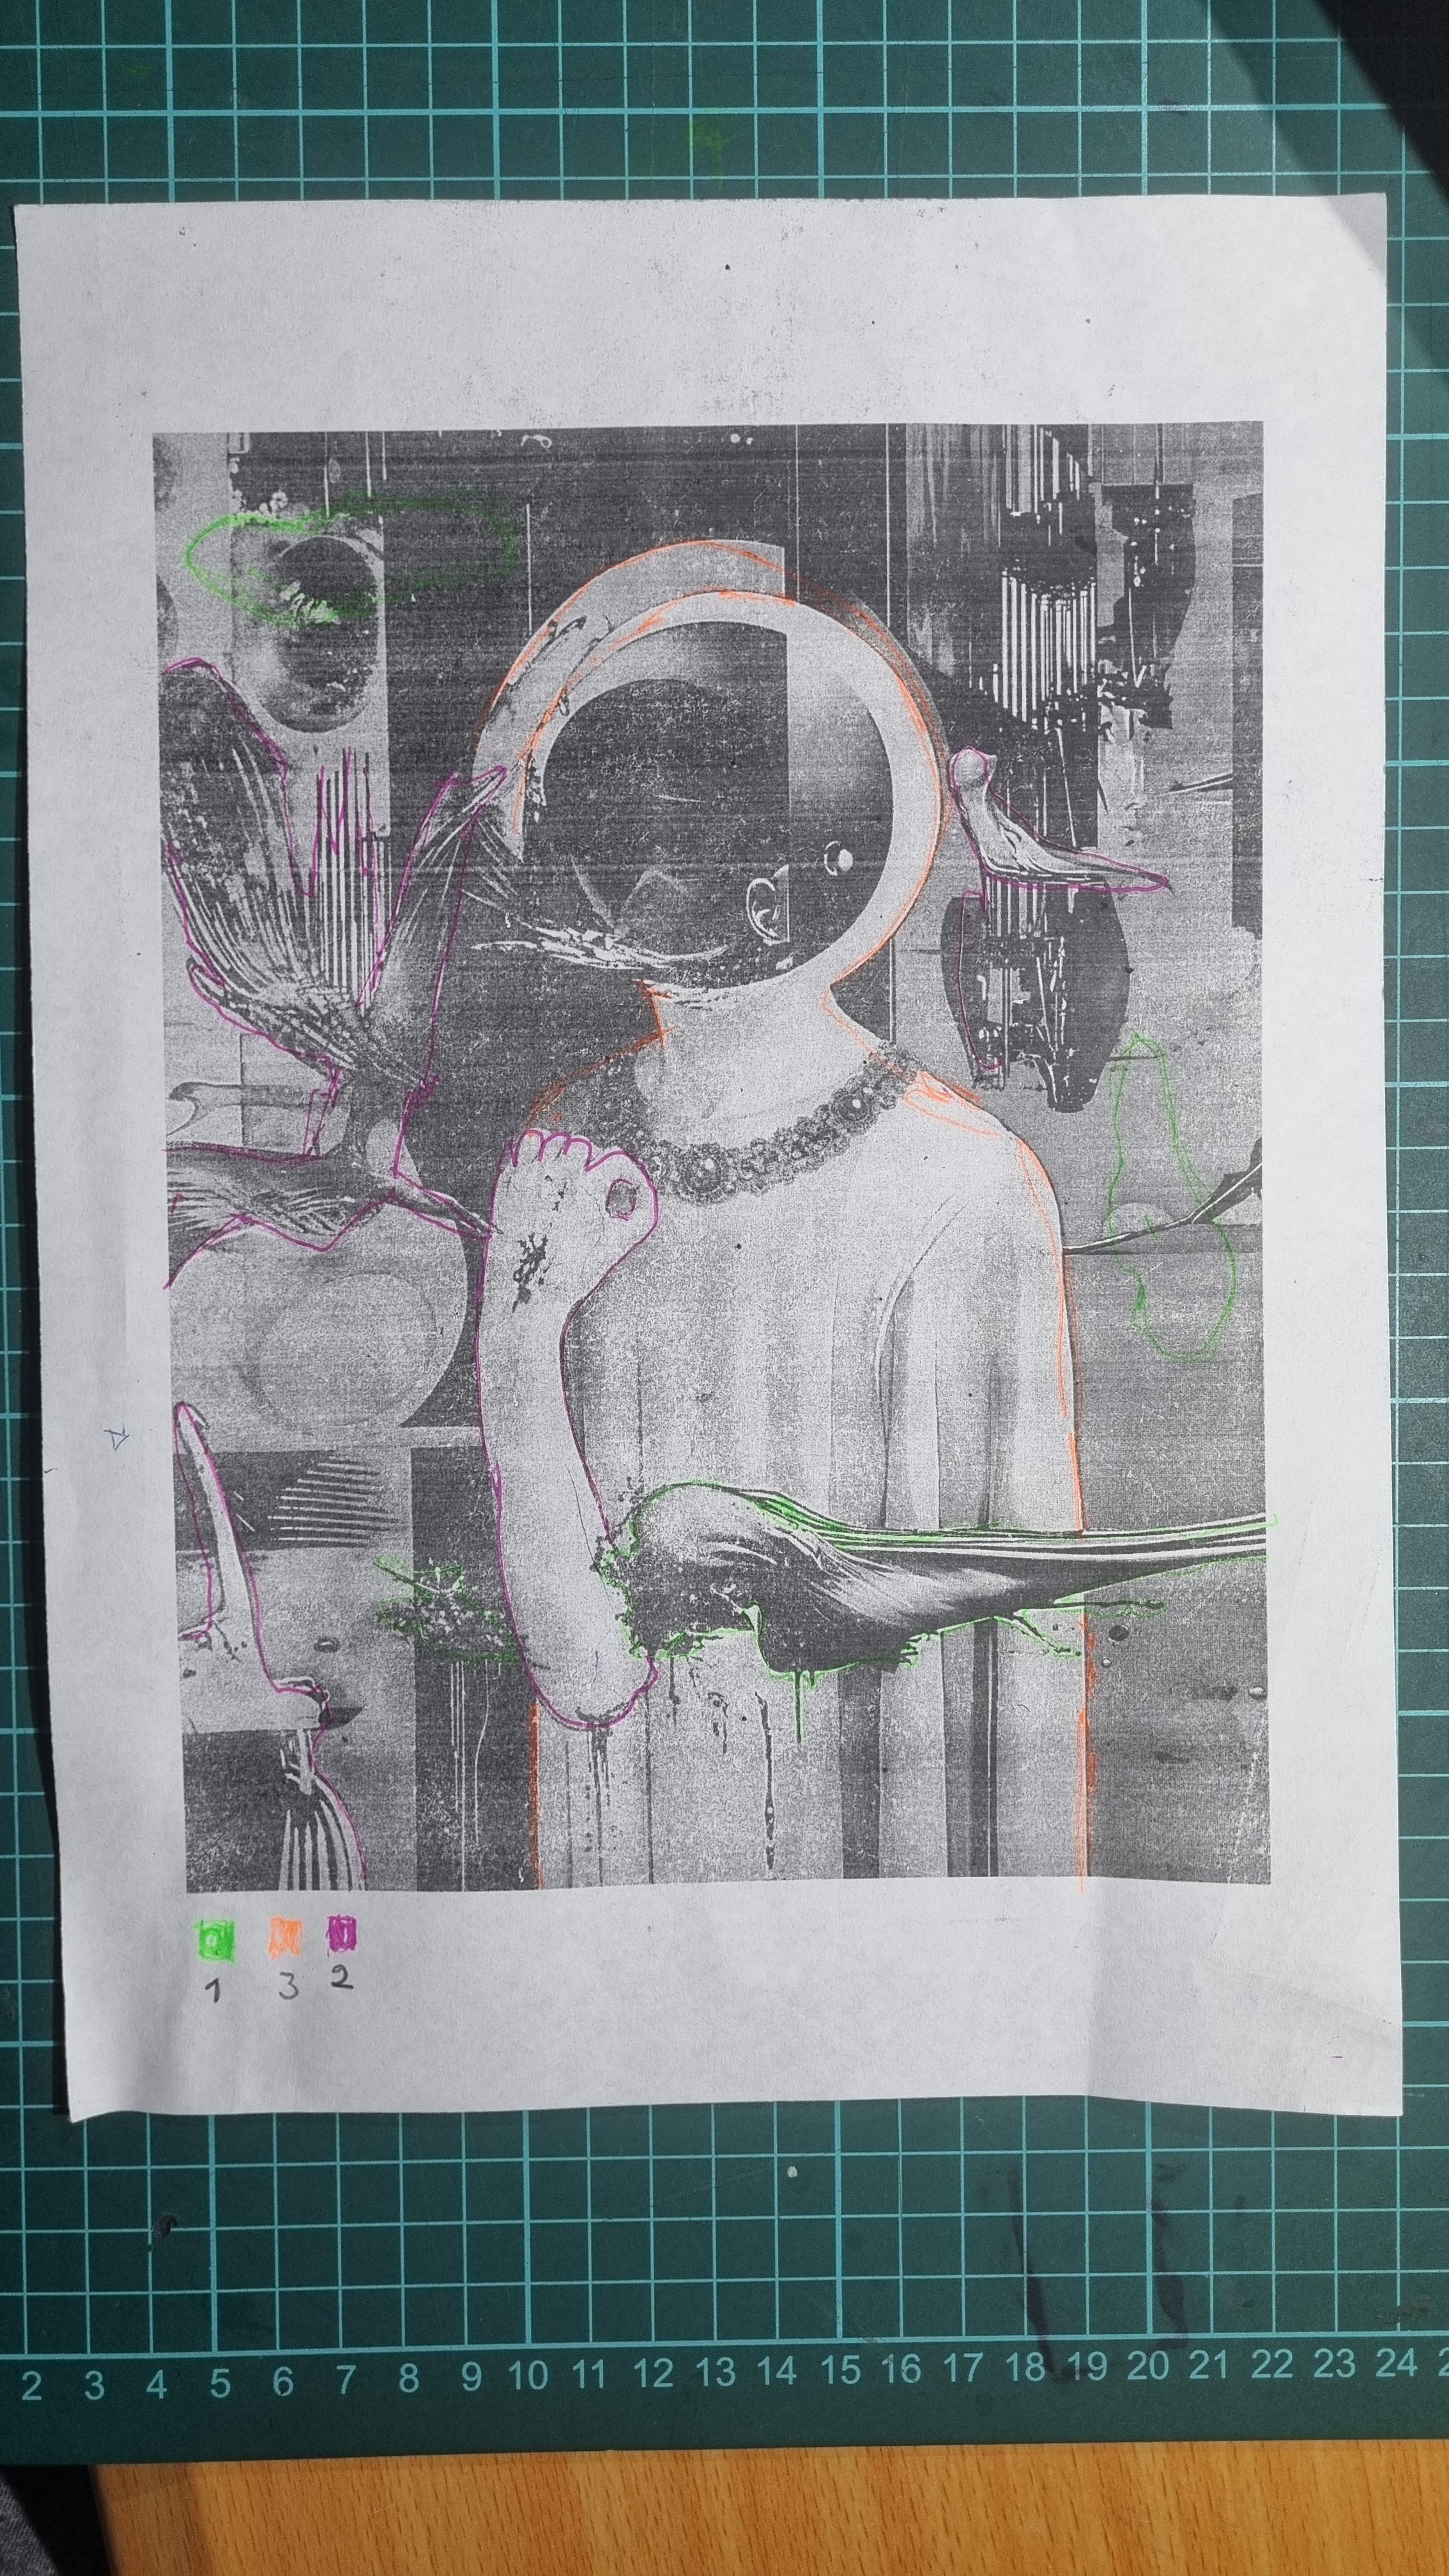
To create an immersive AR effect, you need to separate your artwork into well-defined layers.
Plan your layers: Print or view your artwork. Draw a sketch to identify which parts you want to animate (for example, a bird, clouds, or a background). Make sure to think of elements that can create movement and visual depth.
Digitize the layers: Use tools like Canva Pro (with the background remover) or Photoshop to separate each element of your work.
Save layers as HD transparent PNGs for easy manipulation later. Be sure to label each file clearly to avoid confusion
Set Up Spark AR
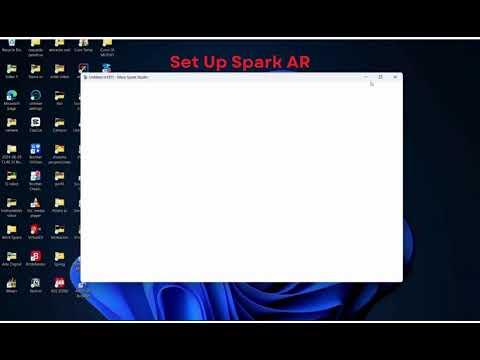
Spark AR is the software you'll use to bring your project to life and transform it into an immersive experience.
Download Spark AR: Go to the official Spark AR page and download the app. (in this tutorial I am working with version 1.87)
Create a project: Open Spark AR and click the + symbol to start a new blank project.
💡Tip: Change the default view to World Tracking to work with spatial environments. This will allow the filter to interact with real-world objects, offering a more immersive experience
Create the Target Tracker
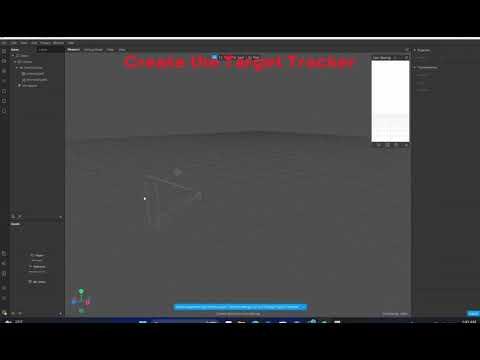
The Target Tracker ensures that the AR effect aligns perfectly with your physical artwork. This step is crucial to ensure that the digital art is accurately overlaid onto the painting.
Add a Target Tracker: Go to + Add Object > Target Tracker.
This element will be the base that connects the physical art to the digital effect.
Assign your artwork as a texture: Select the Target Tracker and, in the right panel, upload the entire image of your artwork as a texture
Now, your project has a clear reference point. If you point a device’s camera at your painting, Spark AR will automatically recognize it
Texture* In Spark AR, a texture is an image that is applied to the surface of a 3D object to give it a more realistic or specific look. Textures can be photos, patterns, solid colors, and more. They are used to define visual details such as colors, patterns, and relief.
Upload the Layers of Your Work
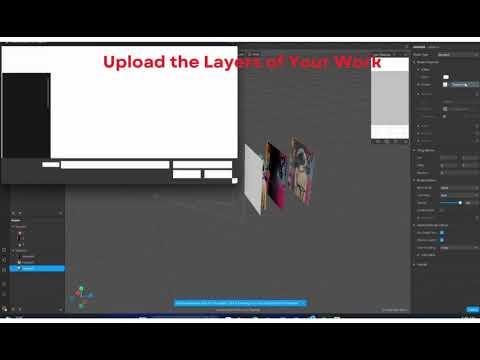
Each separate layer will be an interactive element in AR, allowing you to create depth and movement.
Add layers as planes: Right click on the Target Tracker and select Add Object > Plane. This plane will represent a layer of your artwork.
Assign textures: Select the plane, go to Material, click + Add Material and assign the texture from a layer. You can adjust the opacity to try different effects.
Adjust the position: Manually adjust the proportions and placement of each layer using the transformation tools. Also change the scale to create a three-dimensional effect. Repeat this process for all layers, making sure they are aligned correctly
Add Animated Textures
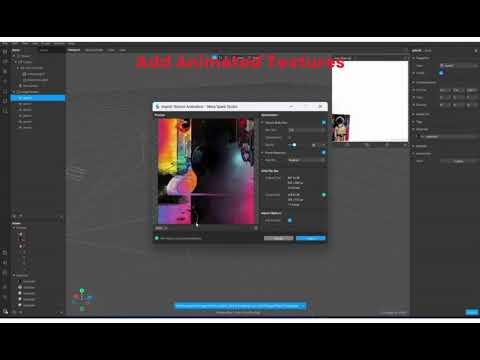
Want the background or some elements to move? Use animated textures to add life. Prepare an animated texture: Convert a video into an image sequence with tools like EZGIF. Upload the sequence to Spark AR as a Texture Animation.
Apply the animated texture: Assign it to a shot in your project to create movement. Experiment with speed and duration to customize the effect and fine-tune the details to suit your style.
💡Tip: Use Runway ML to generate fluid motion videos and ensure that the animation is attractive and professional
Apply Animations
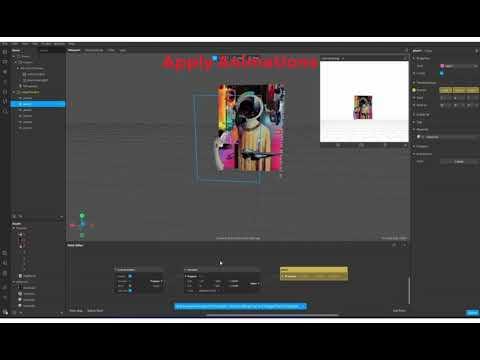
Bring your artwork to life with built-in animations that make it unique and memorable.
Select a plan: Open the Animation Patch Editor (magic wand icon). This will give you access to a panel to apply some basic animations.
Explore animations:
- Float: Simulates a floating effect to give the sensation of flight.
- Blink: Causes an object to blink quickly or slowly.
- Adjust speed, direction and intensity values.
Combine different effects to make your work unique and fascinating
Preview and Publish
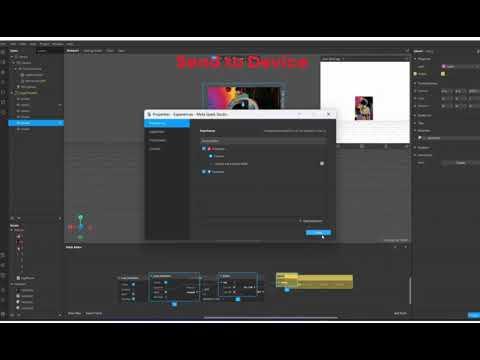
Preview your effect: Use the Send to Device feature to test your project on your phone. This will allow you to fix any errors before publishing and ensure it works perfectly.
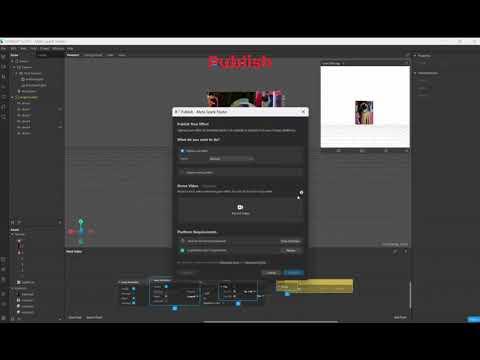
Publish your effect: Click the blue Publish button, follow the steps, and make your filter accessible on Instagram or Facebook. Make sure to optimize the files so that the experience is smooth and enjoyable for everyone
Make It Accessible and Share Your Art
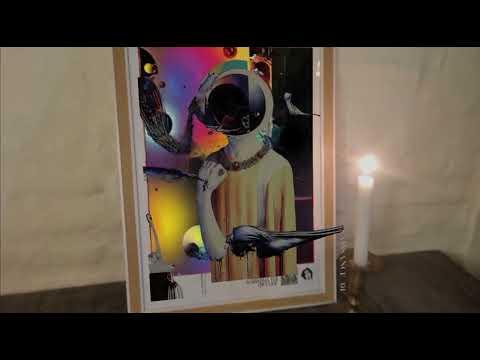
🎉Congratulations! You've created a work that combines the best of art and technology. Now, to make sure your project shines to the fullest, it's important to make it accessible and share it with the world.
Print and frame your artwork: Print and frame your art with a professional finish. Choose high-quality materials that highlight the details of your work and present it in an elegant way.
Include a QR code: Generate a QR code that links directly to the AR effect you've created. Place this QR on the frame or on a label near the painting so that anyone can easily experience the magic of your interactive art
And that's it! You now have all the tools to transform your artwork into interactive augmented reality experiences with Spark AR. This is just the beginning - let your imagination run wild and experiment with new ideas to personalize your projects.
If you have questions, ideas, or just want to share your results, leave them in the comments. I'd love to see how you take your creativity to the next level! 😊✨