Make Shift Skateboard / Rollerskates / Cart
by ti112 in Outside > Skateboarding
12972 Views, 8 Favorites, 0 Comments
Make Shift Skateboard / Rollerskates / Cart
.jpg)
.jpg)
.jpg)

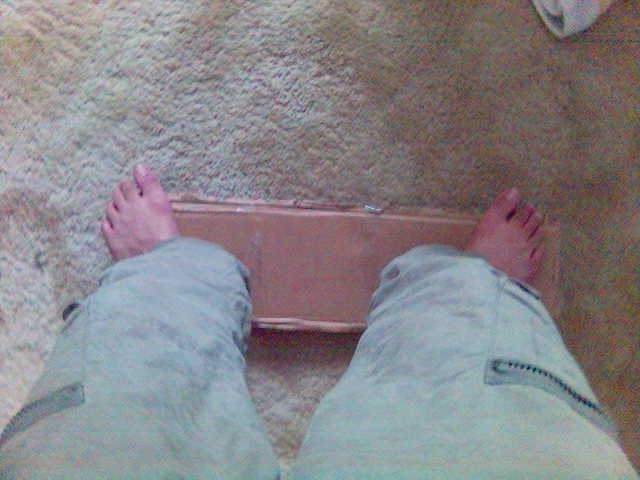
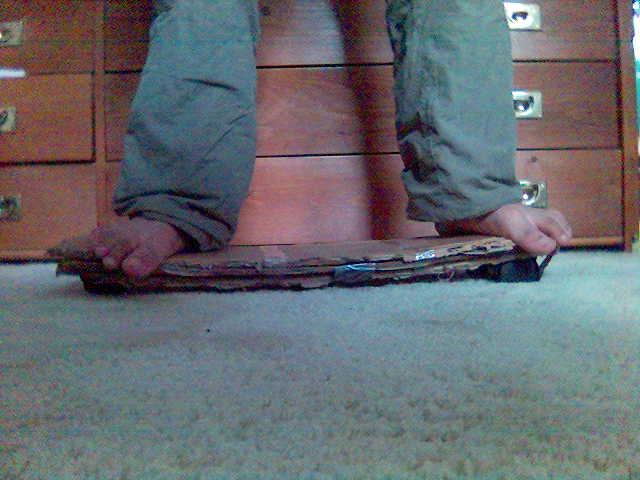
Quite a cool and easy make and fun to ride (short distances anyway). It is stable enough to ride on (look at the pics)
sorry for the quality of the pics
REMEMBER it doesnt have to be a skateboard
My first instructable ever and for the Office Supplies Challenge.
sorry for the quality of the pics
REMEMBER it doesnt have to be a skateboard
My first instructable ever and for the Office Supplies Challenge.
Parts and Tools
.jpg)
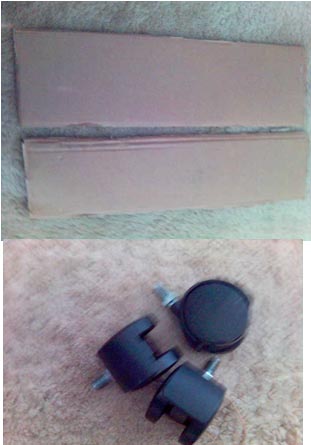
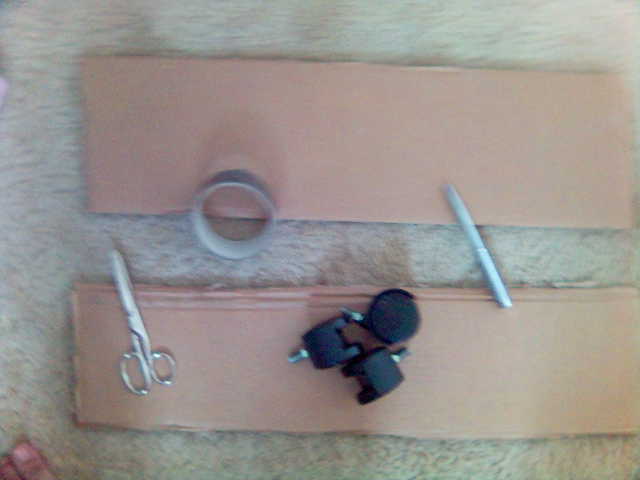
Parts
1) 2 pieces of cardboard (Shoulder-width long and foot-width wide for the skateboard, the same size as your footfor the rollerskates and however large you want the base to be for the cart. you might need more later
2) As many wheels as you have (or stolen from other people) from those (old or new) wheely office chairs(that spin). (I only had 3)
Tools
Pen (Measuring/Marking out)
Scissors/Knife (Stronger the better)
Tape (use the strongest you have/can find/can steal)
Board
.jpg)
.jpg)
.jpg)
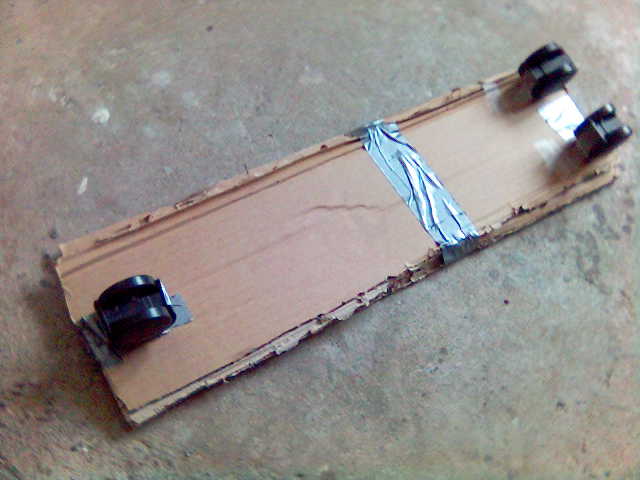
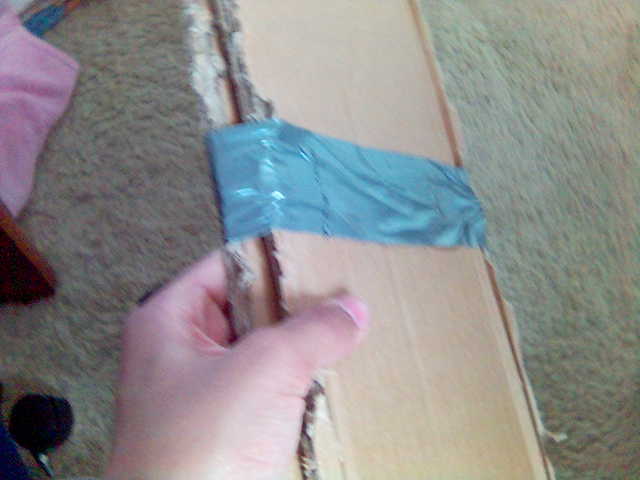
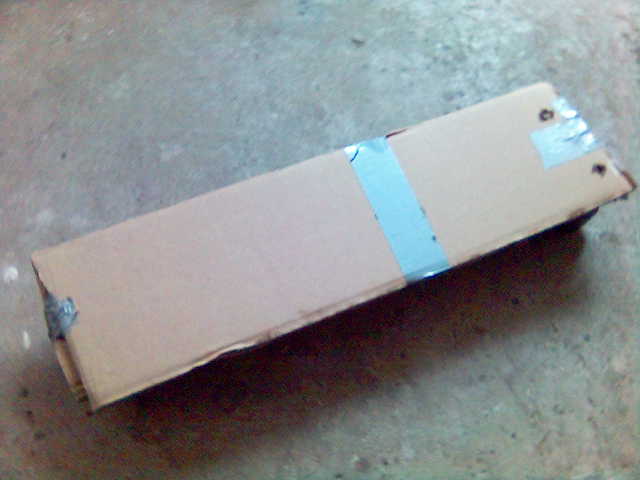
Put the pieces of board together and tape together SECURELY.
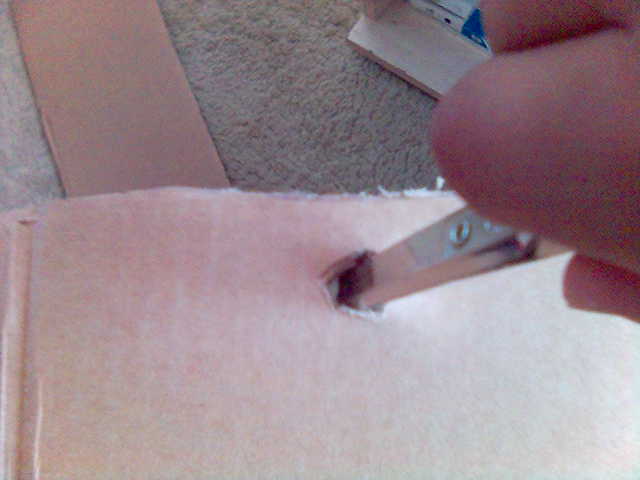
Then pierce however many holes you need (1 per wheel used) through both pieces of cardboard.
Then pierce however many holes you need (1 per wheel used) through both pieces of cardboard.
Attach Wheels
.jpg)
.jpg)
.jpg)
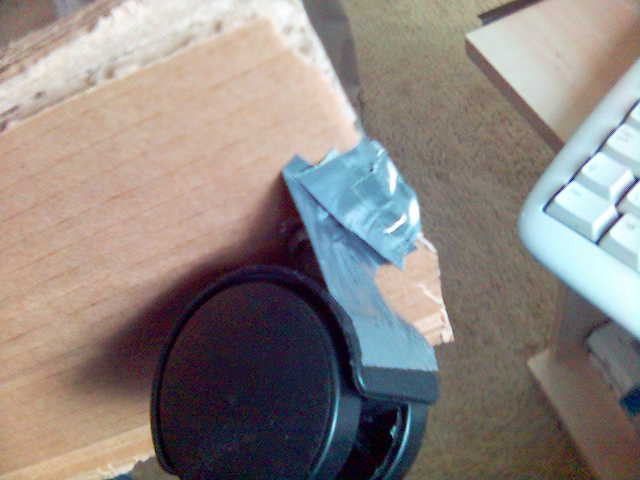
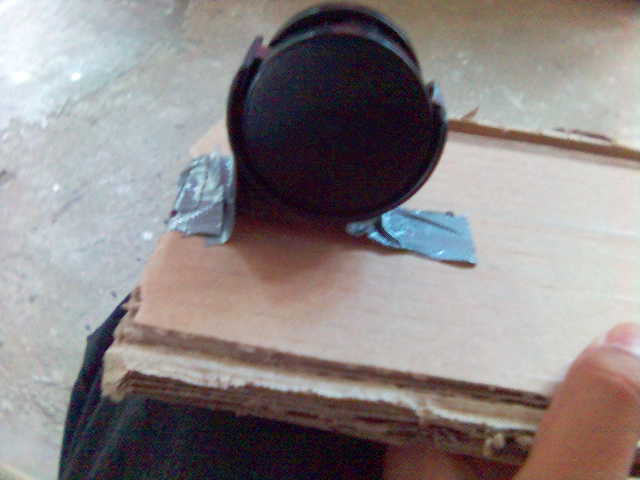
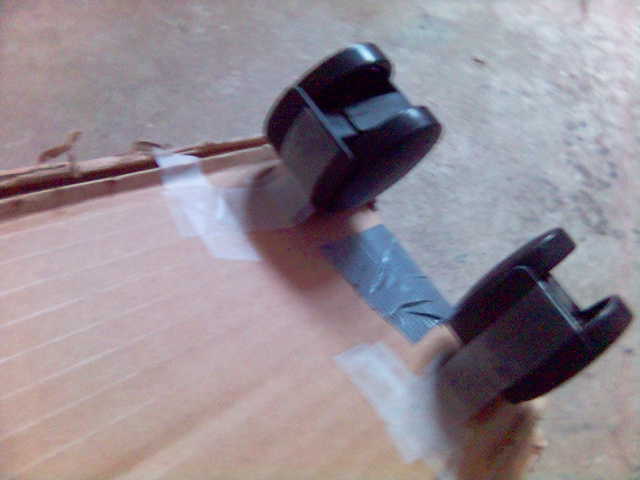
Push the screw of each wheel into each hole and tape in securely on bothe sides of the wheel. (mine in on the guard around the wheel)
Be Amazed
.jpg)
It is actually pretty good.
Tape some more card to the board to make it strong enough to stand on,
add tape all over or add stickers or draw on it,
add some robitics and drive it,
the possibilities are endless.
Remember it doesn't have to be a skateboard.
plz vote for me
Tape some more card to the board to make it strong enough to stand on,
add tape all over or add stickers or draw on it,
add some robitics and drive it,
the possibilities are endless.
Remember it doesn't have to be a skateboard.
plz vote for me