Make My Trecks and Runs Unforgeatable
by JulesG12 in Design > Digital Graphics
323 Views, 5 Favorites, 0 Comments
Make My Trecks and Runs Unforgeatable
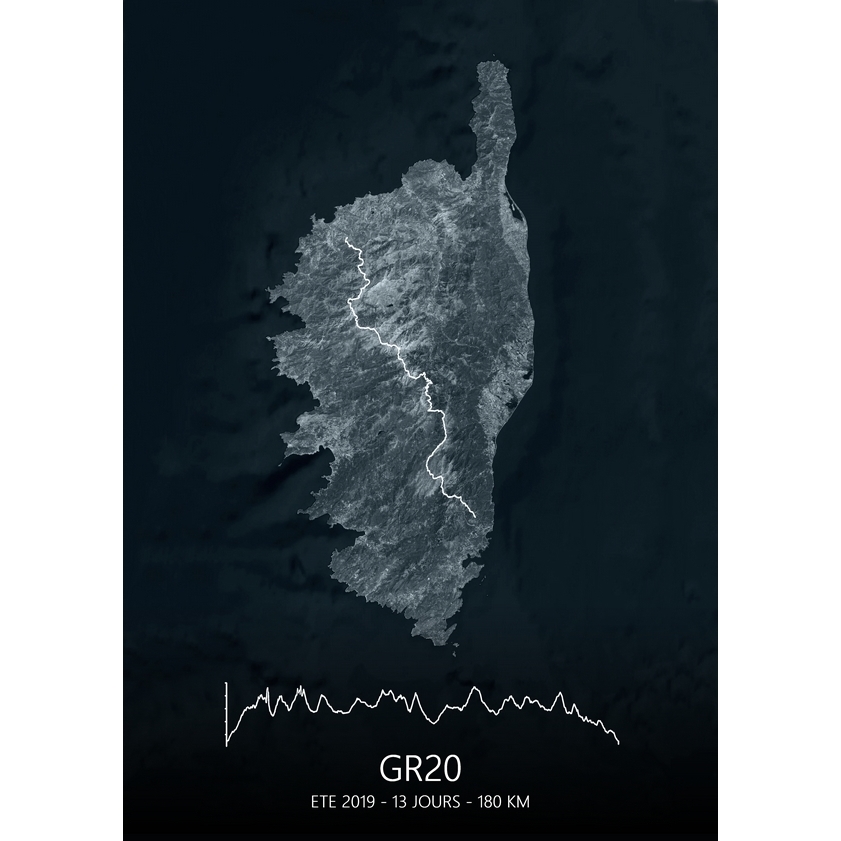
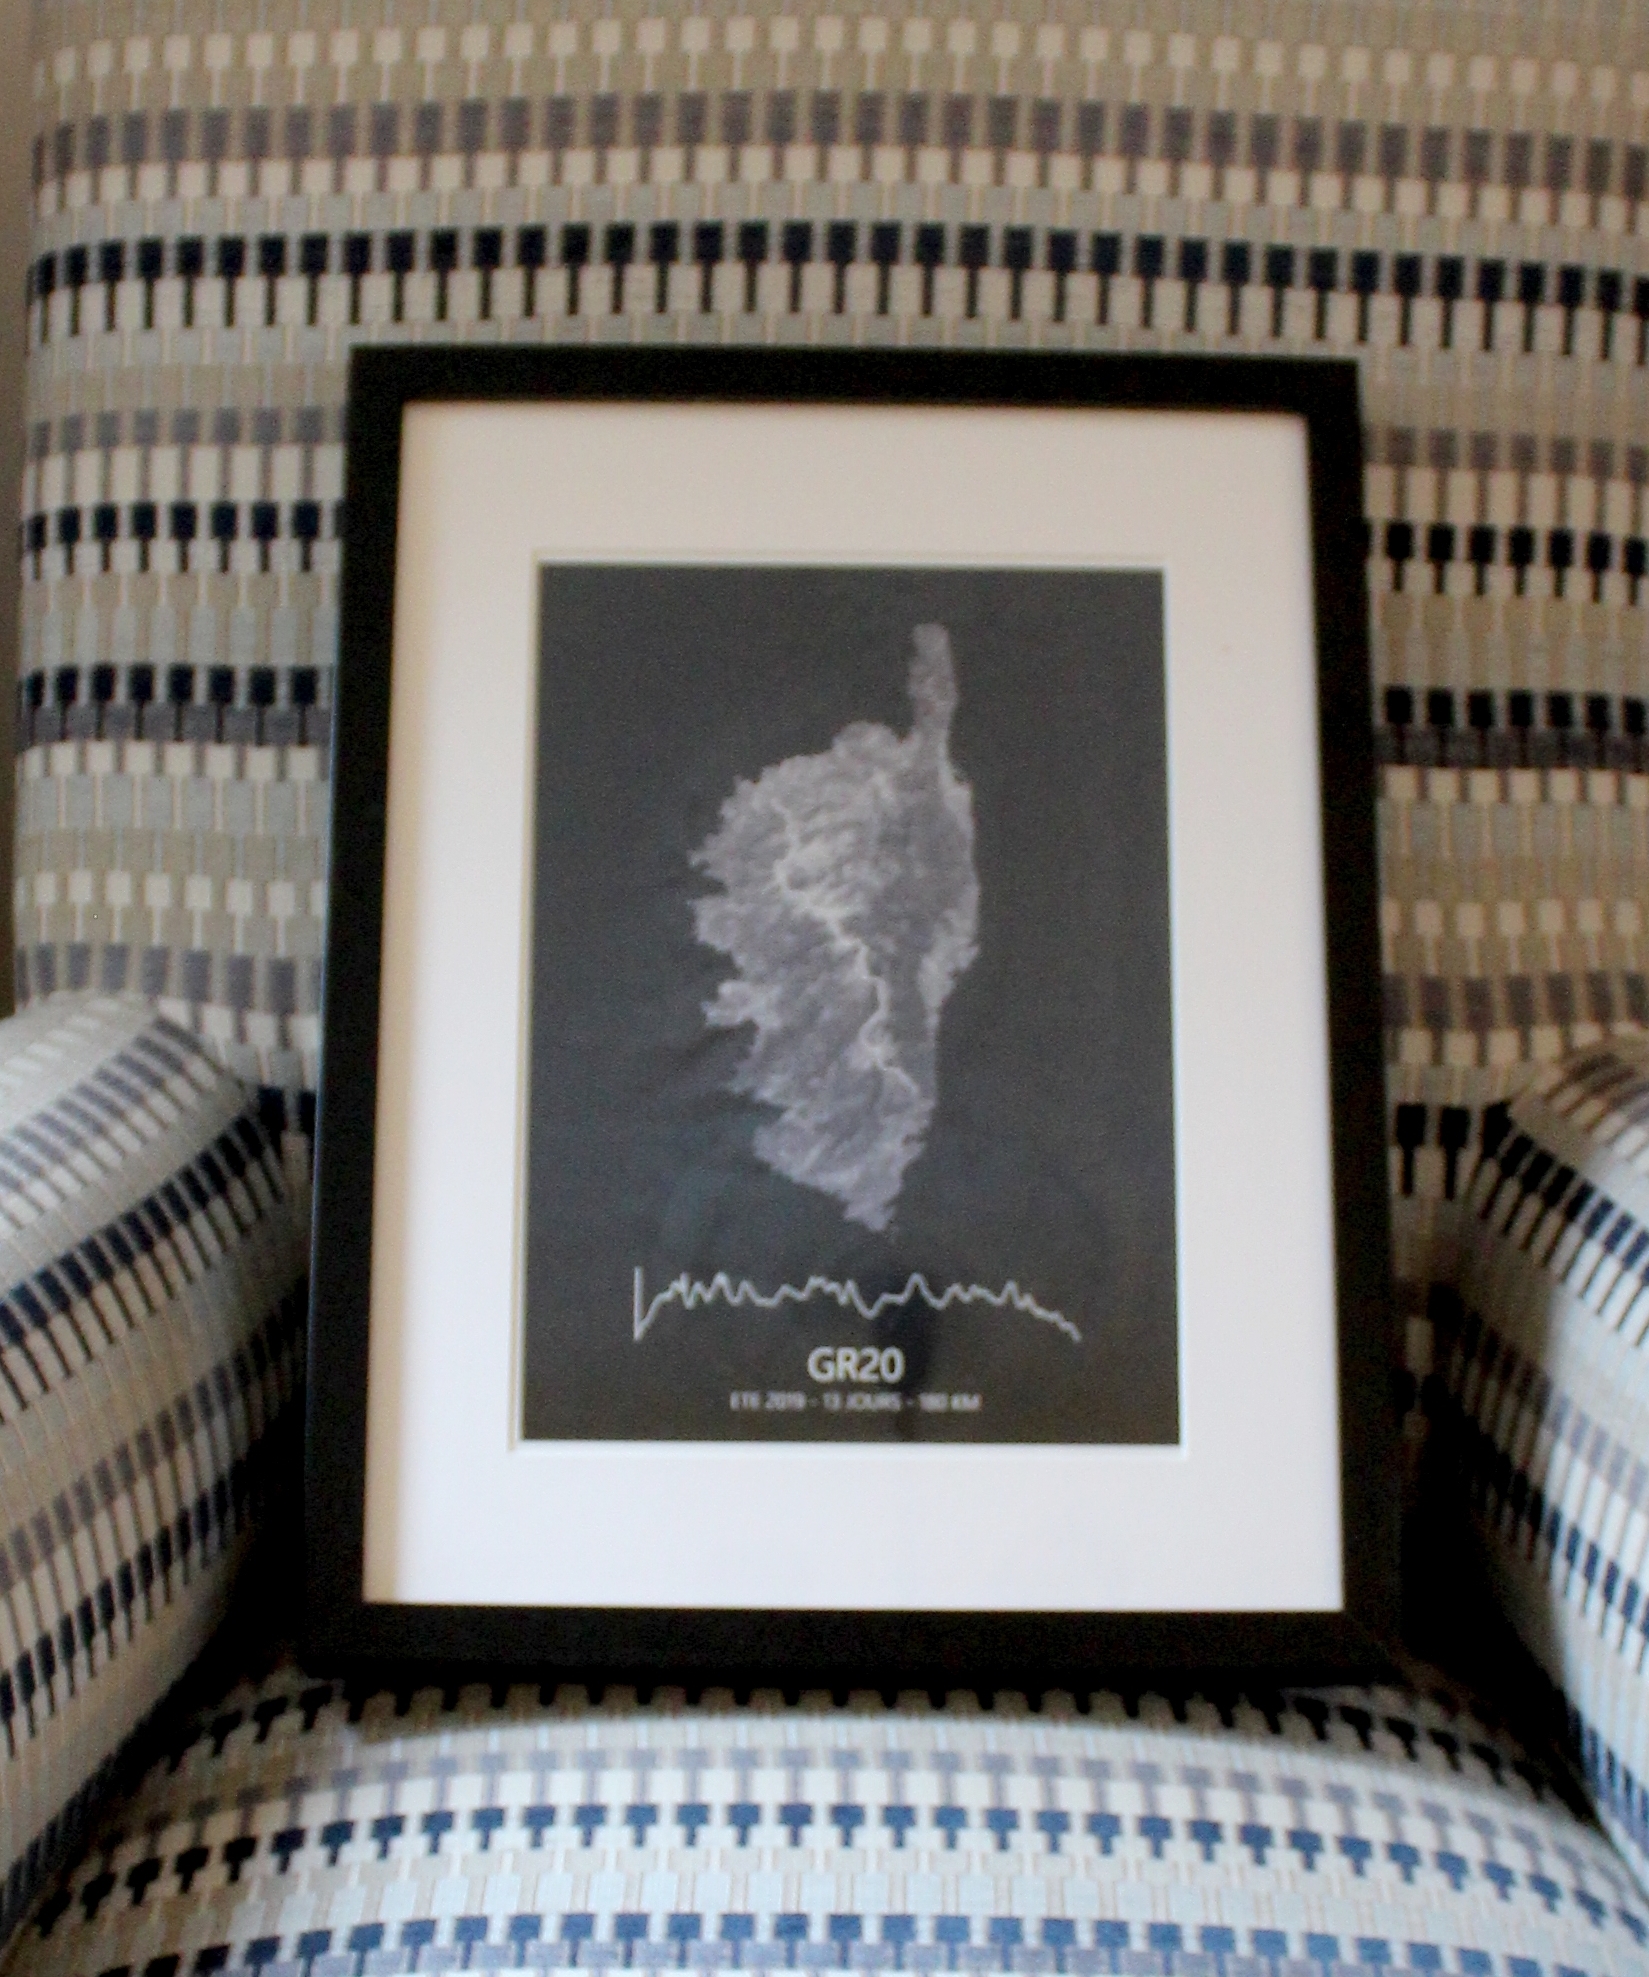
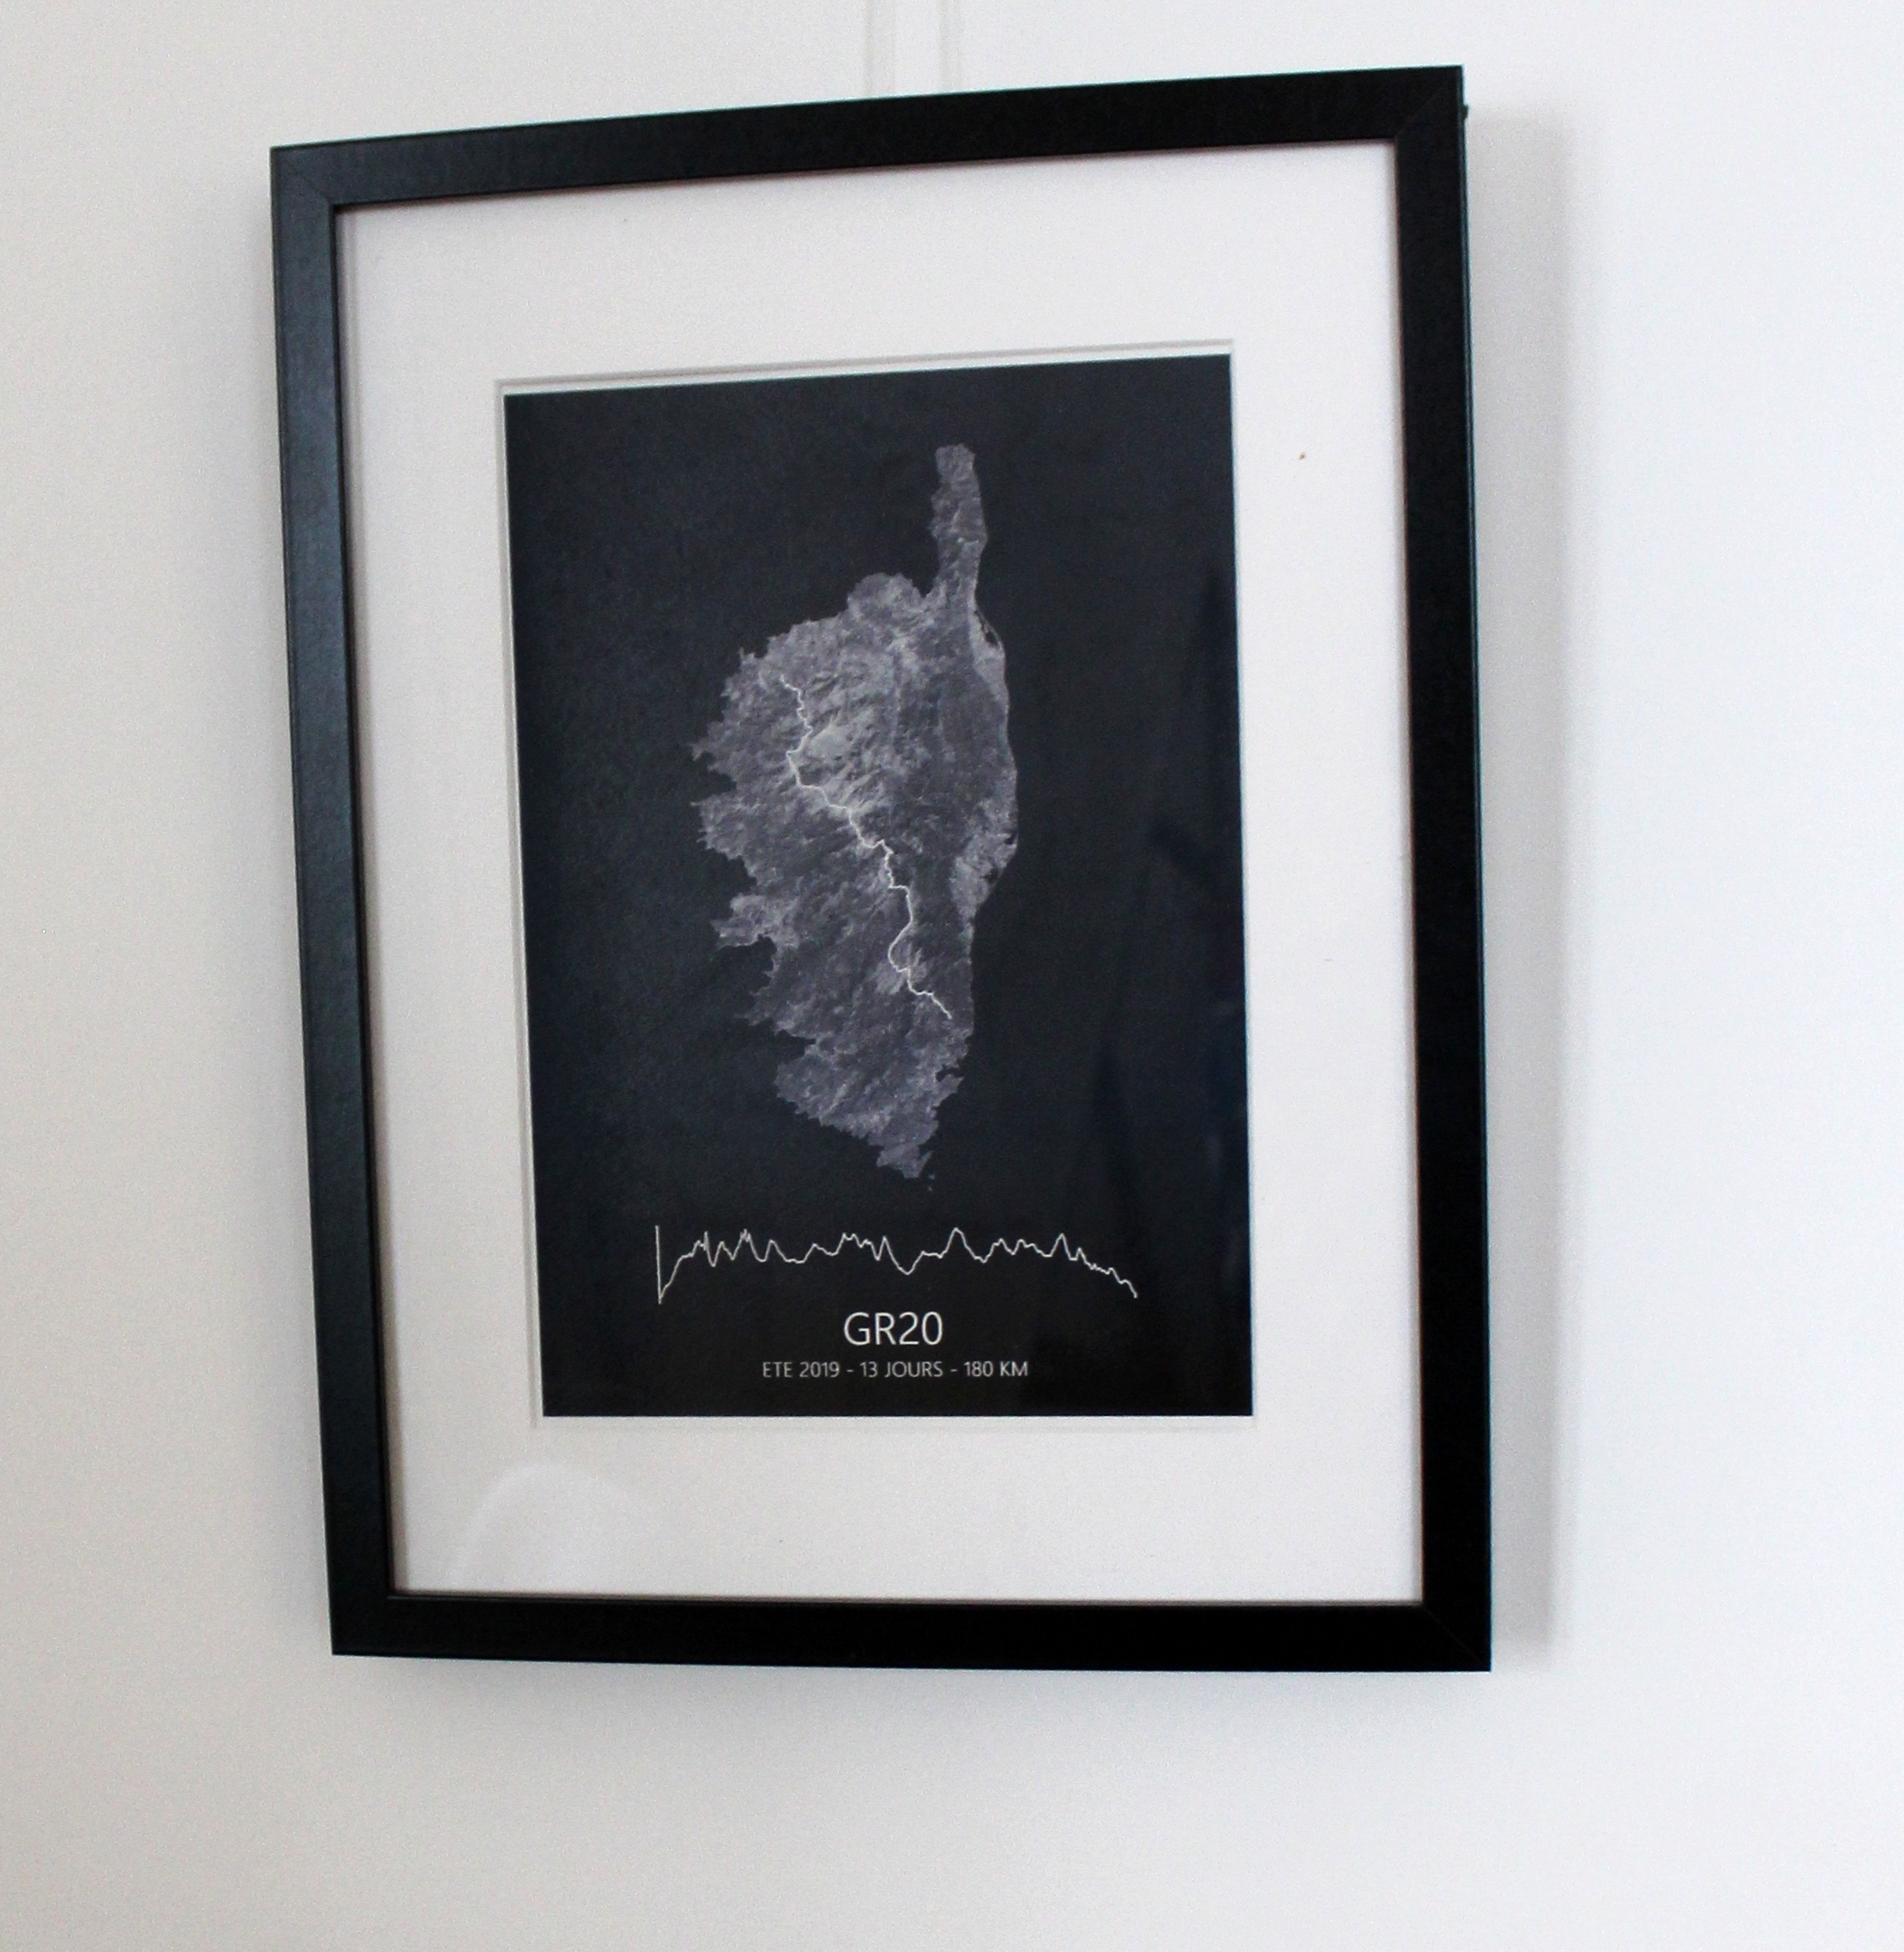.JPG)
Ever wondered how to make a treck or run an unforgetable memories ? I did ! I take part into different race or trecks organised or not. runners get medals but it's not really the kind of thing you want to highlight in your living room though you are proud of the achivment and want to share it to friends and families as well as remember it.
Last year my Girlfriend, my sisters and I did the GR20 in Corsica in Europe. This treck is between 10 and 14 days long and is known as one of the hardest in Europe. as a matter of fact it was difficult but very pleasant as we got to see nature wonders throughout the journey.
I wanted to make this time an unforgeatable time so came the idea of mapping it. I went on google and looked for ideas or product. I coudn't find anything matching neither my trip nor my intention of mixing something nice that could hang around in my living room but also share the effort that we spent doing it.
I have no photo design skill nor specific software and I only used open data and open software to make this instructable. It took me about 5 hours to it all but probably the time could be reduced once the right sequence of activity has been found.
Supplies
To do this instructable you'll need the following:
- Photo filtre : download at https://photofiltre.en.softonic.com/download
- Inkspace : download at https://inkscape.org/release/inkscape-1.0/
- Image Composite Editor : download at https://microsoft-image-composite-editor.en.softo...
- satellite pictures : screenshot at https://www.geoportail.gouv.fr/carte
tools for GPS traking data (7days free trial): iphigenie
Note that all those software run on supported version of Windows and the websites are open data website. the softwares are free to use software except the last one for which you have a 7days free trial. Equivalent can be found on for Linux or MacOs environements.
Collect Earth Pictures and Make a Map of It
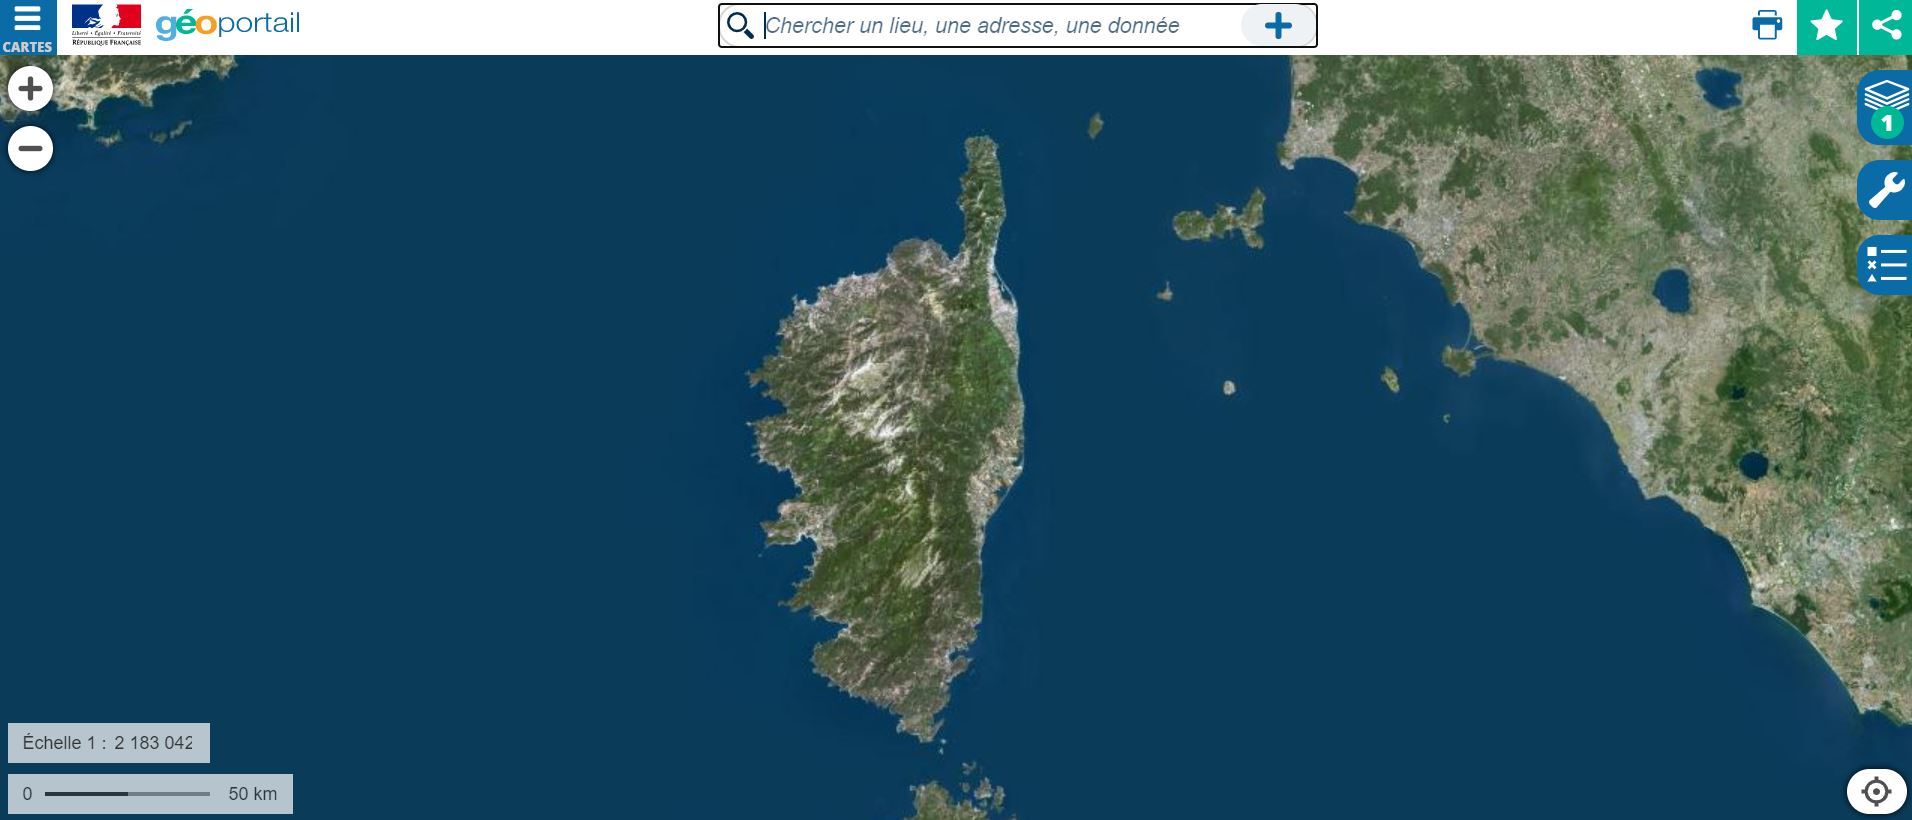
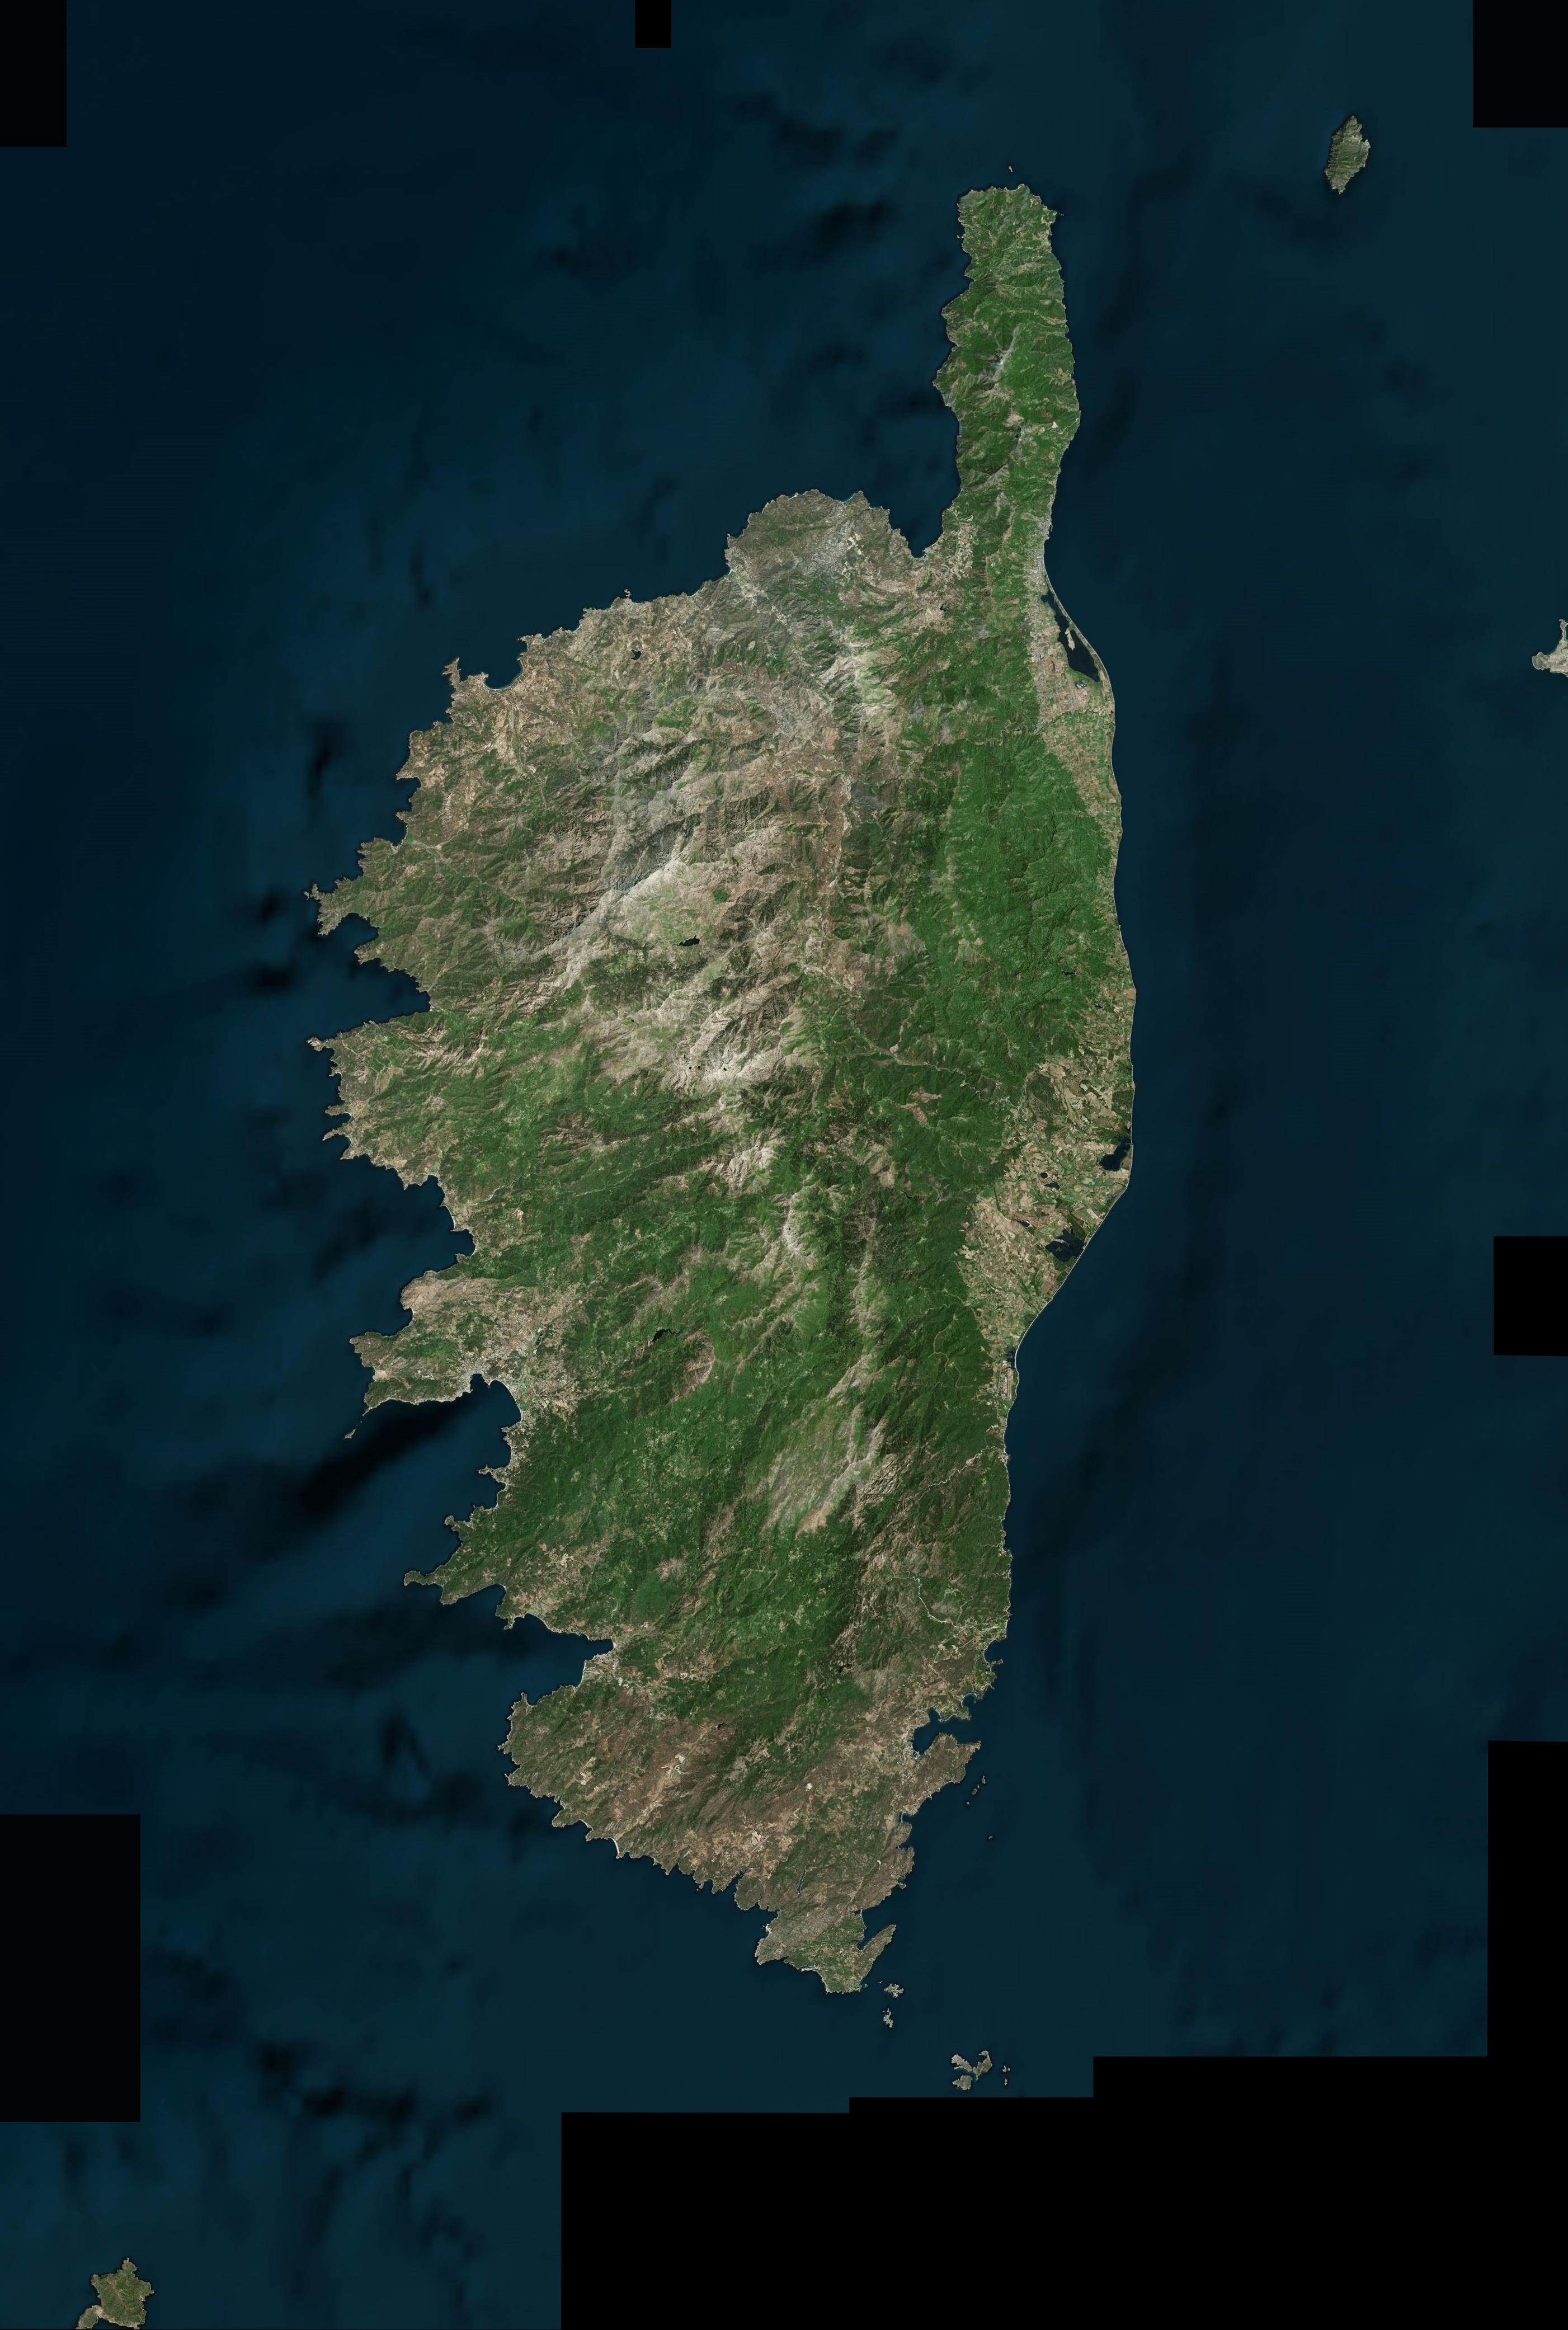
To make your map you first need satellite pictures to start with. Though you want them to be with nothing written on it. no tags, no roads, no leveling signs on it... to find satellite picture you can directly go to :
This website doesn't allow to export the pictures directly so what you can do is just make screen shot of the map. For that use:
- windows Snipping Tool to capture screenshots
In order to get a proper resolution you make screen shots at a zoom level that you probably don't need just to make sur that you will get the right level of details when printed.... Take a lot of them in different area and once you have coreved the all area (and a little more) that you need install and open :
- open Image composite Editor
- select make a new panorama
- select all the screenshot you have made
- press run and wait
you then get something like the picture attached that you'll be able to crop to make it fit to your need.
Collect Itinaries Data
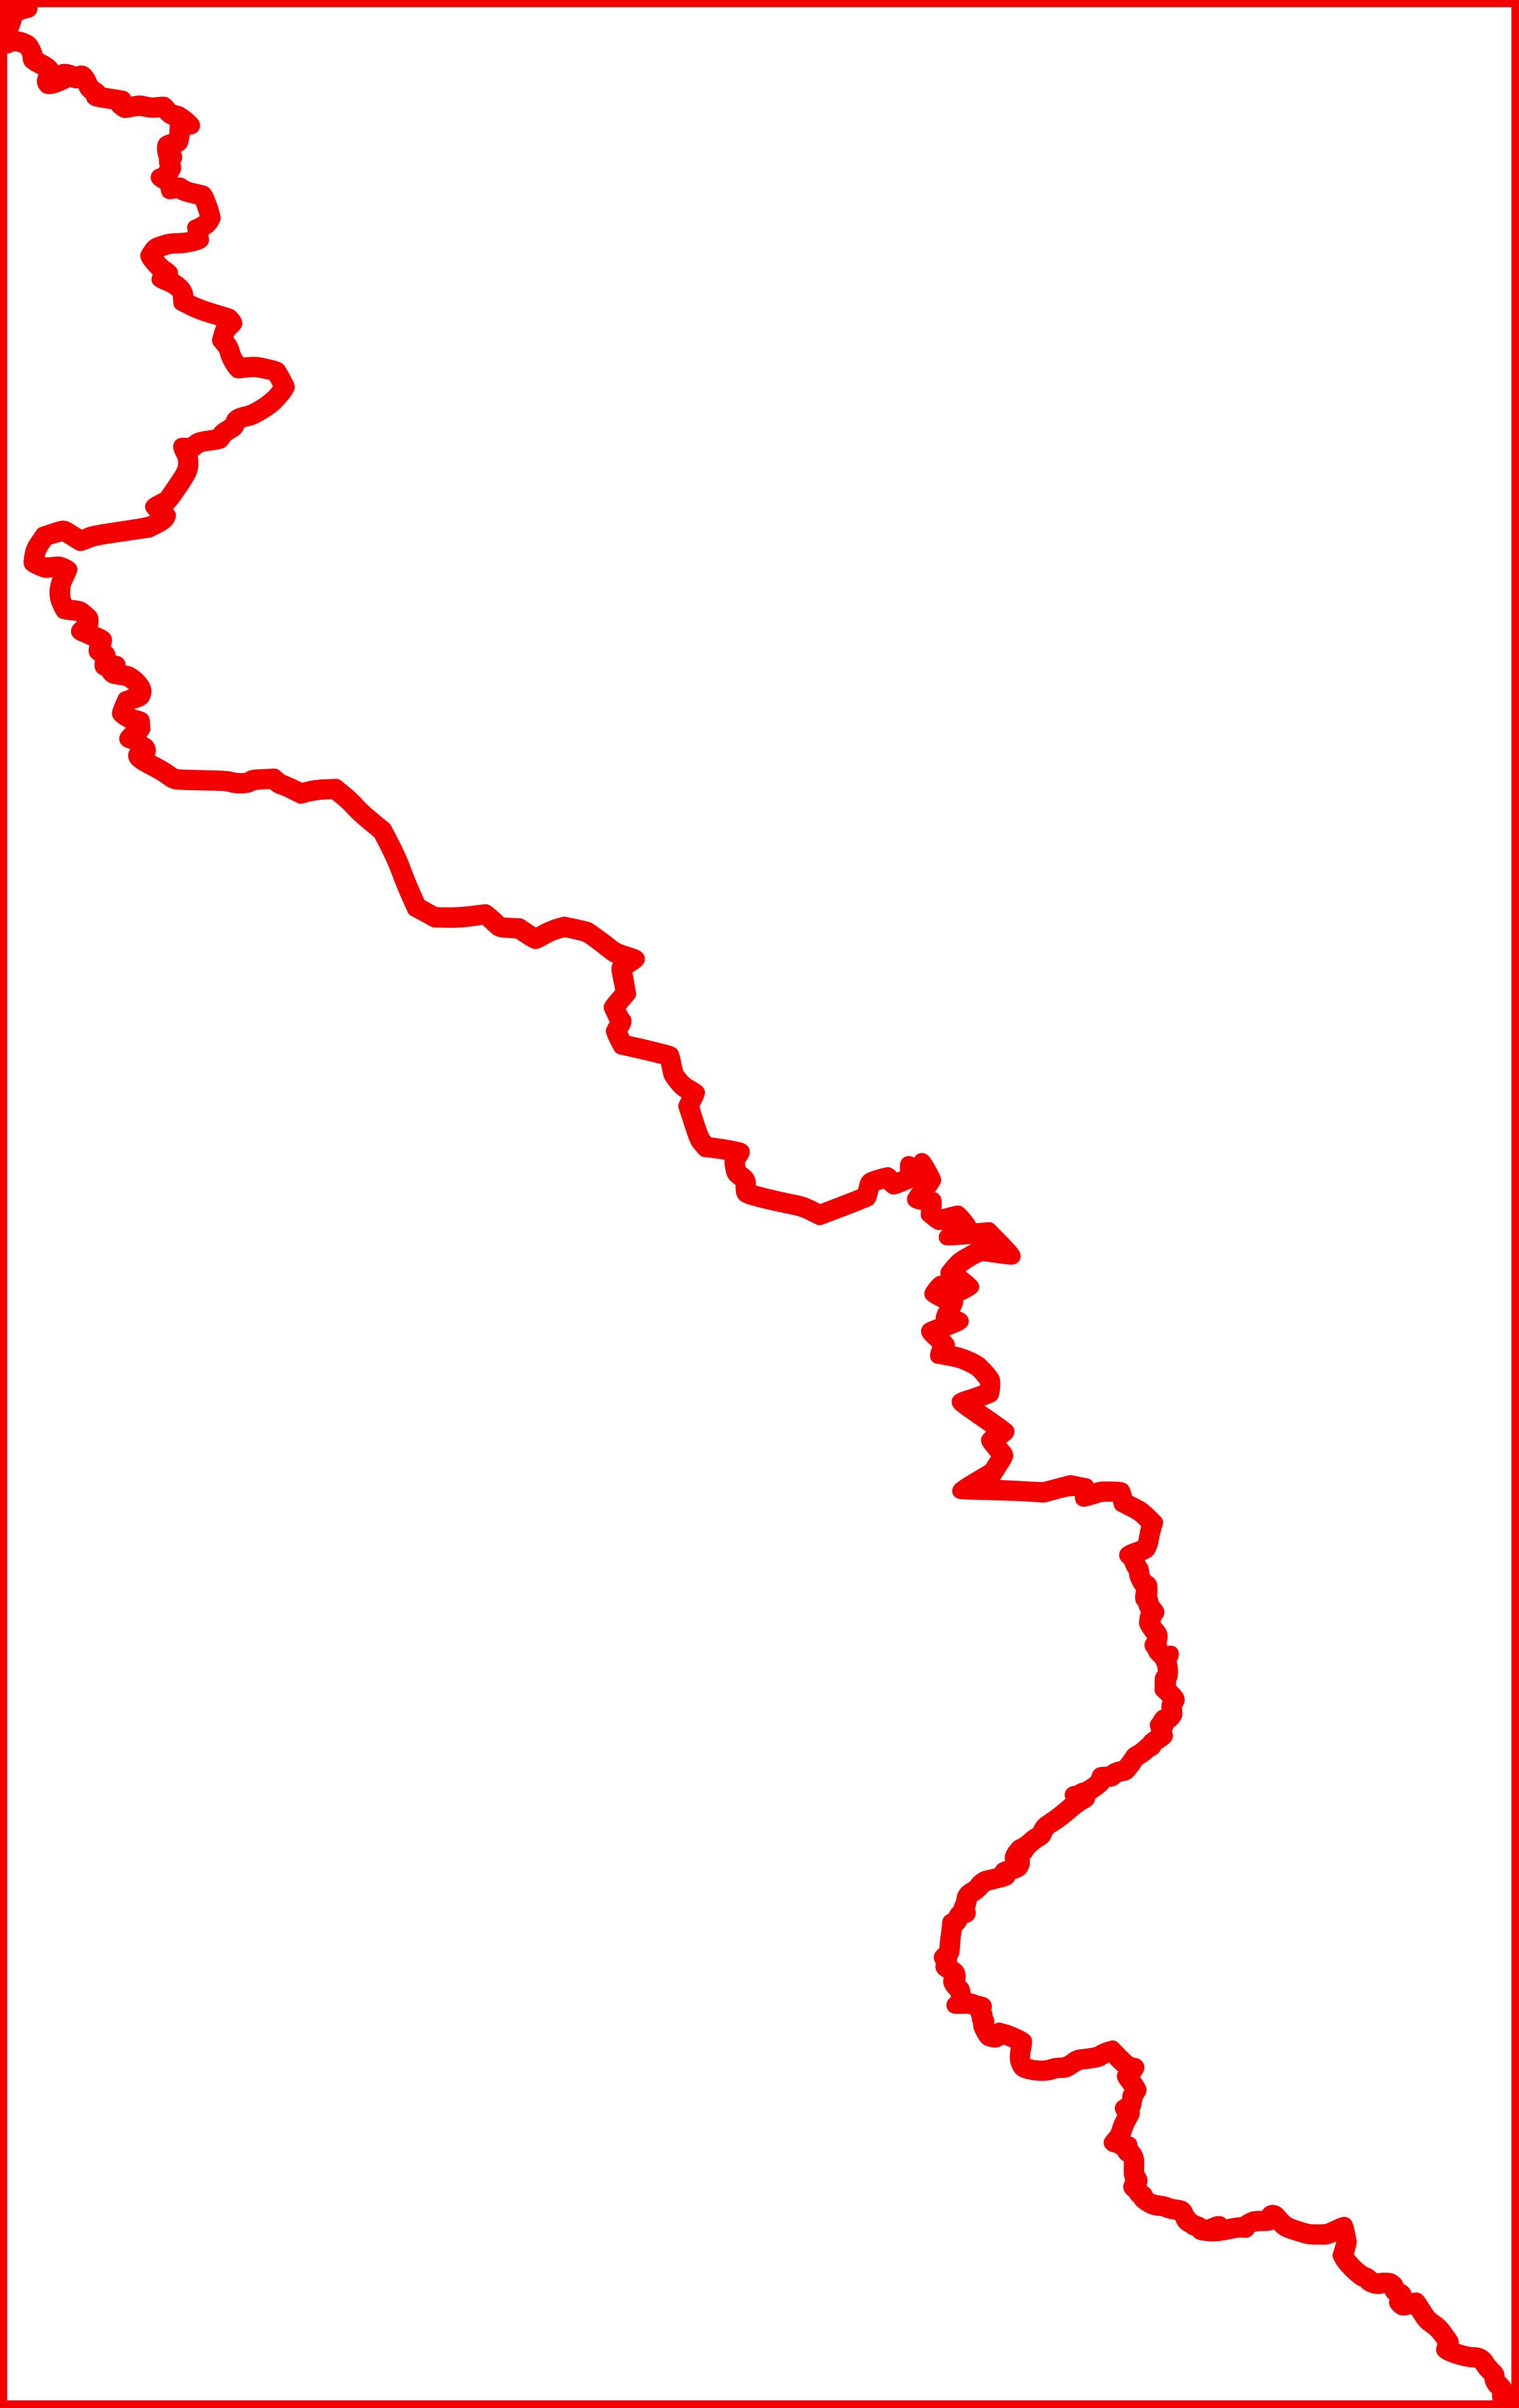
There are two types of data to collect: the GPS coordinates of each point to be recorded and the altitude of these.
this will add to the map not only the route but also it helps to realize an altimetric curve.
For this step, two possibilities: either you have saved your GPS track (easyest way) and you have the format in .gpx or you can find it on a specialized sites like :
- IPhiGeNie
- ViewRanger
- AlpineQuest
Beaware that those service offers different recorded tracks so check that the treck you want is actually provided by the site you select.
Once you your .GPX file you will now translate it to another format like PNG for instance. for that you can use
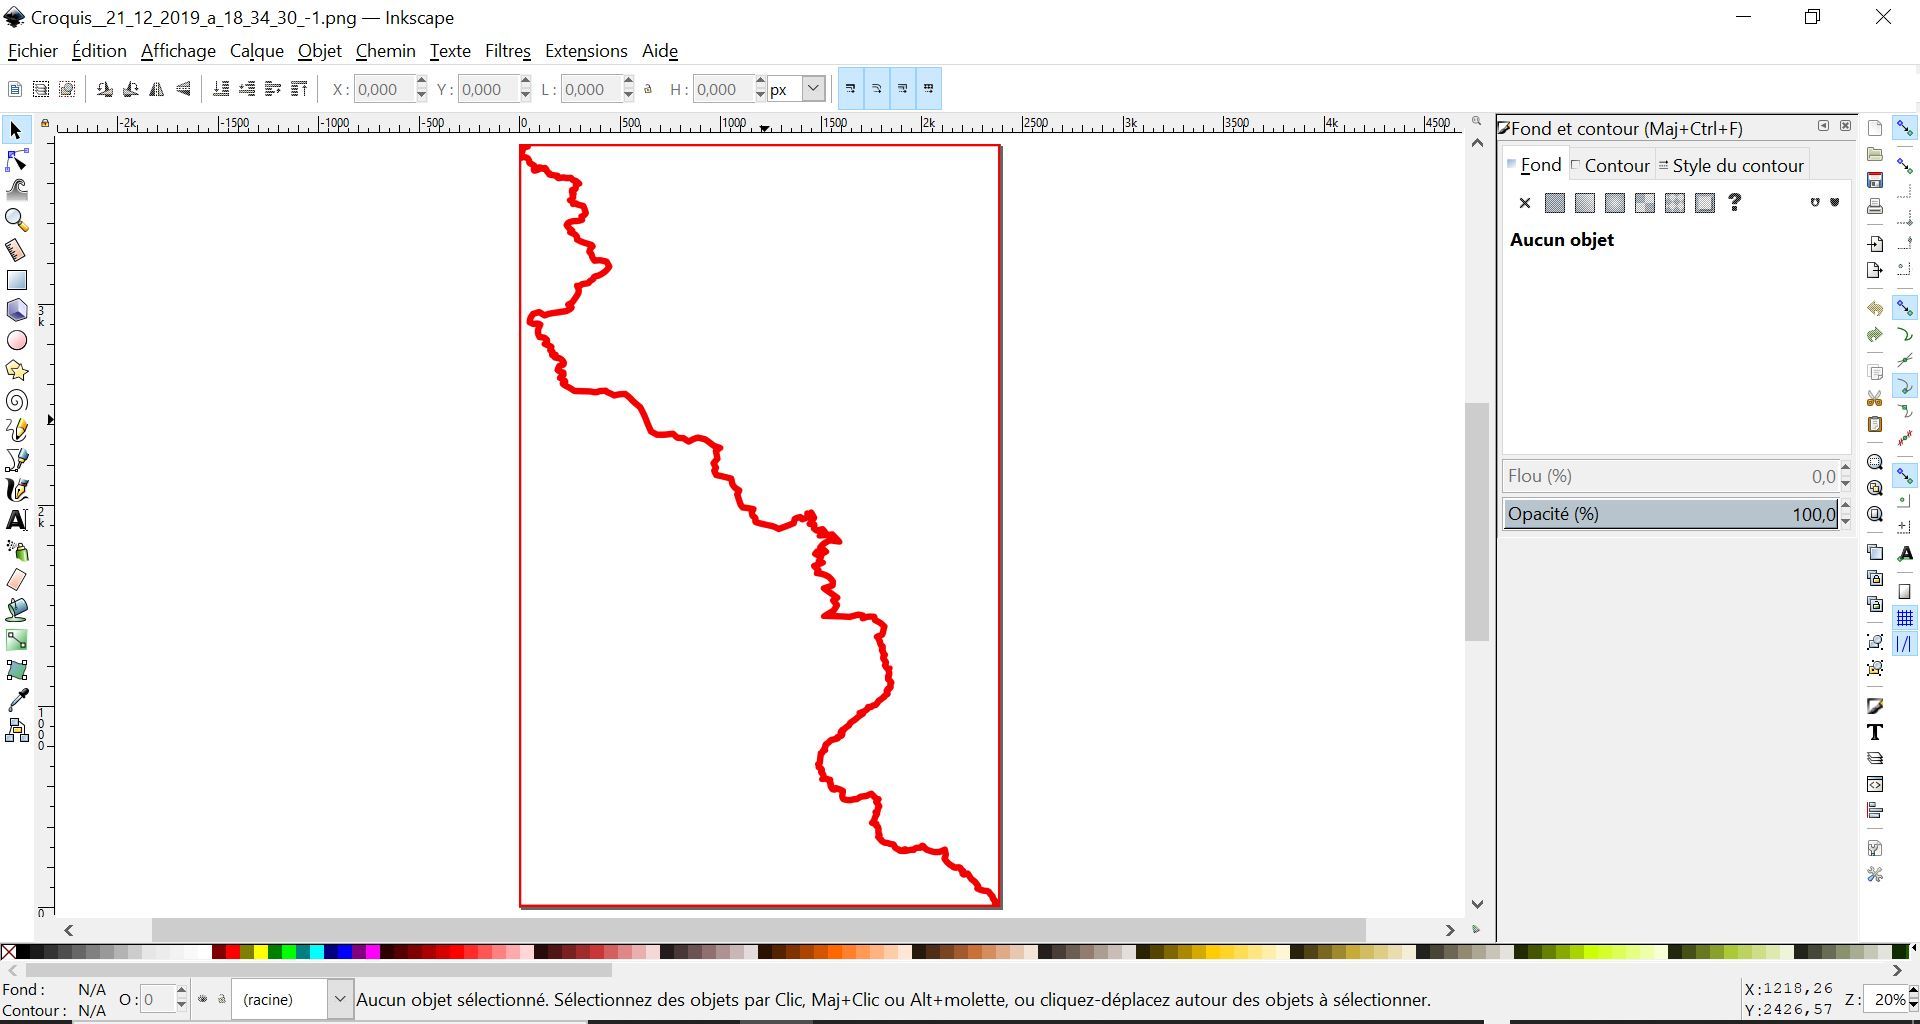
Once done you should have a PNG file that shows a perfect track line of your run or treck. Next step will be about the vectorised it in order to play with it (for instance to make is thicker or more curved or on the opposide more rectangular). For that you can install and use this tool called Inkscape
- install and run inkscape
- open your png file with inkscape
- to vectorise the picture follow this turorial.it's very clear and there is no point to tell more than there is already there. Turorial
save your file and you are now done ....
Downloads
Merge All Map and Itineraries Data Together and Use the Magic of Filters
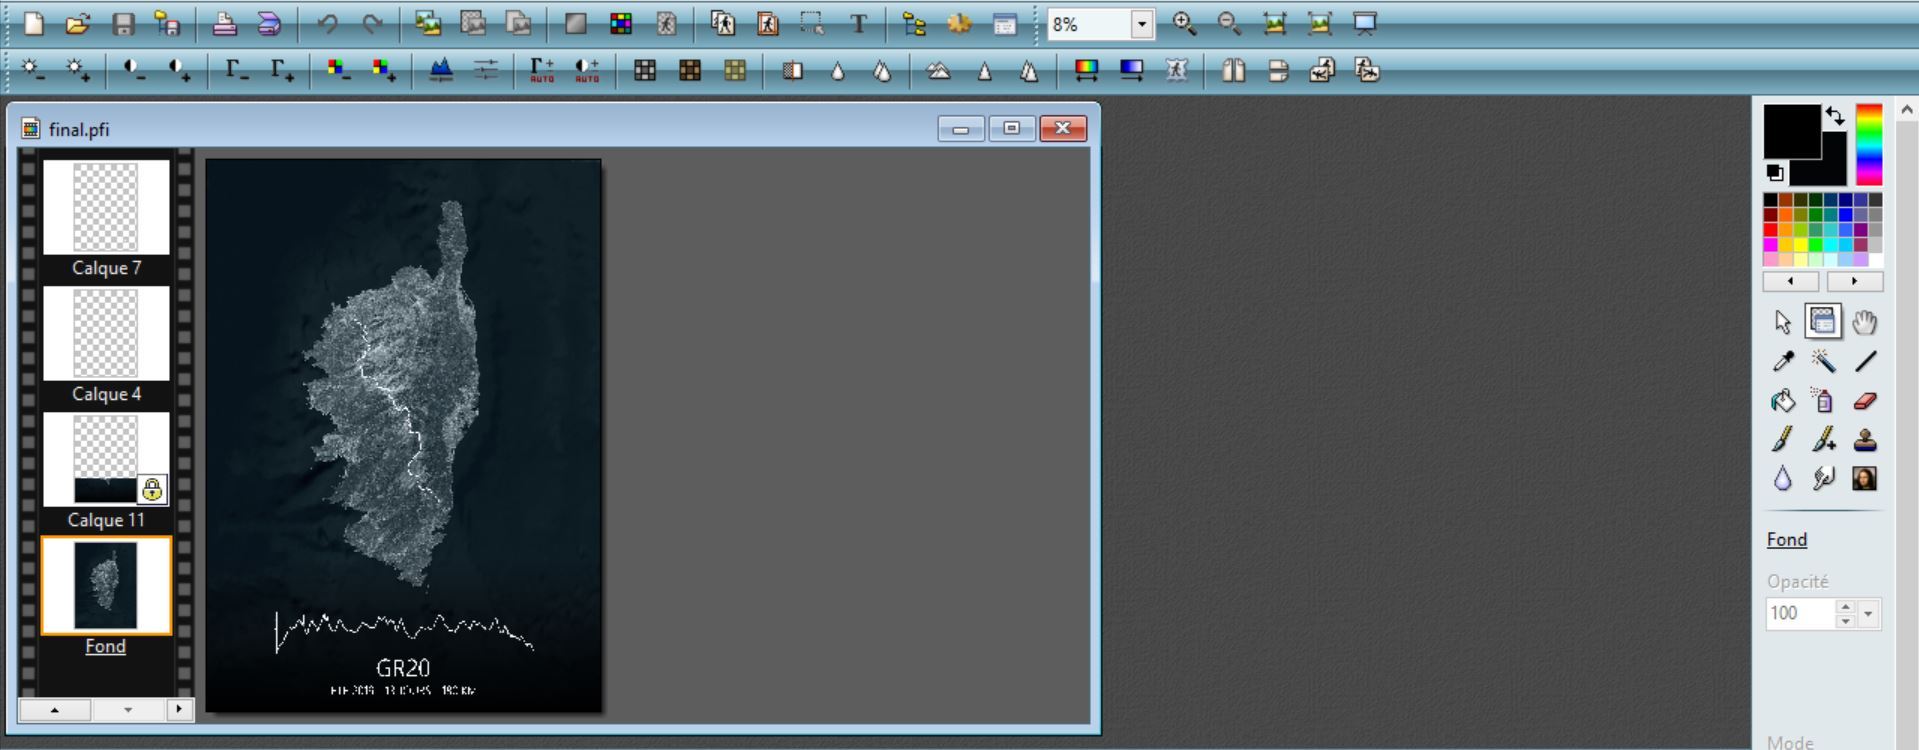
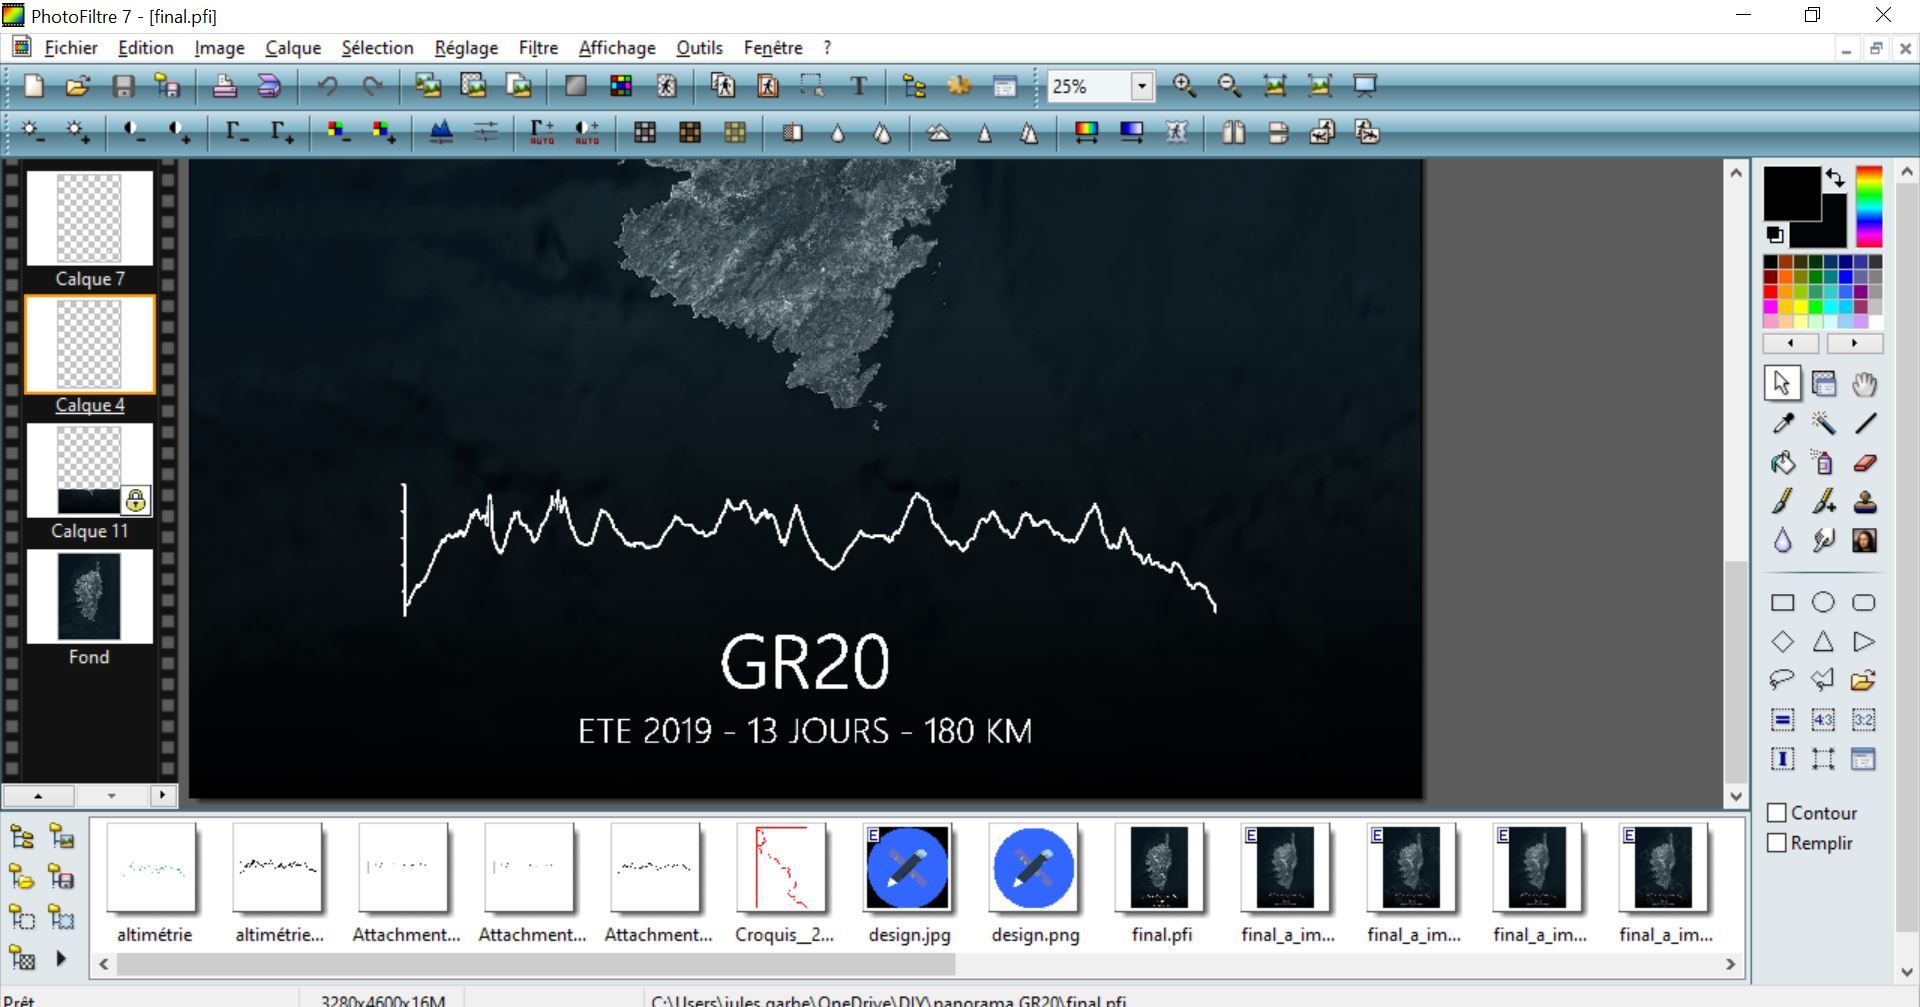
here come the final step to make it all real.
For that use Photofiltre :
- open the satelitte map with Photofiltre
- crop the part you want to keep
- use filter / color / color variation and pick the appropiate color (I picked blue in my case)
- Open the GPS tracking line in another window and copy past it
- transform the shape of line to match the beginning of the race with the map and do the same with the end of the race.
From there it's all done... you can add more layers of info like the name of the race or your time or who you did it with ...
Print, Frame and Share It!
To print the design, it may be important to do several tests in order to get the best possible color combination.
To be sure to have the best quality of printing :
- You must adjust the resolution settings to the maximum. This will give you good text and image quality without blurring. To do this, go to the printer's control panel or to the "Printing" settings on your computer.
Ideally, your computer file should be provided full size with 300 DPI resolution
Ex . For the A4 size the resolution must be 2480 x 2508 DPI
- You can adjust the color tones during printing. Because this feature adjusts the color balance of the printed document by changing the ink ratios of each color, the overall color balance of the document is affected. Use your digital creation app when you want to change the color balance significantly. Use the printer driver only when the color balance adjustment should be minimal.
choose a frame whose color is reflected in your image for the best visual effect