Make LED-Panels Look Nice
This Instructable will give an overview over some niece diffusor materials to cover LED panels to hide the technology. Thereafter, it might look like almost like a piece of art which you can put into your living room - but you can also play games on it. The list is of course not complete, textile covers are missing and there will be a bunch of other nice materials which i didn't think of.
We got some funding from the Federal ministry of education in germany to get use cases and fundaments of quantum technology to the general public, therefore we tried to lower the entrance barrier as much as possible. So it starts with it looks niece and natural, then you can play games on it, and within the description of the games we hide one or two informations about quantum technology.
The base is just an LED matrix, and some of the fundamental codes could be reused from other open source projects like Ikea LED tables, door frames and other crazy projects.
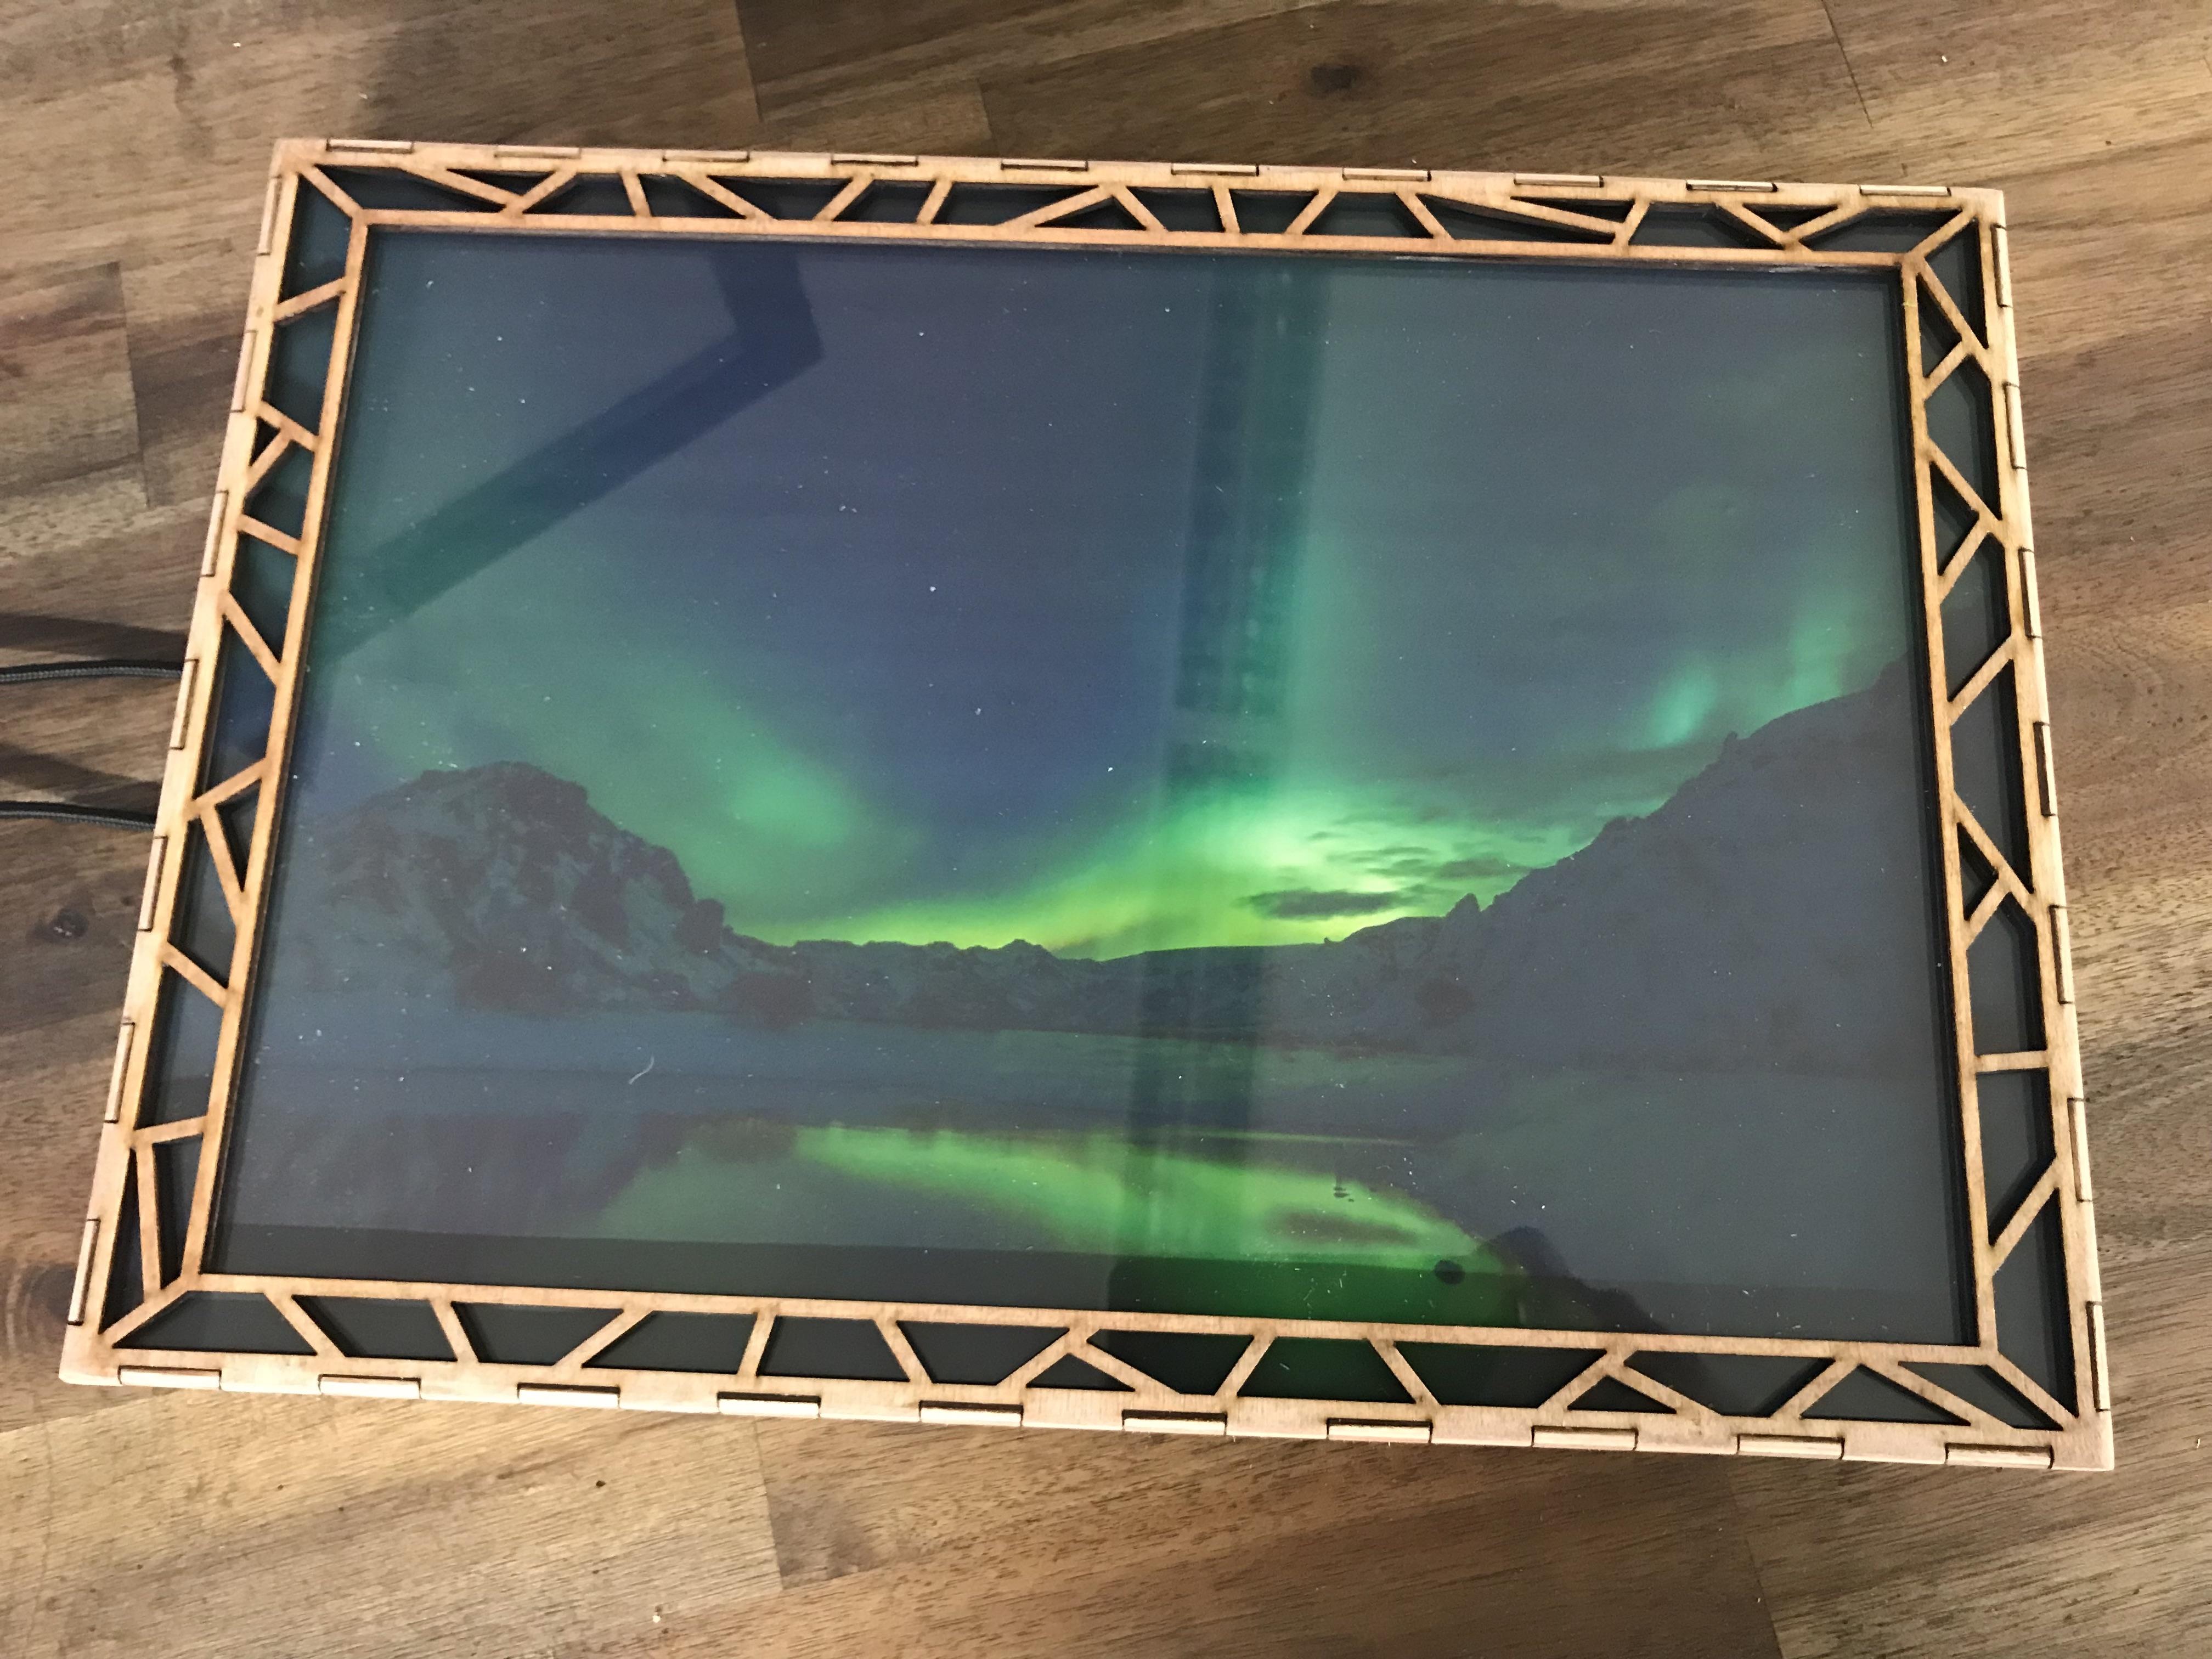
Hiding the LEDs could start with a simple printed picture as above, but that might be boring if we would use that for every game. But first for assembling the led panel.
Supplies
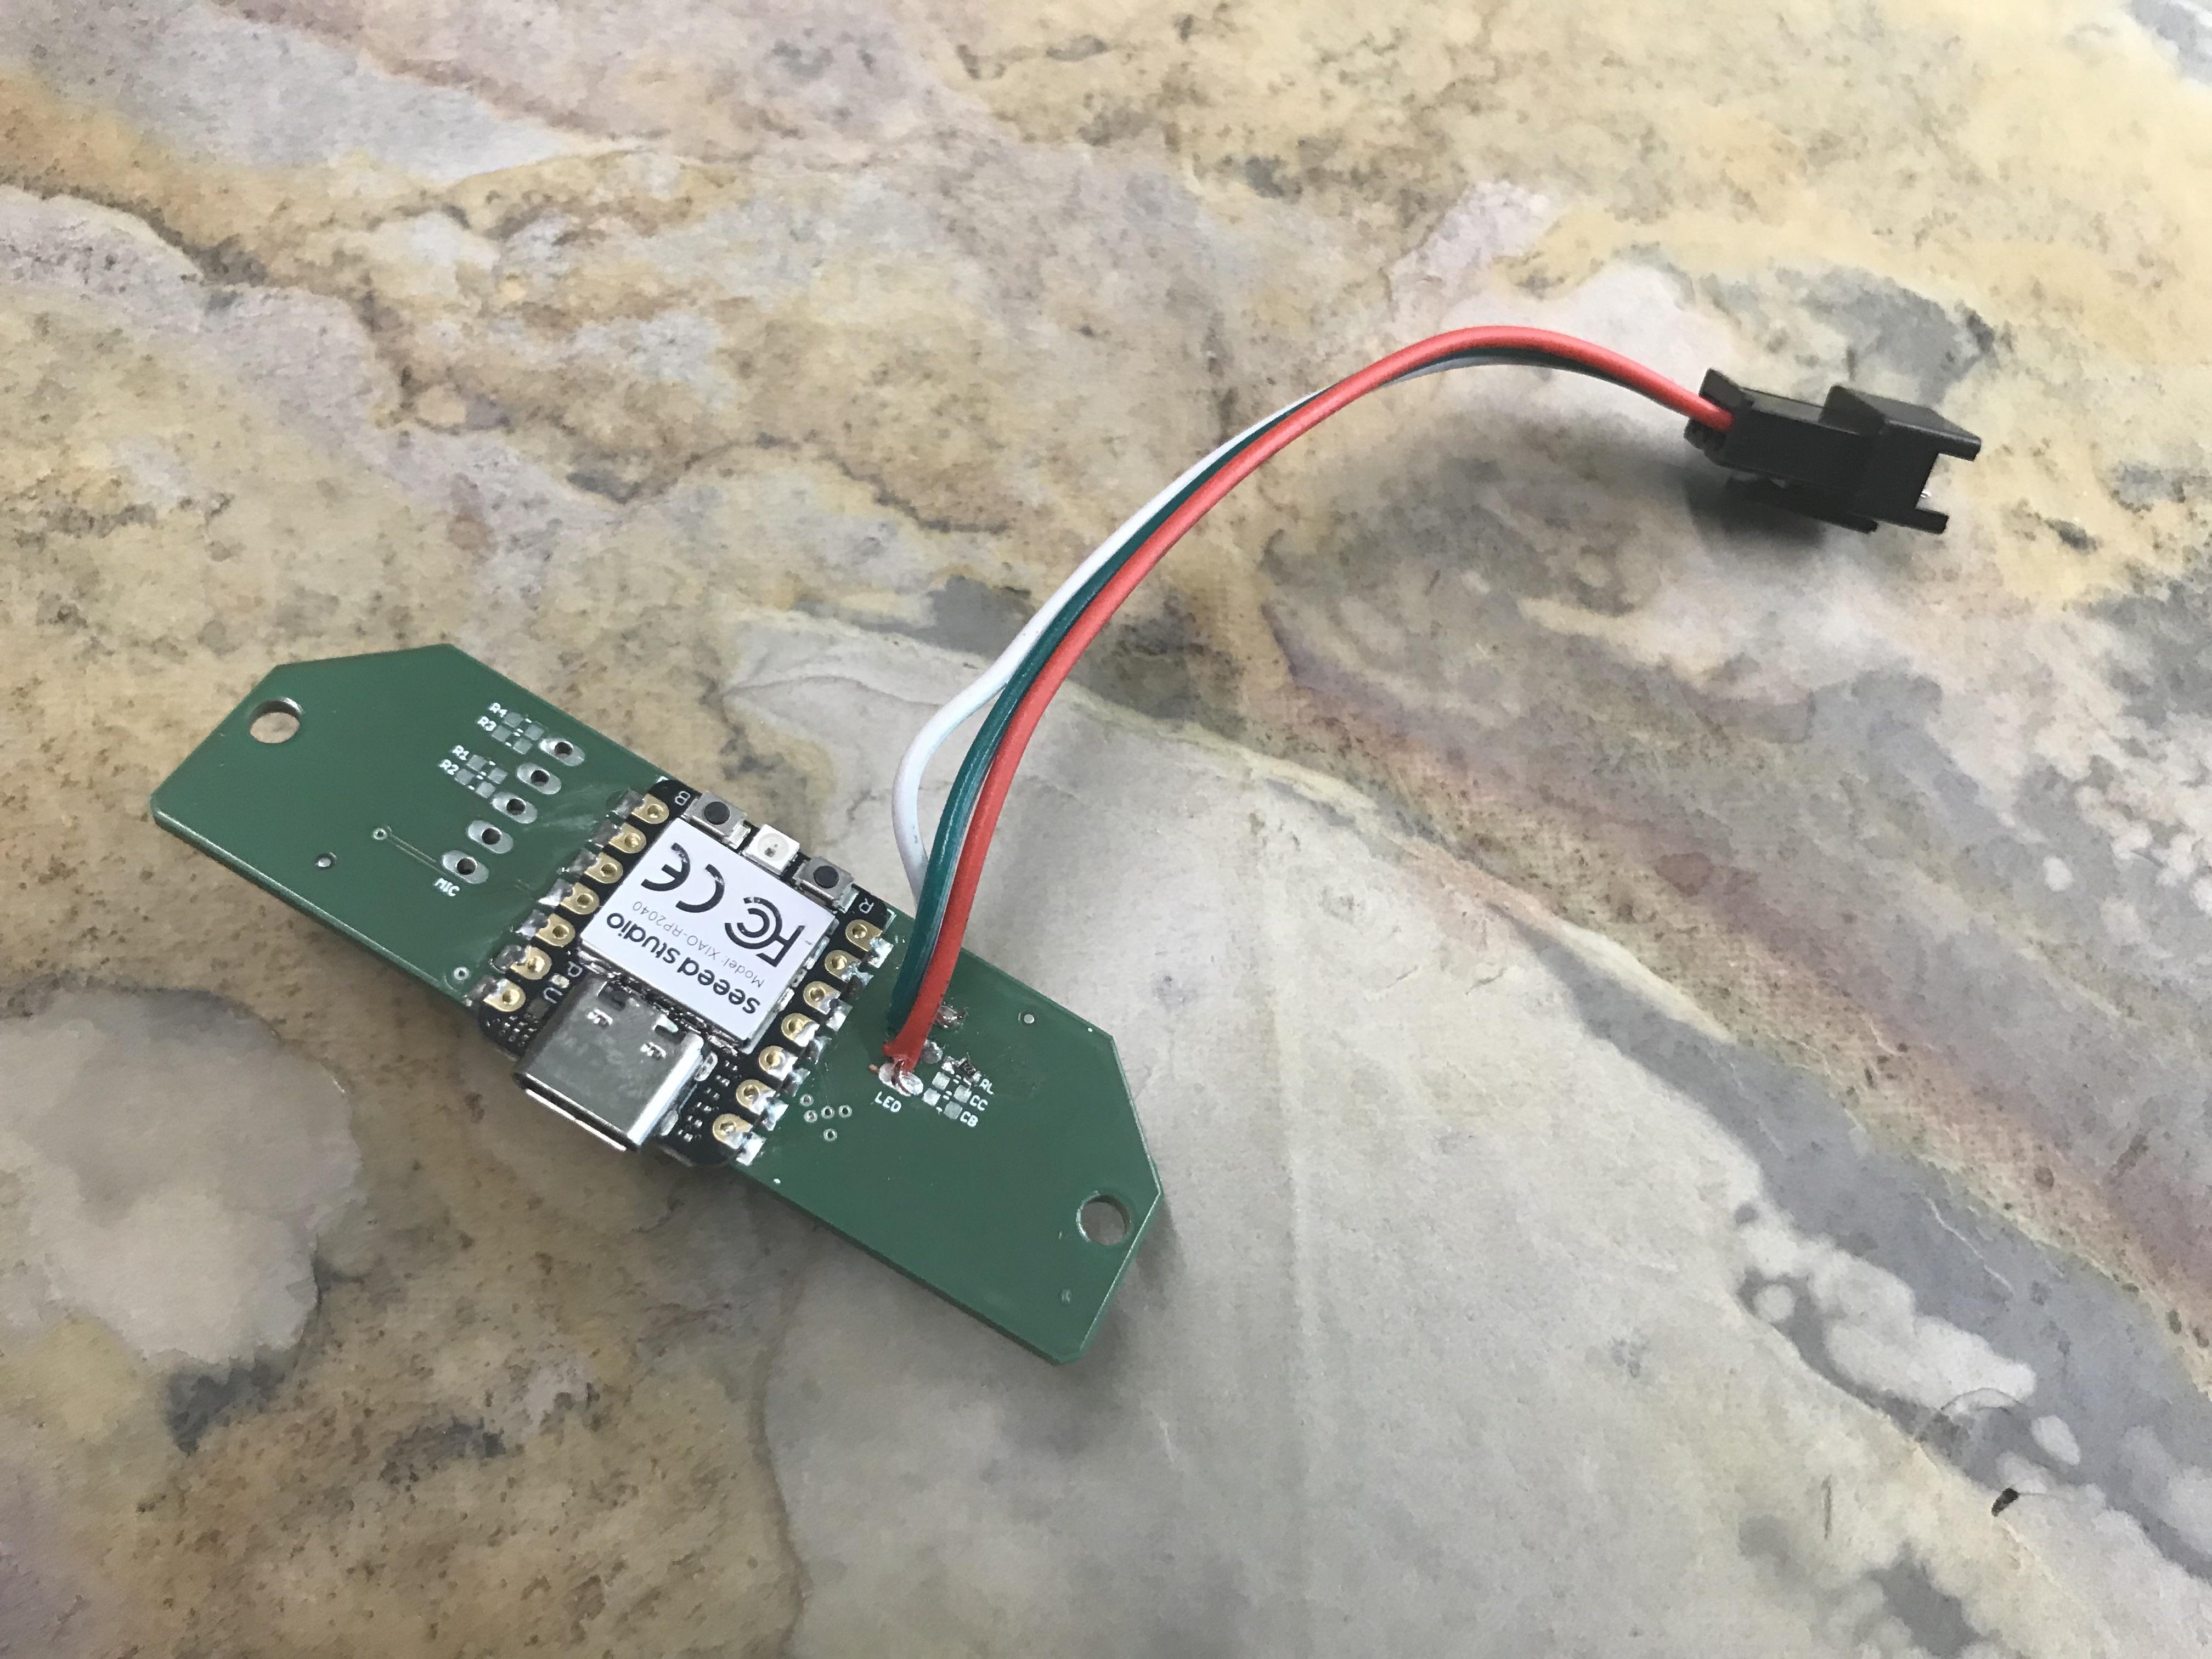

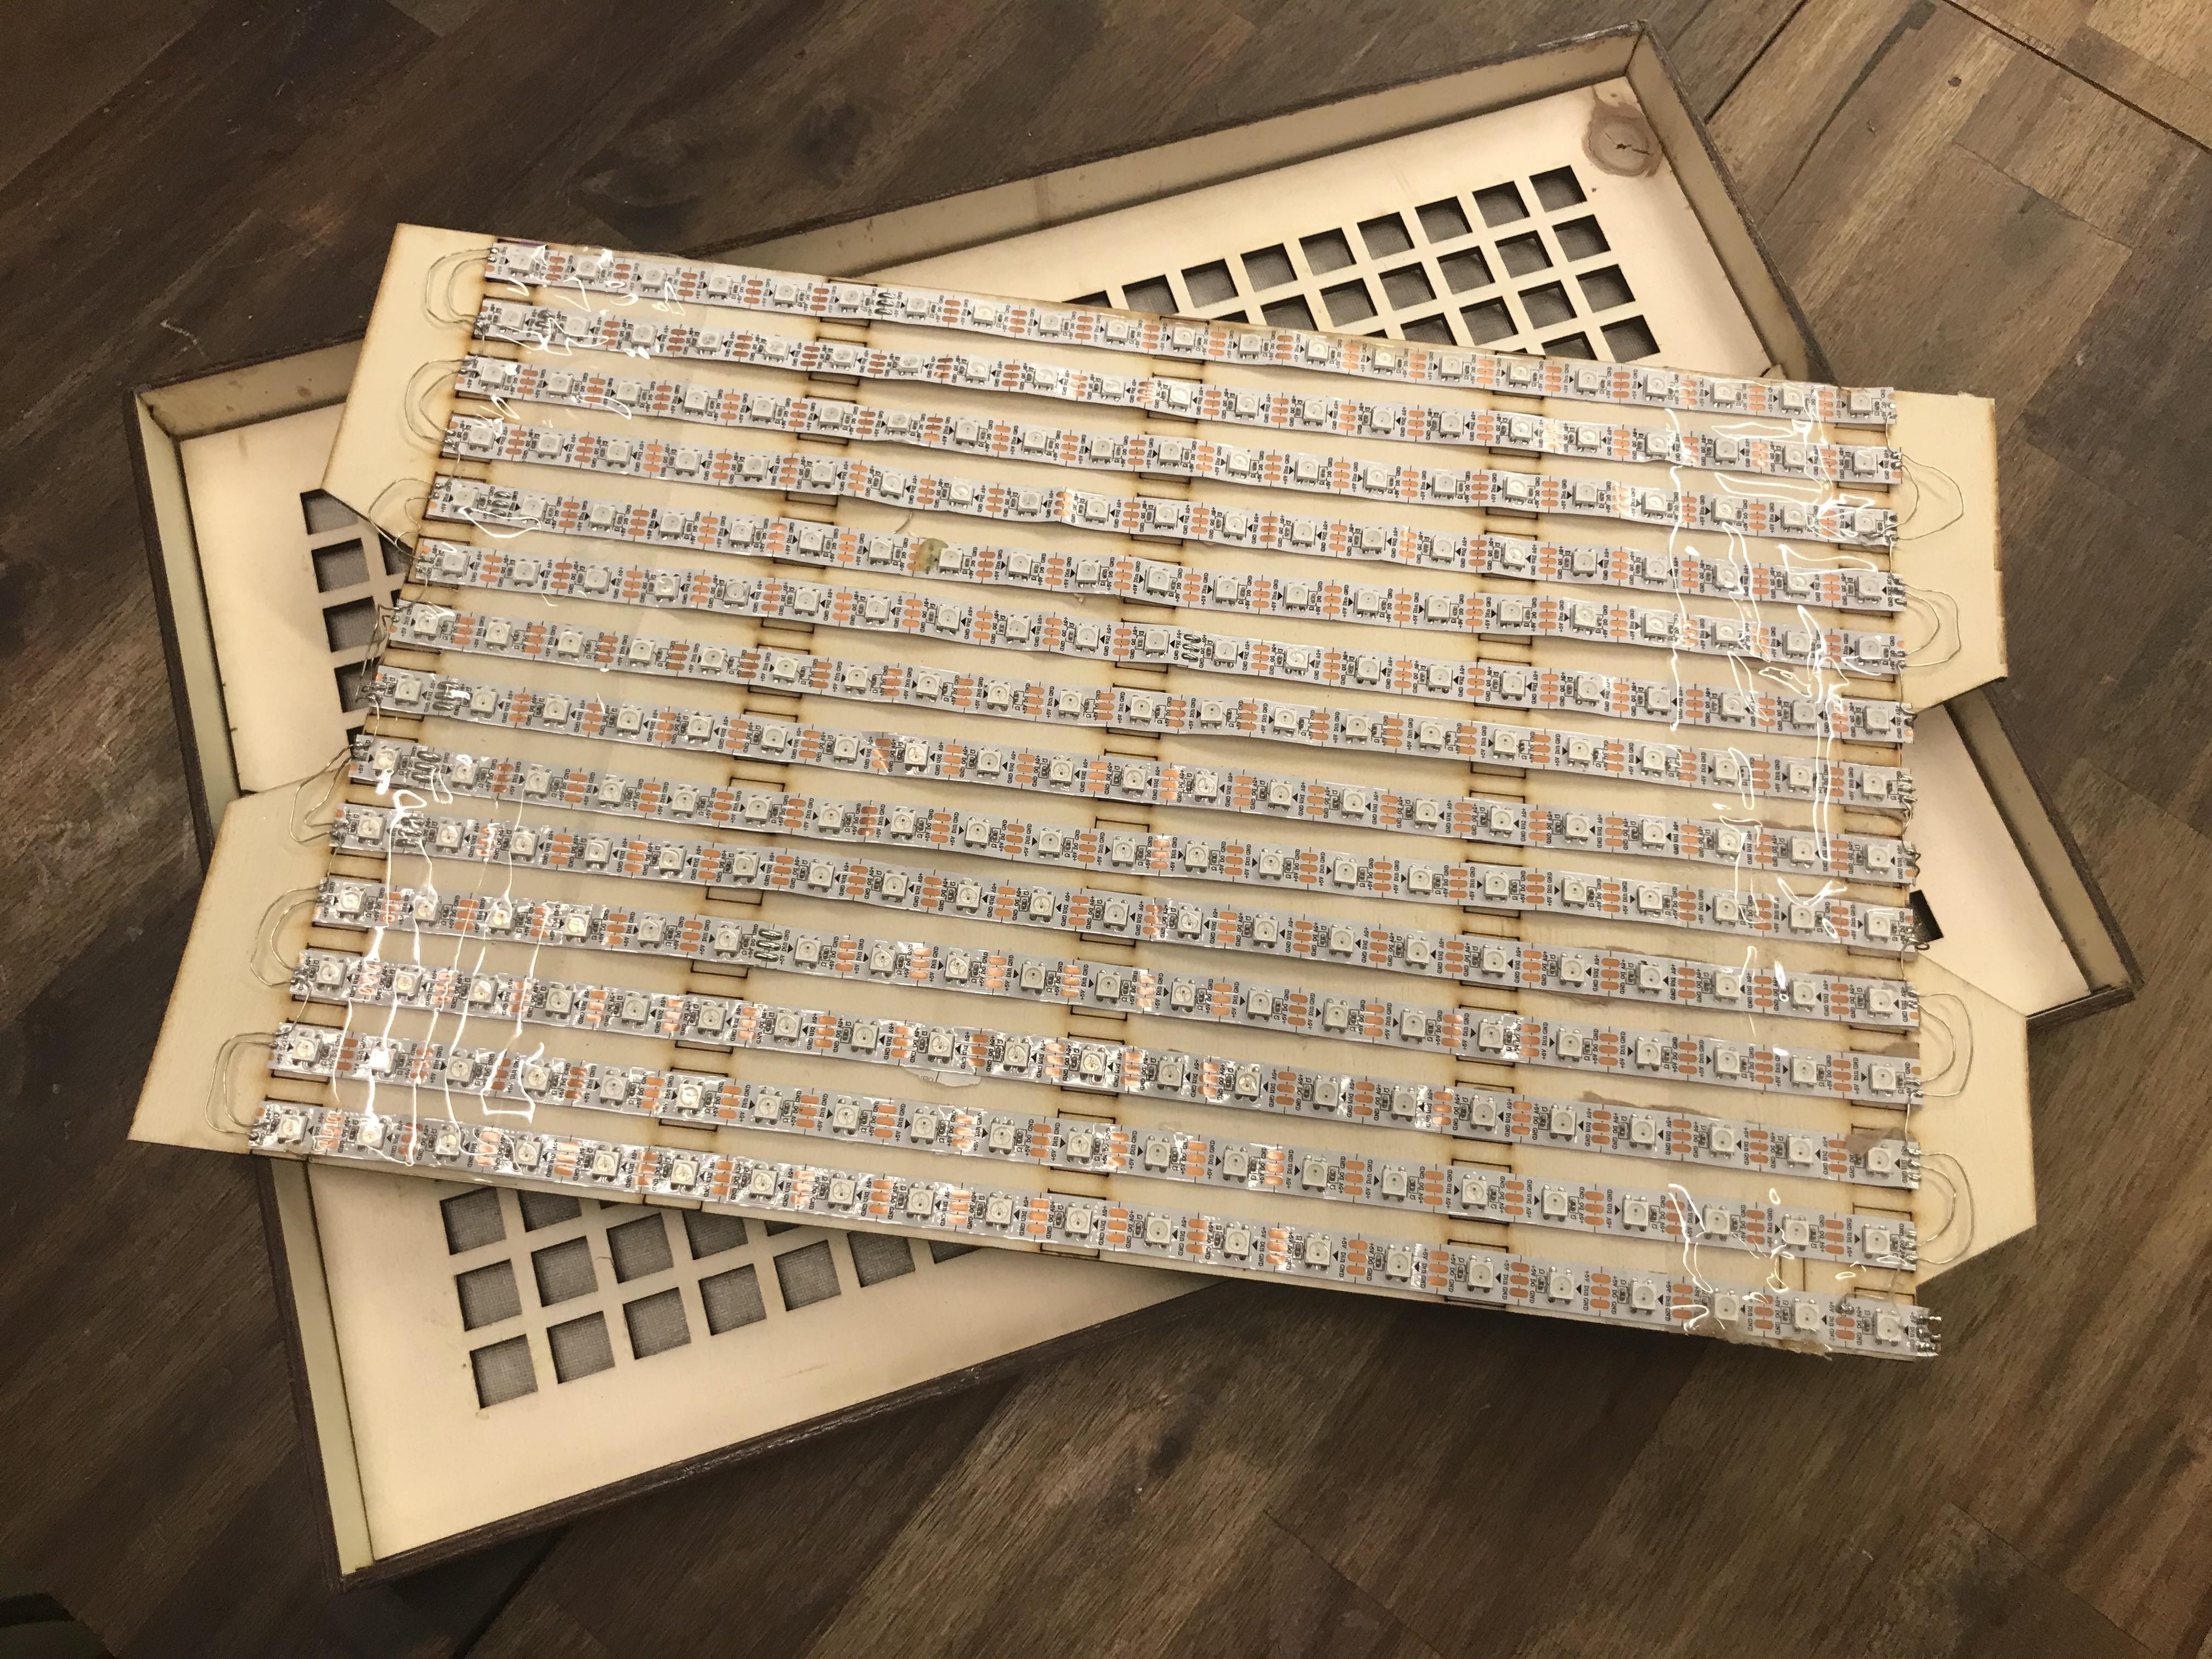
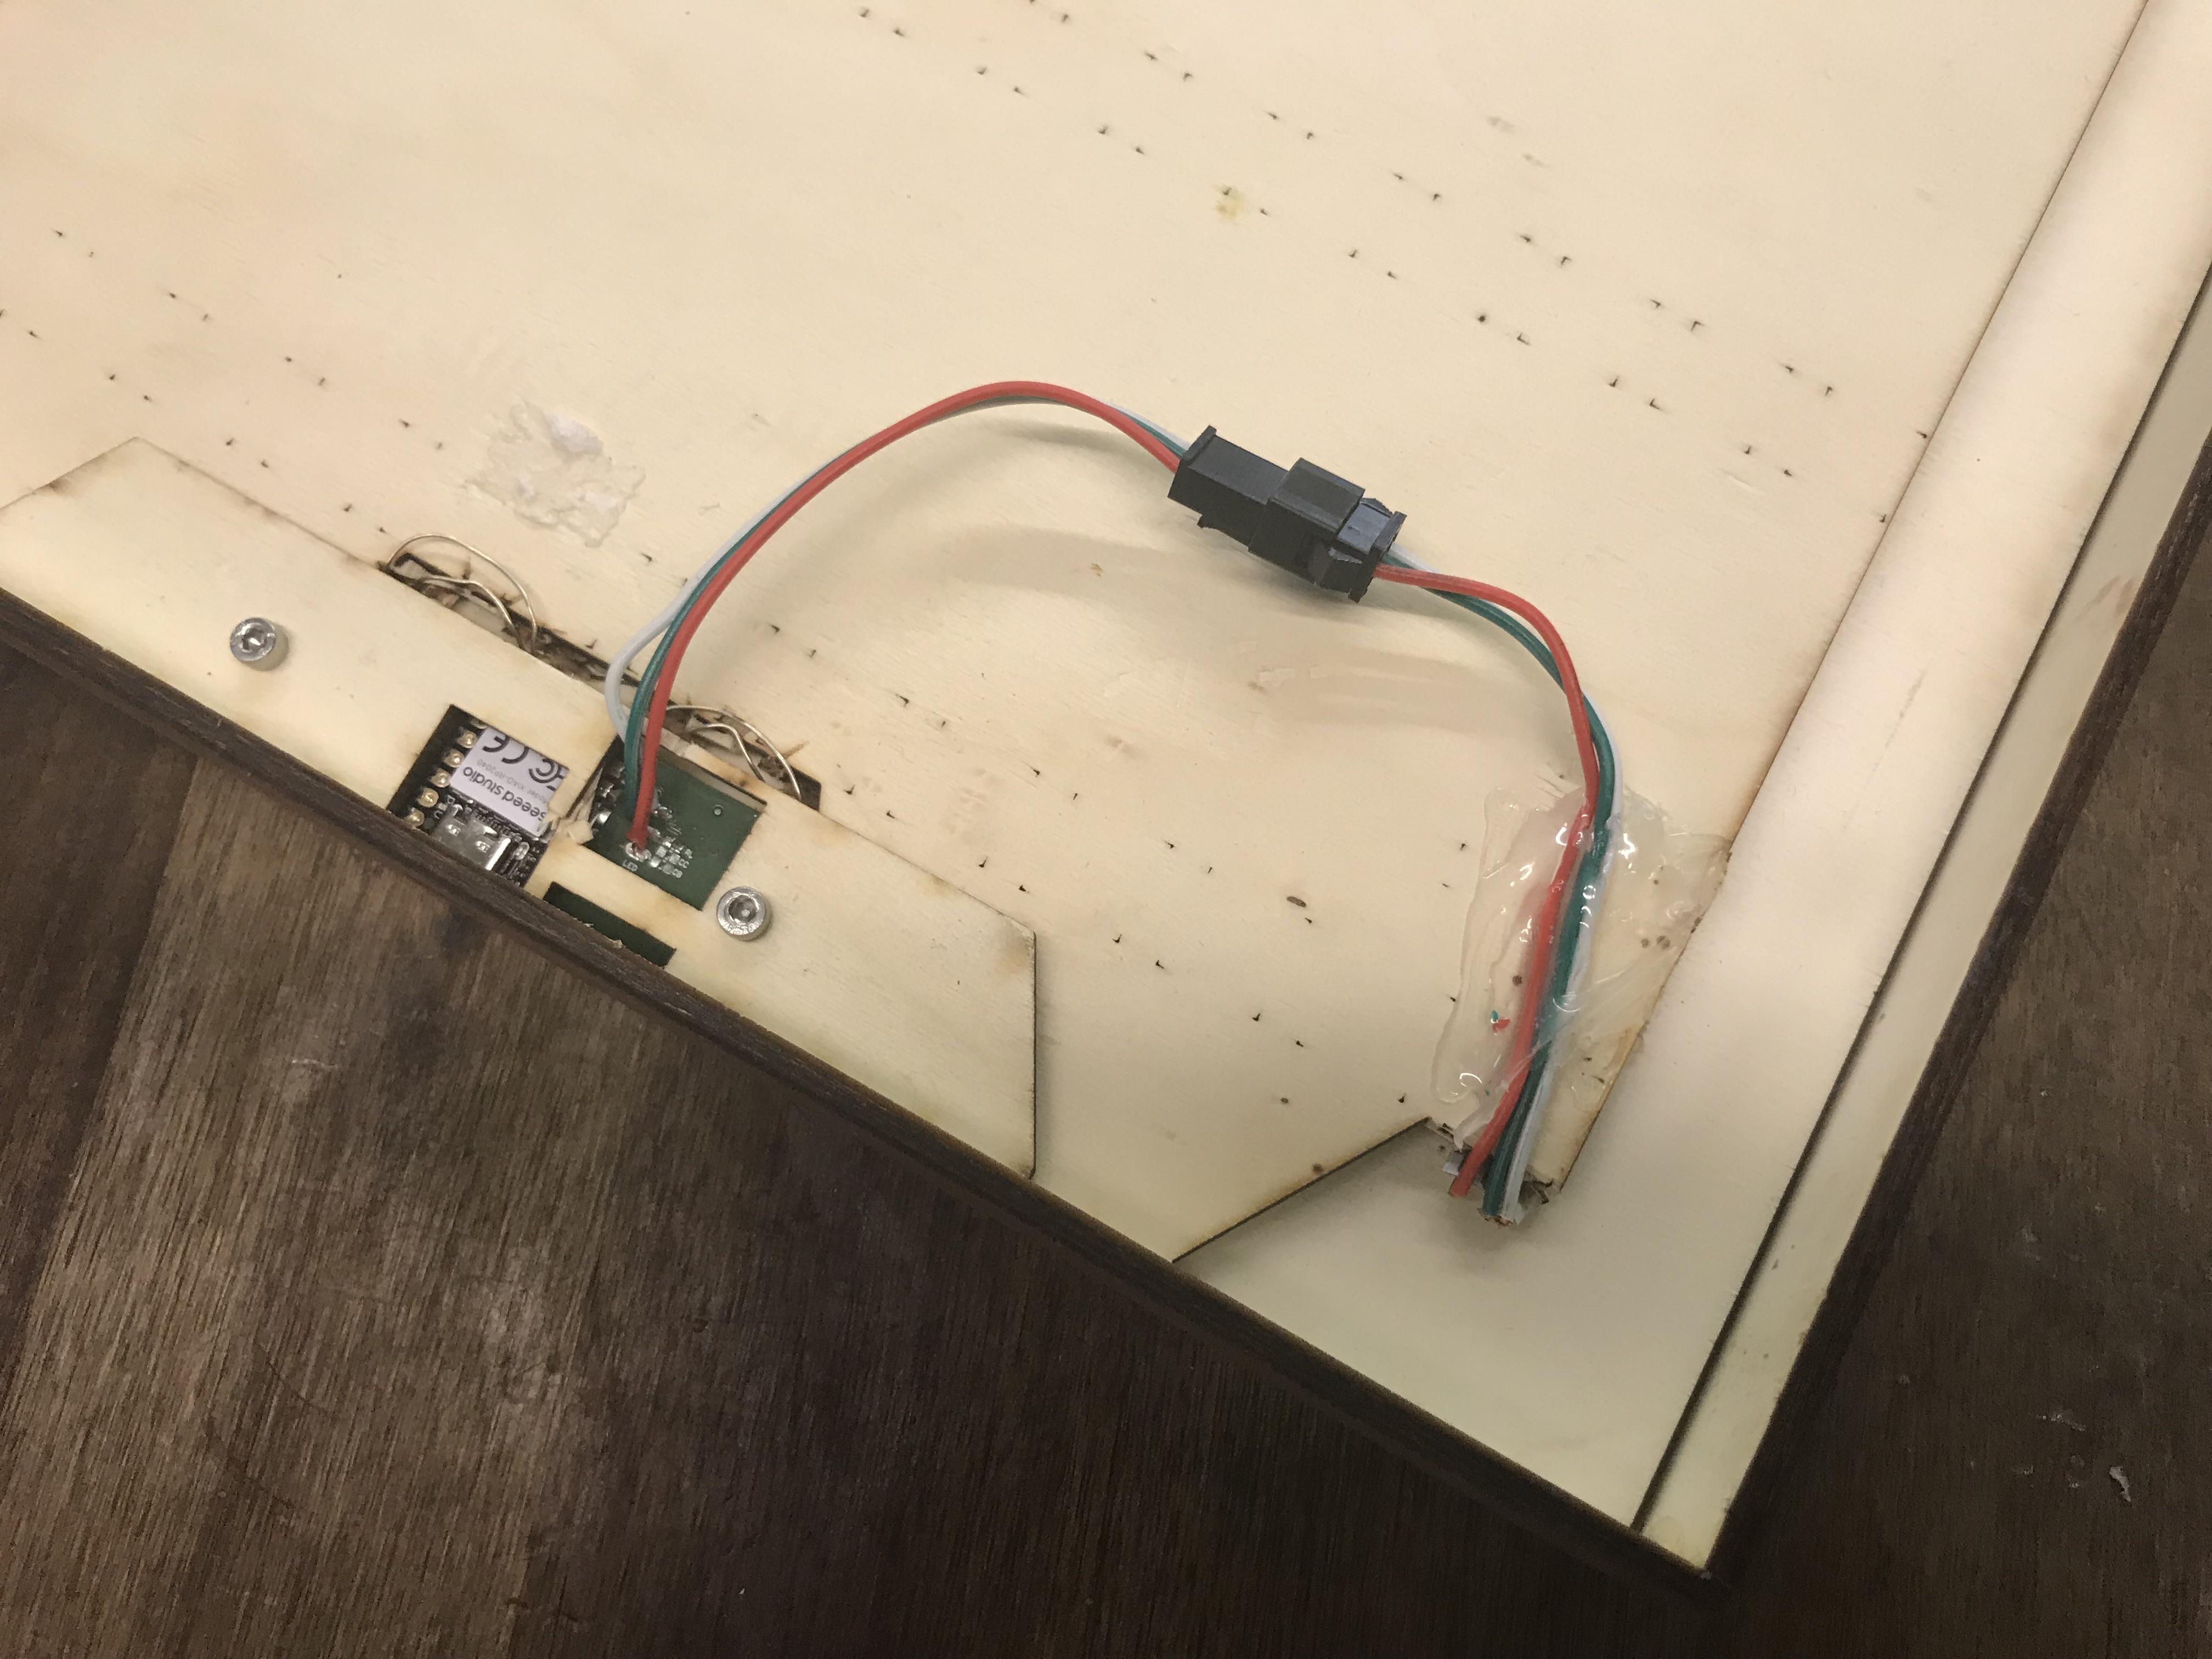
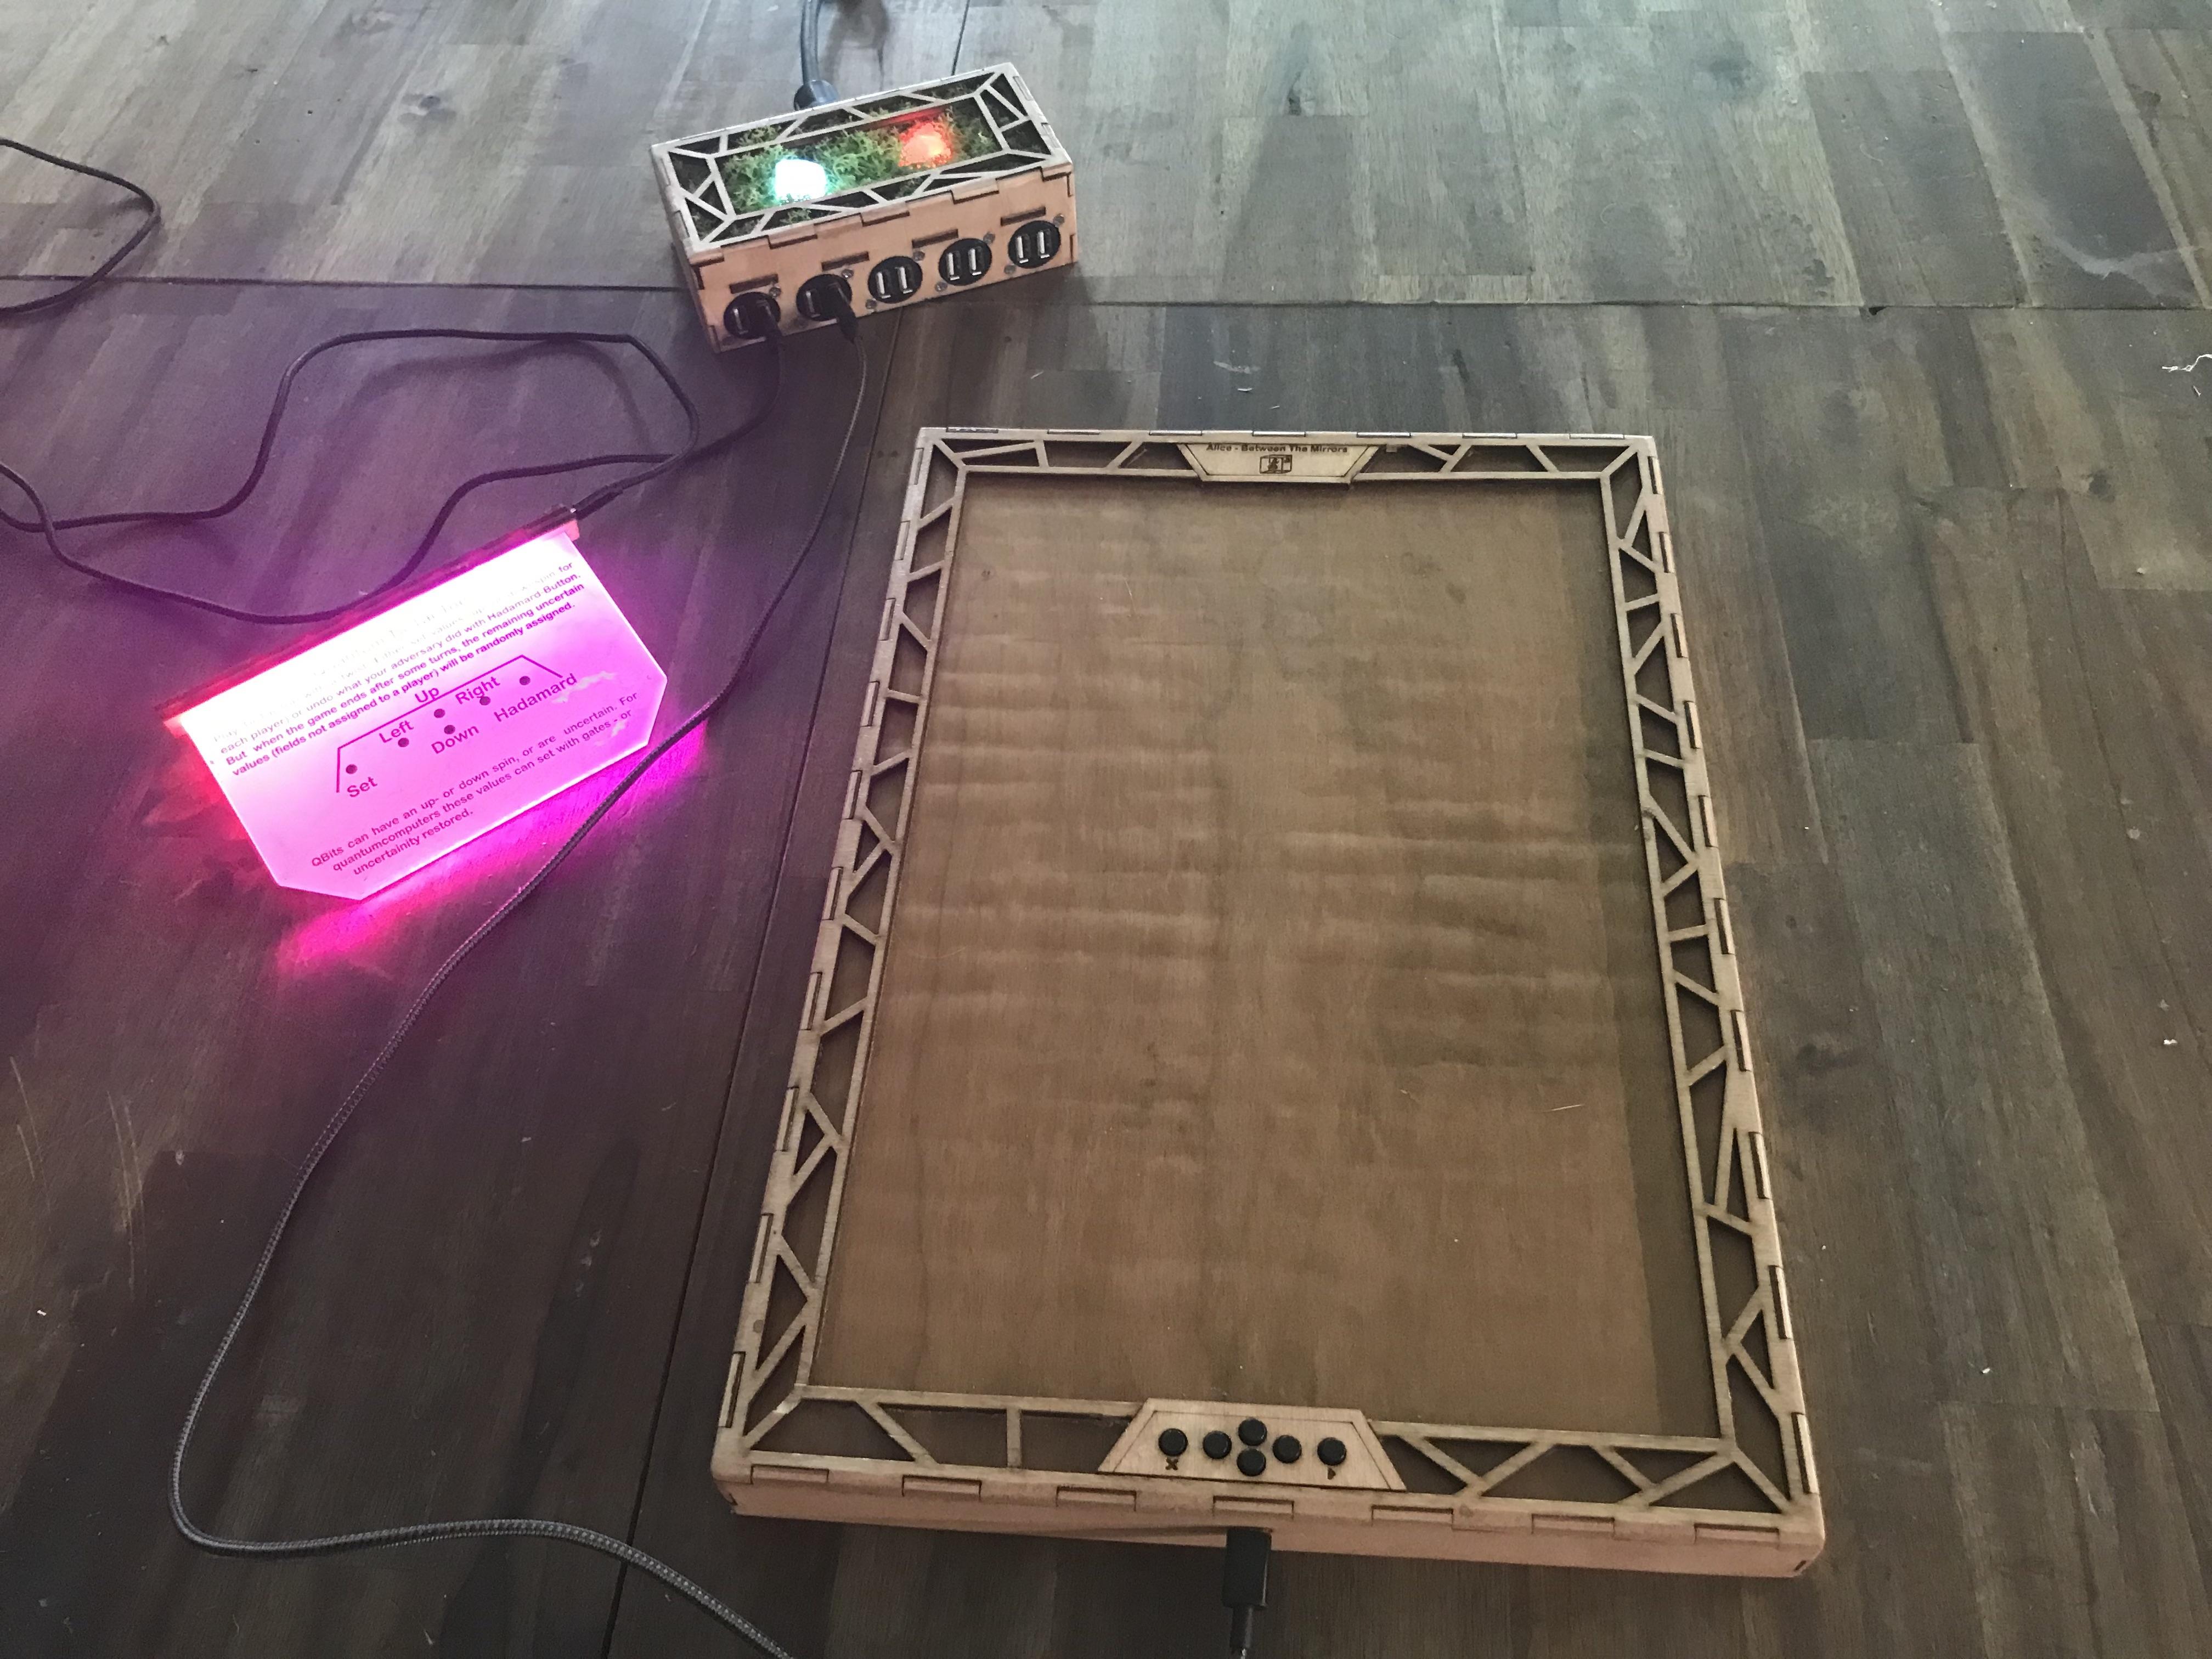
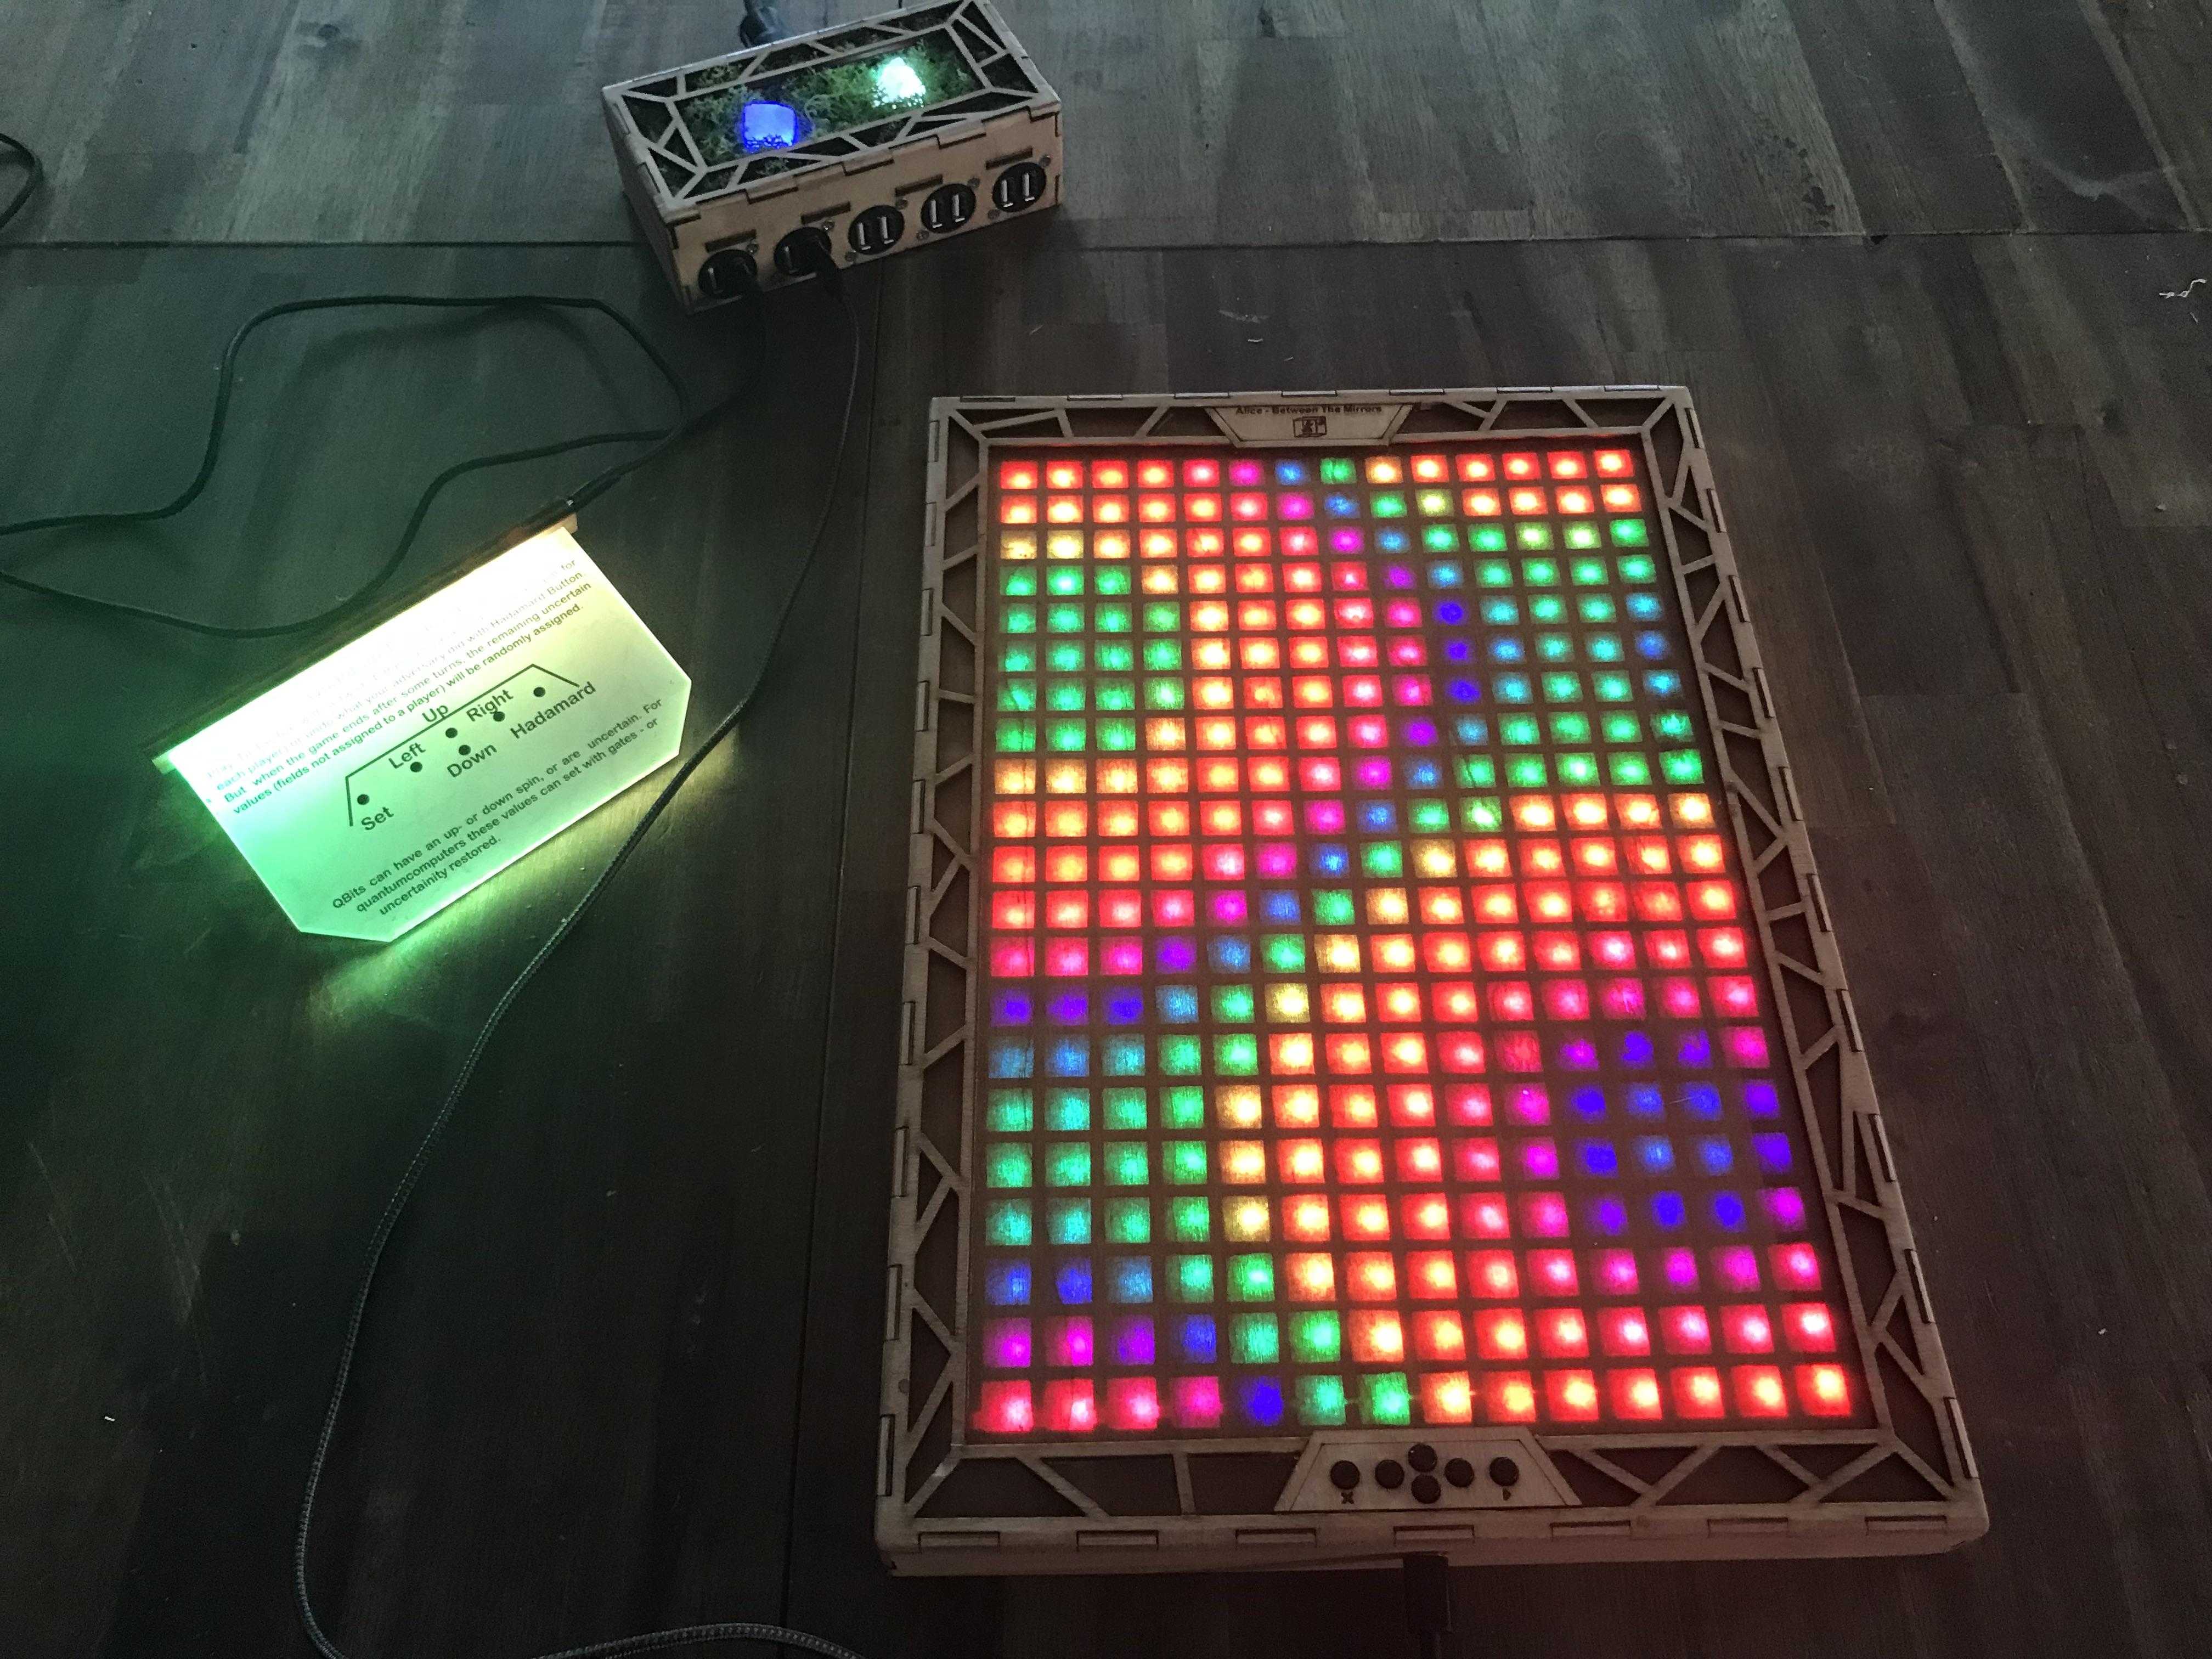
As a back panel we use a WS2812 strip (mostly with 60 leds/m, in case of the salt crystal 30 leds/m) organized as a panel. As a controller we use a Seeed Xiao (due to its size). In our case the RP2040 is enough (but a wireless version might be interesting if you use it as a light panel). Smaller versions could be done with pre-made 16*16 led panels. The housing is lasercut out of 4mm poplar (3 A3 sheets) and later sanded and stained. The design files and programms can be found at https://github.com/JanThar/LED_Matrix, i ordered PCBs at Aisler (https://aisler.net/p/SFPQYAPQ). Then you only need some standard smd buttons, and for better grip caps on top of it (but thats optional). Make sure you also add a connector wire for the LED strip as shown in the pictures.
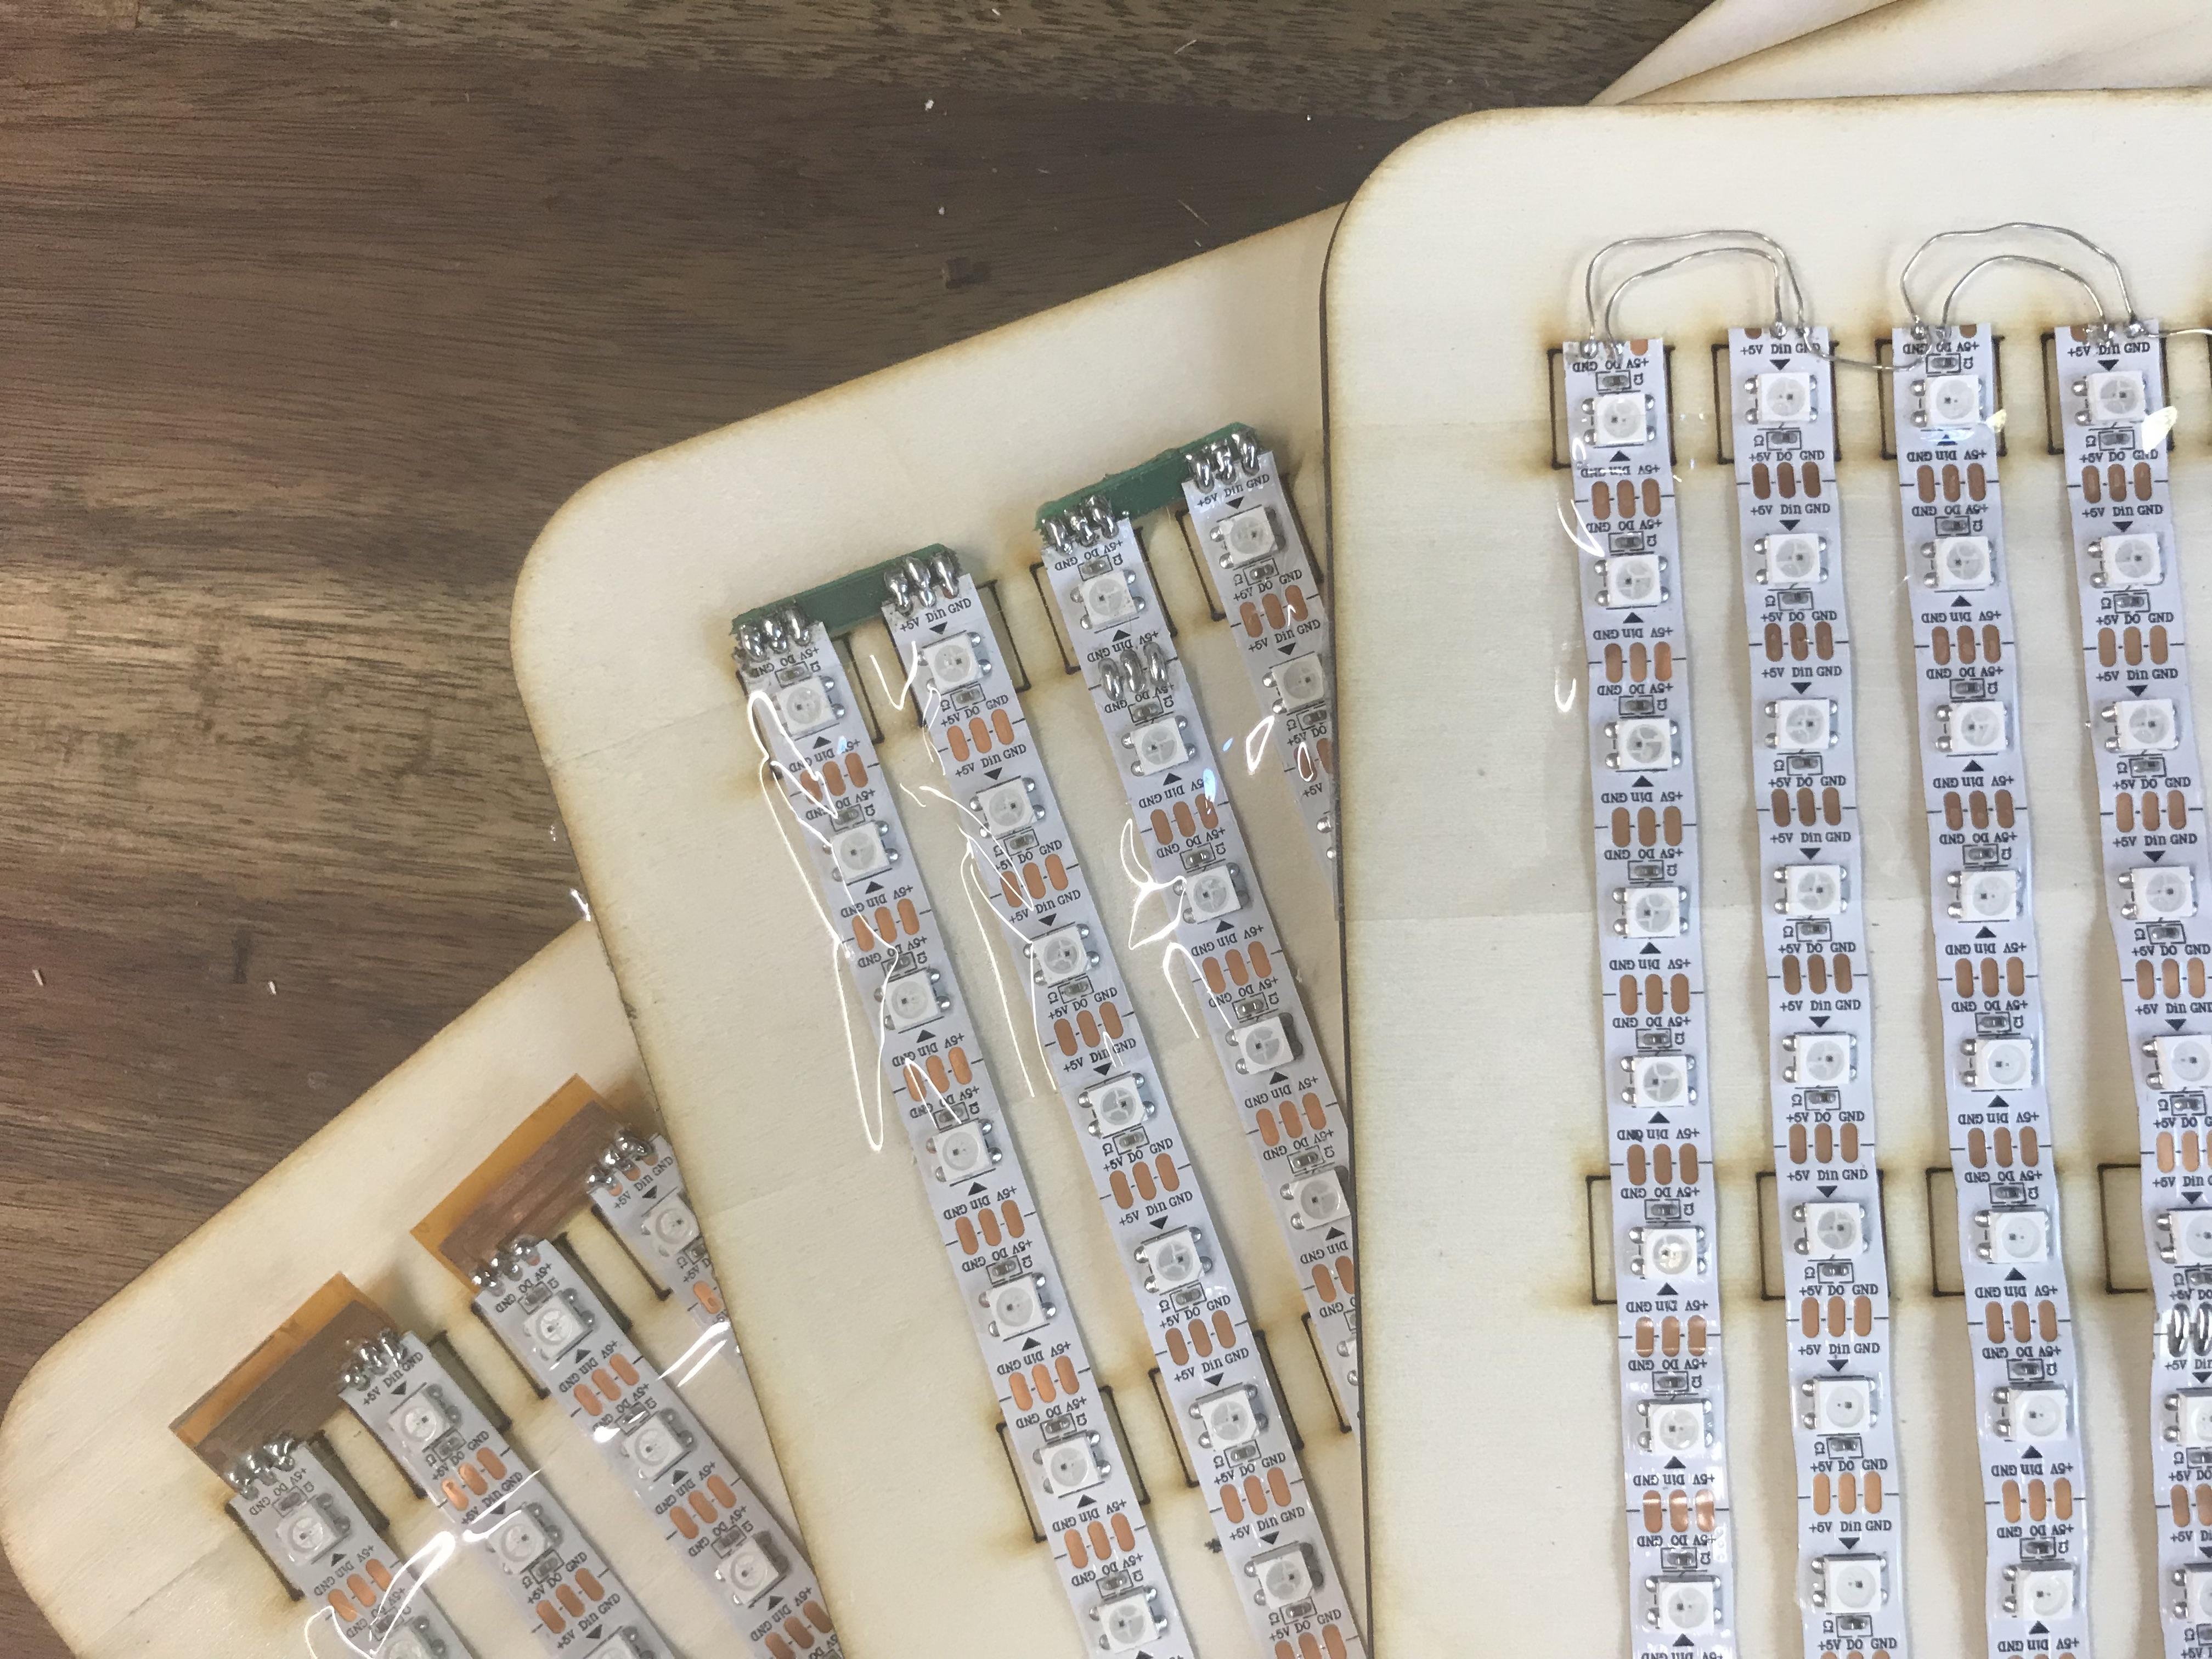
For the LED panel you cut the strip into pieces (depending on the size of your panel), and wire them together in a zig-zagline. You can either use wires, small flexible PCBs or rigid PCBs (cheaper, but thicker). I think silver wire works best. You can use one side to connect all GNDs together, and the other side to connect all Grounds, abd if you leave a bit of space you can then in between connect the Data lines of each strip (as shown in the first picture above).
Assembly
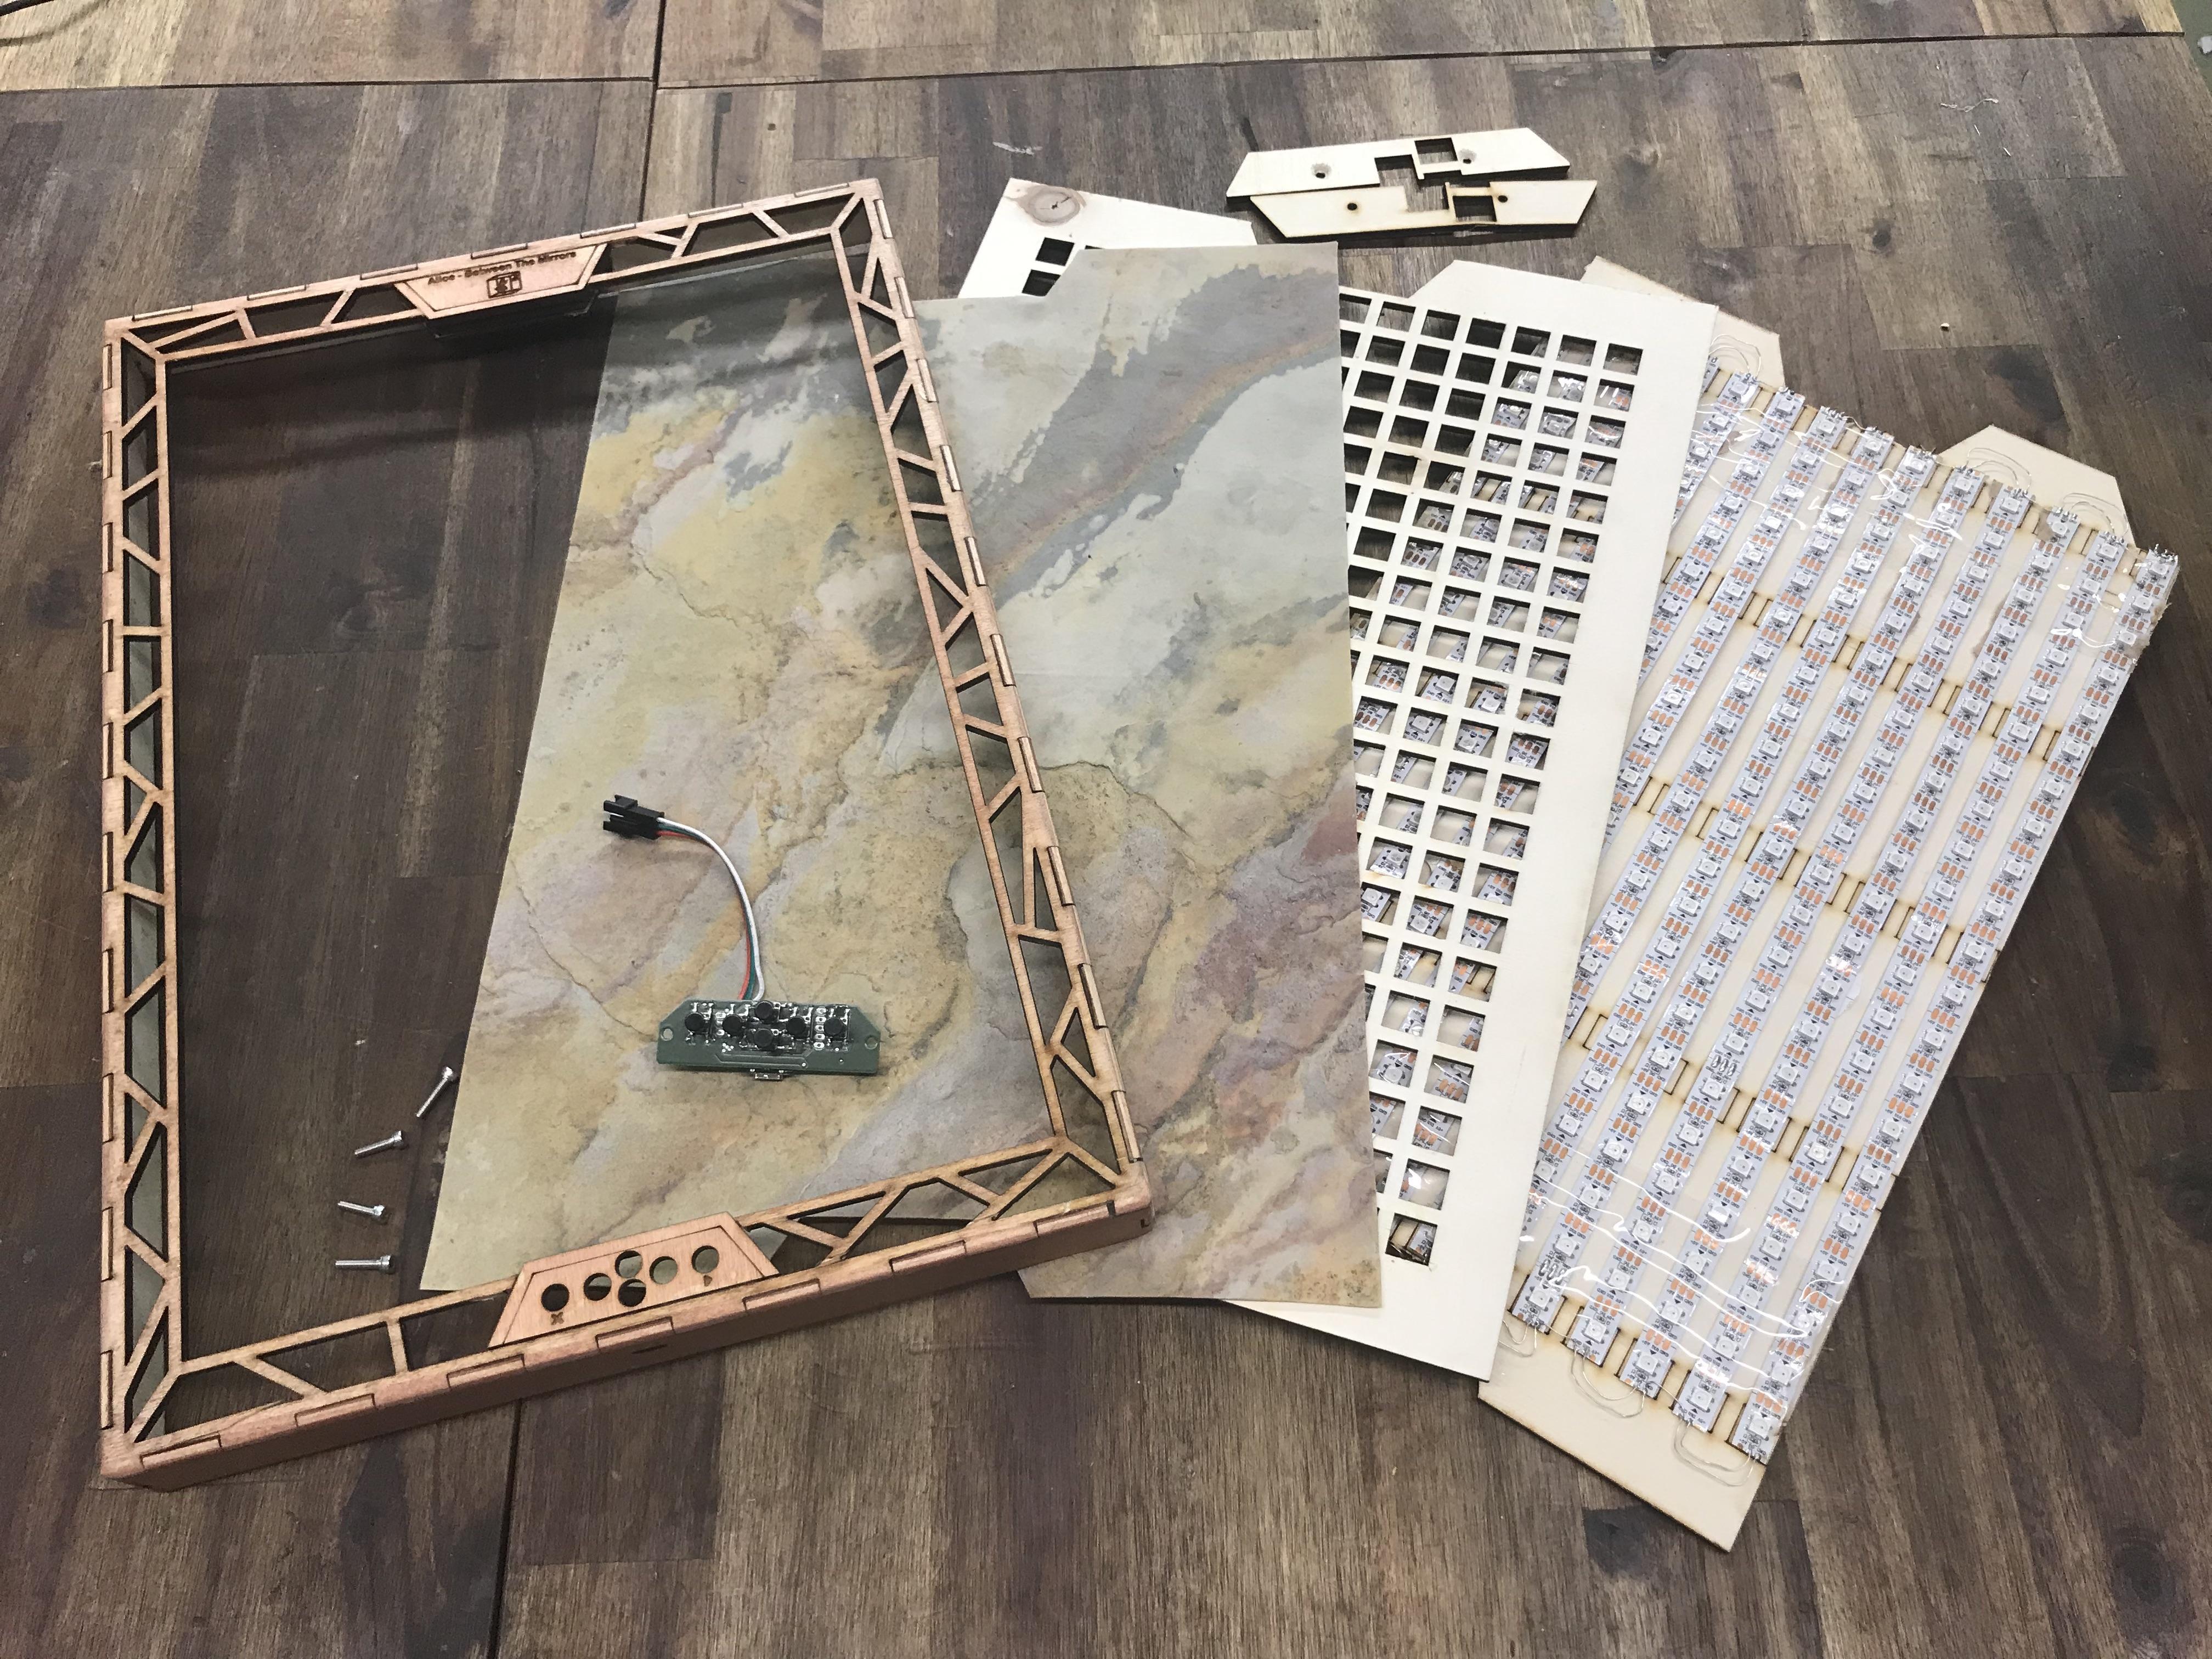
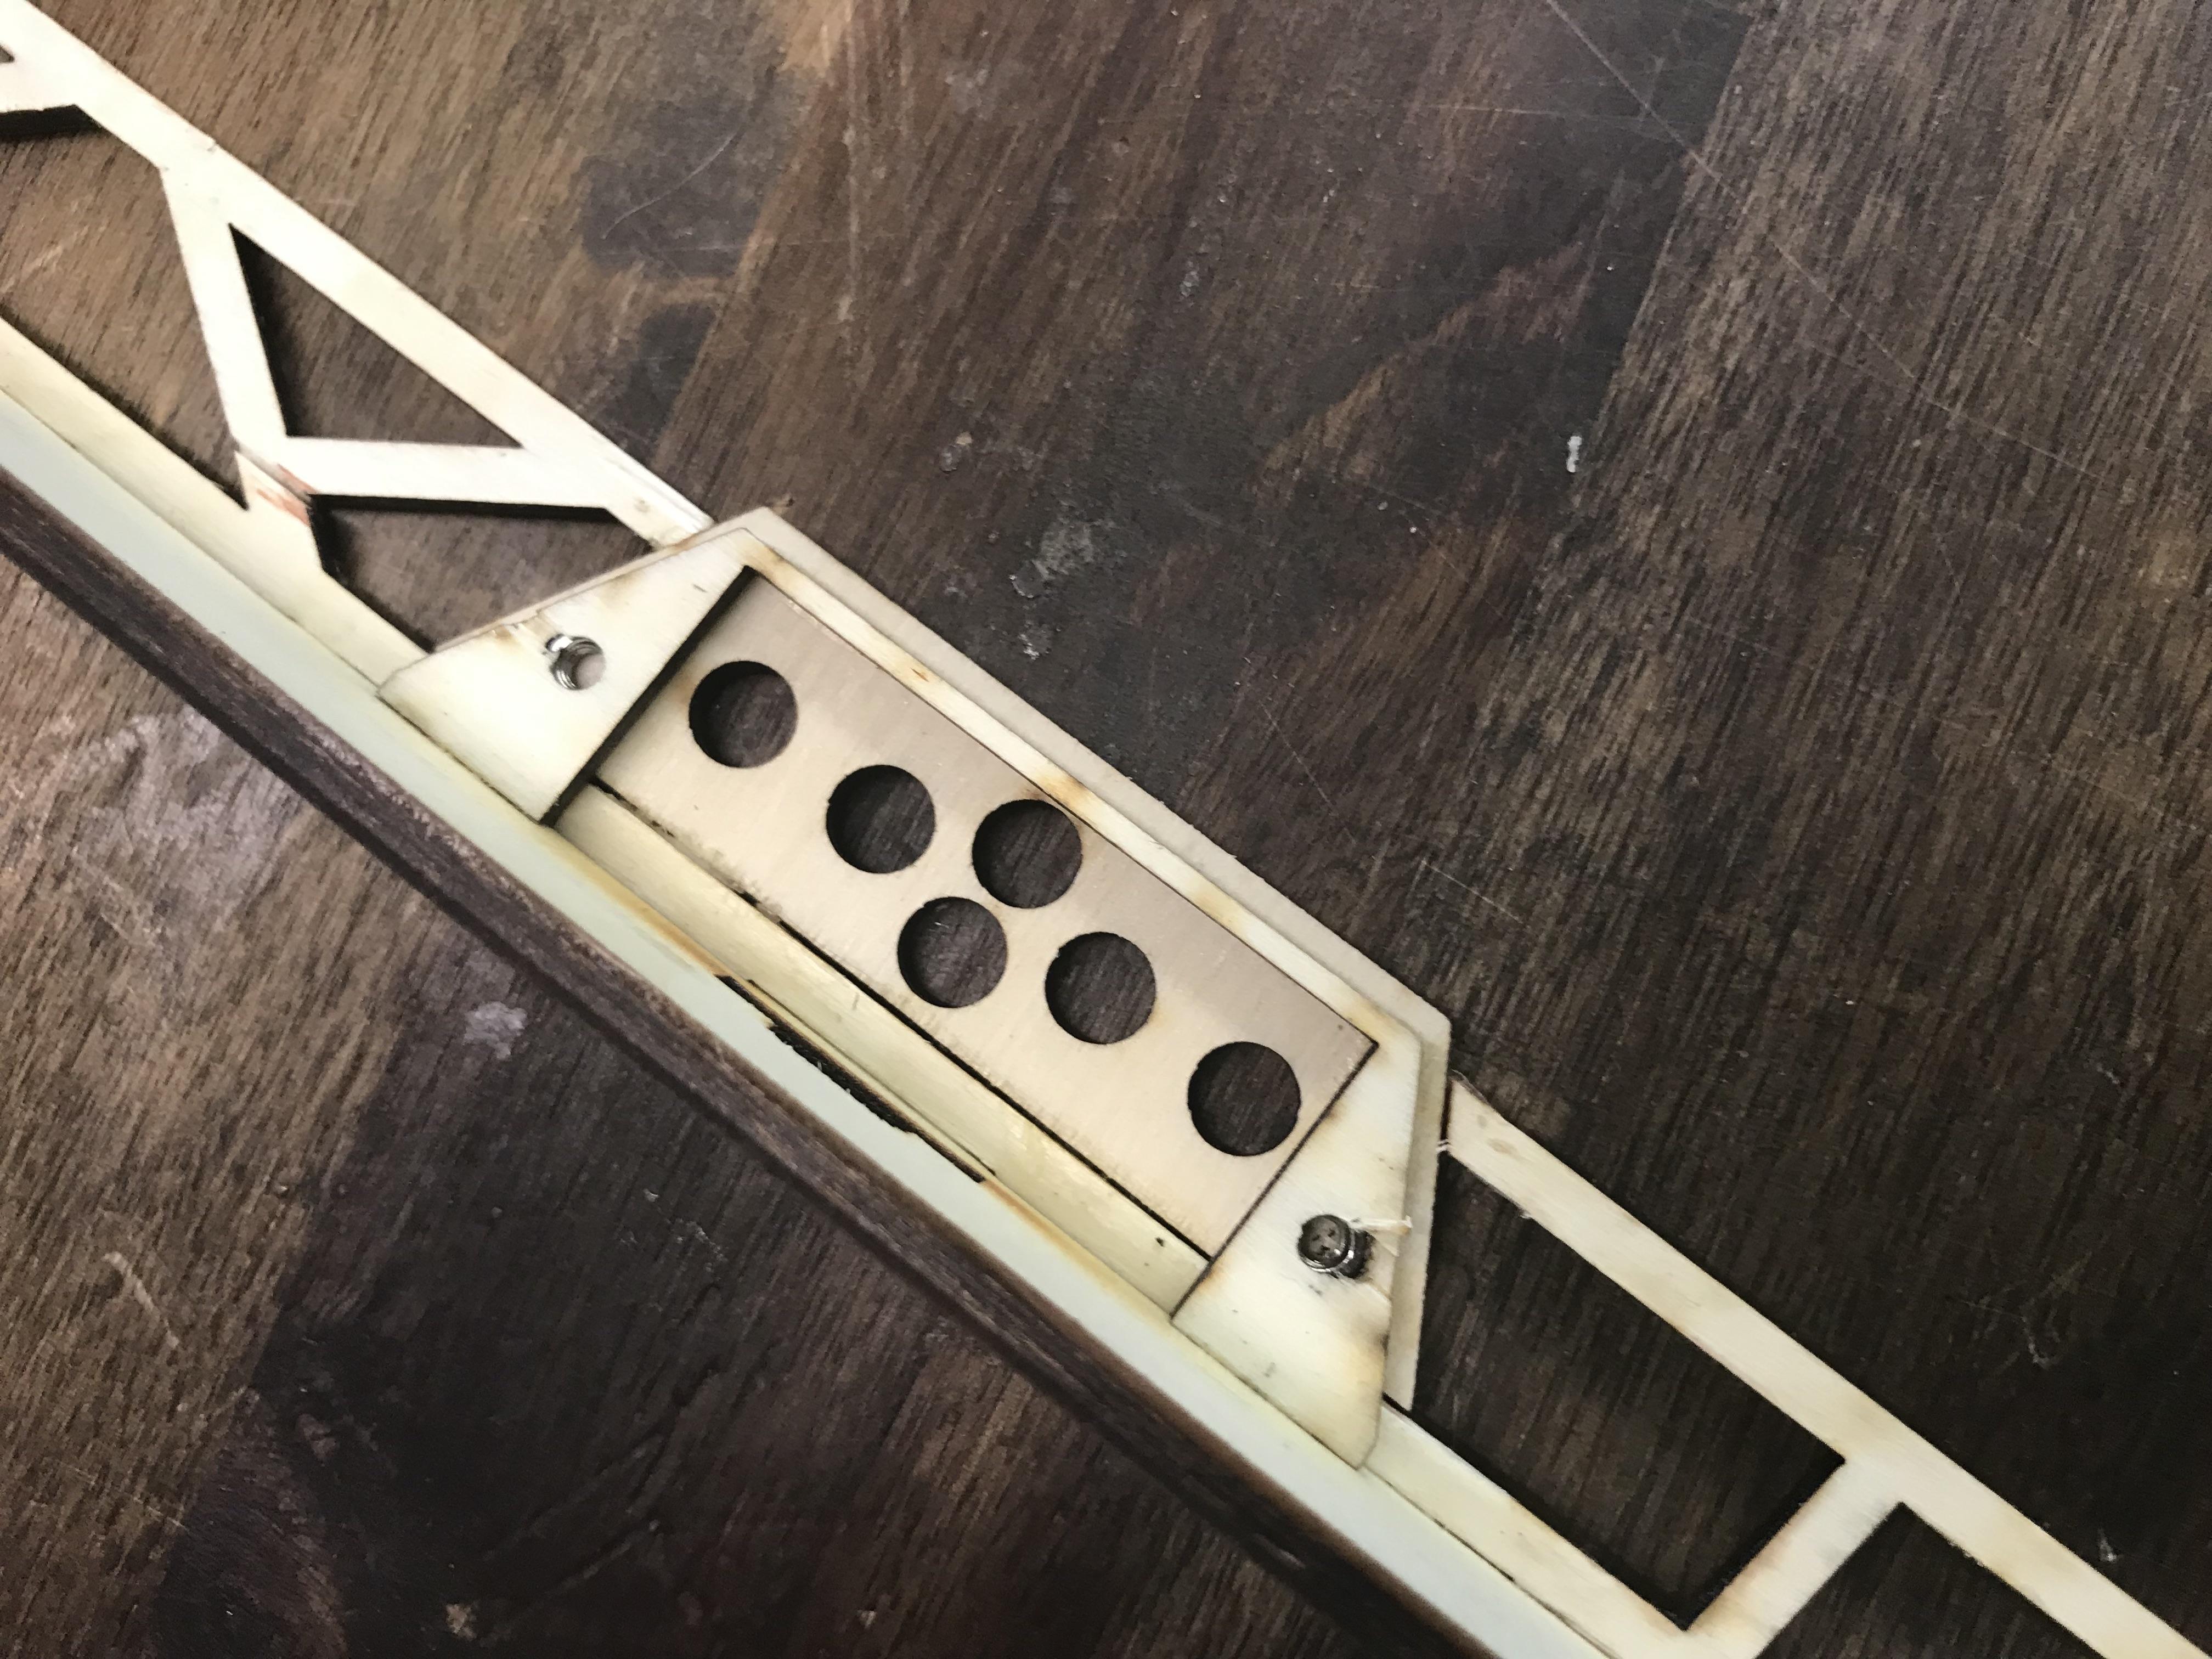
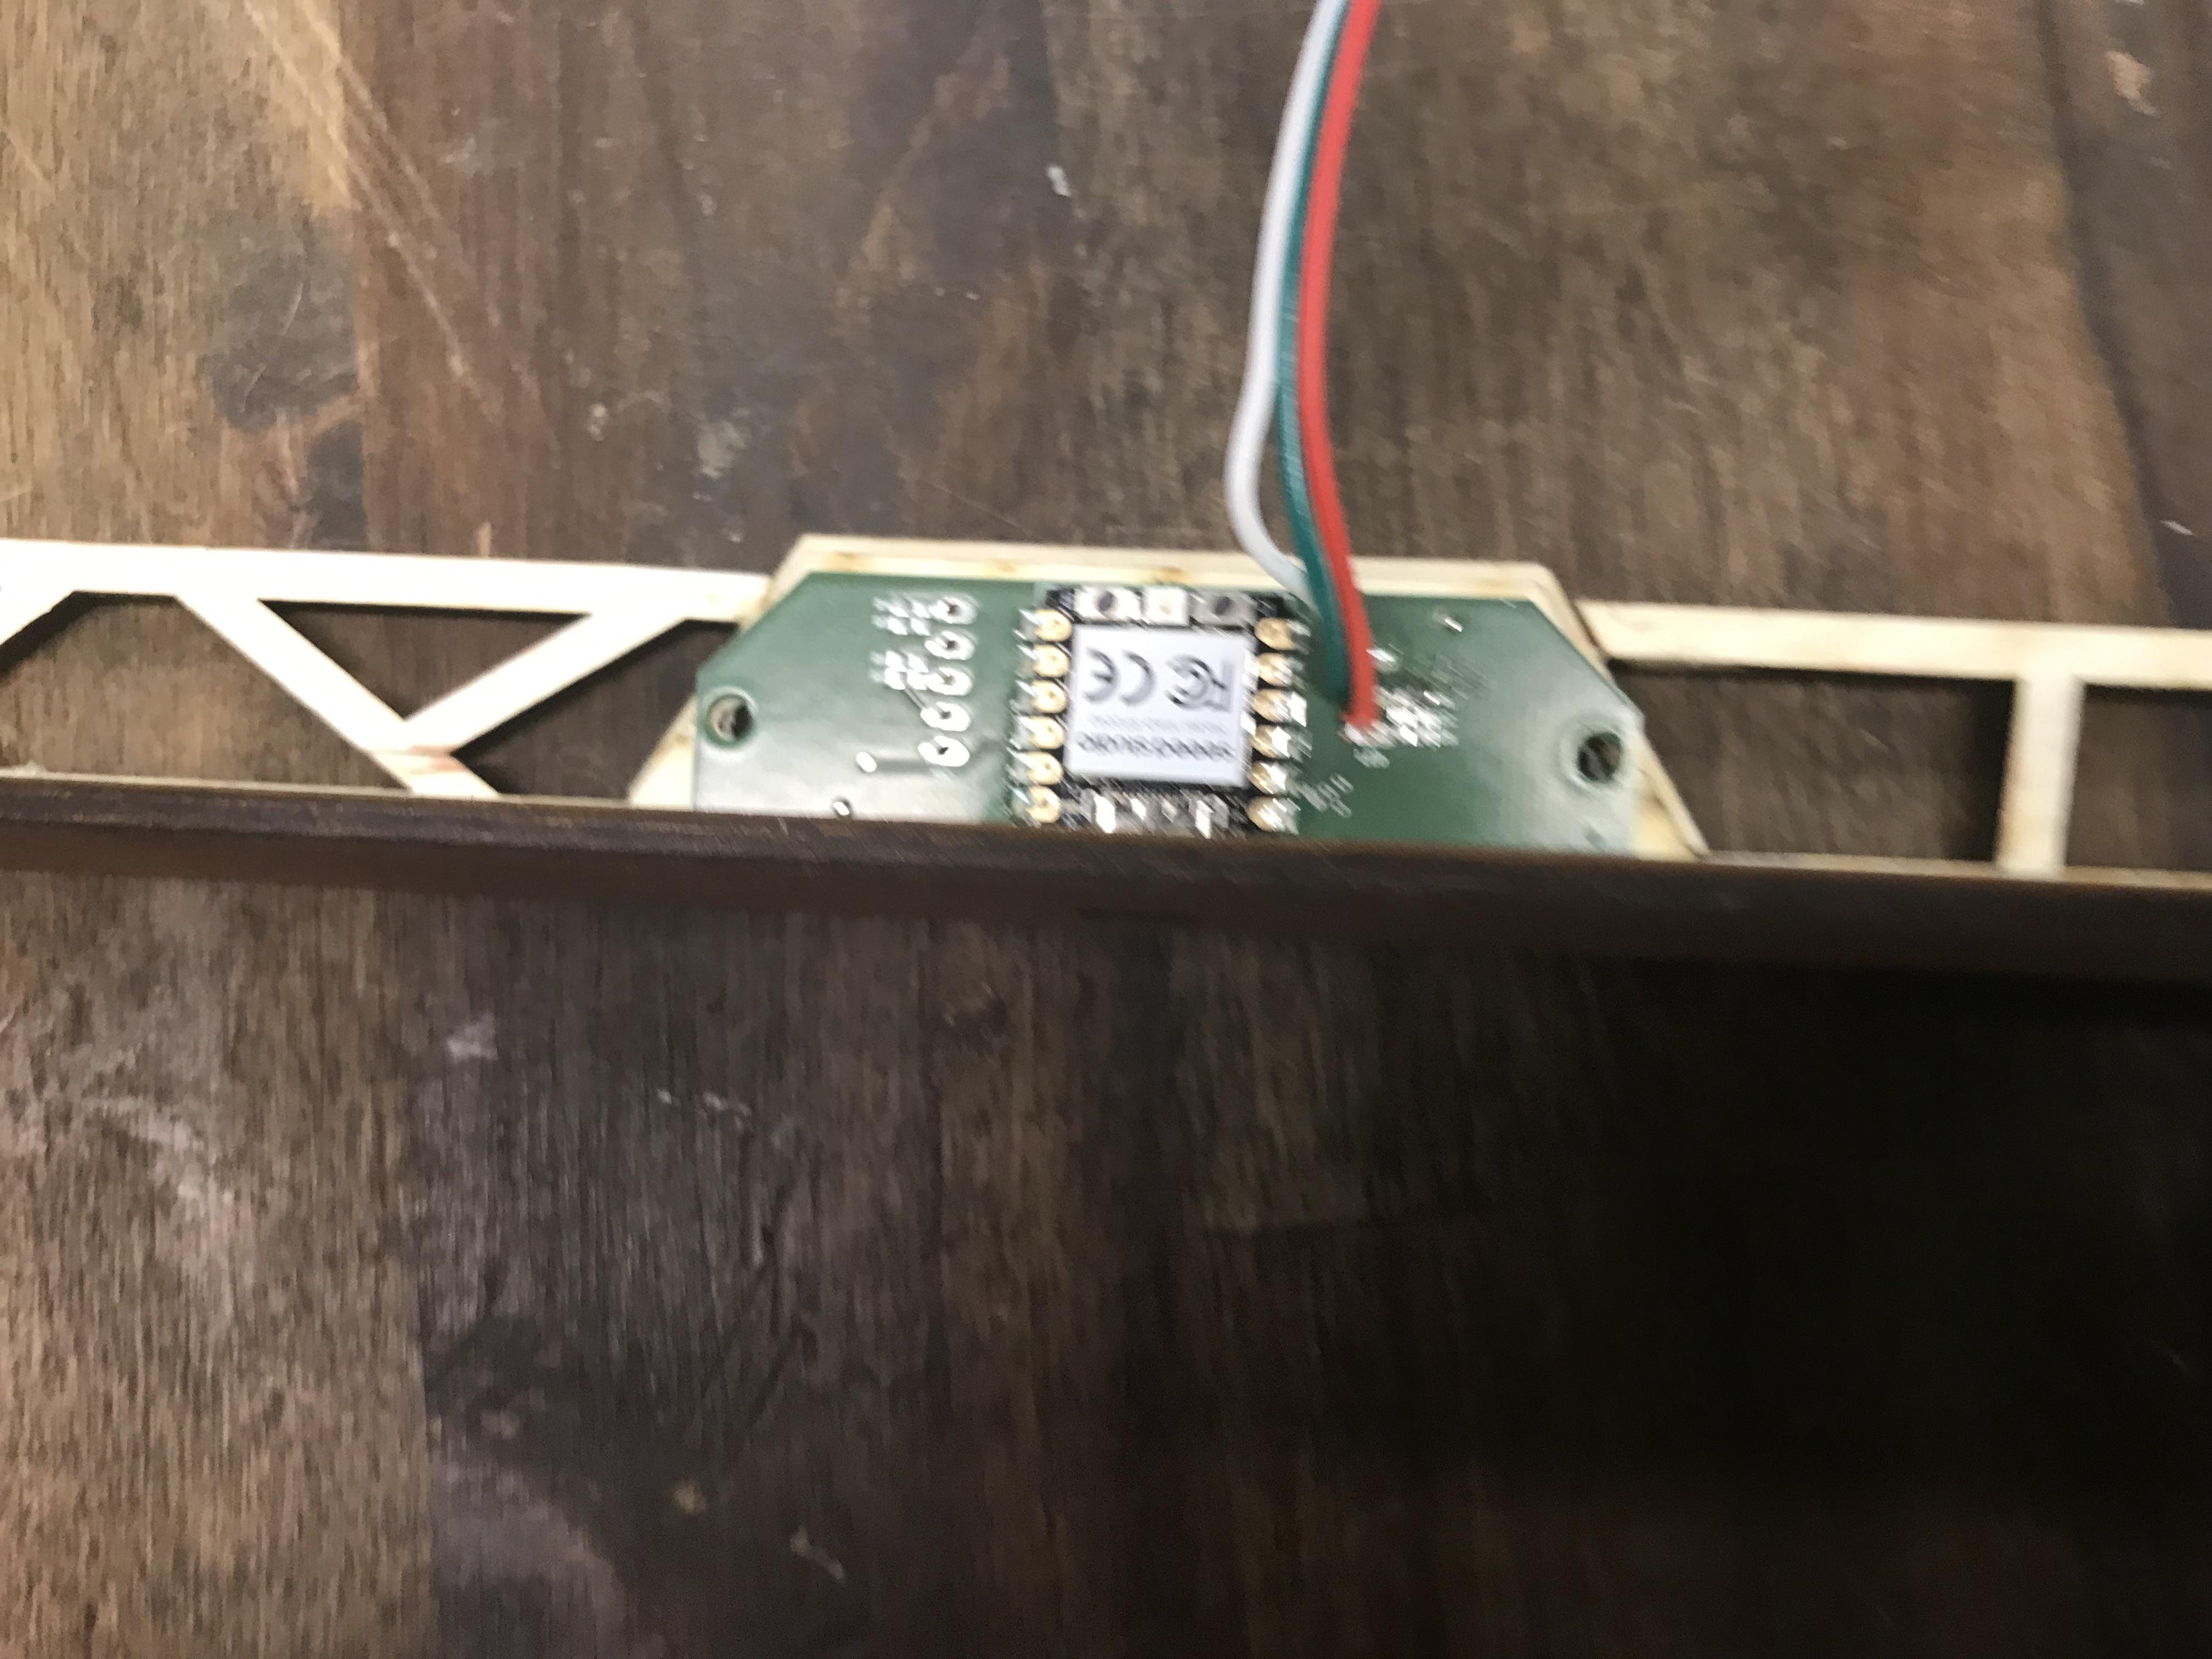
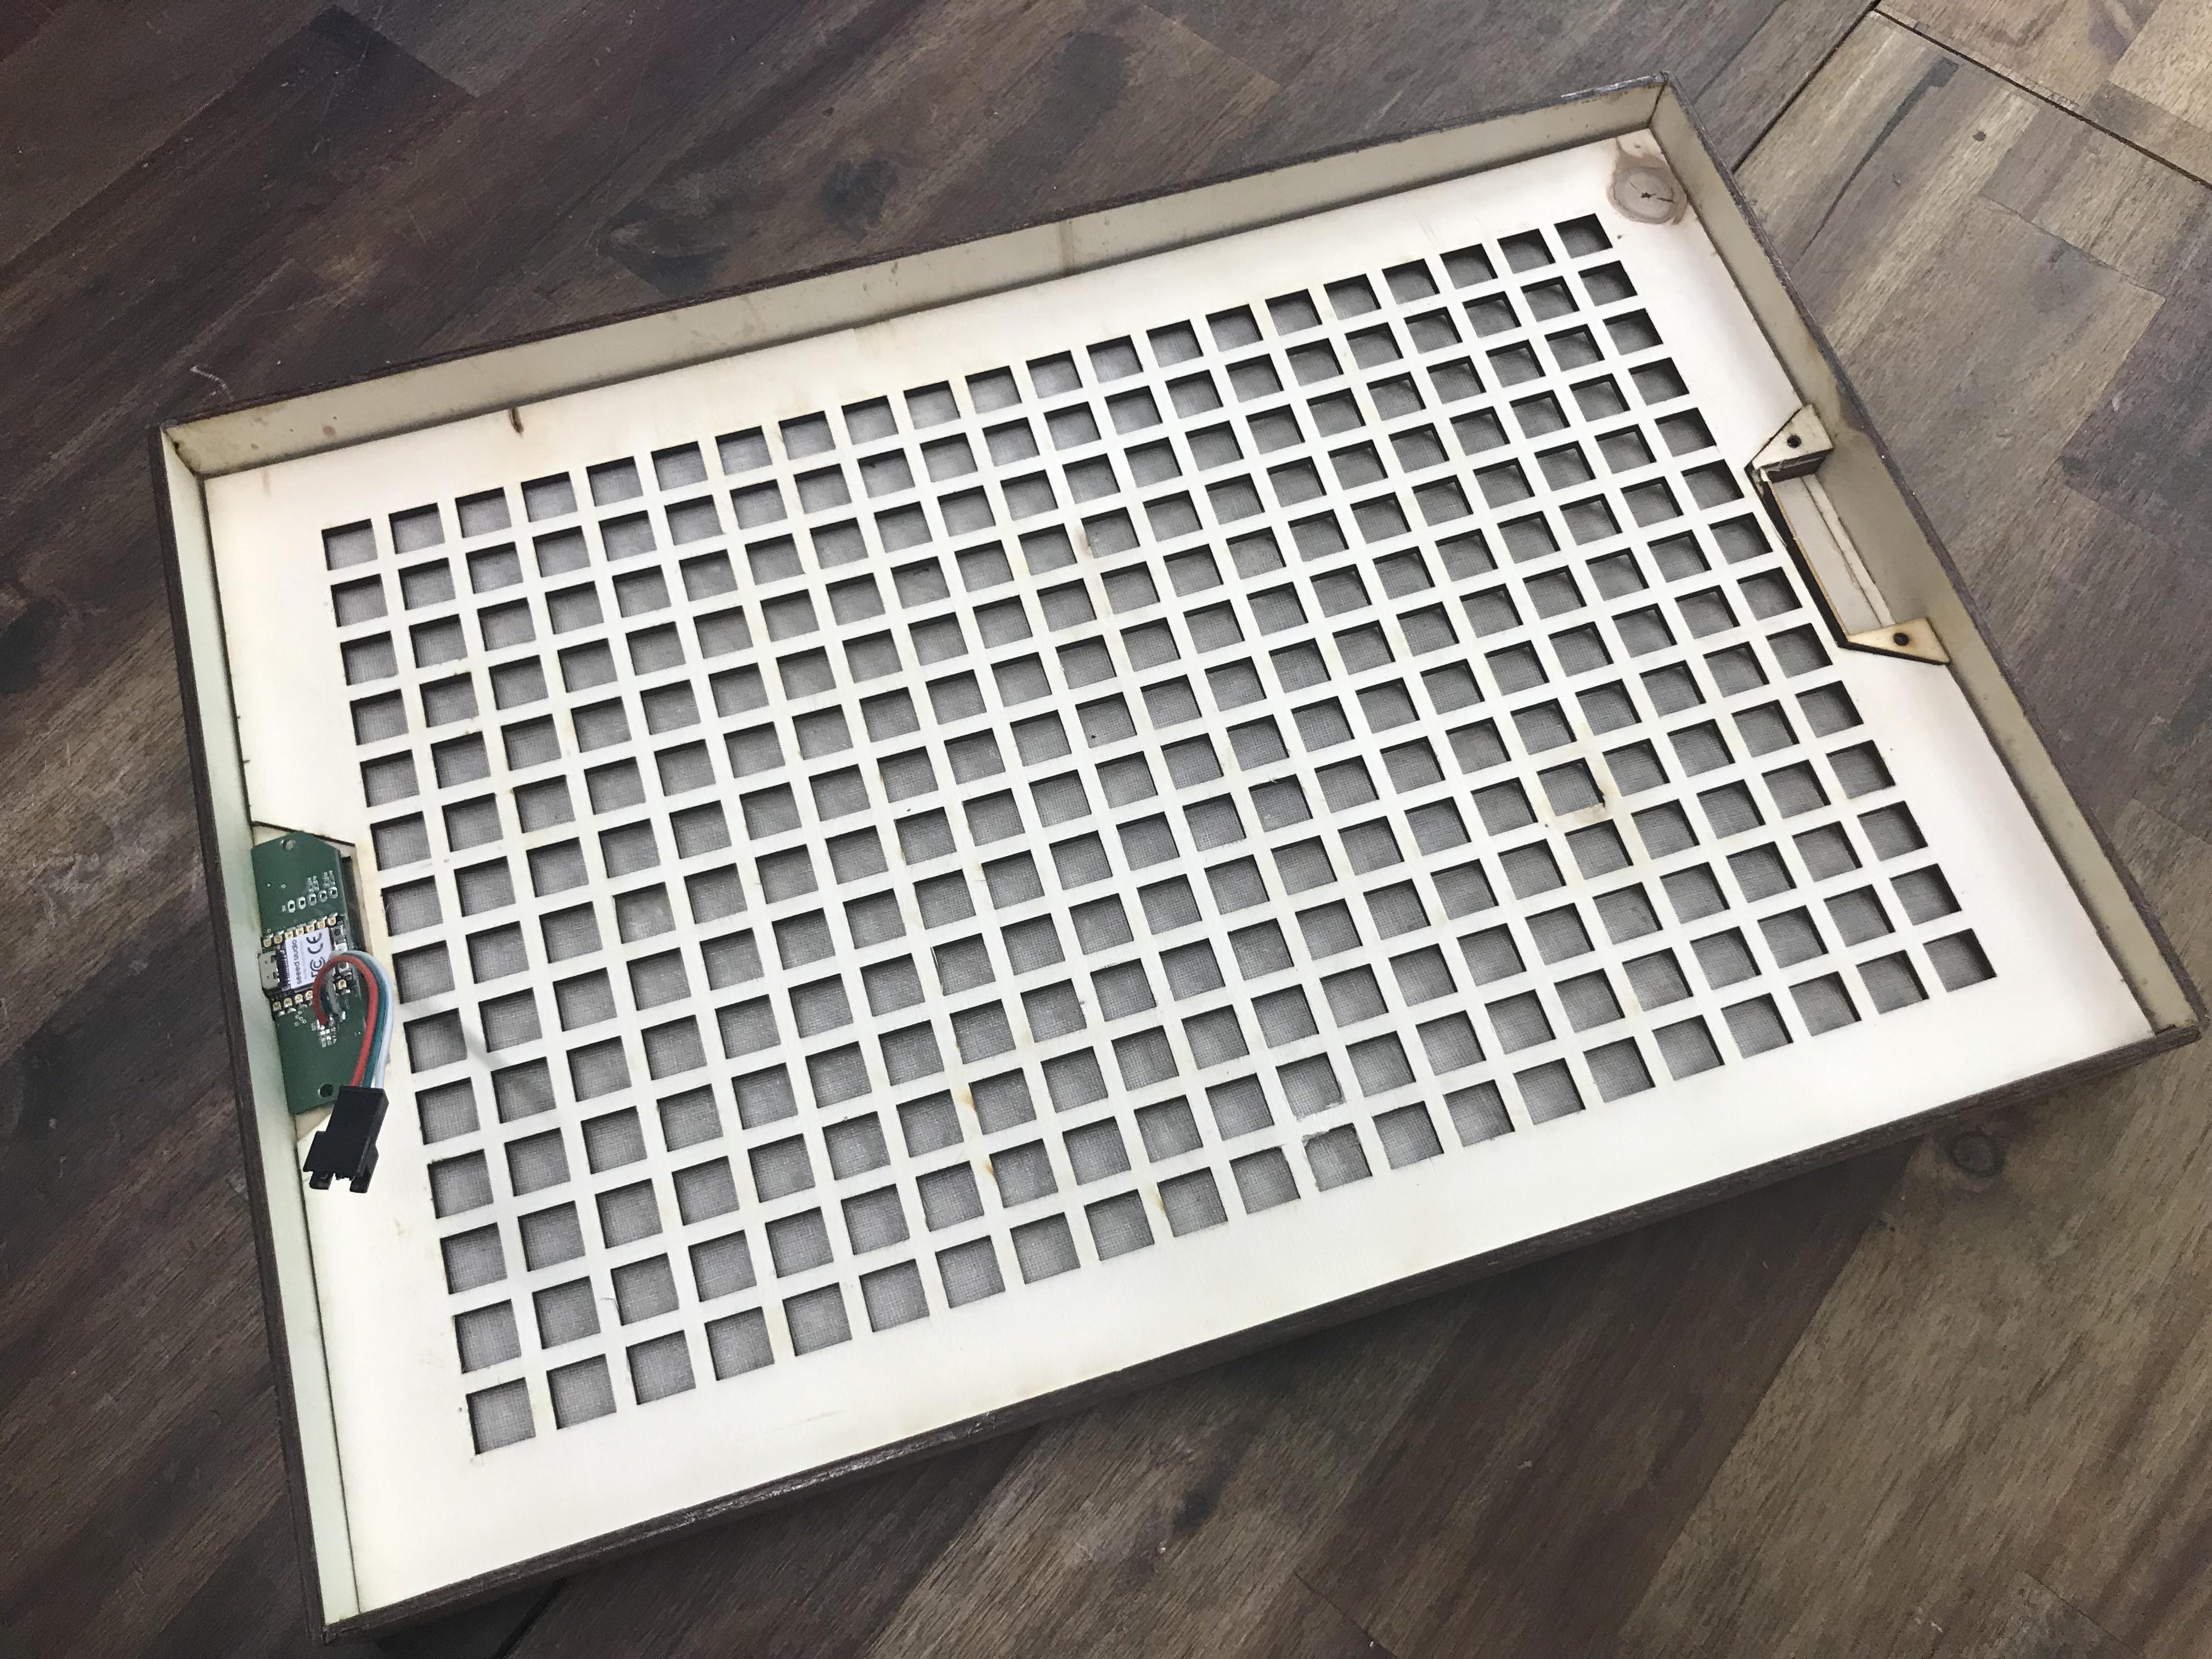
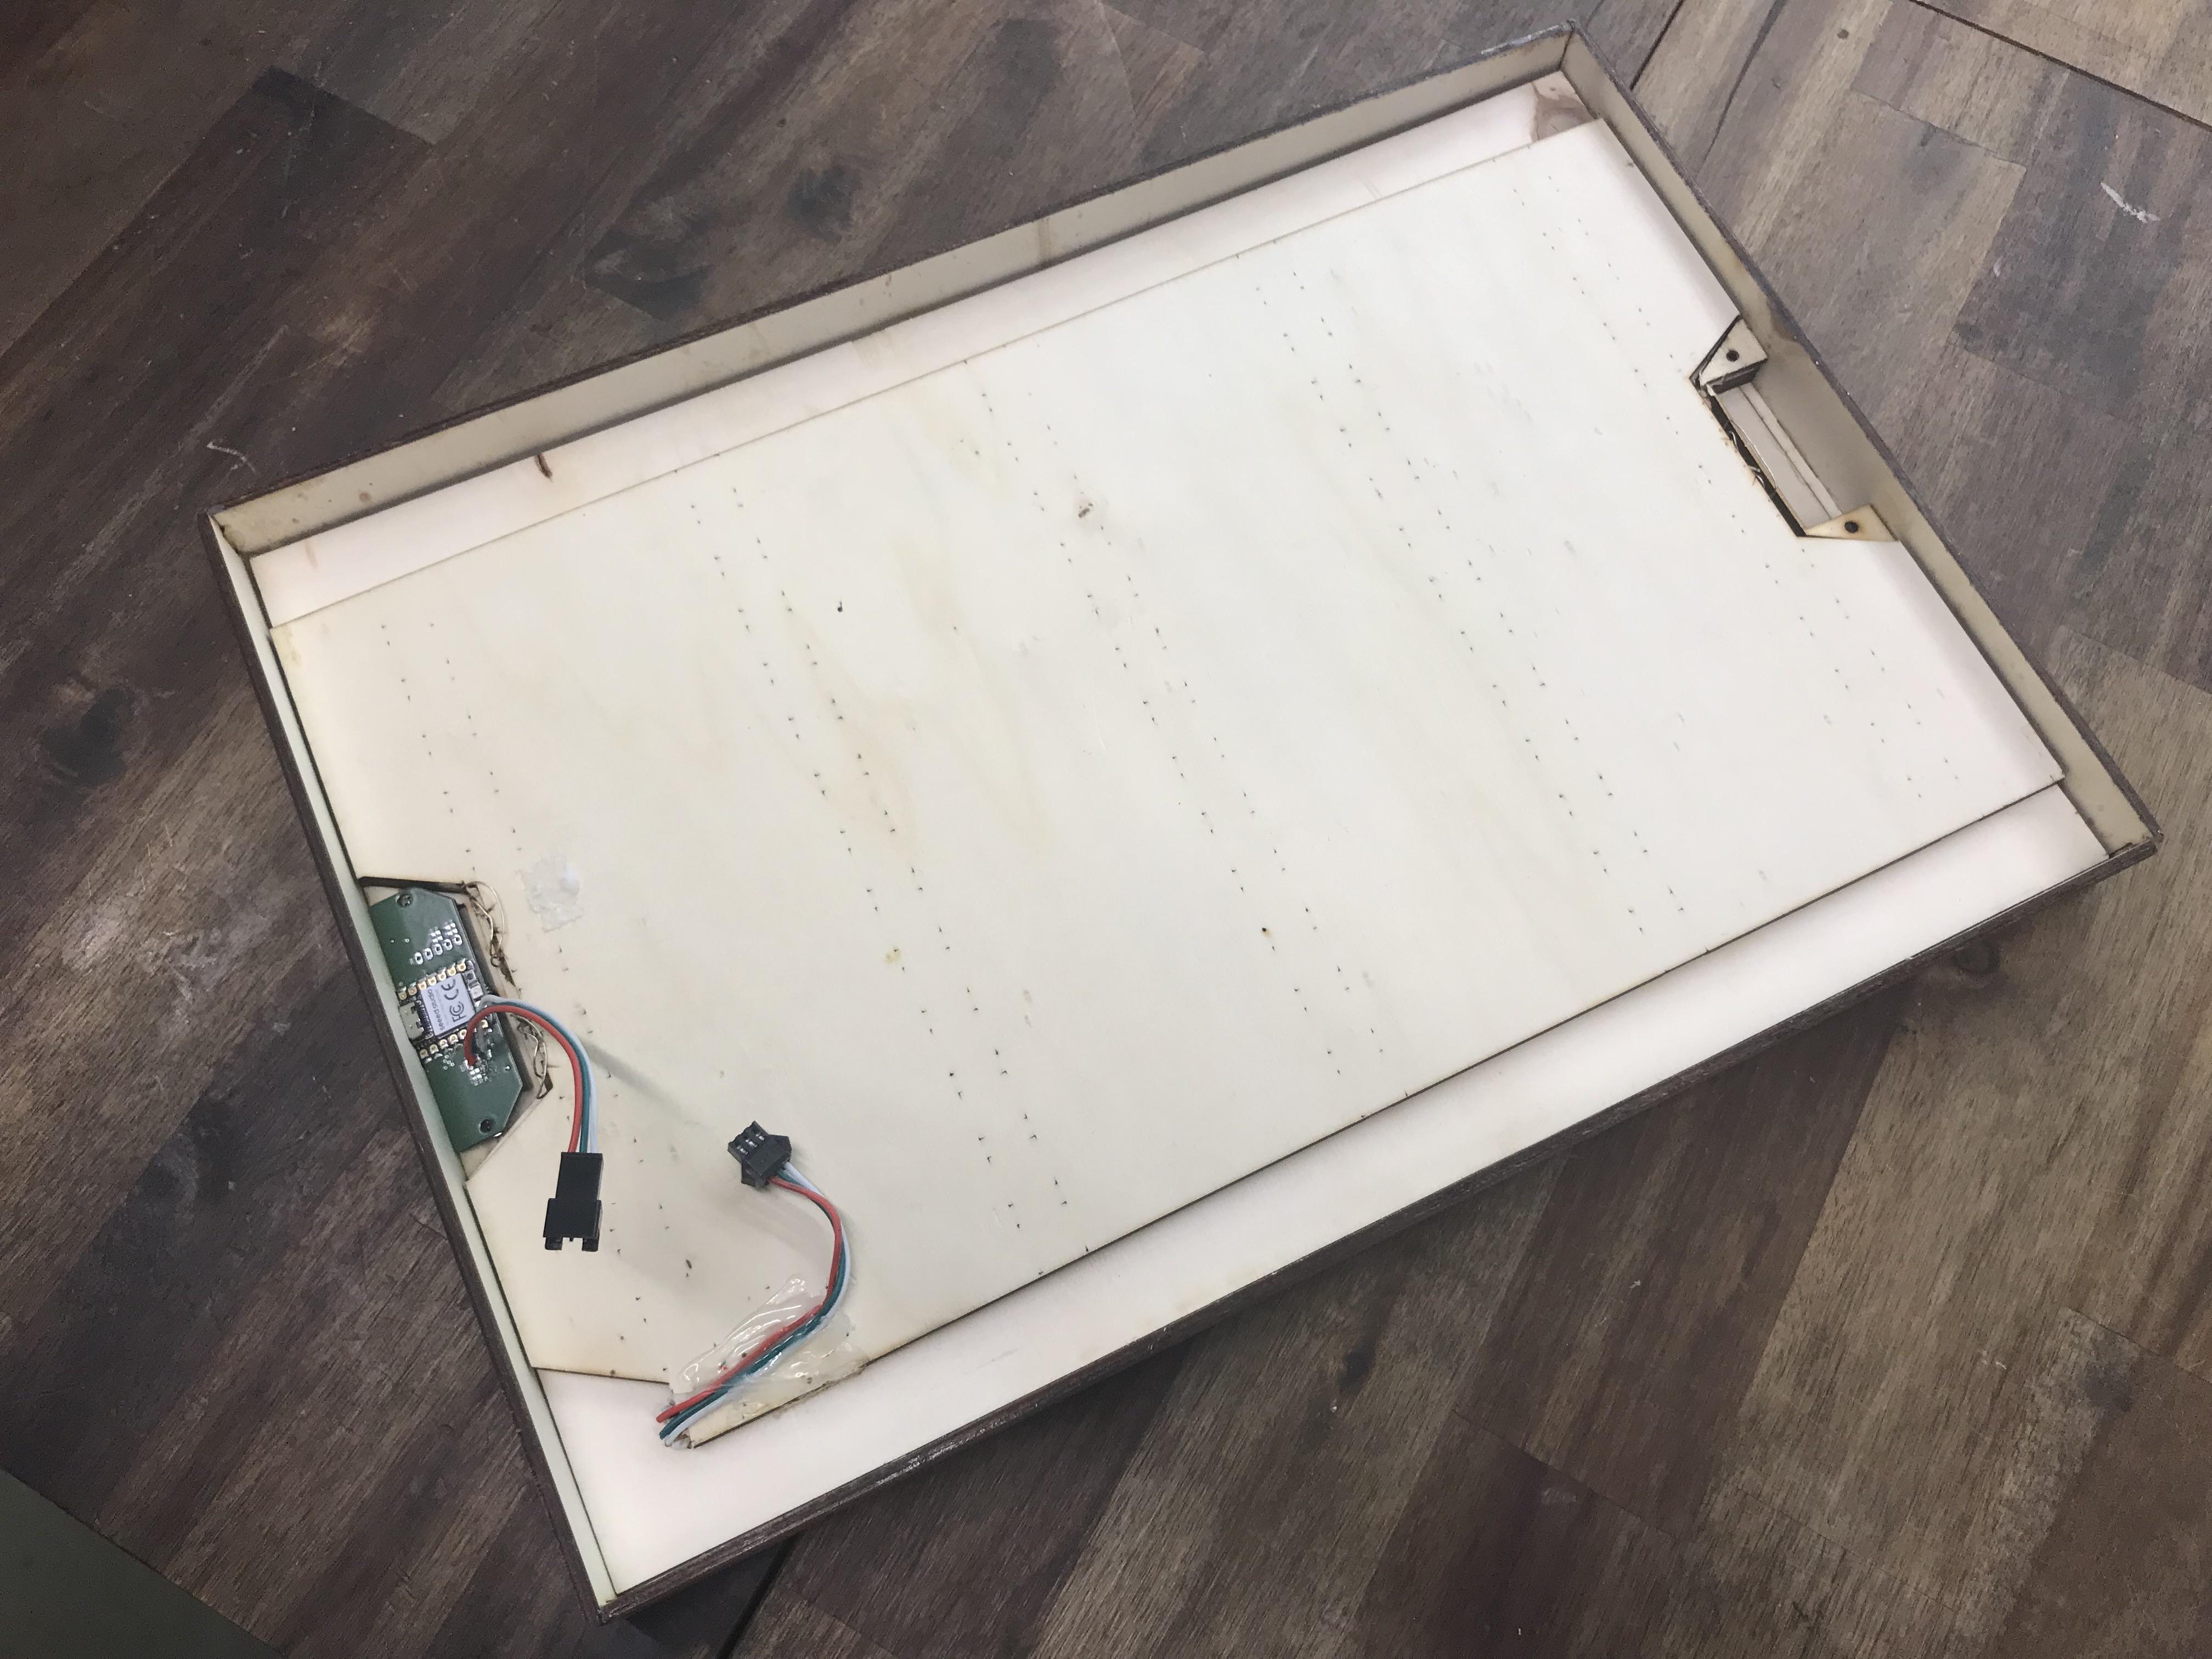
You start with glueing the LED strips on a lasercut piece of wood and connect them with wires as described before. The frame lasercut, glued together and (optional) sanded and stained. Make sure that the small red piece in the design file above the later place for the USB-C plug is deeply engraved, such that the XIAO fit inside and the rest of the PCB lays flat to the wall. Before glueing the trapezoid distance holder on upper and lower end insert M3 nuts into the engraved holes such that they fixed between holder and frame. Then insert the PCB at its place, and start stacking Panels: First comes either the diffusor material directly or a Acryl cover sheet above it. Next a grid to seperate LEDs from each other, followed by the LED panel. This will be connected to the PCB. Finally you can screw holders into the before inserted Nuts with 3mm screws (lenght will depend on the used diffusor material). Thereafter you only need to upload a programm code to the Xiao, e.g. through the Arduino IDE.
Salt Crystals & Moss
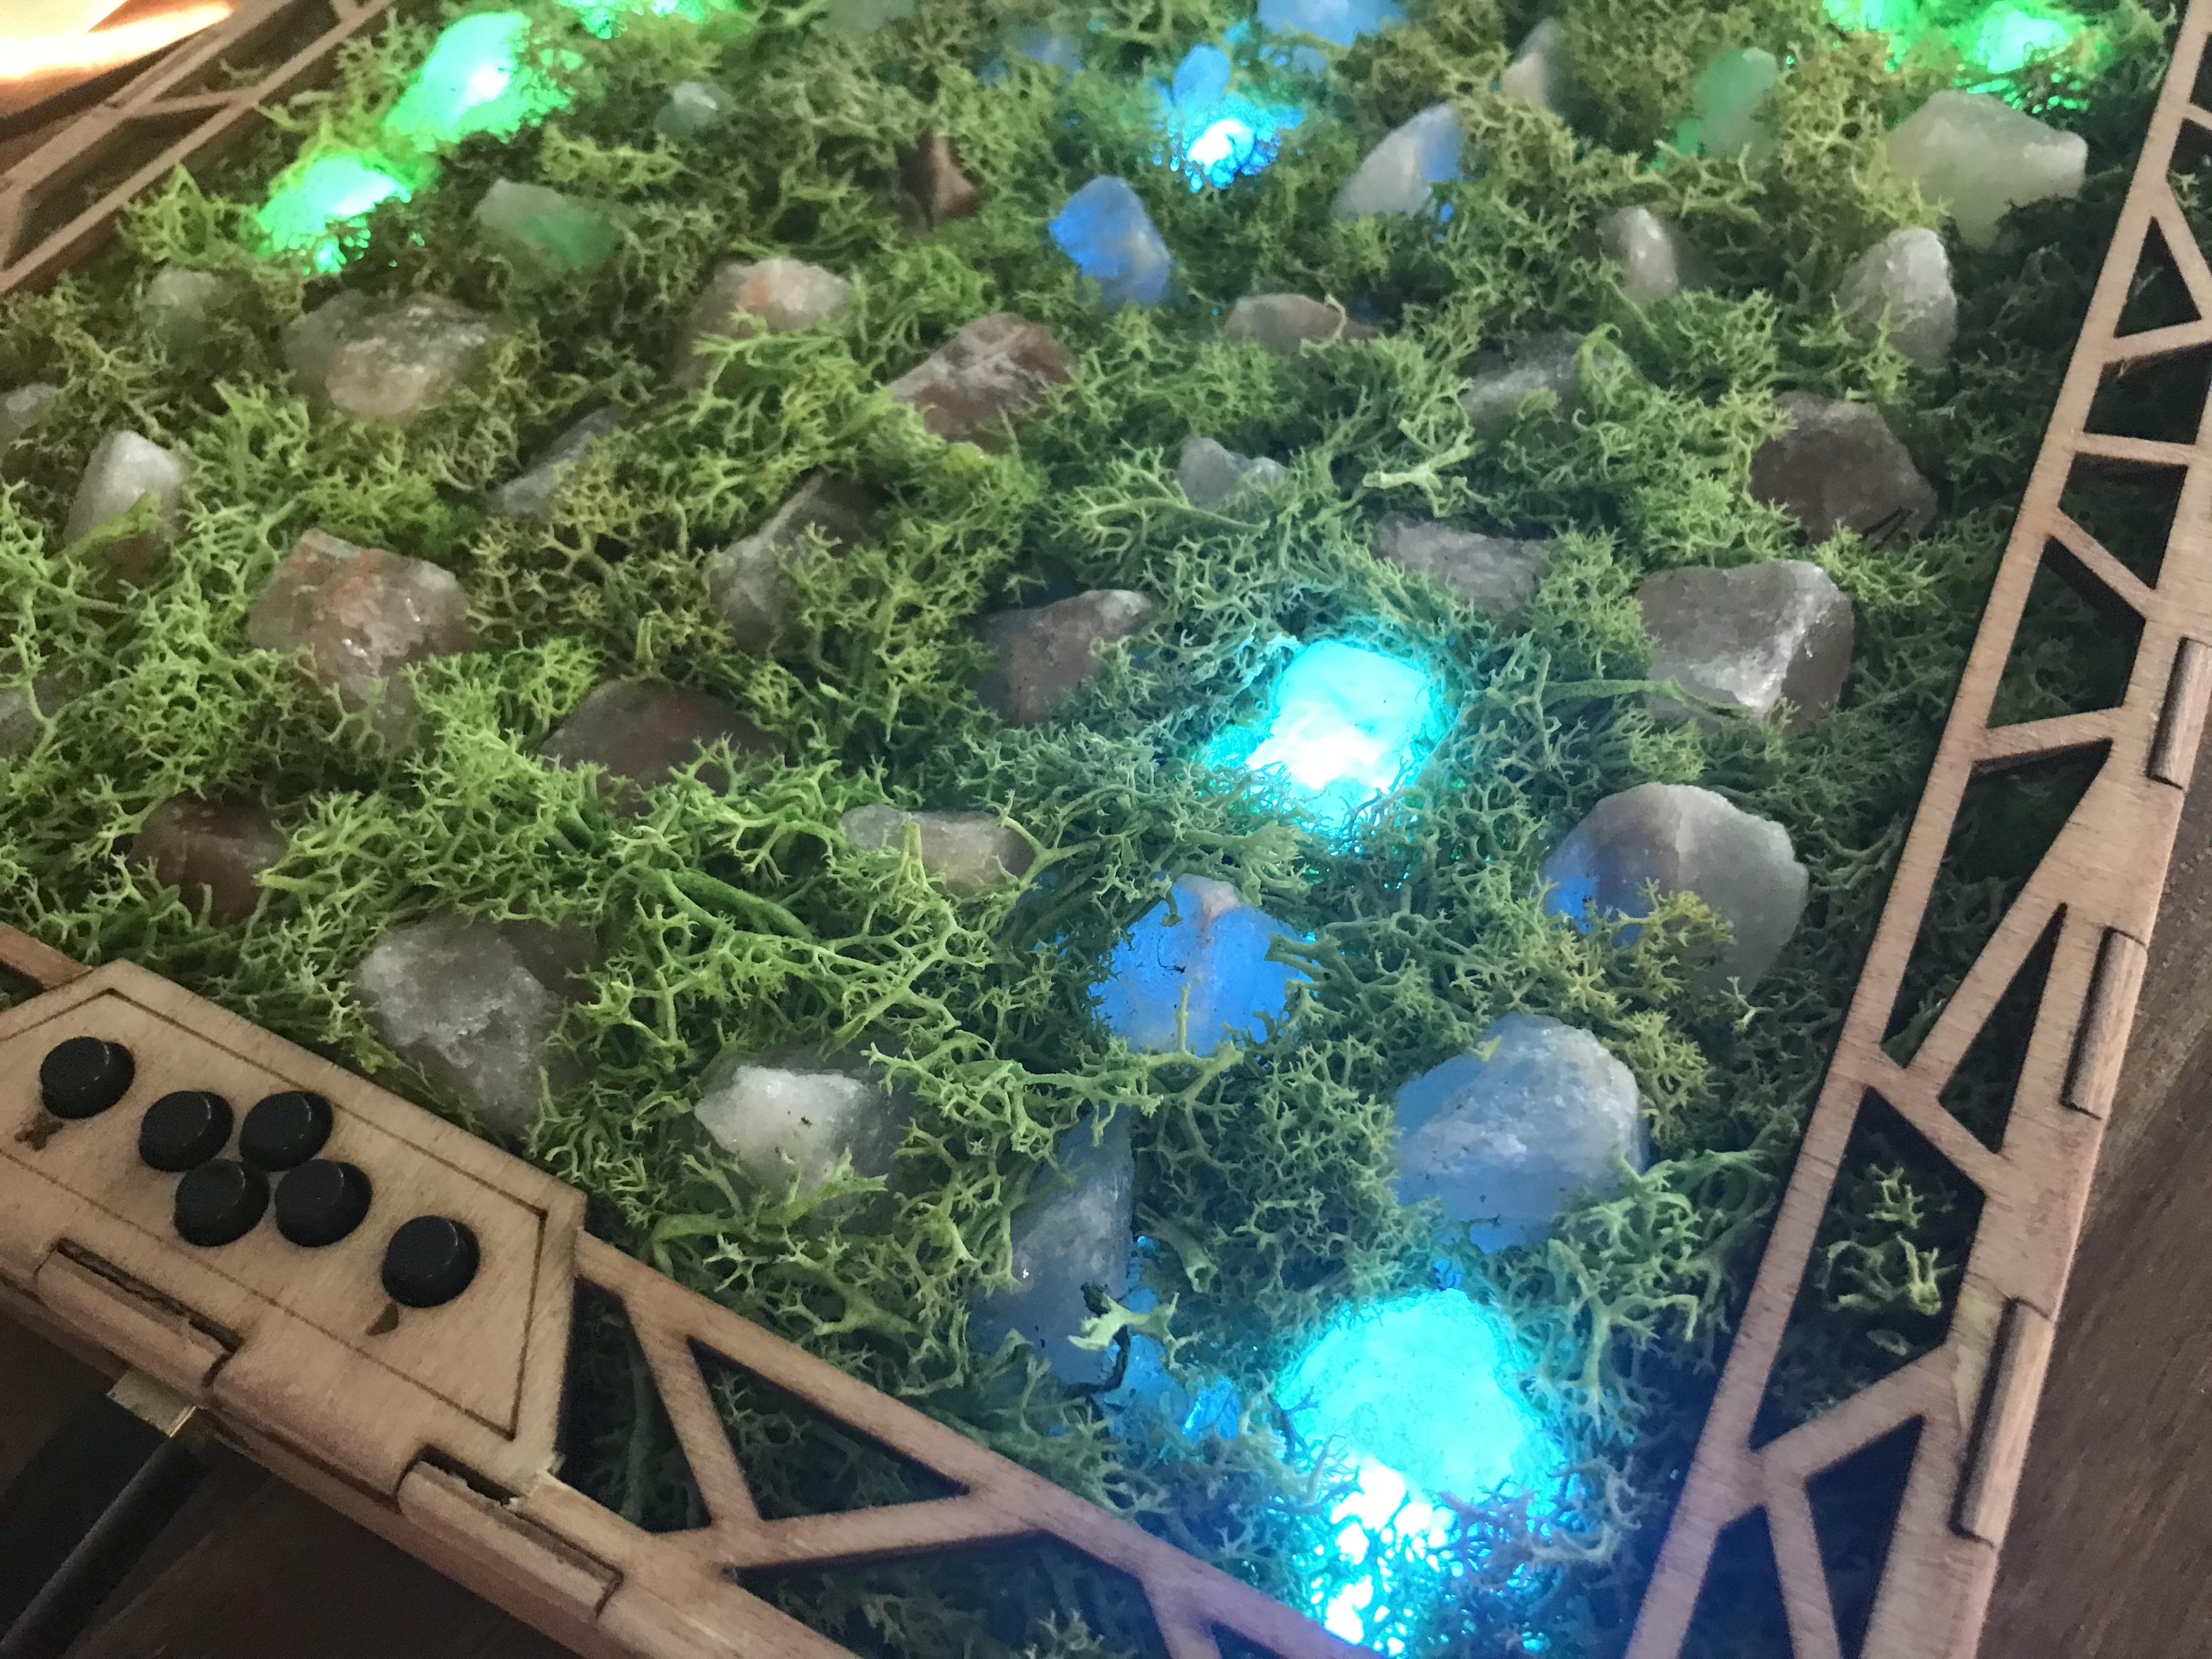
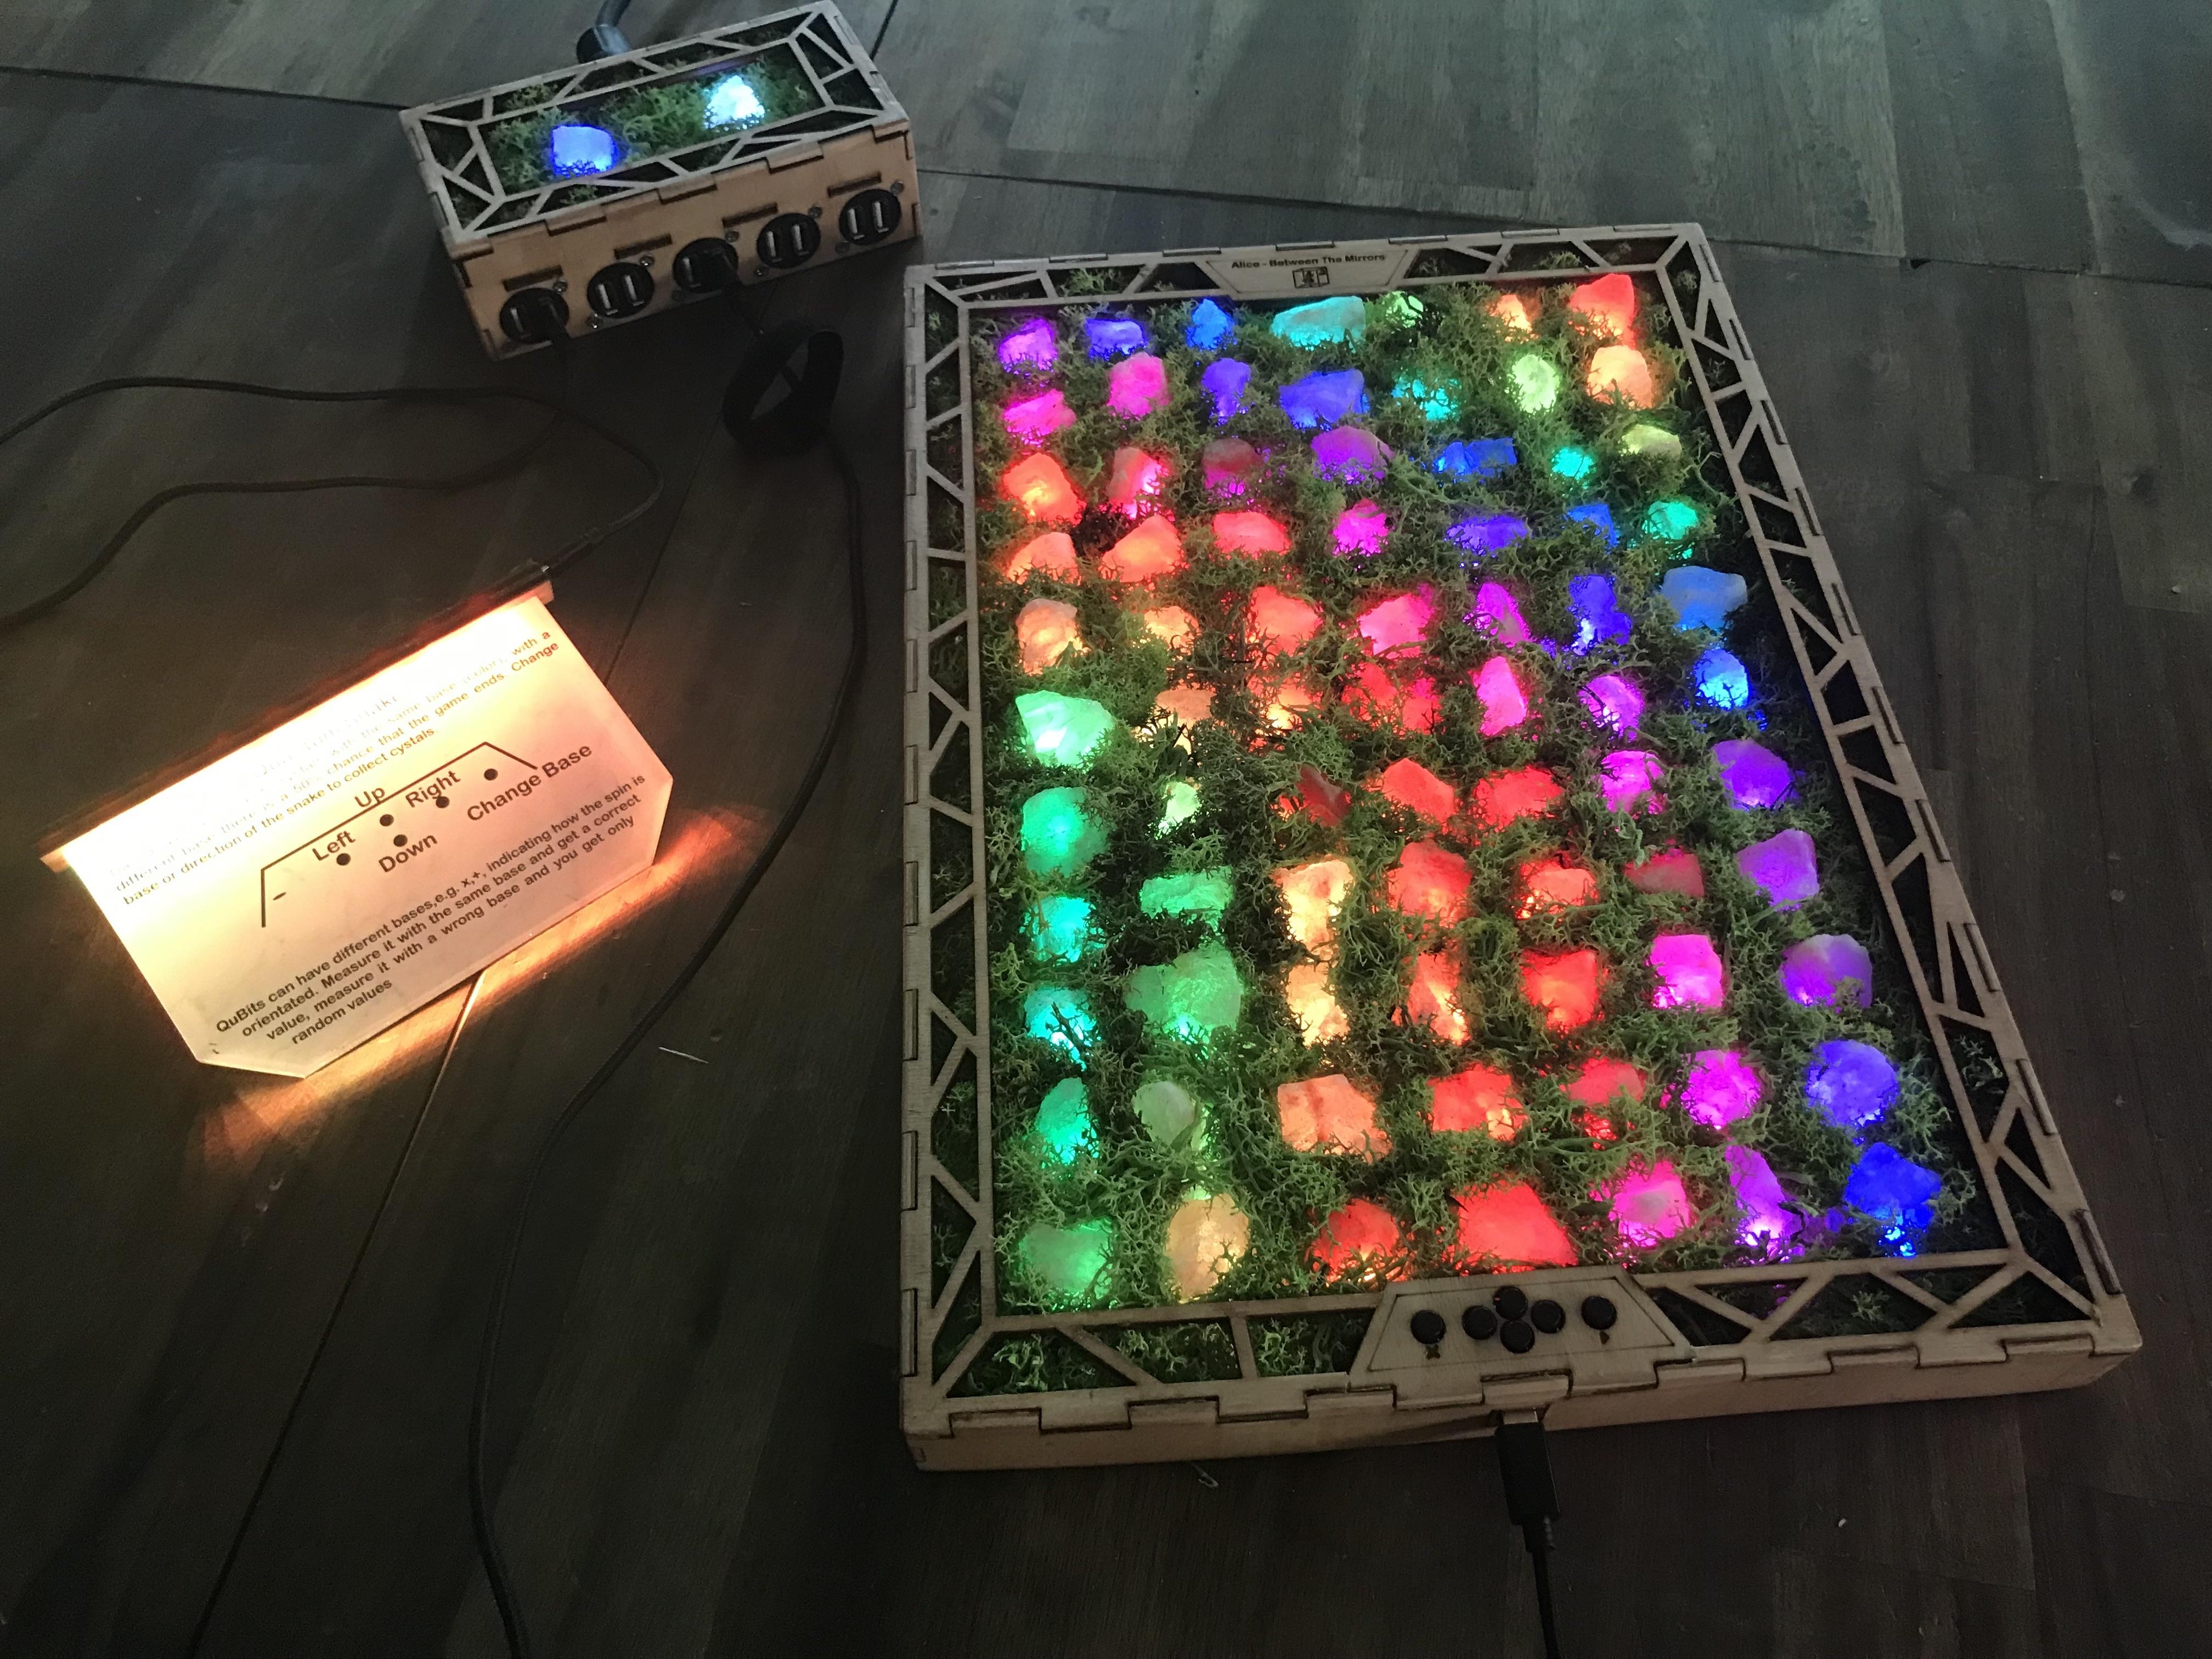
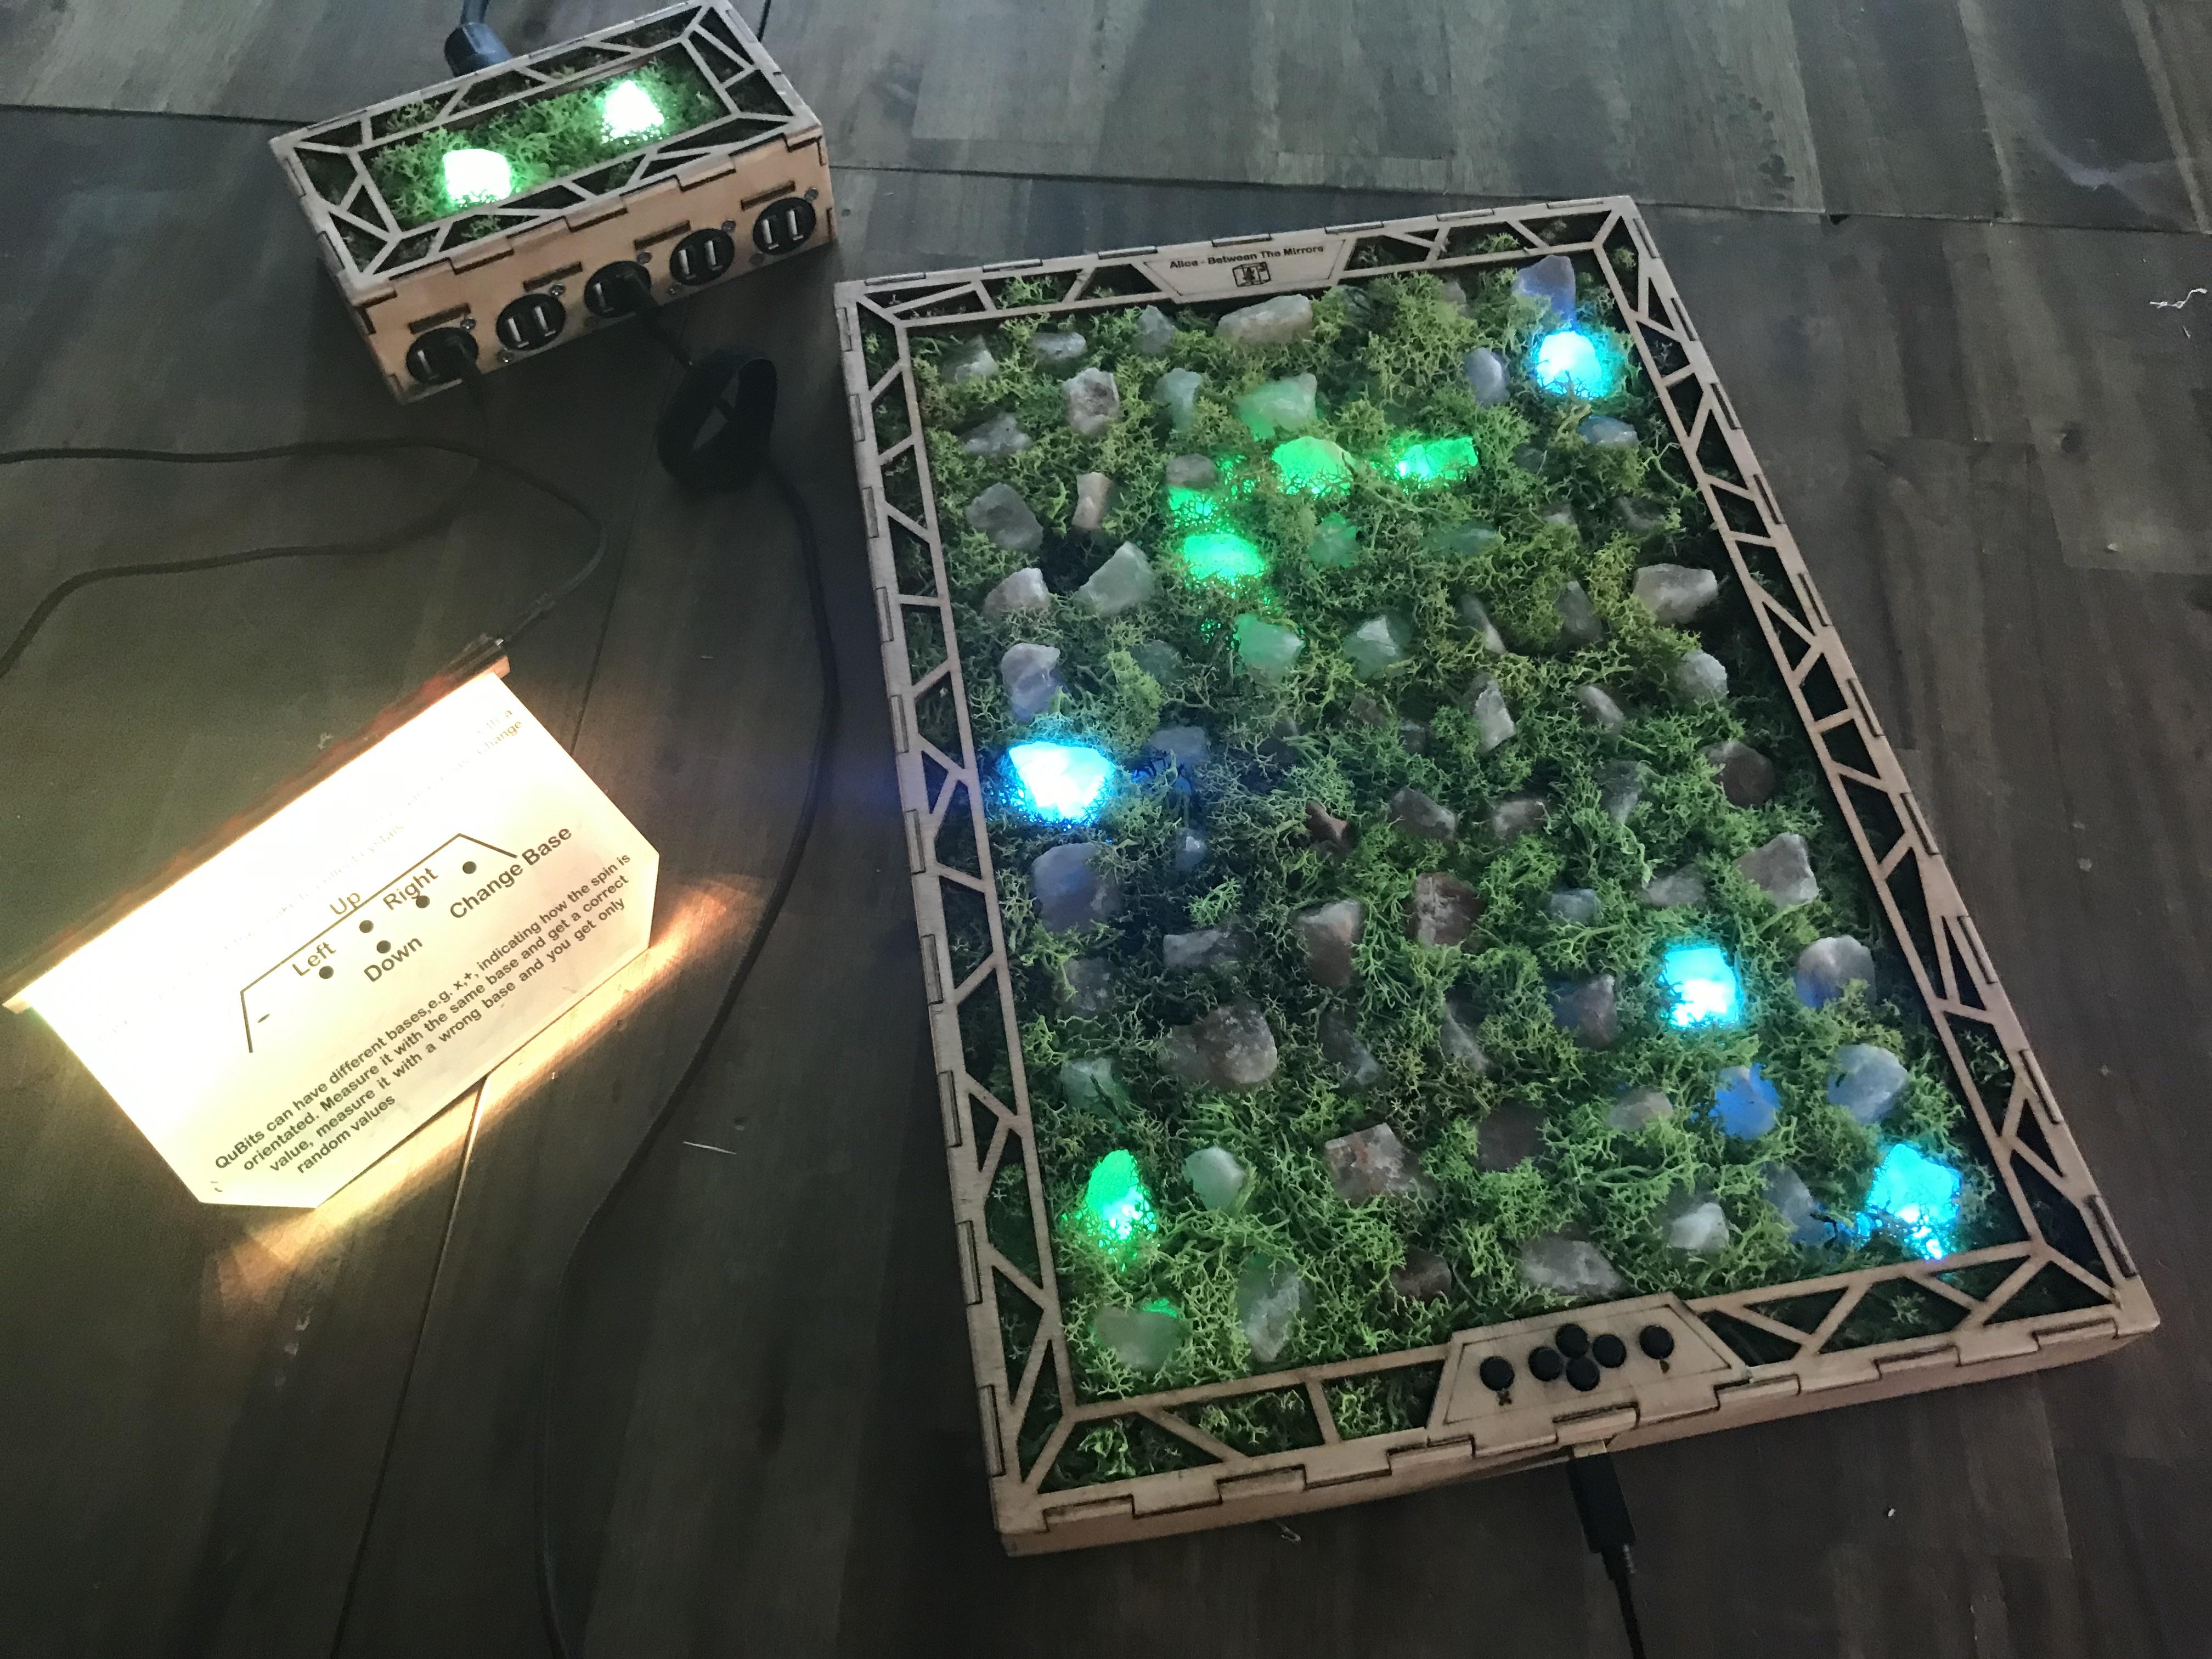
We start with one of the most popular versions, a combination of the well-feeling Himalaya salt crystal lamp with a well feeling moss picture into a feel-good display. In fact, the combination worked so well that we used used that combination also in other parts of the exhibition pieces like power distribution and pinball machine, and even made a tiny version as giveaway/workshop lamp.
Disadvantage is that due to the salt crystal size/moss height we needed bigger gaps between LEDs, so we used here a 30leds/m strip. And with lower resolution, game options are limited.
But first for assembly: we used Himalaya salt. Each piece should be around 1 cm heigh, and a bit wider in diameter. Since we couldn't find the right size, we bought bigger pieces and broke them down. Conserved islandic moss is used to fill the gap within the salt crystals.
In a first step we cover the holes for the LEDs, lasercut into in a base plate, with transparent glue tape. This will prevent the glue getting through in the next step.
We then applied a thick layer of Uhu Poly Max as glue layer. Hot glue only worked for small pieces before getting enoying, pour resin sucked the color out of the moss, so that was the best solution we could find.
Then press the Salt crystal at their spots above the LED-holes and fill up the gaps with moss afterwards.
Let it dry and you are ready for assmble the whole panel.
As a game we went very oldschool to the Snake game. Collect crystals to get your moving snake longer and longer. Compared to the old Nokias we might have even worse resulation, but we have at least color. So we use two different colors for crystals, and the snake can only collect a color safely if it has the same color, otherwise it might get killed. Or in quantum technology: Measurement system (the snake) and measured object (the crystal) has to use the same base to get the right value, otherwise you will measure random garbage. But you can also change the measurement system/color of the snake with the press of a button.
Stone
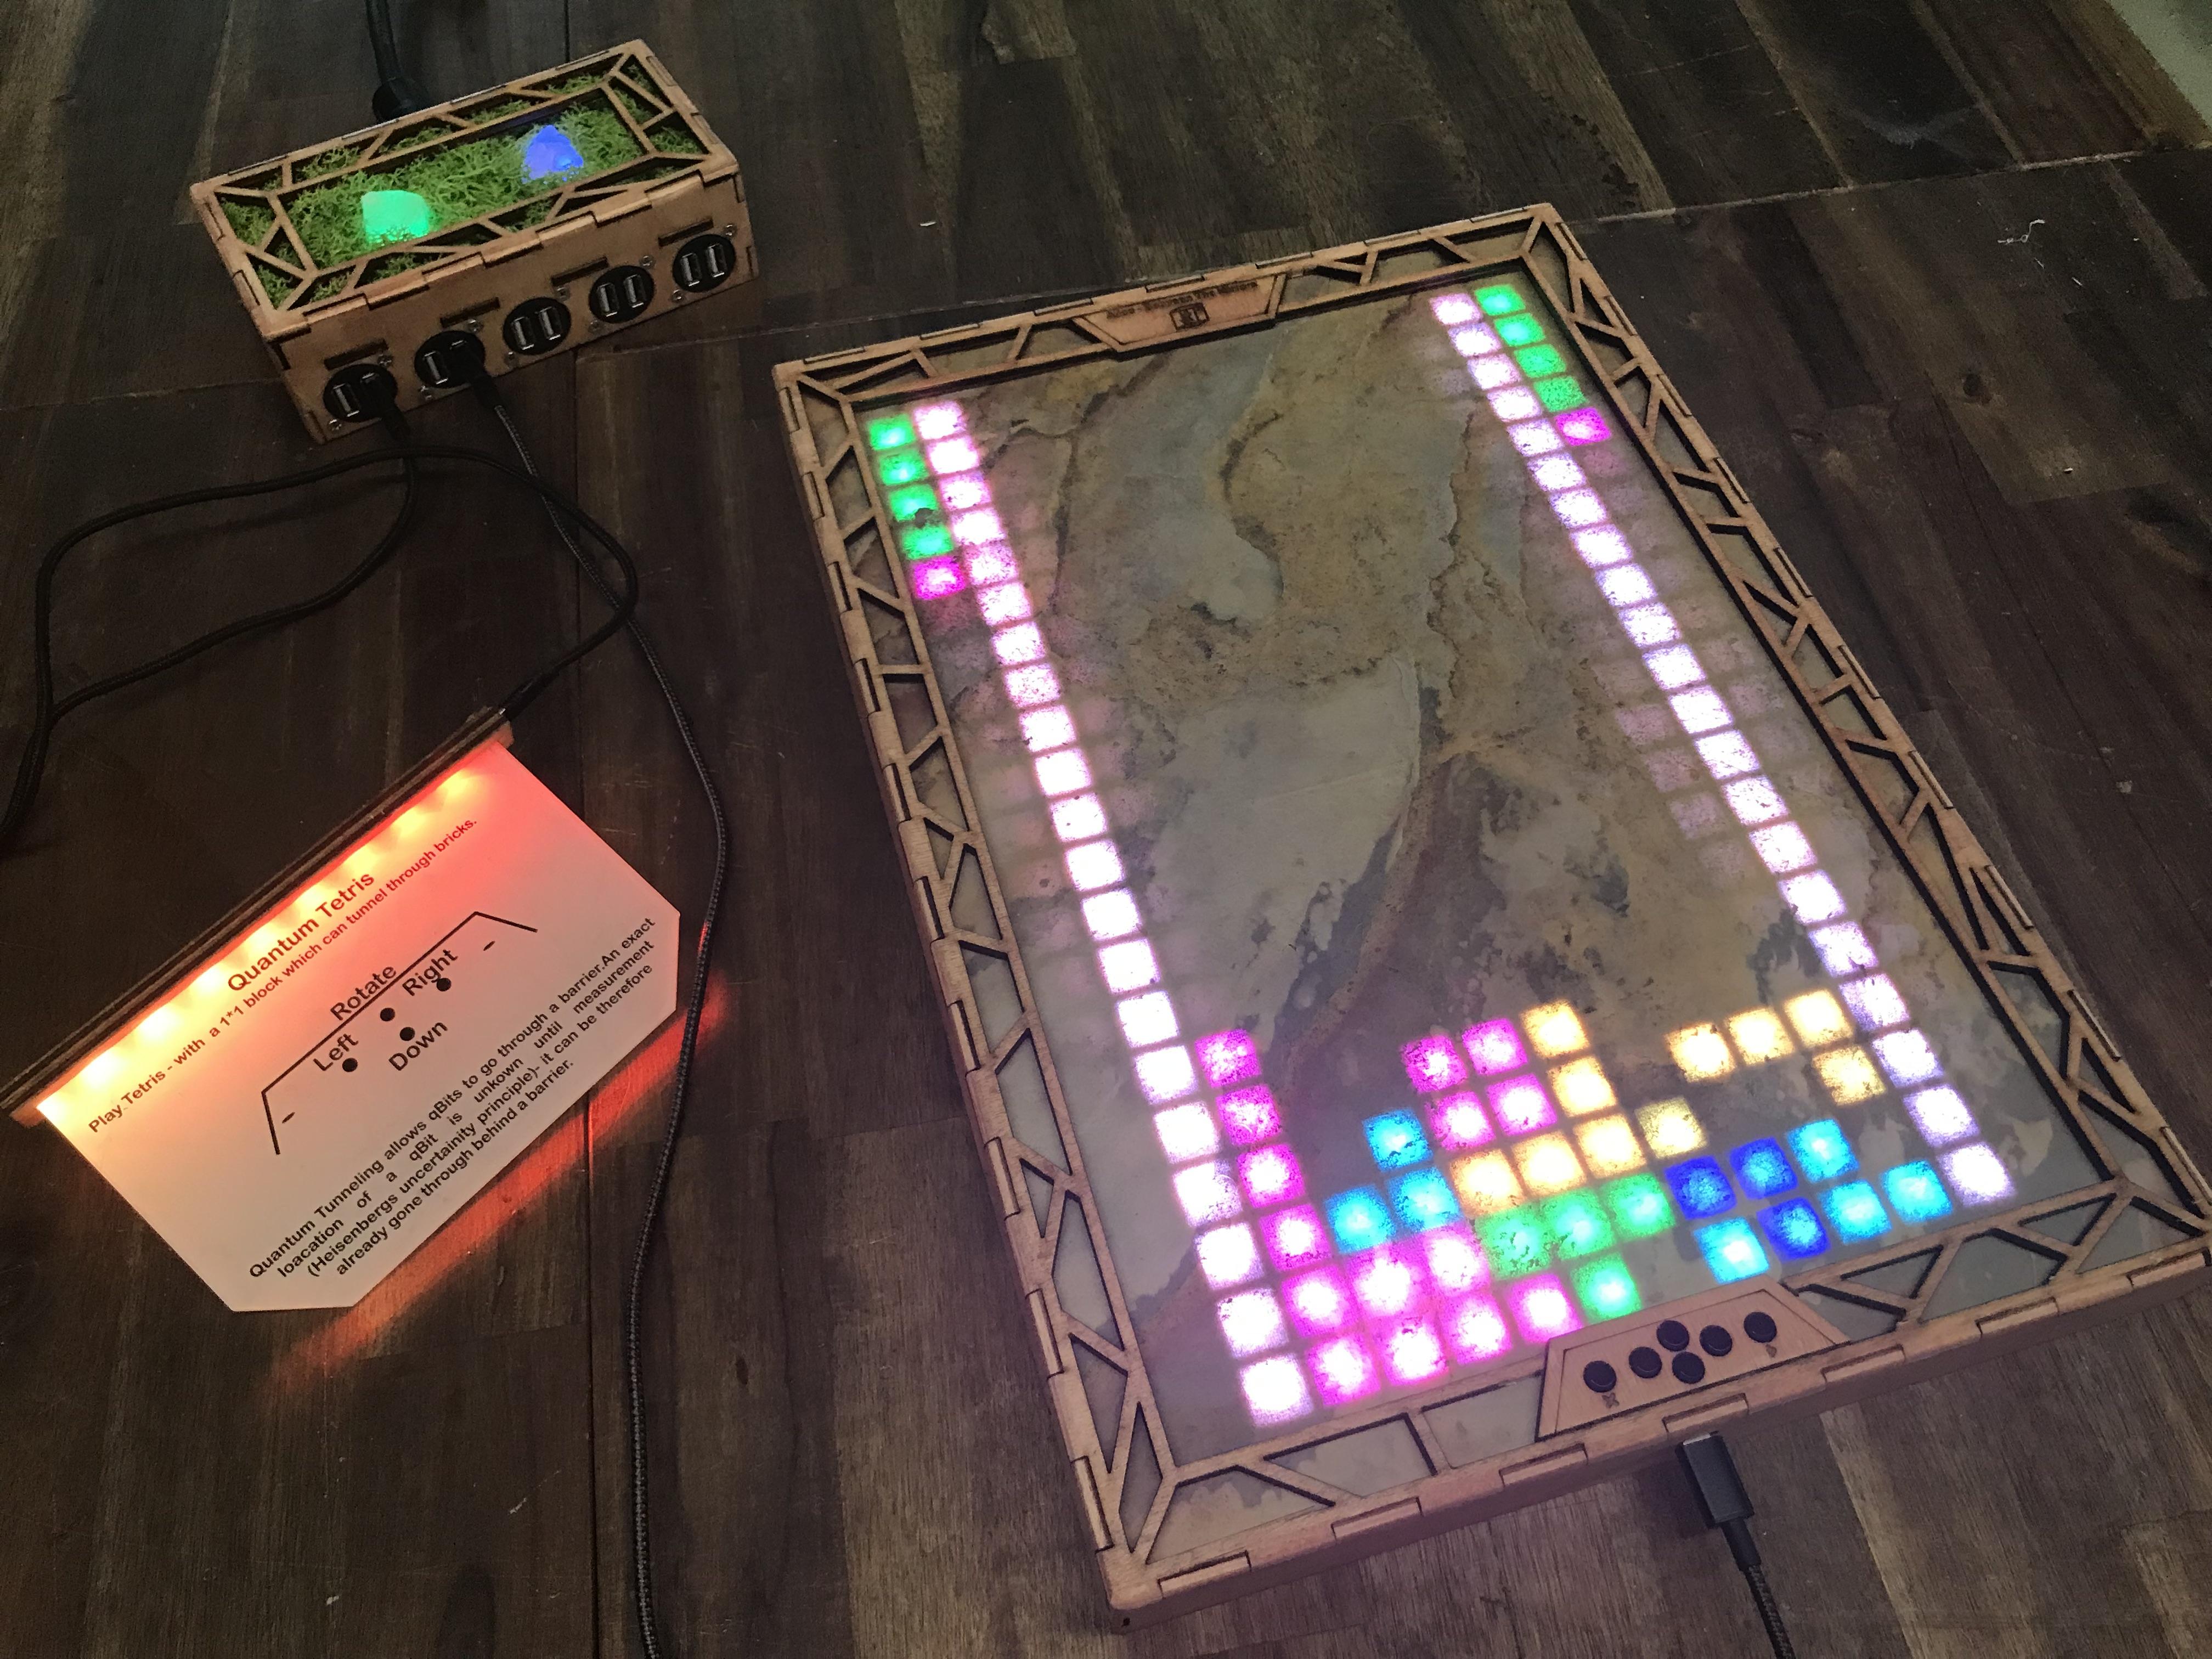
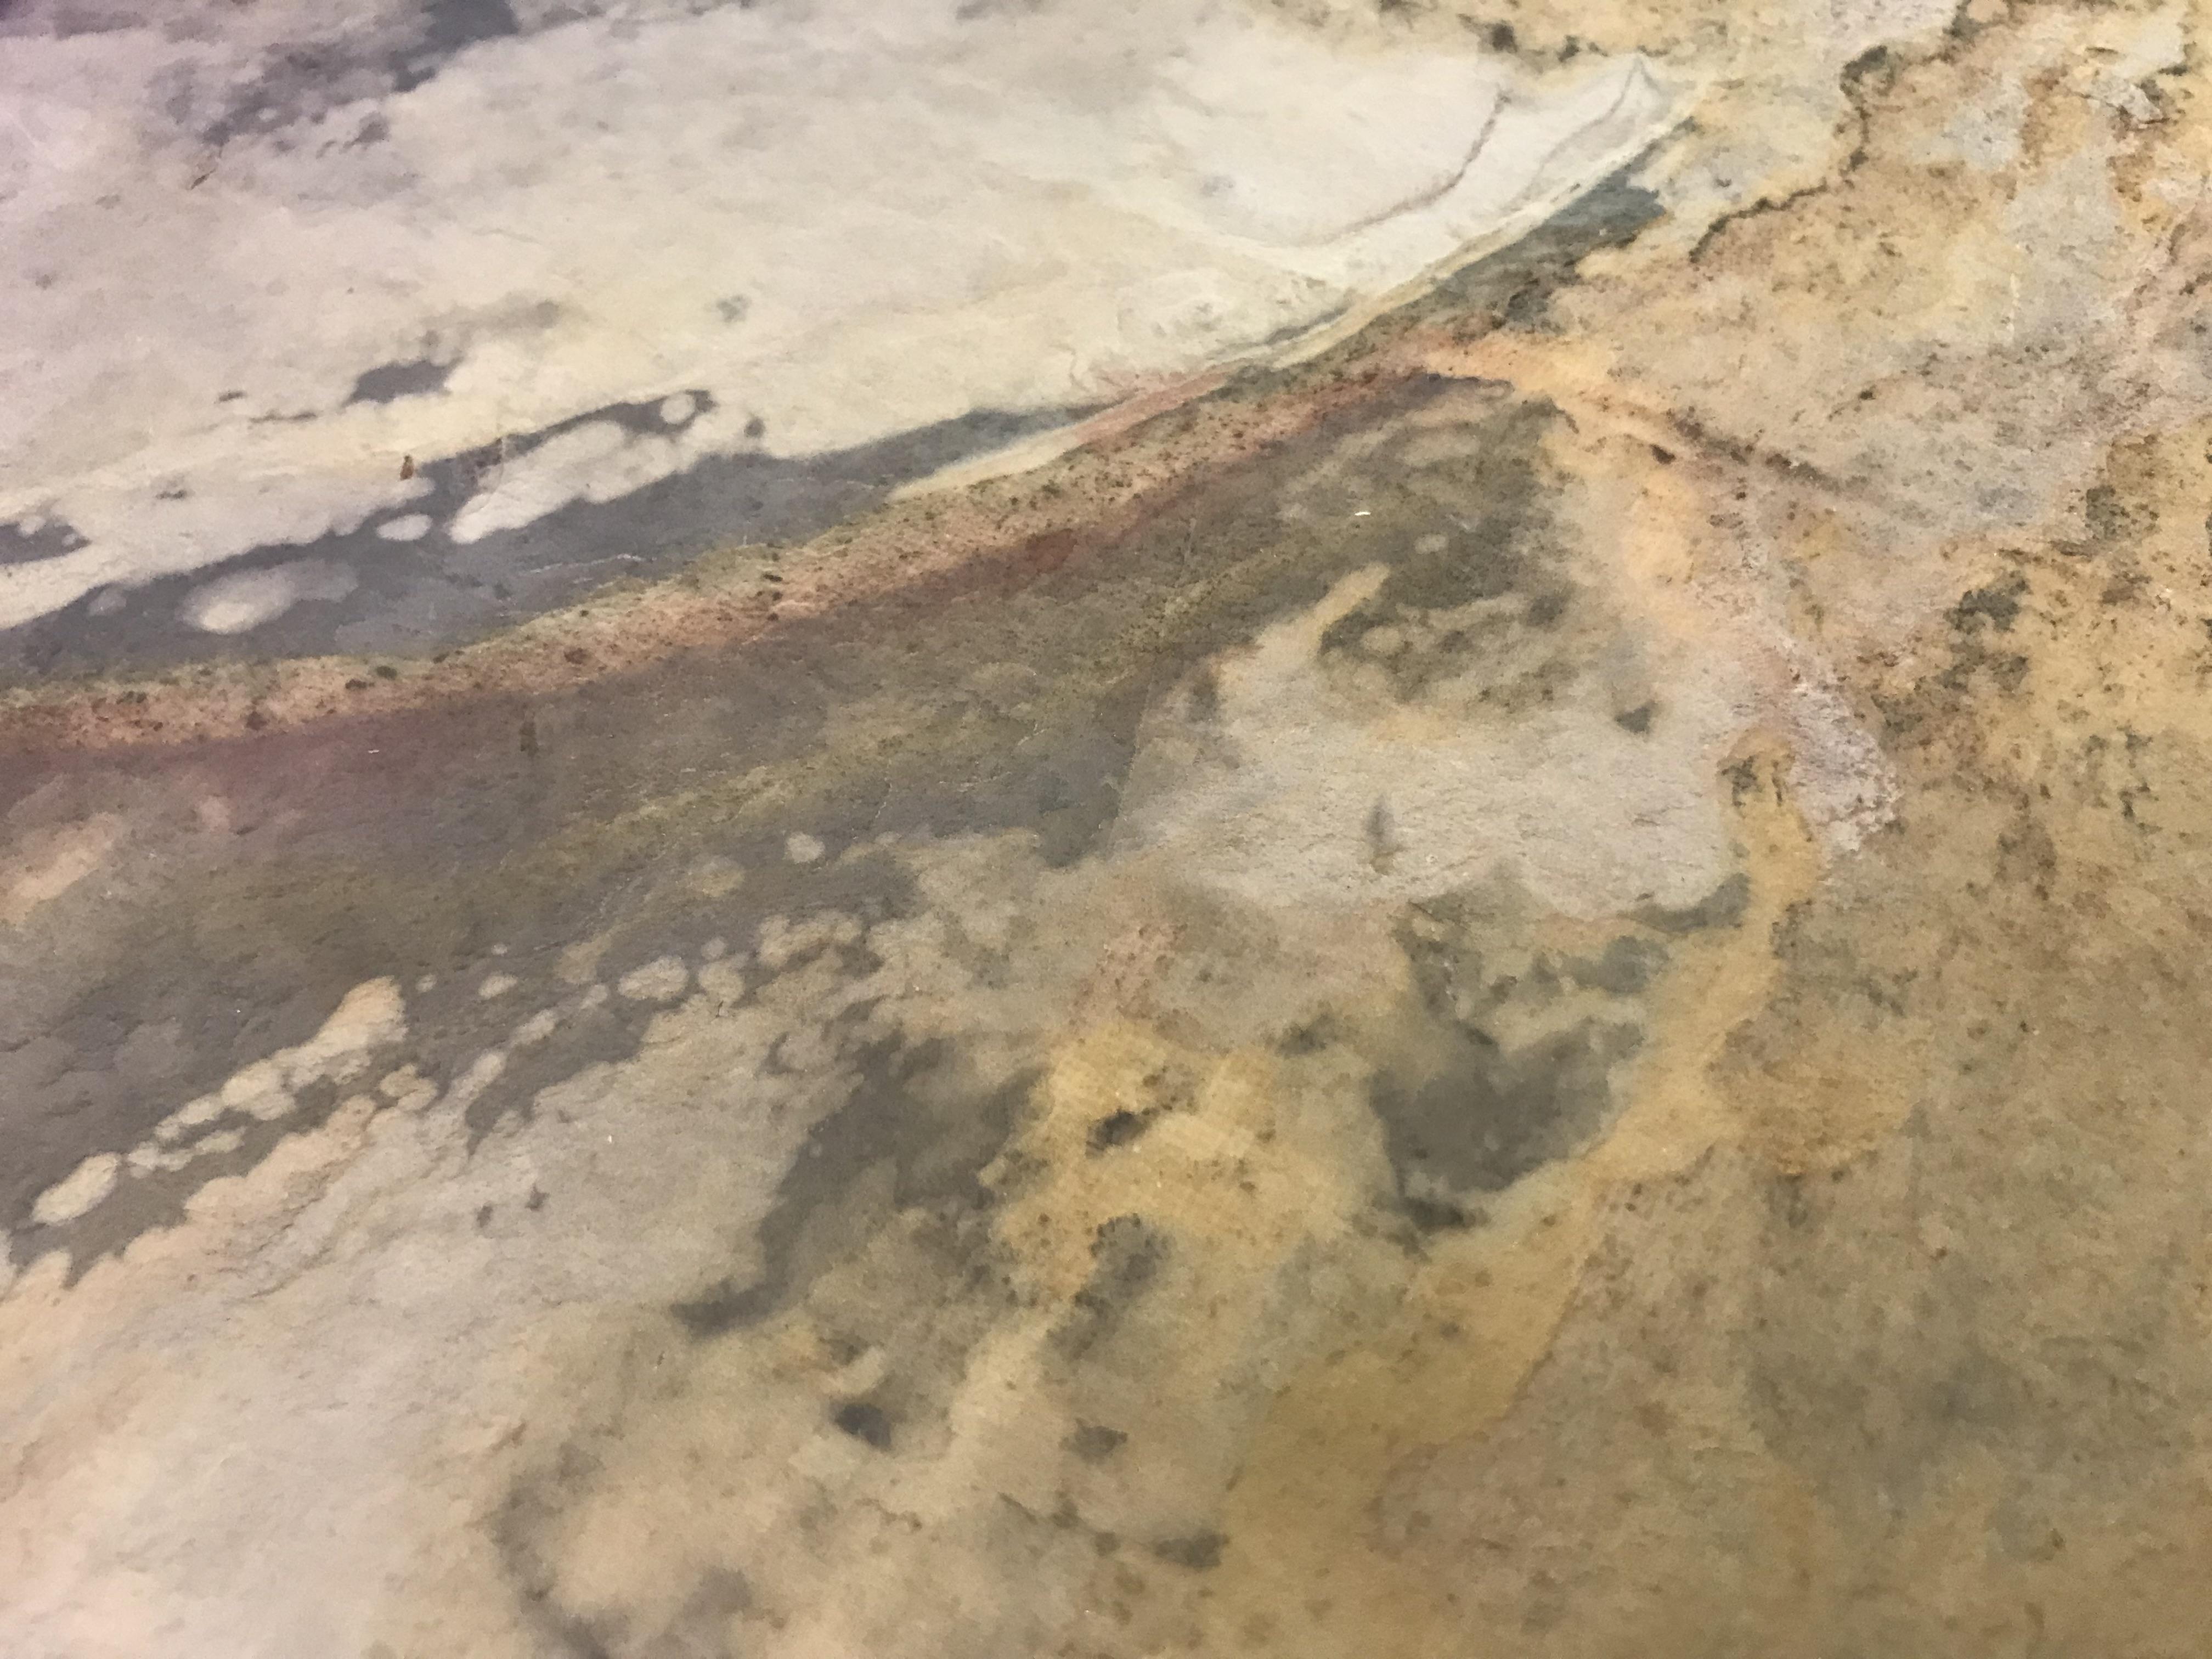
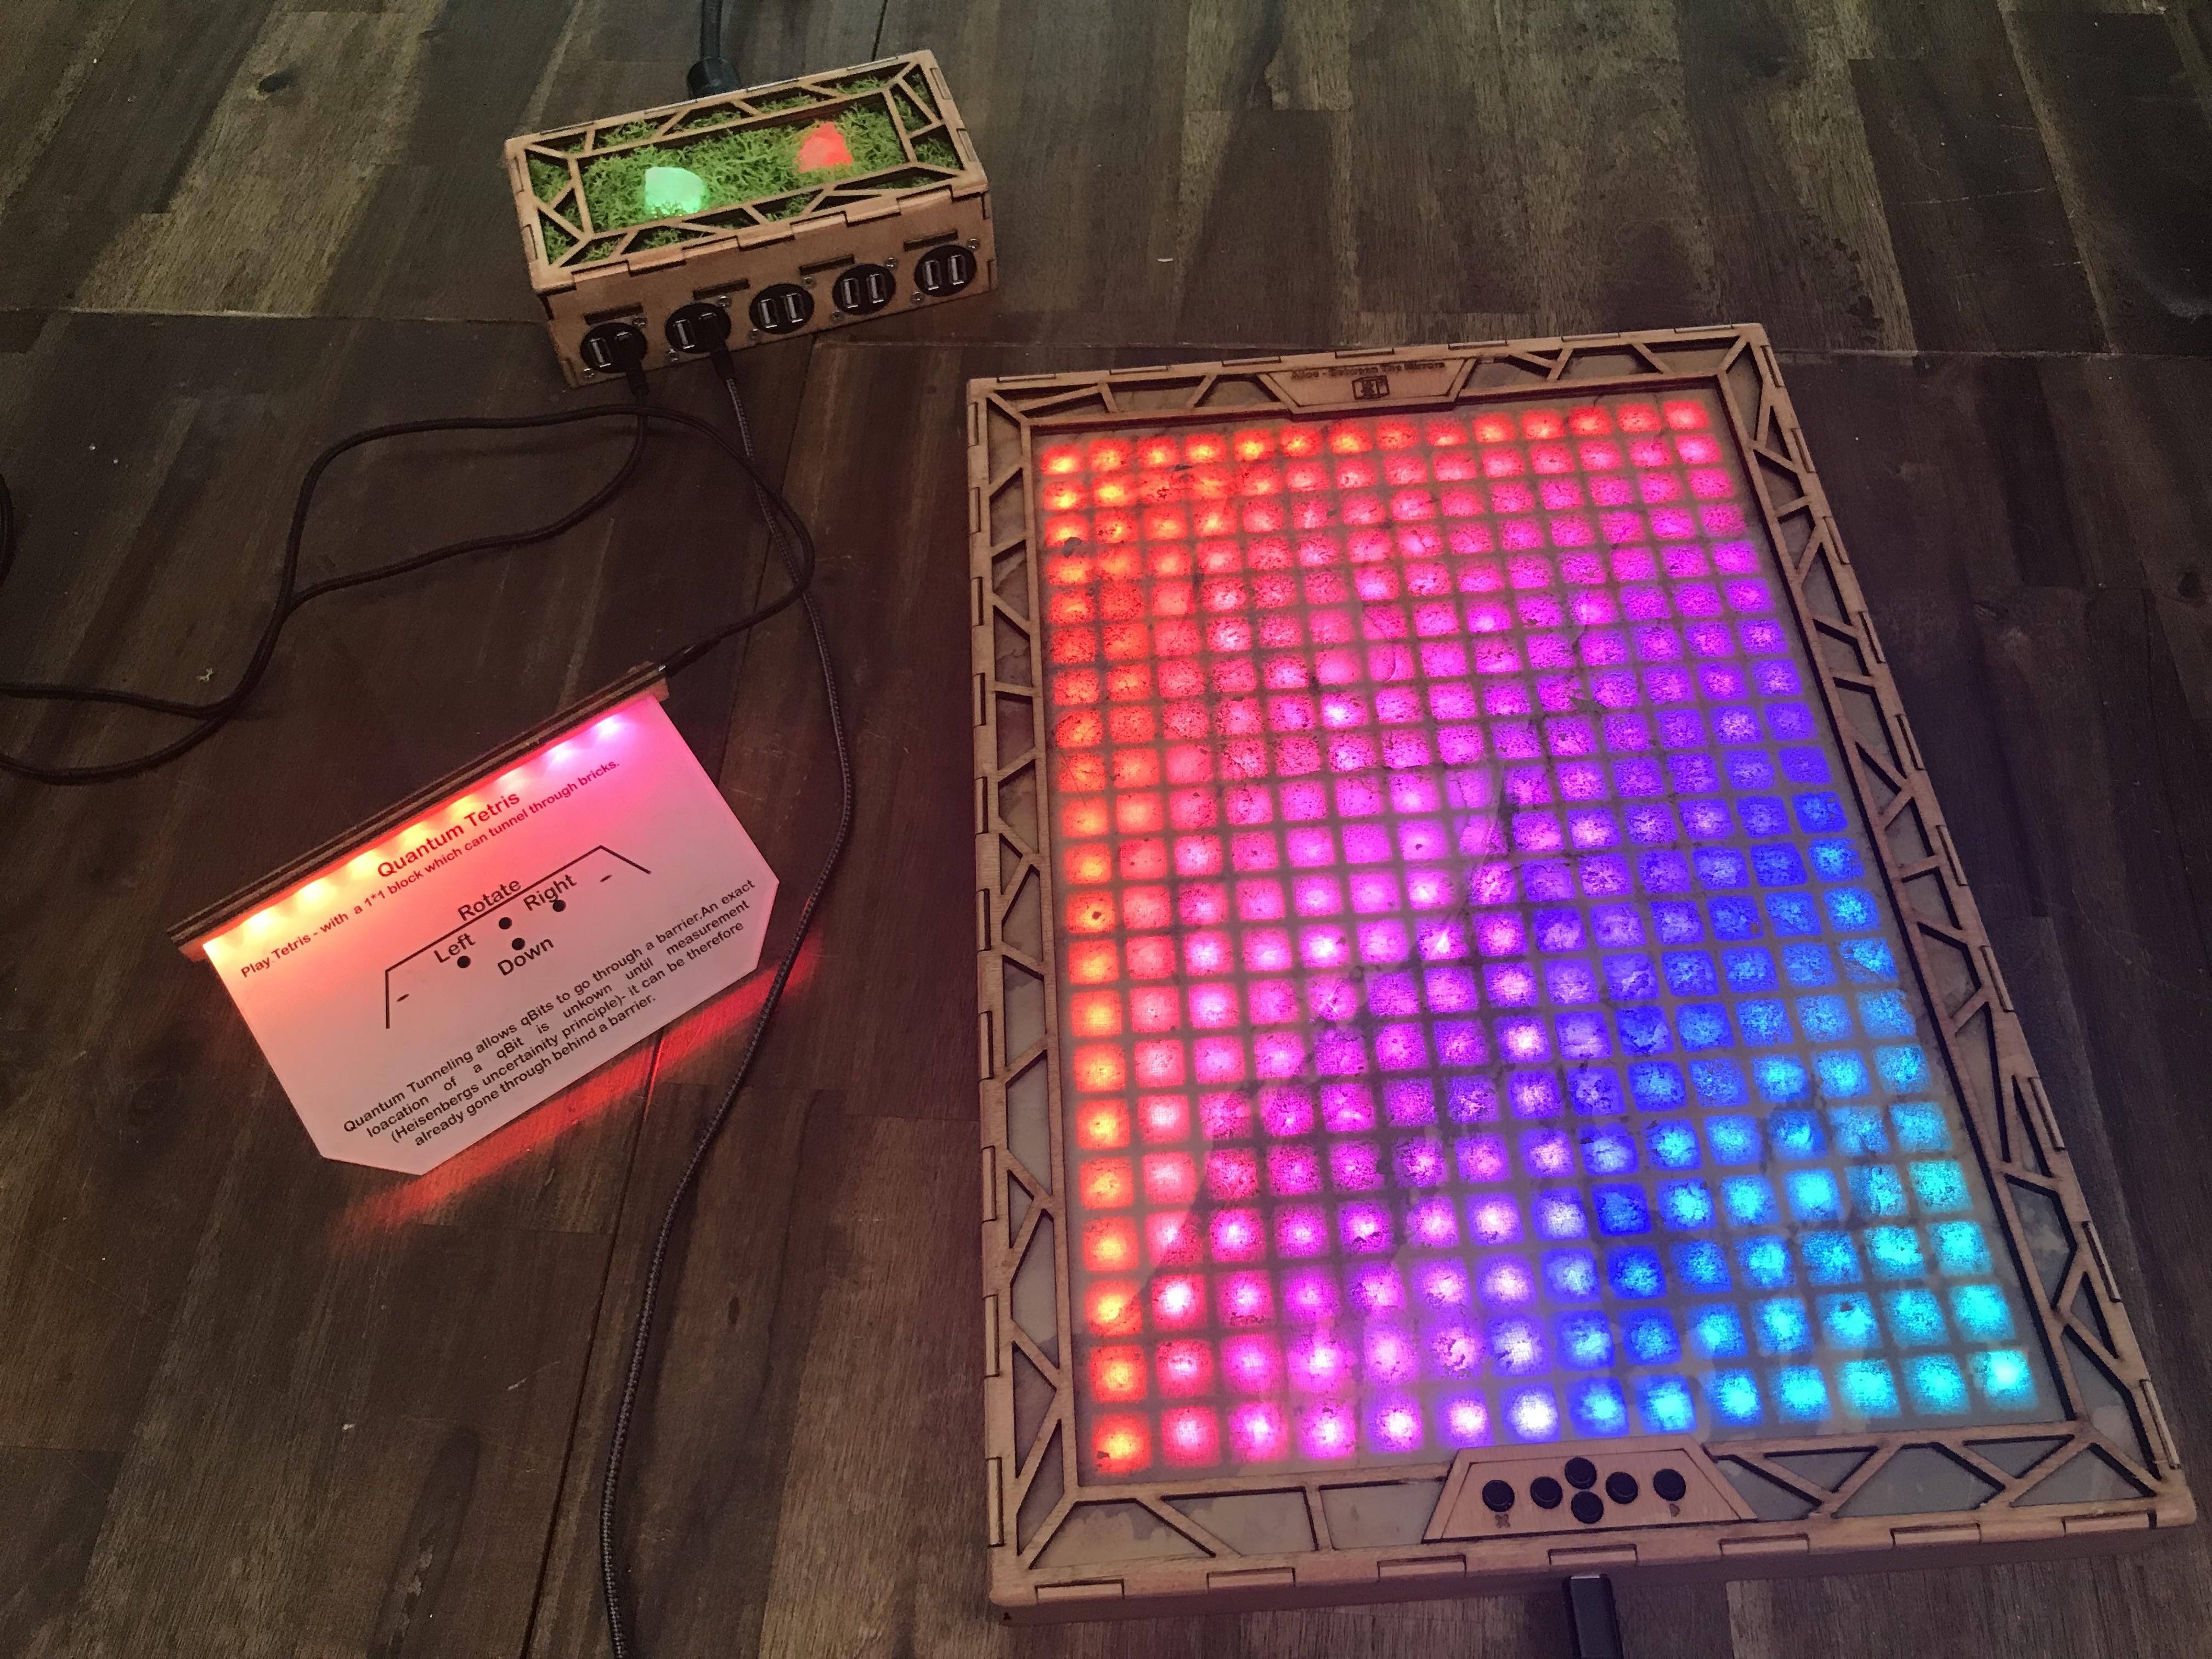
There is a company called Slatelite (www.slate-lite-shop.de) which sells niece stone veneers. The stone surface is so thin that light can pass through, especially for their flexible versions. My favorite is Falling Leaves Translucent ES, but there are a bunch of other materials. The flexible version can be easily cutted into form and the used as diffusor material above the LEDs.
As a game we used Tetris, but added an additional 1*1 piece, which is so small that it can tunnel through a barrier and fill up gaps behind. Which is actually helpfull, especially with the smal game area and no preview of the next piece. And we have a niece conenction to the tunnel effect in quantum technology, which also fits to the light goes to stone theme.
Glas
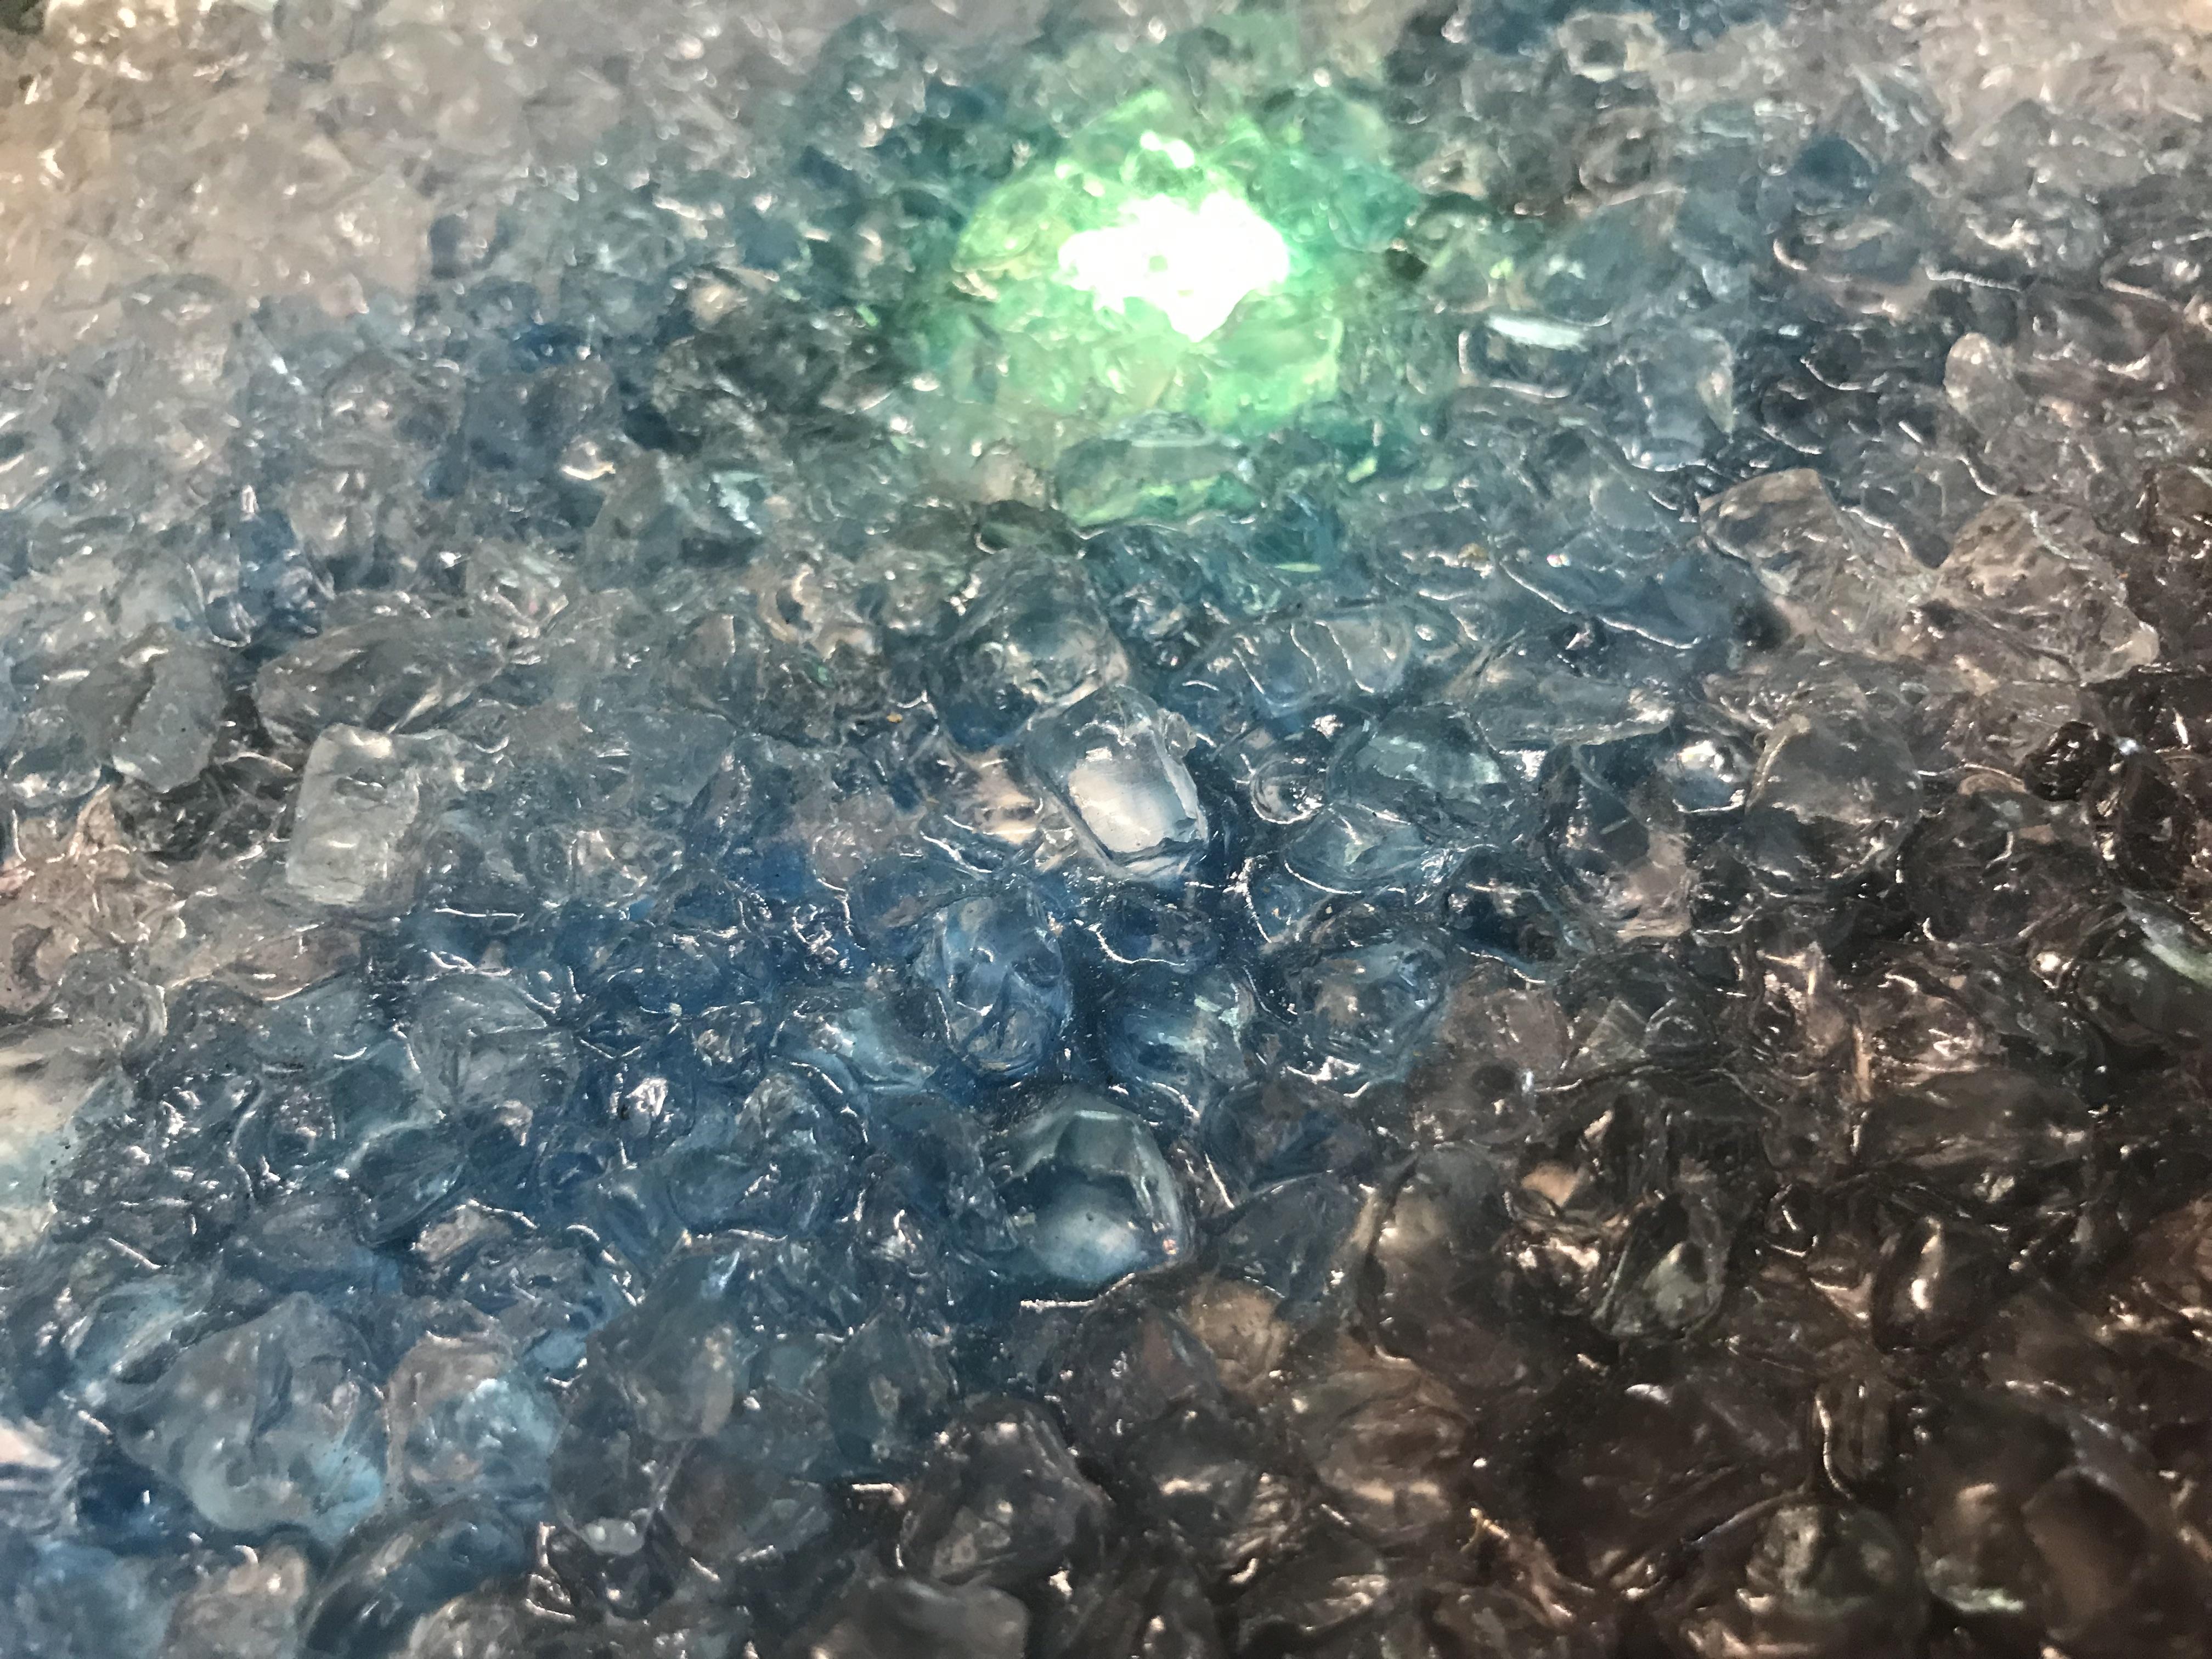
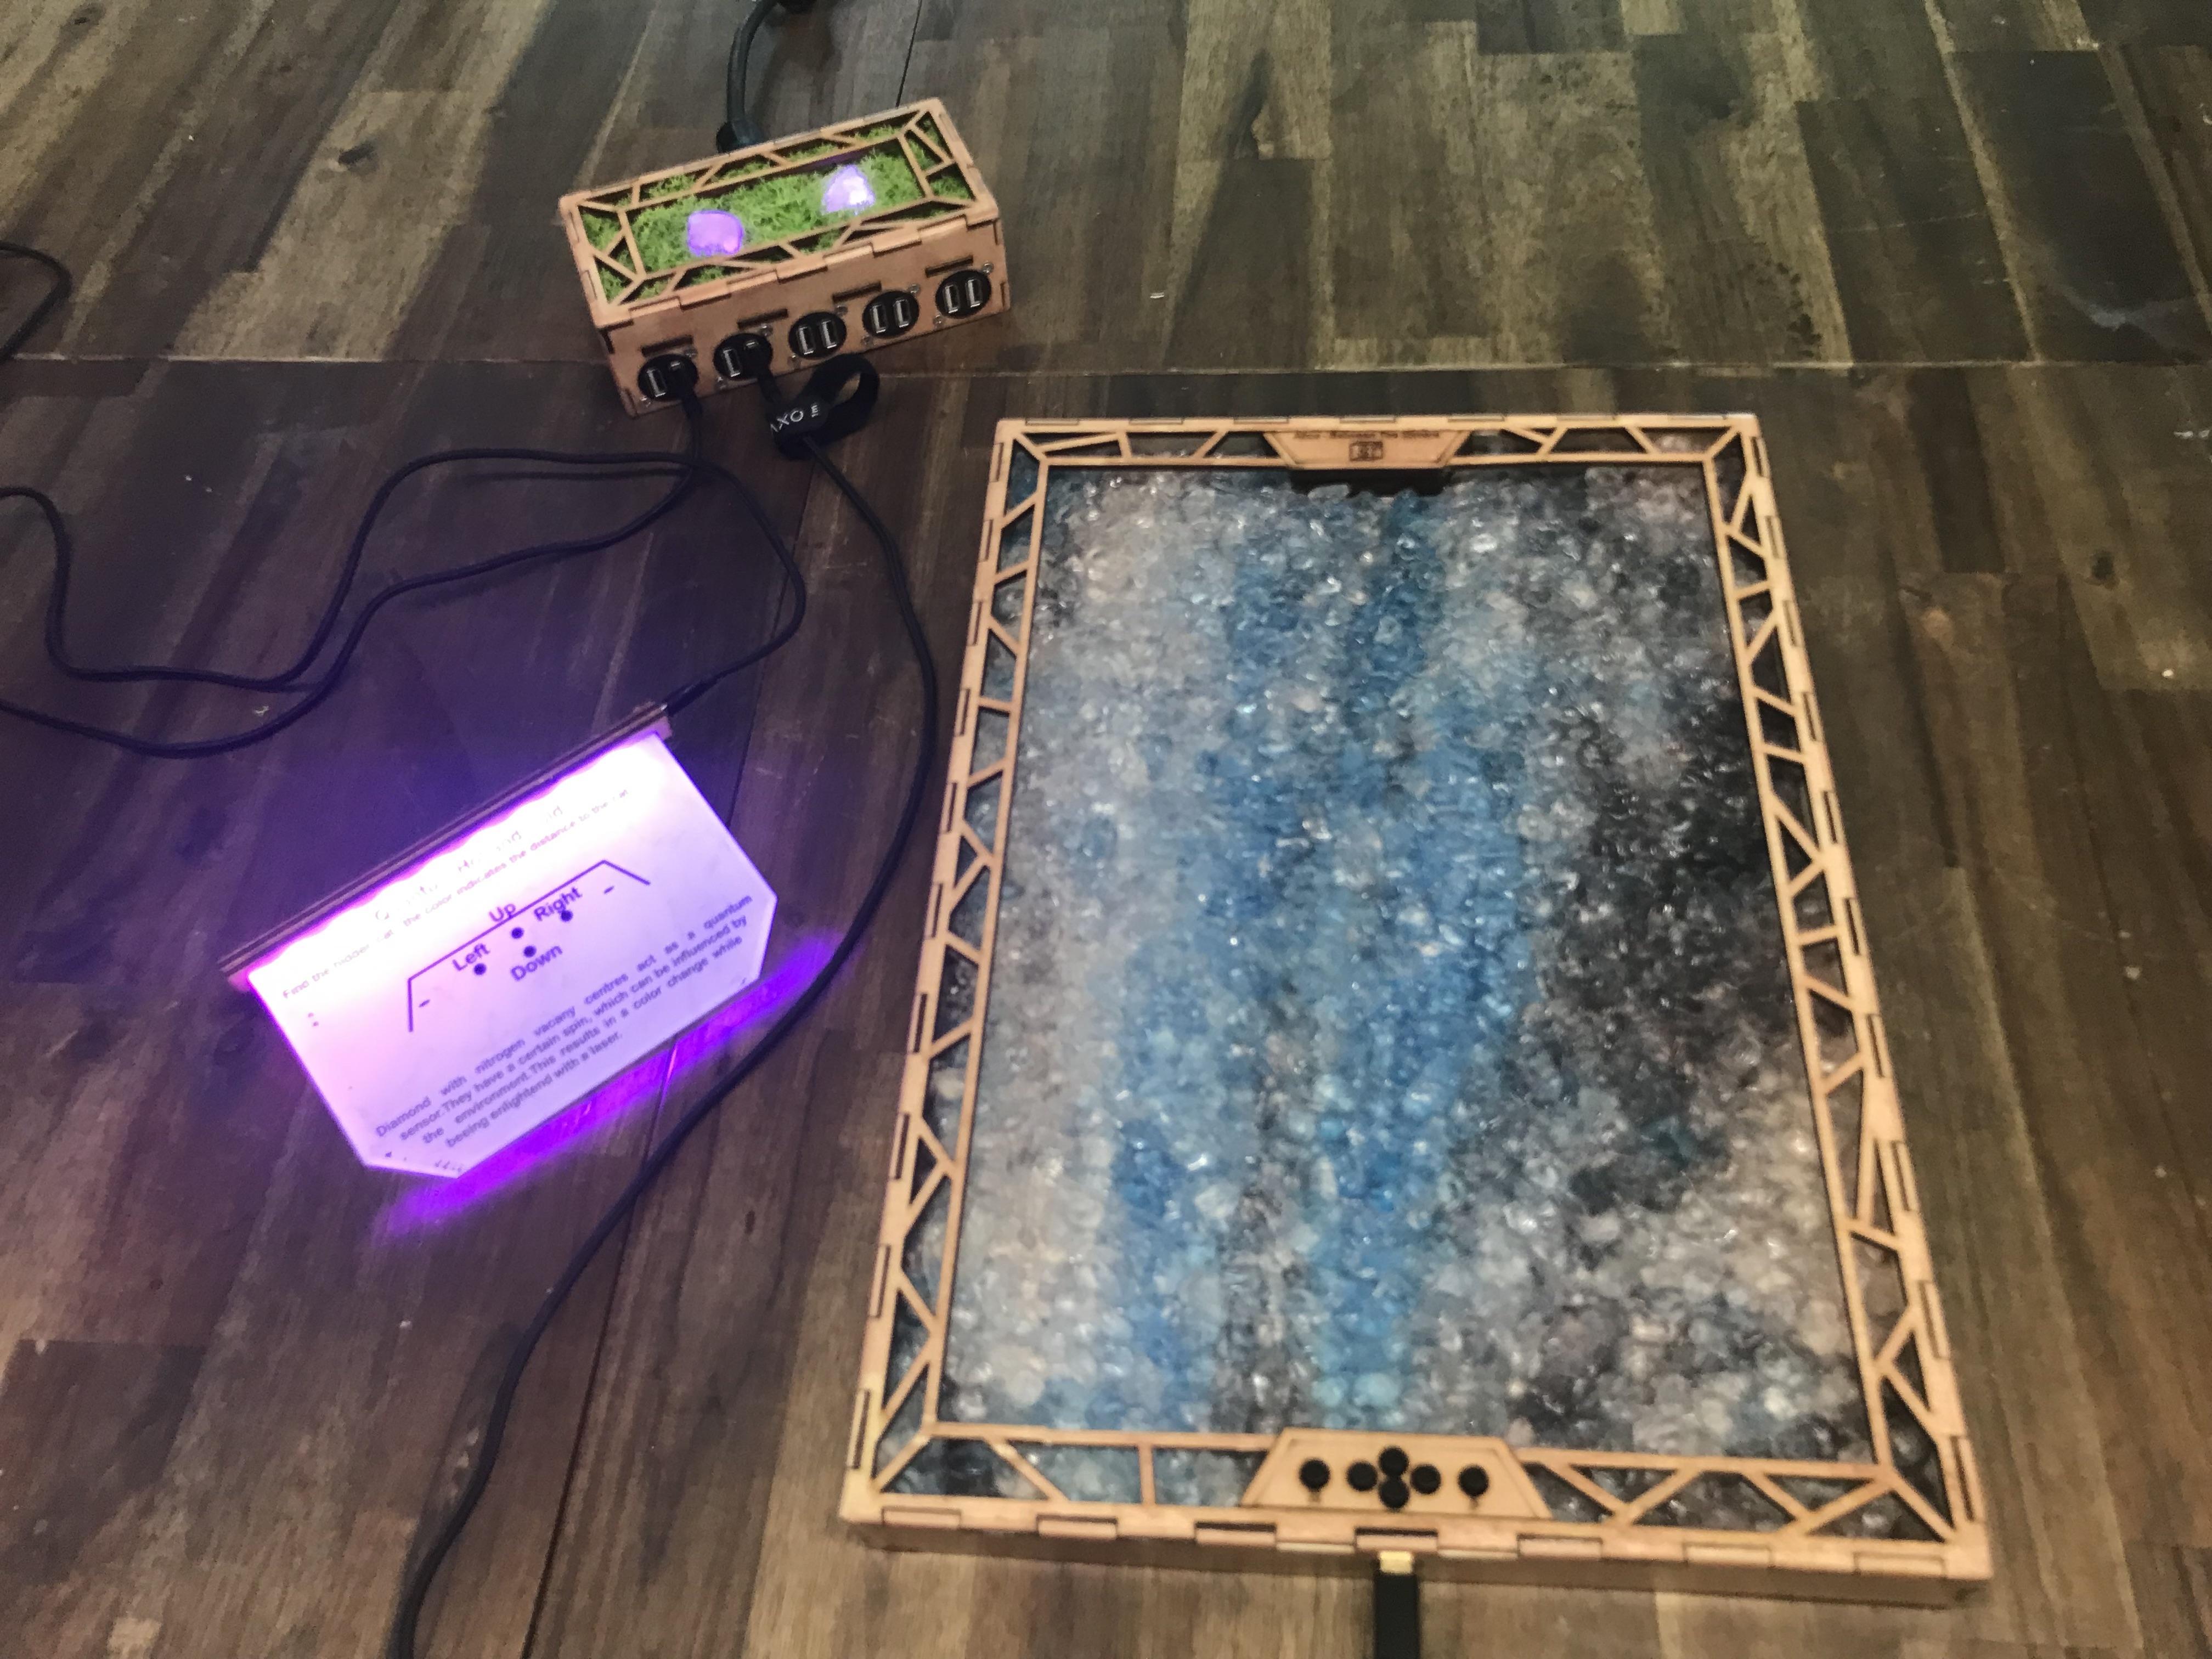
Next we wanted to give some hints into diamonds as quantum sensors - but since diamonds where a bit pricey for a large scale installation we went for broken glass. Since the first iteration with only white paper behind looked a bit boring, we put some colors on the paper before applying a layer of clear epoxy resin and then instering the broken glas into it. Which gives the surface a nice islandic ice cavern surface.
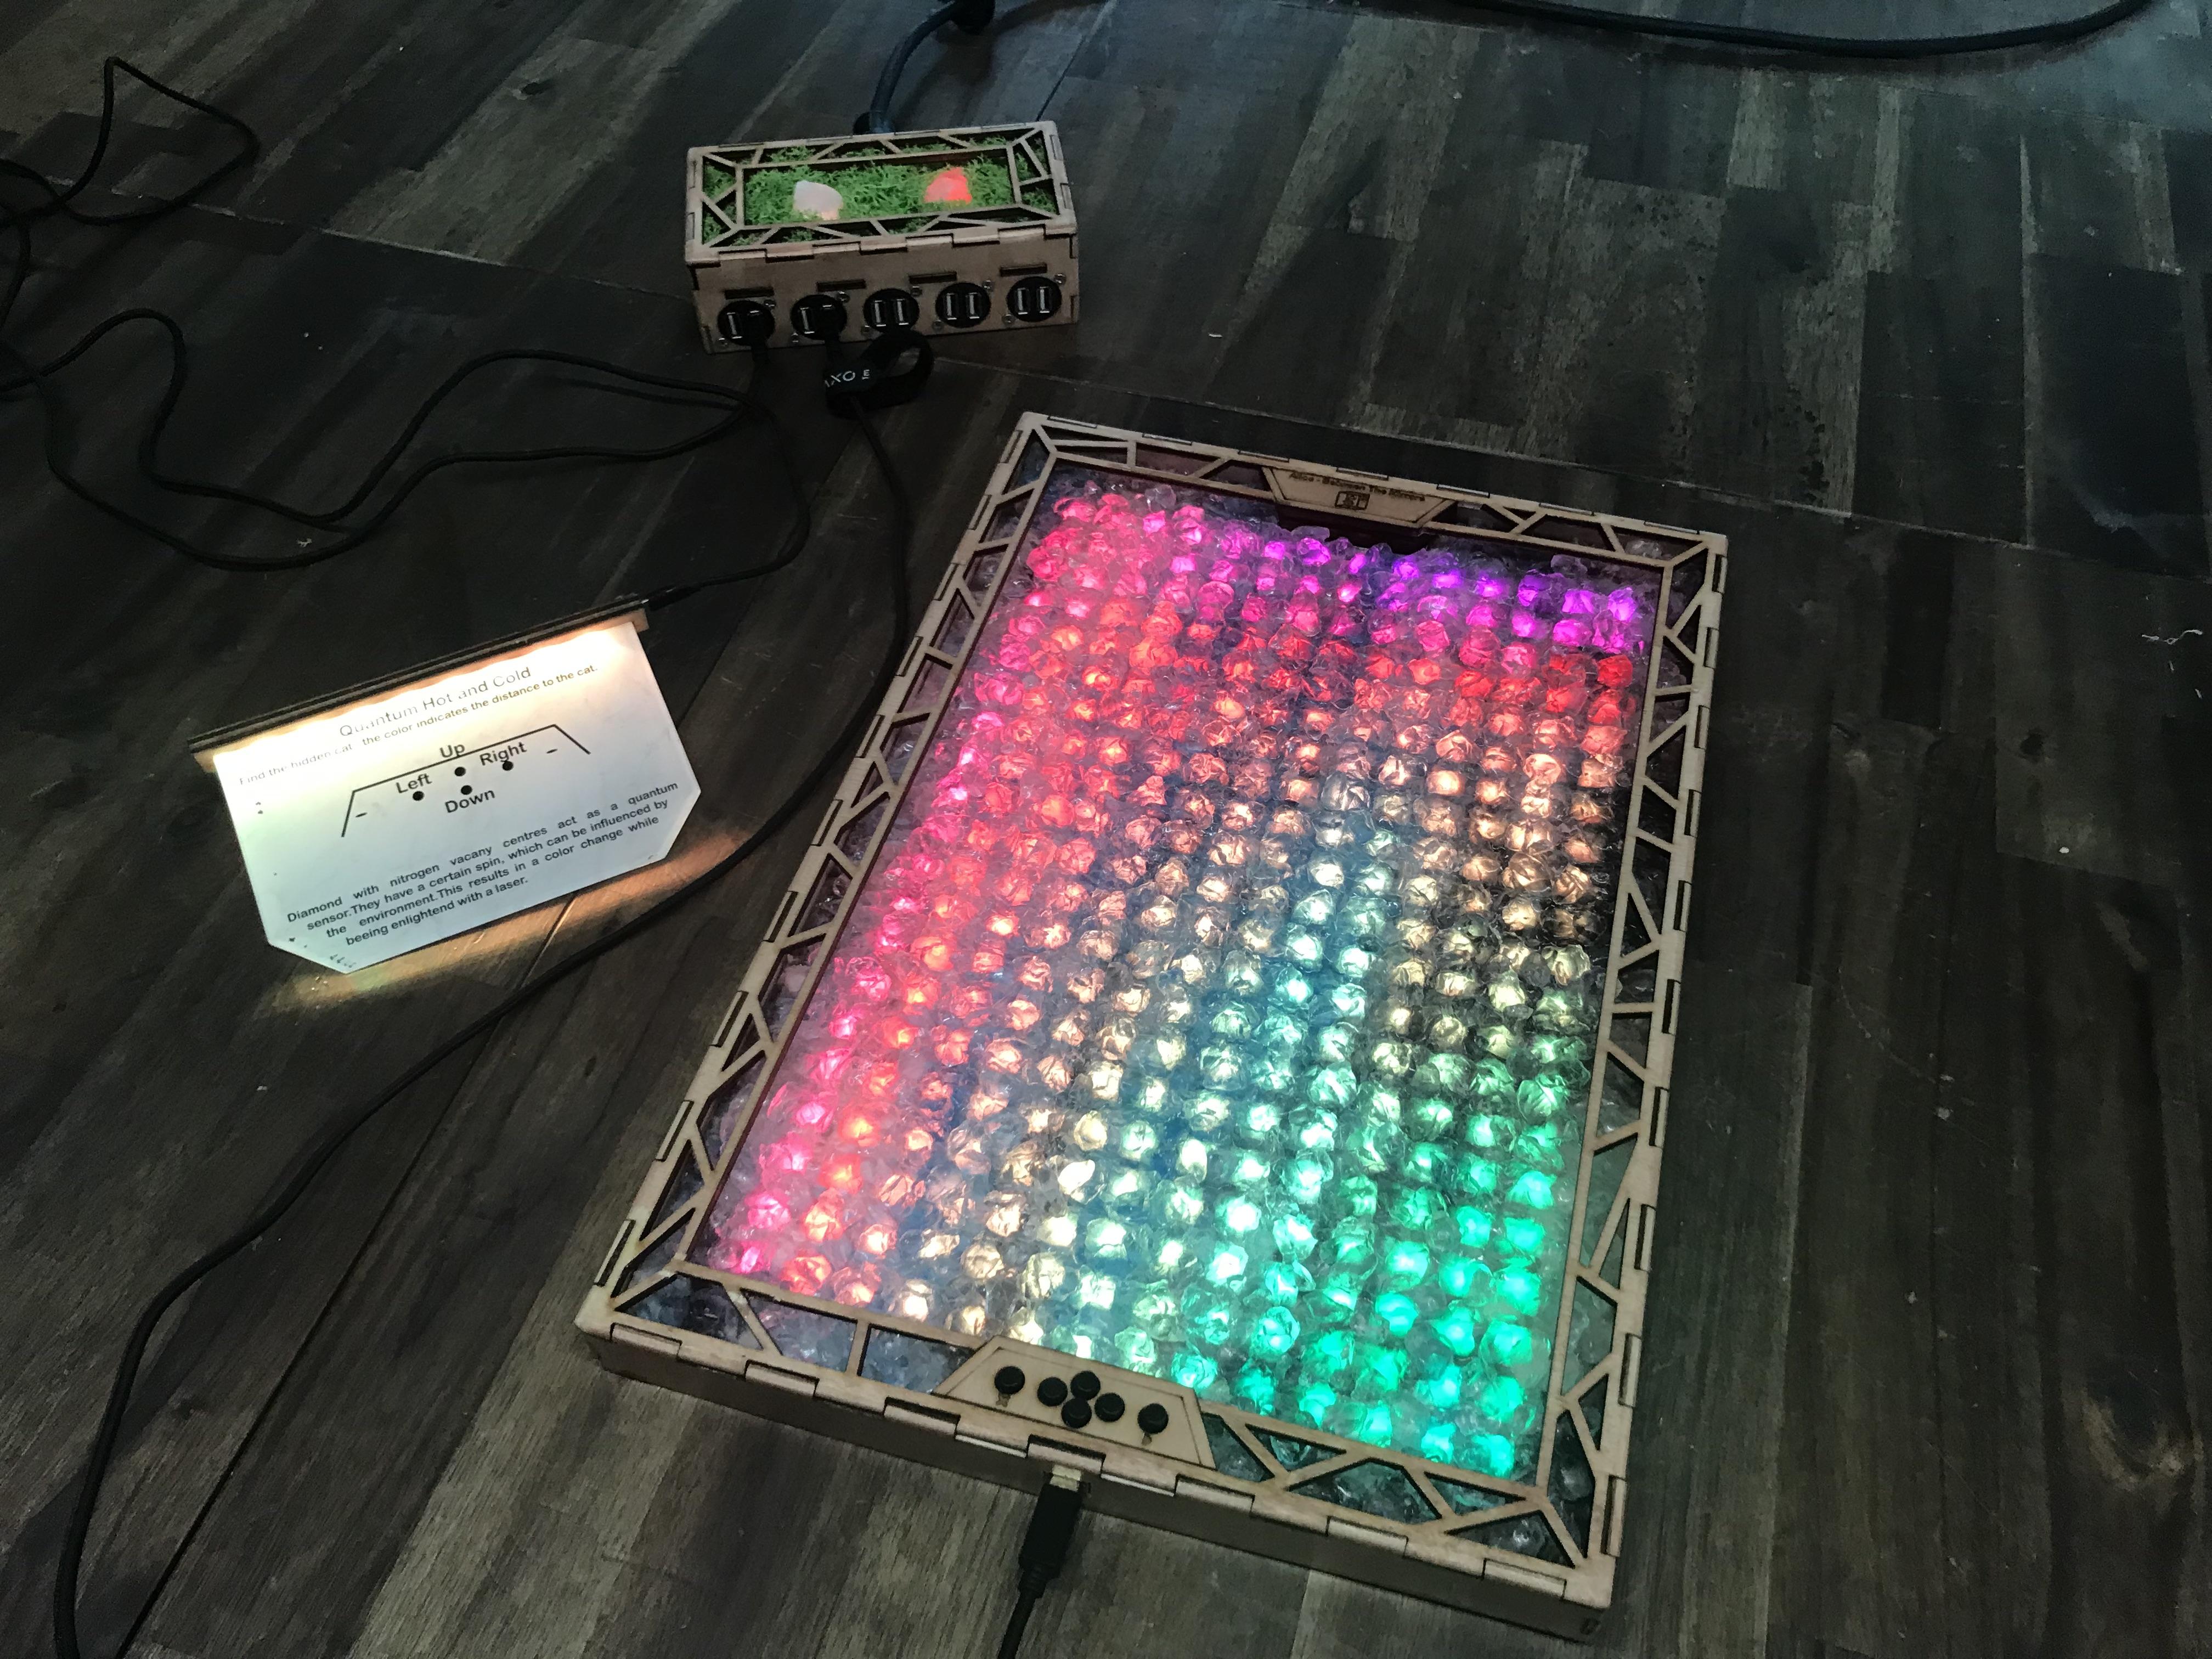
But back to quantum senors: In reality on would light up a tiny piece of diamond with nitrogen vacancy gaps with a laser. Depending on outside paramaters (and this sensor reacts to allmost anything, so challenge seems to be to only measure desired things) the color of the light will change. So we are not that far away with our LEDs behind glas, only no laser, no diamond and no reaction but programmed colors.
But we could use our LED panel for a hot and cold game to catch a cat (or stroke a cat, but normally cats are treated badly in quantum technology). You steer a light dot over the field, and it will become greener if you get closer to the (moving) cat, and more redish if you went away. If you get on the same position, you win the game.
Mirror
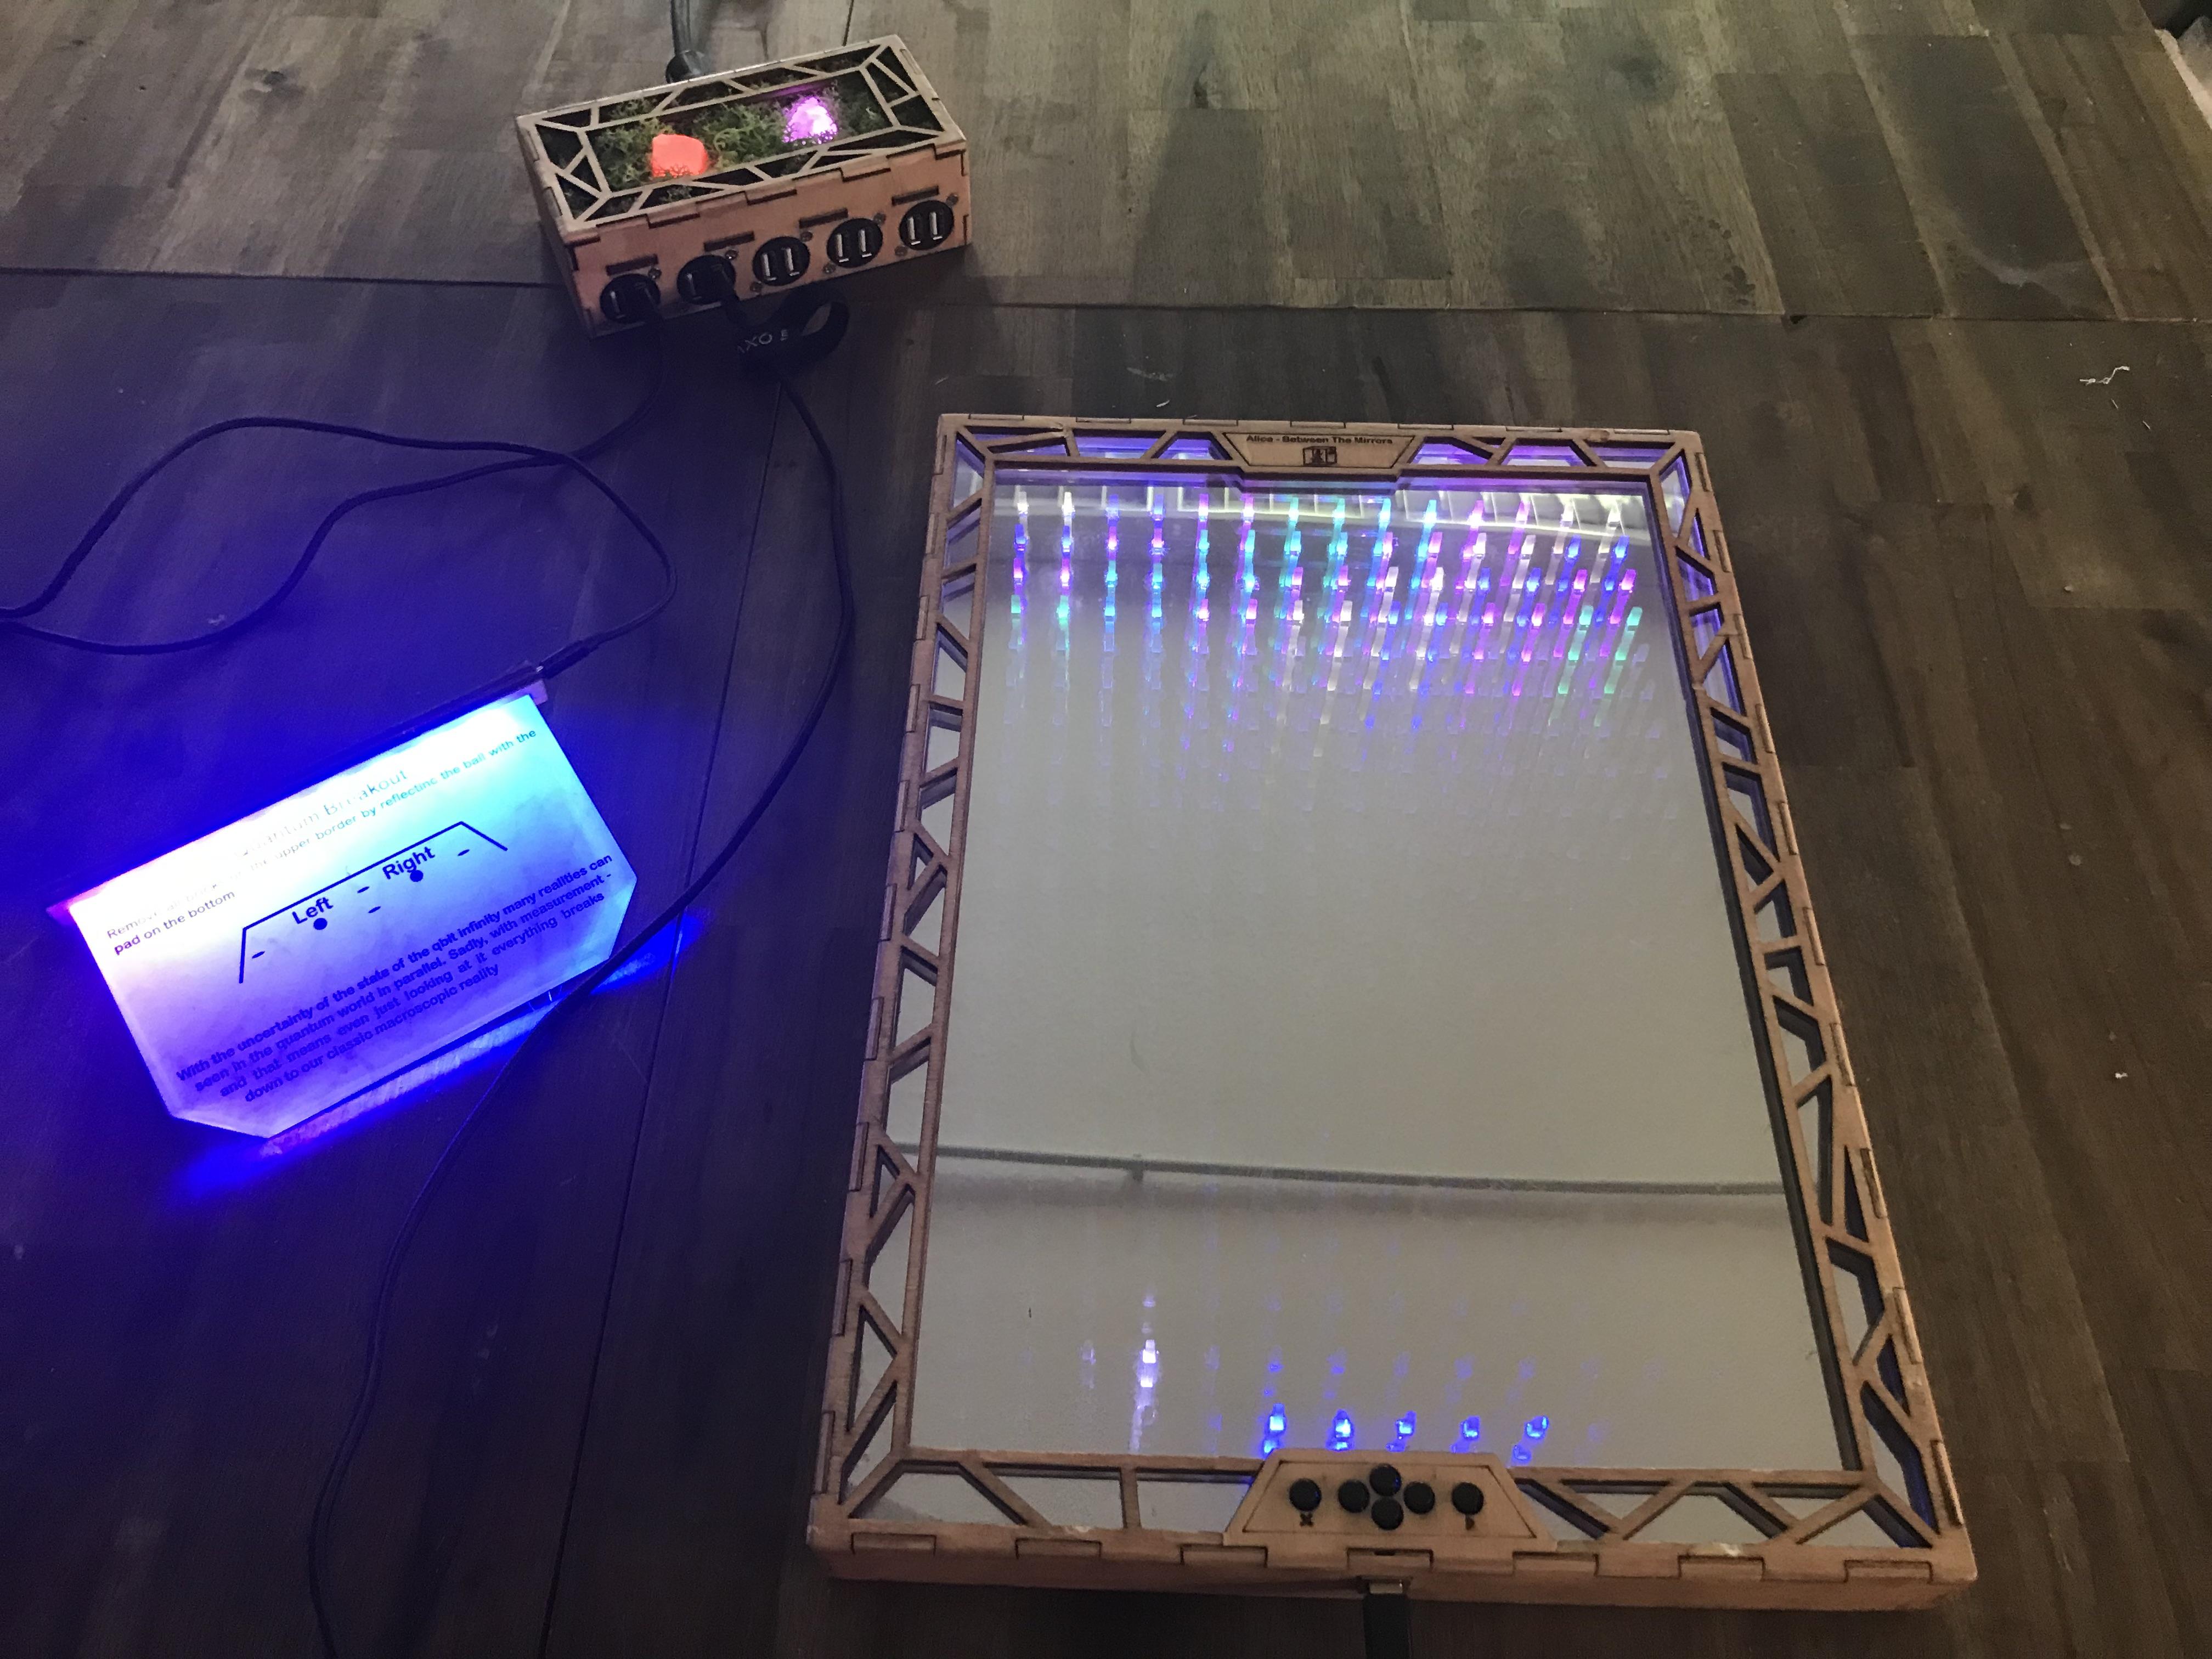
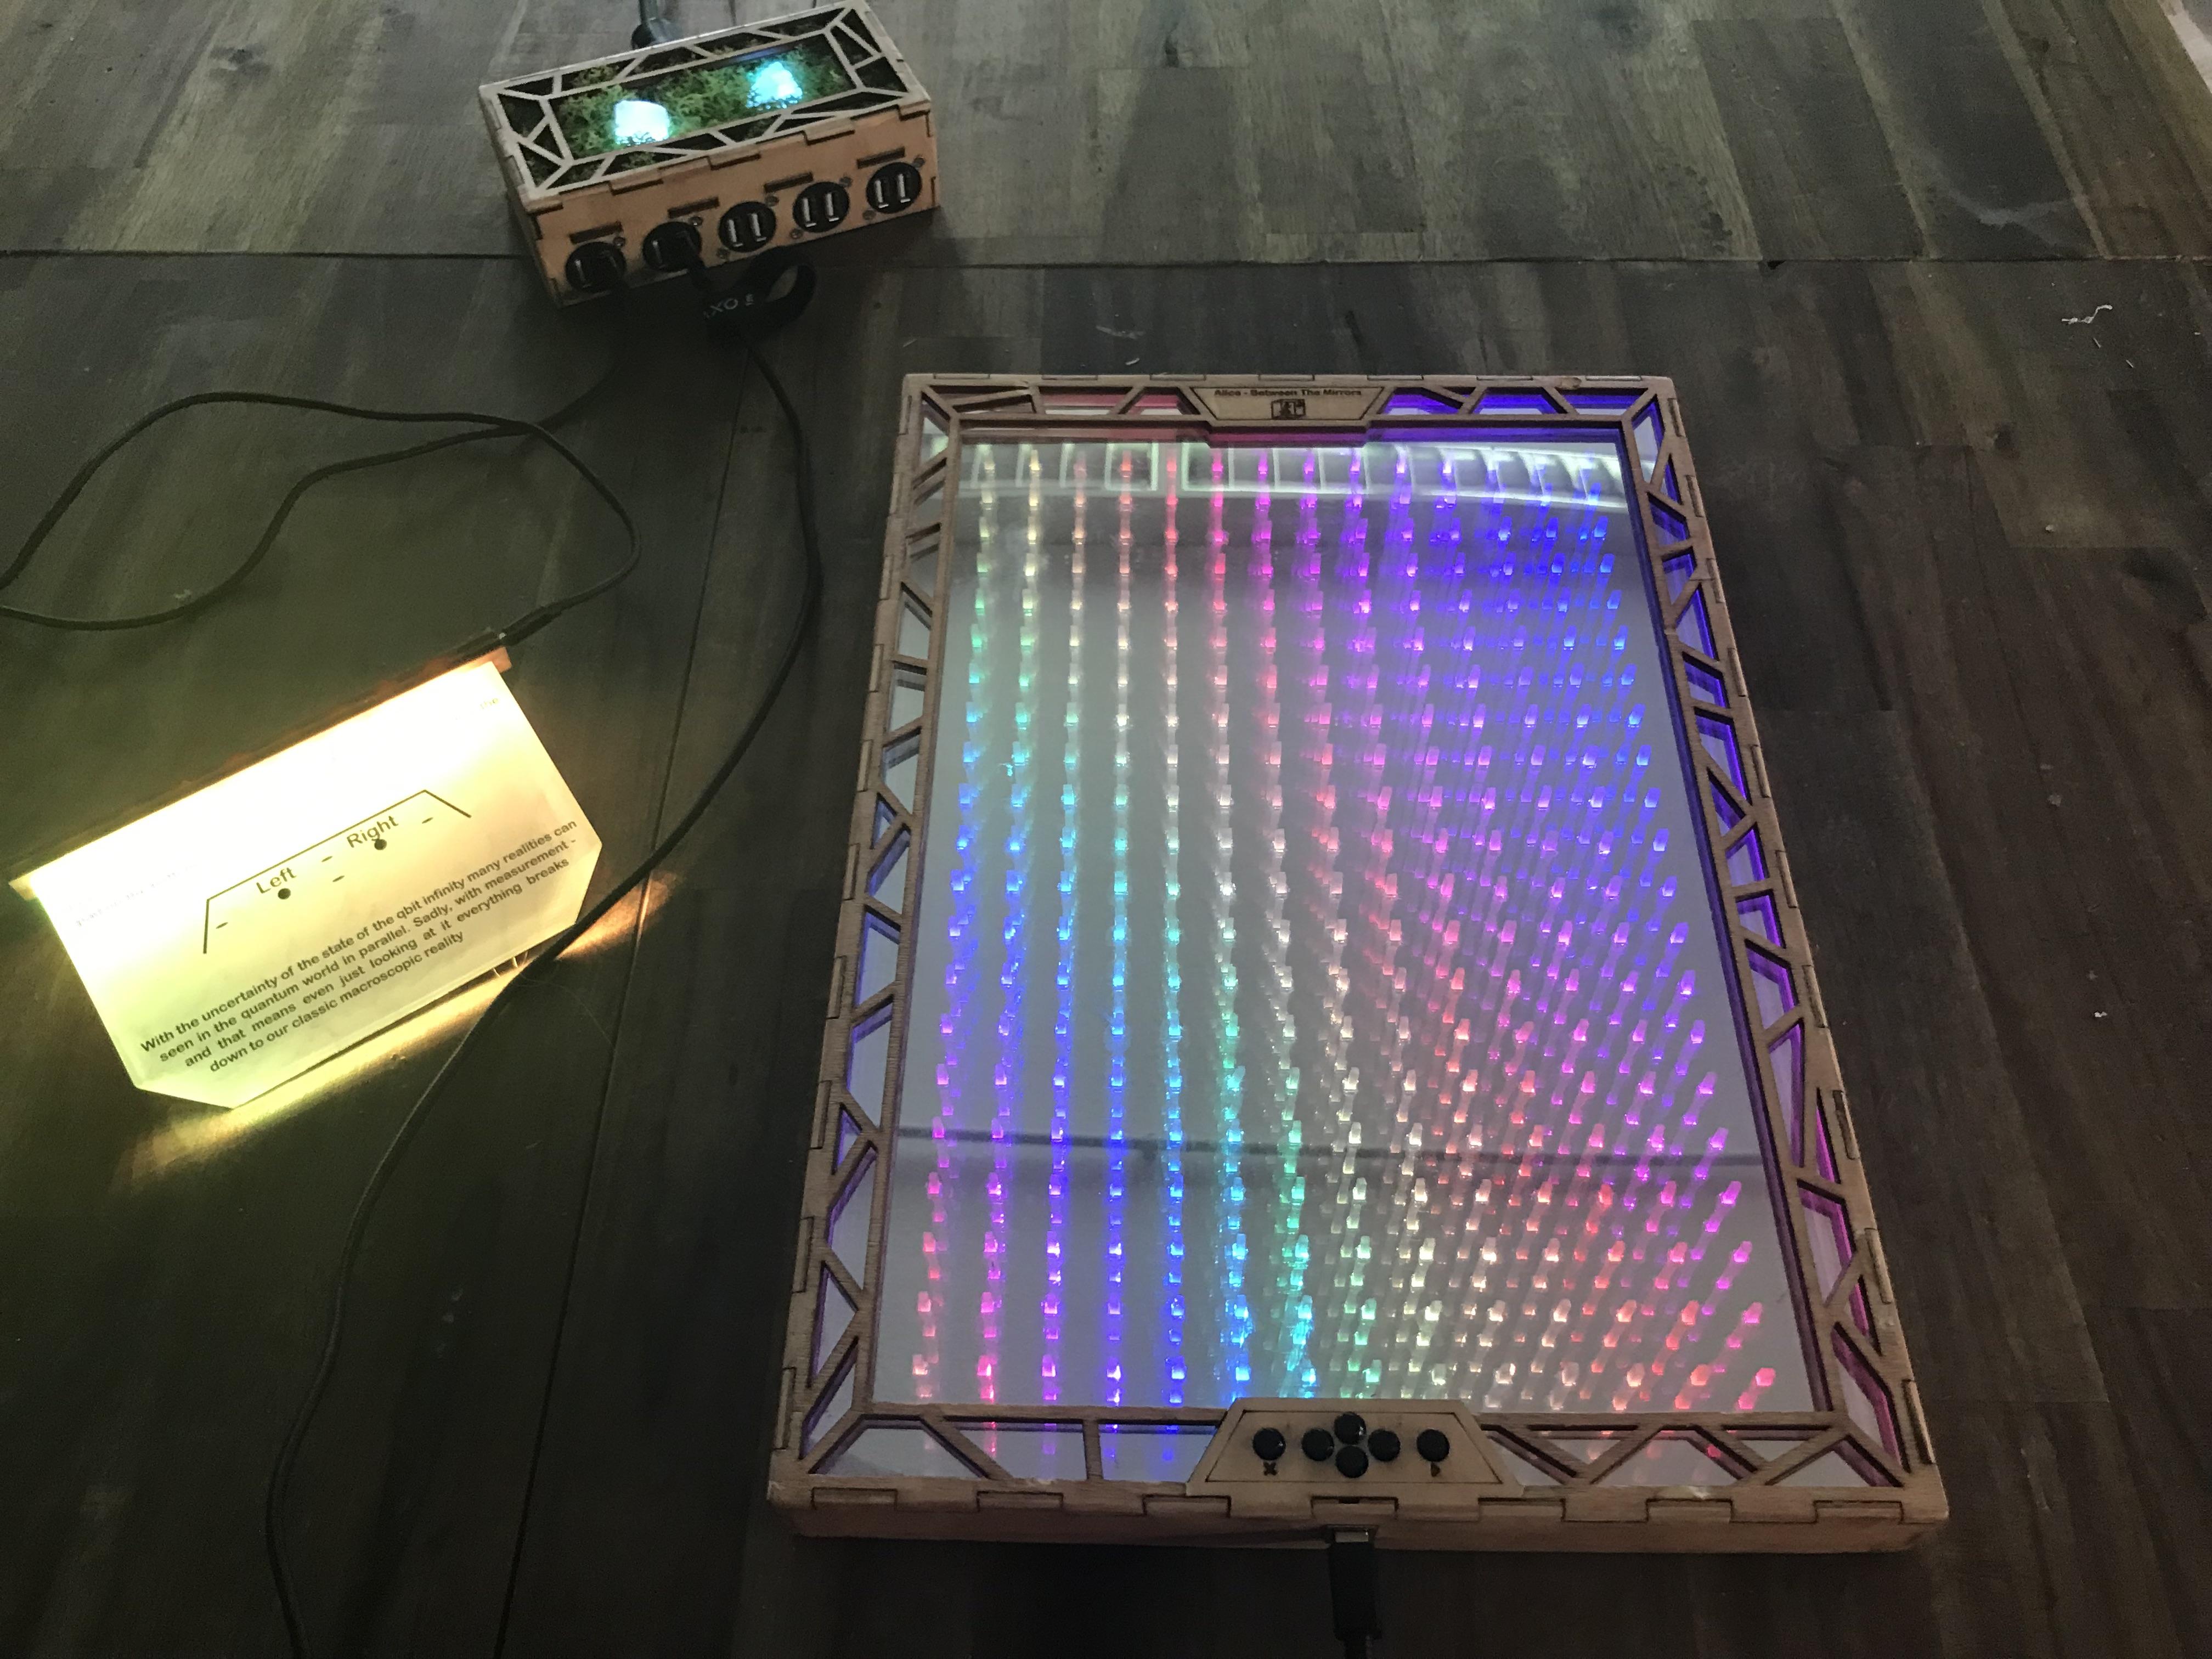
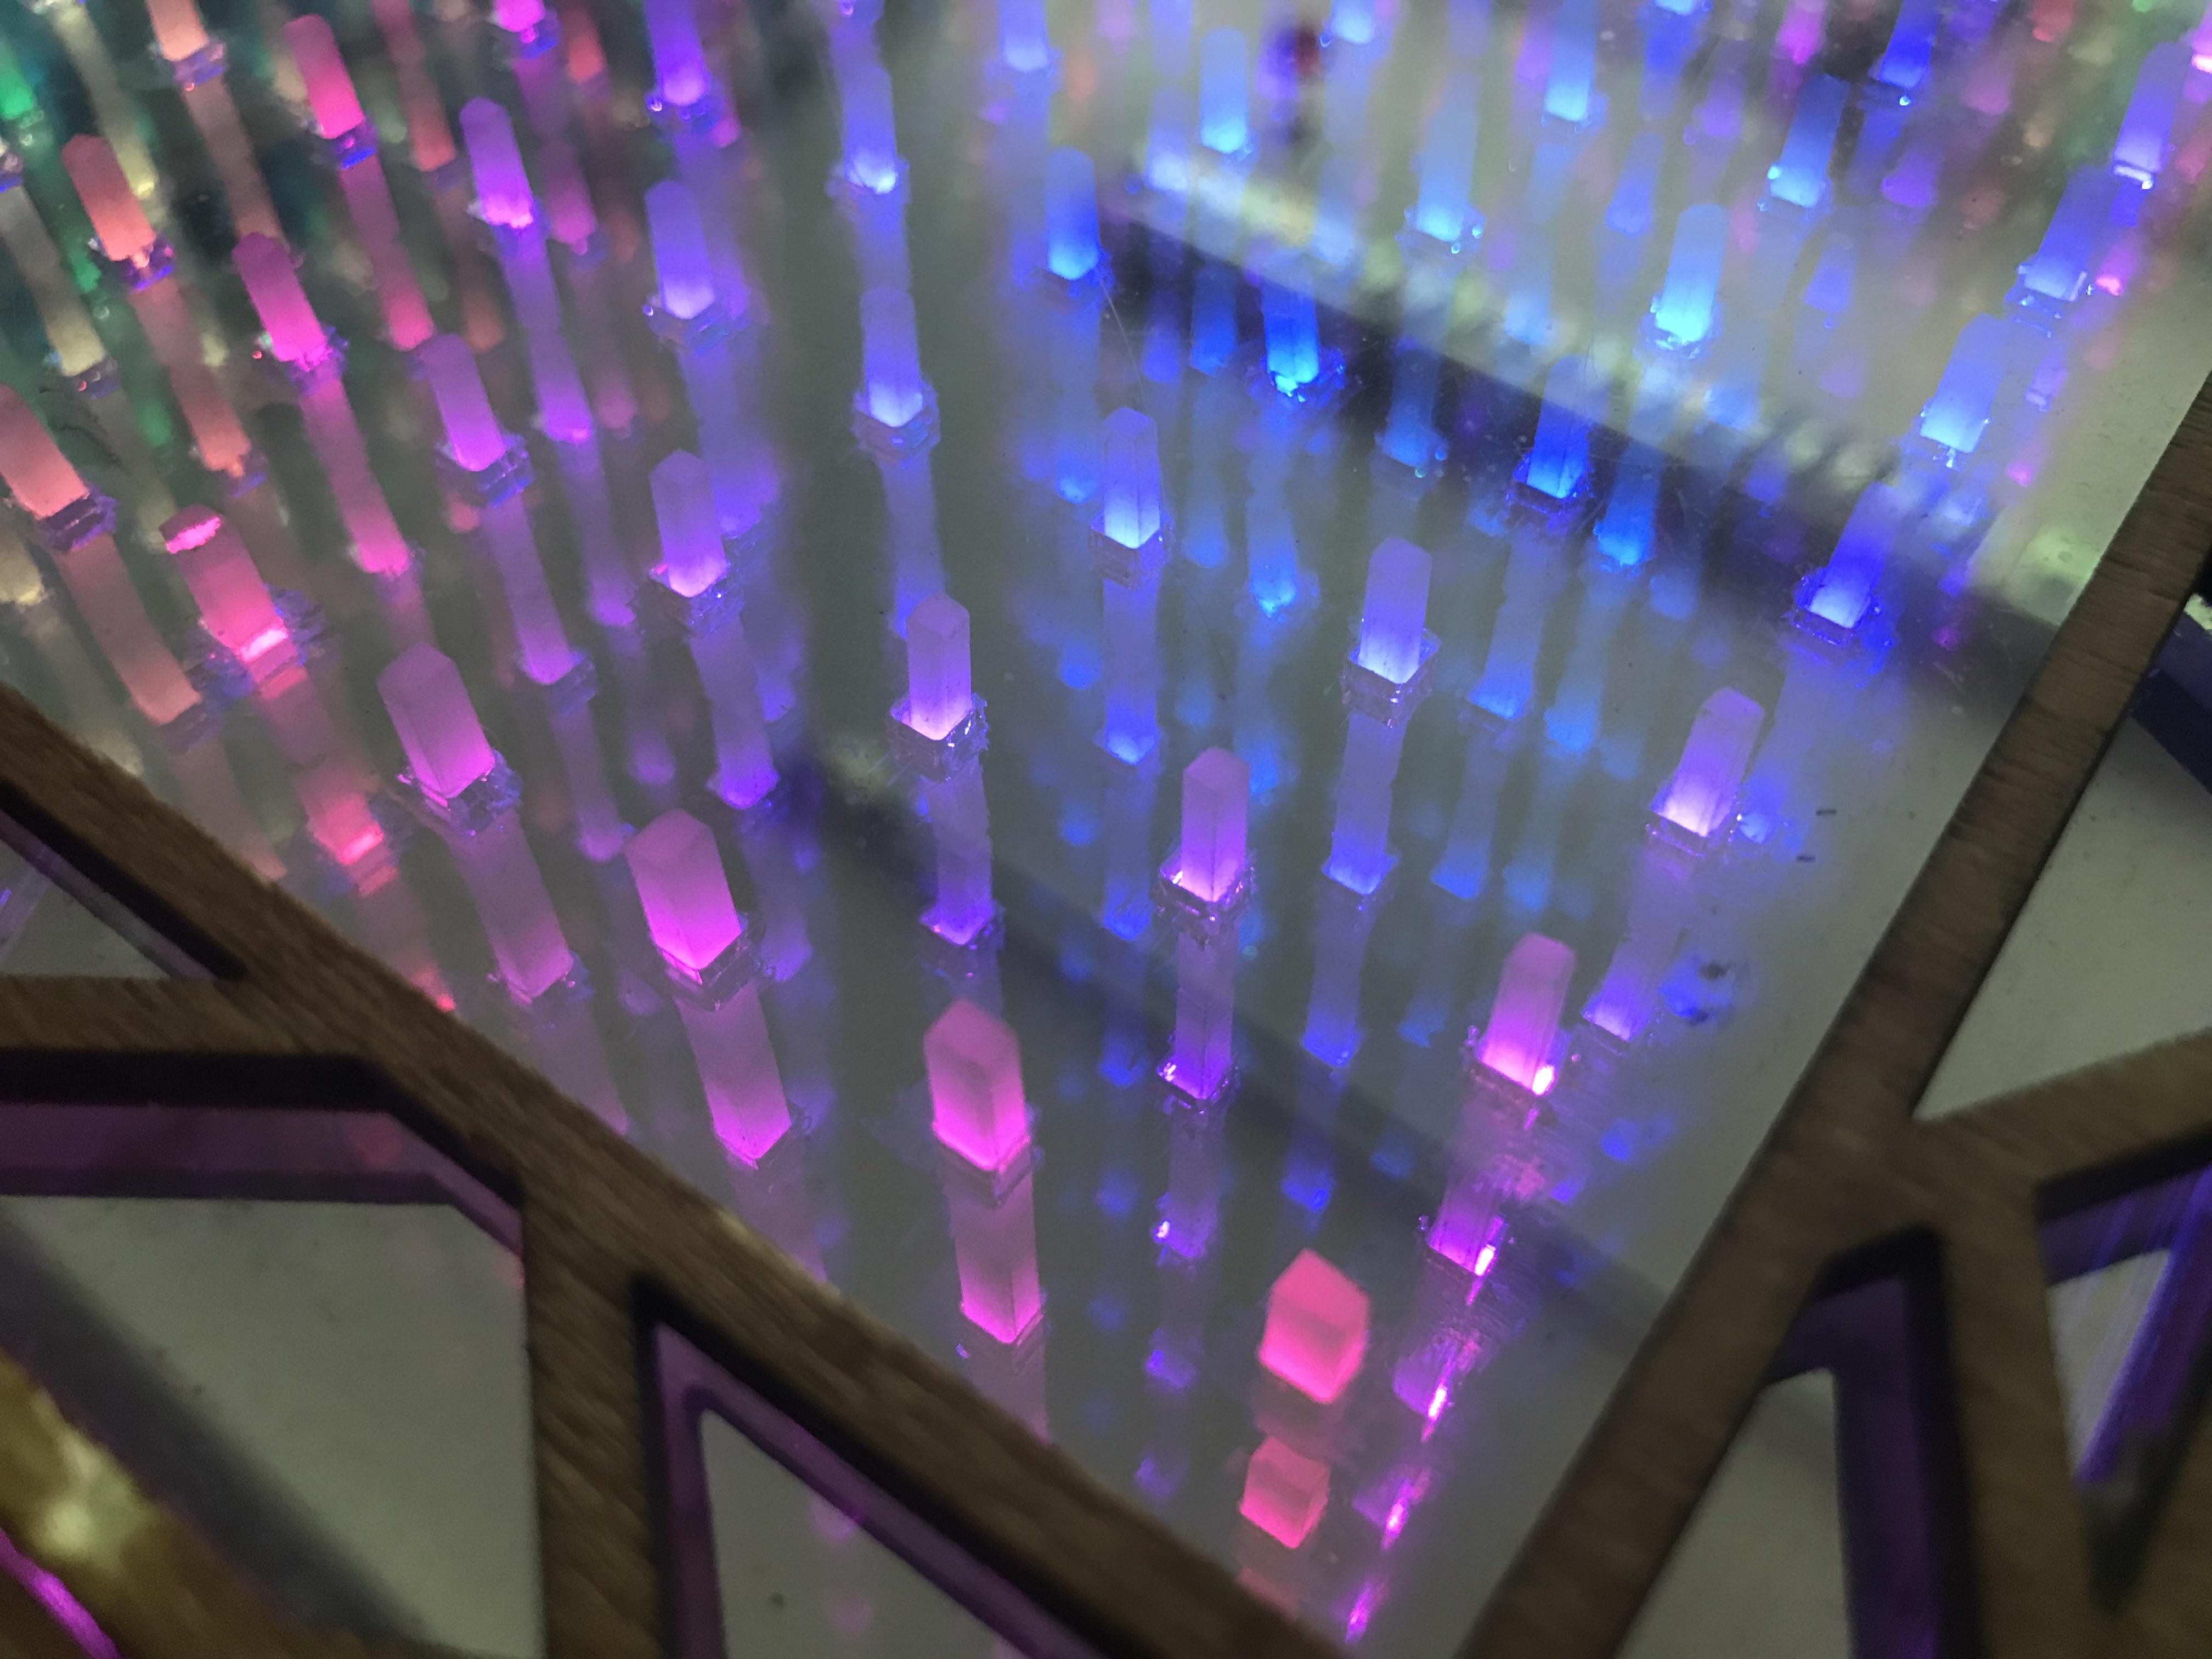
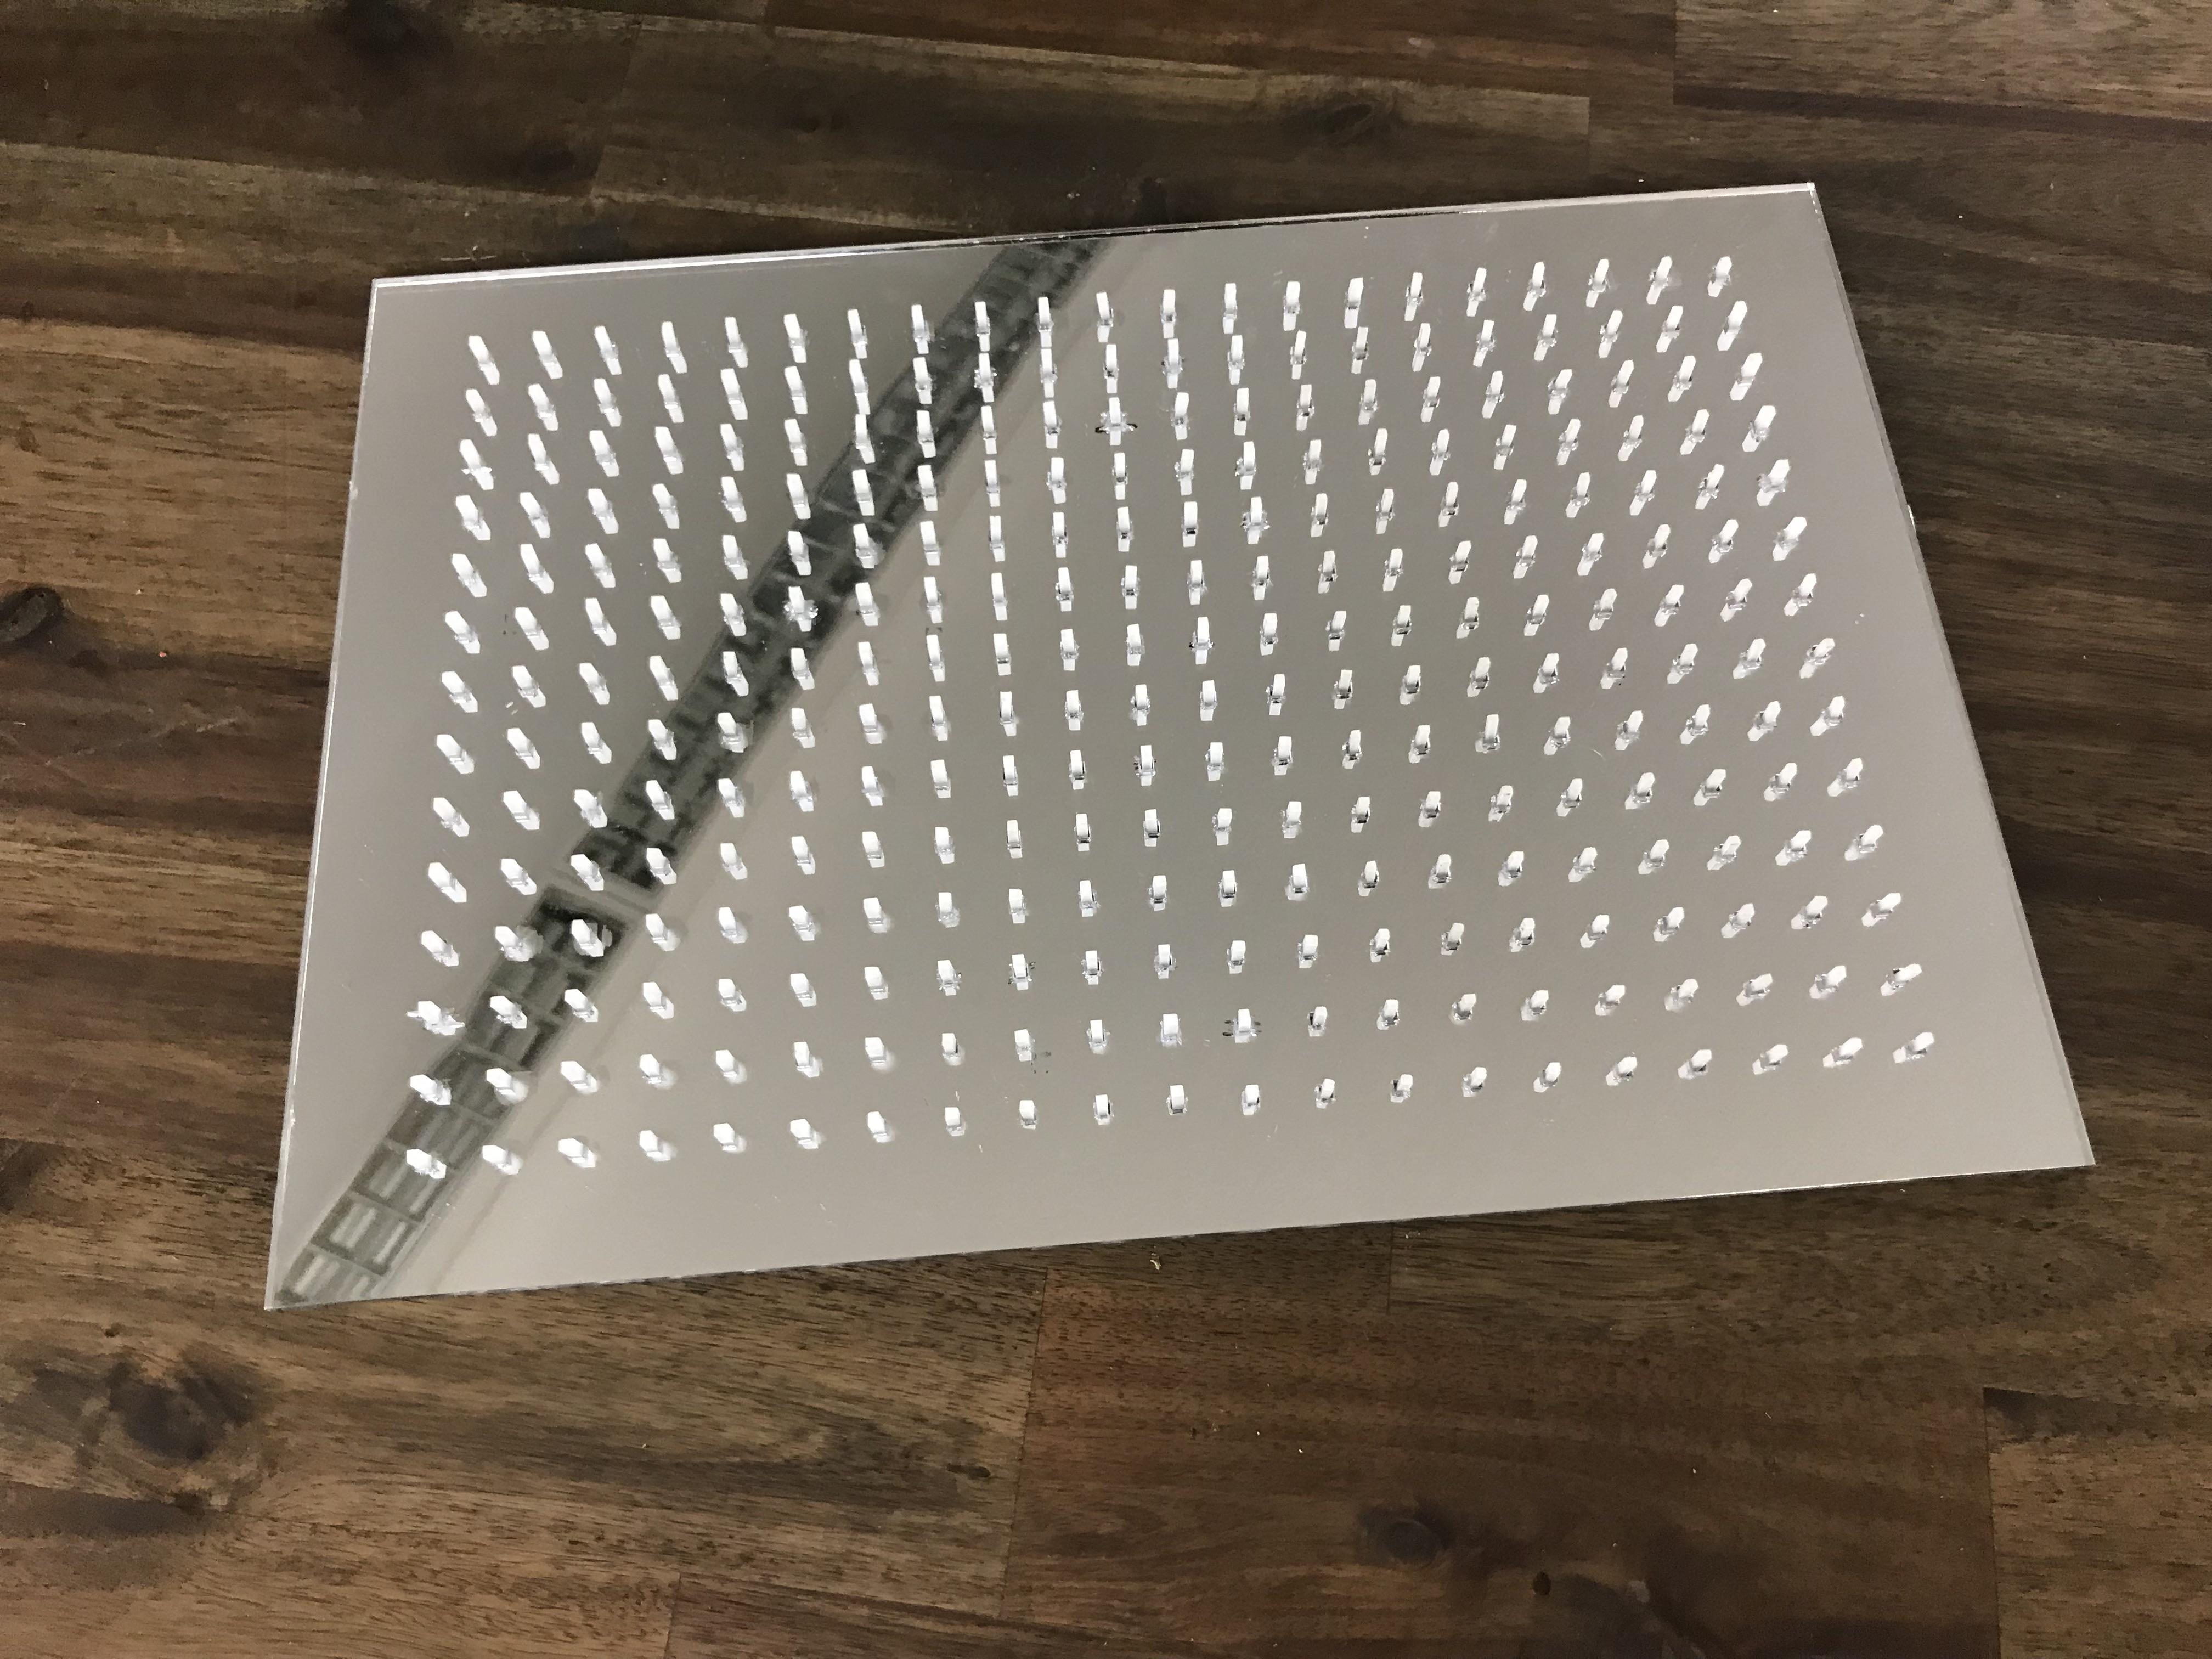

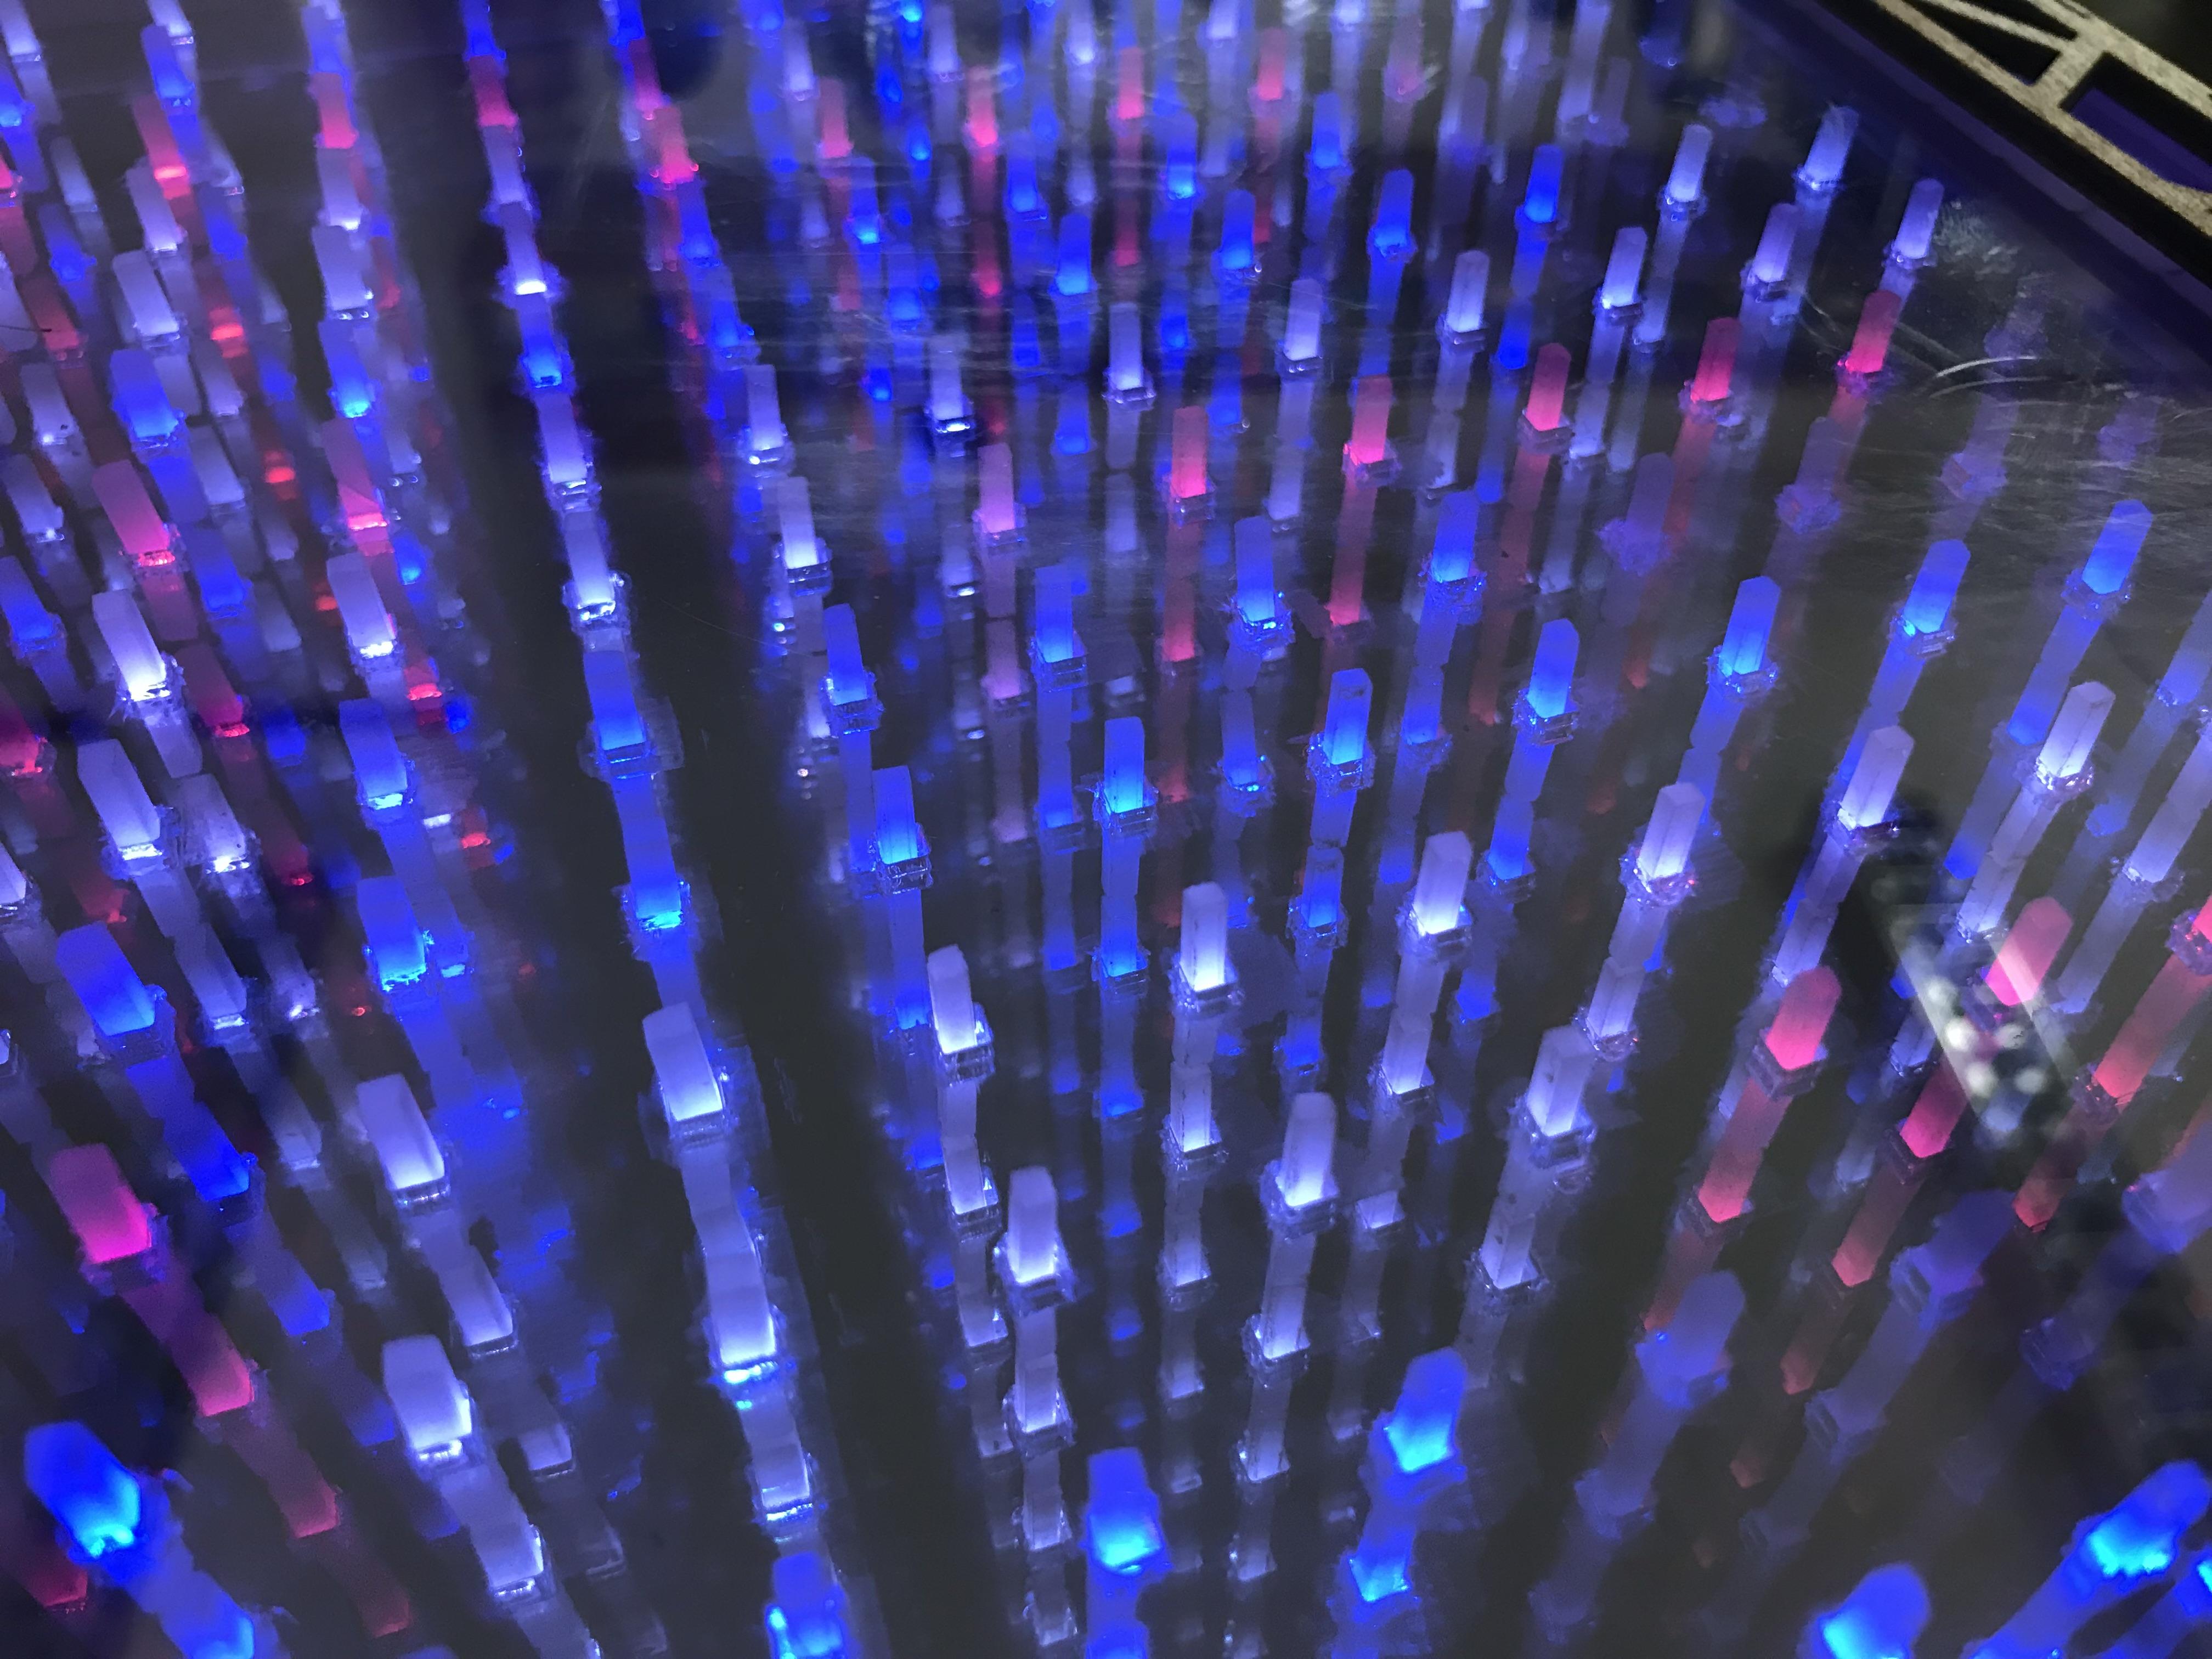
A bit more complex, but we love endless mirror stuff: We laser cut 3*3mm squares into an acrylic mirror, with each hole above an LED position. The holes are then covered on the mirrors back side with transparent tape. Thereafter we instered laser cut 3*10mm blocks (out of 3mm diffuse acrylic)into the holes, fixed with a drop of superglue (the tape behind the holes is there to prevent things for going to messy). Later a second layer of half-transparent mirror arylic is put on top of it.
Here we use a multi dimensional breakout game (remove the upper layer of bricks by bouncing a ball back with the panel at the bottom). Obviously, all visible dimensions looks suspicially as just the same reflection, but in quantum technology the state of a qbit can be complety uncertain. Only with a measurement - and thats even looking at it - it will breaks down into our normal macroscopic reality.
Epoxy
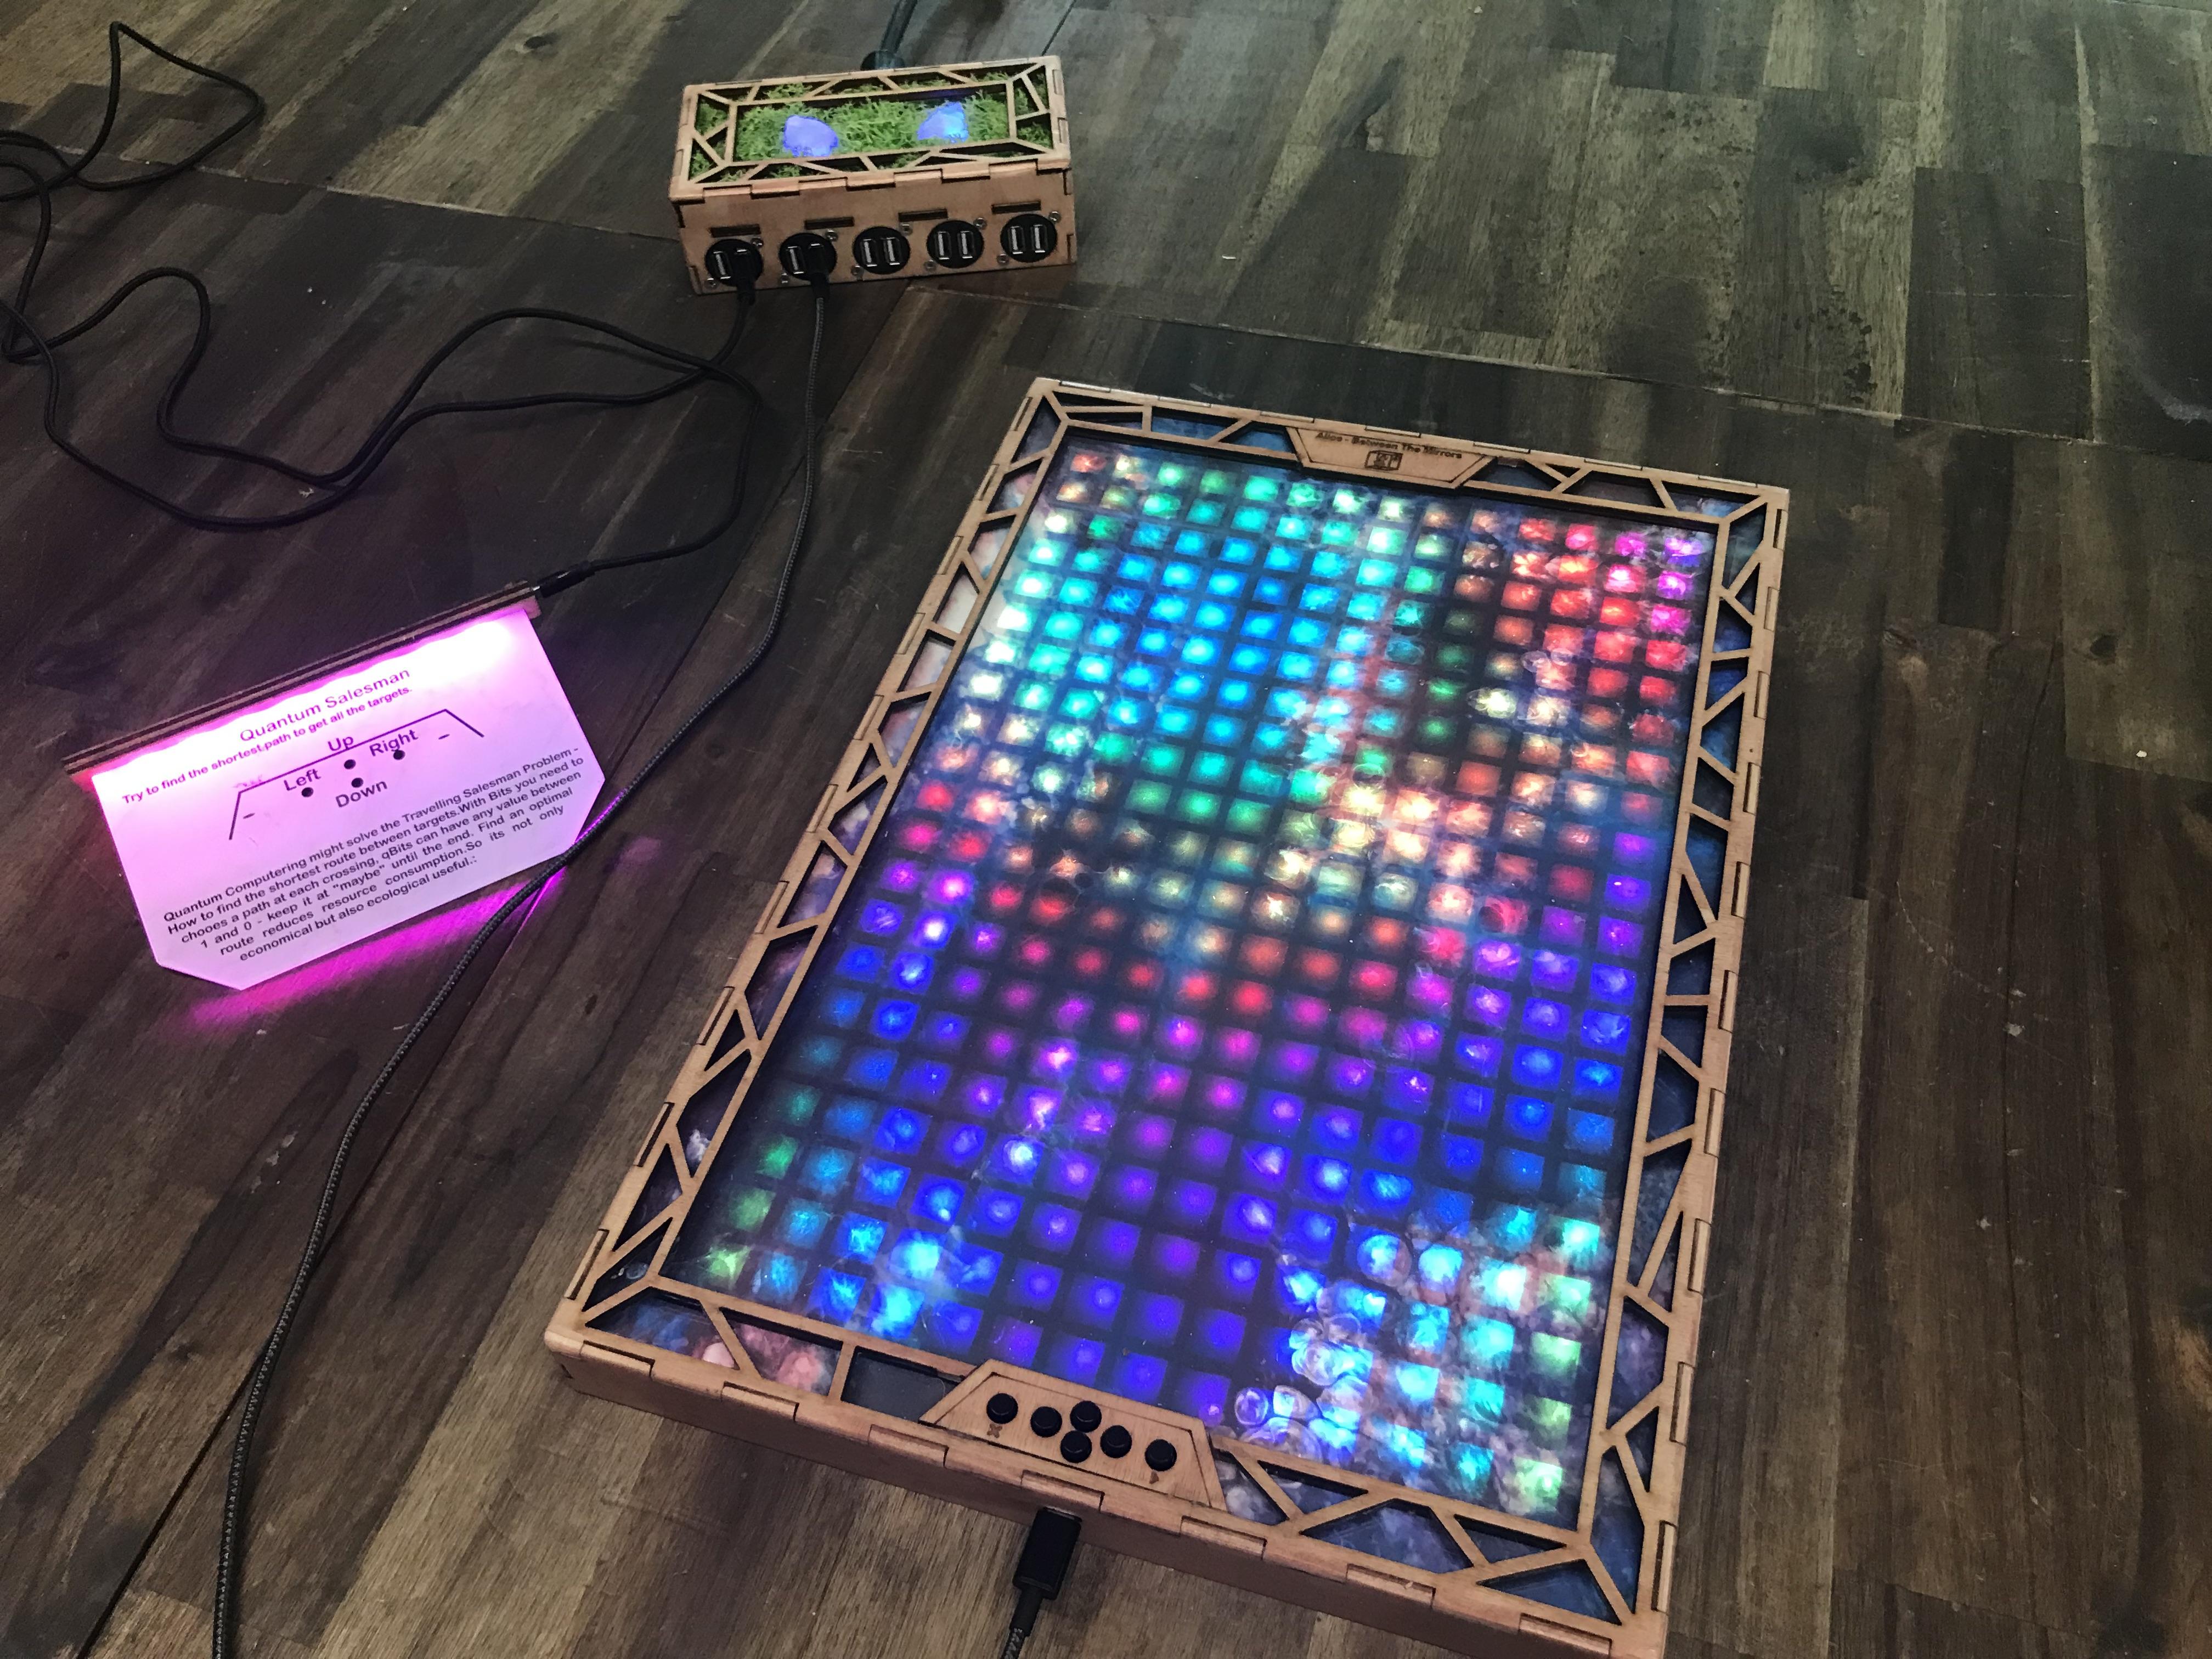
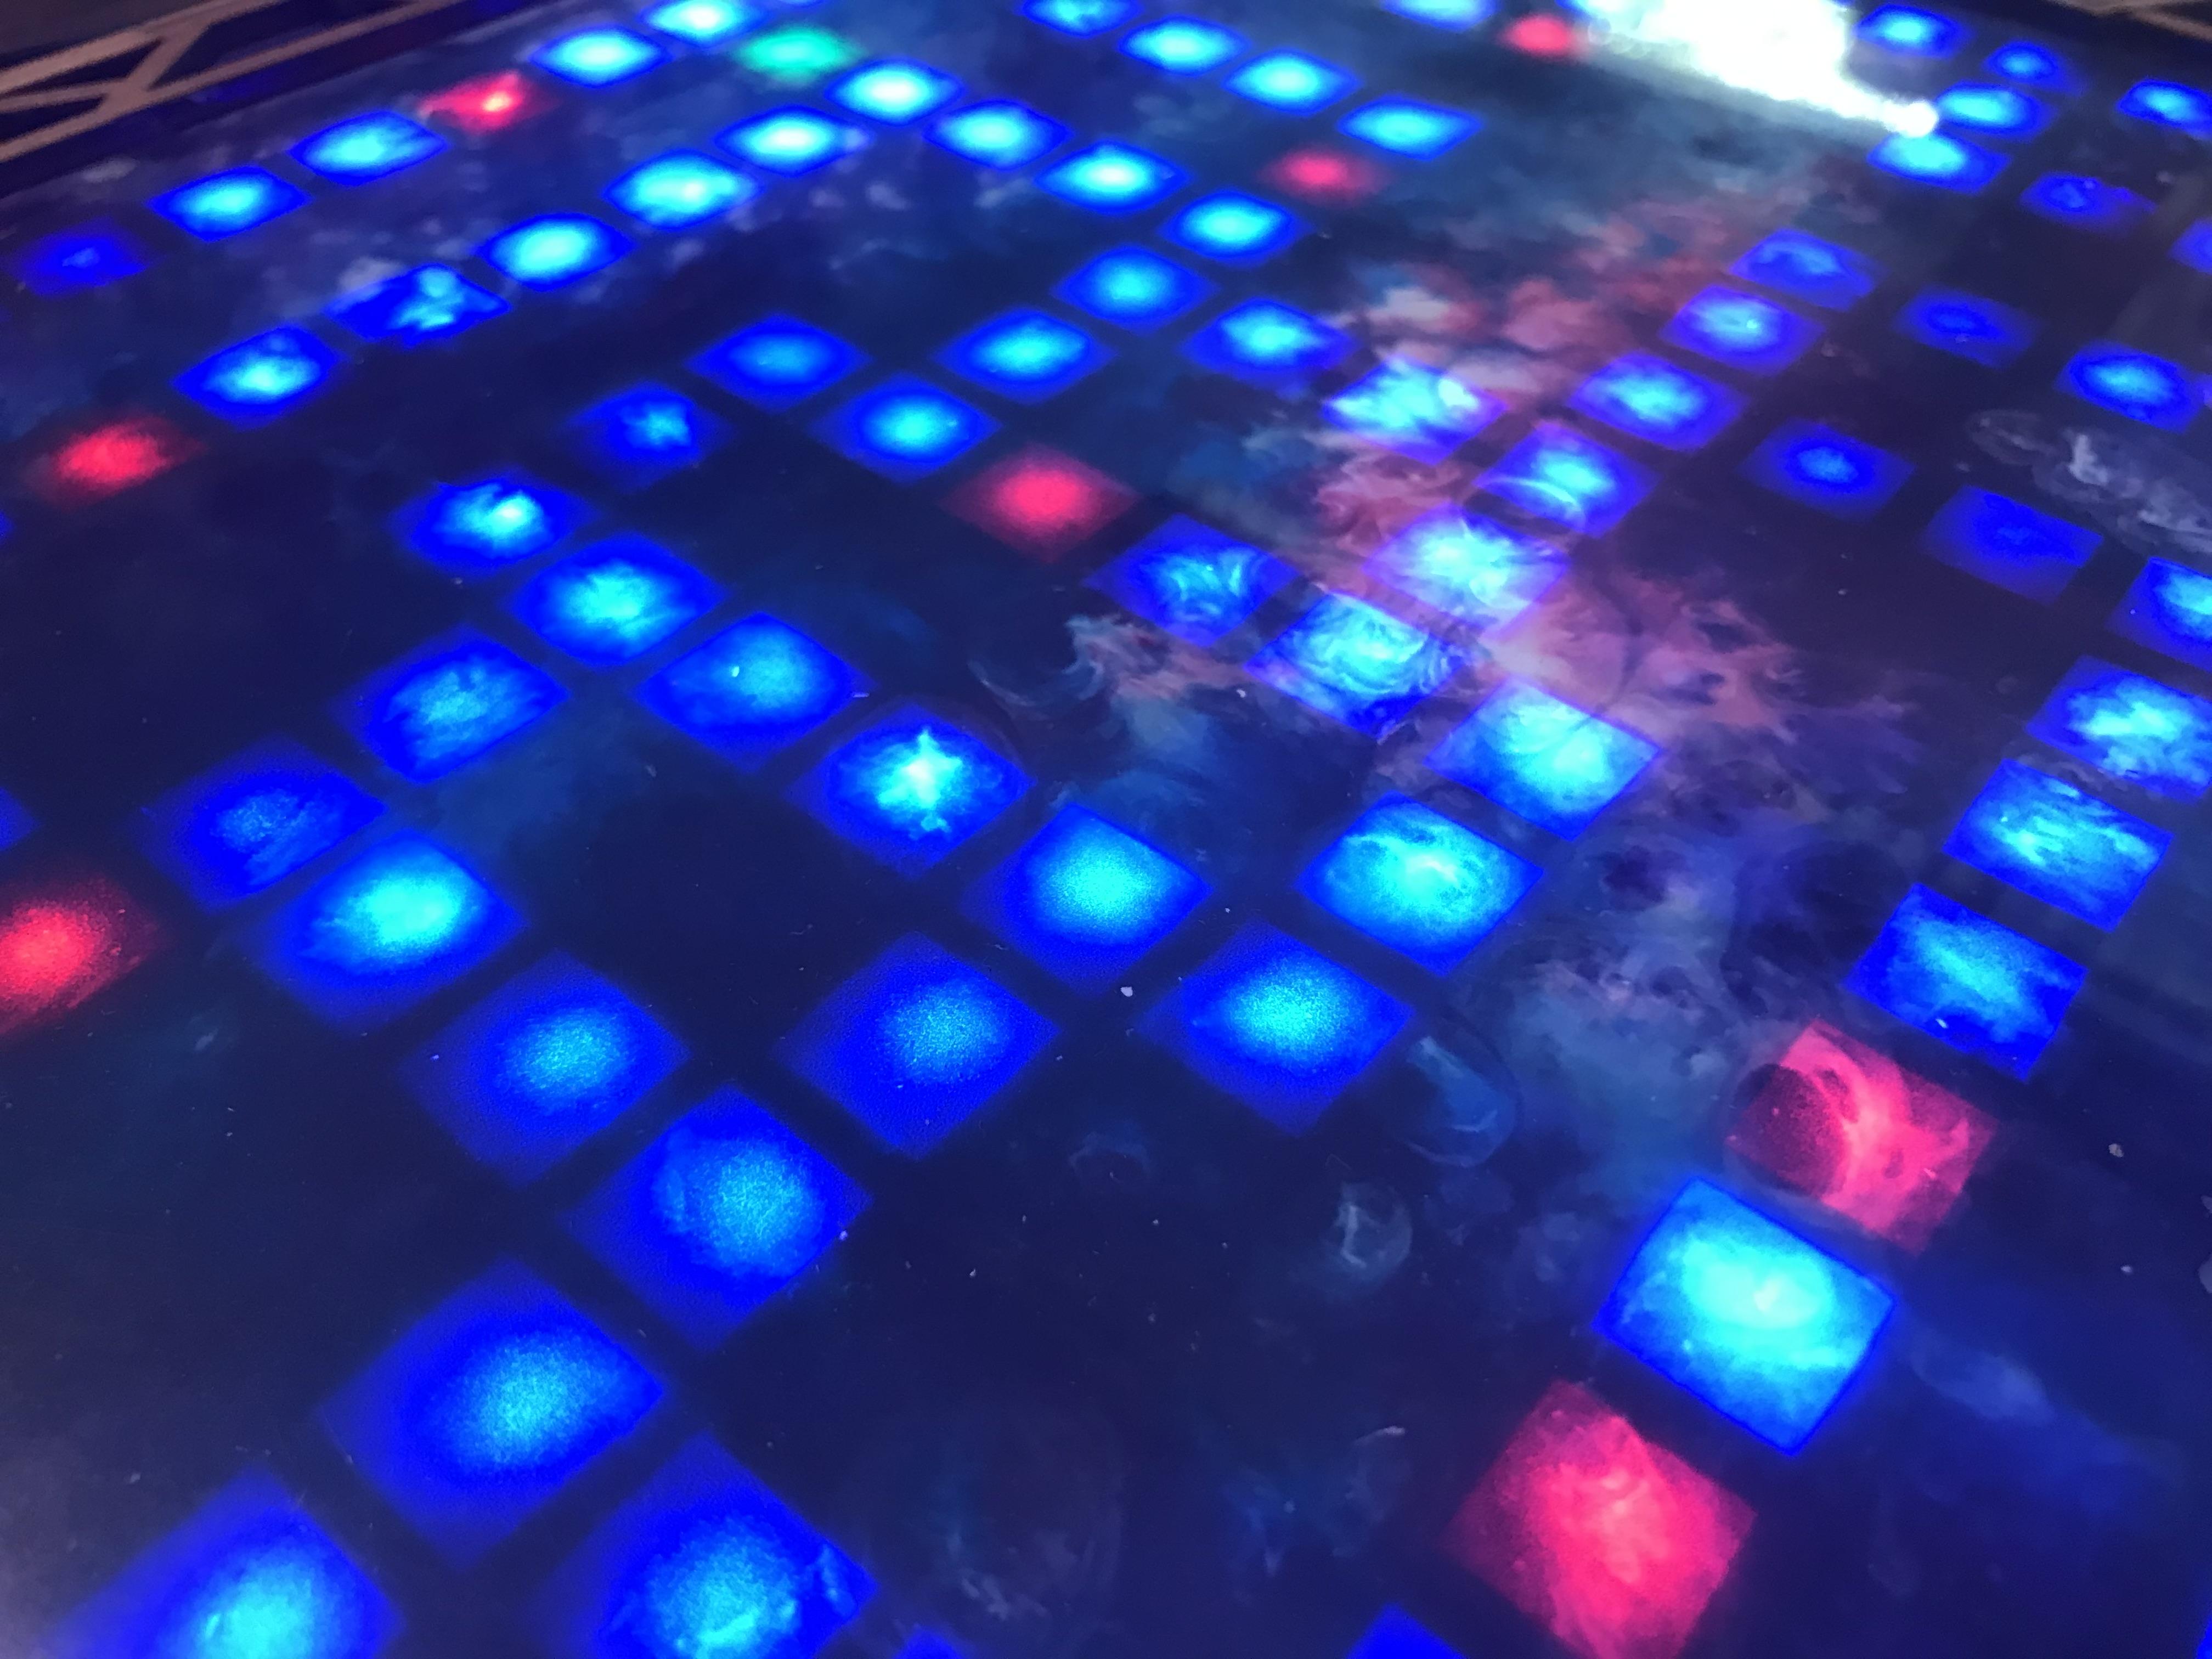
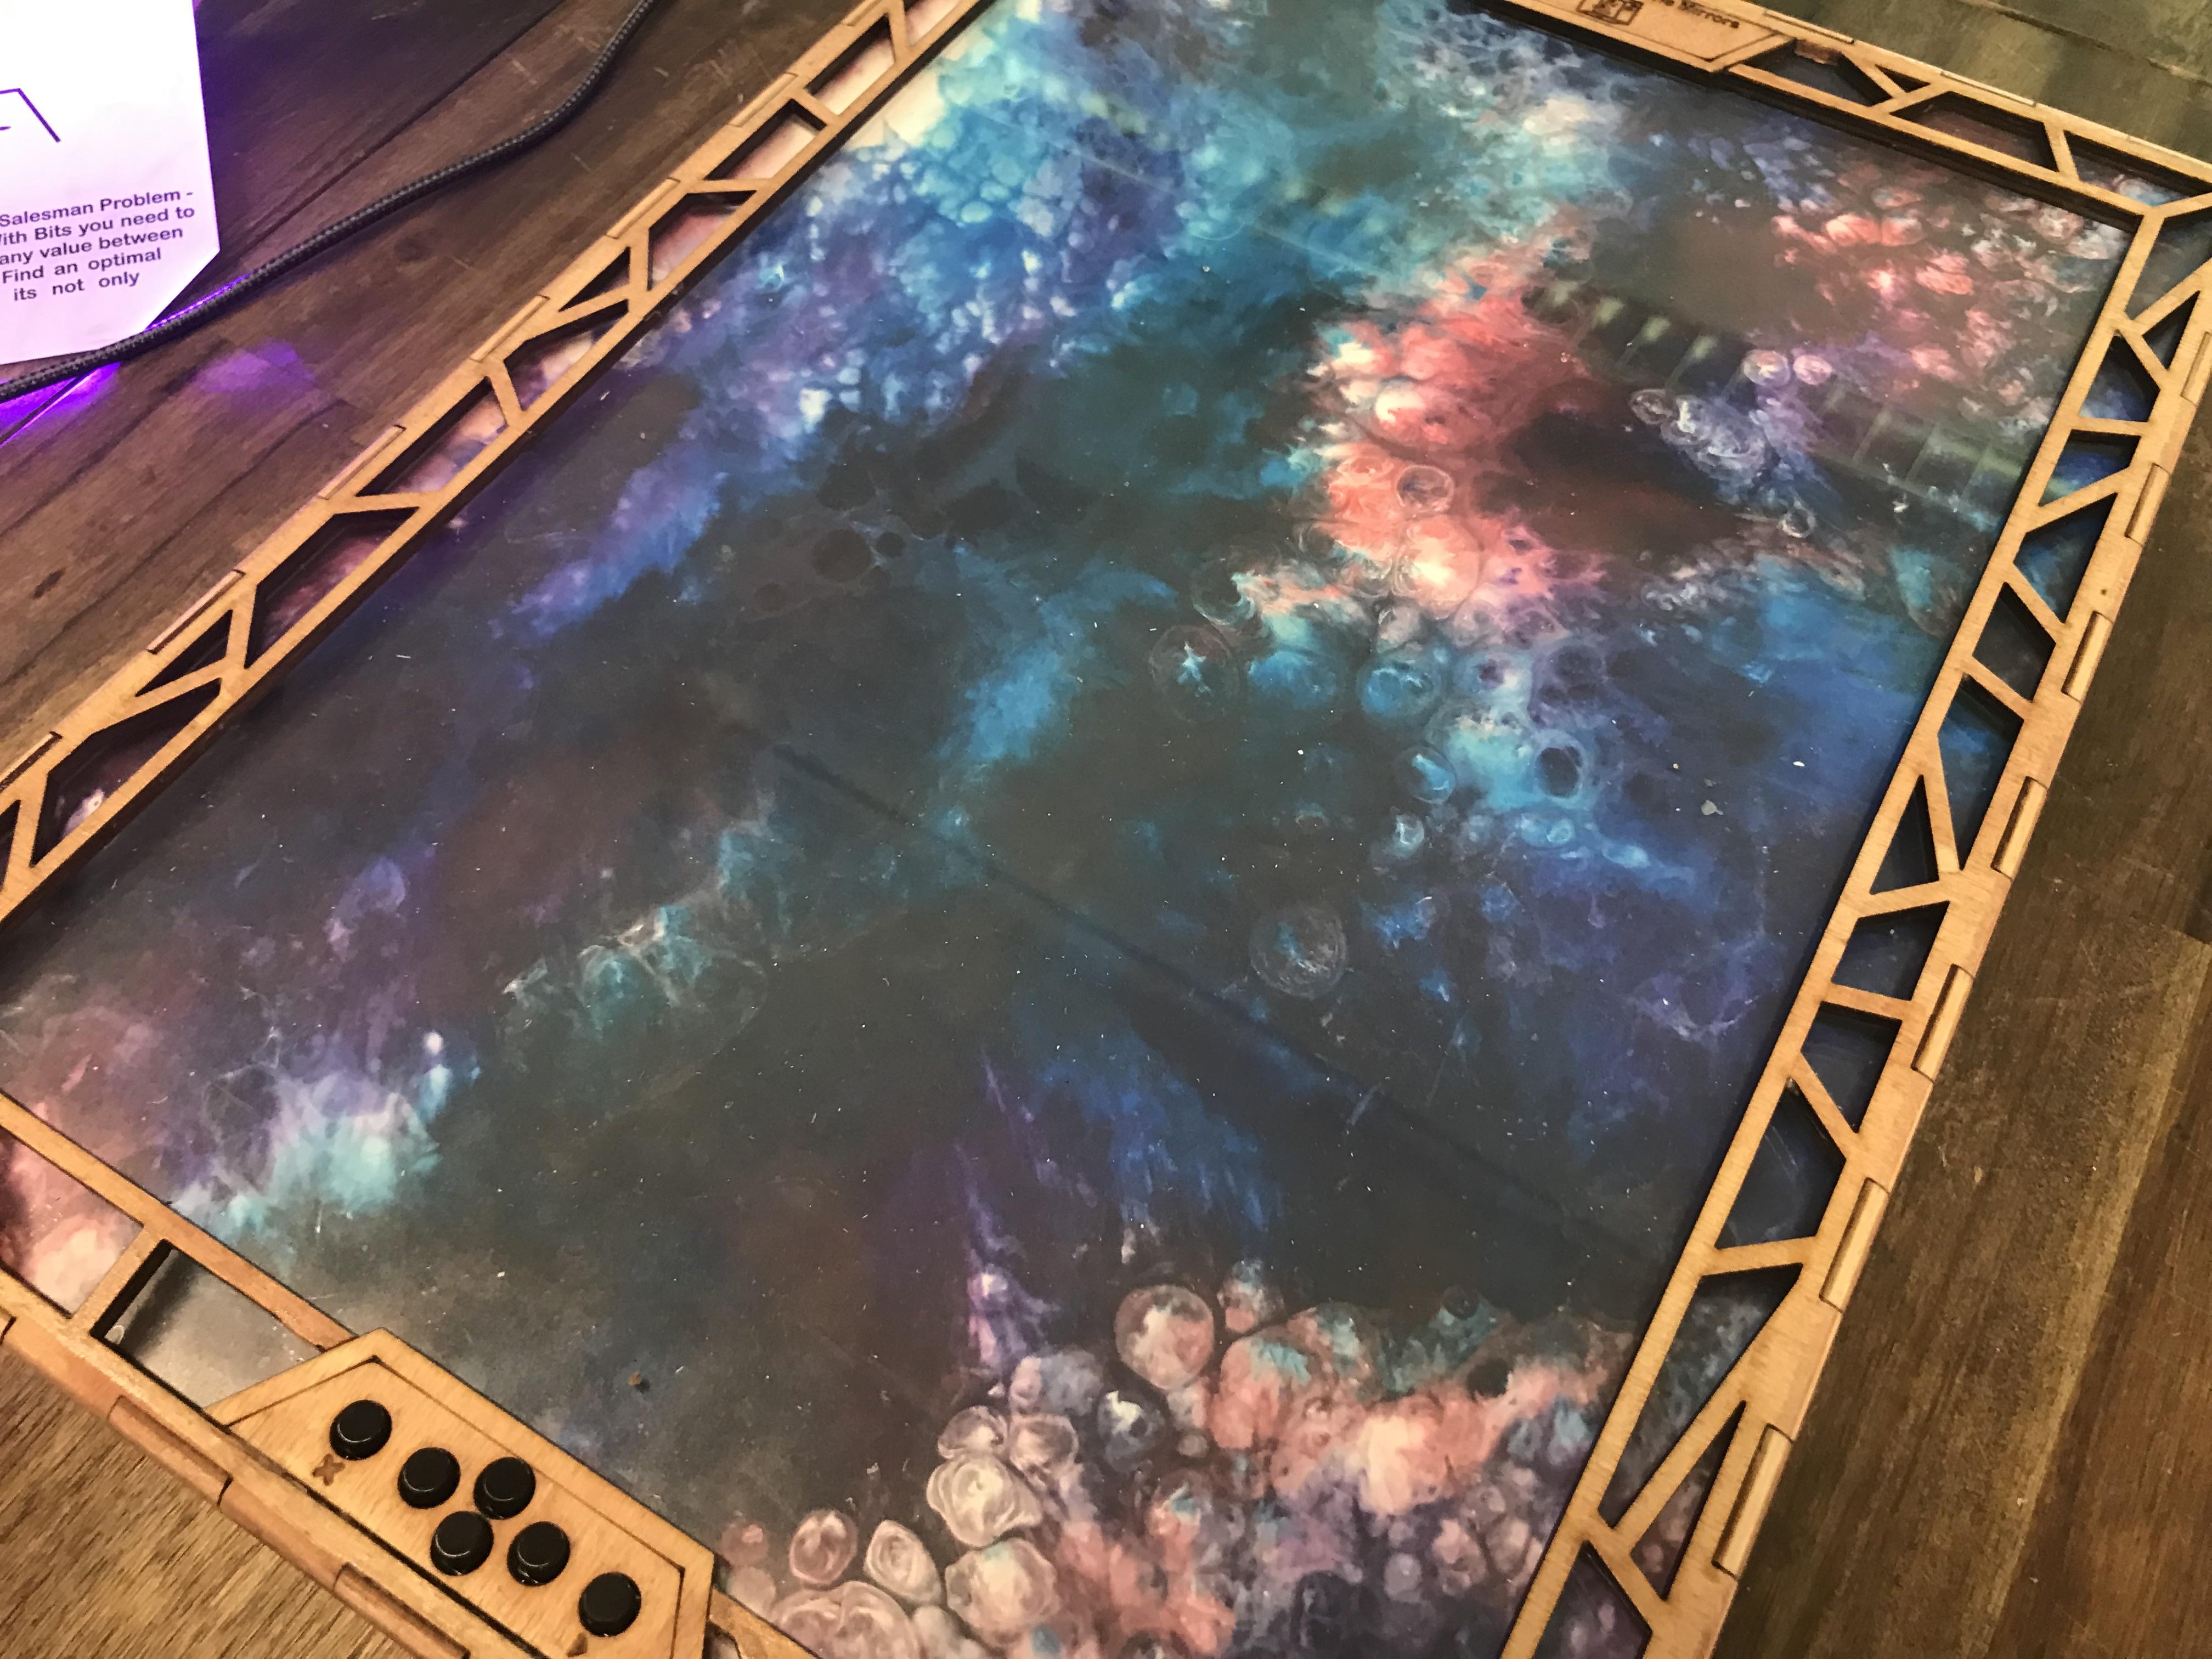
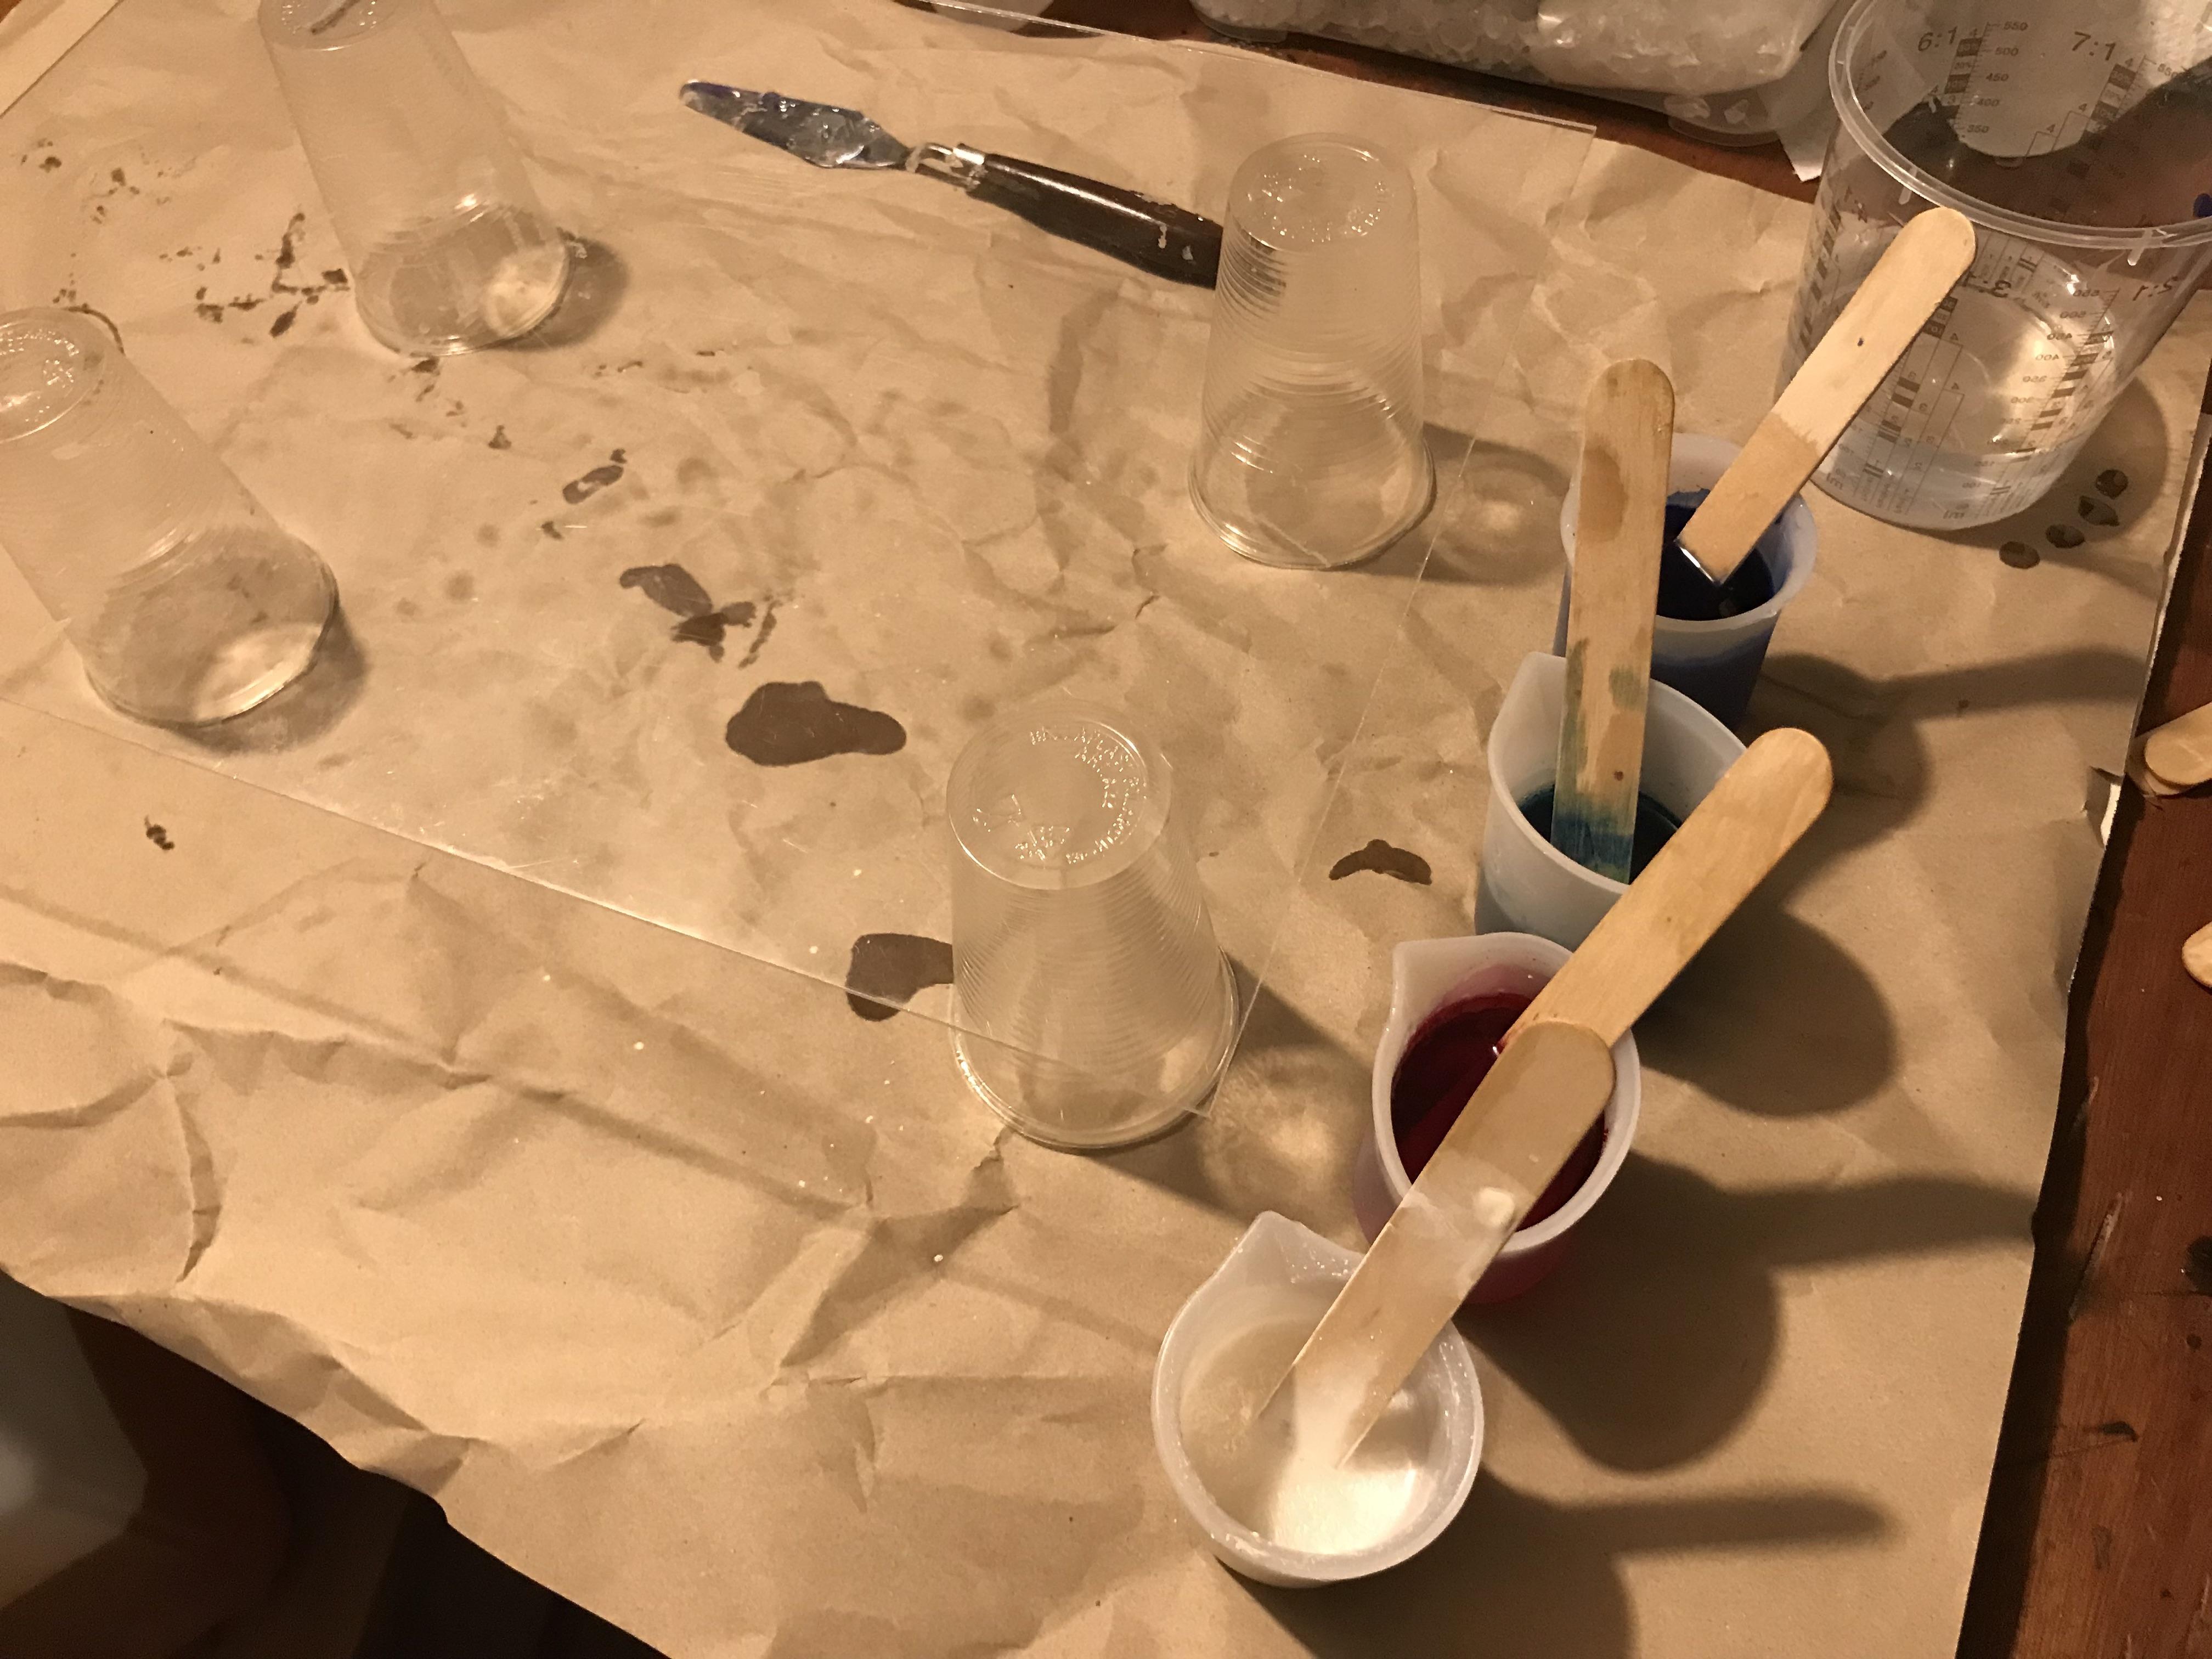
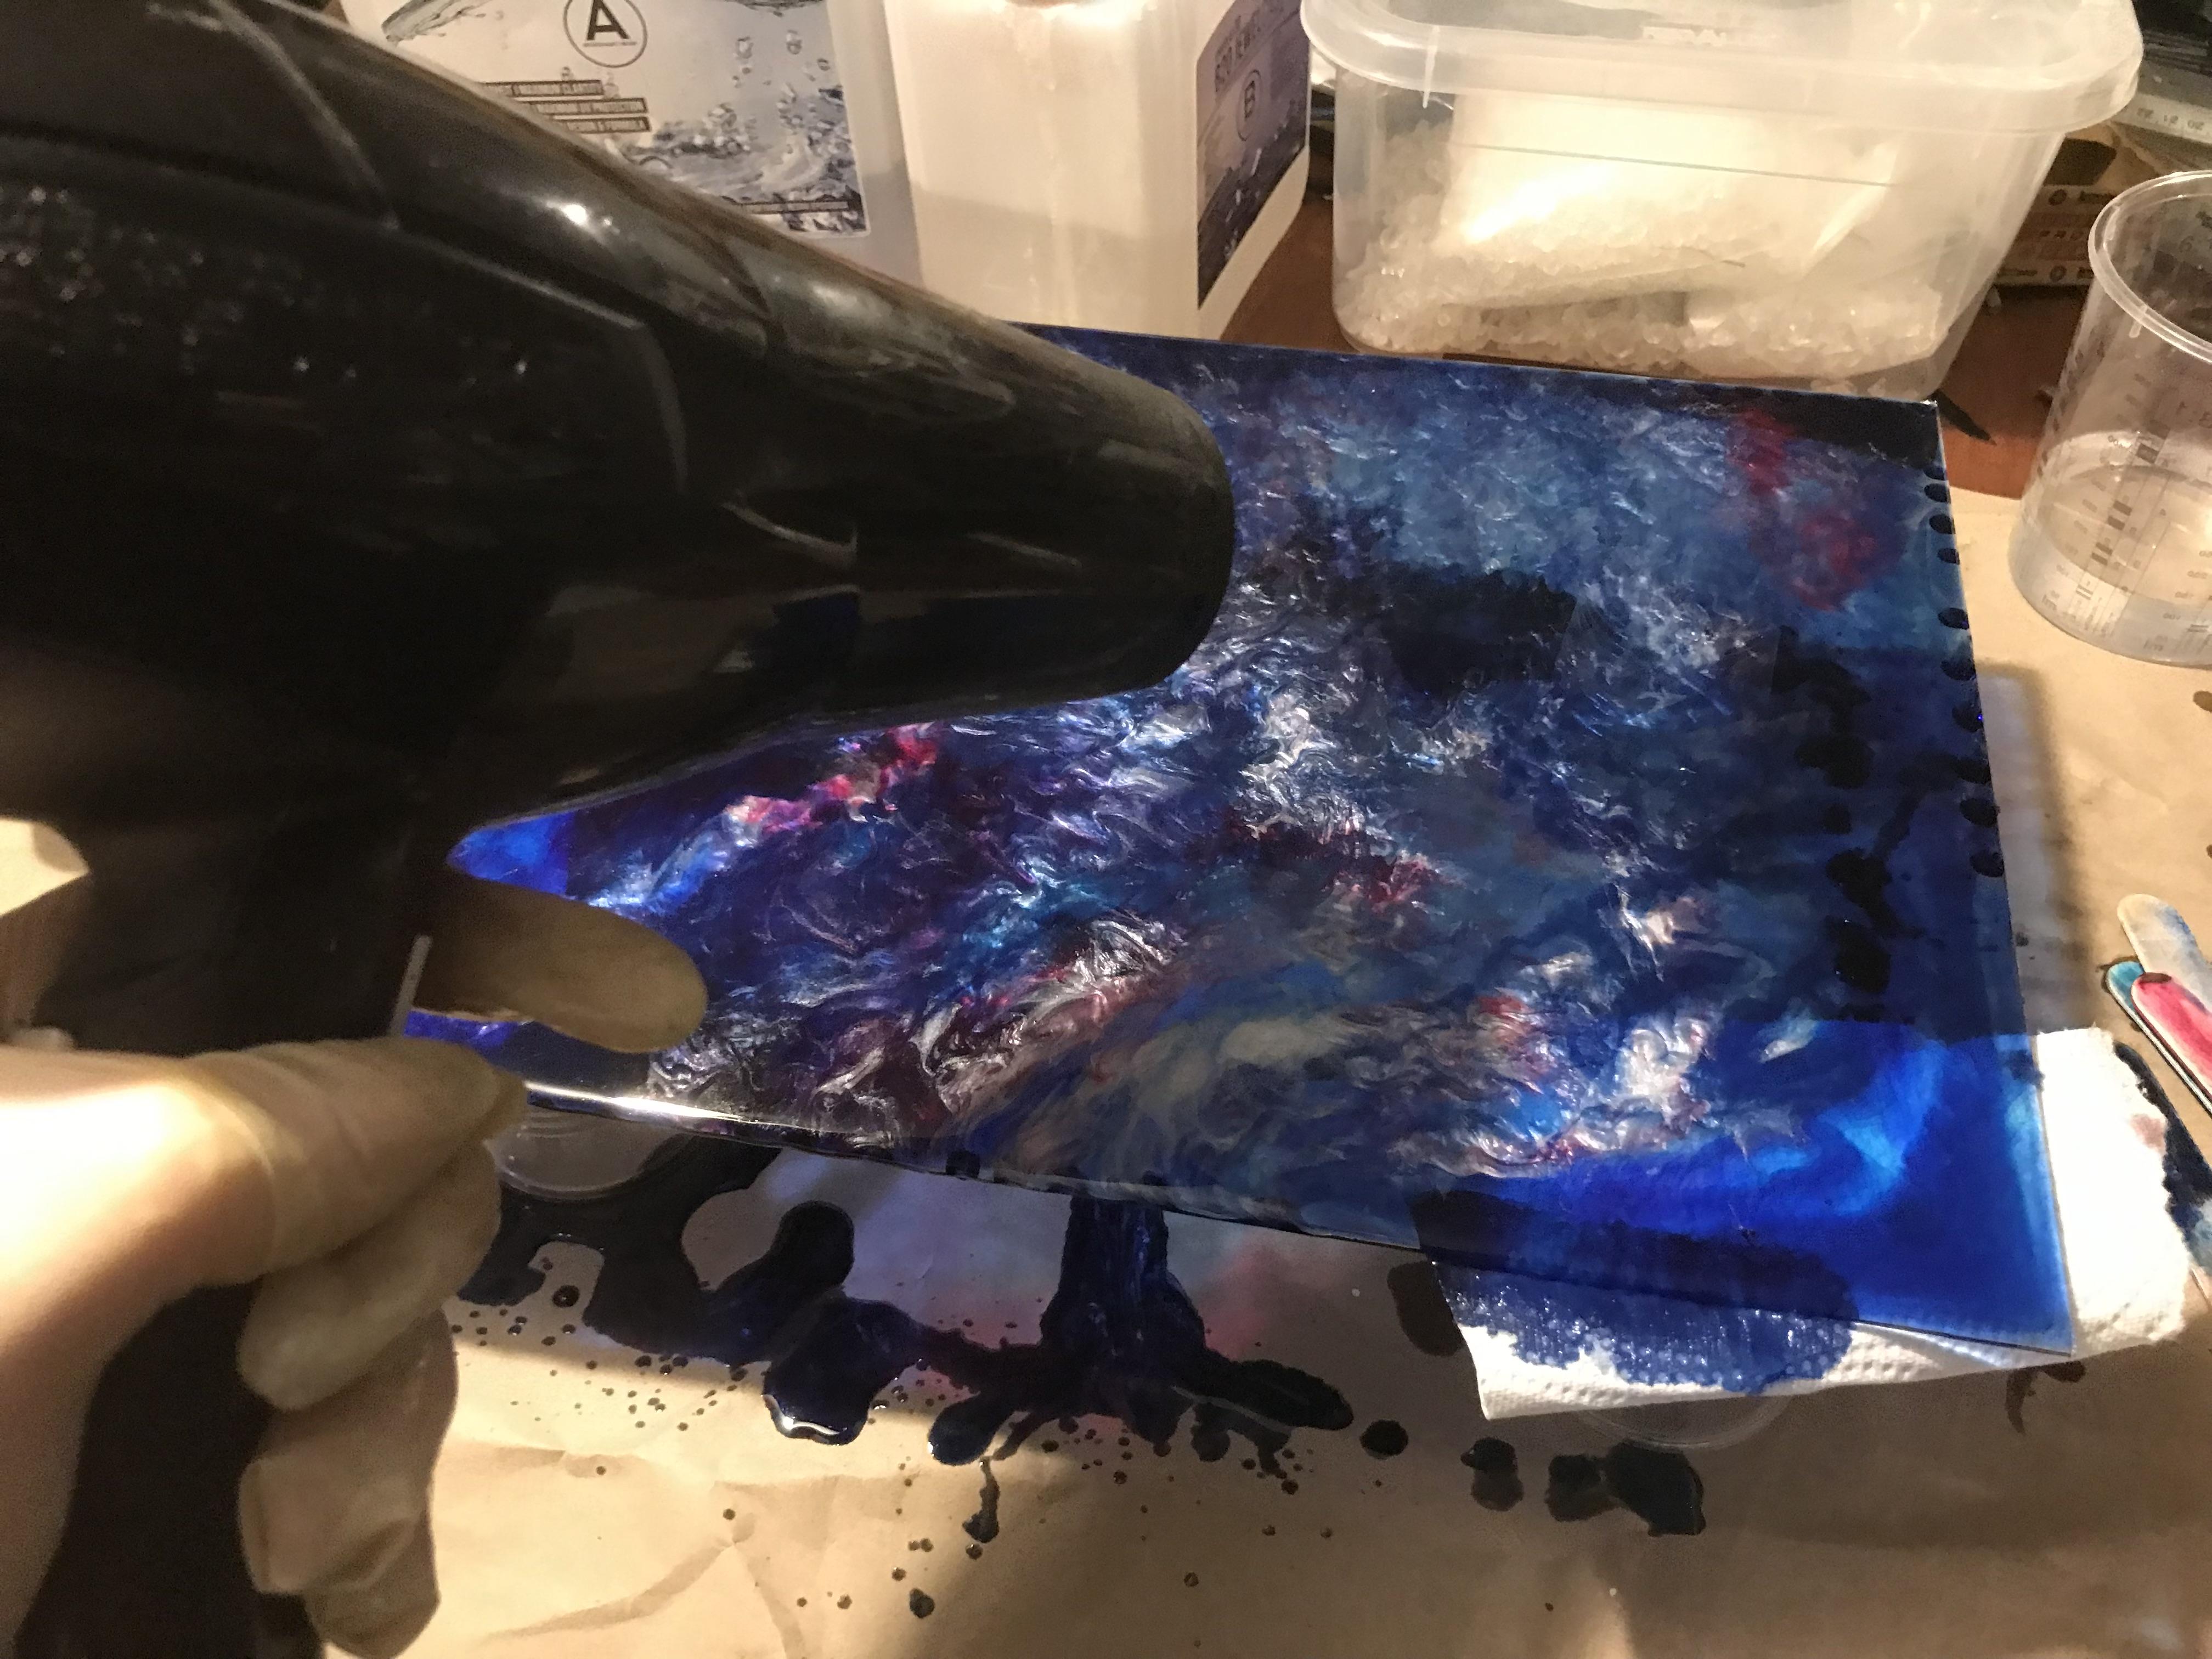
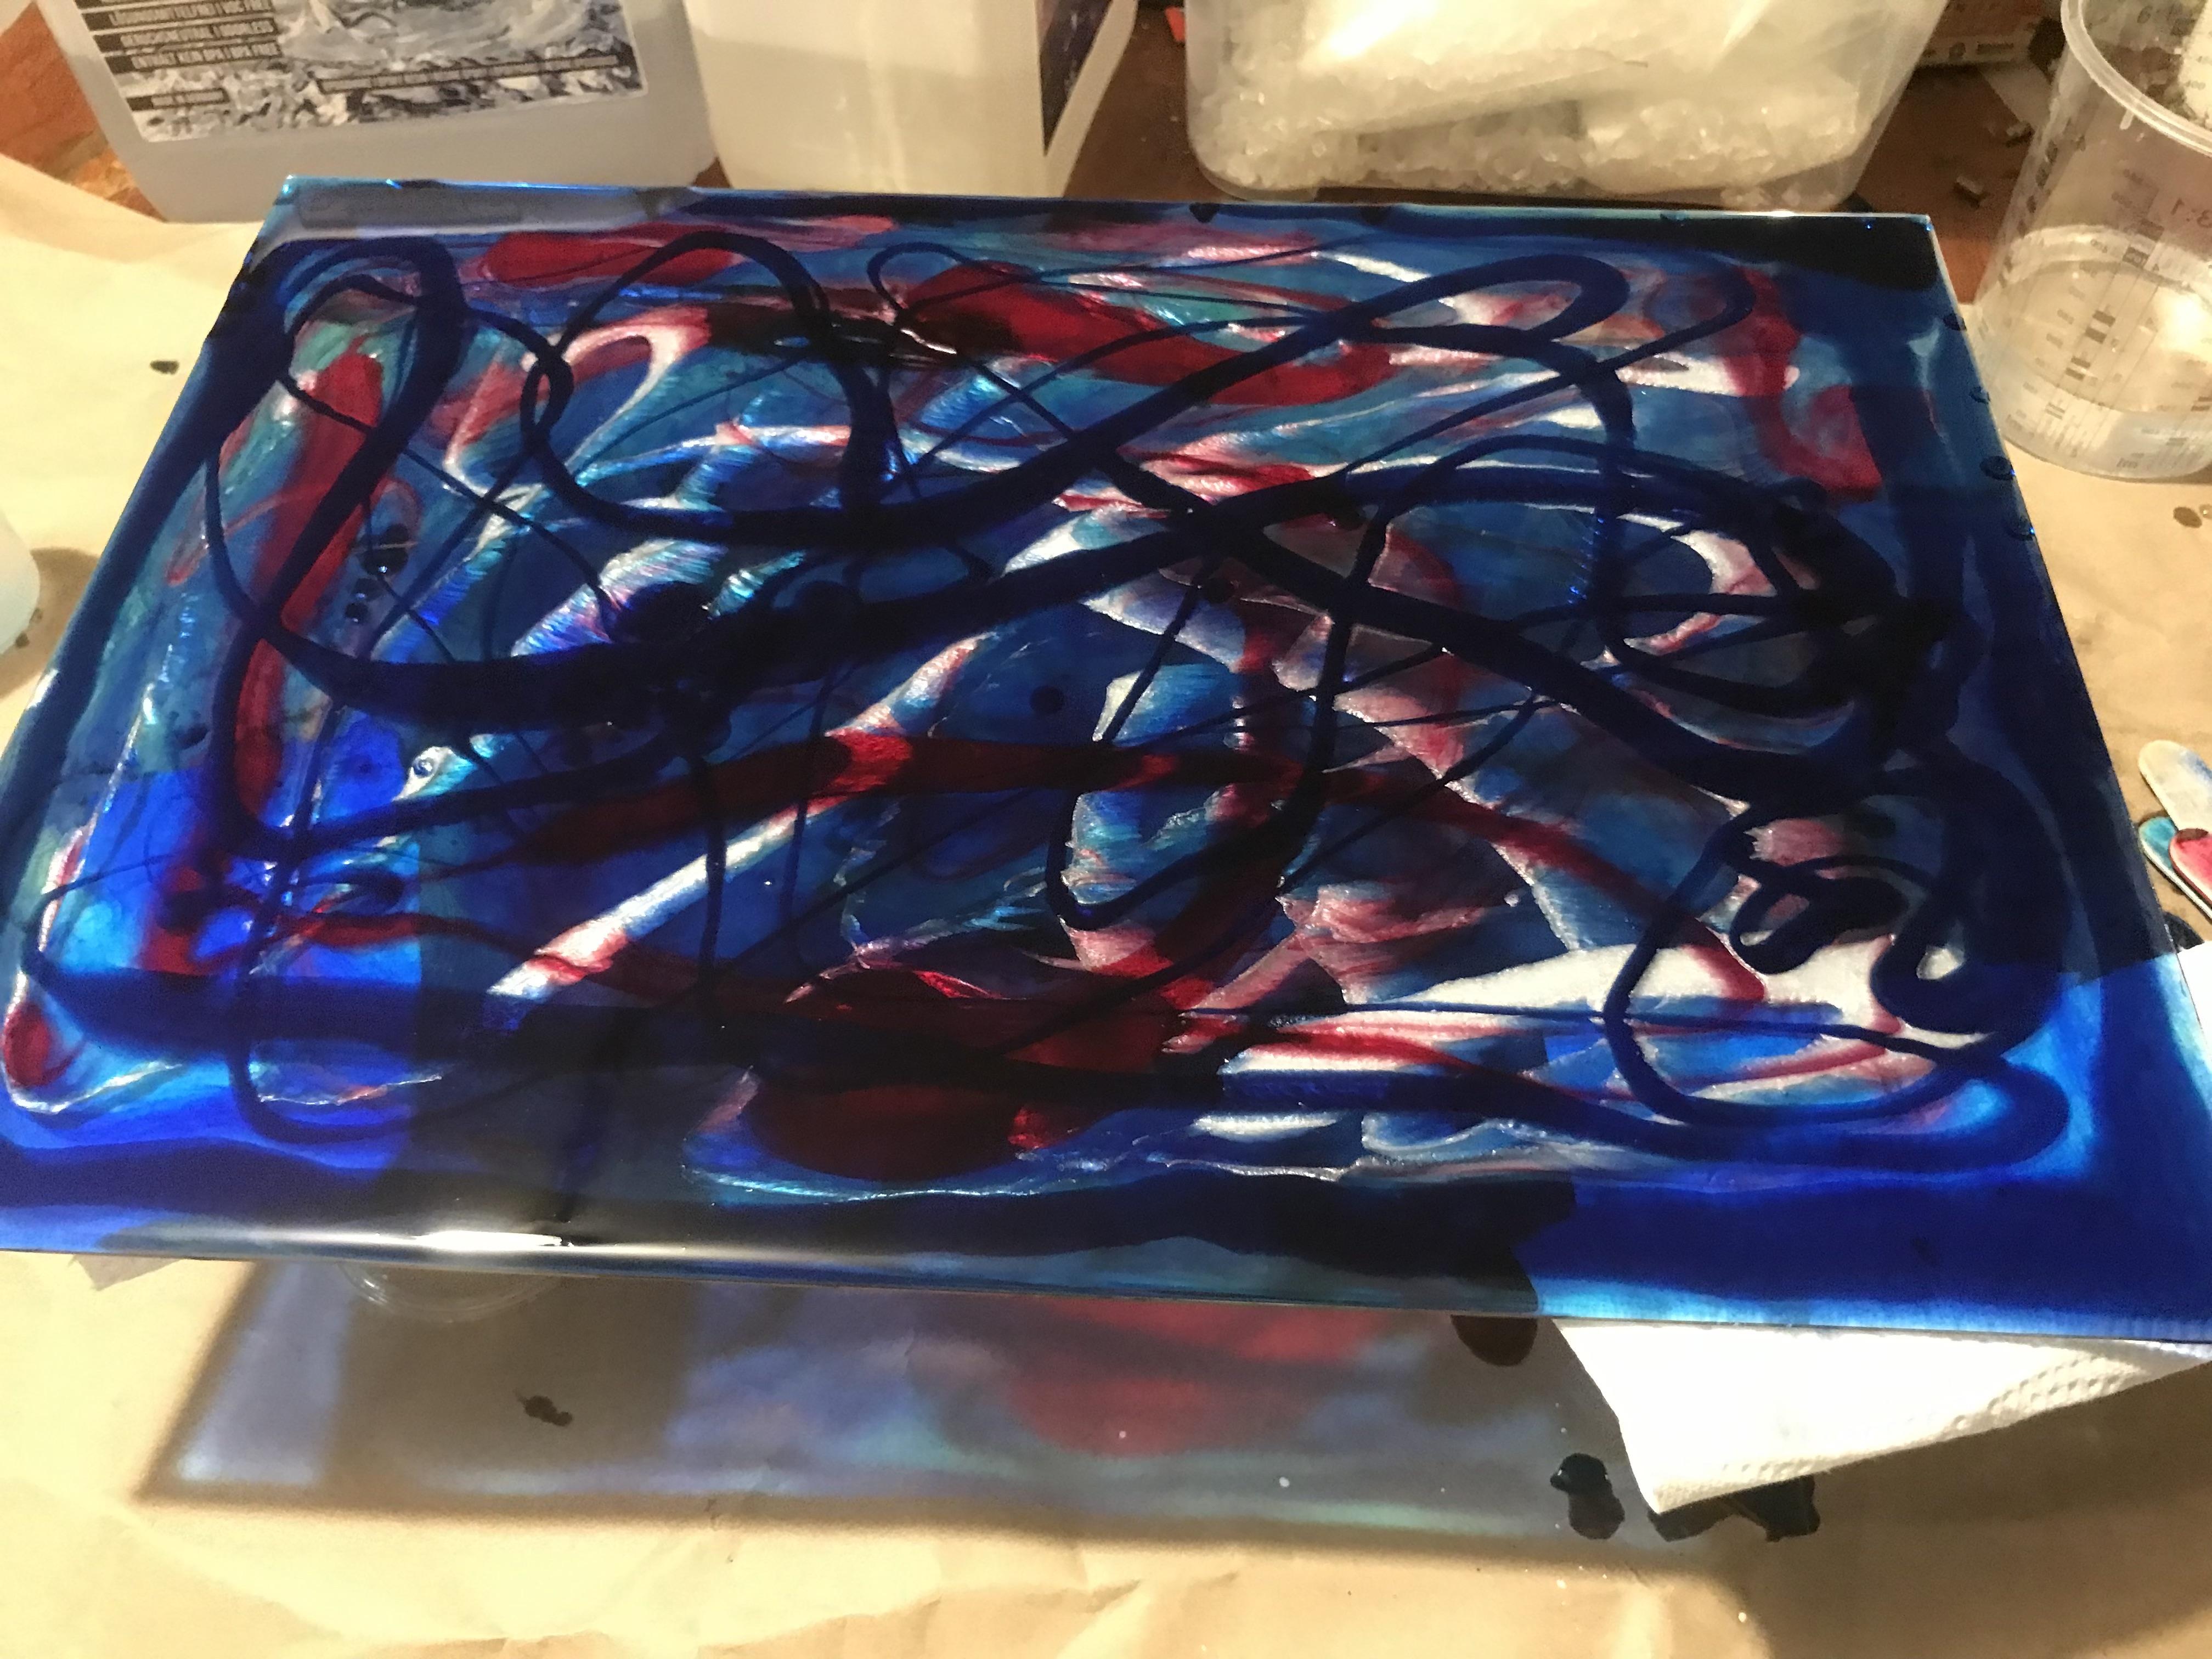
In this case we wanted to play around with Eopxy resin. Just by adding different color pigments and pouring it back and forth in strip above an acrylic base plate and later usin a hairdrying to spreed the colors we got a nice universe look. at first it lookrd a bit weird when it was lit up by the LEDs (parts where to transparent), but after adding a layer of semi-transparent foil behind the loom was quite nice.
But for a later version seen above we cheated a bit: Since working with epoxy is messy we just scanned it and printed it on paper with acrylic above. Lost a bit of the depth of the original image (due to the actual thickness of the epoxy), but less messy and still lookign good.
As a game we used a travelling salesman problem: Collect each red dot on available blue streets with as few steps as possible. Which gets at some point very complicated for normal computers, but a quantum computer might be able to solve that better: For each crossing it will not deside which turn to do, but do all off them at once, until he reaches every target. Then it will finally determine afterwards which pathway it actually took - sort of magic or cheating. But this will actually help e.g. delivery service and therfore reduce resource consumpition.
The only disadvantage is that the game play is not that interesting, but at least you will get a score at the end. Since it almost looks like pacman adding monsters might make it more interesting, and almost realistic (dogs chasin postal workers ^^), but that won't be the travelling salesman problem anymore.
Wood
Wood veneer is of course also an option for covering LEDs. Sadly, the best version, a ultrathin wood veneer paper is not deliverable anymore, but normal wood veneers also work, albeit you need brighter LEDs or darker environment. Jut cut the veneer to size and put it over the LEDs and you are done.
Here we used a quantum version of tic tac toe, the classic no-win-game with crosses and circles. In our case we start with a undefined state (red horizontal line), which each player can then put into a spin up/spin down (as representations of the cross/circle). In contrast to normal tetris a player can also put a field (qbit) back into a undefined state. This of course allows the game to run forever, since you can allways destroy the adversaries finished three-in-a-rows. To prevent that the computer will finish the game after a certain number of play moves. In thsi case, the rest of undefined game fields will applied randomly to a player.
At the end we went from a no-win-scenerio to a random-win-scenario, not the best improvemt i have to admit.
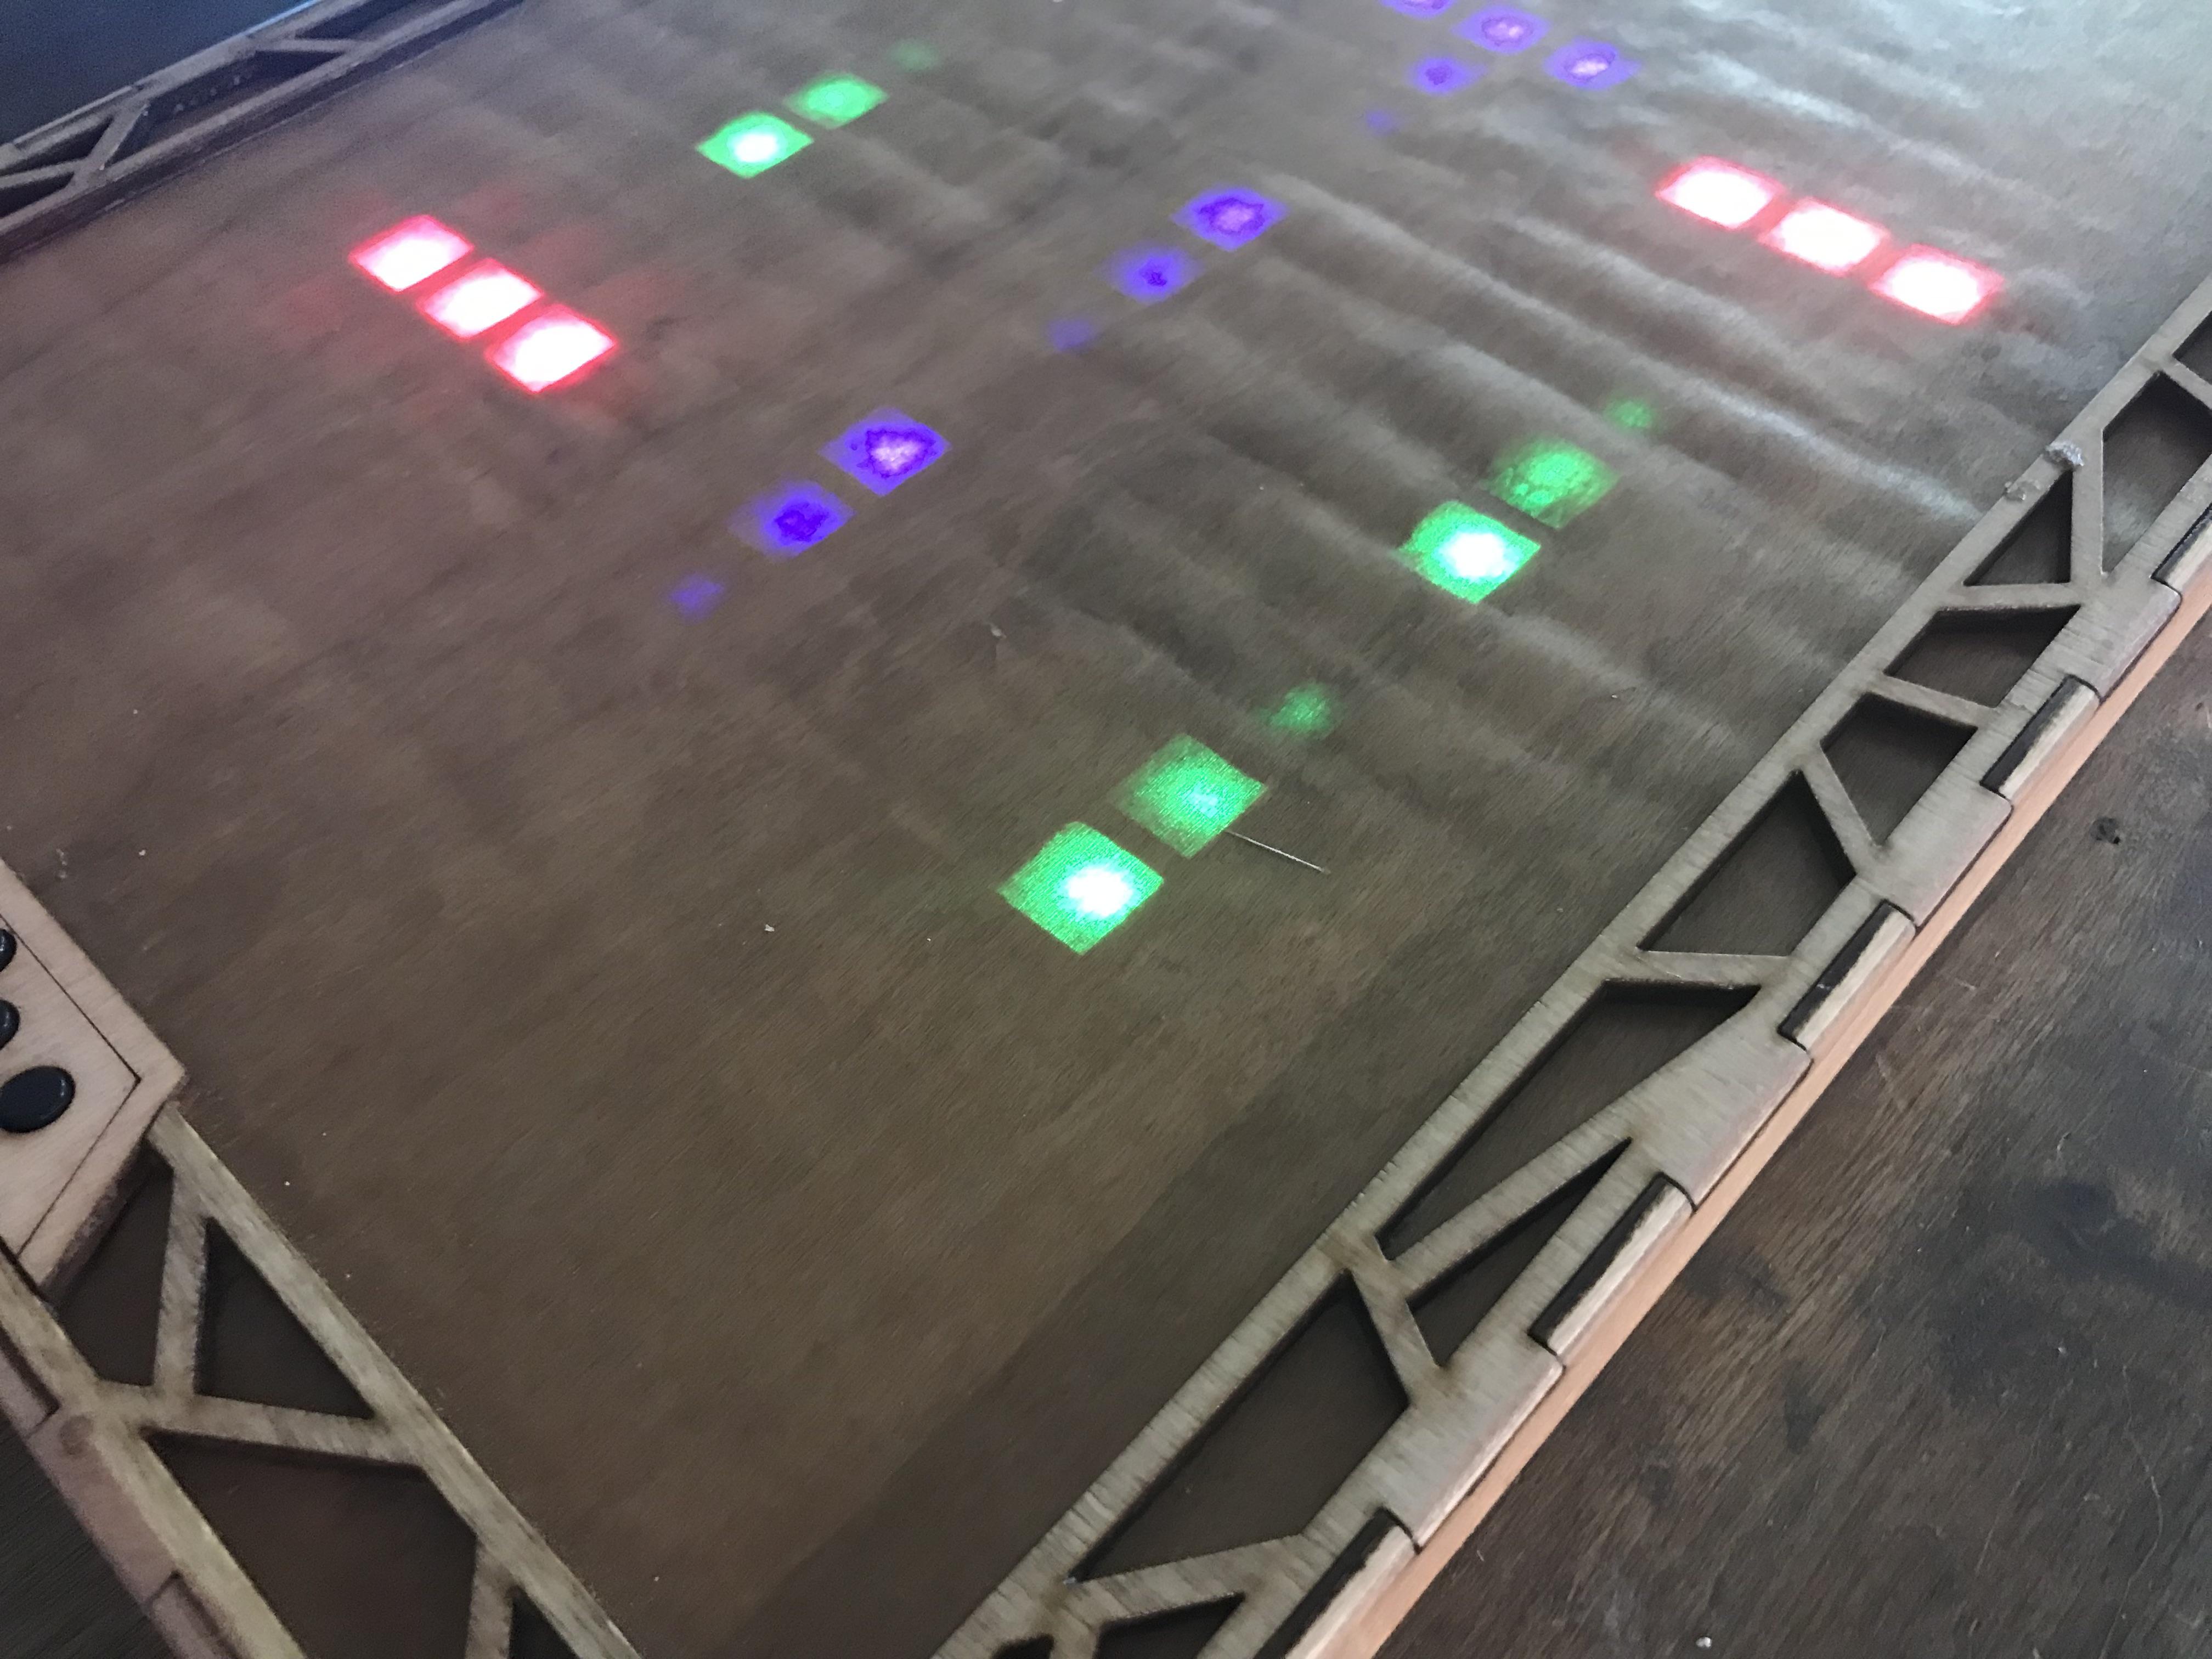
Iridescence Acryl

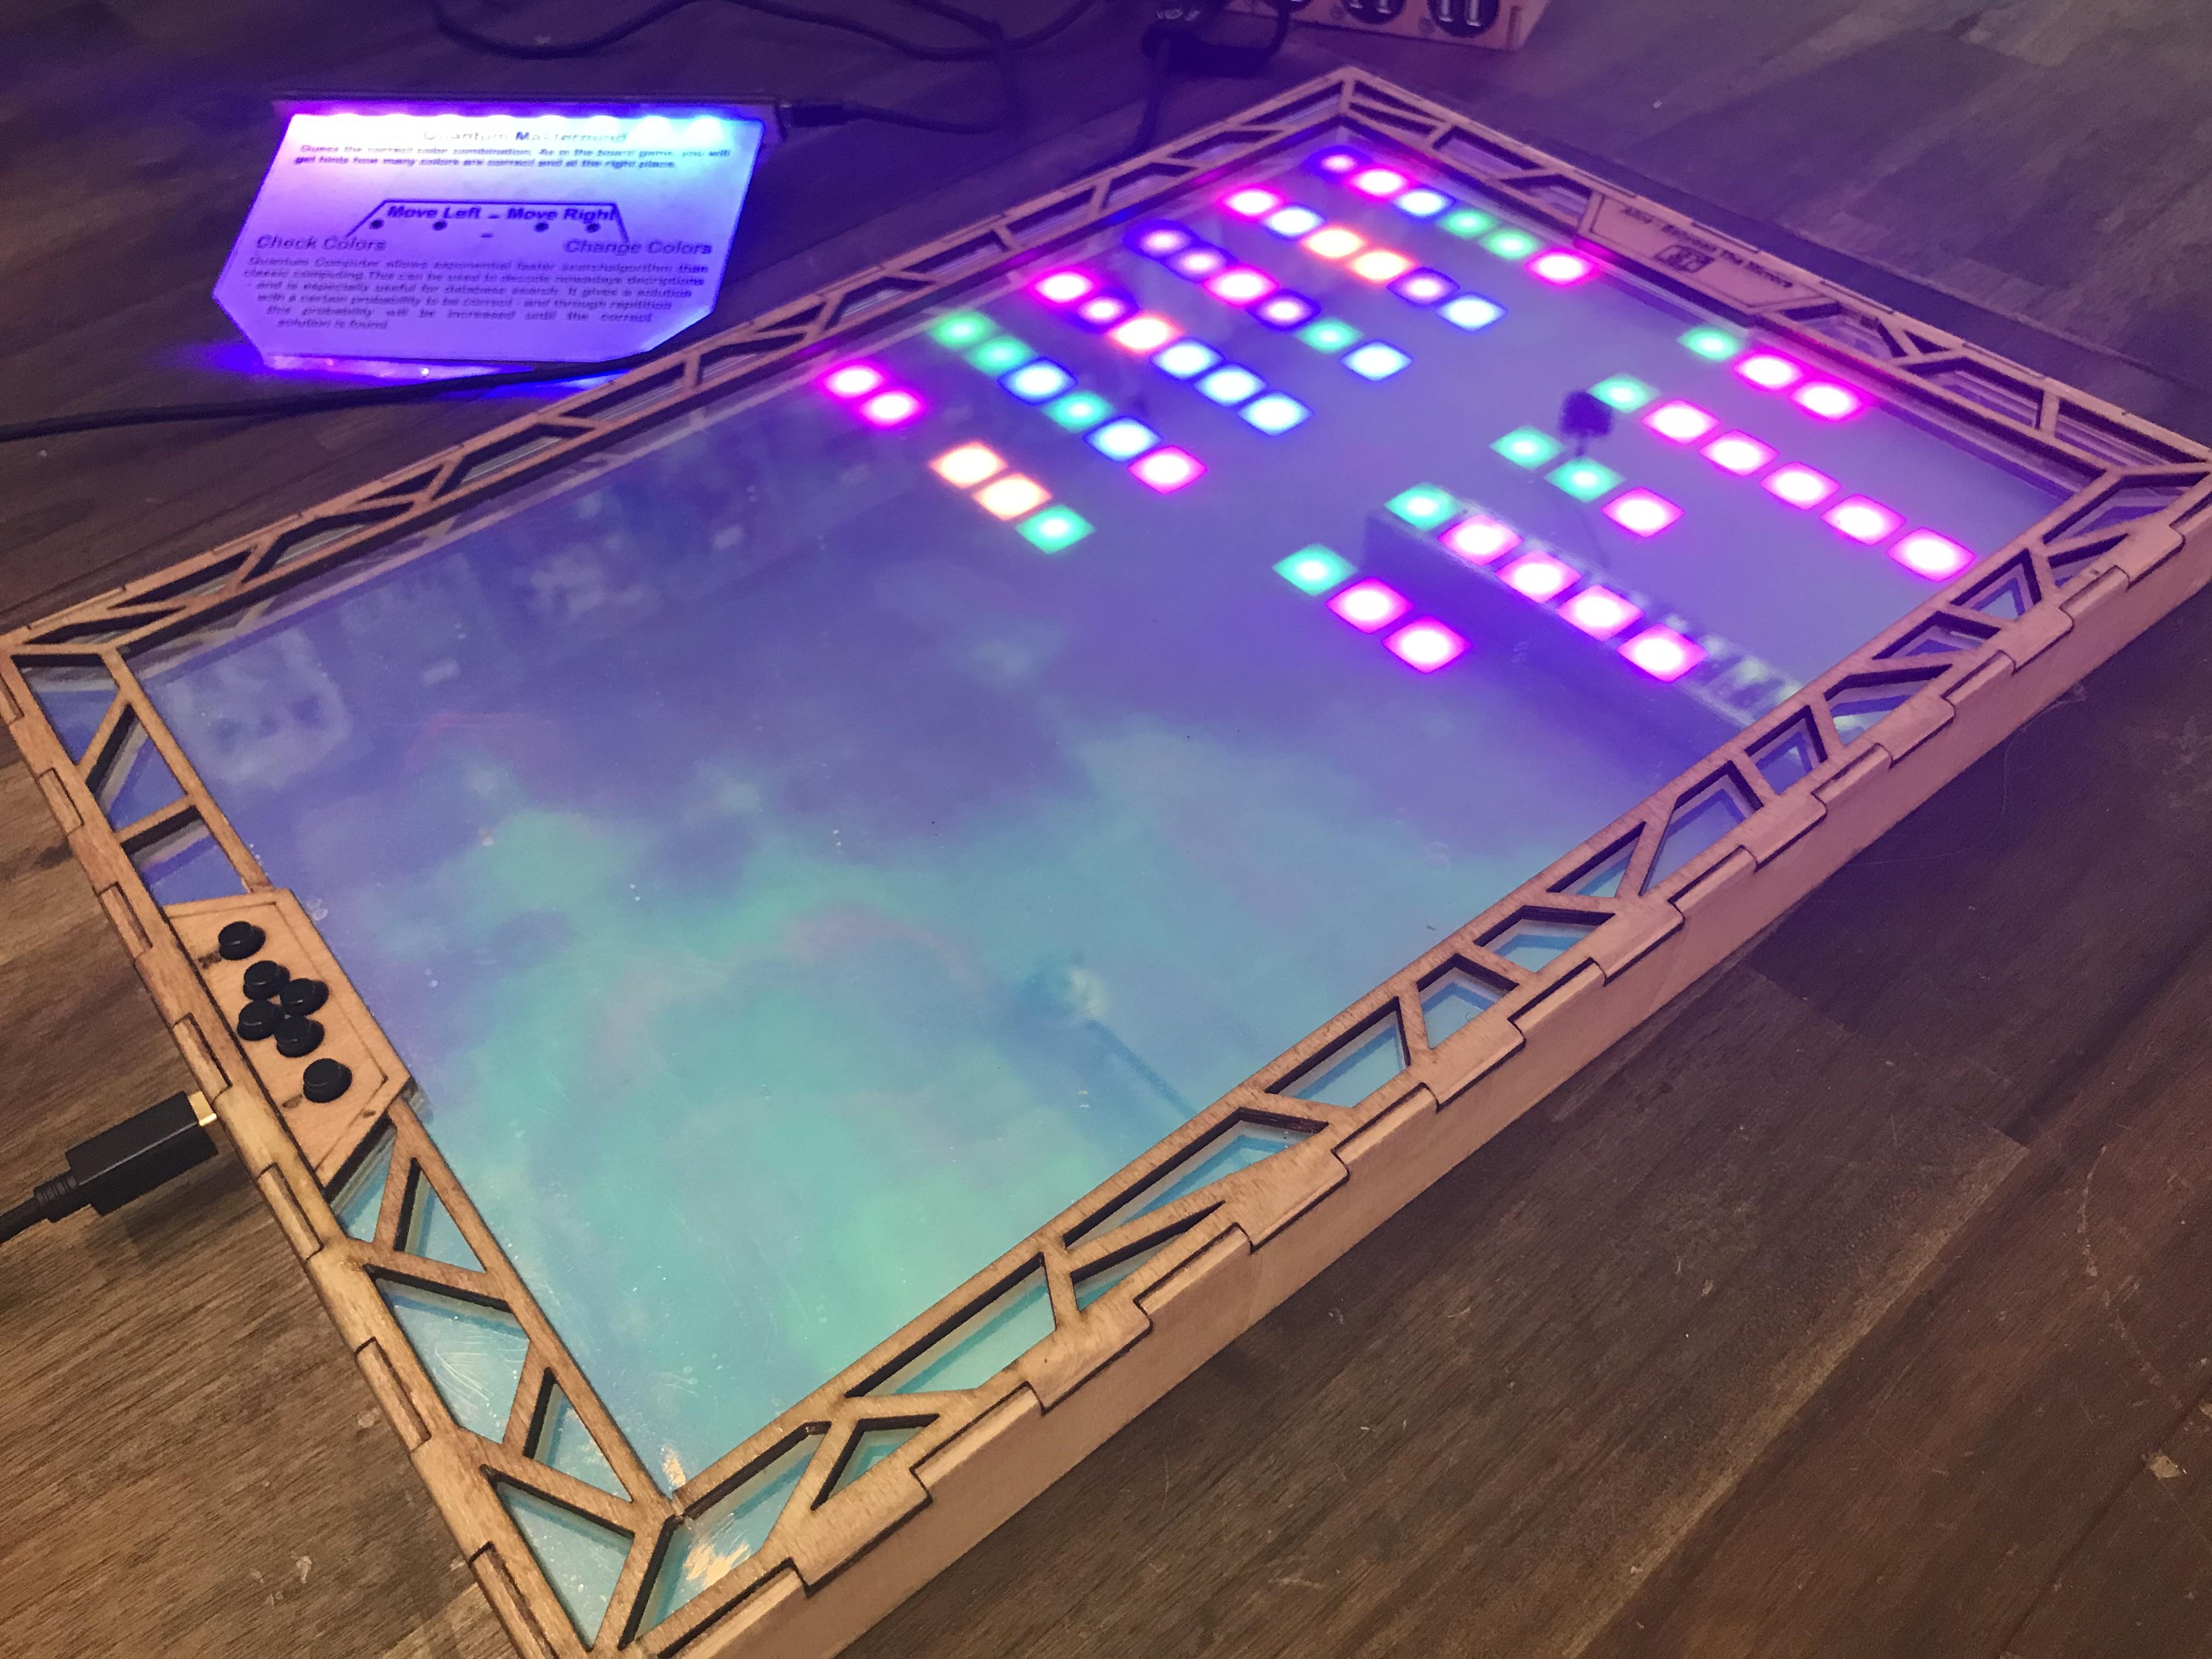
Last we used some nice iridescence acryl as a surface. Needed to look that up: Its an acrylic which surface color changes depending on the light direction.
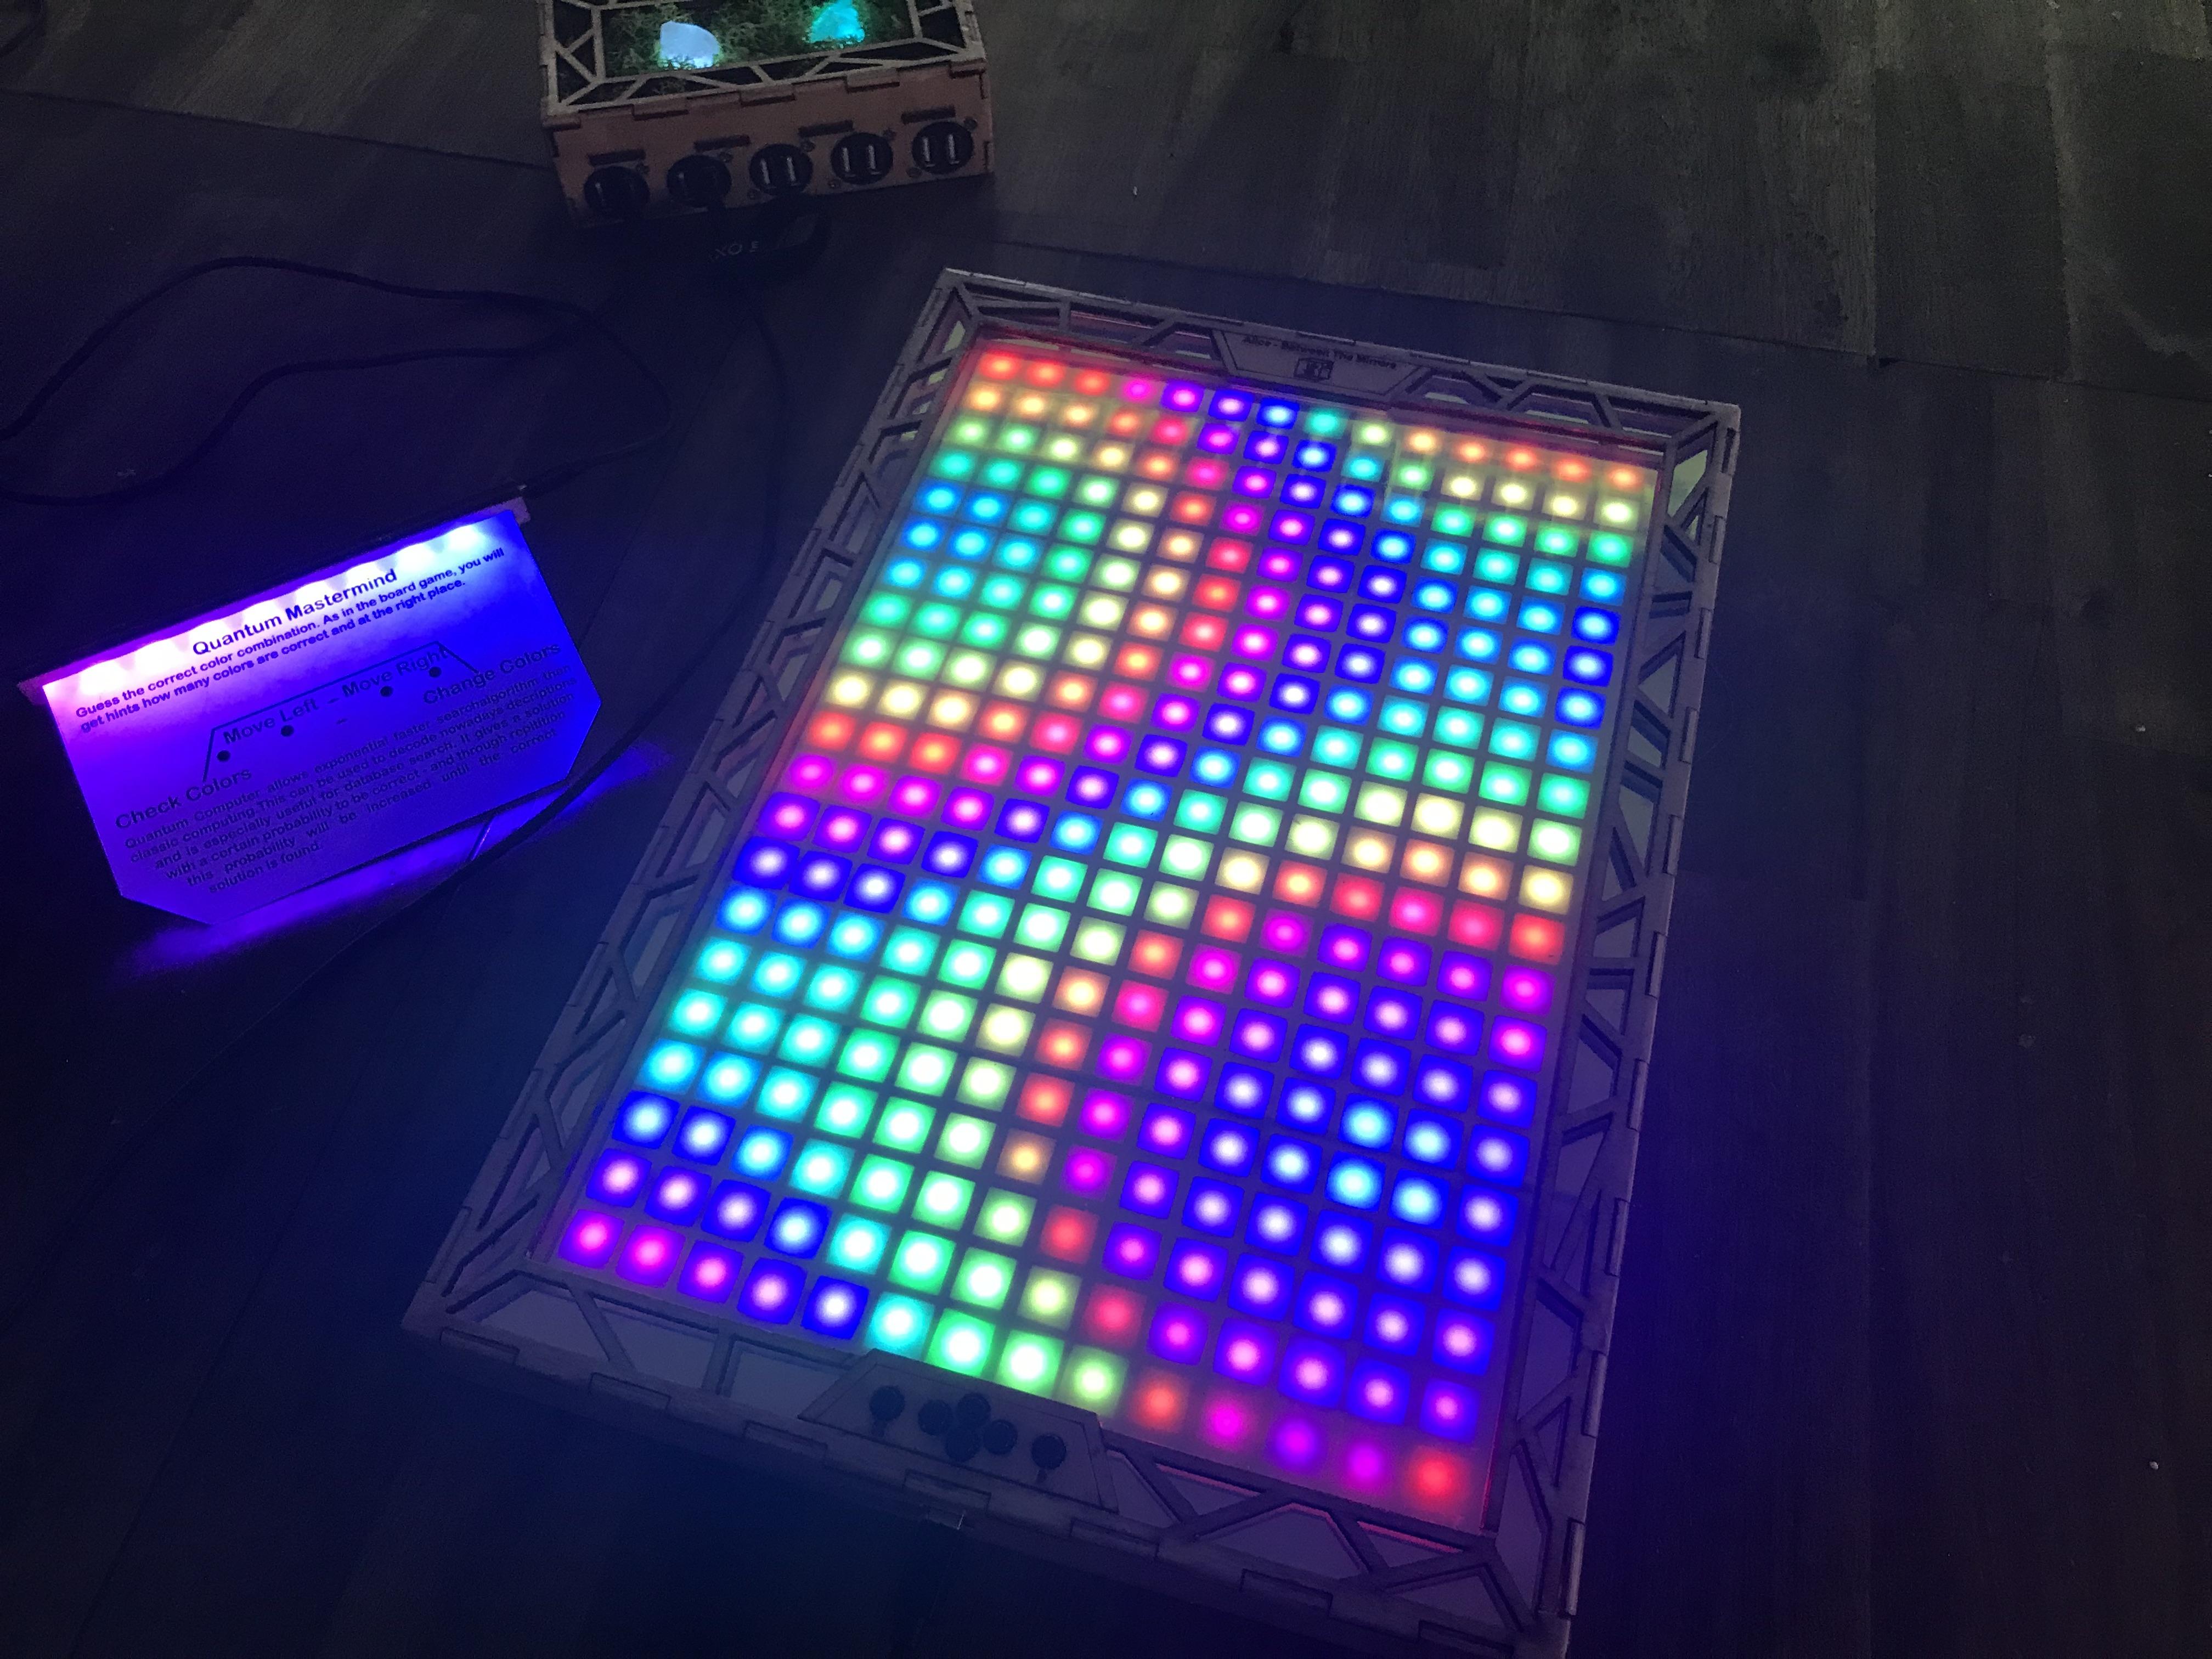
As a game we implemented the Mastermind board game: Try to find out a color code. In each step you select a color combination which will be evaluated by the computer into the numer of correct color at the correct position (greed leds) and correct color but at the wrong position (pink leds) at the right side, while your color combination is shown on the left side. If you will find the correct combination you win the game (obviously), if not the correct combination will be shown in between your guess, such that you can compare if the computer didn't cheat.
Our Quantum technology connection here is: A quantum computer can break codes far better the standard computers by keeping undefinded quantum states as long as possible and and only break the choosen path to victory down after getting the correct code. Or just guess all codes in parallel and destroy all unverses afterwards where the wrong code was choosen, collapsing it into the one universe where we life... but thats a bit mean interpretation.