Make "Joy" Using Google Drawings & Tinkercad
by ngaskins in Teachers > 3D Design
3225 Views, 12 Favorites, 0 Comments
Make "Joy" Using Google Drawings & Tinkercad
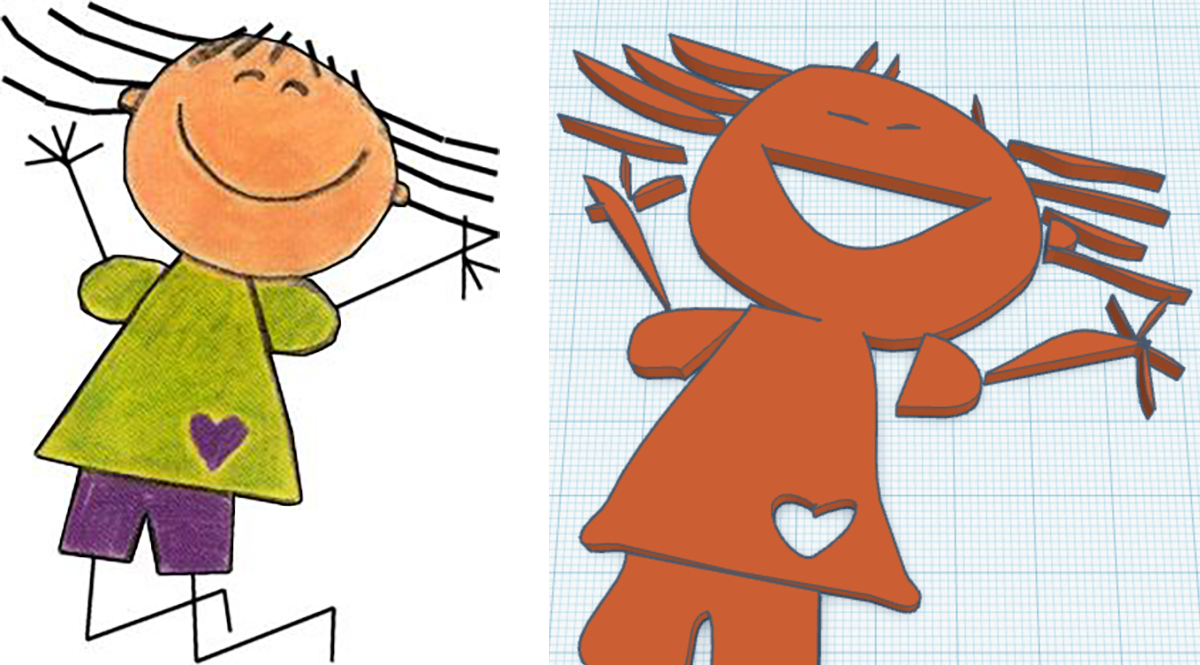
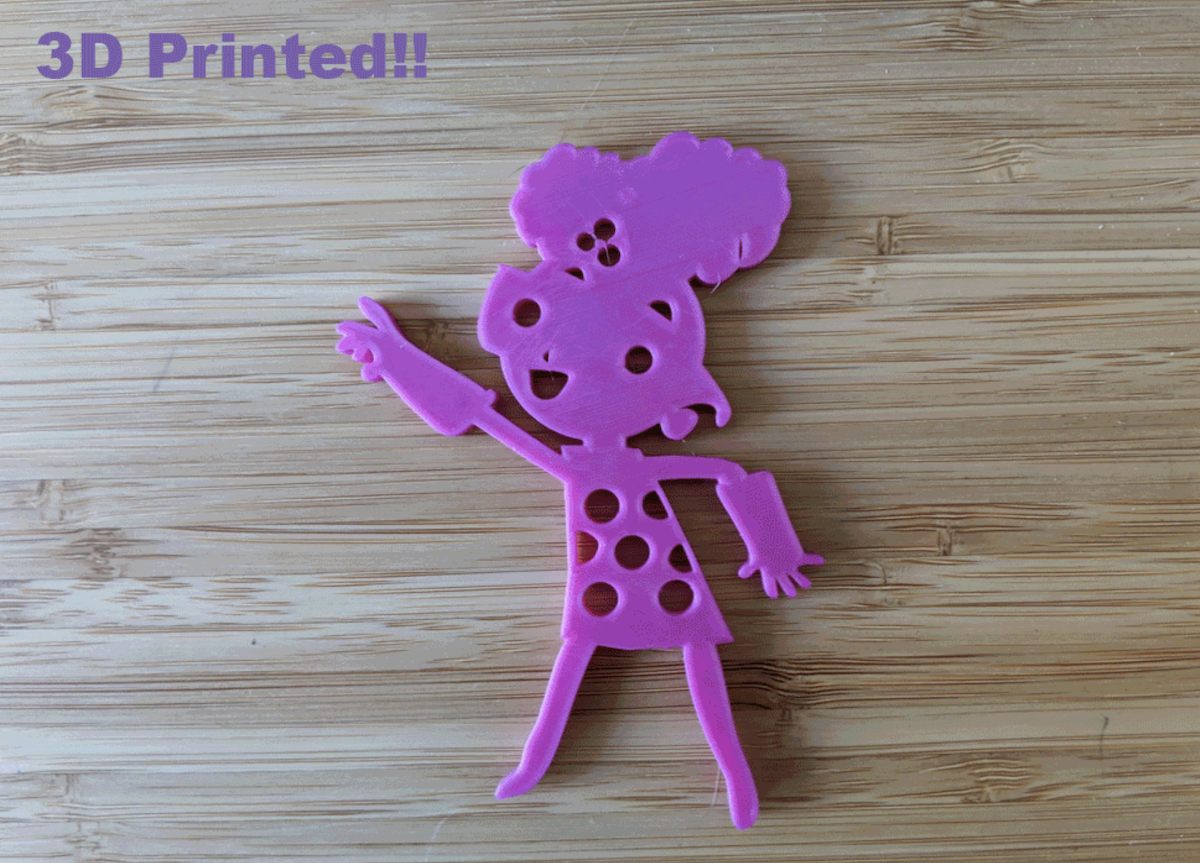
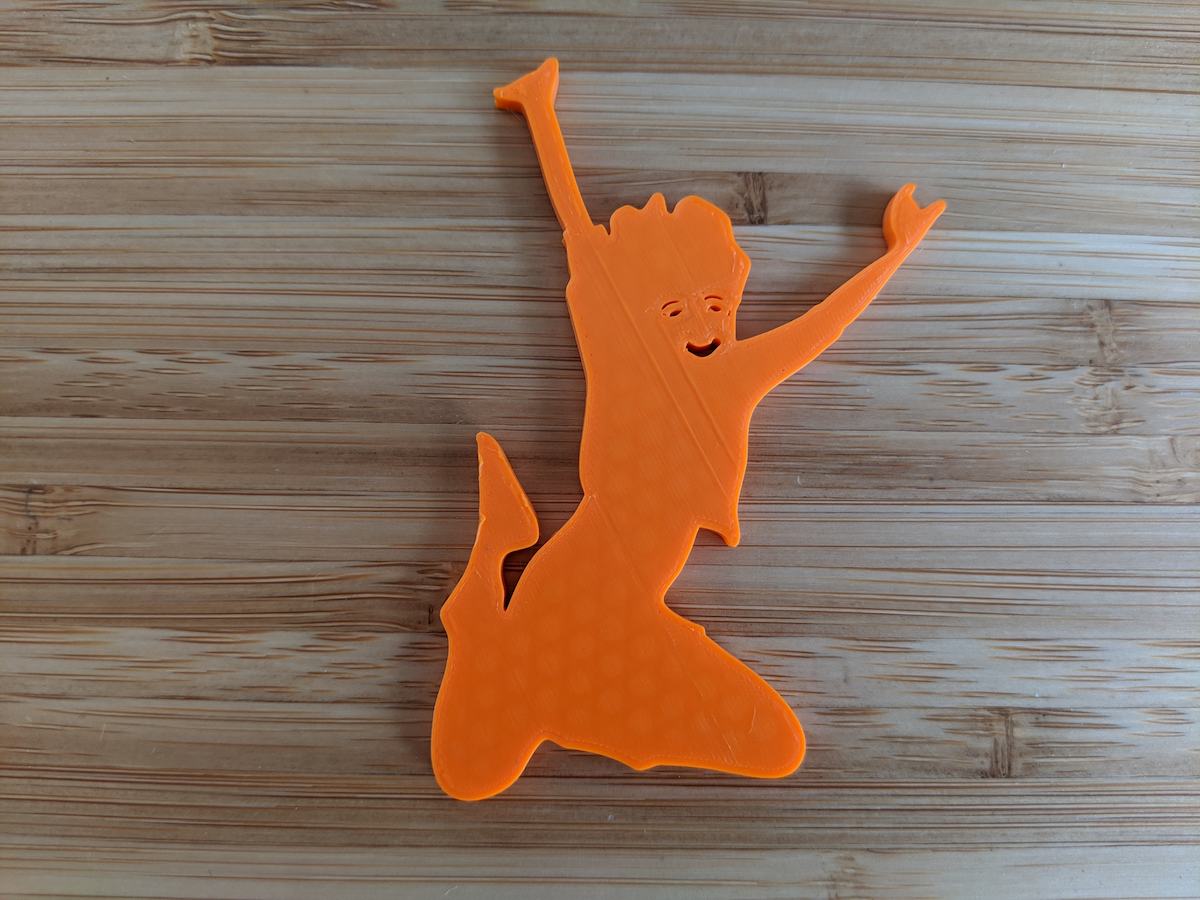
This project explores how to convert 2D graphics into 3D models to represent themes or concepts (ex. joy) from literature. As a culminating activity, the models can be fabricated using either a vinyl cutter, laser cutter or 3D printer, then (if time allows) hung from the ceiling as a mobile or installation.
This project also explores reading and inquiry, such as using the term self-concept, which refers to how young people think about, evaluate or perceive themselves, especially in STEAM learning activities that involve subjects or areas that are initially perceived by students as distant or more challenging.
Supplies
Read Something
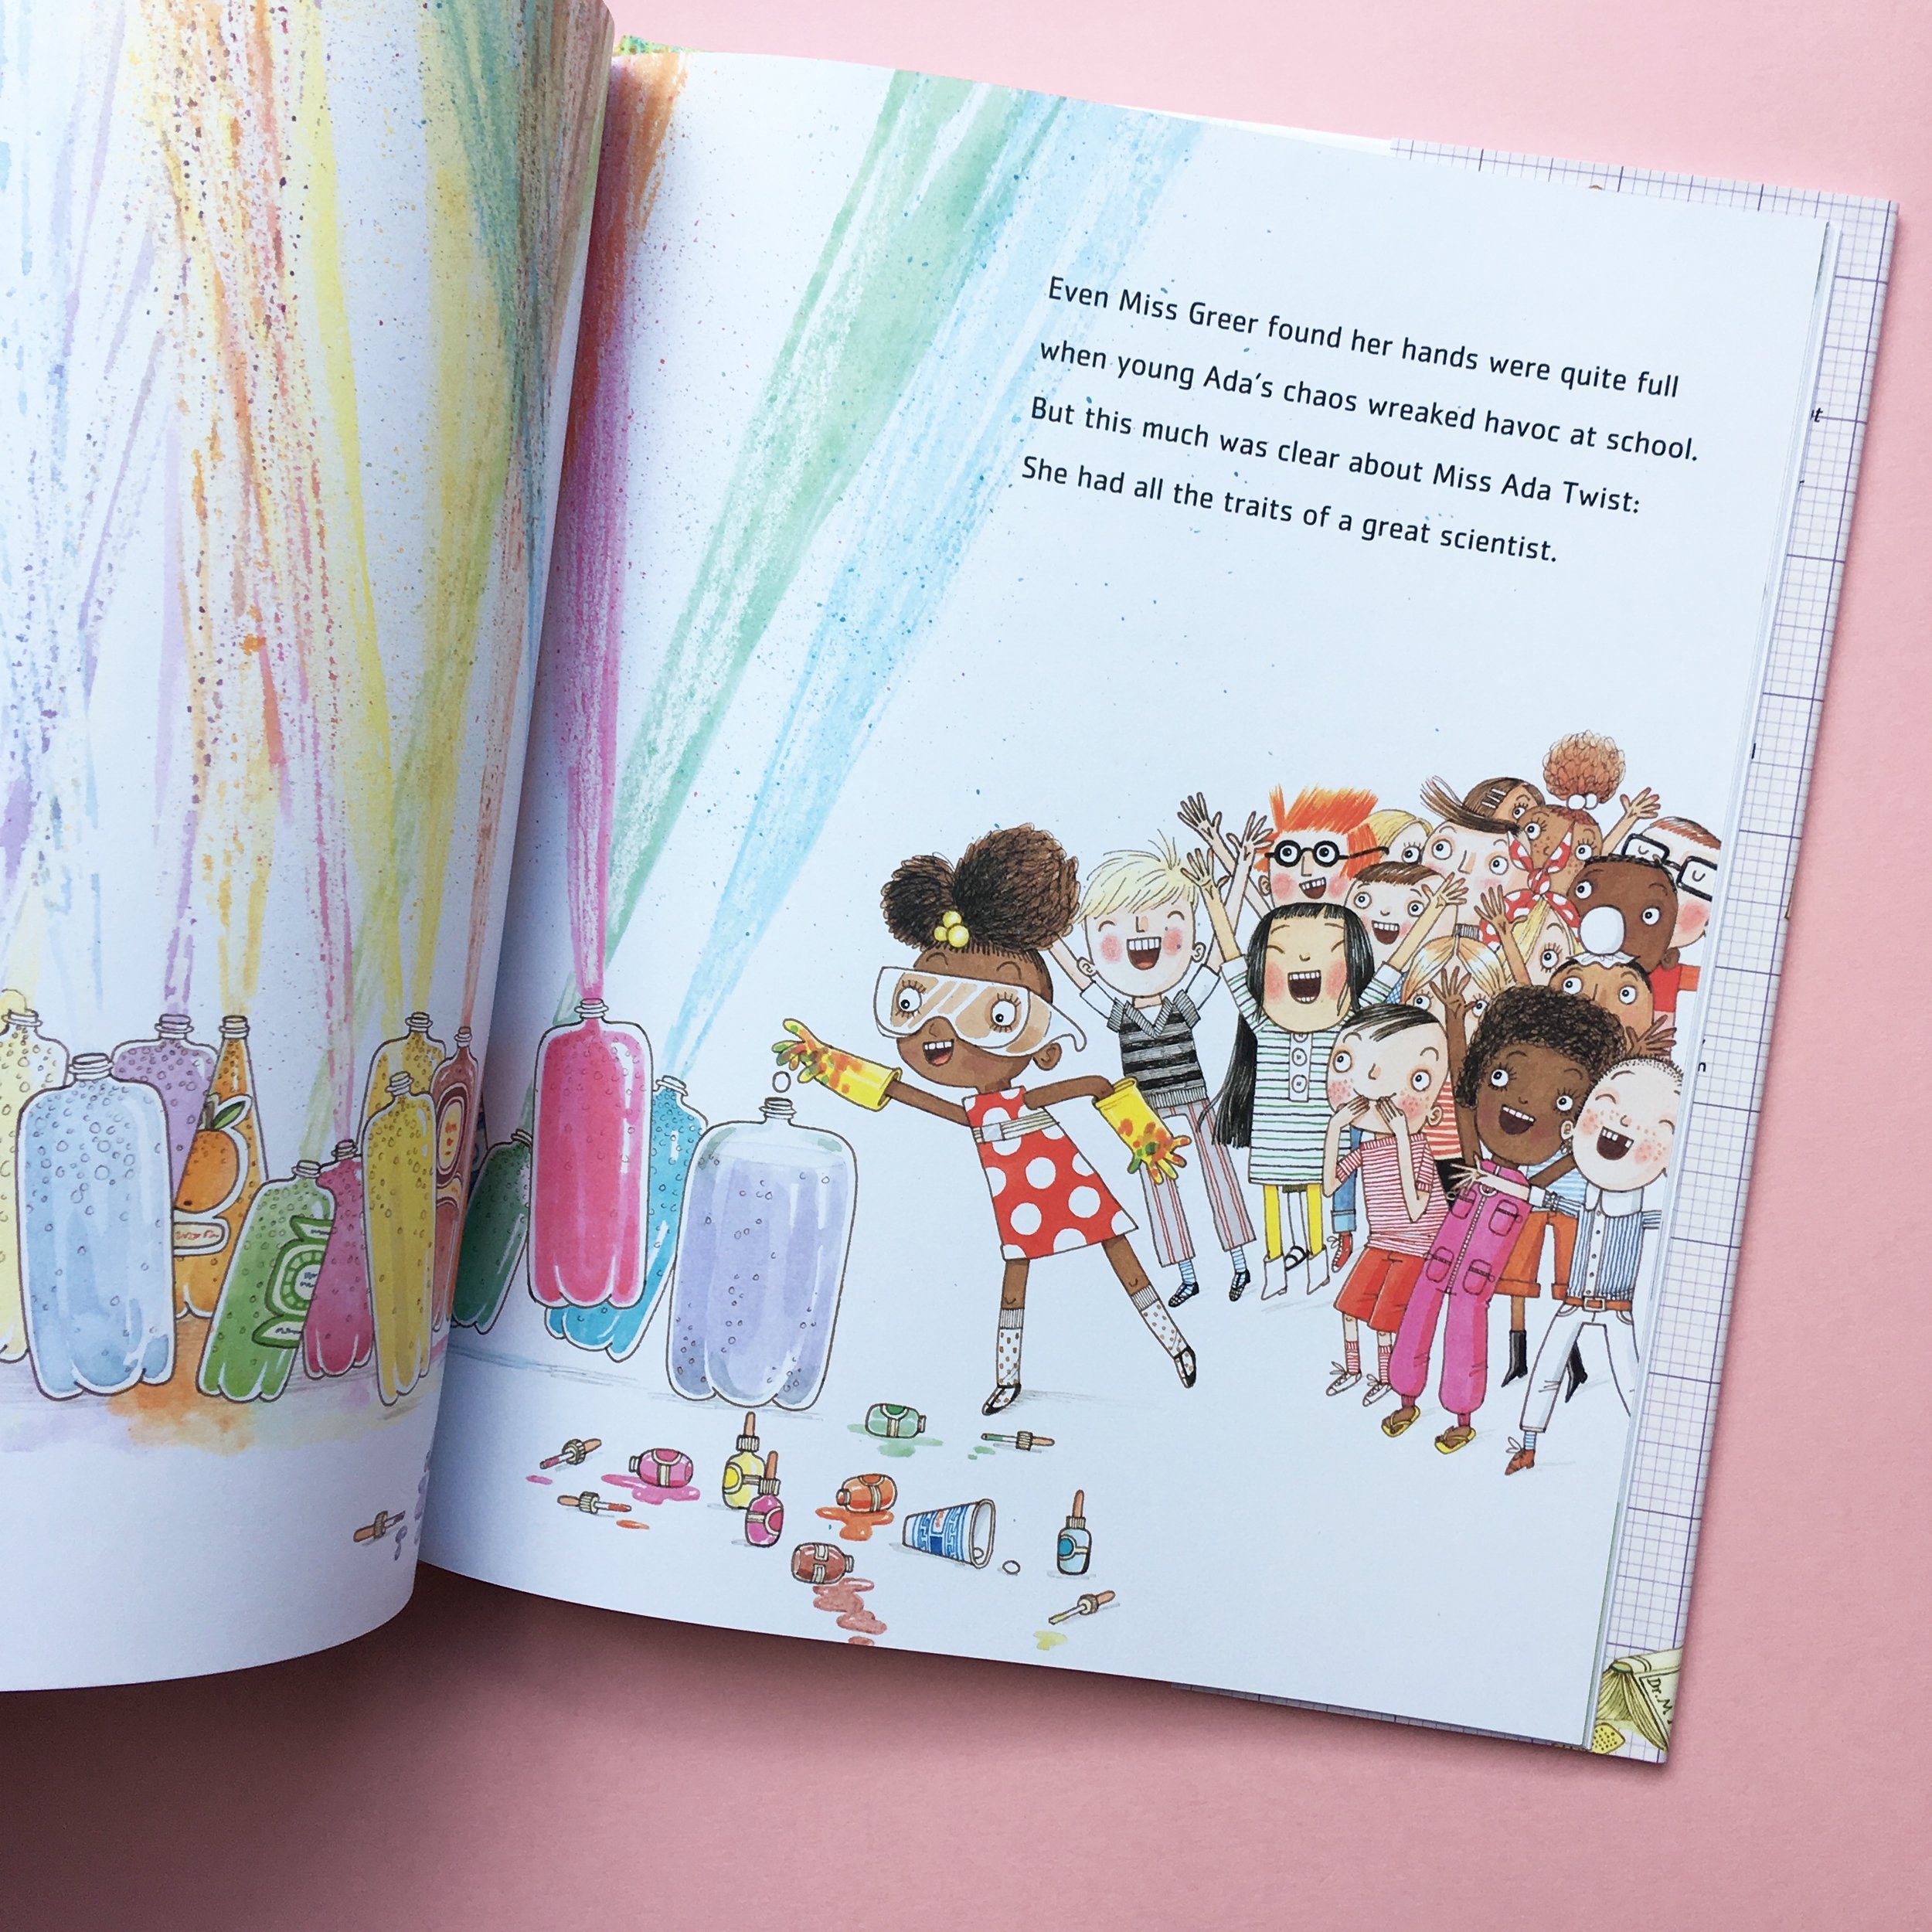
You may find it helpful to discover, or explore new ideas for making things from texts (books, videos, etc.). For example, you can dig into or further explore "self concept" through reading and inquiry. There are four types of self concept:
- Actual self-concept or Who I am now
- Social self-concept or How I am seen by others/ how I would like to be seen by others
- Private self-concept or How I am or would like to be to myself
- Ideal self-concept or Who I would like to be
Find a grade-level/age-appropriate book such as "Love Double Dutch!" by Doreen Spicer-Dannelly (actual self concept), "Really Rosie" by Maurice Sendak (social/idea self concept), or "Ada Twist, Scientist" by Andrea Beaty (private/ideal self concept).
After reading, review self-concept types (above). Which is more relevant to characters in the story or to you?
Make a list of ideas, concepts, or issues from the reading. For example, if you like double-dutch jump roping then the joy of jumping or simply "joy" can be used as a concept to do an online image search.
Find an Image to Trace
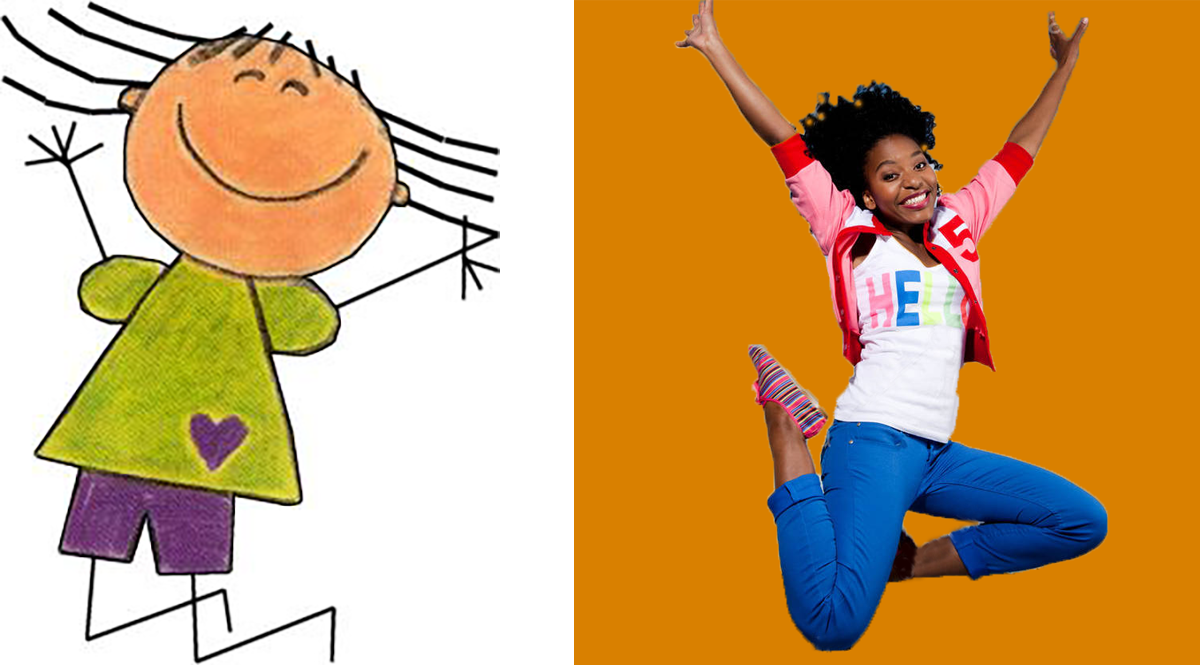
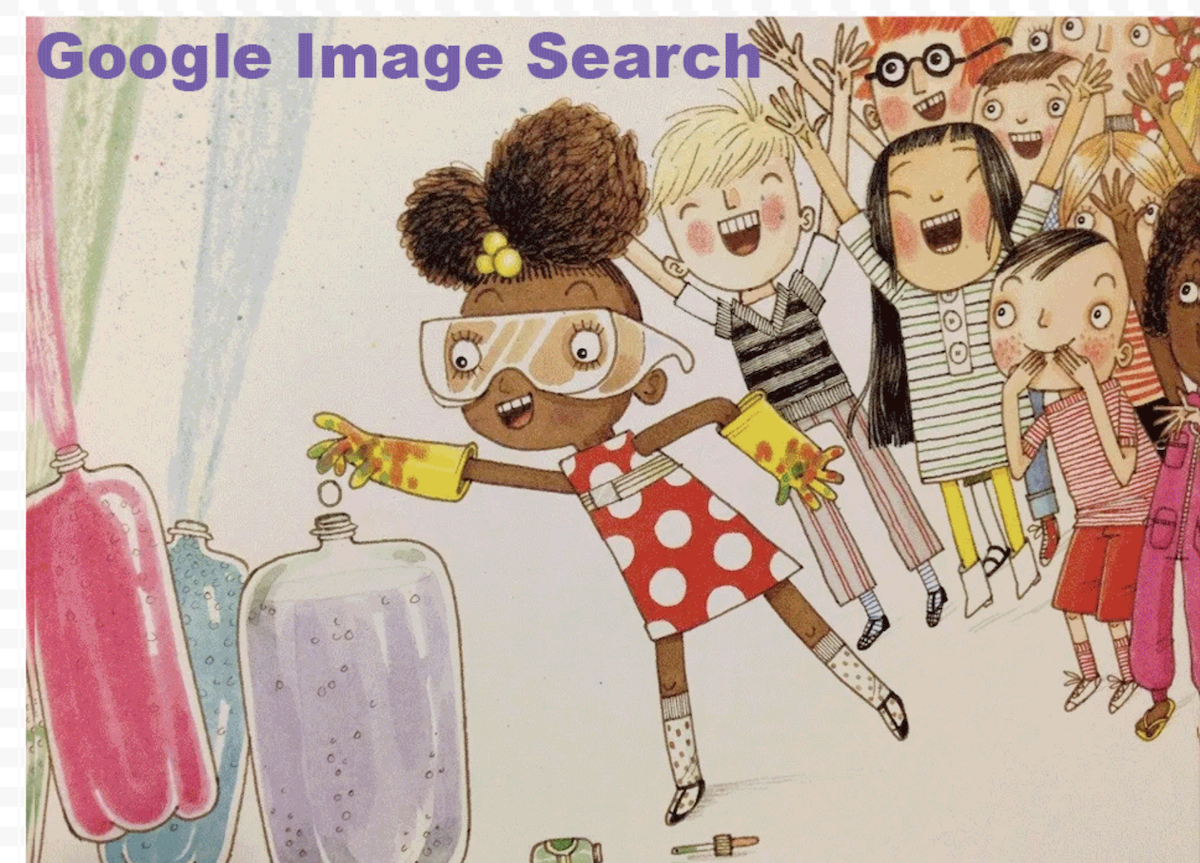
You can use your imagination or an online search engine such as Google to find images that best illustrate your ideas based on the reading. For this step, you have a few image options to choose from:
- Clip art
- Sketches
- Stock photos
- Photos taken of a subject using a smart device such as an iPhone or Chromebook
Save or store the best images for the next step.
**Skip this step if you want to try freehand drawing in Google Drawings.
Learn How to Use Google Drawings
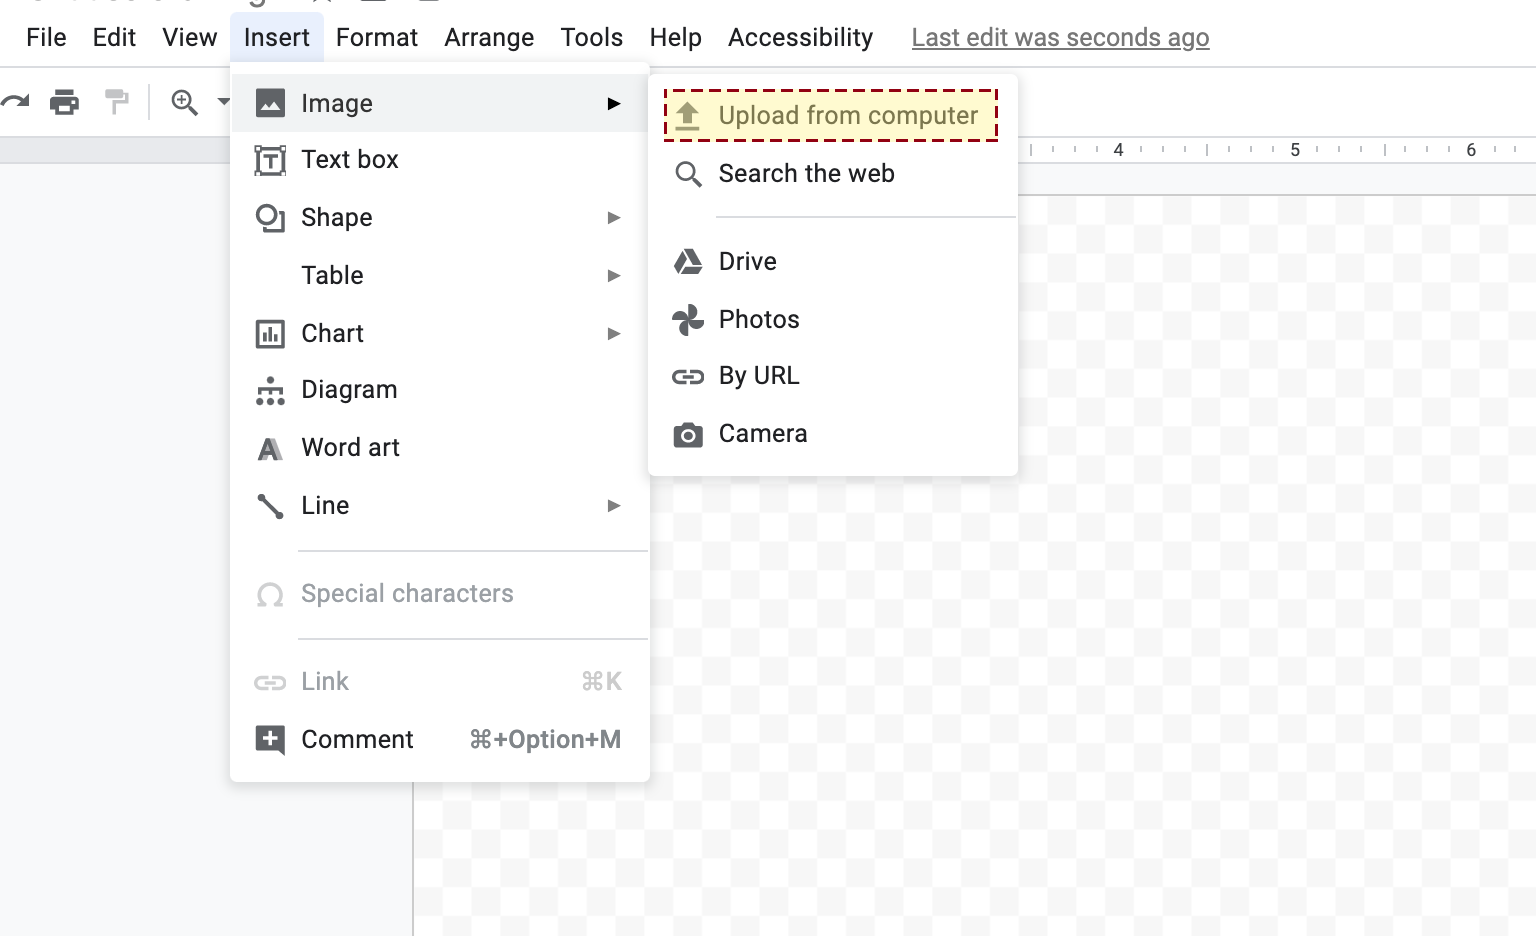
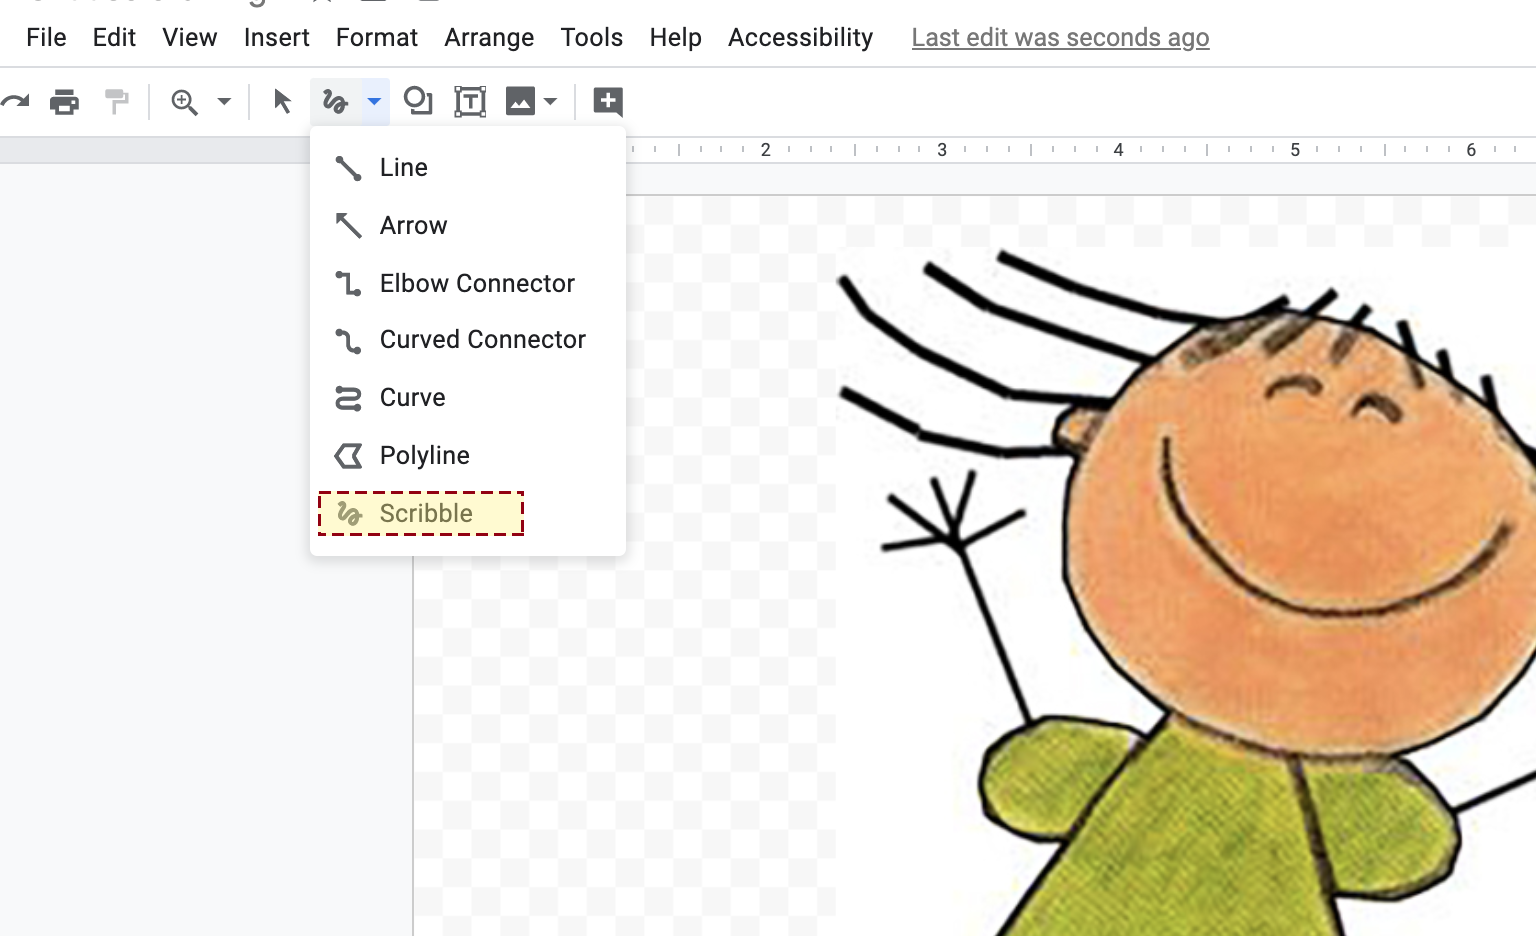
Google Drawings is an online application you can use to draw illustrations, etc. It takes time to learn a new program, so play around with "Scribble" and other tools (ex. Polyline) before starting the actual project:
- Open the program
- Click on the different tools in the top tool bar such as Scribble
- Go to the next step when you feel more comfortable with the program
Trace Your Image Using Google Drawings
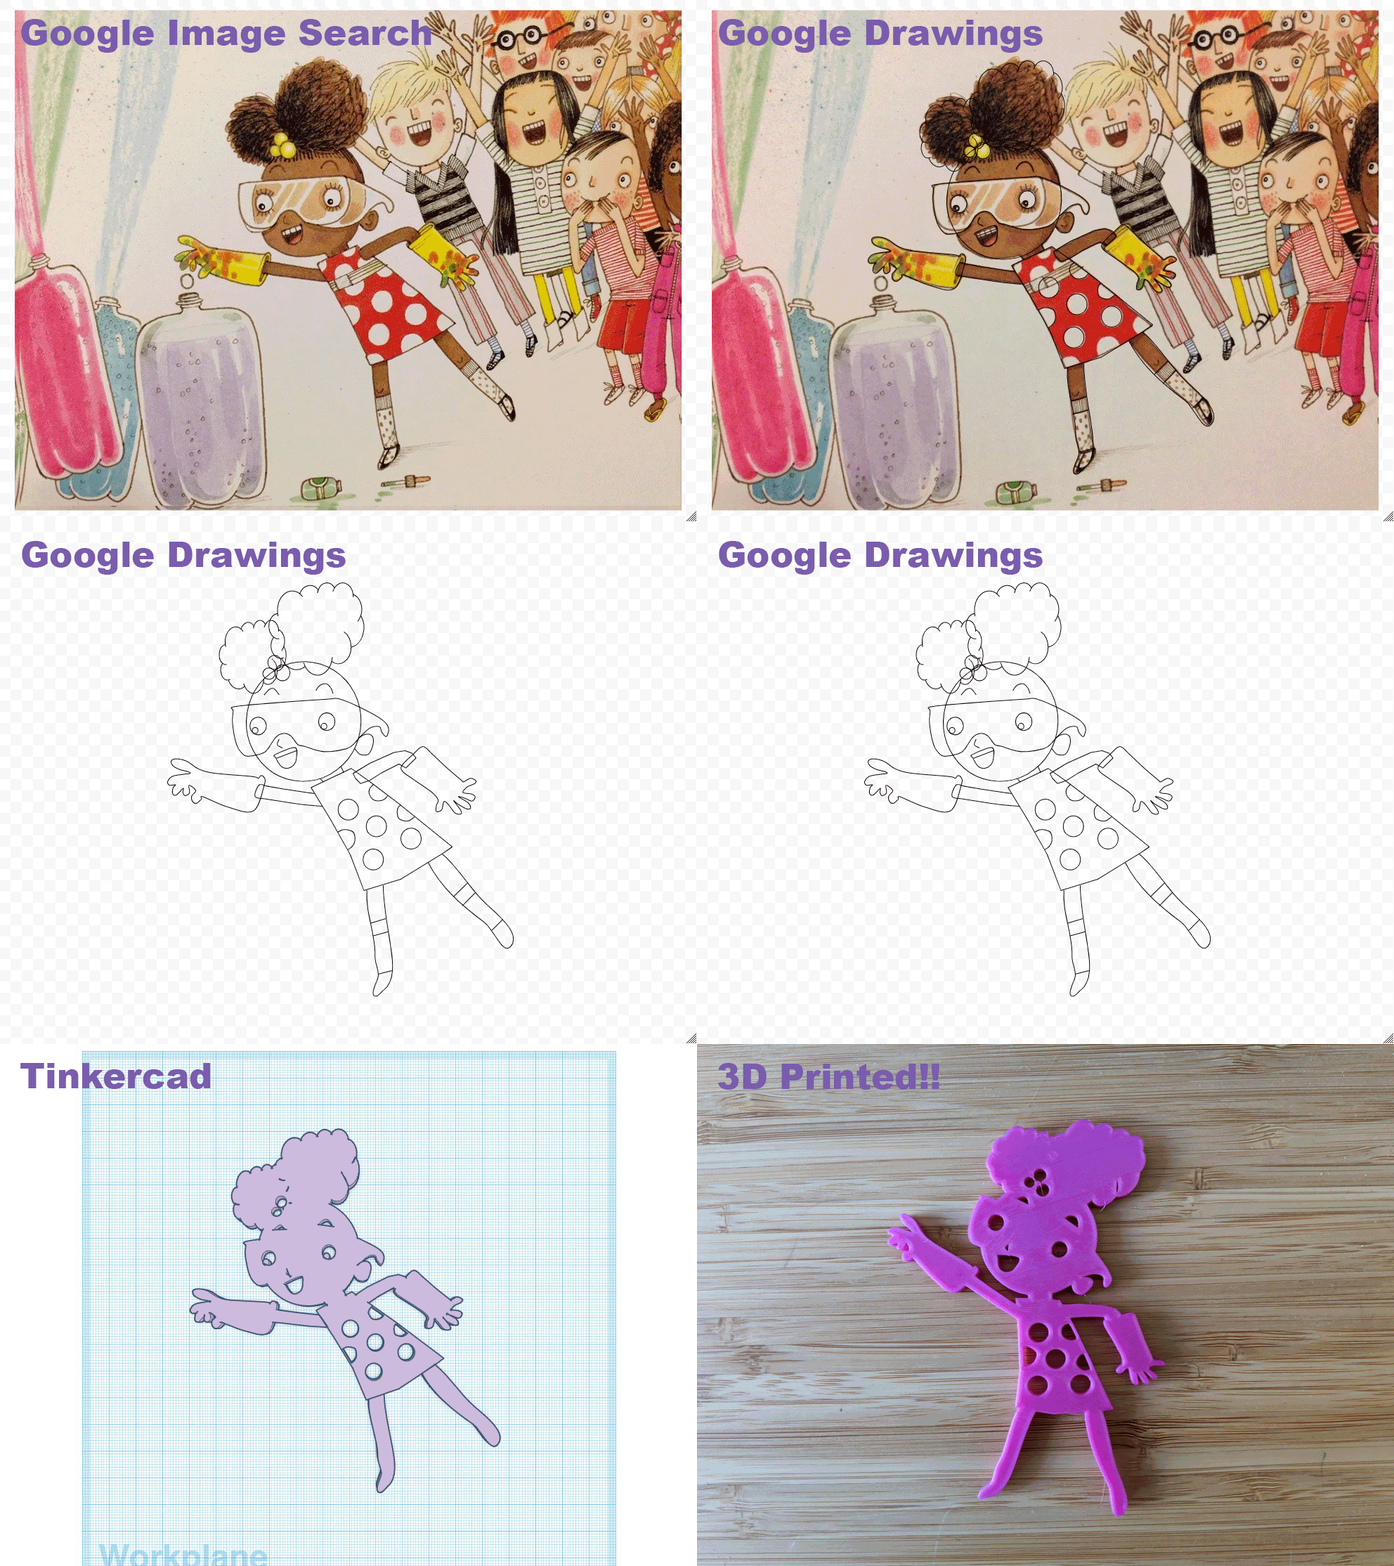
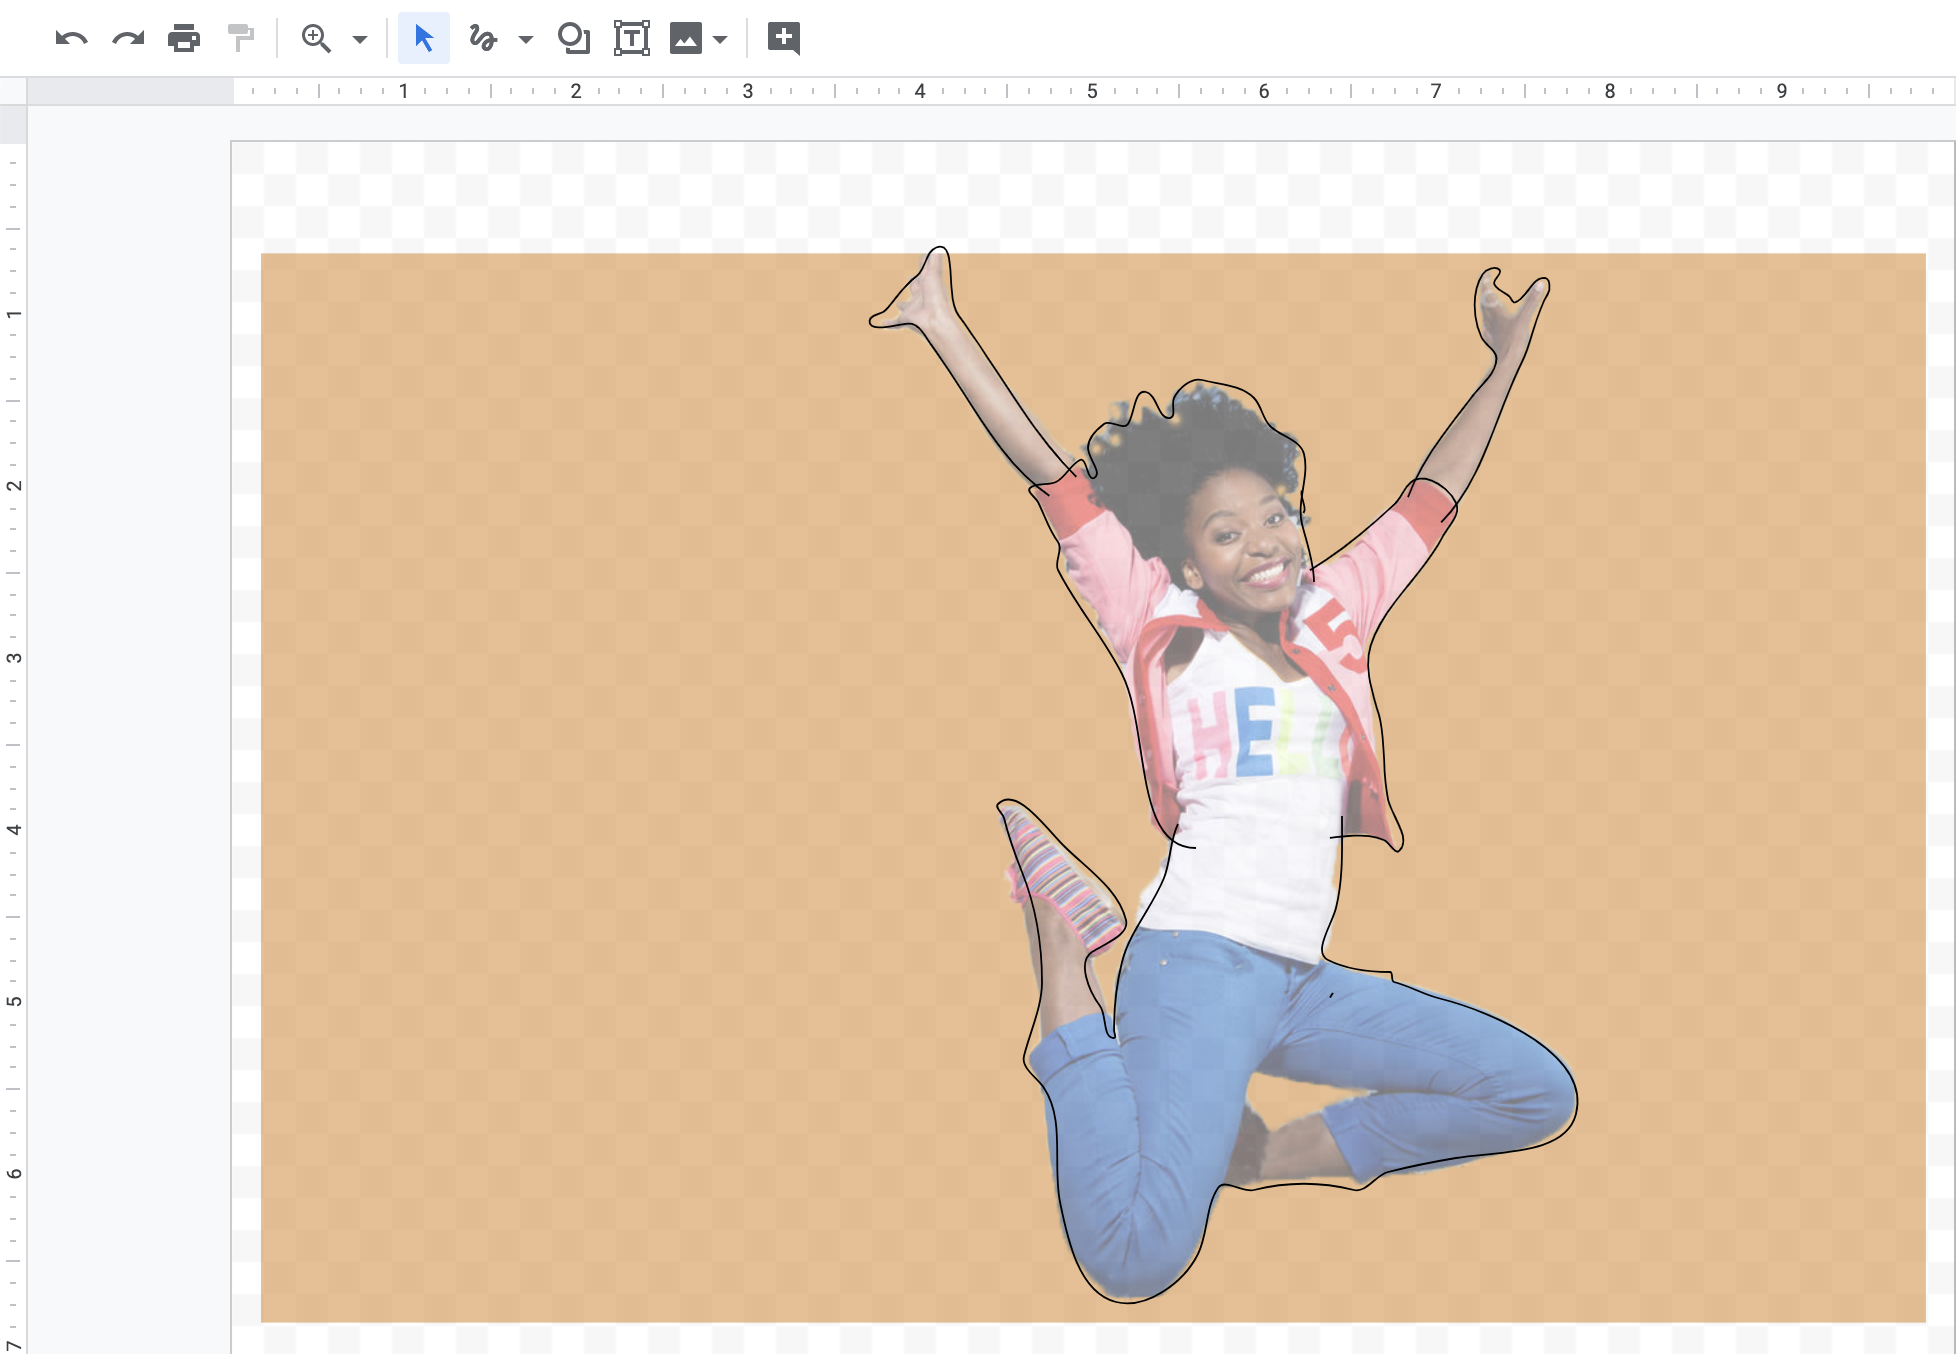
If you are not confident or sure about your computer-based drawing skills you can trace characters from images using Google Drawings. Launch the program in your web browser window, then:
- Choose Insert > Image > Upload From Computer, then find and select your image (must be a PNG or JPG).
- The image is now a Google Drawing document and can be edited with the tools.
- To trace, use the Scribble tool, which is located on the drop down menu of the Line tool. Trace the character outline a little bit at a time. You can delete lines you don't like and re-draw them.
- Focus on the large features of the character (e.g. body/hair outlines, clothing). You can add smaller features later in Tinkercad.
Other Tips:
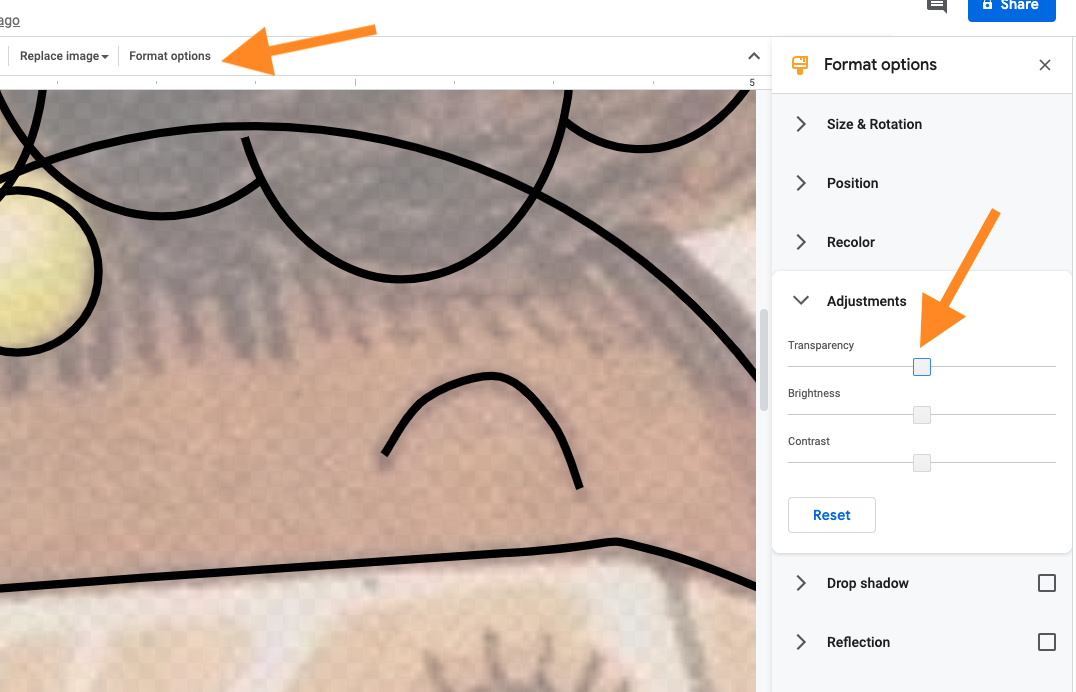
In Google Drawings, you can use the Arrow tool to click on the image and "Format Options" to set transparency to 50%. This helps to see the tracing/drawing a little easier as you work.
Stick with the outline of the image/subject you want to use and don't add minor details such as hair (eyes and mouths will work). You can add other shapes later.
Note: You may have to go back and forth between Google Drawings and Tinkercad a few times if the shapes doesn't come out the way you want.
Export Your Google Drawings Cartoon
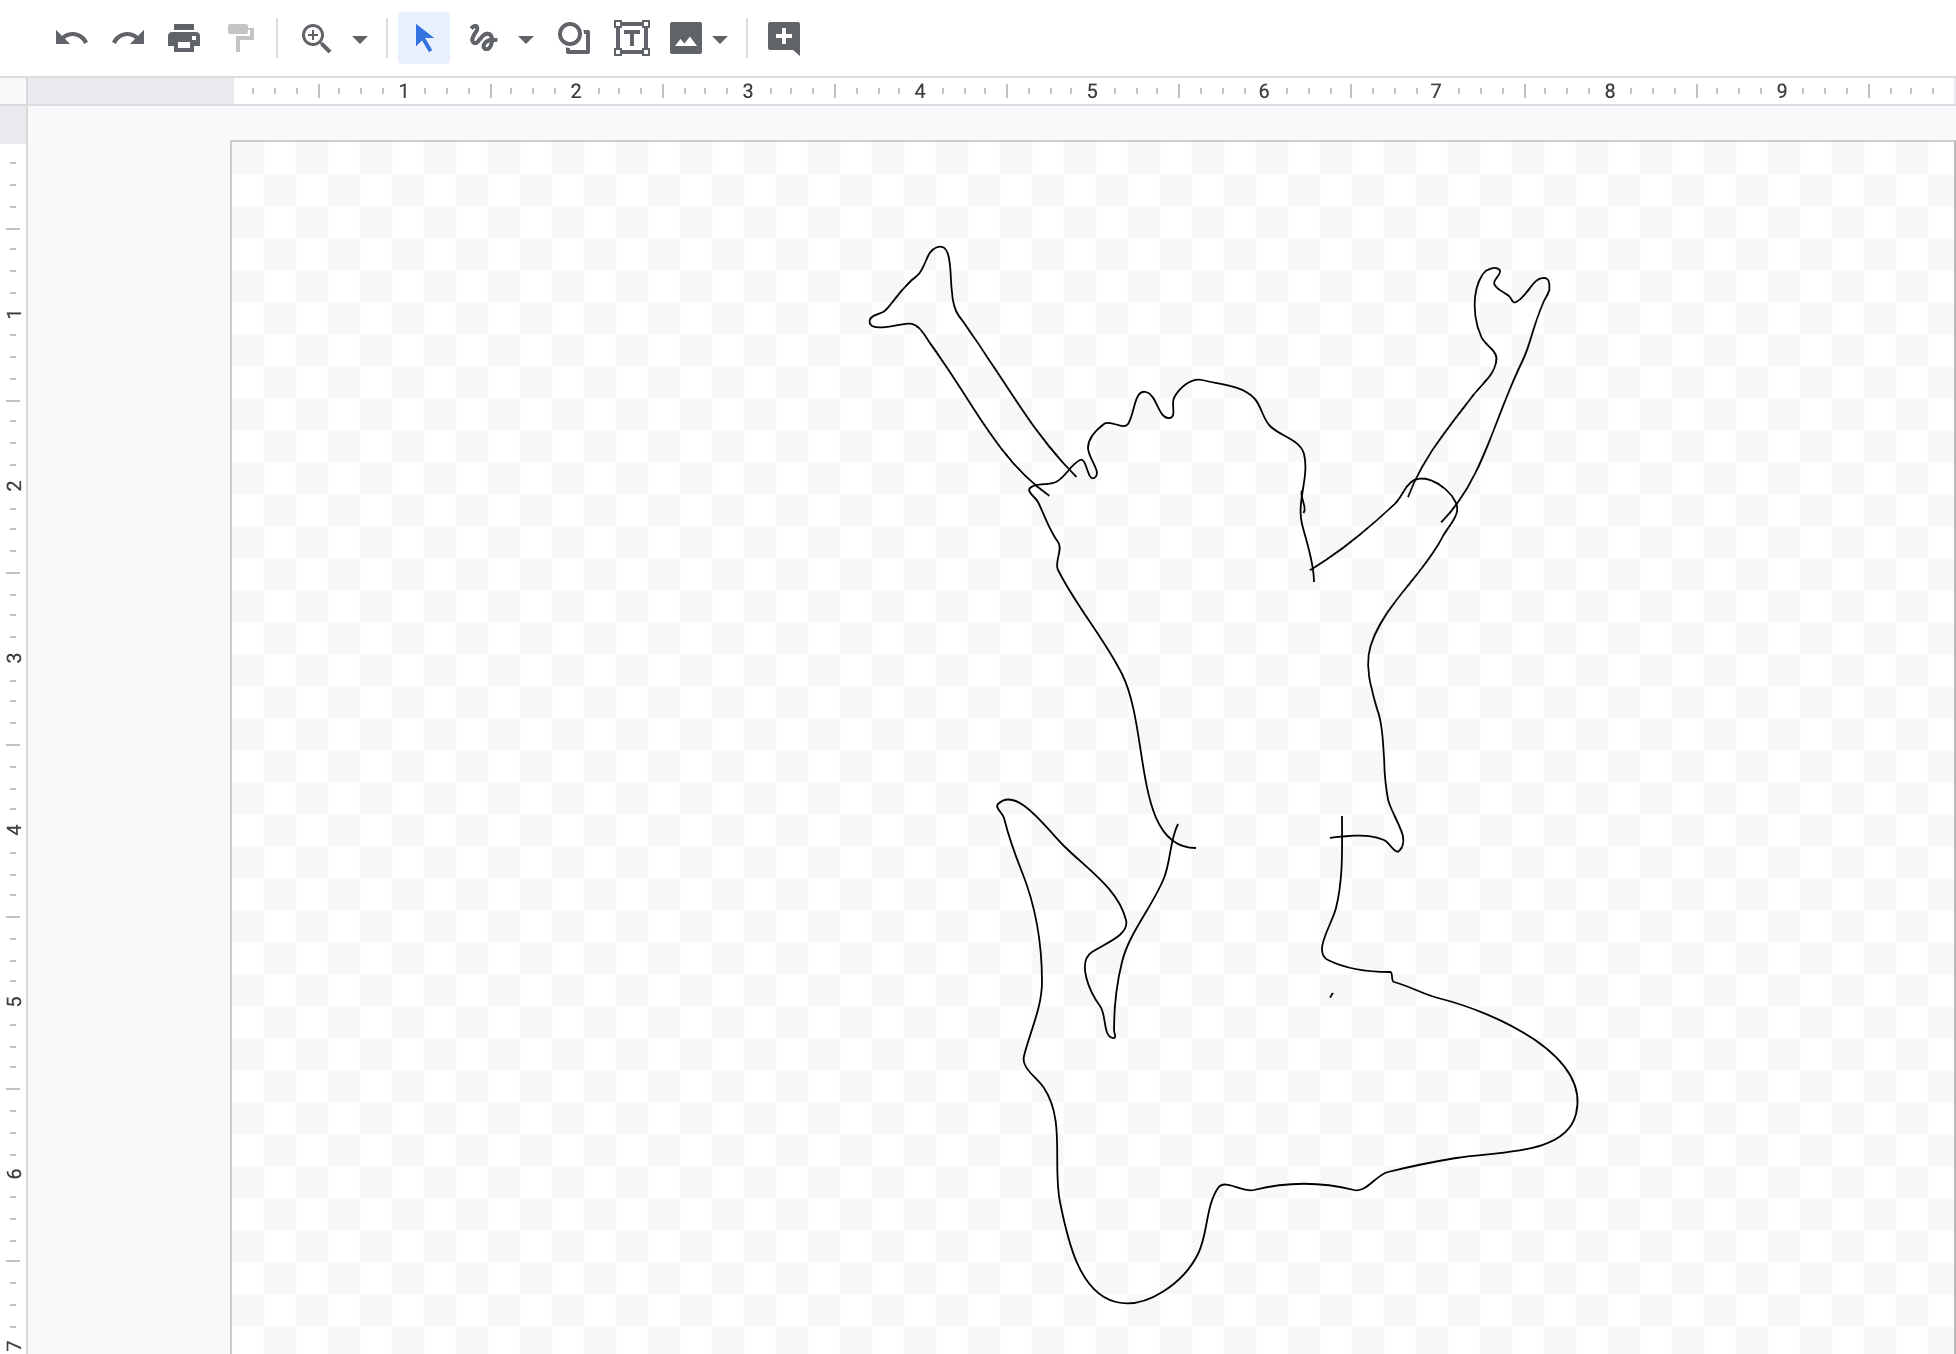
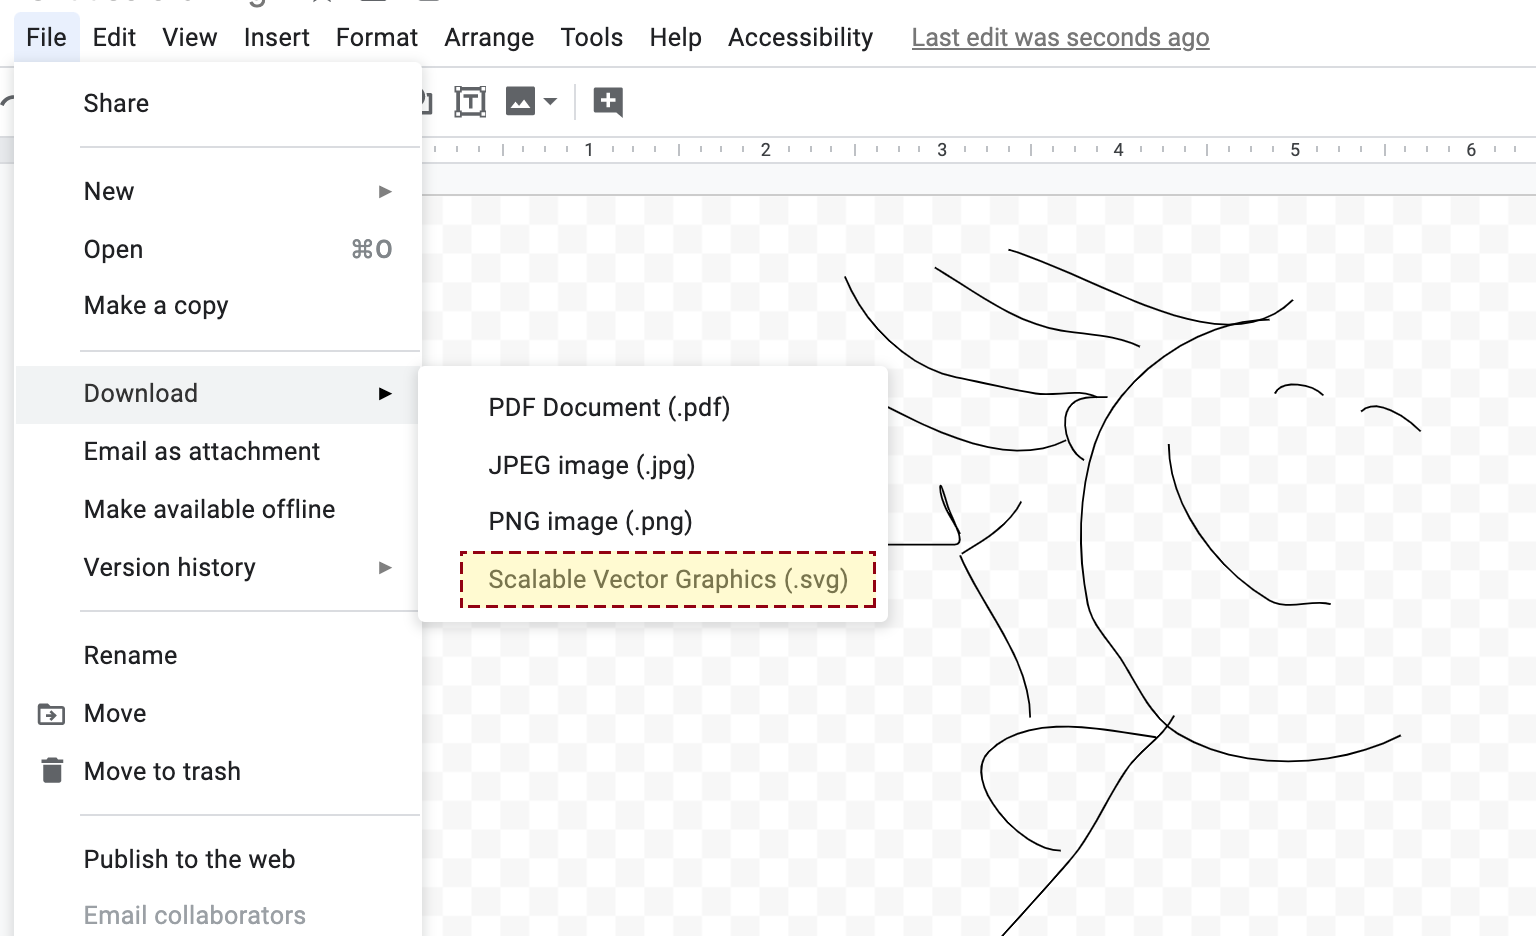
To prepare your Google Drawings cartoon for Tinkercad 3D Design you must download it as an SVG that stands for Scalable Vector Graphics. SVG is a file format that allows you to create vector images. To do this step:
- Remove the original image in the background, if necessary
- Select File > Download > Scalable Vector Graphics (SVG)
Make sure to name your drawing before downloading it. This makes it easier to find.
Import Your SVG Into Tinkercad
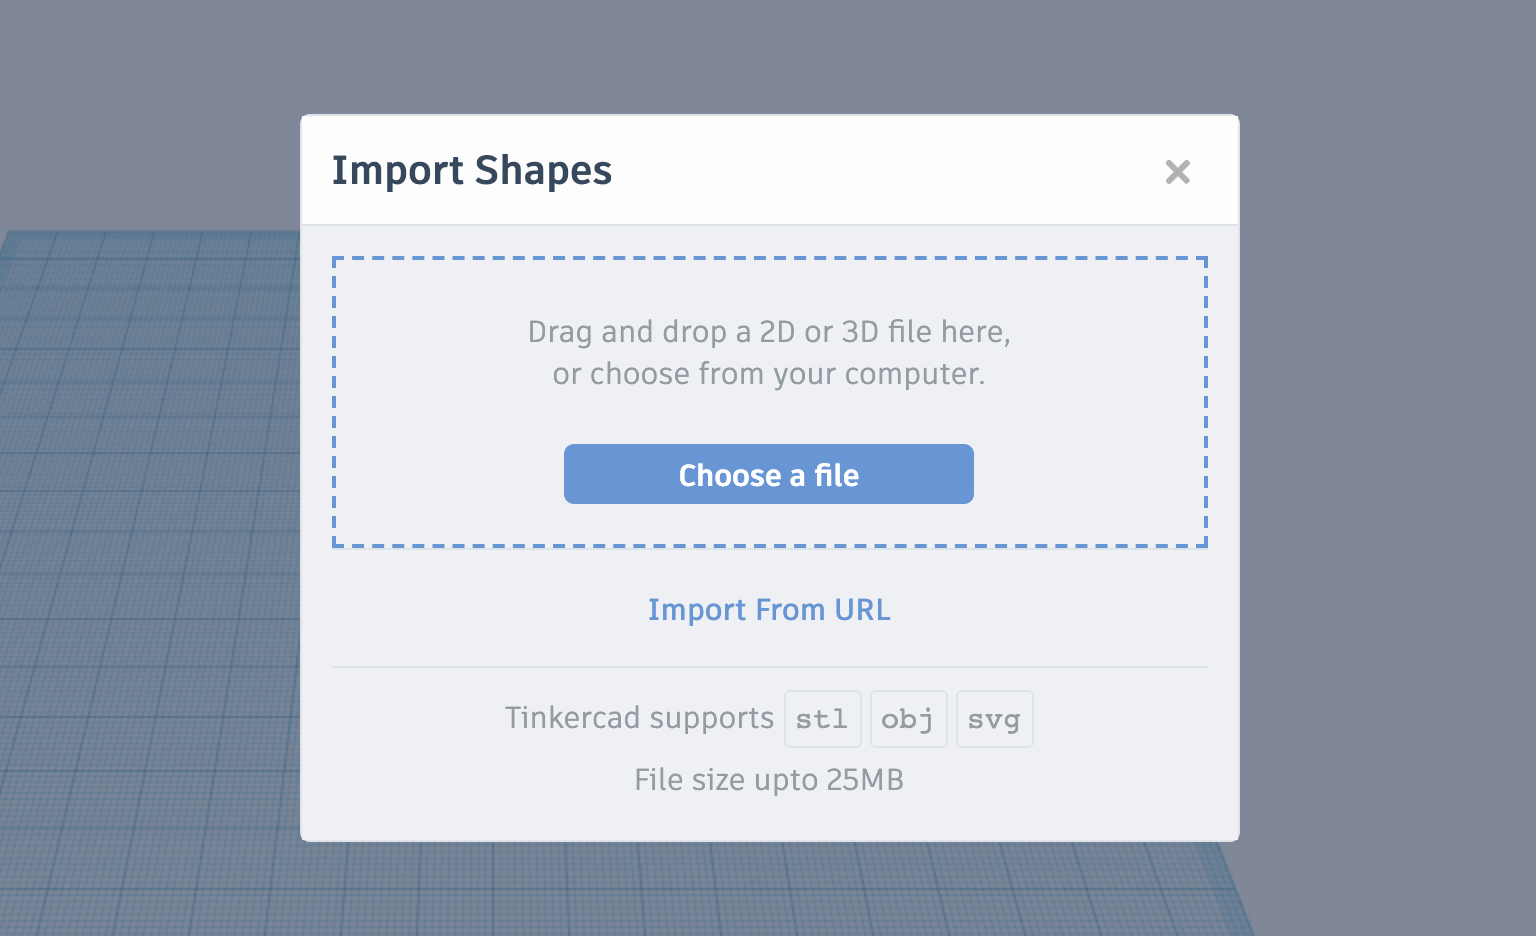
Once your Google Drawing is downloaded as an SVG file. Open/launch Tinkercad 3D Design in your web browser window then:
- Click the "Choose a File" button (you can also drag and drop it in the designated box)
- Wait for Tinkercad to upload your STL file to the program
Resize Your 3D Model
This step requires some basic knowledge of Tinkercad. If you are new to the program then watch this tutorial (or skip it if they know how to use the Scale tools):
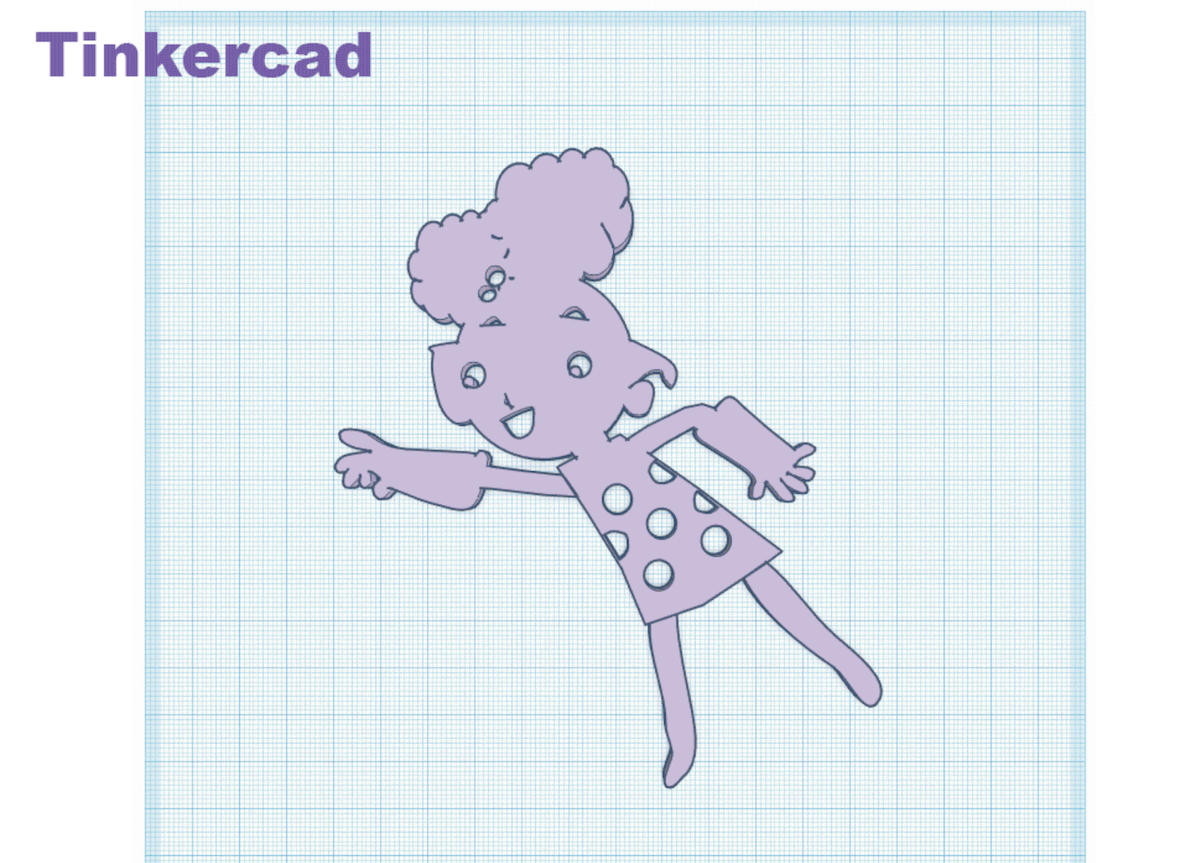
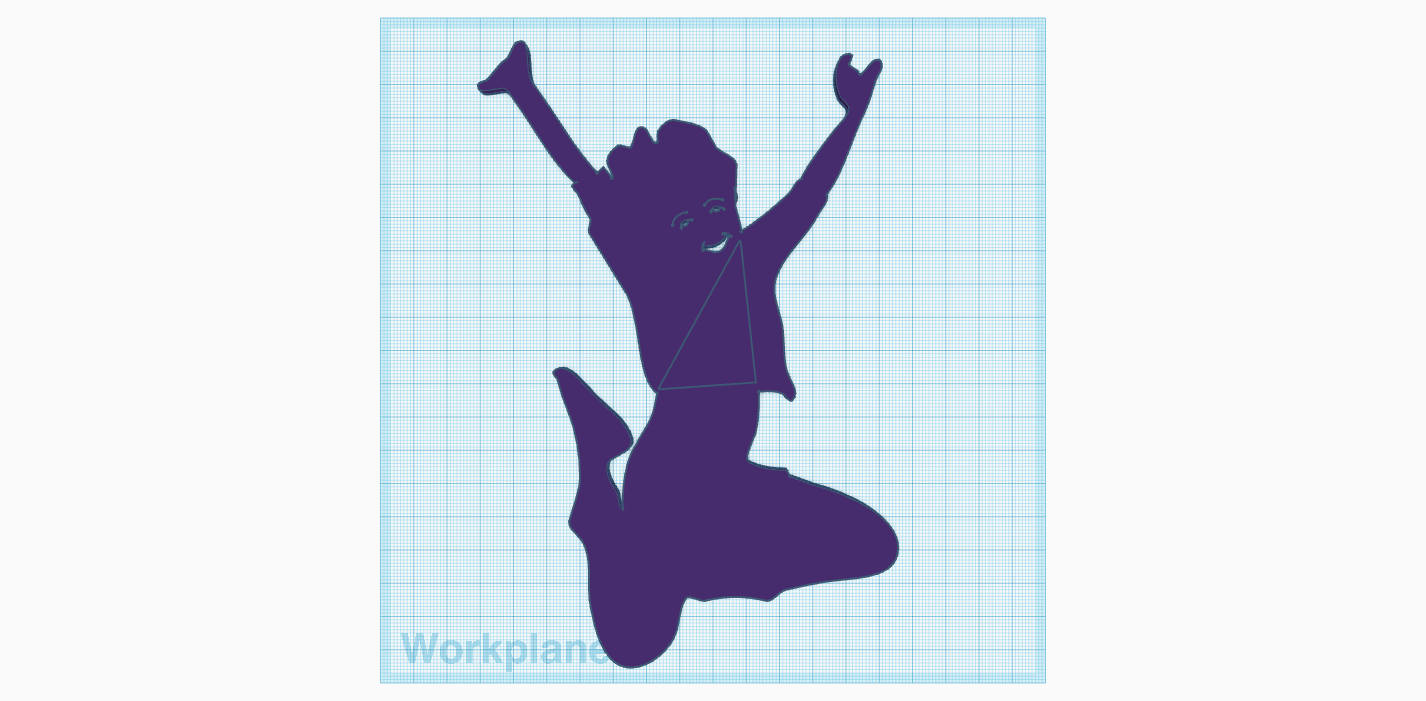
Once the SVG file is imported into Tinkercad it may need to be resized to fit on the Workplane (grid). Click on the imported object, then click and drag using one of the corner boxes. You can re-position the object, as well.
The imported SVG file may look very different from the Google drawing, so you may need to add additional 3D parts to the original object, specifically for 2D cutting or 3D printing (optional). No parts should be floating or separated from the others.
Please note, that Tinkercad will NOT allow you to group and ungroup something you upload as one SVG file. Once it's in Tinkercad you will NOT be able to group, ungroup and move the shapes/parts independently (but you can add to them).
Export Your 3D Object for Fabrication
Digital modeling and fabrication is a design and production process that combines 3D modeling or computing-aided design (CAD) such as in Tinkercad with additive and subtractive manufacturing. Additive manufacturing is also known as 3D printing, while subtractive manufacturing may also be referred to as laser cutting or machining.
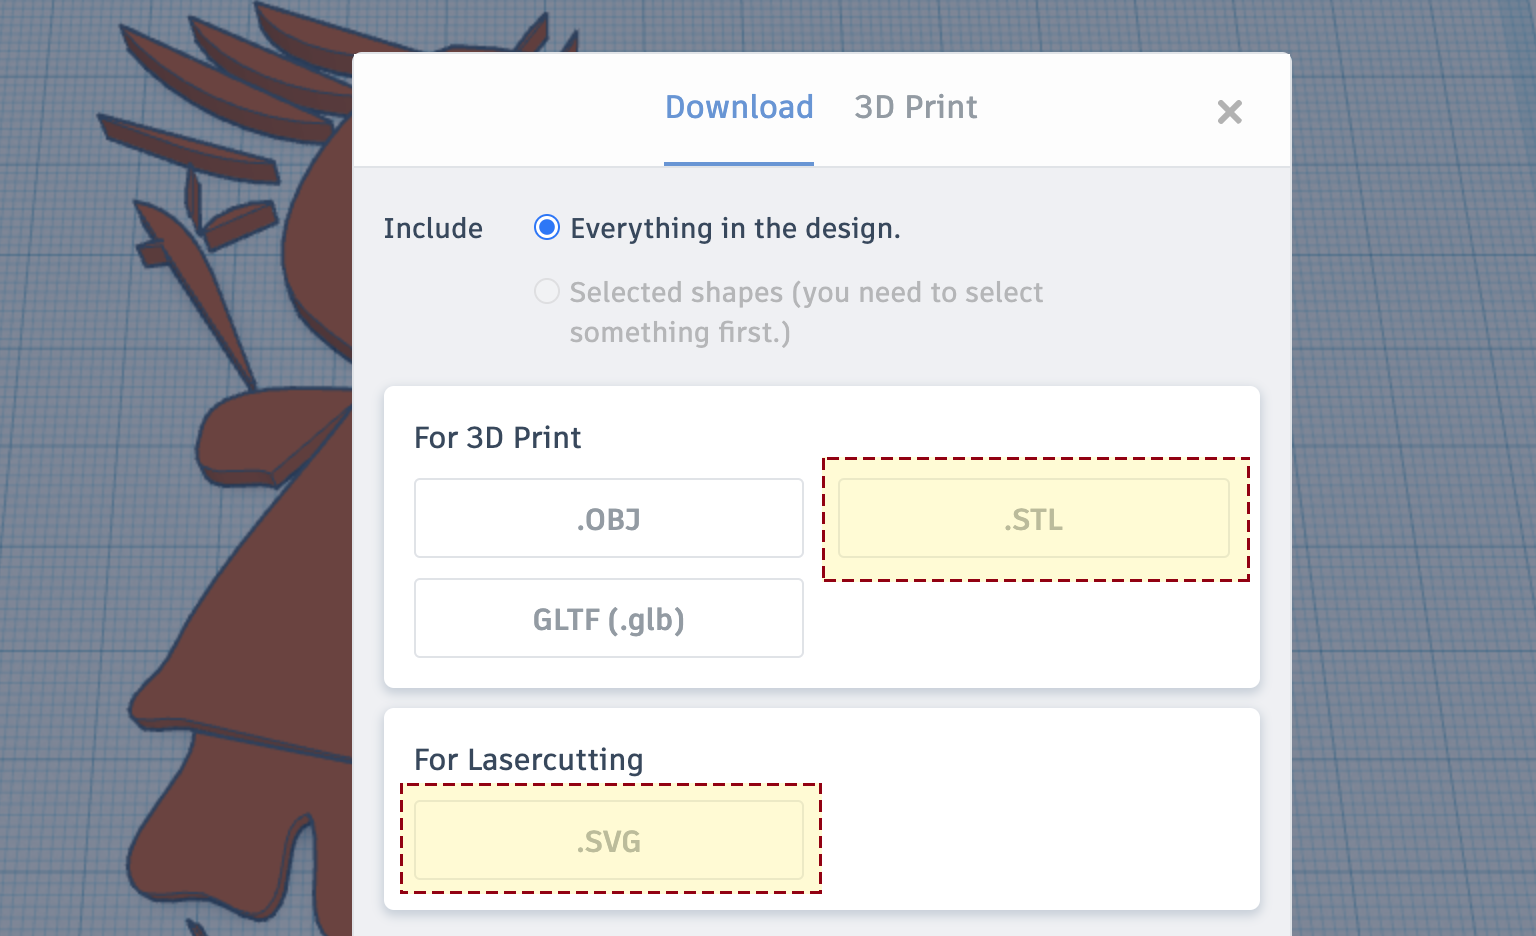
When you are finished with your object you can export it for vector laser cutting (vinyl, laser) or 3D printing. Click the Export button and choose STL for 3D printing or SVG for vector laser cutting.
Create Your Own Art Installation
The inspiration for this step is Nick Cave's "Until" that was on view at MASS MoCA from 2016-2017 in a massive immersive installation. Cave's installation includes thousands of brightly colored wind spinners—metal discs cut with concentric designs that generate a holographic effect when in motion—hanging on wire strands from ceiling to floor.
You and your peers or classmates can 3D print or laser cut your Tinkercad characters, then hang them from fishing line (plastic filament) from the ceiling.
This work is made possible by support from STAR, a Biogen Foundation Initiative. The team at Lesley supporting this initiative includes faculty and staff in the Lesley STEAM Learning Lab, Science in Education, the Center for Mathematics Achievement, and other related Lesley University departments and programs.