Make It Pedestrian Sky Bridge
by 033623 in Workshop > 3D Printing
288 Views, 0 Favorites, 0 Comments
Make It Pedestrian Sky Bridge
.png)
.png)
I am a 16-year-old 10th-grade high school student at dalton high school and I made a sky bridge with a series of lights in a coil design to be highly mailable.
STEP 1
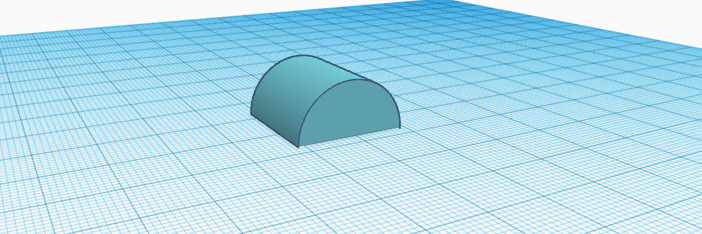
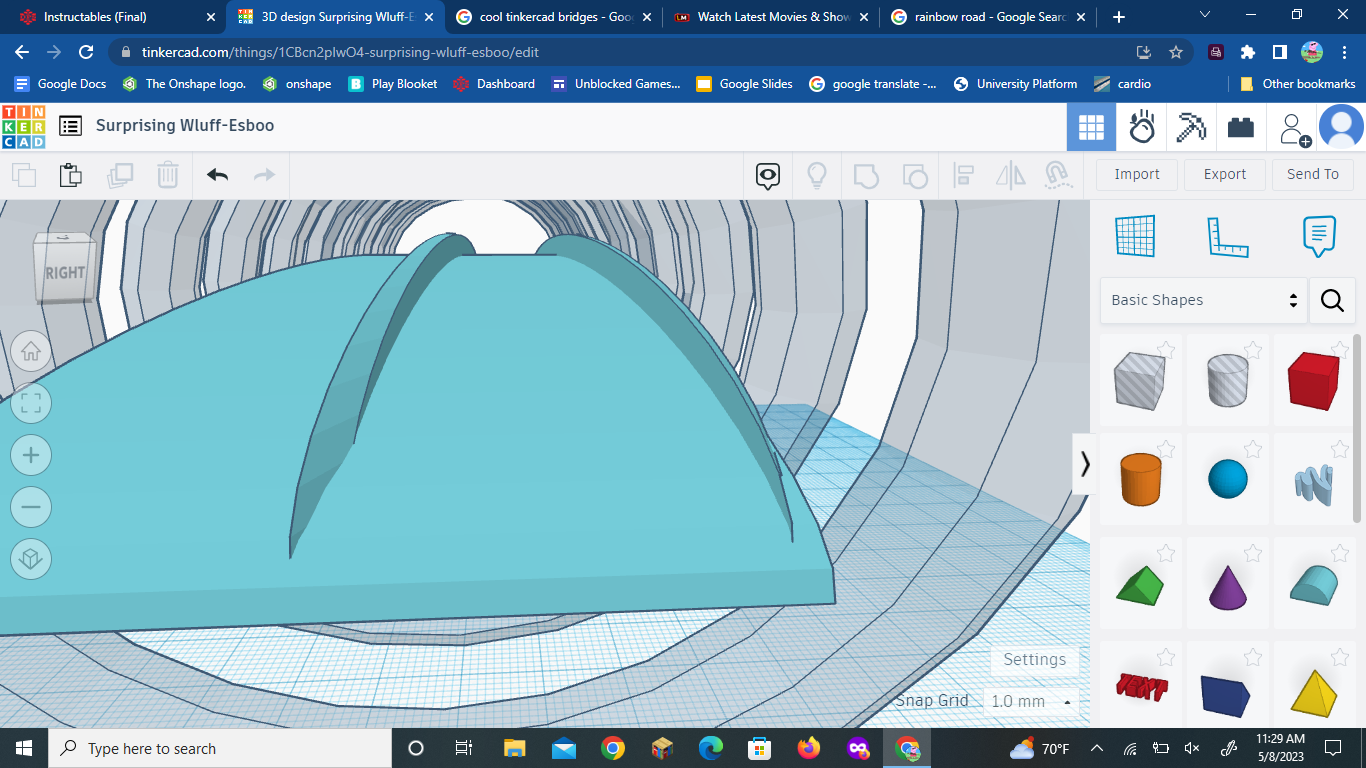
Select the round roof shape under basic shapes and place it where desired.
STEP 2
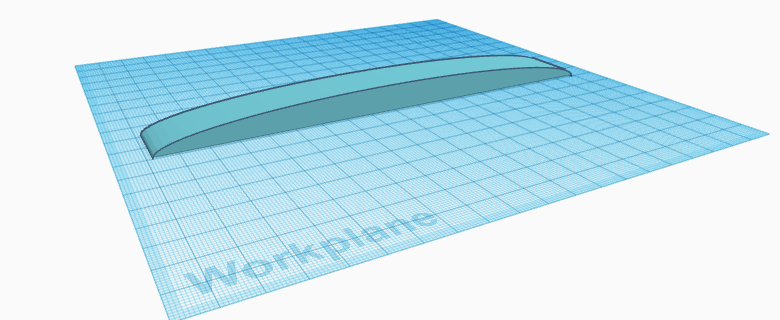
Click on the shape after it has been placed and then stretch it out to the desired length of the sky bridge.
STEP 3
.png)
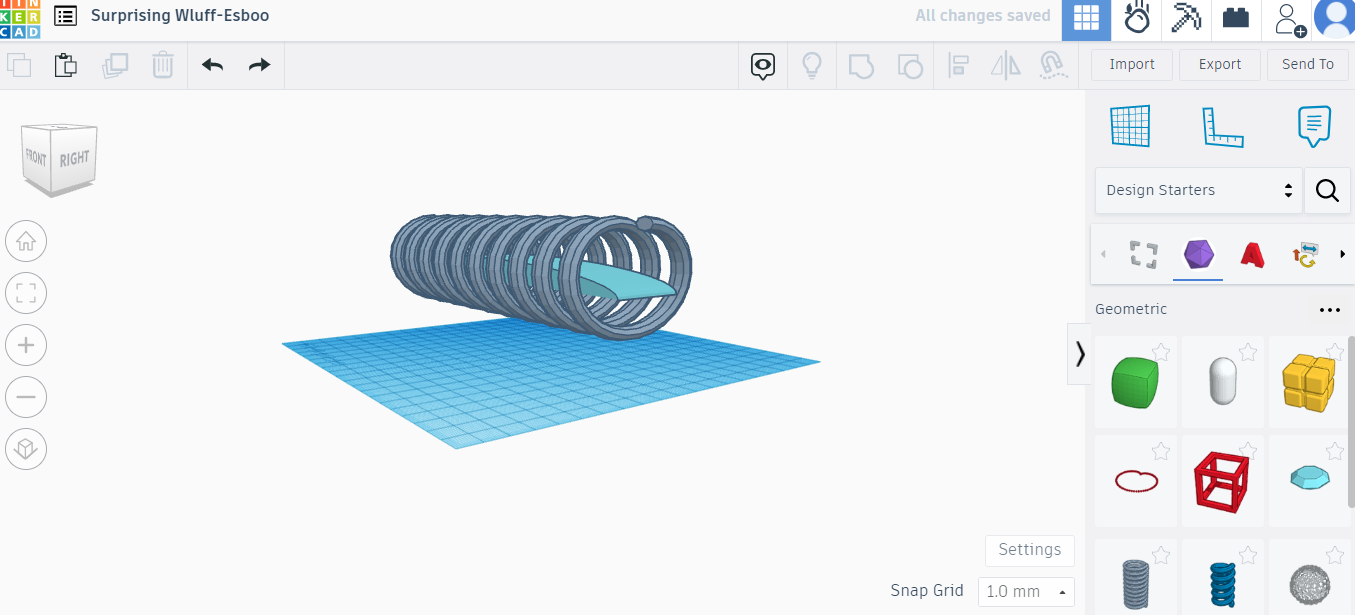
Then look up "Helix 2" in the search bar of Tinkercad shapes and adjust it to the width and length of the round roof you made.
STEP 4
.png)
.png)
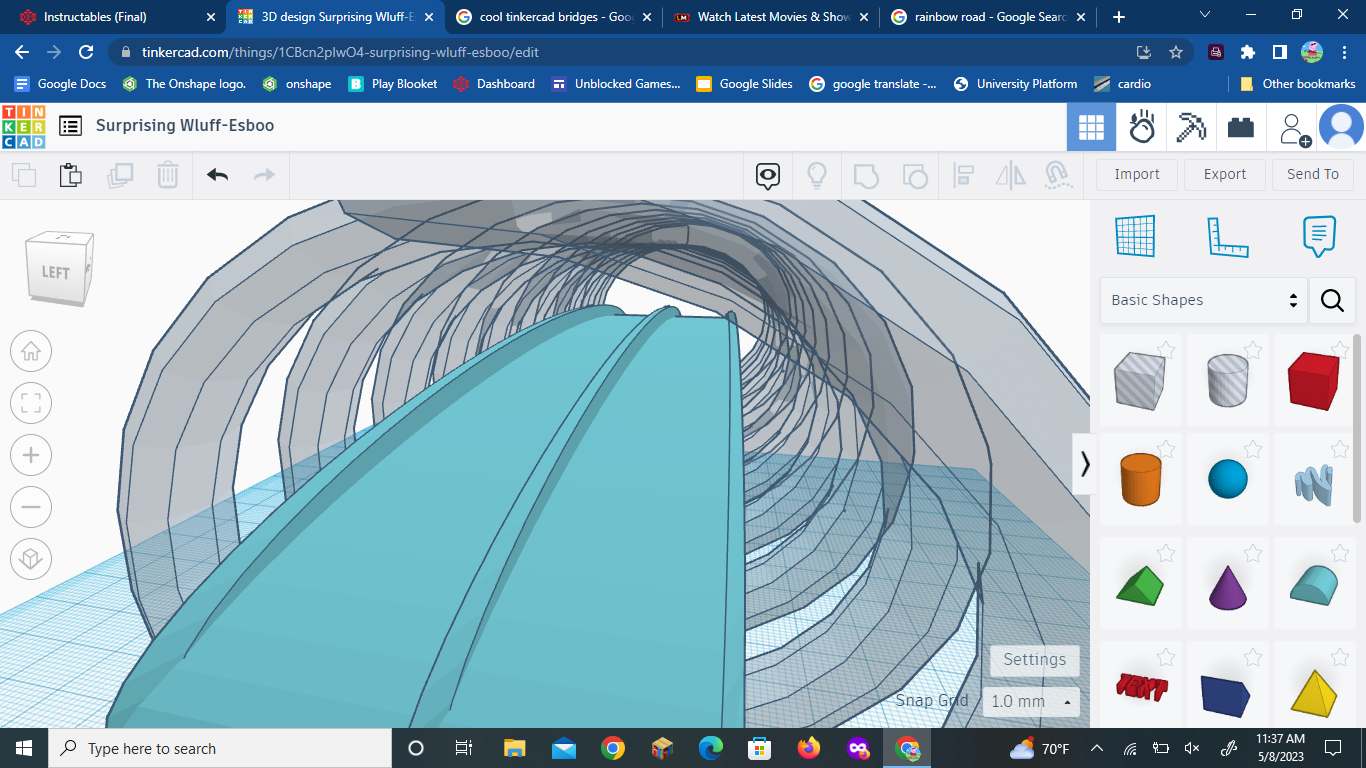
Next, select and place another "Round Roof" shape but this time make it sized to make borders to separate the sky bridge according to the size of your bridge
STEP 5
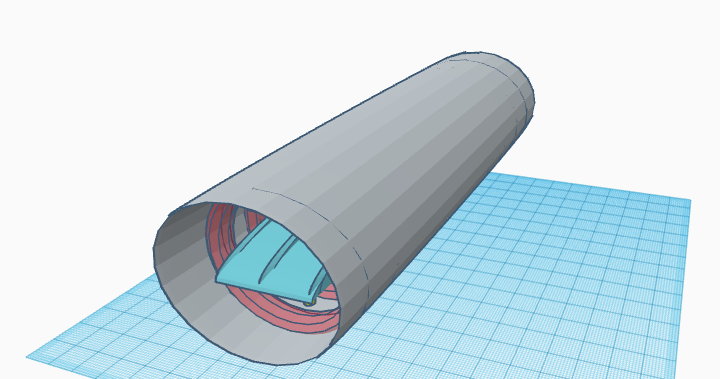
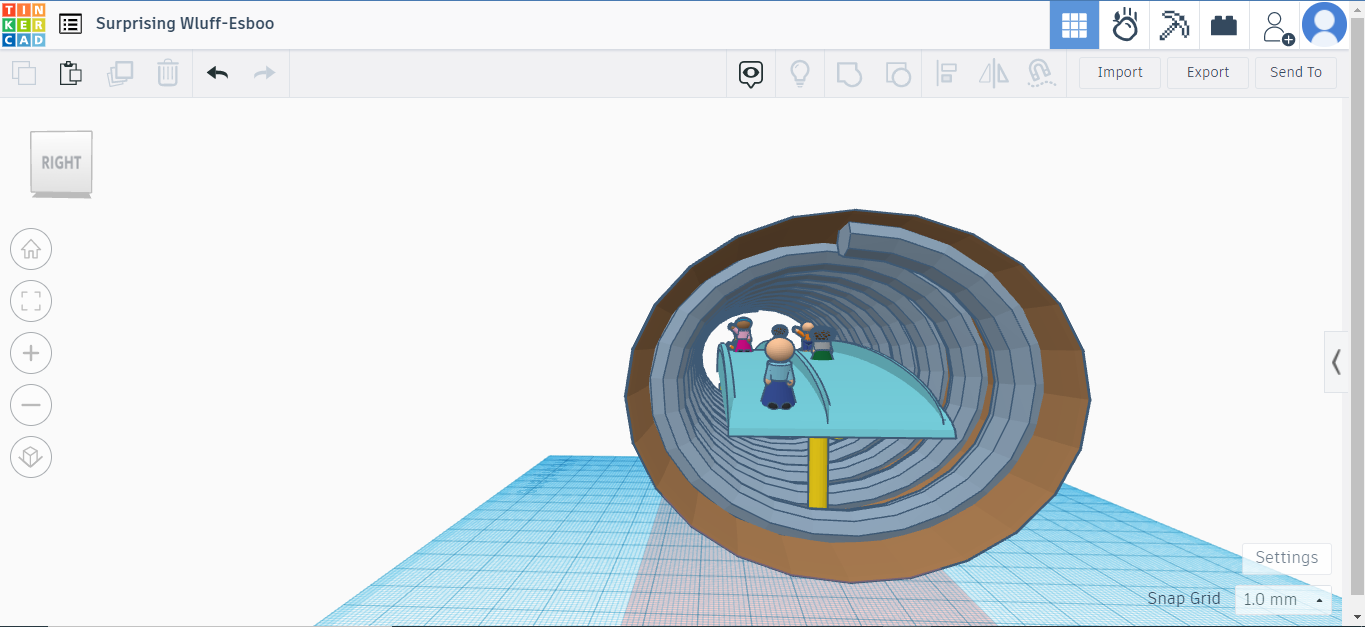
Next, look up "Ring" in the shape search bar and select and place it on the grid, then you want to do the same procedure you did with "Step 3" and shape it to cover the outside of the bridge but keep the helix showing on the inside.
STEP 6

Next, you need to add supports from the helix and ring to the walkway and for this step, the shape "Chick Foot" was used for this, you will need to add these to wherever you see fit and how thick and wide you see fit.
STEP 7
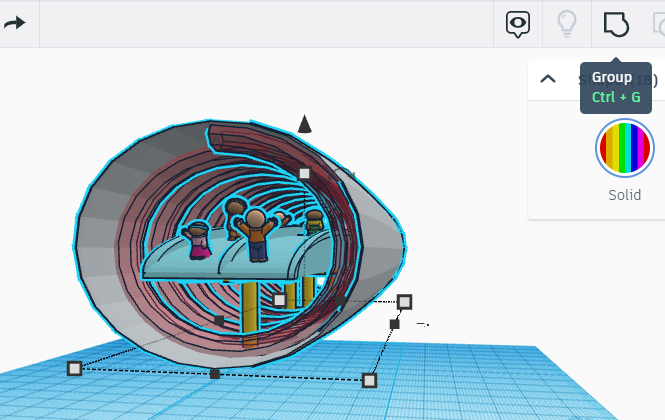

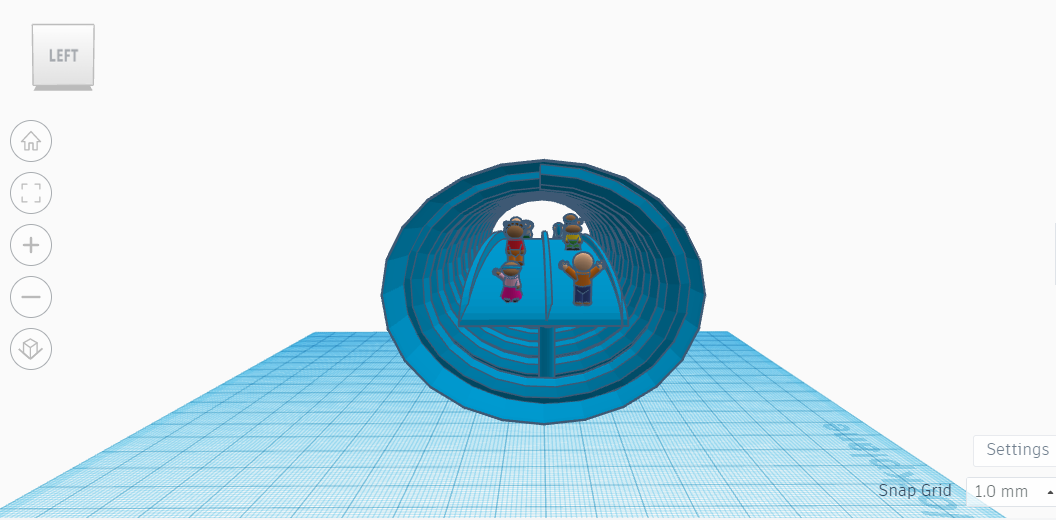
Then you will want to select all of the entities (human models optional) and once you have all of the parts selected you want to slick on the group option to connect all of your pieces so it won't crumble and fall.
STEP 8
look at your work and gaze upon its beauty.