Make It - Grappling Hook
by dpmakestuff in Outside > Survival
10310 Views, 136 Favorites, 0 Comments
Make It - Grappling Hook


My new goal in life is to fulfill the wishes of a much younger me. First item to scratch off the list, Grappling Hook! A must have for any ninja.
Check out the video if you don't like reading and just want to see the thing come to life. Links to everything I used in the video description.
Preparing Material for Before Cutting


This grappling hook was designed around some 1/8" aluminum material I had laying around. SInce the material was 200mm wide, I sized the hook to fit into a 200mm X 200mm square. I used an 1/8" double fluted straight bit loaded in my X-Carve CNC router. To keep the bit clean since aluminum has a tendency to stick to cutters, I gave the surface a healthy coating of WD-40 before and during the cutting. The aluminum acts like a giant heatsink so everything was cool to the touch after milling
Cutting Out the Shape


I created an interlocking design in Adobe Illustrator, used Easel.com as a CAM software and sent the info to my CNC router with Chilipeppr.com. I was cutting at 1100mm/minute and each pass was .10mm/pass. Cutting took roughly 35 minutes and I know the machine could have been pushed a little harder to cut that in half. Once the cutting was done I vacuumed up the filings and broke the pieces free from the tabs.
Clean Up the Pieces Before Assembly


I filled off the excess tab material, chamfered the edges slightly and brushed the pieces with 600 grit sandpaper.
Interlock and Squish


The pieces should interlock nicely but may need some filing to finesse them into place. Once the pieces were fitting nicely together, I used a pair of channel lock pliers to squish the bottom tabs together which lock the two pieces together. The other option to connect the pieces is to braze them. Brazing would be stronger, but I wanted to keep it a purely mechanical connection for this project.
Add Some Rope and Enjoy!


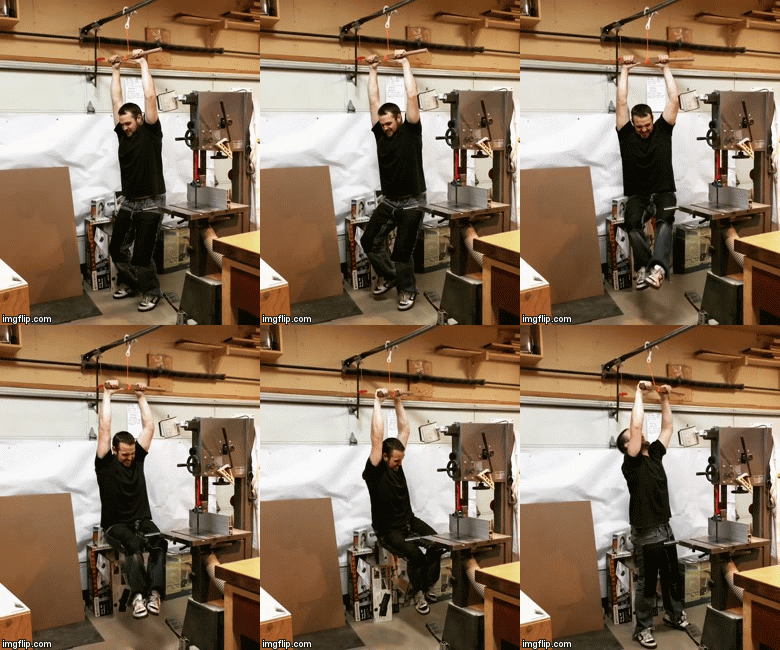
Attached some rope, I used paracord, and have some fun. Obviously this is not going to be strong enough to tow a vehicle or climb a mountain, but it pulls my coffee cup around just fine and it can support a 210lbs dude...
If you'd like to make your own, the file is available on my website for a nominal fee. It helps to keep the wheels turning in my shop and I appreciate the support. This could also be made out of 1/8" wood/plastic, or you could scale it up make it out of 1/4" material for extra strength.
Check out the video if you don't like reading and just want to see the thing come to life. Links to everything I used in the video description.
