Make It Fly 2025
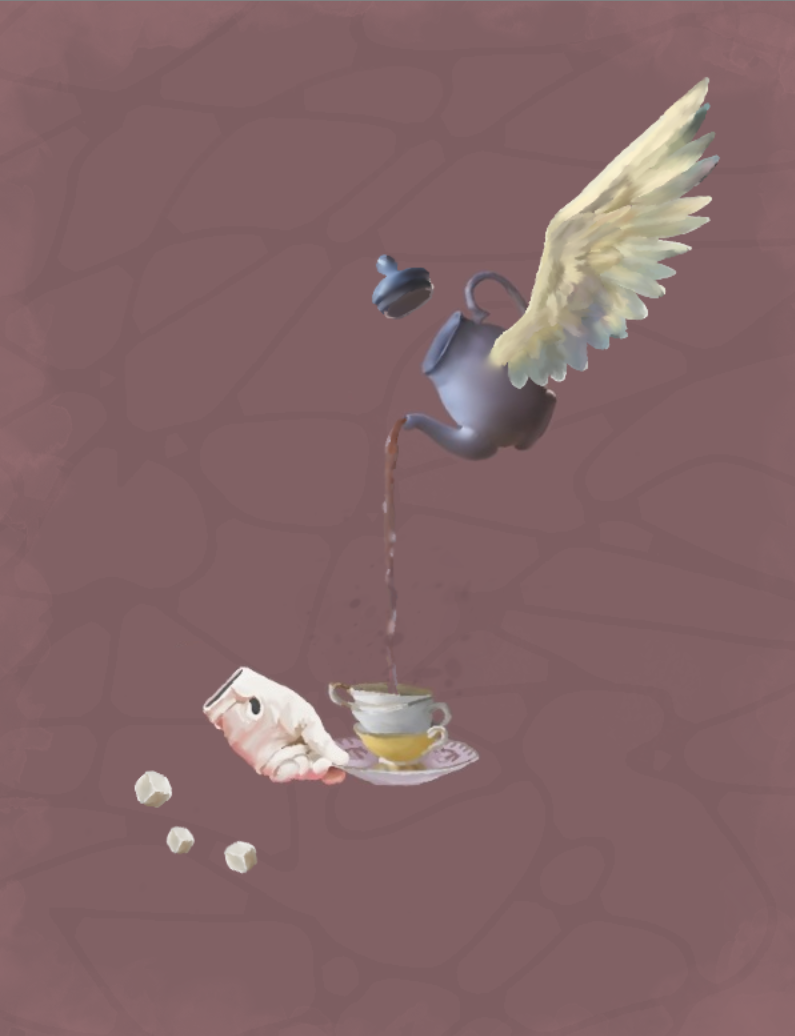
For my project I decided to make a floating teapot after a friend of mine gave me the idea. It was inspired deeply by Alice in Wonderland and Beauty and the Beast. I was also heavily influenced by surrealist art which is why I chose to have a simple background with only a few main components.
Supplies
- A device on which you can draw.
- Phone, Tablet, PC, laptop, etc. I used a PC.
- Krita
- Free digital art program on PC.
- Autodesk sketchbook
- Free digital art program (Only free on tablet/ipad and phone.)
Optional supplies:
- Paper and drawing tools.
- If you'd like, you can draw your initial sketch on paper rather than digitally, and then import it into your programs of choice.
- Digital Graphics tablet.
- I used the Huion H610 Pro V2 digital graphics drawing tablet. It makes the drawing process much easier and I'm used to using it for my art. (Pictured below)
Downloads
Brainstorm
Your first step is, like with most things, figure out what you're doing. My final product differs wildly from the vision I initially had in my head when I started on the project. I went from animation to 3D modeling before finally settling on 2D rendering. I like to set a timer and draw little thumbnails to get as many different ideas onto the page as possible without thinking too much about it. When I see some that I like, I use them as inspiration for my sketch.
Rough Sketch
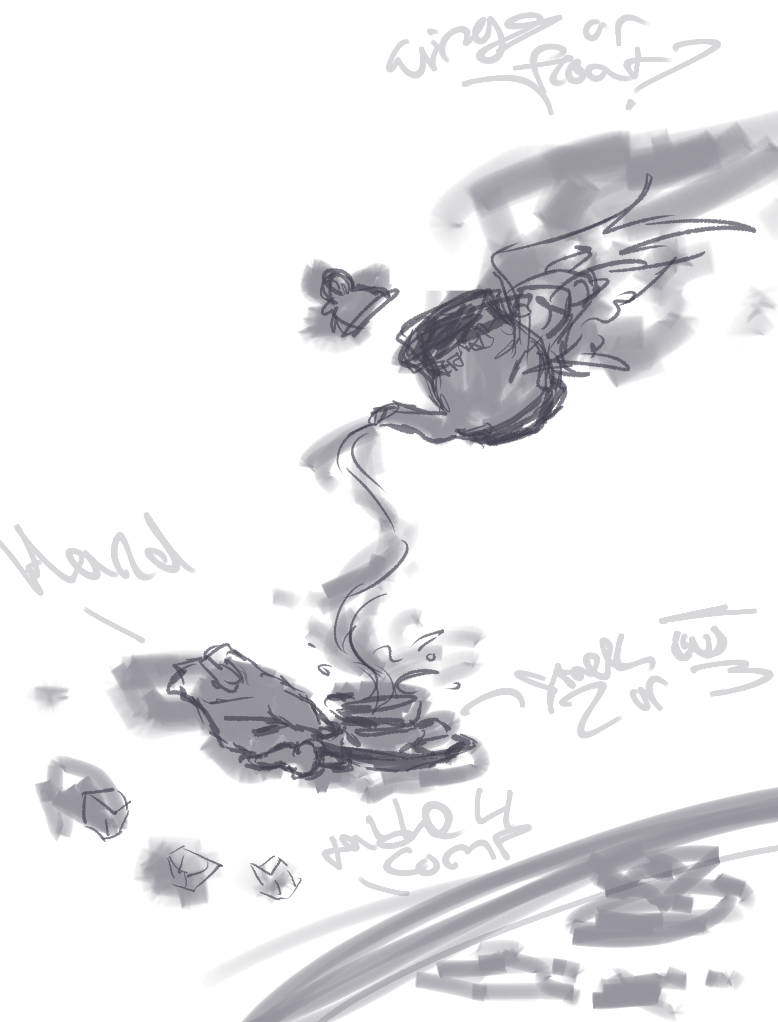
Your rough sketch doesn't have to be too detailed or organized, and should only serve as a guideline for your art. I used autodesk sketchbook for this and then imported it into Krita. My process for making the rough sketch is using a blocky brush and laying down the general shapes and locations. Then I lower the layer opacity, and on a new layer refine the general shapes and details. I typically keep my sketches very messy and low-effort, but if your personal preference is to have all the details clarified before rendering then you can polish up the sketch more before moving on.
Find References
This step isn't mandatory, but is highly recommended and is your biggest helper. Even if you don't end up using them, it's good to have a ton of references on hand when drawing. They can help with inspiration, and are especially useful when dealing with tricky lighting or rendering. Whenever I get stuck on a component of the drawing I take a closer look at the reference, and always keep it pulled up in the corner of my screen.
Lay Out Flat Colours
Pick out your general colours and lay those out onto the general shapes first. Afterwards, block out the general shadows and highlights. Laying out your flats is the most crucial step before rendering, and if done properly can make the rendering process much easier. If you're having trouble picking out the colours don't be ashamed to consult your references!
Render
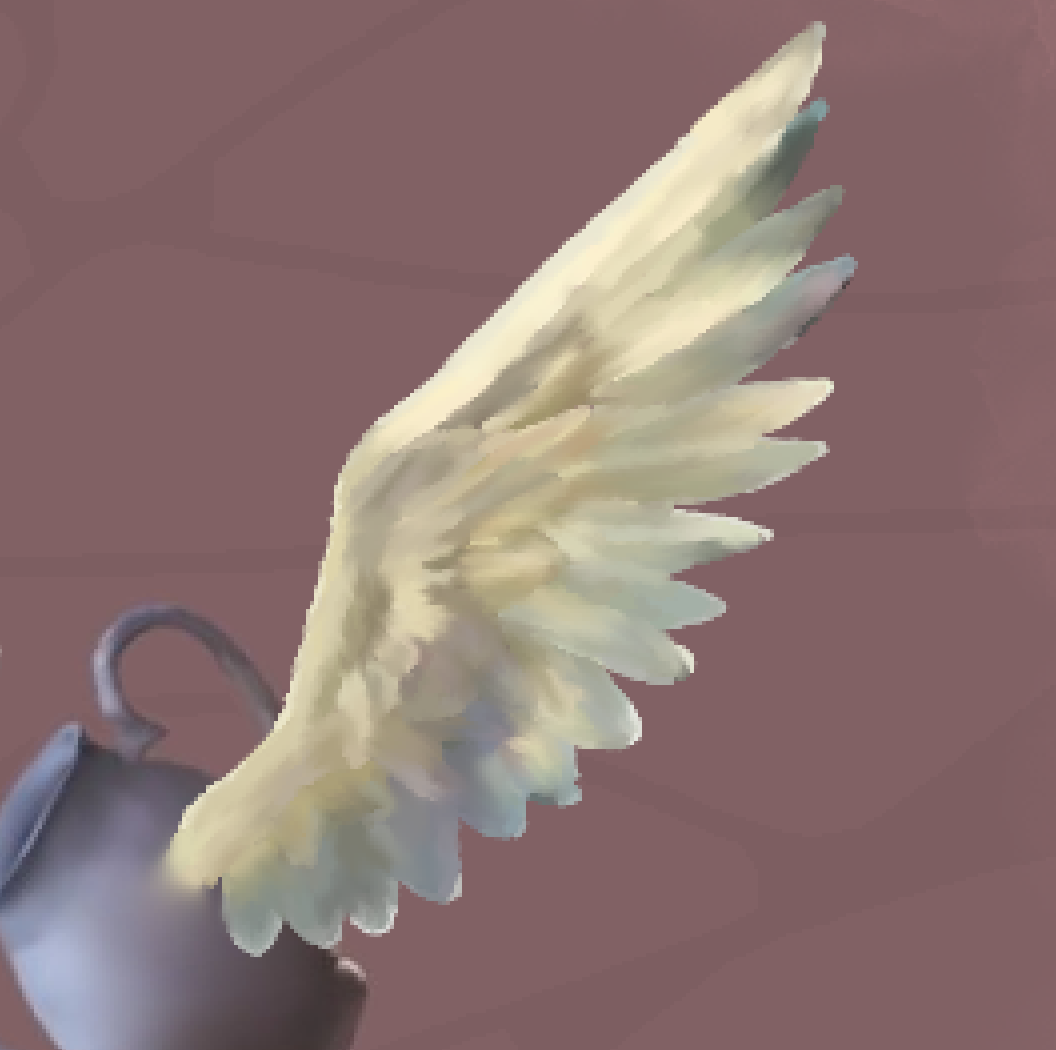
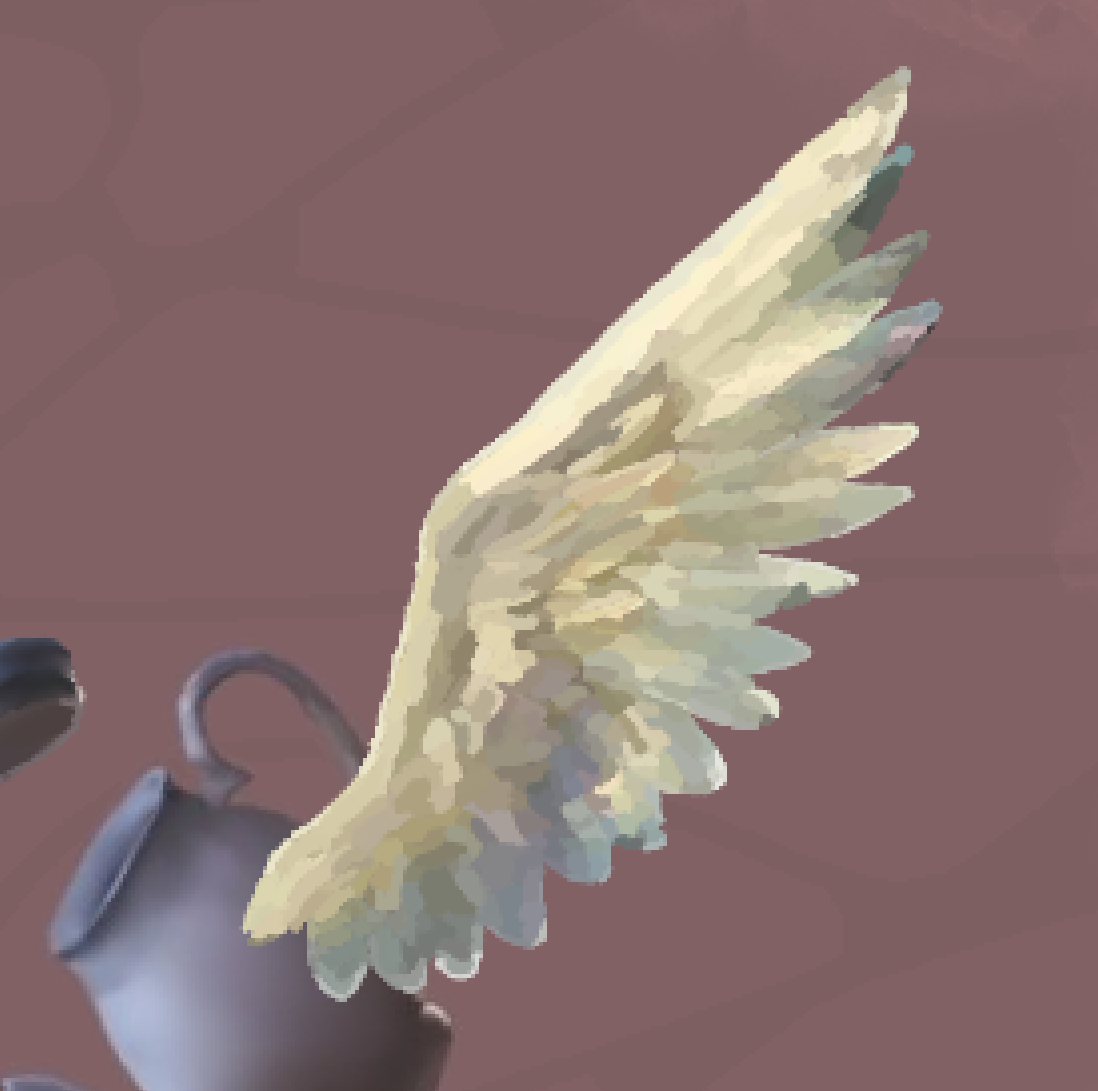
For this step, you should finish the fine details and the lighting which may not be as noticeable. I wouldn't recommend making your details too detailed. Once your imageis zoomed out, nobody will notice the tiniest components of the image, so don't waste effort trying to make every part of the image perfect. Simply blocking out the basic colour and shape is often times enough for the audience to recieve your intention. Pro Tip; The blend tool is your best friend. It will make all the difference when rendering. I used the wing as an example so you can see just how much a few strokes of the blend brush will change your image.
Add Additional Details
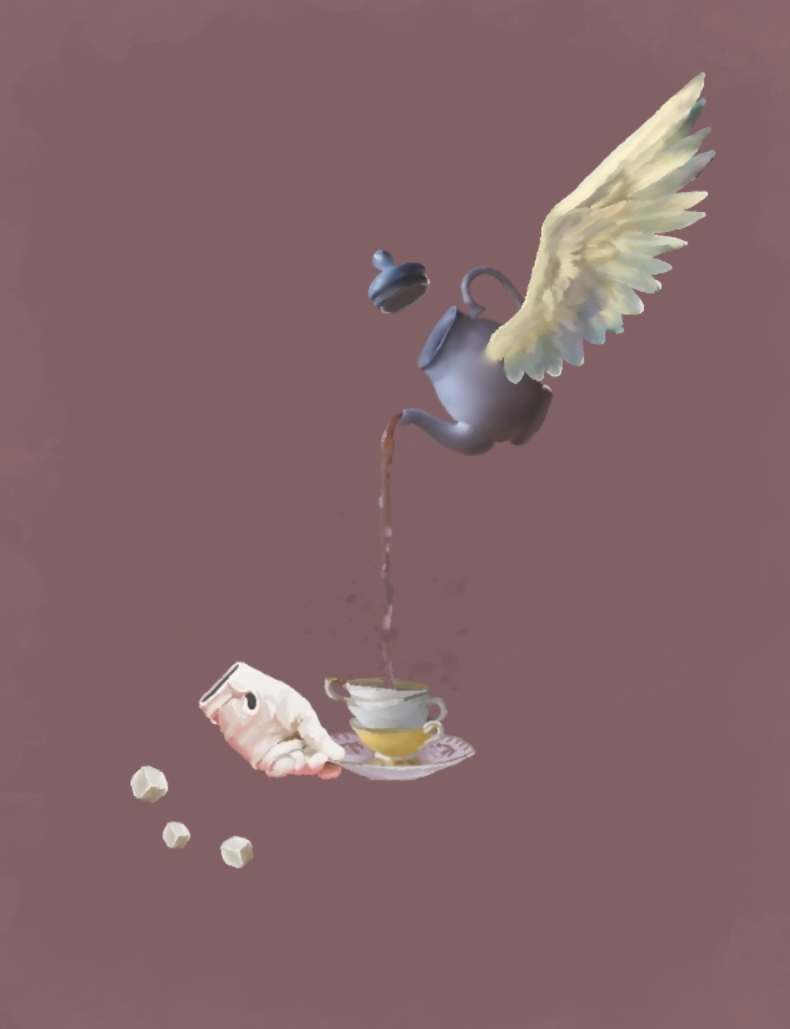
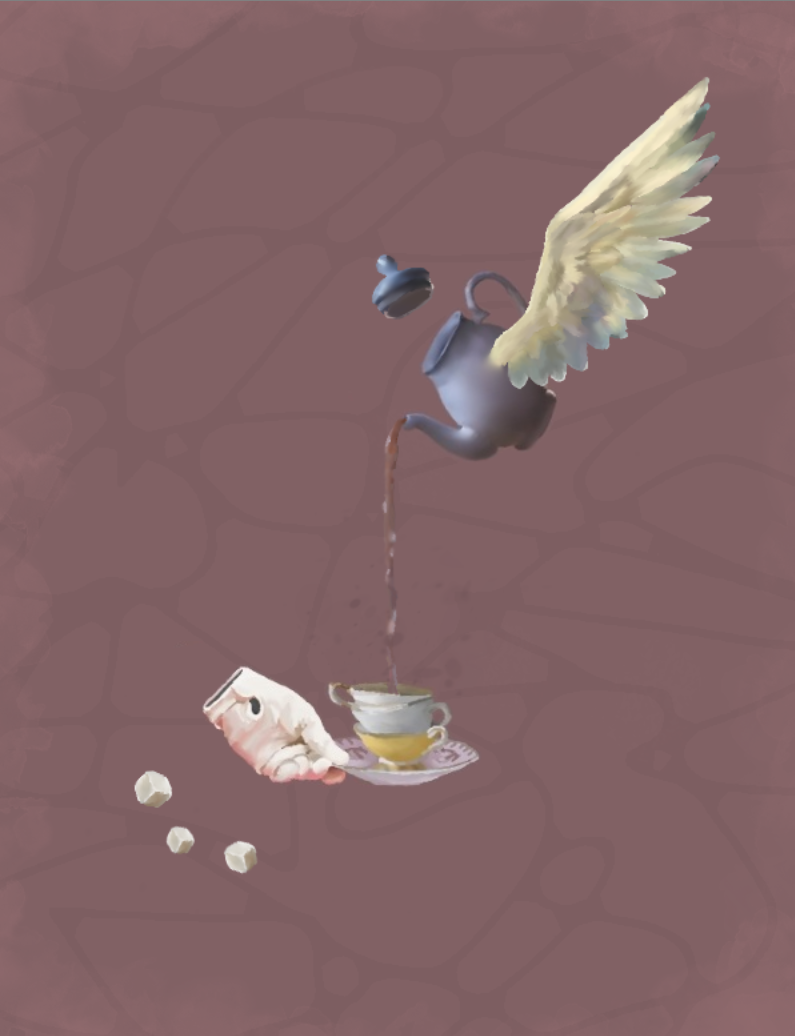
This step is optional, but sometimes making a few small changes is all it takes for your final image to look how you envisioned it. I added a faded wash on the outer edges of the image and made a simple background to distract from all the empty space. You can see how big of a difference it makes.