Make It Bridge Observation Deck
by BirdofPreyGames1 in Outside > Water
354 Views, 0 Favorites, 0 Comments
Make It Bridge Observation Deck
.png)
This is my entry to the Make it Bridge challenge. I'm homeschooled and currently in the 7th grade. My entry is a bridge with a glass bottom so that you can take in the nature. The scale is 100:1 (the person in the image is 6ft)
Supplies
I used Tinkercad and my laptop.
Building the Walkway
.png)
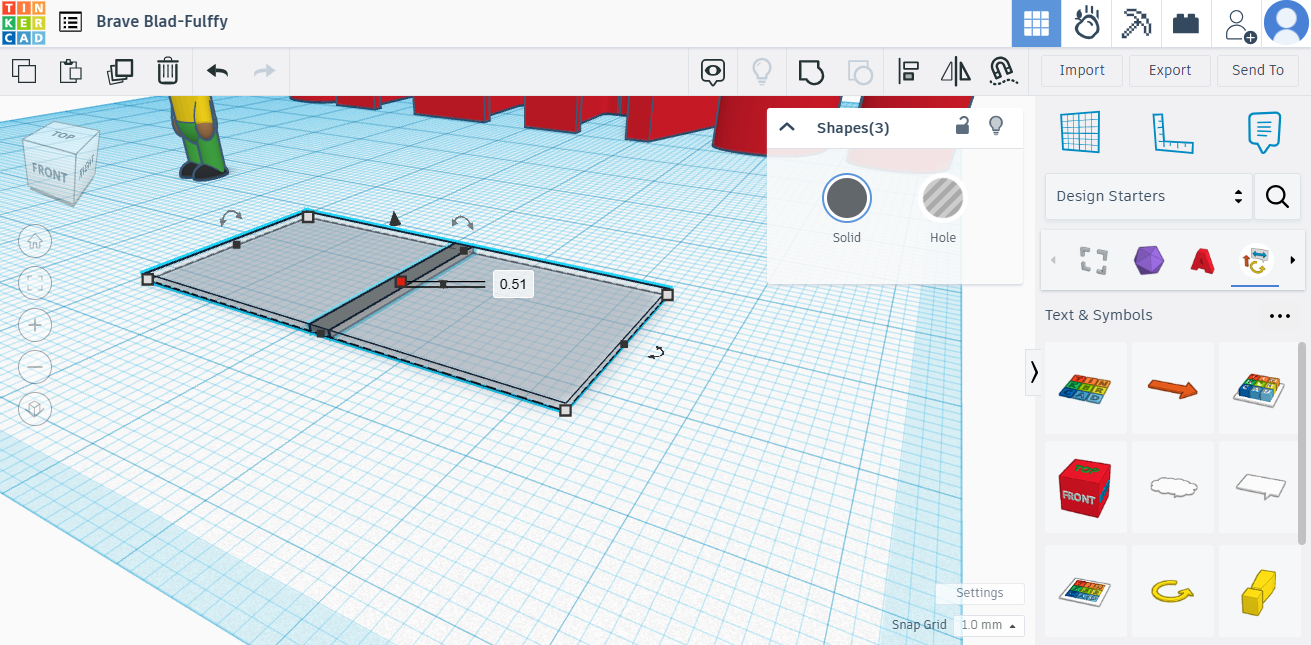
For this step I took two thin cubes and connected them with a rectangle.
see photo
Building the Walkway (continued)
.png)
.png)
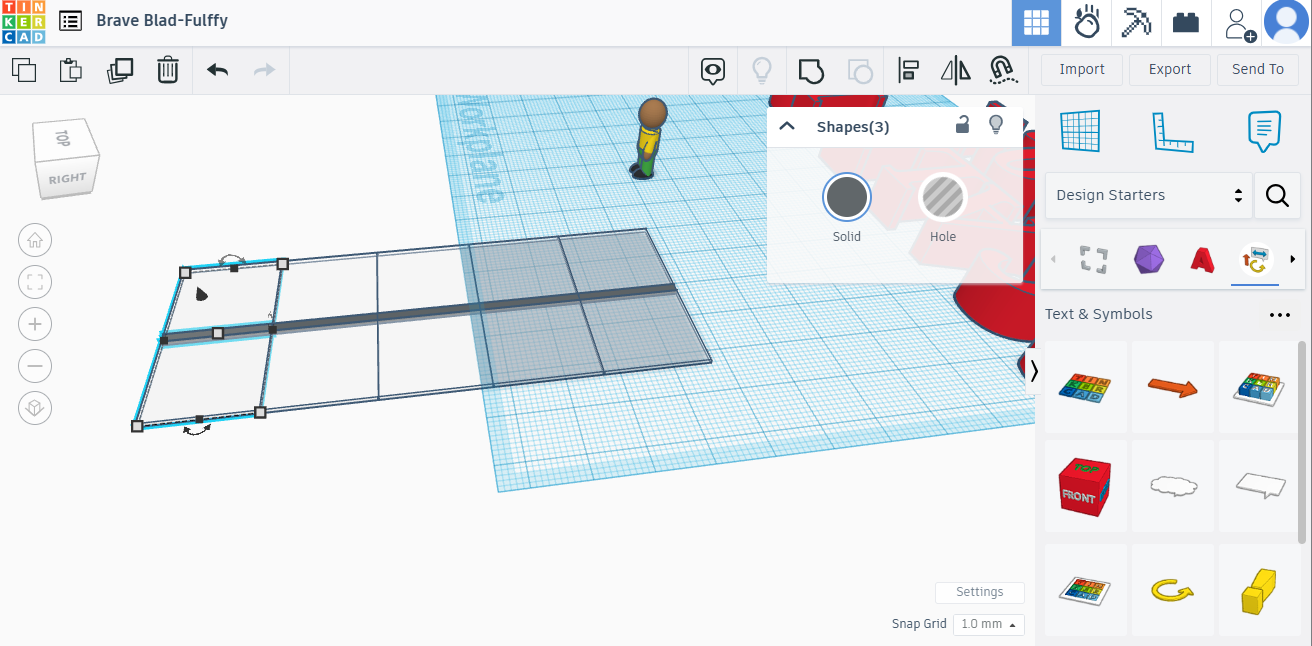
I then duplicated (ctrl + D) the shapes several times.
see photo 1
I grouped them (ctrl + G) and added bars to the sides and middle.
see photo 2
Adding the Rail
.png)
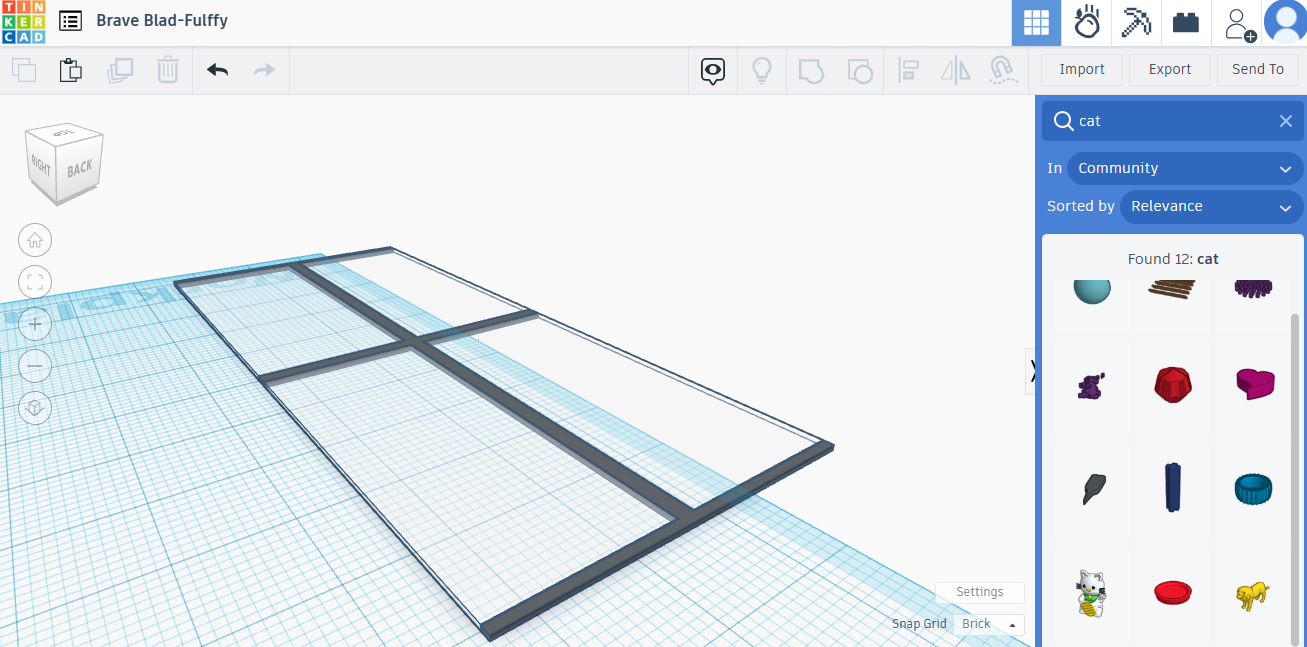
Then I took two cylinders and put a similar pattern as the walkway in between them.
see photo
Adding the Steps
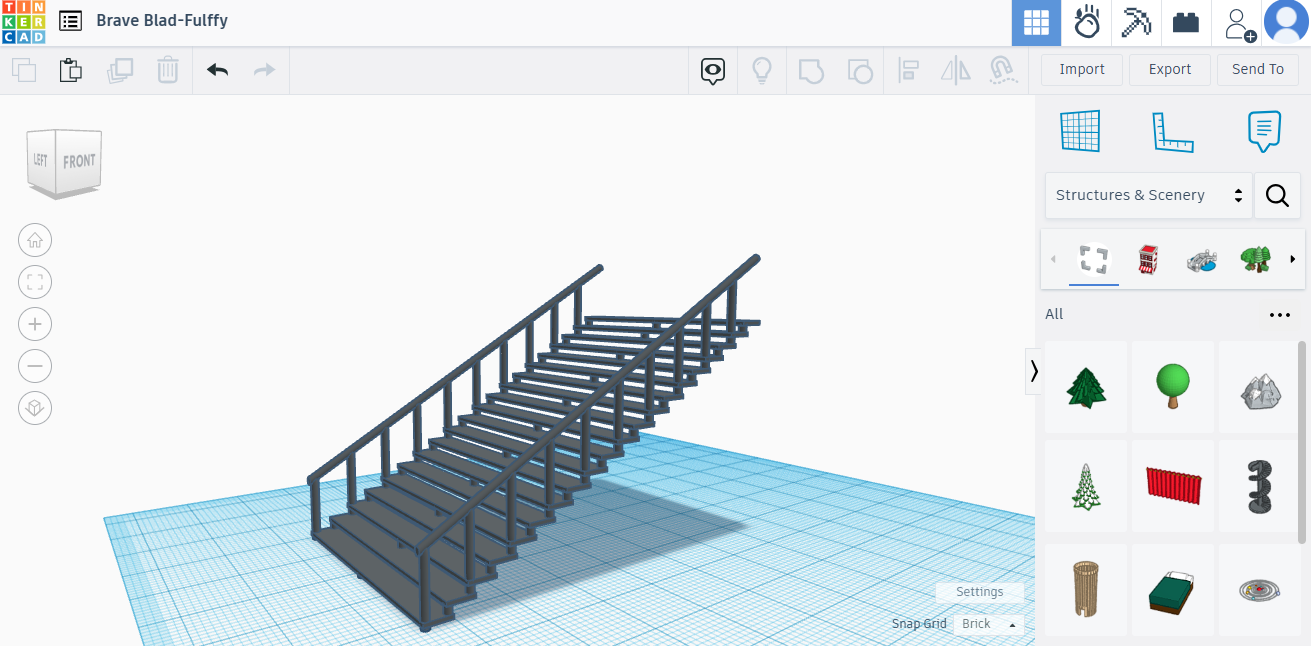.png)
I took some rectangles and separated them with cylinders, added a rail and connected it to the main bridge.
Tip: Bevel the cylinders for the rail as this adds a nice effect.
see photo
Finishing Touches
.png)
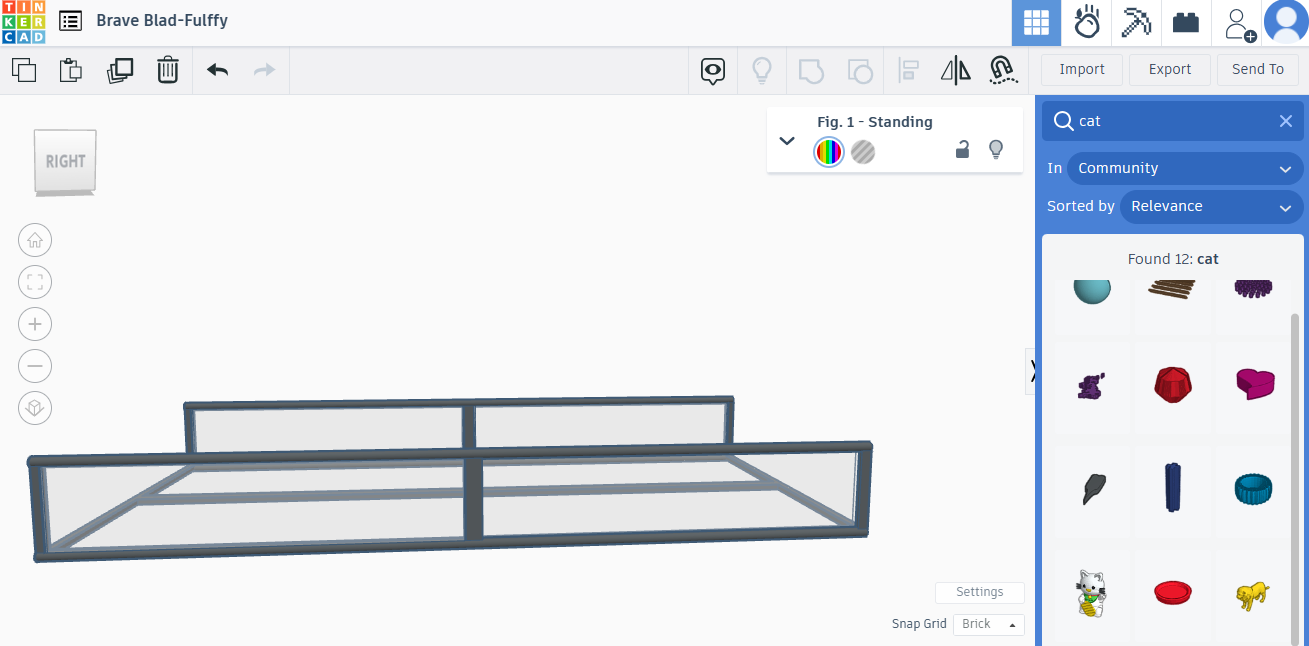
First, I added some support beams, then I added a person for scale, and then a nice landscape for decoration.
see photo