Make Fire Themed Clay Mask
Make a fire themed mask out of clay.
Supplies
- Paper-mache clay
- Clay-tools
- Primer
- Acrylic paints or Watercolors
- Paint blushes
- Newspaper
- Paper tape
- Mesh or thin cloth
- Board
- Scissors
- Strong Adhesive.
Base of the Mask
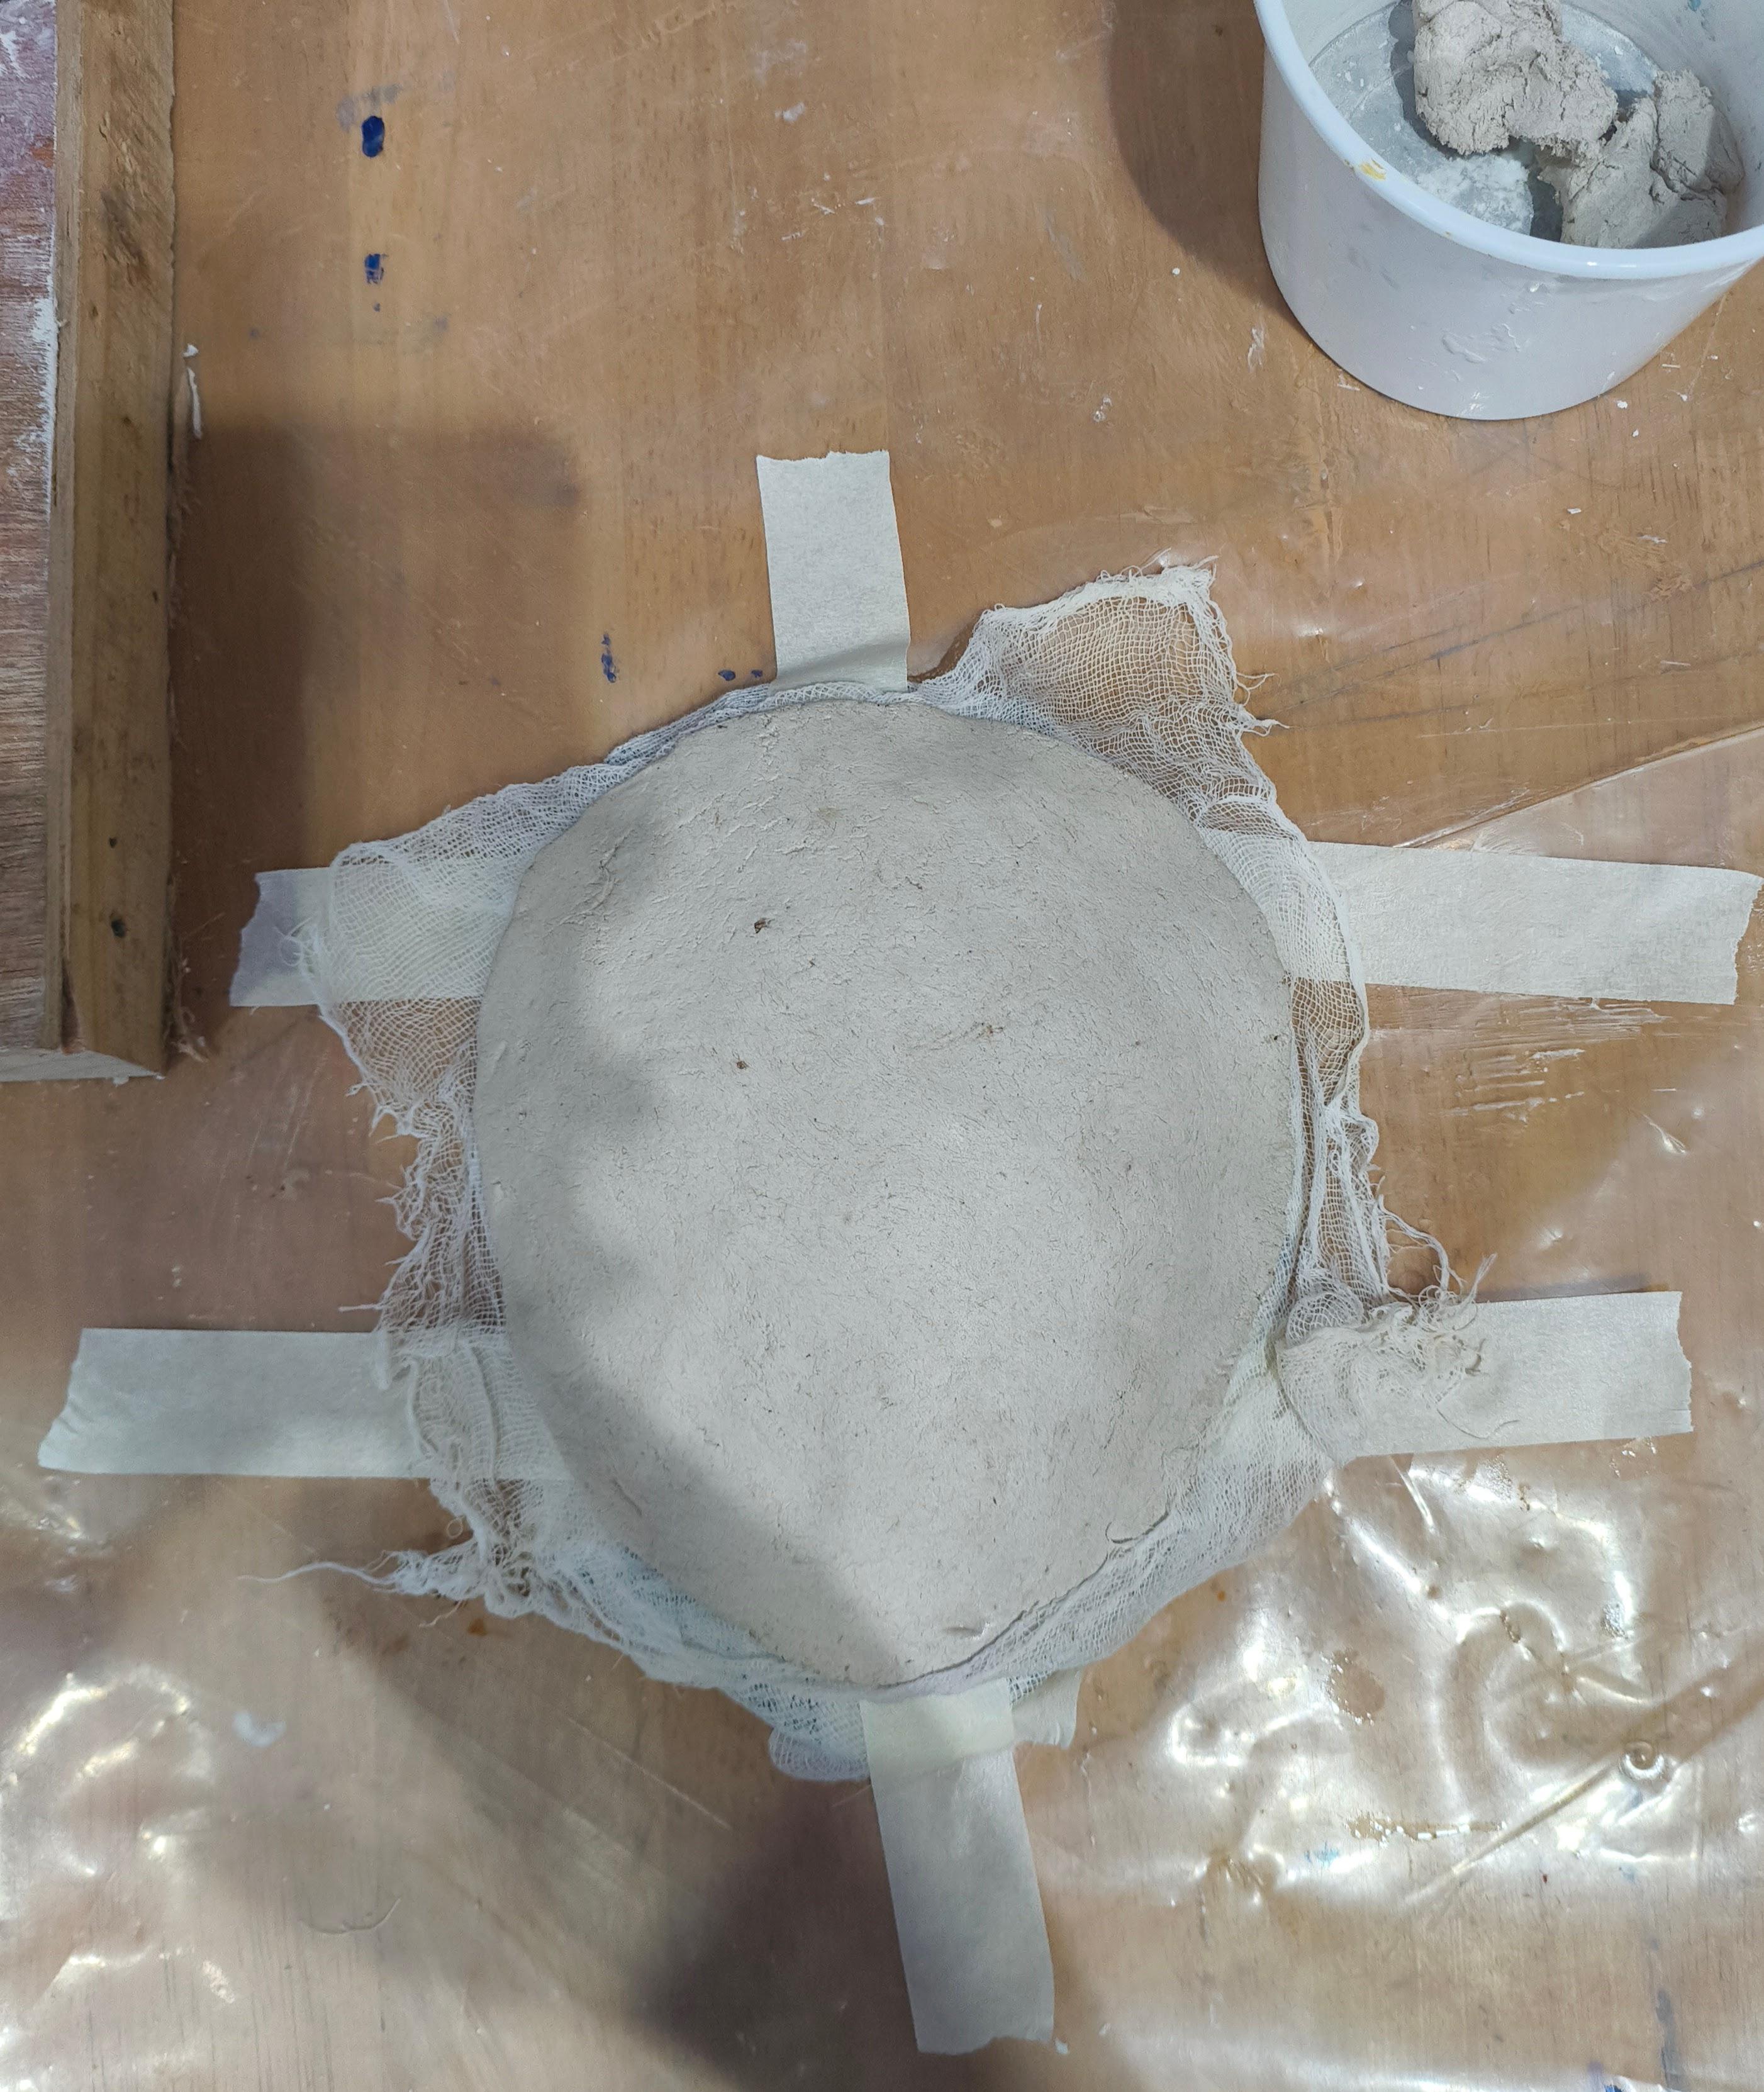
- Take the newspaper and crumble it into a ball, Shape it such that it resembles a human head.
- Use paper tape to secure the structure, and tape it on a flat surface.
- Take the paper-mache clay and kneed it to make it soft. Then flatten it into a oval shape.
- Soak the thin cloth with water and place it on the clay.
- Gently lift the clay and place it on the newspaper mould, placing the cloth side downwards.
- Using fingers shape the clay.
Sculpting the Mask
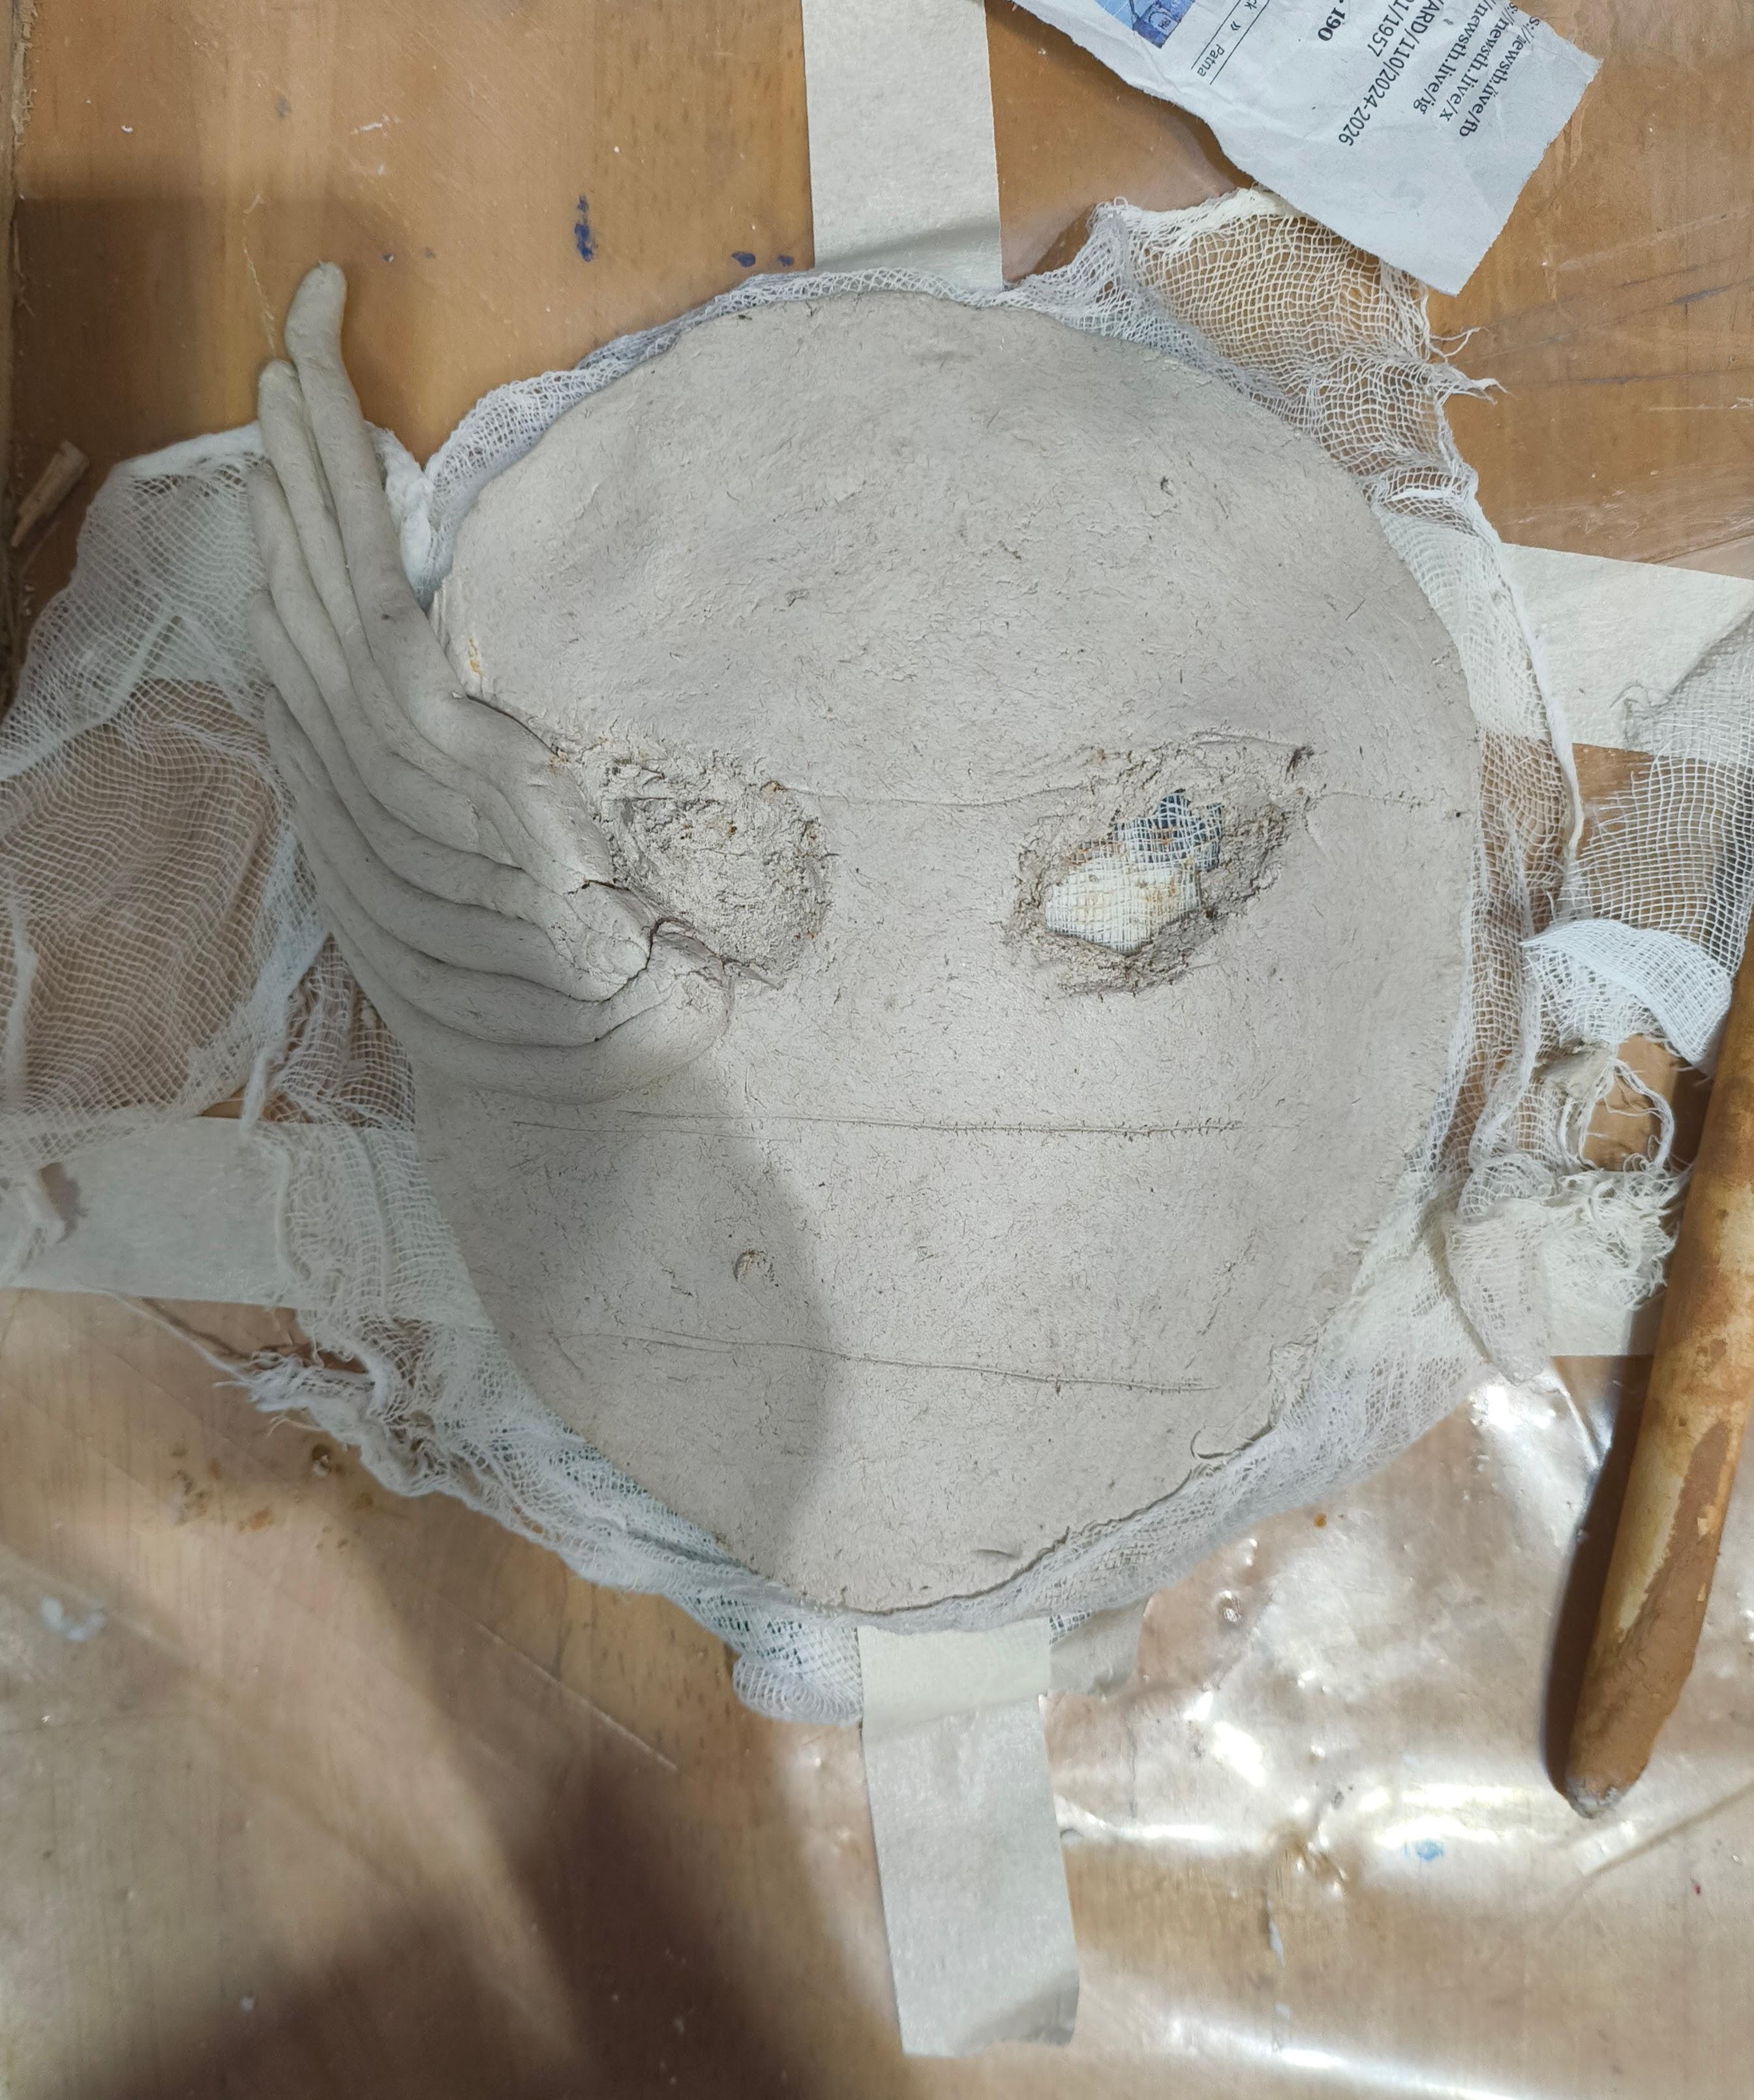
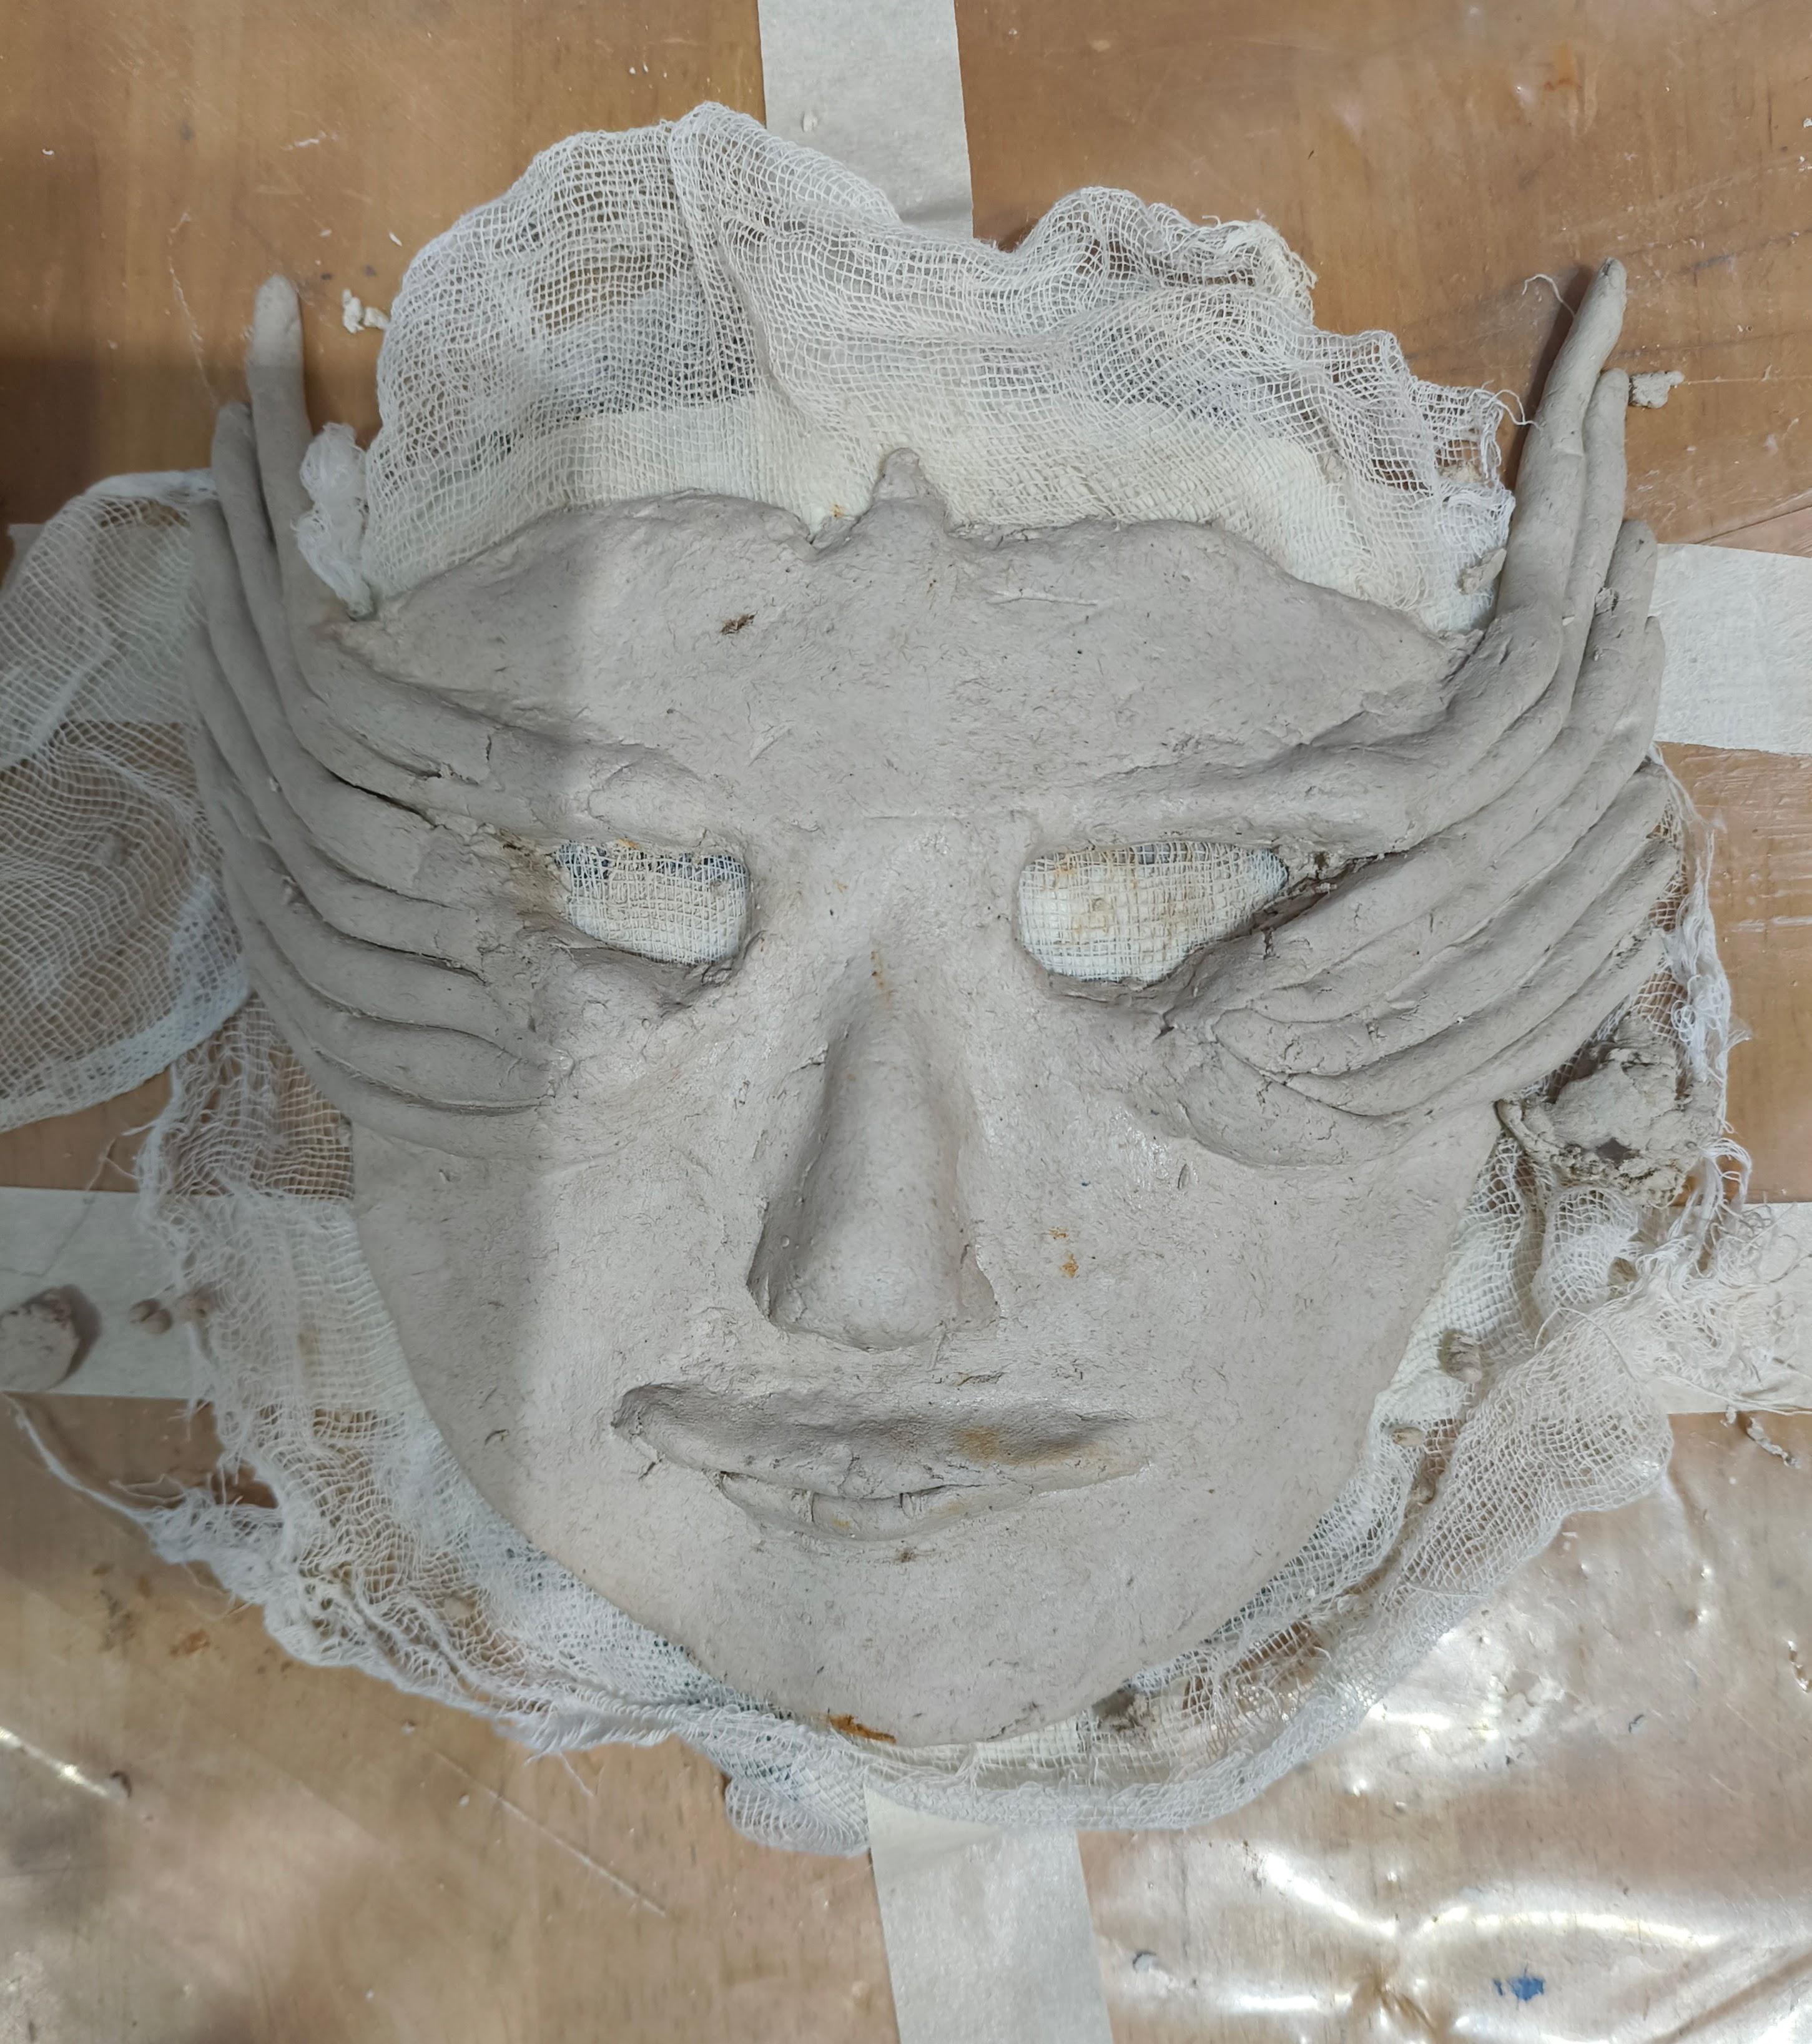
- Divide the mask horizontally into 4, and mark them lightly.
- Pick a sharp edged clay tool and carve out the eyes, on the first mark.
- Take the remaining clay and using palms roll it out into coils of decreasing length.
- Using scoring technique to attach them together in a wing shape.
- By scoring and slipping this piece is attached to at the corner of the eye. Then seal the edges by using the flattening tool, and merge the ends with the base.
- Sculpt the remaining clay into a nose and lips structure, and attach in to the base as done earlier.
- Use a sharp tool to shape the mask into the desired shape.
- Make another coil (thinner than before), and shape it around the edges to give a smooth finish.
- Merge the coil seamlessly with the base.
- Finally, use wet fingers to smooth out any uneven surfaces and let it dry overnight.
Primer
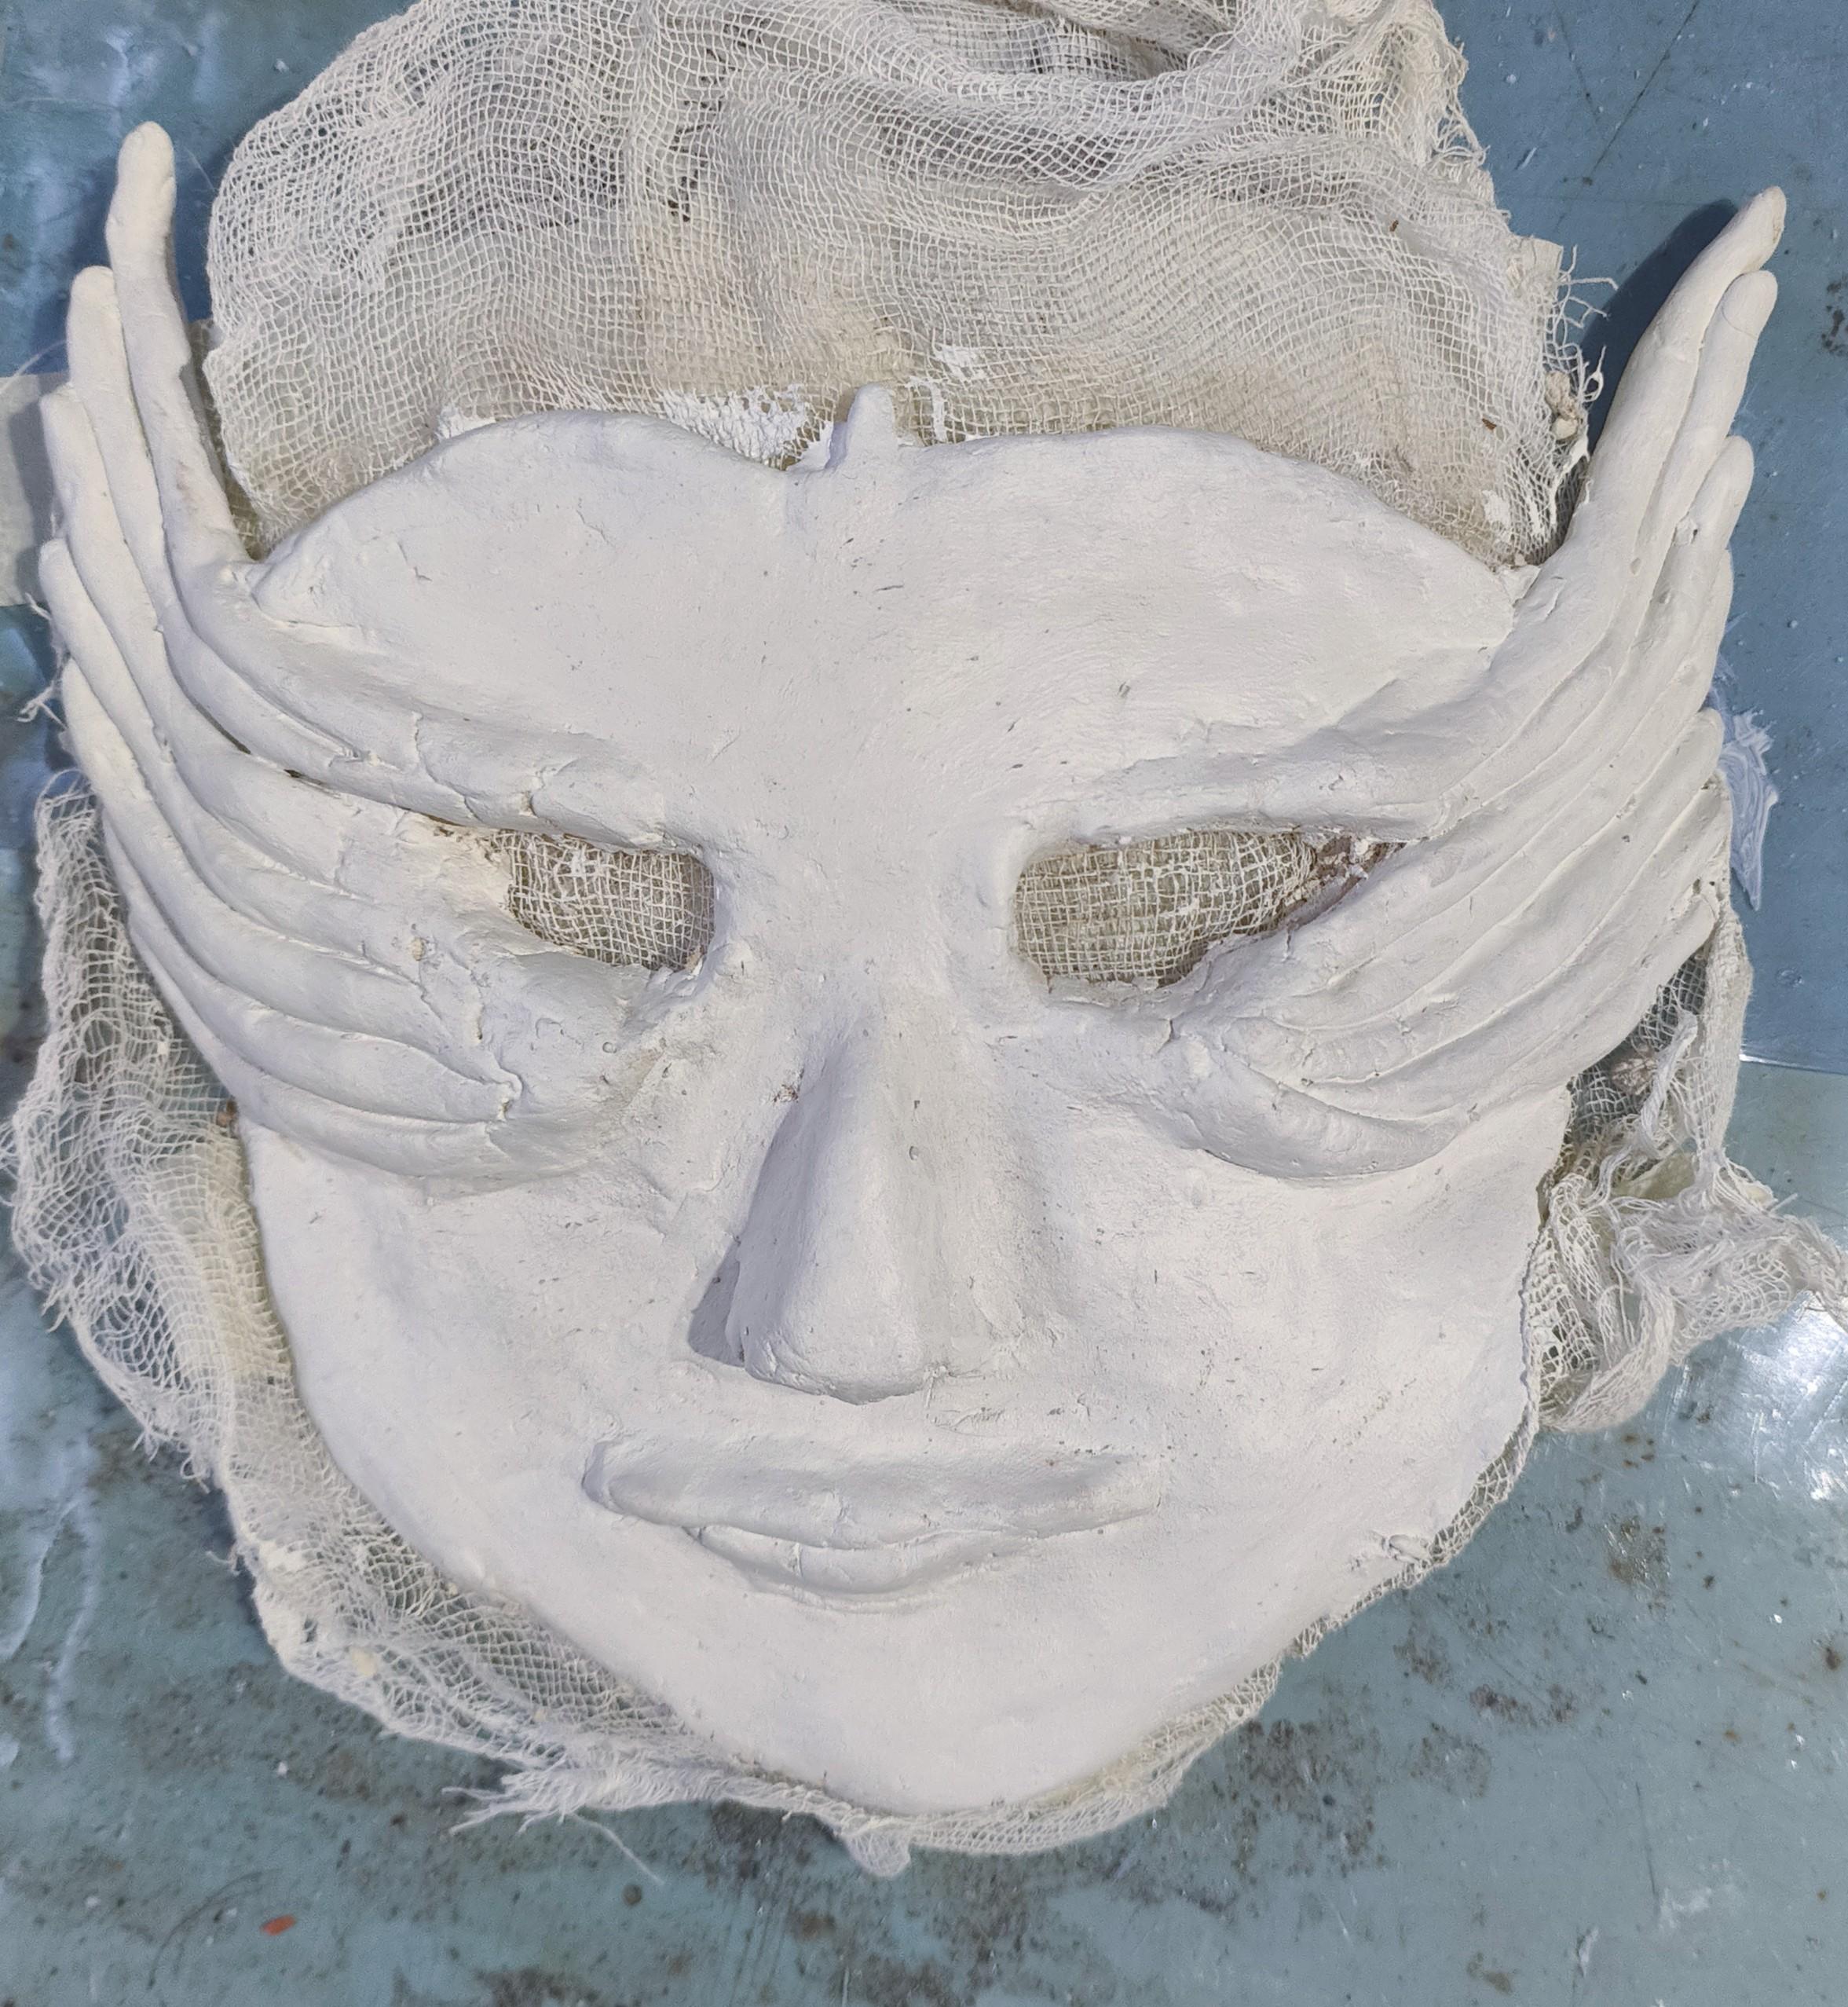
- Using paintbrushes, apply a thick layer of primer on the mask.
- If necessary add another layer.
- Let the primer dry.
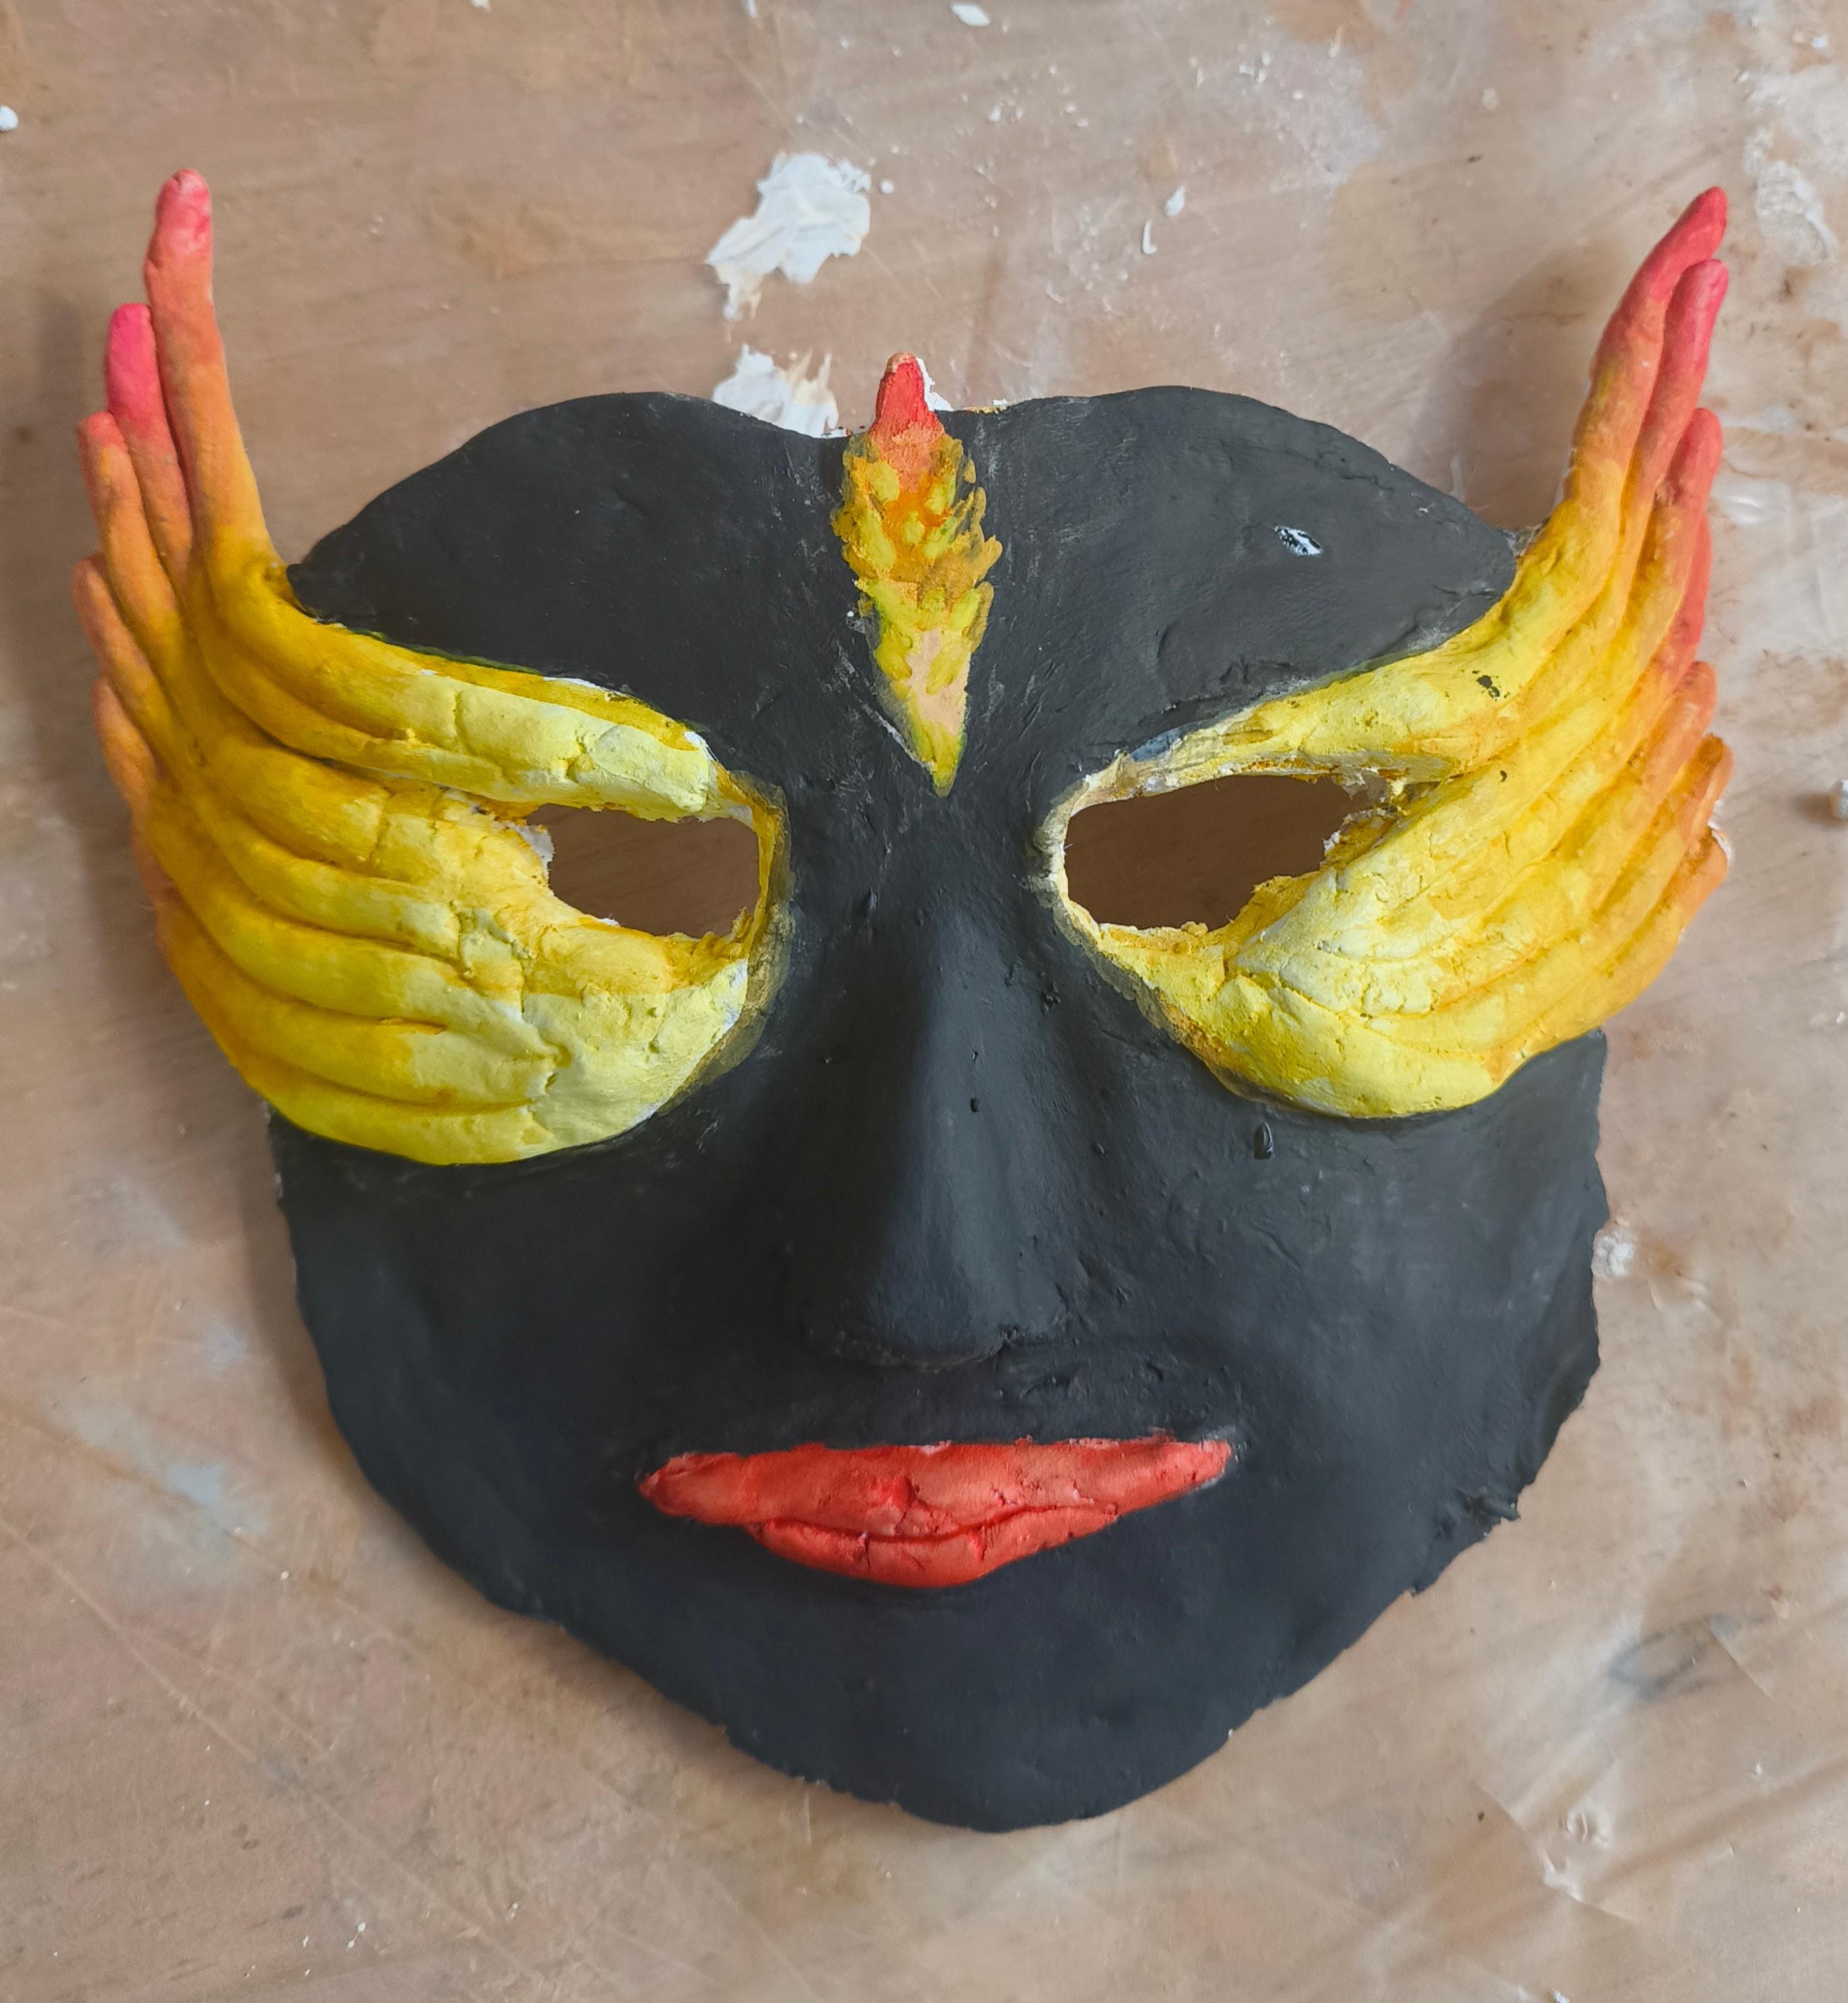
Add Color to the Mask

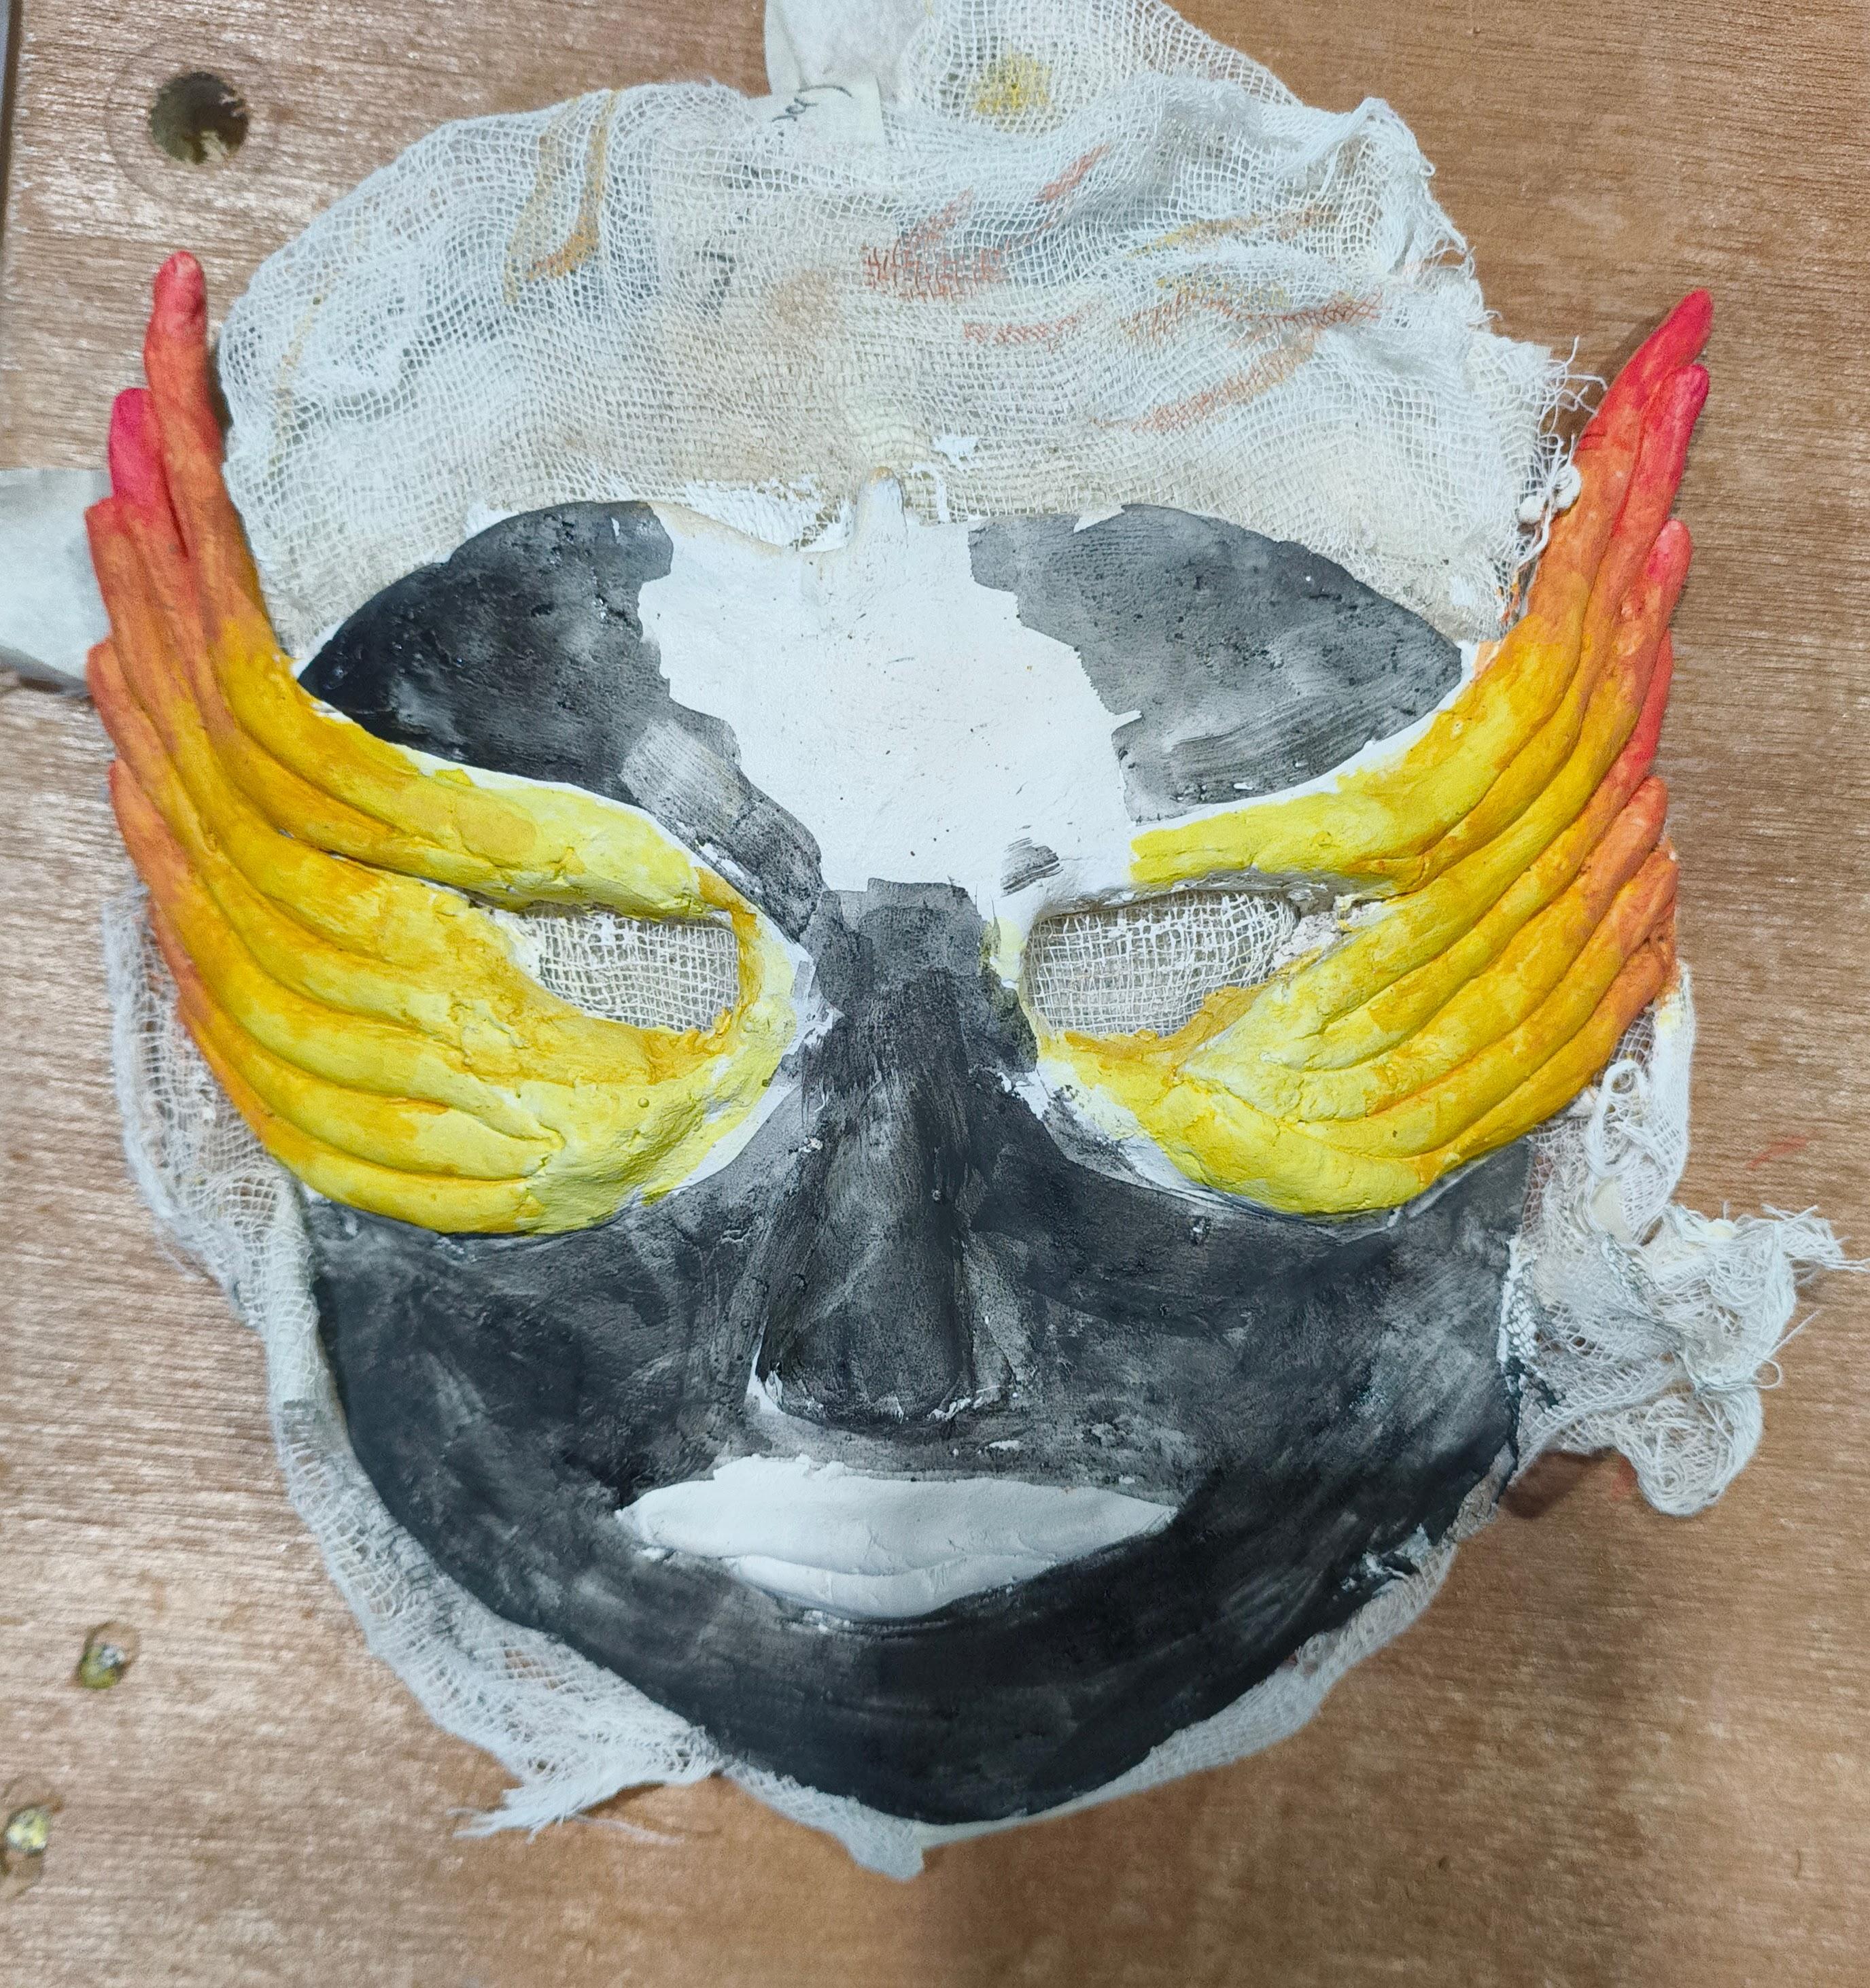
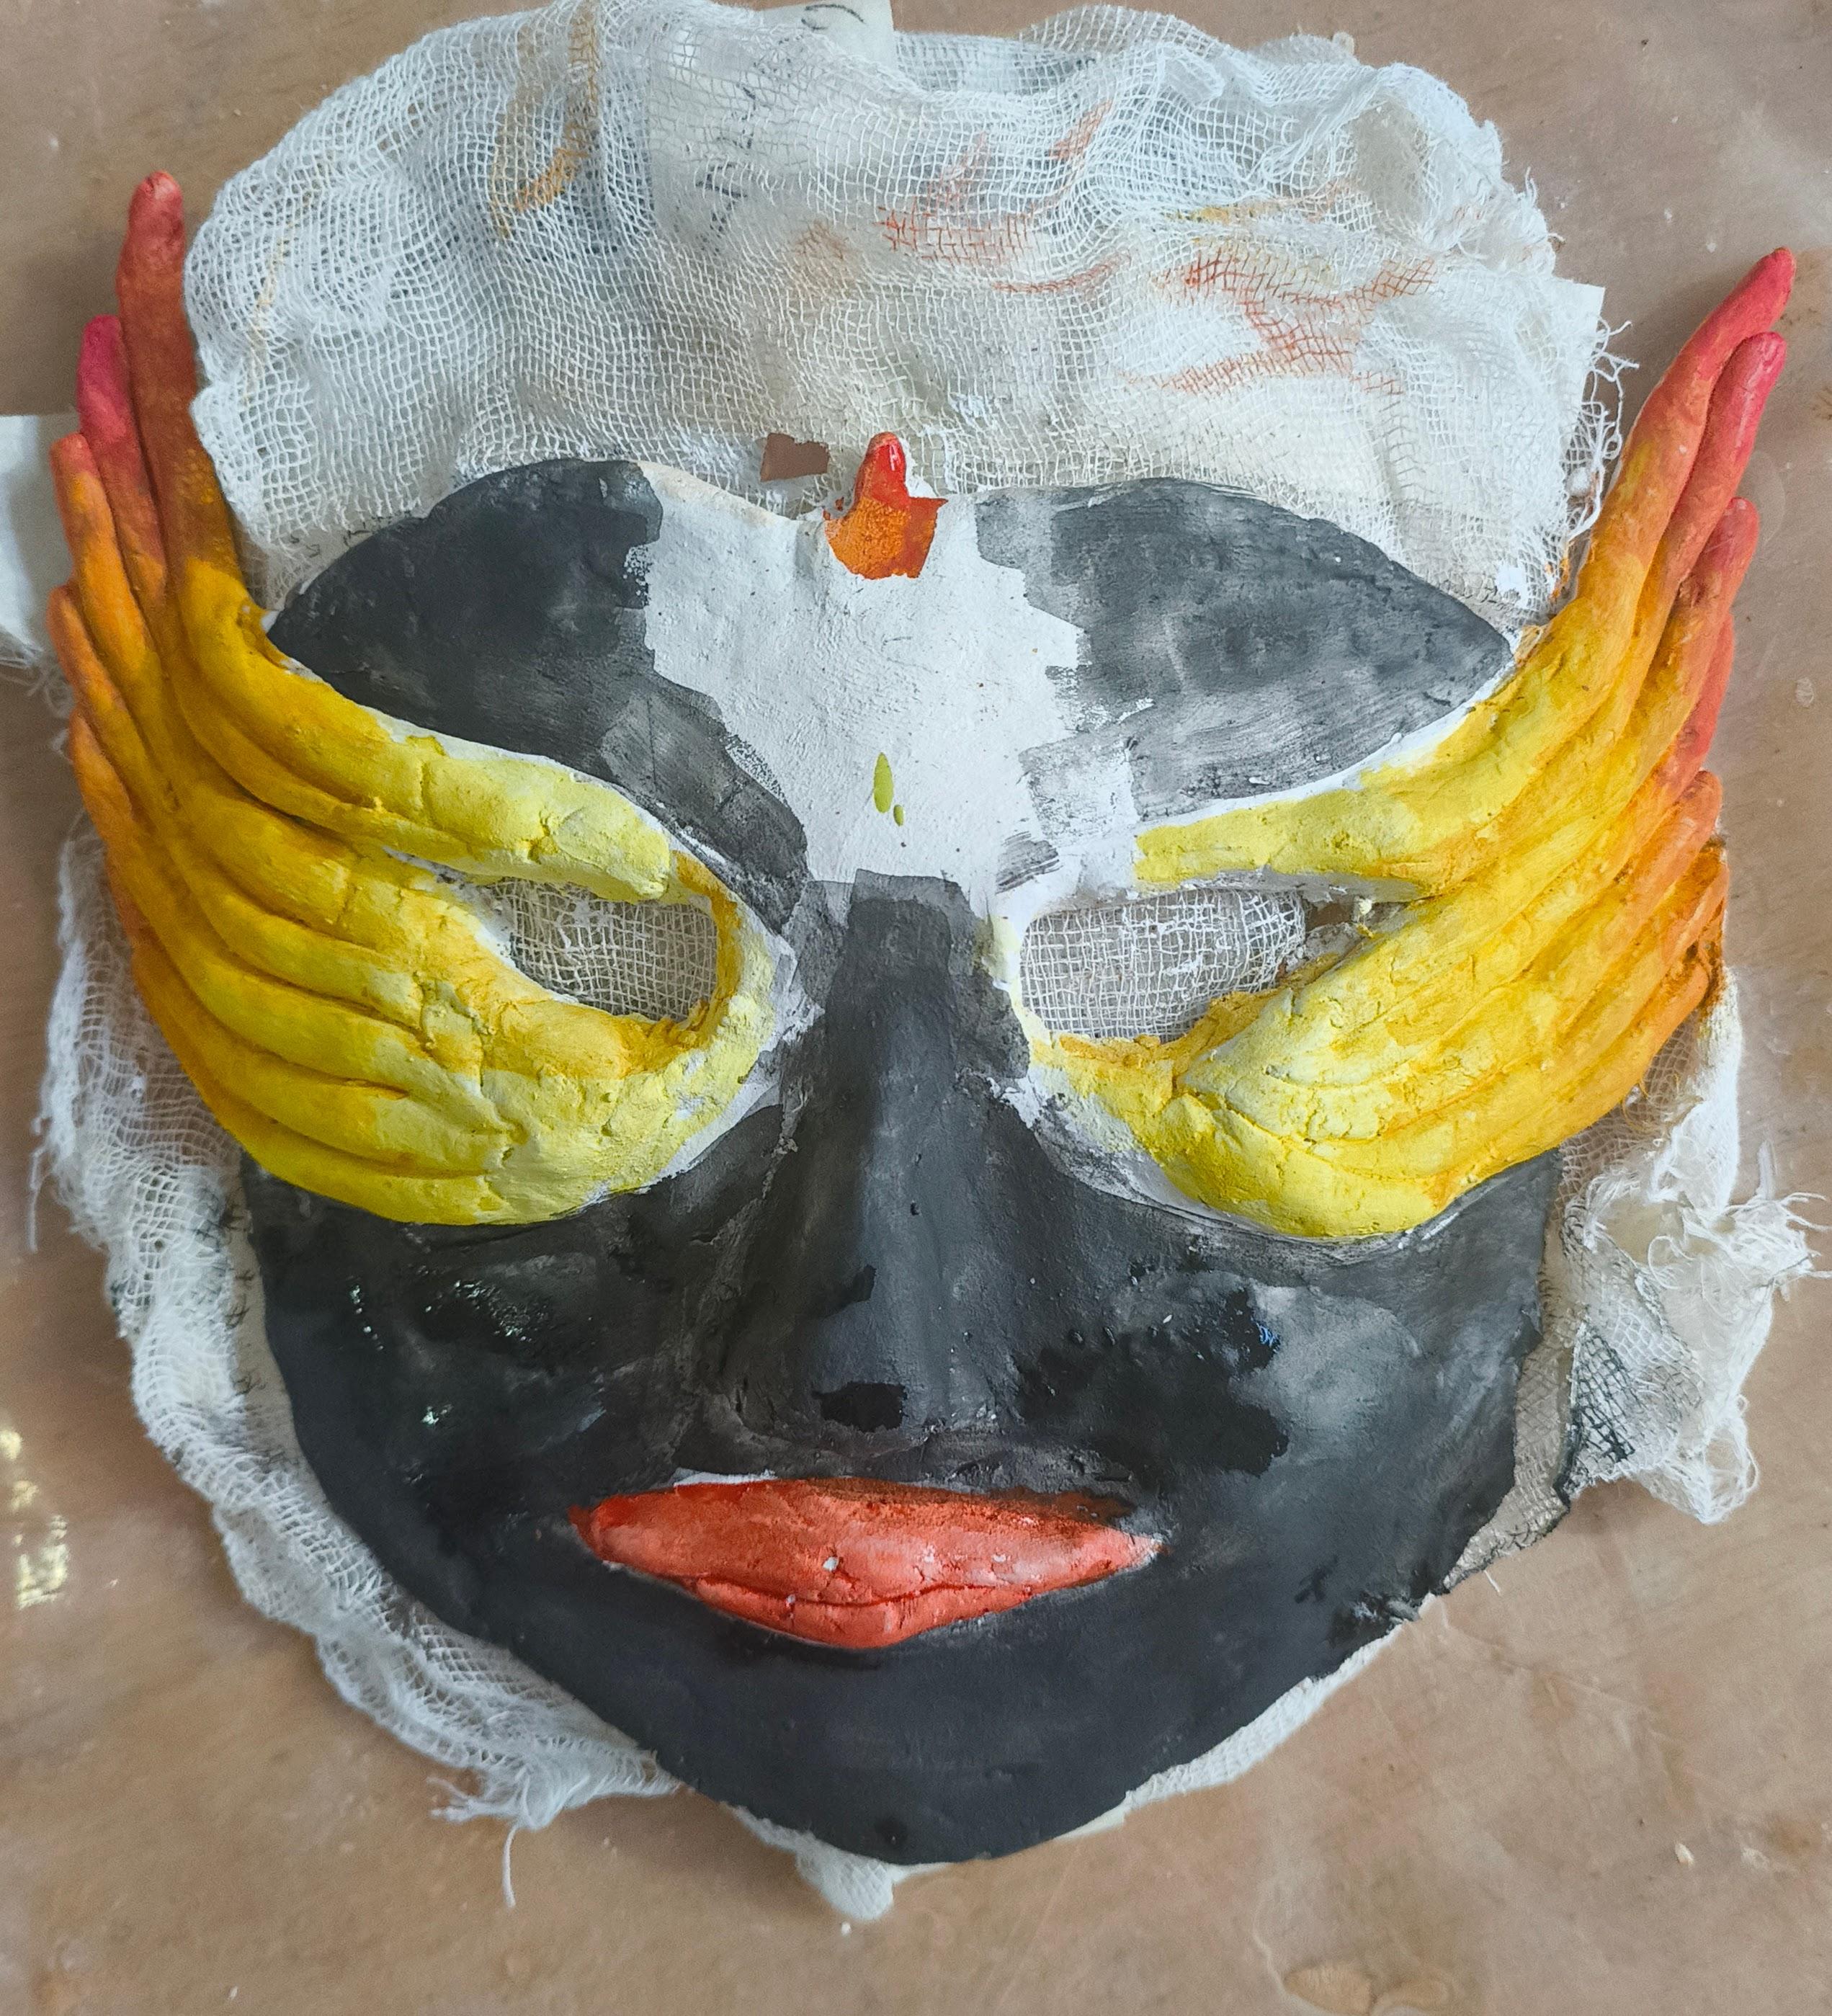
- Start of with the lemon on the pallet and paint around the eye holes.
- Slowly transition into a mustard yellow, then light orange and finally crimson.
- Use cherry red on the ends of the wing and lips.
- Make a tear-drop shape in the middle of the forehead with the same gradient used in the mask.
- If you use watercolors, apply a few layers to build the vibrancy of the colour.
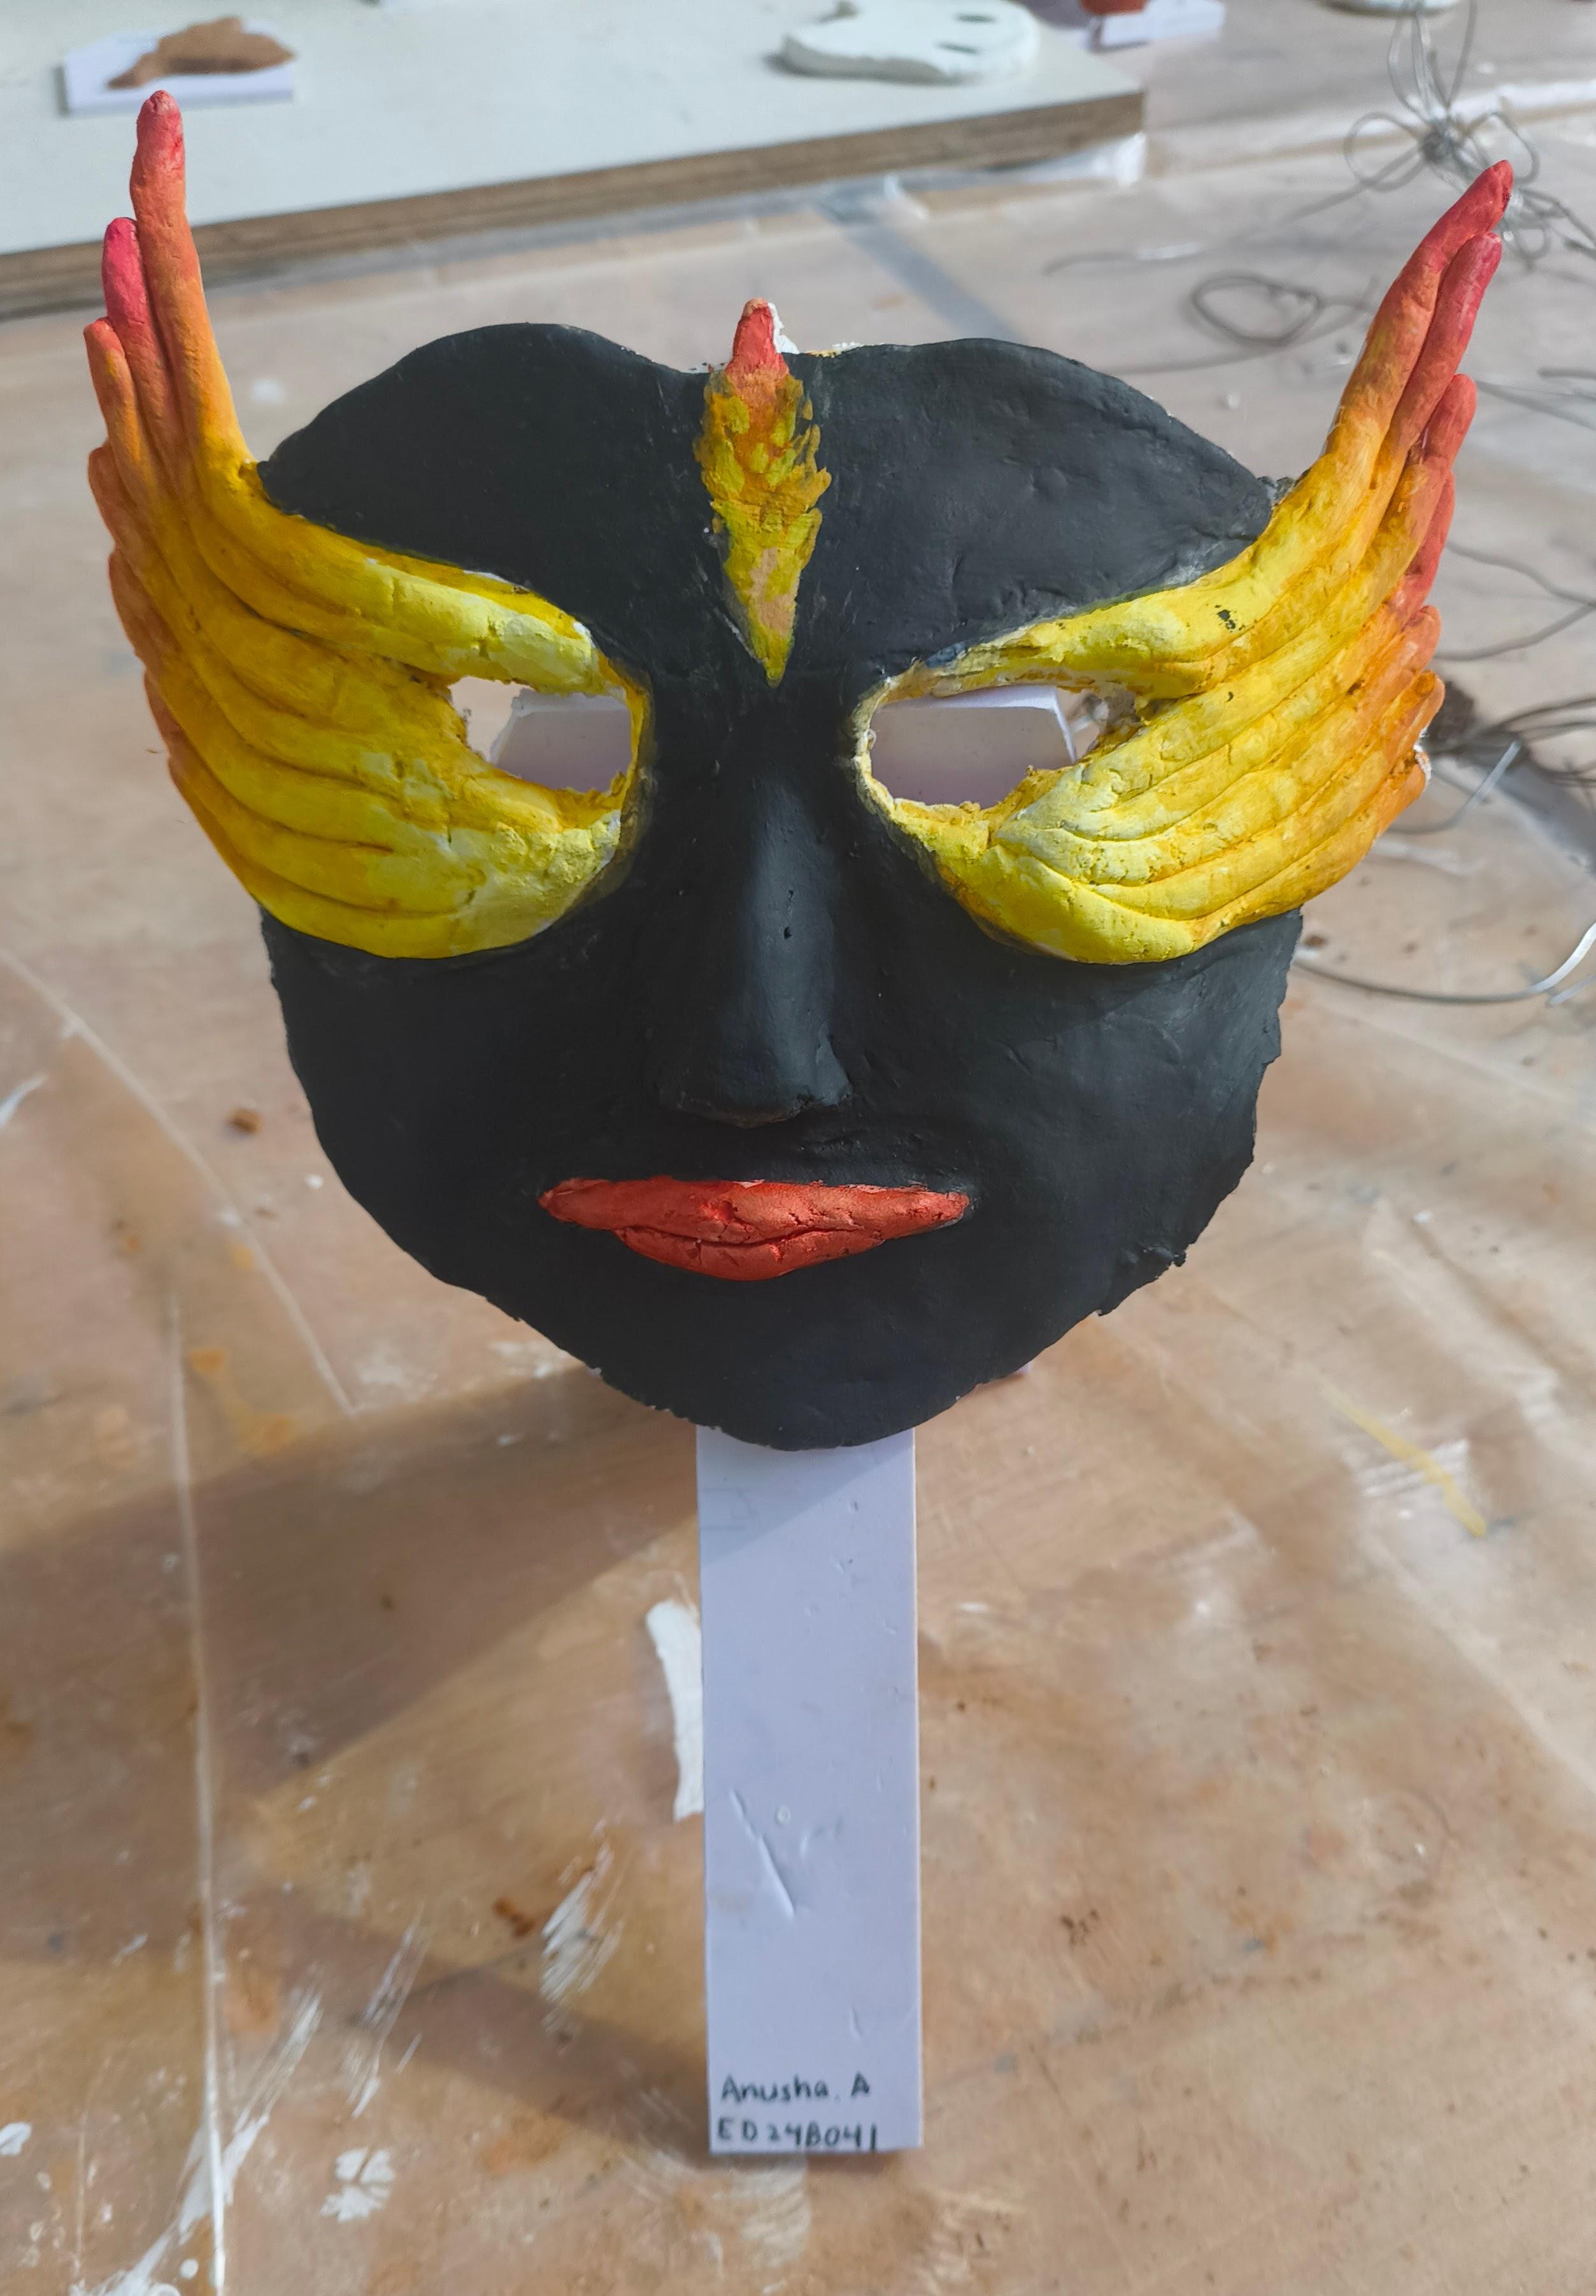
Mask Stand

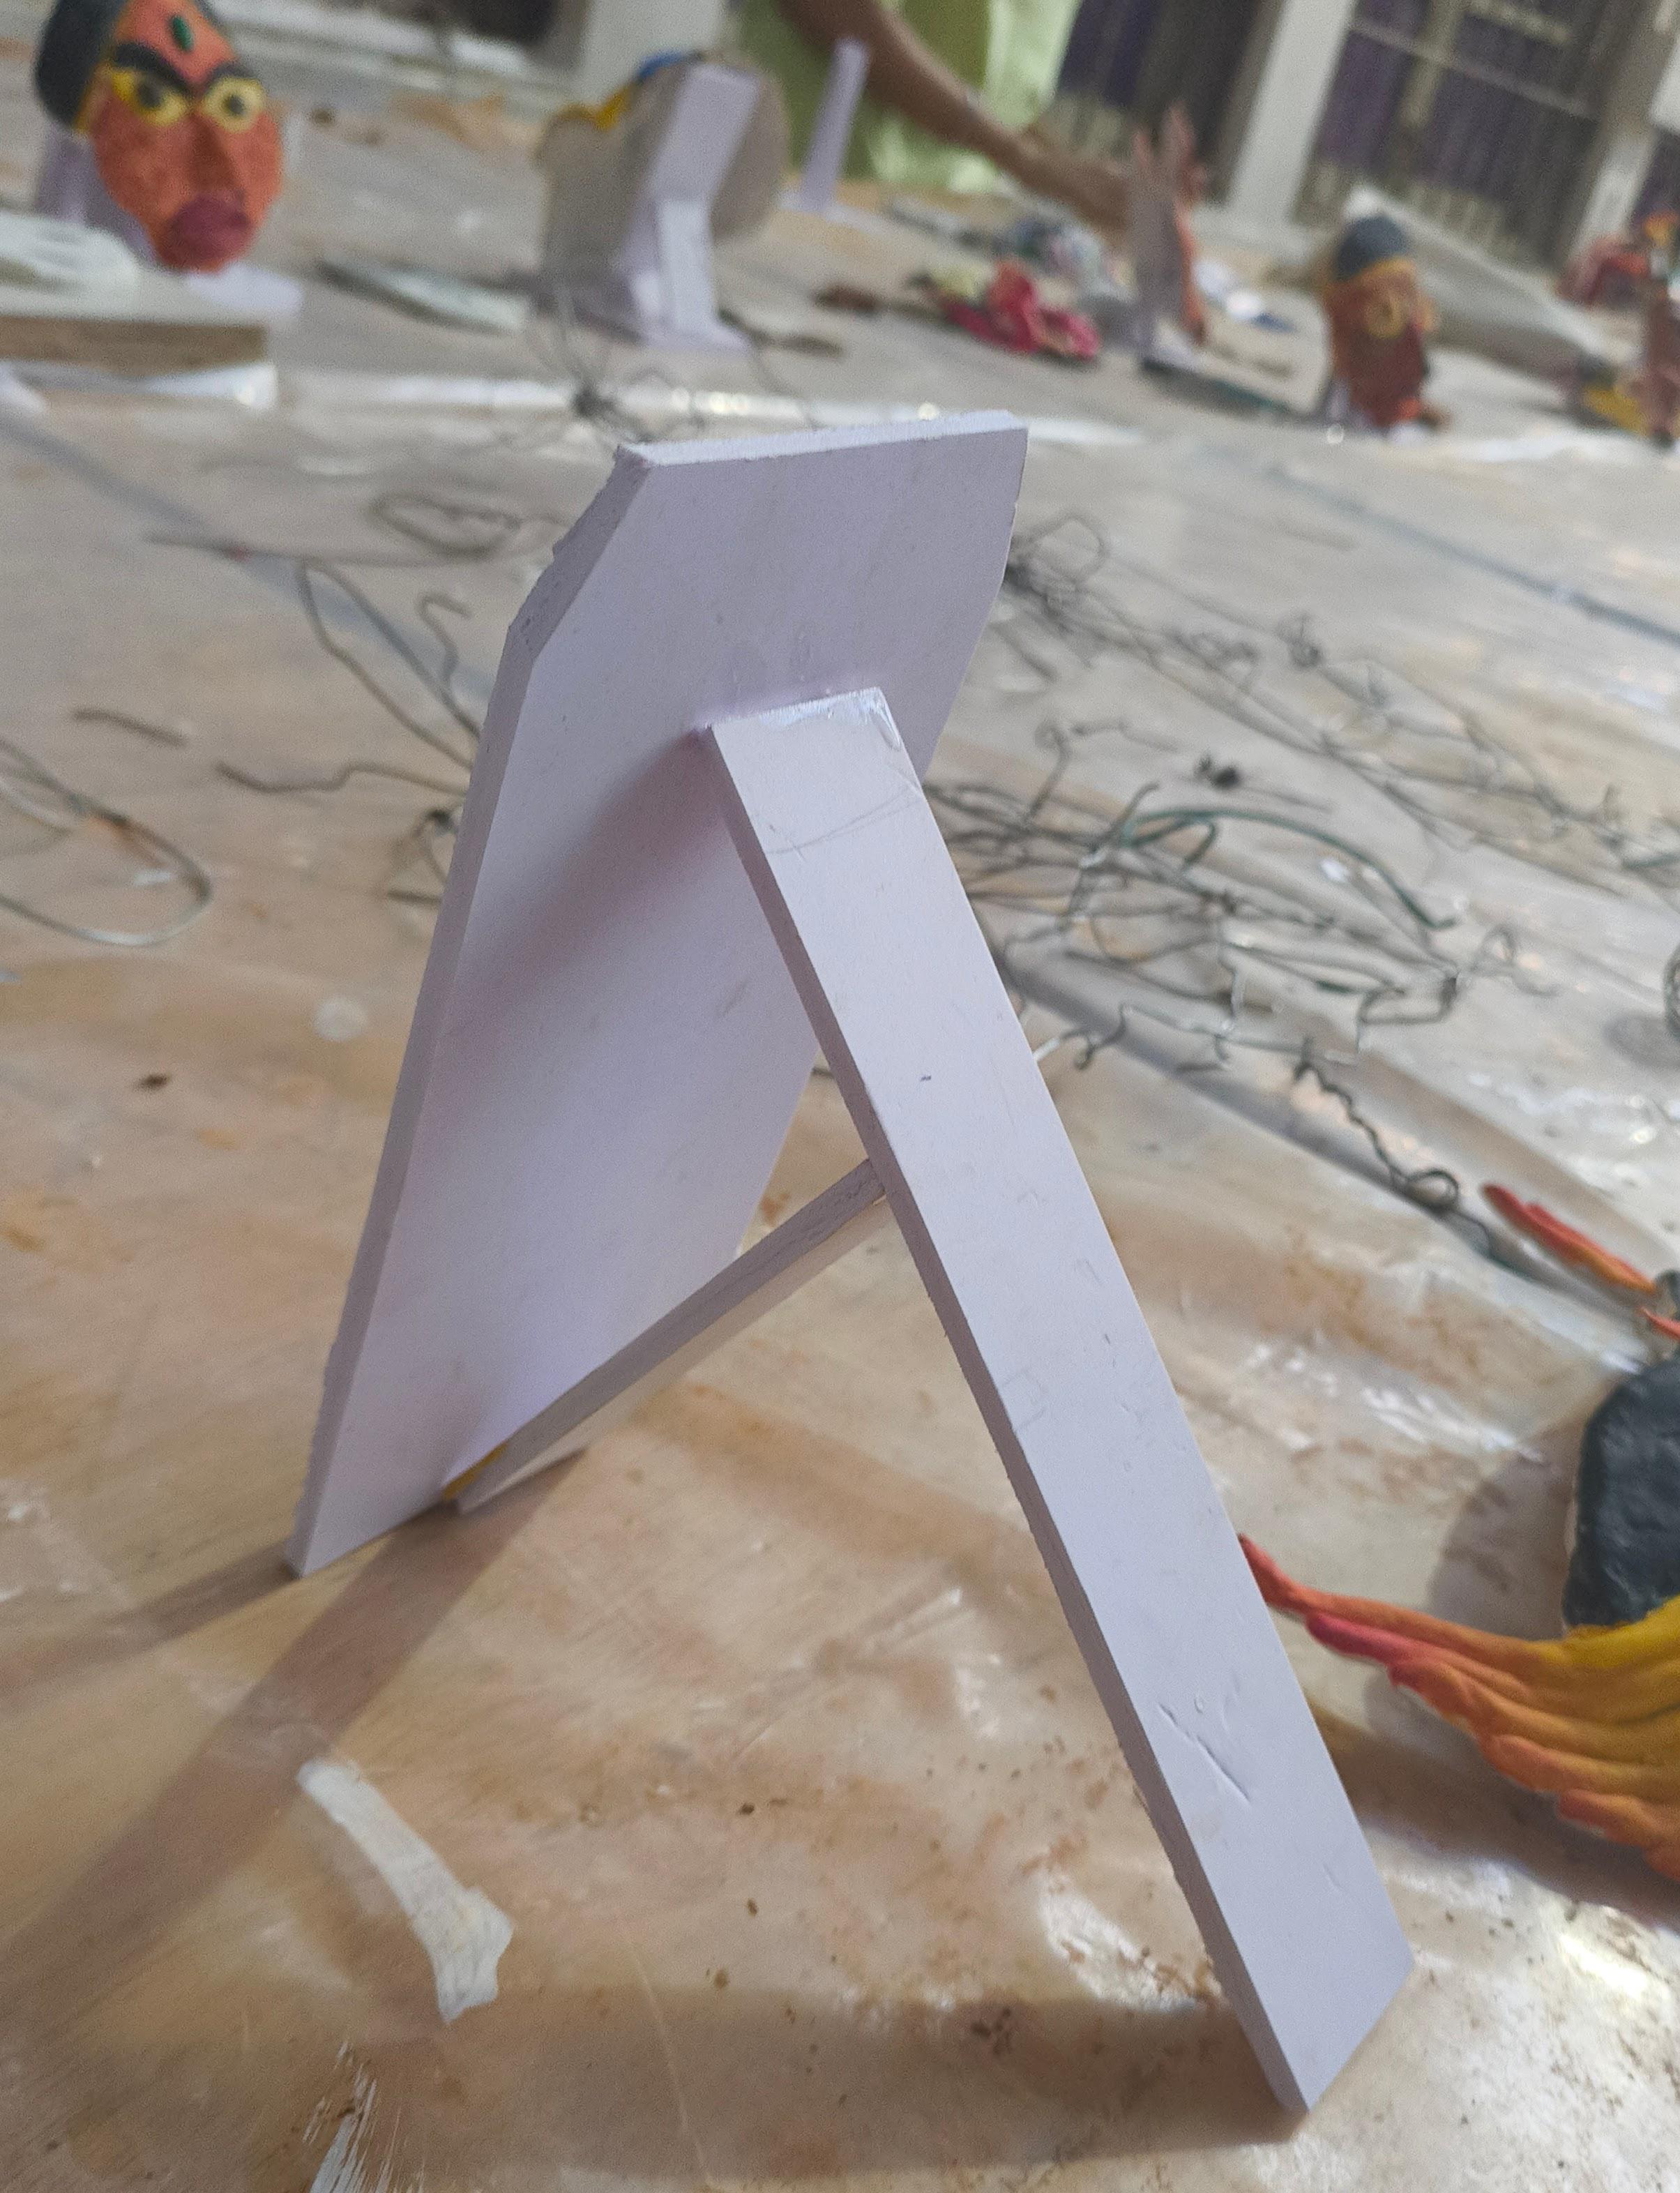
- Cut the board into a rectangle of height of 20 cms and width according the the width of the mask.
- Cut two of the adjacent edges such that it is equal of the distance between the eye-holes
- Take another rectangle of a lesser width and attach it at an angle according to the desired height, using the adhesive.
- Cut another smaller rectangle and stick it to the base of the bigger rectangle for support.
Final Touches

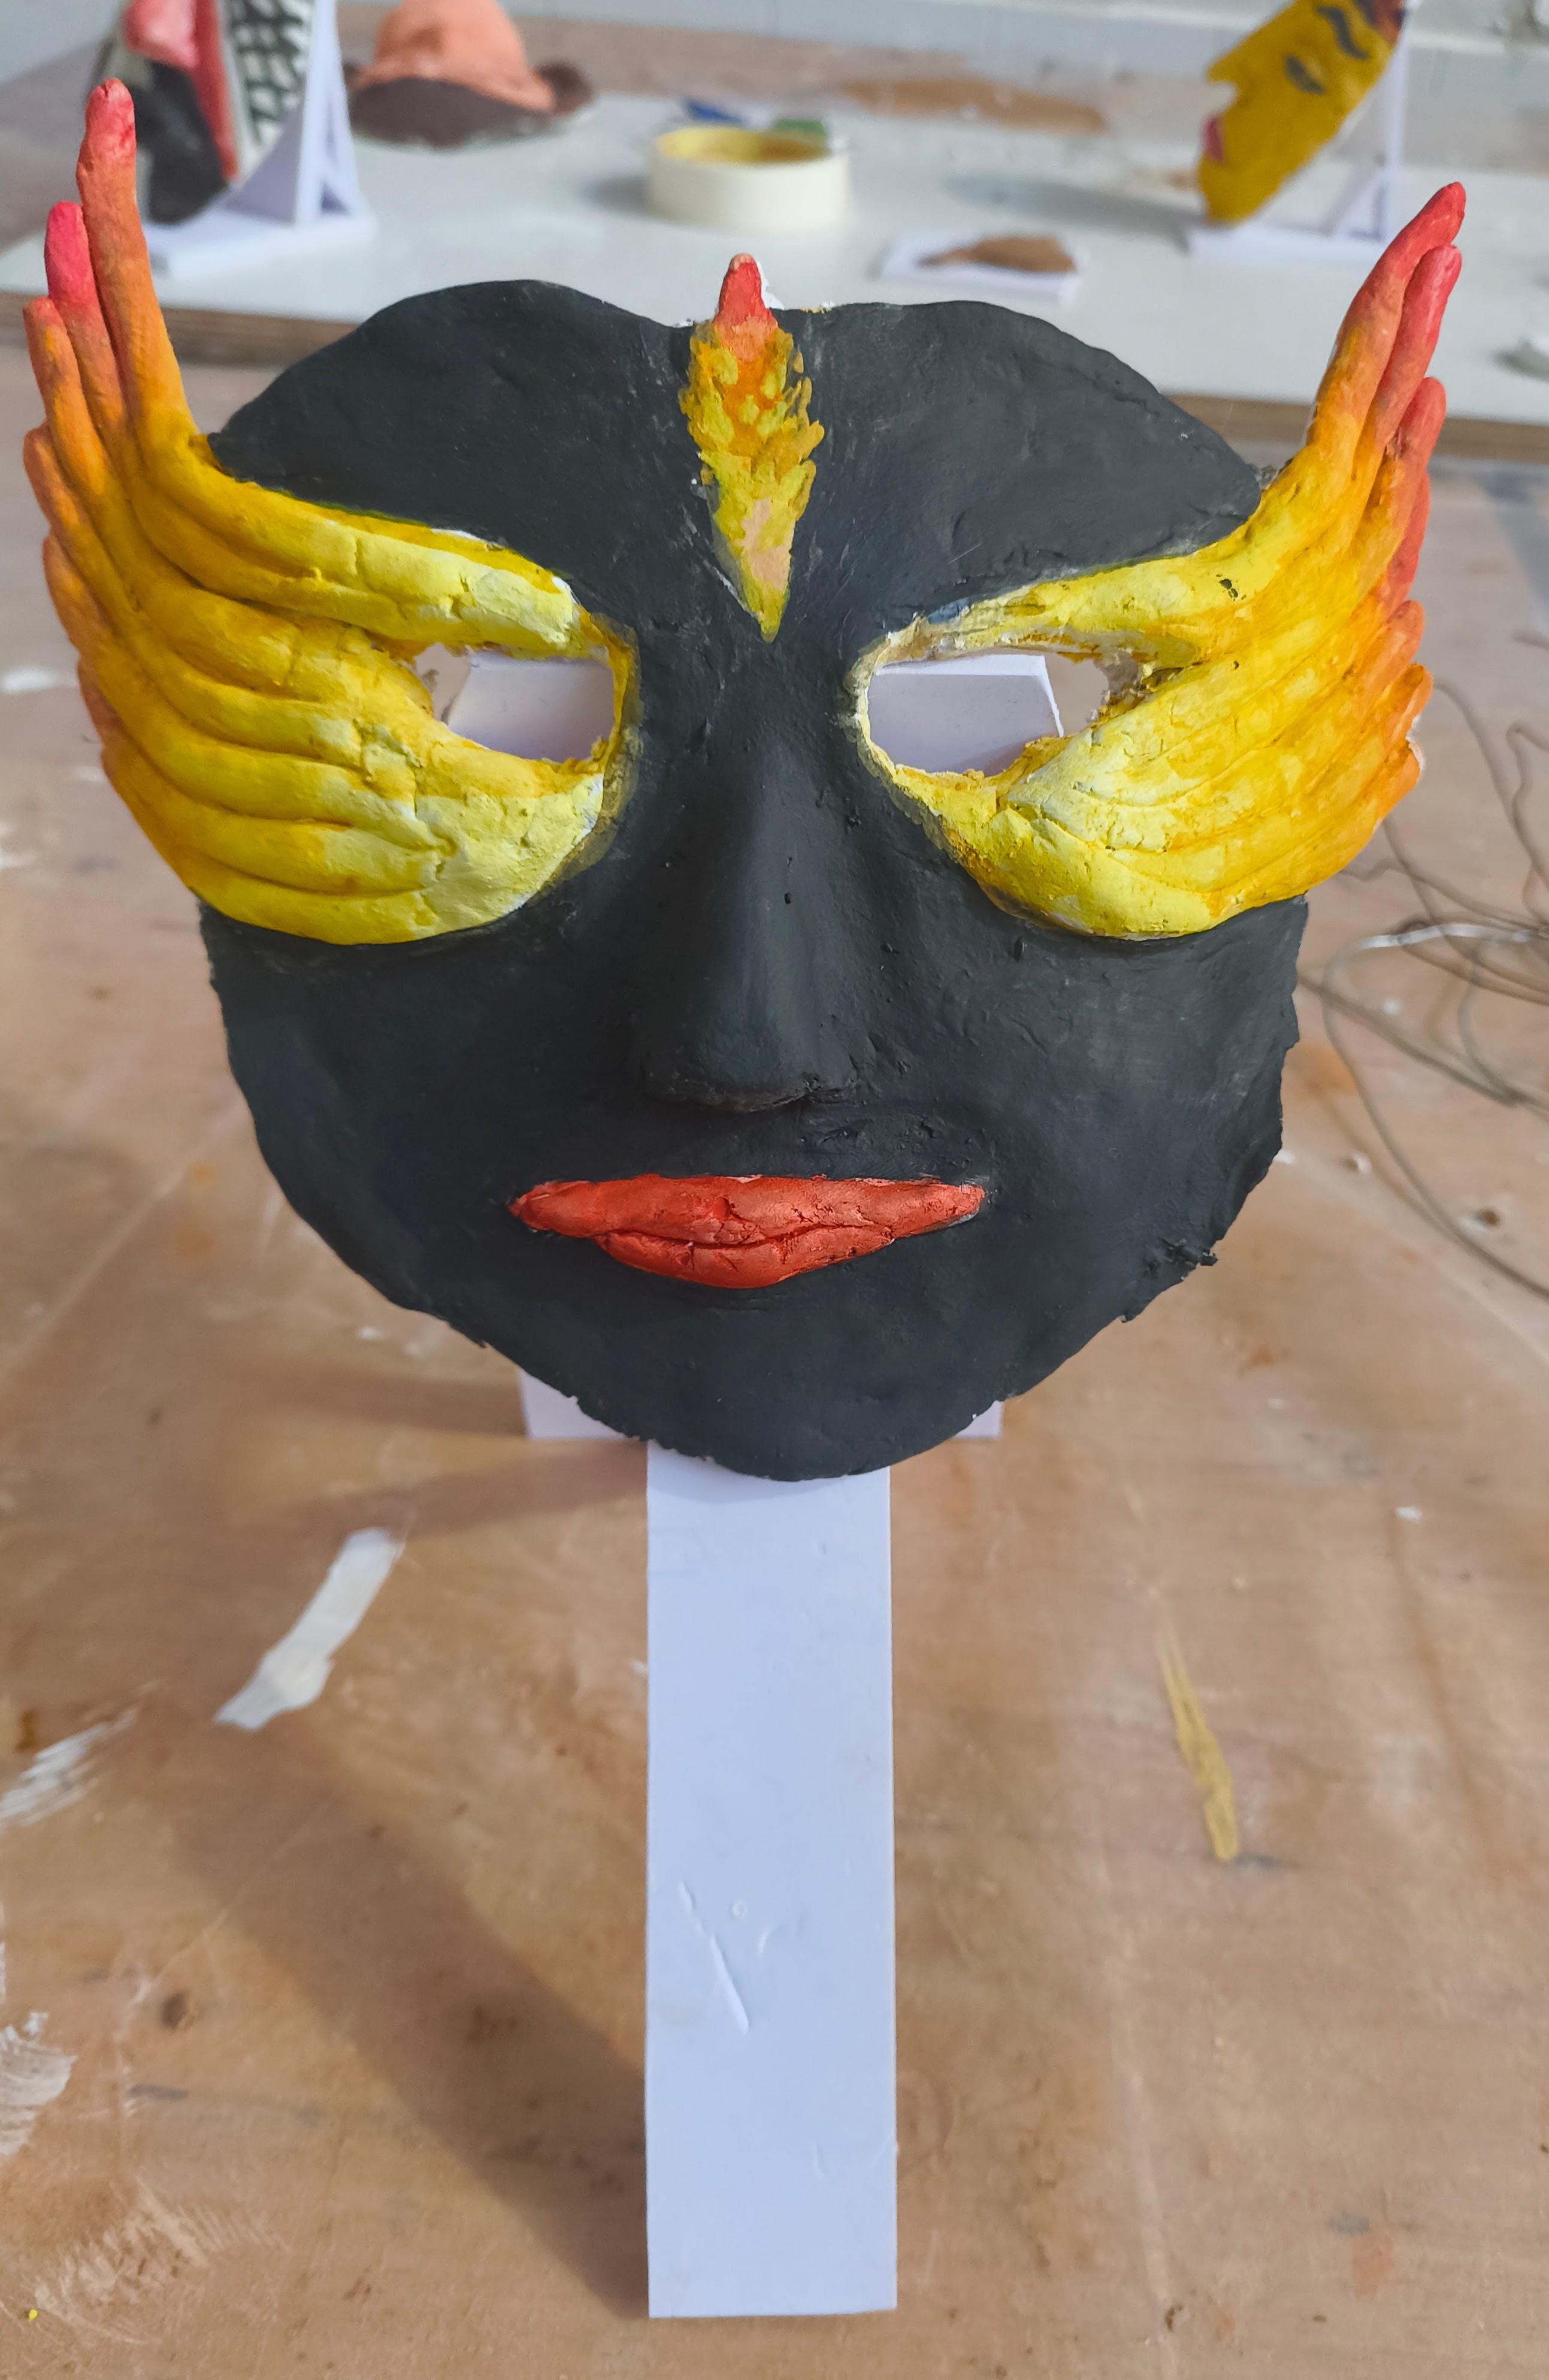
- After everything dries, place the mask on the stand.