Make Art: Art Palette
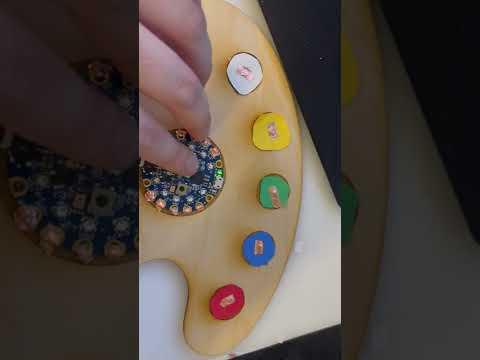
What screams art more than an art palette? And what do you use a palette for besides holding paint? Mixing. This palette lets you touch two colors, hear what sounds they play, and then mix the colors and play both pieces of music. Due to the limits of the CPB speaker, the songs cannot be mixed without feedback as such, both pieces will play back to back. When you're done looking at the mixed color or whenever you want to start over, press black to clear the lights and go back to choosing colors.
(Due to the limits of the lights, some colors will look similar but do in fact have different RBG values).
Supplies
- Laser Cutter
- Art Palette clip art file
- 1/8" Balsamic Wood
- Wires (electrical tape and tin foil if not enough wires)
- Triple A battery pack
- Construction paper
- Adafruit Circuitplayground Bluefruit
- Woodworking tools
- Mu for circuitpython
Prepare Laser Cutting File and Cut
Find an art palette clip art and convert it into an SVG file to prepare for laser cutting. An example SVG file ready for laser cutting has been provided to save time but you can find your own, just modify colors for the number of paint spots on the image.
Downloads
Code CPB Device
The code for the project has been provided. Colors and sounds can be changed as desired. Sound files have also been provided. Make sure that sounds are in 22050 Hz and are WAV files.
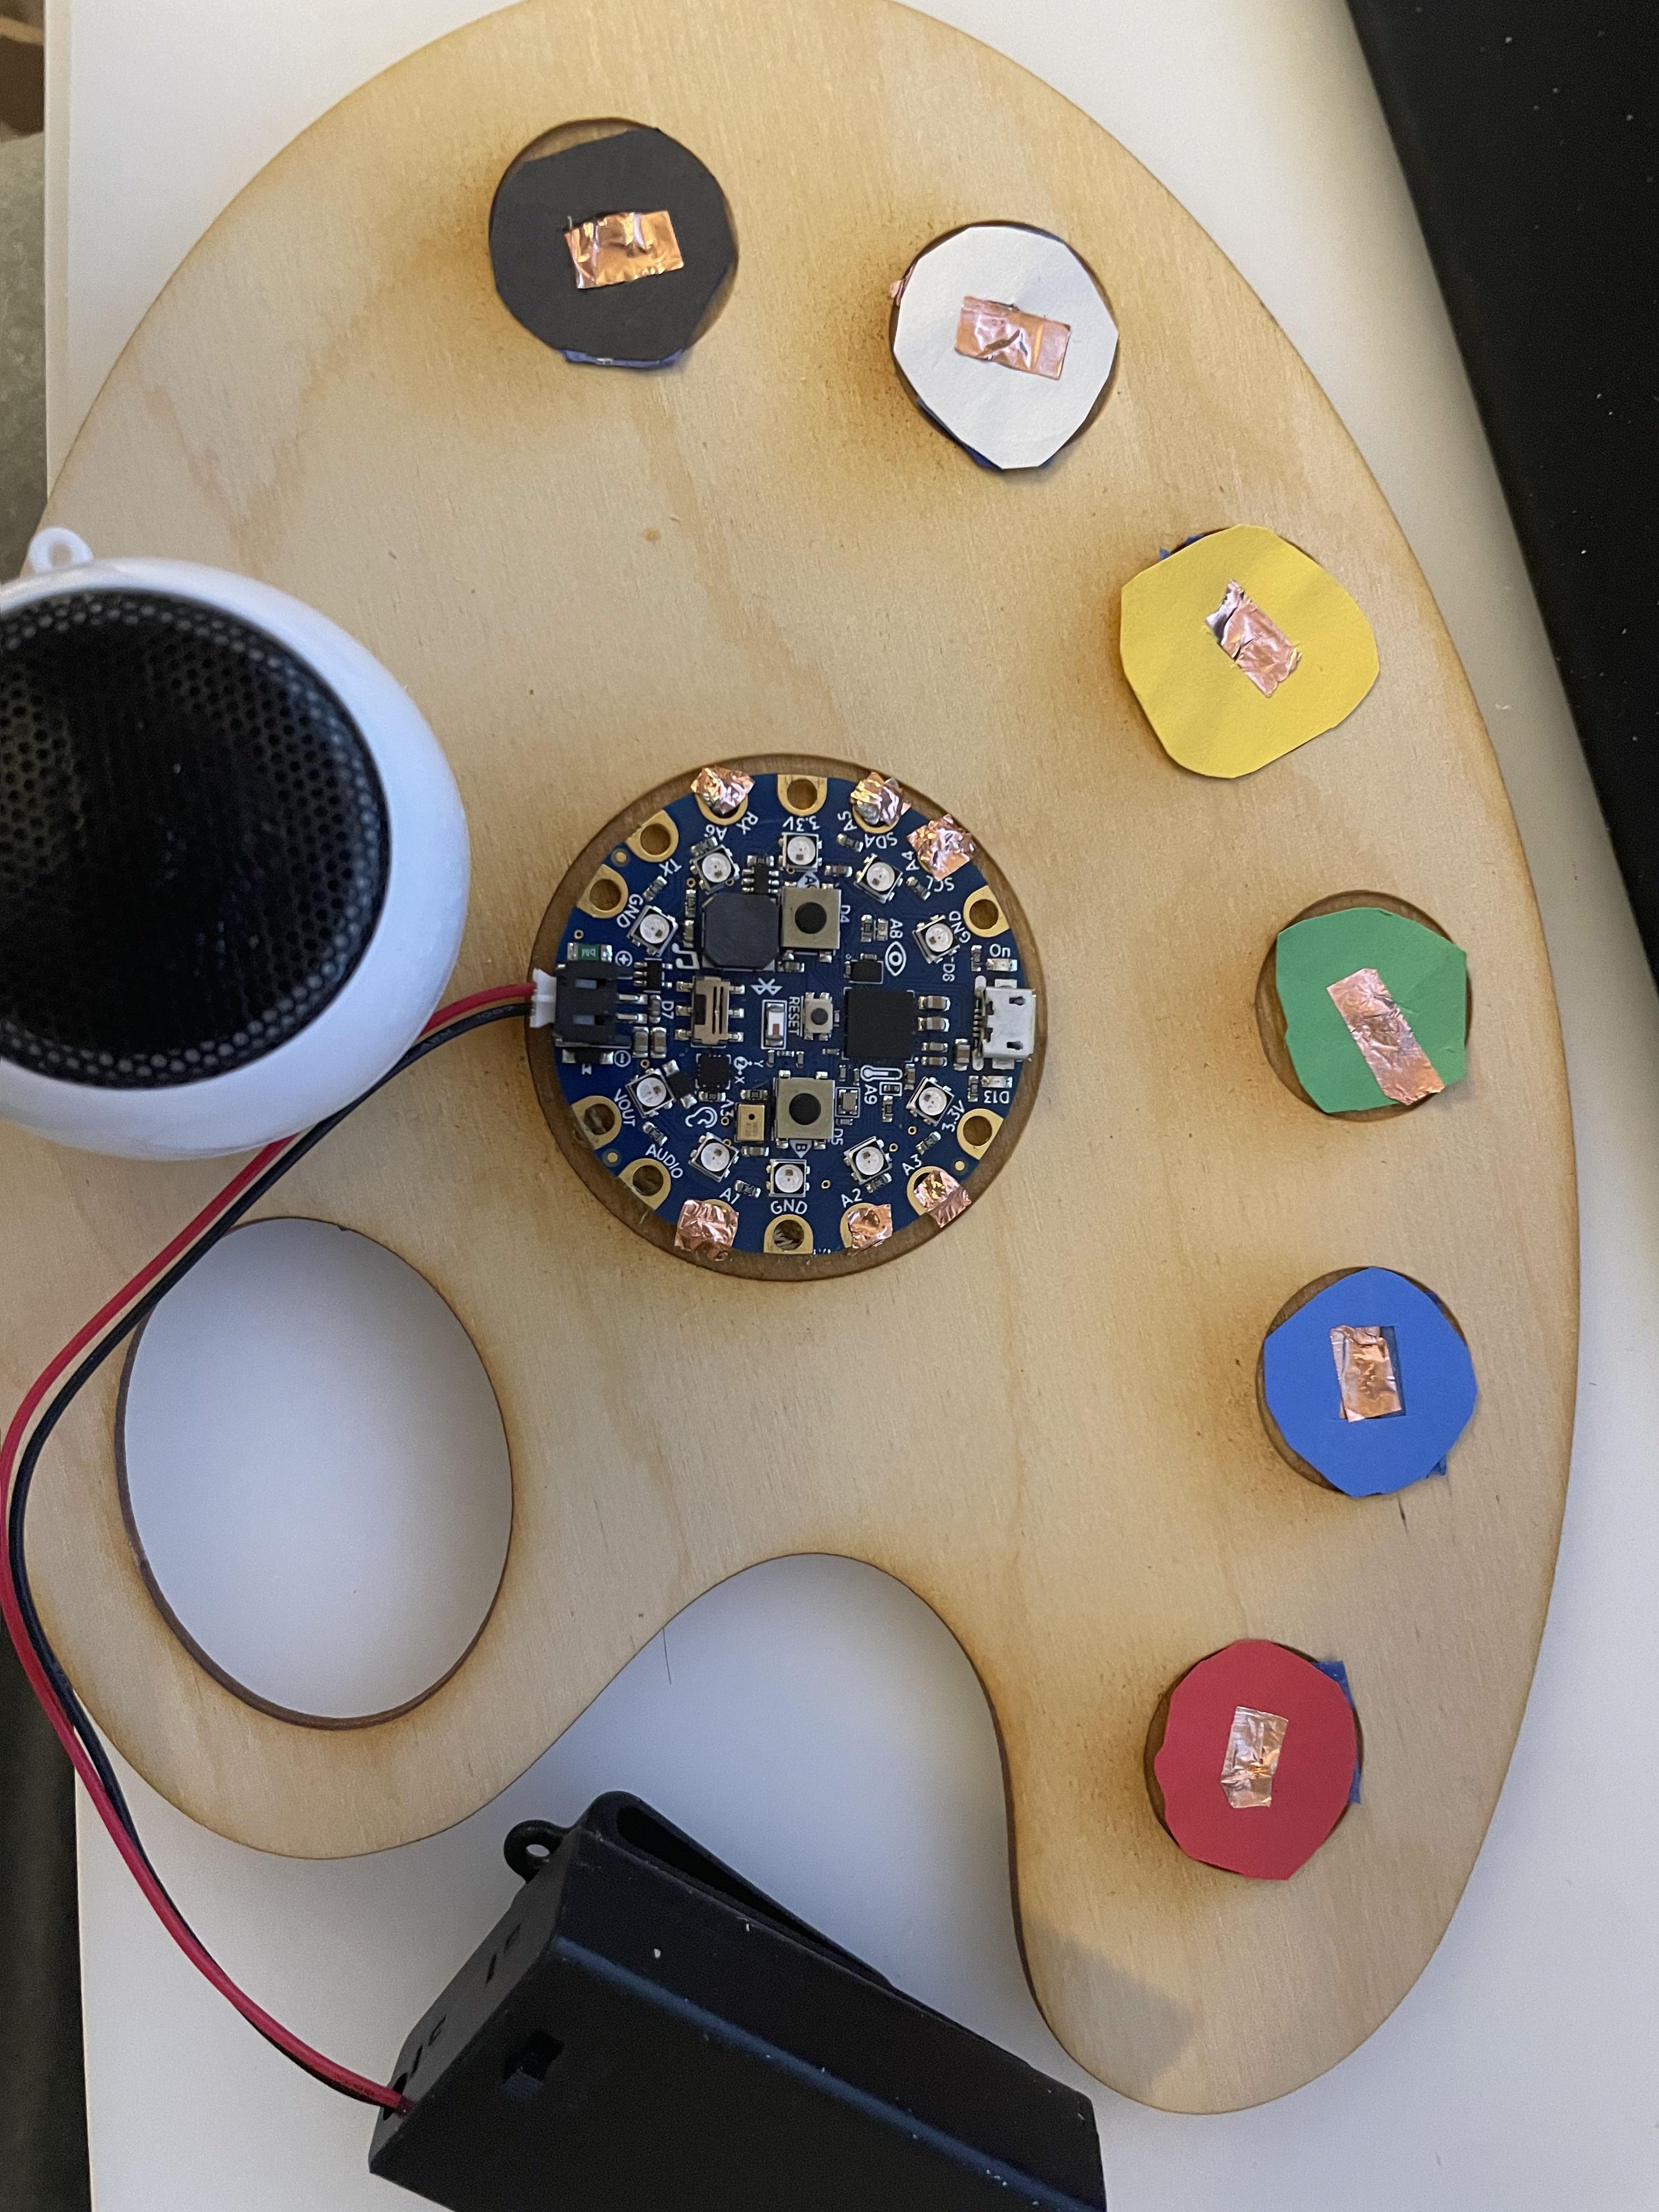
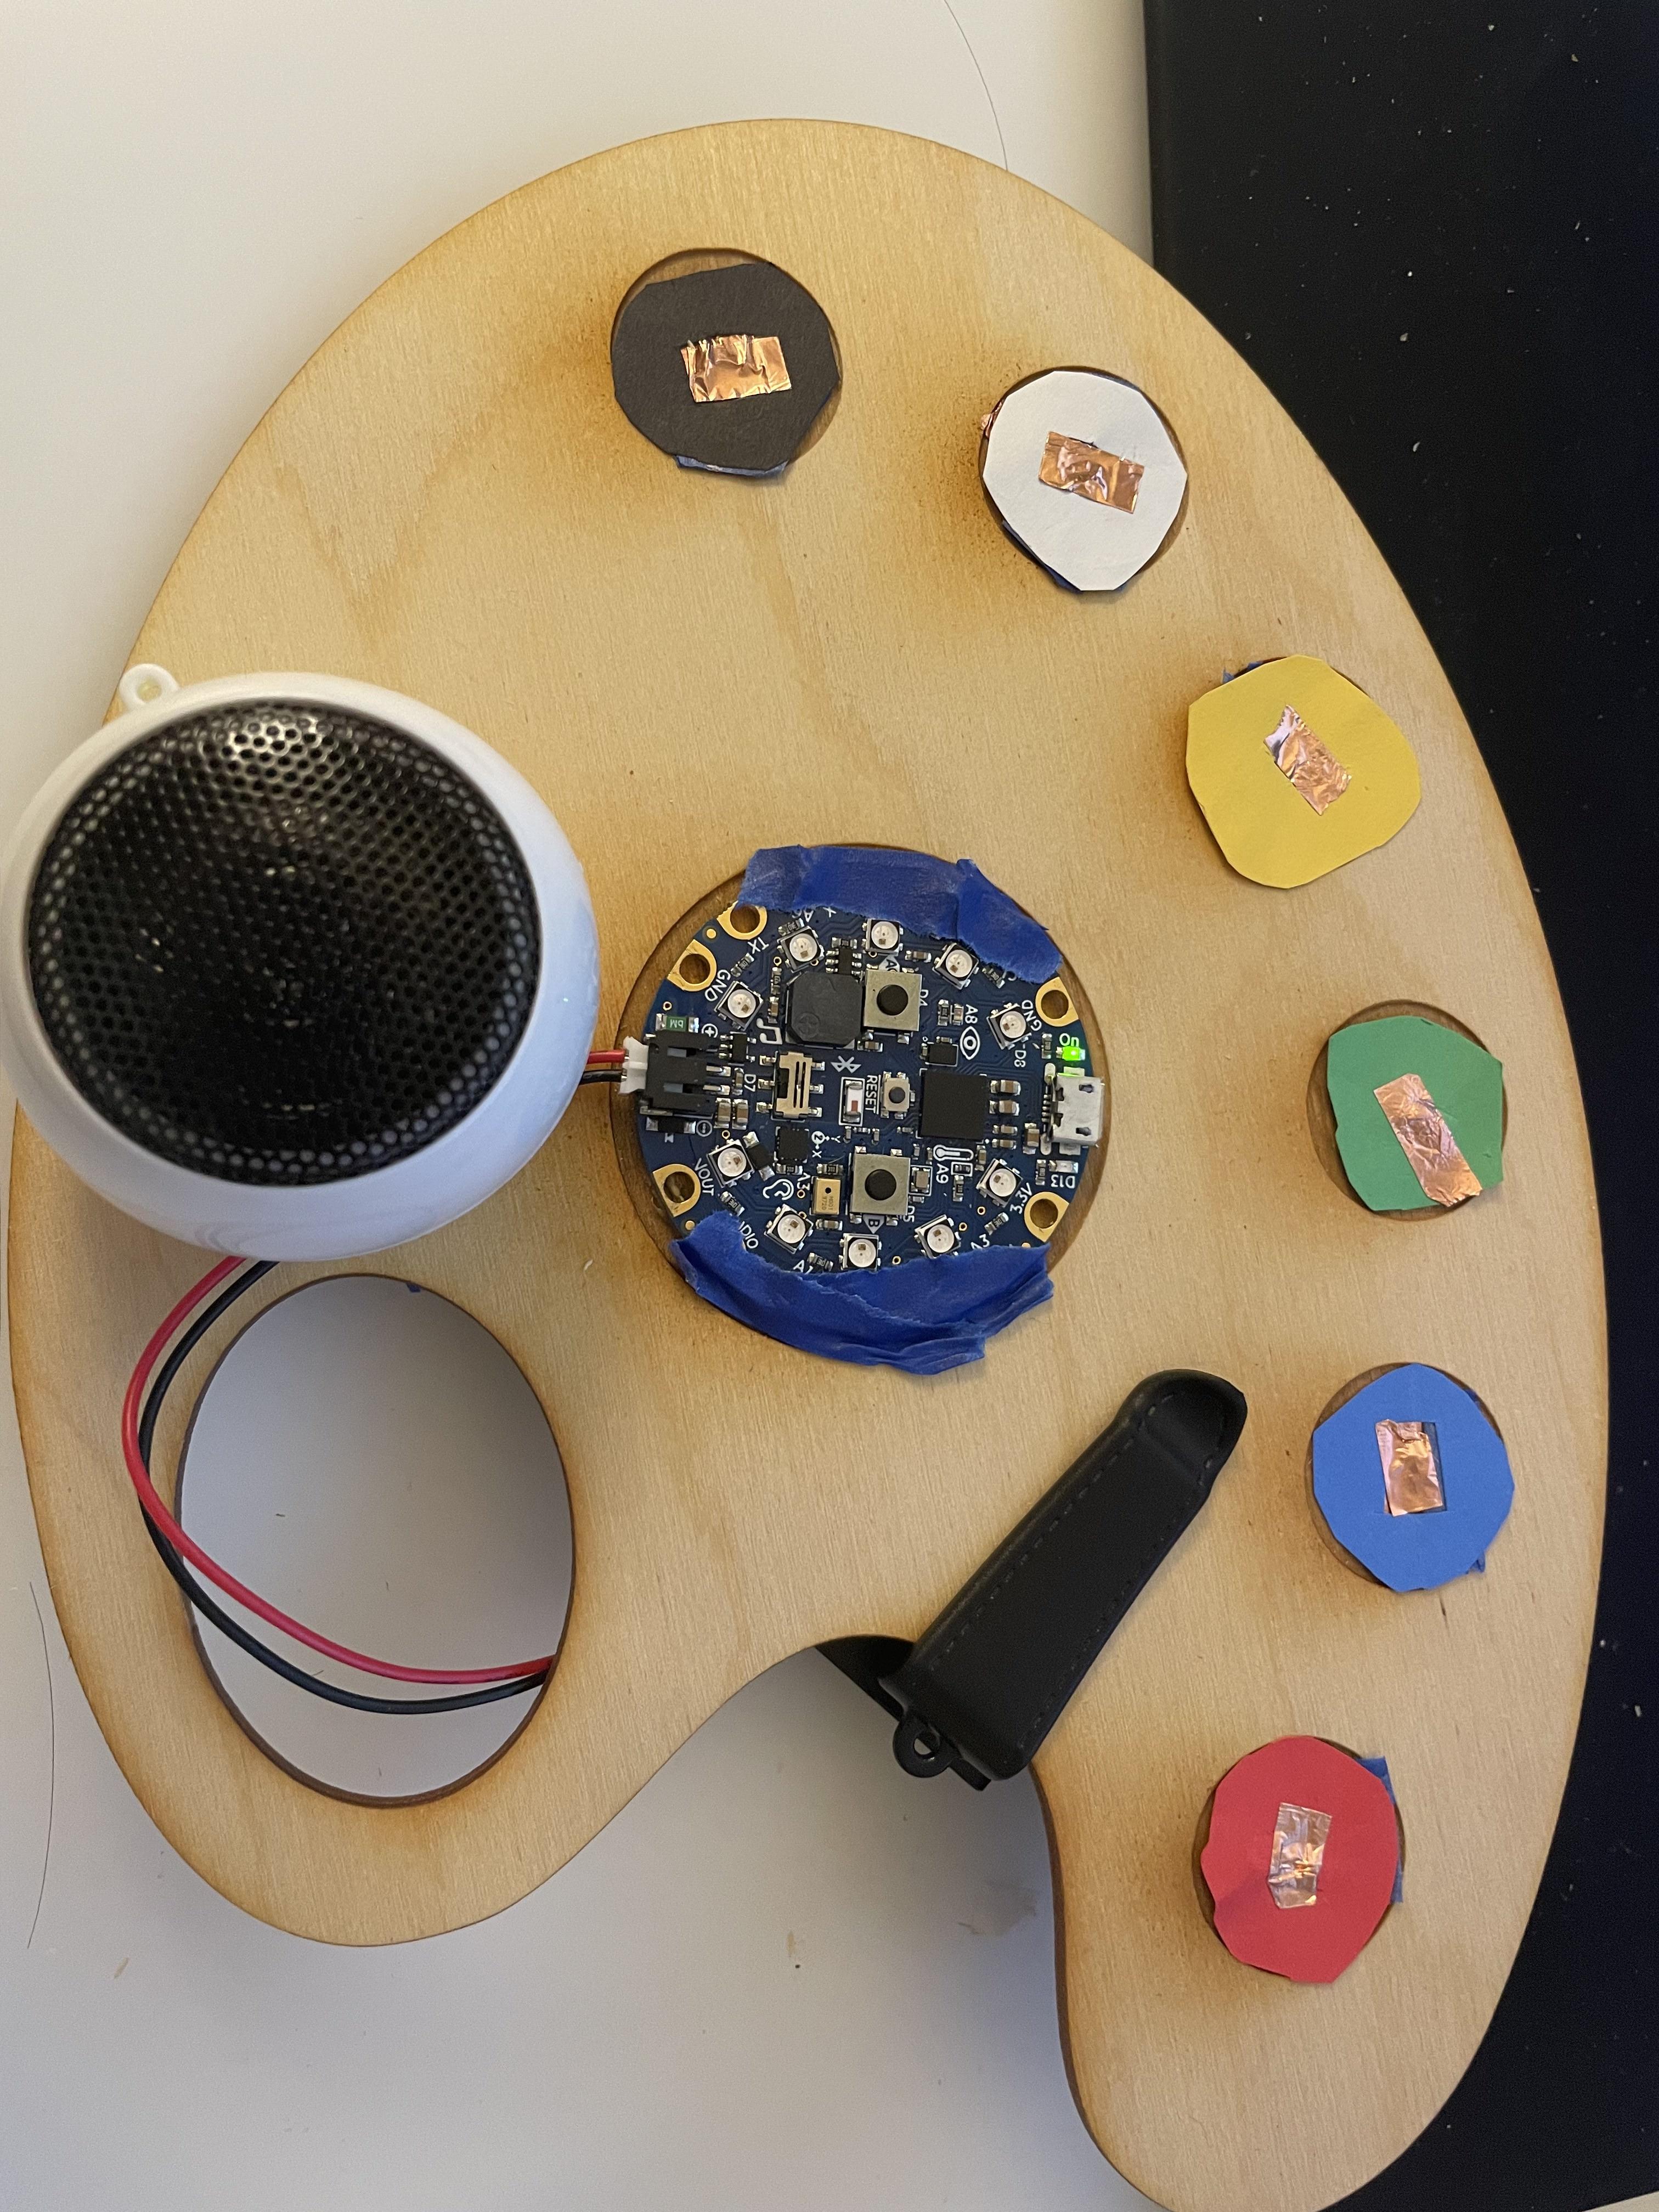
Drill Out Holes and Attach Wires

Either laser cut or use woodworking tools to put slits or holes where the wires will connect to the CPB and colors. Then, run wires to each paint position and attach them to the CPB. For this project, due to the lack of small enough and sturdy enough wires, I substituted them with tinfoil and conductive tape. If using this method, pay attention that everything is connected tightly and that the tapes for different colors are not overlapping. You can tape the tinfoil to the CPB to secure connections.
Add Colors
Cut out circles from construction paper in the colors of your choice. Make sure to cut a slit in the center of each one to expose the conductive tape. If wanted, you may run another piece of tape over the slit but make sure the connection is very tight, or else it may not register.
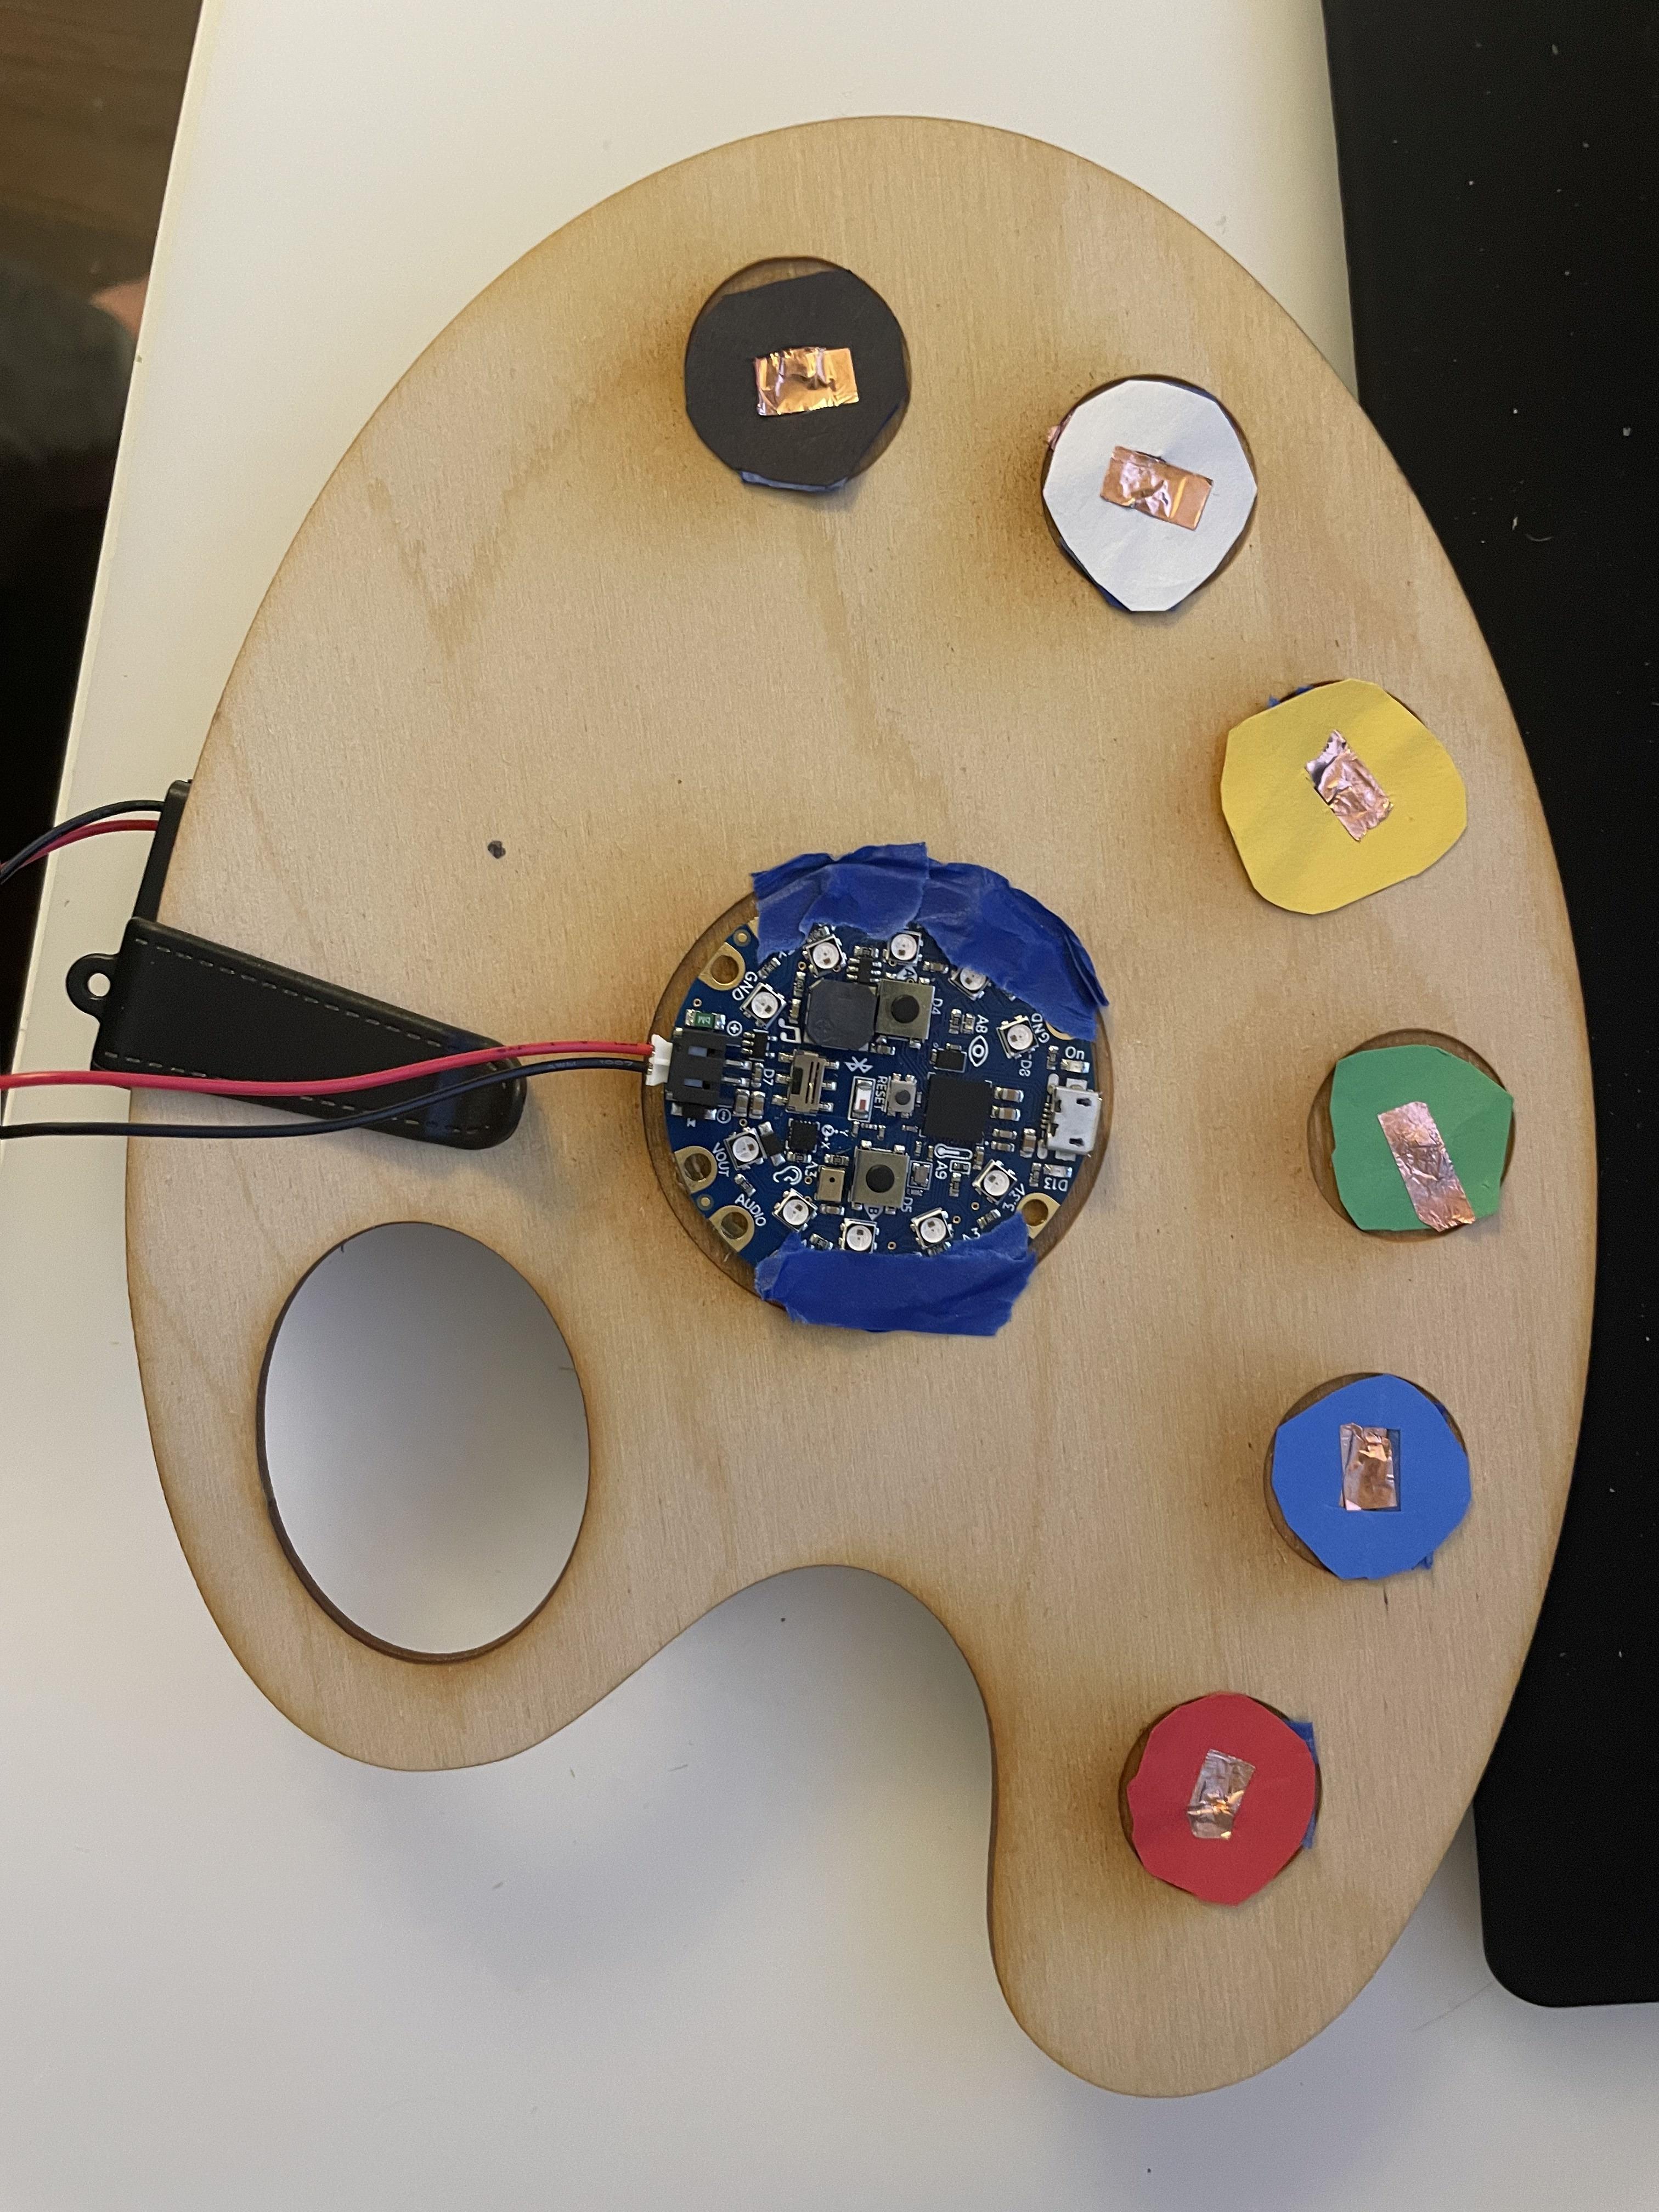
Tape Exposed Wires/Tape and Drill New Hole
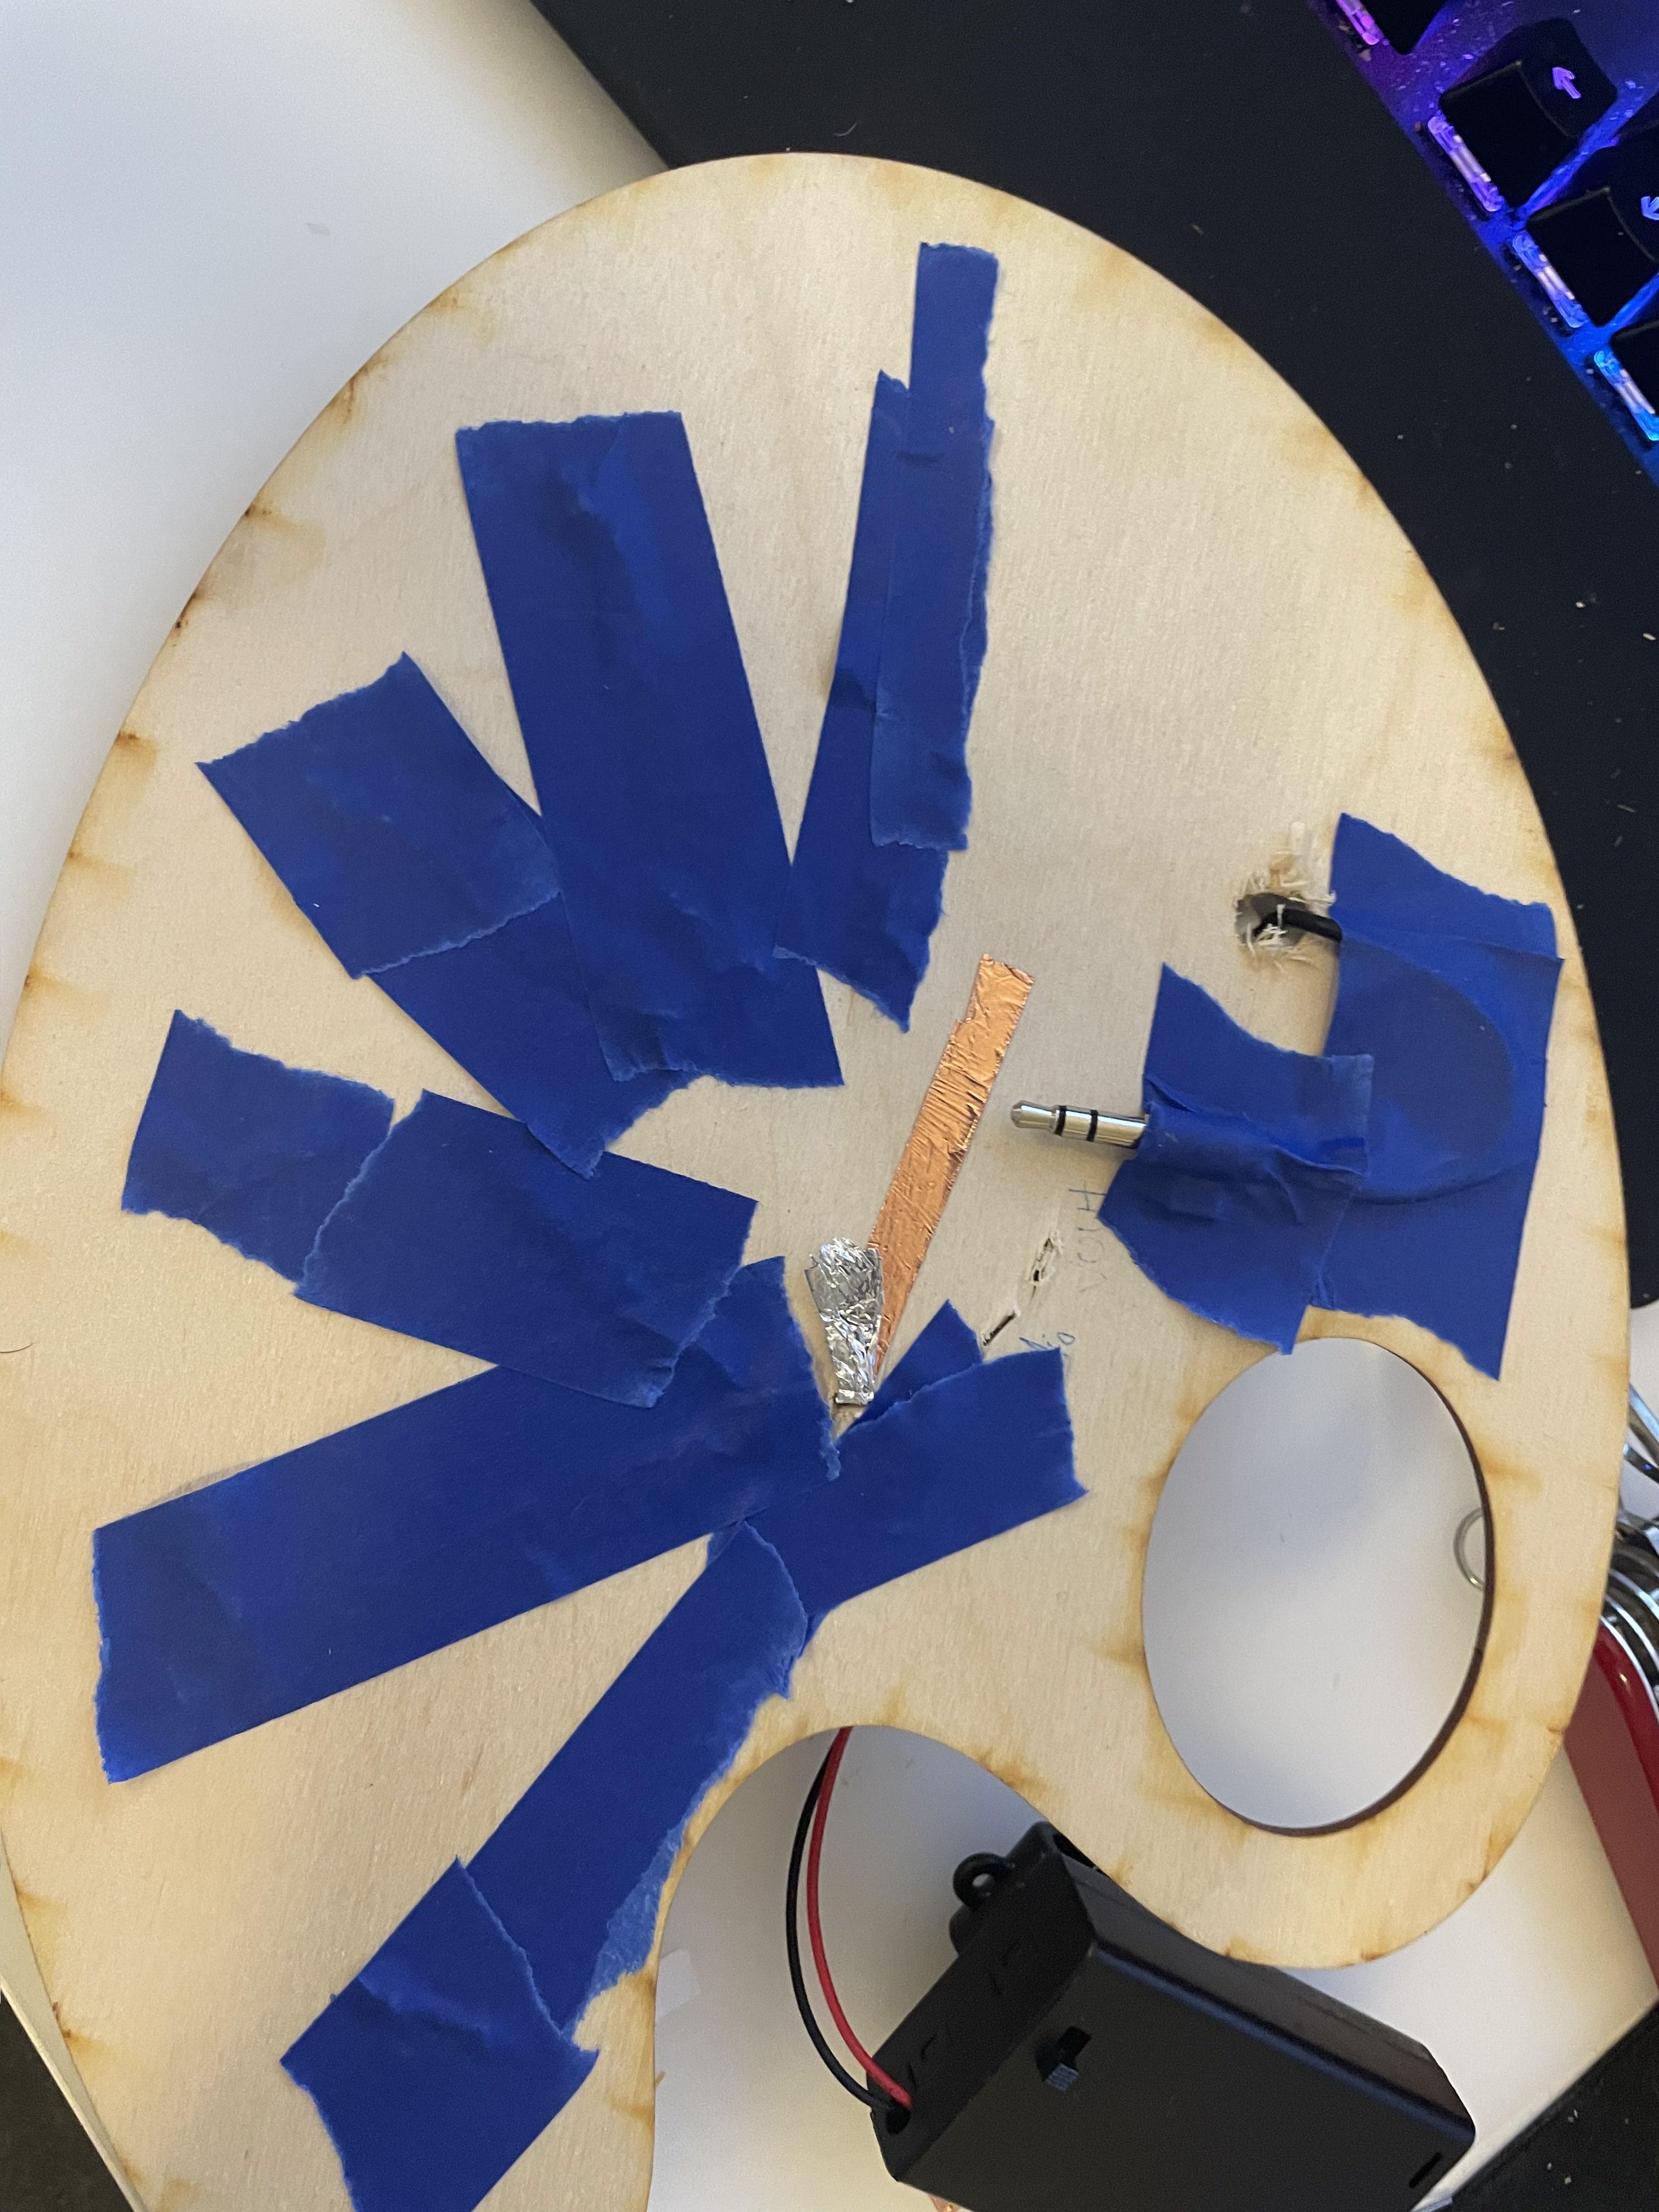
Tape any exposed wires to make sure that it is not triggered accidentally. Then drill another hole for the speaker's audio plug and run it through. Then run a wire or tape from the tip of the plug connected to the CPB's audio port. Run another wire or tape from the base of the plug to GND on the CPB. Tape any exposed wires/tape to secure them.
Demonstration
On startup, press either button to select a color. If you want to clear it, touch black. Otherwise, press the other button to select another button once the music stops playing. Wait, and then watch as the colors mix and the music plays. Press the black color to clear the lights and the music to start over.