Make a Playing Card-themed USB Drive
by cooperkevin95 in Circuits > USB
11299 Views, 14 Favorites, 0 Comments
Make a Playing Card-themed USB Drive
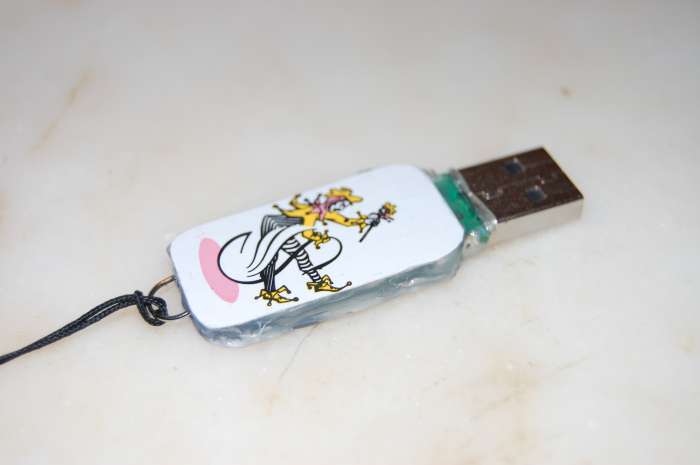
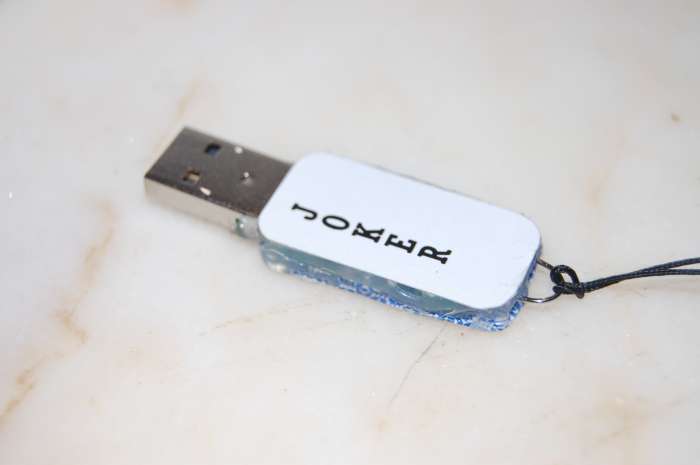
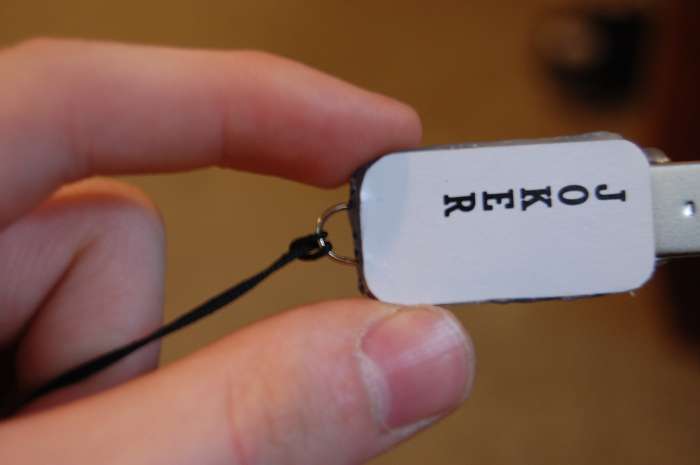
Please be kind, this is my first Instructable. Enjoy! :)
Tired of your boring, old USB Drive? Most of them aren't that creatively colored; black and white are the usual colors used to design these handy devices. Be tired no more! In this easy tutorial, I will show you how to make a USB drive that looks nicer and more creative, using a single playing card of your choice.
Below are pictures of what your USB will look like in the end.
Materials Needed
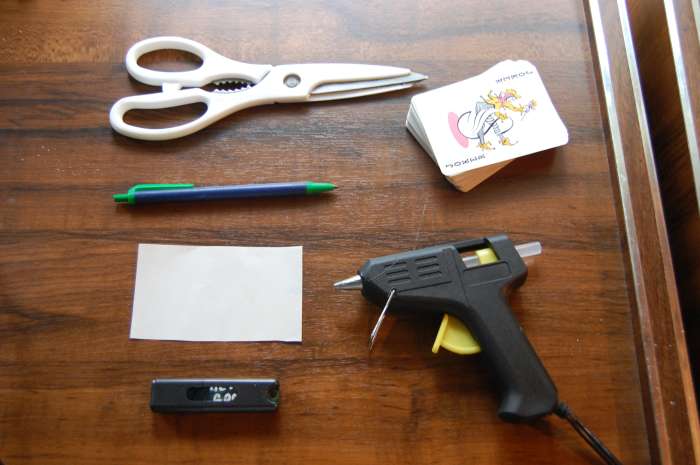
What you will need:
1. A USB Drive (also know as a flash drive, zip drive, thumb drive, etc.)
2. Scissors
3. Hot glue gun / glue sticks
4. Deck of cards
5. A simple pen
6. Paper
7. Paper clip (optional, will be used for the loop on the end)
Altogether, this project should cost about $30 (counting scissors, glue gun, cards, pen and paper)
Prepare all your supplies on a level surface, and prepare to begin!
Remove the USB Drive's Case
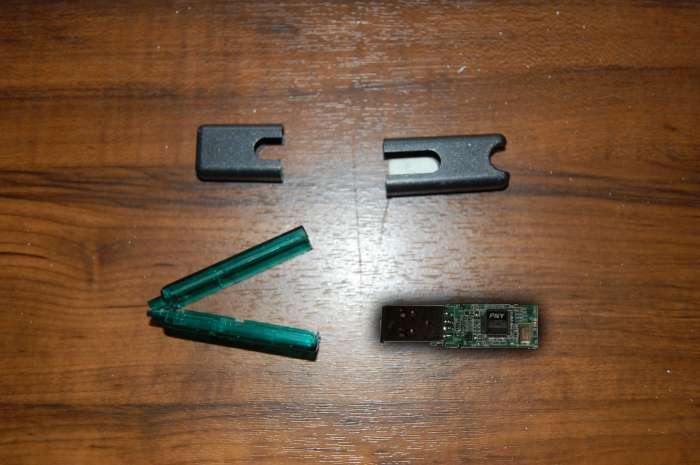
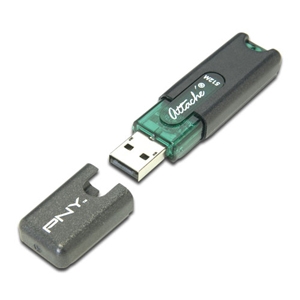
This is possibly the simplest step.
Take the USB drive, and open it, so that the circuit board and computer connector are showing, as shown in the picture below. Remove the case, and discard it if you'd like to, since it won't be needed. Be careful when handling the circuit board of the drive, it has a few fragile parts.
The USB drive pictured is an Attache brand, it cost about $20, but I bought it a couple of years ago. USB drives were still pretty pricey then, and are much cheaper now. The second picture is what the Attache looked like.
Also, the circuit boards will vary in colors, some are red, some are blue, but mine was green.
Trace the Circuit Board on the Paper
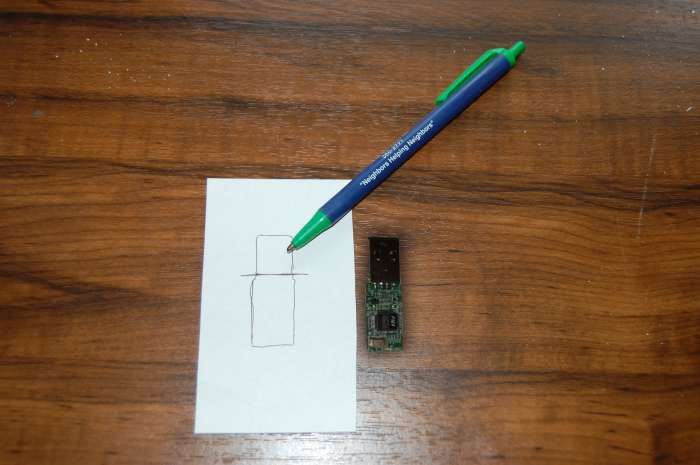
Remember that simple little pen and paper that was in the the materials list? Well, here's where it comes in handy.
Place your USB drive circuit board on the paper and trace it with the pen. Make a line throught the tracing, exactly where the connector stops and the circuit board begins. This tracing will be used as a guide to tell how much of the card you need to cut for the front/back designs of the USB drive.
As you can see, I trace like a kindergarten kid. Please note, it doesn't have to be an exact perfect tracing, but it can't be outrageously off.
Find the Card You Want to Use
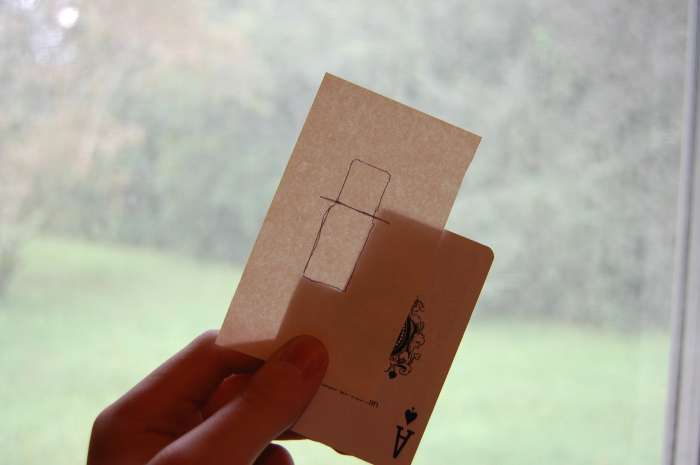
In the deck of cards, find the card you would like to use for your USB drive.
Place the paper you traced the USB drive on over the part of the card you want to use for the front. Using the tracing as a guide, cut around the circuit board tracing and card, not cutting on the lines of the tracing, but about a centimeter or two away from the line. (If you don't get what I said, look at the pictures)
Extra: Use the scissors to round the edges of the piece of card you are using for the front.
Do the same for the piece of card you want to use for the back. You can even use the front as a guide this time, to make the sides equal.
Glue the Card Pieces to the Circuit Board
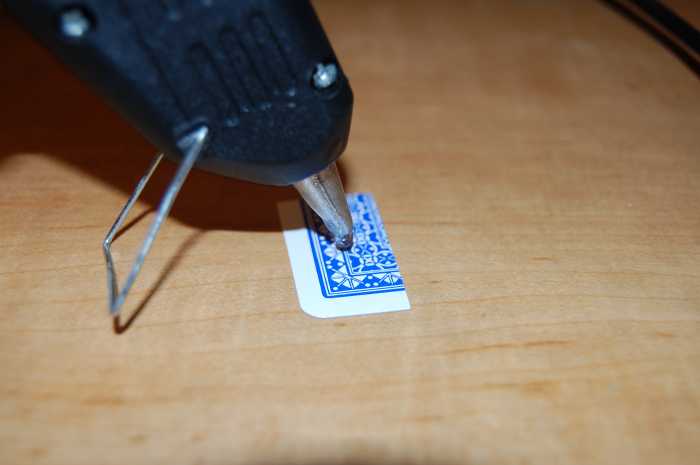
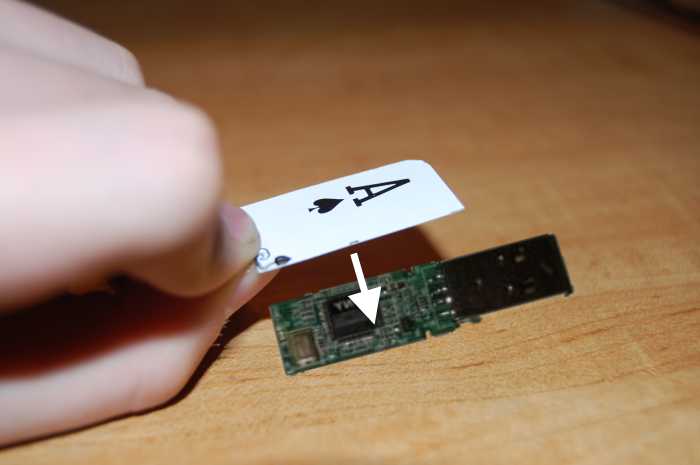
Once you have cut out the front/back of your USB drive, plug up the glue gun, insert a glue stick, and wait a minute to let it warm up. Place hot glue (Be careful, don't place to much or too little) on the piece of card you are using for the front. Place it on the circuit board of the USB drive. Repeat for the back.
NOTE:
You may ask, "Won't hot glue fry my USB drive?" I do not know if it will for sure, but I have dipped MANY USB drives in hot glue for customization, and all of them work fine.
NOTE:
You may ask, "Won't hot glue fry my USB drive?" I do not know if it will for sure, but I have dipped MANY USB drives in hot glue for customization, and all of them work fine.
Add the Loop and Edges
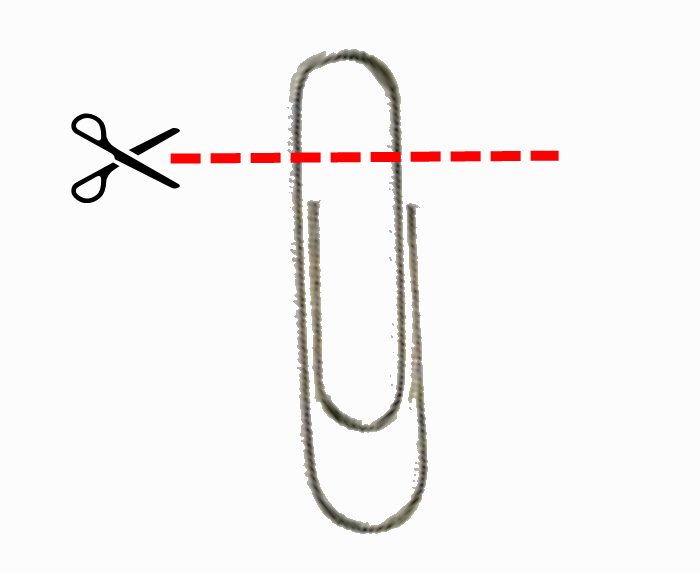
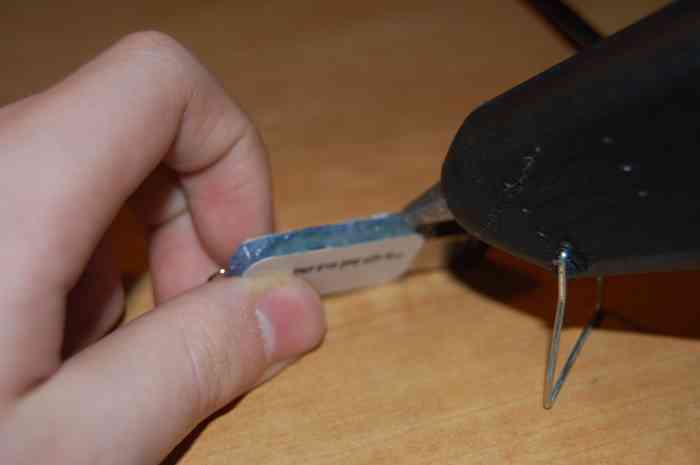
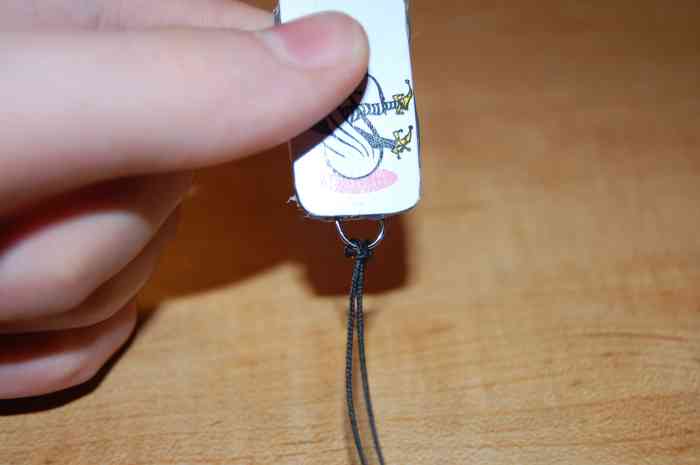
You're almost finished! After you have placed both card pieces on both sides, it is time to do some finishing touches.
To make a loop for a lanyard on the end of your drive, use a paper clip and cut a small piece of the end. (Use the picture below as a guide).
To make the edges of the USB drive, use the glue gun to run glue around the edges, between the two cards. While the glue is still hot, stick the loop you cut into the end of the zip drive (not too deep). Wait about 10-30 minutes for glue to dry completely.
Finished!

Congratulations! You have just made a new, customized, card-themed USB drive!
If you have any questions or comments, feel free to ask or comment below.
Thanks for reading, and stay tuned for more!
Coming Soon:
A way to make the edges look smoother
If you have any questions or comments, feel free to ask or comment below.
Thanks for reading, and stay tuned for more!
Coming Soon:
A way to make the edges look smoother