Make a Mutant Version of Yourself or Family
by Zaphod Beetlebrox in Workshop > 3D Printing
11831 Views, 13 Favorites, 0 Comments
Make a Mutant Version of Yourself or Family
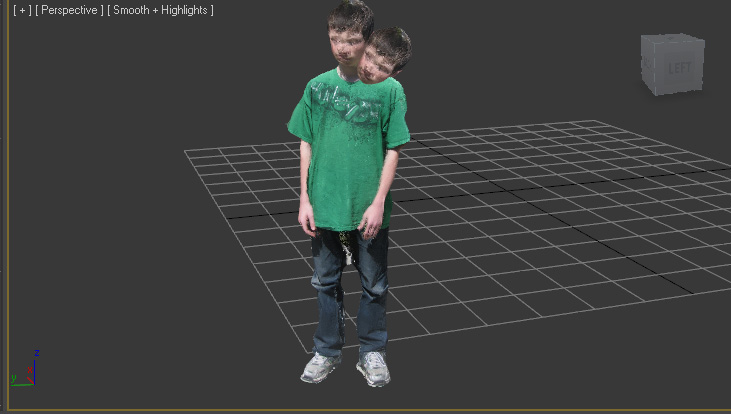

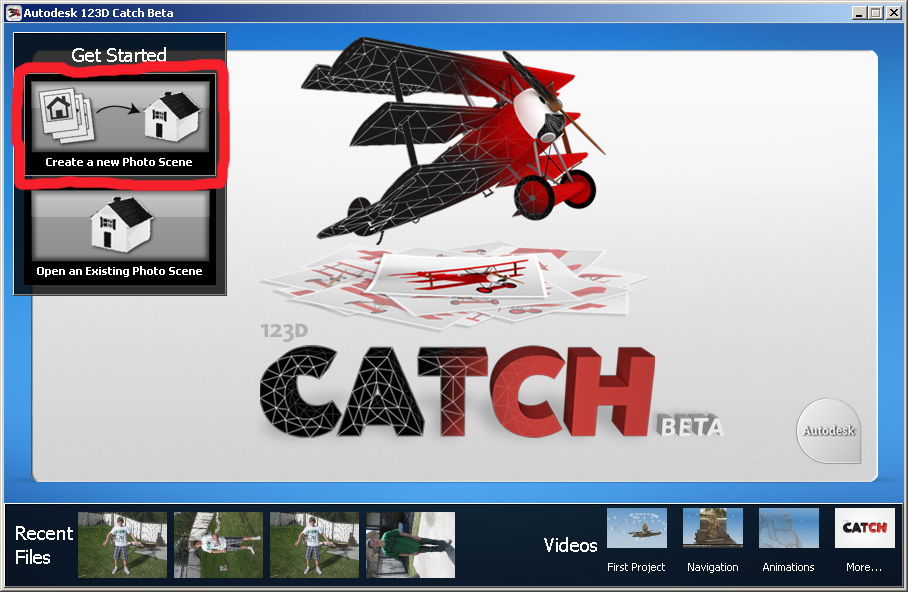
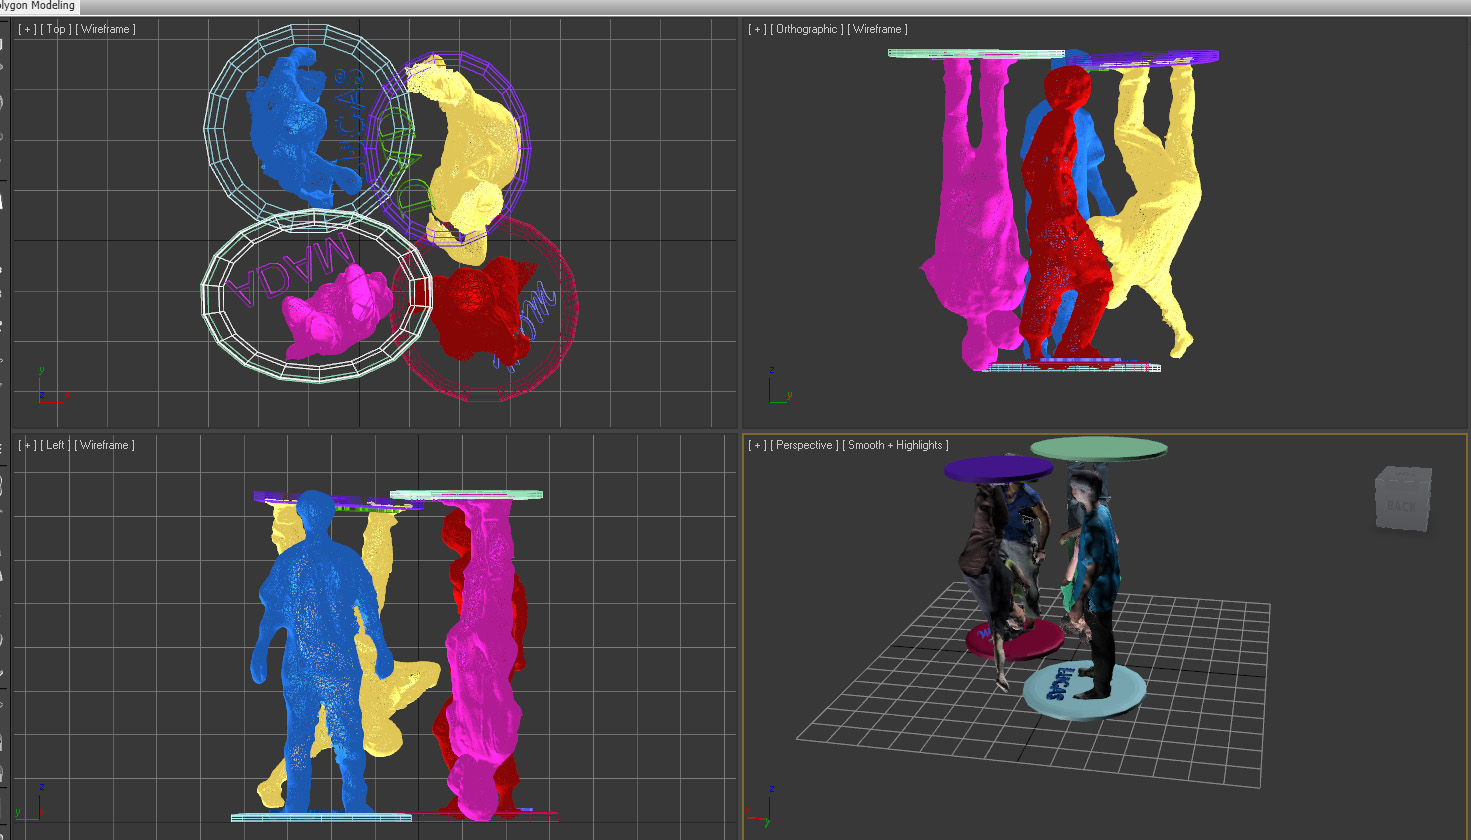
After my first few attempts at making models using 123d catch I noticed that the models I got back were a little melted and deformed. This along with an episode of Fringe inspired me to make a mutant version of myself. Using 123d catch, 3ds Max, and shapeways I hope to get a good final product. Ordering from Shapeways said it would take 10 days to ship, because of that I have posted the Instructable early before the make it real contest ends.
Find the file in the 123d gallery here
Find the file in the 123d gallery here
Software Needed

Unless you are a great 3D artist (I'm not) you'll want to use 123d catch (link) don't worry it's free.
If you are a student (like me) you can use 3DS max for free (link)
If you aren't a student blender is a good option for free 3D modeling (my Instructable doesn't use this however)
The only other thing you need is about $20 and a shapeways account (or other site)
If you are a student (like me) you can use 3DS max for free (link)
If you aren't a student blender is a good option for free 3D modeling (my Instructable doesn't use this however)
The only other thing you need is about $20 and a shapeways account (or other site)
Taking Pictures
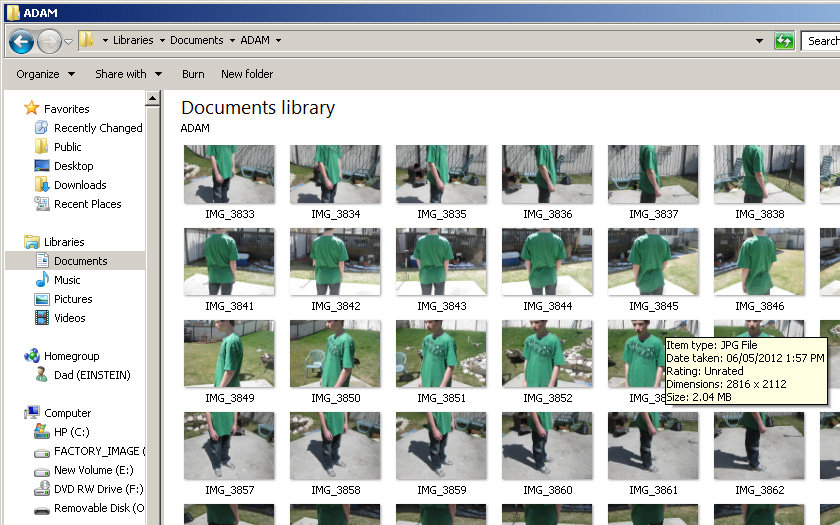
In order to get the 3D model of your self you need to have a helper take about 50-70 photos of you from every direction. Tips for taking good 123d catch images are available here. Make sure to get a picture of the top of you're head otherwise you'll have a big hole. Also be as still as you can be and wear a shirt with some definition, not just one color or a repeating pattern.
Generate 3D Model


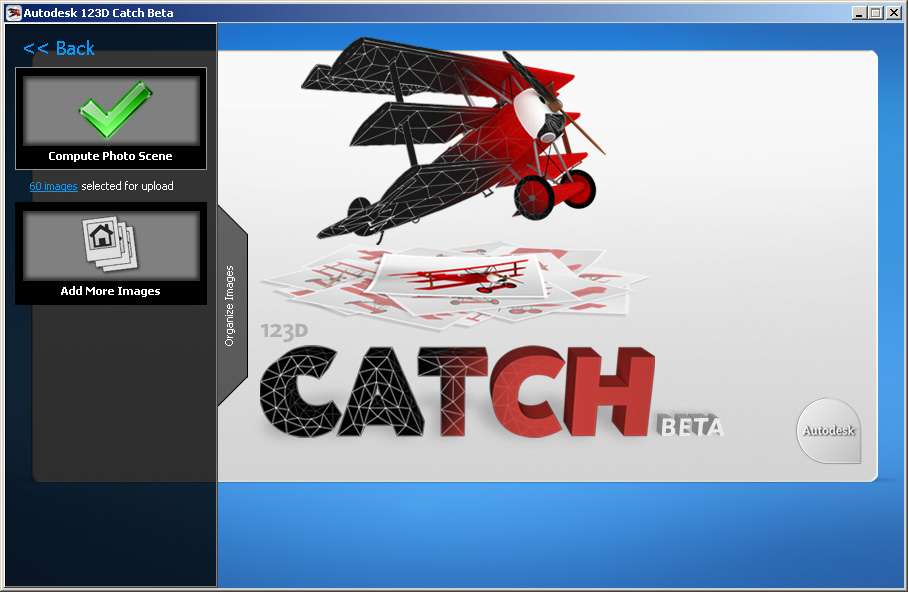
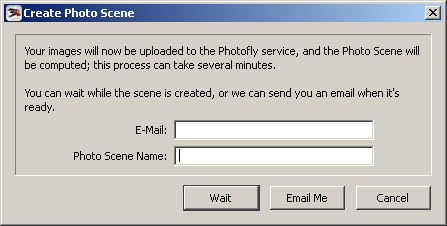
Making the 3D model is easy upload the pictures to 123d catch, then they are sent away to Autodesk and are stitched together into a model leaving you with some more time to check out other Instructables. Then you'll get an email or it will be opened on you're computer automatically. Now depending on how detailed you want you're model to be you can either send the model back to be processed at a more detailed level or export it to Max (or blender). Because my model wasn't perfect and because I was going to mutate it anyways the higher level mesh seemed pointless to me. Now you can clean up you're model in 123d catch but I prefer to do it in Max. Also the one time I tried doing rough adjustments in catch when I exported it to max there was no texture on the model.
Export / Import
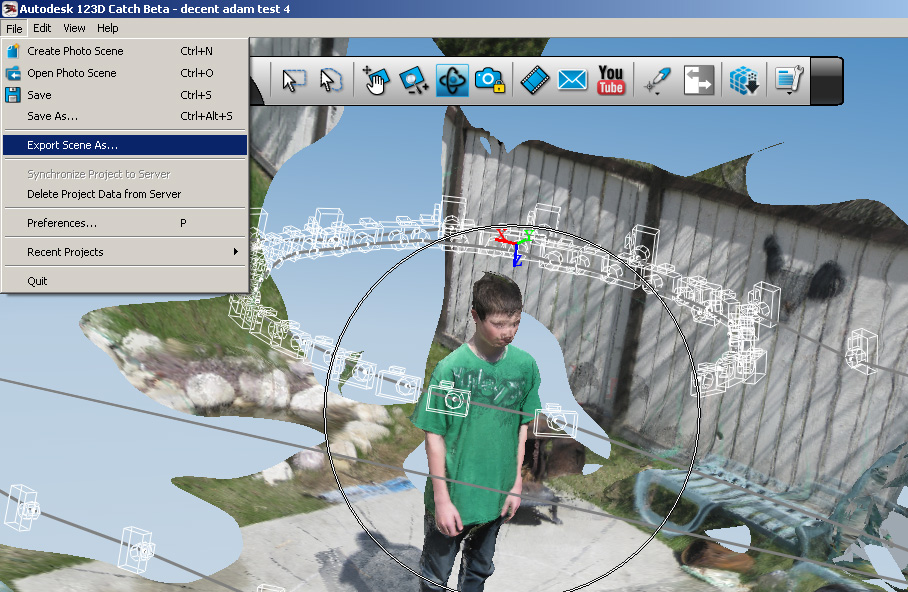
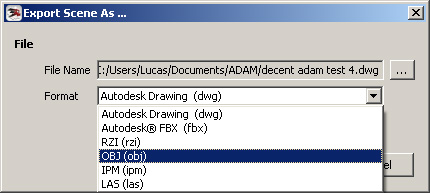
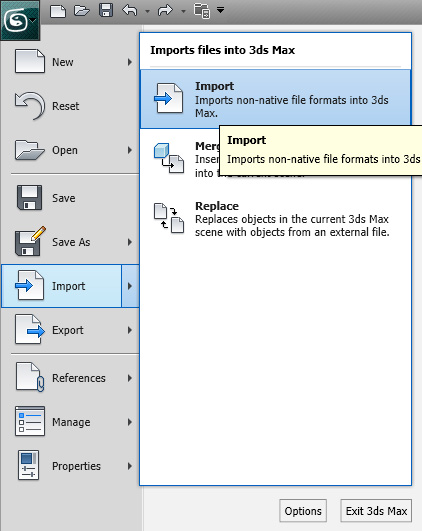
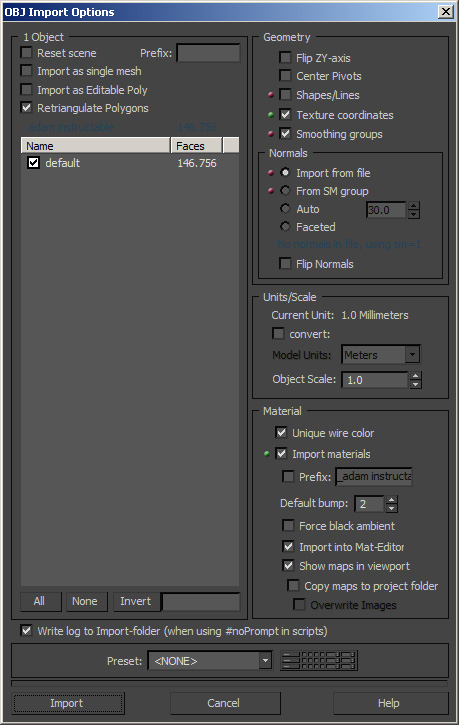
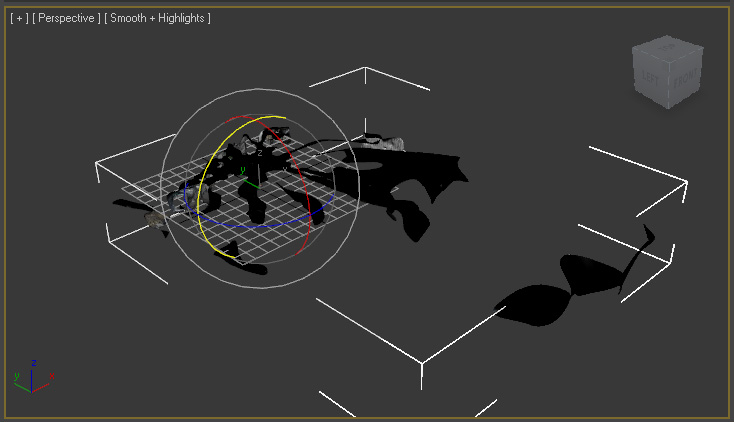
Next is to export the model as an .obj from 123d catch and import it to 3Ds max. In catch select file --> export scene as --> from the drop down menue select .obj as the file type and select a location for the save. In max select import from the menu under the logo (file) and then select the file you exported from 123d Catch. Keep the setting the same as they are in the 4th picture. Once Max is opened rotate the model so that it is the right way up.
Clean Up
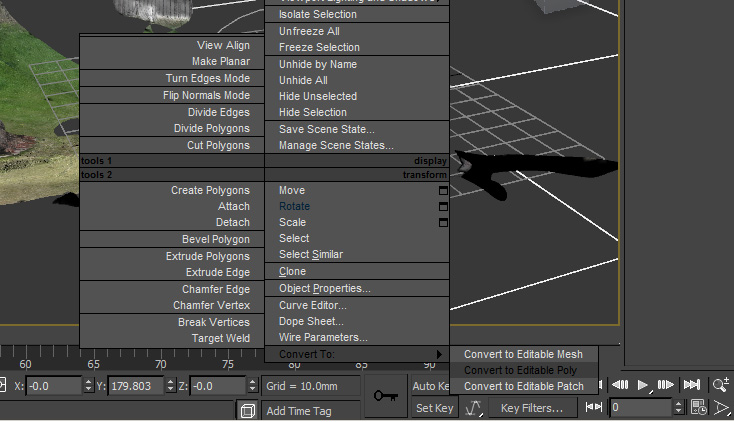
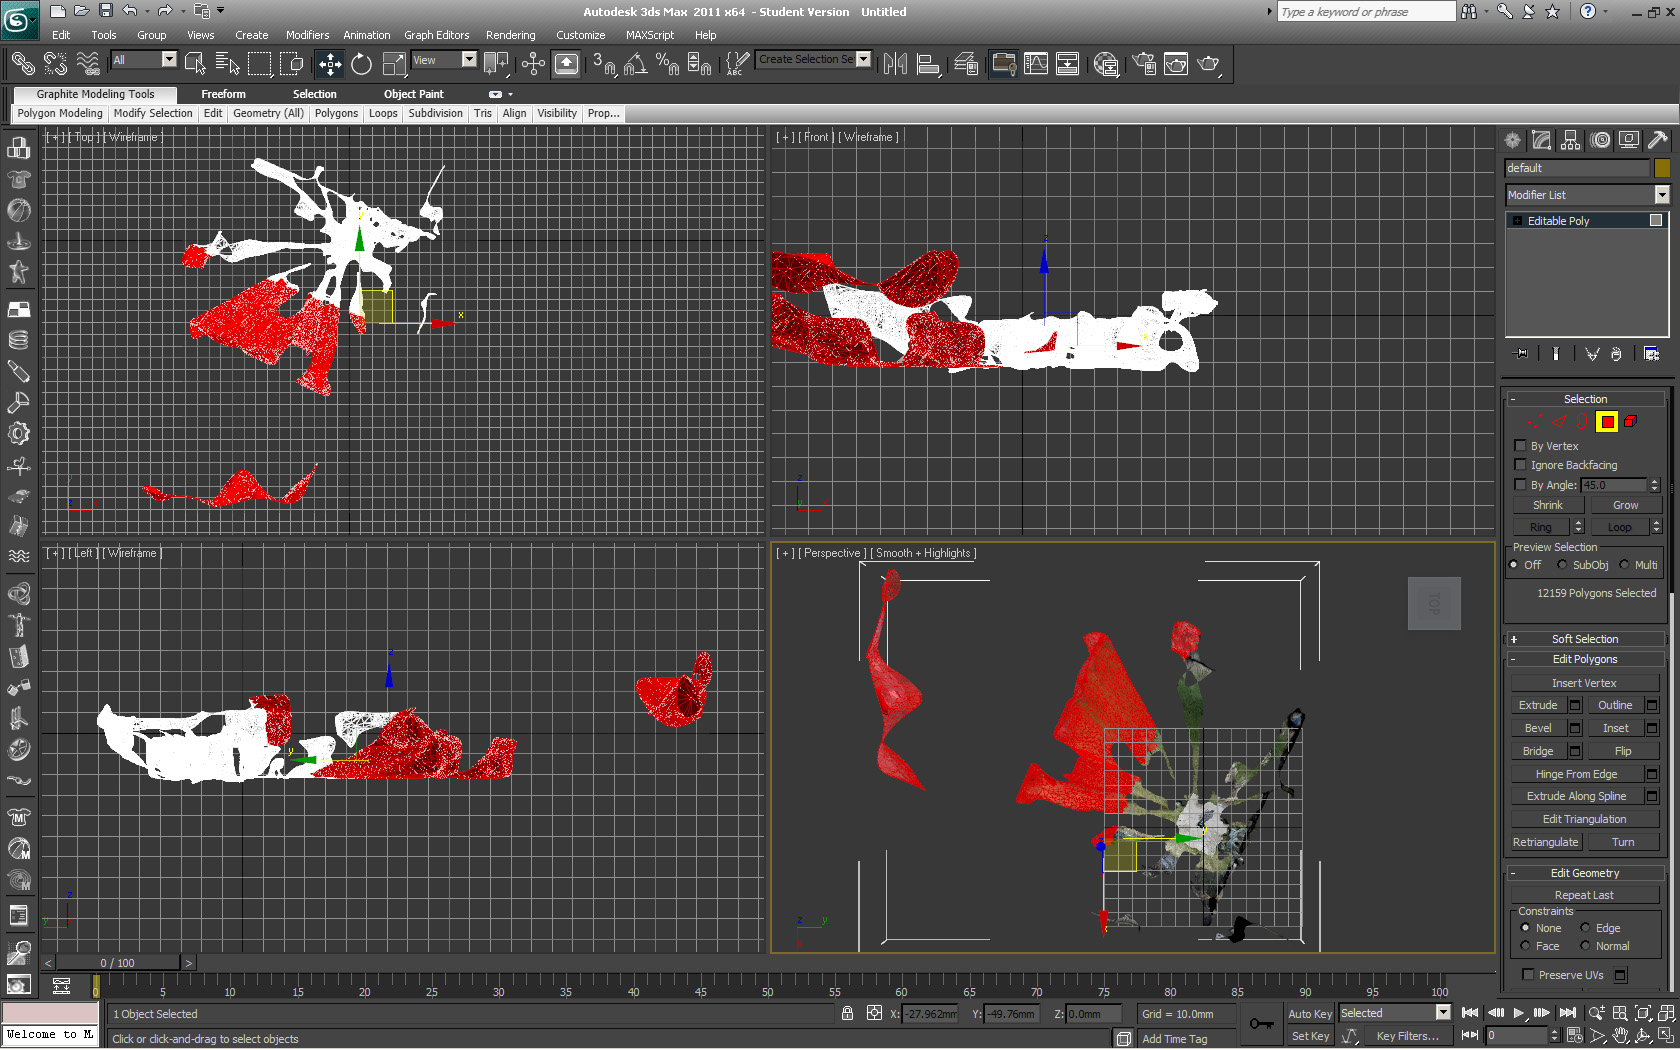
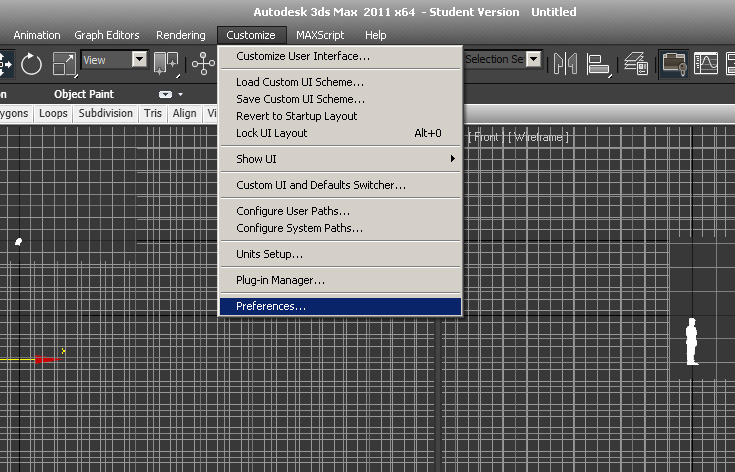
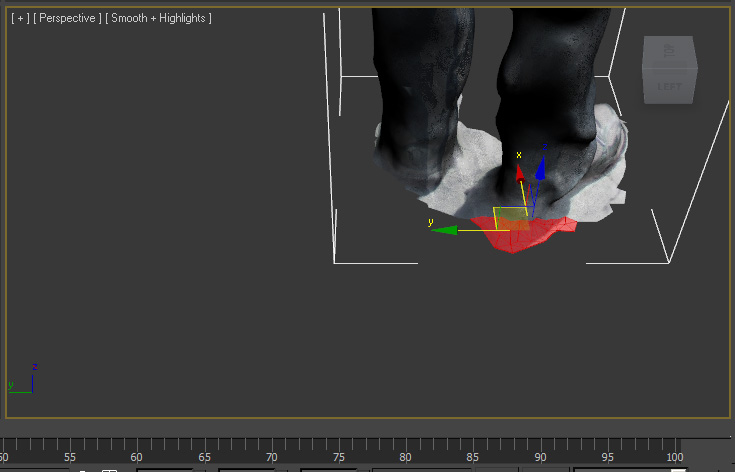
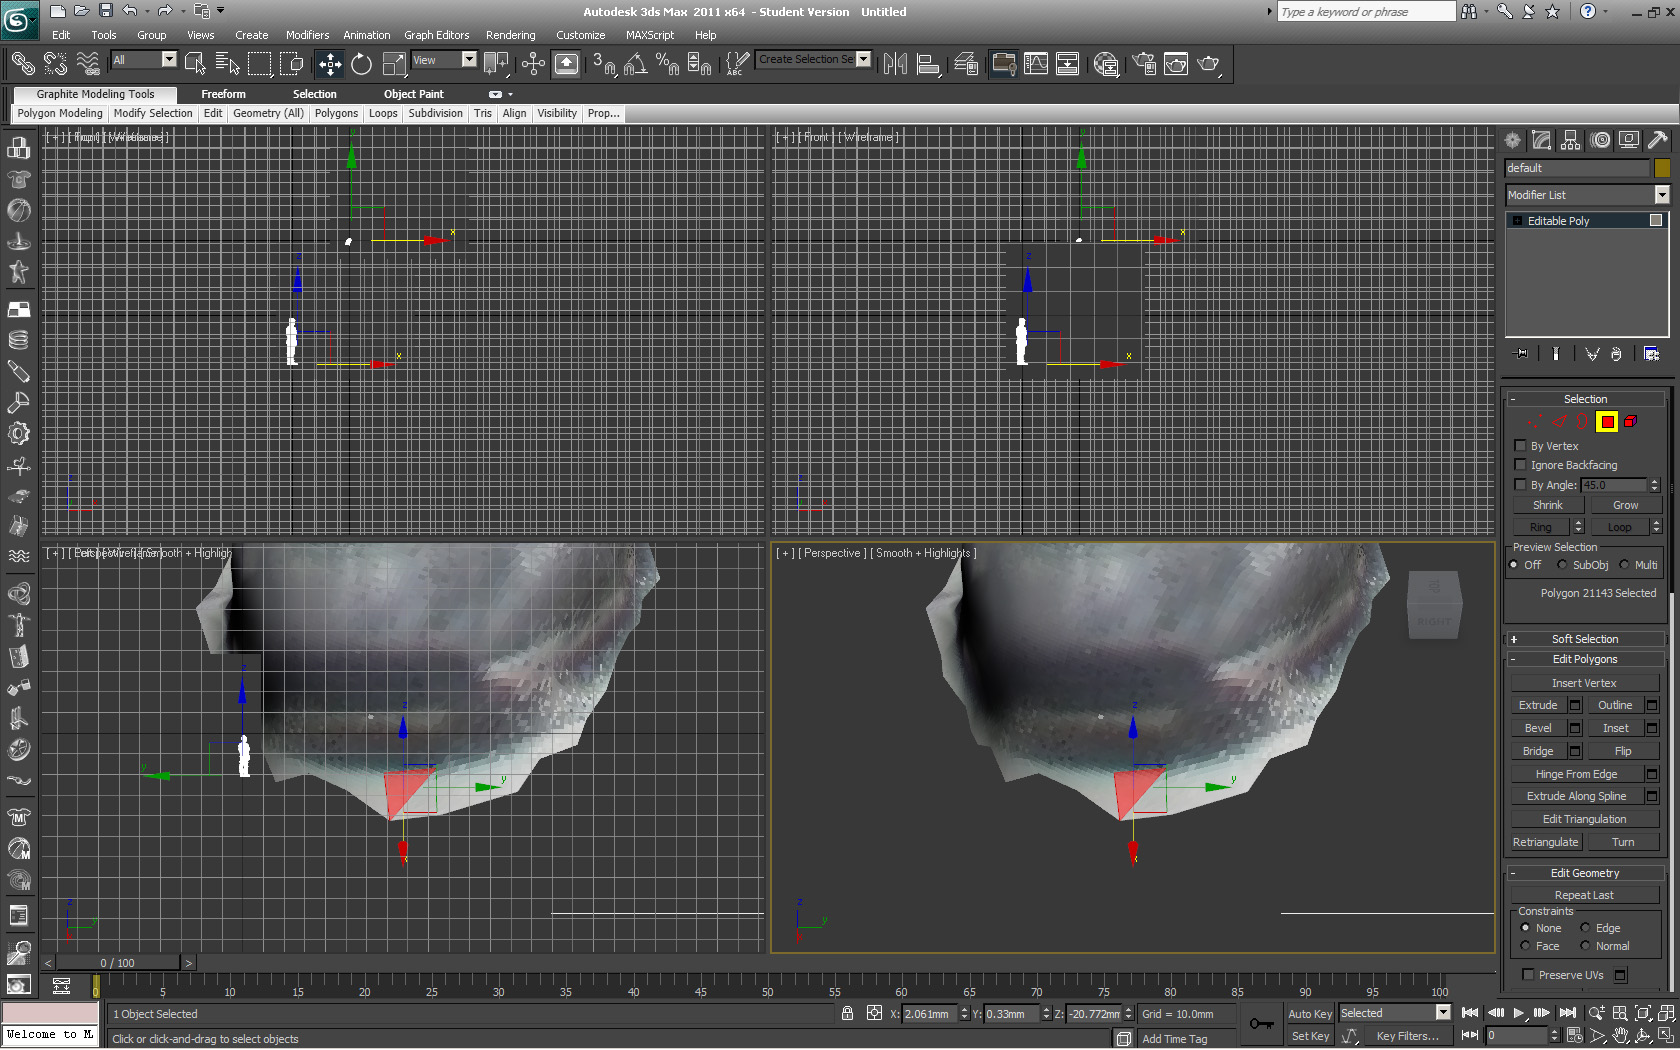
start by deleting all the stuff that is around the model of yourself, then proceed to clean up the area around you're feet (if you were standing on the ground). Deleting the unwanted portions of the model is easy (click, press delete) so I won't say any more about it.
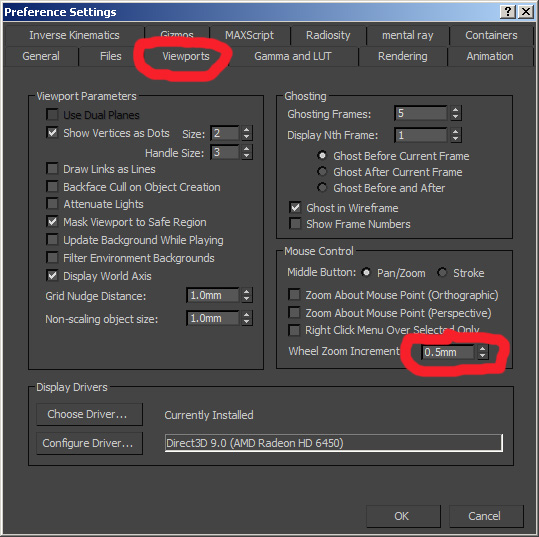
now some things to make selecting the single polygones a little easier go to preferences then viewports then change the scroll distance to .15mm or something else small (for cleaning up the area around the feet)
Closing the Holes
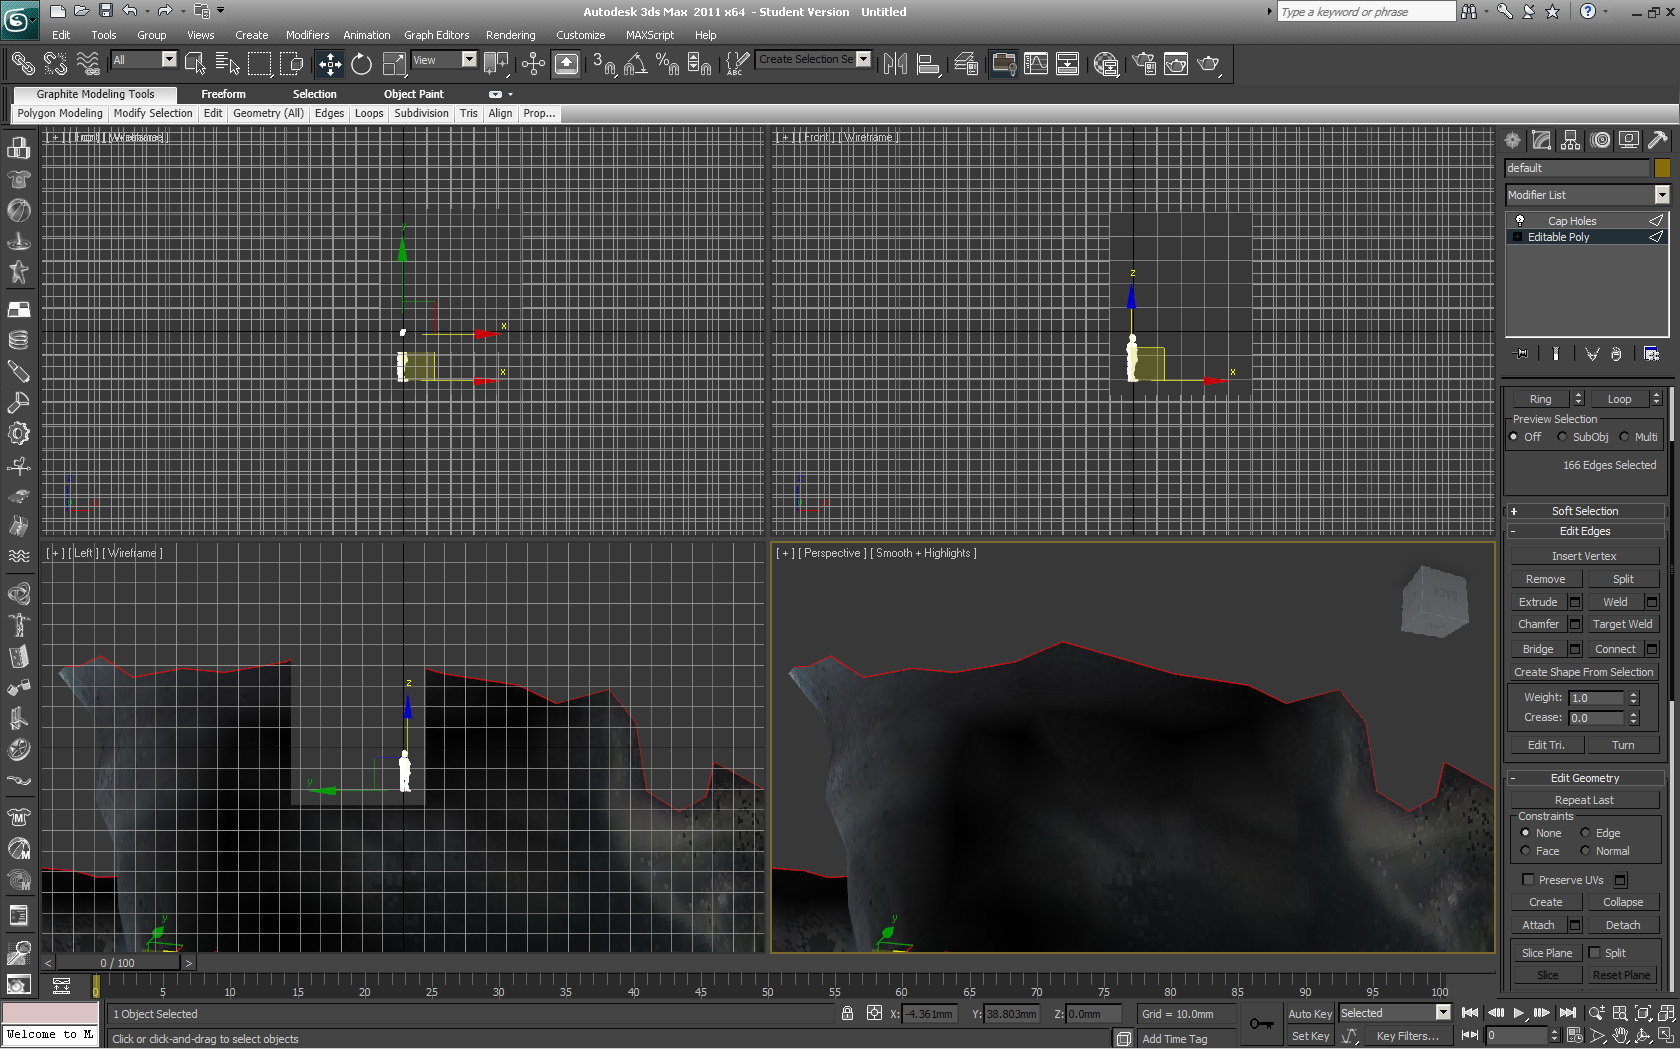
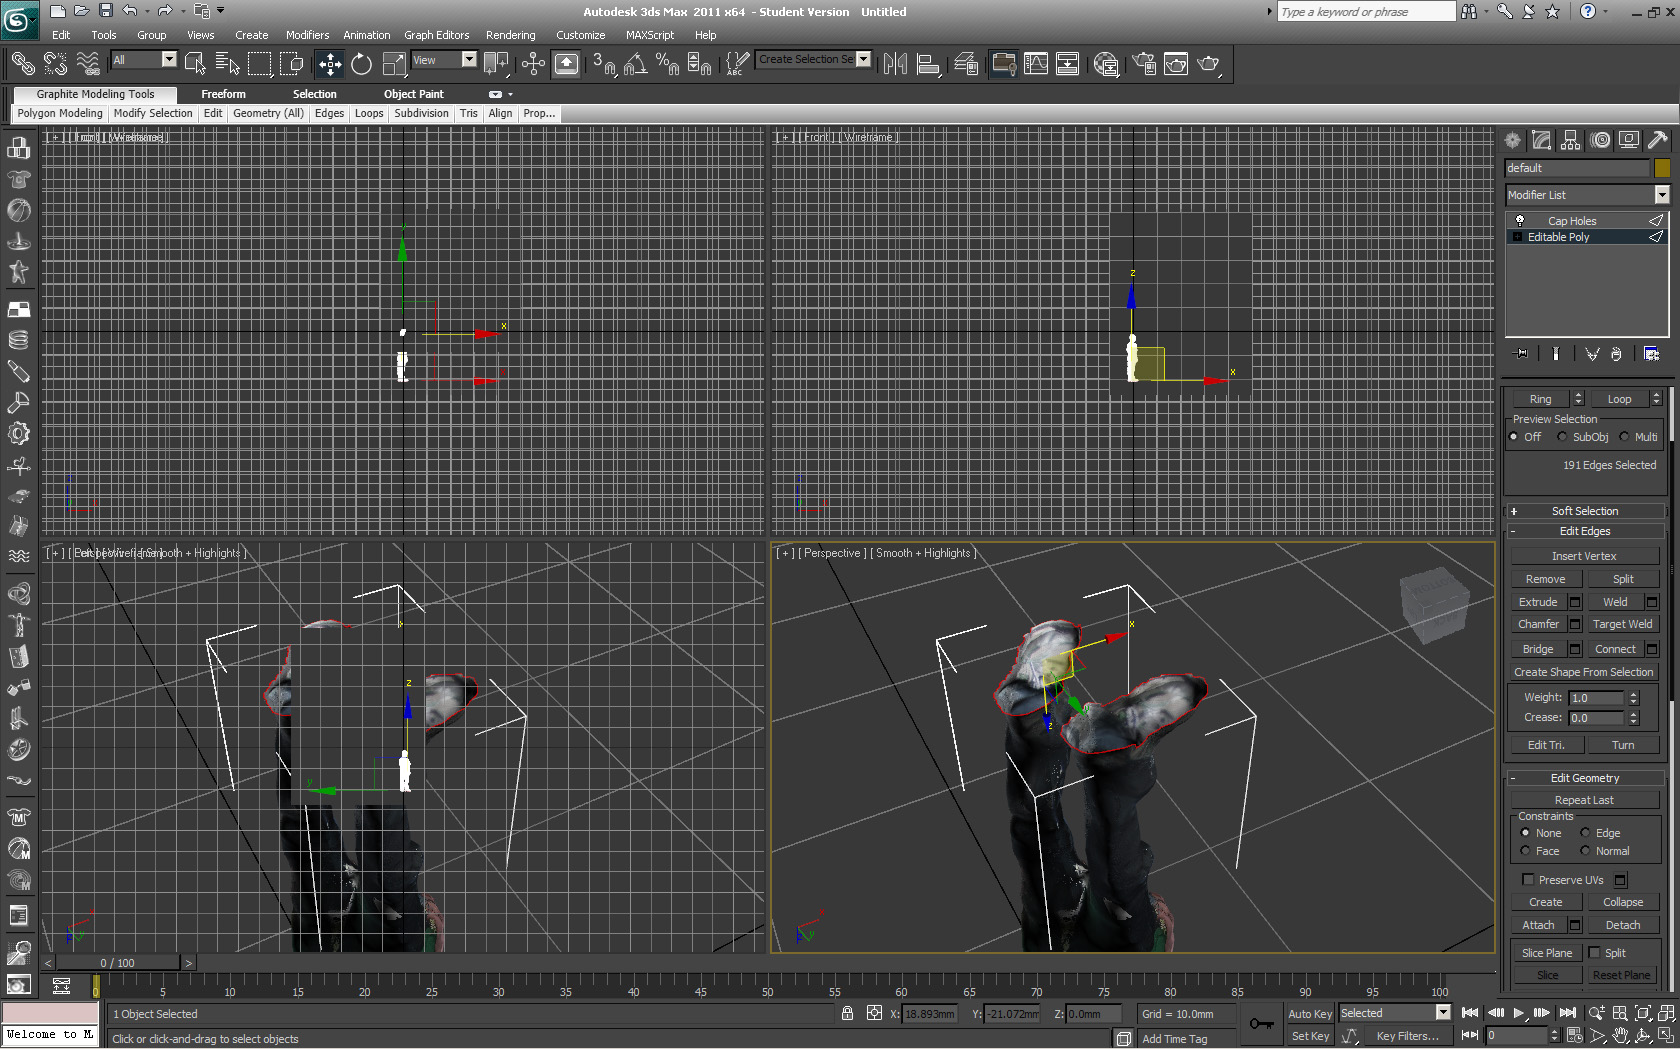
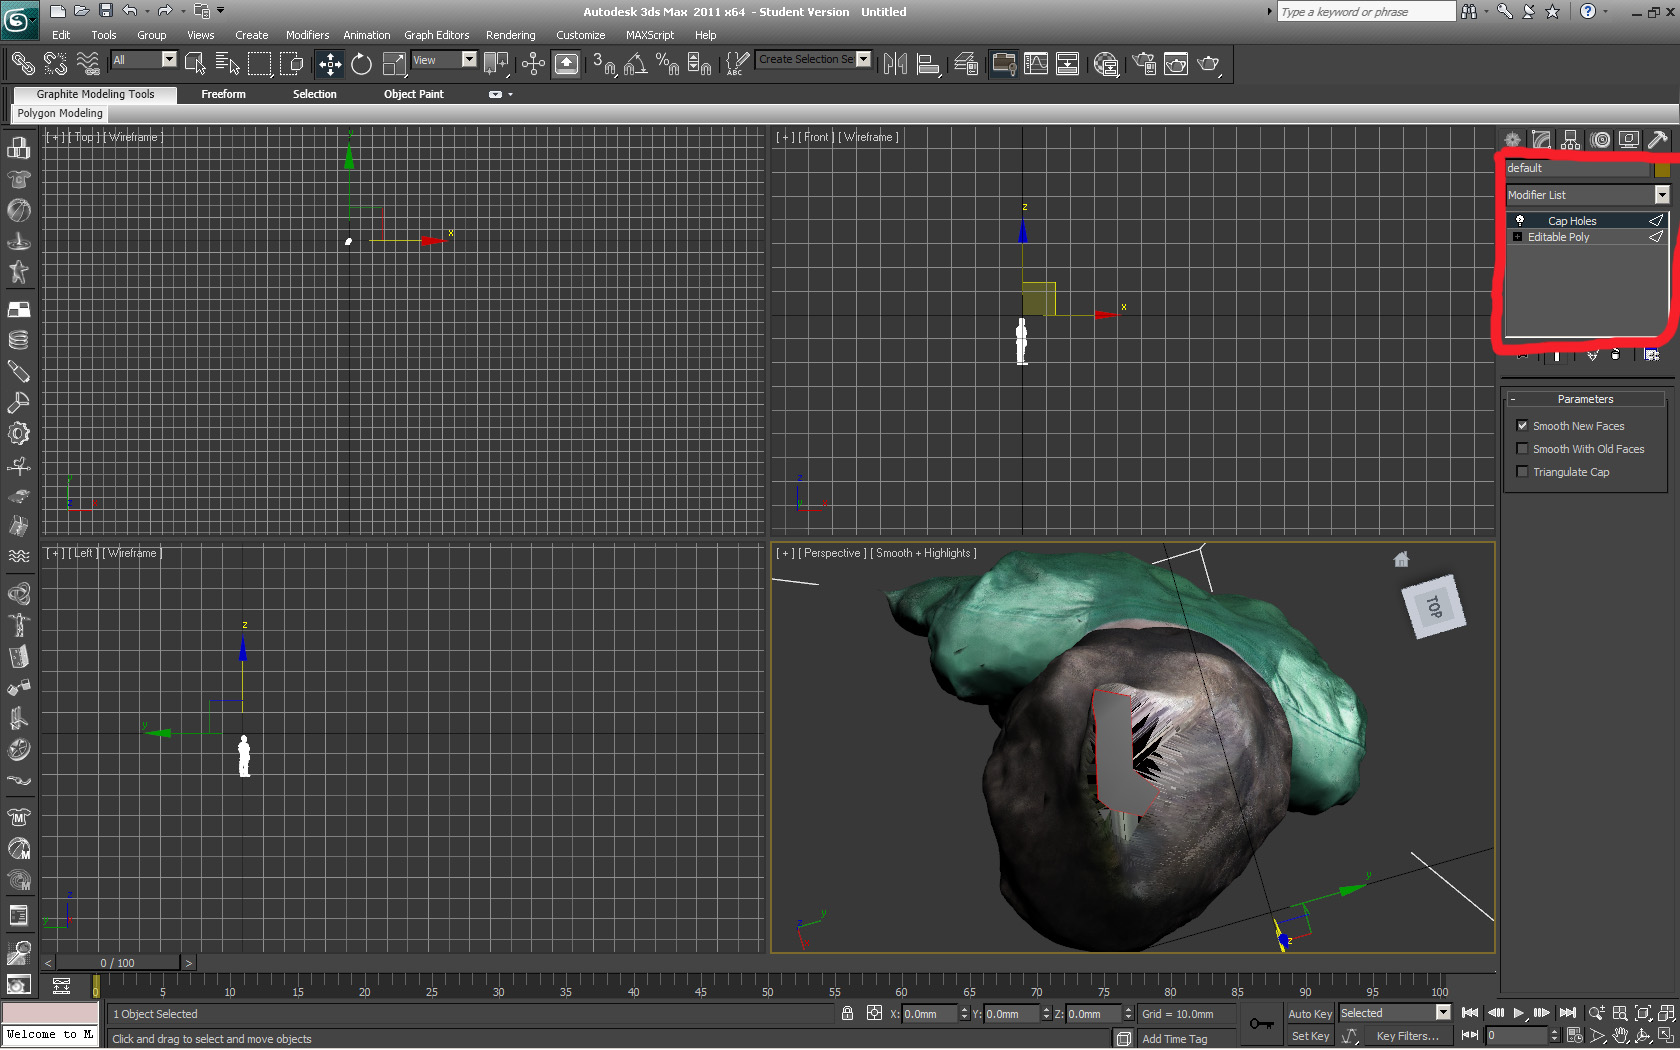
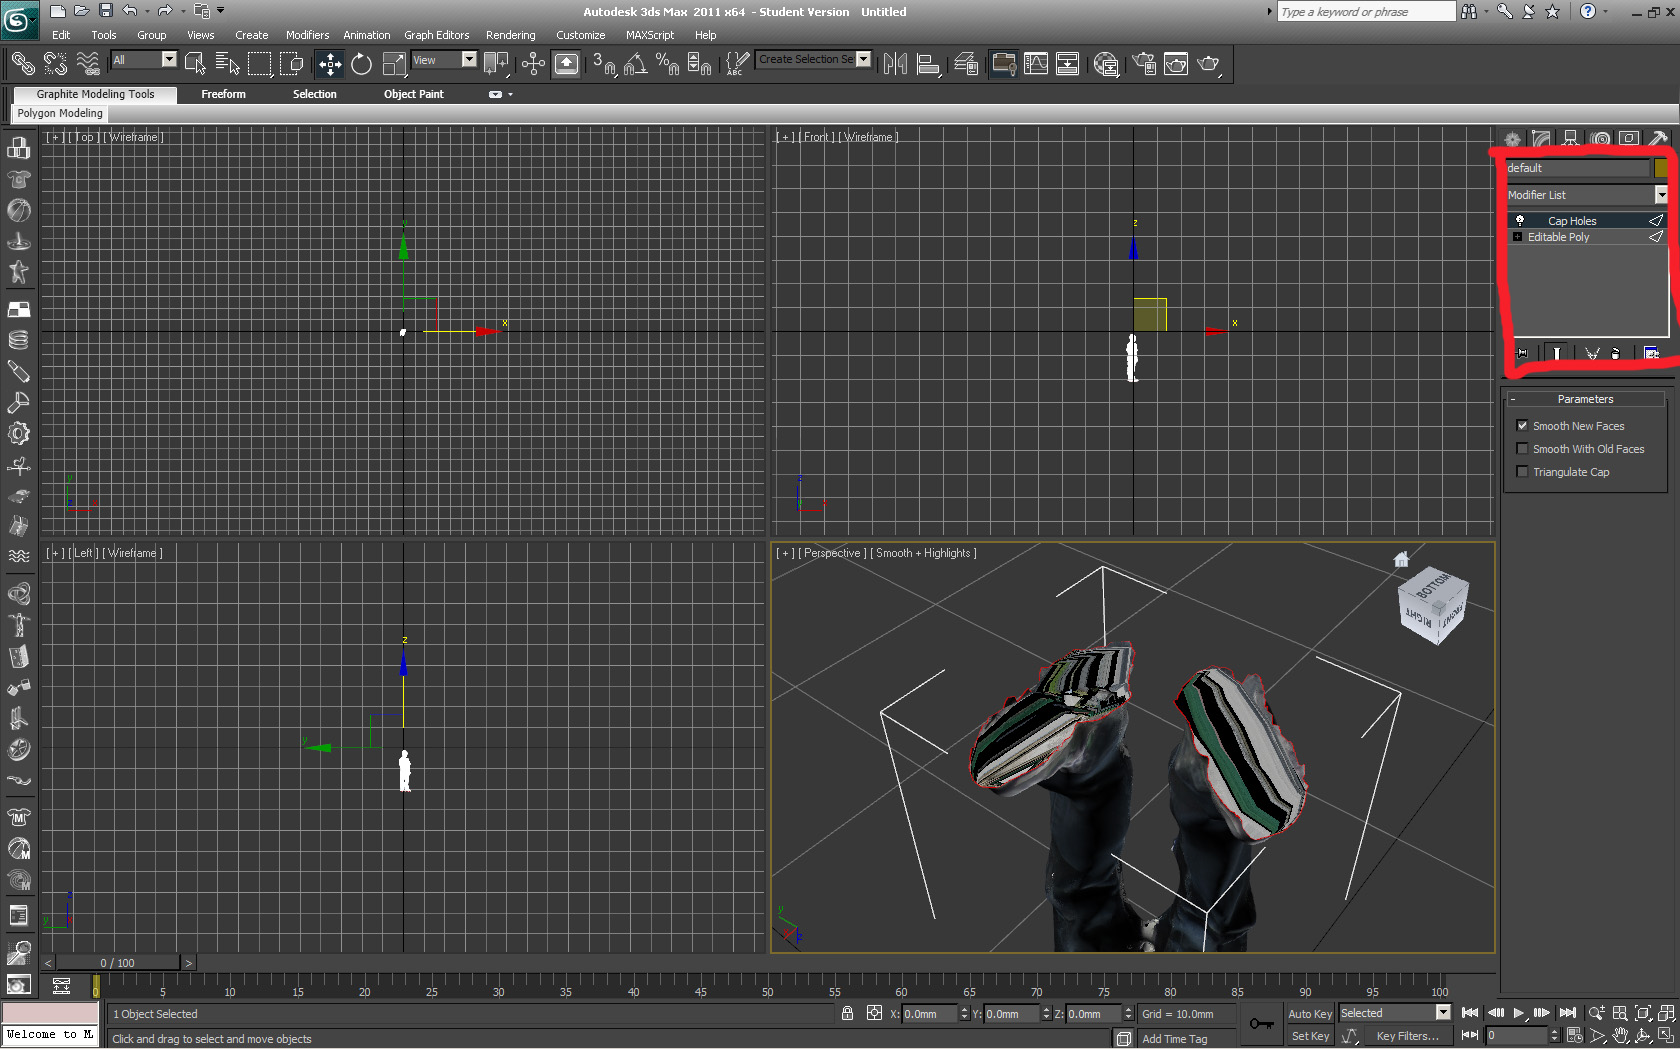
After the feet have been cleaned up it is time to make the model "water tight" by closing the holes in the feet (and the top of the head)
Doing so is relativity easy:
first change the model into an editable poly (right click select convert to --> editable poly) probably did this in the last step but if not do so
Next select edge mode from the properties plane
select all the edges that surround the hole(s)
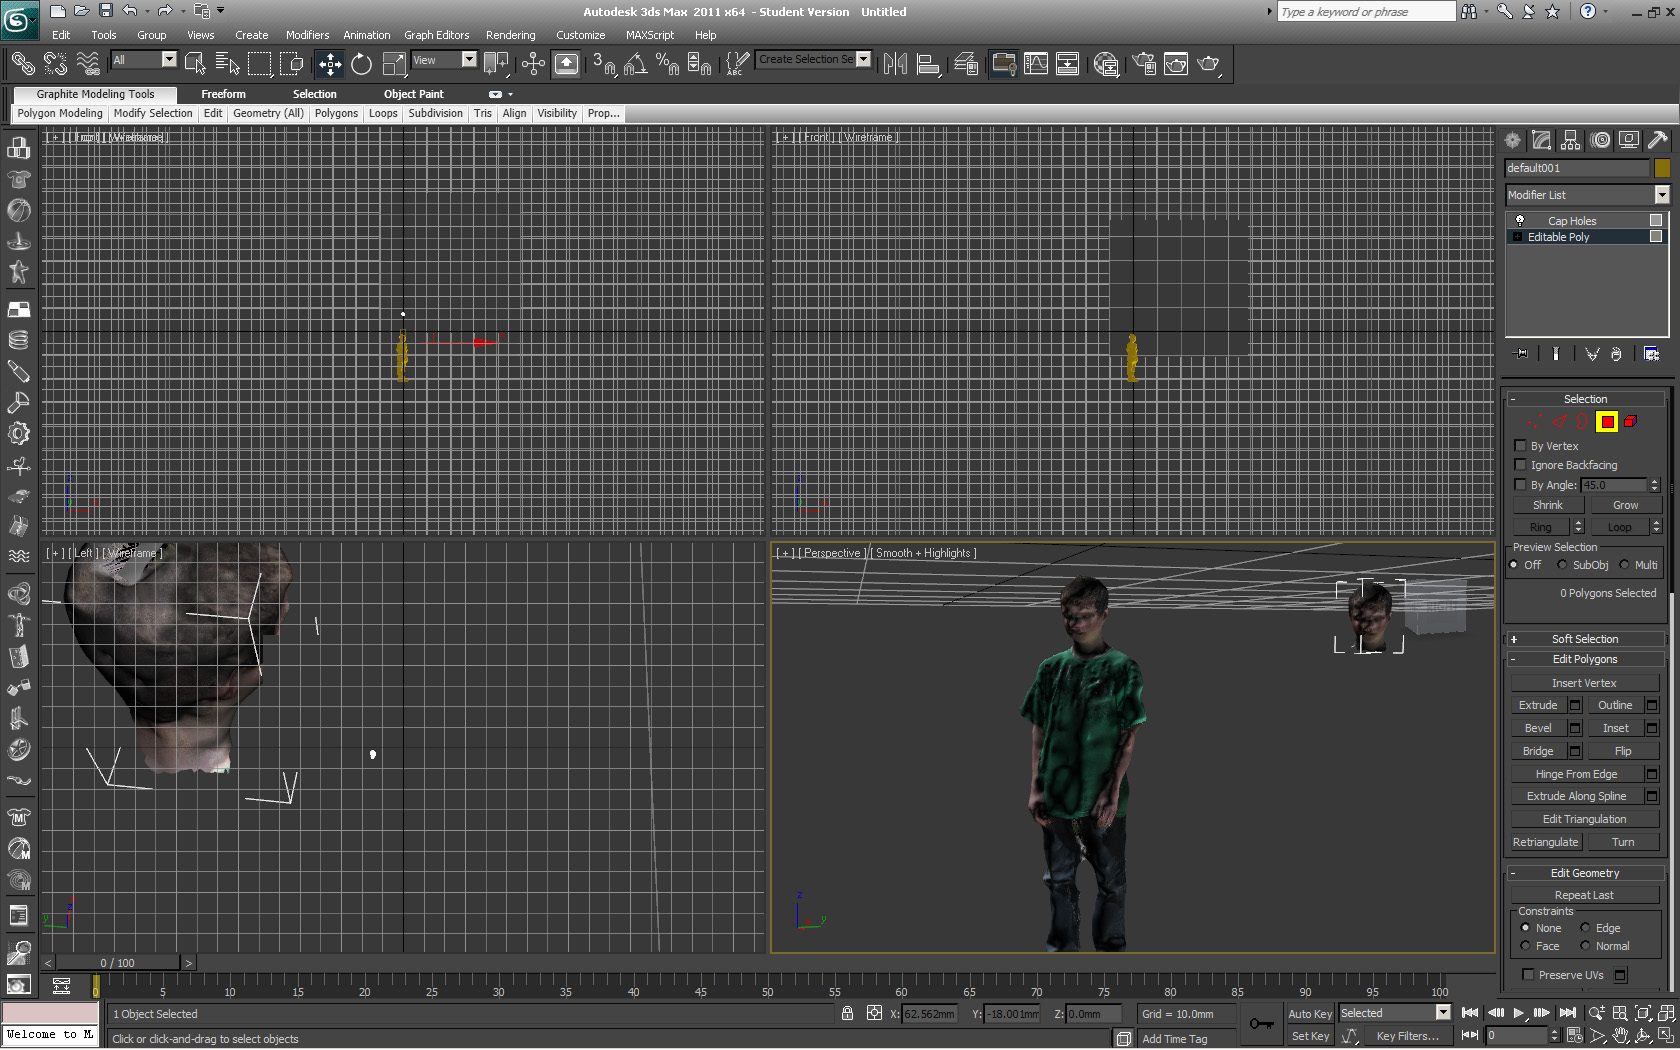
select cap holes from the modifiers list.
follow the pics if that didn't make sense.
EDIT rather than selecting each of the edges along the holes convert the object into a mesh then select the whole thing and apply the cap holes modifier.
The Mutations
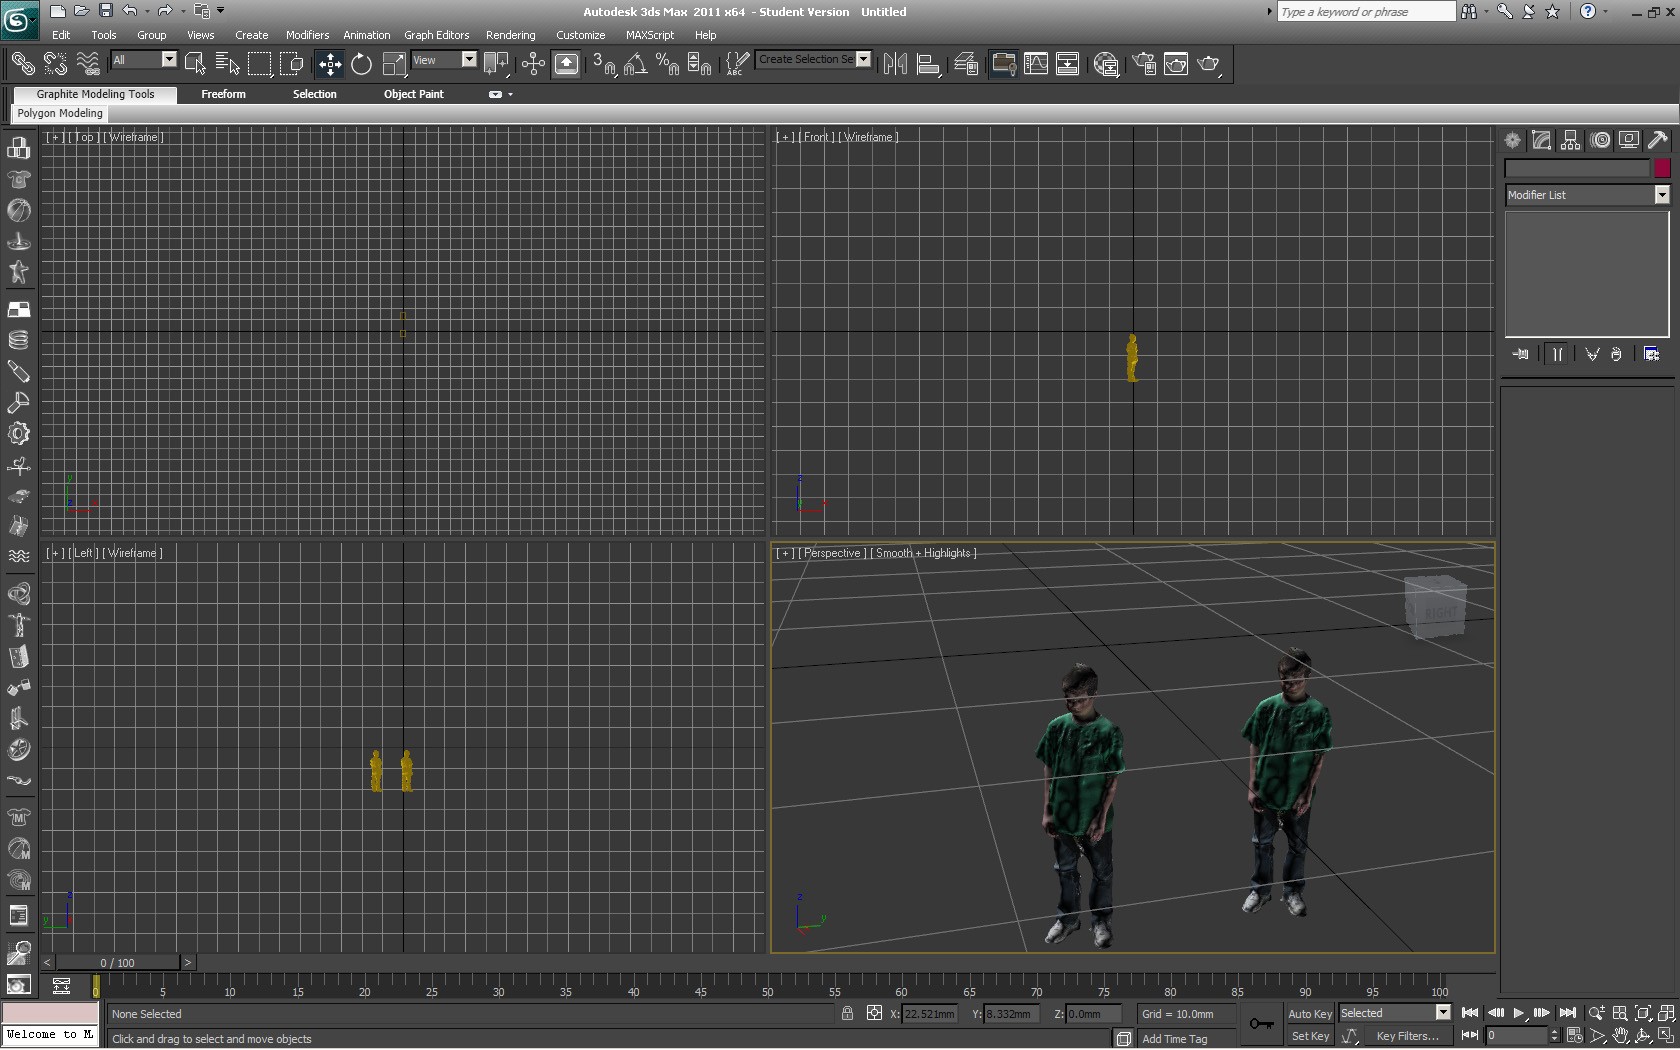
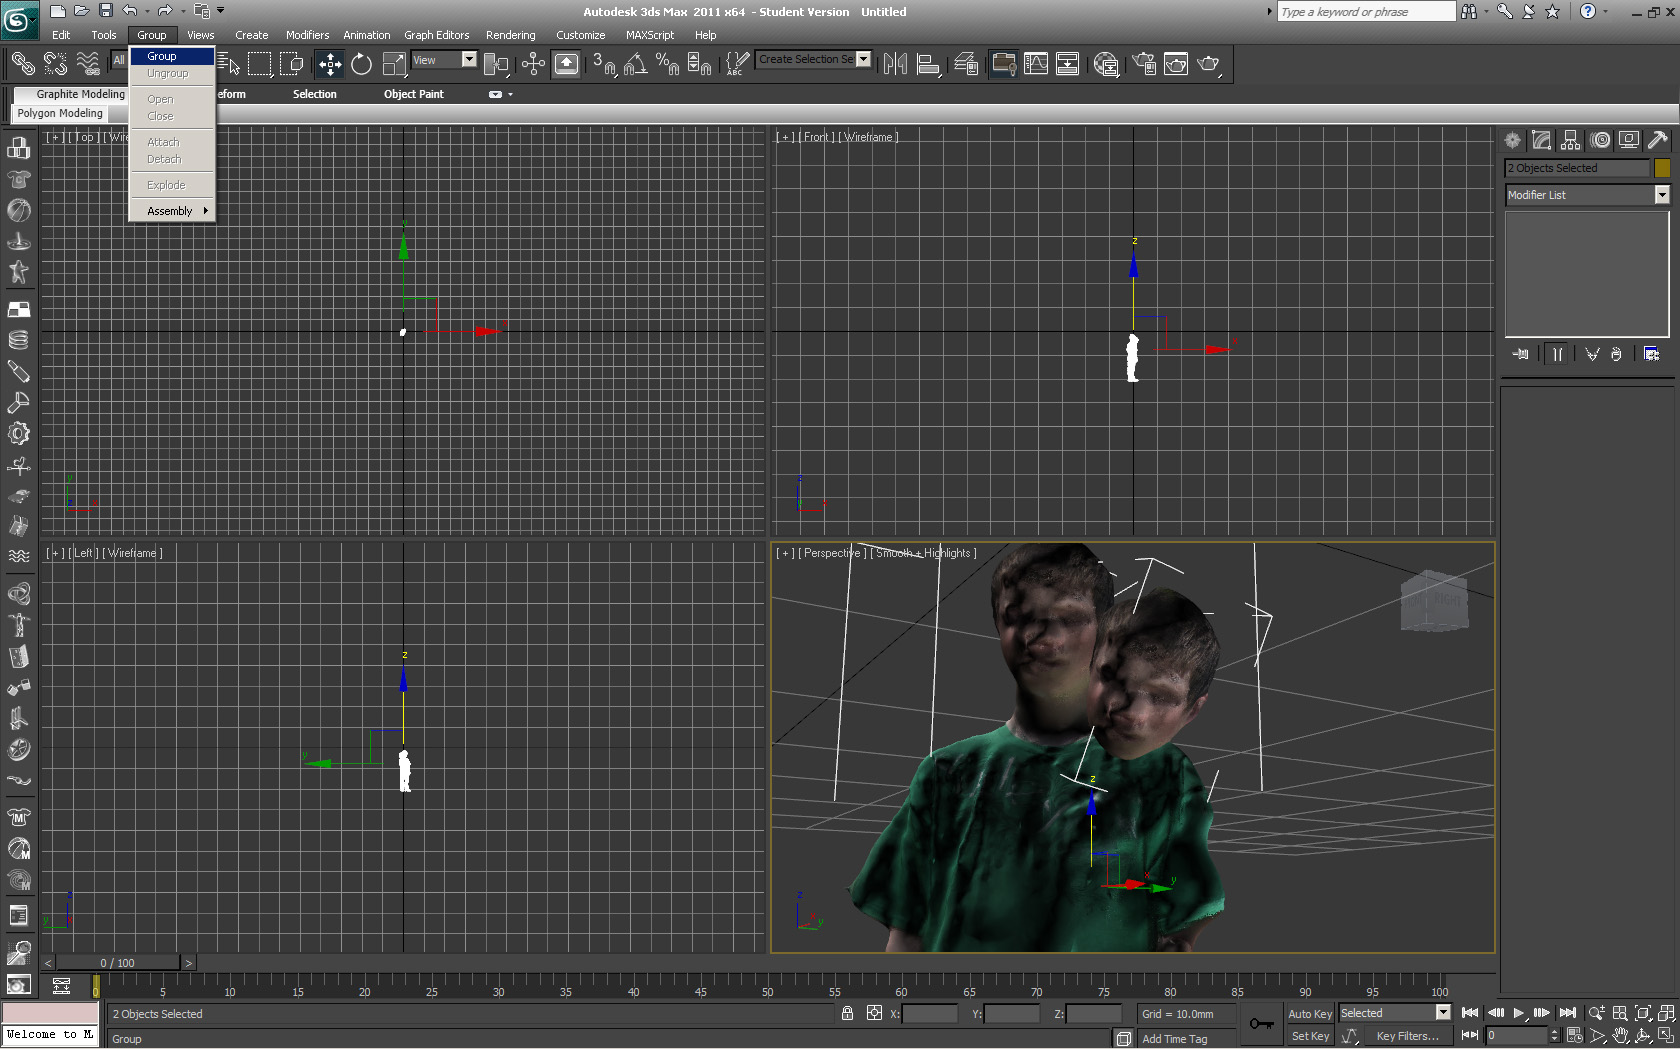
At first I thought about adding a Fallout style third arm, but because it is so hard to stay still with you're arms spread out and because my username here on Instructables is zaphod beeblebrox I decided a second head would be appropriate.
To add extra limbs requires you to make a copy of the model you have delete the parts you don't want extras of and then reattach the extra limb.
when reattaching the extra limb make sure that it is completely submerged in the model, meaning that there is no gap between the new limb and the existing model keeping it "water tight".
Then when the new limb is in the right place select both parts and group them ctrl g or group from the menu at the top.
Edit you may also want to add a small base to the objects so that when they are printed they will be able to stand up by themselves (look at the main picture)
Scaling
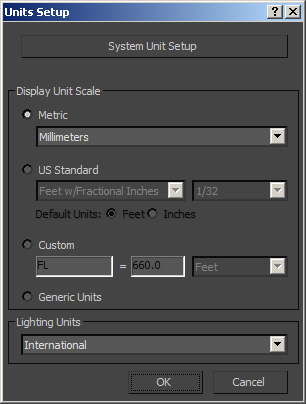
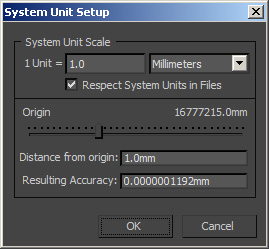
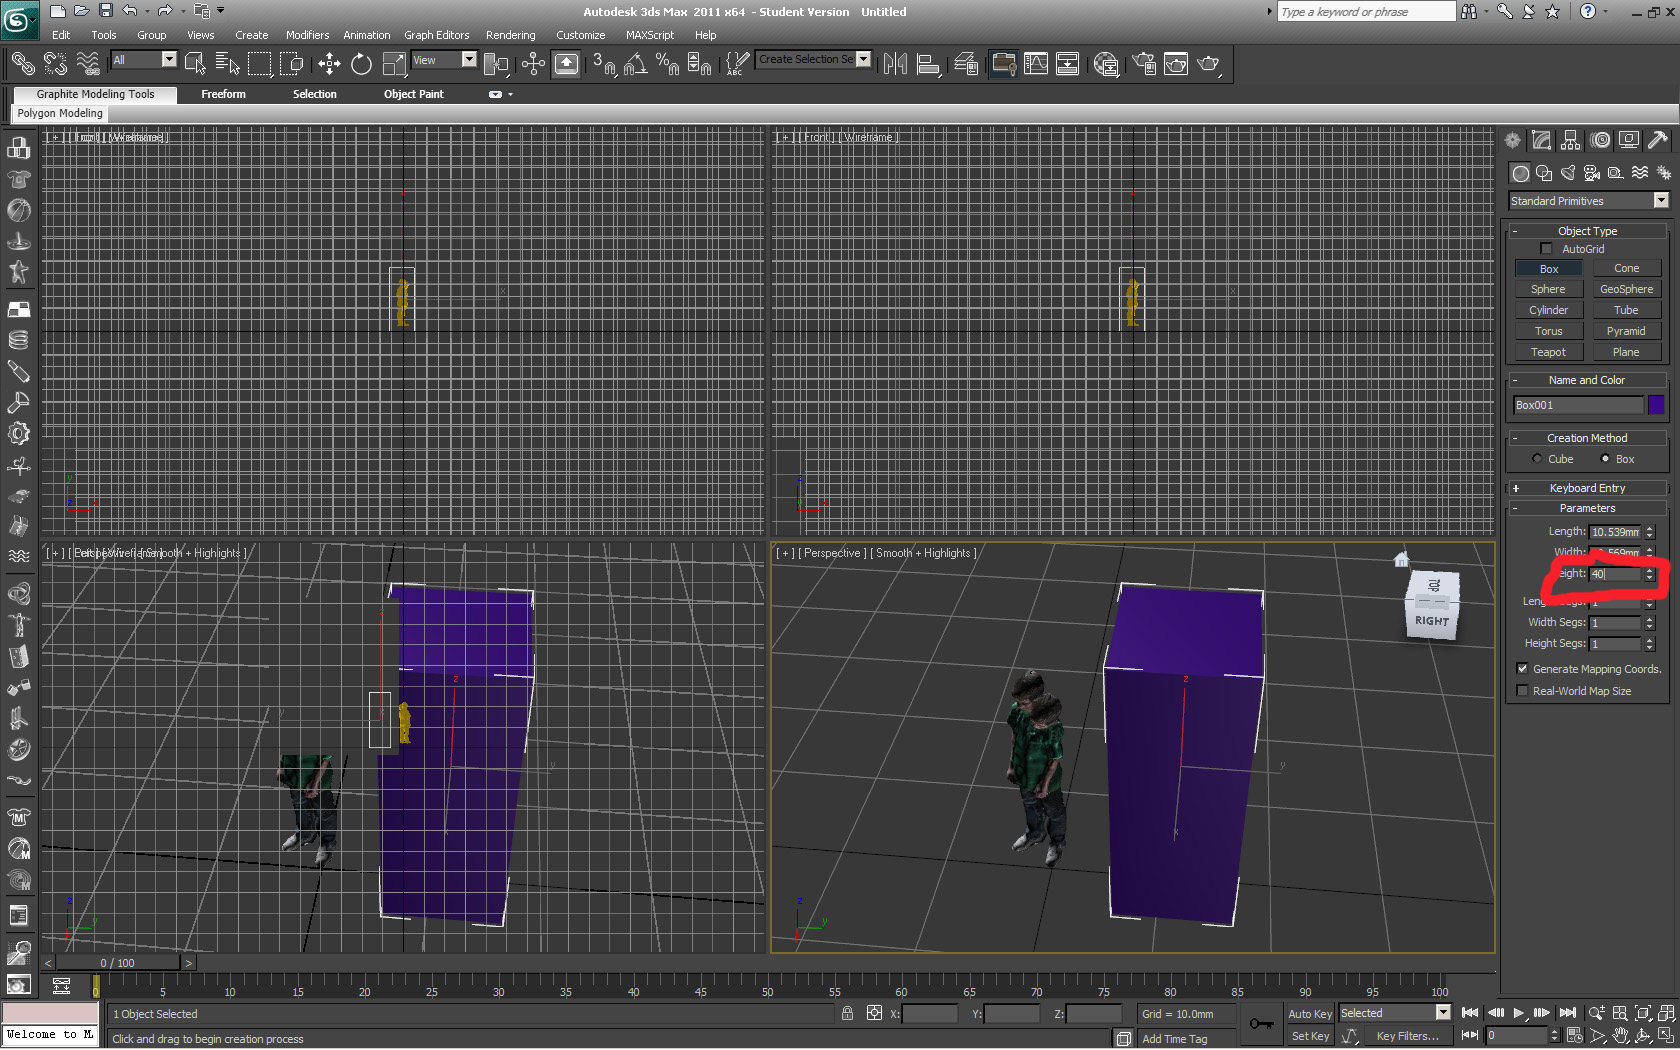
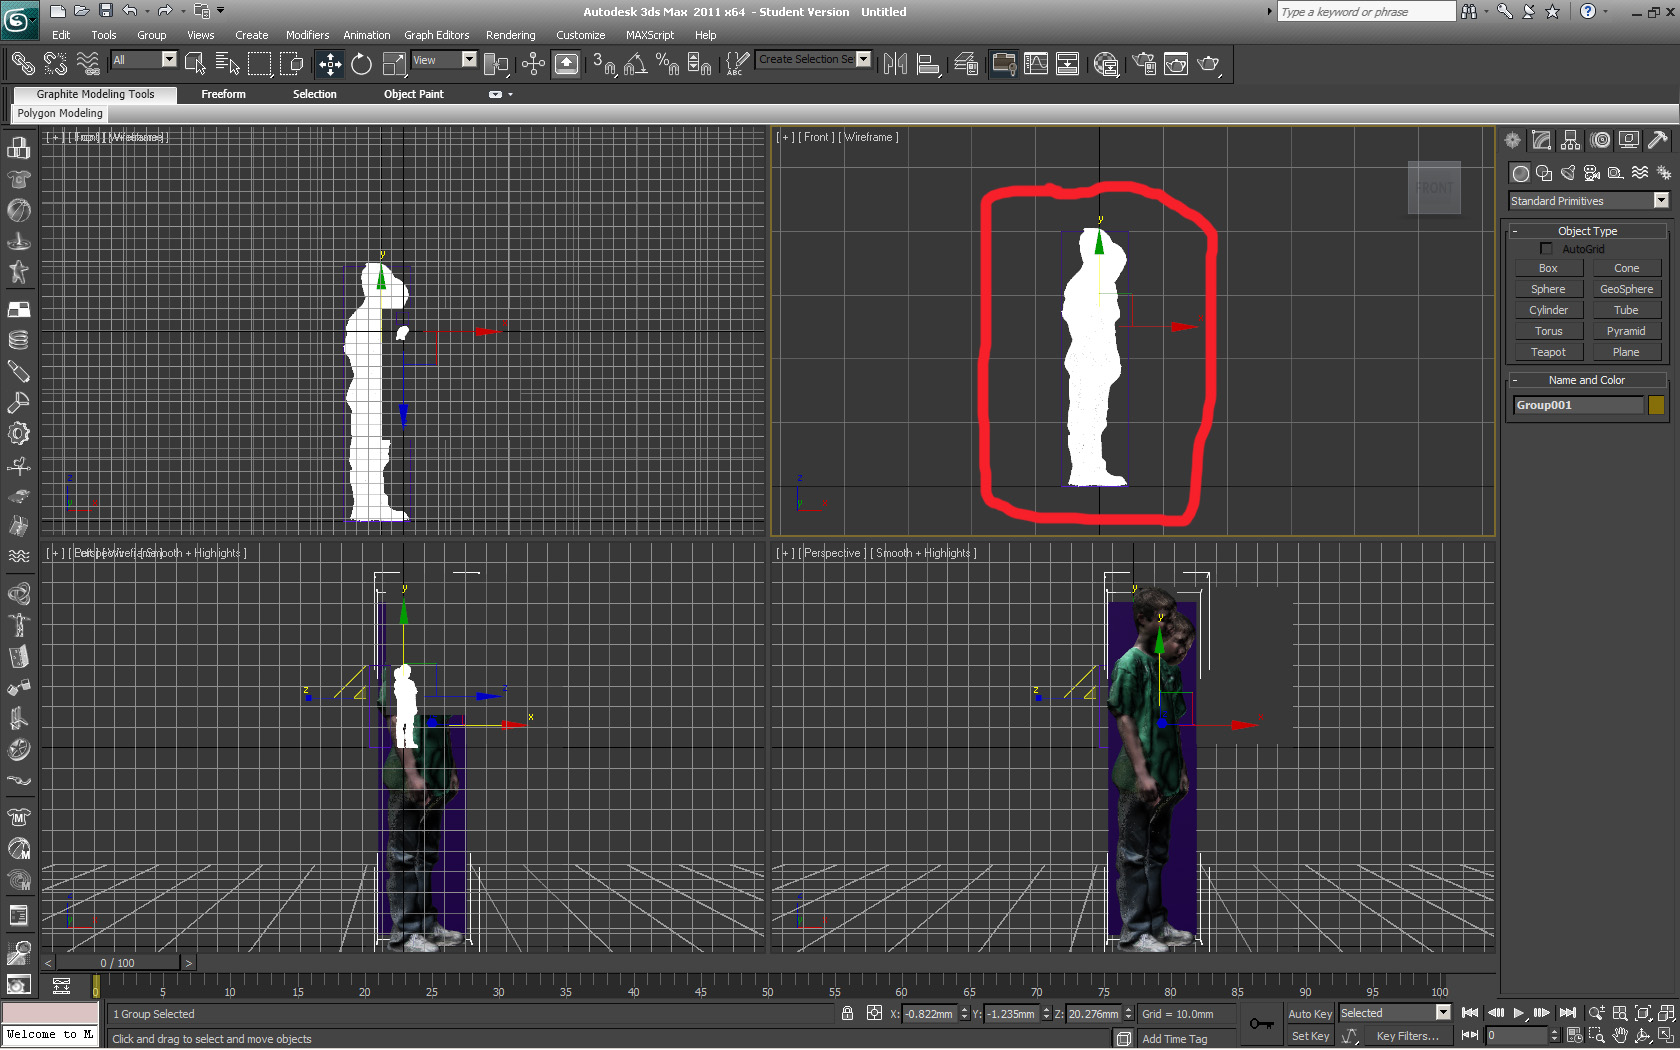
Now first thing is to set the units up in max first decide if you want to use inches or mm (the two that are most common for 3D printing sites) Next go to preferences at the top then select the unit you want, then go to advanced unit setup and make sure that the switch really worked. So 1 unit = 1 mm (or inch).
Next create a box and then change it's height to the height you want you're mutated model to be. You can do this by changing the height of the box in the properties panel. Then scale you're model to the right size be sure to scale evenly by selecting all 3 axis click in the center of the scale gizmo so that it all turns yellow .
Then delete the box
Ordering the Print
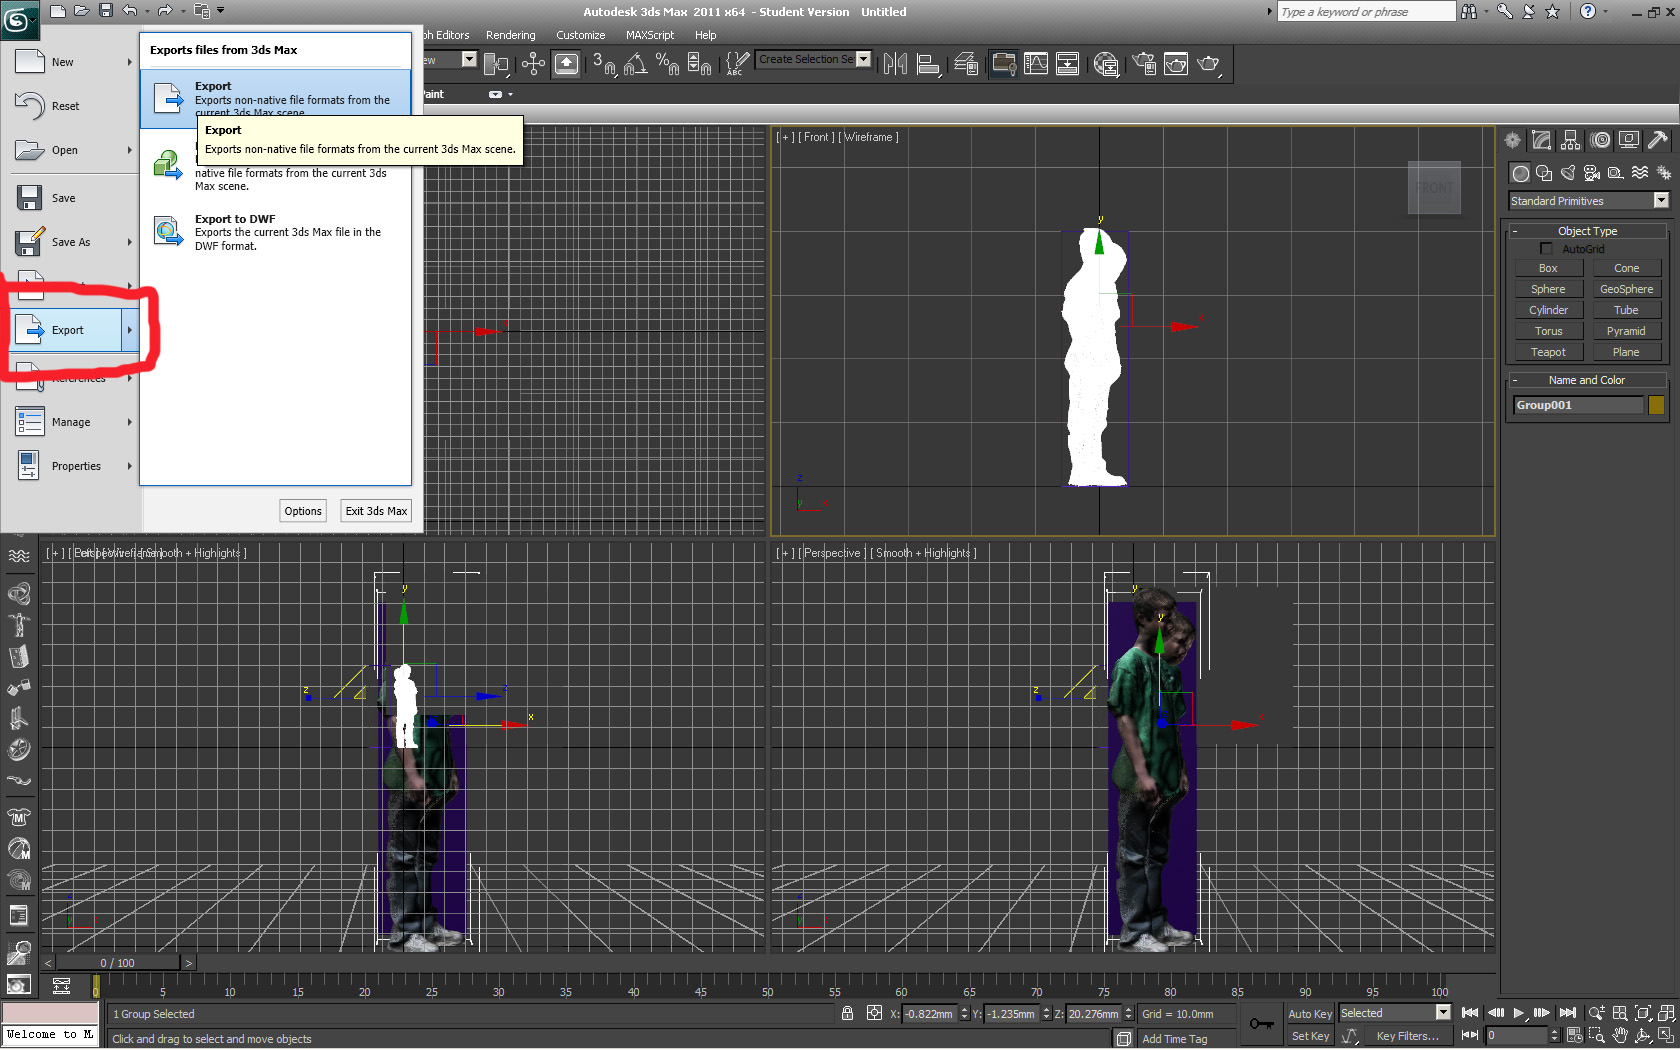

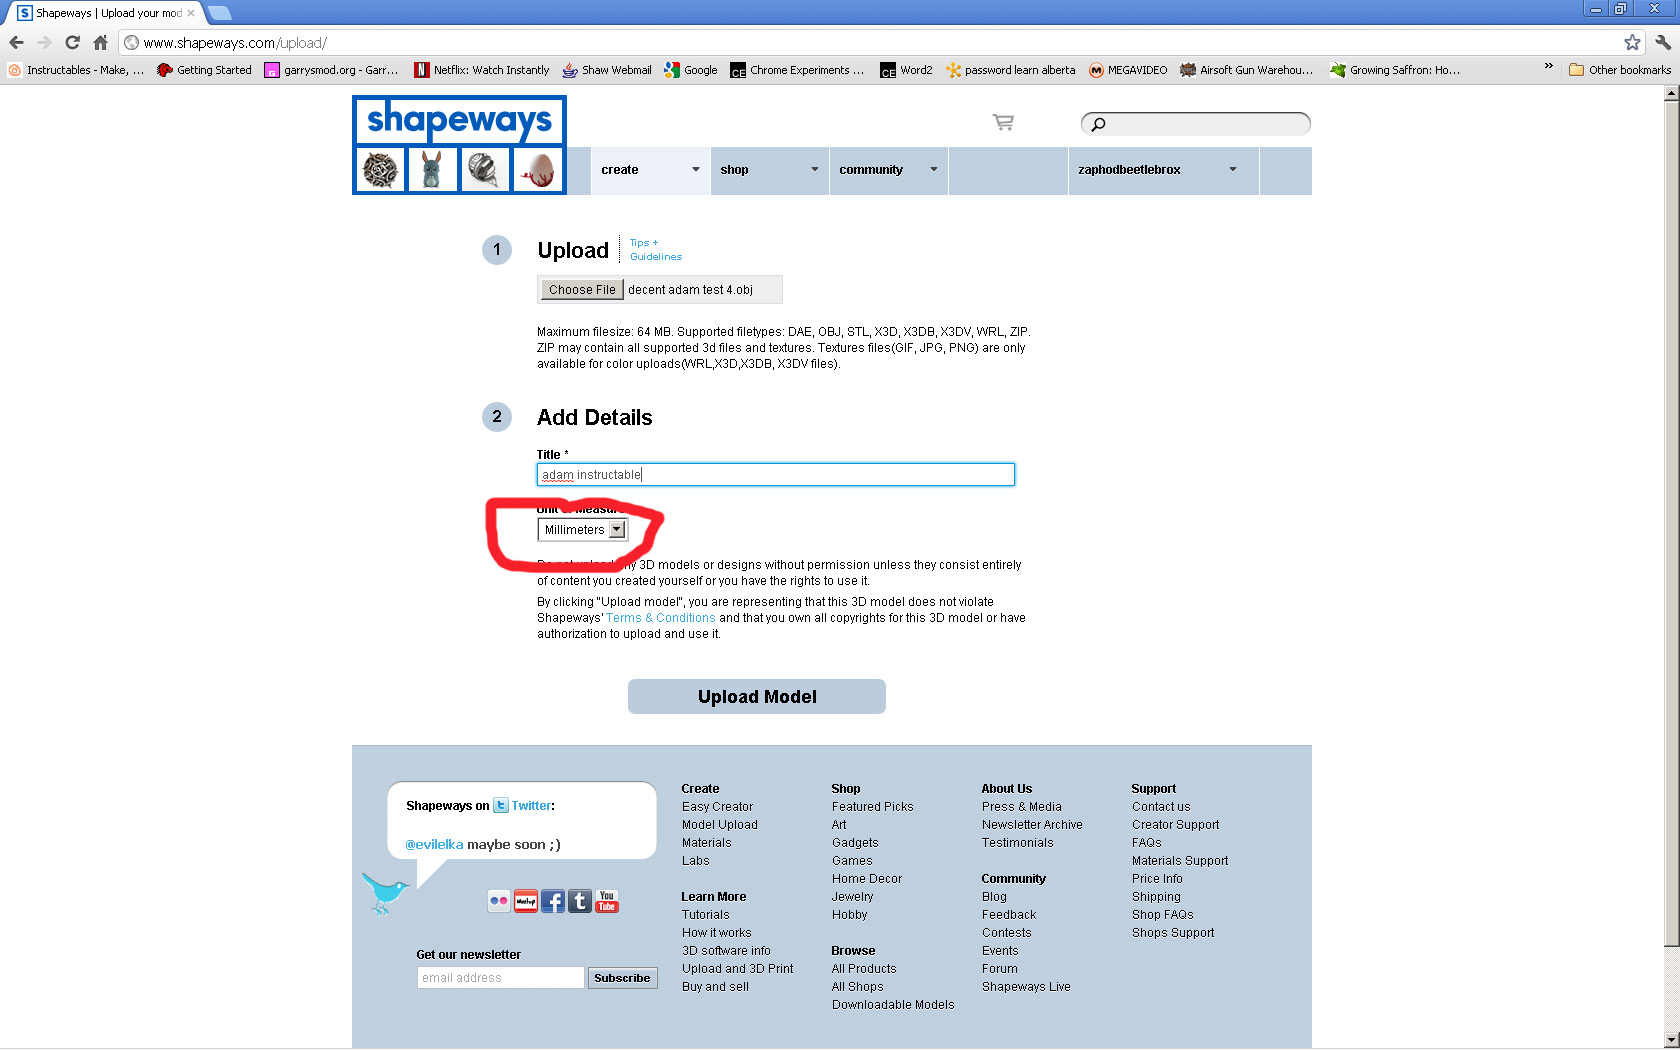
I used shapeways for my print because for some reason i.materialize didn't accept it. Also I think ponoko would work but I didn't try it.
Uploading a model to shapeways was not difficult all that was required was an account. I couldn't get a full color model to be accepted successfully, so I guess I'll just have to paint it when it shows up.
First export it from max as an .stl
then go to shape ways and select upload model
when model is accepted place an order
wait 10+ days model should show up (still waiting for mine)
If you are having trouble uploading it to shapeways check the size again and then repair it using netfabb studio (there is a free version). Here is one way to use it.