Make a Laser Etched Notebook
by davemenc in Workshop > Laser Cutting
19162 Views, 117 Favorites, 0 Comments
Make a Laser Etched Notebook
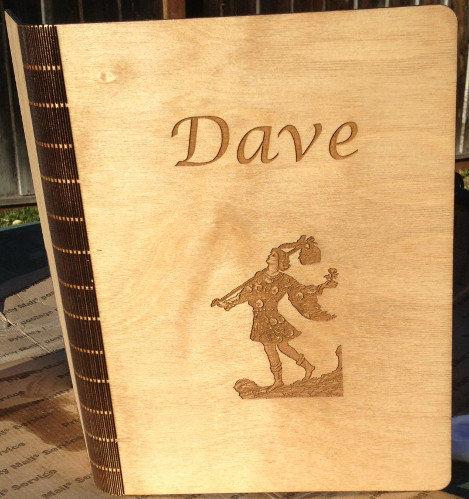
A wooden notebook cover would look nice. But there's the issue of the hinge. This design uses something called a "living hinge" which is a bunch of very close but unconnected cuts in wood that makes the wood flexible.
Basically it's a piece of wood with the hinge in the middle and a bit of decoration. And this time, I went beyond my comfort zone to try to really make the wood look nice.
Materials
I made it at TechShop! techshop.ws
Basically it's a piece of wood with the hinge in the middle and a bit of decoration. And this time, I went beyond my comfort zone to try to really make the wood look nice.
Materials
- A laser etcher
- A piece of 1/8" 24"x12" plywood
- A piece of 12"x10" card stock or high density plastic
- Stain
- Sander or sanding block
- 220 grit sanding paper
- spray on clear coat
- a spiral notebook
I made it at TechShop! techshop.ws
Set Up the Grapics
There are 4 parts to the graphics.
First there is the outline. I wanted to use a 10.5"x8" notebook. It turns out that the covers are a bit too heavy for the living hinge design I'm using if you use a full size notebook. So my outline is 17.5" x 11.25". I used rounded corners.
Next there is the hinge. I got lucky on the first try and discovered that 1.5" cuts with 9/100" vertical distance and 5/100" apart work well for what I'm doing. After some experimentation I made it 1.5" wide. If you want it to be stiffer and stronger, move the cuts farther apart. You might be able to move the cuts closer together but I'm not so sure about that.
Next we have the title. I just used my name (I'm Dave, nice to meet you). Sometimes people use something like "My Sketches" or "My Notebook". It's up to you.
Finally there is the graphic. Frankly both the title and the graphic are completely optional. I like the image of The Fool but you can put anything you like on it.
Downloads
Cut Out the Wood
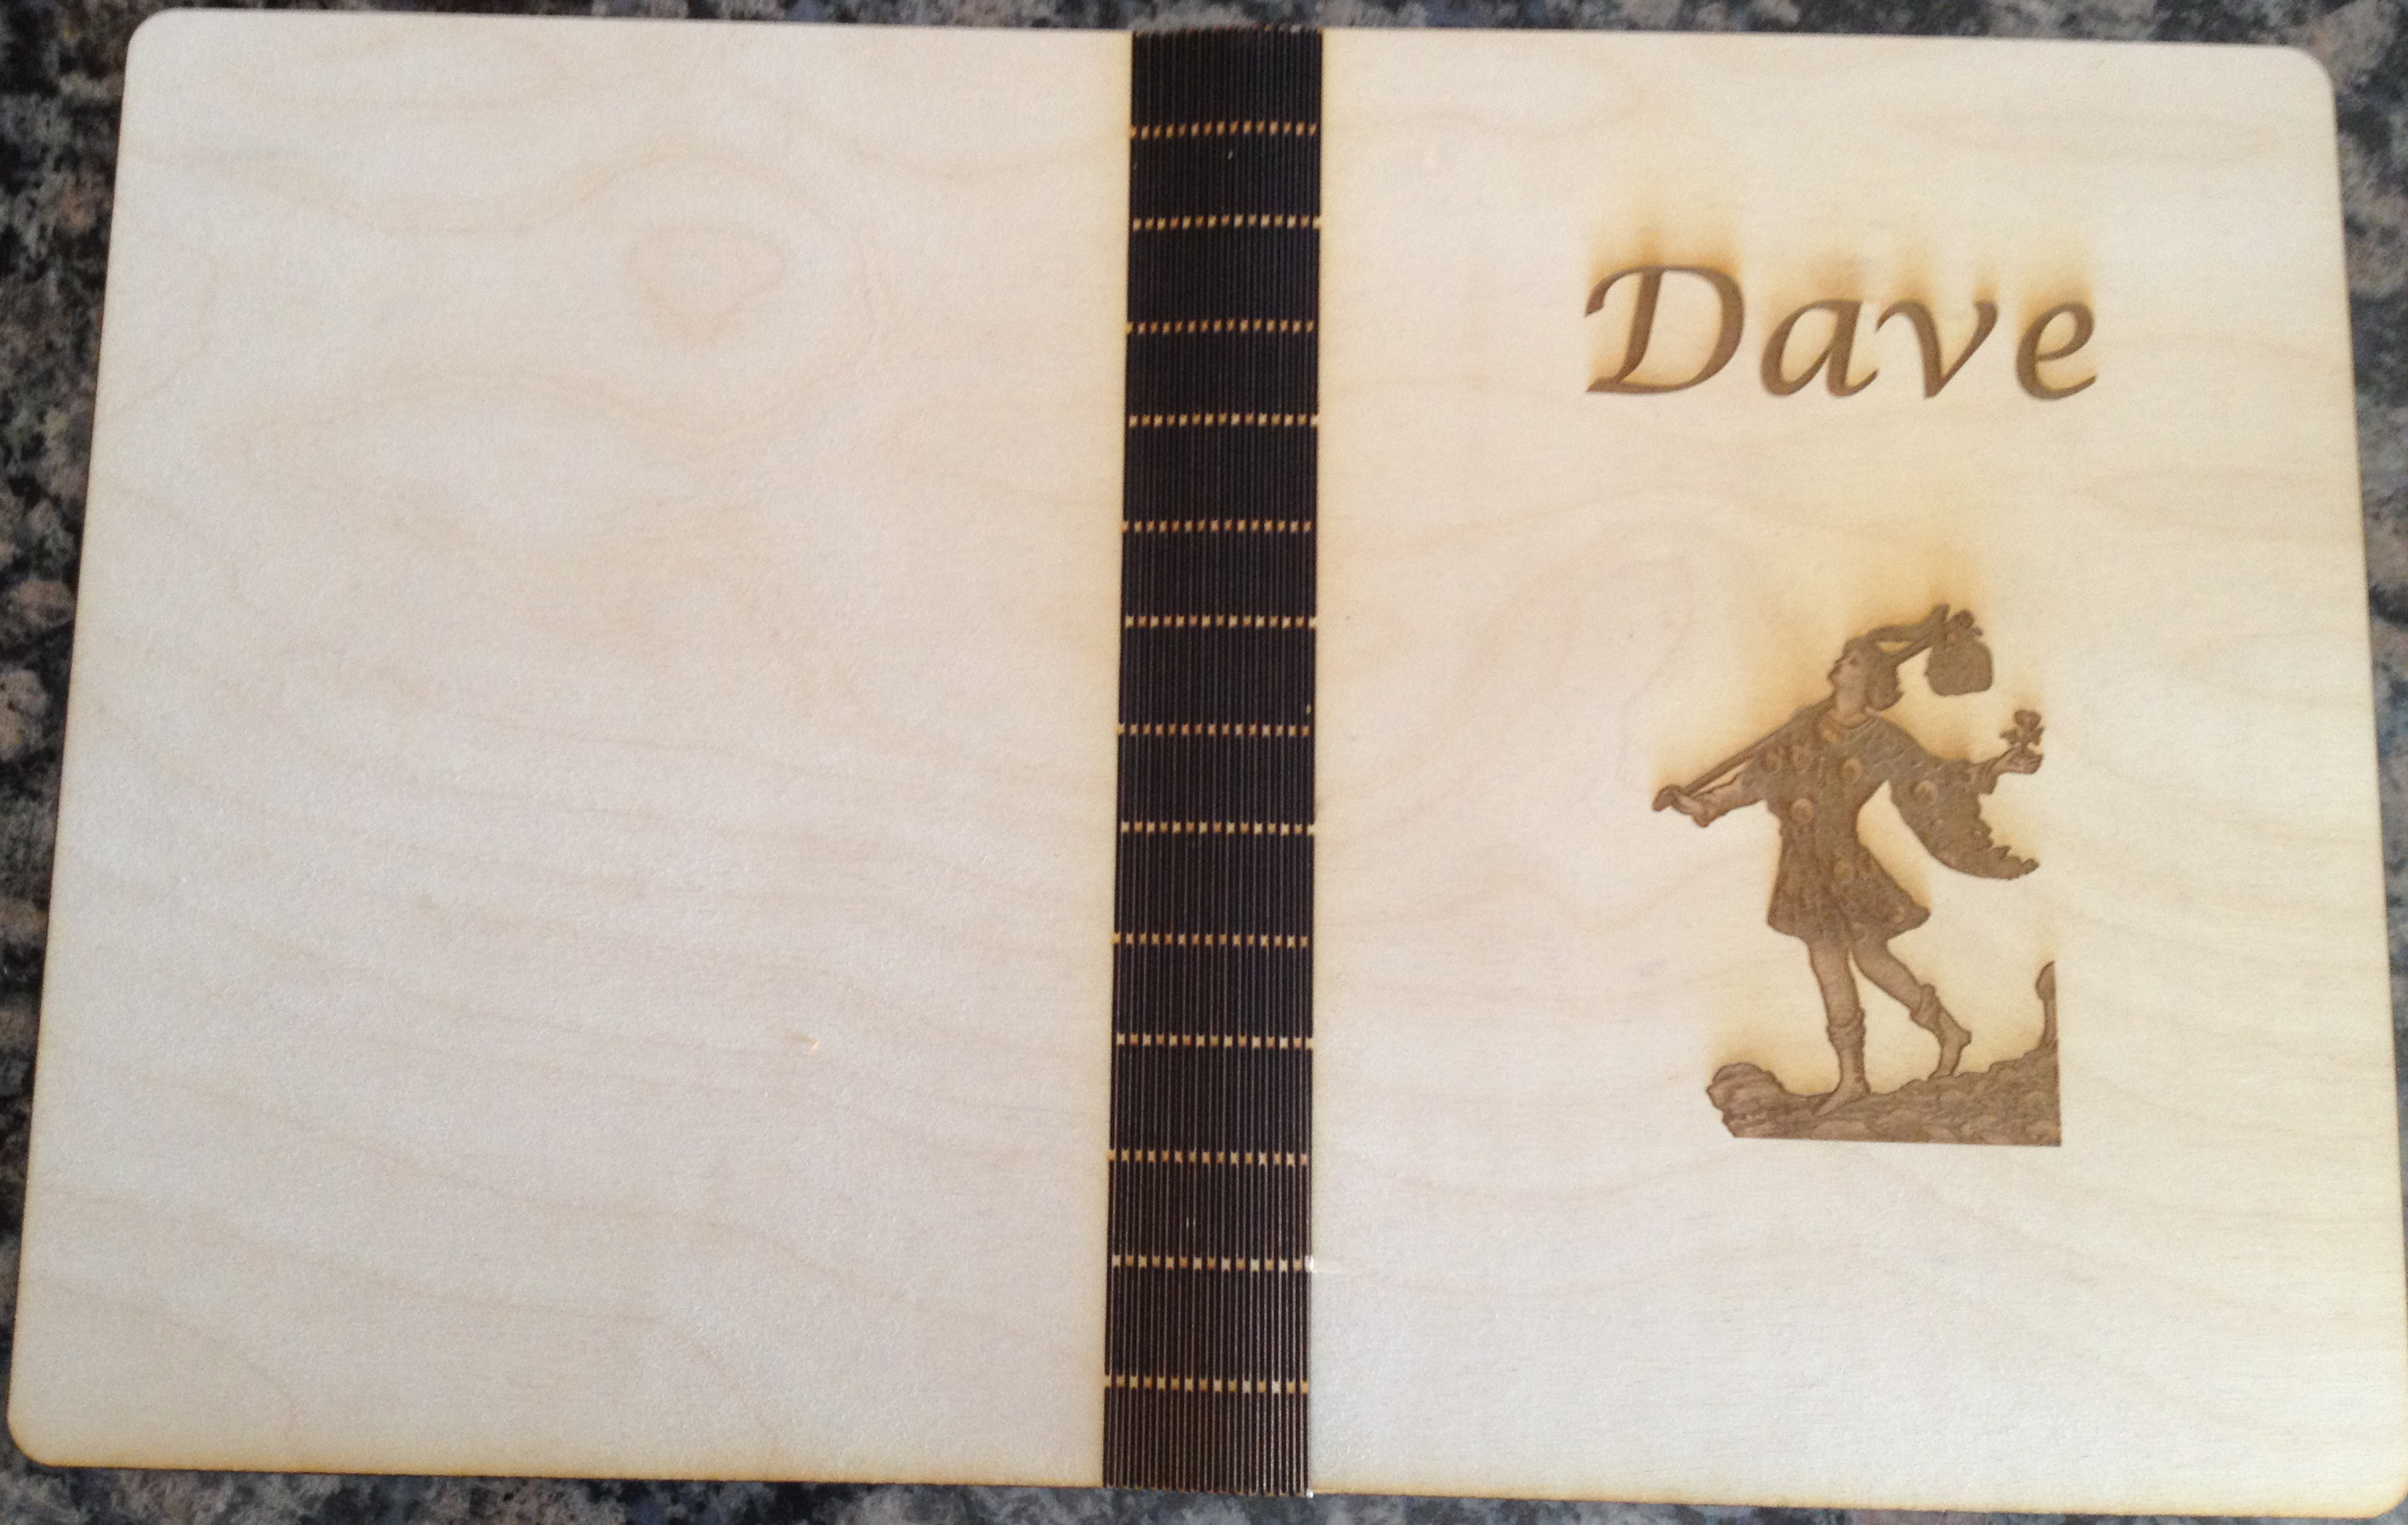
This takes about 30 minutes. I used a laser etcher at techshop. I used a setting around 75/90 for etching and 10/90 for cutting. You should experiment, however; too hot and you'll set fire to the living hinge, too cold and it won't cut all the way through and simply won't work.
Sanding
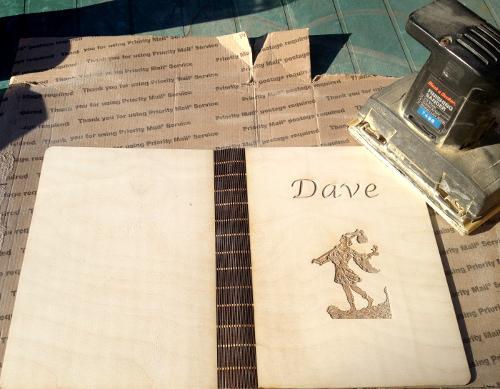
I found that the etcher left smoke marks on the wood. And the support material beneath it certainly leaves a mark where it's cut through.
A good sanding will remove most of that and highlight some of the higher points in the graphics as well.
A good sanding will remove most of that and highlight some of the higher points in the graphics as well.
Staining
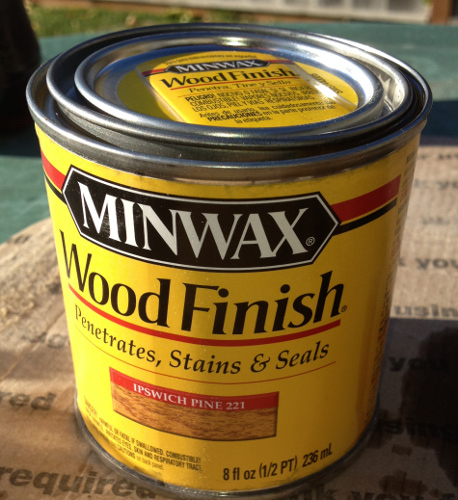
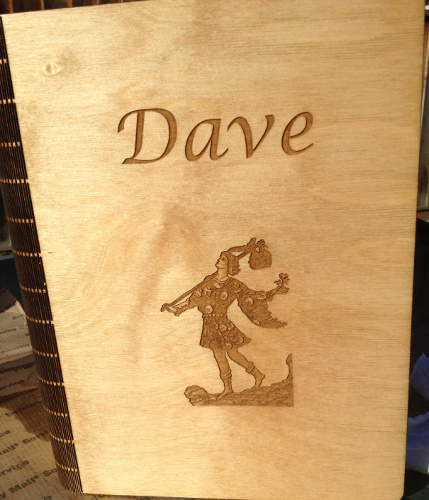
I used a fairly light water based stain. I rubbed it all over the wood and then let it dry for 24 hours.
Clear Coating

I used a clear coat spray. Just stand it up somewhere with good ventilation and no wind and spray it.
Let it dry for a day and then resand it. It just needs a very light sanding to smooth out the coating. If you like you can do this a few times and build up a thick clear coat.
Let it dry for a day and then resand it. It just needs a very light sanding to smooth out the coating. If you like you can do this a few times and build up a thick clear coat.
Add the Notebook Pocket
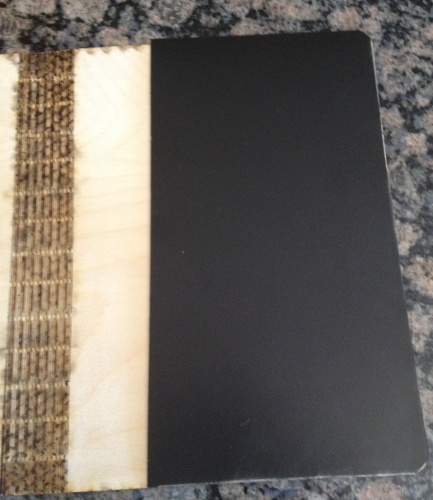
You need a way to attach the notebook to the cover. One way is to glue the back of the notebook to the wood.
I prefer to glue on a pocket. I used this high density plastic that I had lying around and it worked fine. A simple solution is to simply use card stock.
I cut the pocket with the laser cutter but, of course, you could just use a sharp craft knife.
I prefer to glue on a pocket. I used this high density plastic that I had lying around and it worked fine. A simple solution is to simply use card stock.
I cut the pocket with the laser cutter but, of course, you could just use a sharp craft knife.
Put on the Notebook
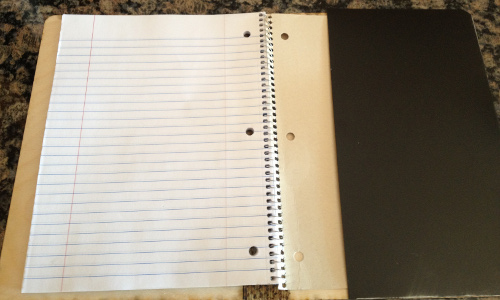
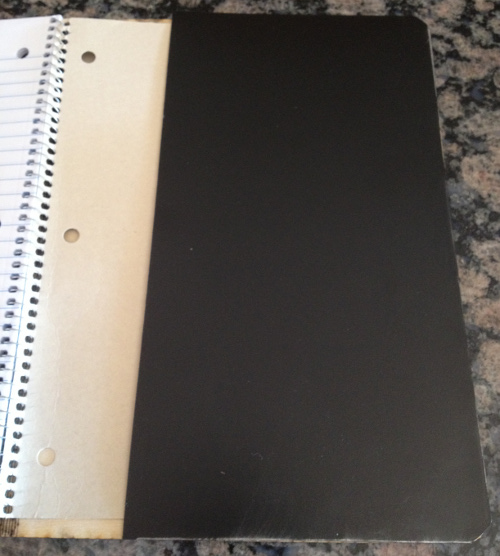
Ok, I etched my graphic onto the notebook but that's completely unnecessary. If you put in a pocket, you just slide the back of the notebook into the pocket and there you are.