Magnetic Levitating Lamp
by TomoDesigns in Circuits > Arduino
49717 Views, 367 Favorites, 0 Comments
Magnetic Levitating Lamp
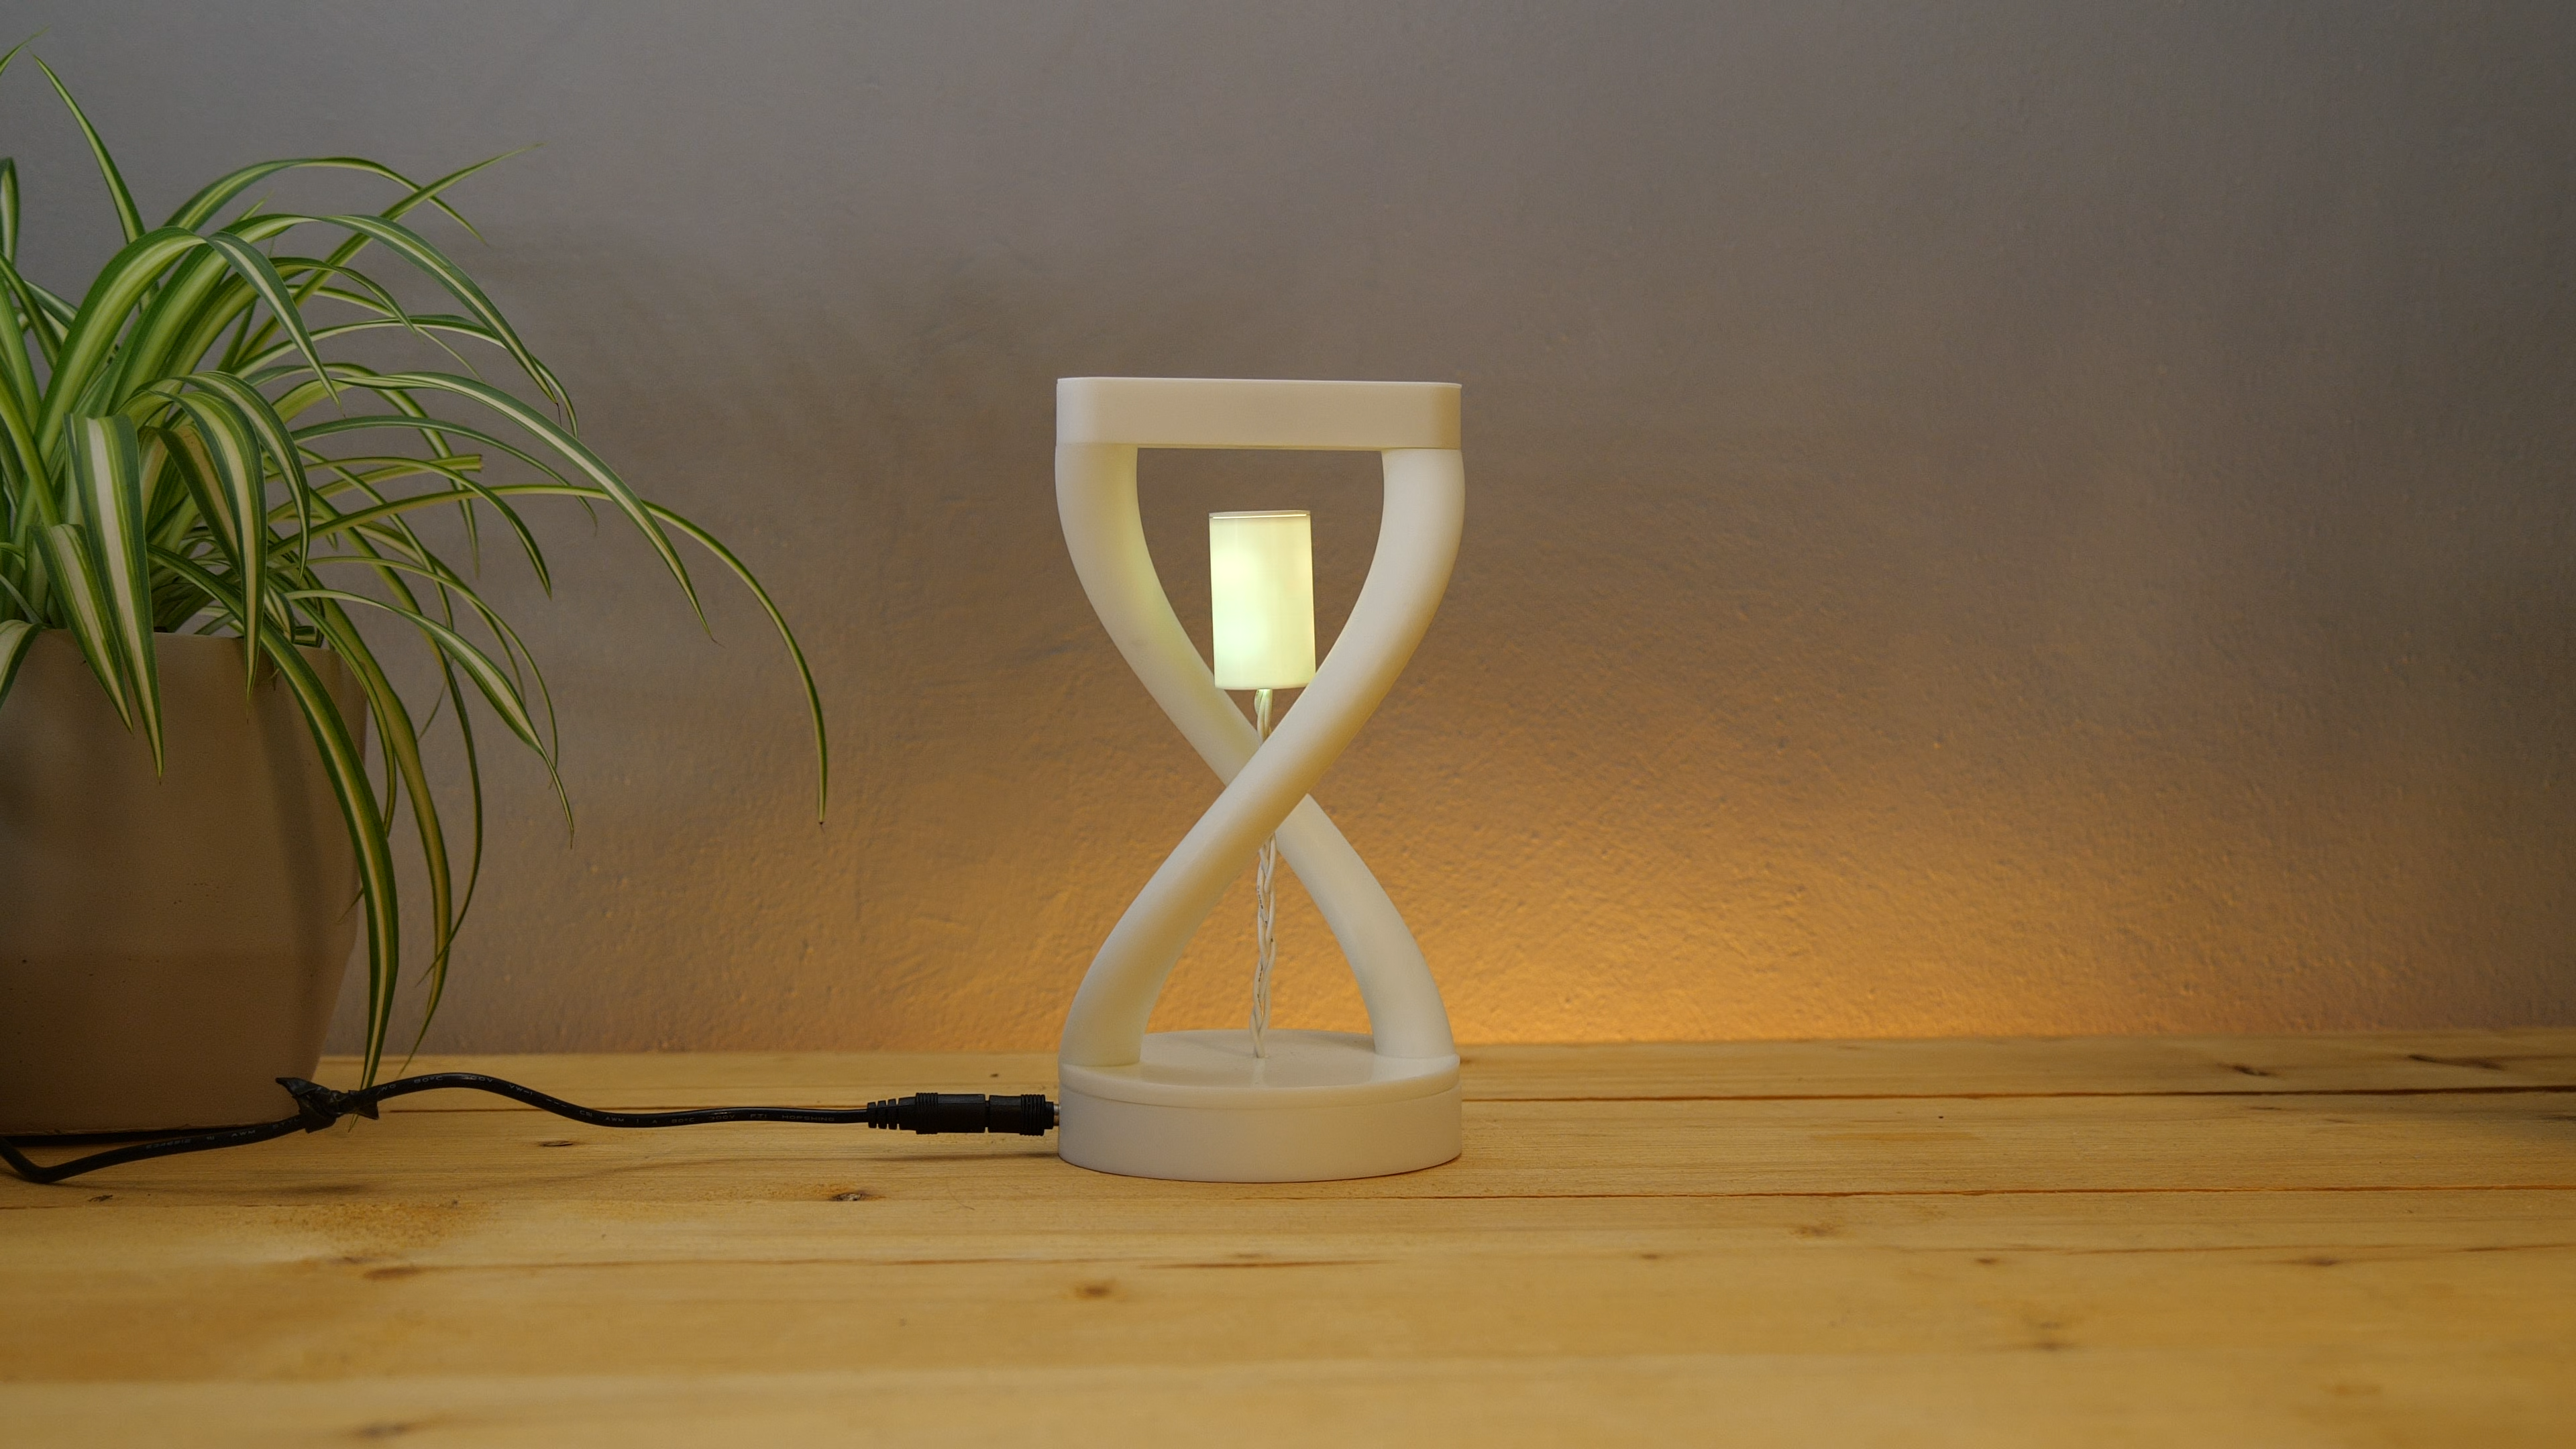
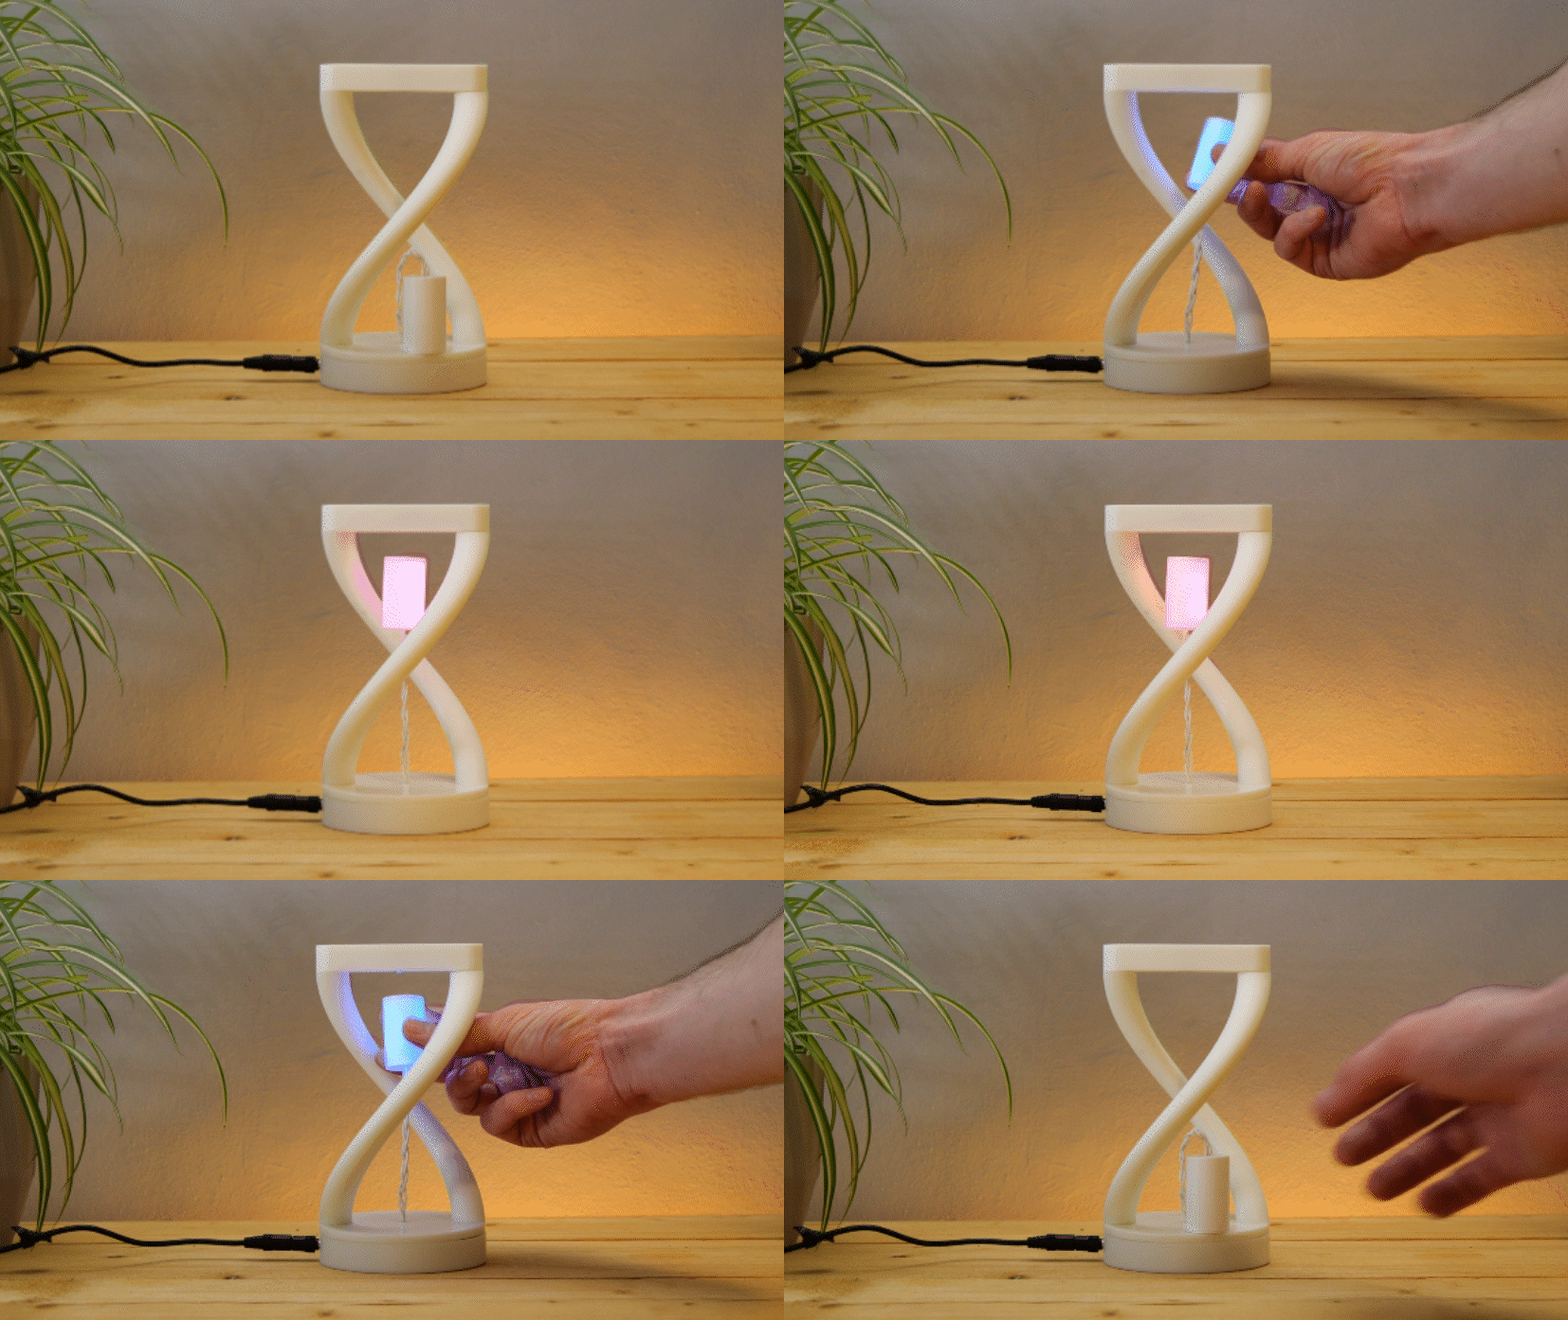
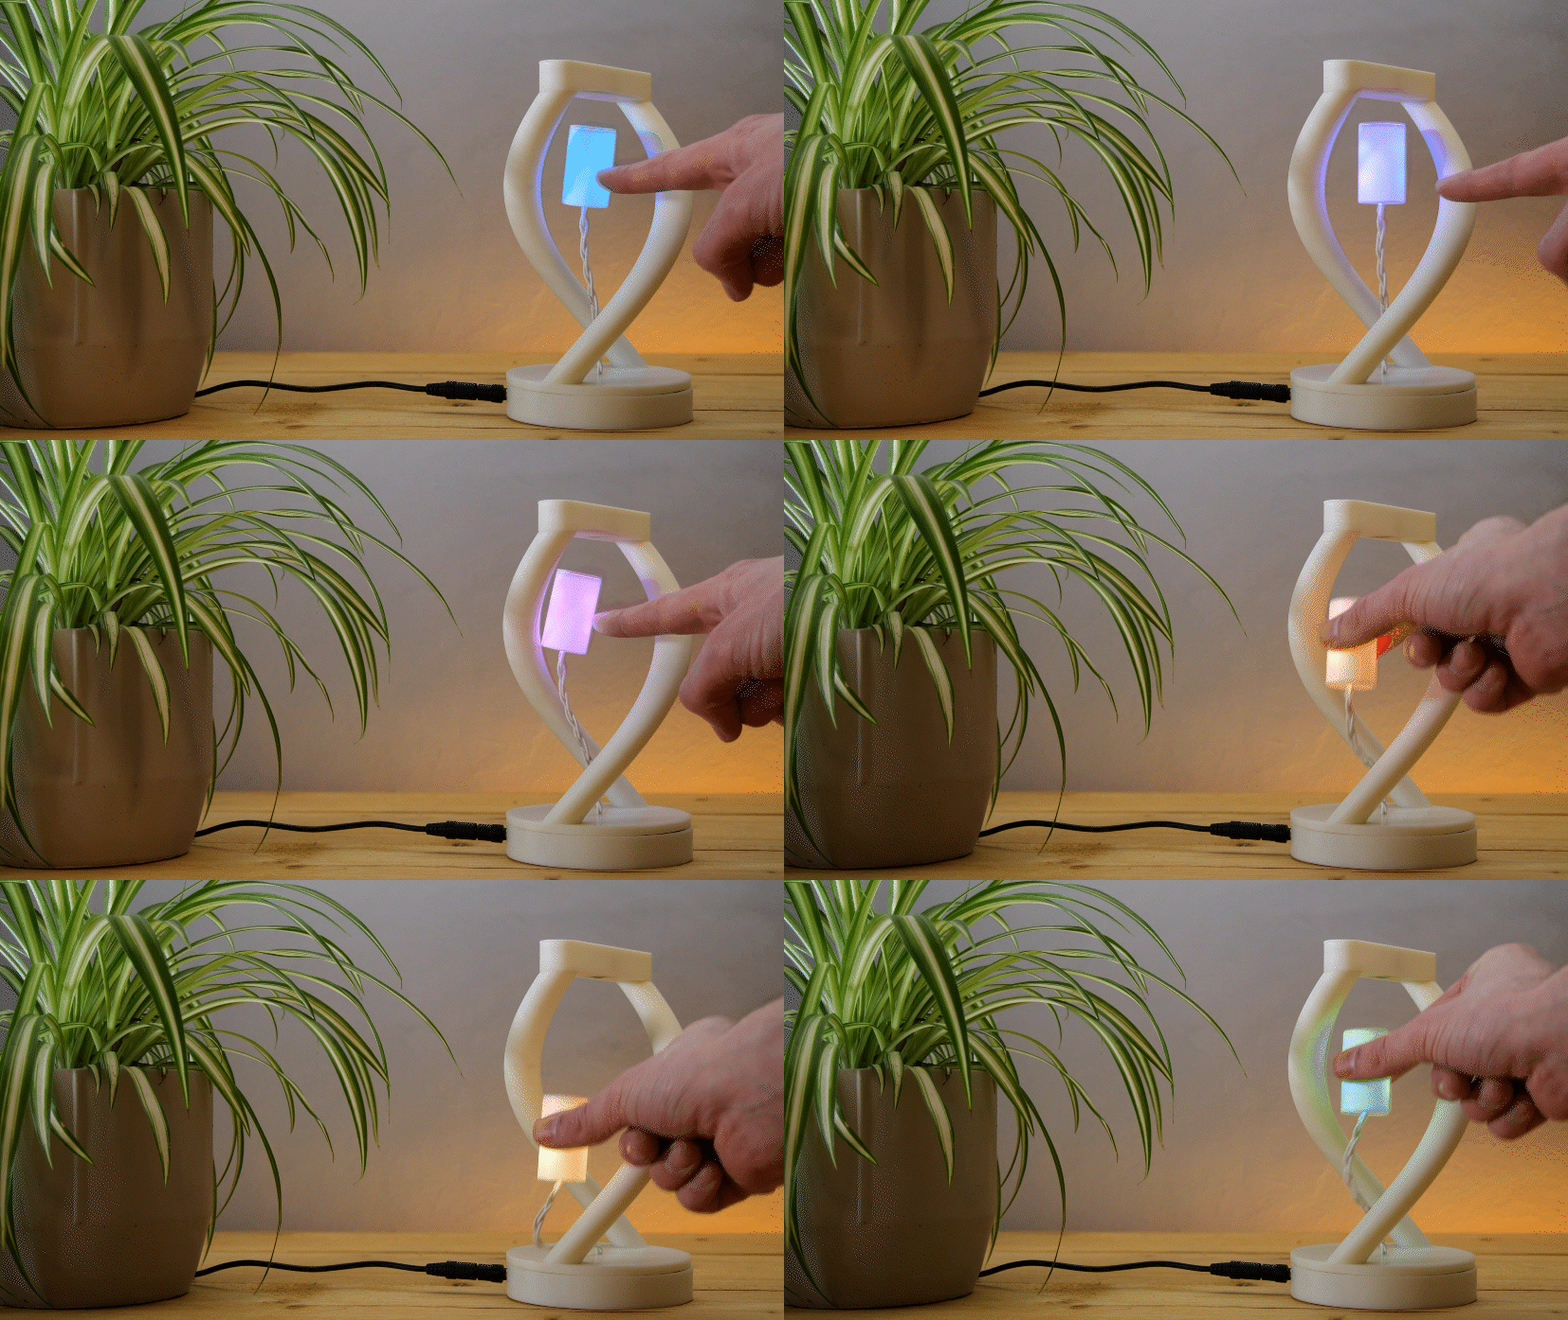
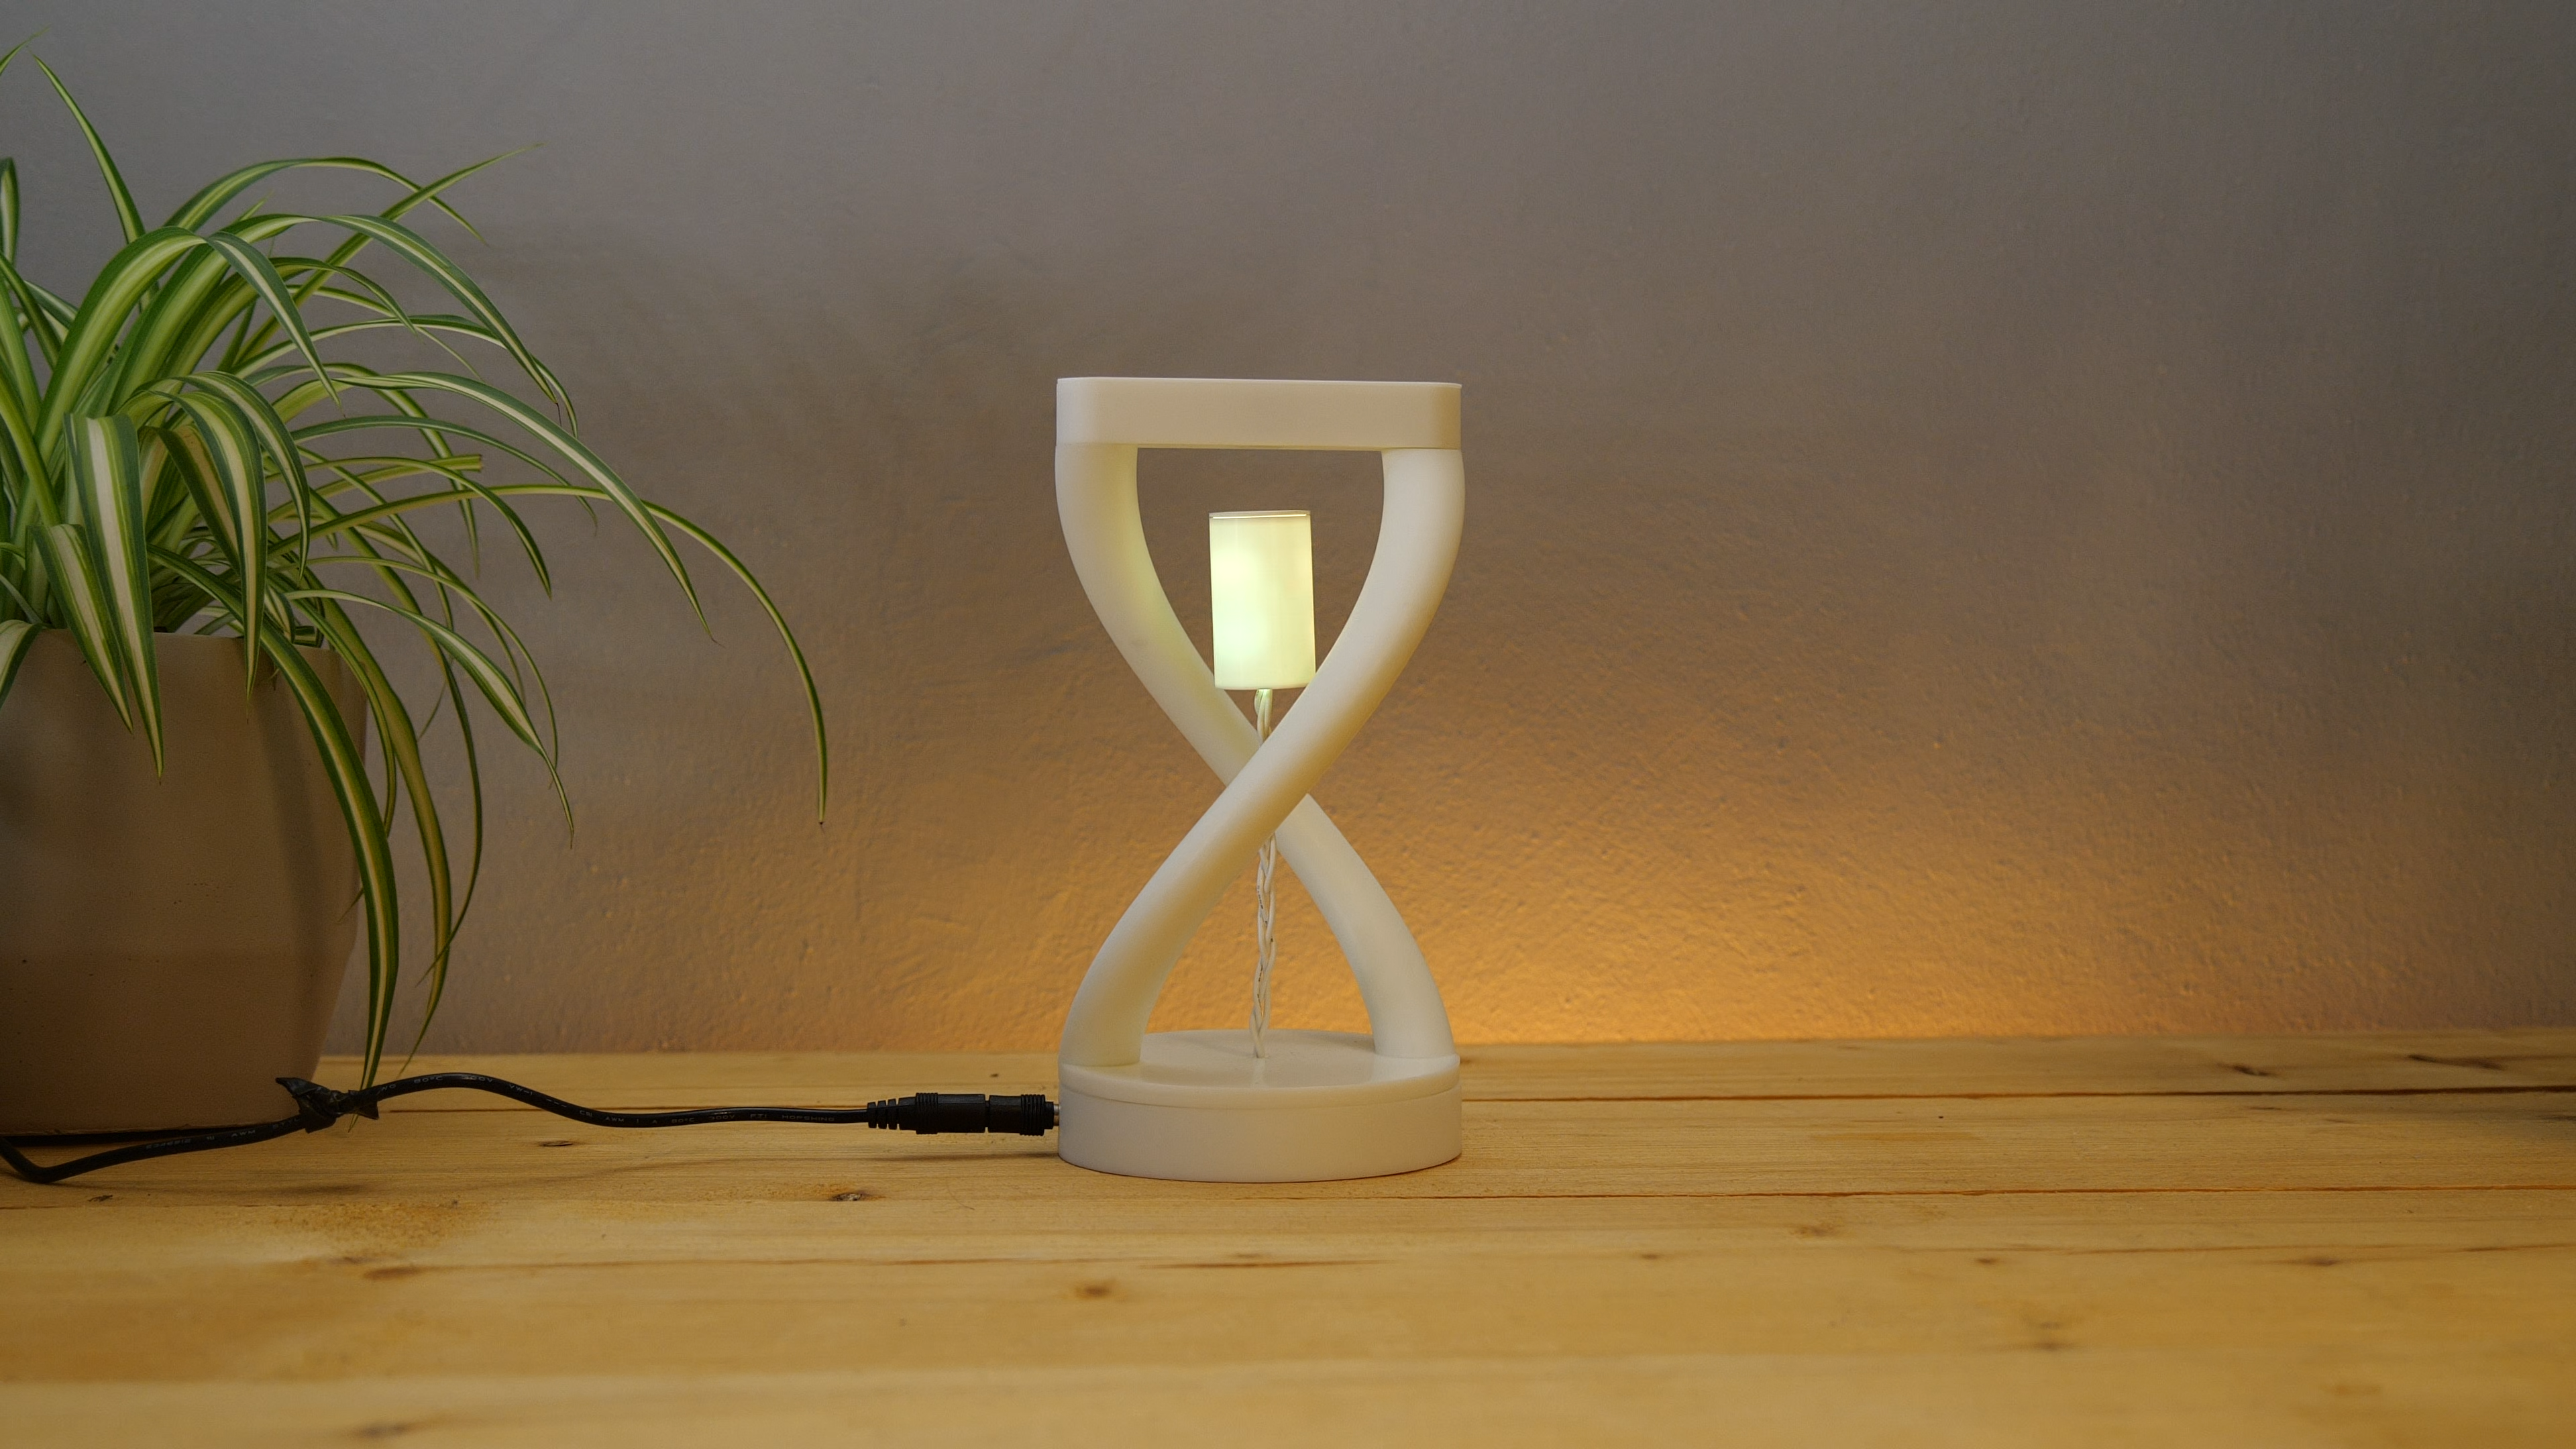
The magical Arduino-powered magnetic levitating lamp. A fully 3DPrintalble project for beginners.
For me, it was an exploration as a beginning designer on how you can work with magnets and make something float out of nowhere. My goal was for people to be amazed the first time they see it working. Interested in what I do more? follow my Instagram! or my youtube.
Supplies
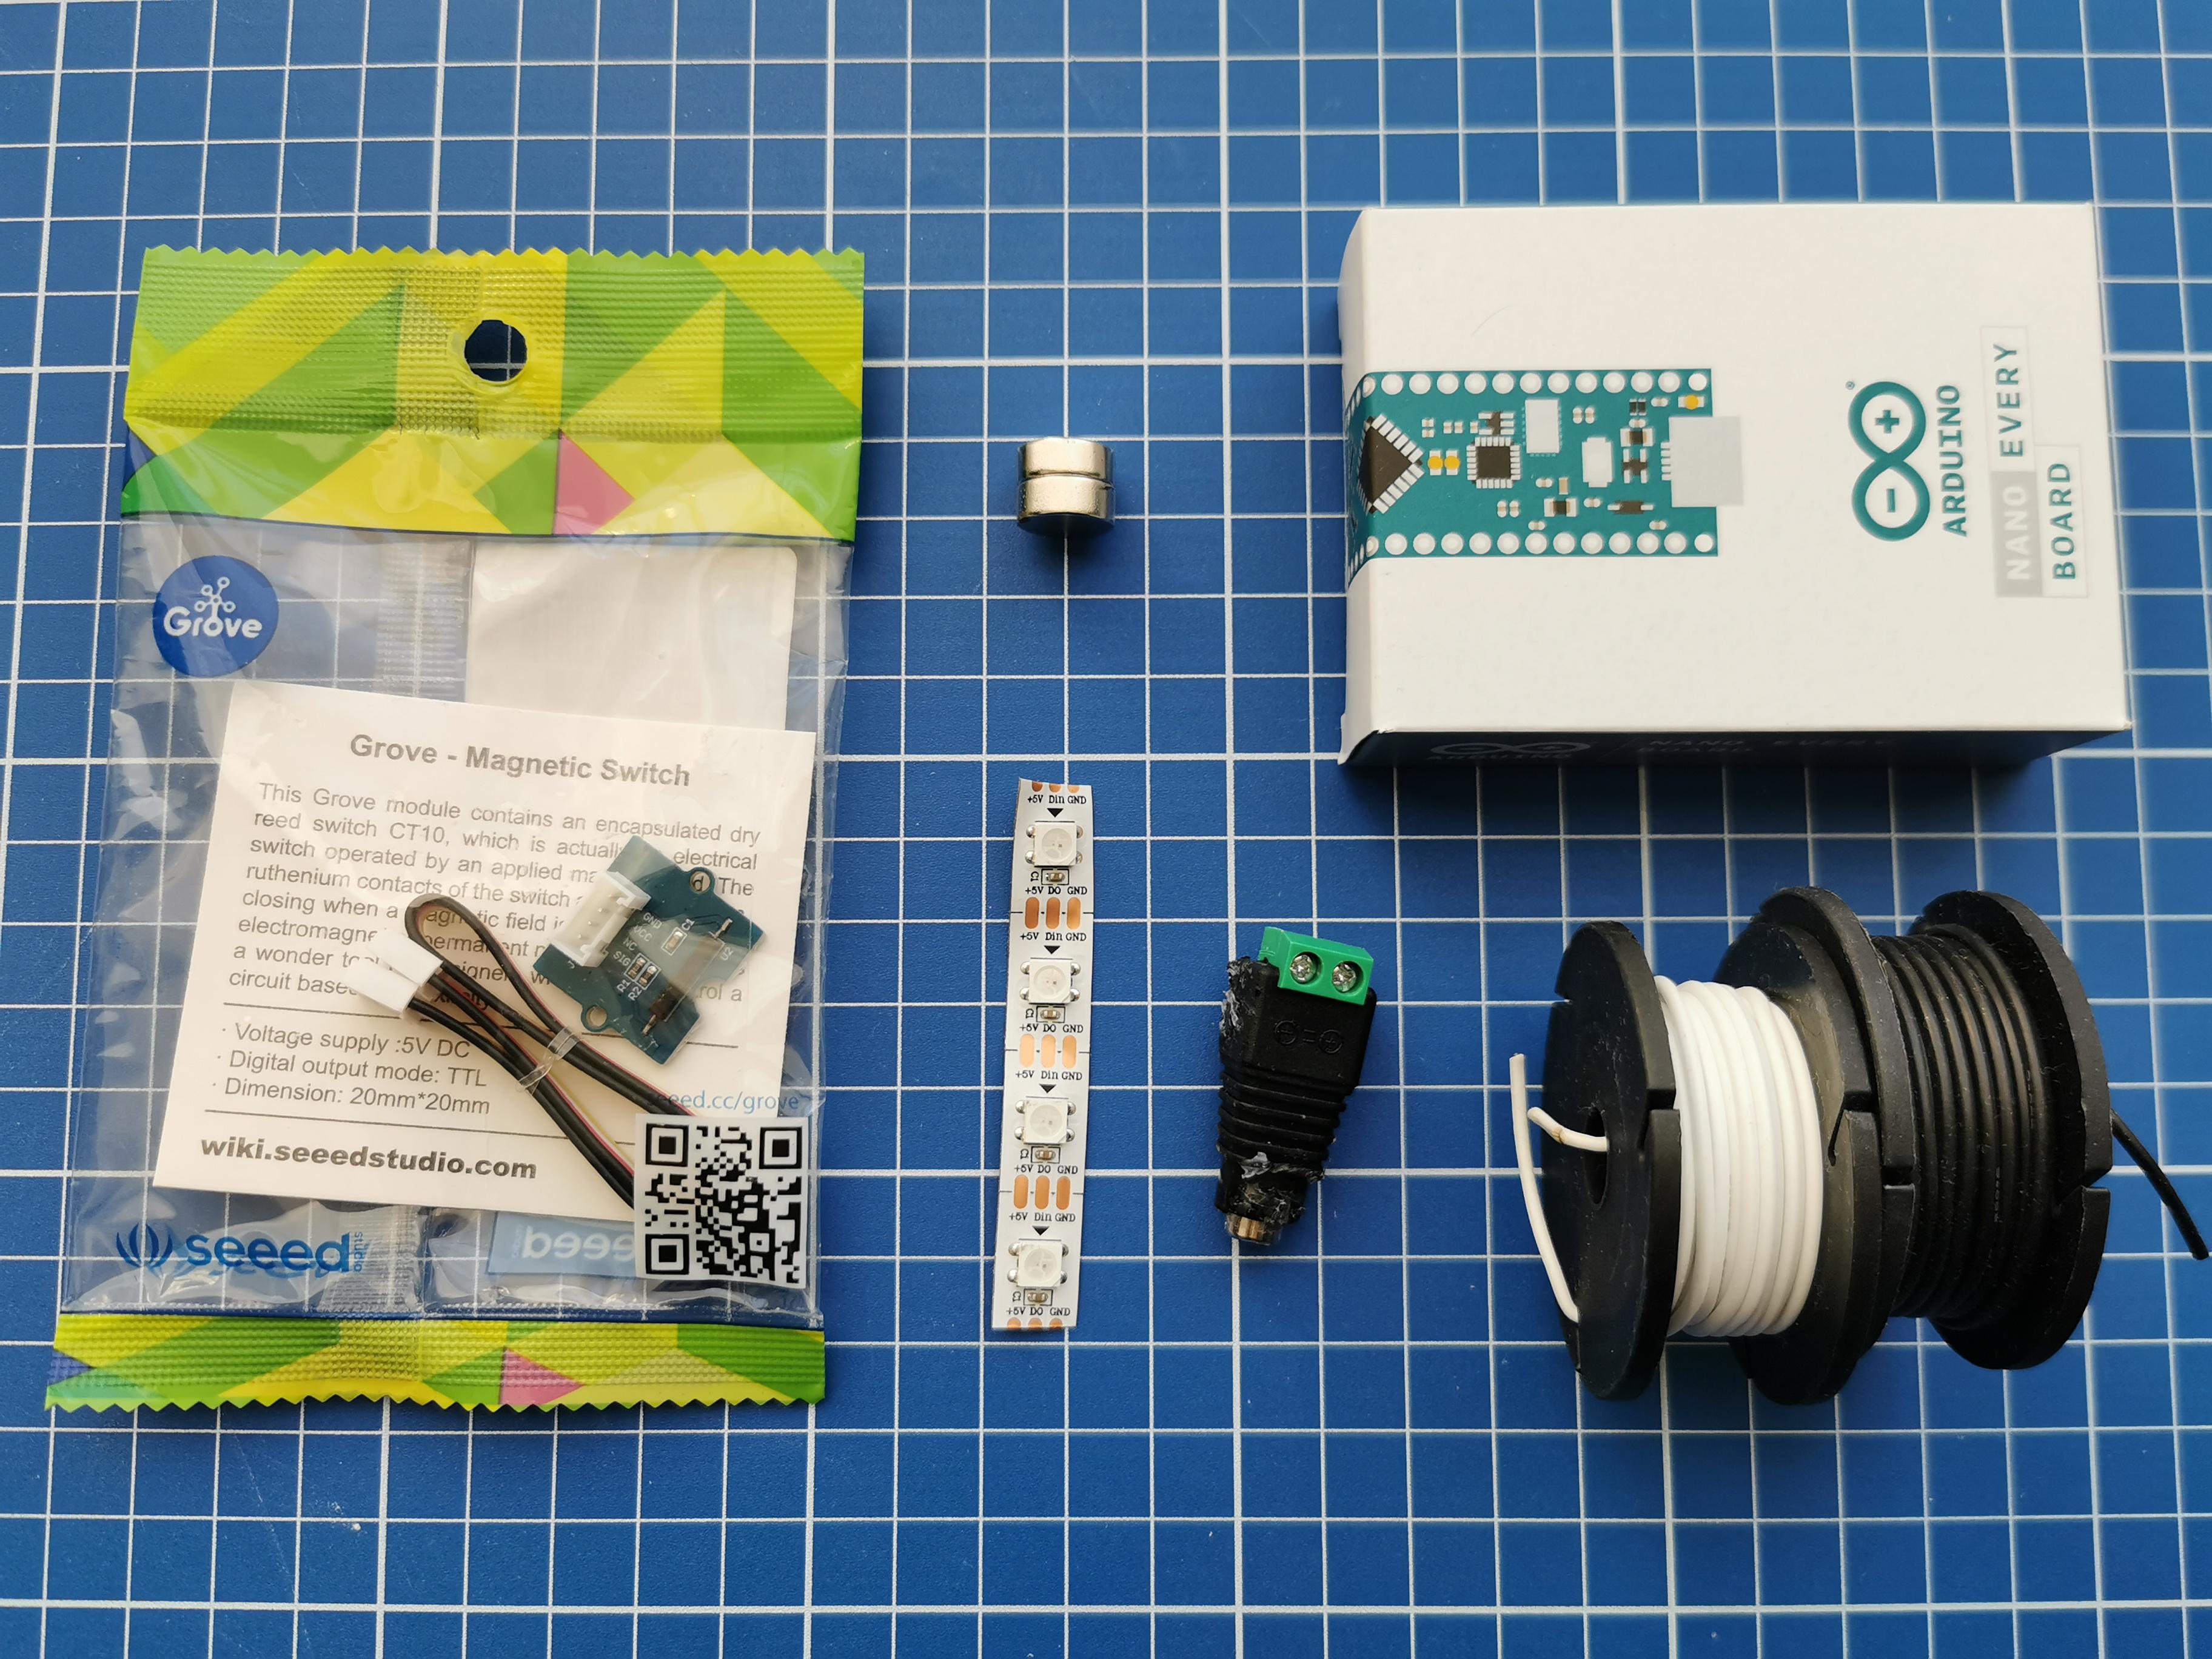
Materials:
3D Models: Cults3D
Don't have a 3Dprinter? Try the new PCBWay 3Dprinting service
Pla filament: https://amzn.to/3I9mKXm
Leds (WS2812 60led/m): https://amzn.to/3KKUfkn
Magnet Diameter: 12.7mm Height: 5mm x2: https://www.adafruit.com/product/9
Small magnet: (Magnet neodymium 5mm x 3mm)
Magnetic switch (or Reed switch): https://wiki.seeedstudio.com/Grove-Magnetic_Switch/
Arduino Nano Every: https://amzn.to/35UbocM
5v Plug: https://amzn.to/3wcDcUi
5V Ban Plug: https://amzn.to/3tUcAVE
Silicon wire(More flexible the better!): https://amzn.to/3tUI5in
Tools:
Soldering Iron
Glue
3D printer
Screwdriver
3D Print All the Parts
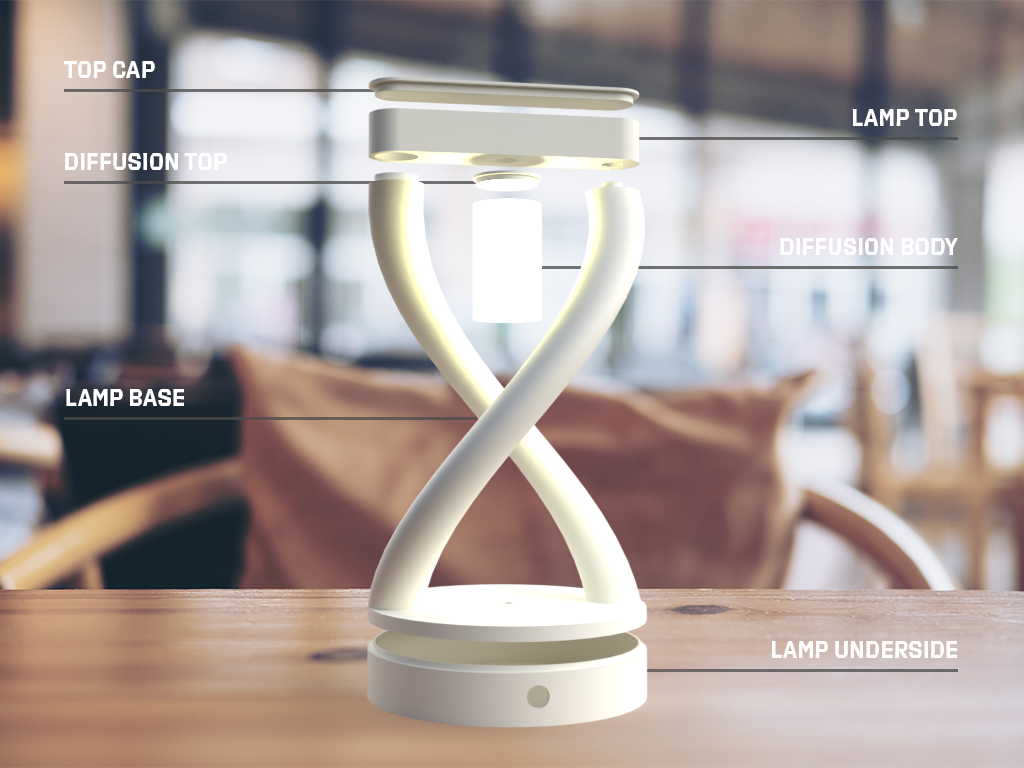
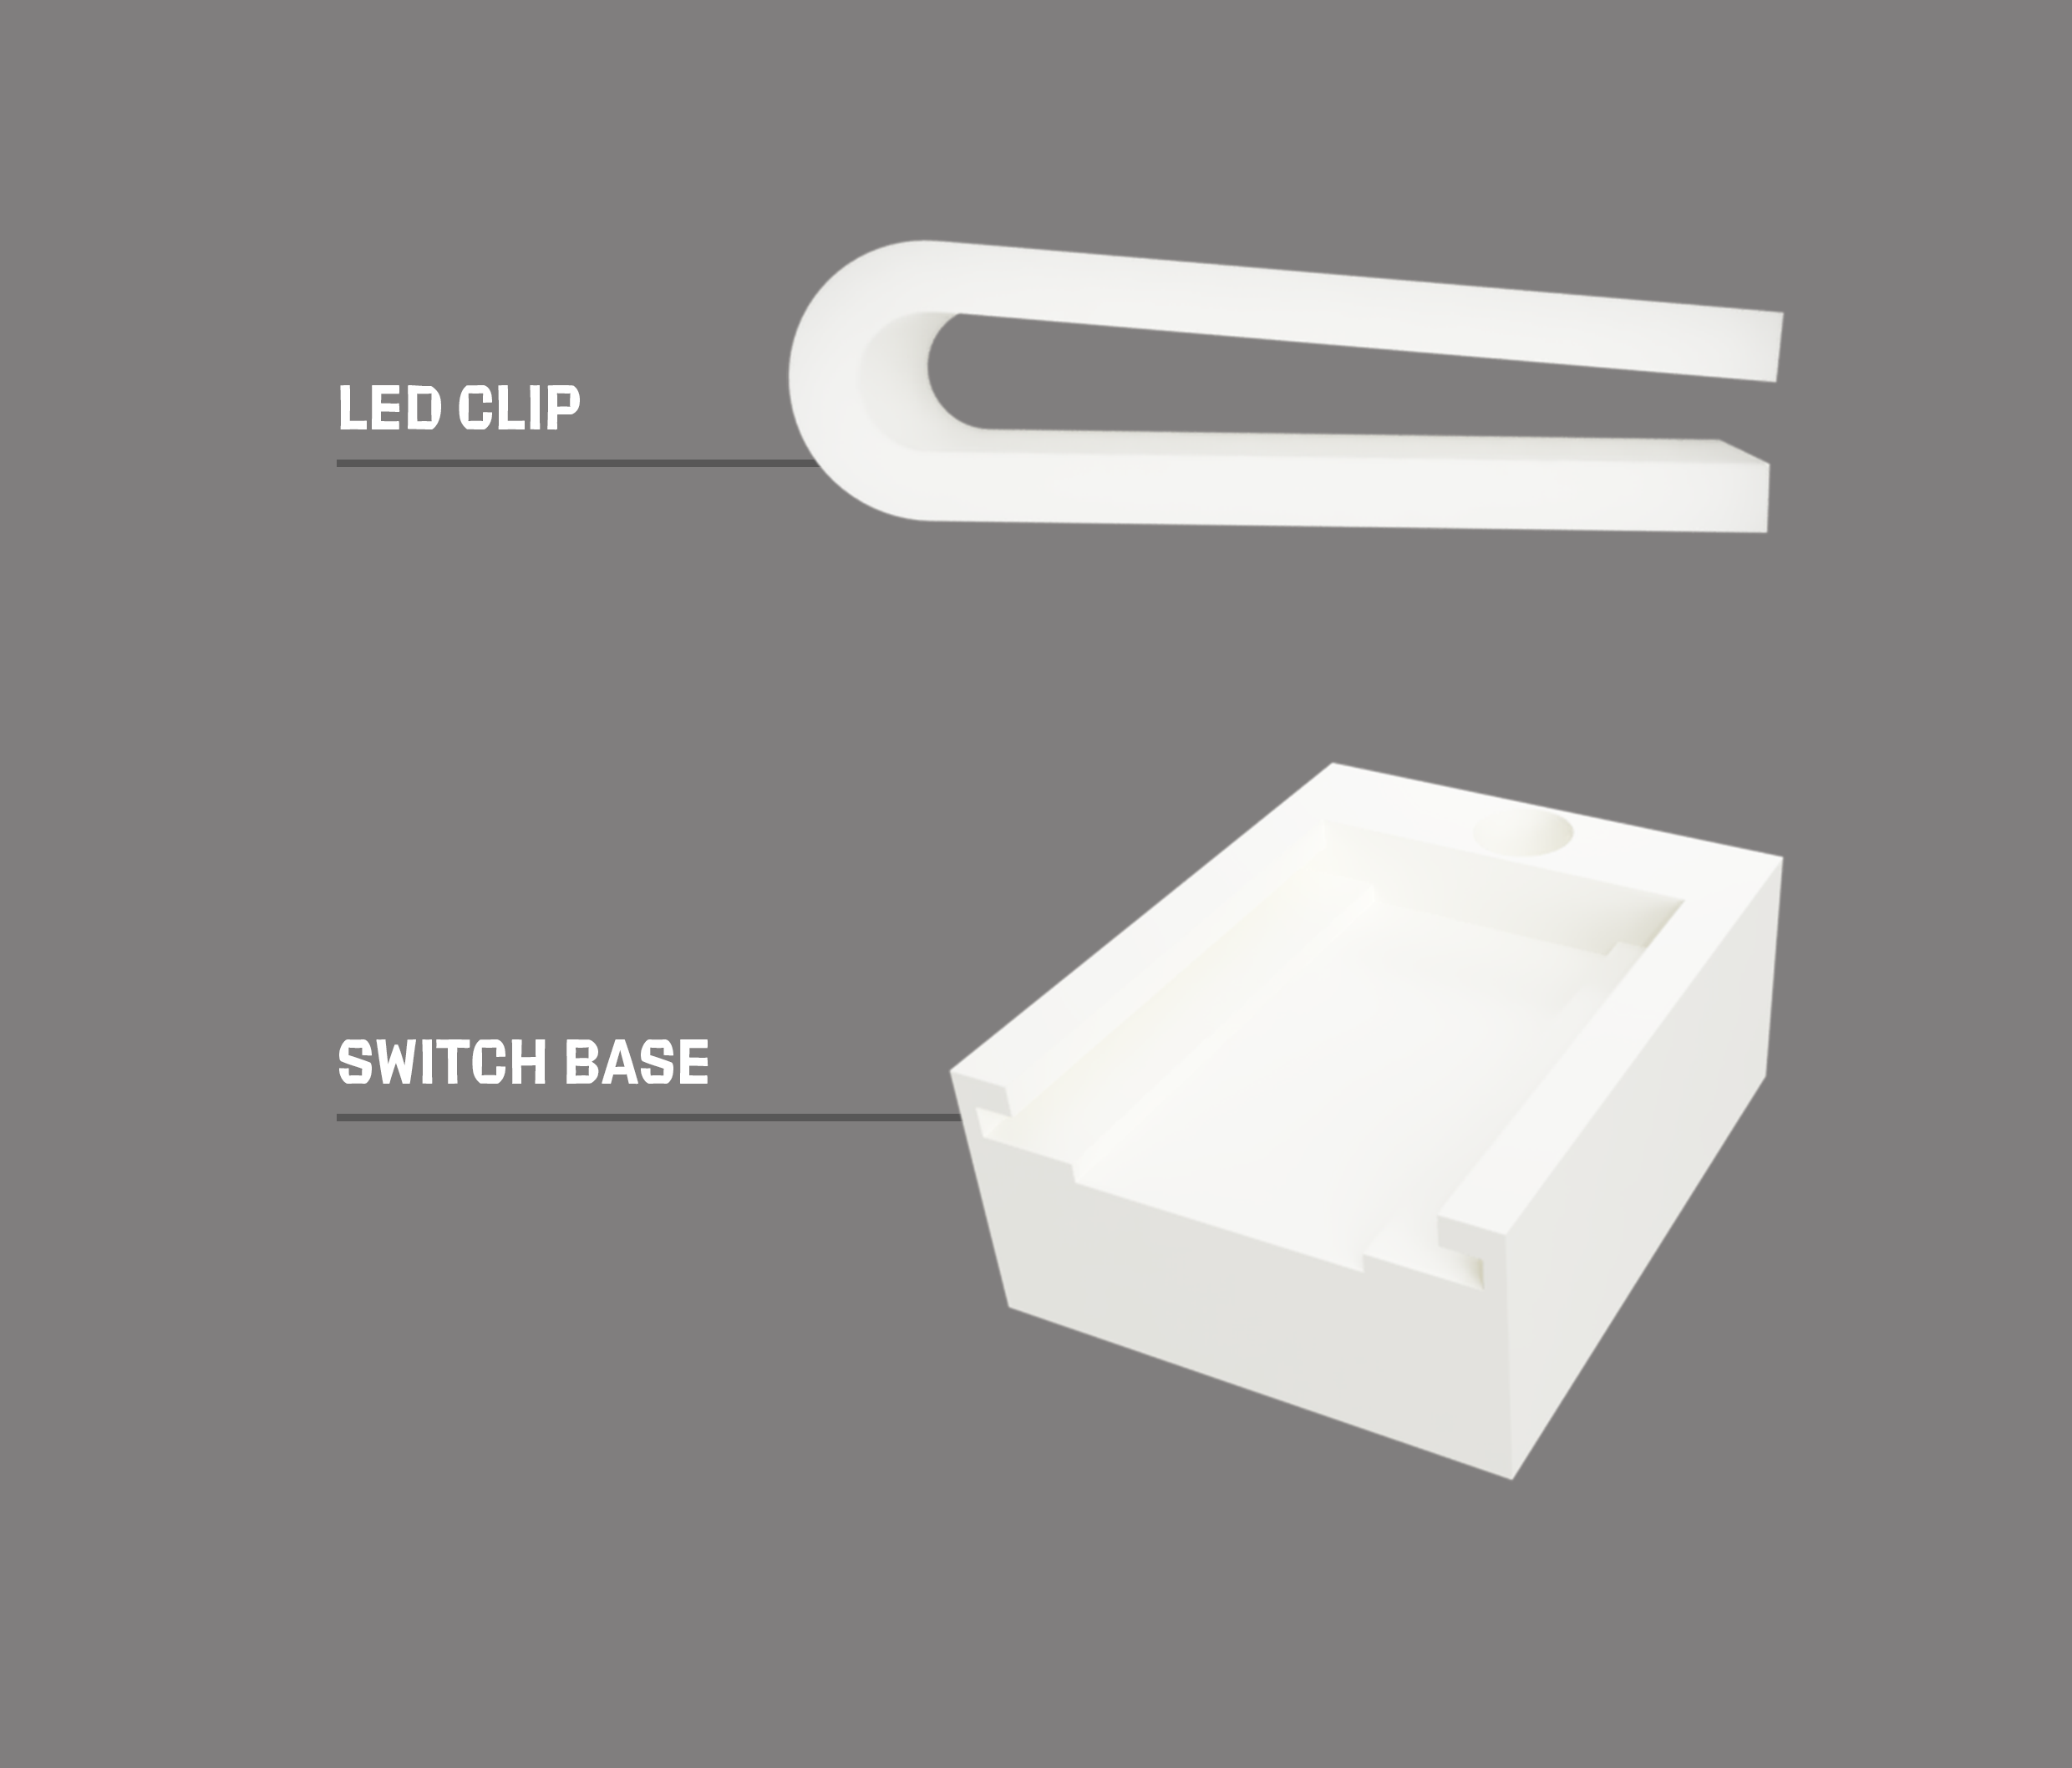
For this lamp, you will need 7/8 parts to be printed. You can find these parts Here.
General printing settings:
- Infill 20-100%
- No supports
Led holder settings:
- Infill 100%
Why 100%? Because you want to diffuse the lights nicely!
Making the Led Diffusion Holder
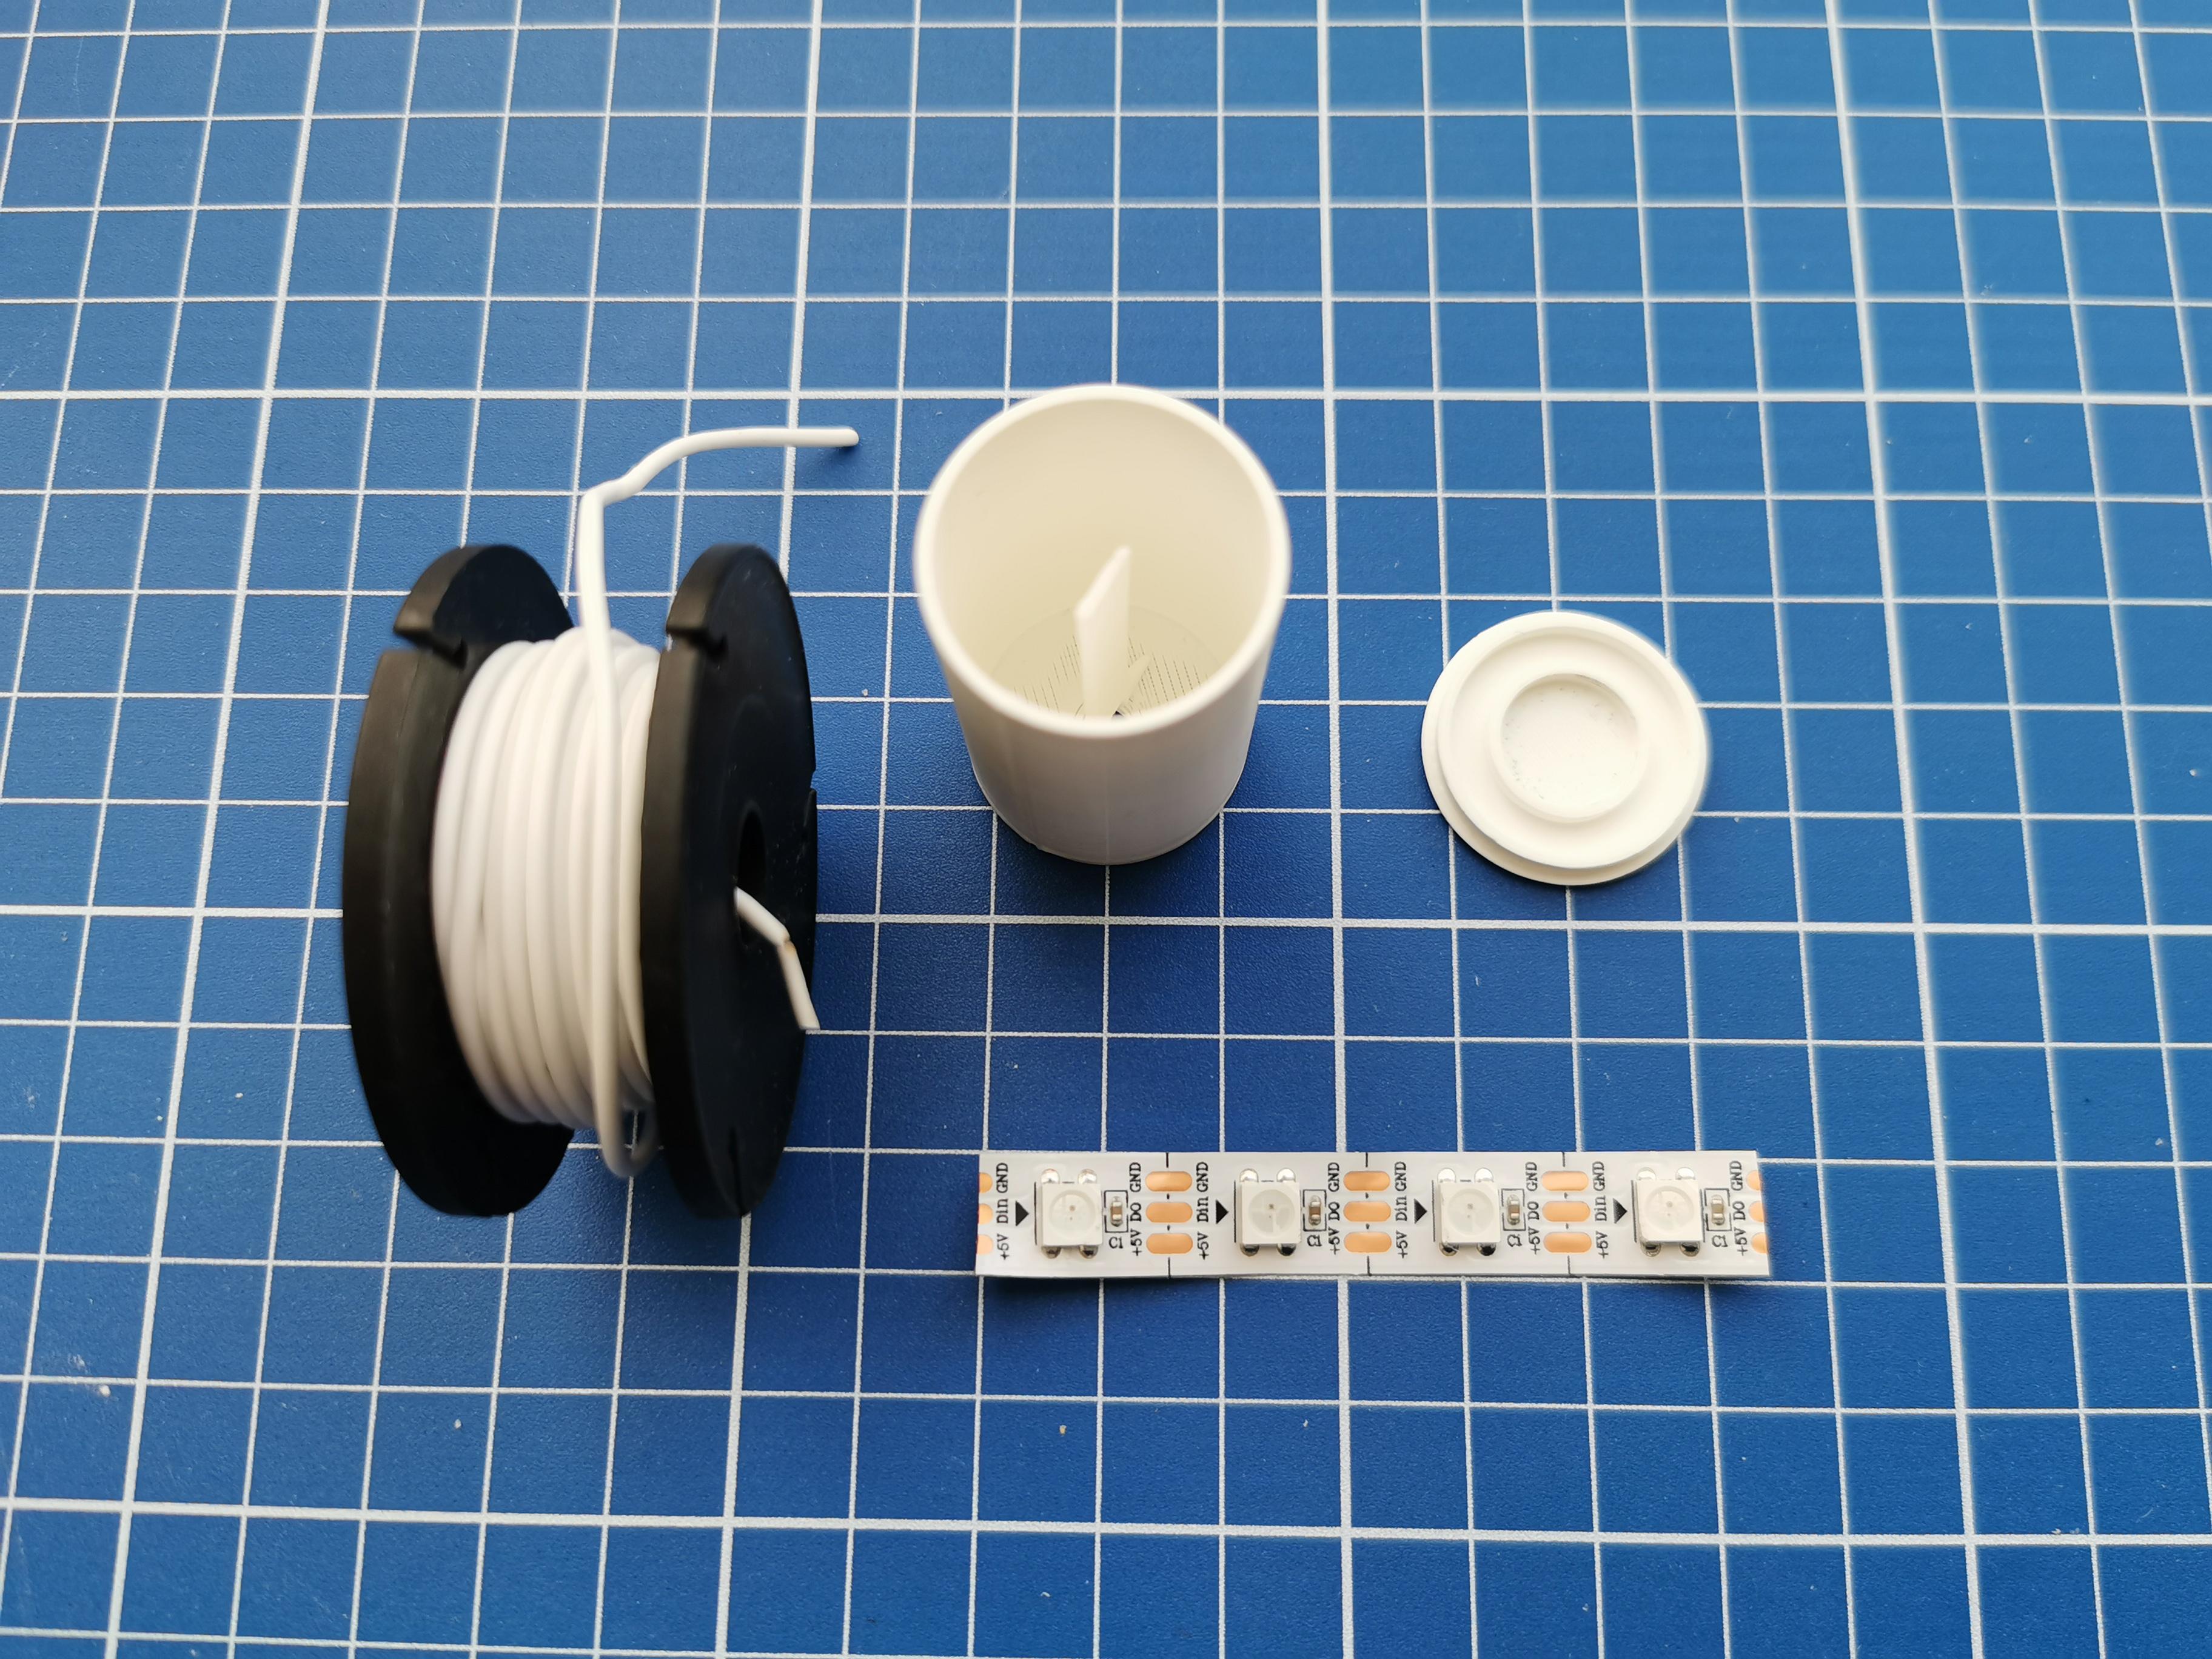
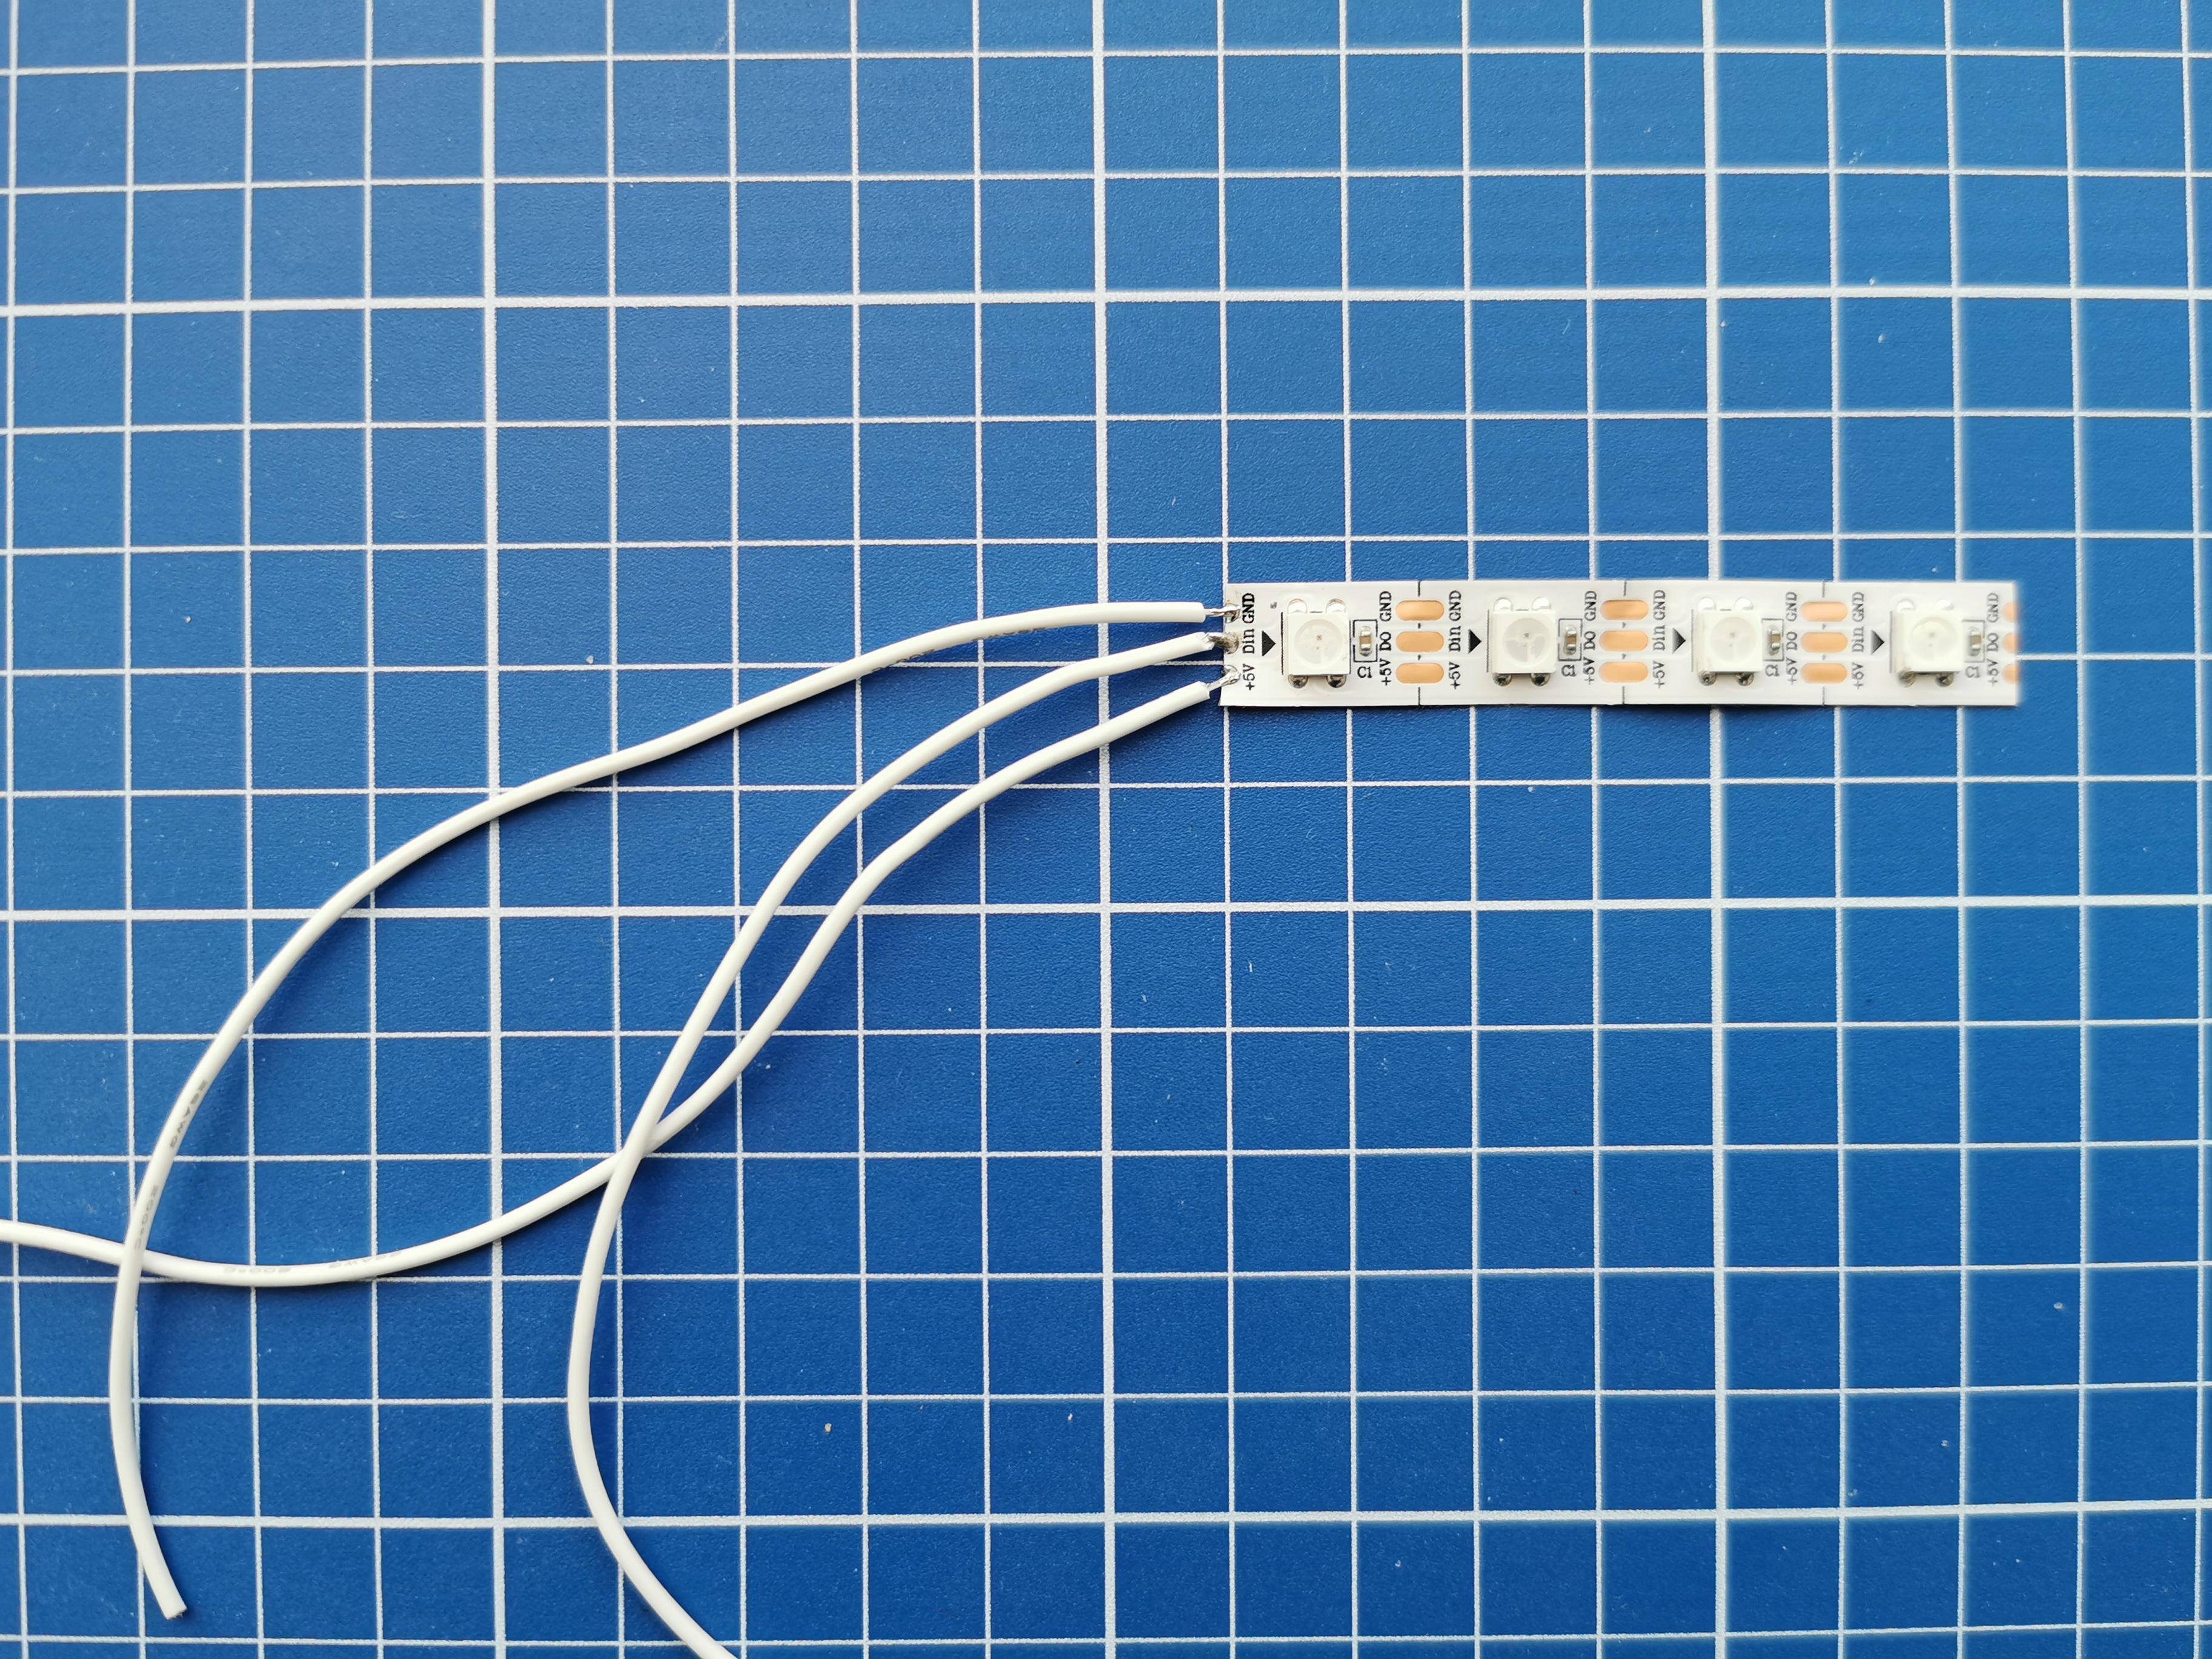
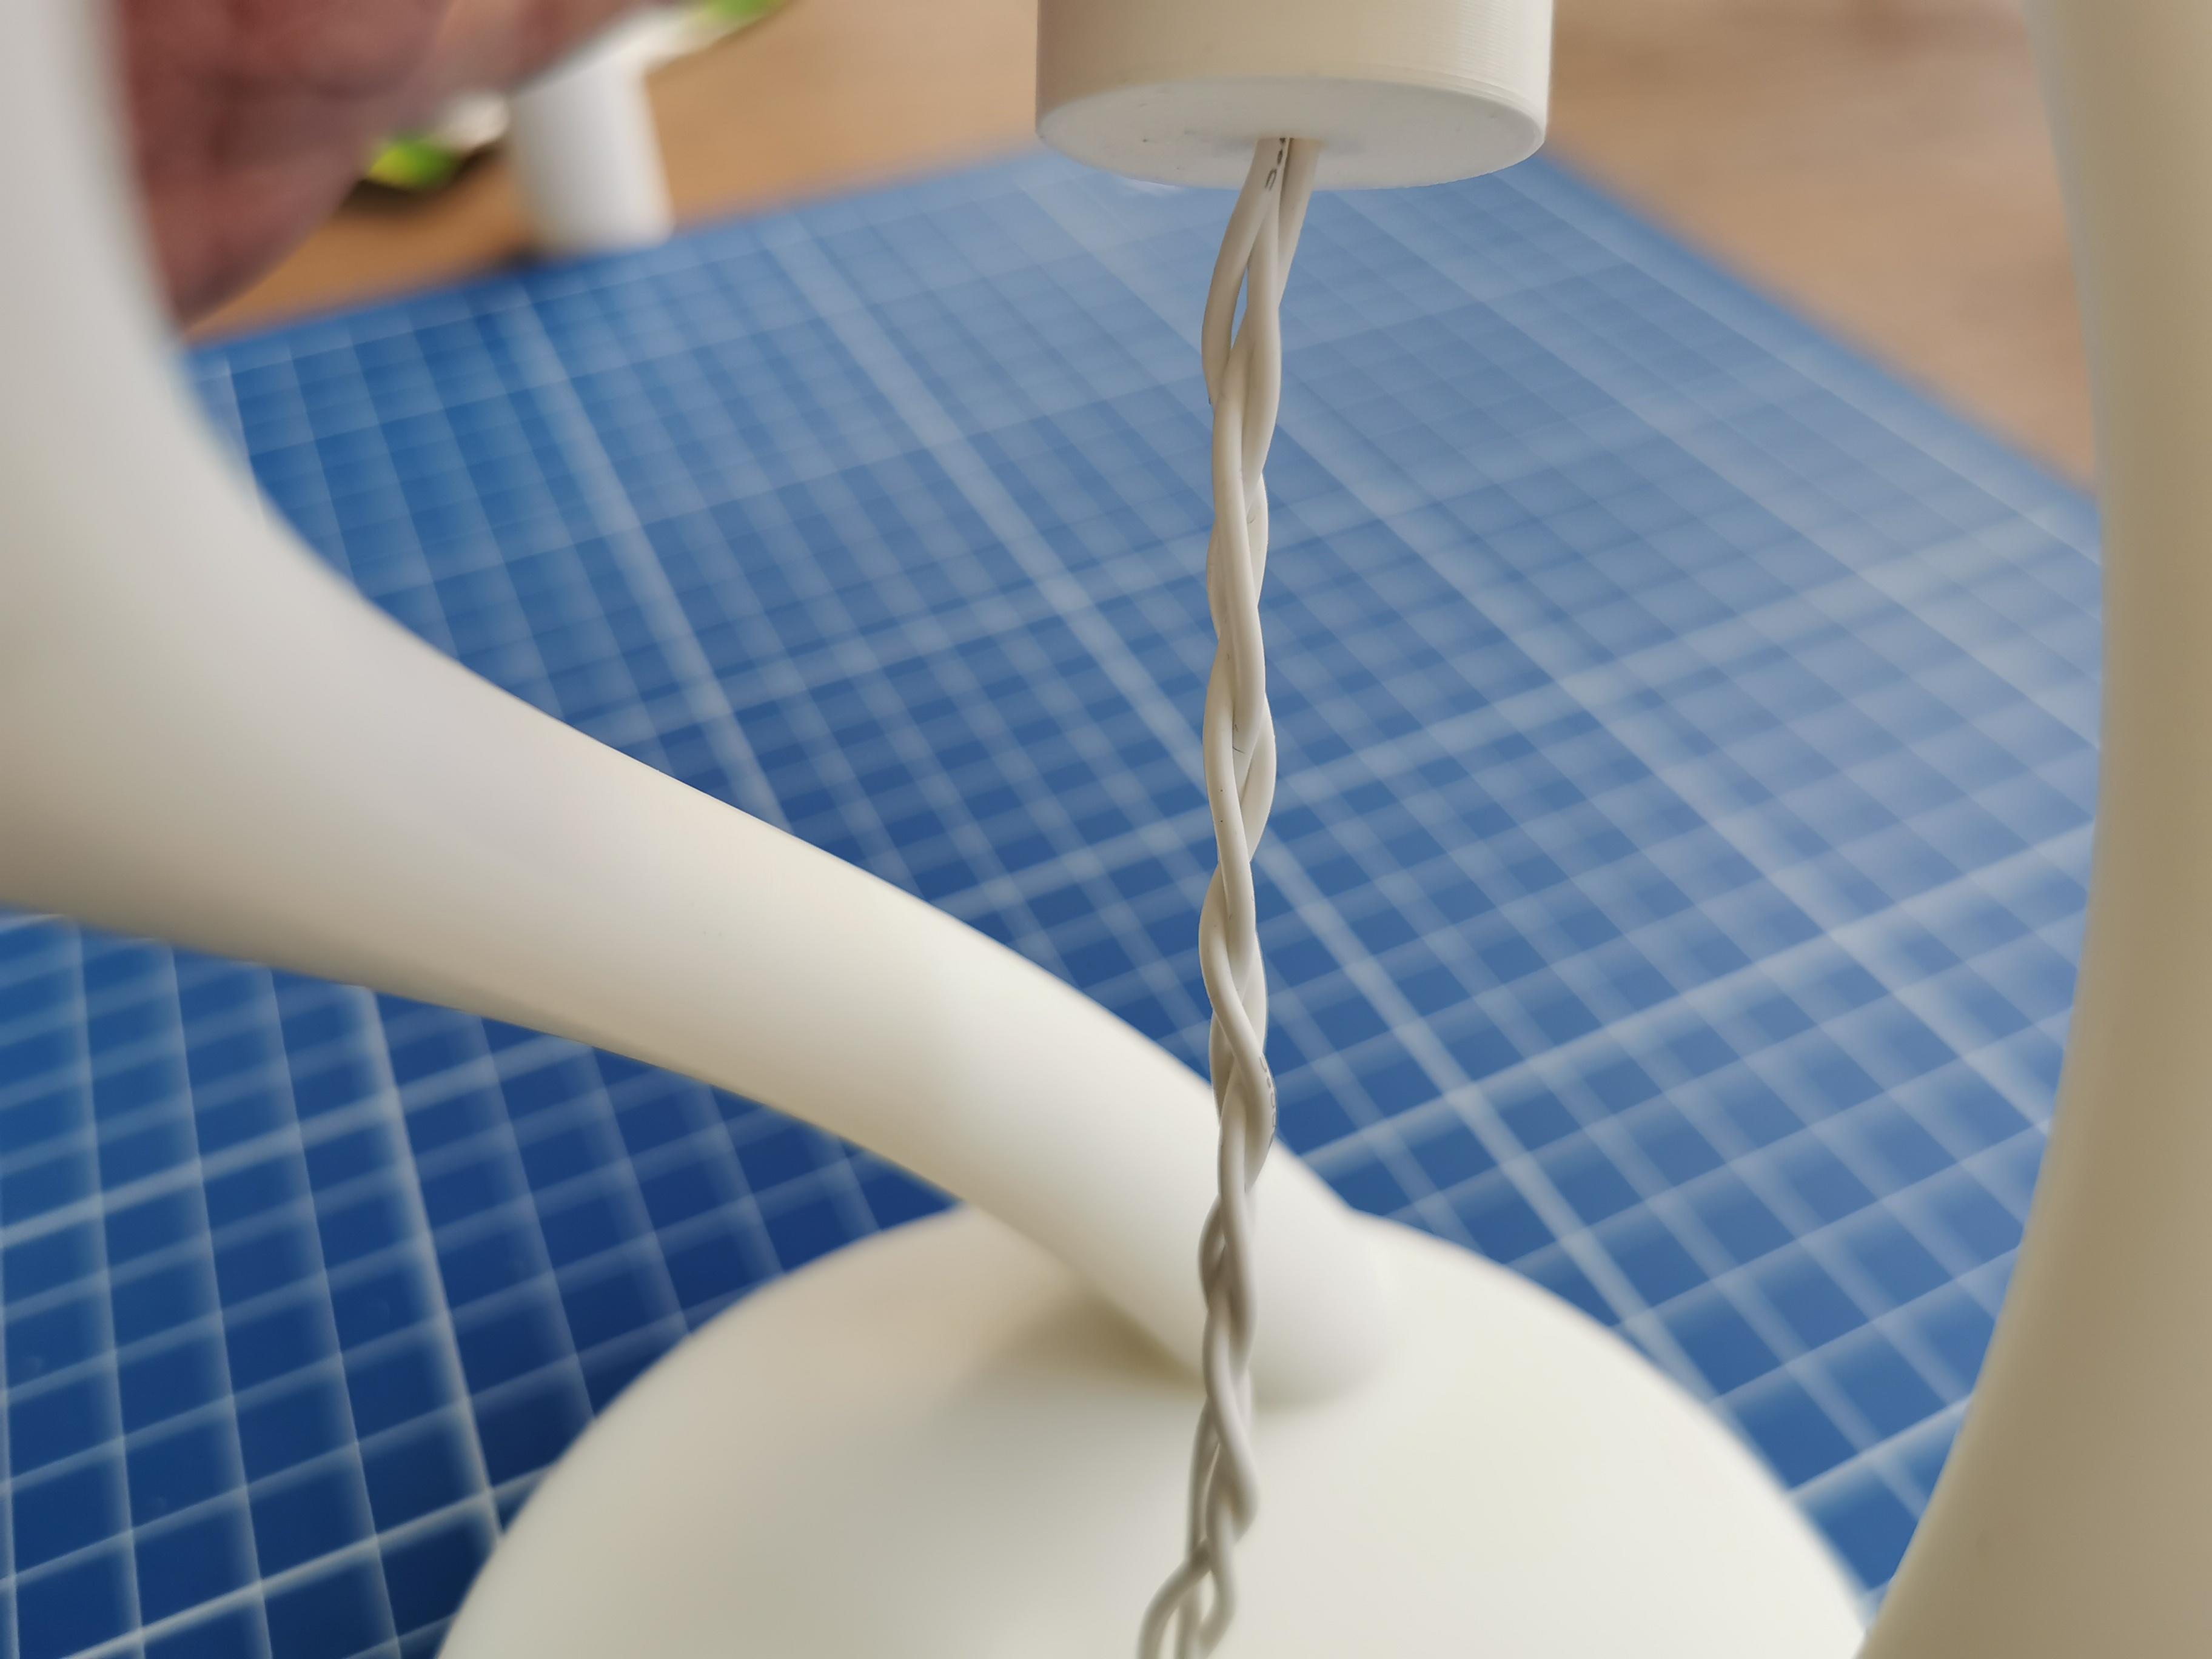
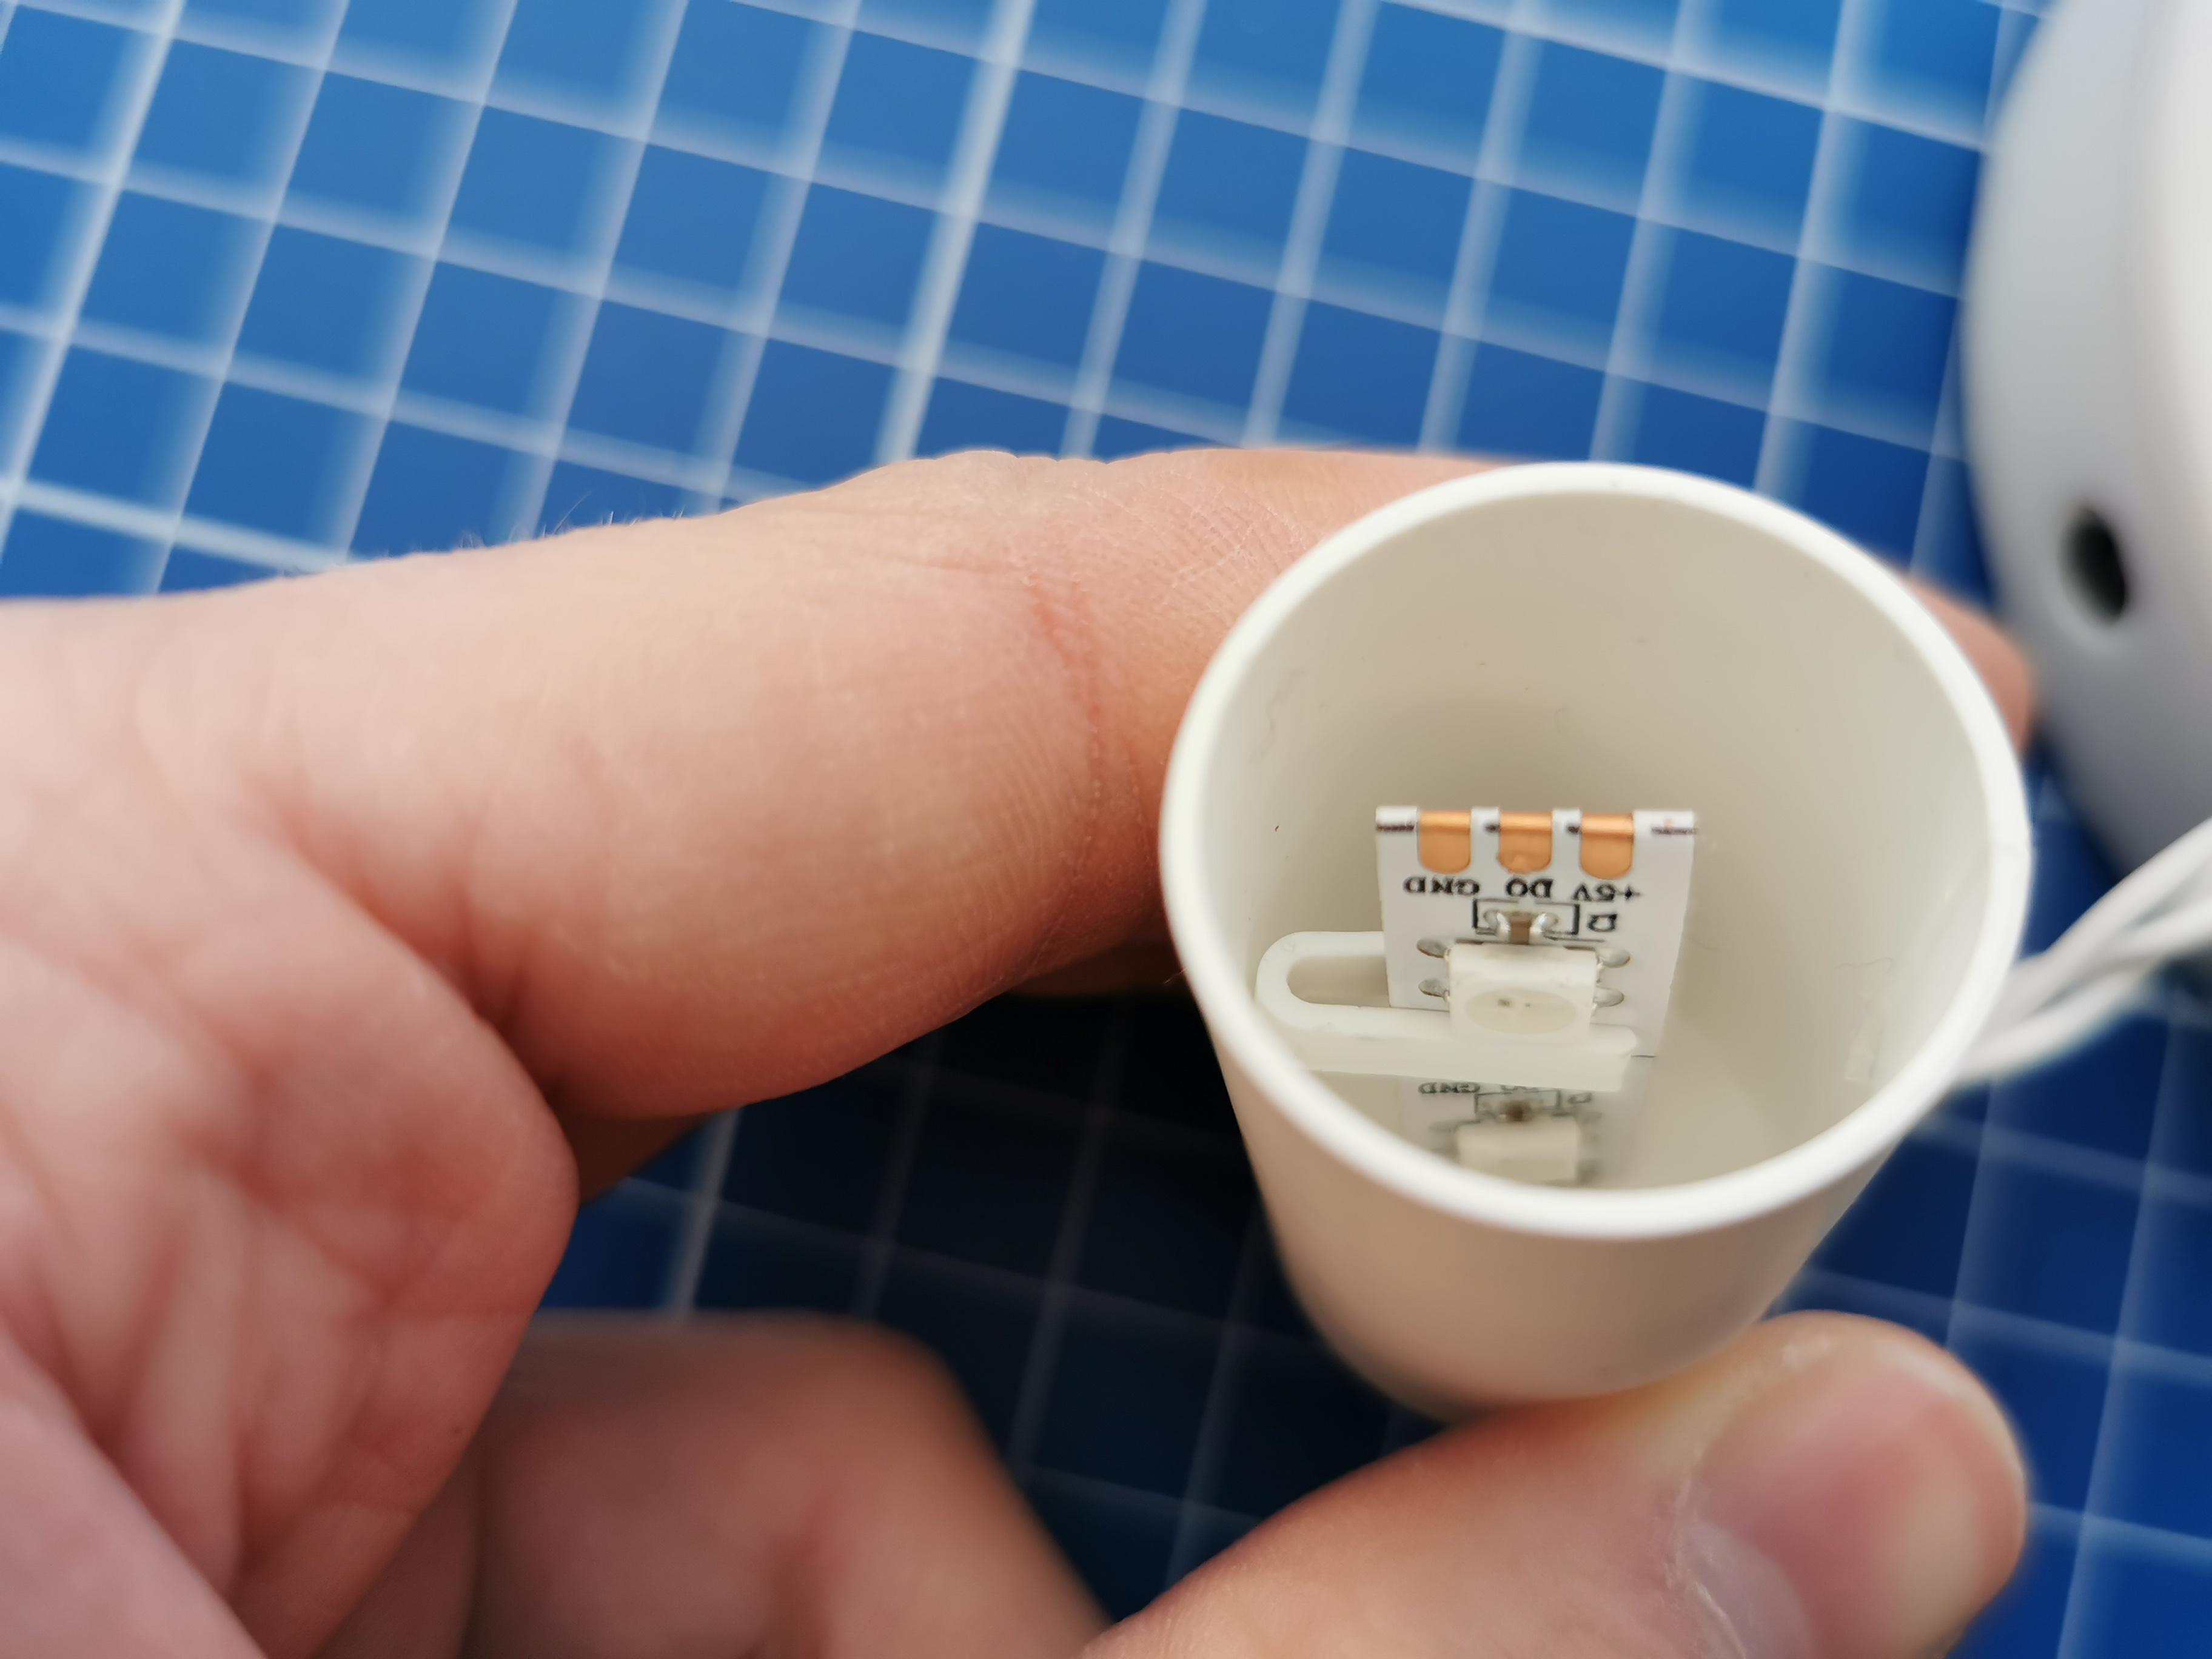
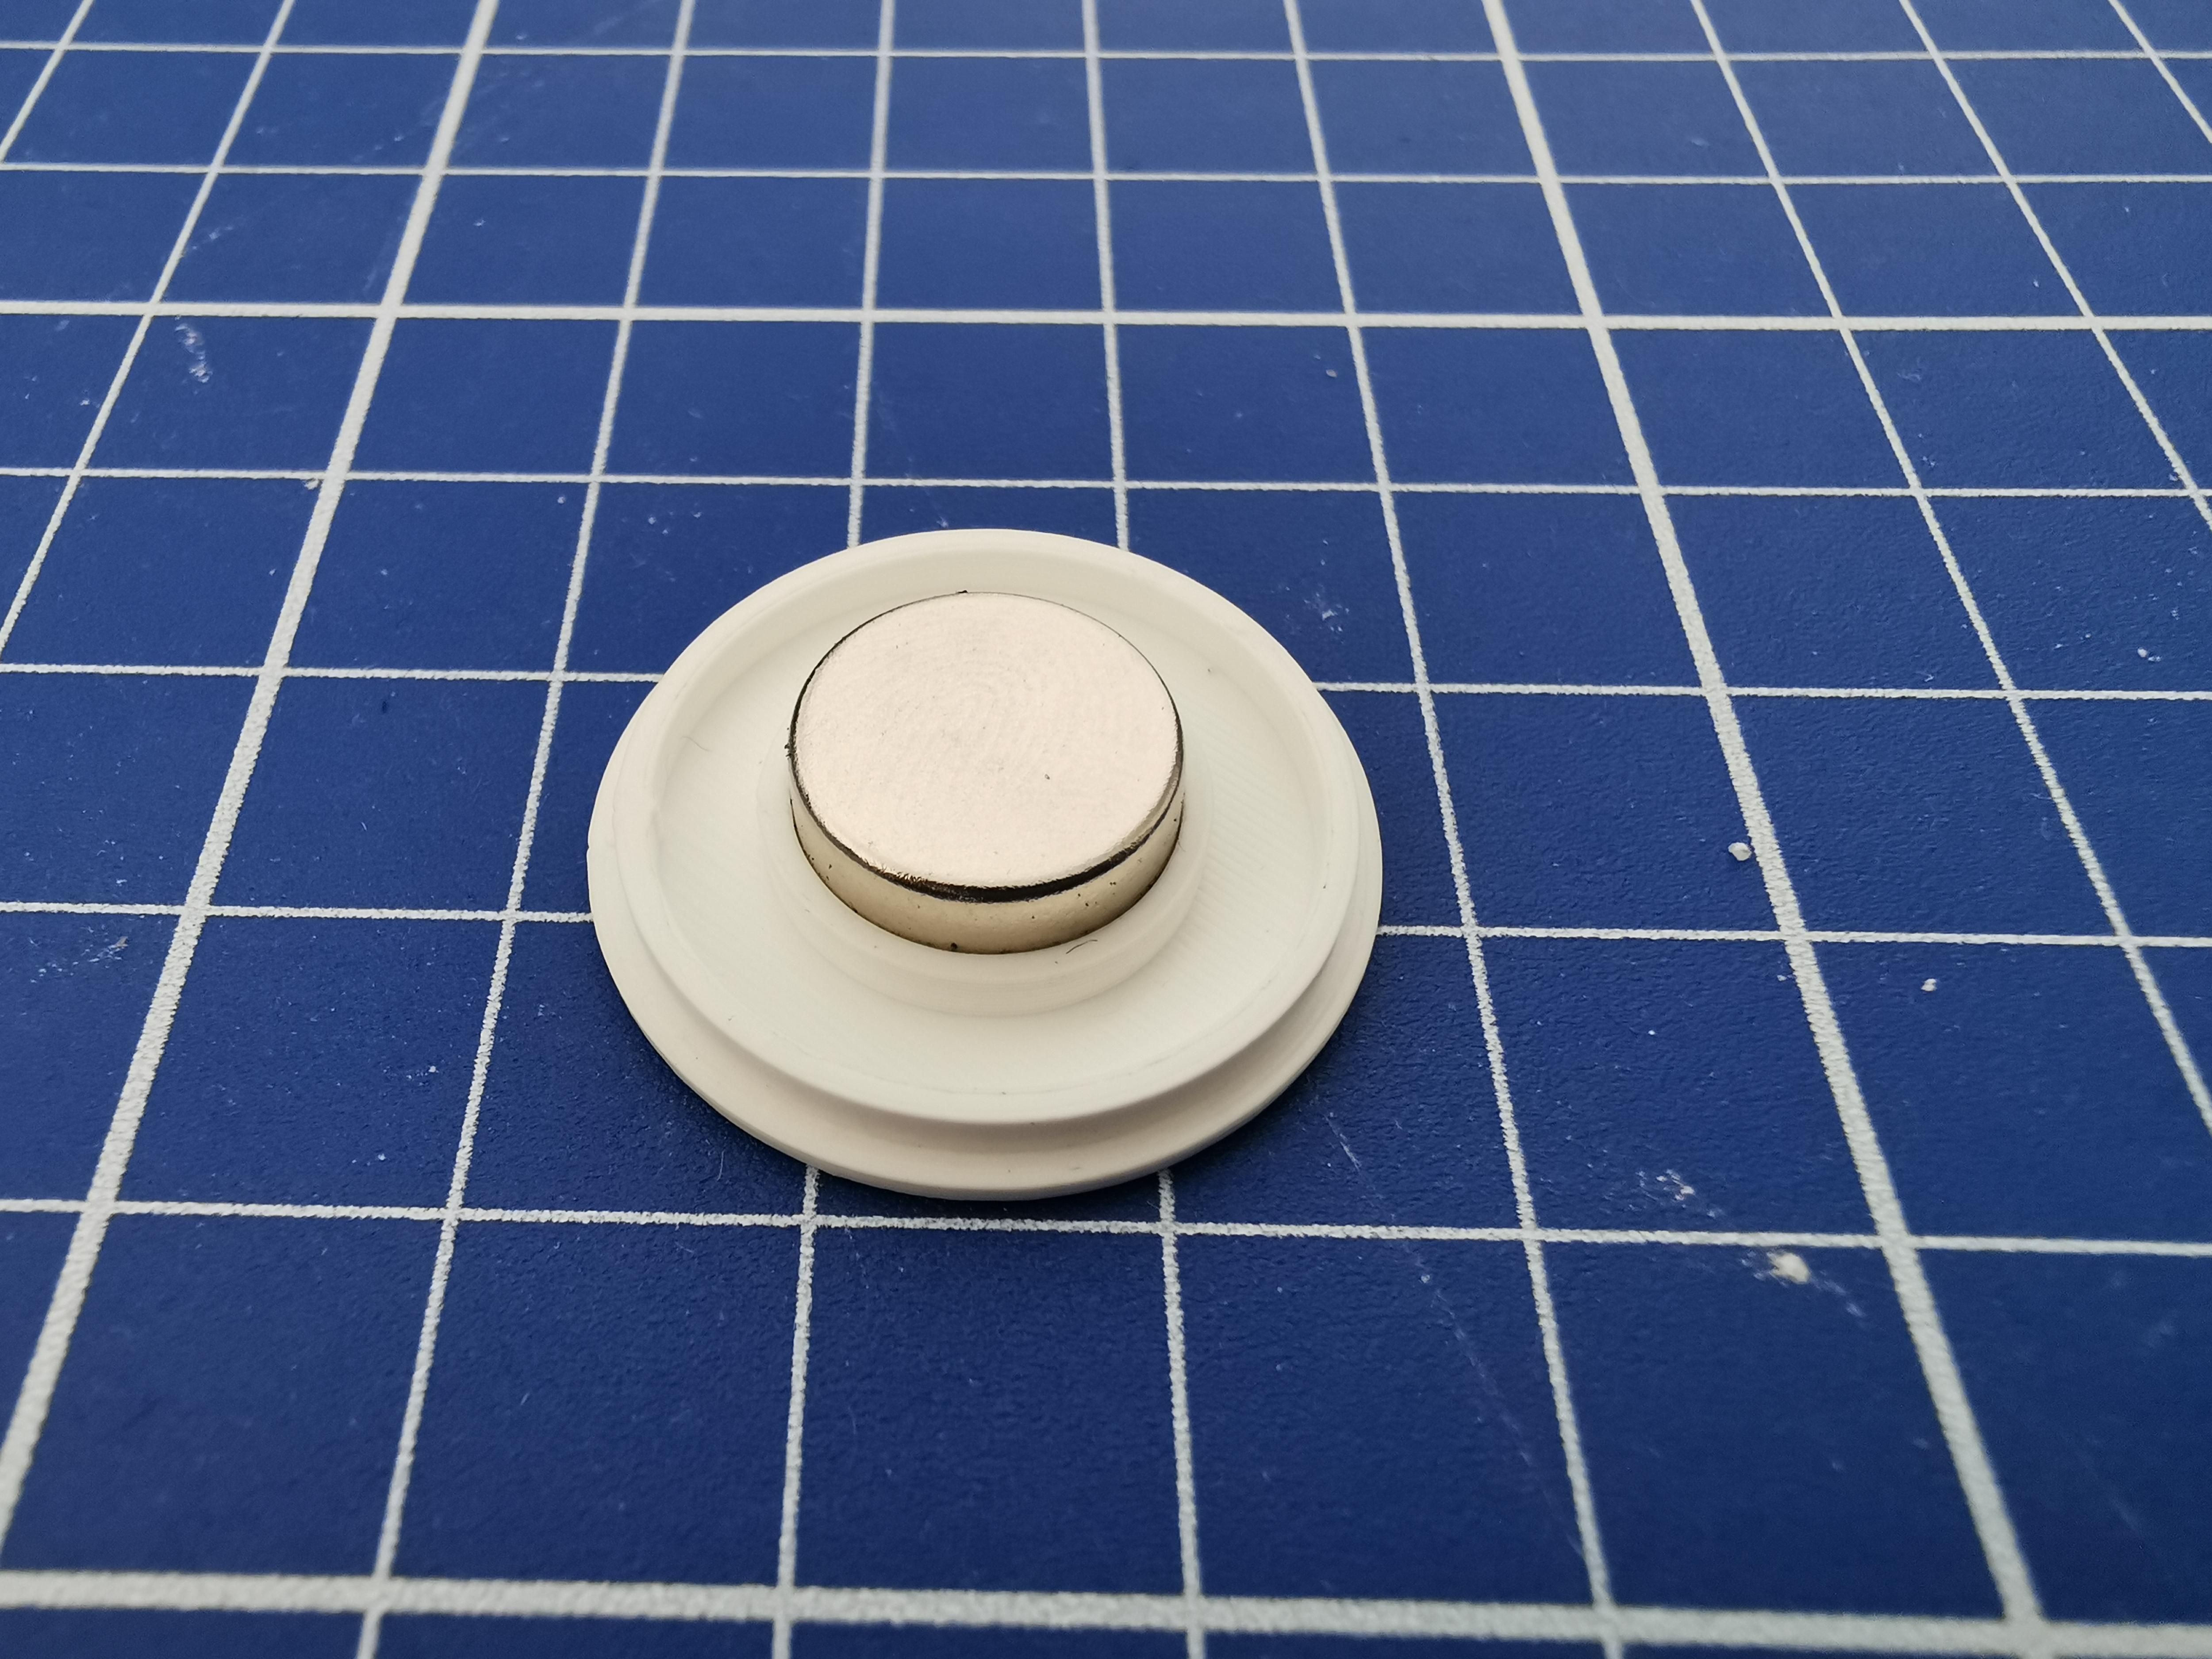
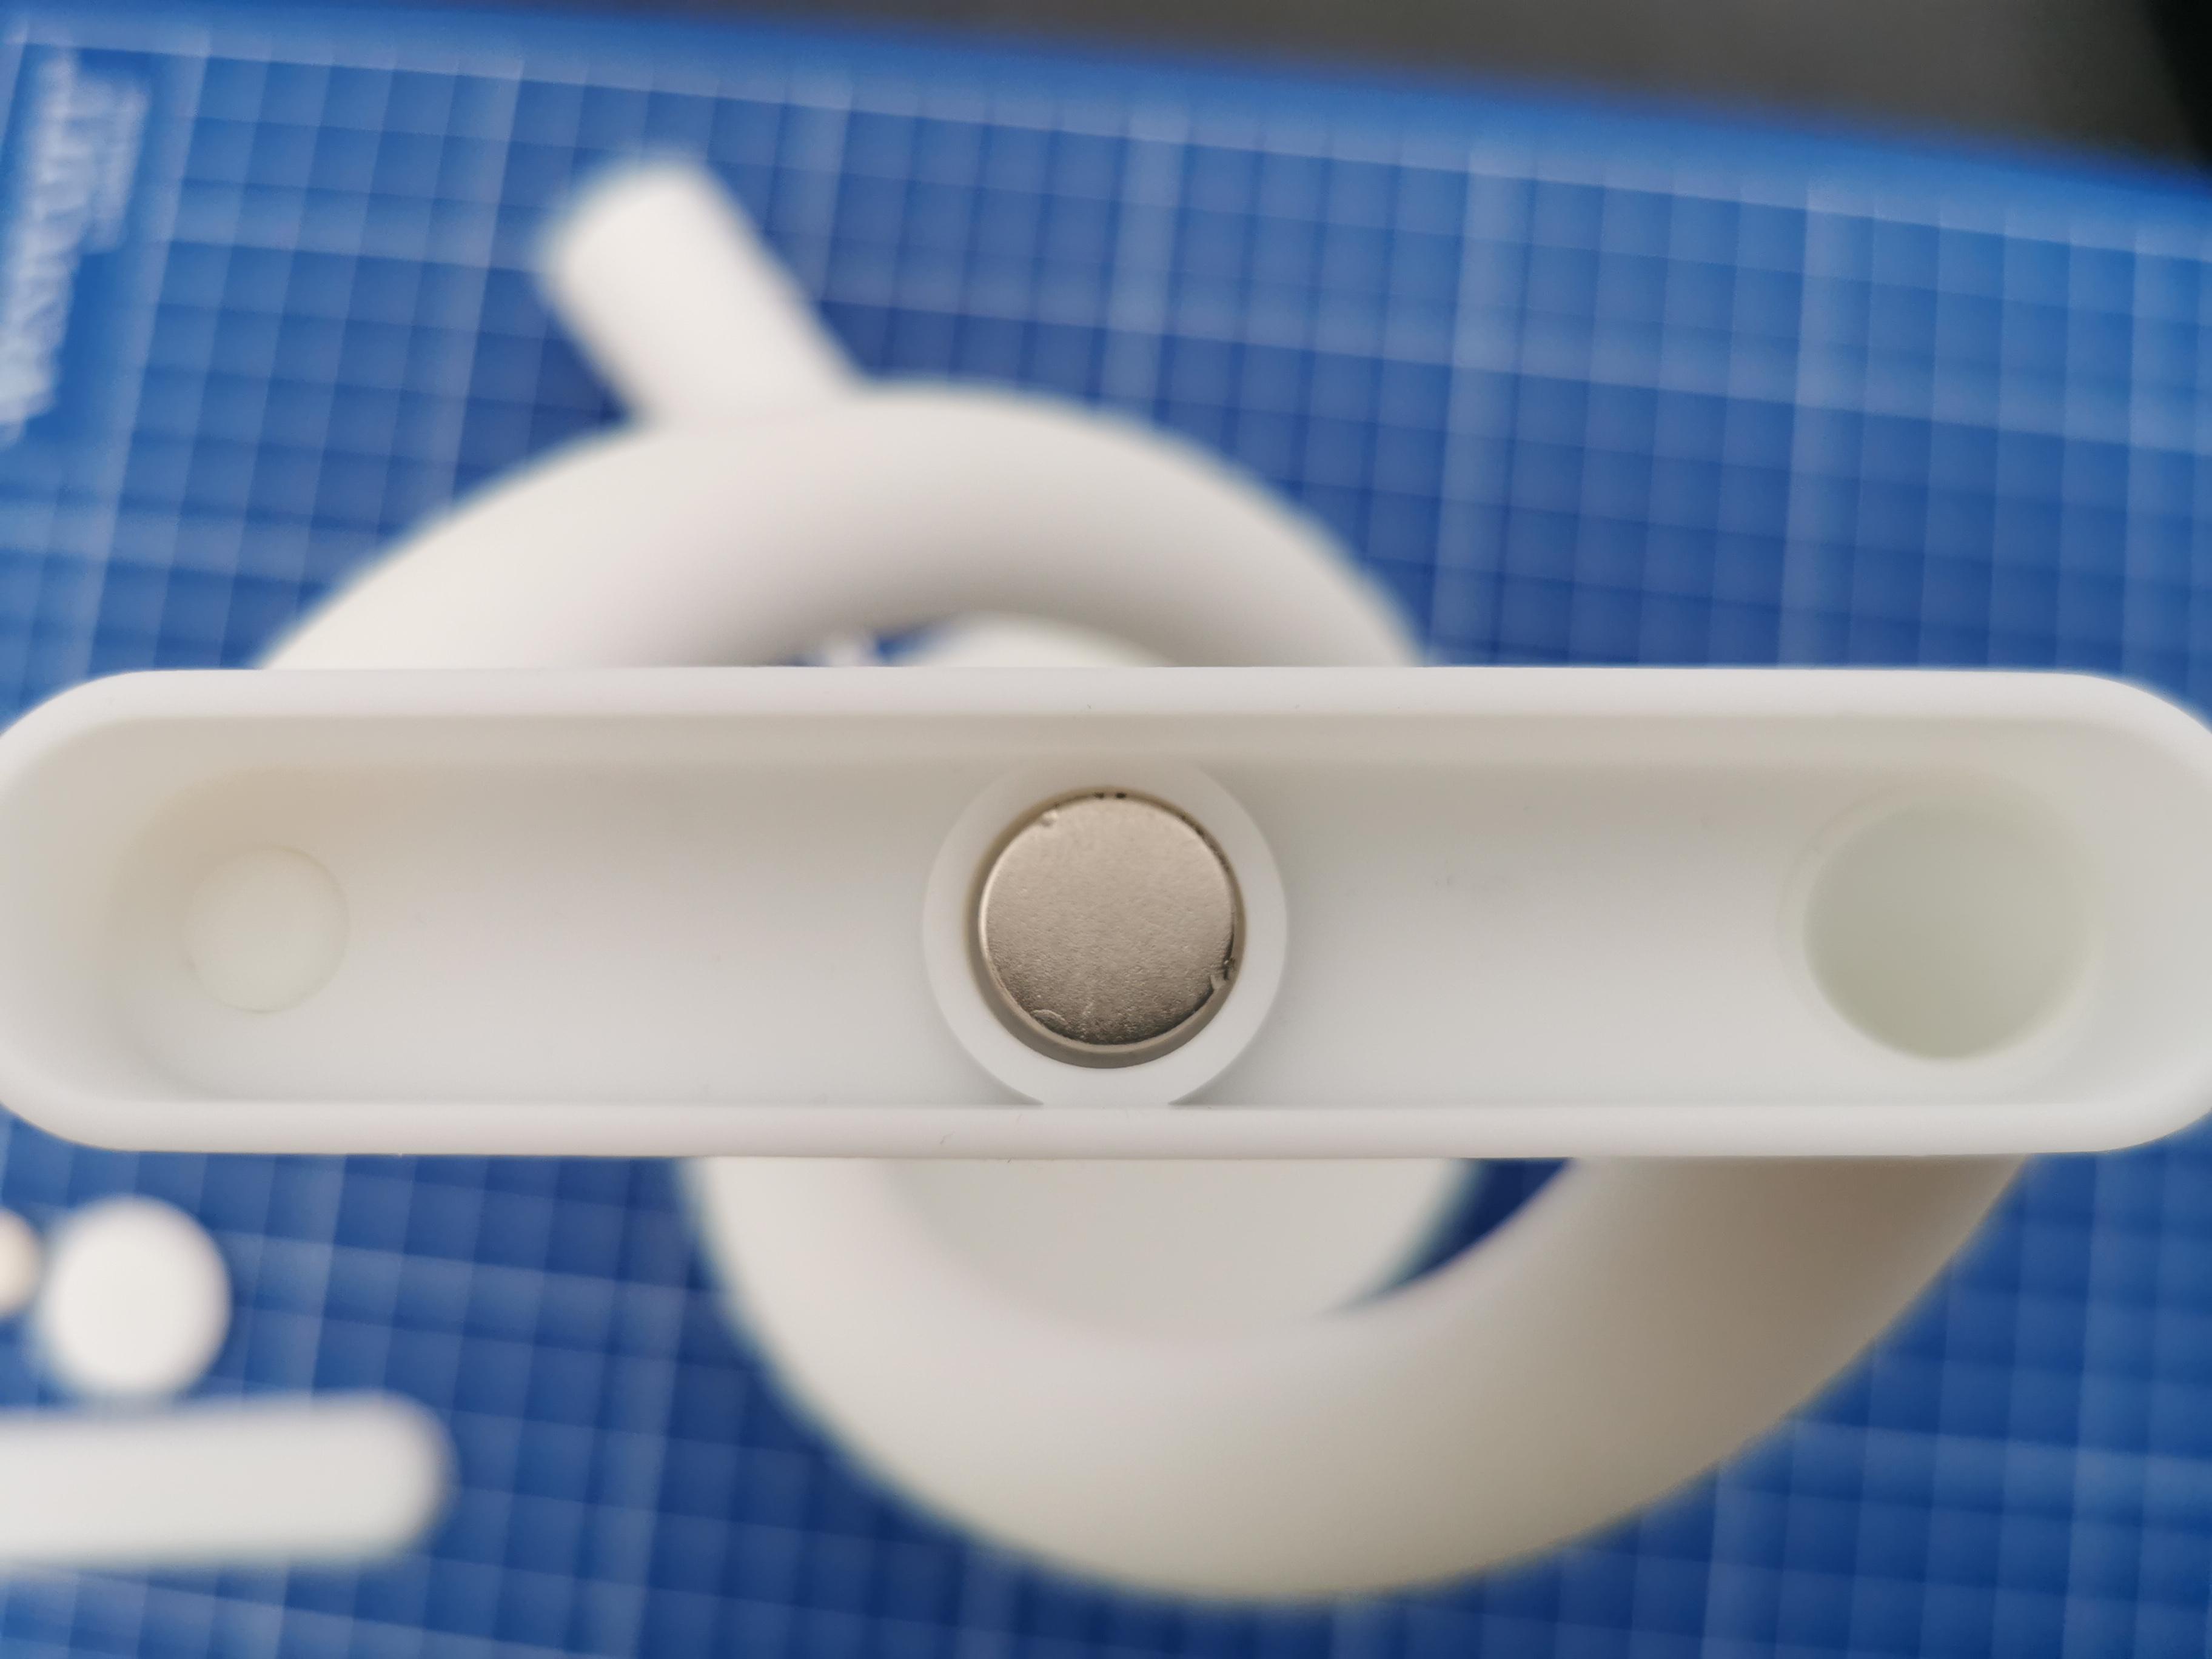
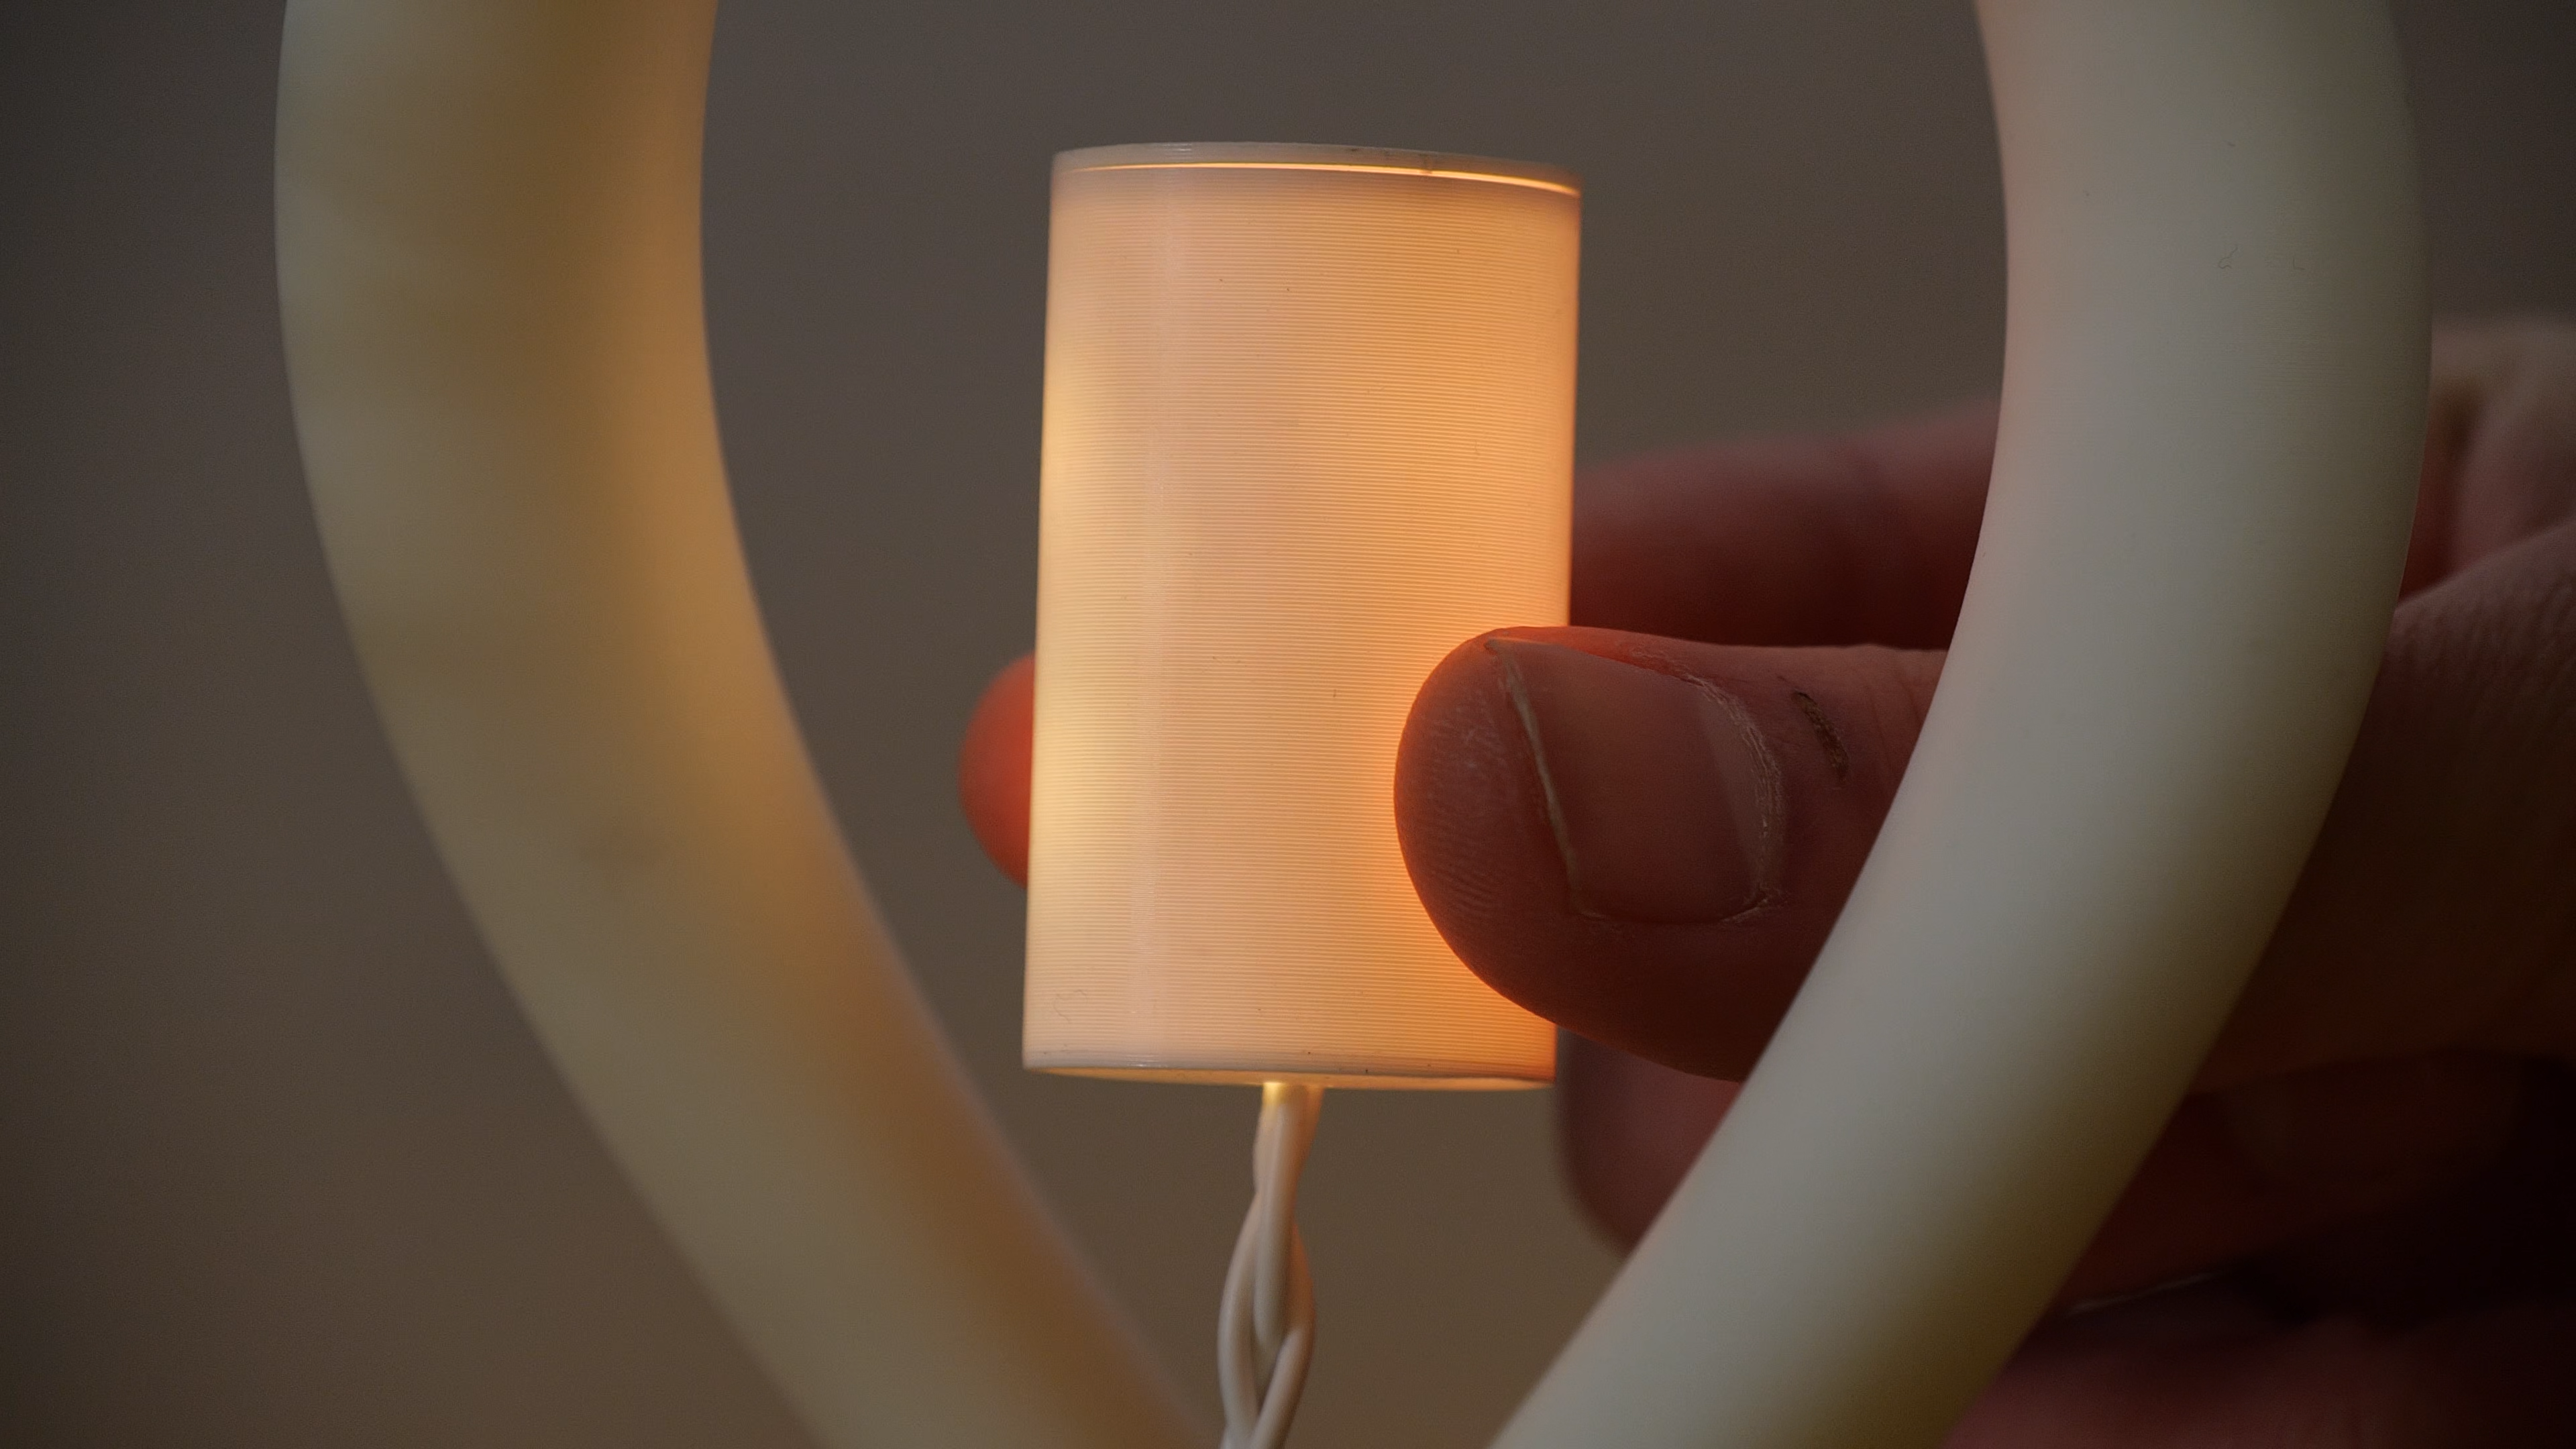
You will need 3 wires going from the LEDs to the base of the lamp. This bit is the hardest of the whole build.
Preparation/Materials:
- Cut 3 wires with a length of 130mm (You have some room for trial and error)
- Cut a piece of the led strip that fits into the Diffusion body.
- Get your soldering Iron
- Get the Diffusion body, Diffusion top and the led clip.
Steps:
- First solder all the wires onto the led strip. I used for ecstatic looks only white wire. Make sure to mark the wires on the end so when you attach them to the Arduino you won't get confused.
- Pull the wires all the way through the little hole in the Diffusion body.
- Attach some glue to the inside of the led strip and put it (with tweezers) inside the Diffusion body. And if your LEDs don't wanna stay on the little piece inside the Diffusion body attach the led clip in the middle of the LEDs.
- Braid the wires for an esthetic look.
- Place a magnet into the Diffusion top.
Preparing Power Input
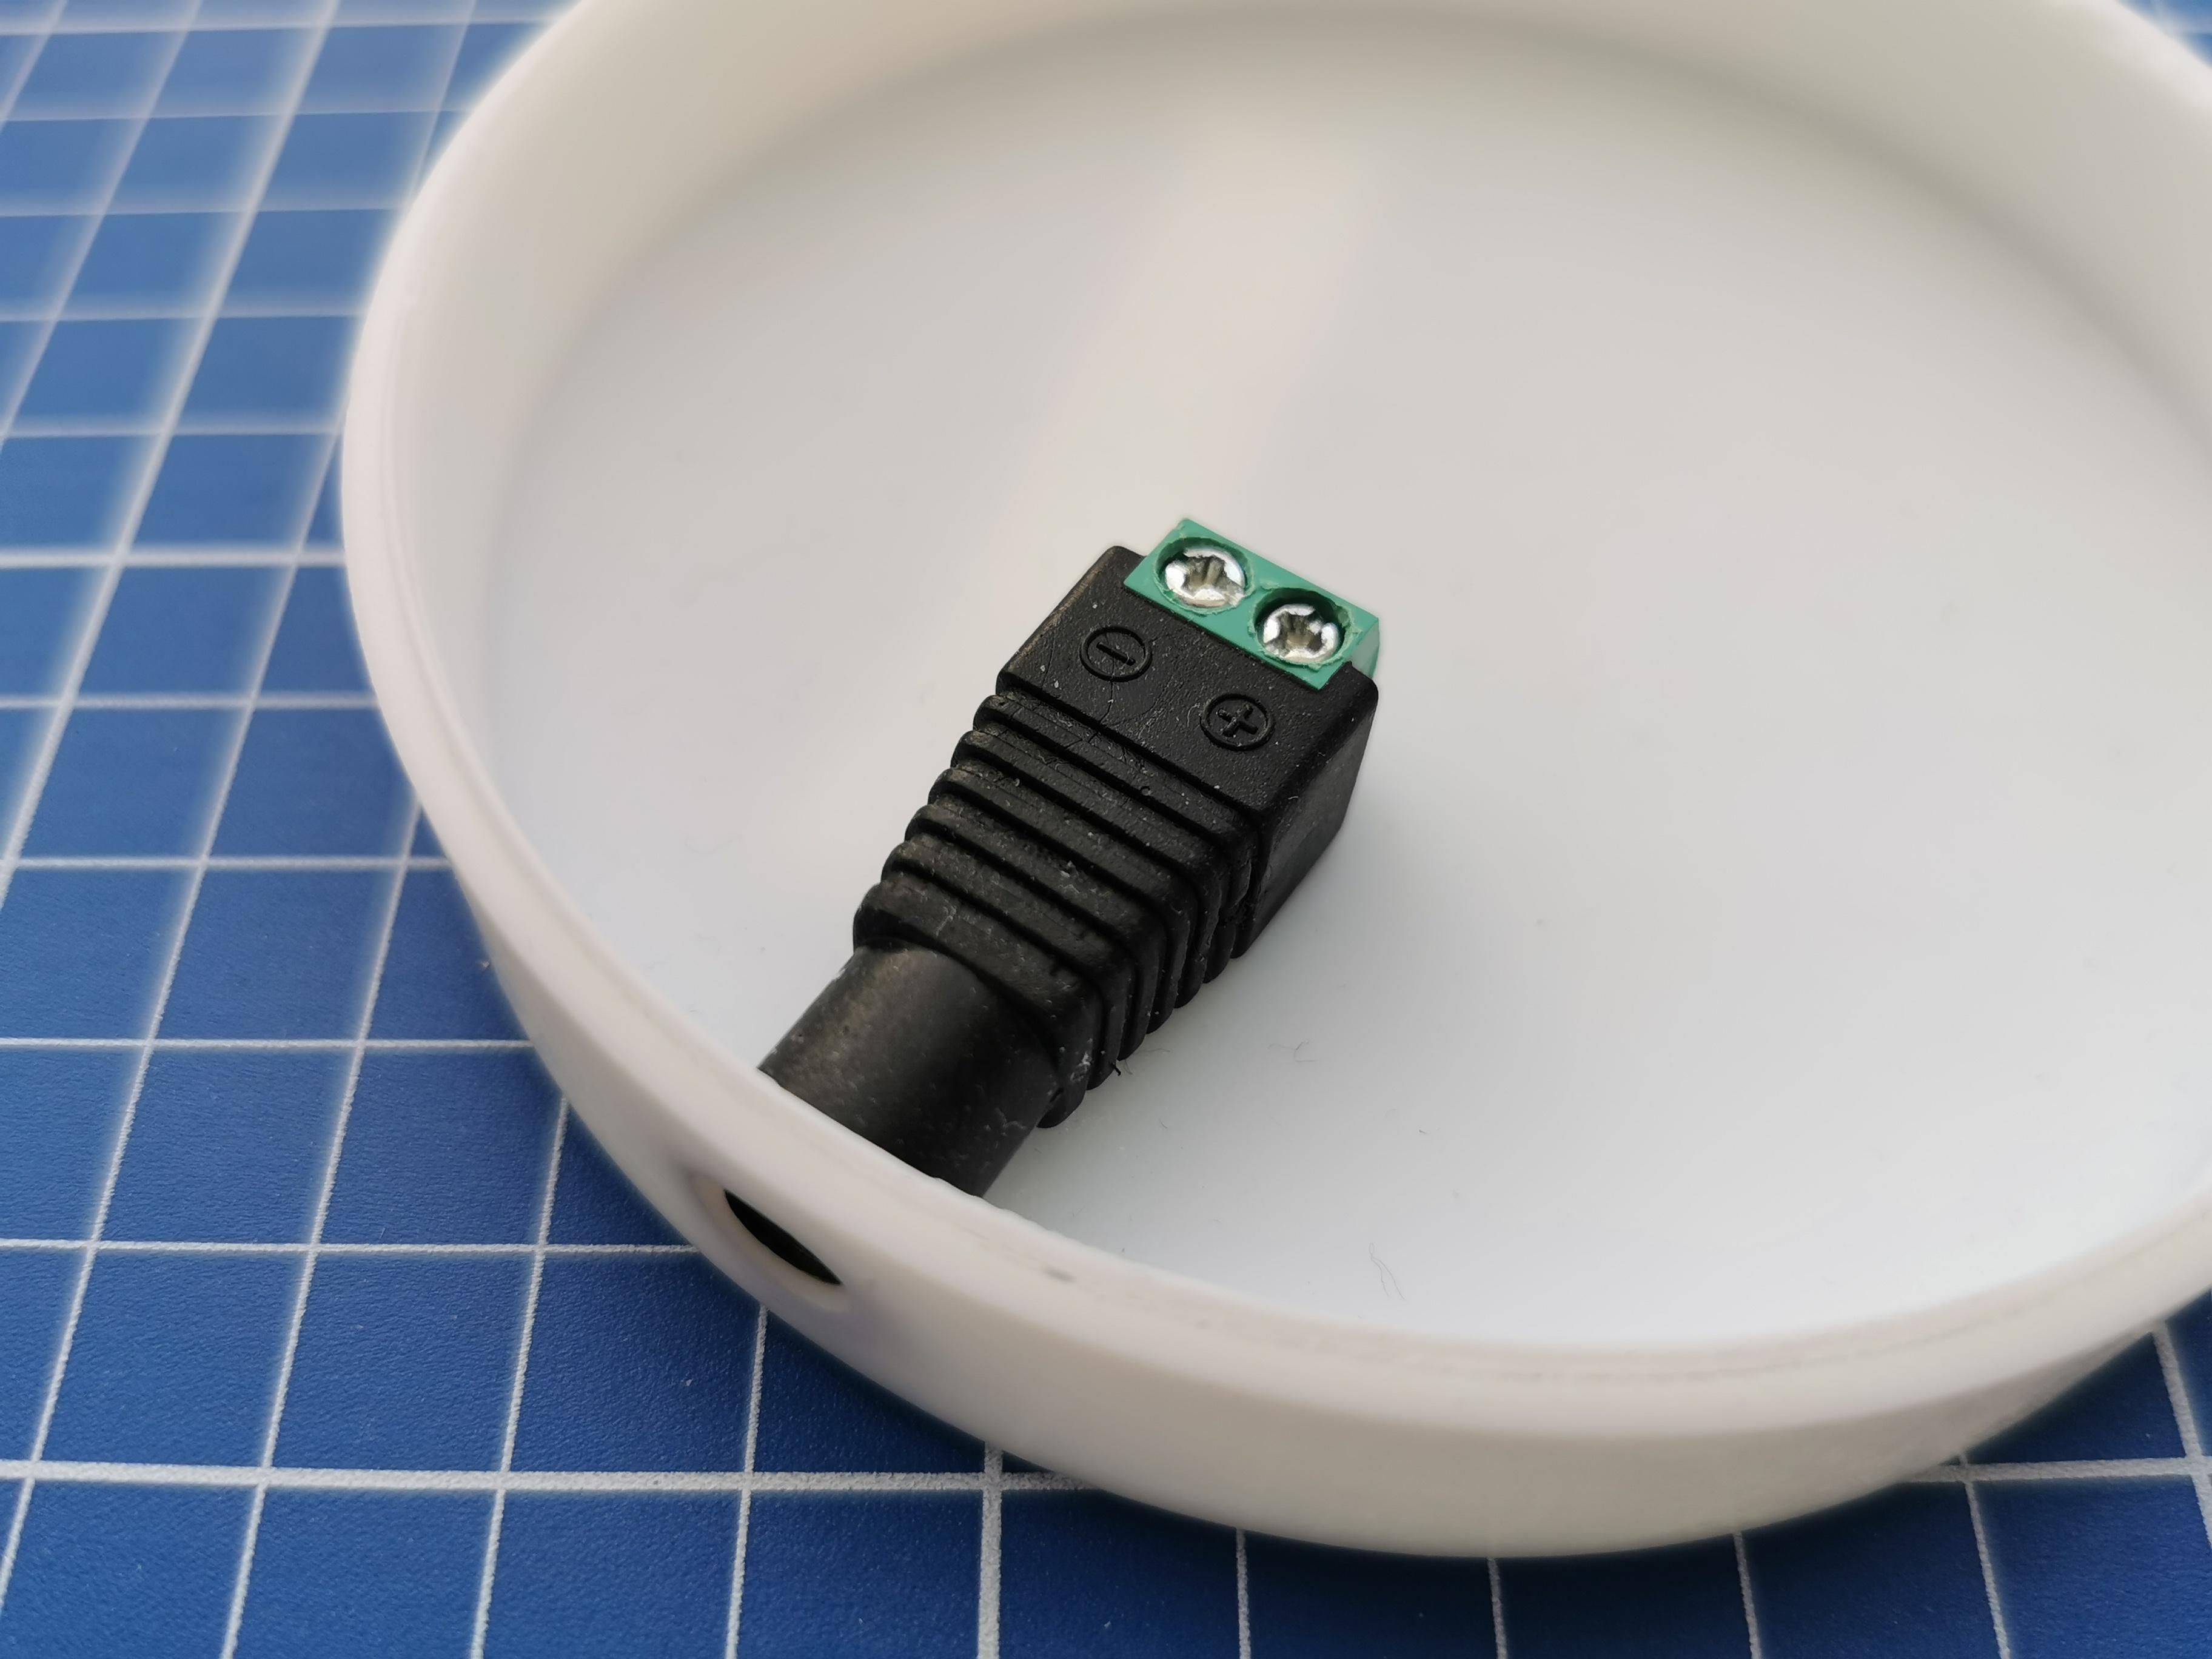
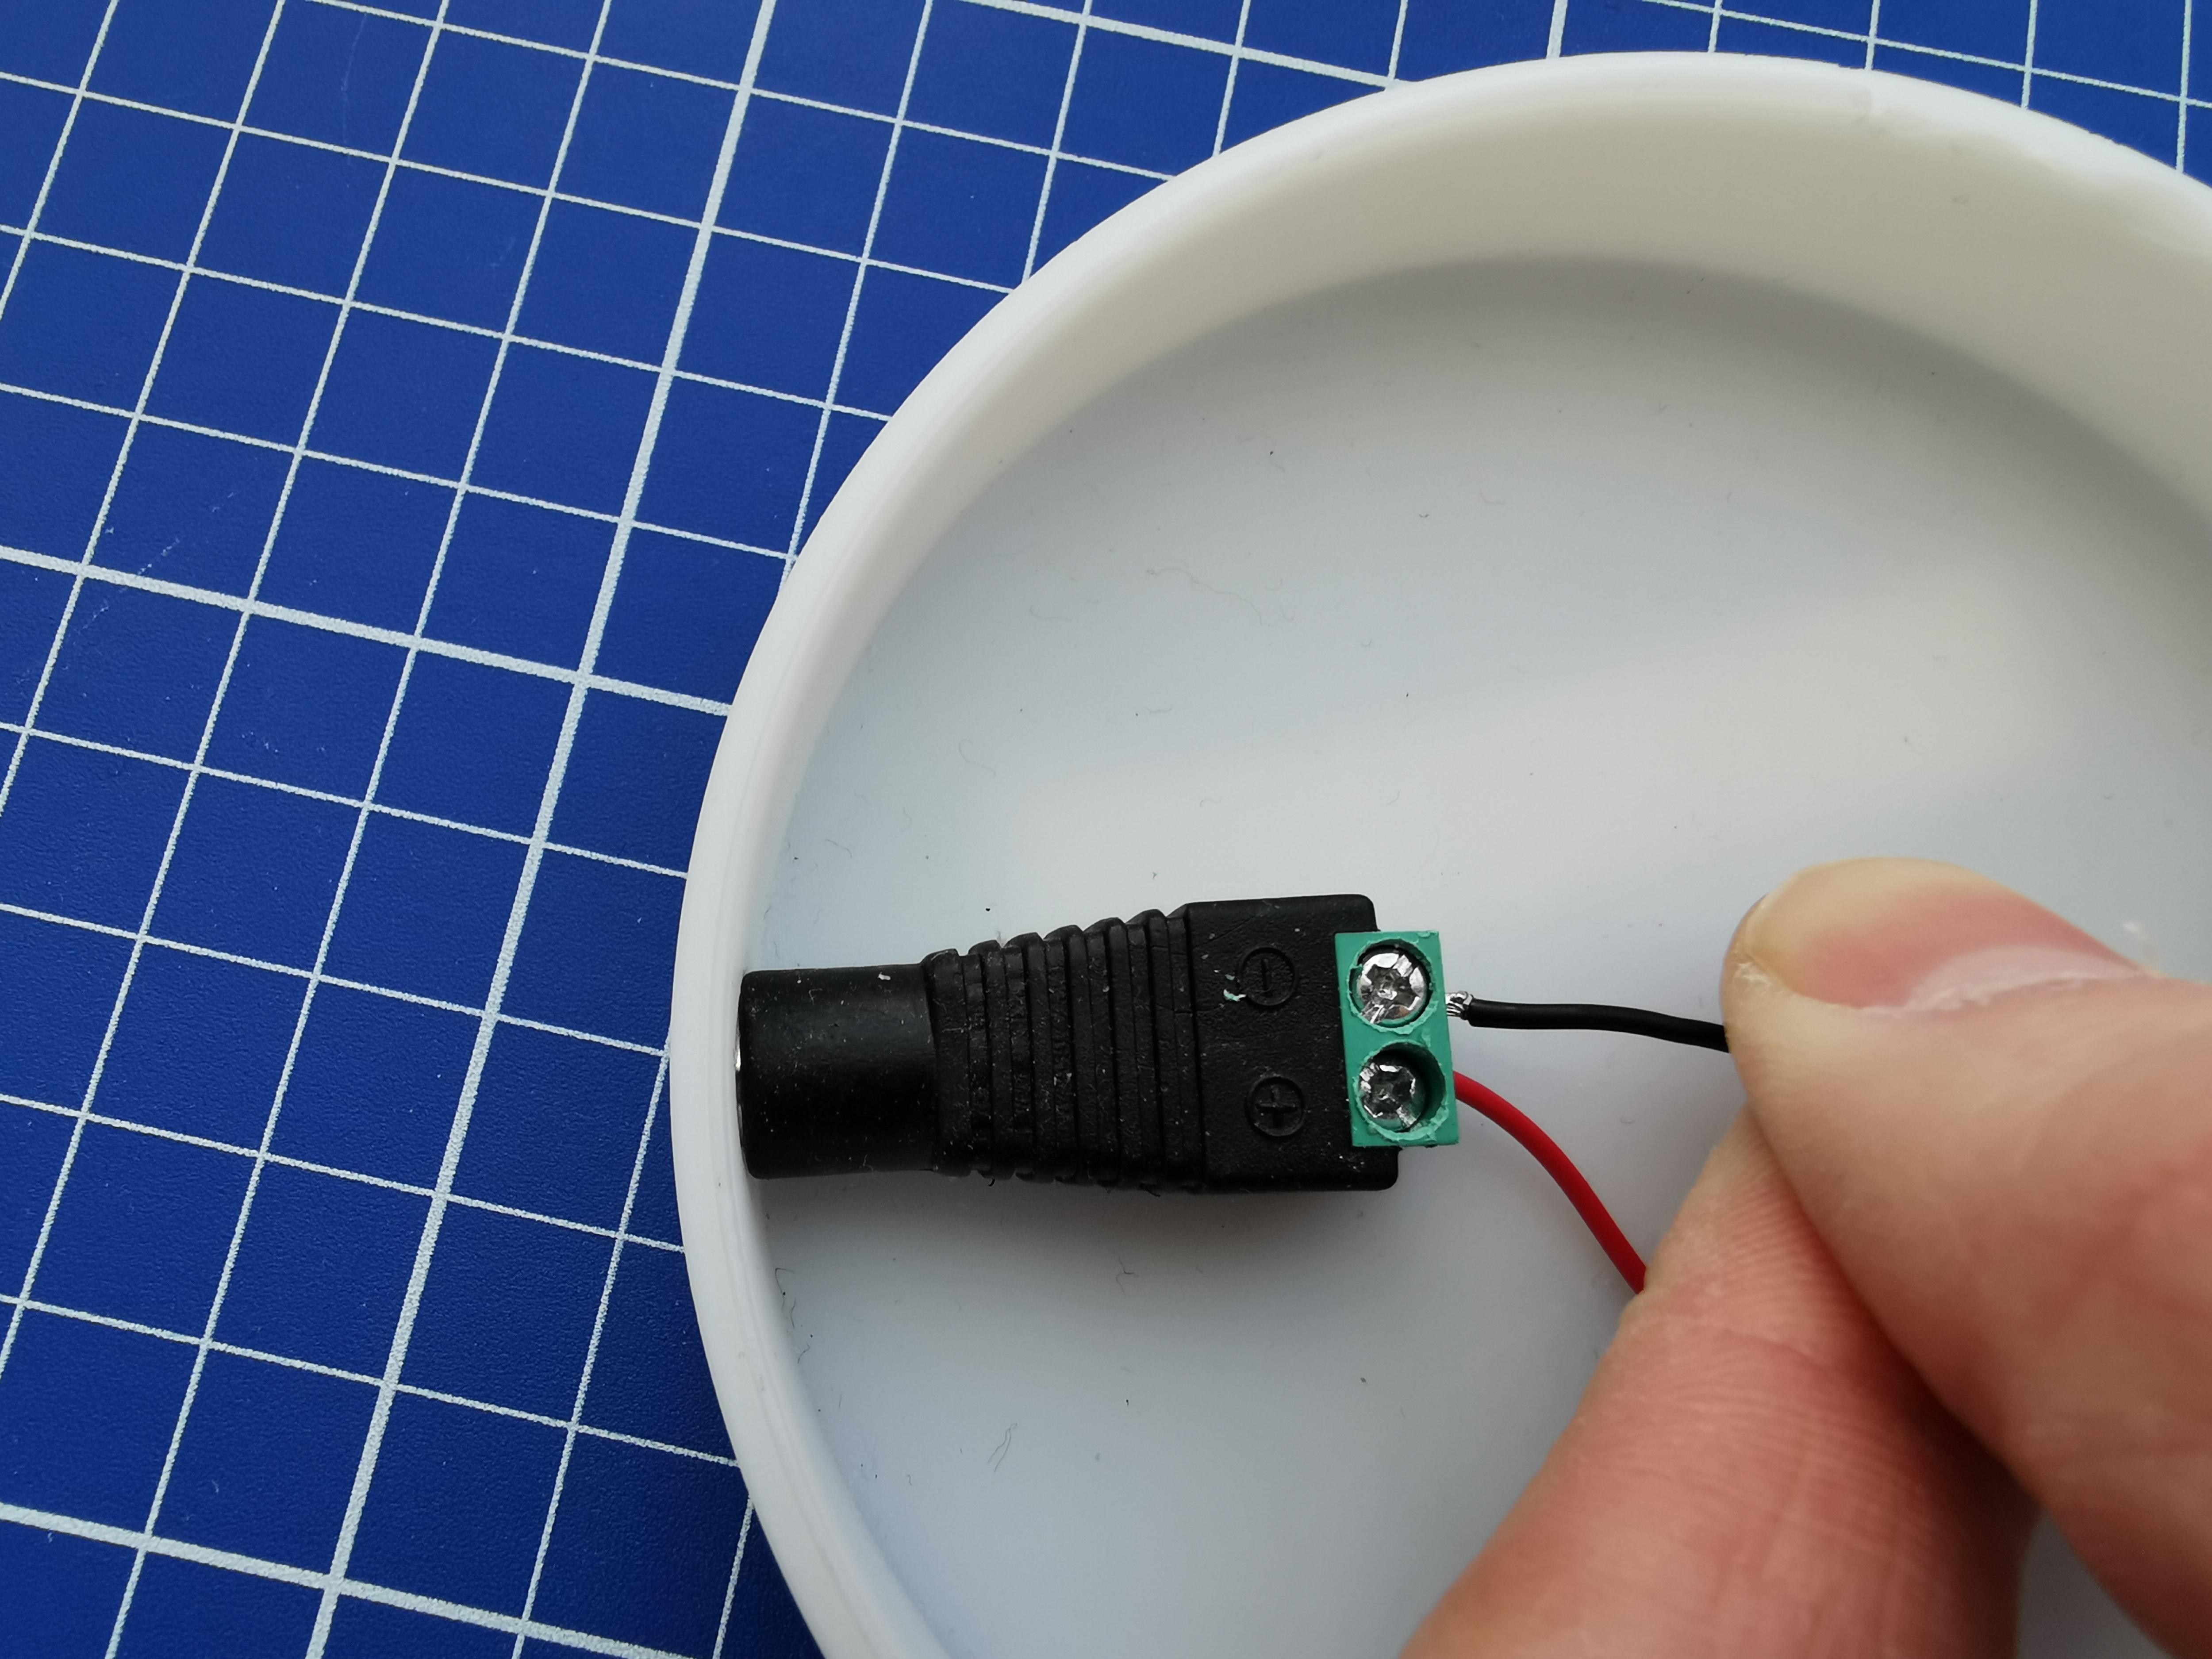
You can also choose to do this with batteries, a power bank, or something else. This is what I found to be the best for me.
Preparation/Materials:
- Hot glue/Superglue
- Female powerjack connector
- Lamp underside
- Red and Black cables
Steps:
- Glue the power jack connector to the opening in the Lamp underside.
- The cables we will need to use in the Arduino soldering step.
Making Magnetic Switch
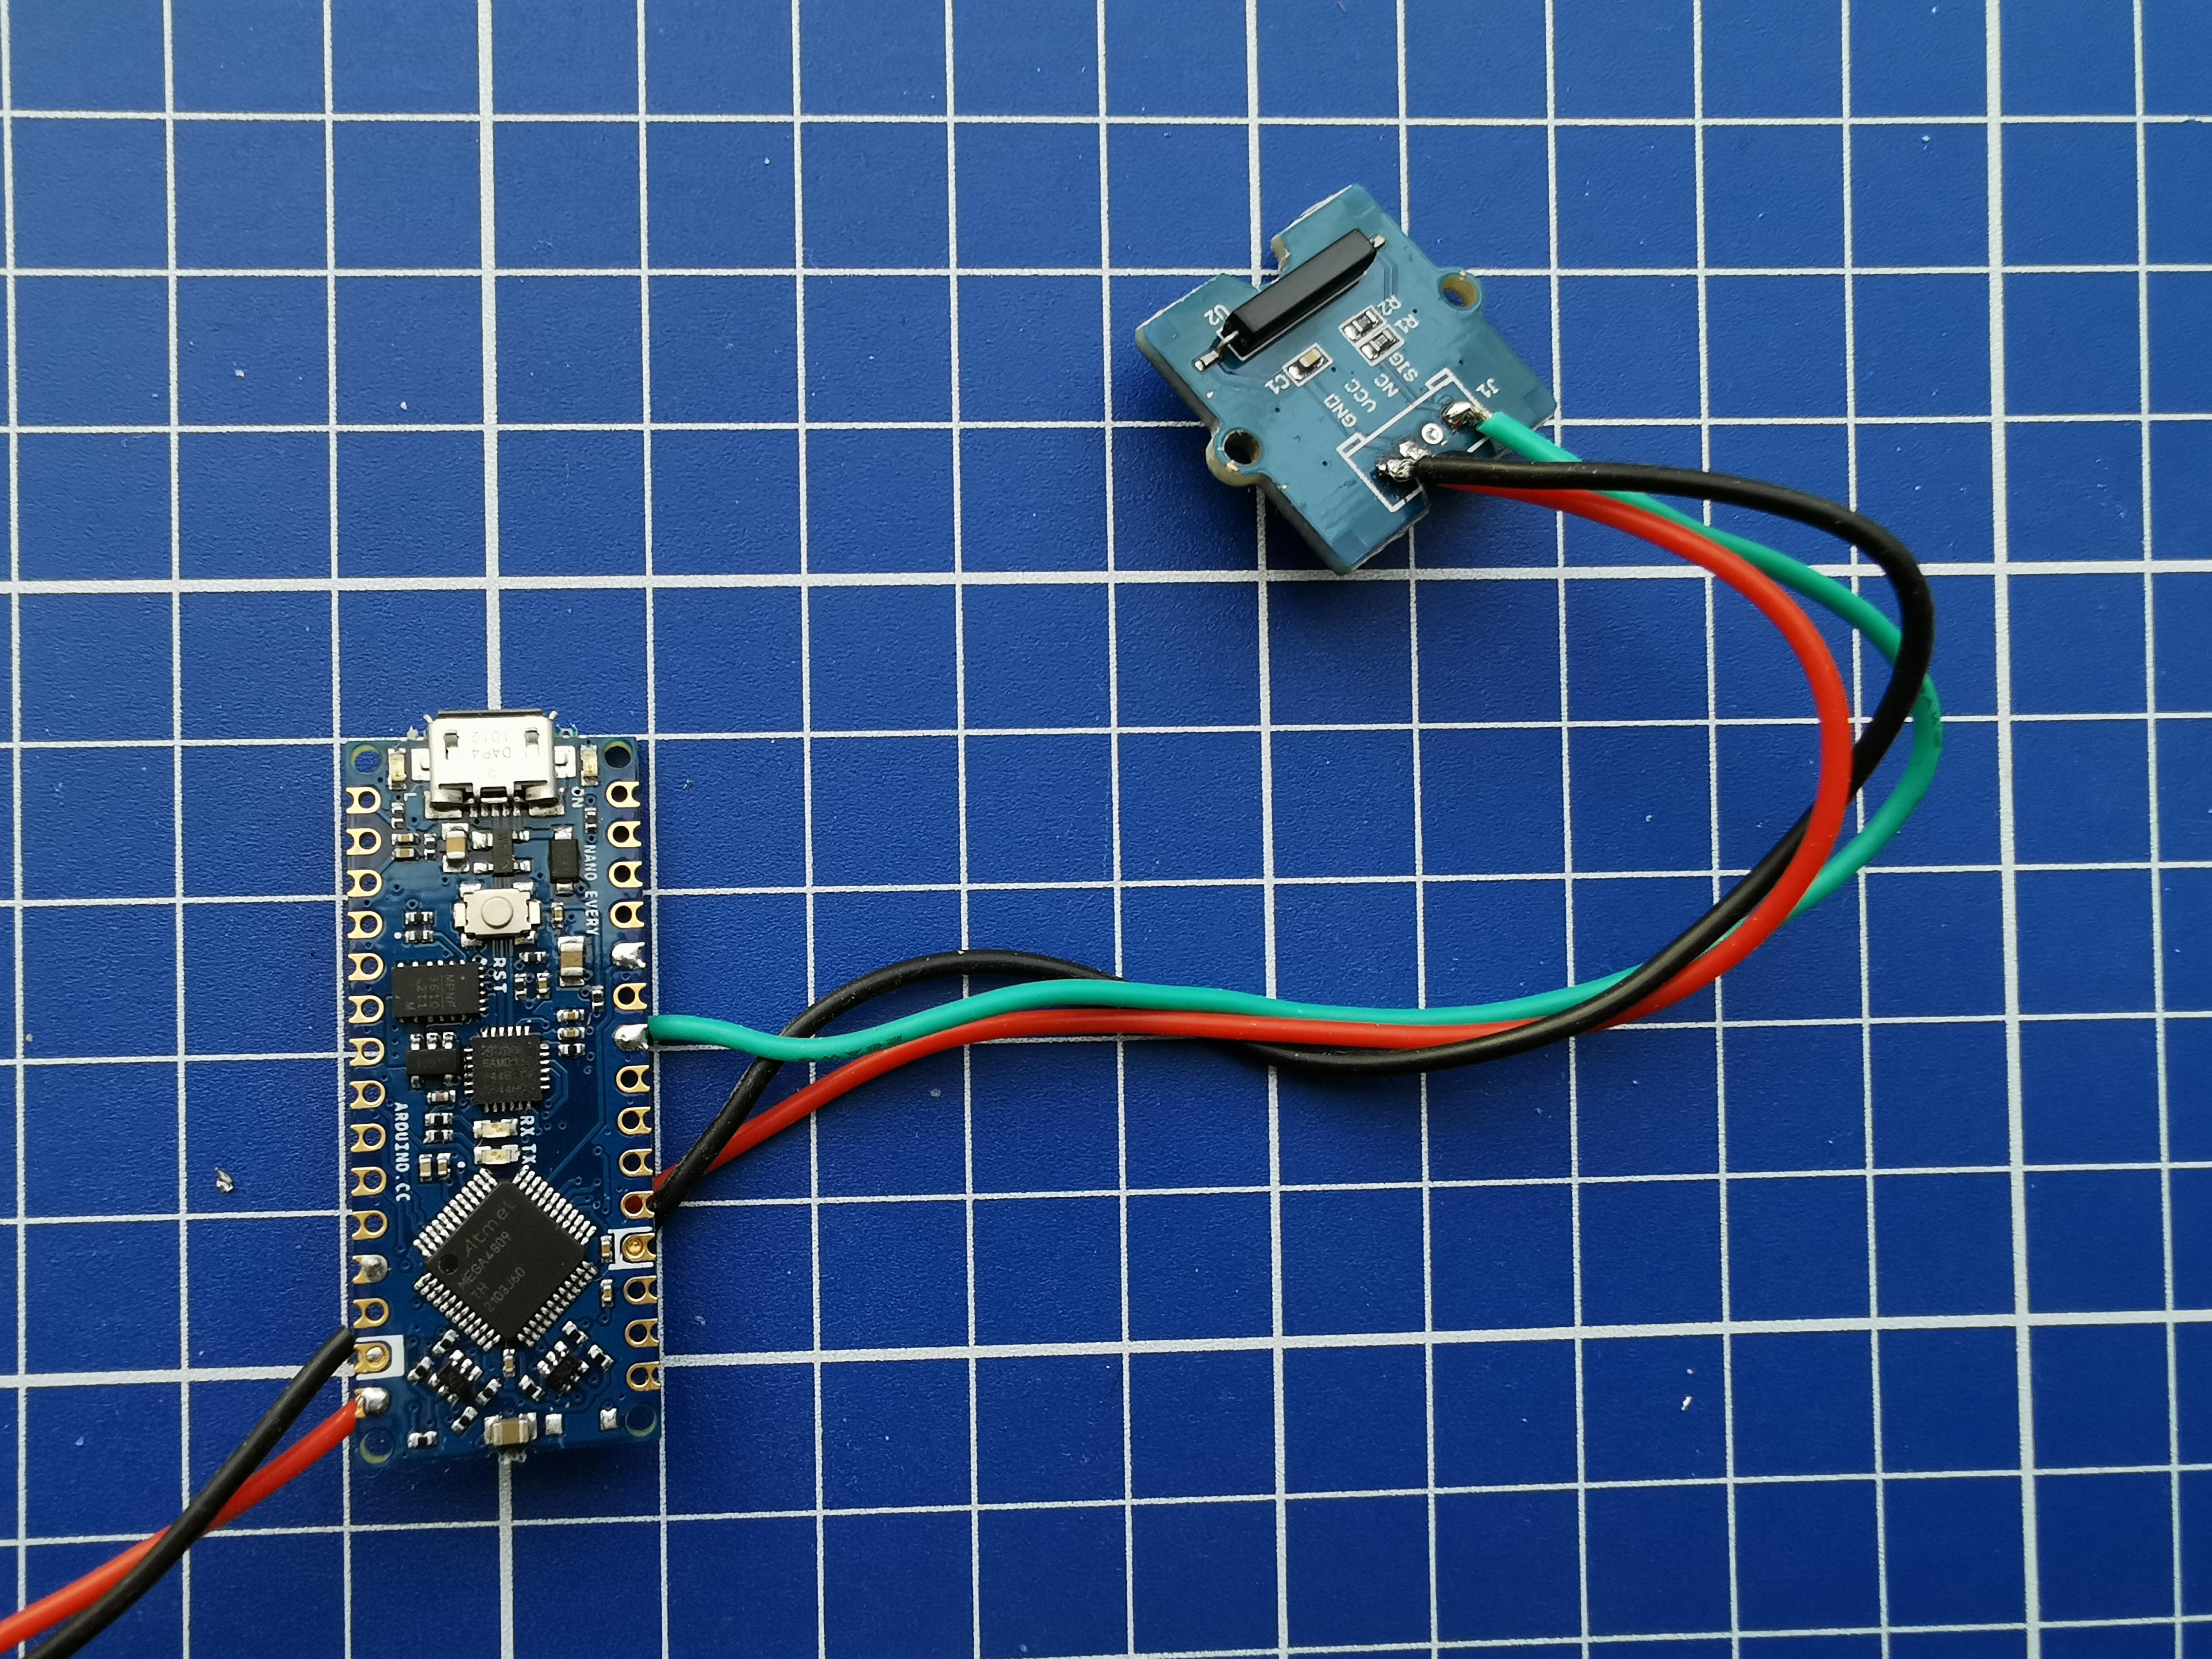
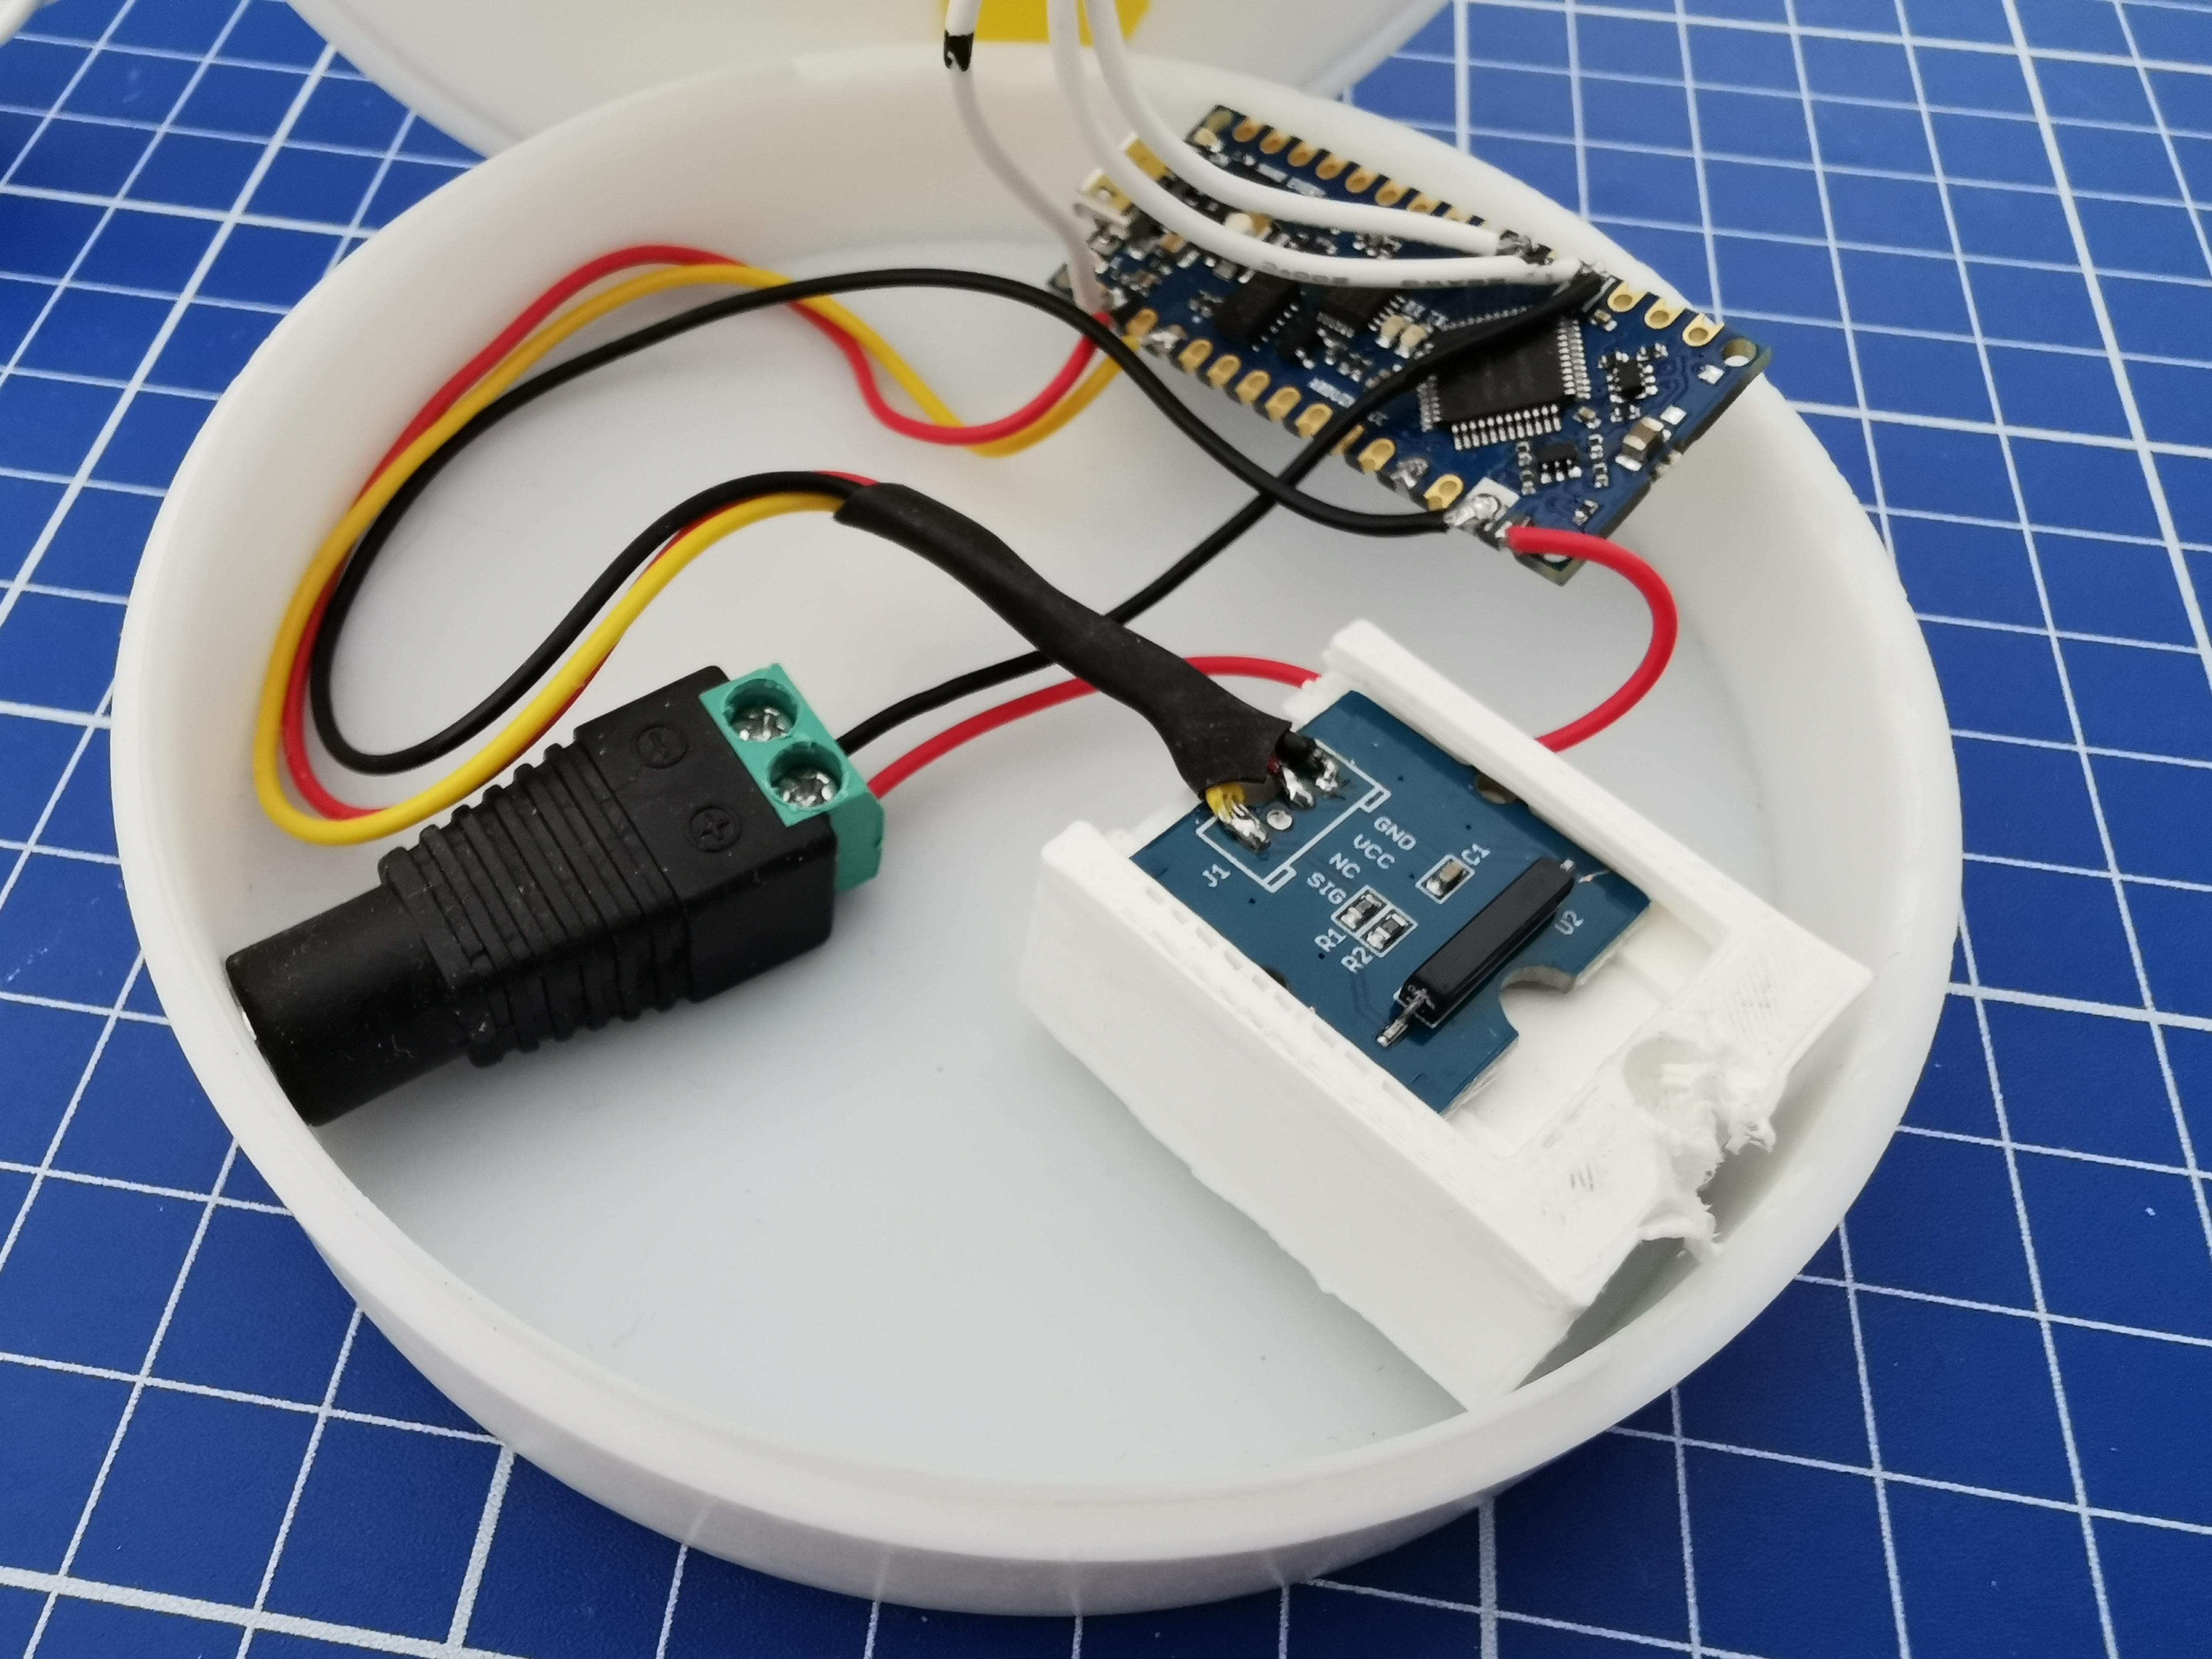
This is optional. This is the feature that it turns off when you attach it to the base of the lamp. You can also choose to just unplug it and only put a magnet in the base. Depends on the availability of the parts ;)
Preparation/Materials:
- Magnetic switch
- Small magnet
- 3 Wires
- Magnet/Switch base
- Soldering Iron
- Pliers
Steps:
- Take from the magnetic switch the white piece off with your pliers.
- Solder 3 wires on the SIG, VCC and GND.
- Superglue the magnet on the round side of the Magnet/Switch base and slide the switch into place. Note that we need to test if the switch isn't being triggered by the small magnet. Because if it is triggered the system will not work! We will test this in the Programming step.
- Place the Magnet/Switch base on the desired location in the Lamp underside where you want to have your lamp to shut off when placed on the Lamp base. Test this by placing your already made LED piece with the magnet on the other side of the Lamp base.
Soldering on the Arduino
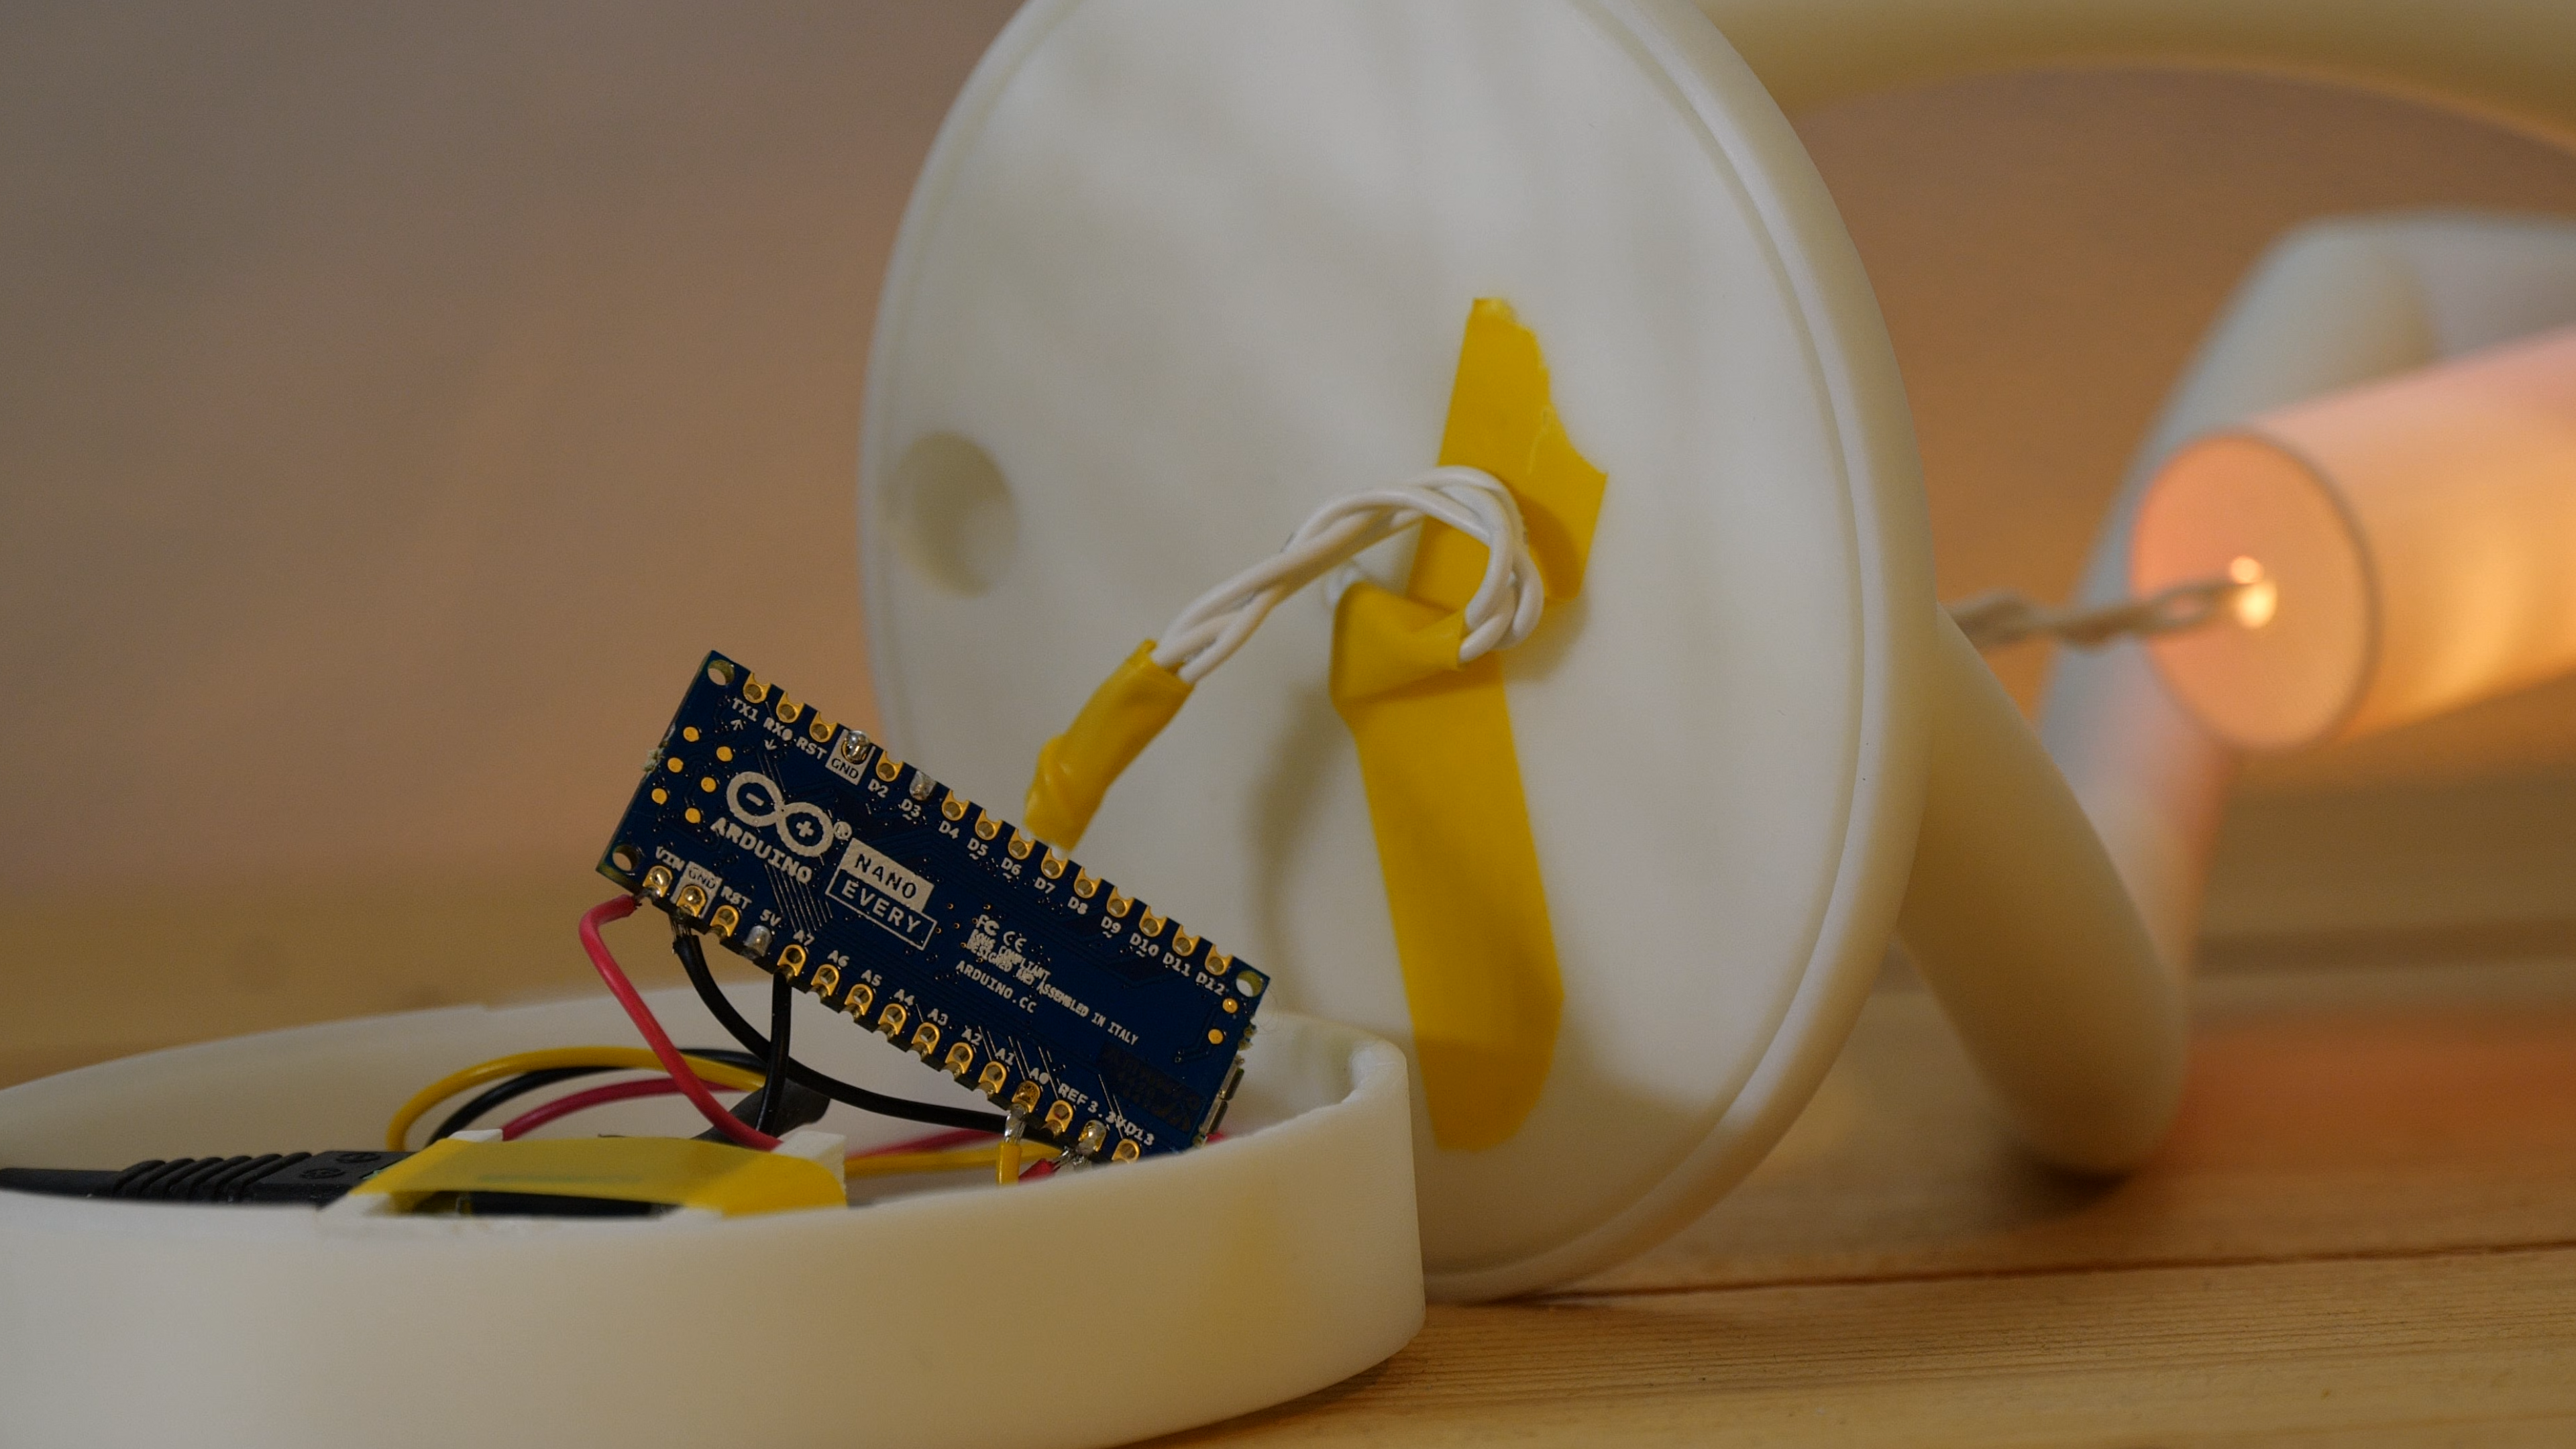
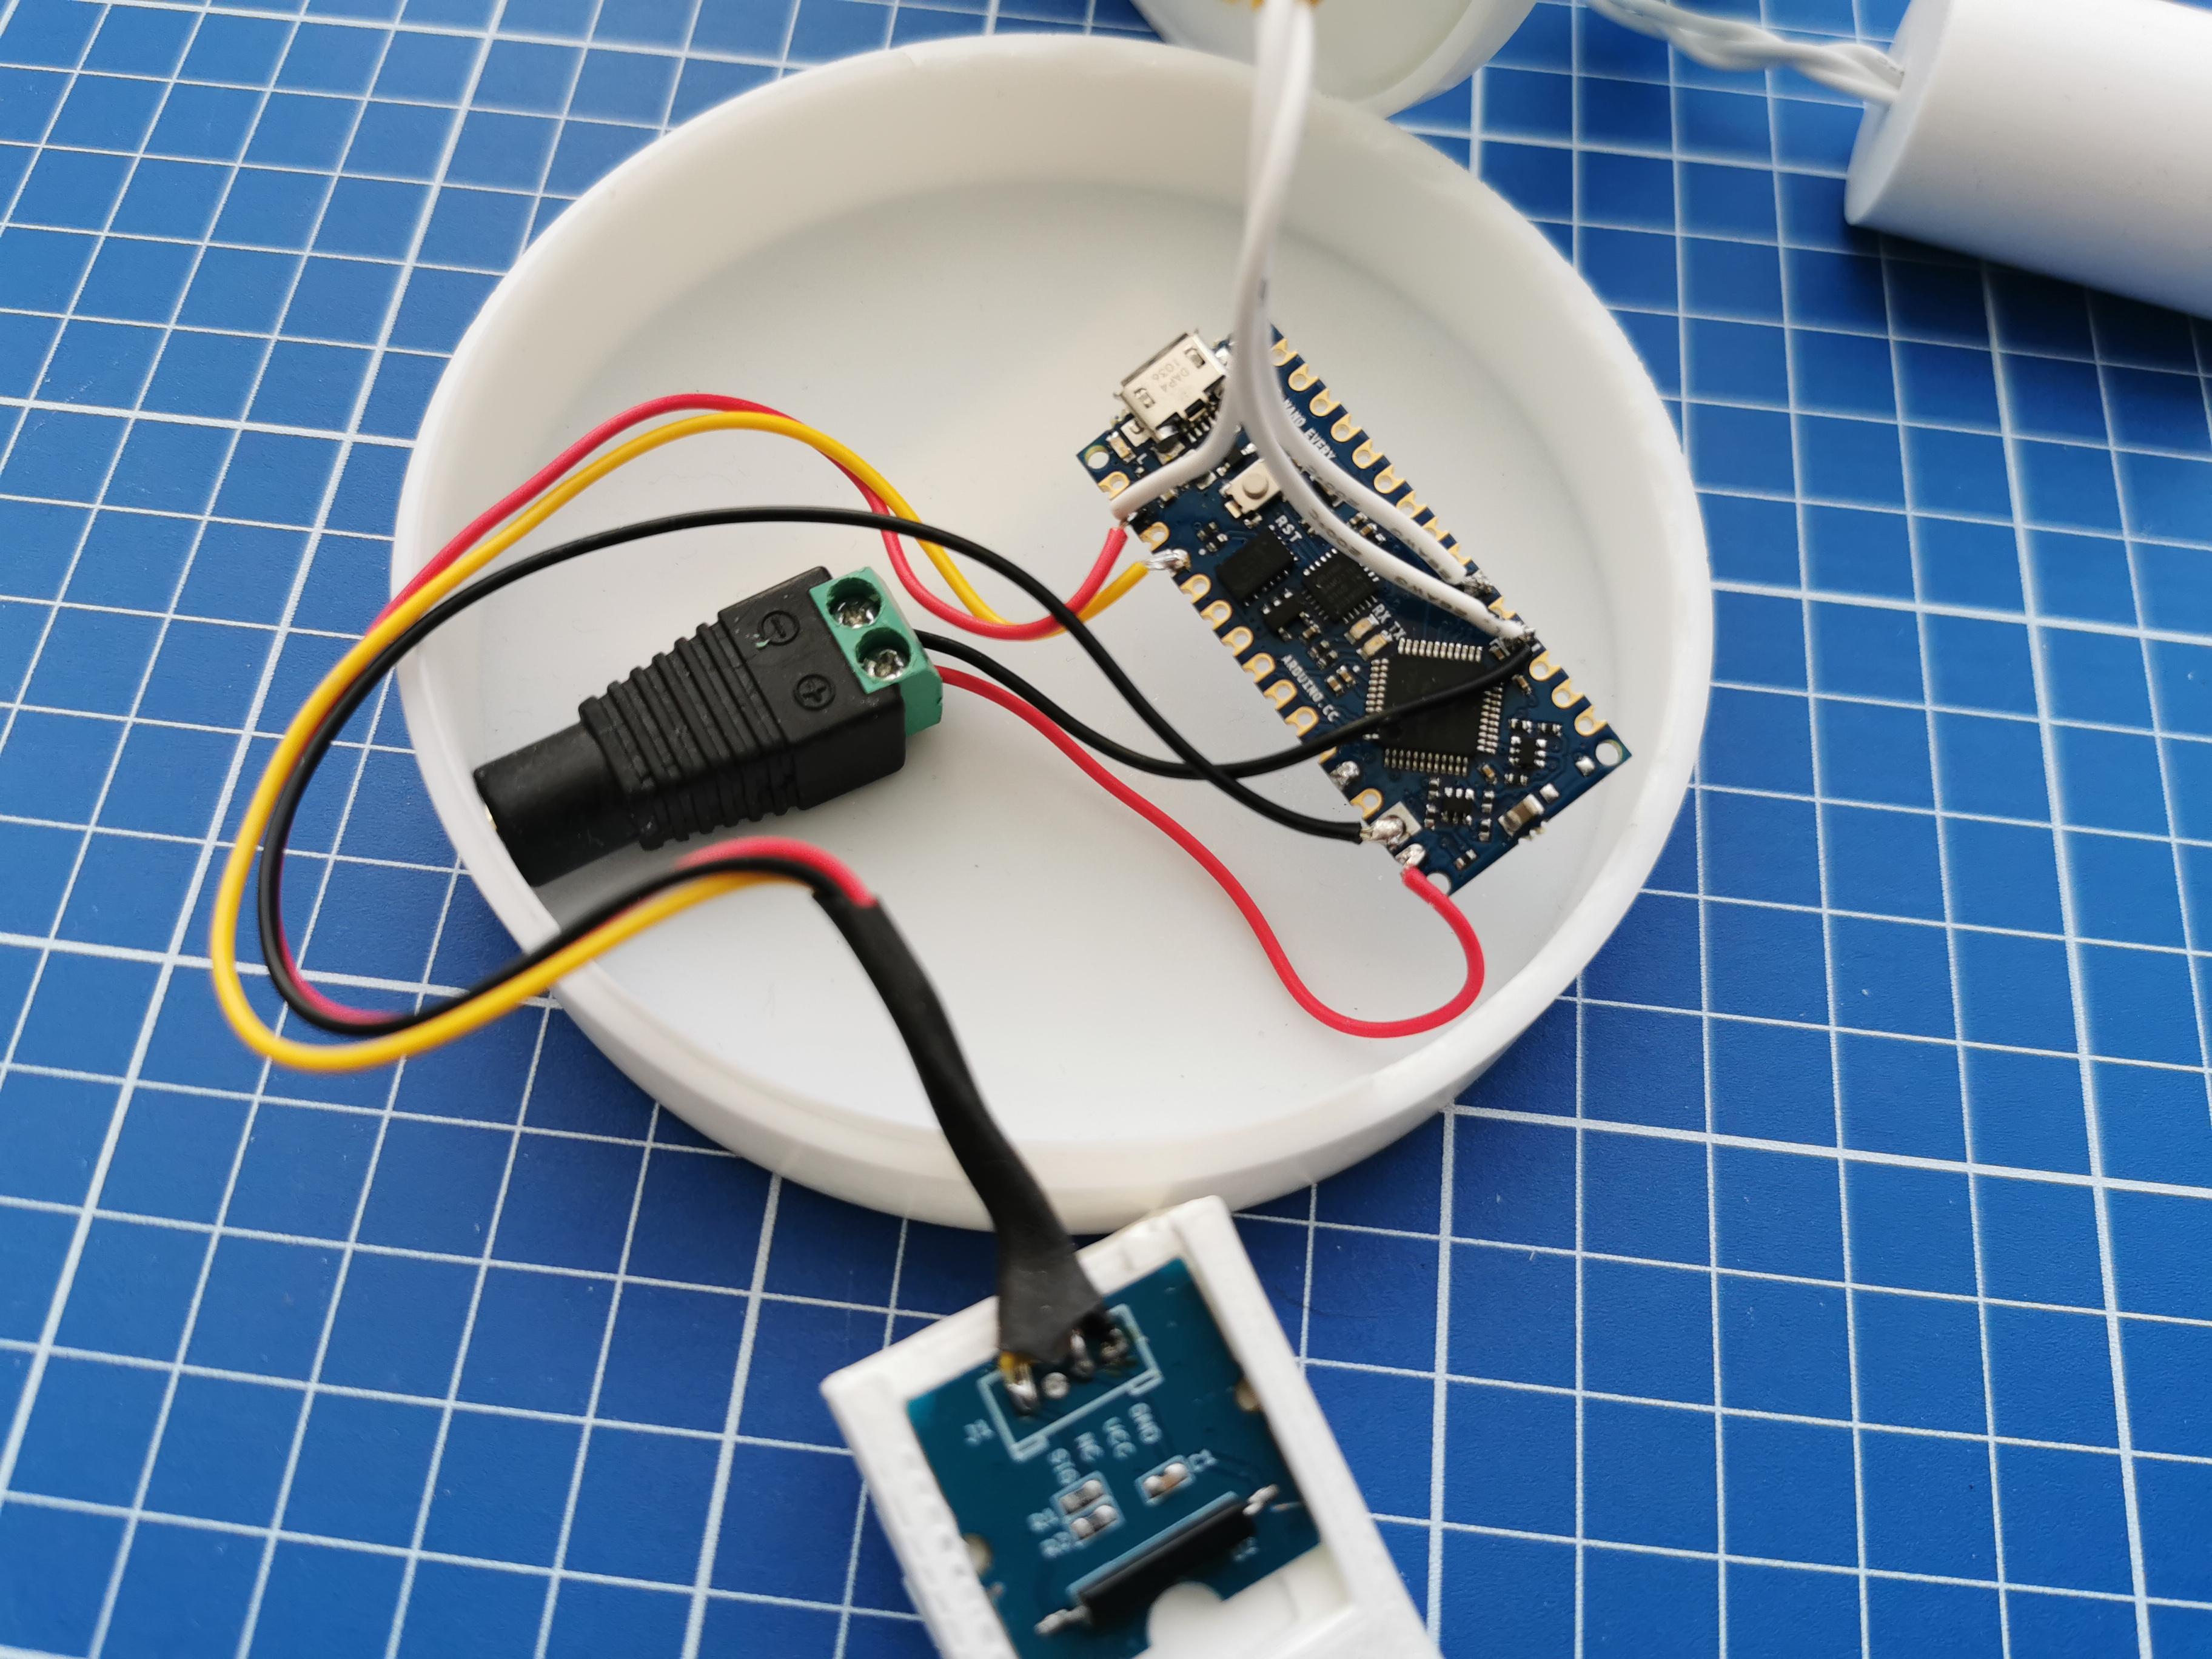
Preparation/Materials:
- Soldering Iron (and accessories)
- The Parts from the previous steps
- Arduino
Steps:
- Attach the 2 cables to your VIN and GND from your power jack.
- Solder the Ledstrip wires to GND, V5 and a digital port (D1-D12).
- Solder the magnetic switch wires to GND, V5 and a digital port.
Programming the Arduino
This step is easy. Did you use the same components as me?
Preparation/Materials:
- Computer
- Arduino
- Micro USB cord
Steps:
- Download arduino IDE
- Install the FastLed library(depending on which LEDs your using)(Fastled)
- Magnetic switch code overview
- Combine the Fastled code with the magnetic switch code
- Look if your magnetic switch gets triggered. Tune him accordingly by sliding it back or forwards.
Everything Works? Glue It Together!
