Magic Rose Blossom
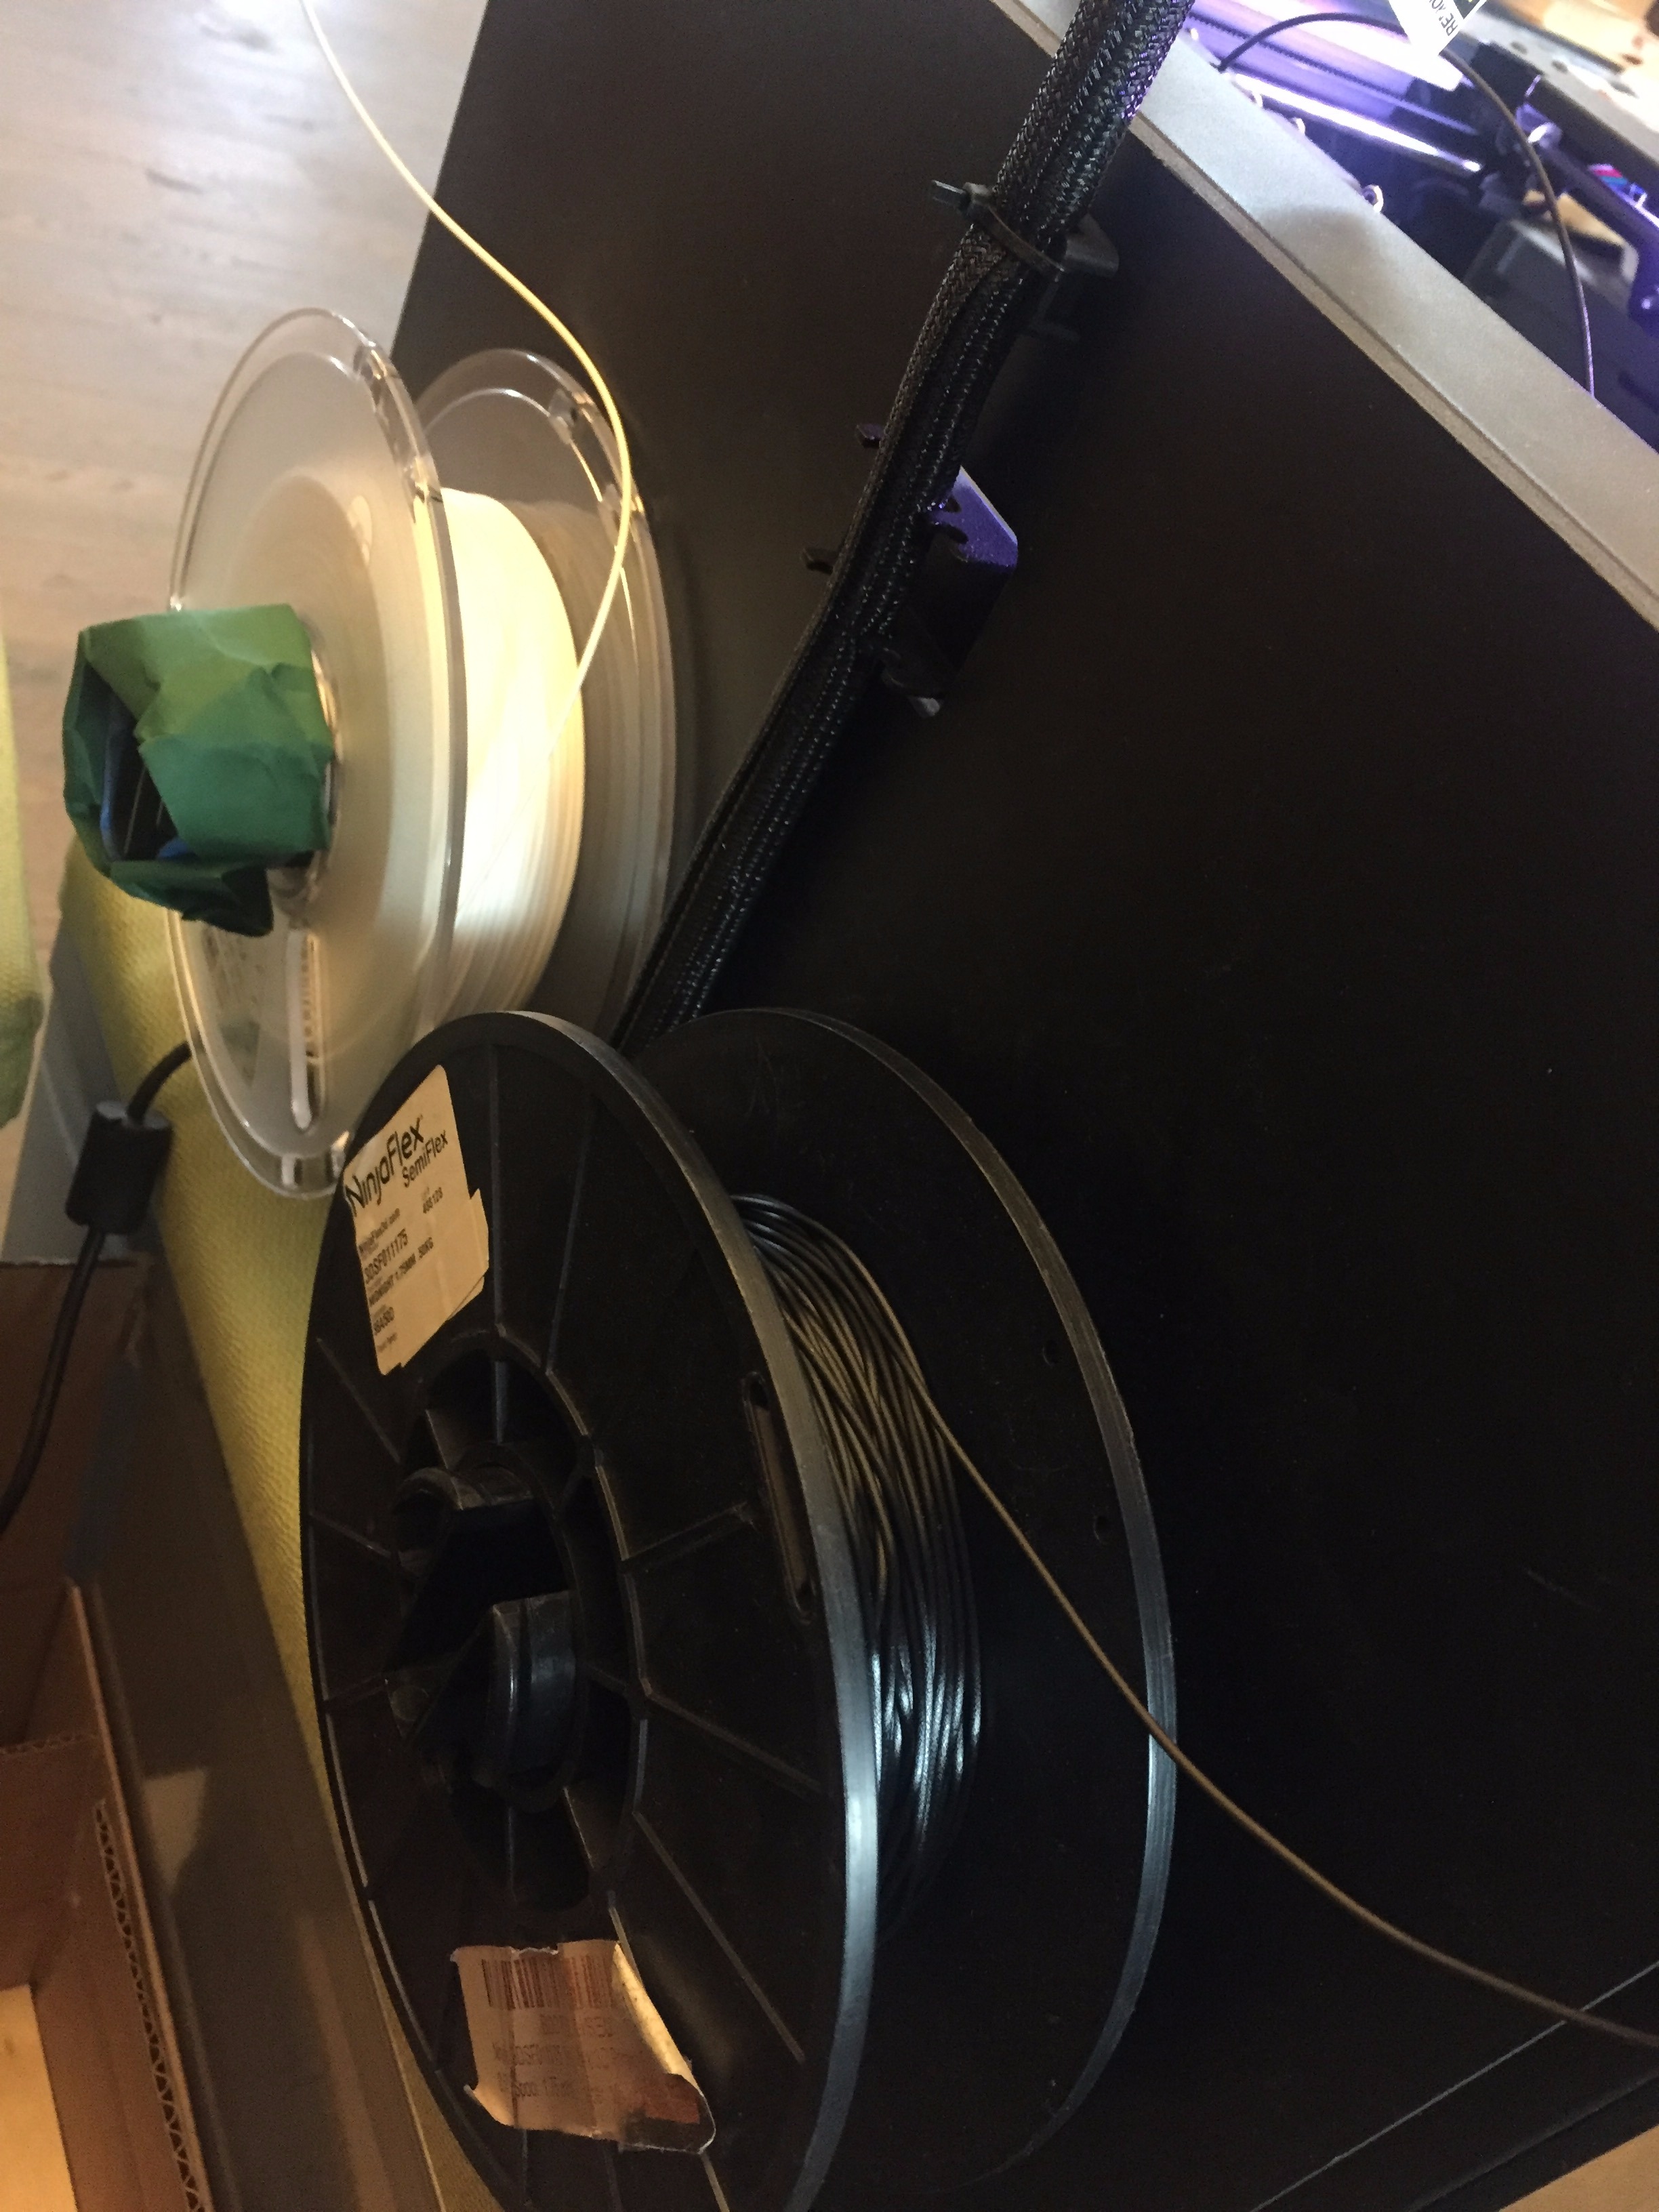
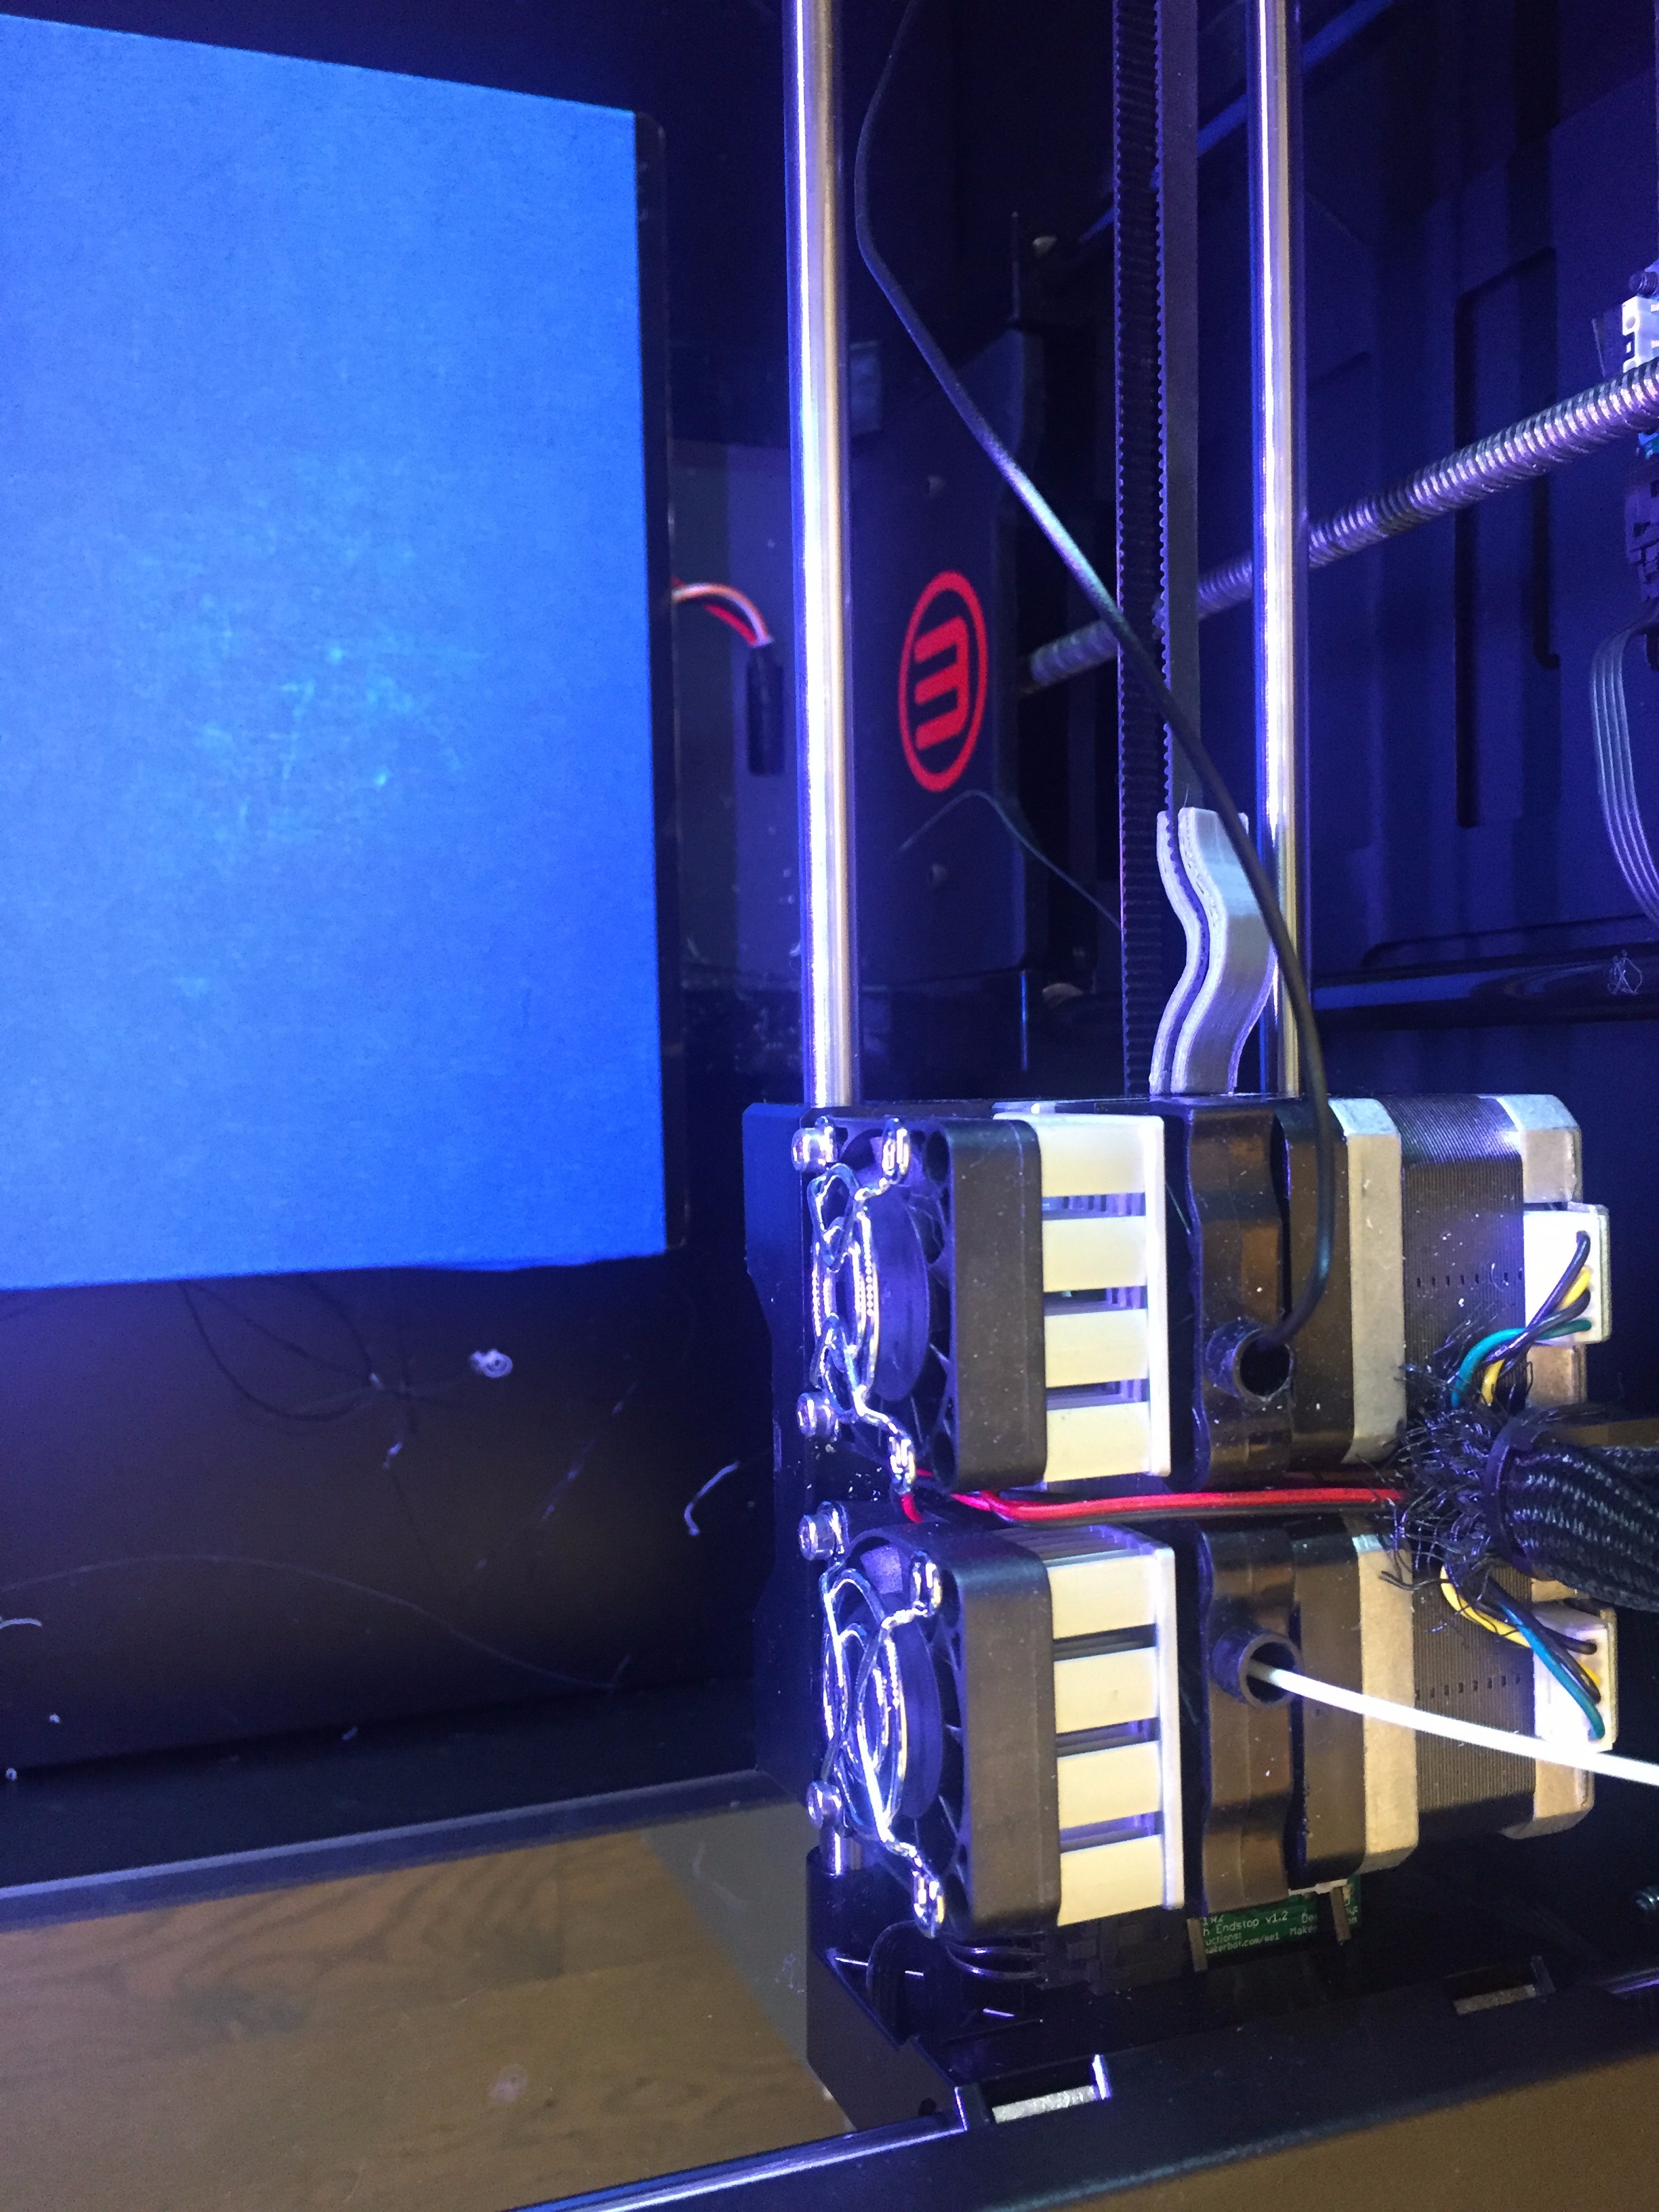
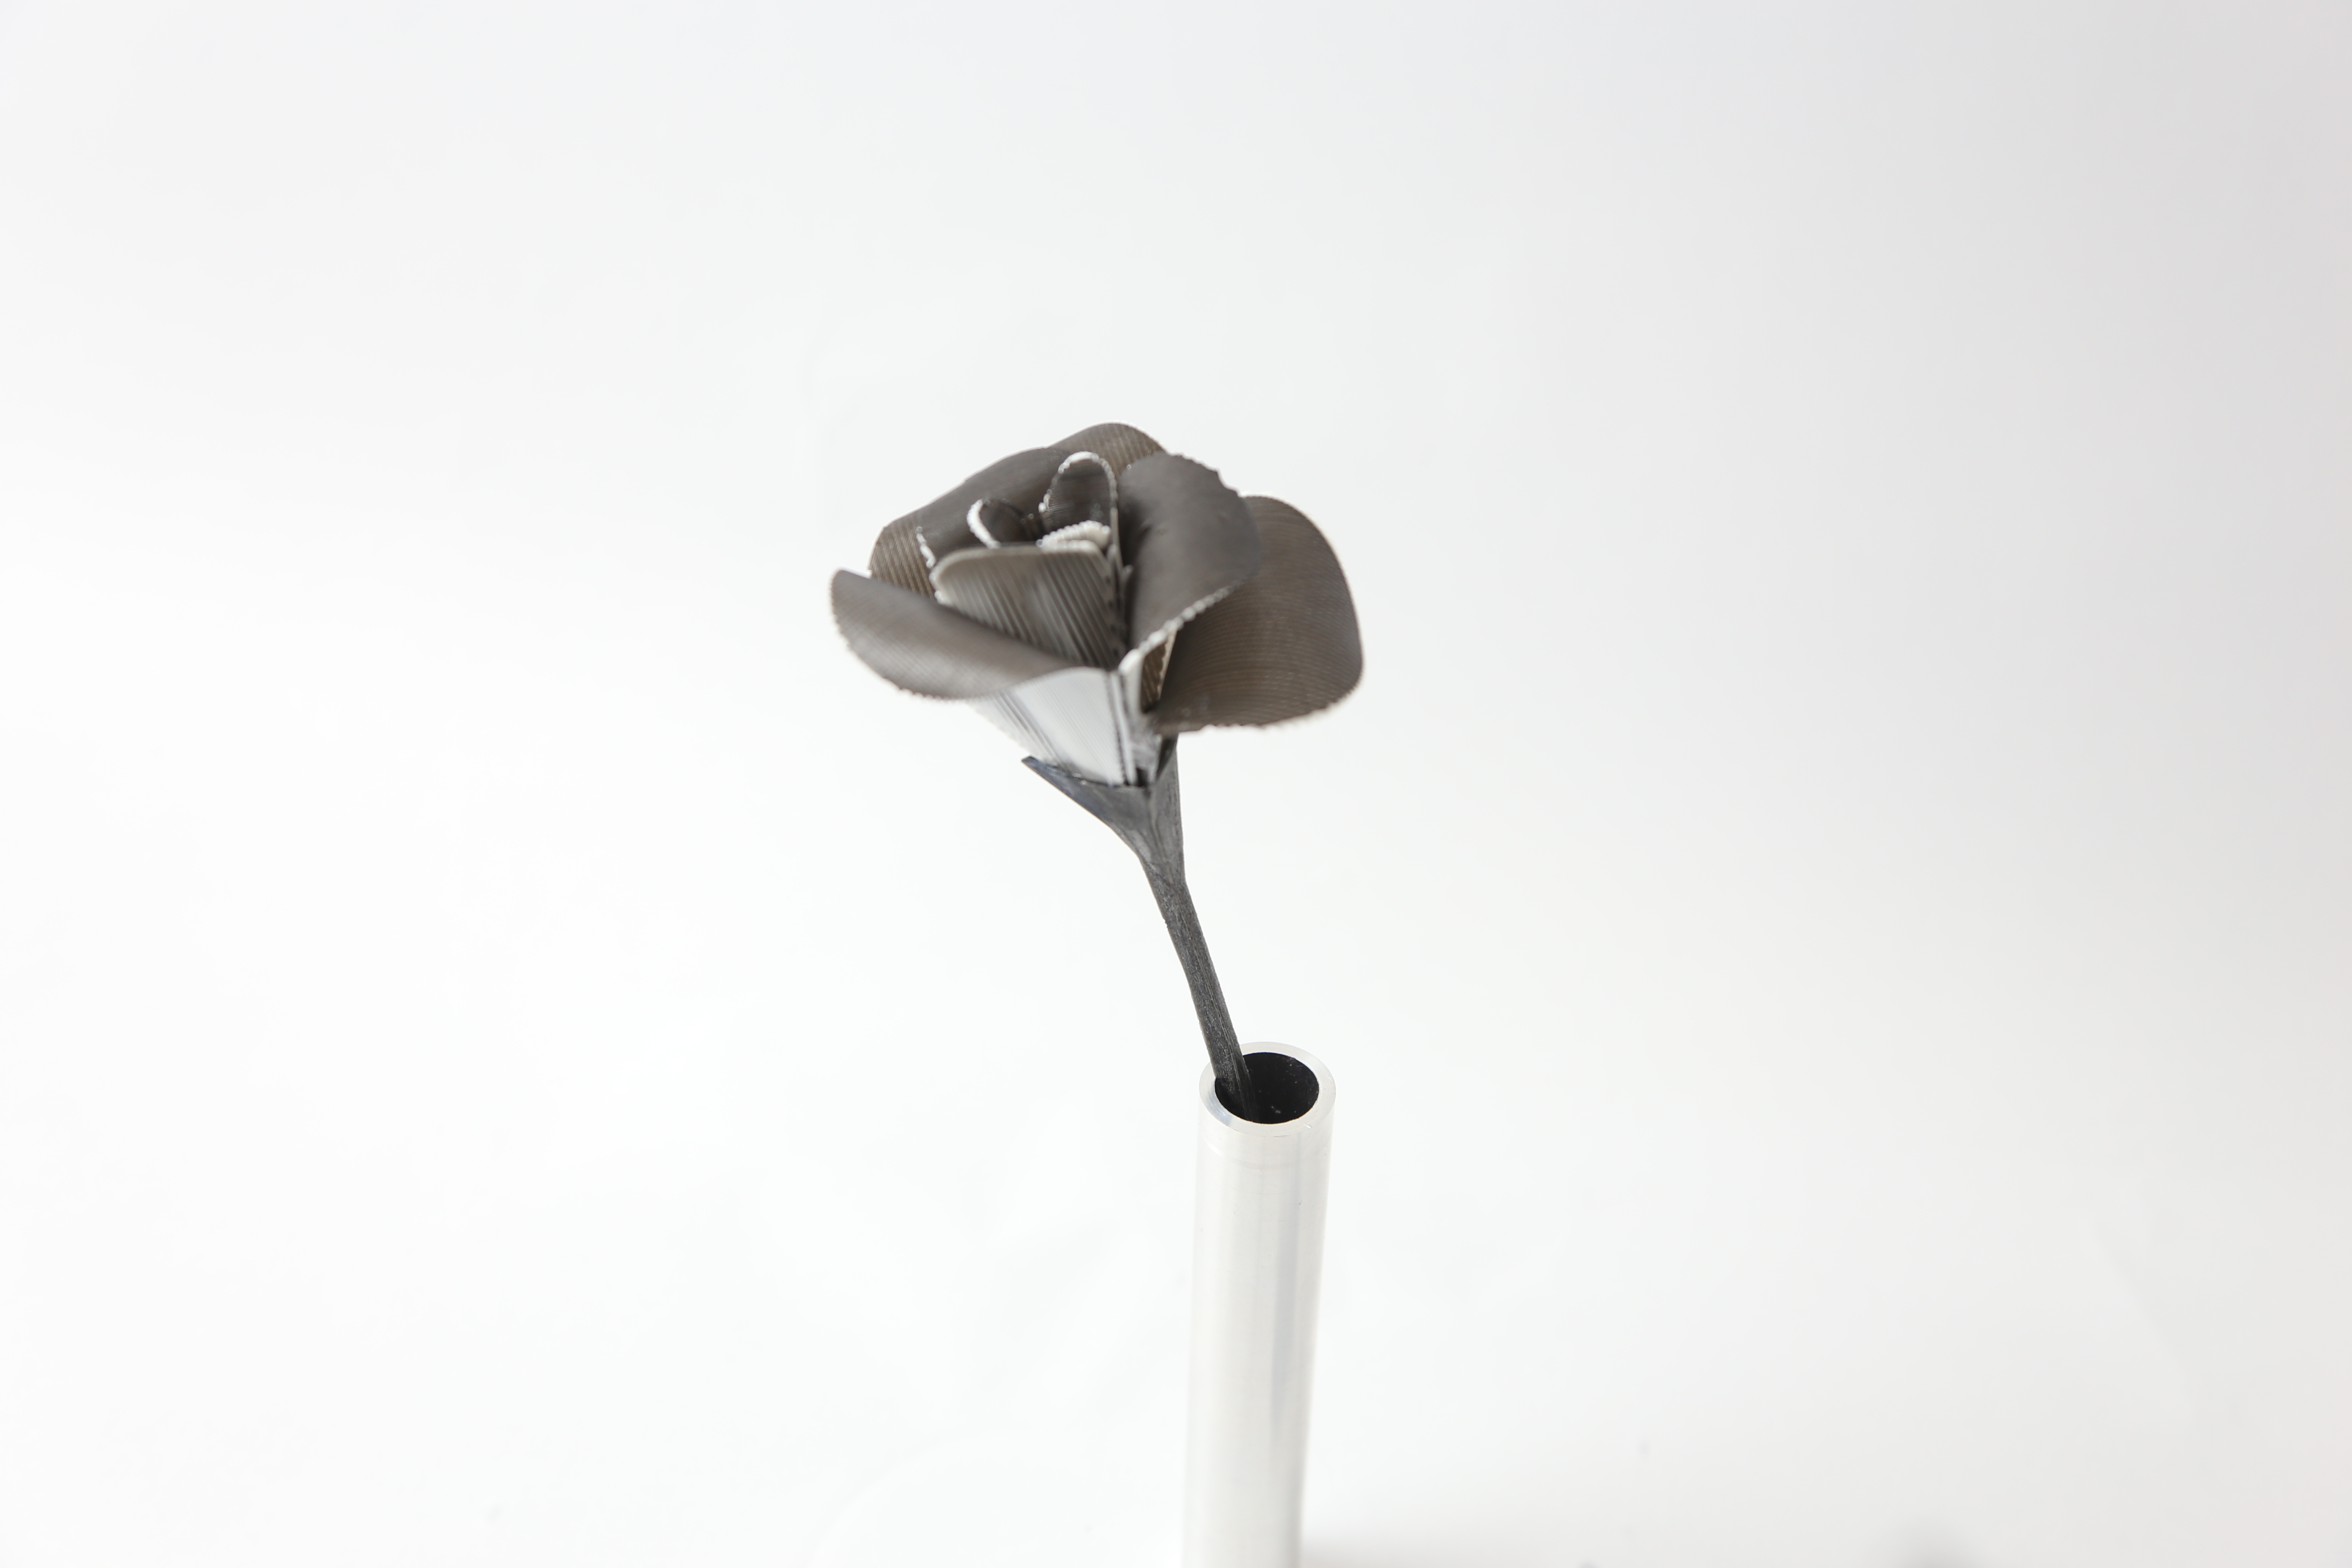
I use Makerbot Duplicator 2X to load two filaments: PLA and Ninja Semiflex. Dual nozzle printers are ideal, however, if you do not have a dual nozzle printer, a single nozzle printer can be used as well. In that case, you have to switch the filament in the middle of a print.
Step 1: Print the First Ninji Semiflex Layer
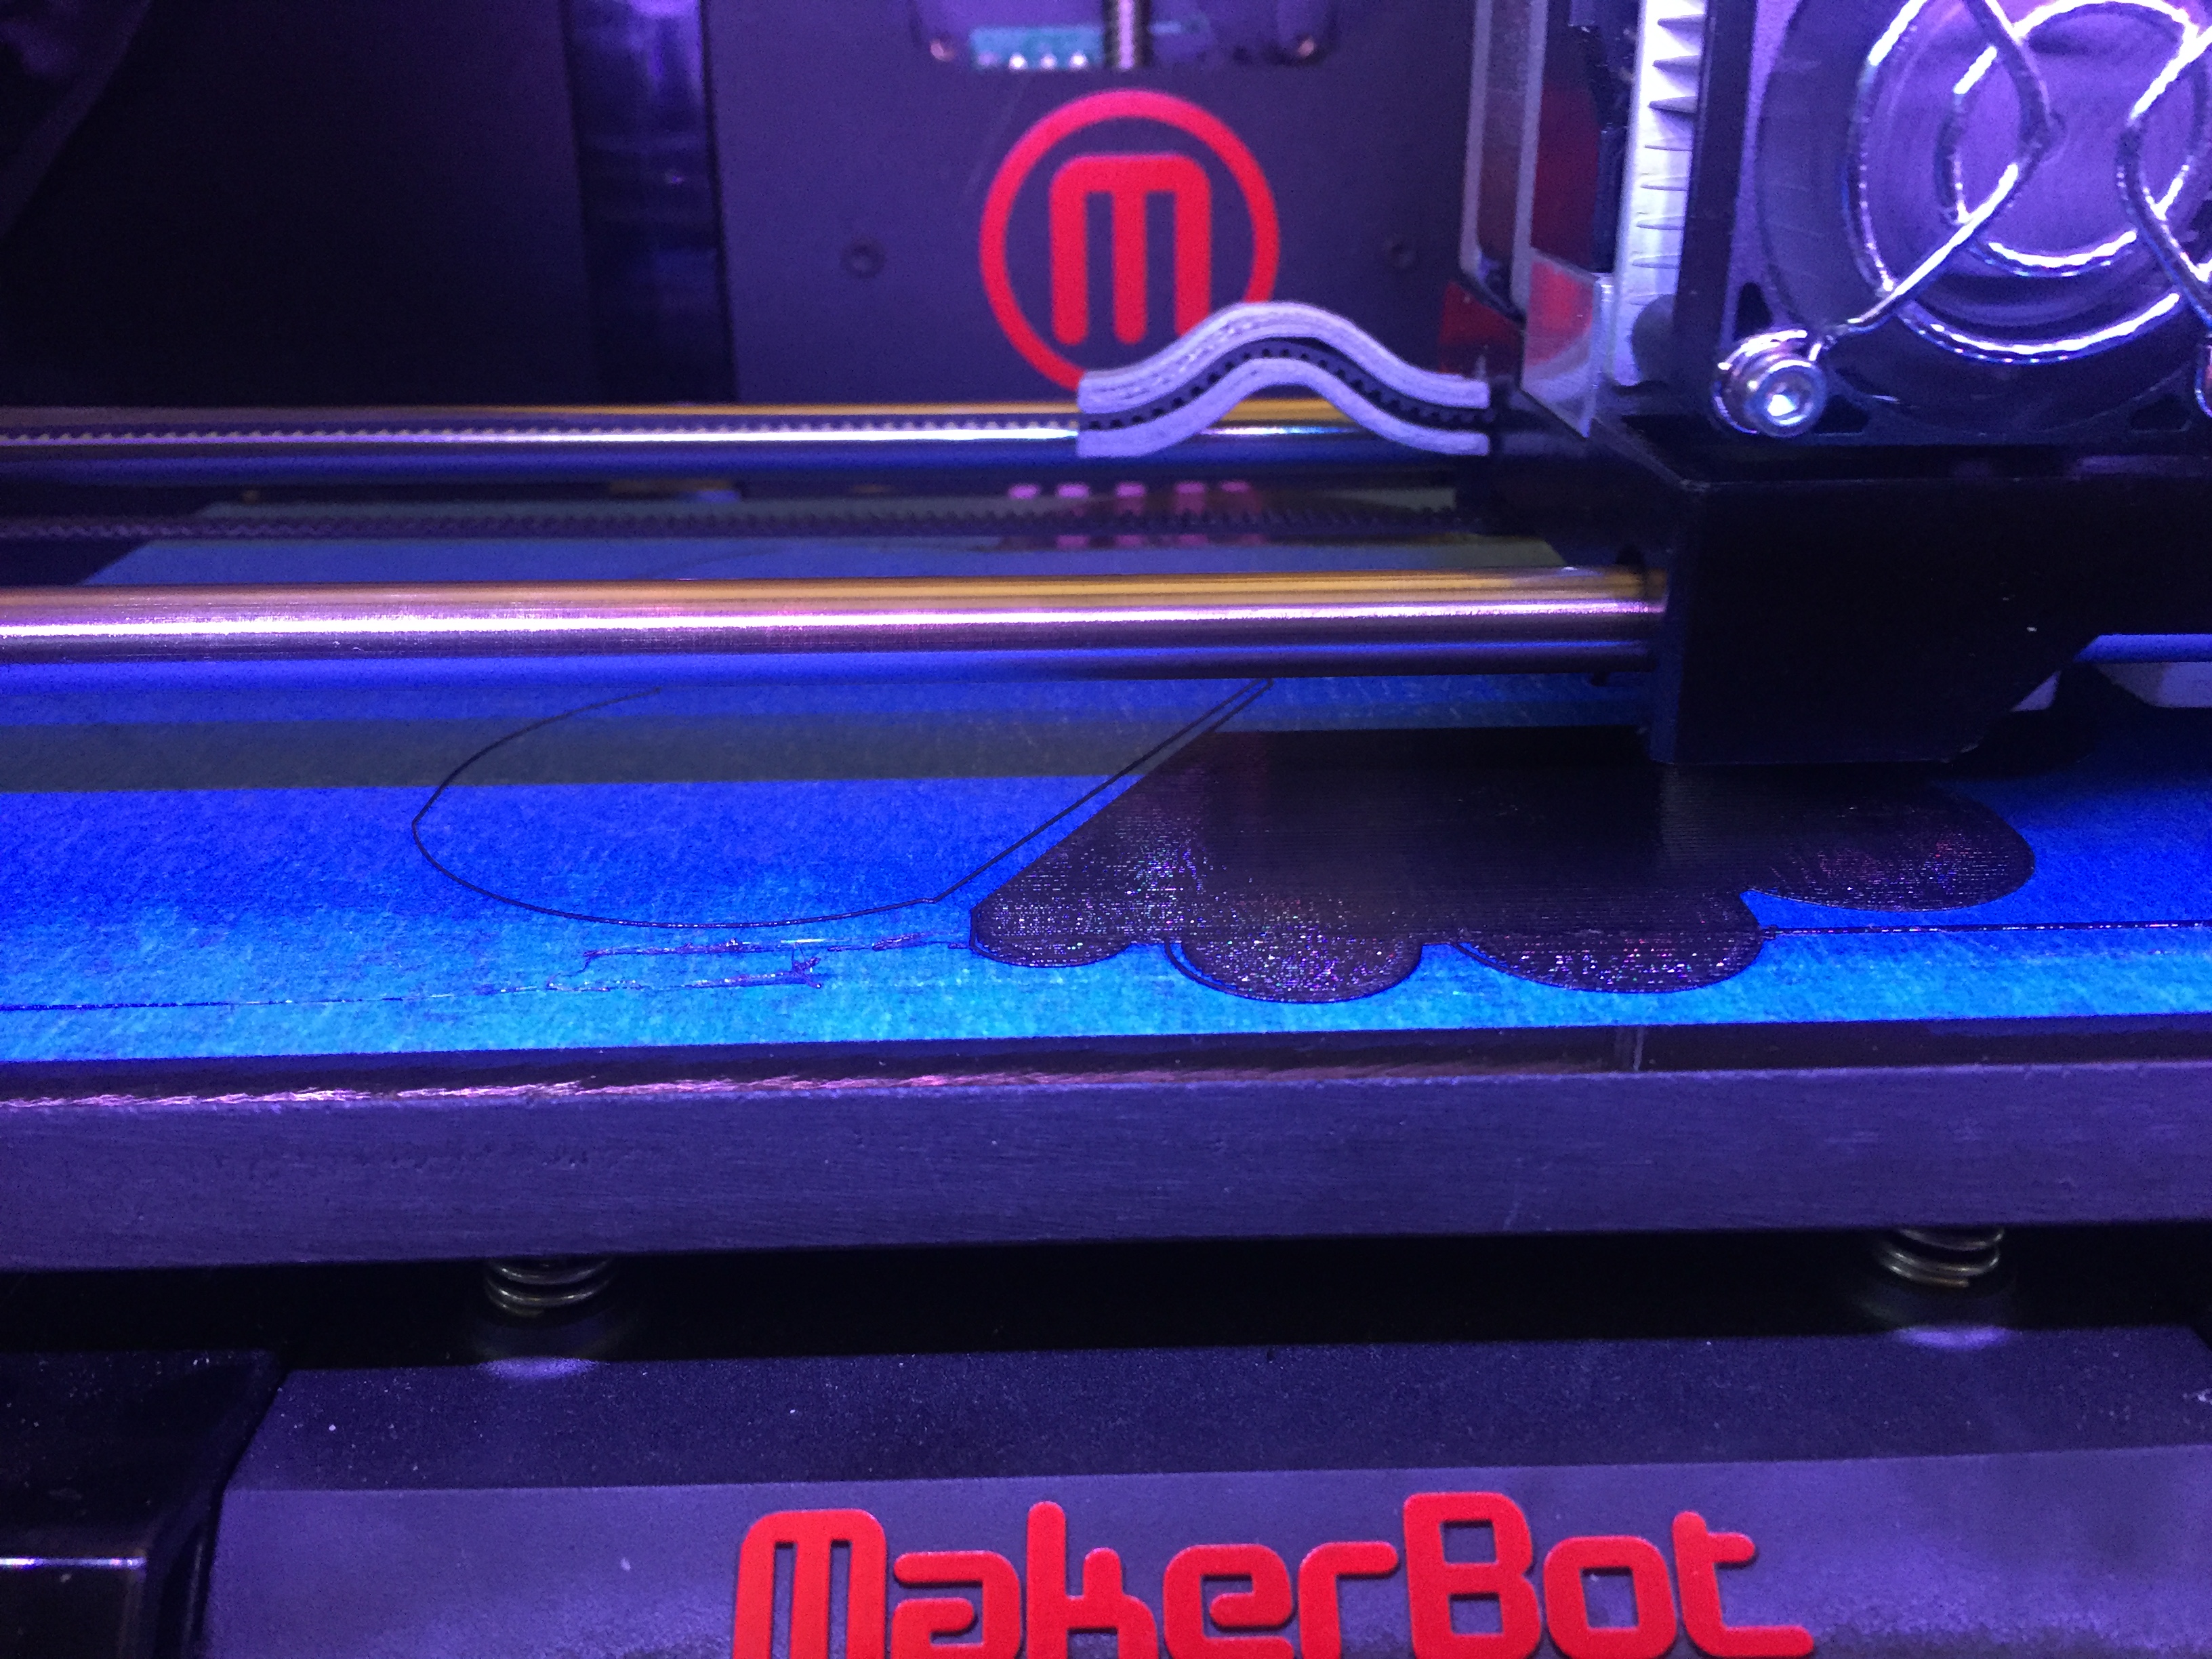
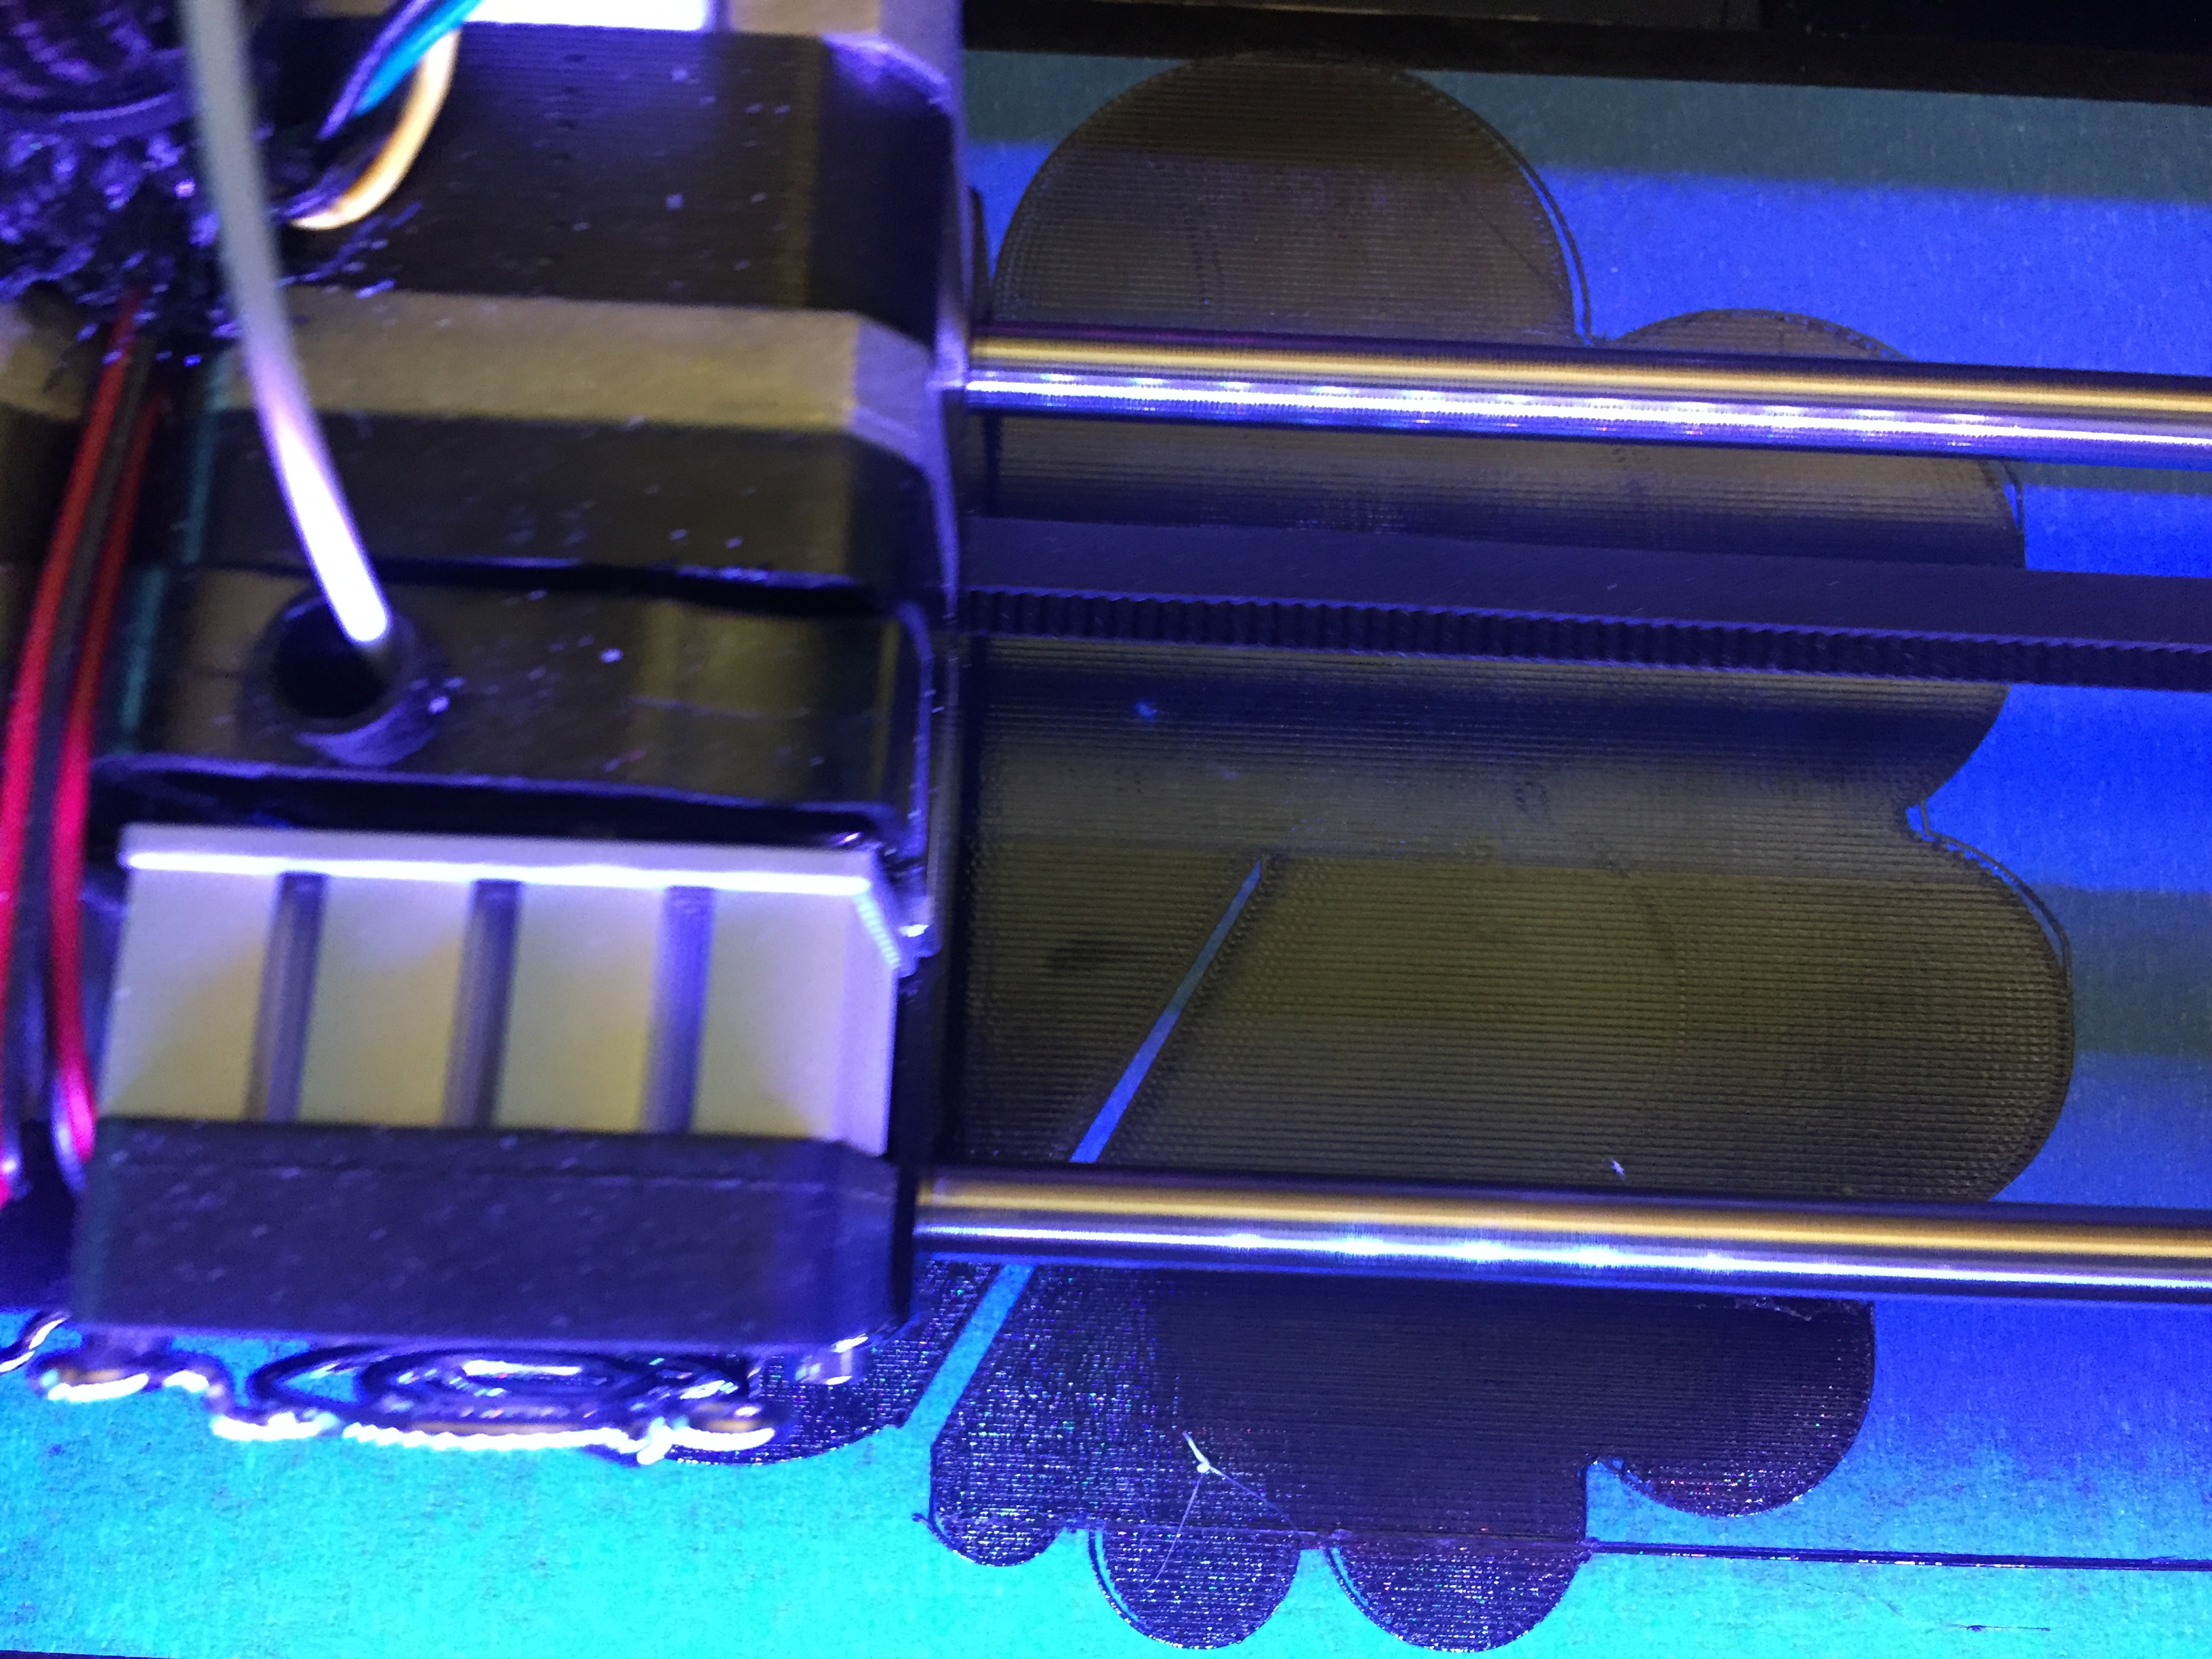
The first layer is 0.2mm in thickness. If you define the printing height resolution as 0.2mm, there will be only one layer being printed. This is the substrate layer.
Step 2: Printing the Top Layer PLA
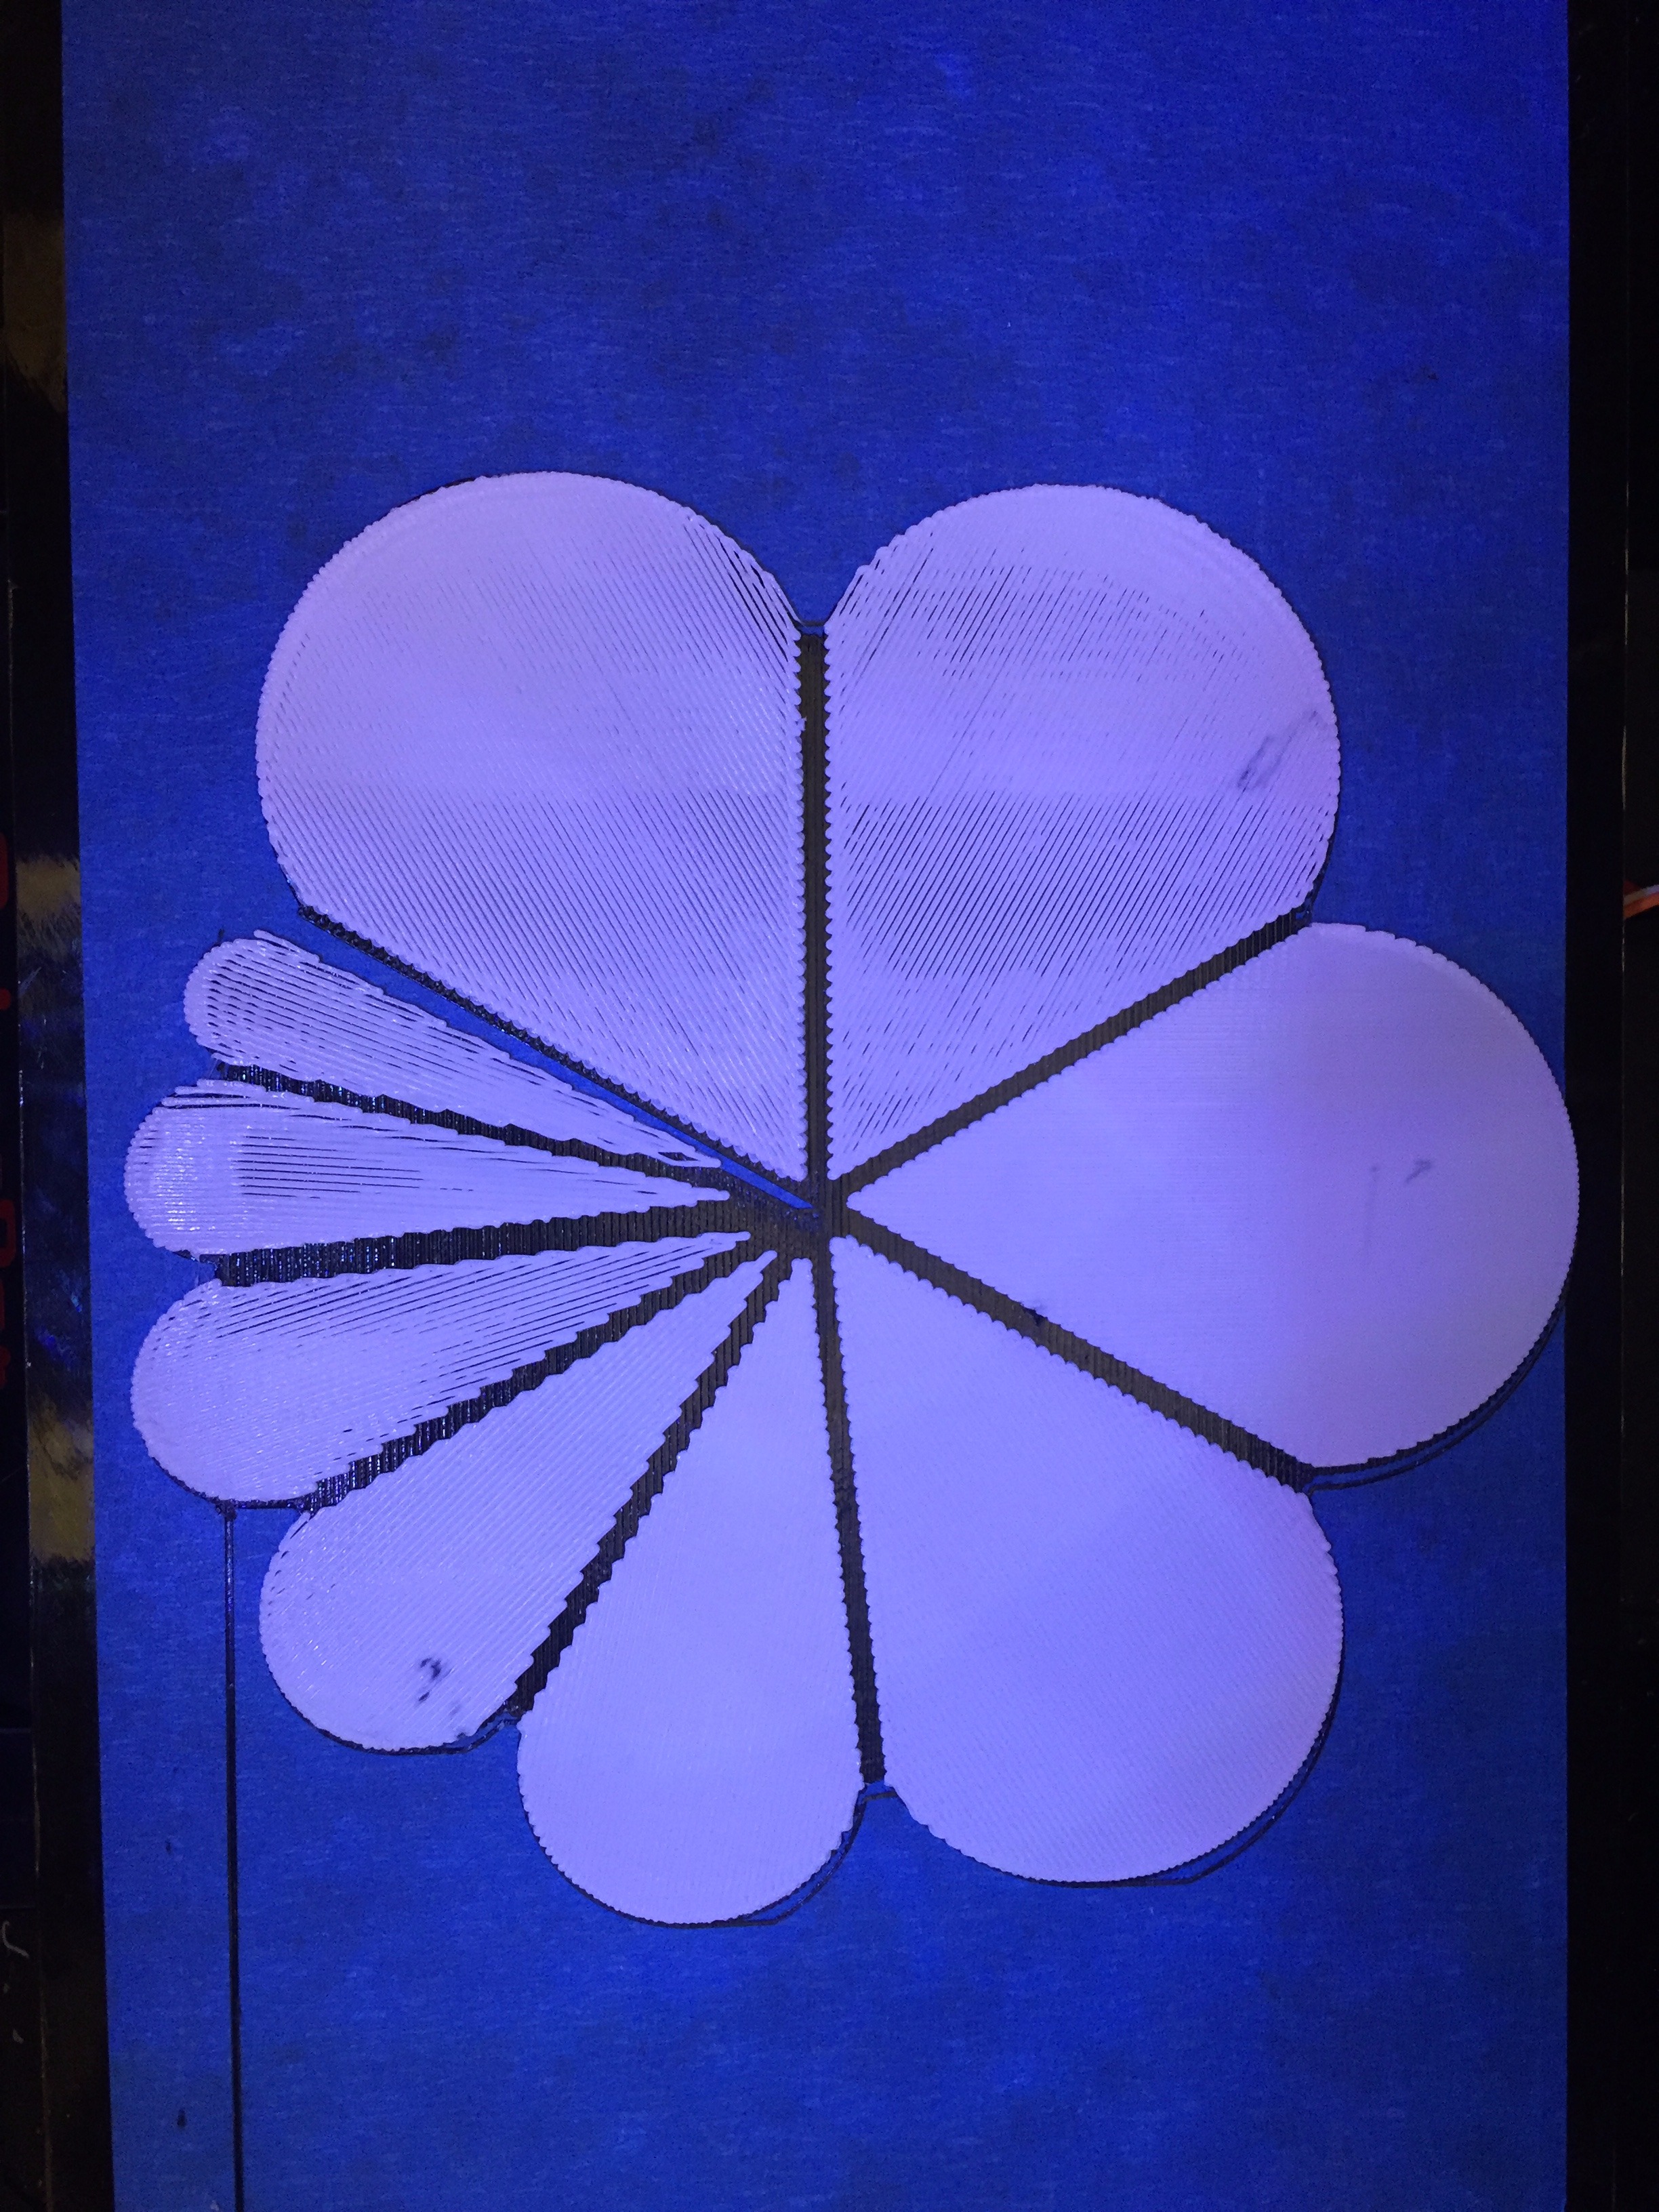
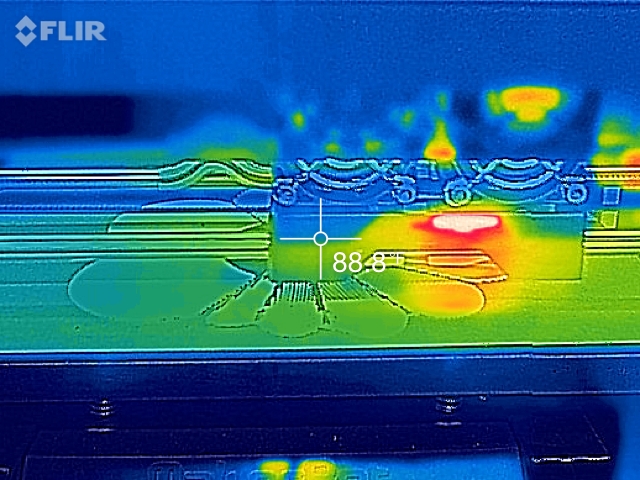
Just for fun, I also attached the thermal images of the printer while the top layer is being printed. This layer is 0.6mm, and contains three layers of PLAs.
Step 3: Turn the Flat Pattern Into a Flower Shape
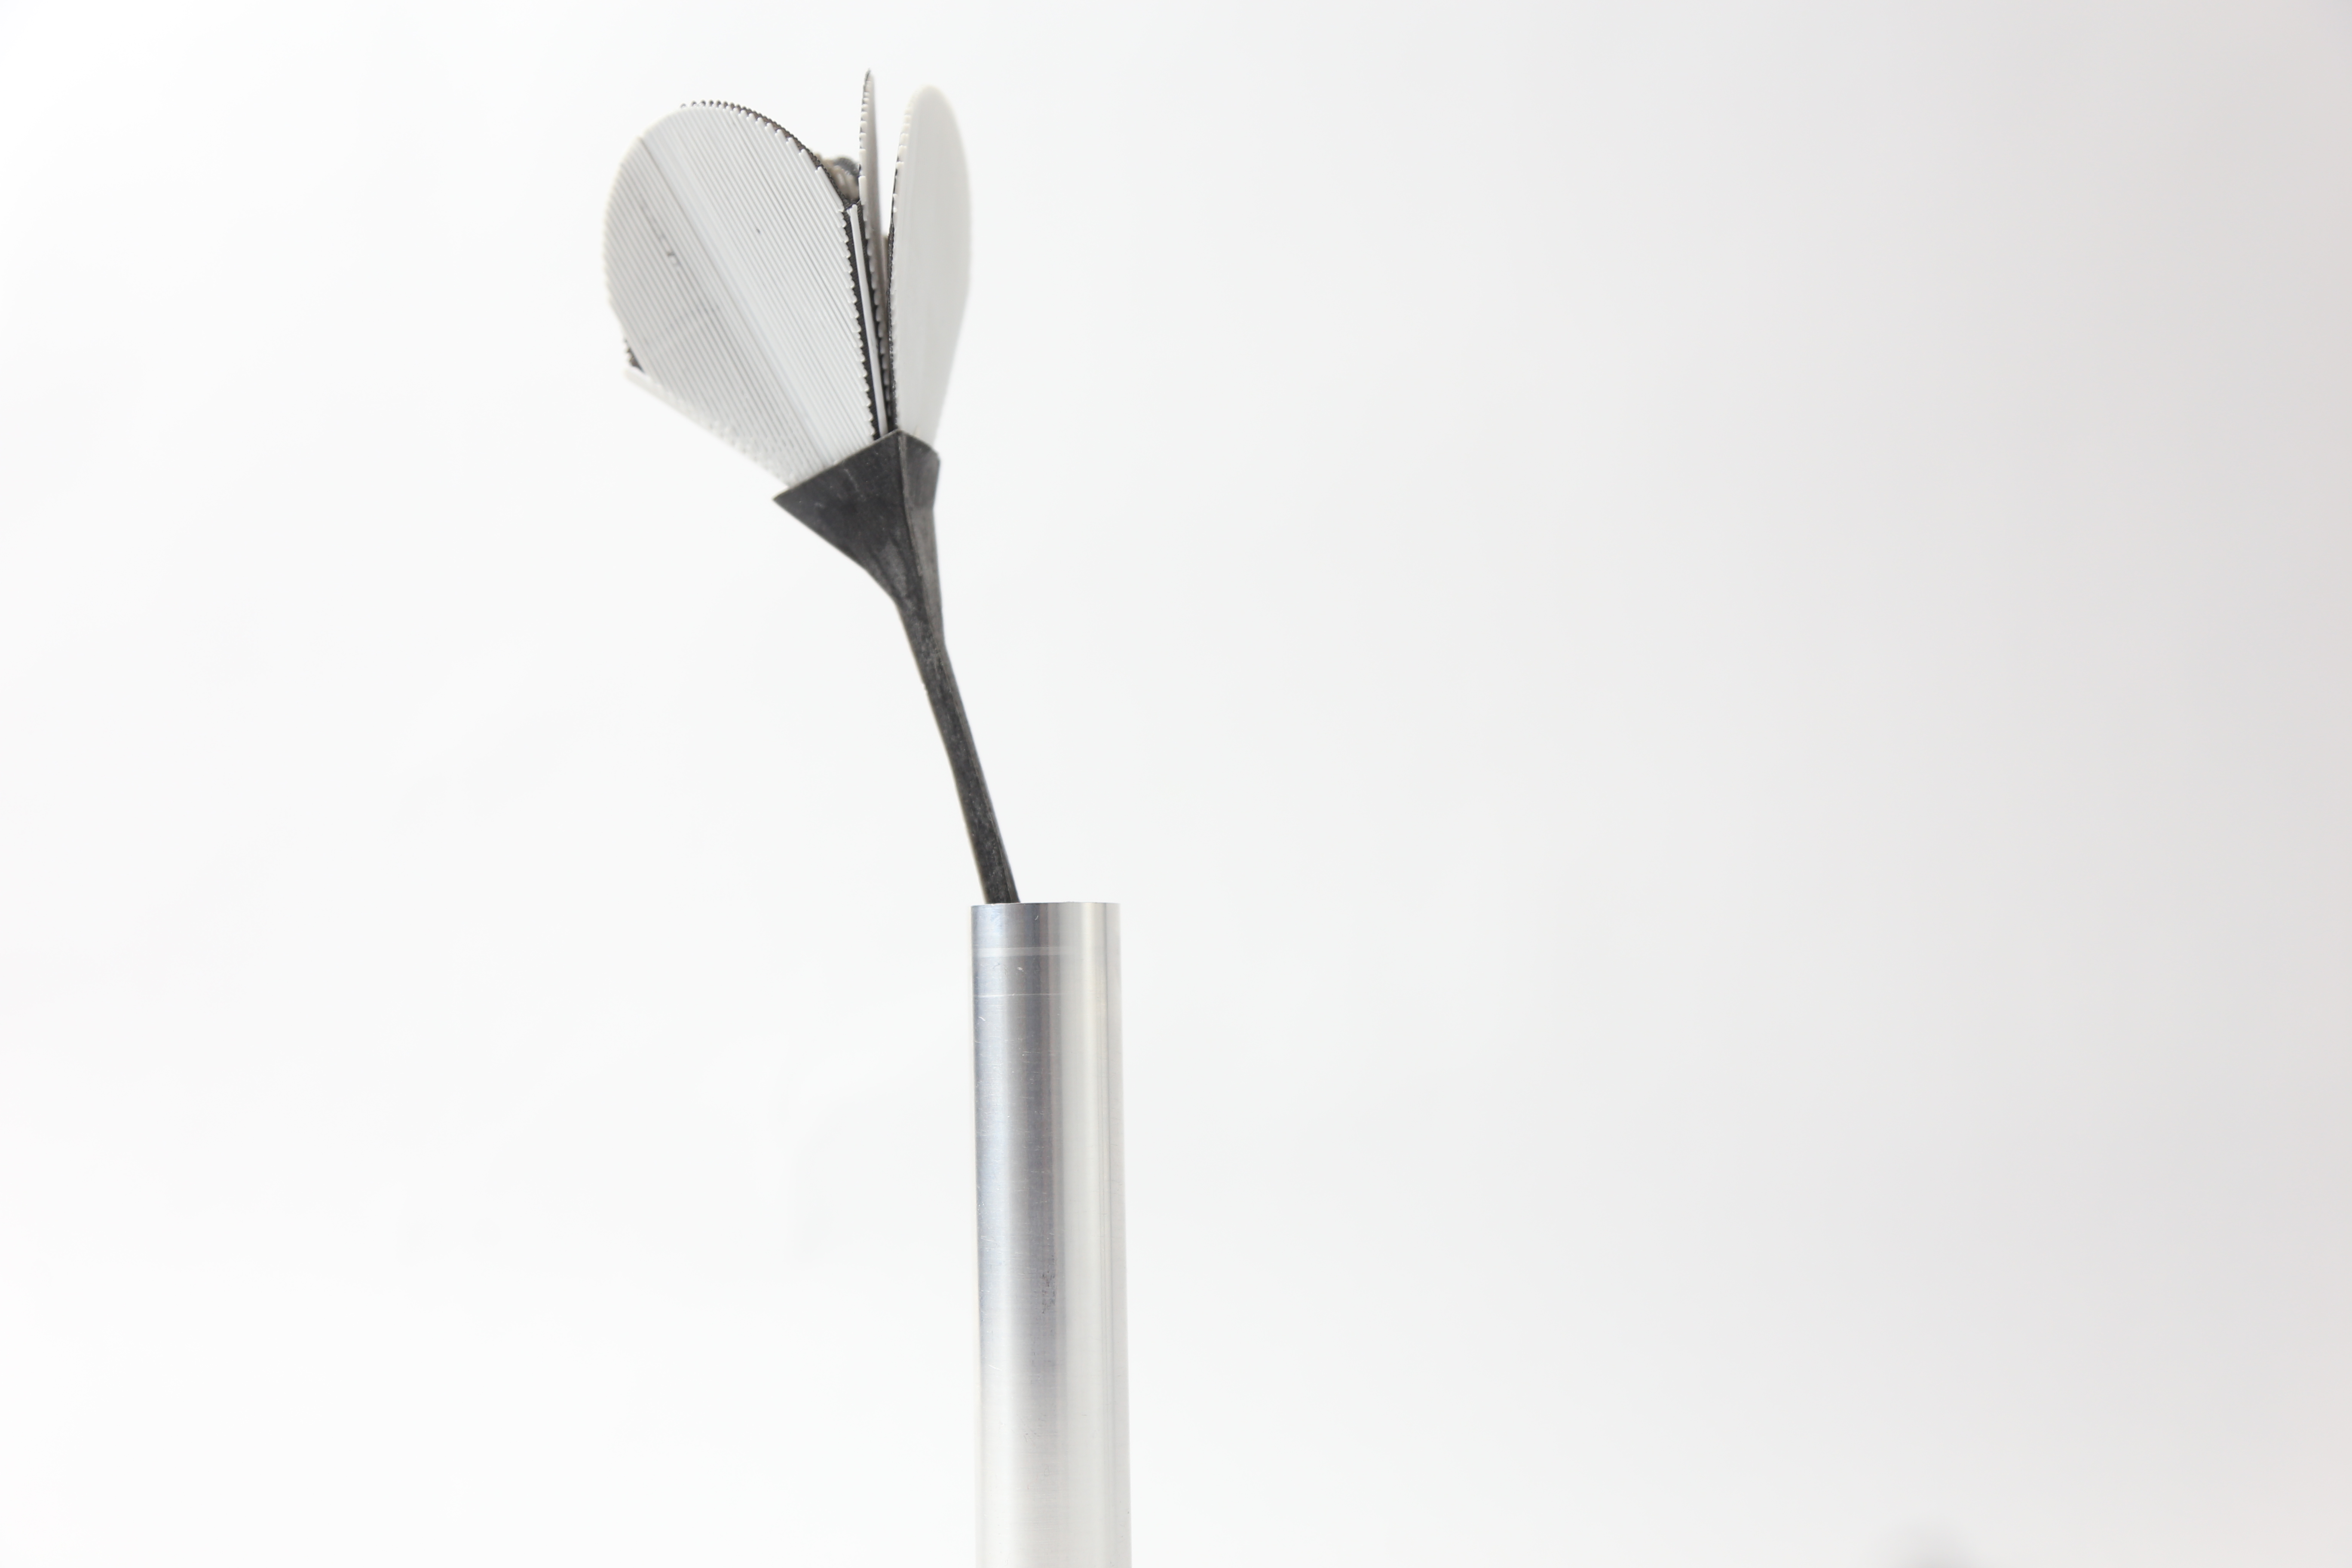
You can print a holder to hold the flowers as well. As you can tell from the photo, all the petals are flat initially once you fold it up.
Step 4: Transform the Rose
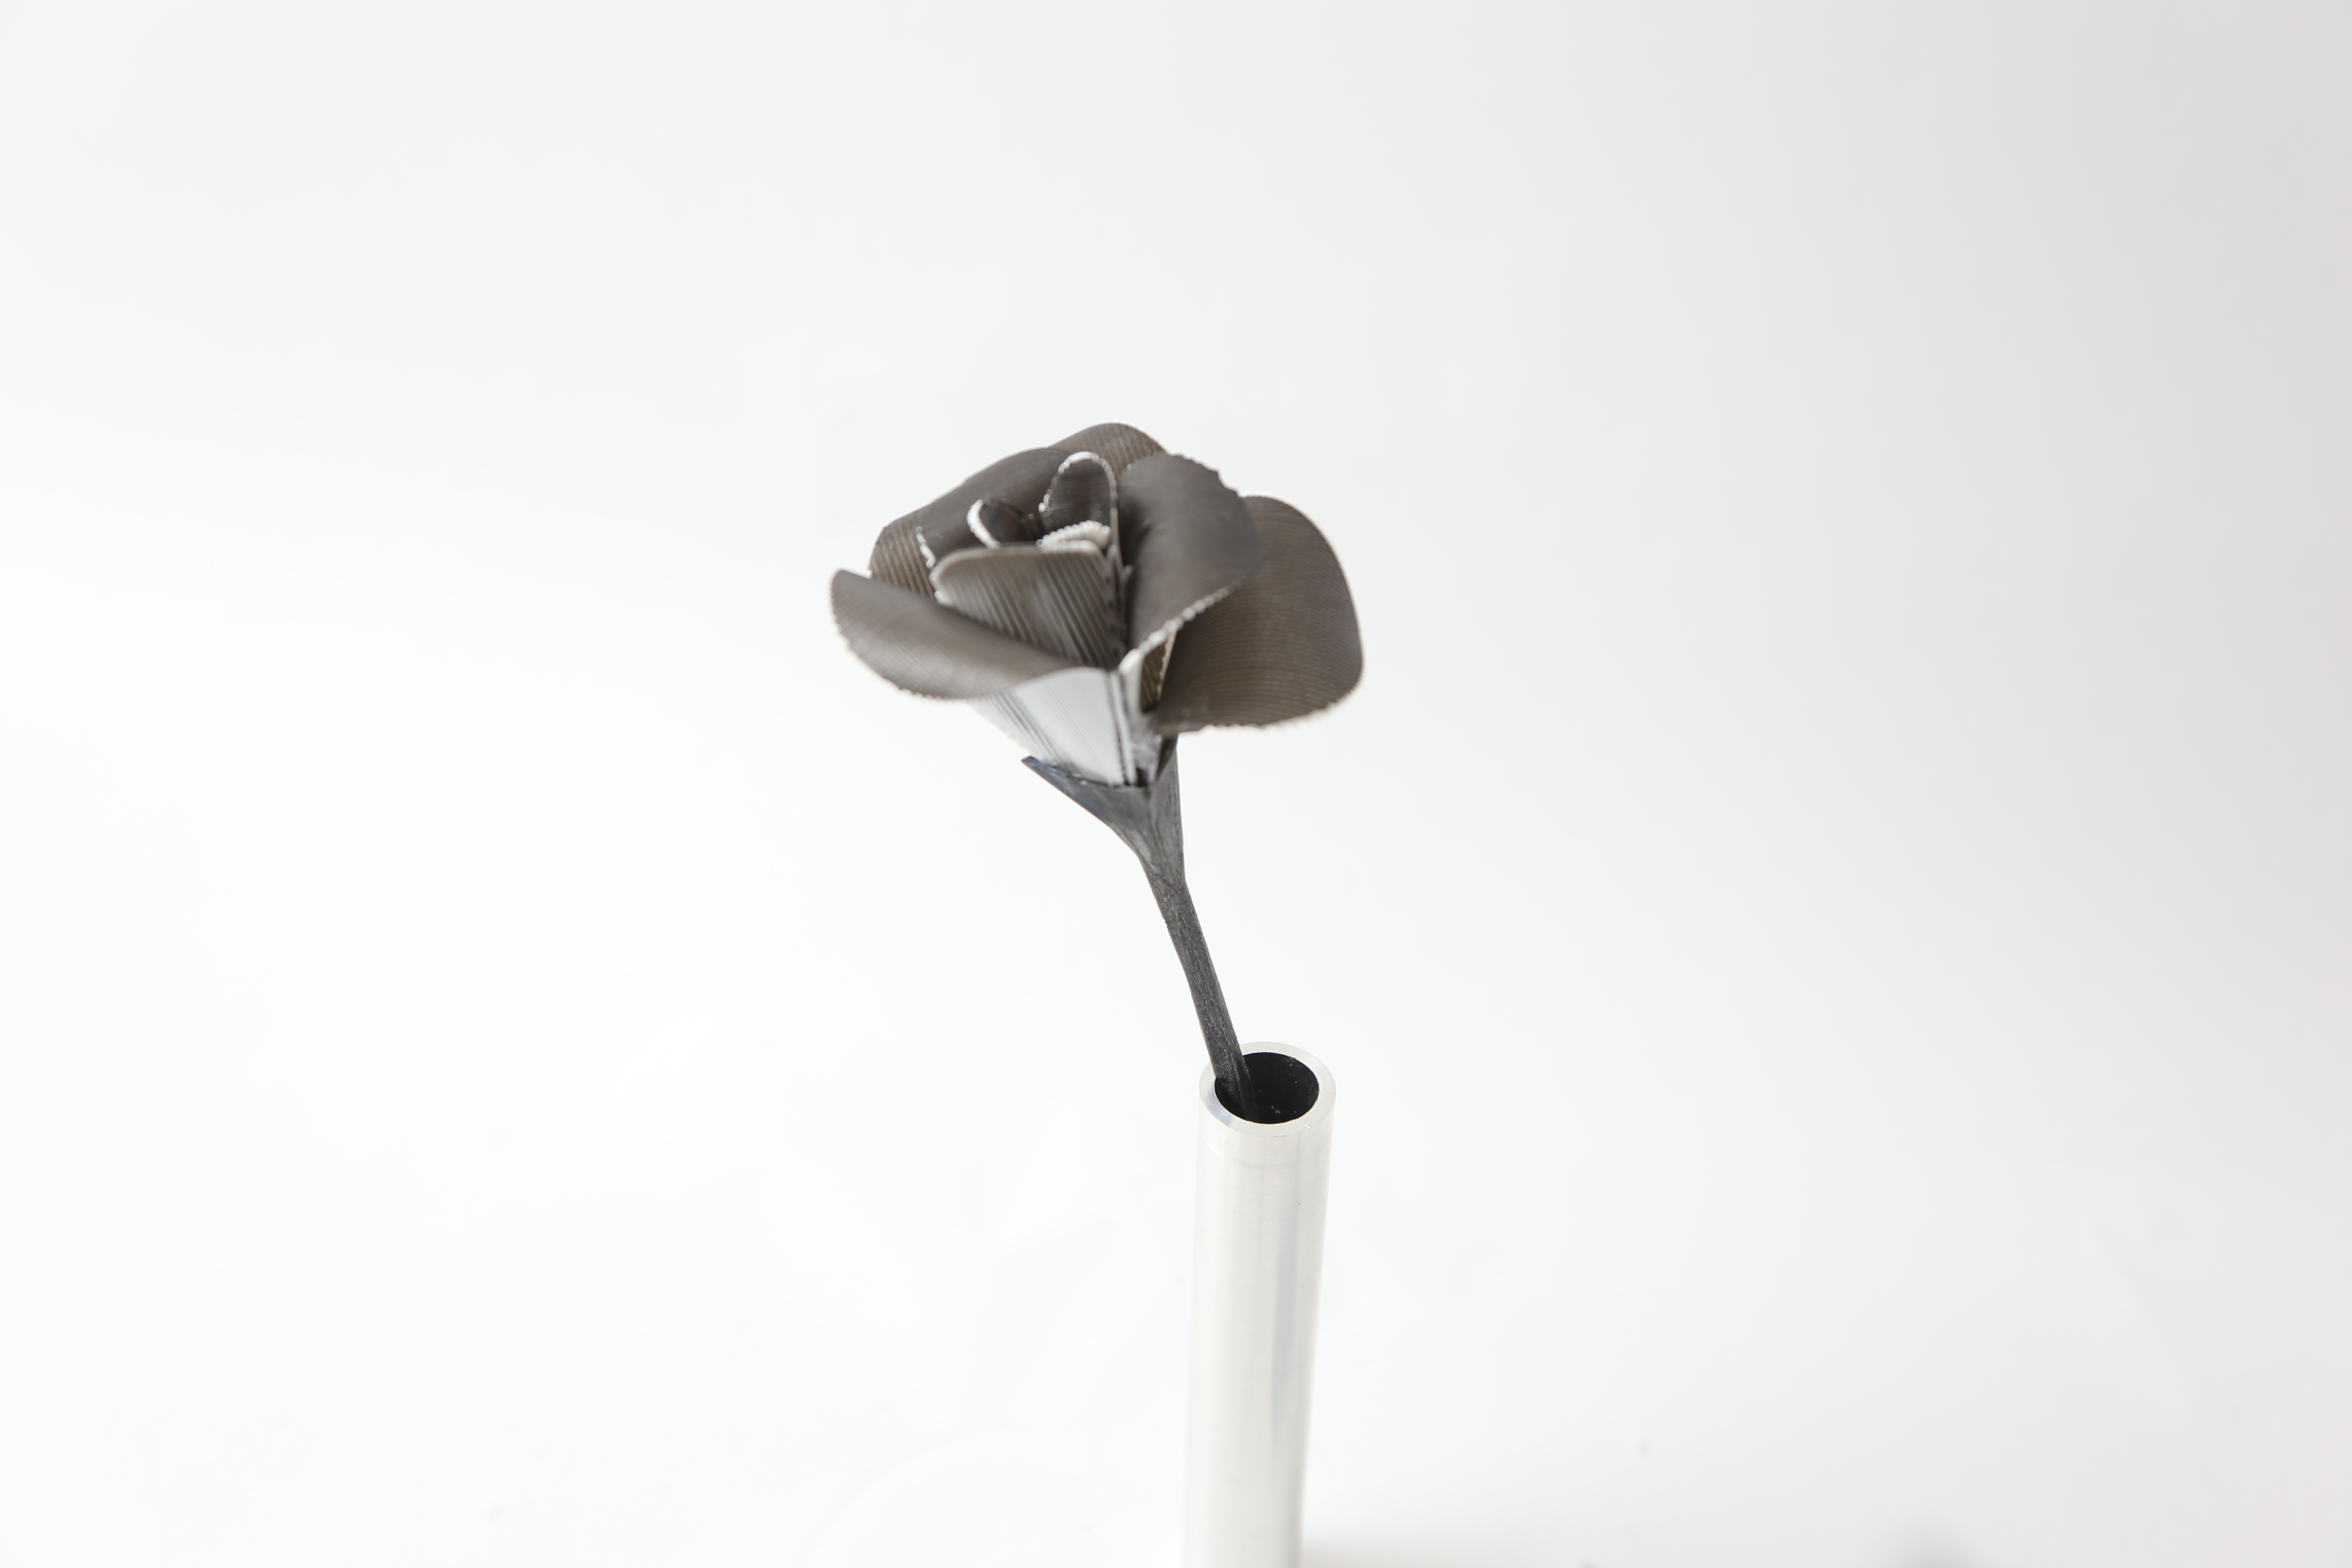
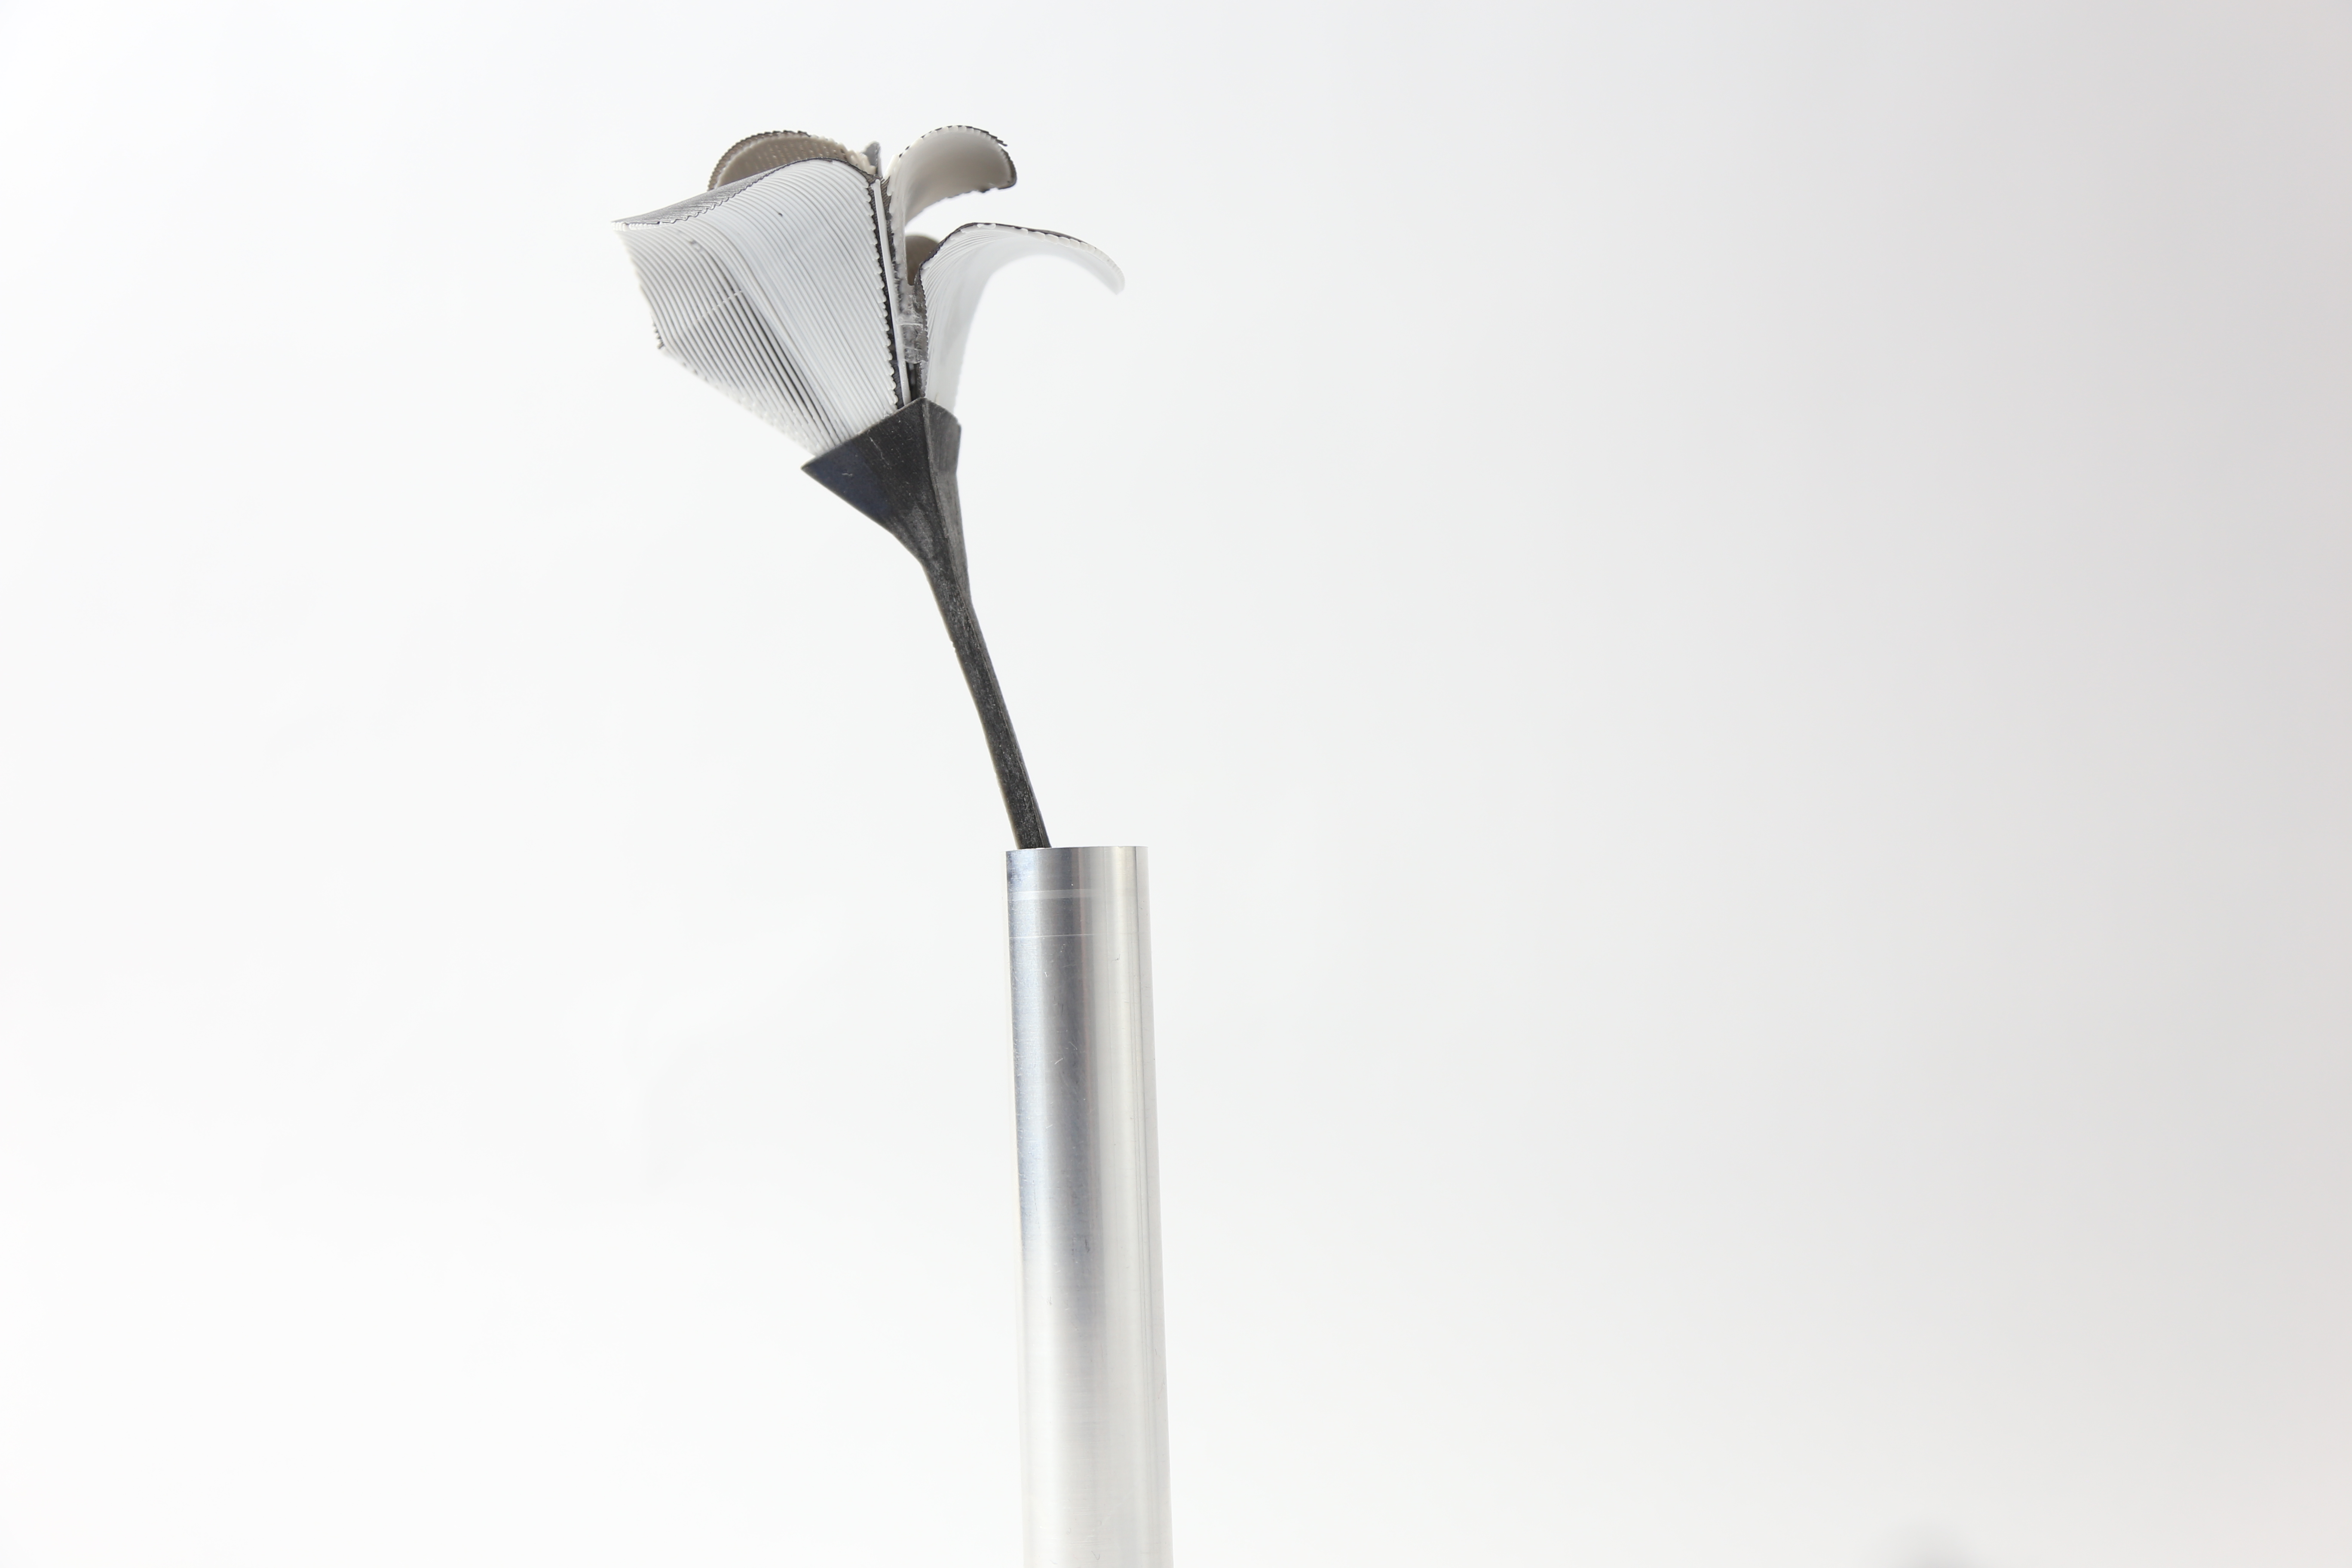
And make it blossom by dipping it into hot water for 1 minute, or blow it with a heat gun. Do not keep the flower under heat for too long, otherwise, it will melt down and it is not good for your health!
Happy blossoming!