Magic MQTT Button for HomeKit (Homebridge)
15068 Views, 40 Favorites, 0 Comments
Magic MQTT Button for HomeKit (Homebridge)
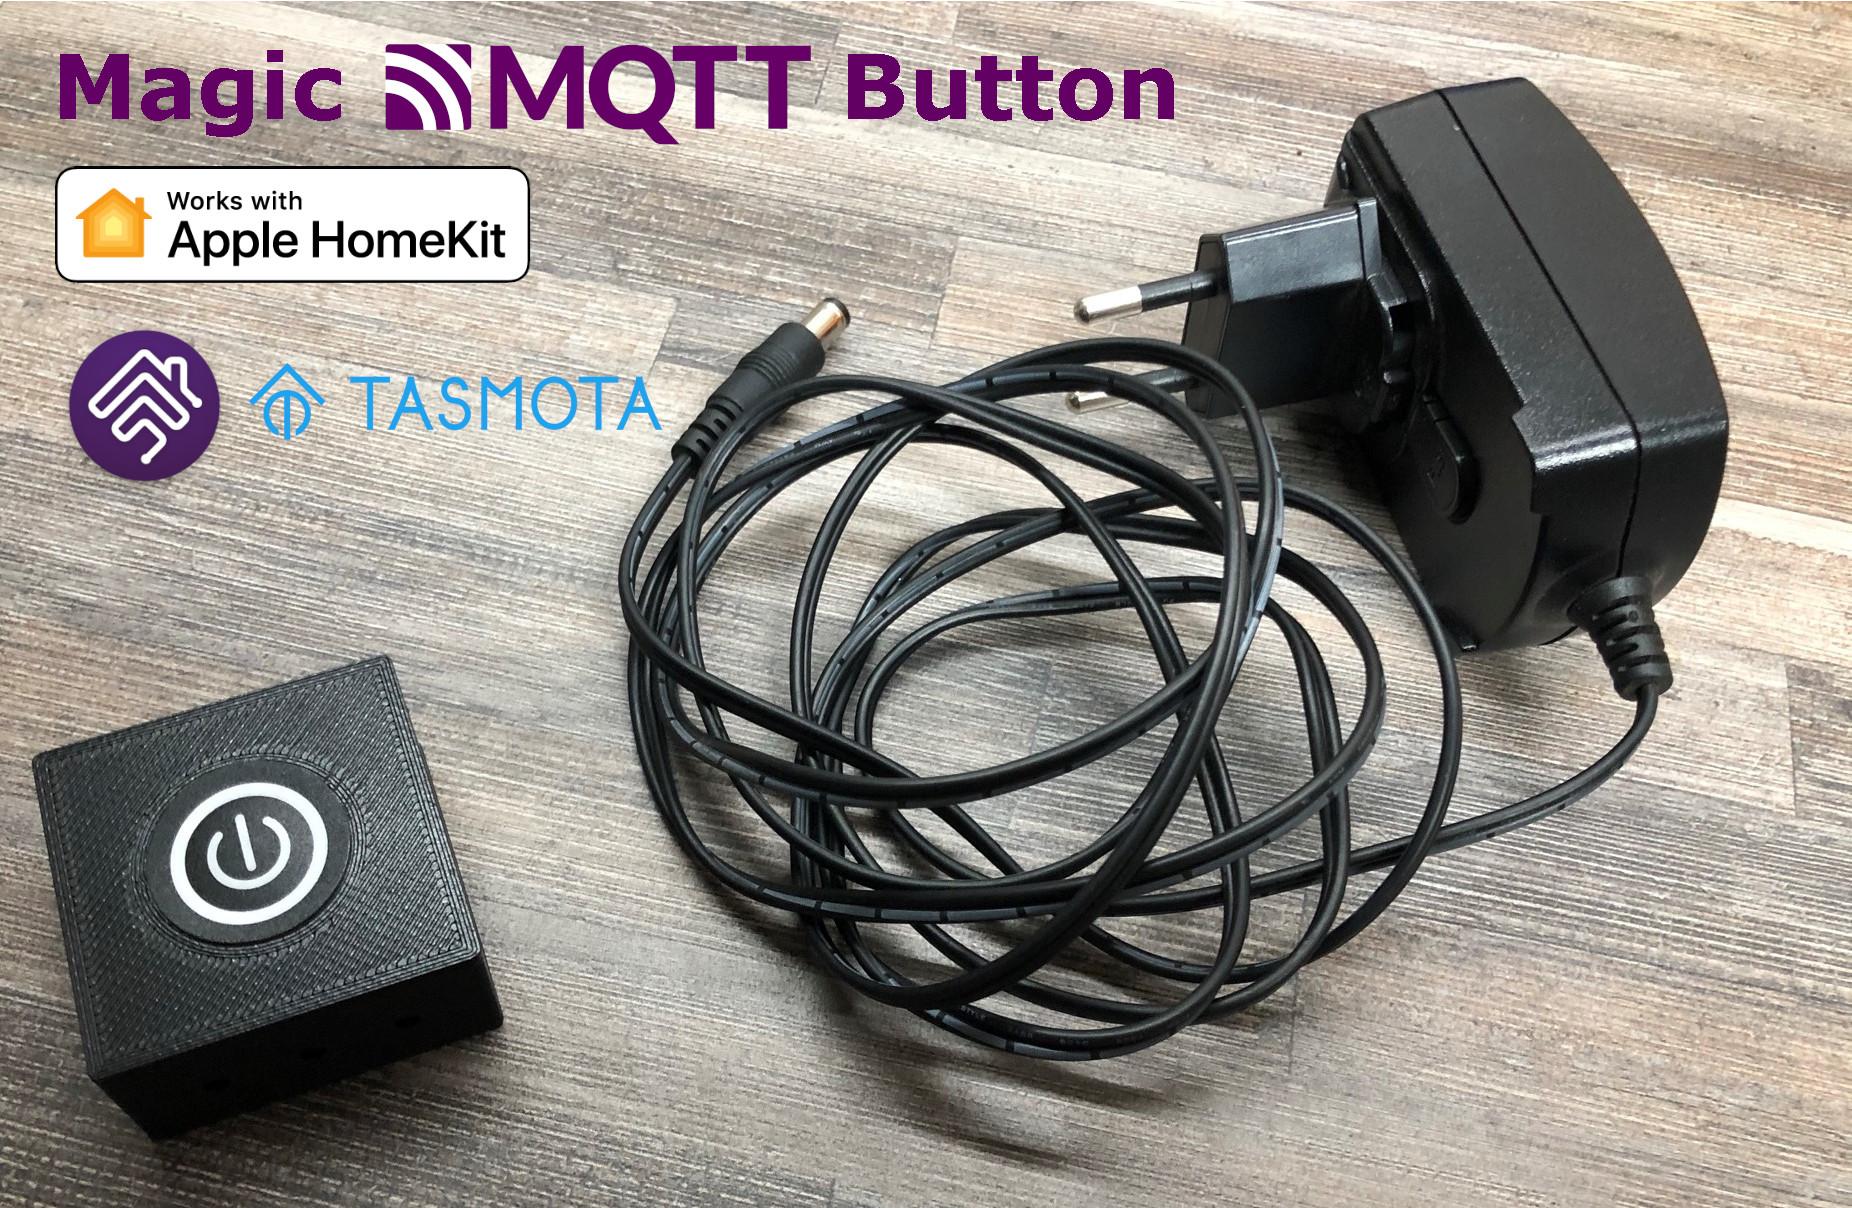
The purpose of this project is to use the low-cost ESP8266 module to create a "Magic Switch" that can integrate with various home automation solutions such as Node-red, Home Assistant, Apple HomeKit (using Homebridge), and many more.
I decided to make use of MQTT as the messaging protocol for the Magic Switch because it is fast and reliable using custom firmware on the ESP8266 module known as Tasmota.
The purpose of the switch is to trigger an Automation or Scene in a smart home instance.
For this instructable you require a running instance of Homebridge and MQTT. Both these solutions can be easily installed on the low-cost Raspberry pi.
A good guide on getting started with Homebridge on the Raspberry pi can be found at this wiki or on the official Homebridge website.
Here is some information on getting started with MQTT on a Raspberry pi:
Let's get started...
Supplies
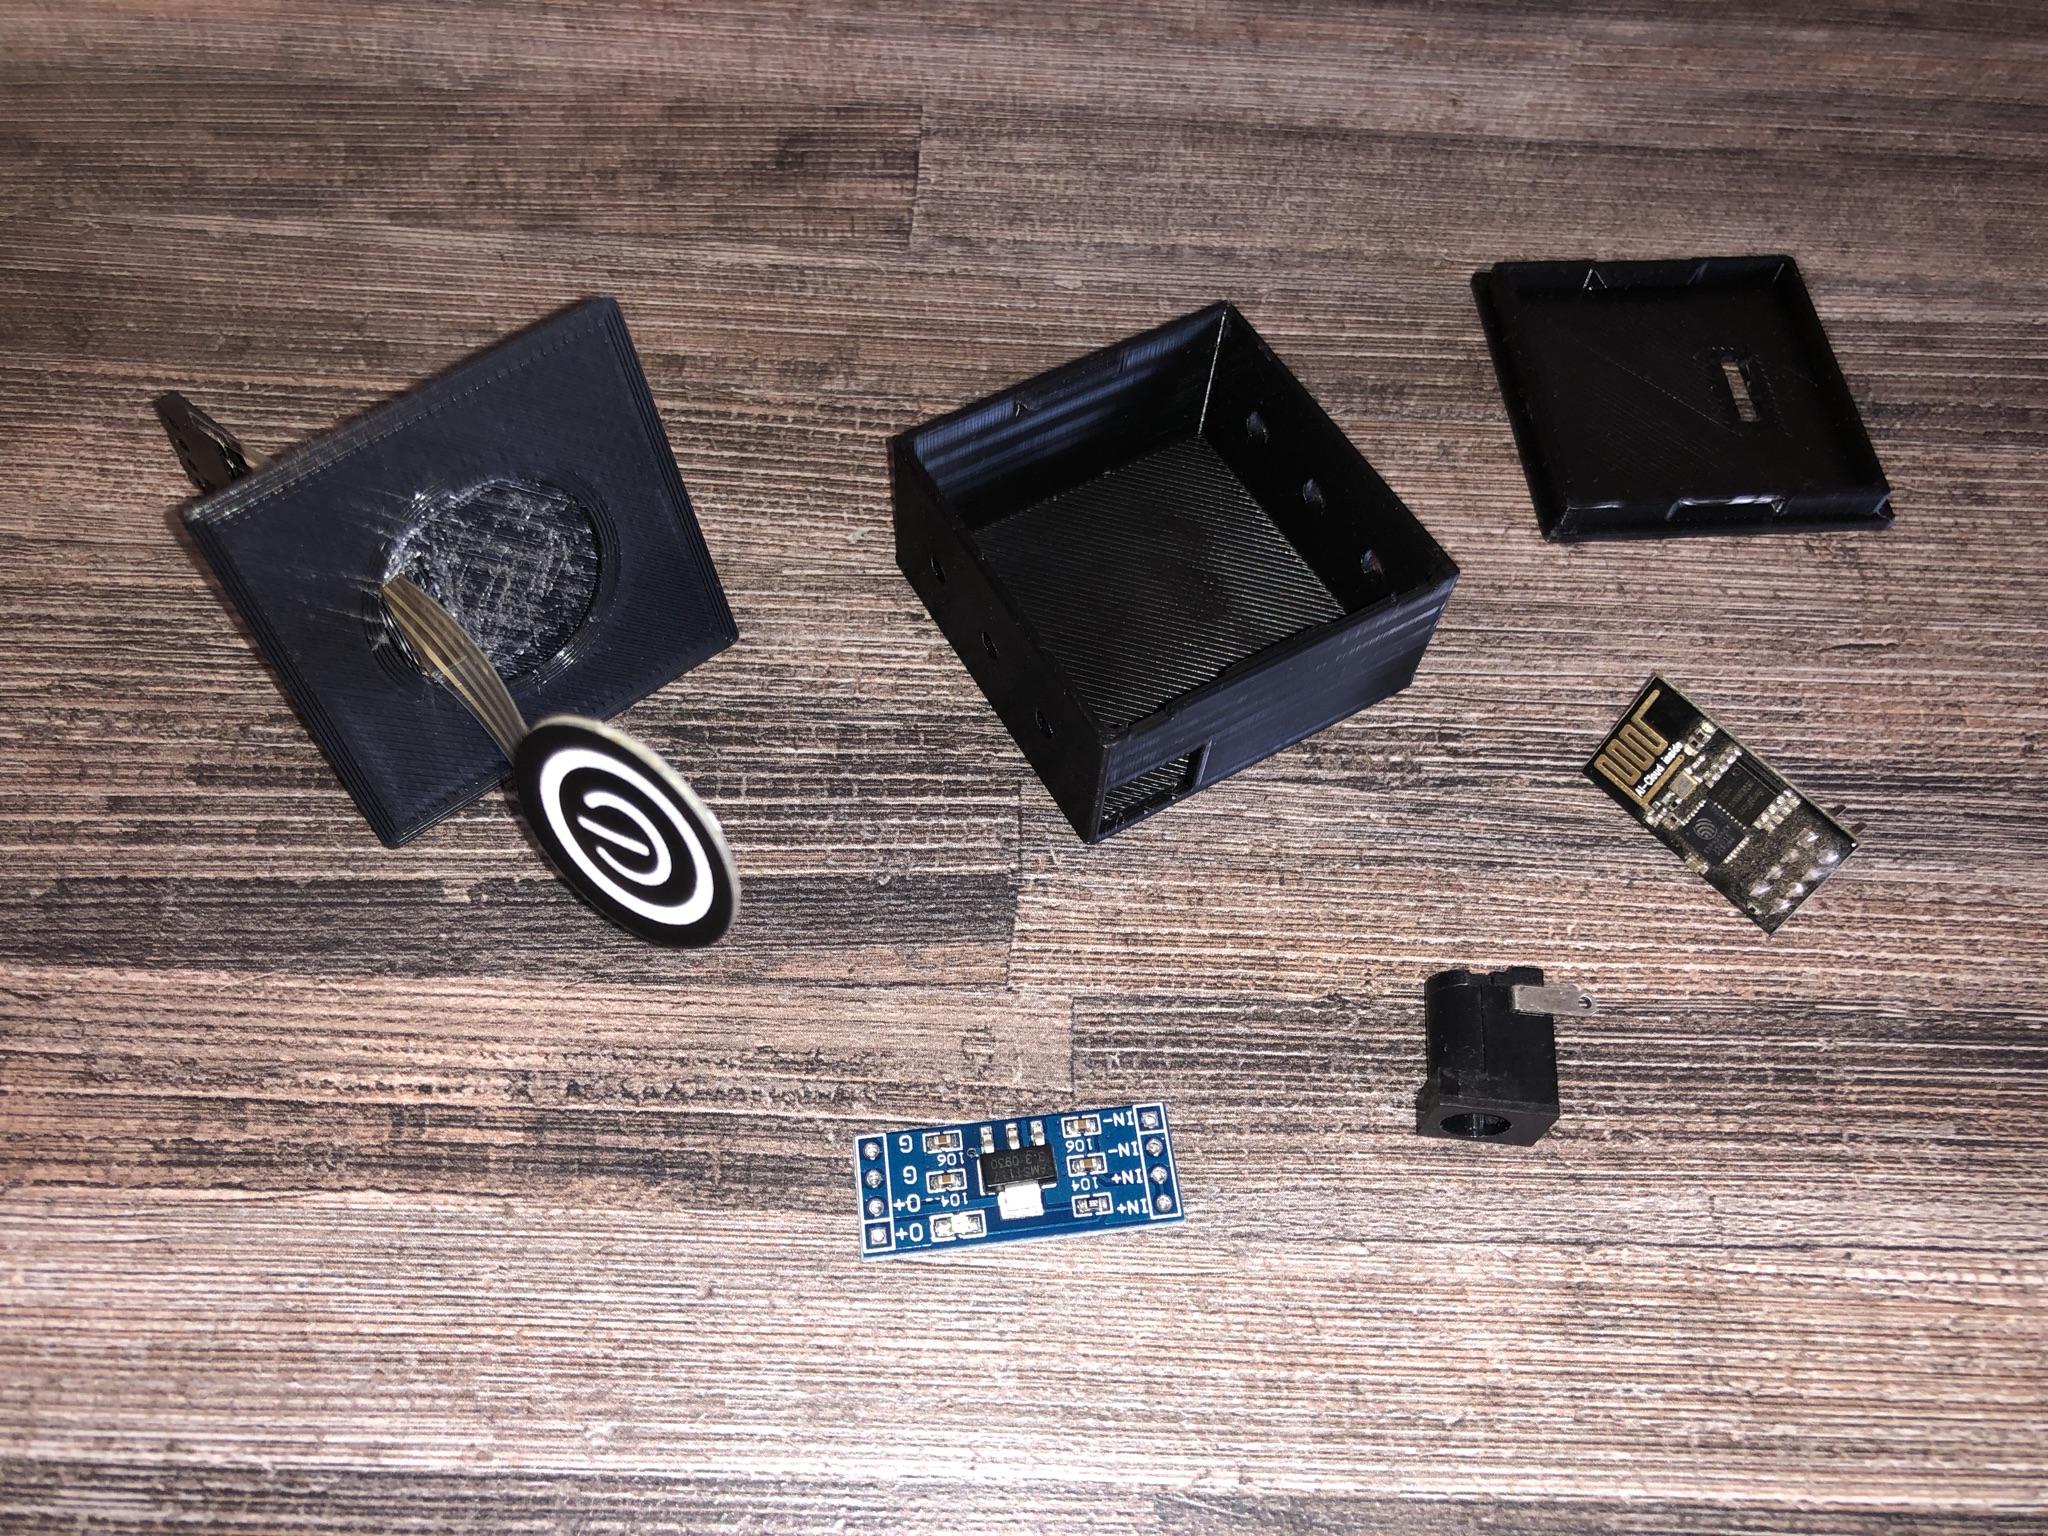
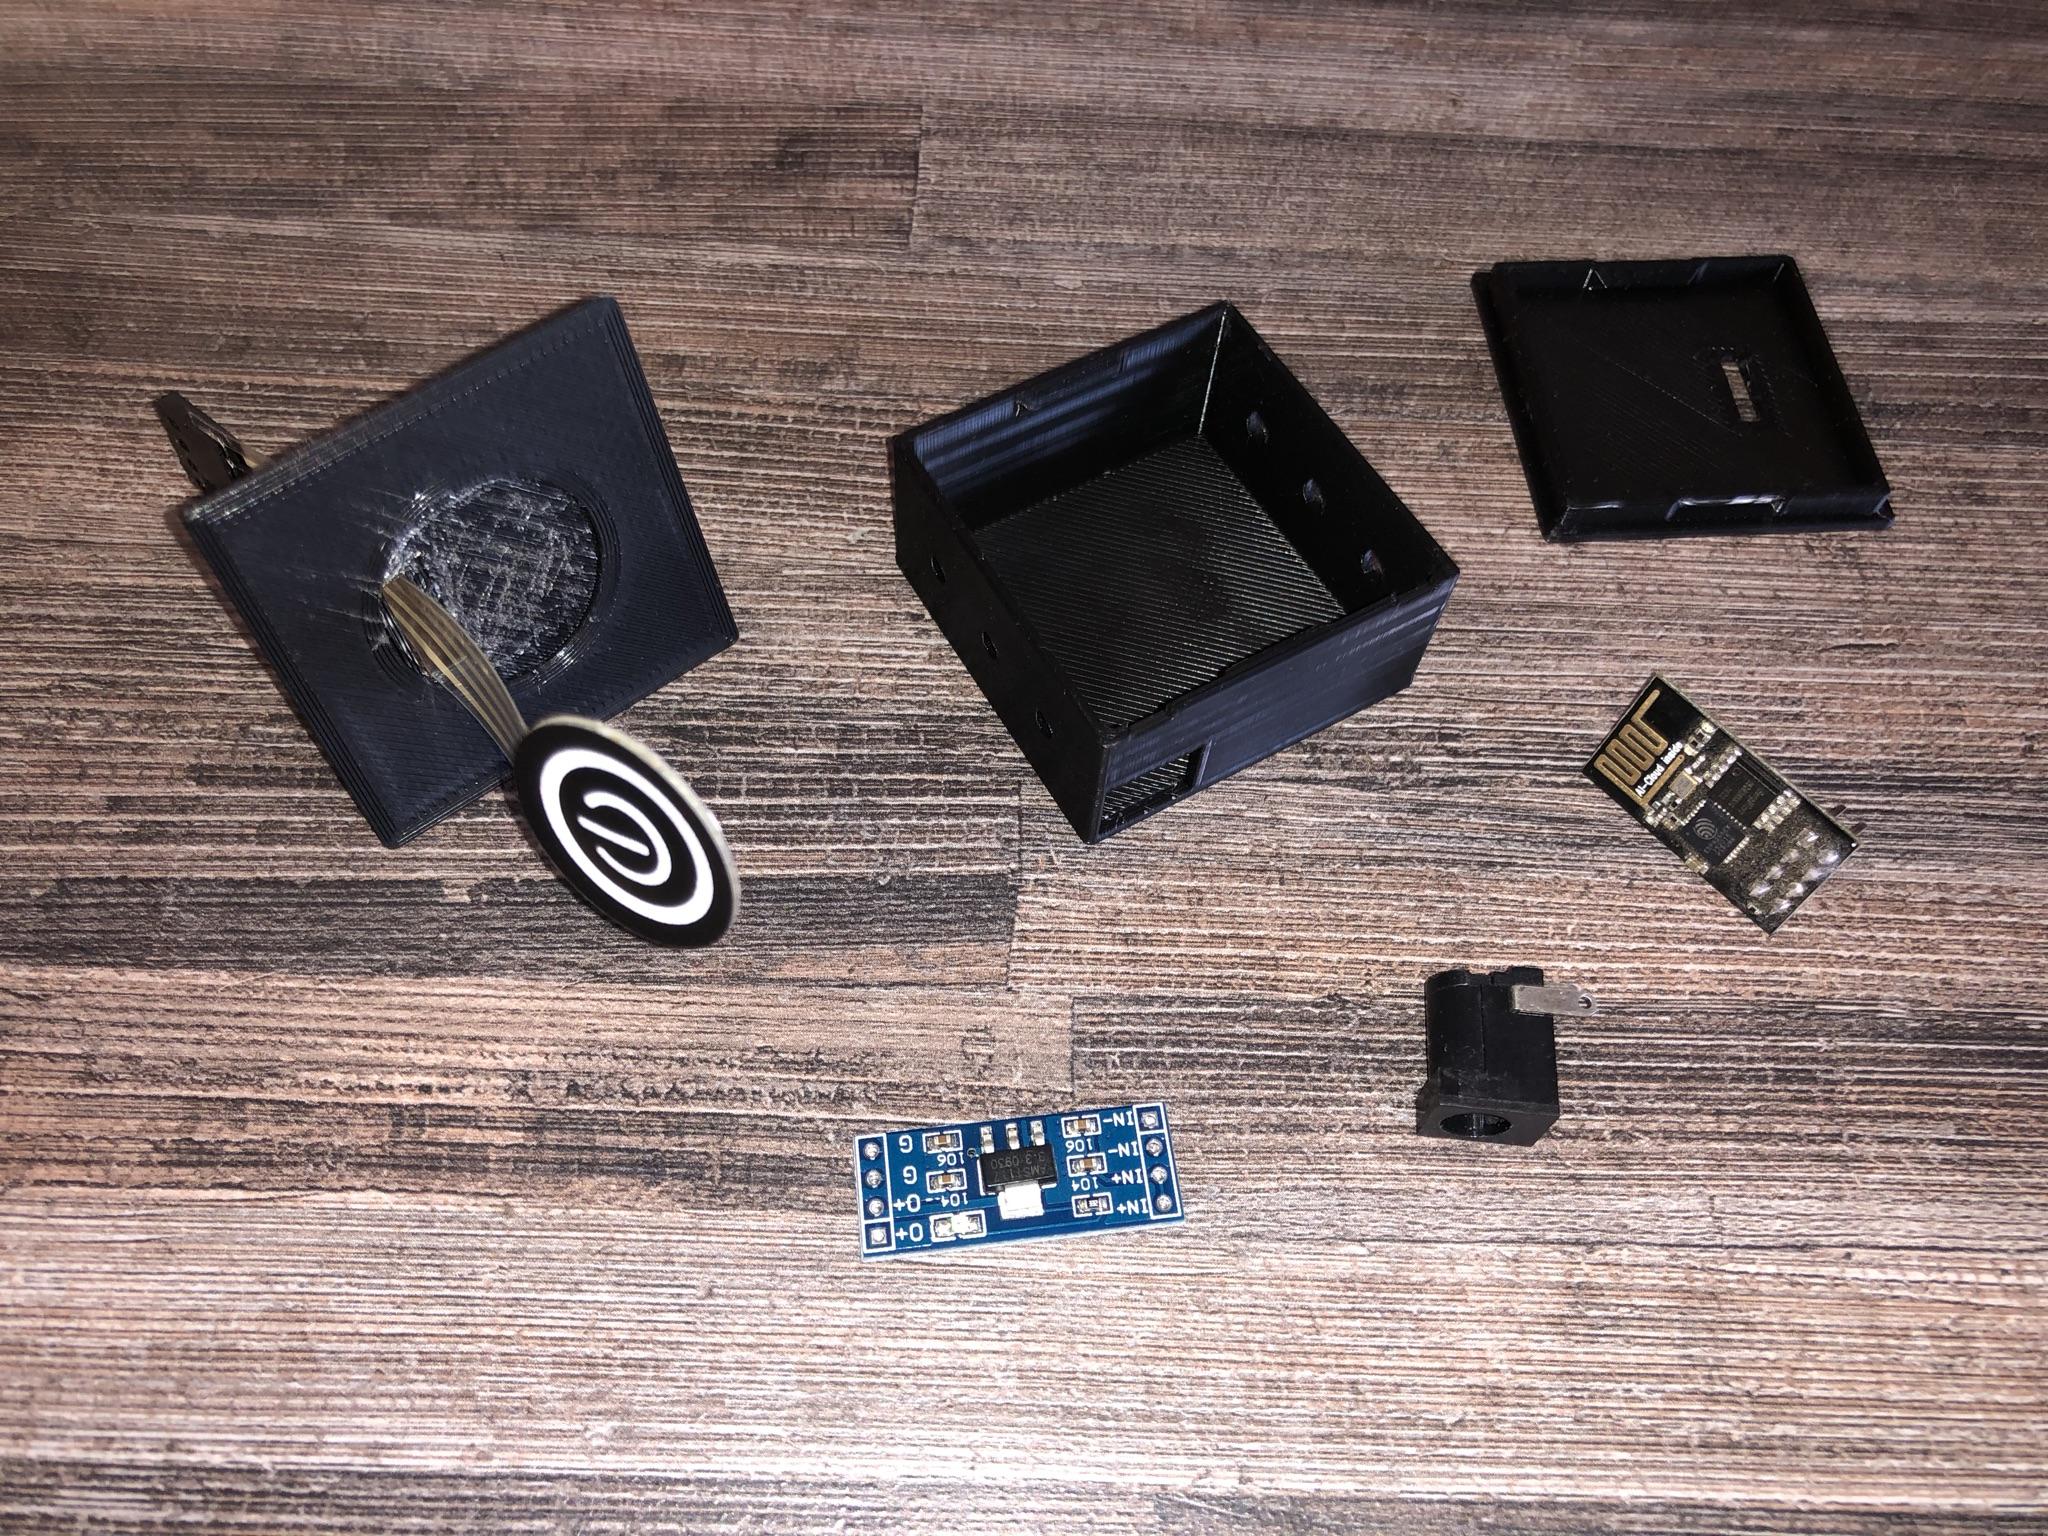
You require at minimum the following for this project:
- ESP8266 and Programmer
- 3.3V Voltage regulator module (or similar)
- Project enclosure. Here is the 3D printable enclosure.
- 11 mm x 9 mm female power adapter
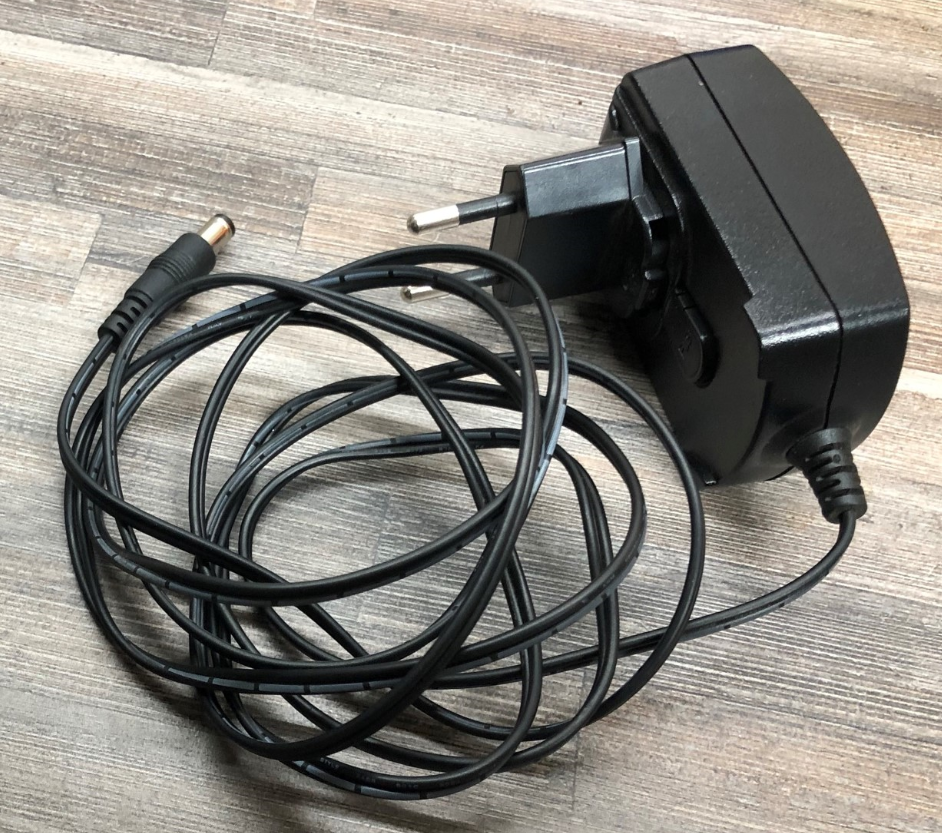
- Old DC power supply (5V-12V)
- Membrane ON/OFF switch
- Running MQTT broker
- Running Home Automation hub (in this case Homebridge)
Having a soldering iron and hot glue will assist you greatly.
Flashing ESP8266 With Tasmota
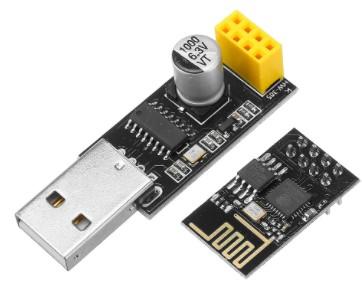

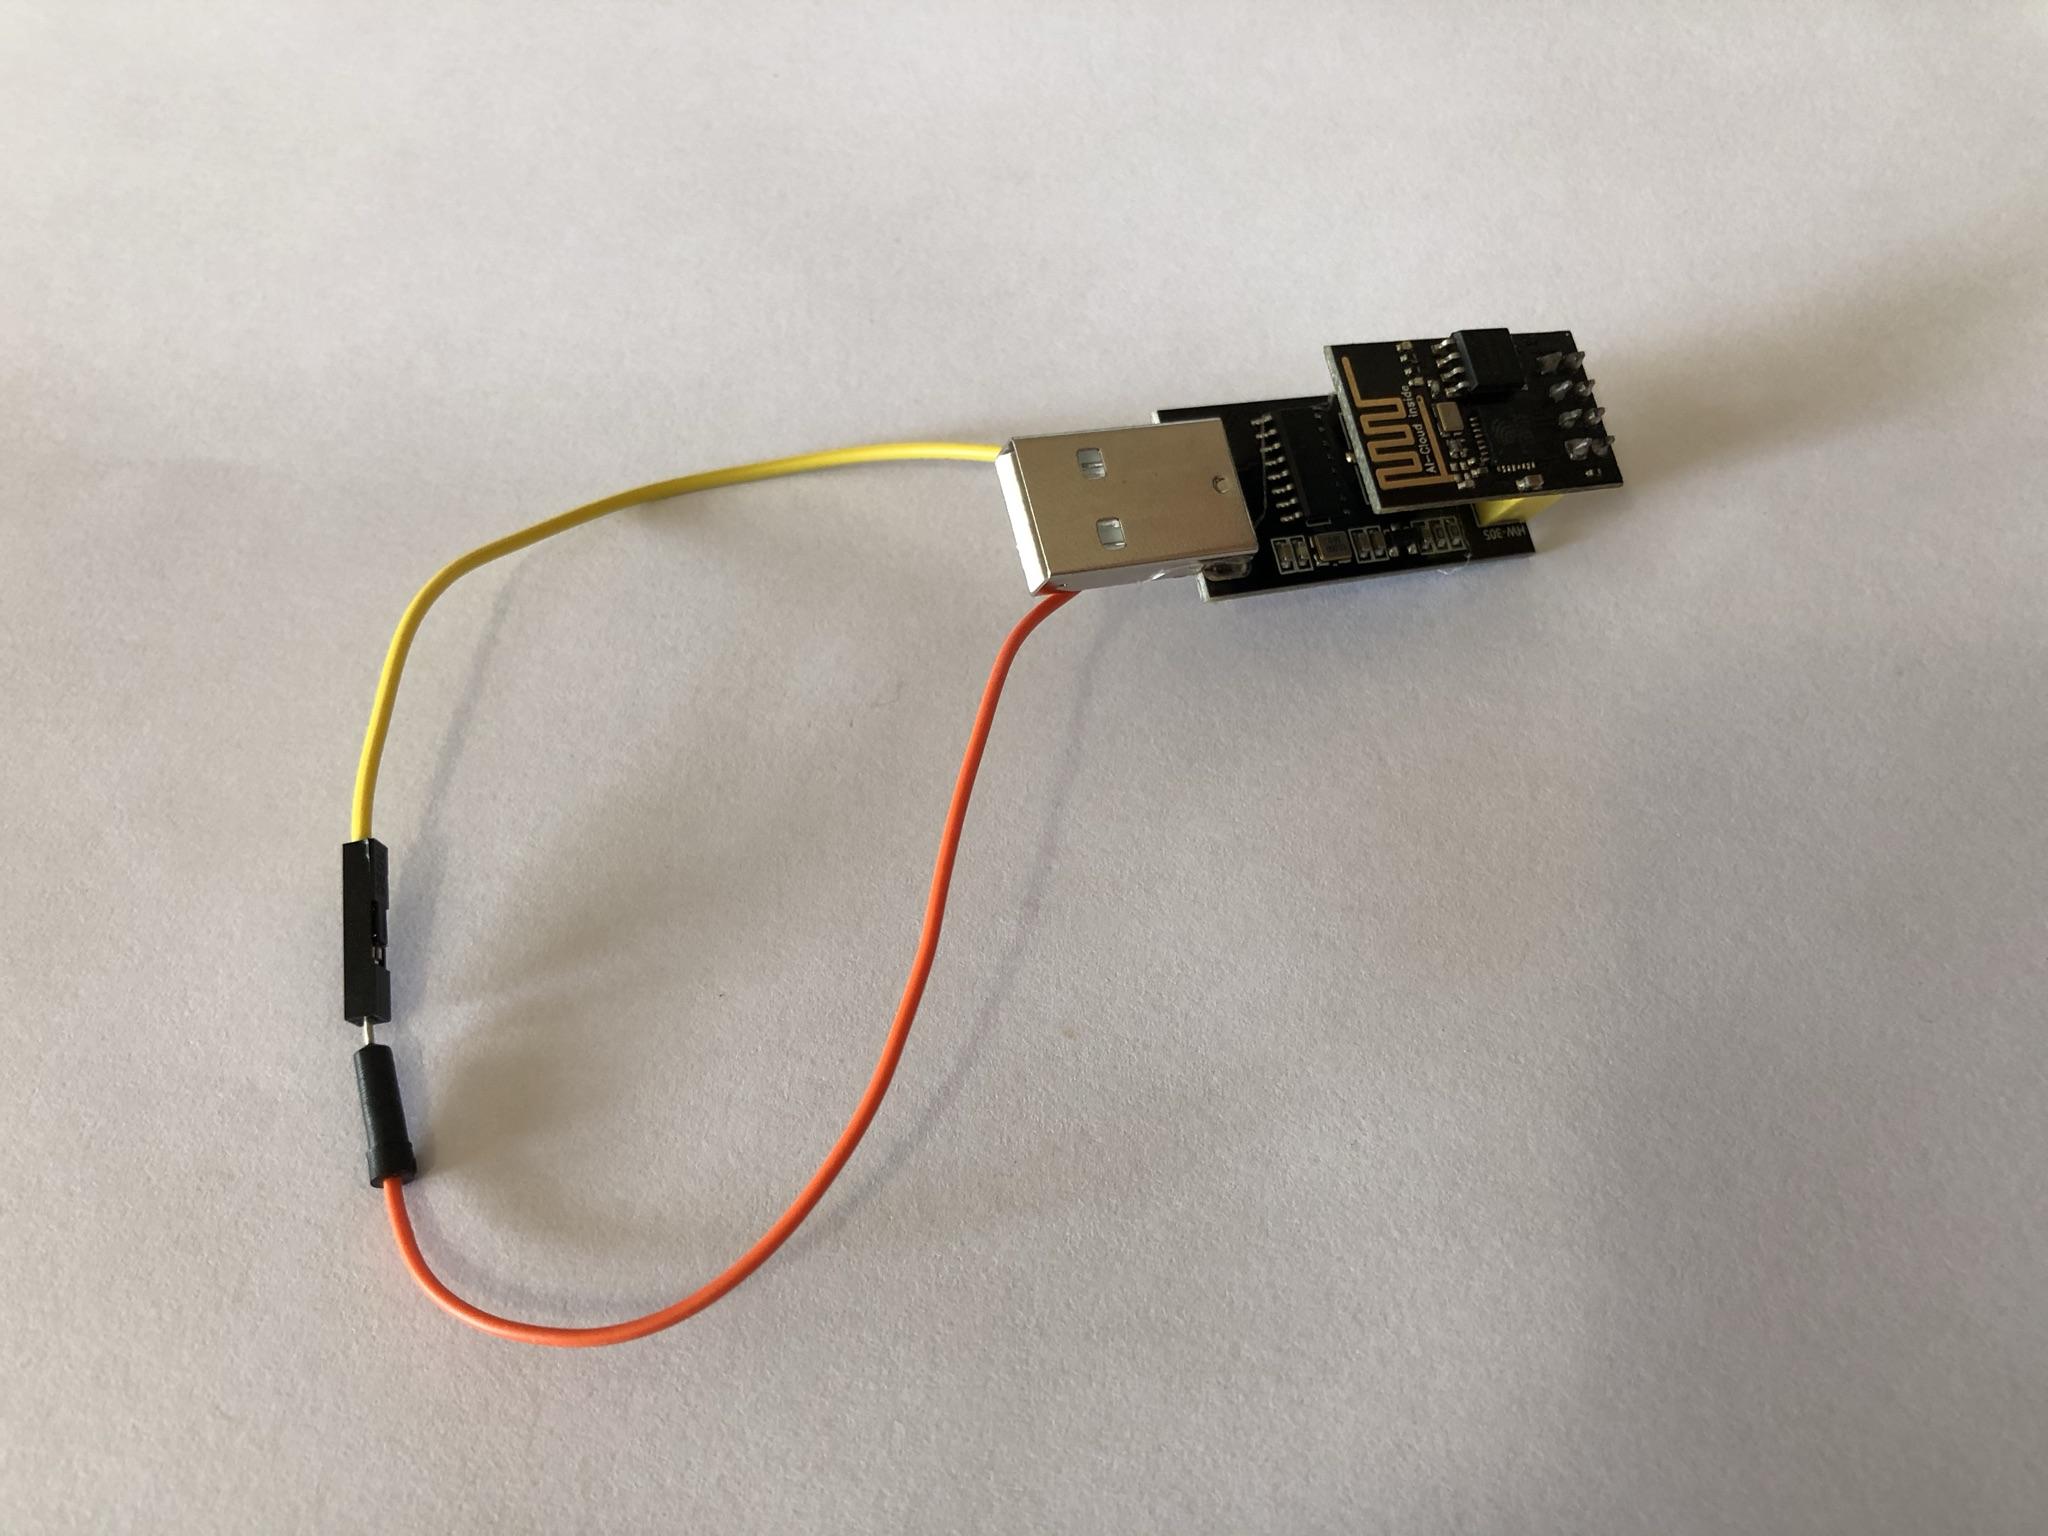
We will be flashing the ESP8266 module with Tasmota in order to connect it to our MQTT broker.
There are various resources available to assist you in flashing the ESP8266 with Tasmota.
A method for flashing the ESP-01 module using a program called Tasmotizer can be found here.
When you finished flashing Tasmota to the ESP-01 module using the provided link, we will continue to configure the module with an appropriate name as well as configuring the module to connect to our MQTT broker.
Configure Module Friendly Name
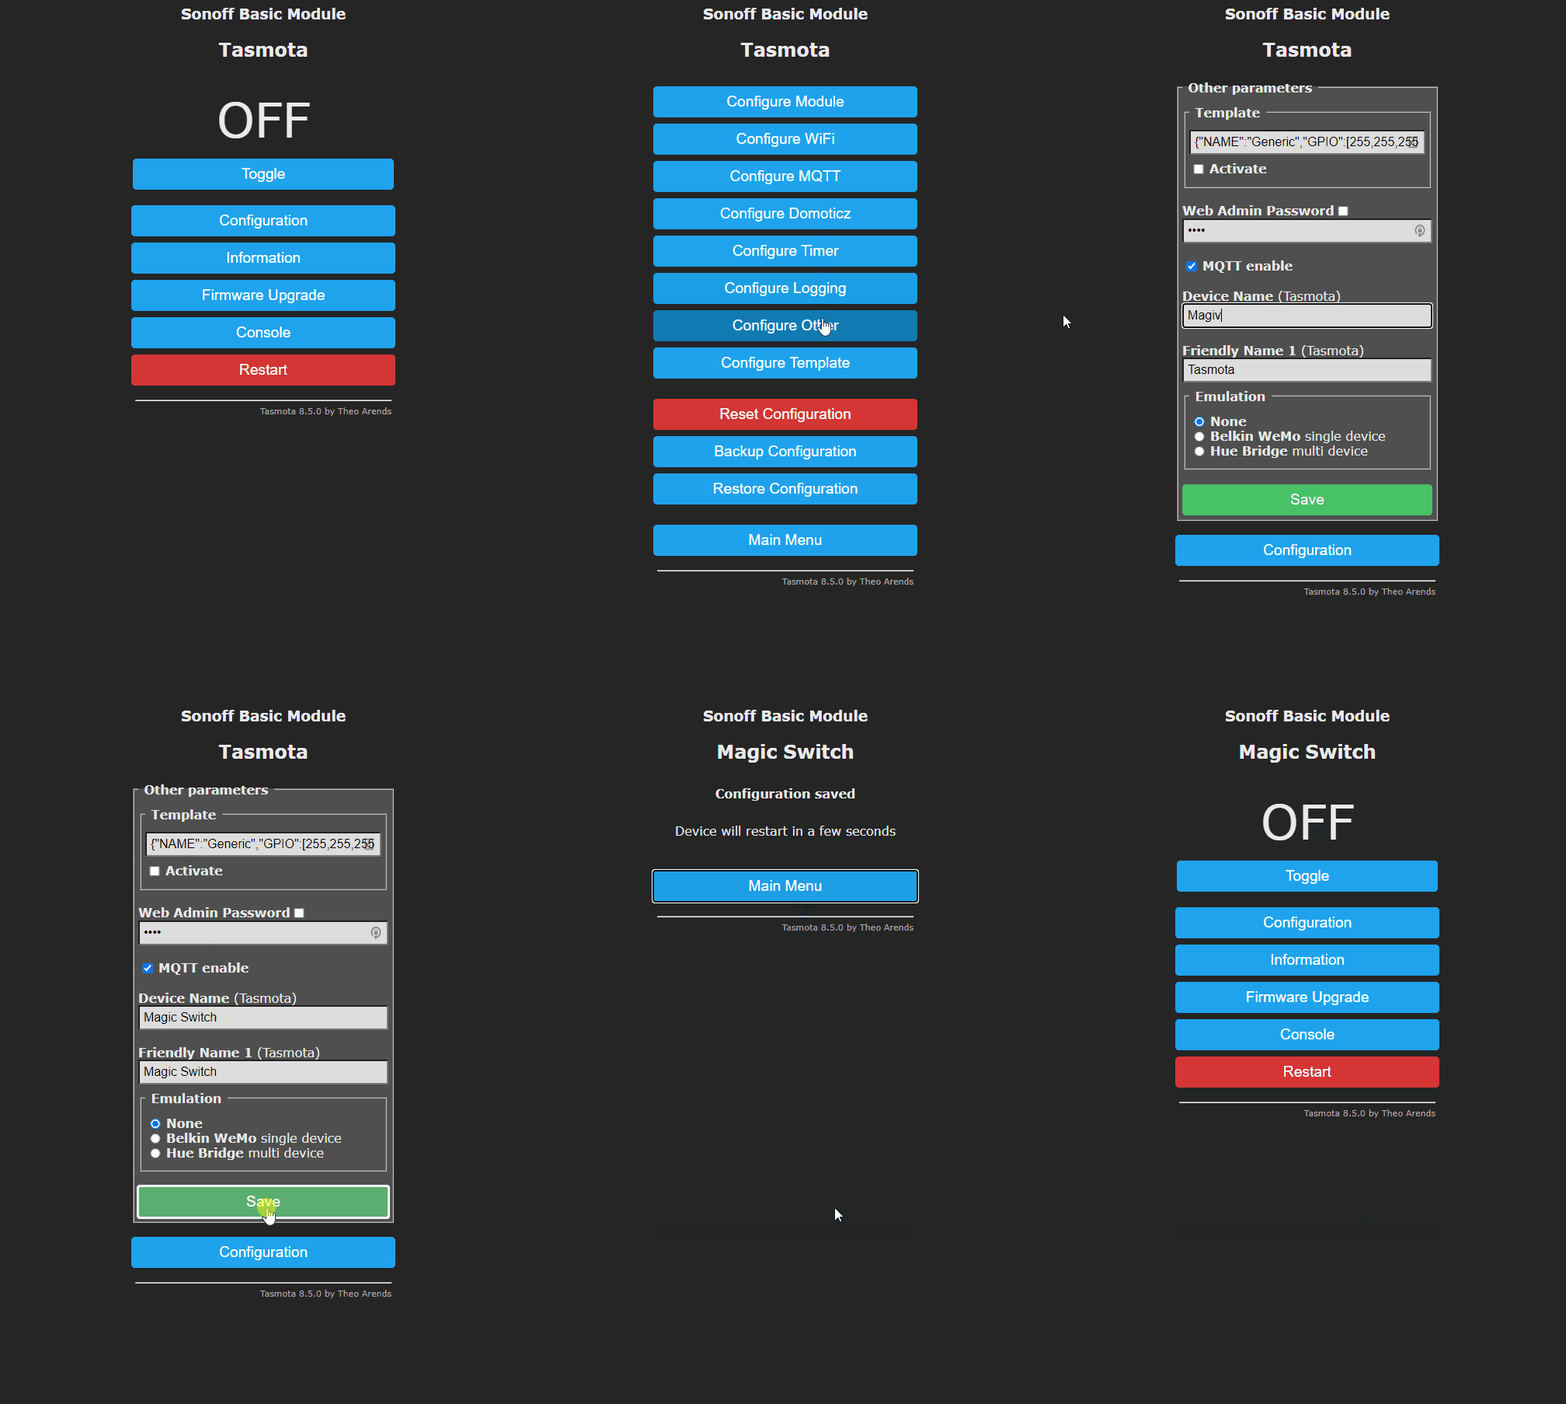
We will give our module a friendly name using the Tasmota interface.
- Navigate to the IP Address of your ESP-Module
- Click "Configuration"
- Click "Configure Other"
- Enter a relevant name in "Device name" and in "Friendly Name 1"
- Click "Save"
- Wait a few seconds
- Navigate back to the main menu
Next, we will configure the MQTT settings for our module to connect and publish messages to an MQTT topic.
MQTT Setup
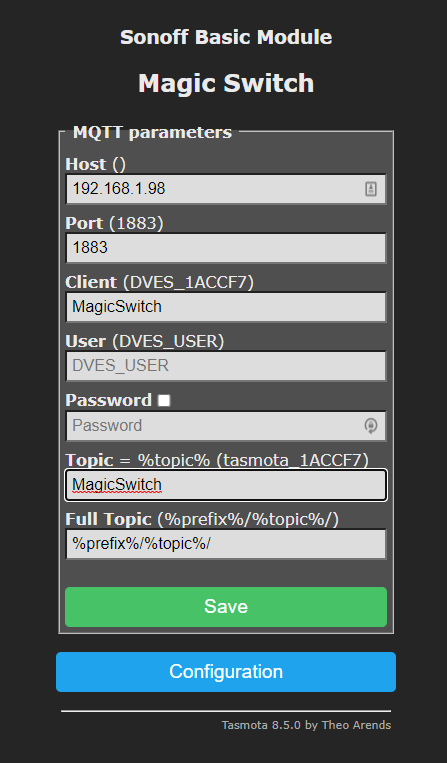
In this step we will be configuring our module to connect to an MQTT broker
- On the main menu of the Tasmota interface, click on "Configuration"
- Click on "Configure MQTT"
- Now enter your MQTT broker information
- Enter your HOST IP address
- Enter your Broker port number
- Enter a Client (Friendly name to use for your client, I used "MagicSwitch"
- Enter your Broker User
- Enter your Broker Password
- Enter your topic to publish to, I used "MagicSwitch"
- Click "Save"
- Wait a few seconds
- Navigate to the main menu
In the next section we will be testing that our MQTT connection works.
Testing MQTT Configuration
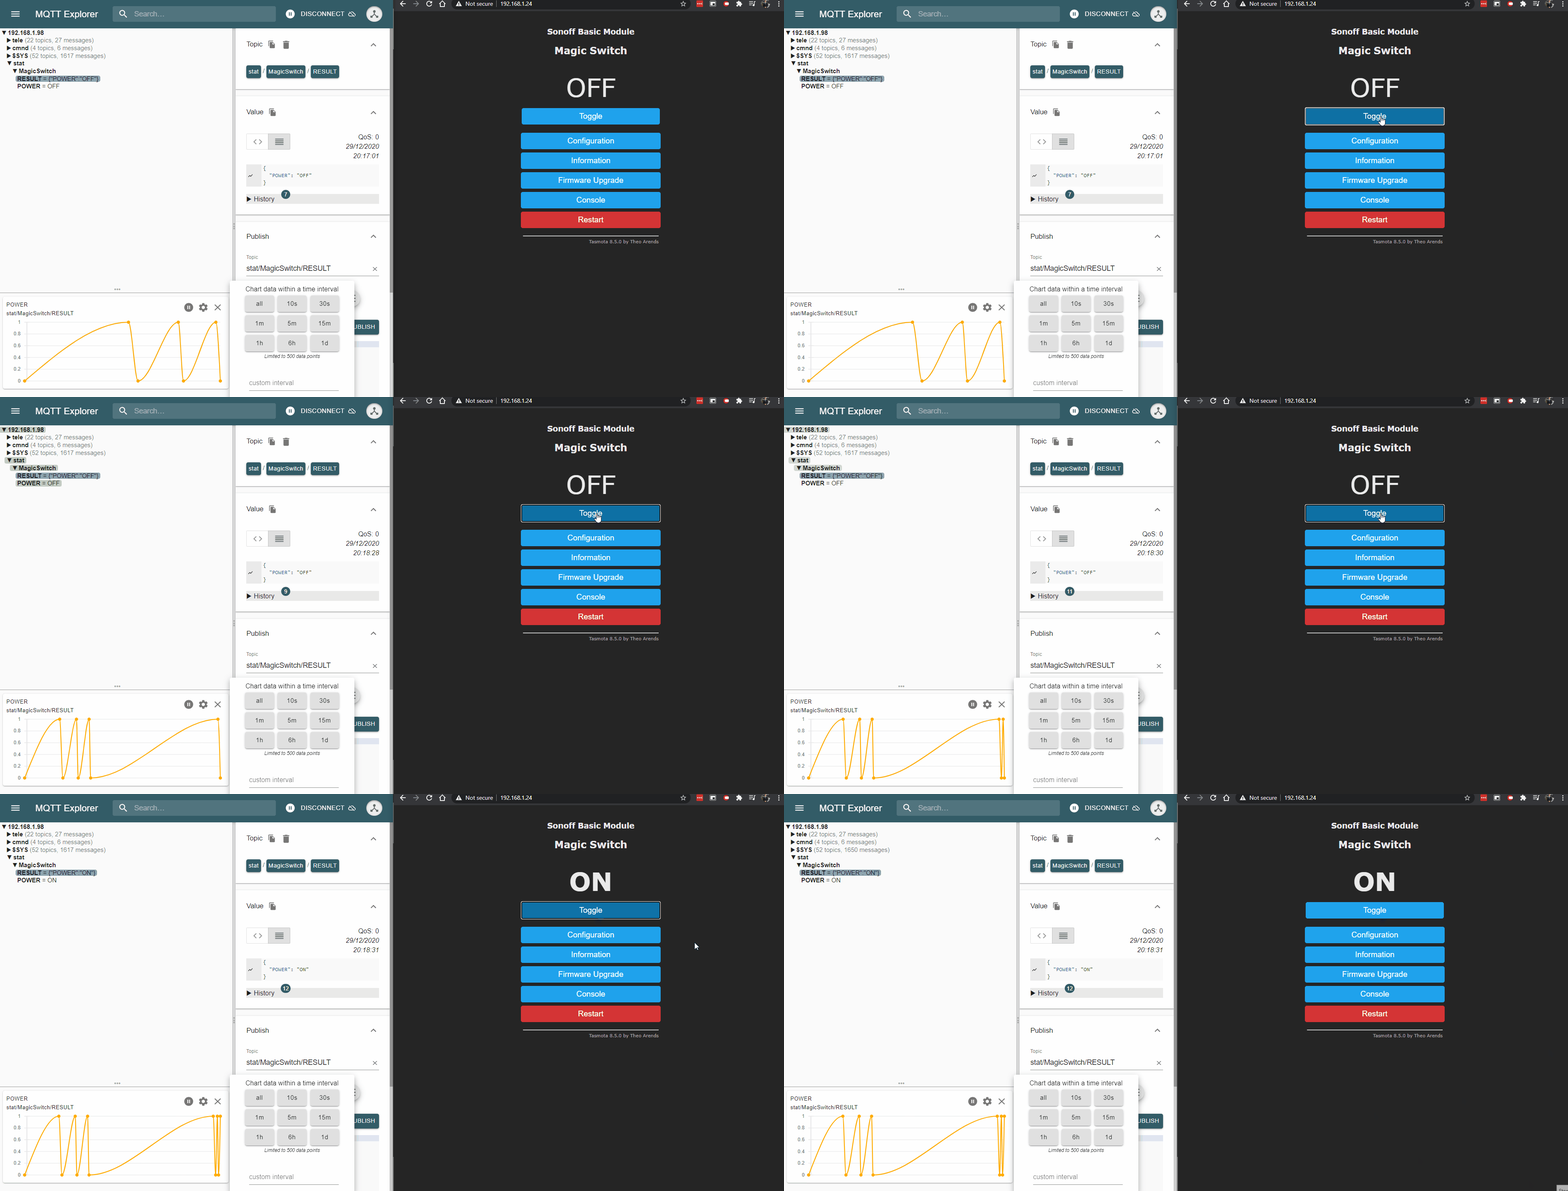
To test the MQTT configuration, I use a program for Windows called MQTT-Explorer. Download and install it. If you are using a MAC, you can download the program from the official website.
- Open MQTT-Explorer and connect to your MQTT broker
- Navigate to the Tasmota interface of the module in a web browser on the same network
- Toggle the module by clicking on "Toggle"
- Monitor the topic you setup in the MQTT configuration step (stat/MagicSwitch/Power)
- If all is good you should see it update as you toggle the module
In the next step we will be configuring the GPIO inputs and outputs of the ESP-01 Module.
GPIO Configuration
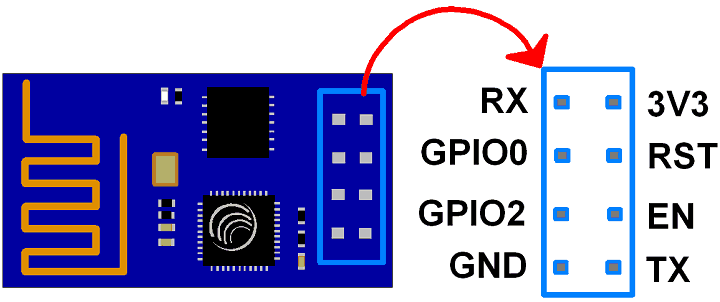
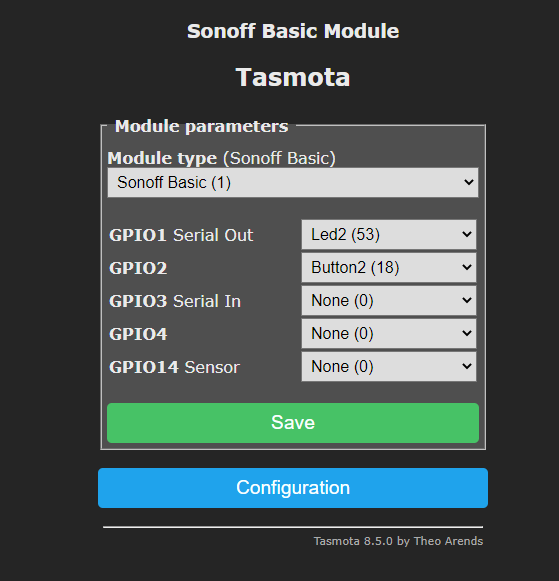
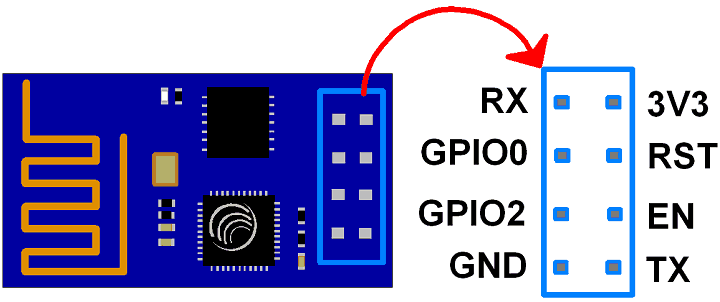
The ESP-01 Module has 8 pins. Some of the pins can be set to use as inputs or outputs. For the Magic Switch project, we want one input to connect a button to, and one output for an LED indicator.
We will be using GPIO2 as the input for the switch, and GPIO1 as the output for the LED.
- Navigate to the Tasmota interface in your web browser.
- Click on "Configuration"
- Click on "Configure module"
- Set "GPIO1 Serial Out" to "LED2(53)"
- Set "GPIO2" to "Button2 (18)"
- Click "Save"
- Wait a few seconds
- Navigate to the main menu
Your module is now configured to be used in an actual circuit. Remove it from the programmer module and get ready to build a test circuit.
Designing and Building the Test Circuit
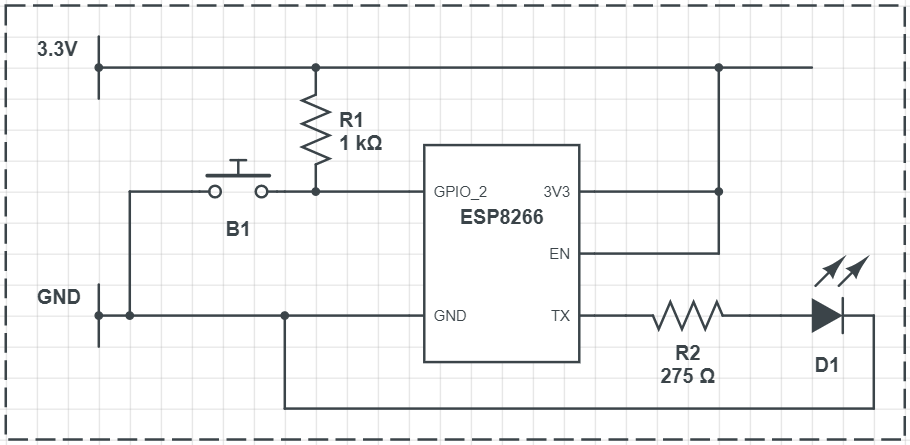
Before we go ahead and build the final enclosure and button, we will be designing and implementing a test circuit to verify that everything is in working order.
We can trigger state changes on the ESP8266 by using a pull-up resistor to 3.3V on GPIO2, and momentarily grounding GPIO2 using a push button. It is important to note that GPIO2 may not be LOW on boot-up, thus this pull-up method to 3.3V seems to work good.
We can connect an LED to GPIO1 (TX) but we need to limit the current through the LED to a maximum of 12mA as stated in the following documentation - "The maximum current that can be drawn from a single GPIO pin is 12mA."
The chip enable (EN) pin needs to be connected to 3.3V for the chip to correctly boot.
One last thing to keep in mind, the ESP8266 will be damaged if more than 3.3V is applied to any pin. I used a 3.3V voltage regulator to protect the module.
Refer to the attached circuit diagram for more information.
Testing the Circuit
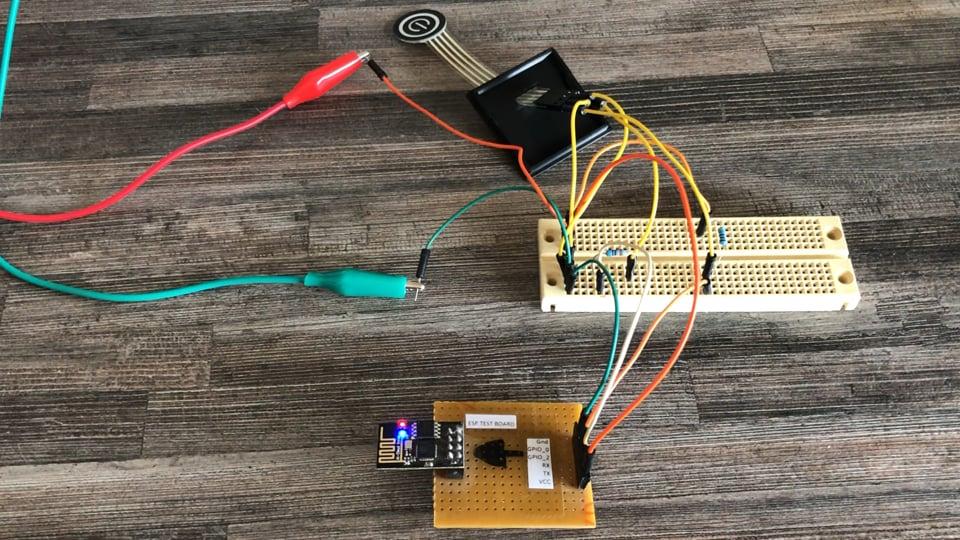
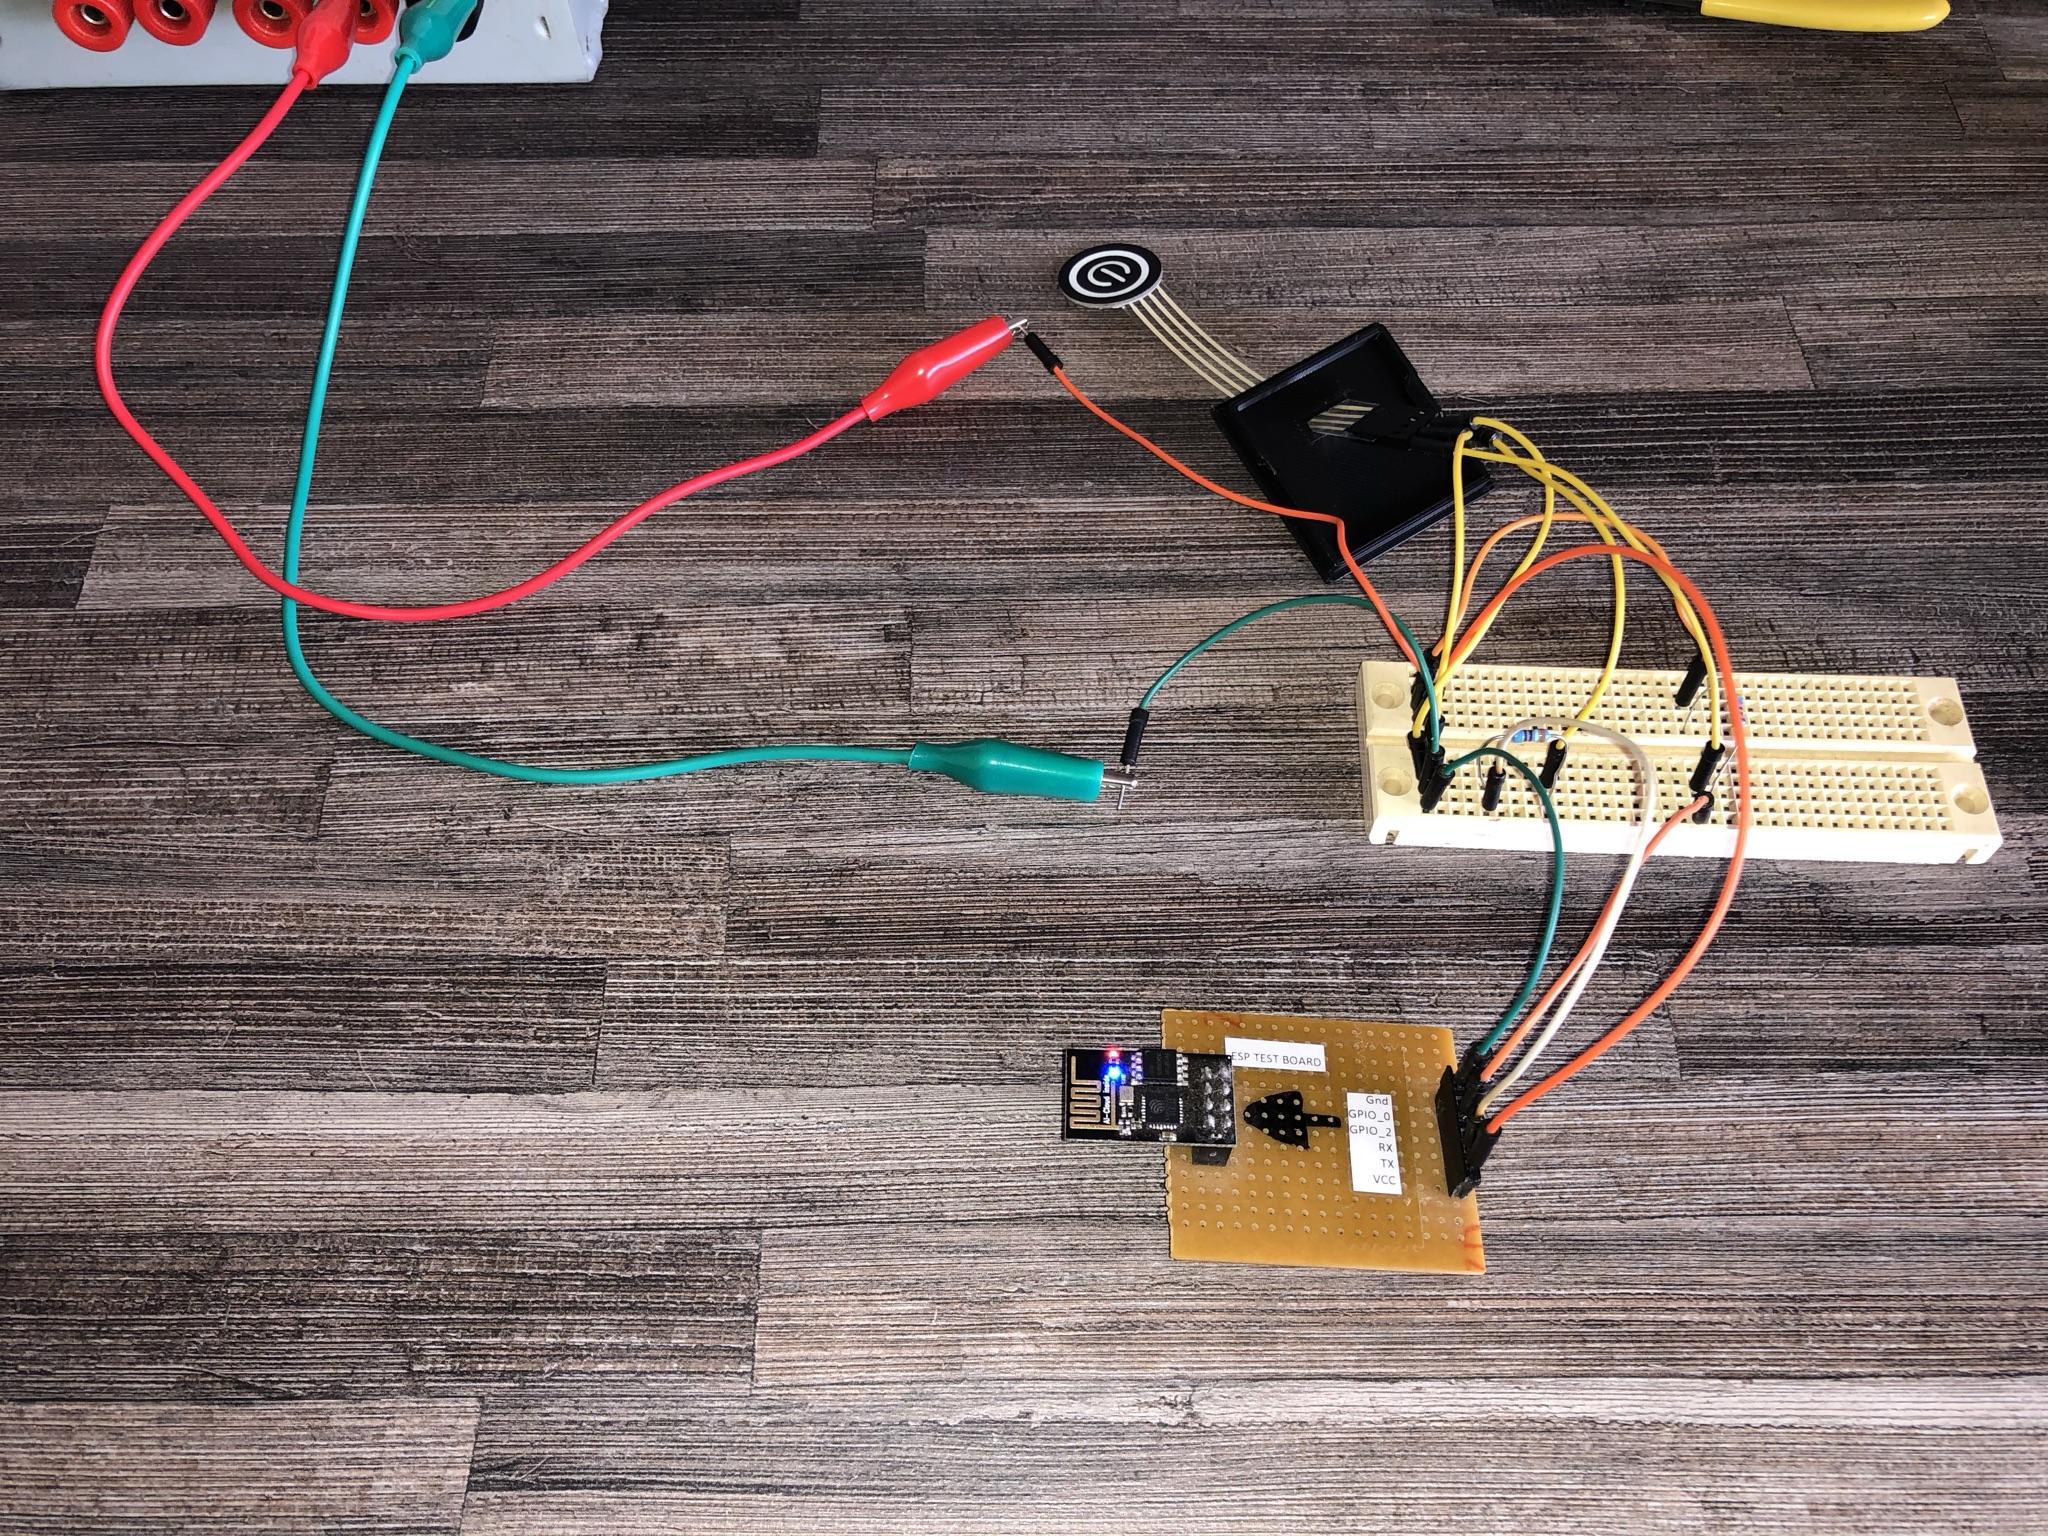
To test the circuit complete the following:
- Build a test circuit as per the circuit diagram in the previous step.
- As you can see, I created a test bed to easily connect the ESP-01 module to a bread board. If you plan to create multiple ESP8266 projects, this is a good idea.
- Power the test circuit with 5-12V (only if you have a 3.3V regulator connected, otherwise you may only power it using 3.3V.
- I used a membrane switch with built-in indicator LED. You can do the same or add a switch and separate LED.
- If you press the switch the module state should toggle between On and Off. This should be indicated by the connected LED as seen in the attached video.
- At this stage you can monitor your MQTT-Explorer program again and verify that you are receiving messages.
Now we can start to build the enclosure in the steps to follow.
Getting the Enclosure in Order
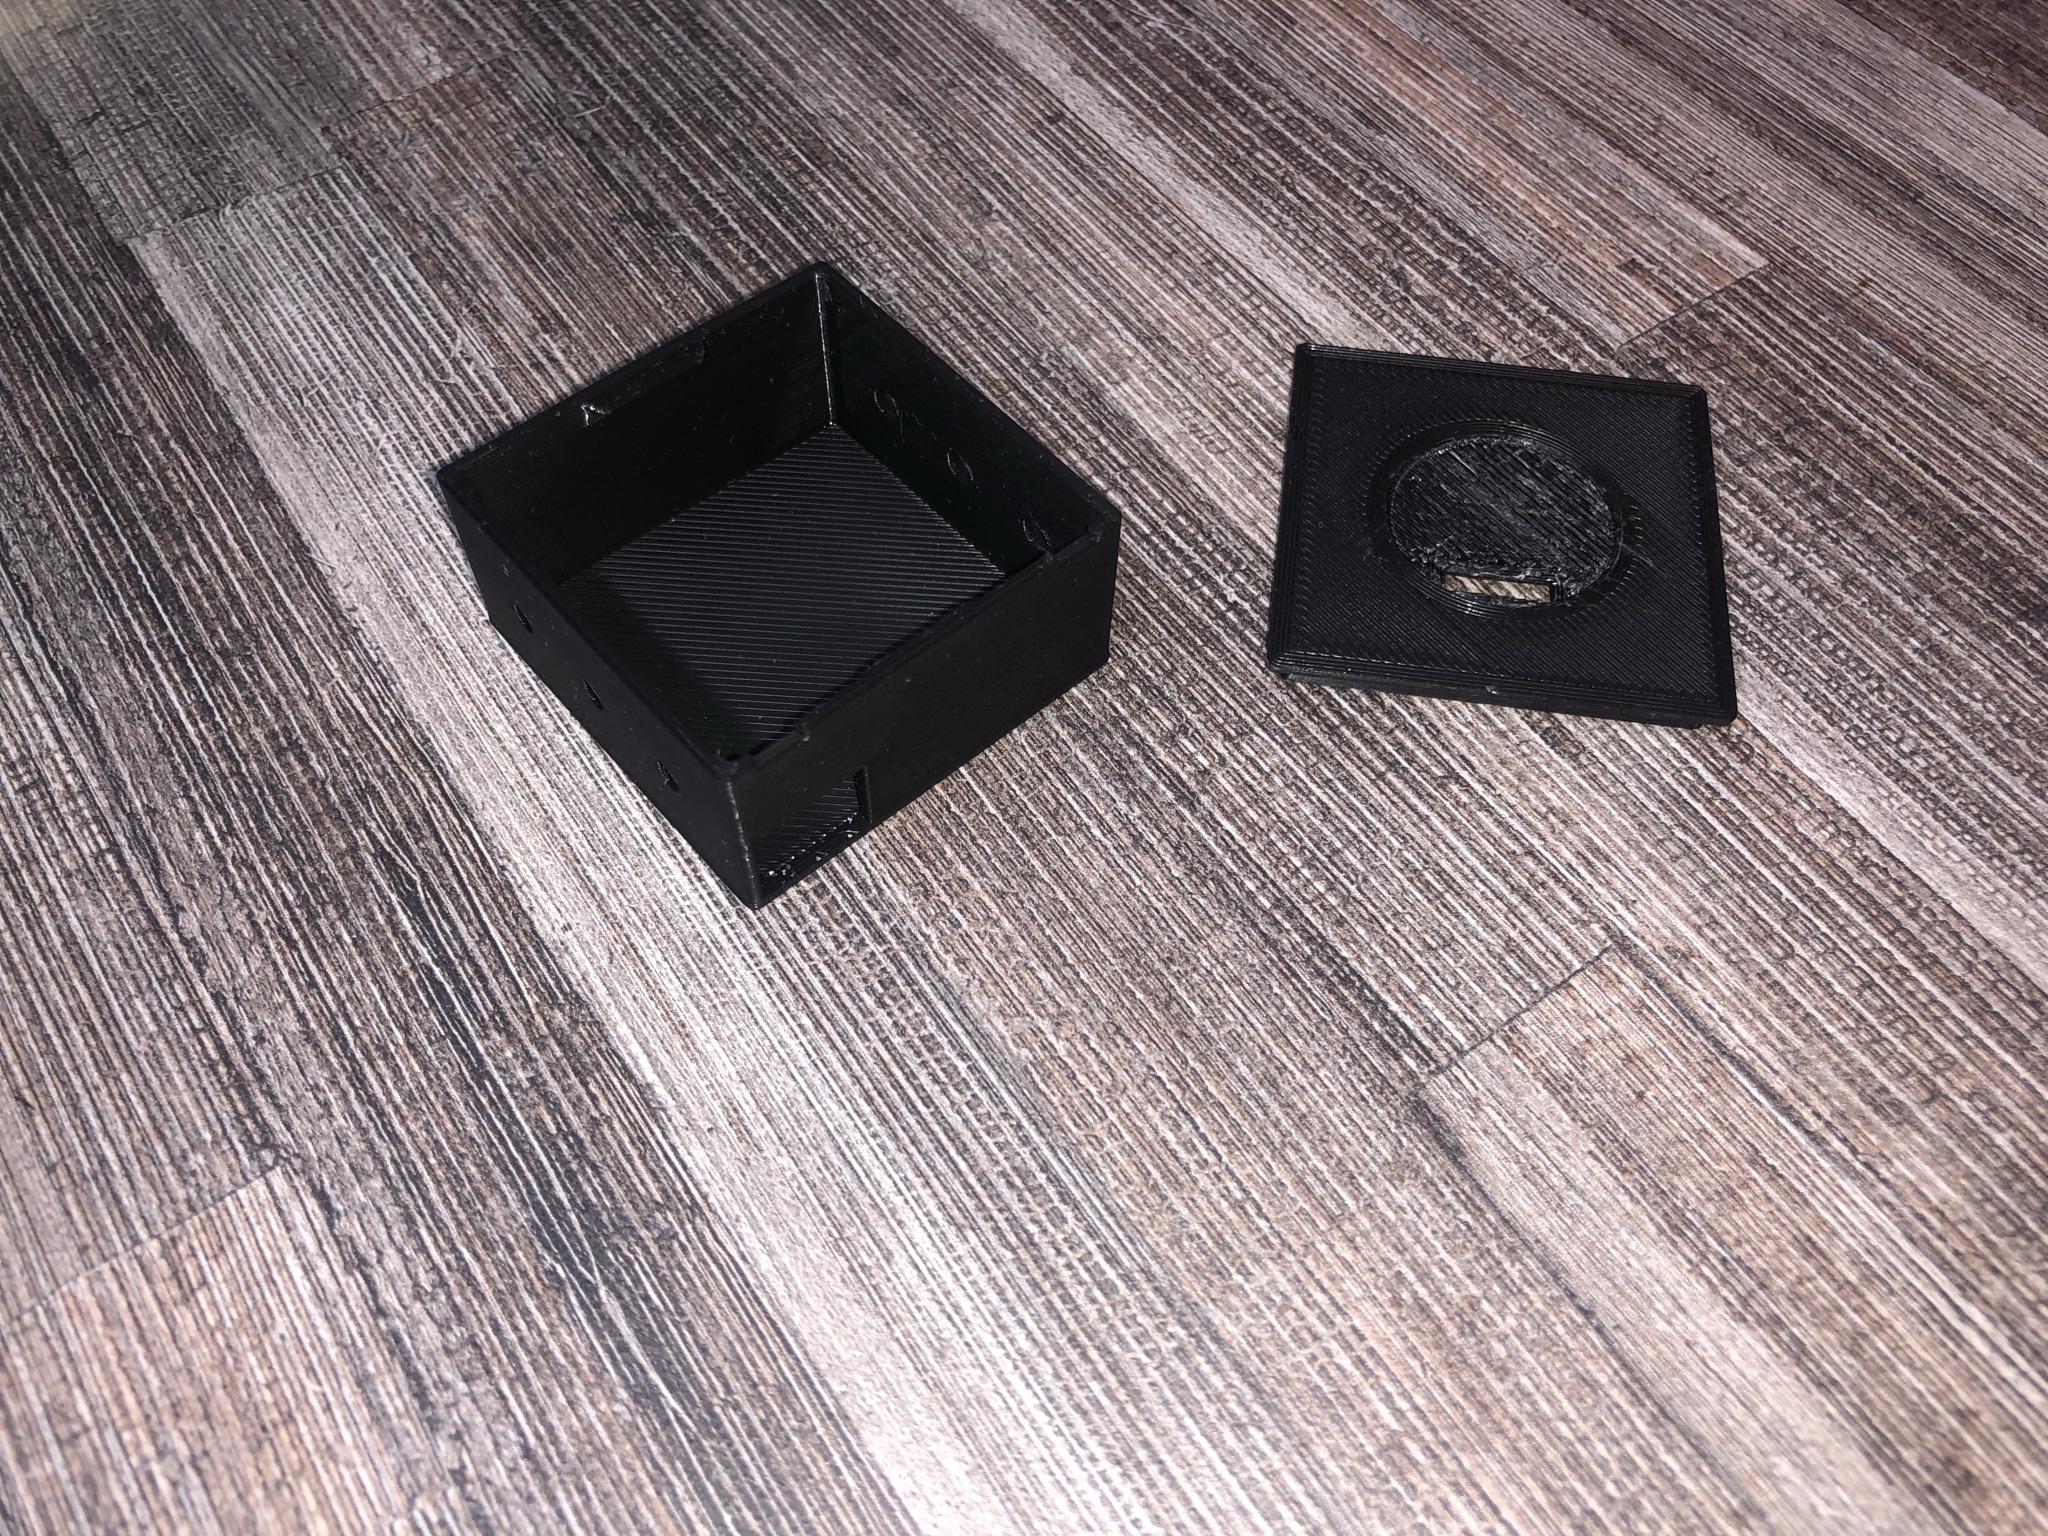
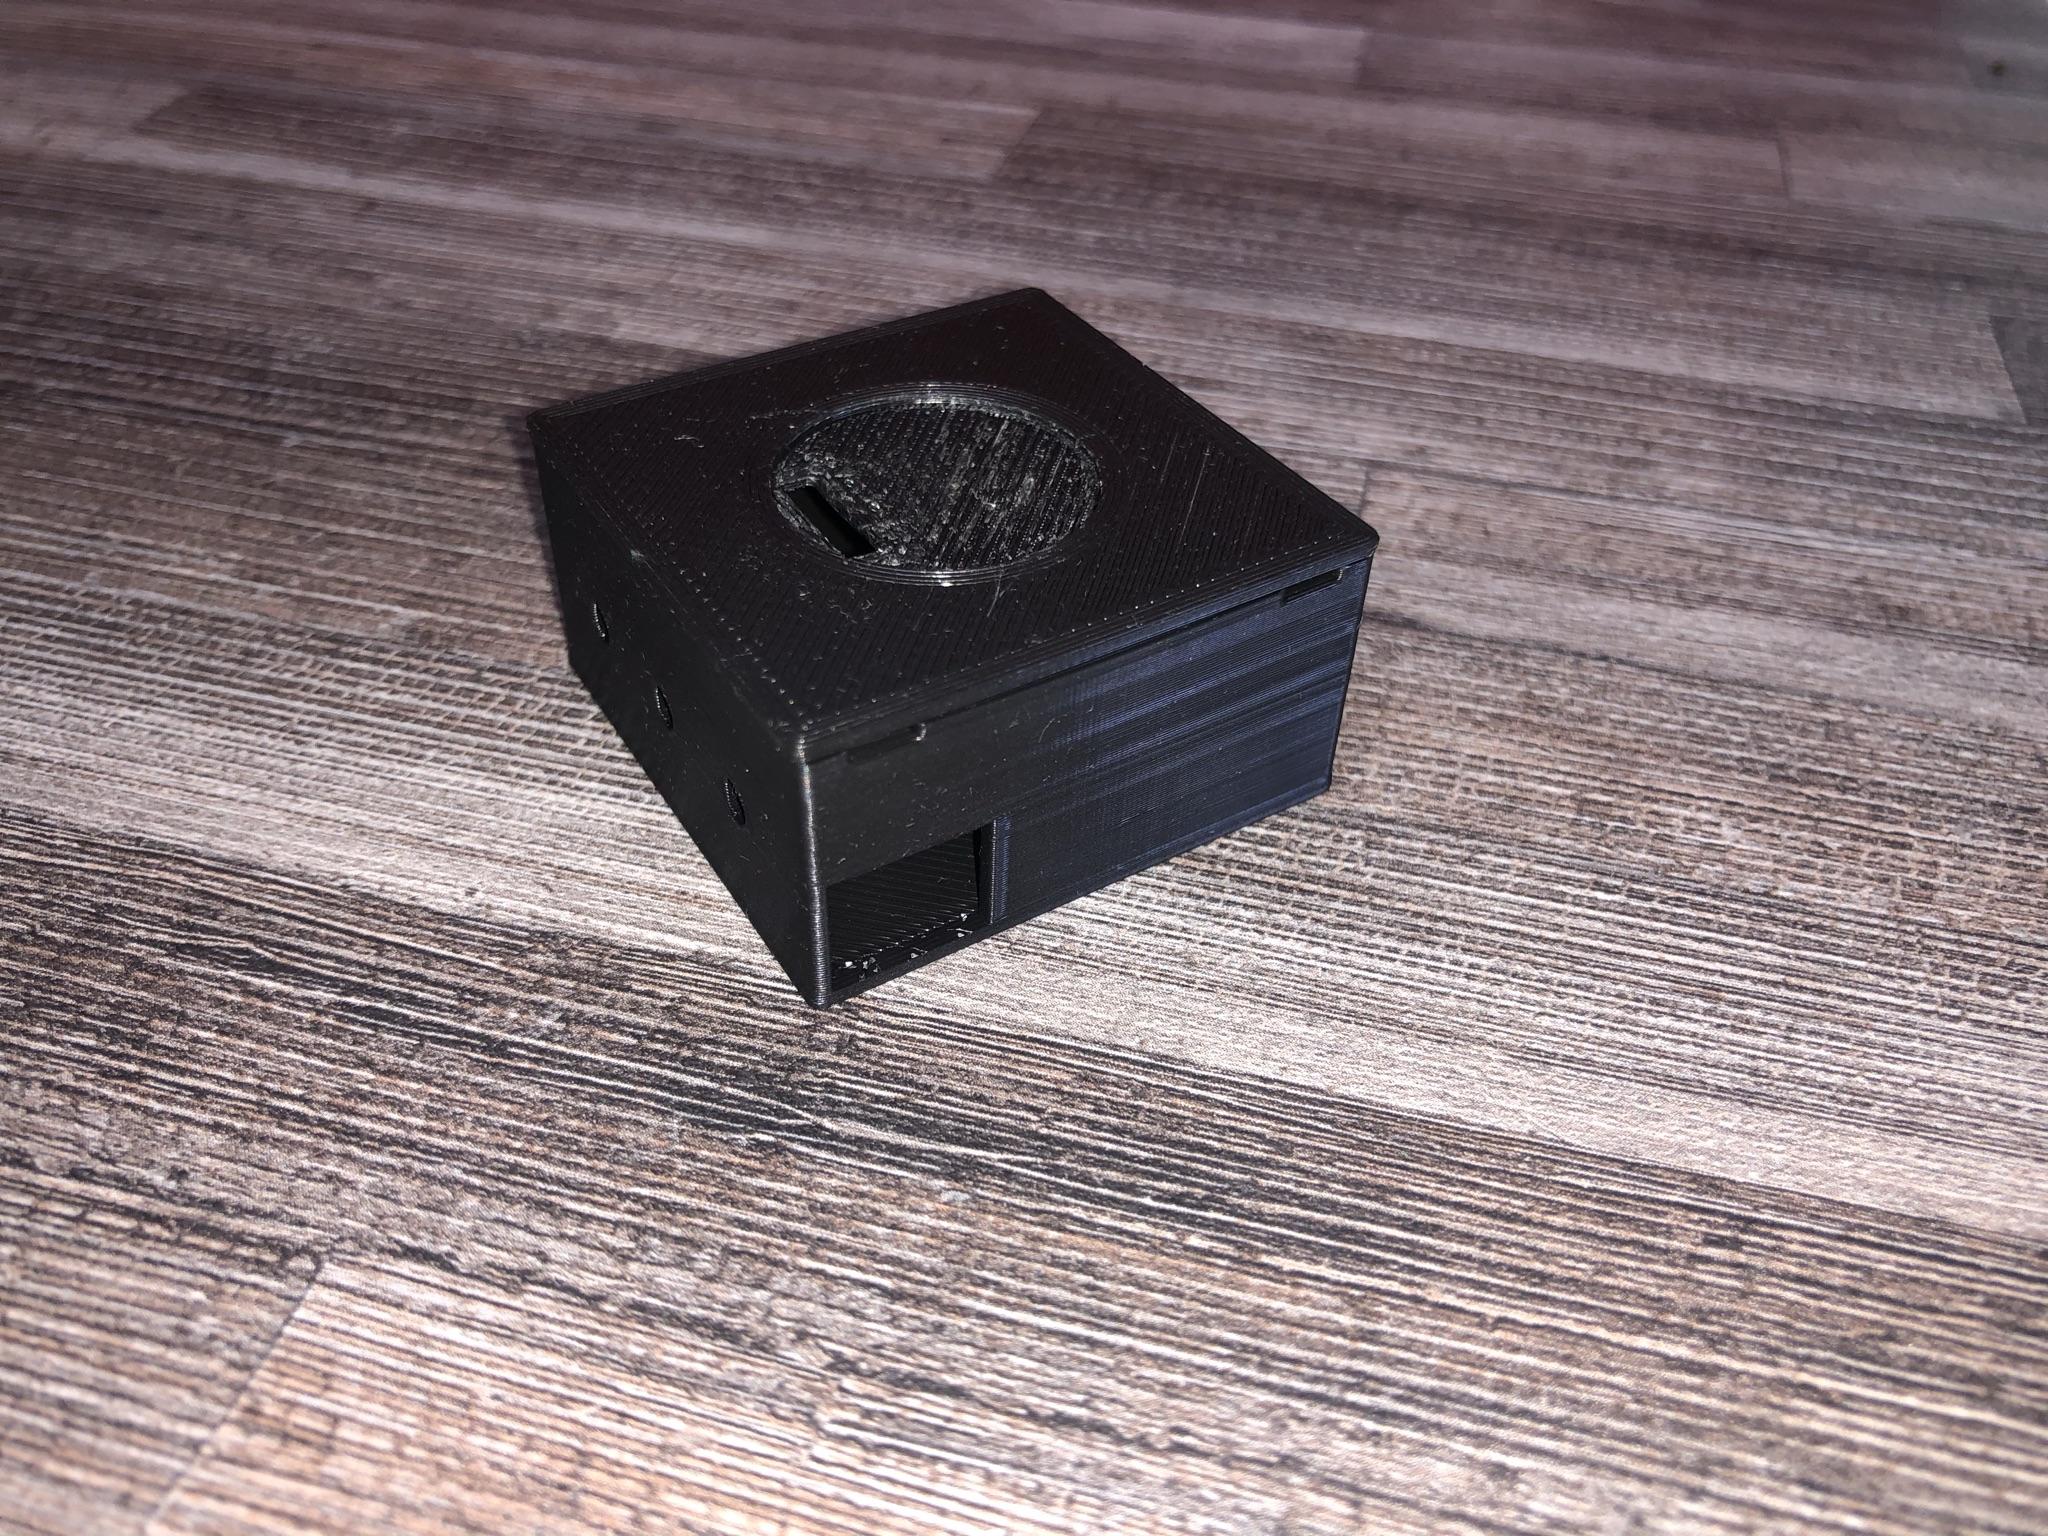
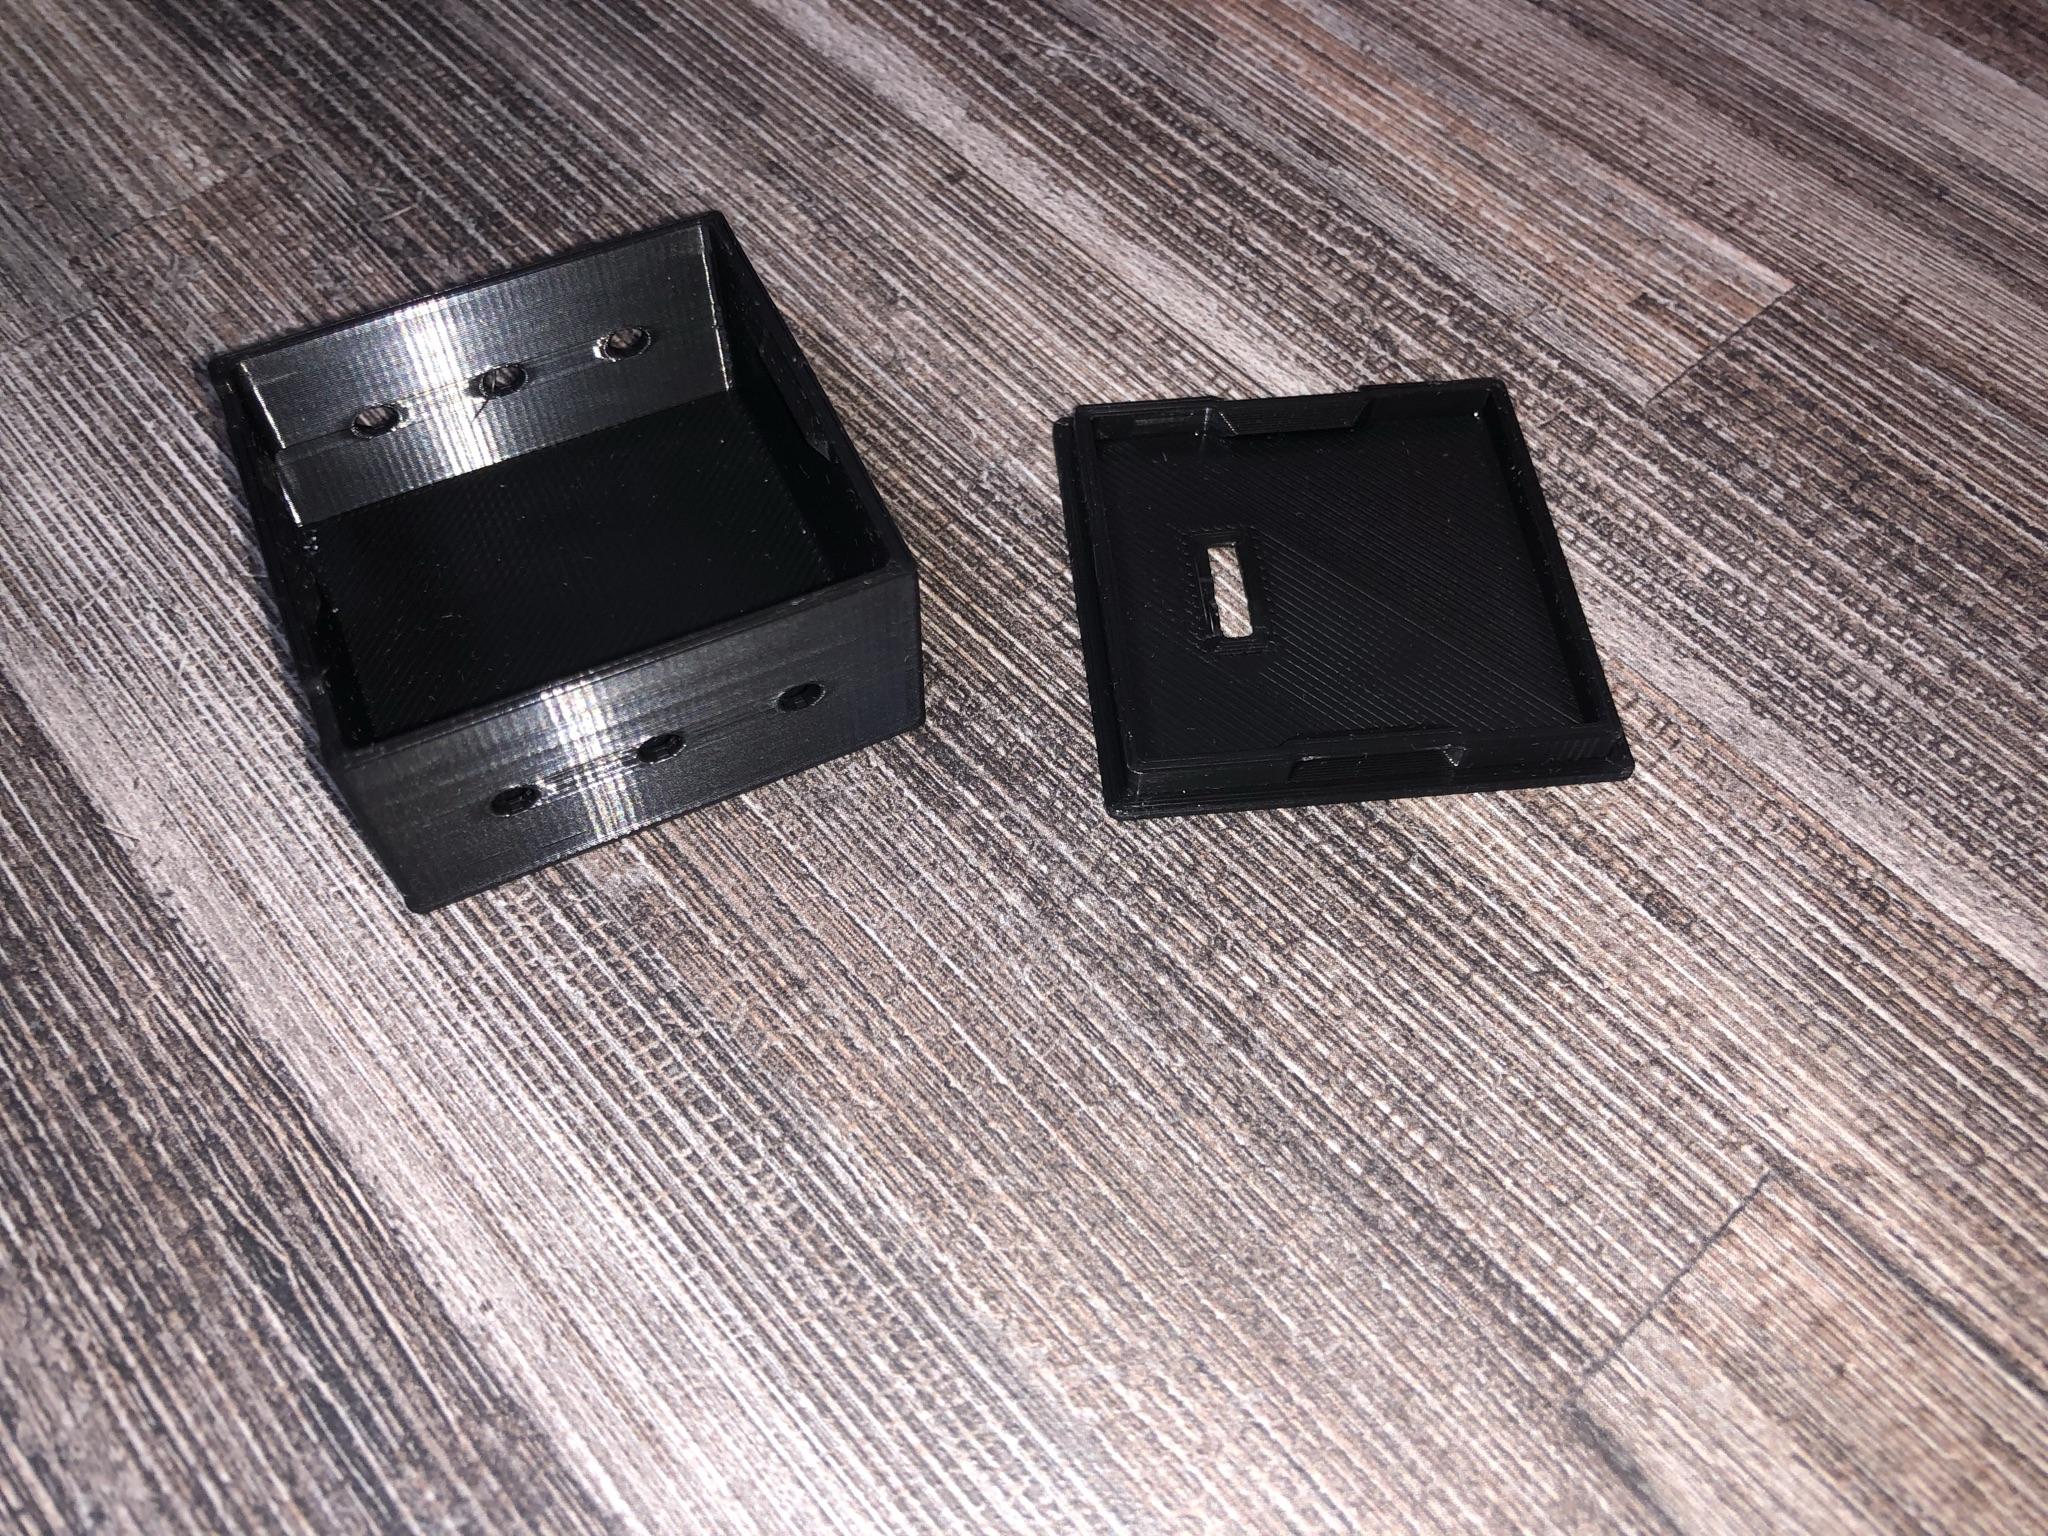
I have created a 3D-printable enclosure for this project. It can be downloaded from THINGIVERSE.
If you do not have access to a 3D printer, an improvised solution can easily be created from any suitable enclosure.
- Print or create your enclosure and get all the components ready to start assembling.
Finalizing the Enclosure
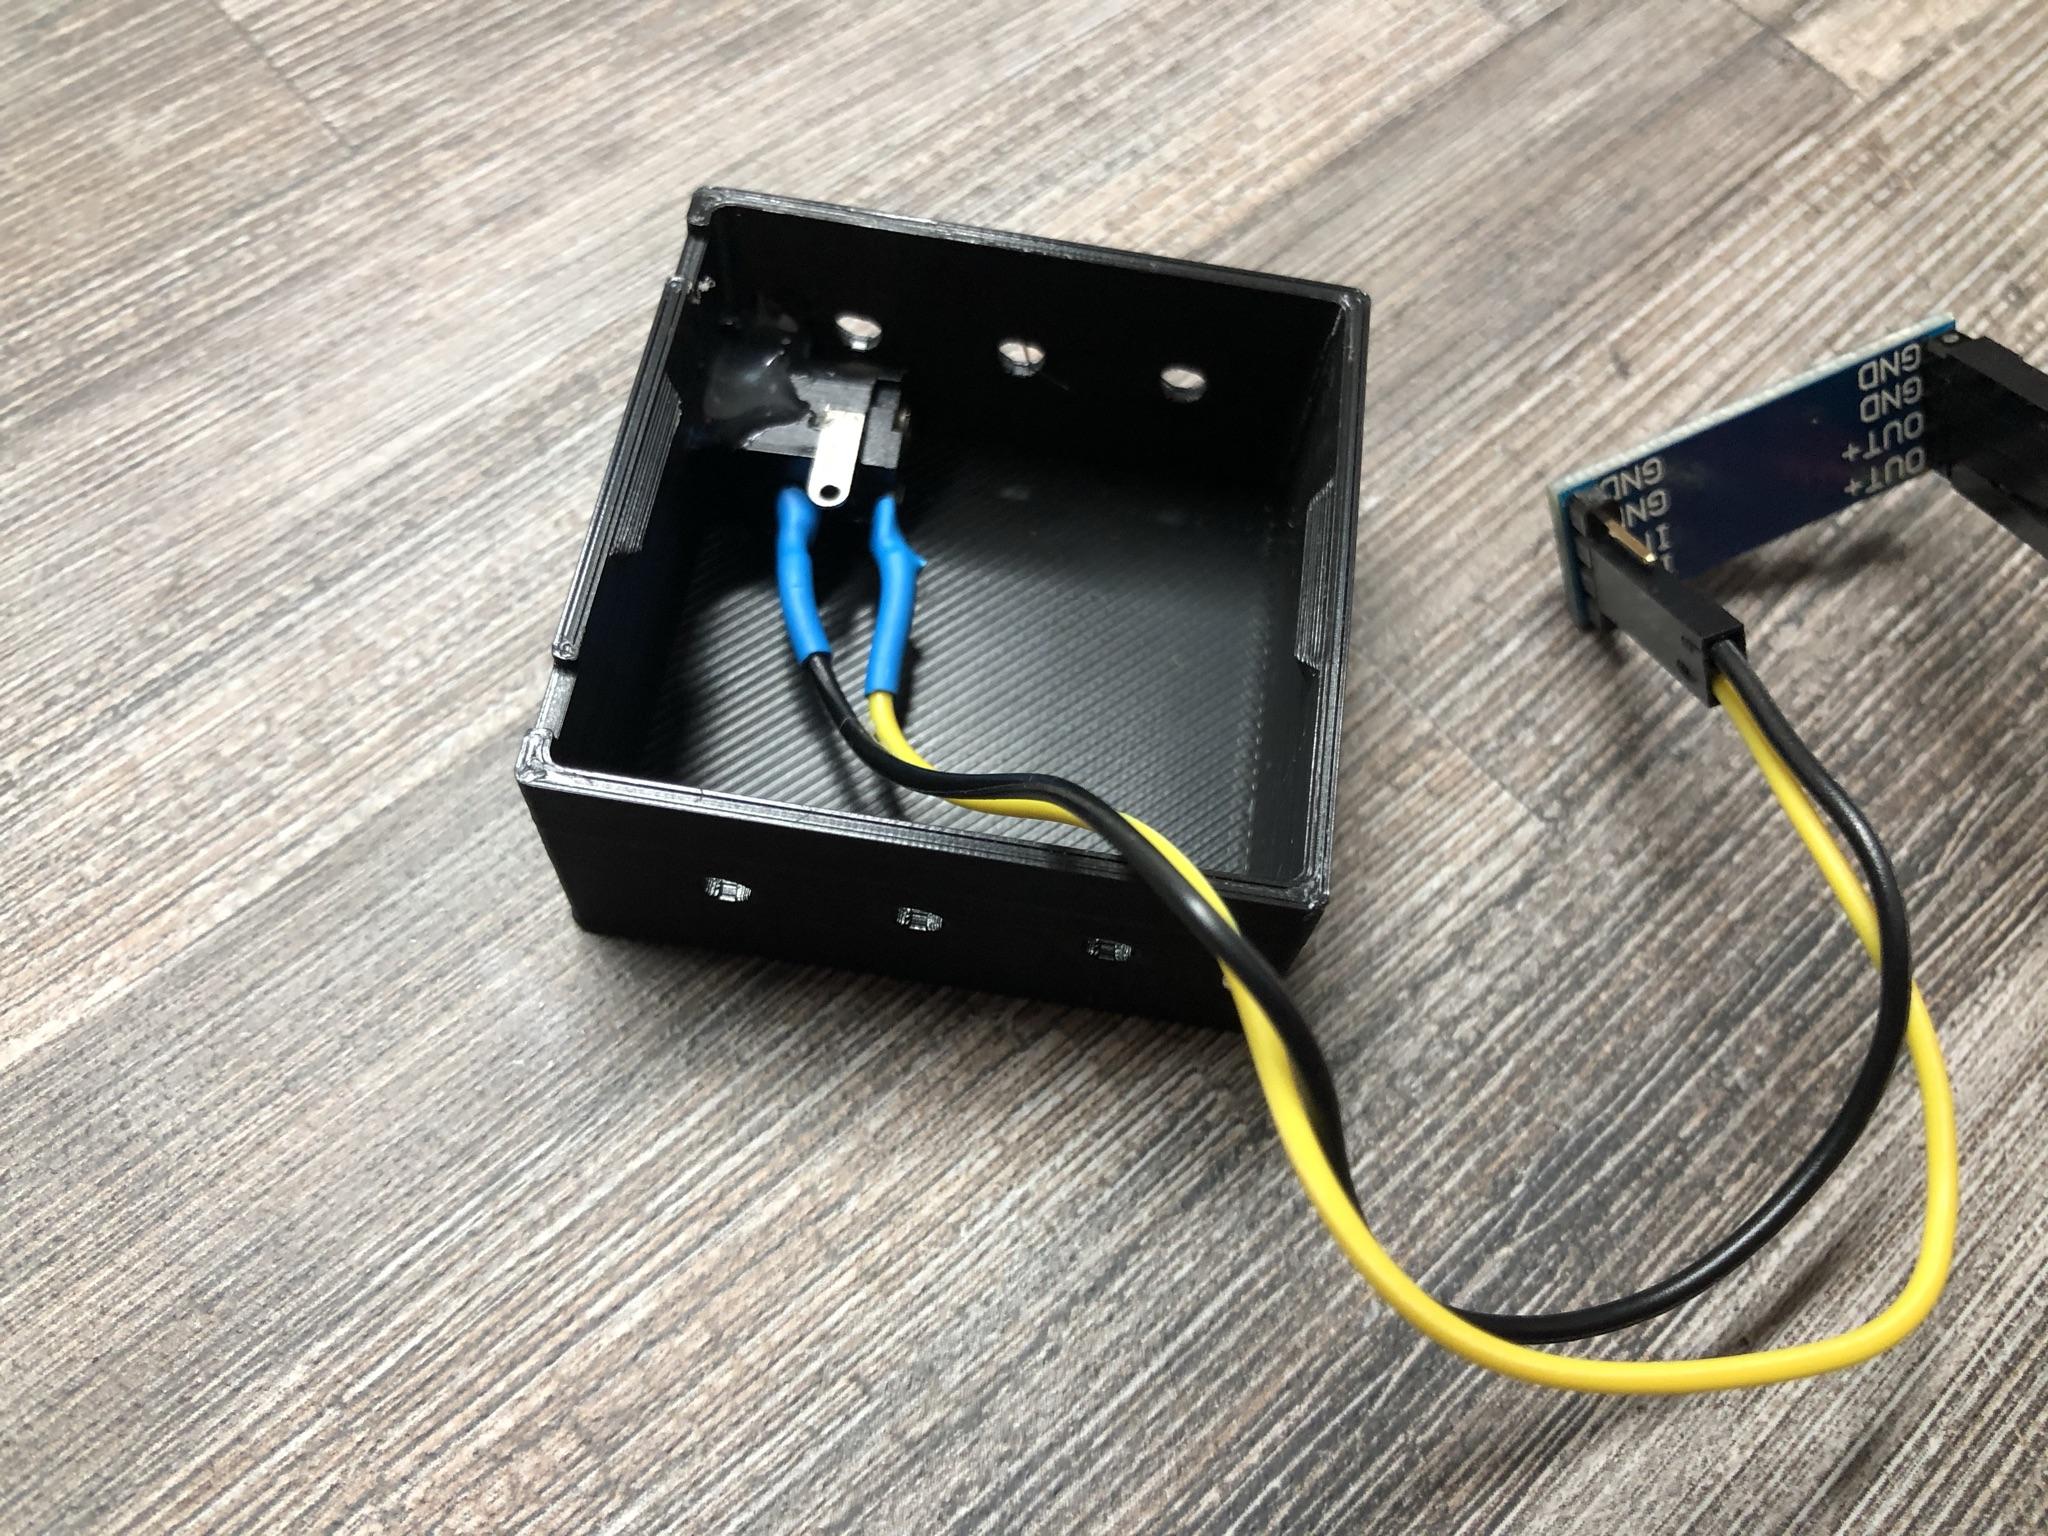
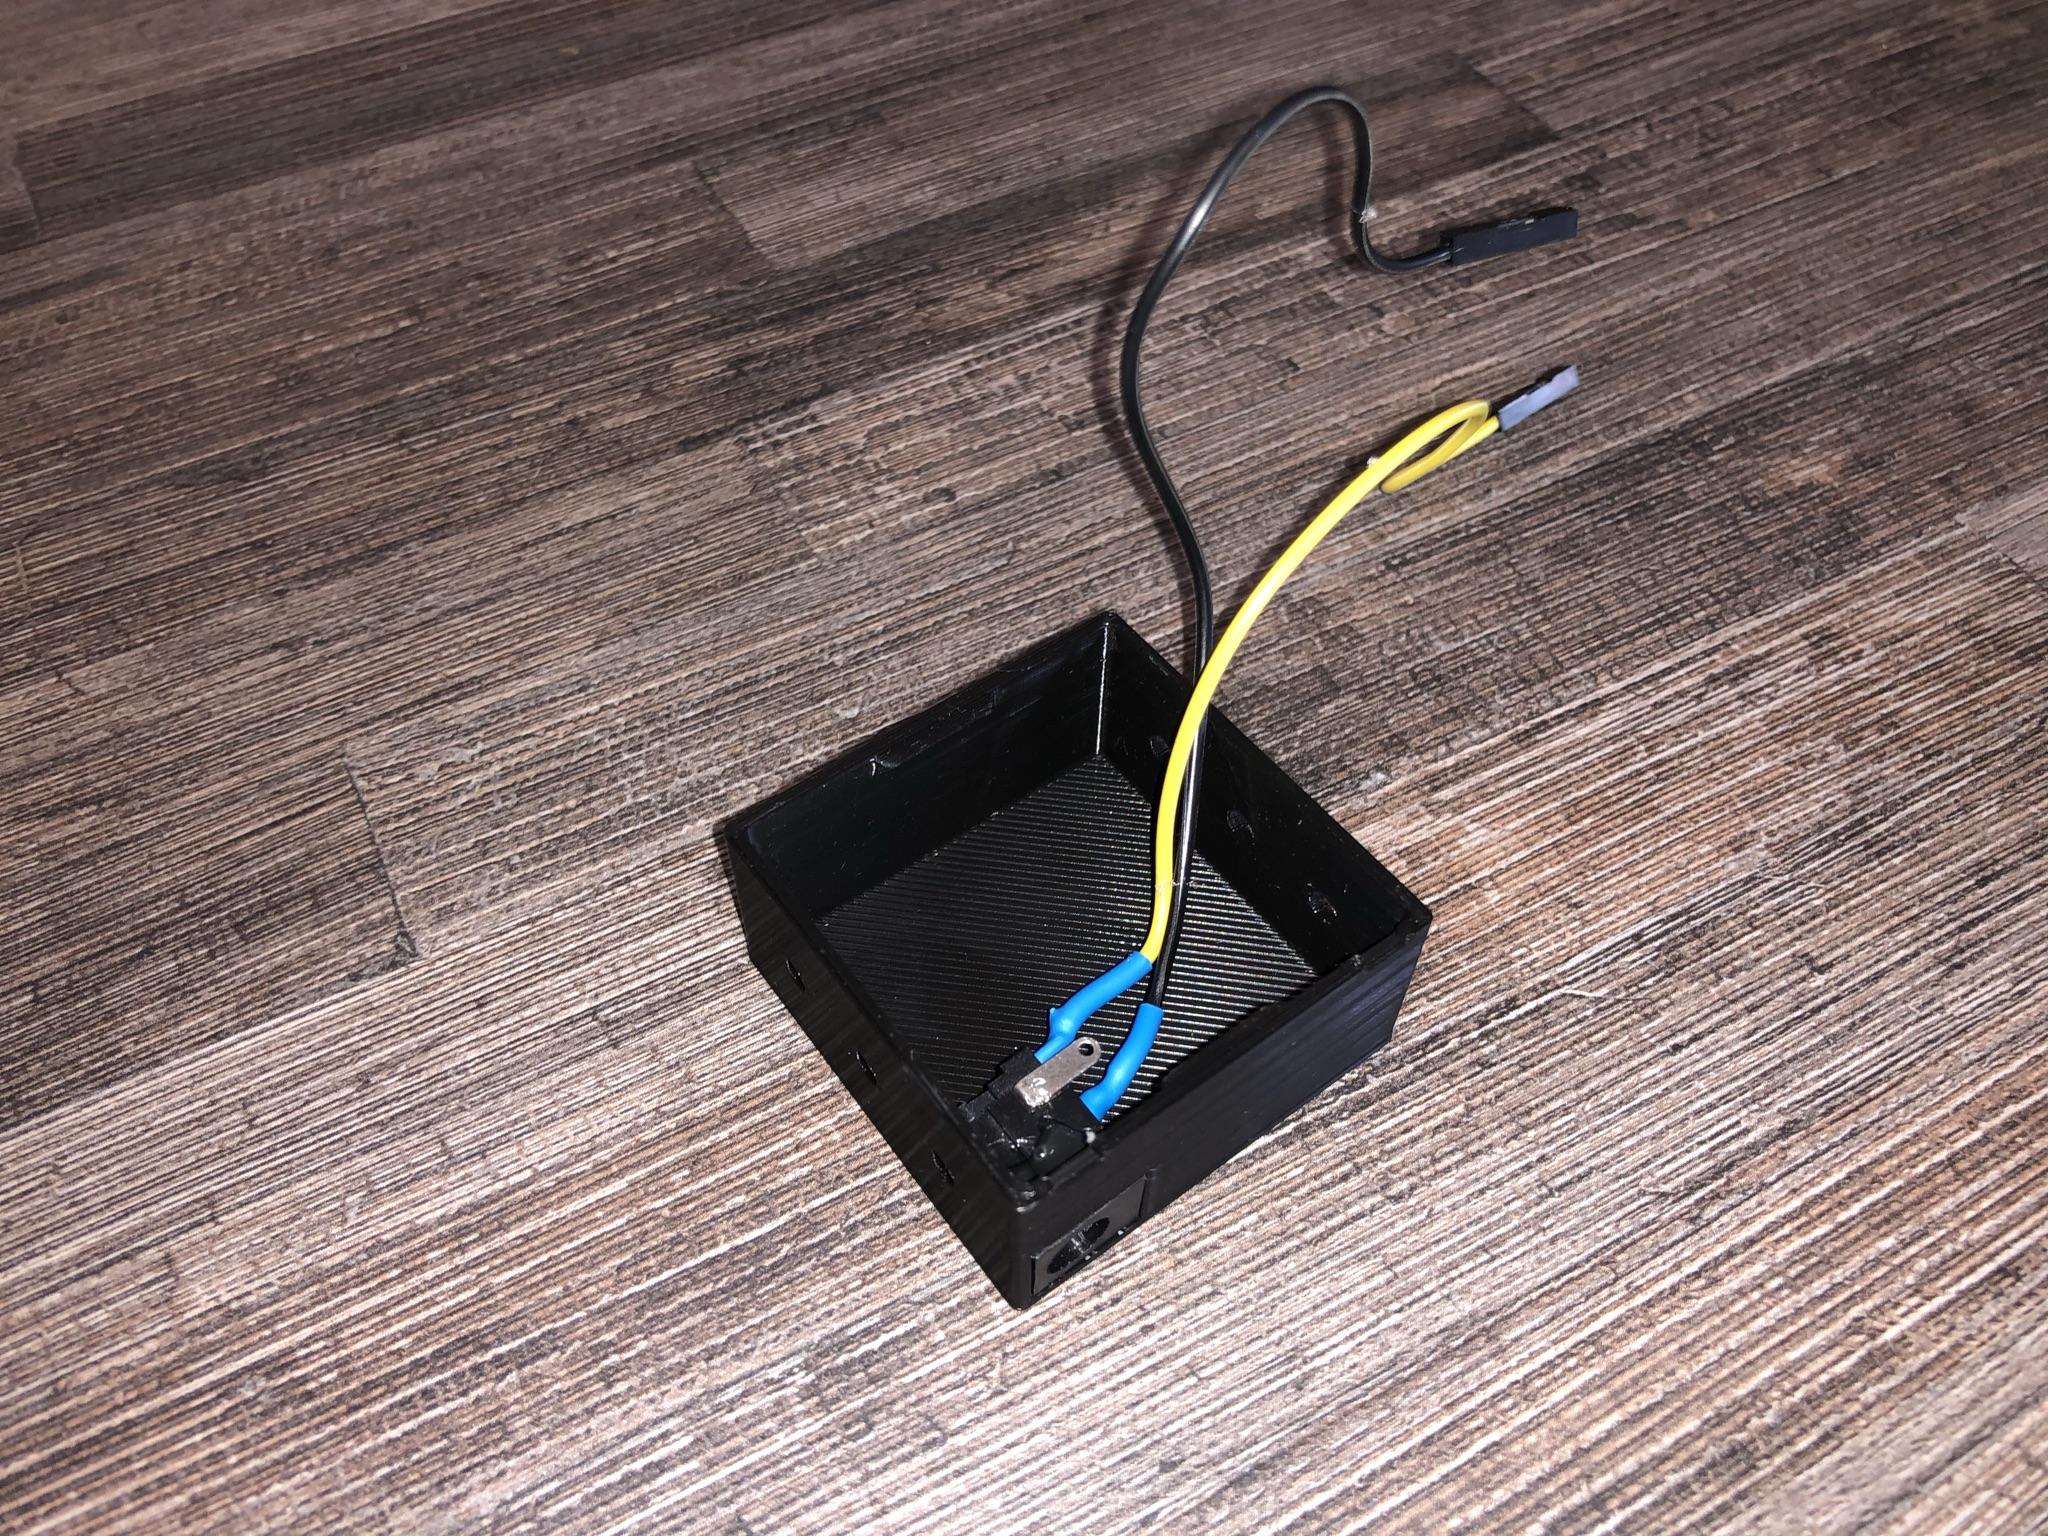
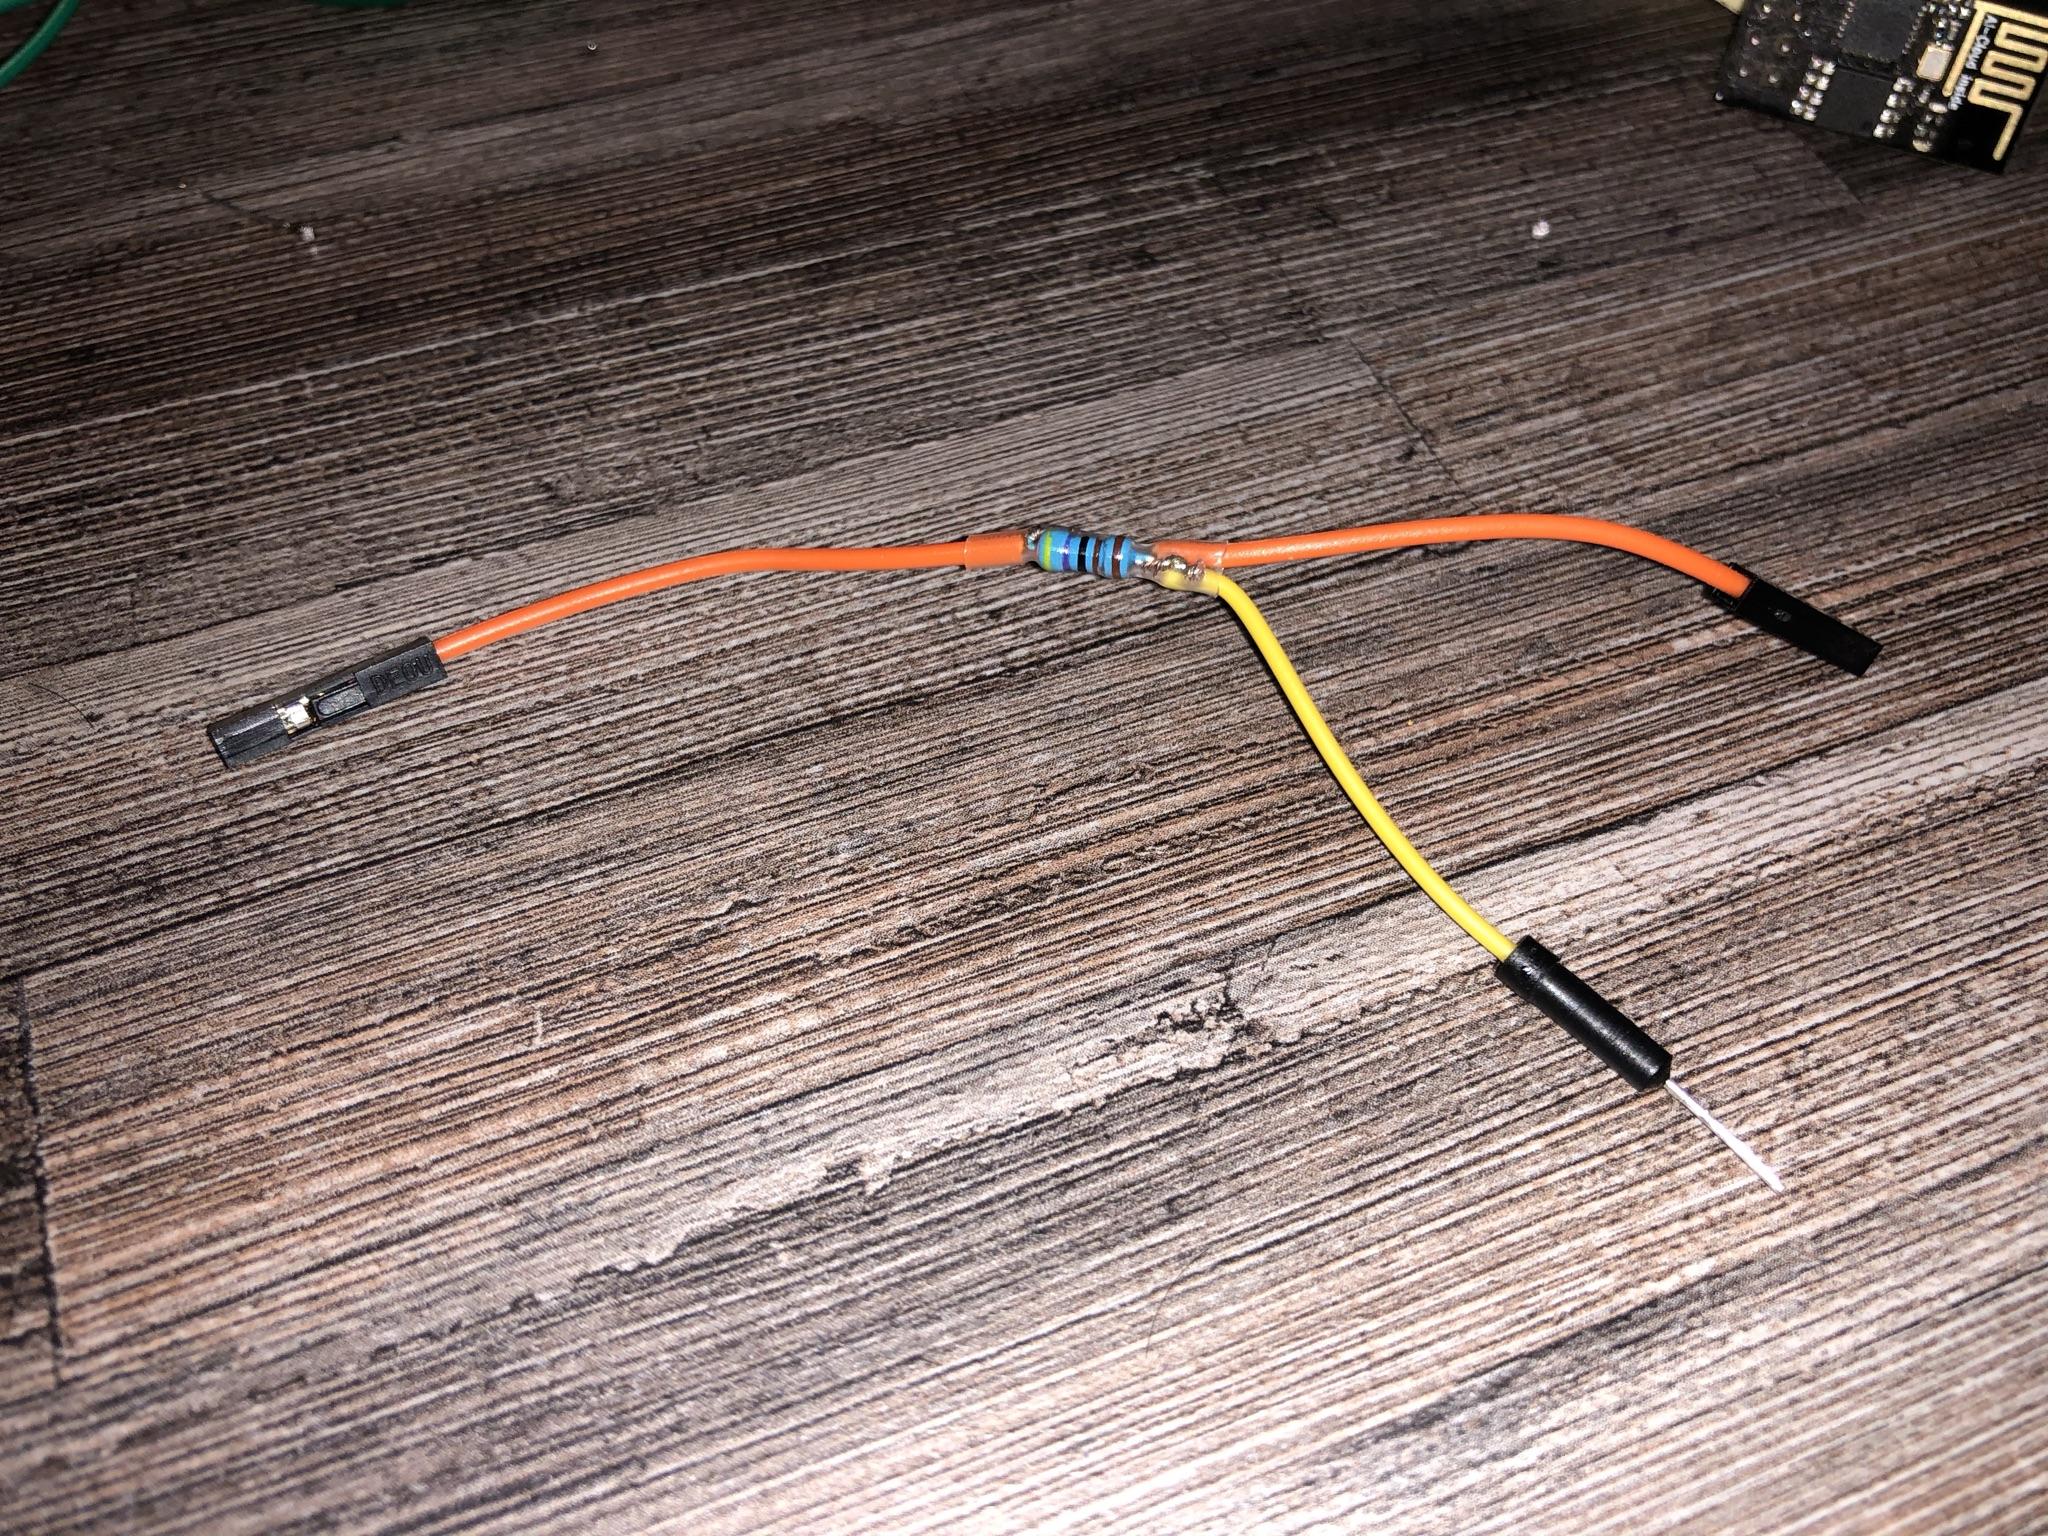
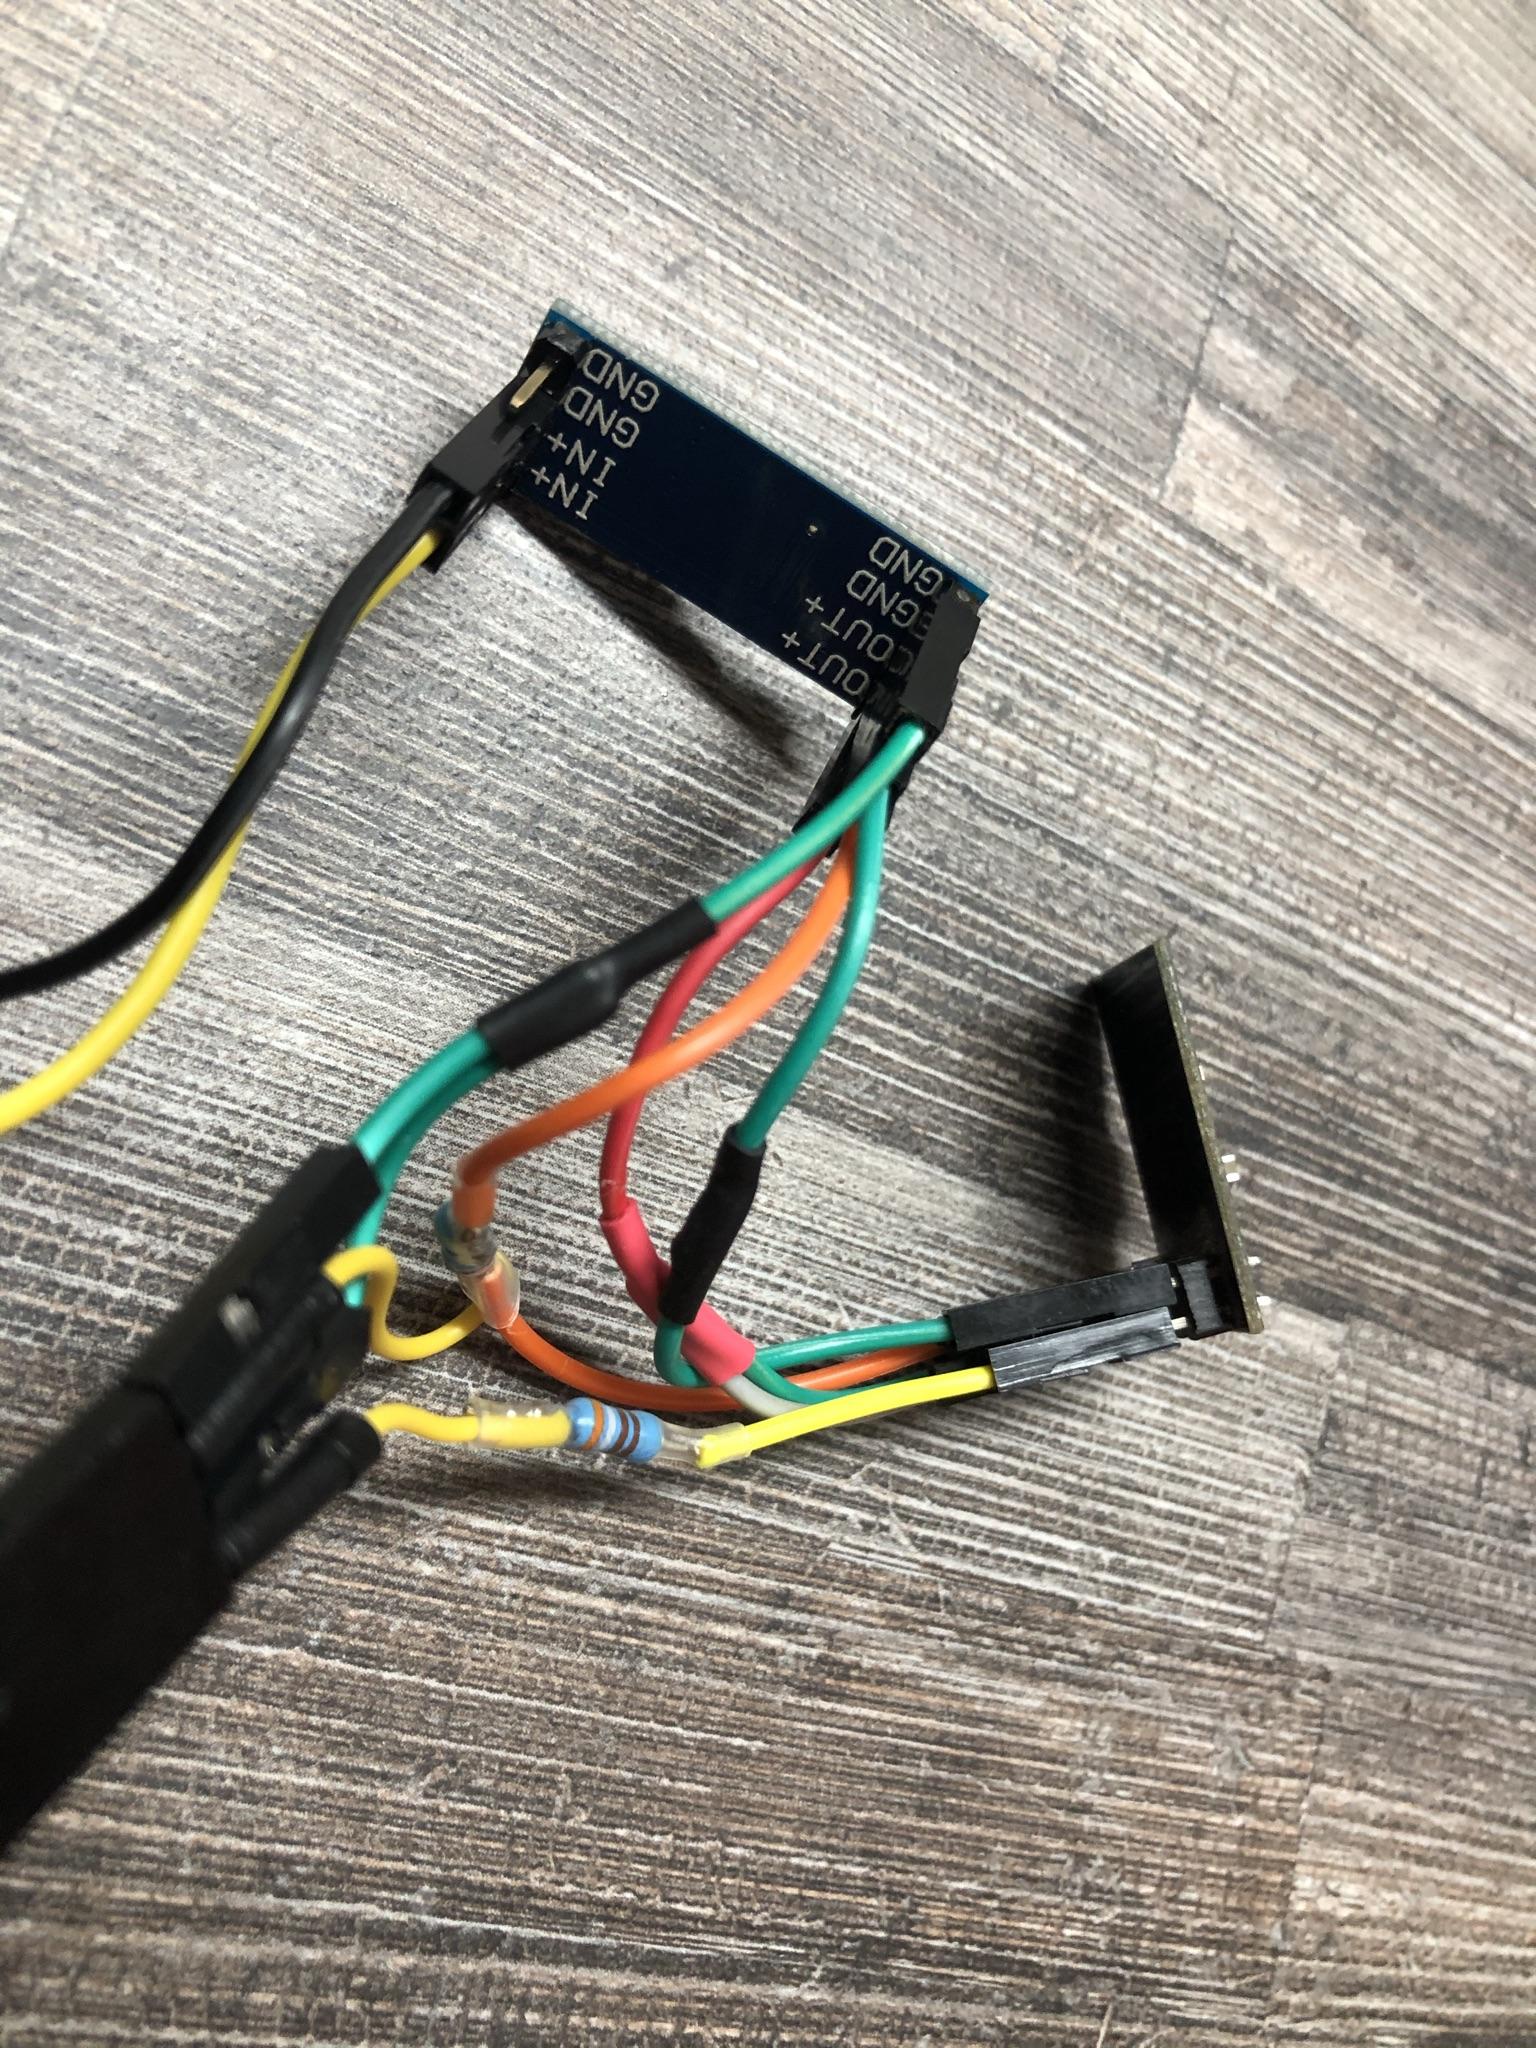
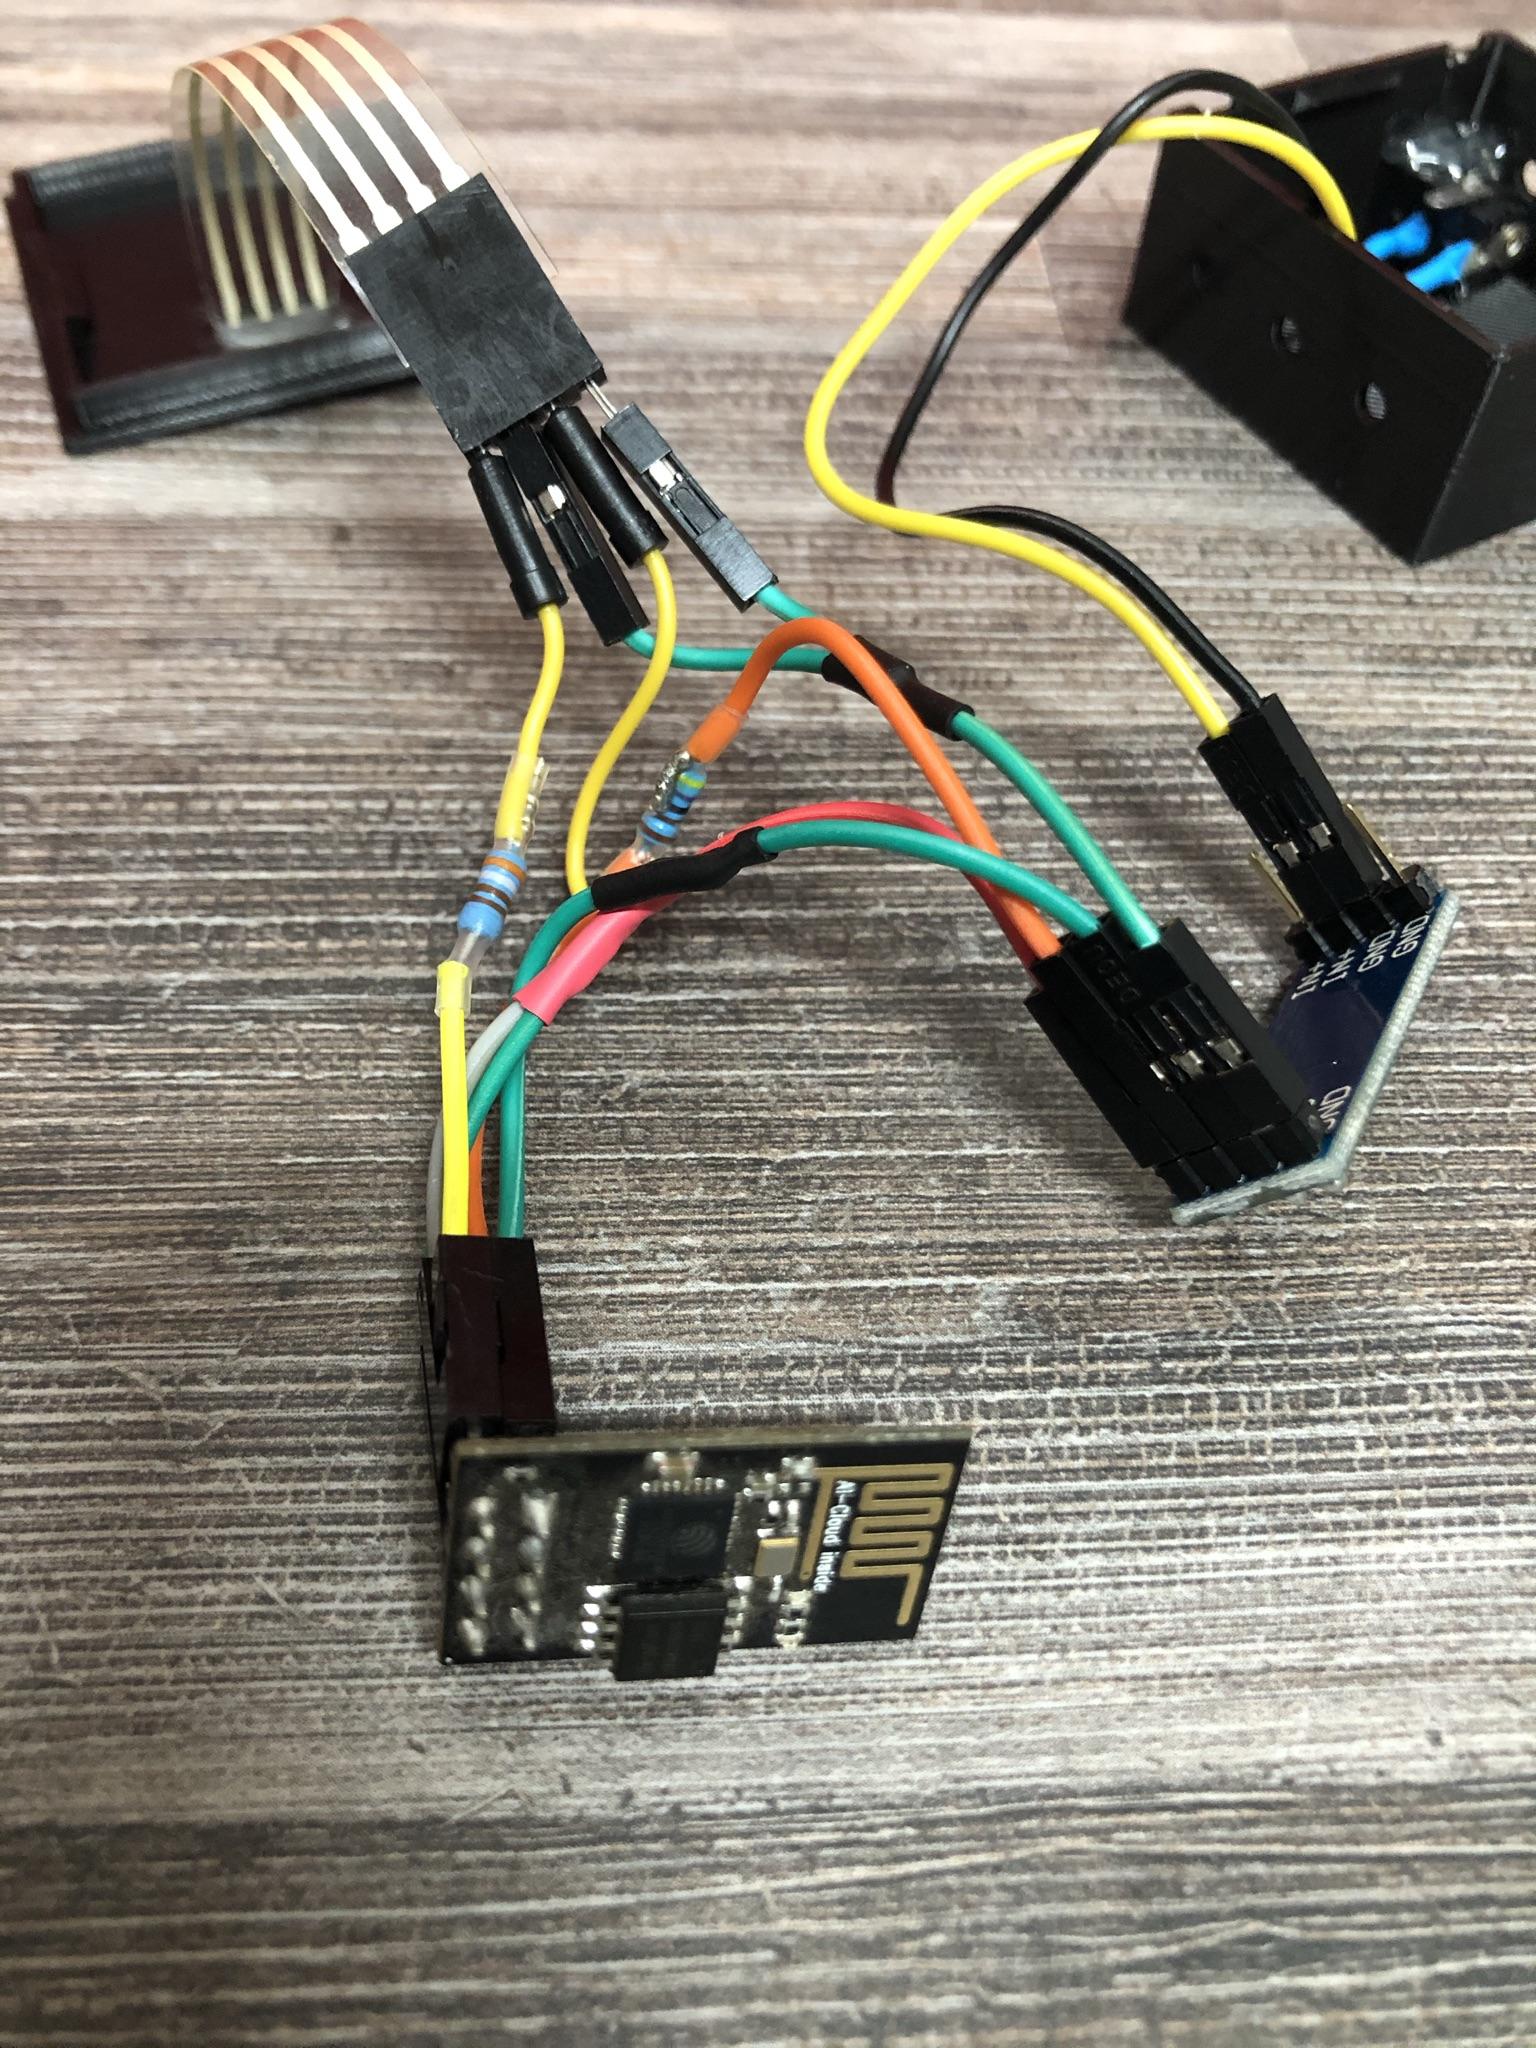
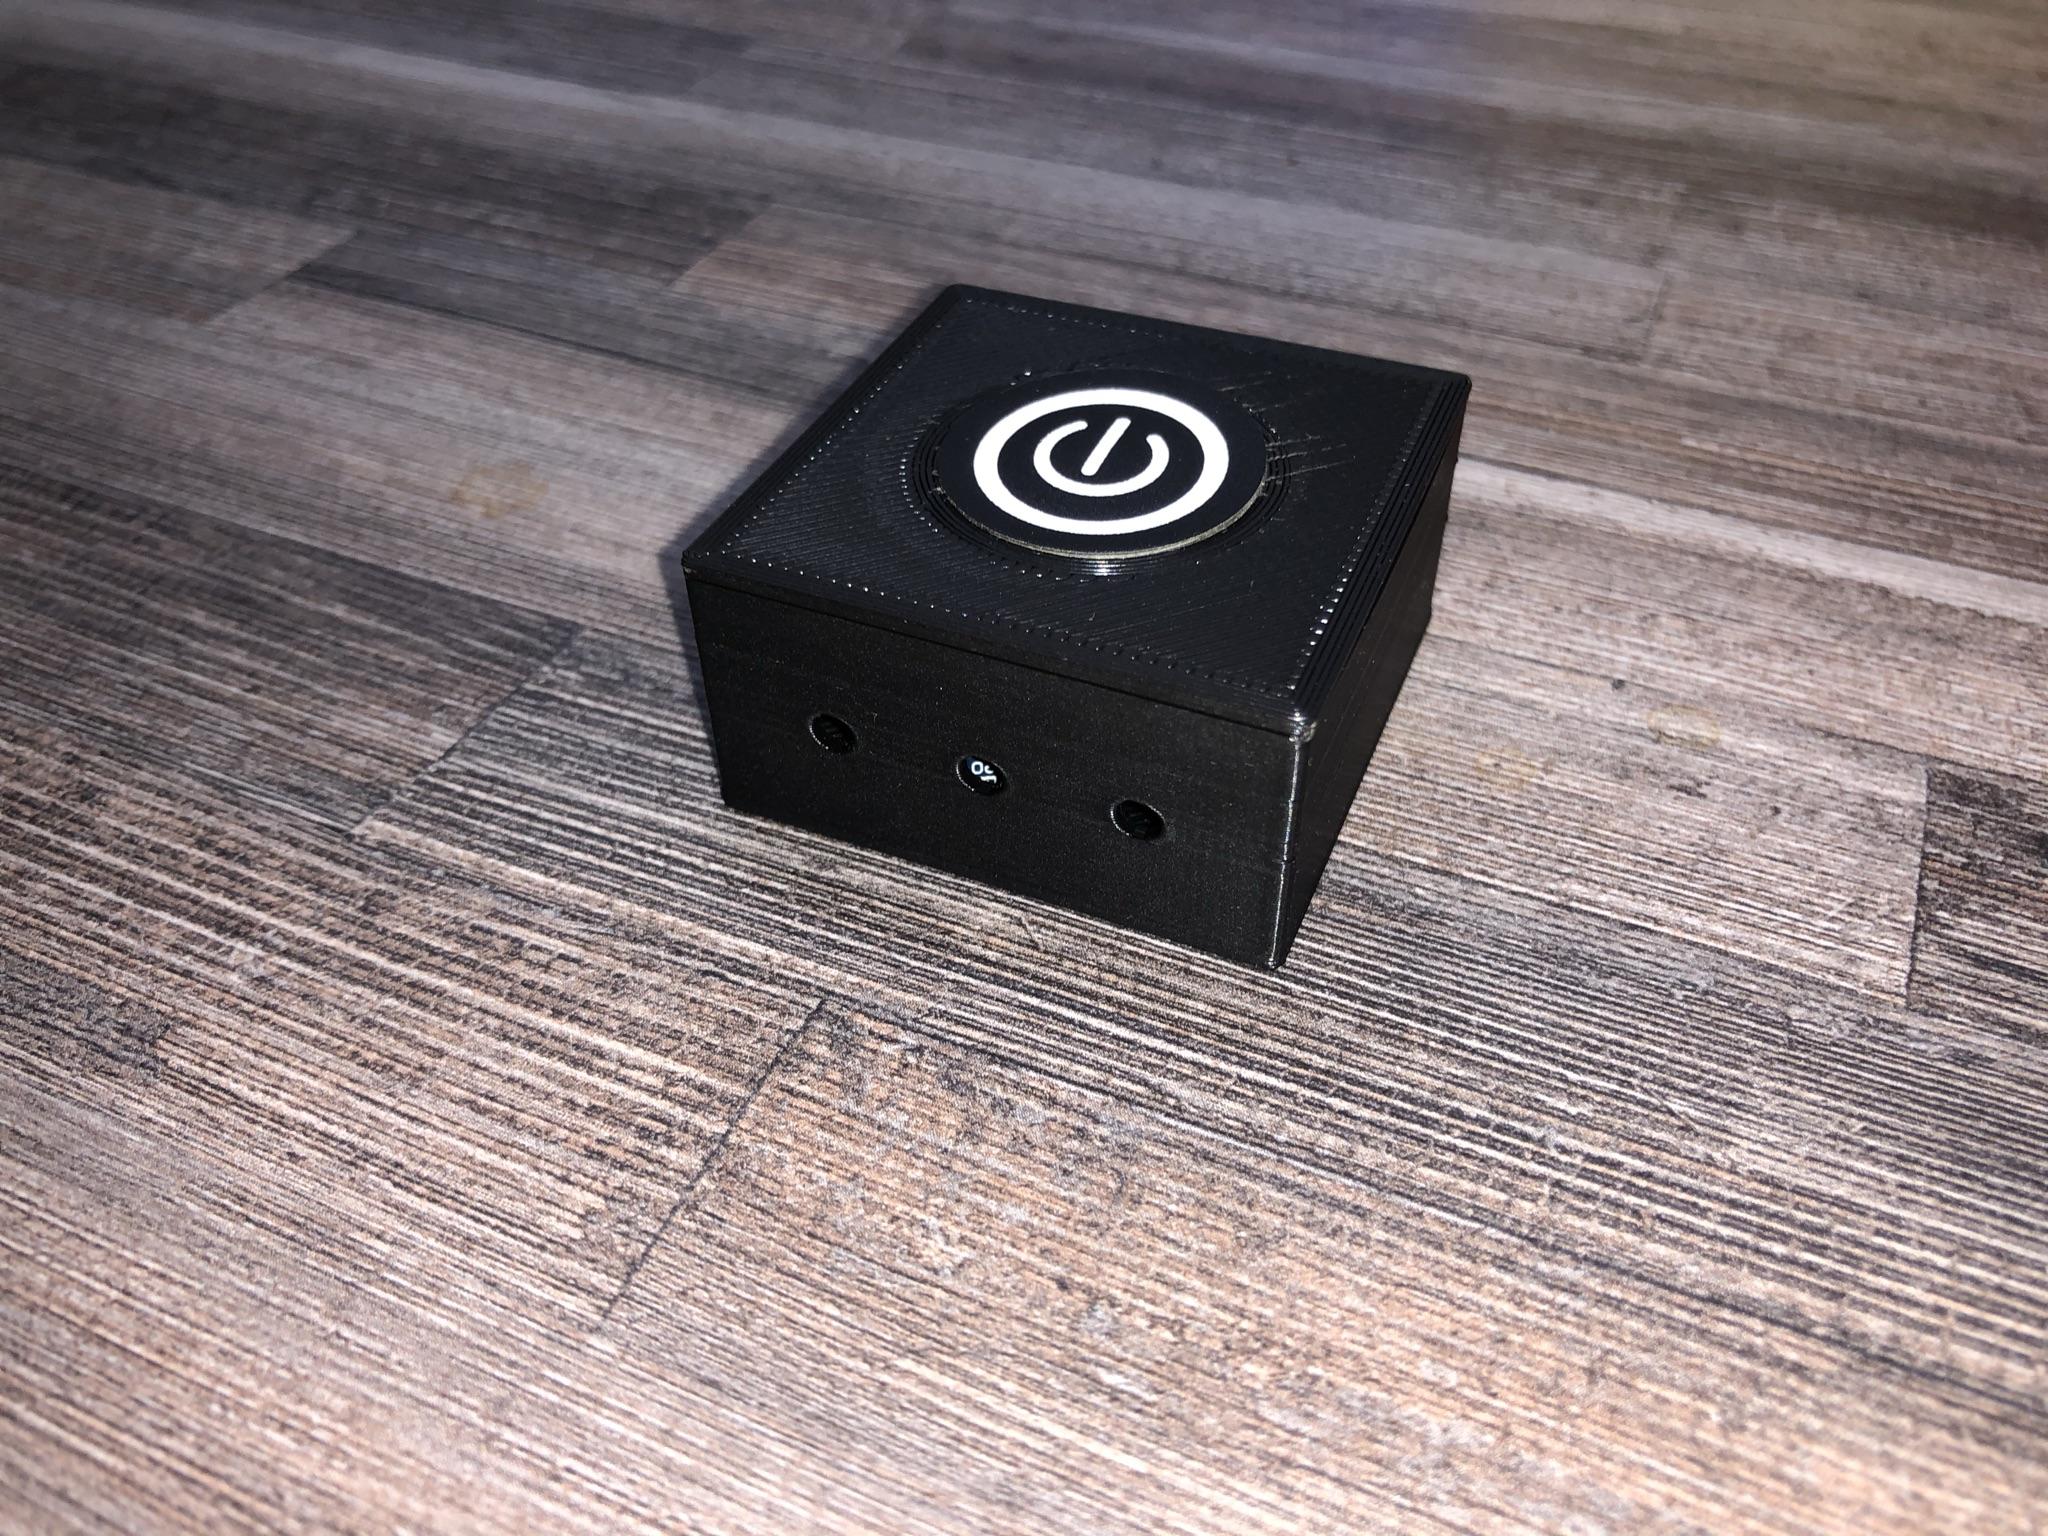
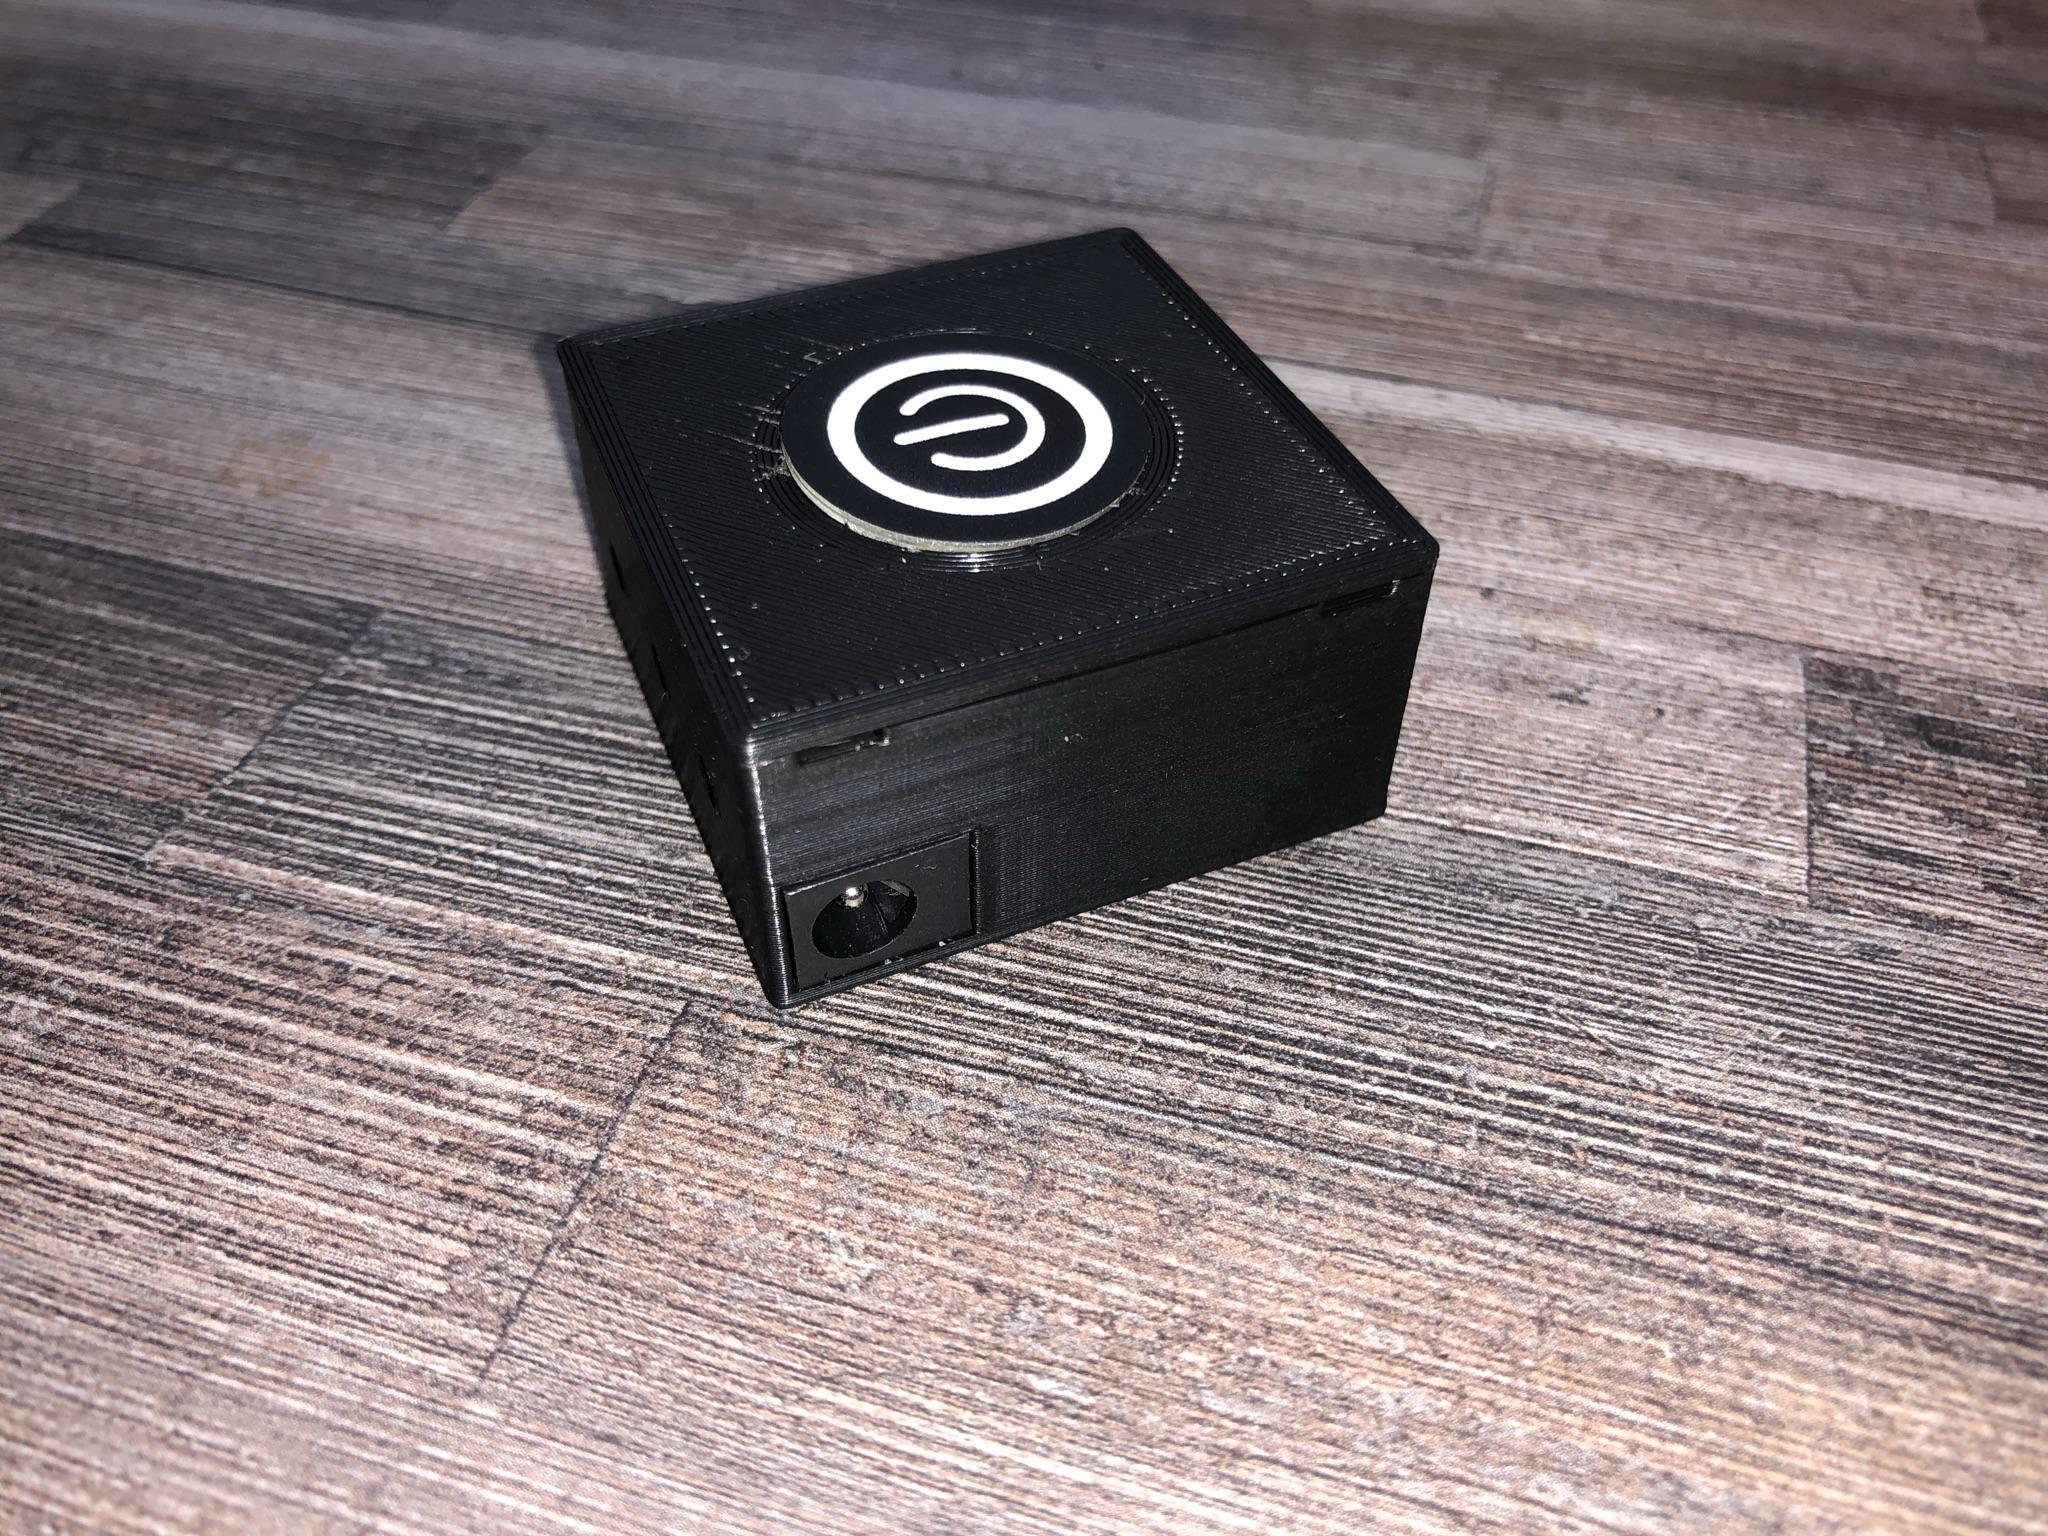
At this stage we can just assemble the enclosure and build the final circuit.
- Build the final circuit using the circuit diagram
- I added the 3.3V voltage regulator so that I can power the device with most charging bricks.
- The membrane ON/OFF switch fits snugly into the 3D-printed case.
- The 11x9mm female power adapter slots into the case
- The ESP01-Module and Voltage regulator fits inside the box
- Assemble everything and you will have a magic button that can be used any any Home Automation solution that can integrate with MQTT.
A soldering iron and hot glue is not required but will ensure better quality for the end product.
Testing the Final Build
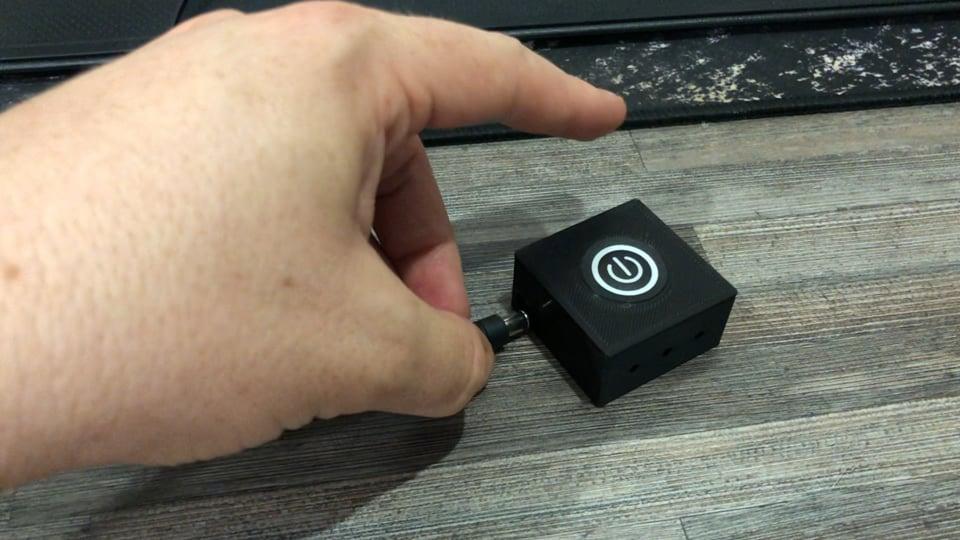
With your enclosure completed you can now power the device.
- Power the device
- Wait a few seconds
- You can now toggle the device using the button
- You can again monitor your MQTT topic using MQTT-Explorer to verify all is working
Now that the device is completed we can integrate the MQTT topic with Homebridge to expose the button the the Apple Home app and HomeKit.
Homebridge Setup


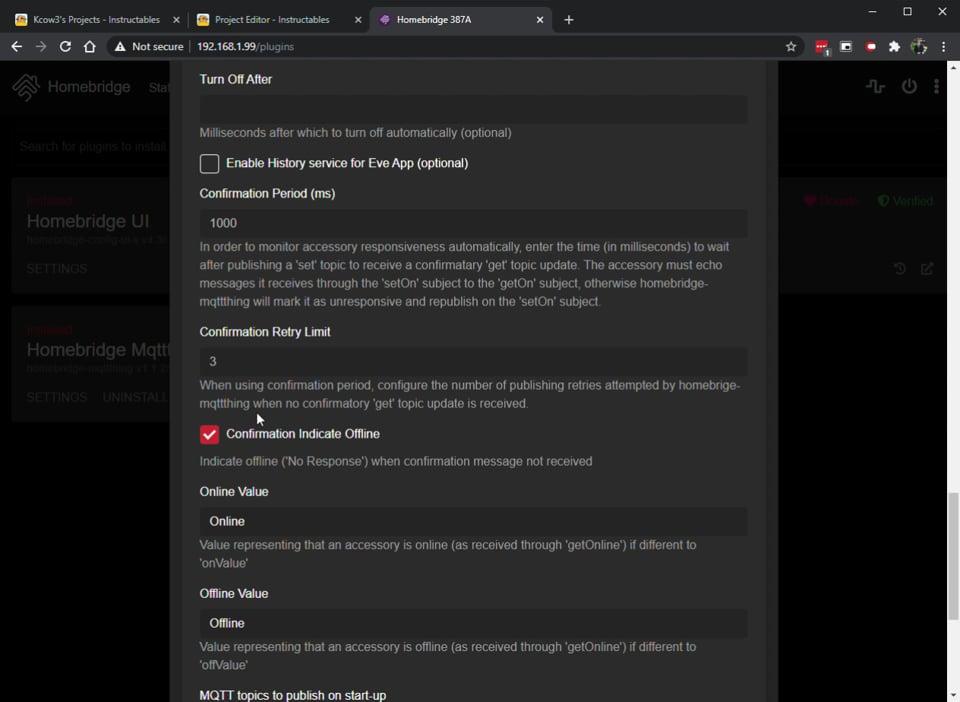
For this part of the instructable you need a running instance of Homebridge to expose the Magic Switch to HomeKit. You can however use any Home Automation solution that supports MQTT at this stage. Going forward we will be focusing on using the Apple Home app for automation.
- Navigate to your Homebridge instance (in my case 192.168.1.98 in a browser)
- Navigate to the plugin section and make sure you have the following plugin installed: Homebridge Mqttthing.
- Add the following line to your configuration file of Homebridge, or add it via the visual configuration setup of the plugin as shown in the attached video
{
            "type": "switch",
            "name": "Magic Switch",
            "url": "your MQTT broker ip address and port here",
            "mqttPubOptions": {
                "retain": true
            },
            "logMqtt": true,
            "topics": {
                "getOn": "stat/MagicSwitch/POWER",
                "setOn": "cmnd/MagicSwitch/POWER"
            },
            "startPub": [
                {
                    "topic": "cmnd/MagicSwitch/POWER"
                }
            ],
            "onValue": "ON",
            "offValue": "OFF",
            "accessory": "mqttthing"
}
You can now restart your Homebridge instance and verify on your Apple Home app if the switch appears.
Creating a Test Automation in the Apple Home App


You can now create any automation using the apple home app.
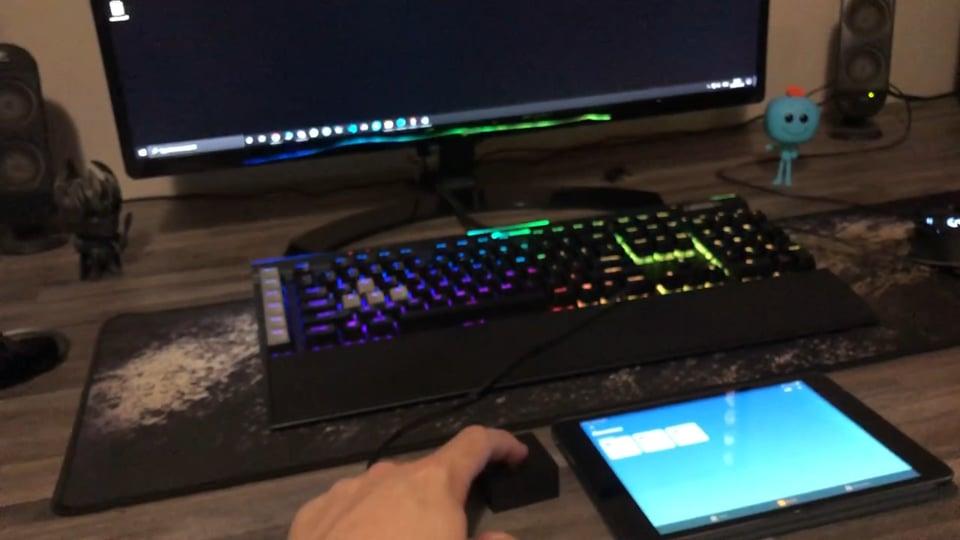
I created a simple automation that turns on a back-light and set it to blue behind a screen if the Magic button changes to the on state, and turns off the light when the button turns off. You can however trigger any device in your smart home, run a scene or more.
Finally in our next step we test the end product.
Final Testing
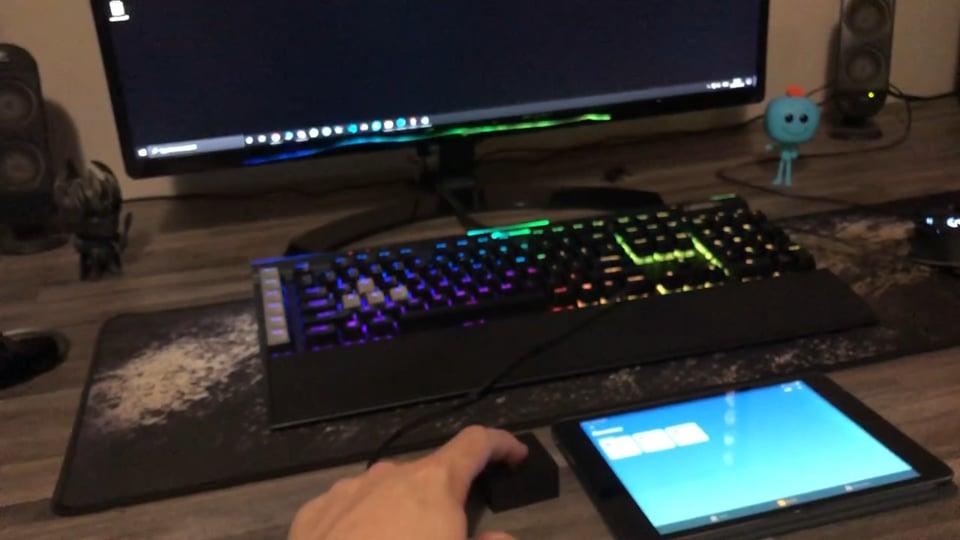
In the attached video you can see the button in action. When the button is pressed, the state of the magic button on Apple Home will update and you can trigger an automation based on this state.