Magic Crayons With Scratch and Micro:bit
by Elenavercher in Teachers > 3
3461 Views, 30 Favorites, 0 Comments
Magic Crayons With Scratch and Micro:bit
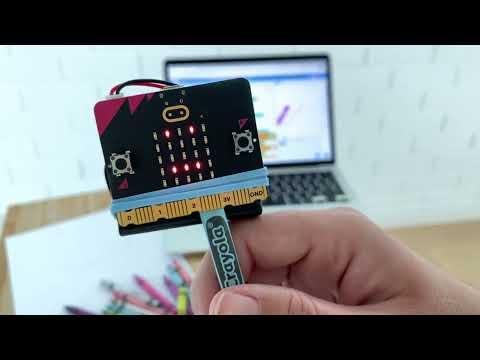
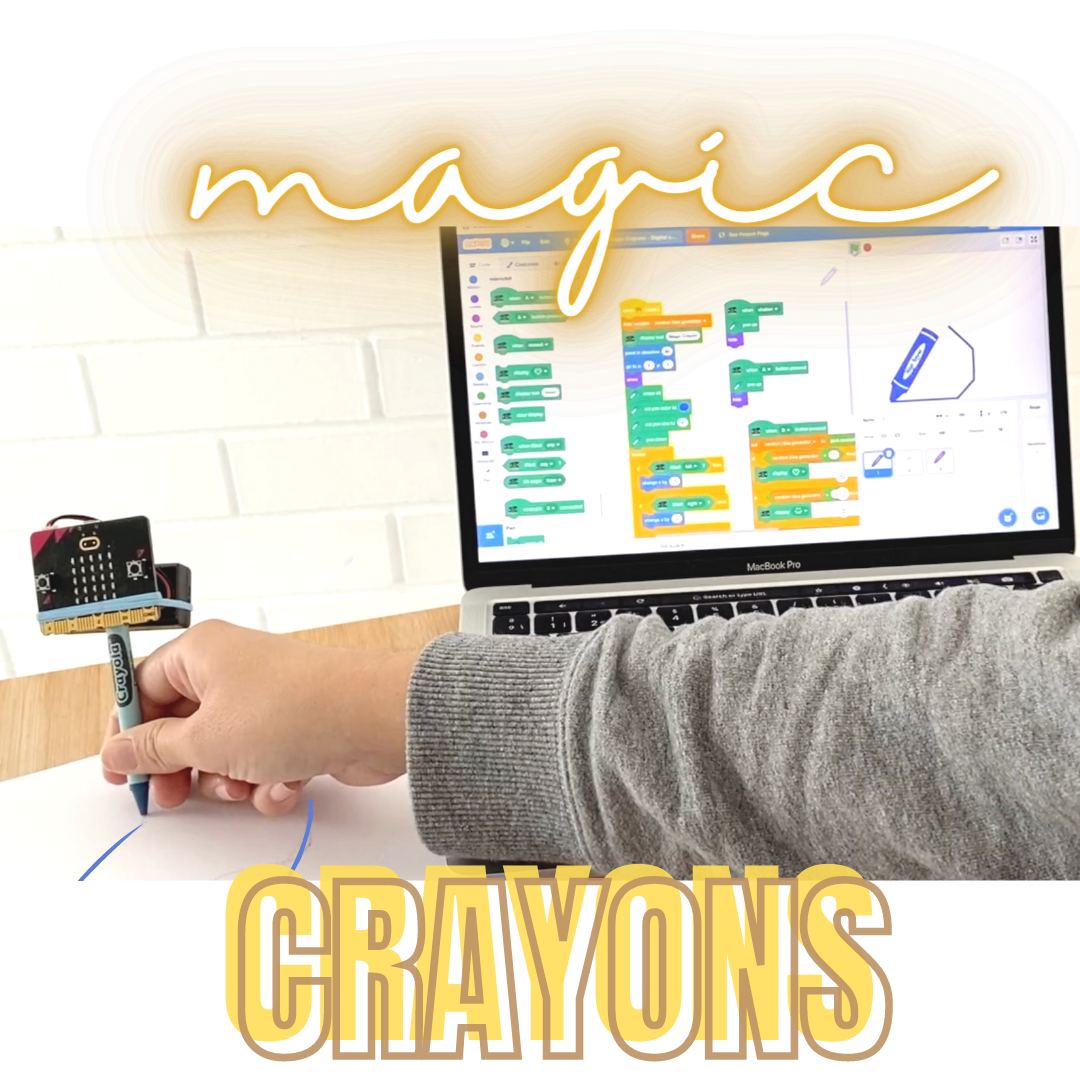
How magical it is when we use a pencil with a tablet and it works! It's ASTOUNDING as the Gruffalo would say, yes or not?
How are they made? How do they connect? Would it be possible to create one?
Those are the questions we asked in class, and we agreed that we would be able to do one using Scratch and micro:bit. As we all love Harry Potter, using an apparent normal device and giving it the magical aspect of appearing in a screen, was something we felt that was amazing, just as creating a magic wand that interacts with the digital world or a bonfire that starts its fire when we tell them through our wand. Today it has been the moment when we have coded a physical crayon with Scratch so that it could draw on the screen. If you want to know how we did it, keep reading! ✨✨✨
Supplies
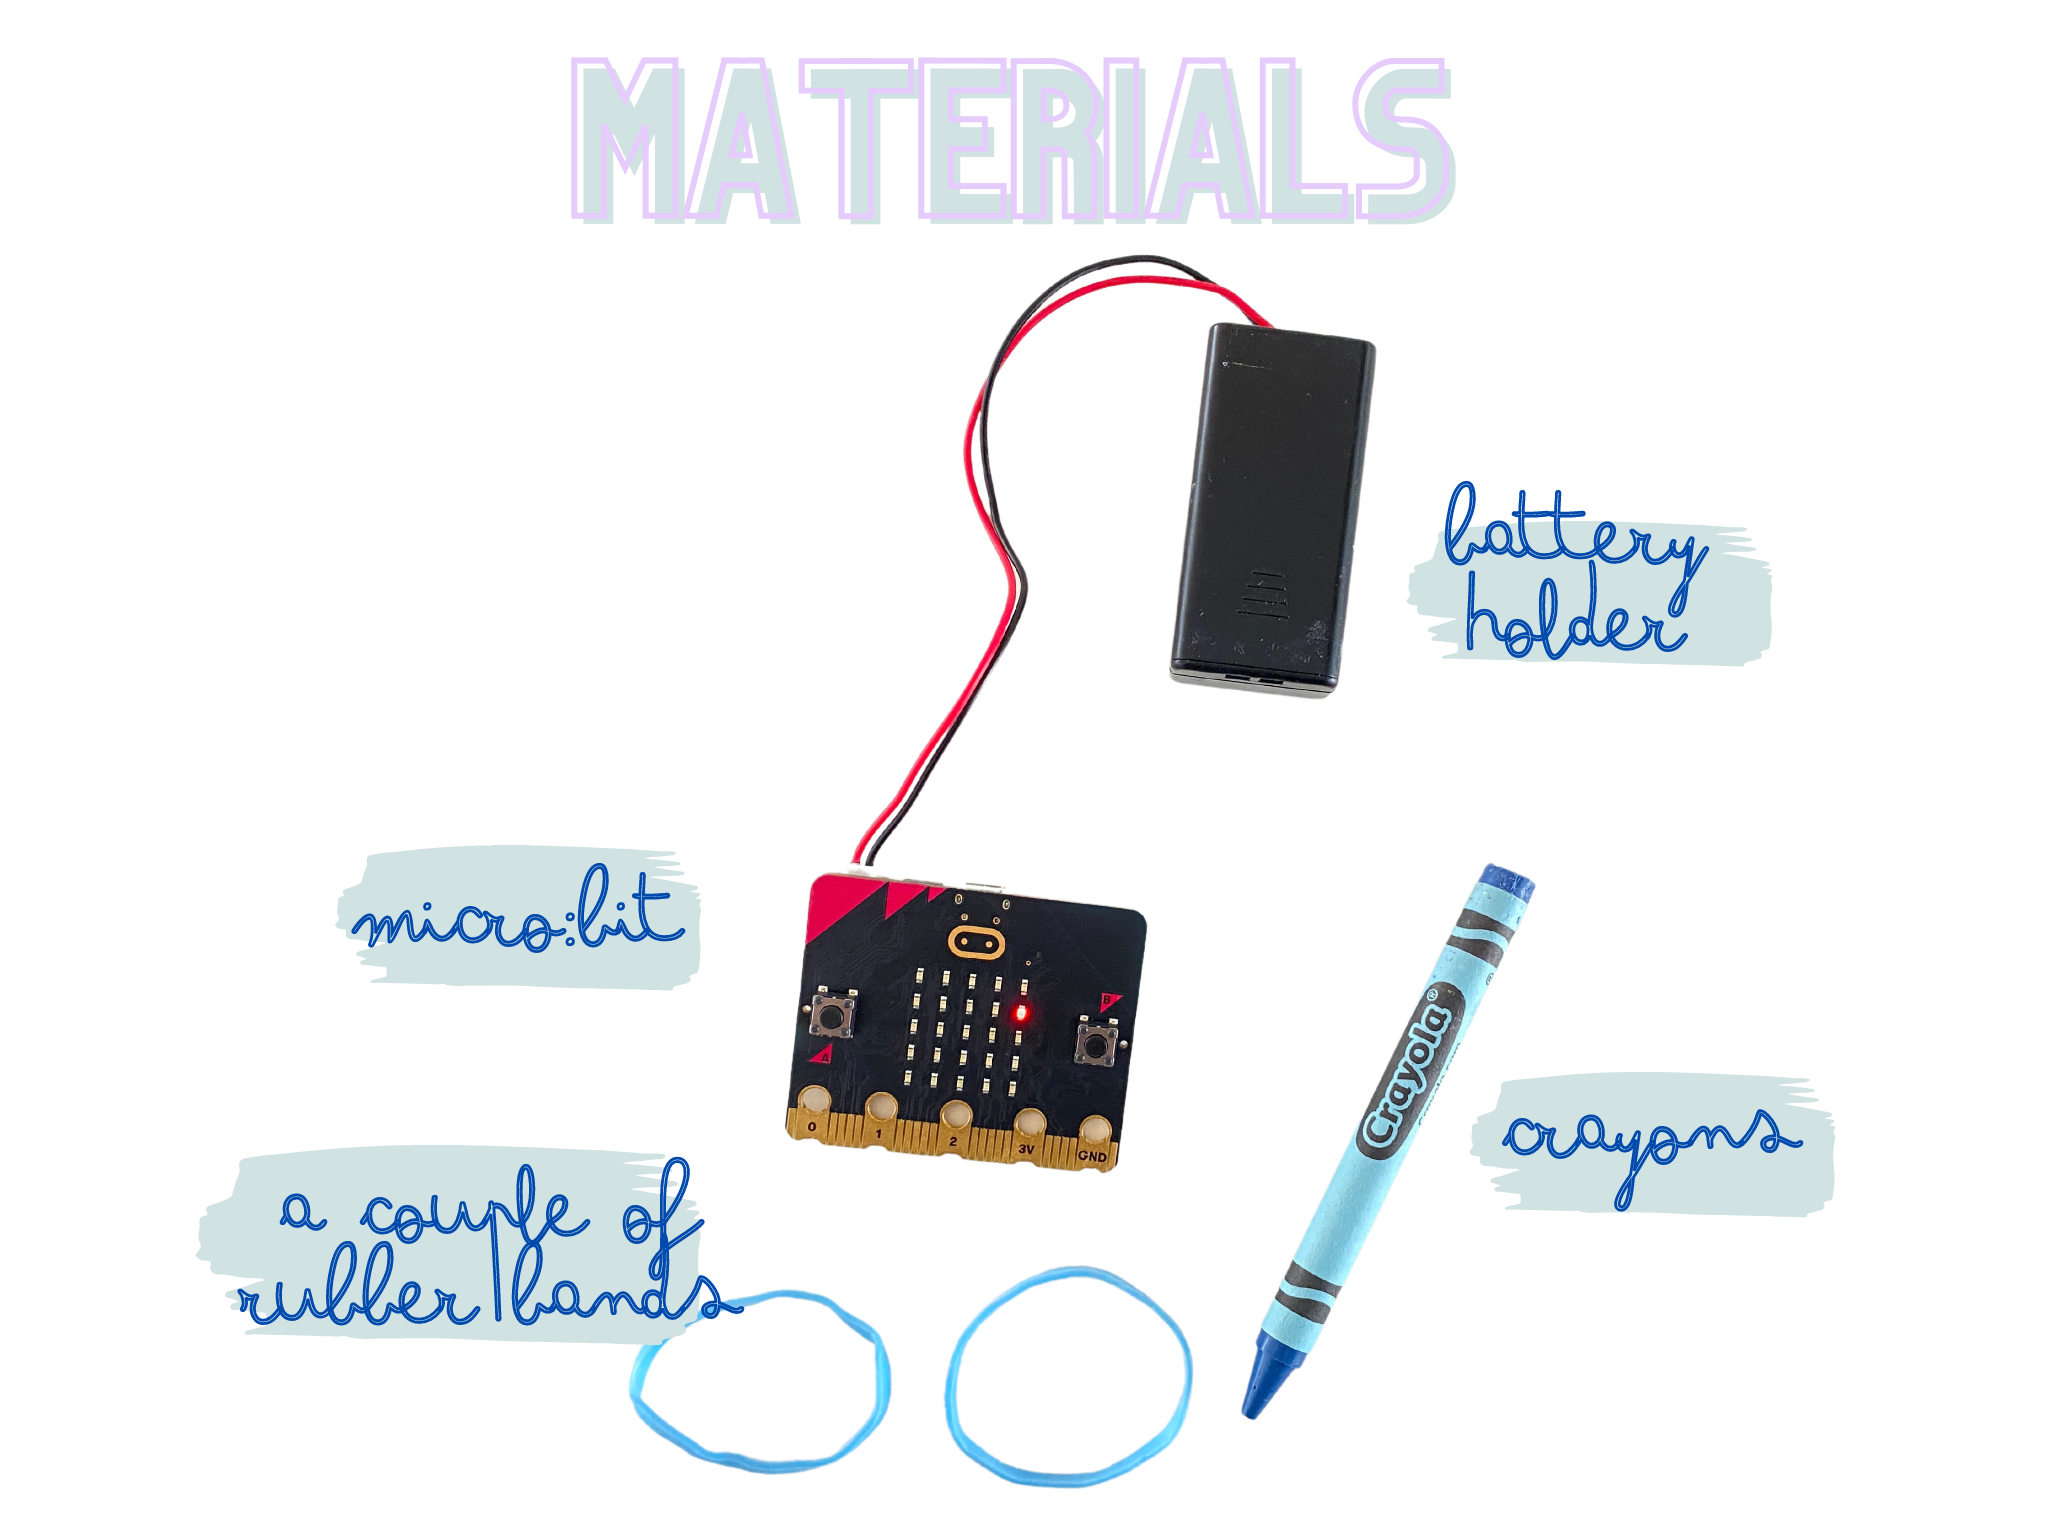
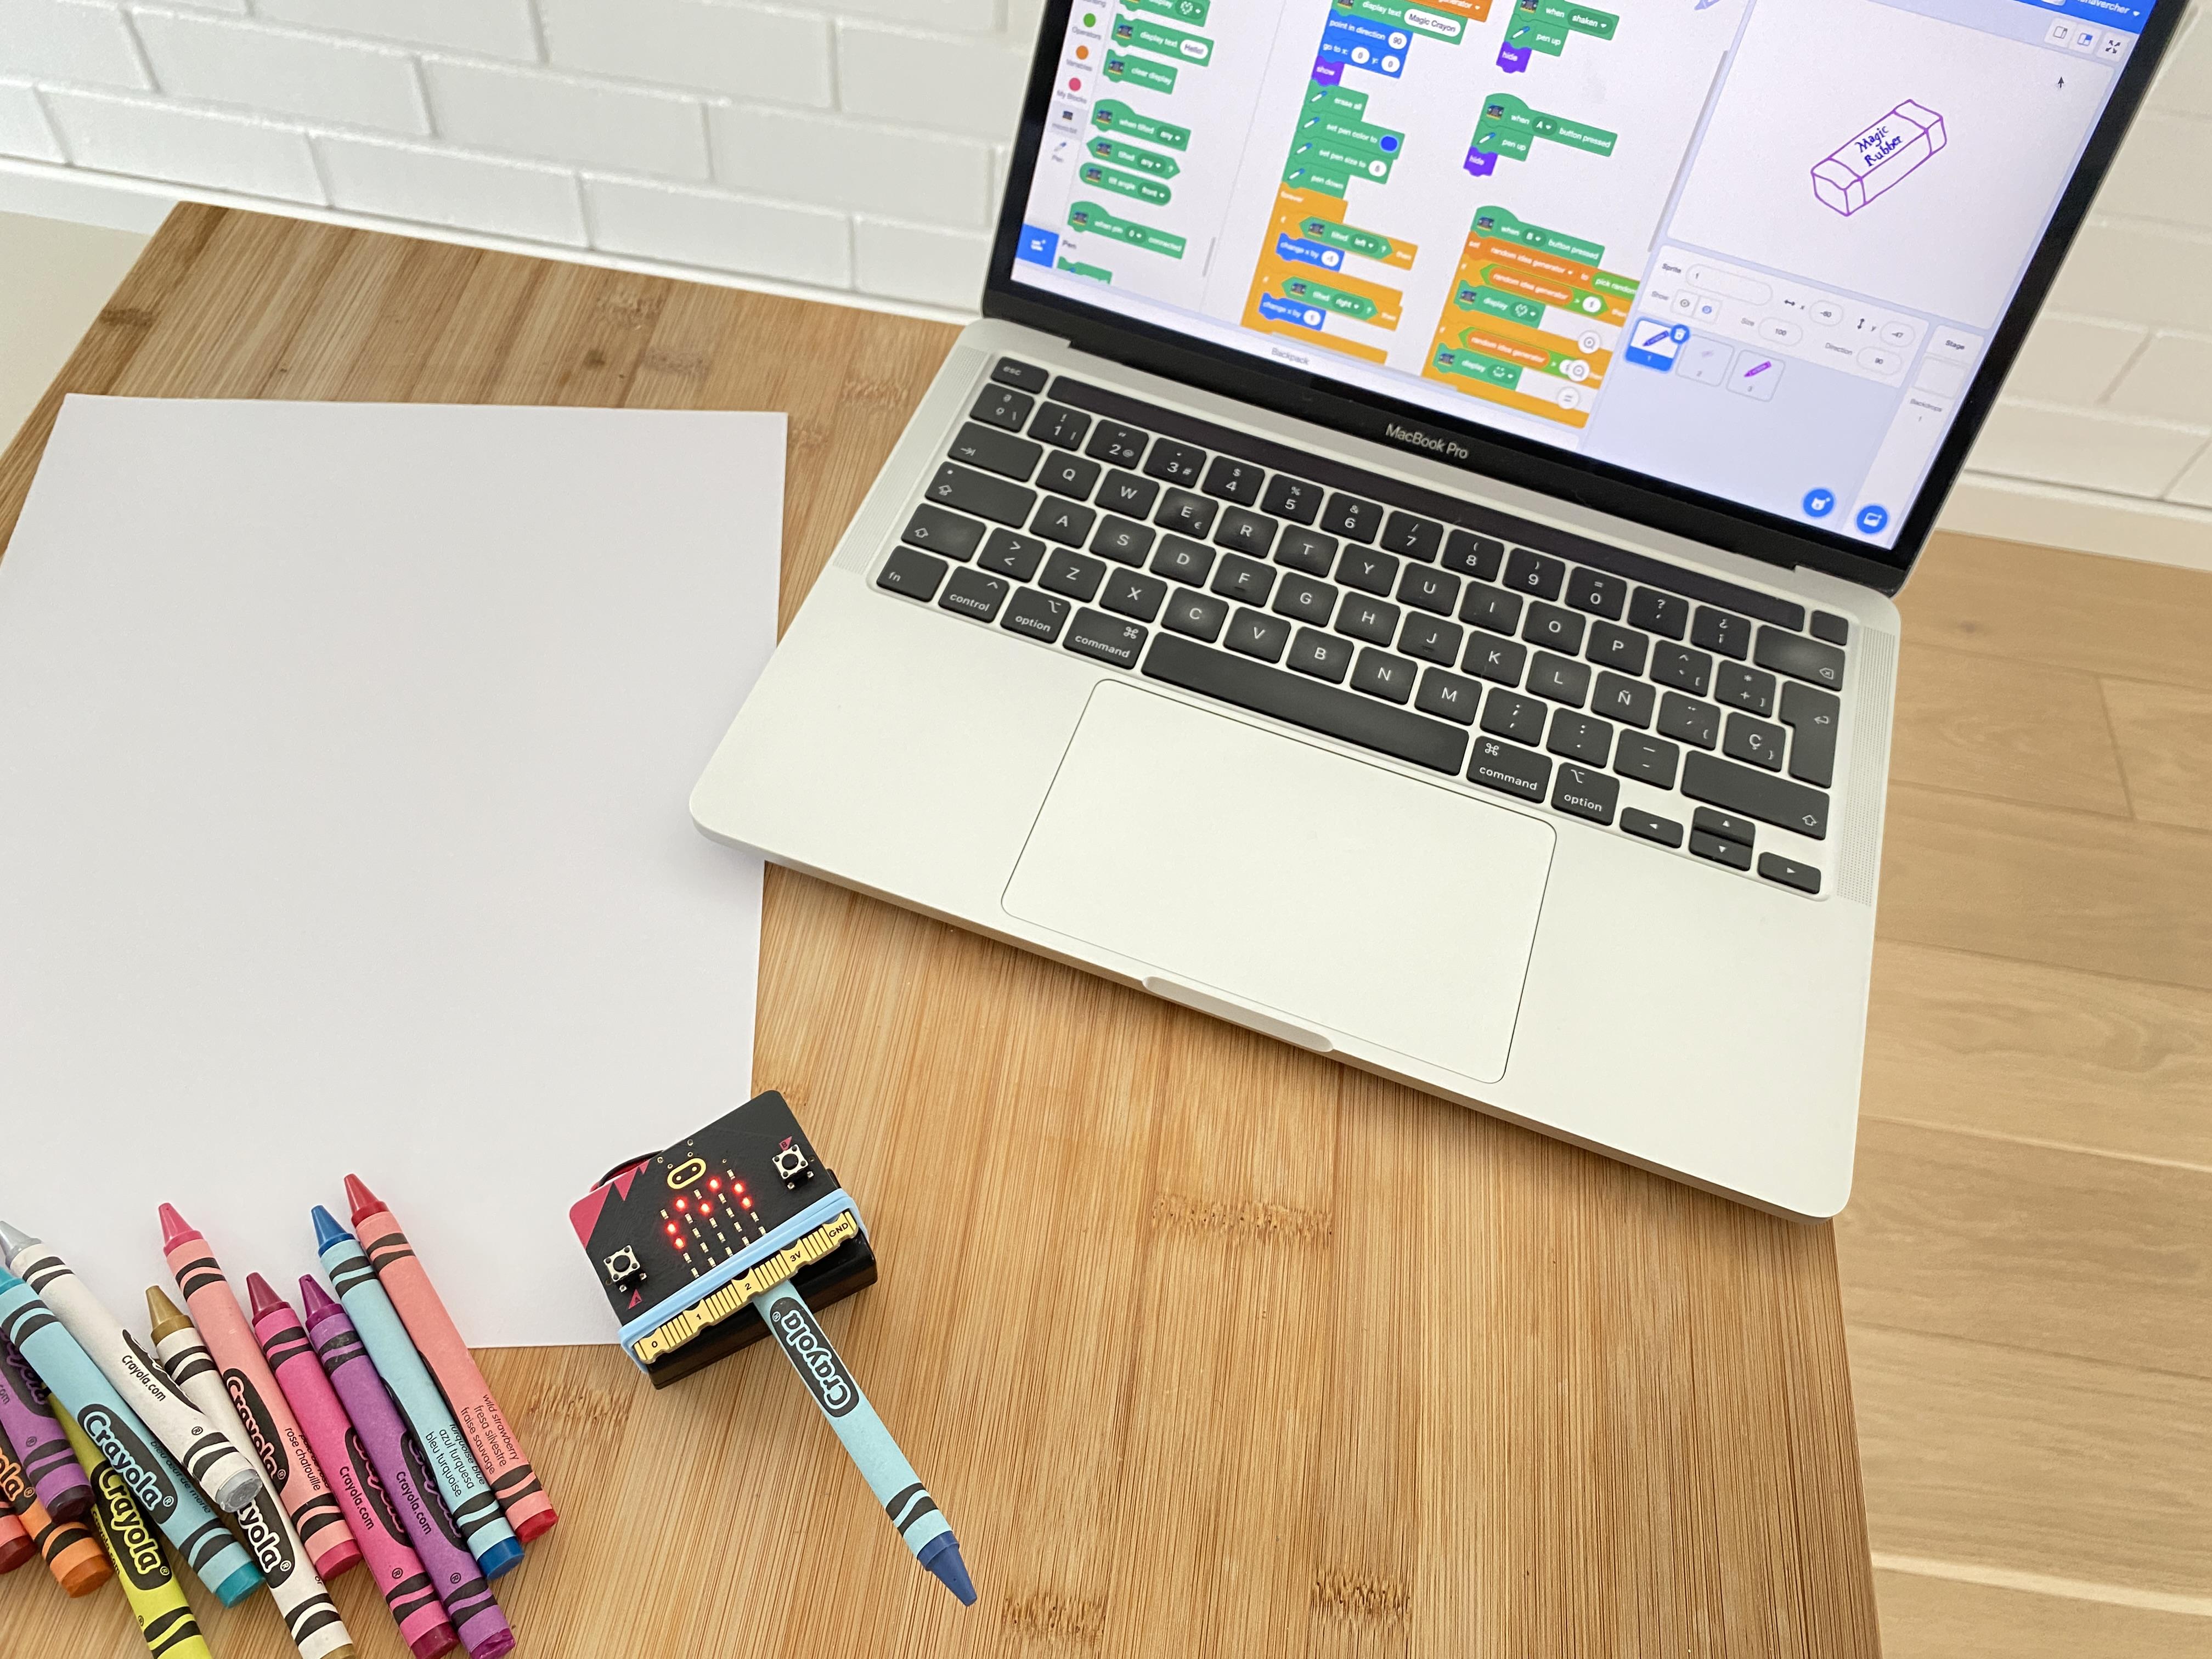
We will use the following materials:
- A laptop with internet connection
- A crayon
- A micro:bit with a battery holder
- A couple of rubber bands
Creating Our Interactive Crayon
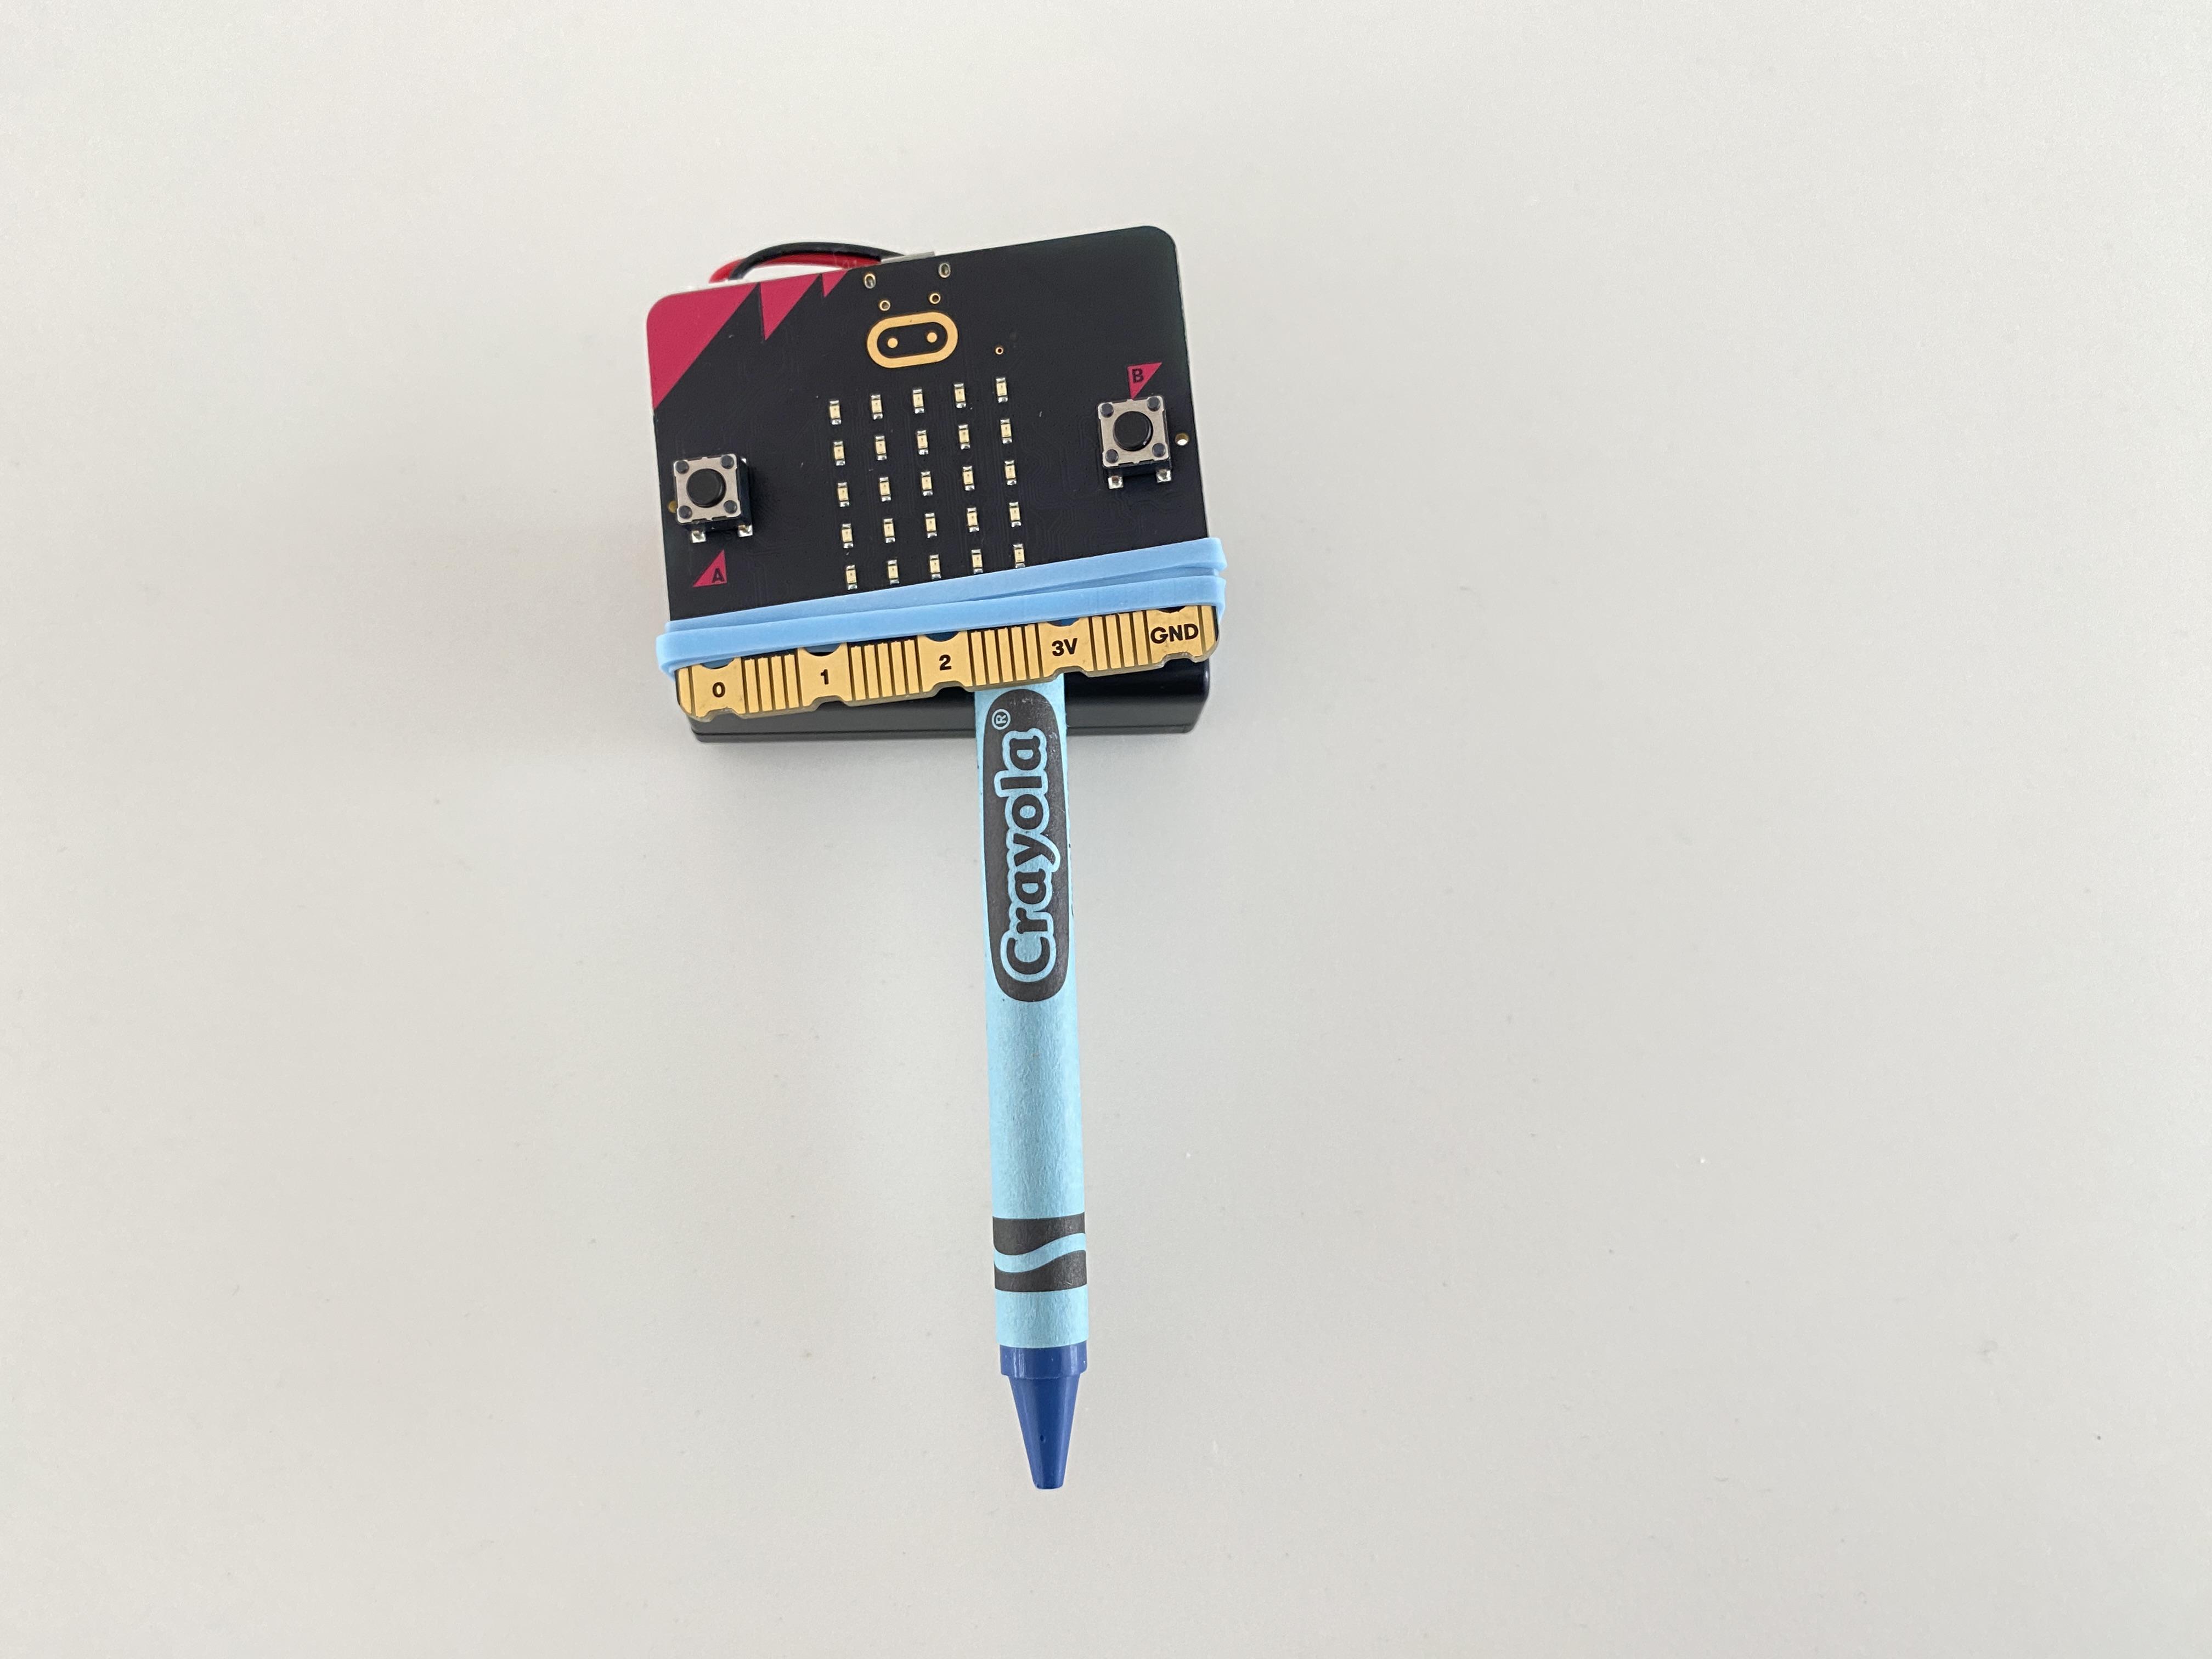
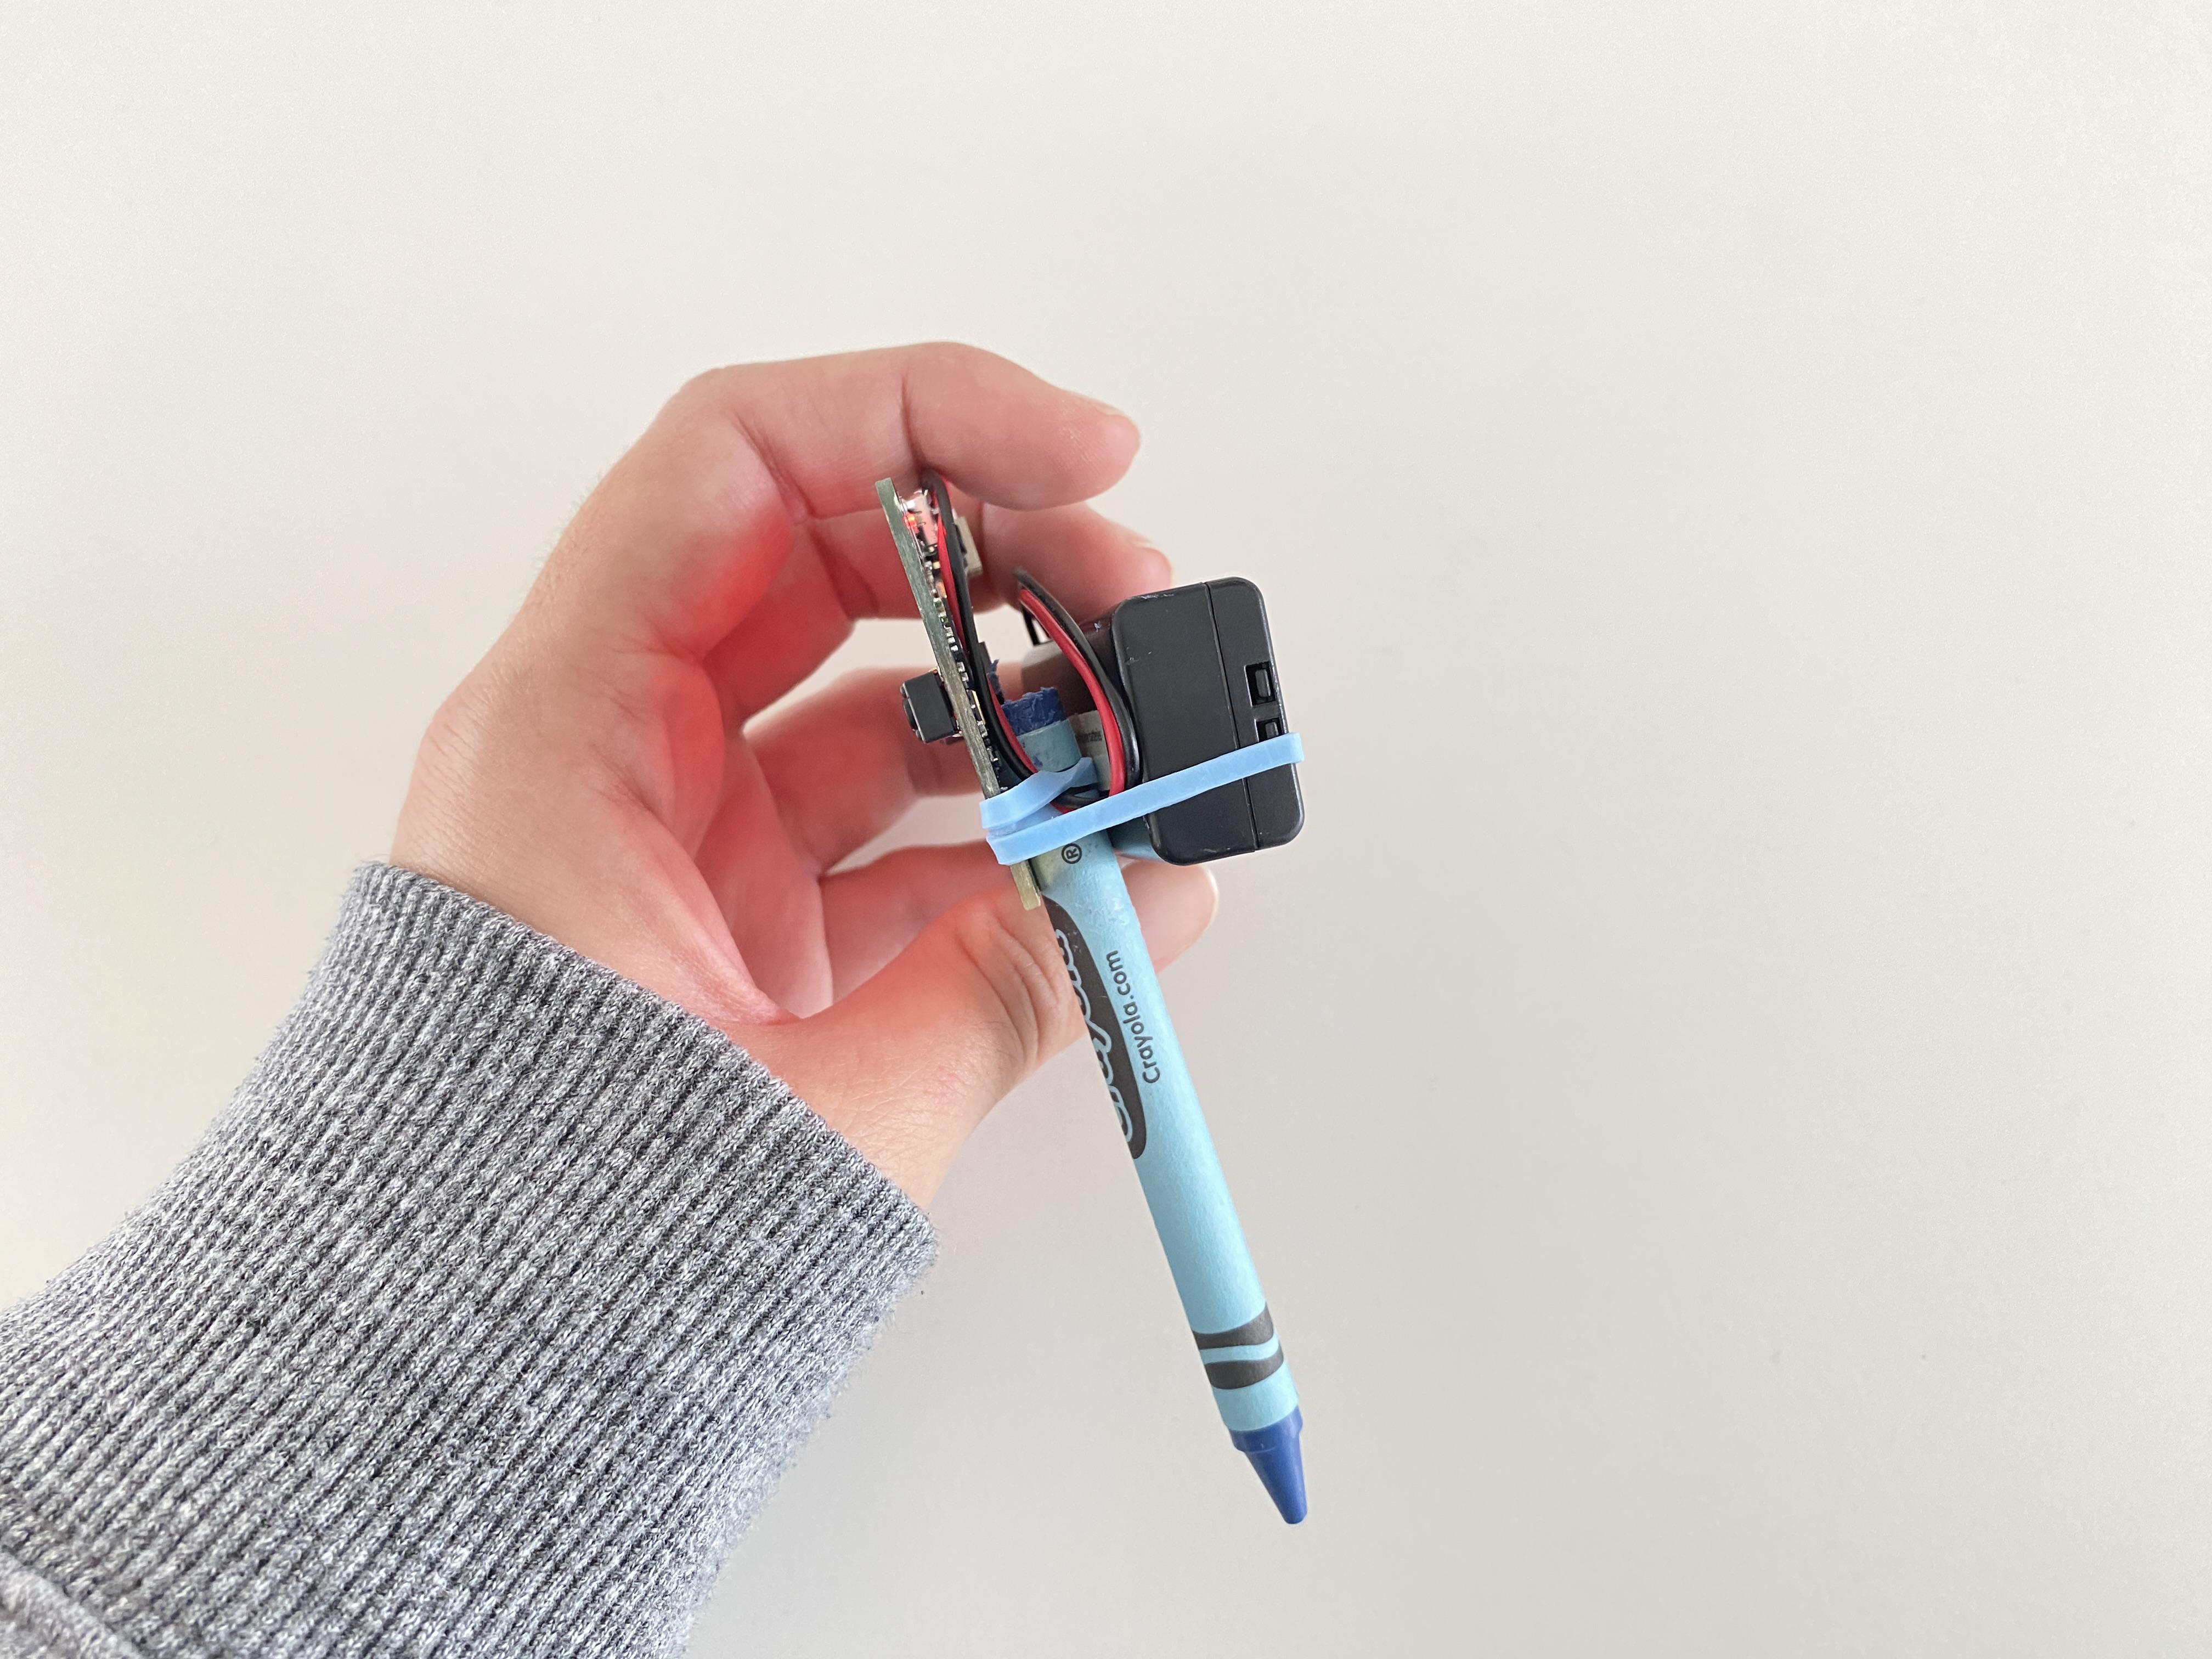
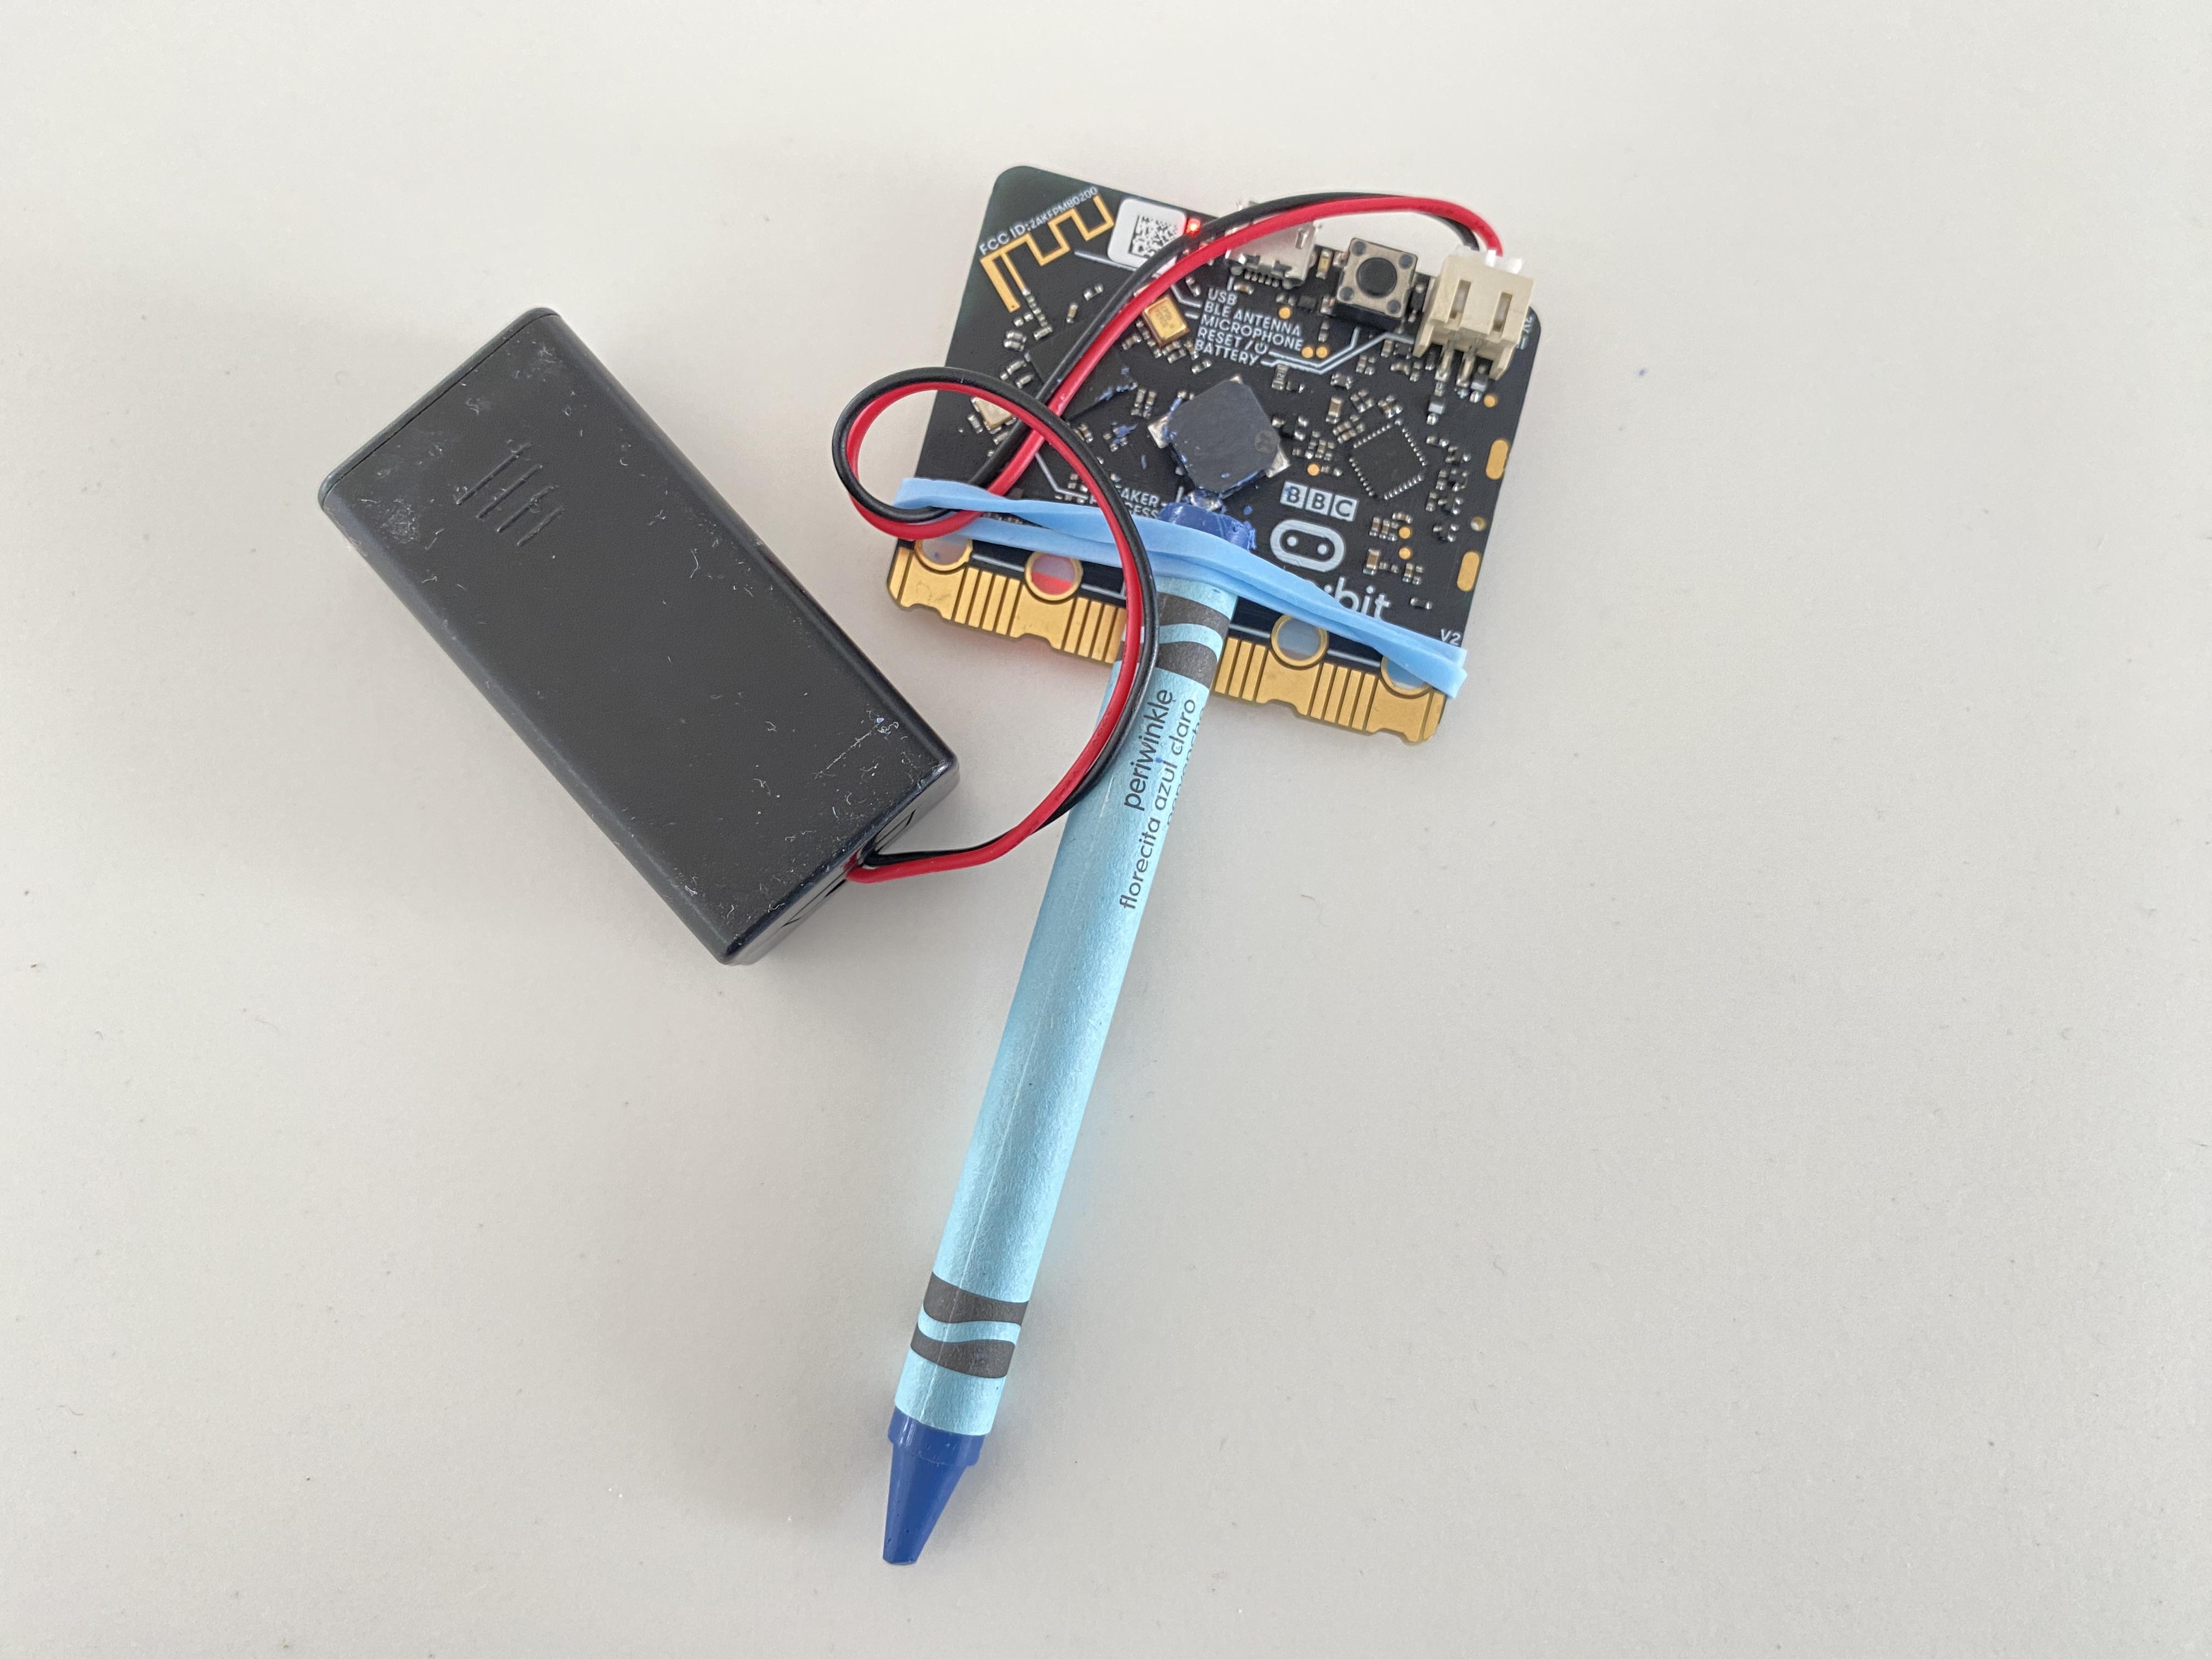
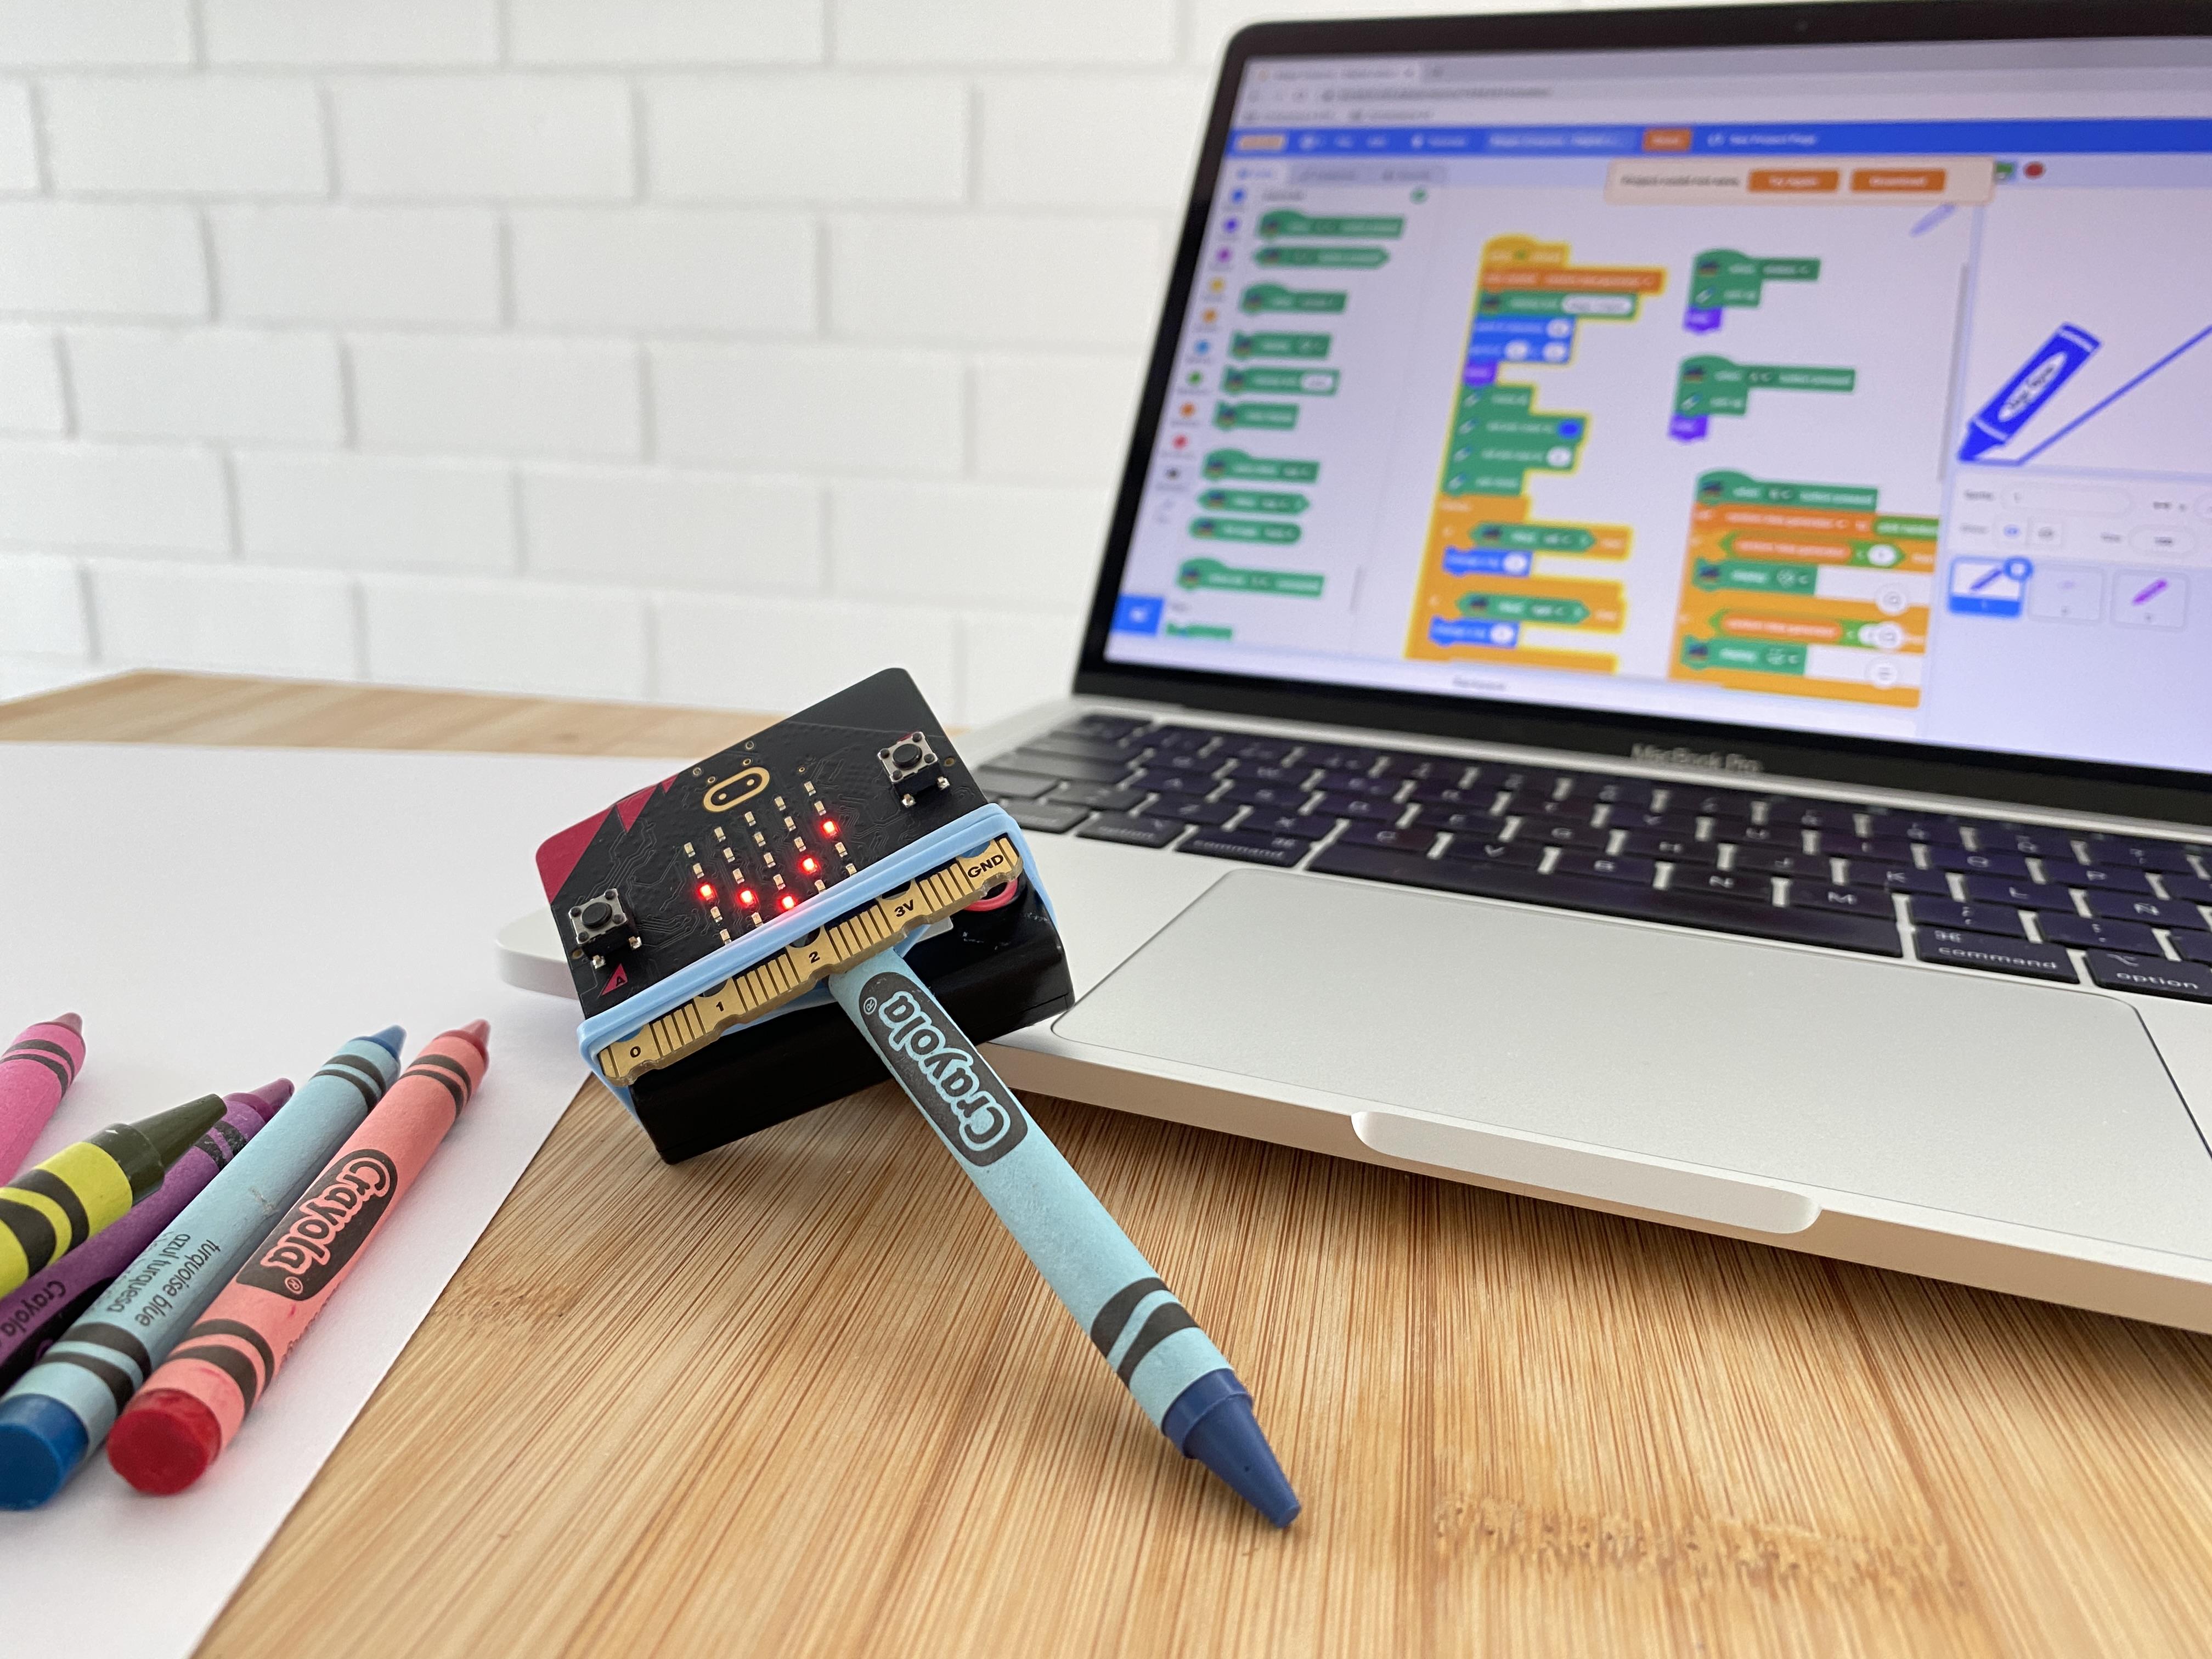
We need to attach the micro:bit to the crayon using two rubber bands. Once we have it, we should fix the battery so that it won't move, and it won't affect our digital drawing.
Design the Scratch Sprite in Canva
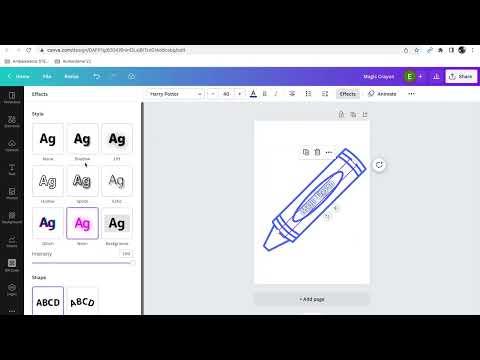
We will start our digital and magical adventure by designing our own sprites for the Scratch programming using Canva.
We will choose an A4 project, and add a crayon and a rubber and edit them until they meet our needs.
Finally, we will export them as a .png file without the background. If we forget this step, we can always remove it using the Scratch app.
Downloads
Getting Started With Scratch and Download the Pen and Microbit Extensions
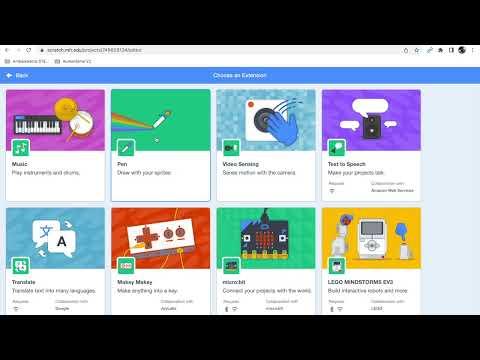
We create a Scratch project and insert the extensions called: PEN and MICRO:BIT. We should also connect at the same time the micro:bit with the USB cable. You can follow this instructions if you need them: https://scratch.mit.edu/microbit.
We need to upload our objects (sprites), previously created in Canva.
Code the Pen With the Pen and Micro:bit Extensions
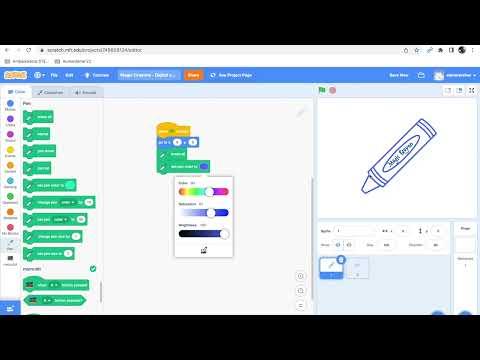
Now it's the moment to start coding the crayon. We will use the micro:bit's accelerometer so that it will detect our crayon's movement and, when we tilt it to the left, the digital crayon will start drawing to the left. Once we've coded left/right and front and back, we will see that it mimes really nicely our physical crayon movement.
Code the Rubber
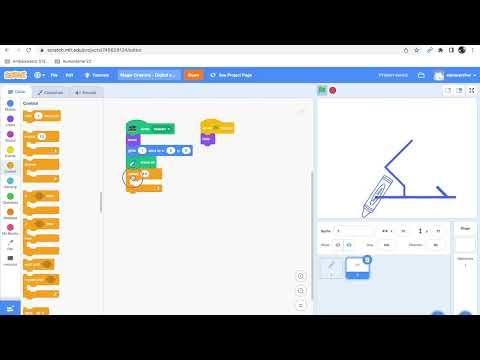
We will need a rubber so that it will erase everything we have done, if we need to.
We will code it so that when we shake the crayon, it will erase the screen.
Modify the Crayon Programming So That It Disappears When the Rubber Appears
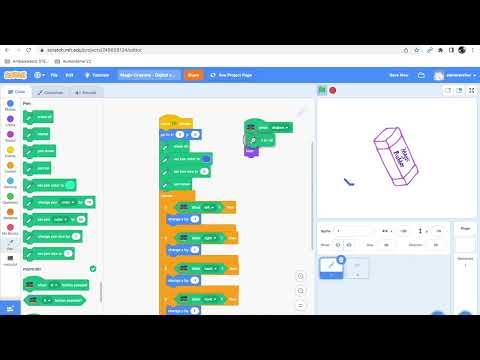
Now we will see that the crayon is still writing while the rubber is there, we should modify our code so that it will hide when we shake the micro:bit.
Center the Crayon
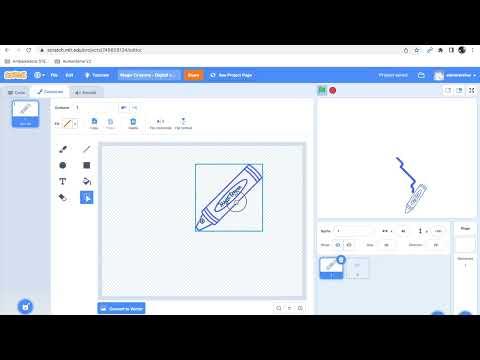
In this step, we will center the crayon at the costumes tab. We need to mime our crayon, so we will need to place the crayon's bottom in the center part of the sprite, so that the part that will colour our screen will be the bottom part.
Edit the Sprite by Changing Its Colour
Now we can colour our sprite so that it looks alike to our crayon... or completely different, it's up to you!🥰✨
Make Sure That the Position of the Rubber and the Crayon Are Set
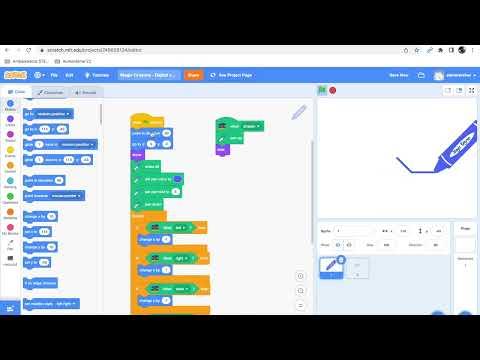
We should check that our sprites are facing upwards the whole time, miming as much as possible our crayon.
Add a Different Colour
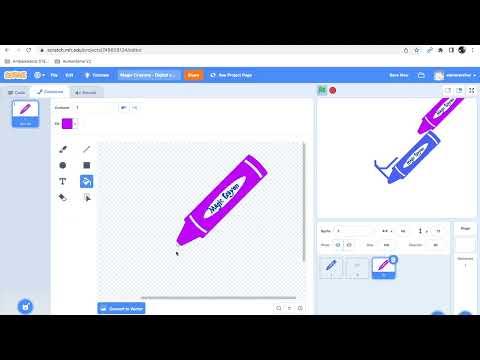
Now we can add a different colour by duplicating our crayon and changing the event that triggers the crayon to start drawing. We can use one of the micro:bit's buttons.
Code the Purple Crayon and Modify the Code of the Blue Crayon and the Rubber
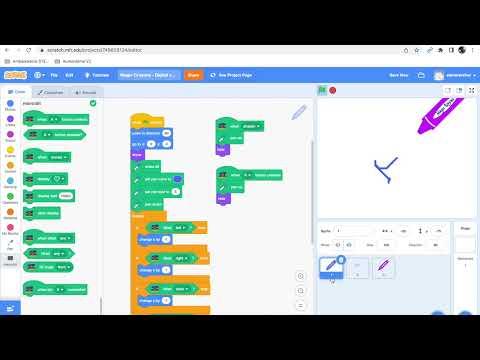
Now we need to slightly modify our coding so that they will all hide when the purple crayon is writing and the other way around.
And Now Make Sure That Everything Works As You Like!
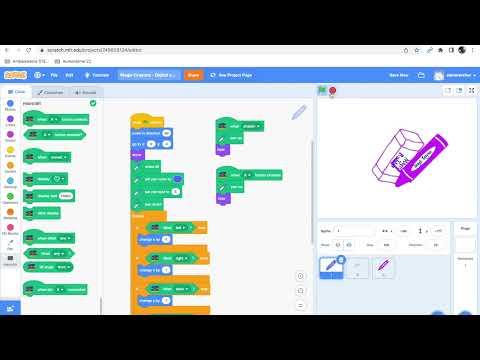
Et voilà! Now you can finish checking that everything works great. Here is an example of the project we created: https://scratch.mit.edu/projects/749828134.
Personalize It As Much As You Like ✨
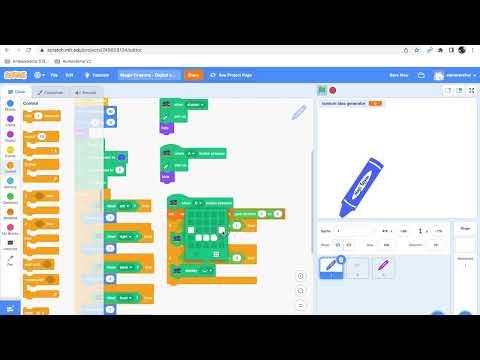
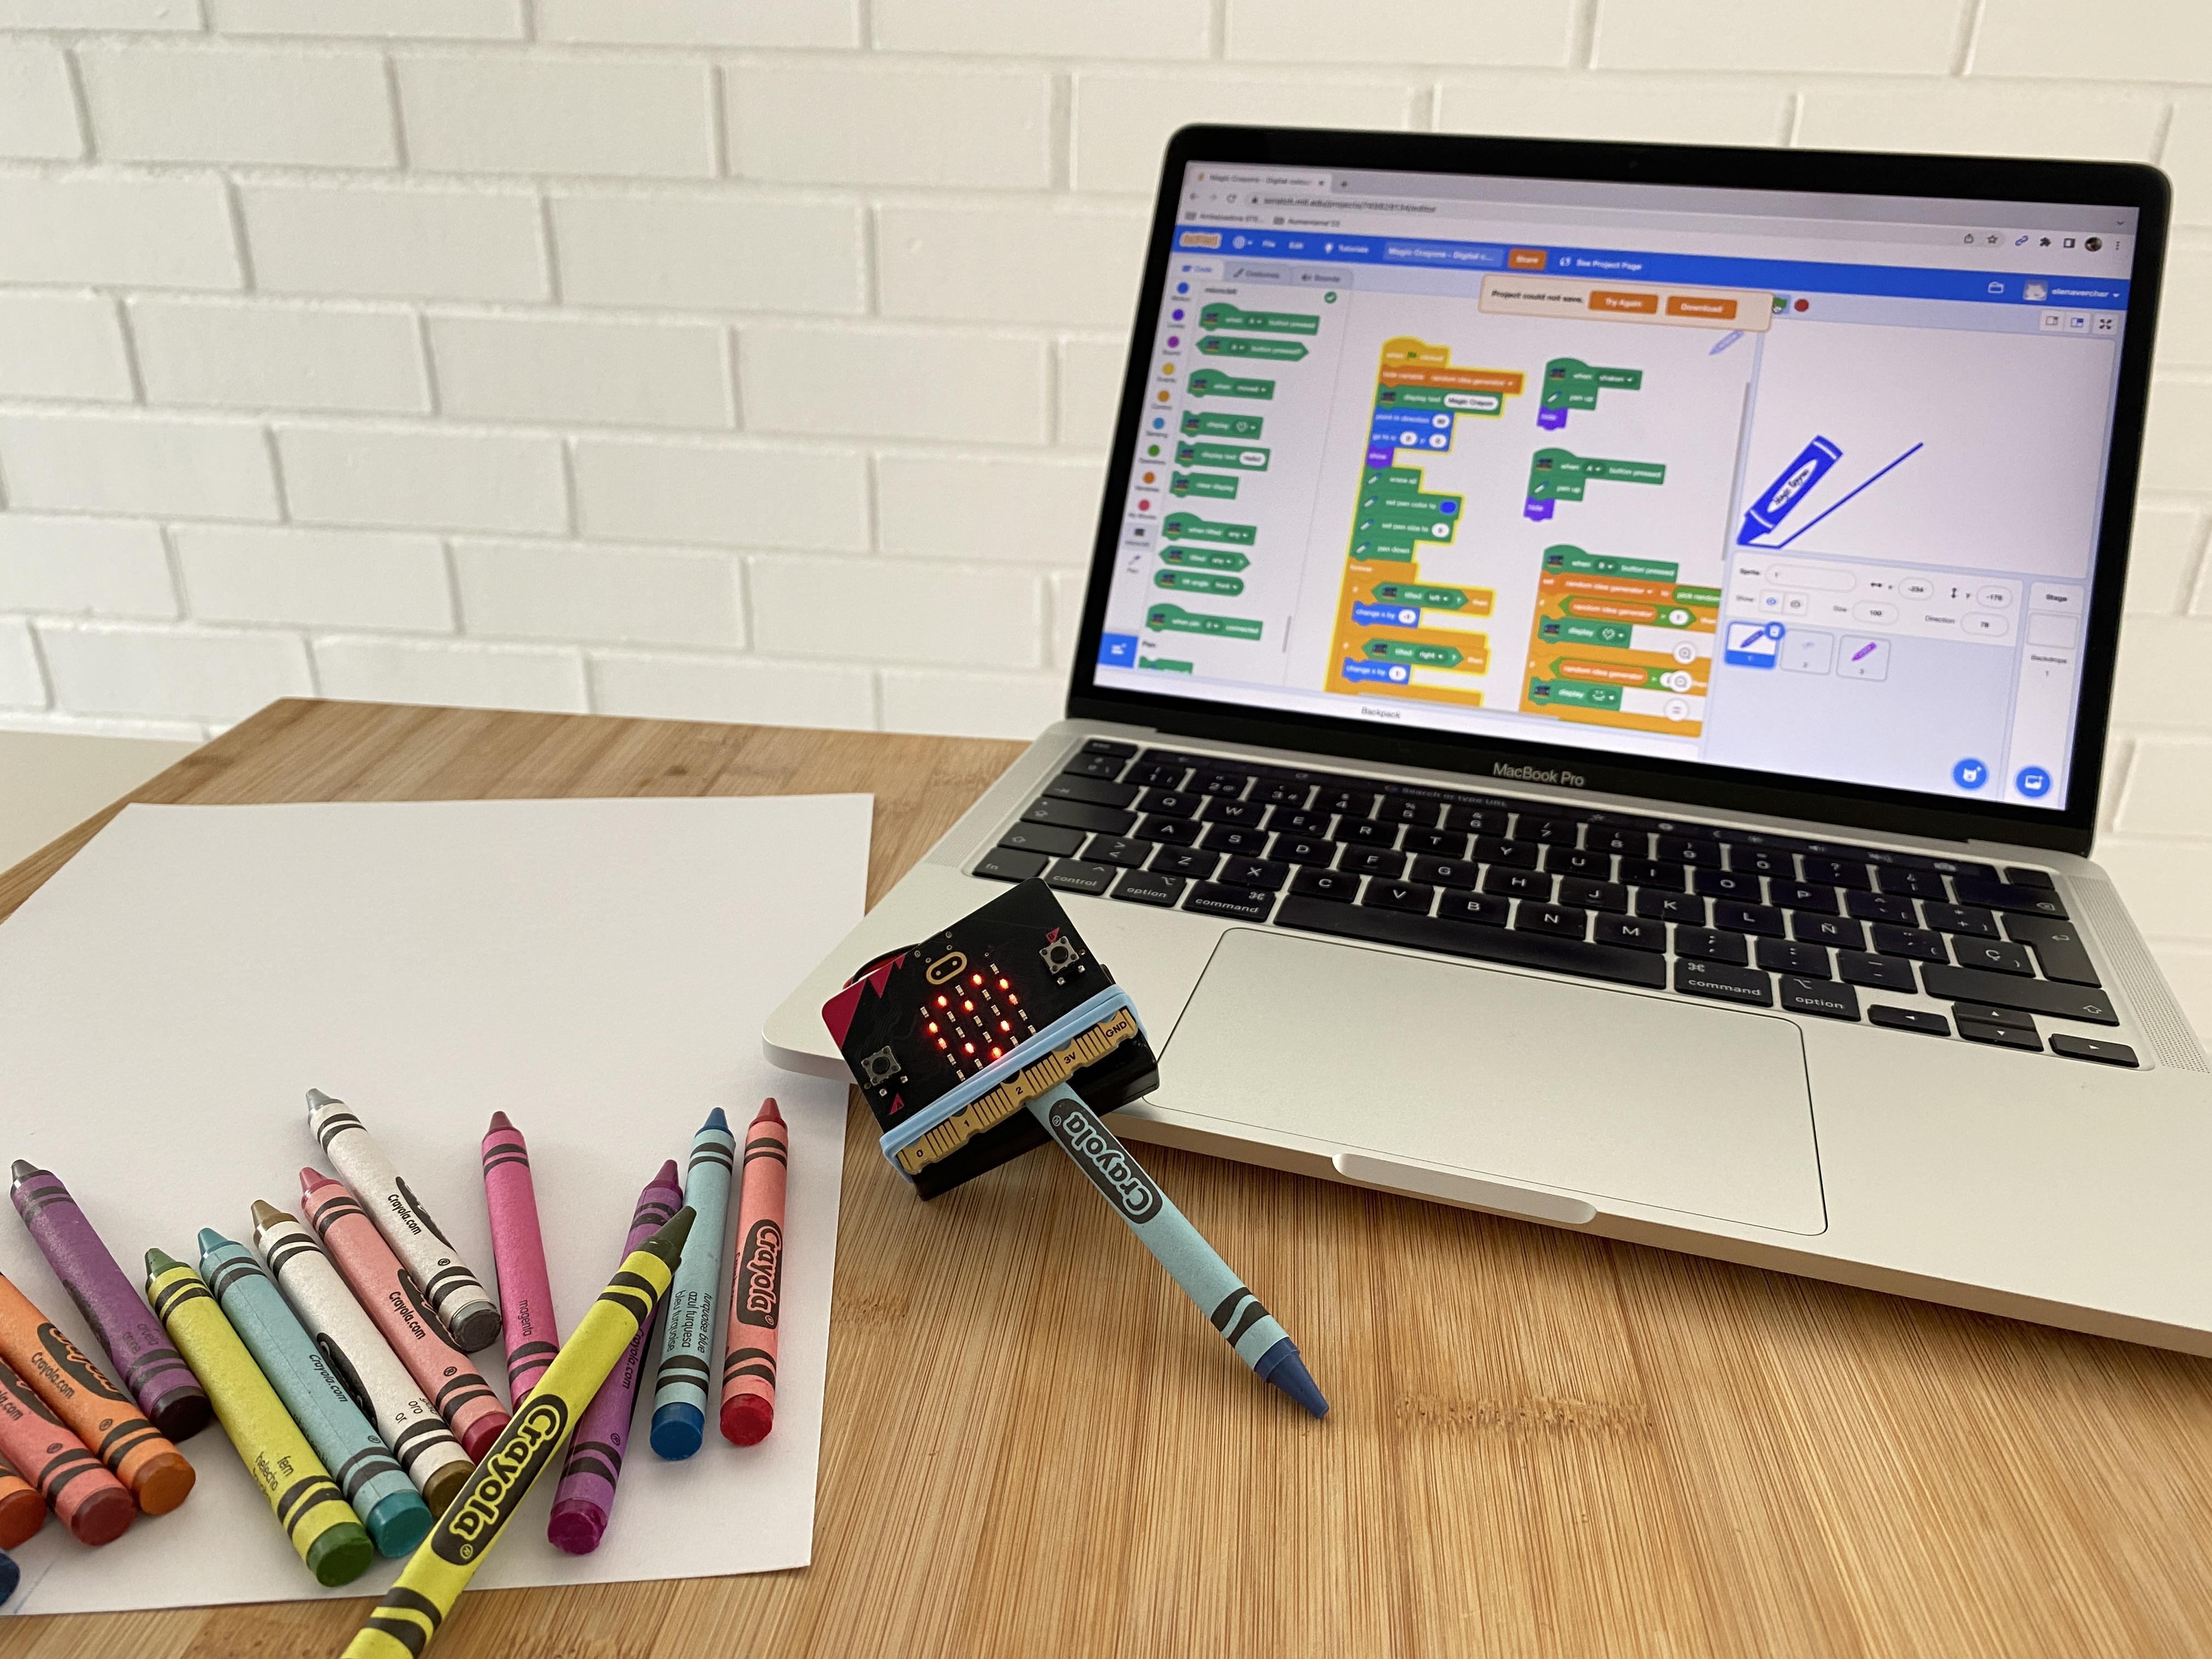
Now that you have your magic crayon, it's the moment to expand it's possibilities! You can add a random image and text generator to give you ideas of what to draw, you can also add a welcome message when we start using it... the floor is yours!
Can't wait to see what you create with it! Please, keep sharing your creations, thanks a million!🥰✨✨✨