MadecodeMicrobitUnitProject
by silvestrea in Circuits > Microcontrollers
149 Views, 0 Favorites, 0 Comments
MadecodeMicrobitUnitProject
.png)

Micro:bit Unit Final 2023.
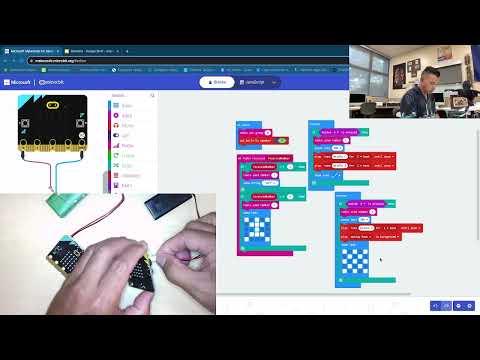
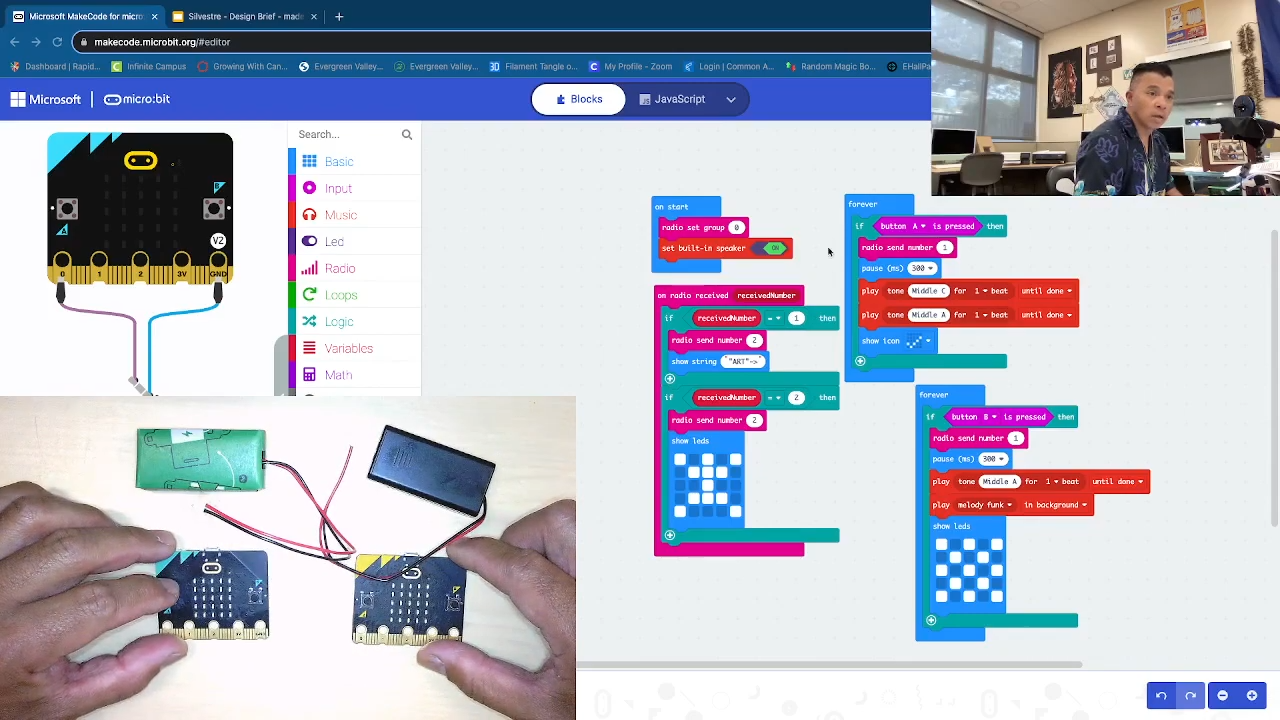
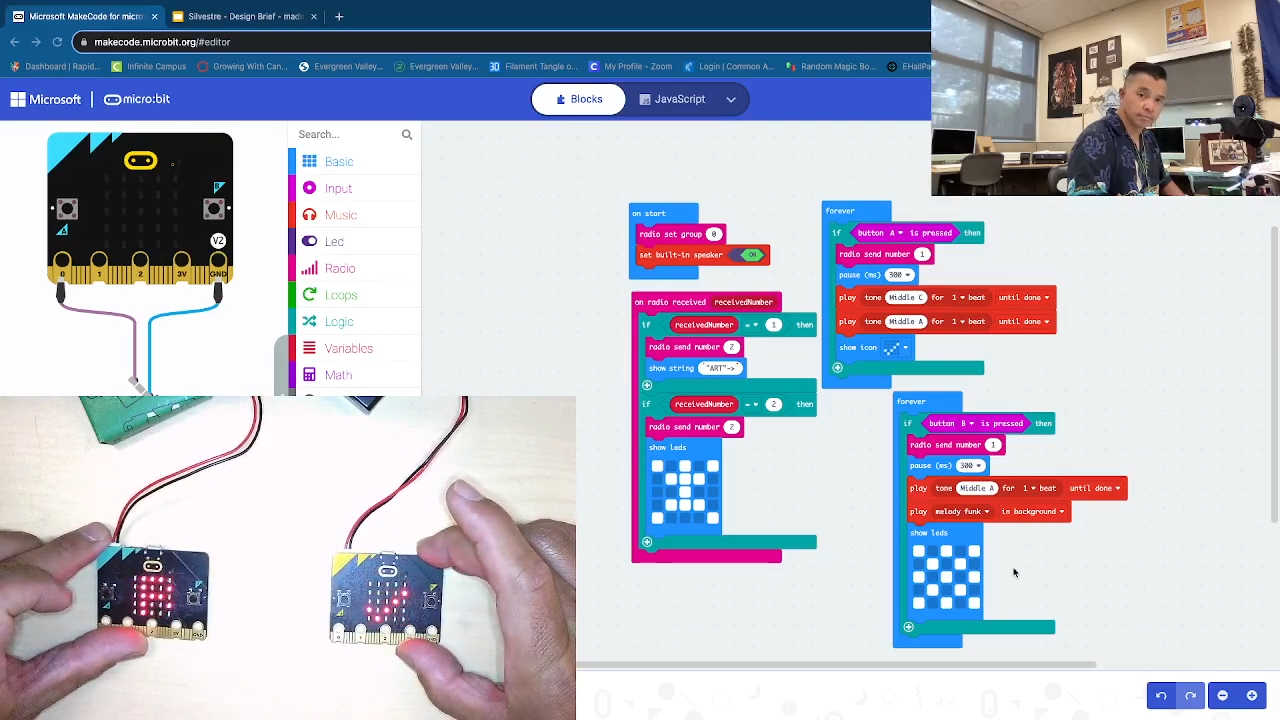
The video explains how two micro:bits interact with each other showing simple interactive art on the built in LEDs as well as have sound while communication is connected. The press of the A or B button creates this interaction. Enjoy. Please like and subscribe.
The code is in the video was inspired by the video below, please see link.
See link below as the code was inspired by this tutorial. Thank you to this user.
https://www.youtube.com/watch?v=Ekg9AOsUH4k&ab_channel=MartynDavies
Supplies
.png)
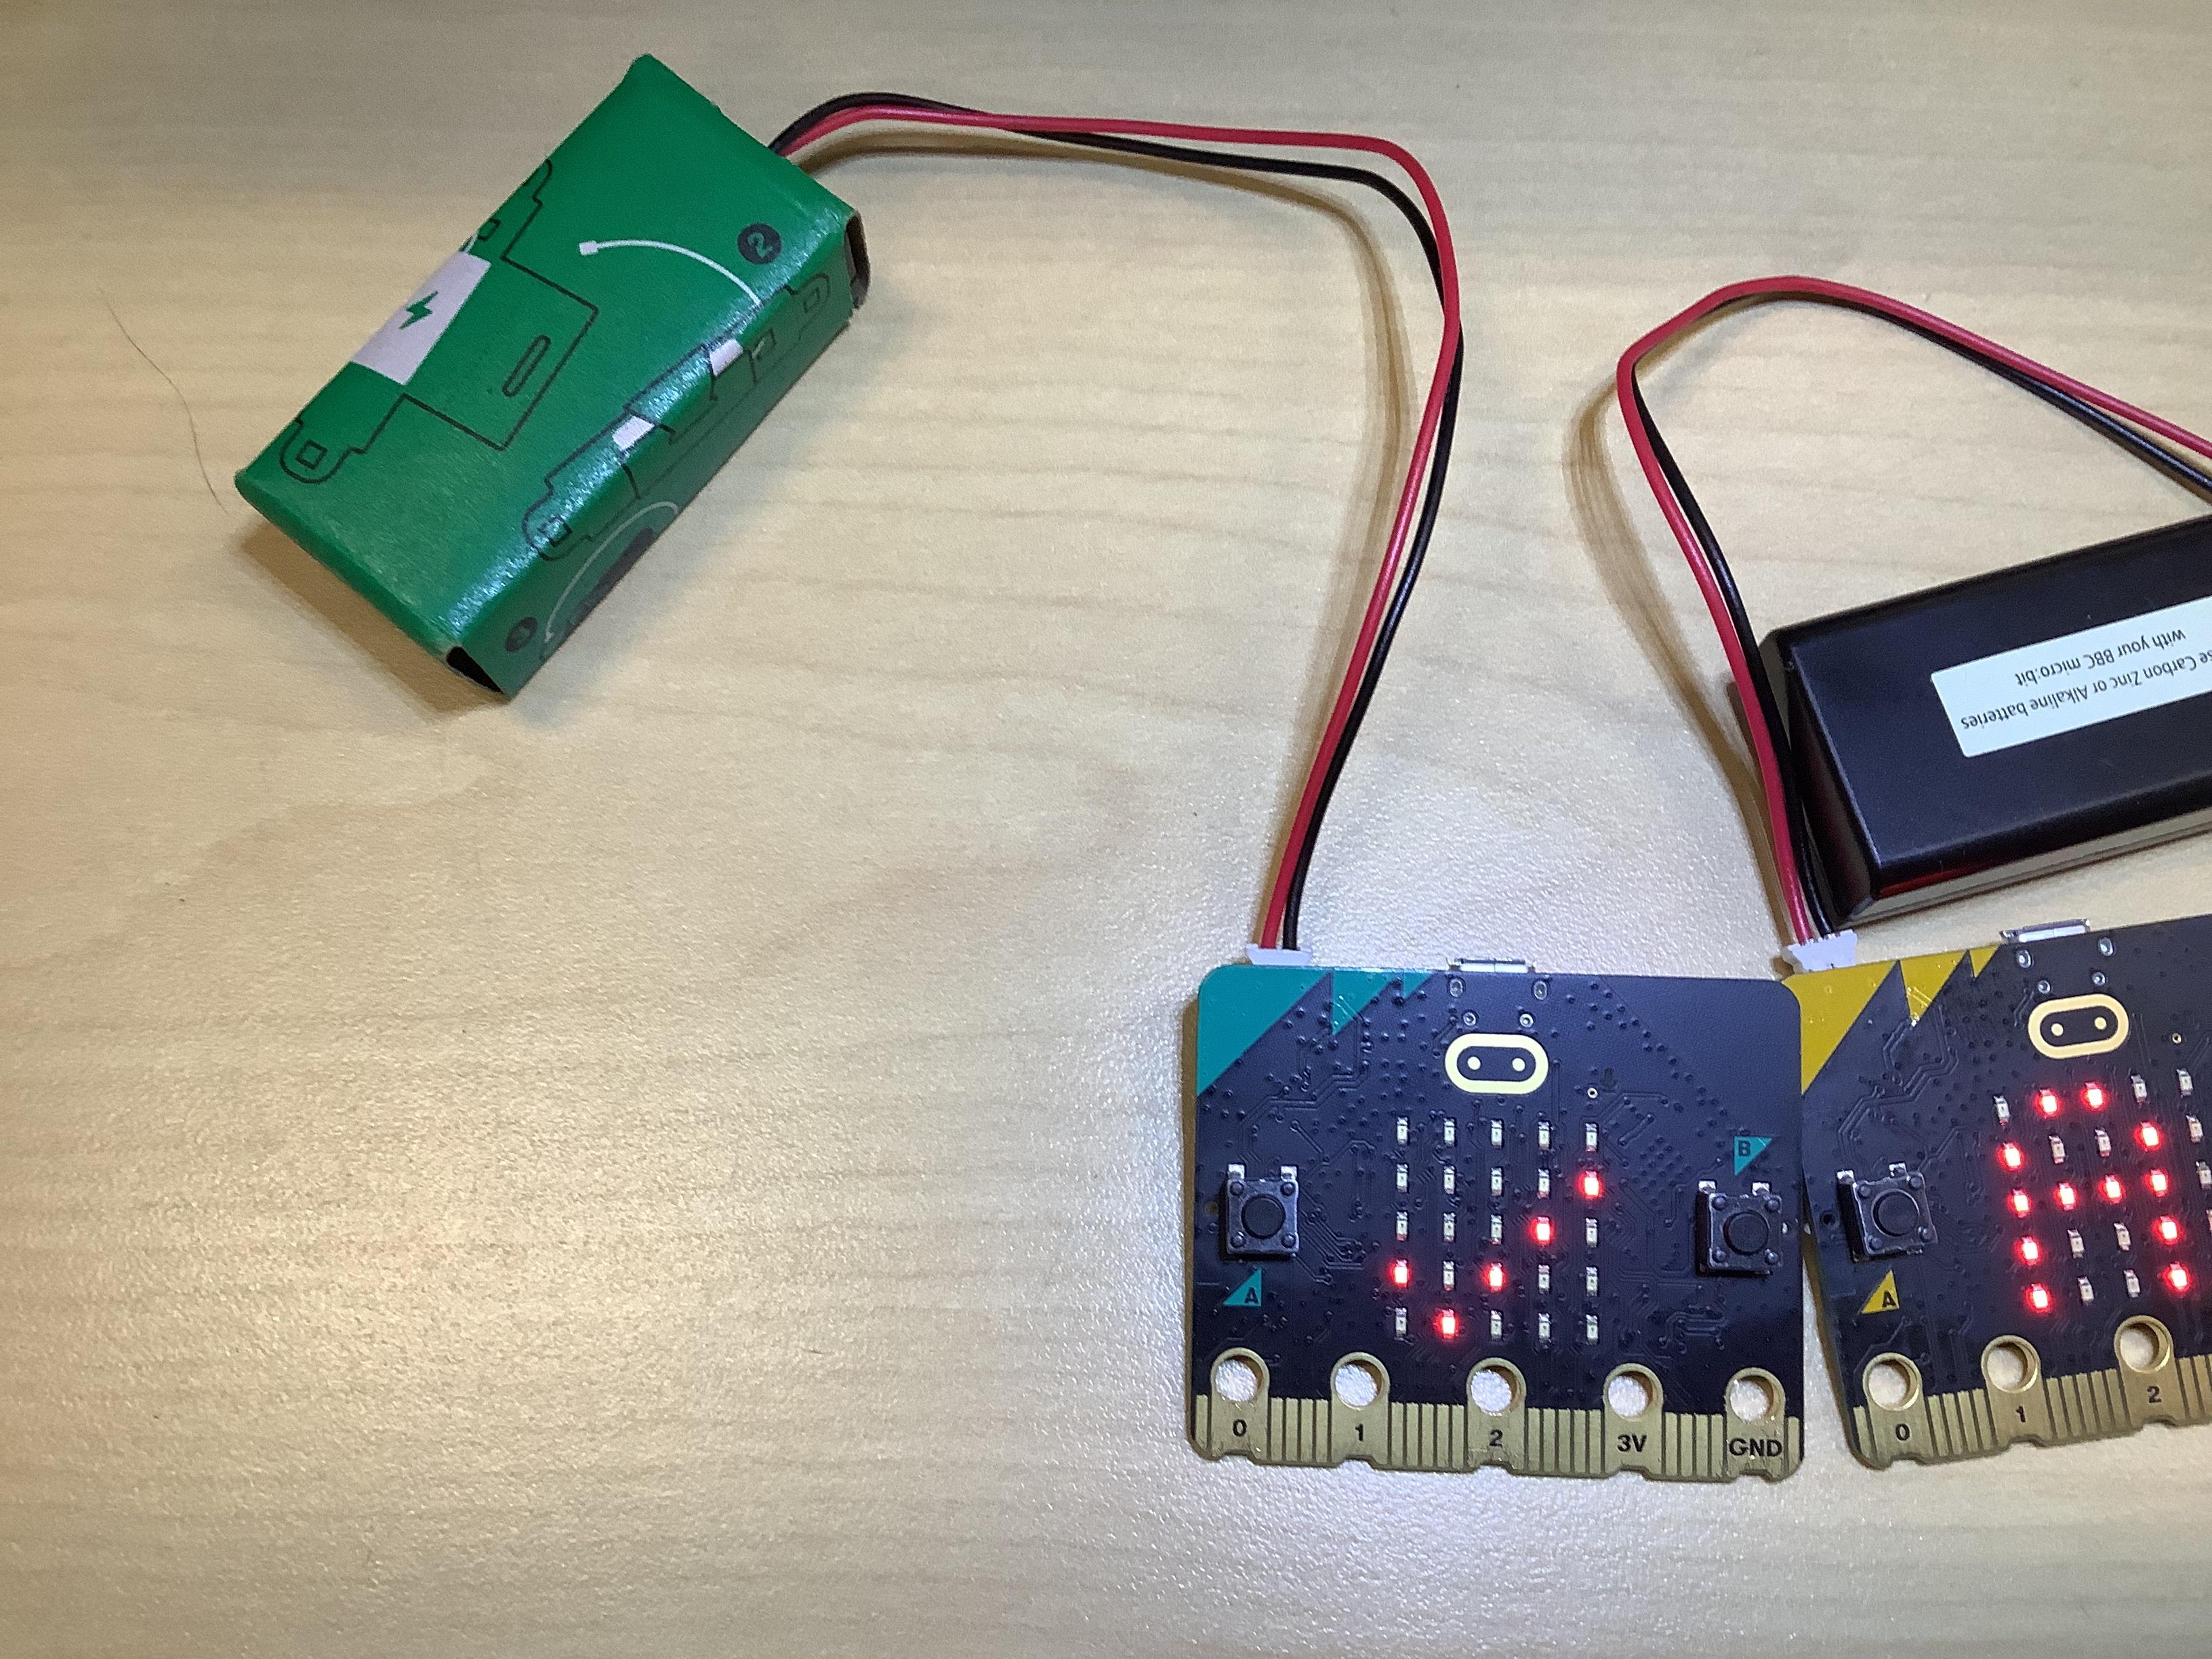
You will need a laptop/ computer in order to write the codes on Makecode and 2 Micro:bits with their battery packs.
Plug in Micro:bits to Battery Packs
.png)
.png)
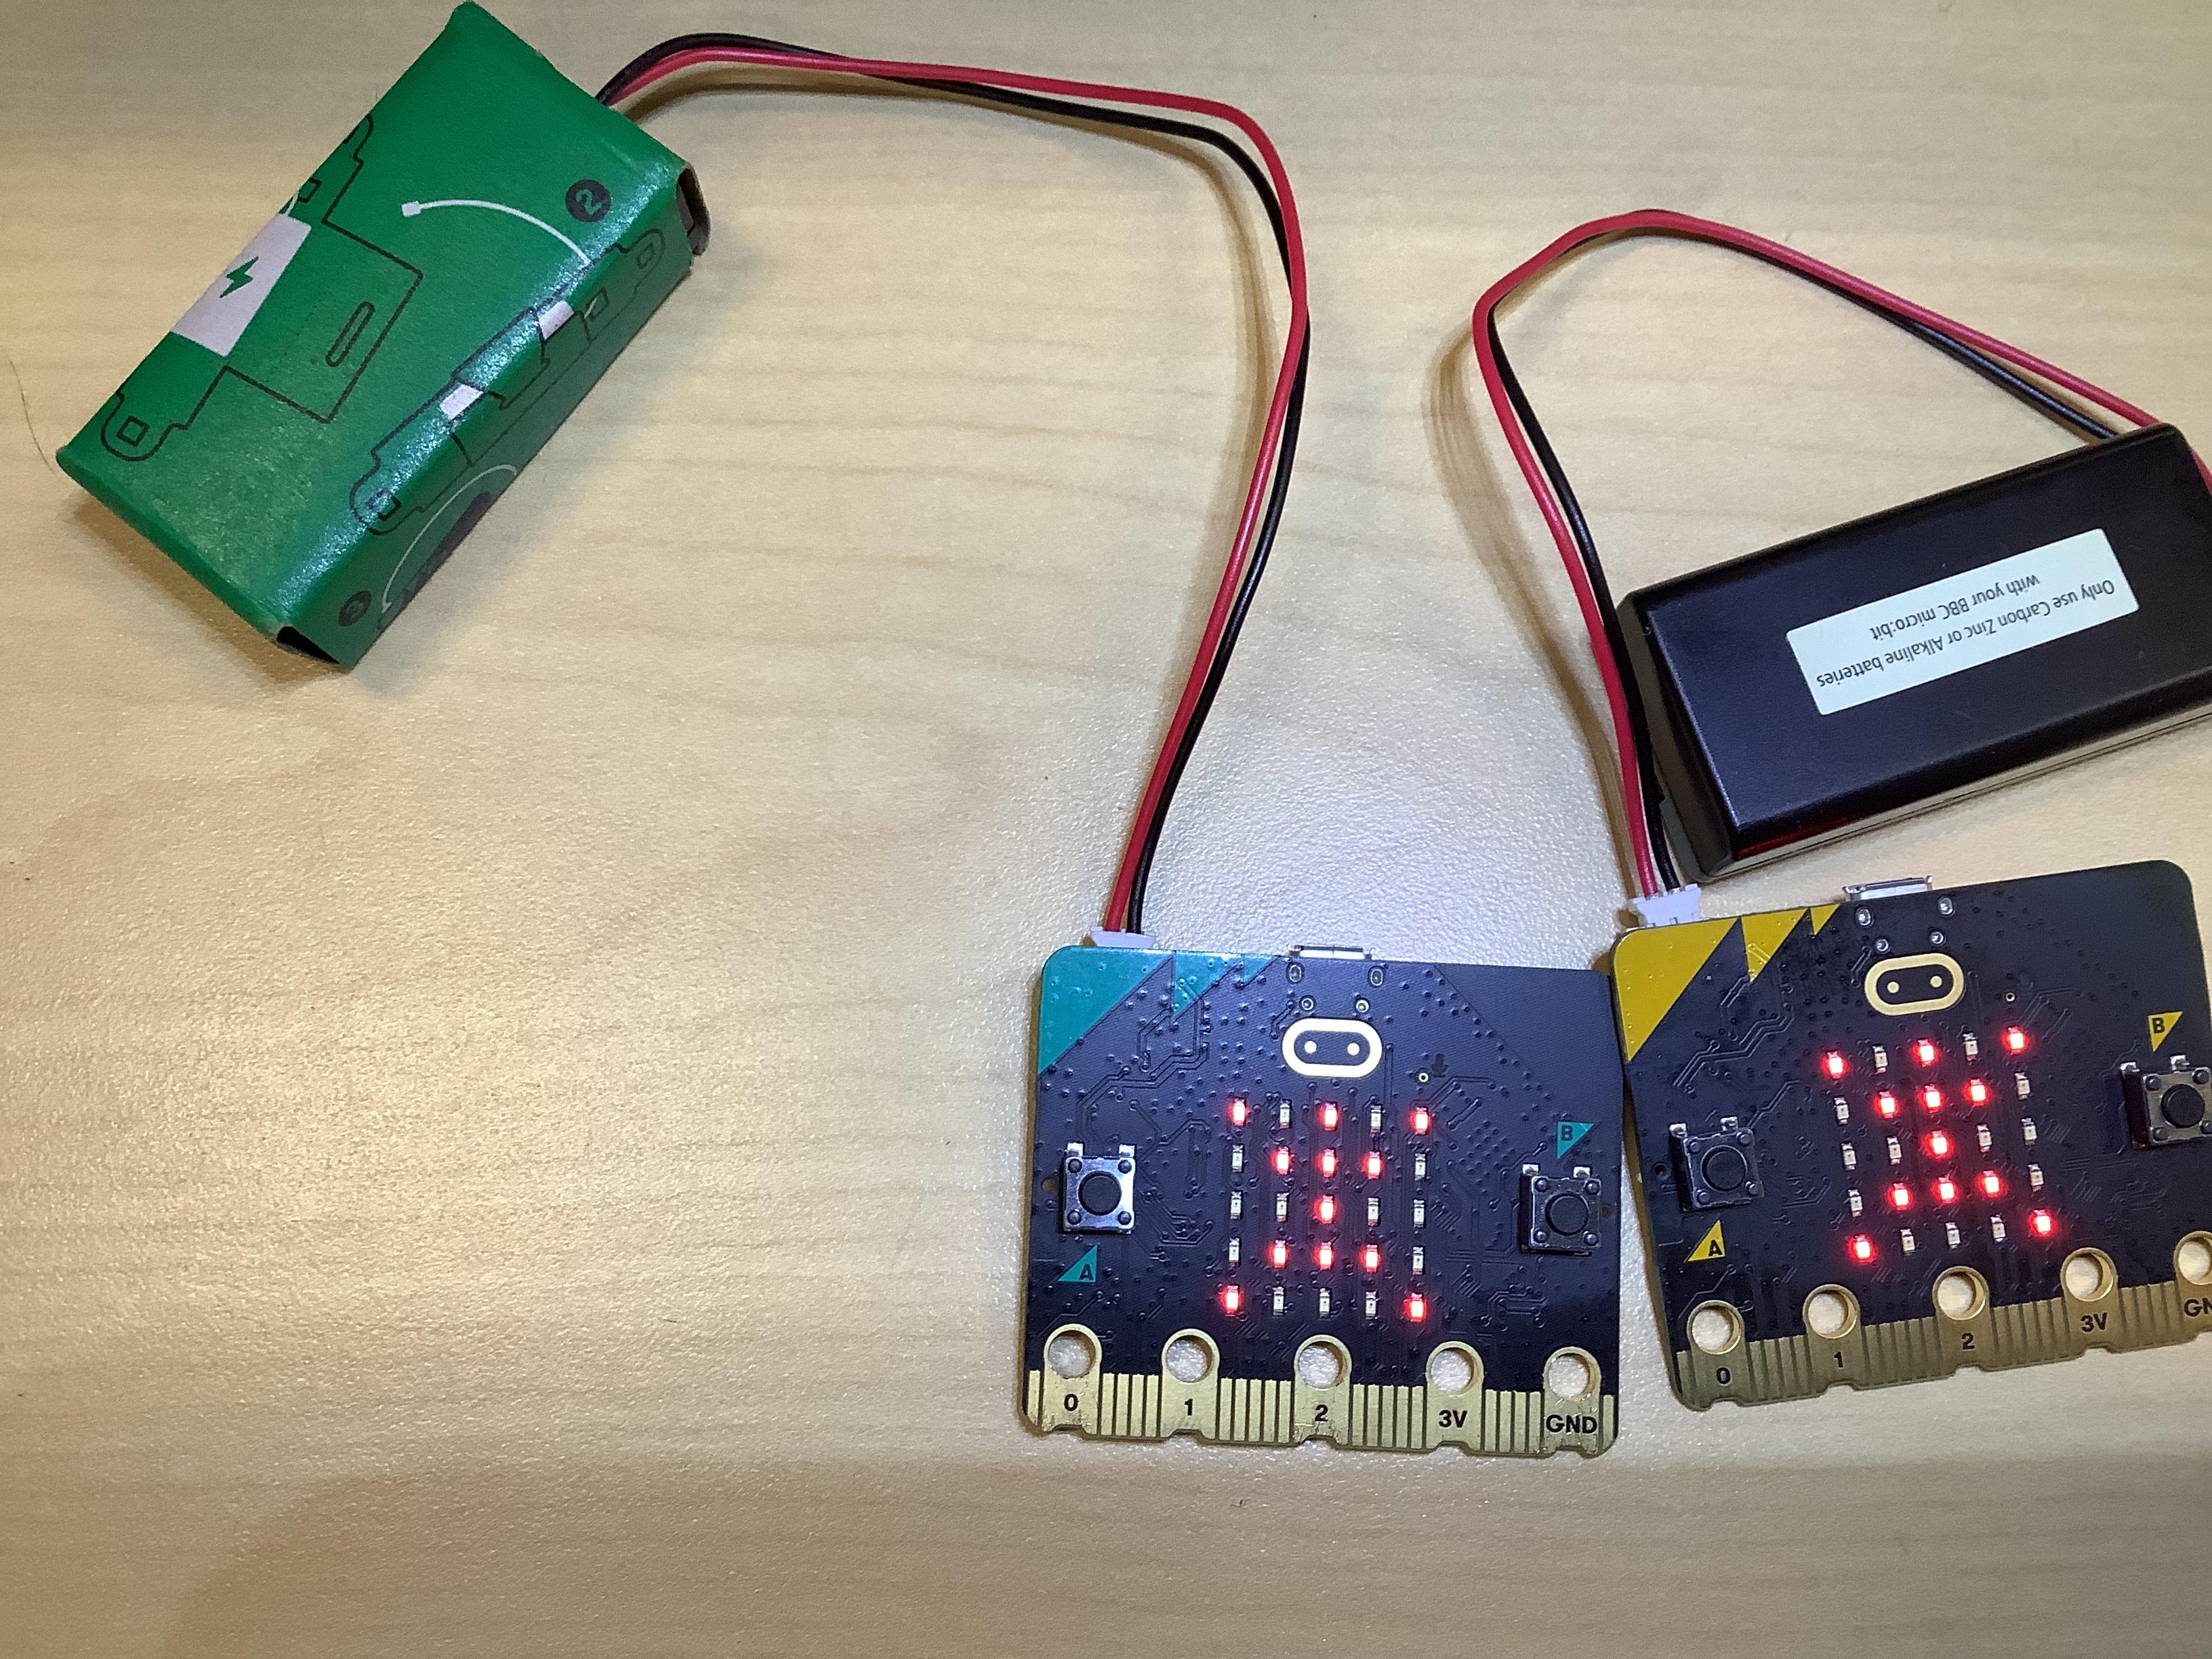
After downloading your code to the devices, plug in your micro:bits to battery packs. [Mark 2:20 in the video].
Press and Test the Buttons
.png)
.png)
.png)
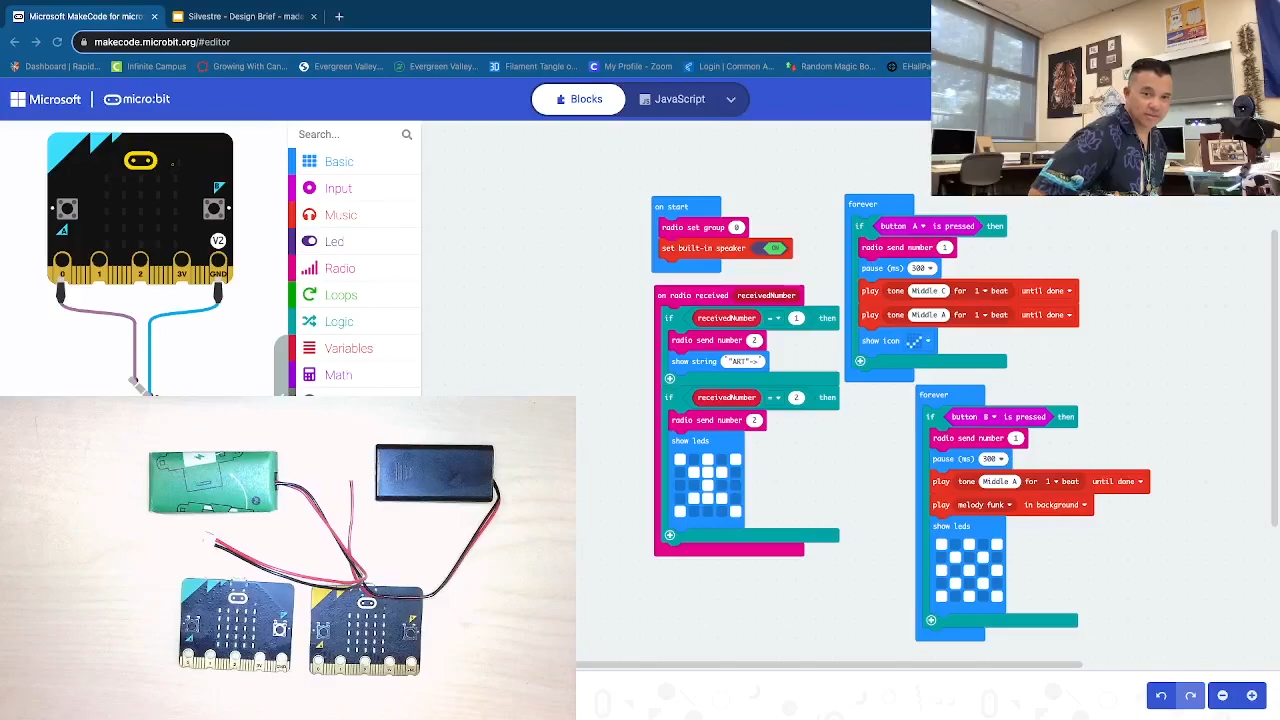
On Micro:bit #1: Press button A to see CHECK mark and hear a beep.
Micro:bit #2 should scroll the "string" <-ART-> and then STICK figure should appear on both devices.
Press B Button
.png)
.png)
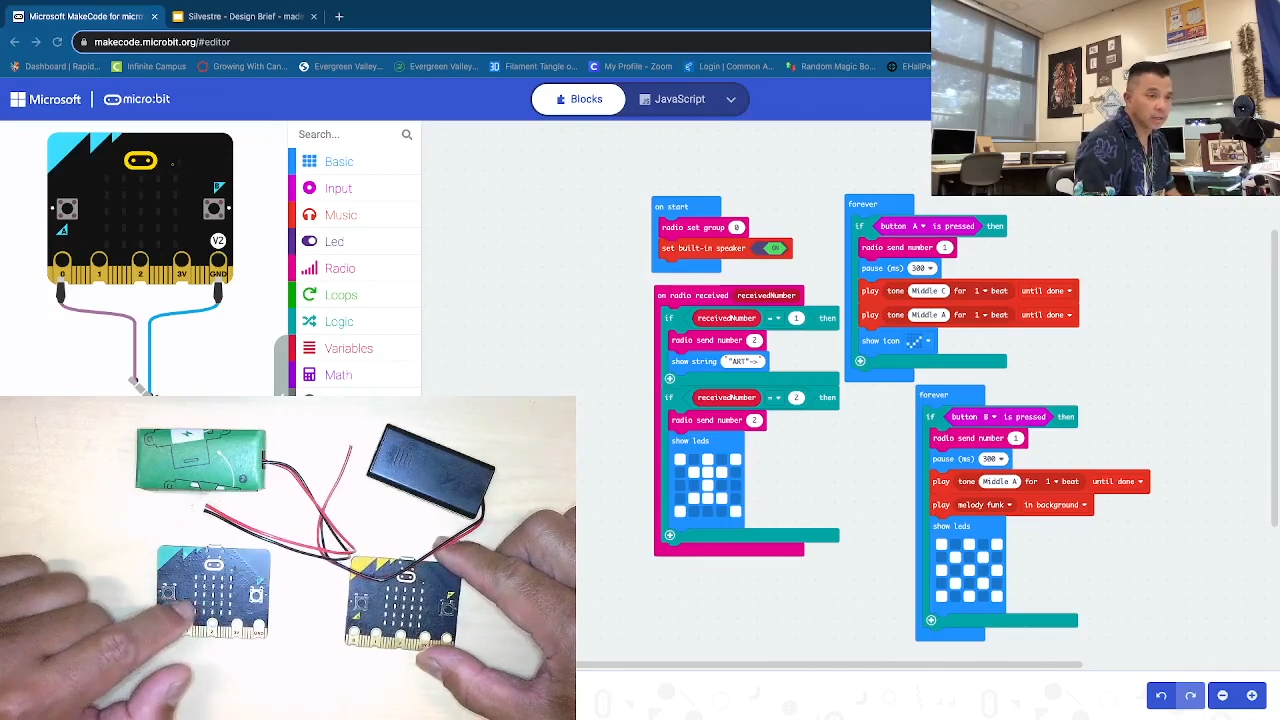
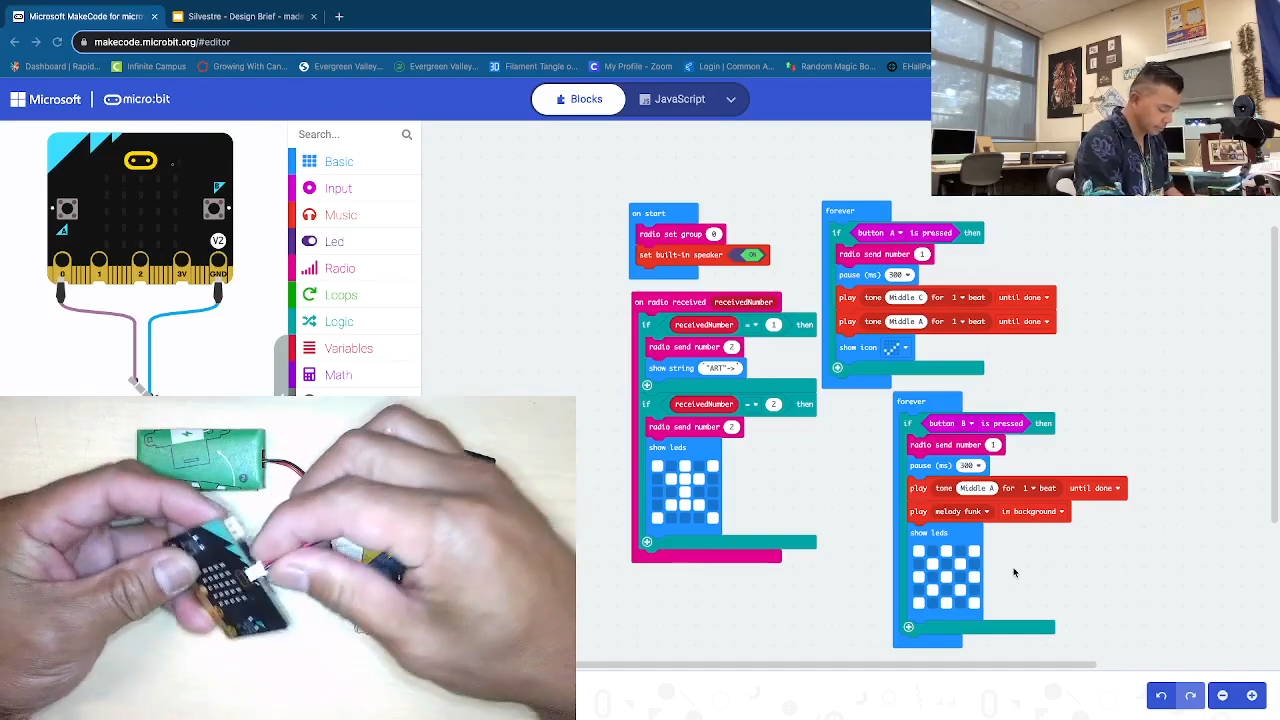
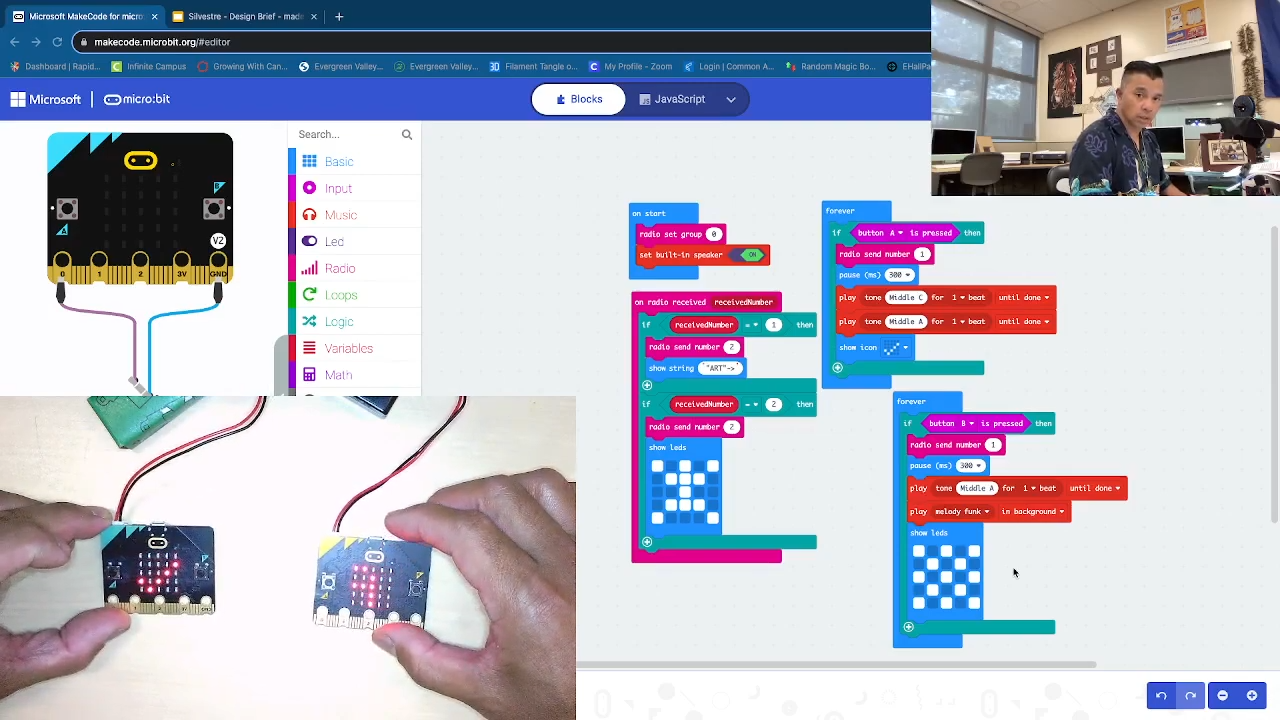
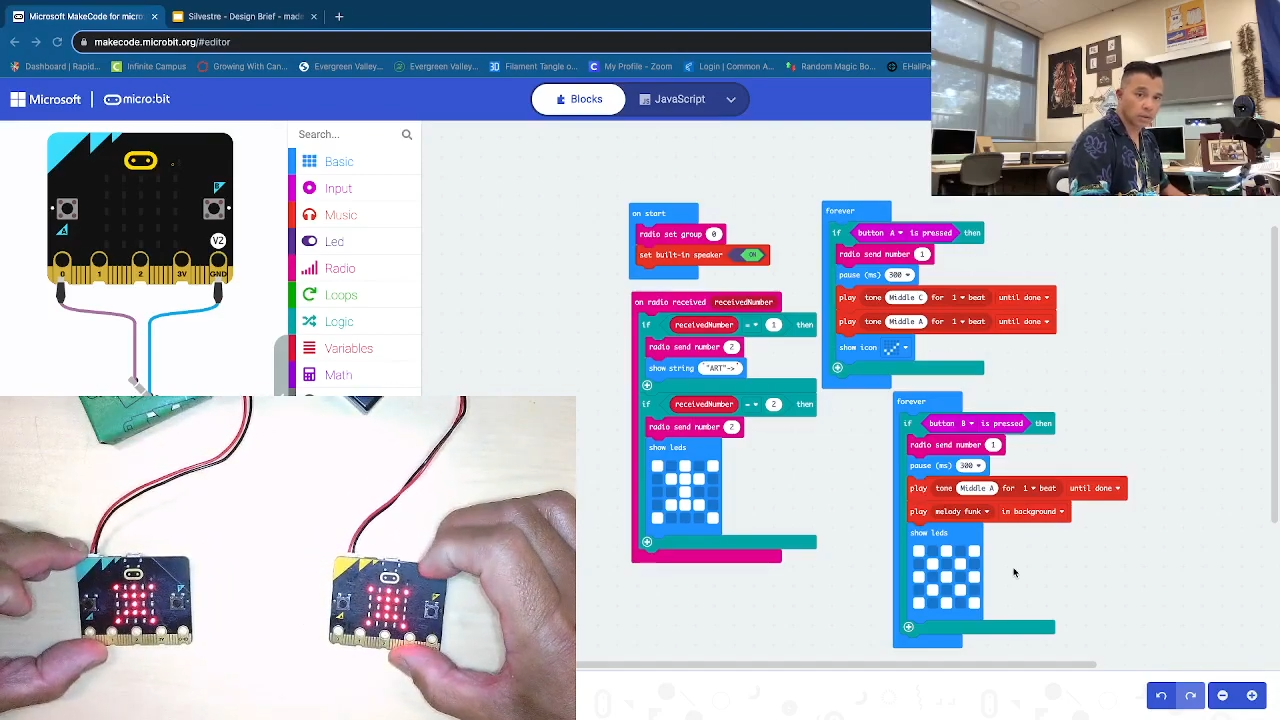
On Micro:bit #2: Press B button:
Message/ "String" should scroll <-ART->, sound/ music (melody funk) should play and display Checkered artwork; the artwork for the Stick figure should appear on Micro:bit #1 and then on Micro:bit #2 as well.
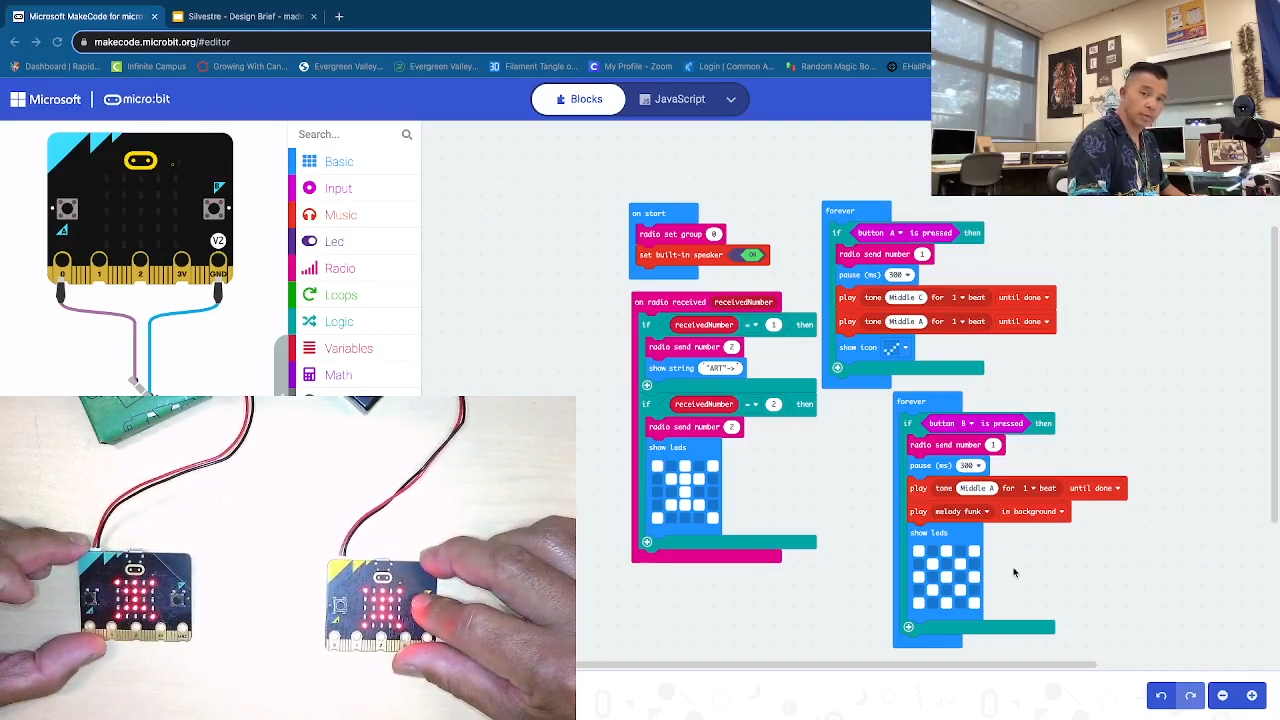
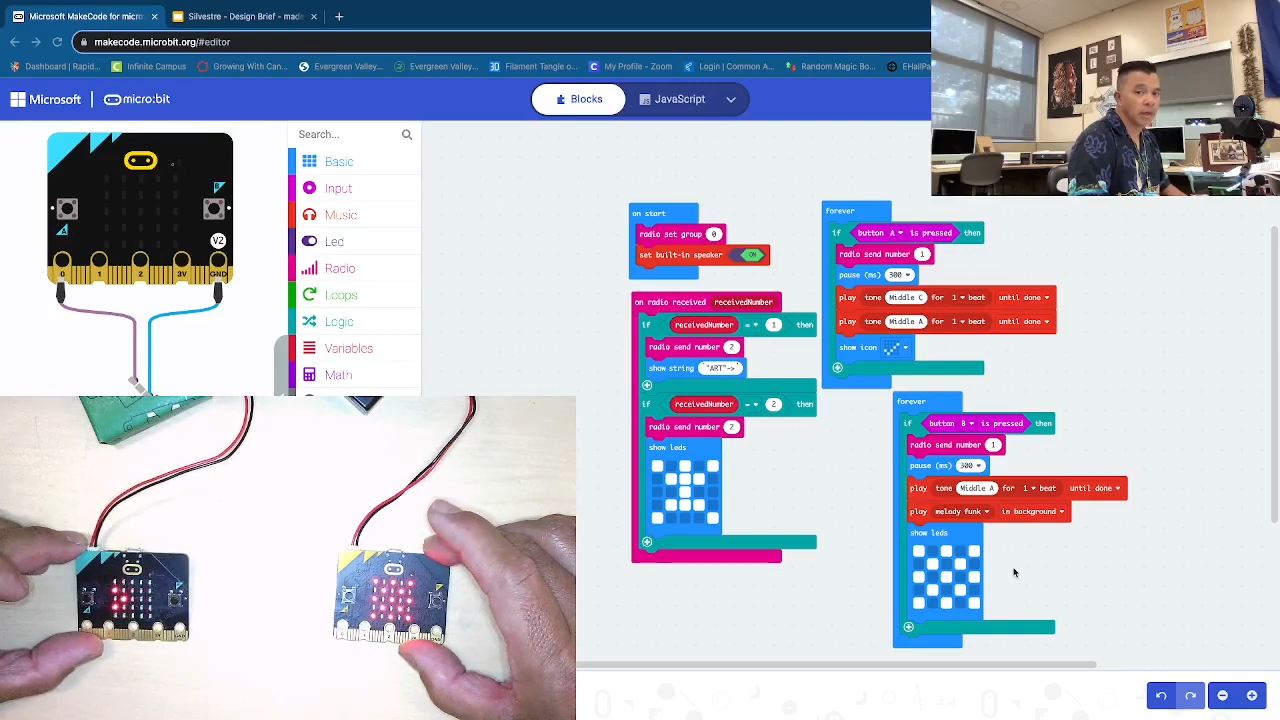
Press B Again. Press a Again. Interchangeable.
.png)
.png)
.png)
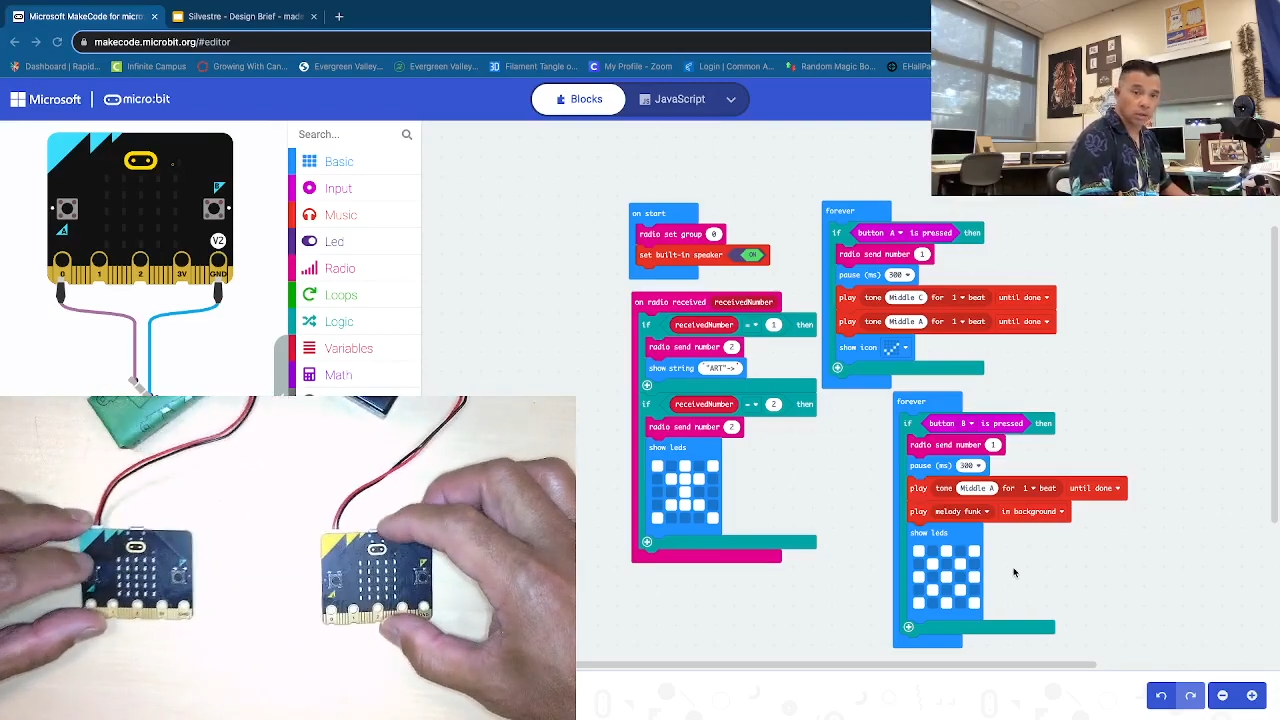
Test to see if Pressing B has the same message and different artwork. Press A again to have it communicate once more like in step 1.