MXR Classic Overdrive - Flip a Switch to Make It a Zakk Wylde ZW44!
by fishpotpete in Circuits > Audio
25451 Views, 20 Favorites, 0 Comments
MXR Classic Overdrive - Flip a Switch to Make It a Zakk Wylde ZW44!
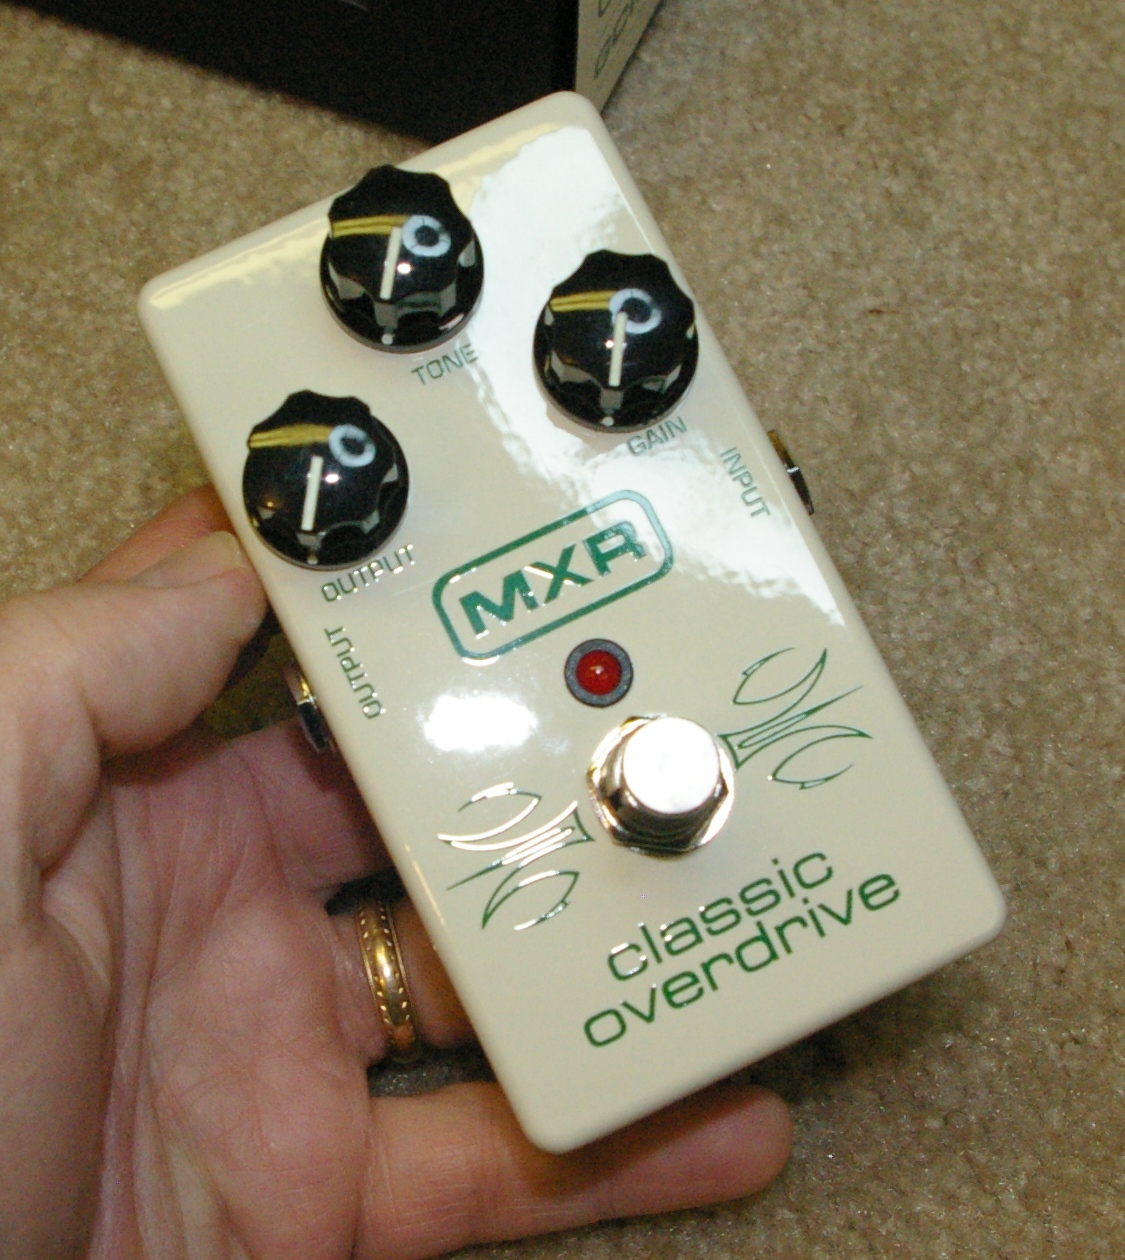
The MXR Classic Overdrive is a nice affordable overdrive with a unique sound. One of the “secret” things about this unit is that there is a switch on the inside of the pedal that turns it into a Zakk Wylde ZW44 overdrive pedal. So you essentially get two pedals for the price of one!
The purpose of this Instructable is to show you how to access the switch.
Please note however, I do not go as far as showing you how to mount an external switch in this Instructable. I added the switch on one of mine and it was much more tedious that I had originally anticipated. If you feel comfortable doing the external switch mod, then I don’t think you need help from me to finish that up. For the rest of you, this is a quick and easy way to try out both modes and see which one you like the best.
Safety
· This project is pretty safe. But just to remind you: Try not to poke your eye out – you will be using a few hand tools.
Tools
· Place to work
· Phillips head screwdriver
· 10mm and 14 mm wrenches or a pair of pliers
Step 1 - Open the Box and Look at Your New Overdrive!
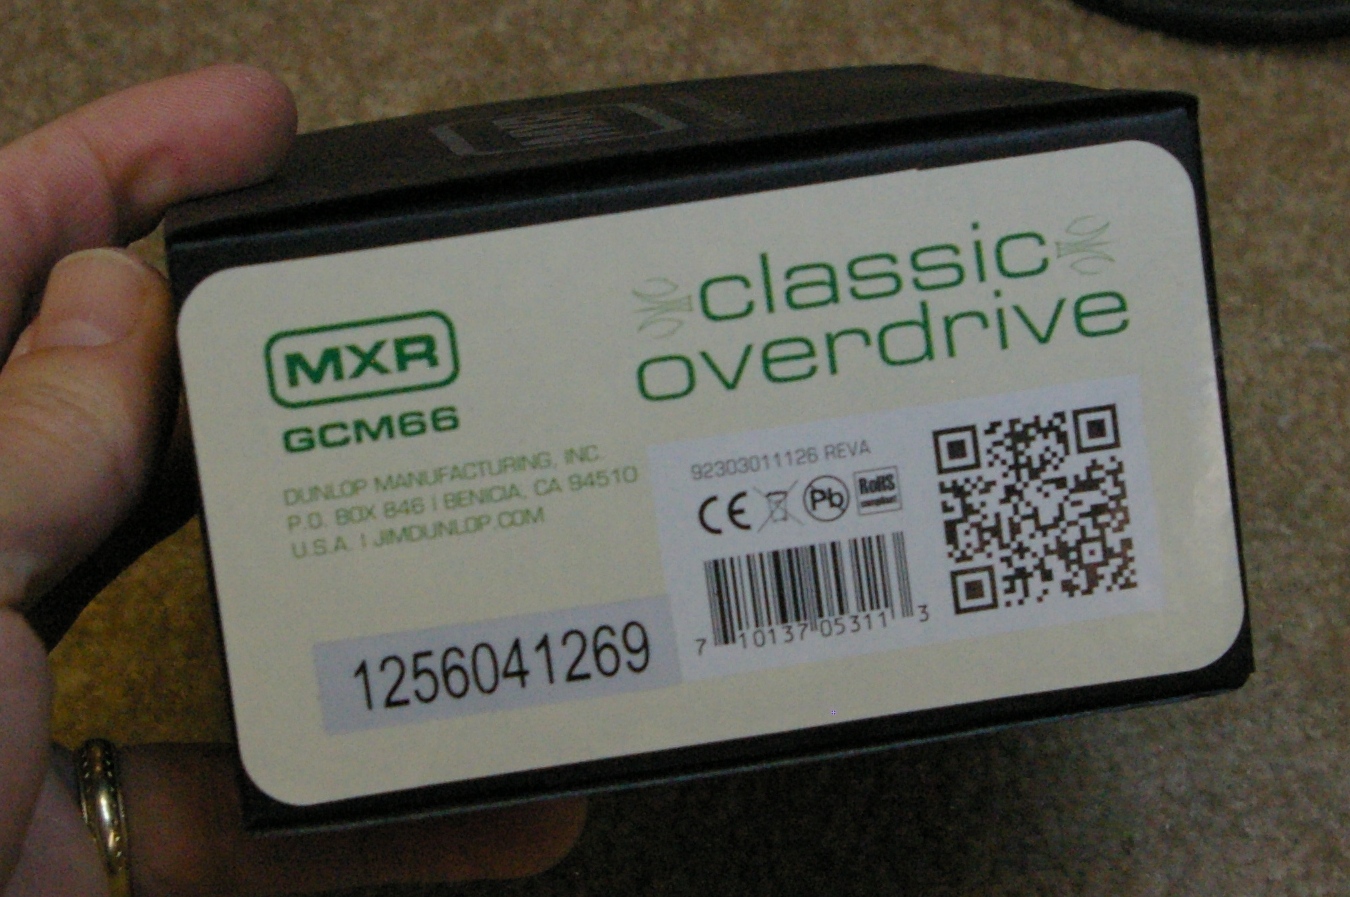
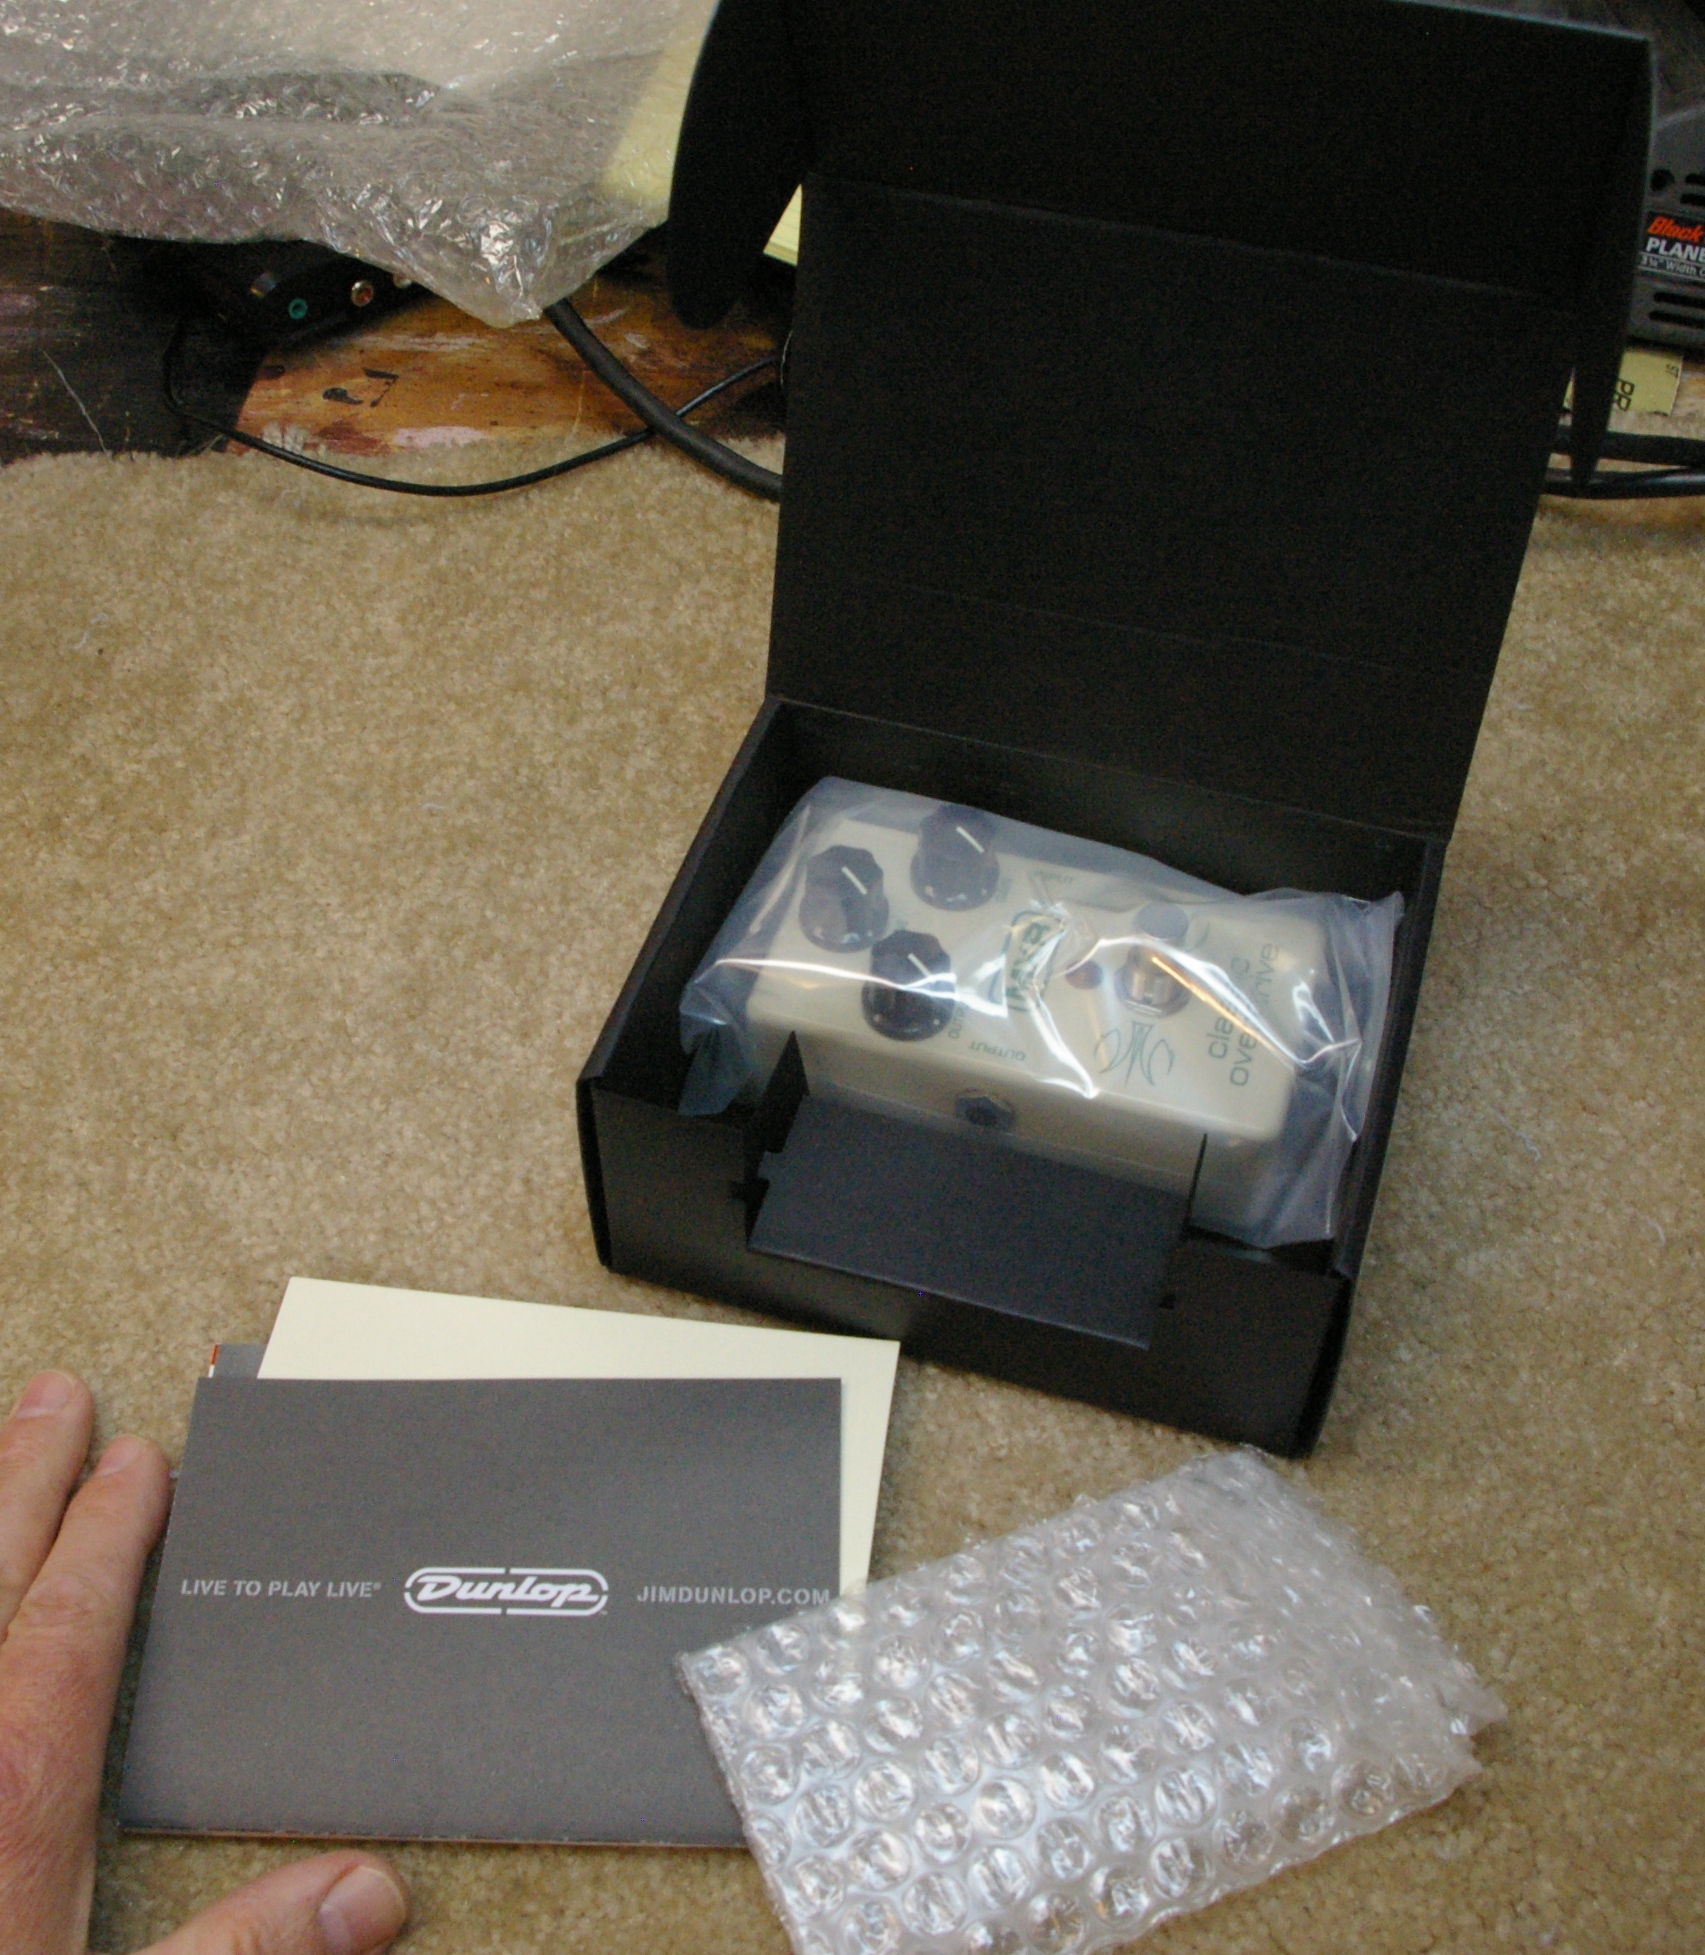
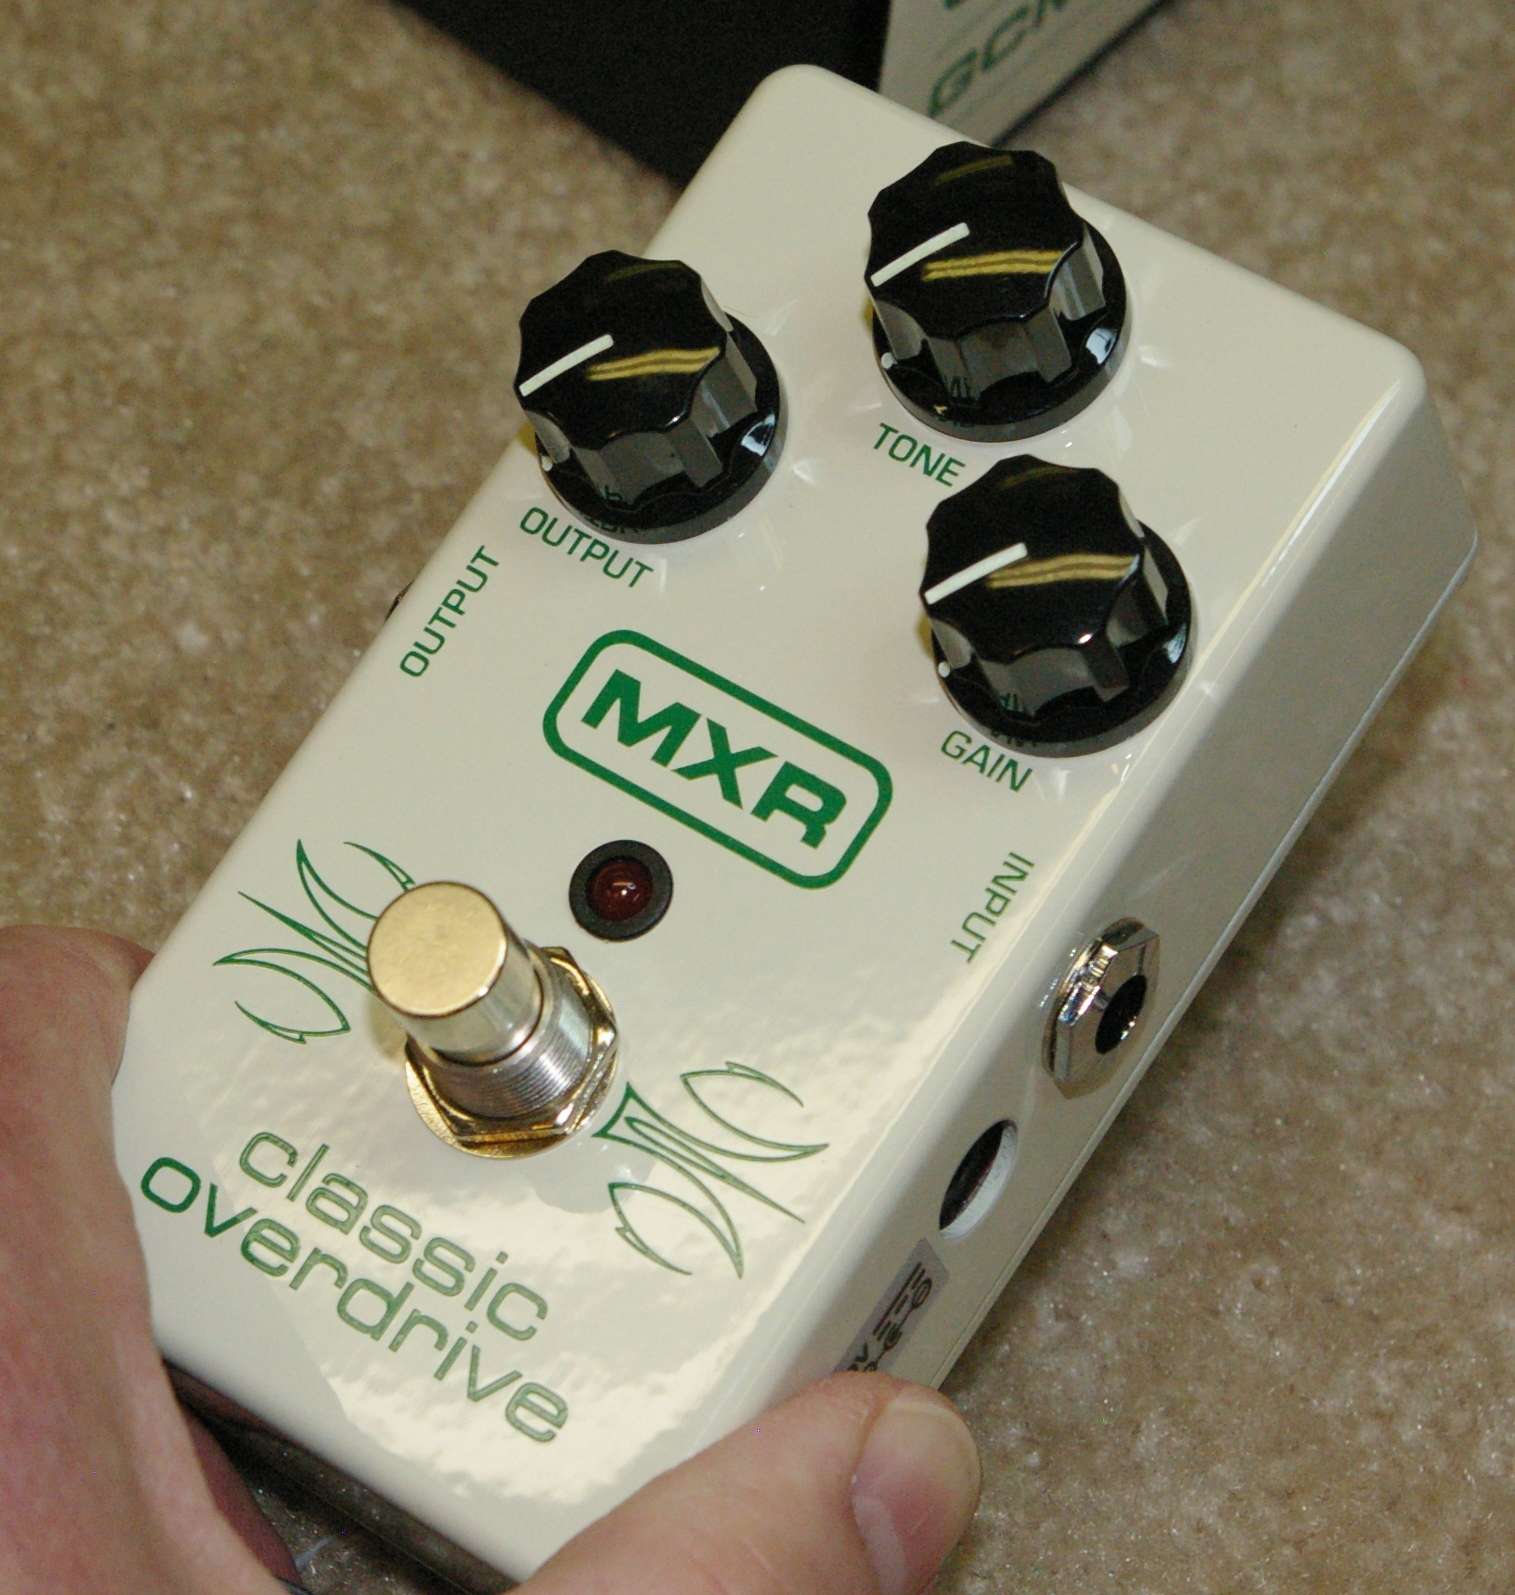
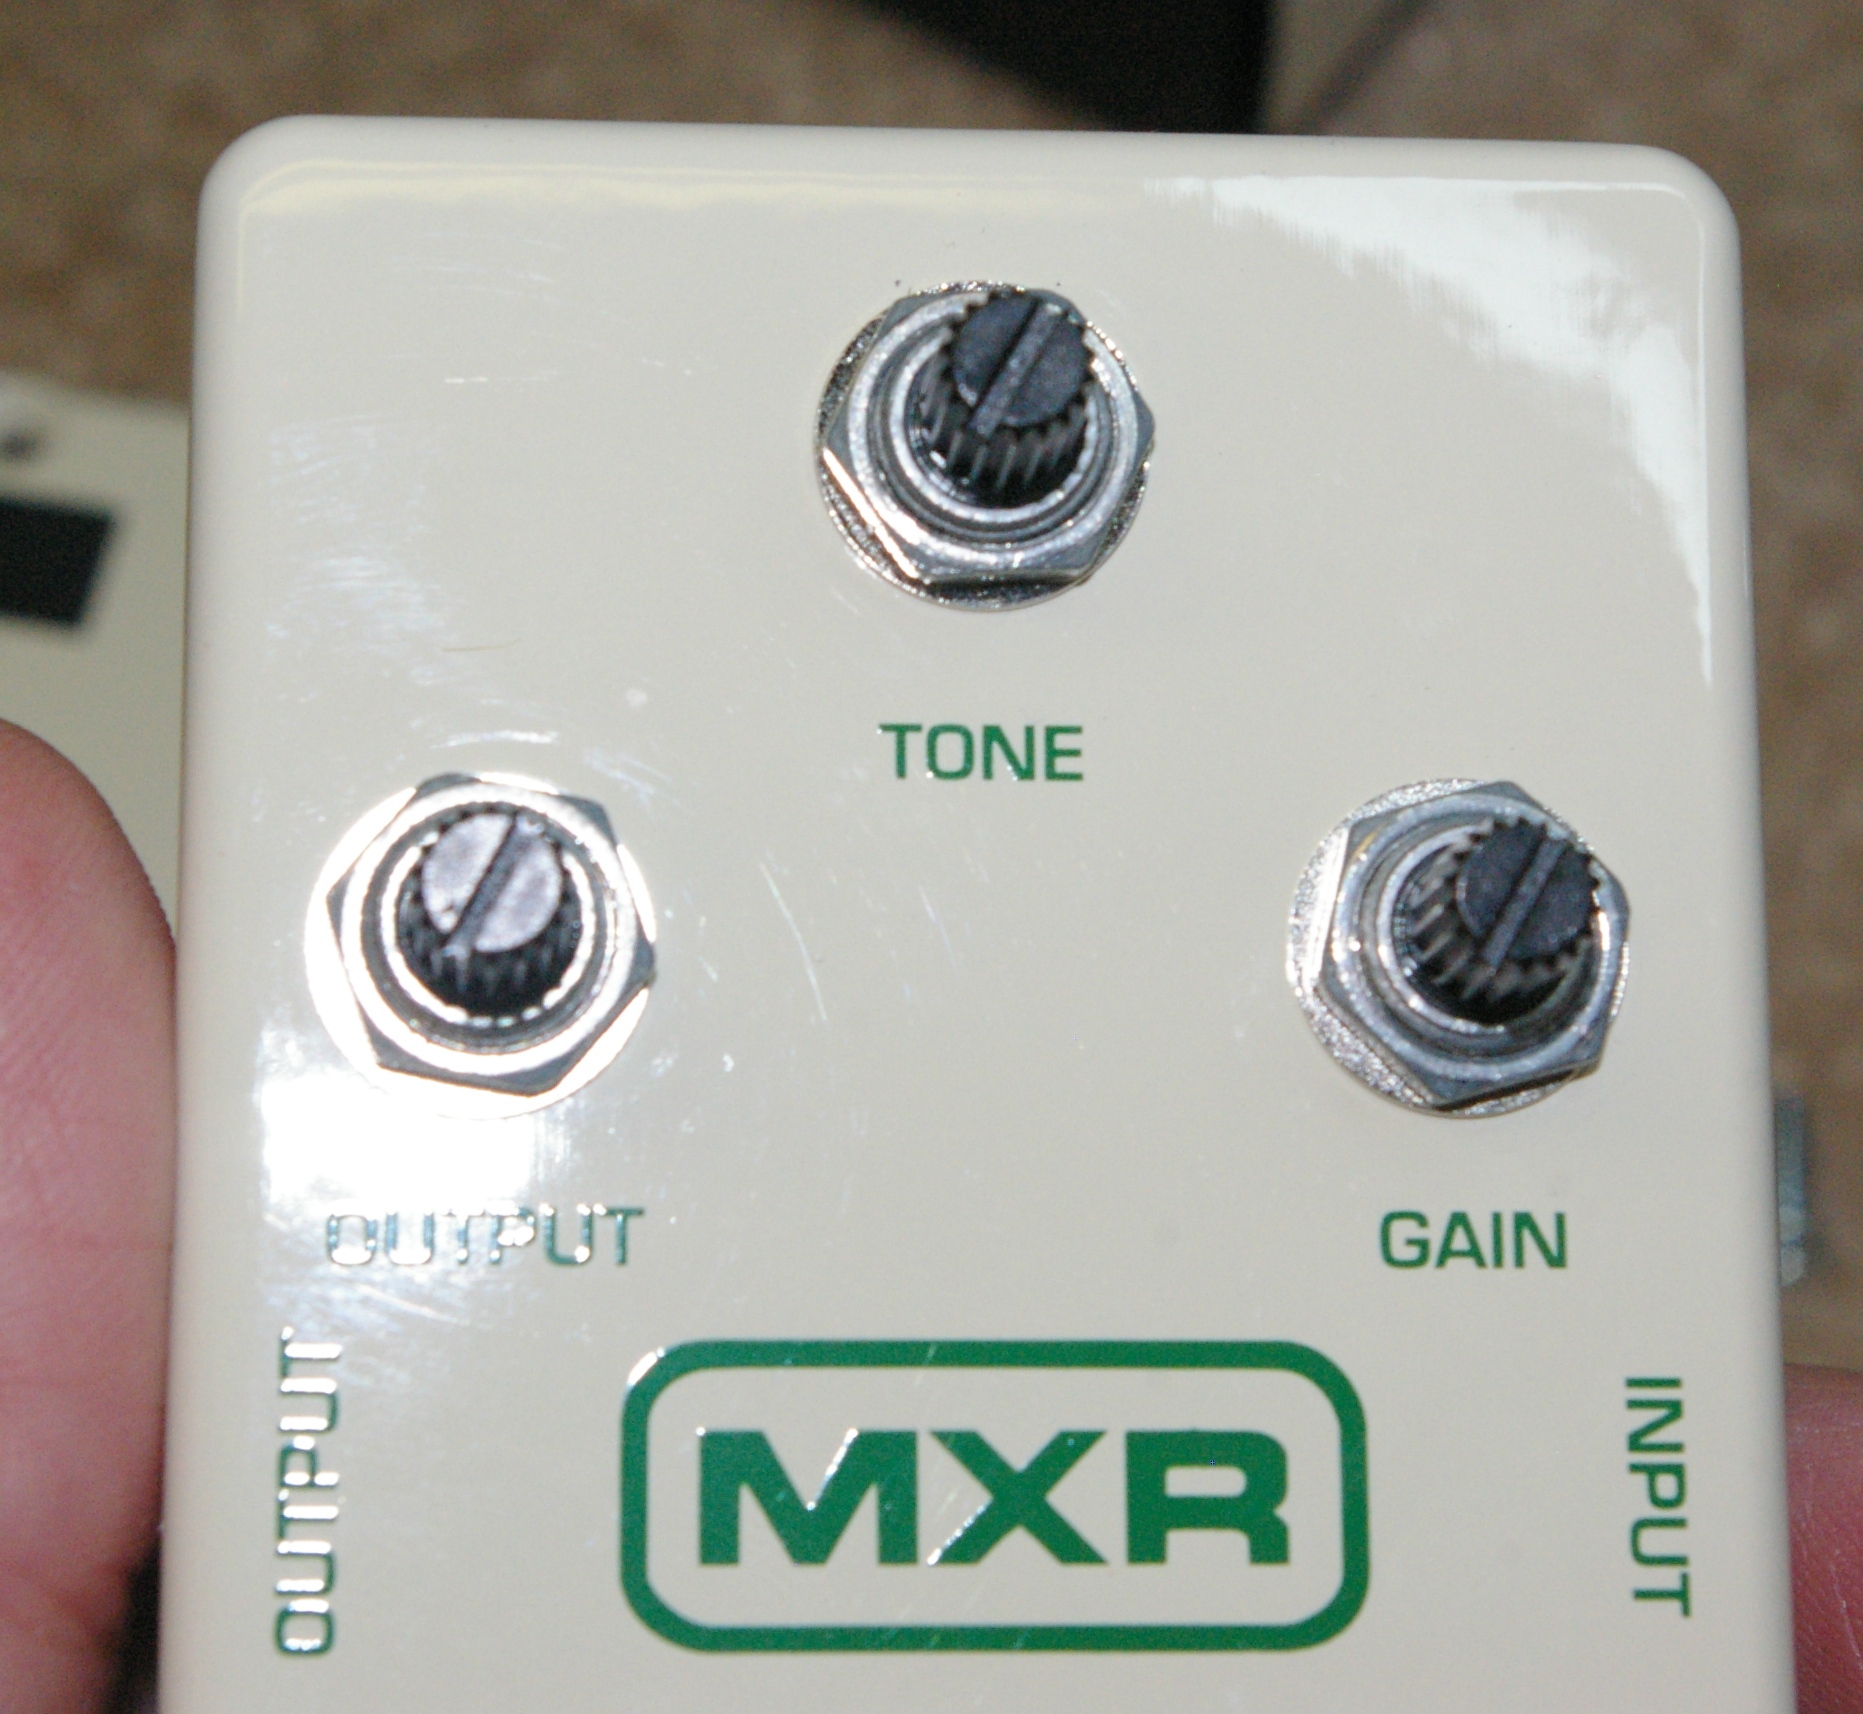
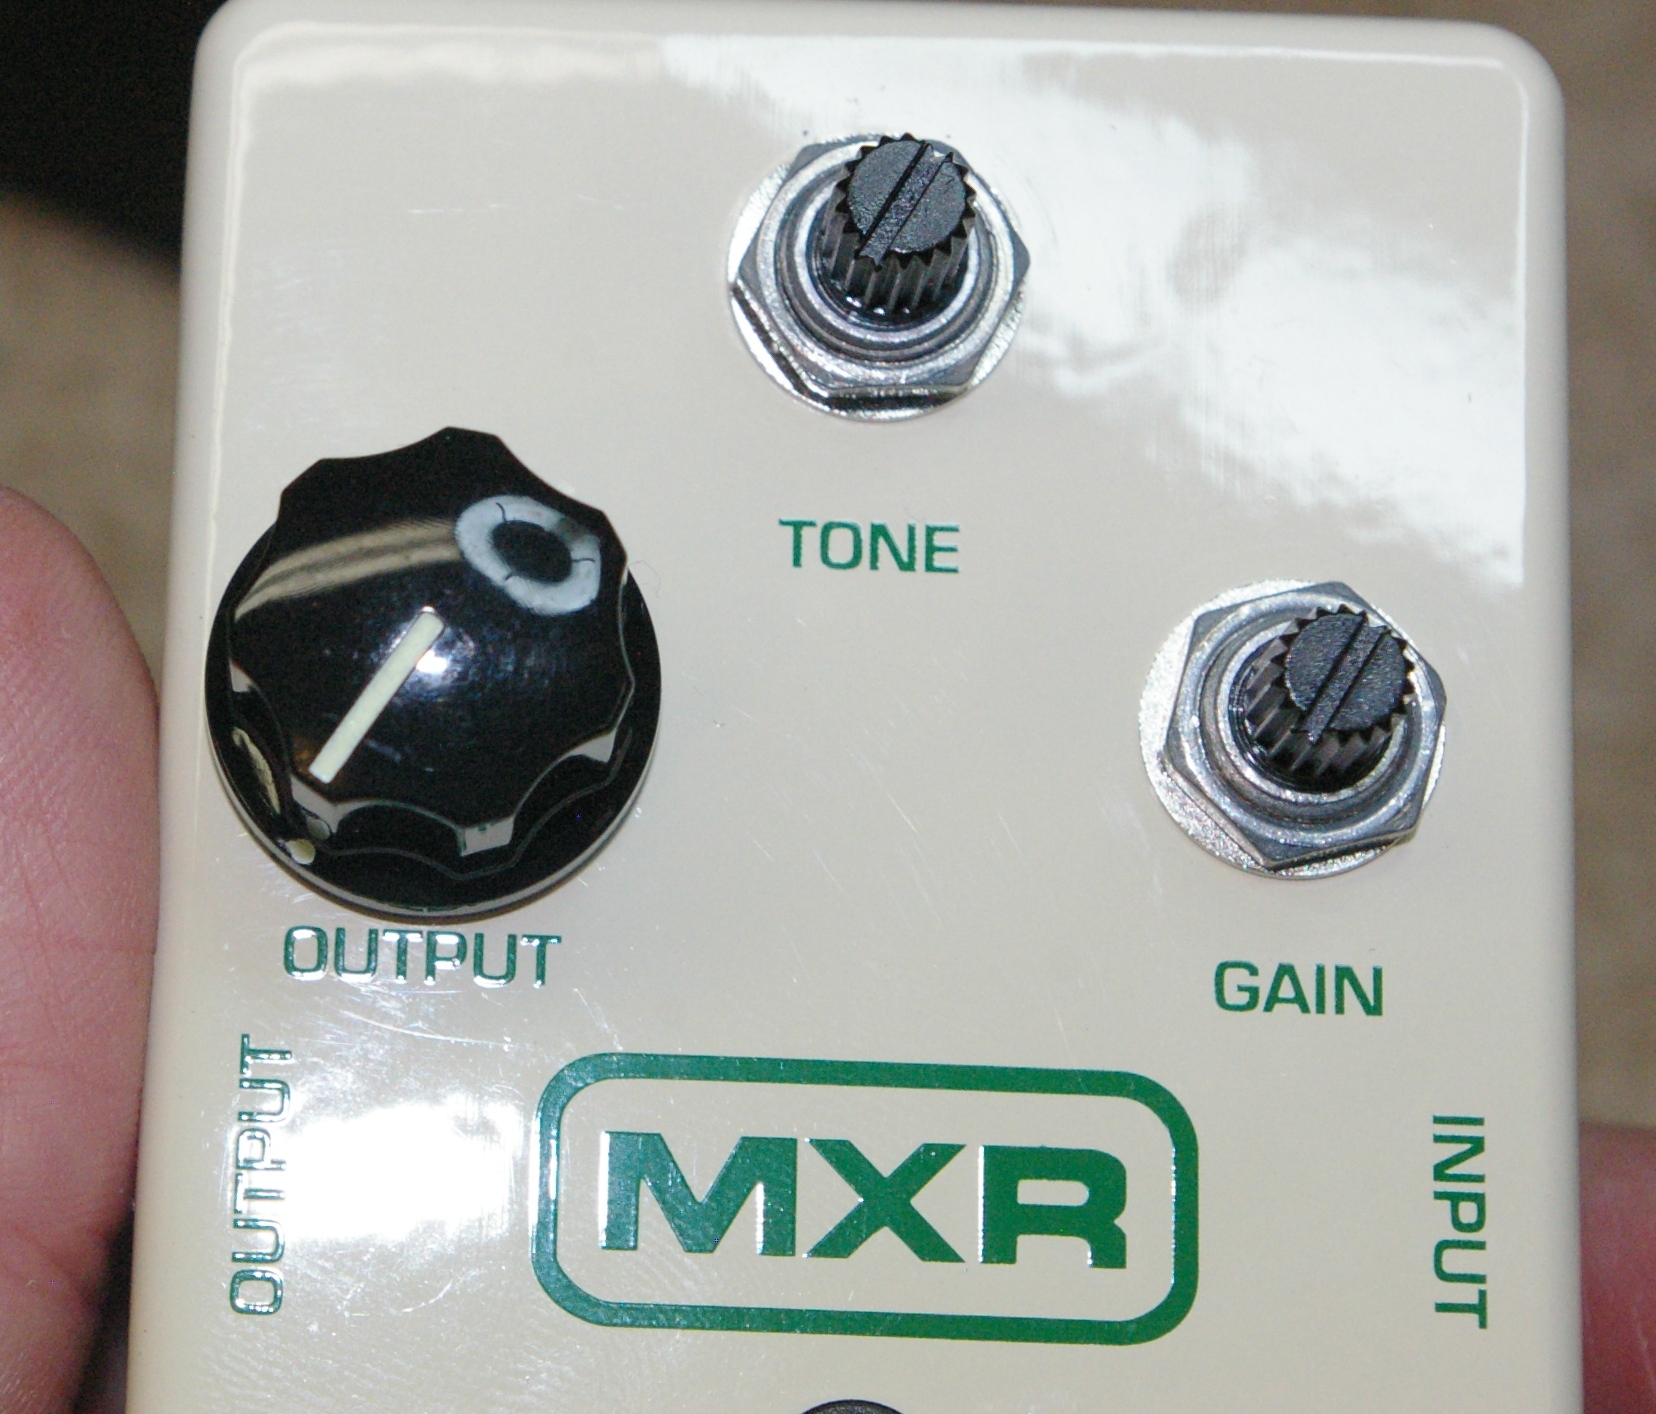
This a pretty basic unit. Tone, output and gain knobs and a nice footswitch. Once we get inside, we'll find a mix of plastic jacks and metal pots. So just keep in mind that the plastic pieces cannot take much abuse. So don't go crazy torquing things down when we put it back together.
Step 2: Open the Unit and Access the Circuit Board.
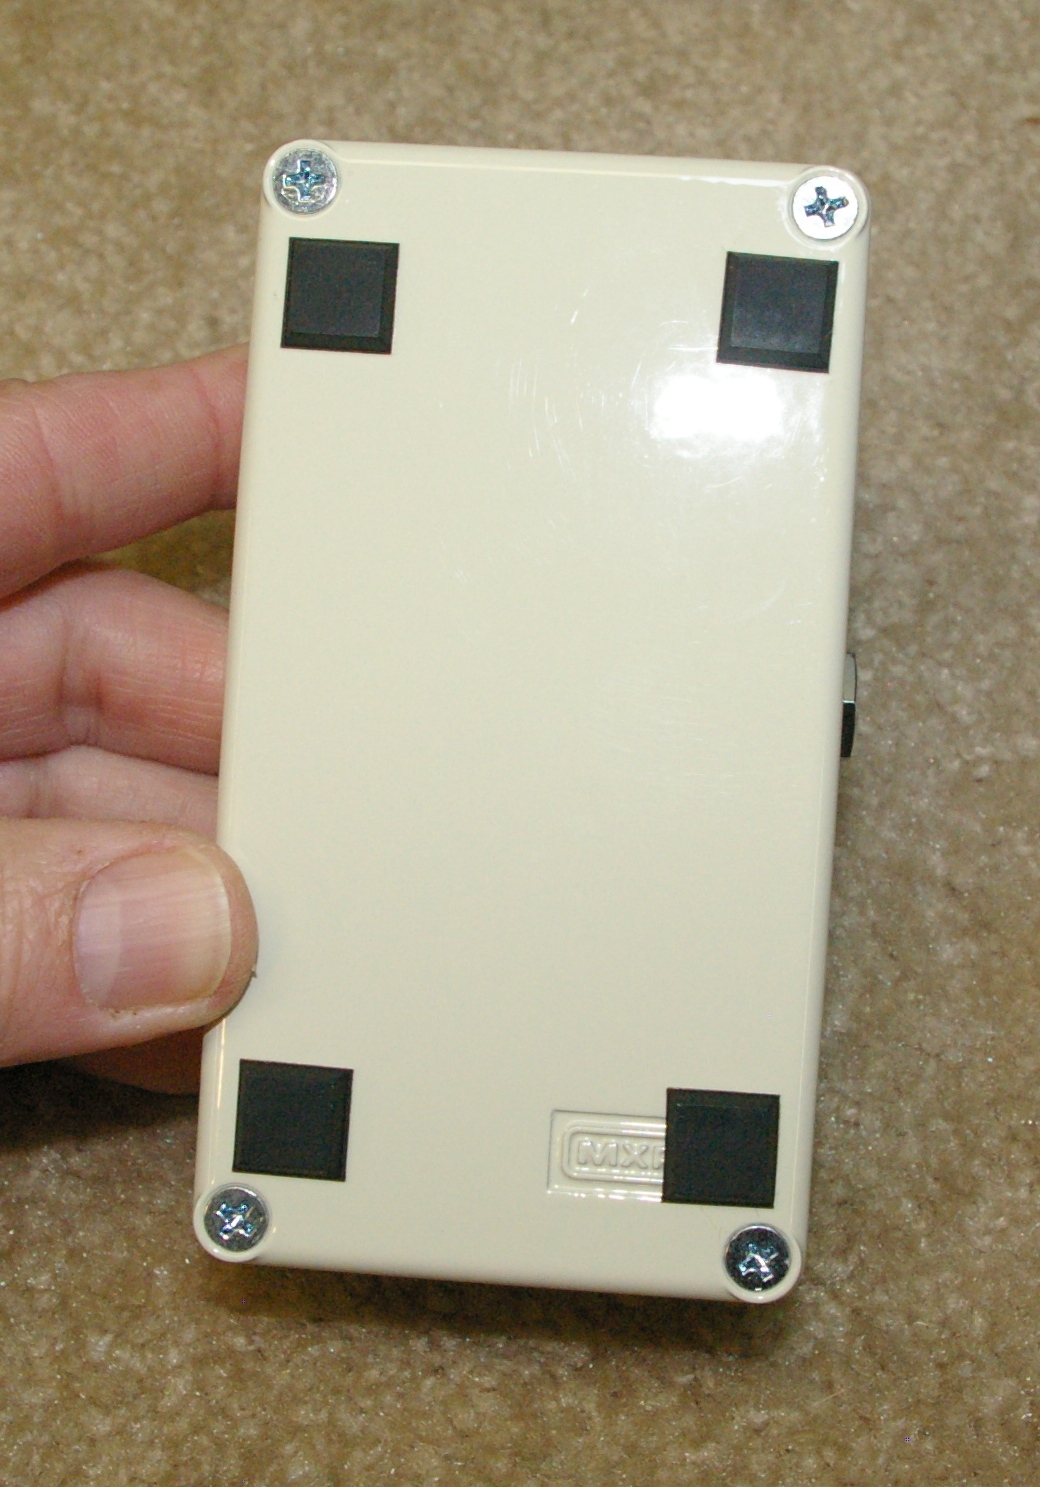
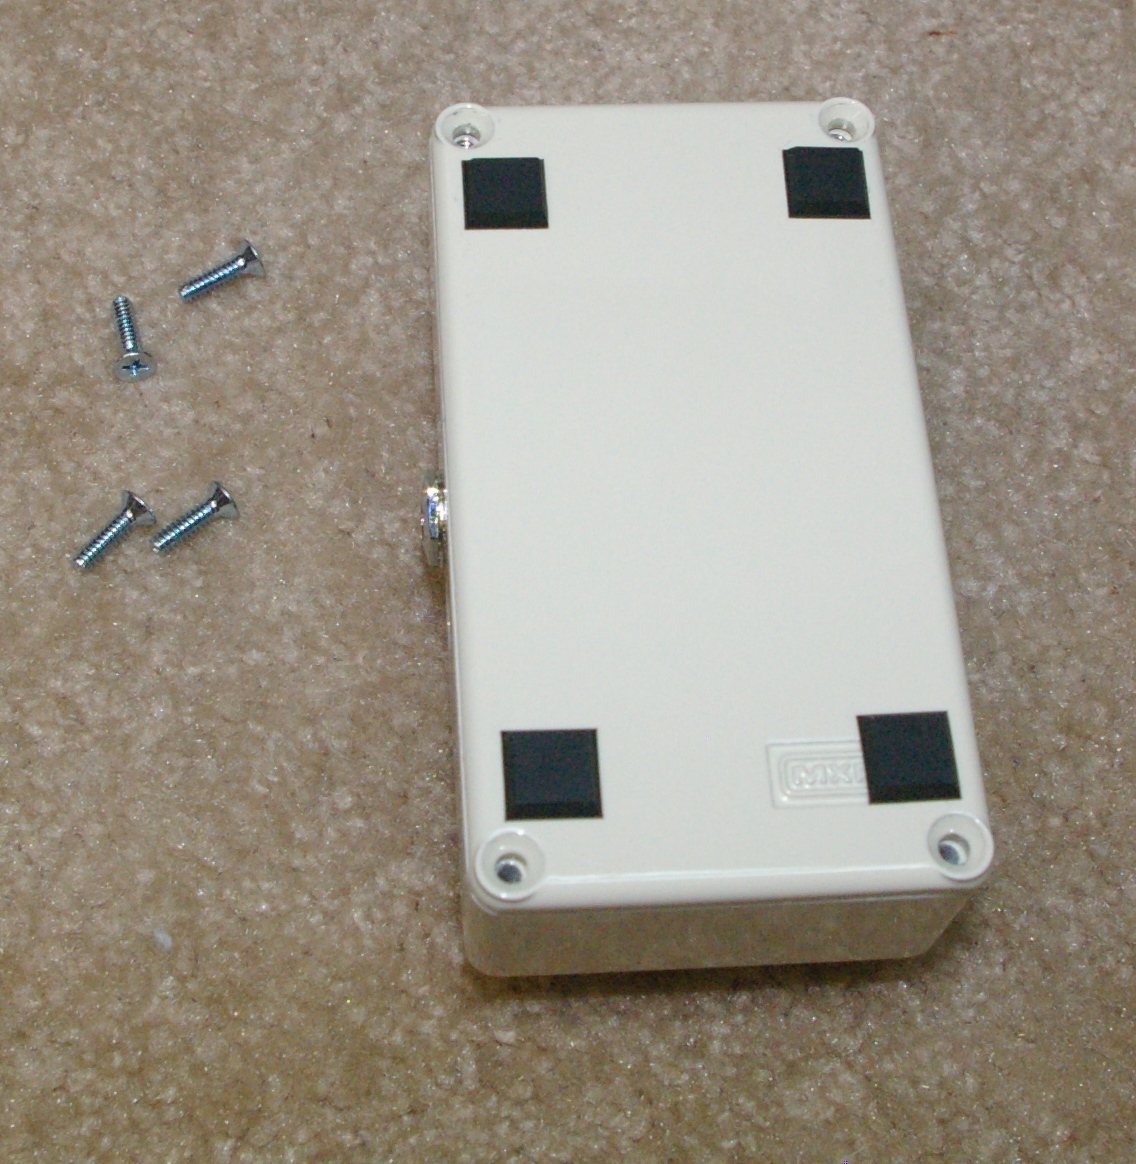
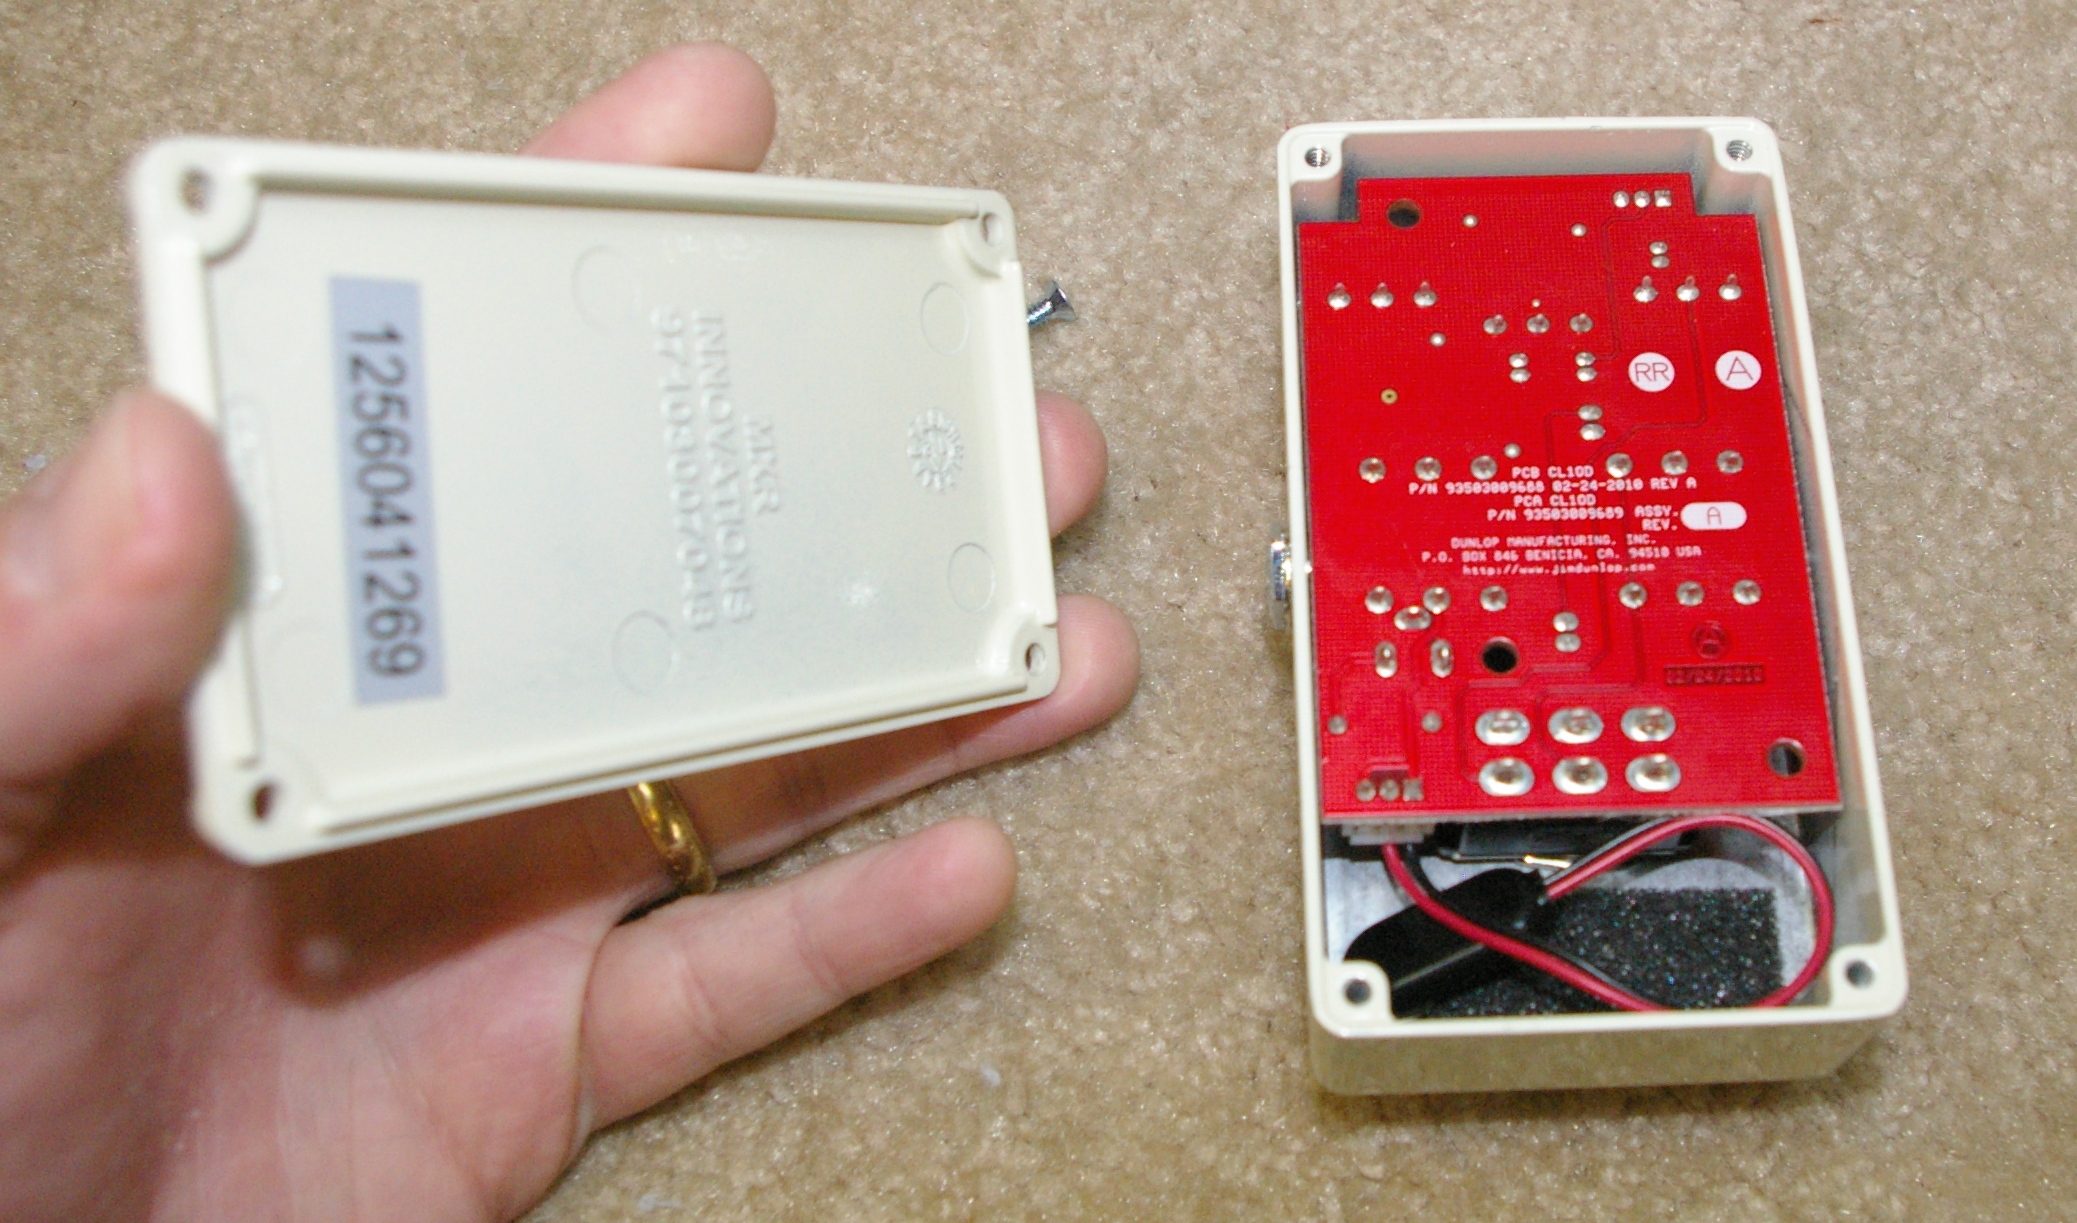
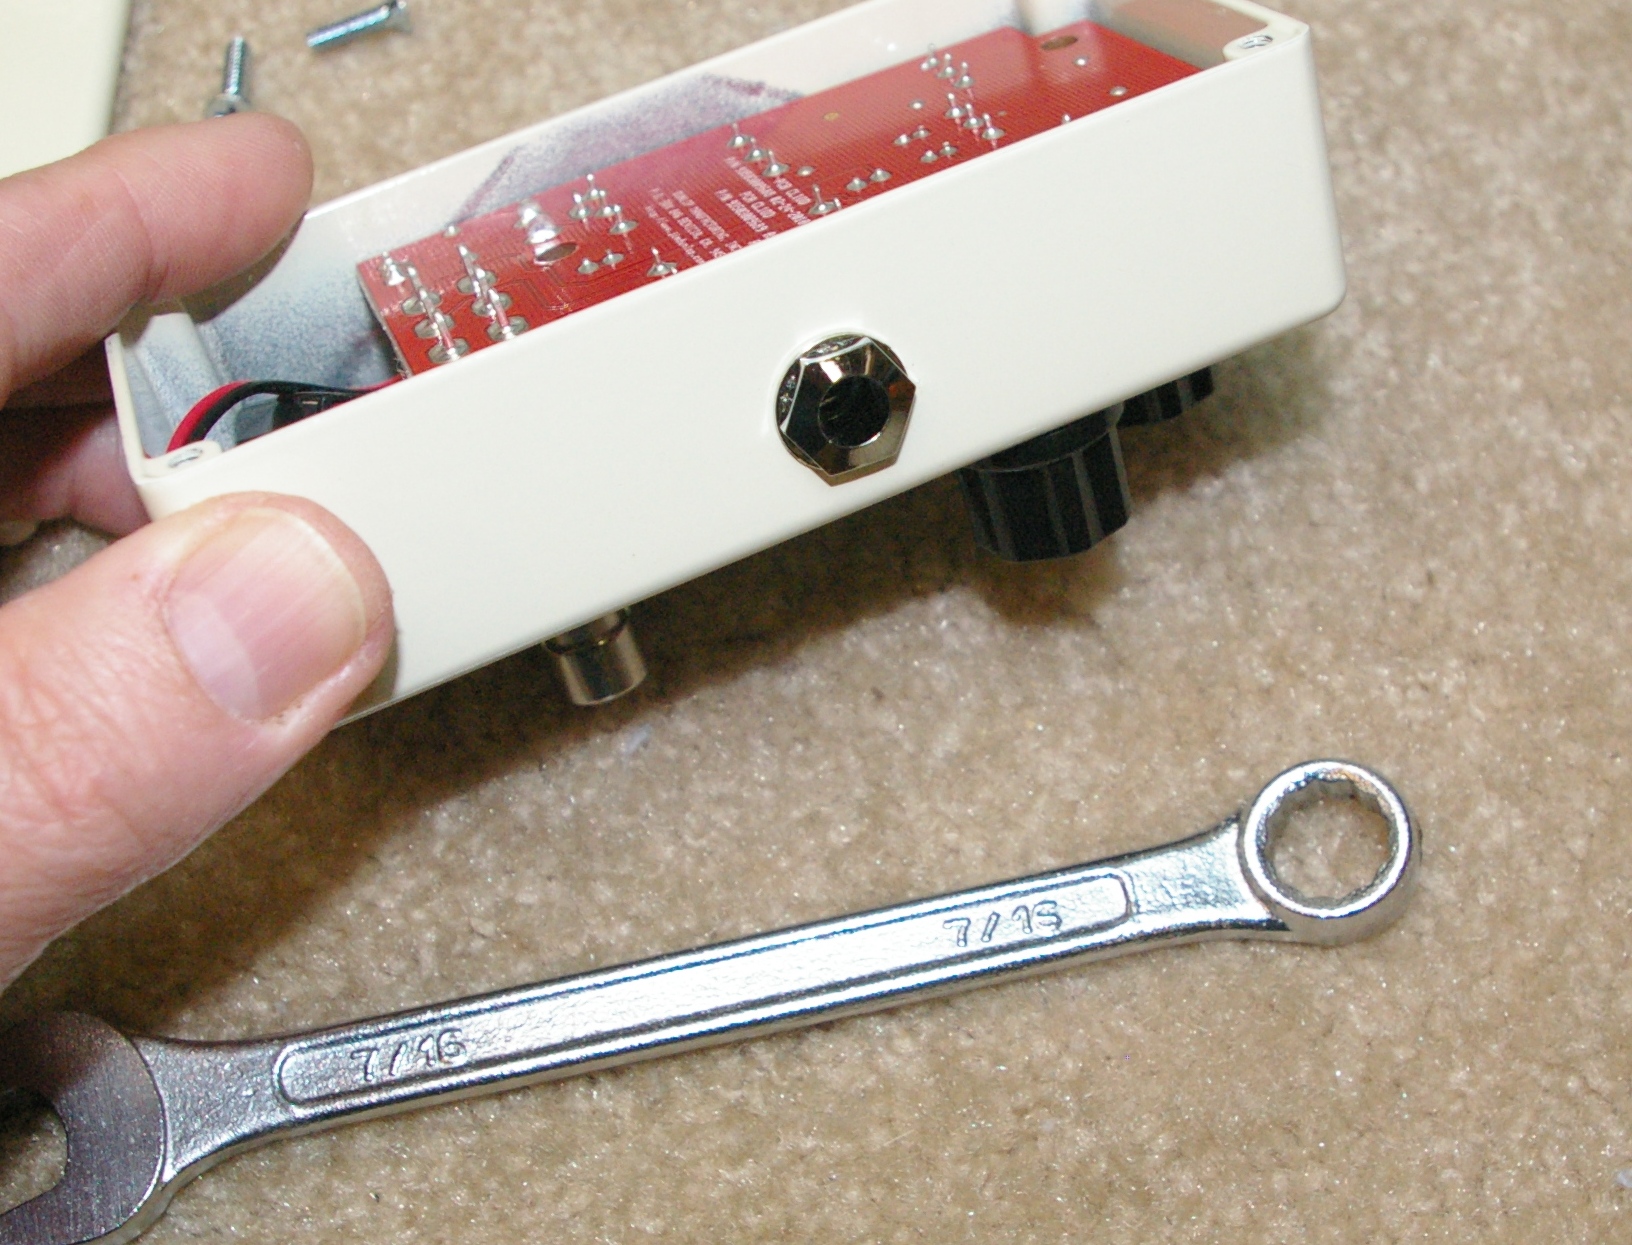
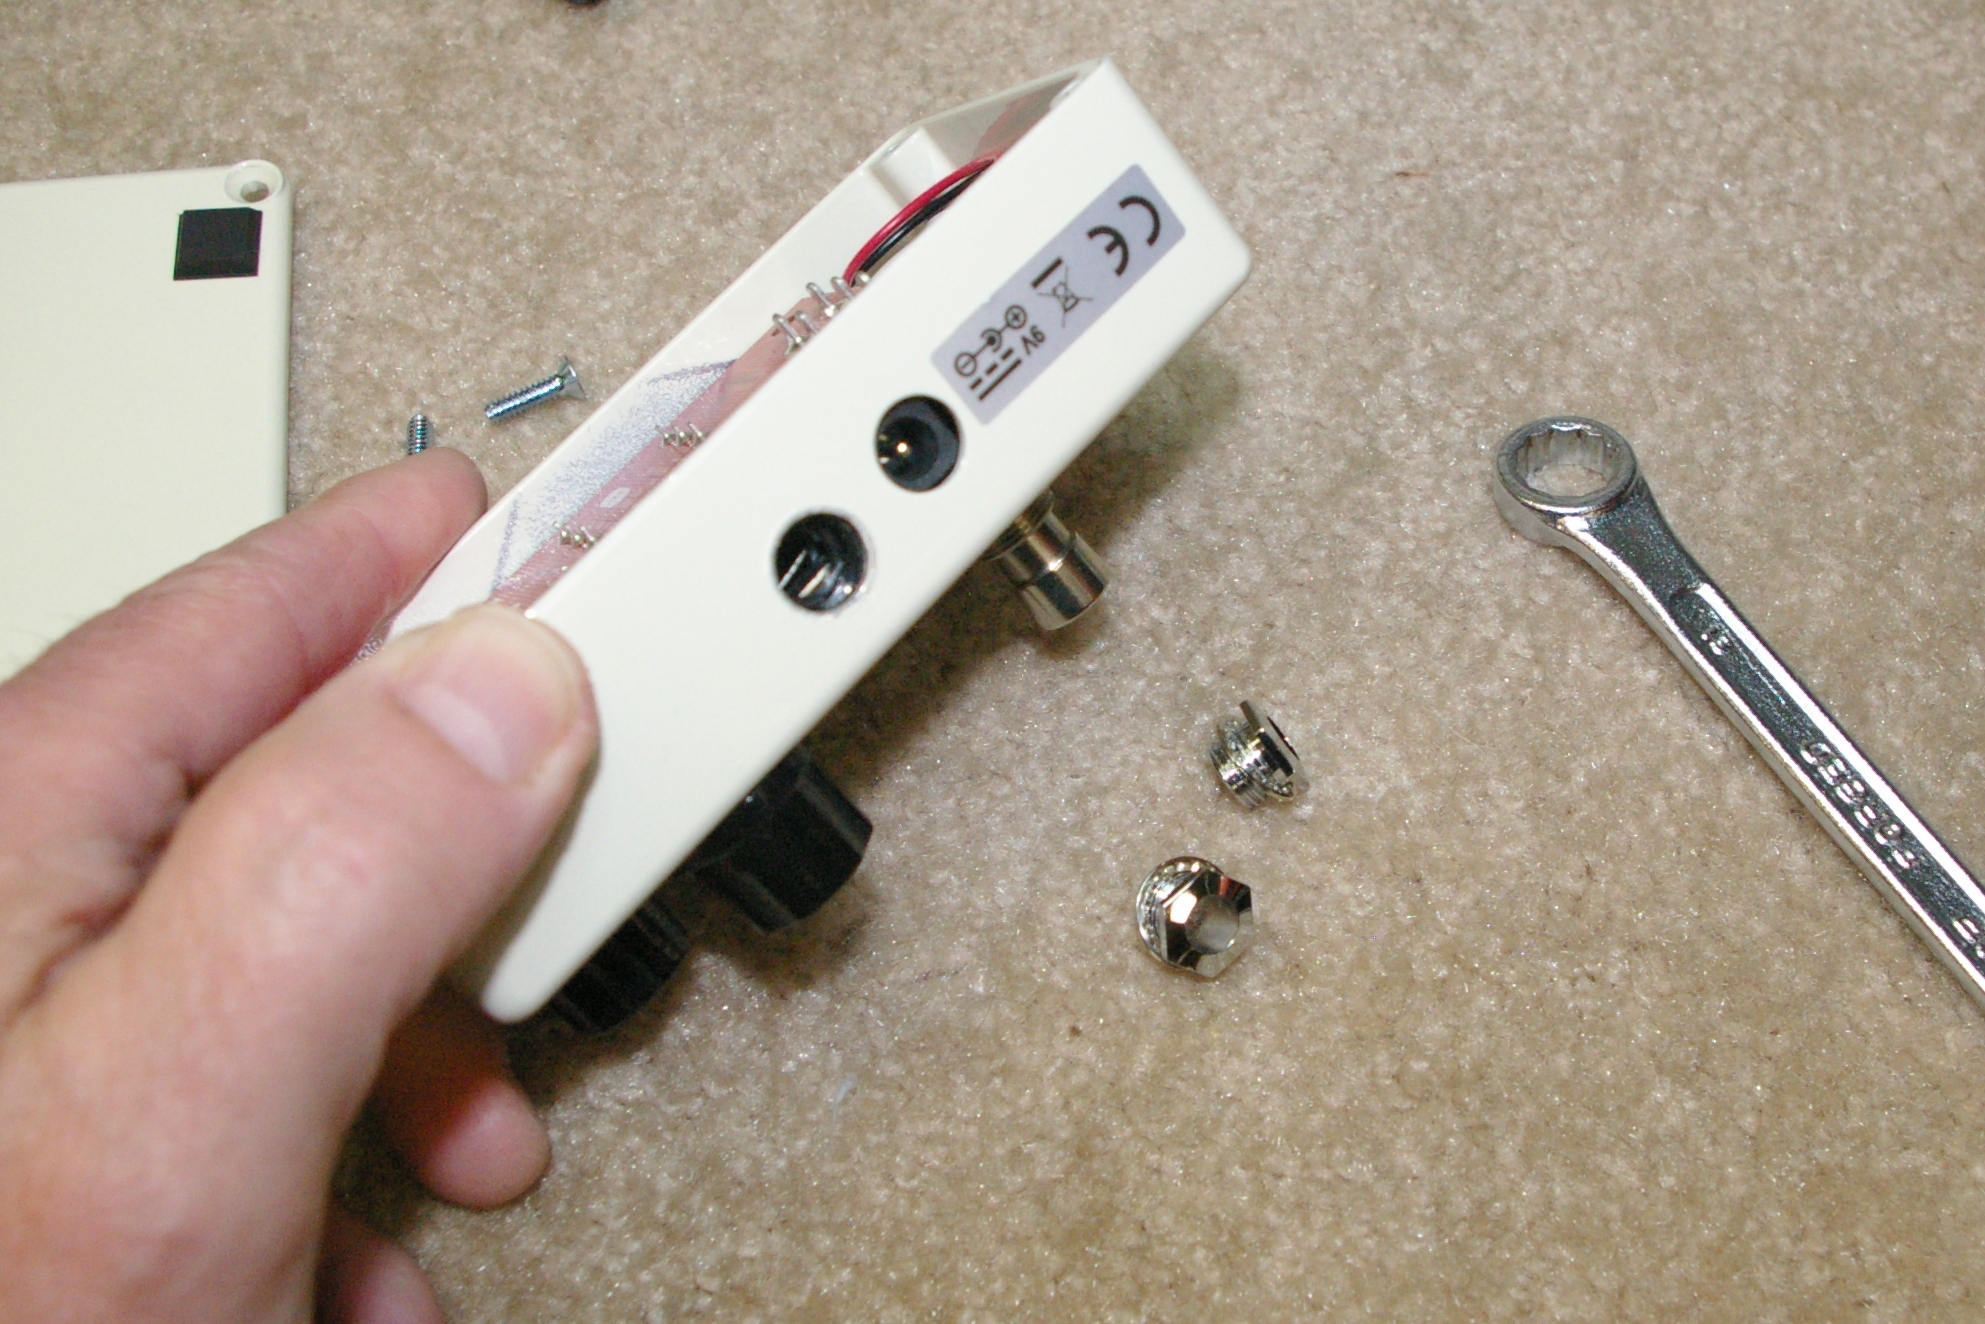
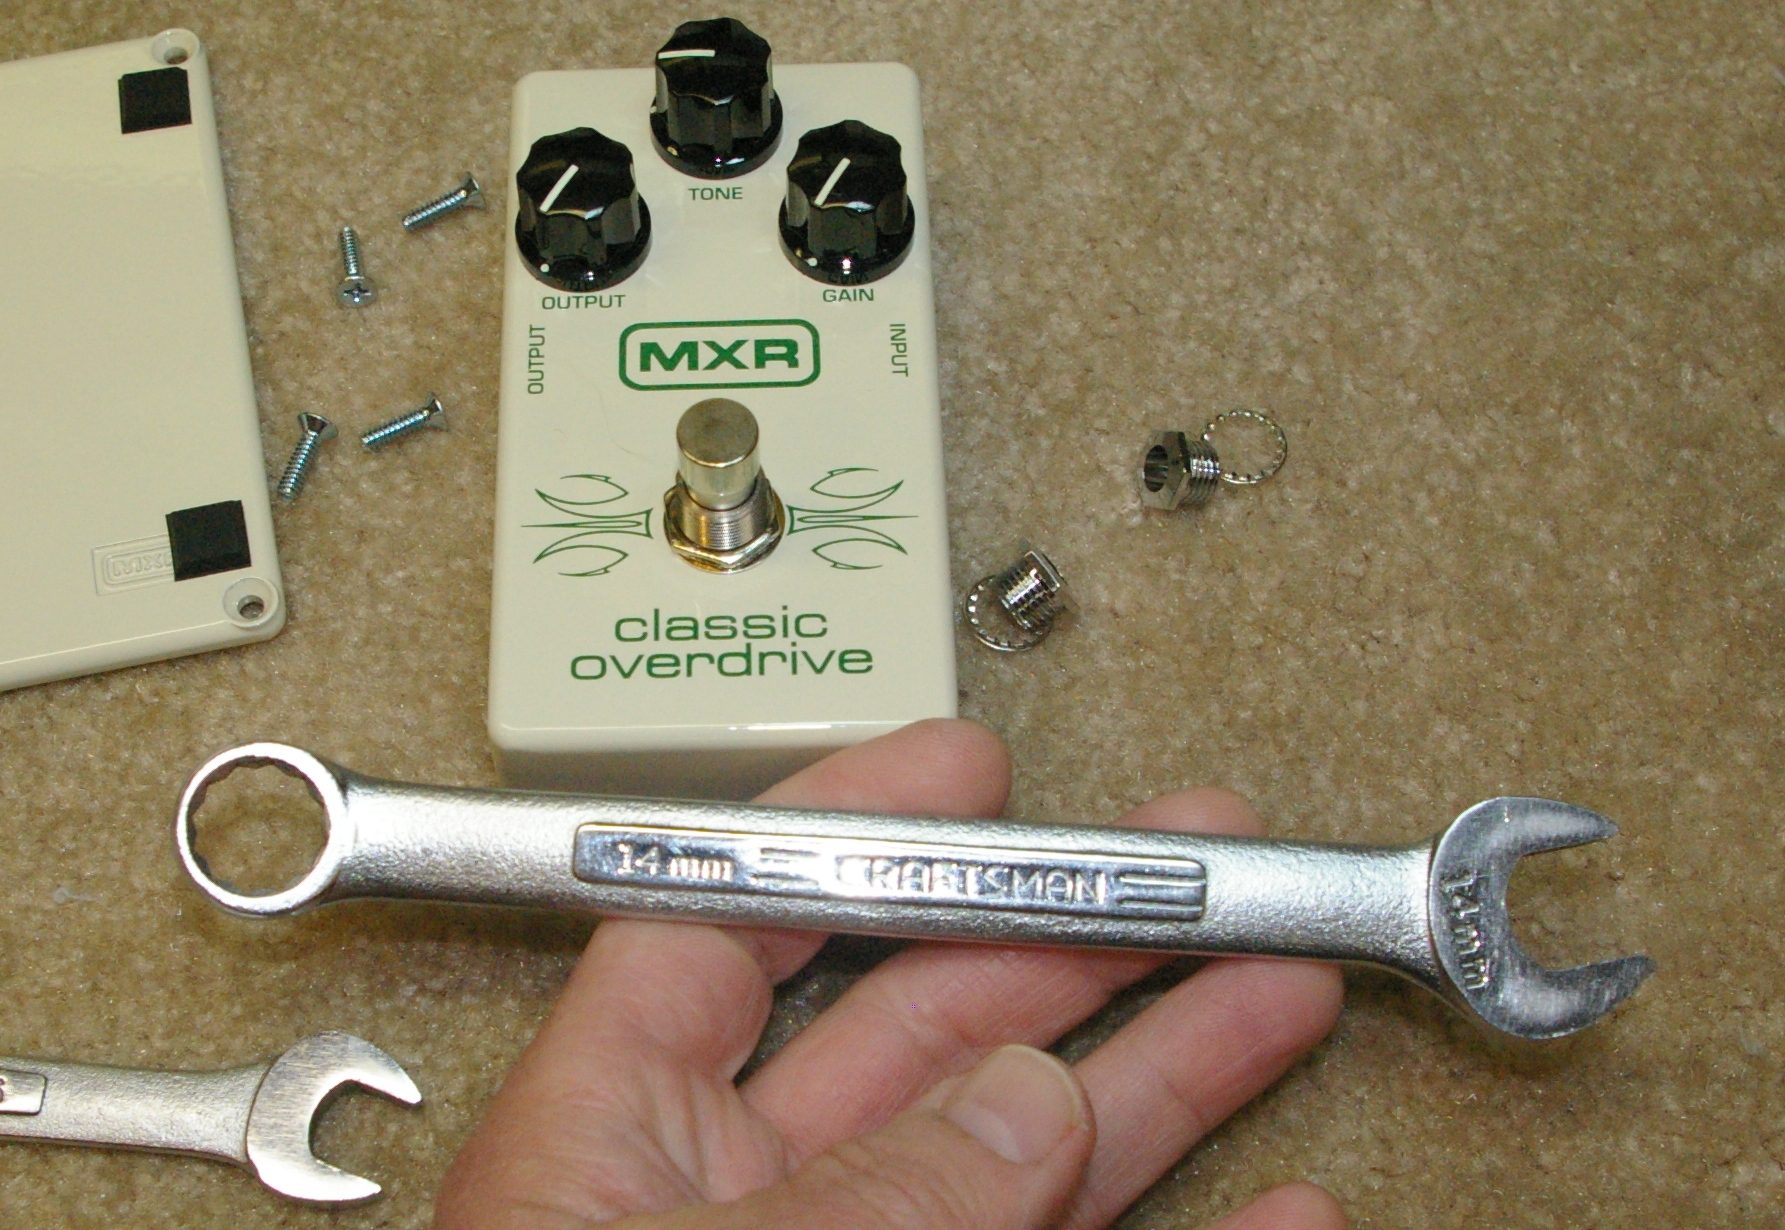
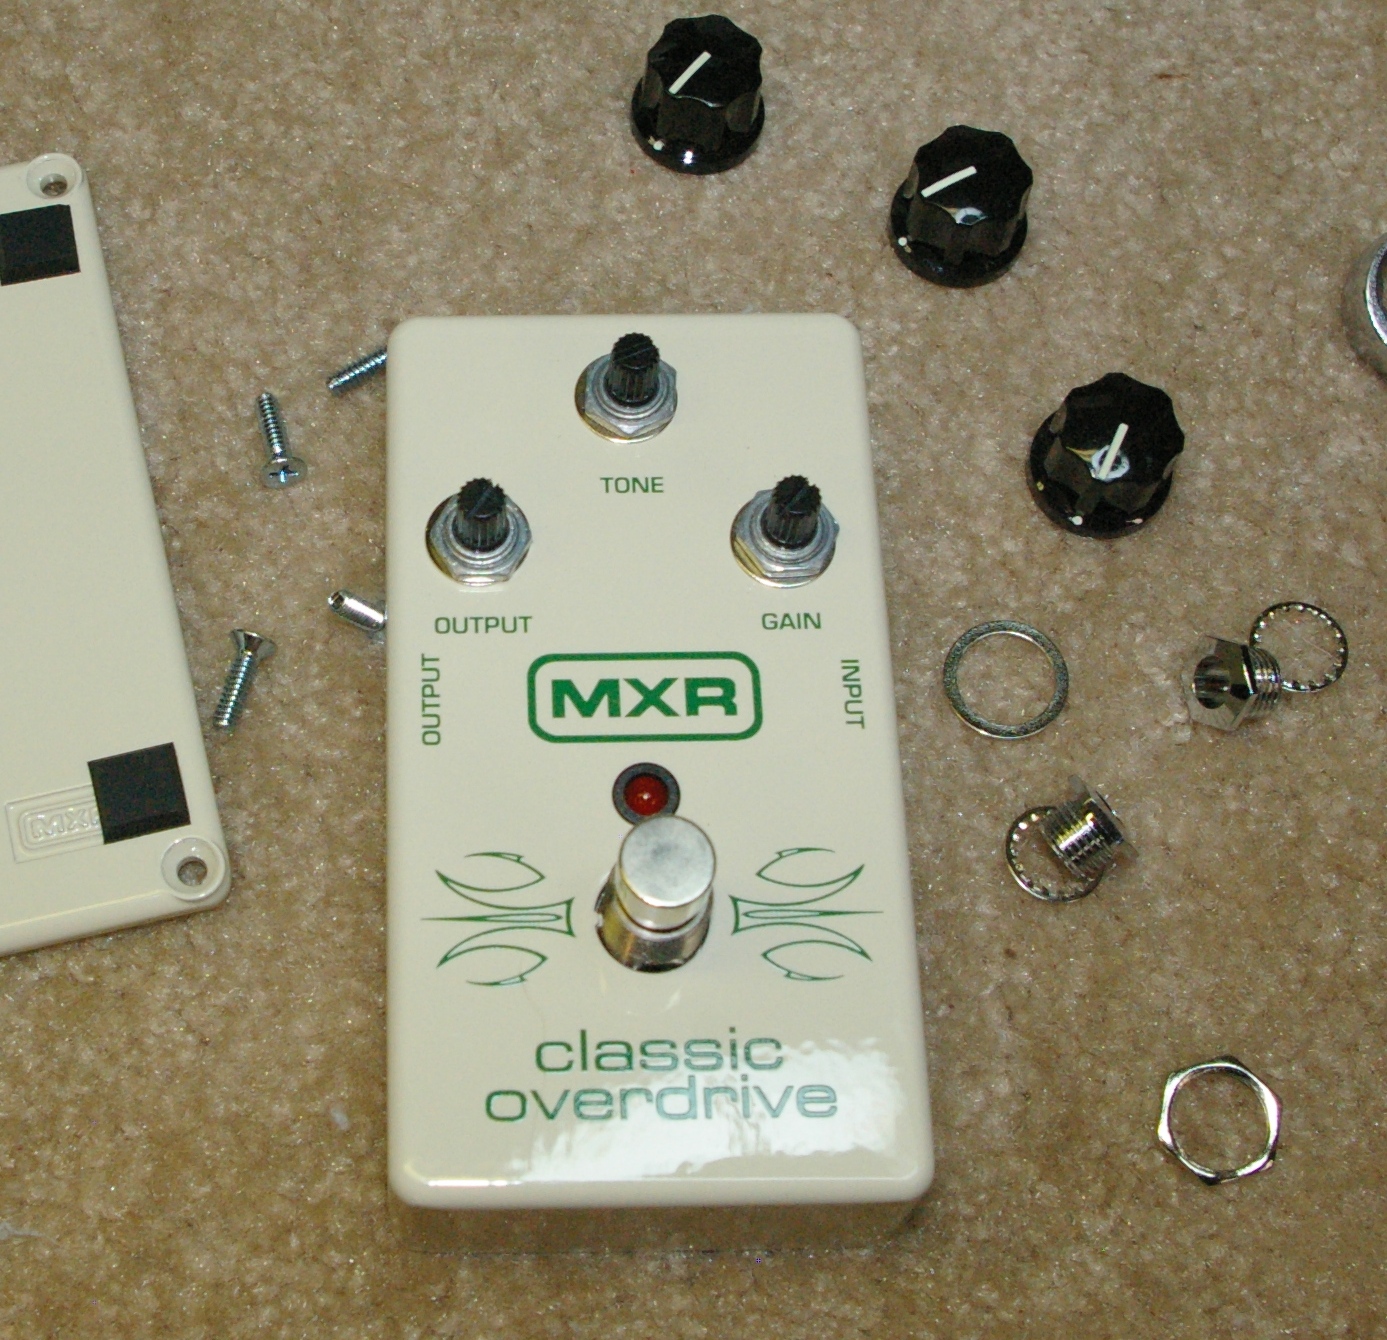
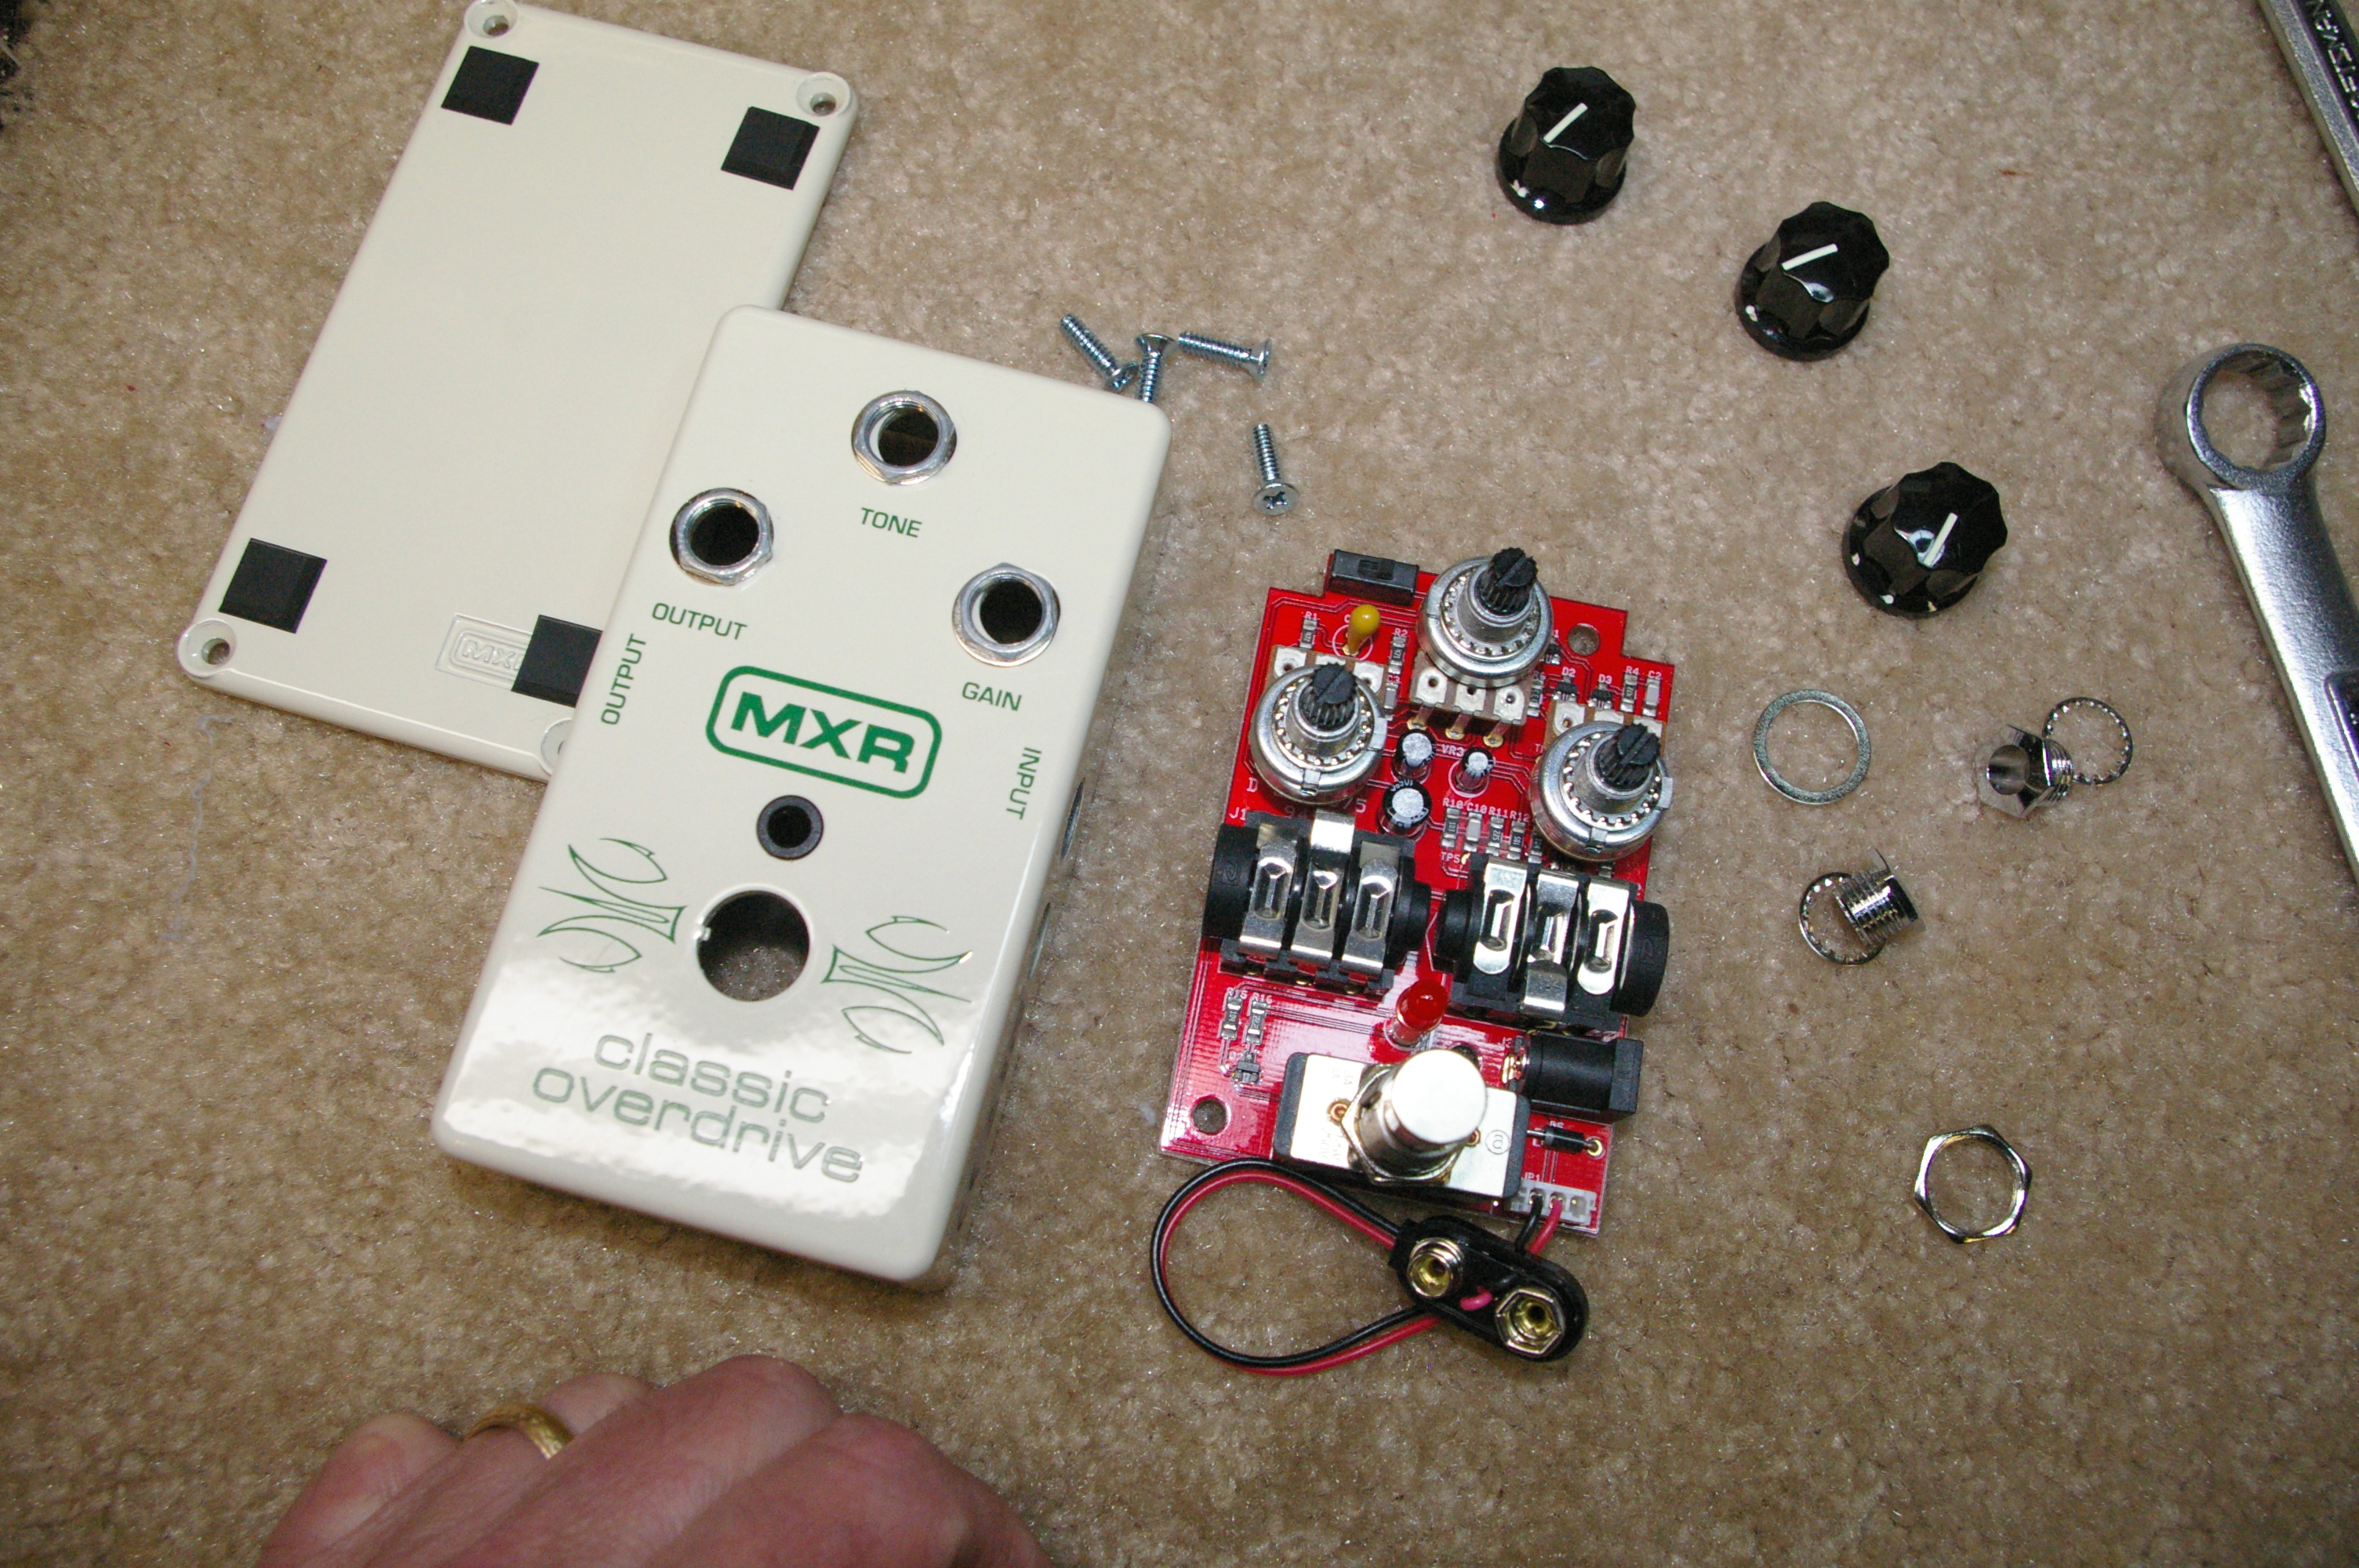
1. Flip it over.
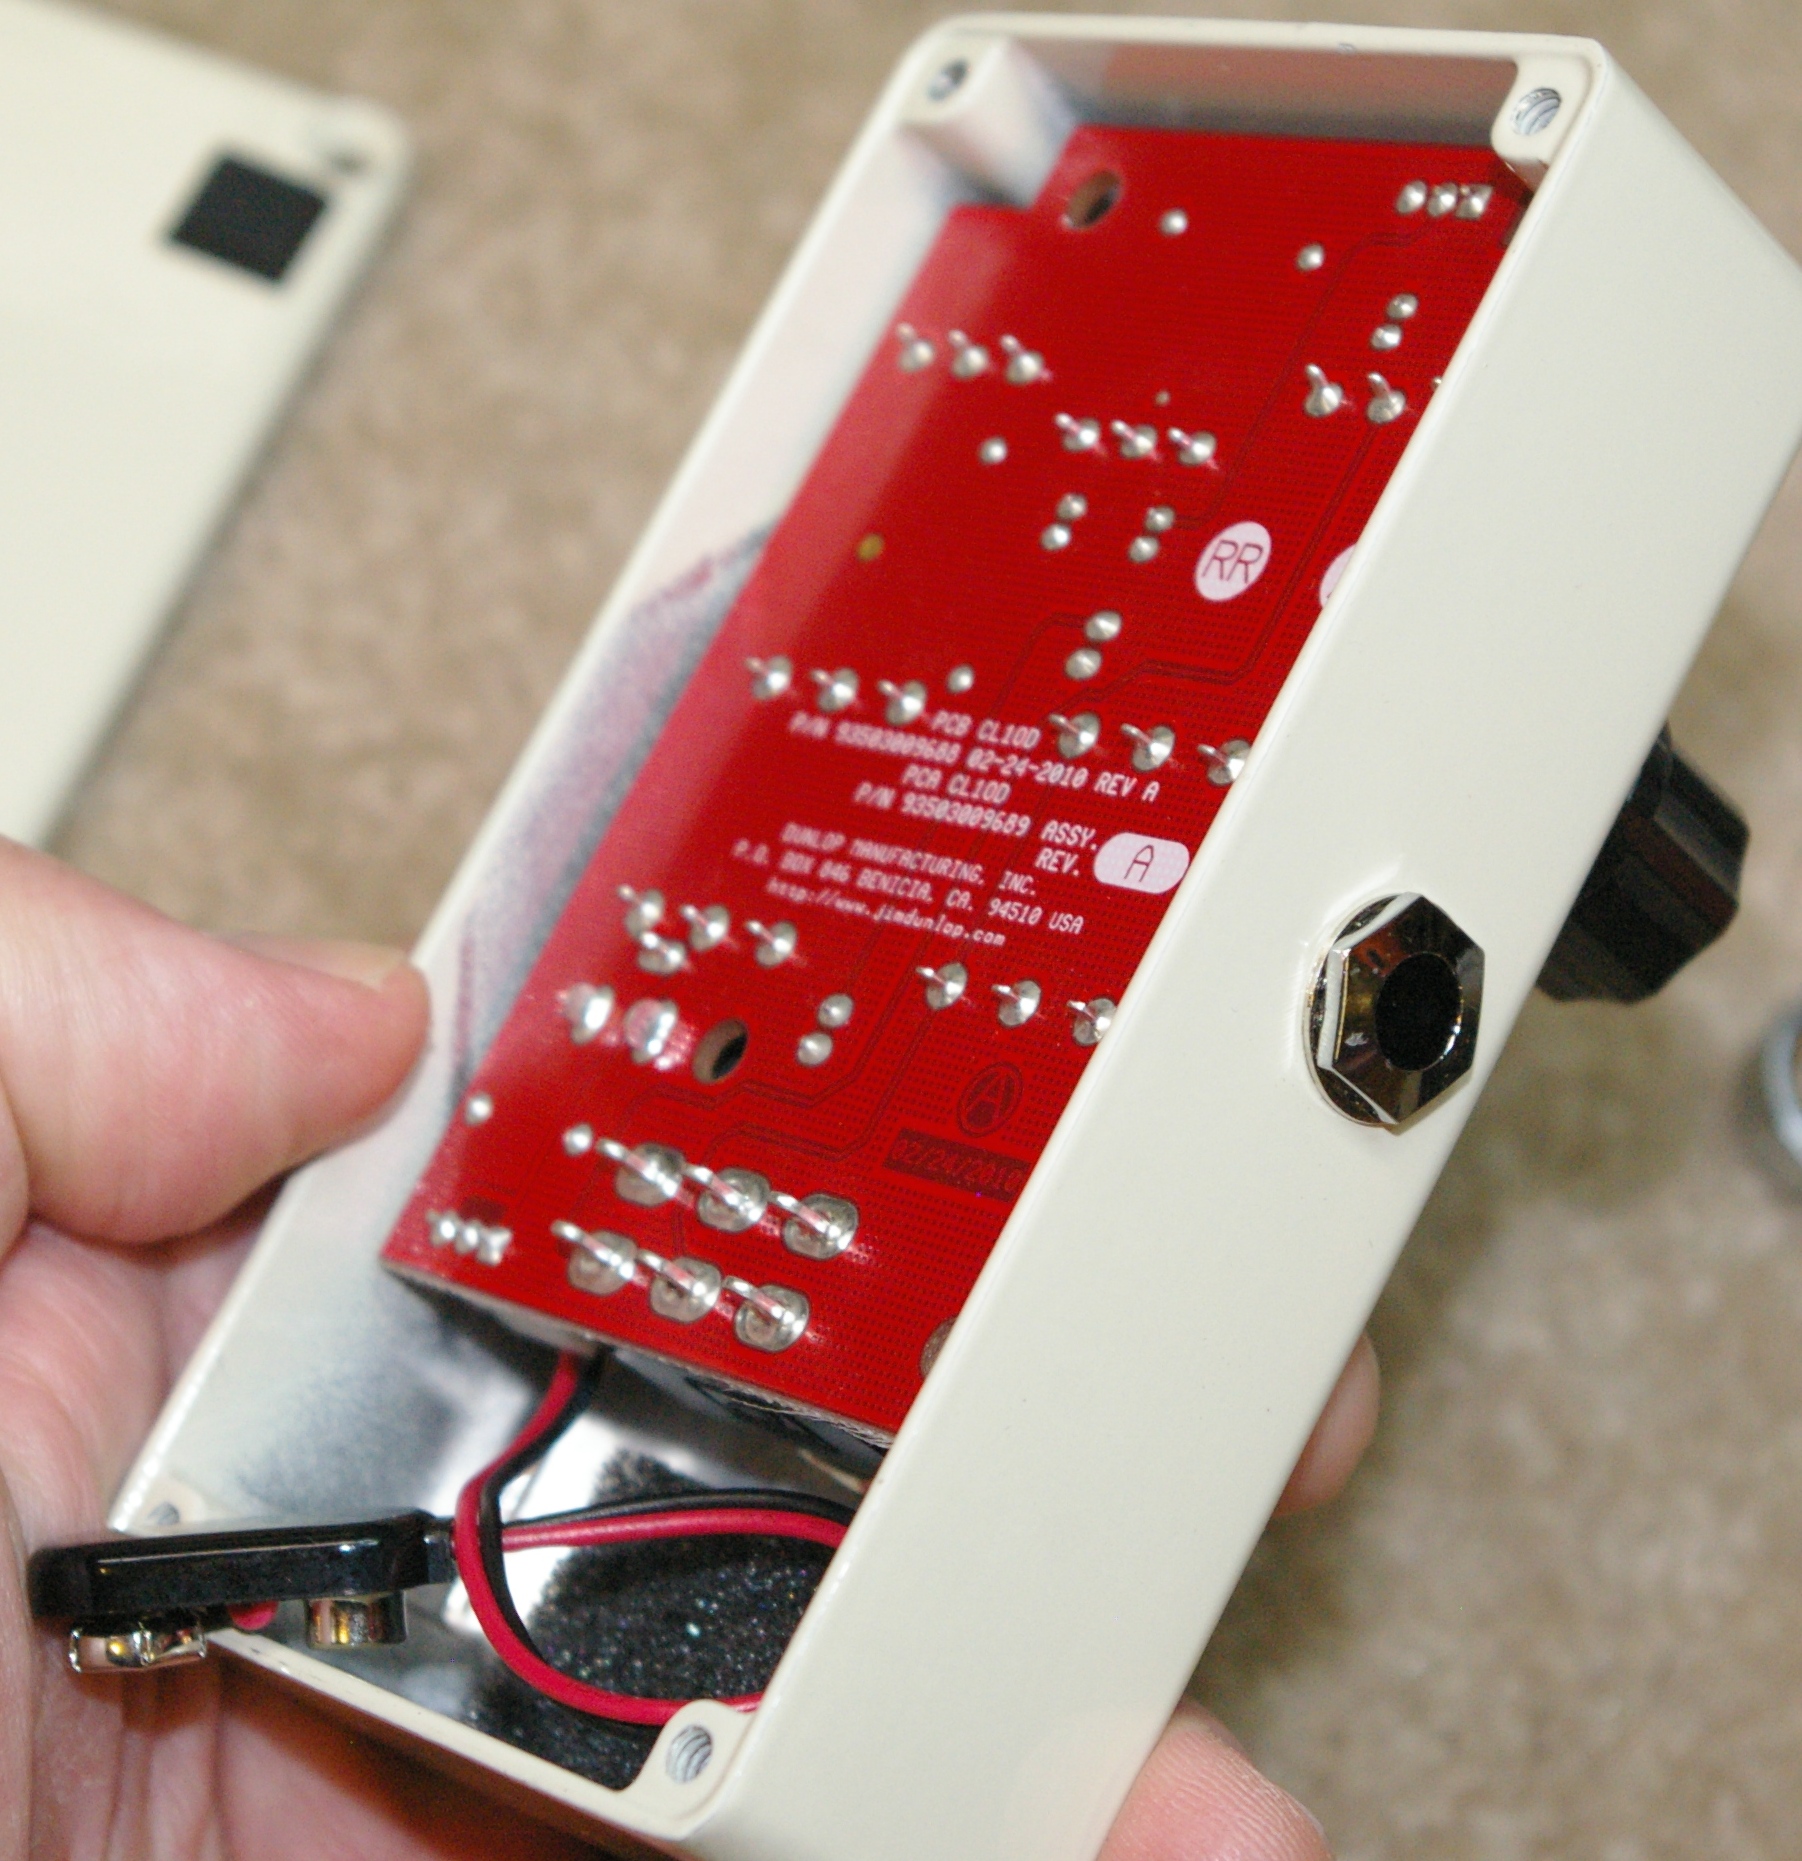
2. Remove the four screws
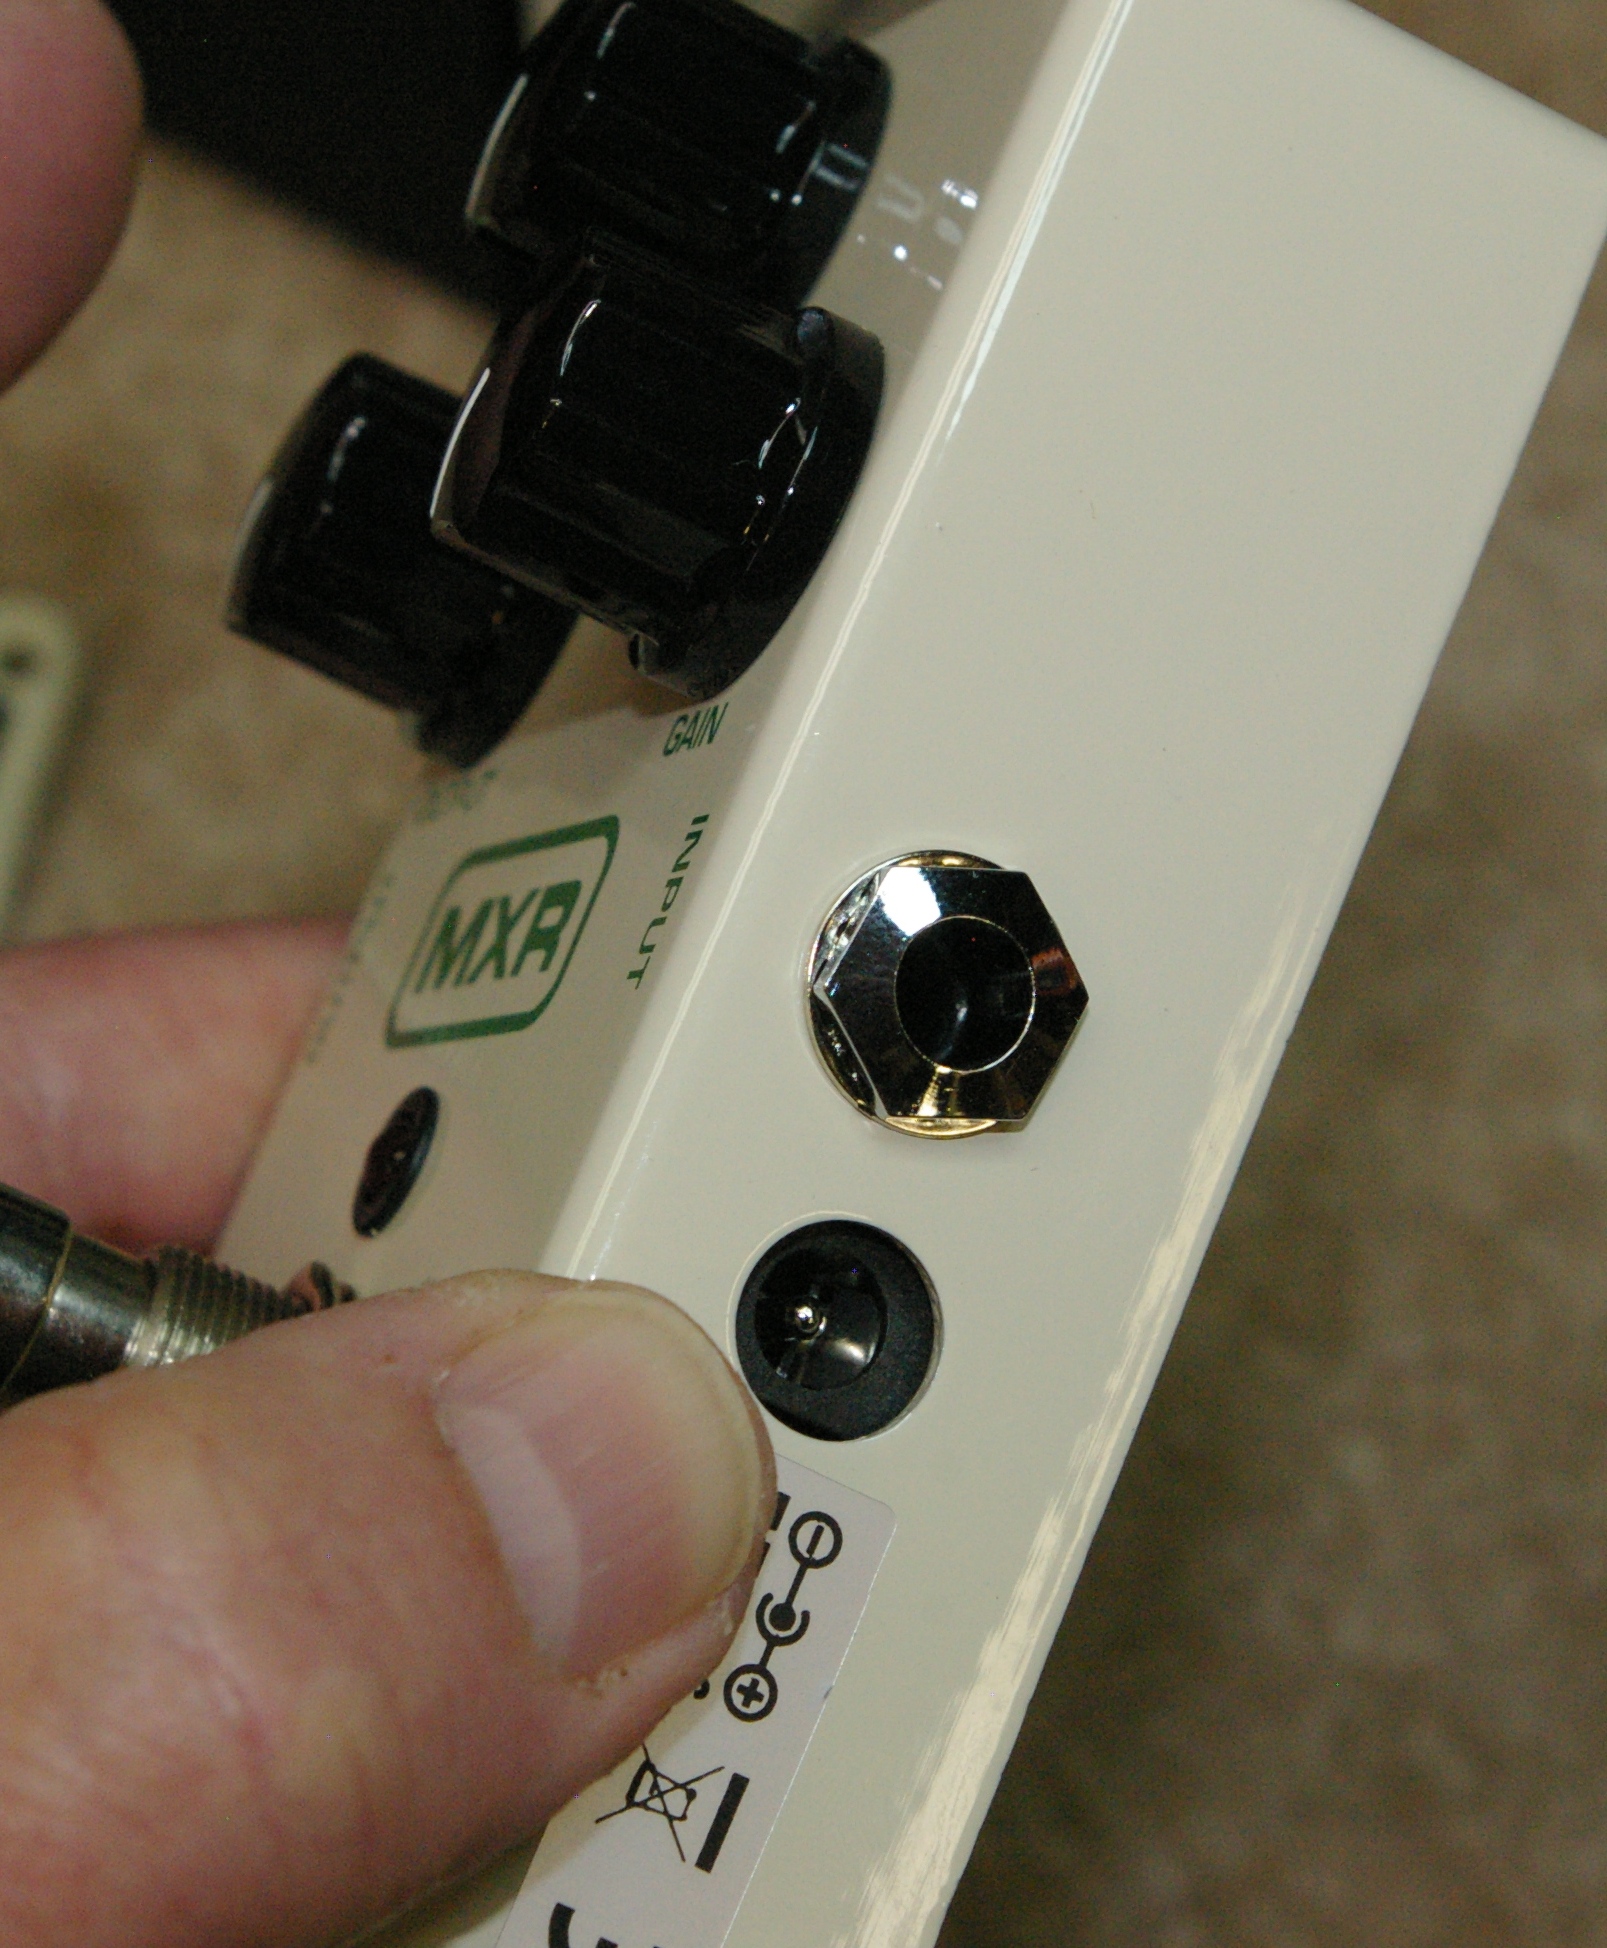
3. Remove the side jack inserts (10mm), footswitch nut (14mm), the knobs and the pot nuts (10mm). Put everything in a safe place while you are working. The order you remove things in probably does not make a big difference.
4. The circuit board should basically fall out on it's own at this point.
Step 3: Flip the Switch!
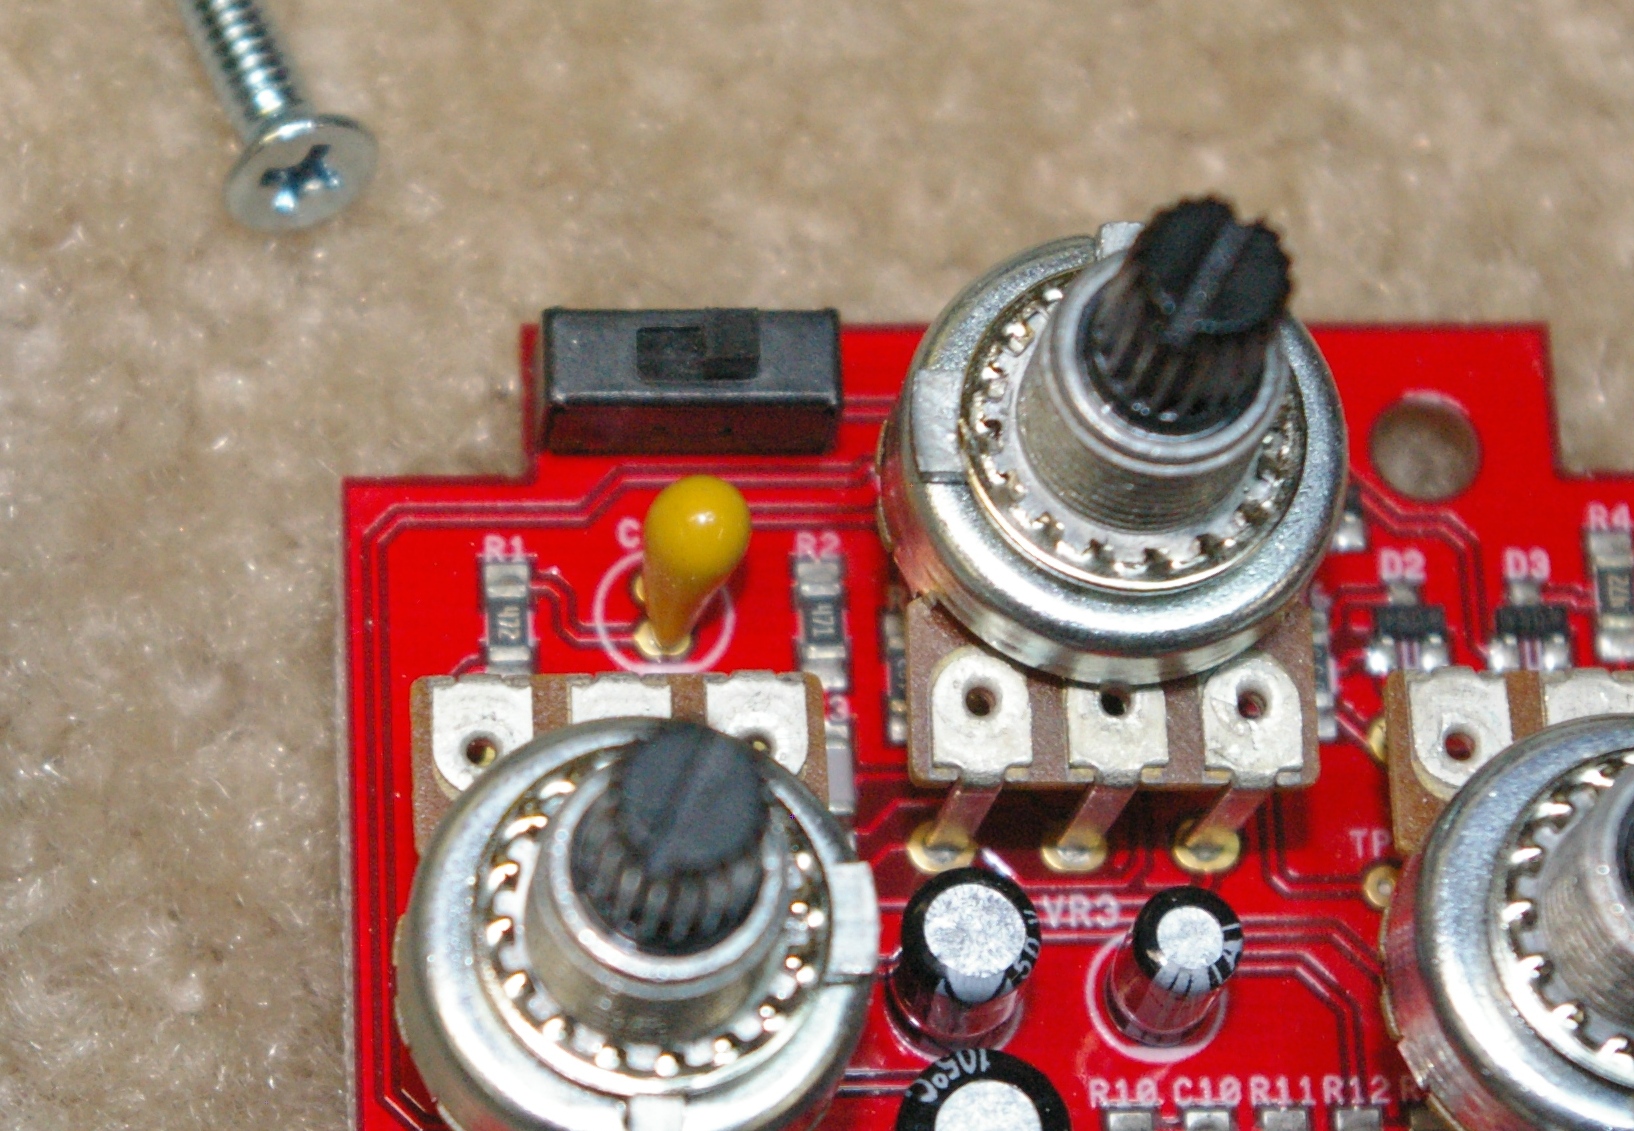
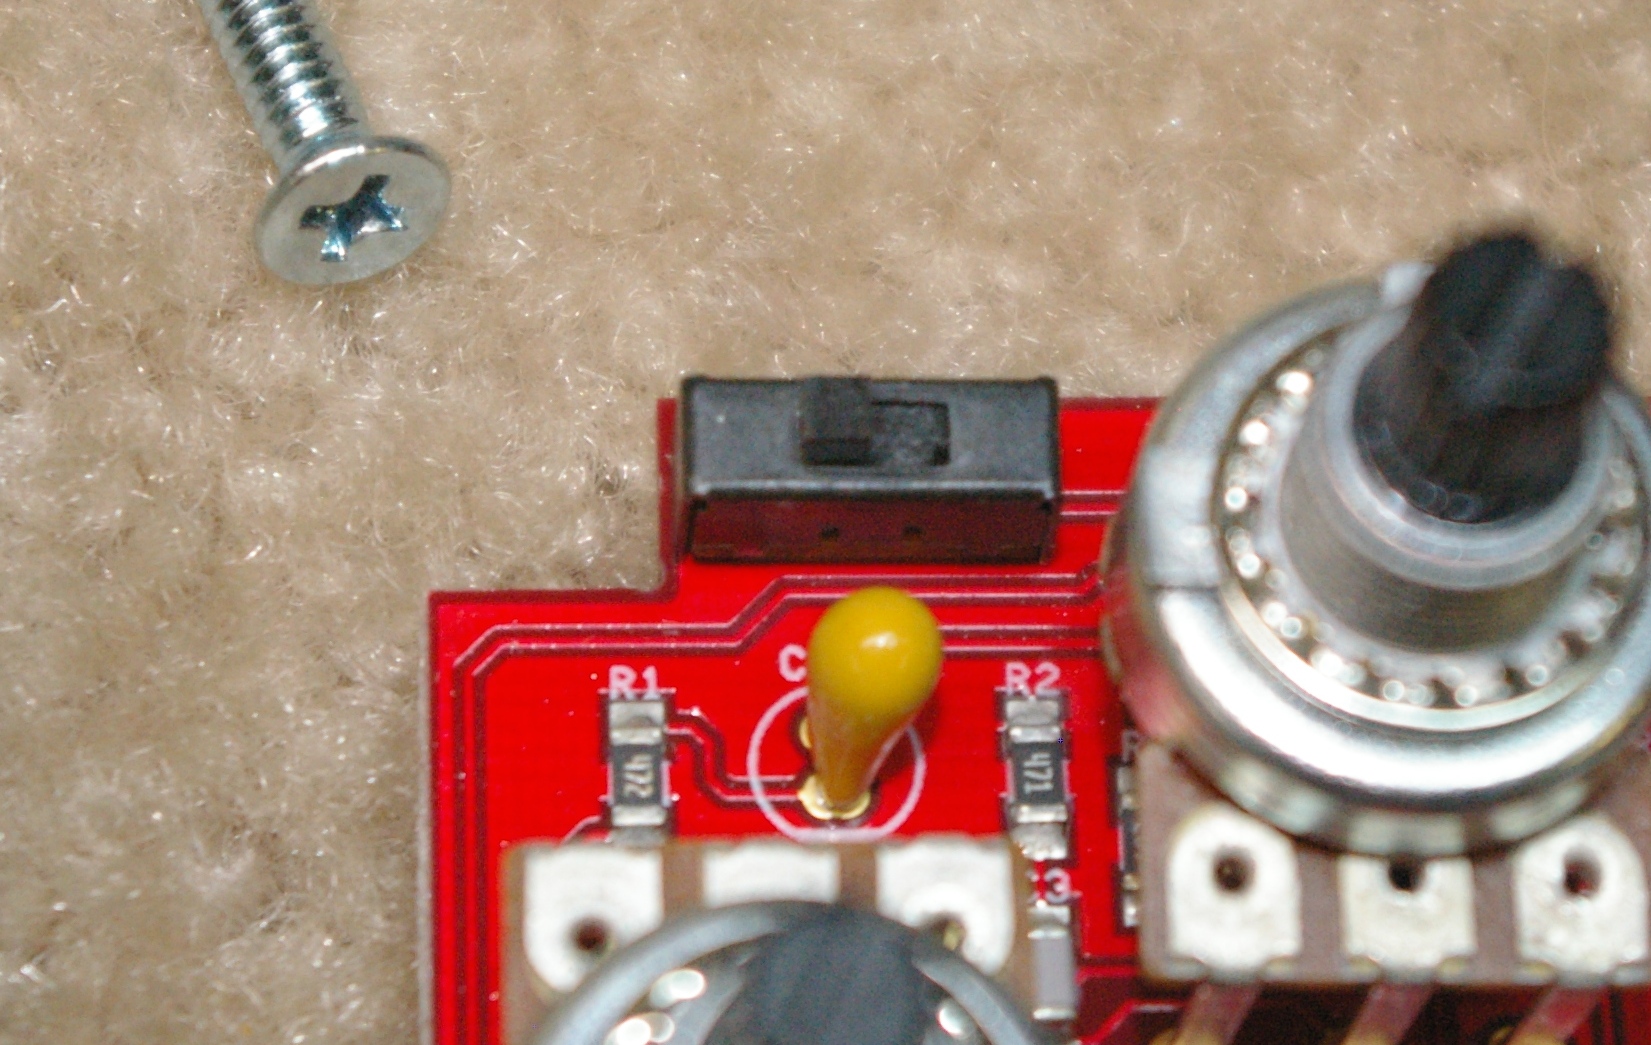
This seems like a lot of work to get to this little switch. But I guess they didn't want to make it too easy. I might add that you theoretically can test and compare the two settings at this point. Just be careful how you plug, unplug, twirl the knobs, etc.
Step 4: Put It Back Together.
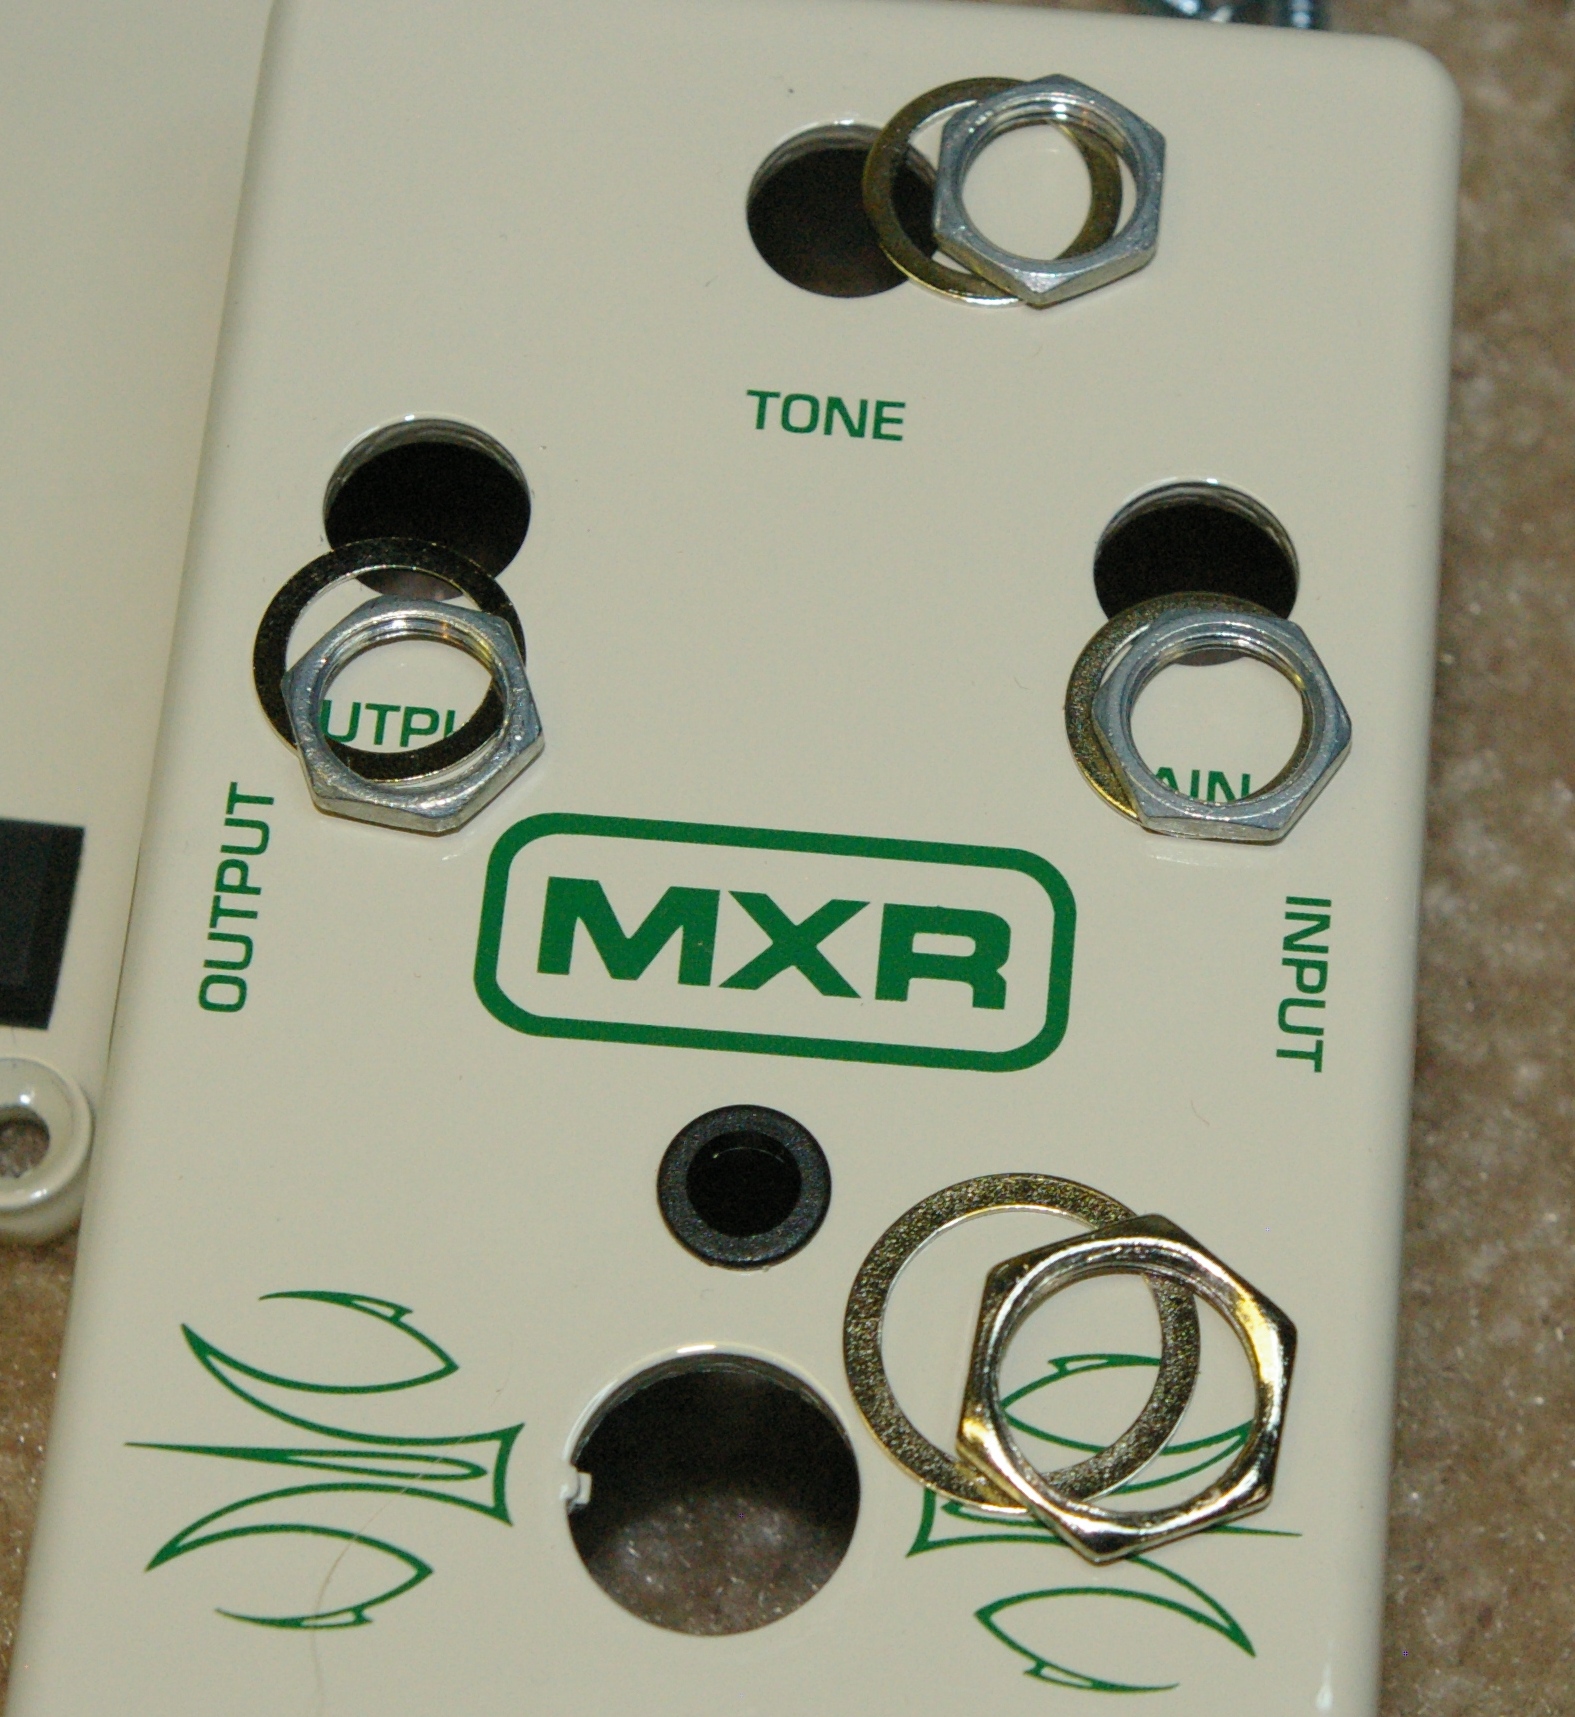
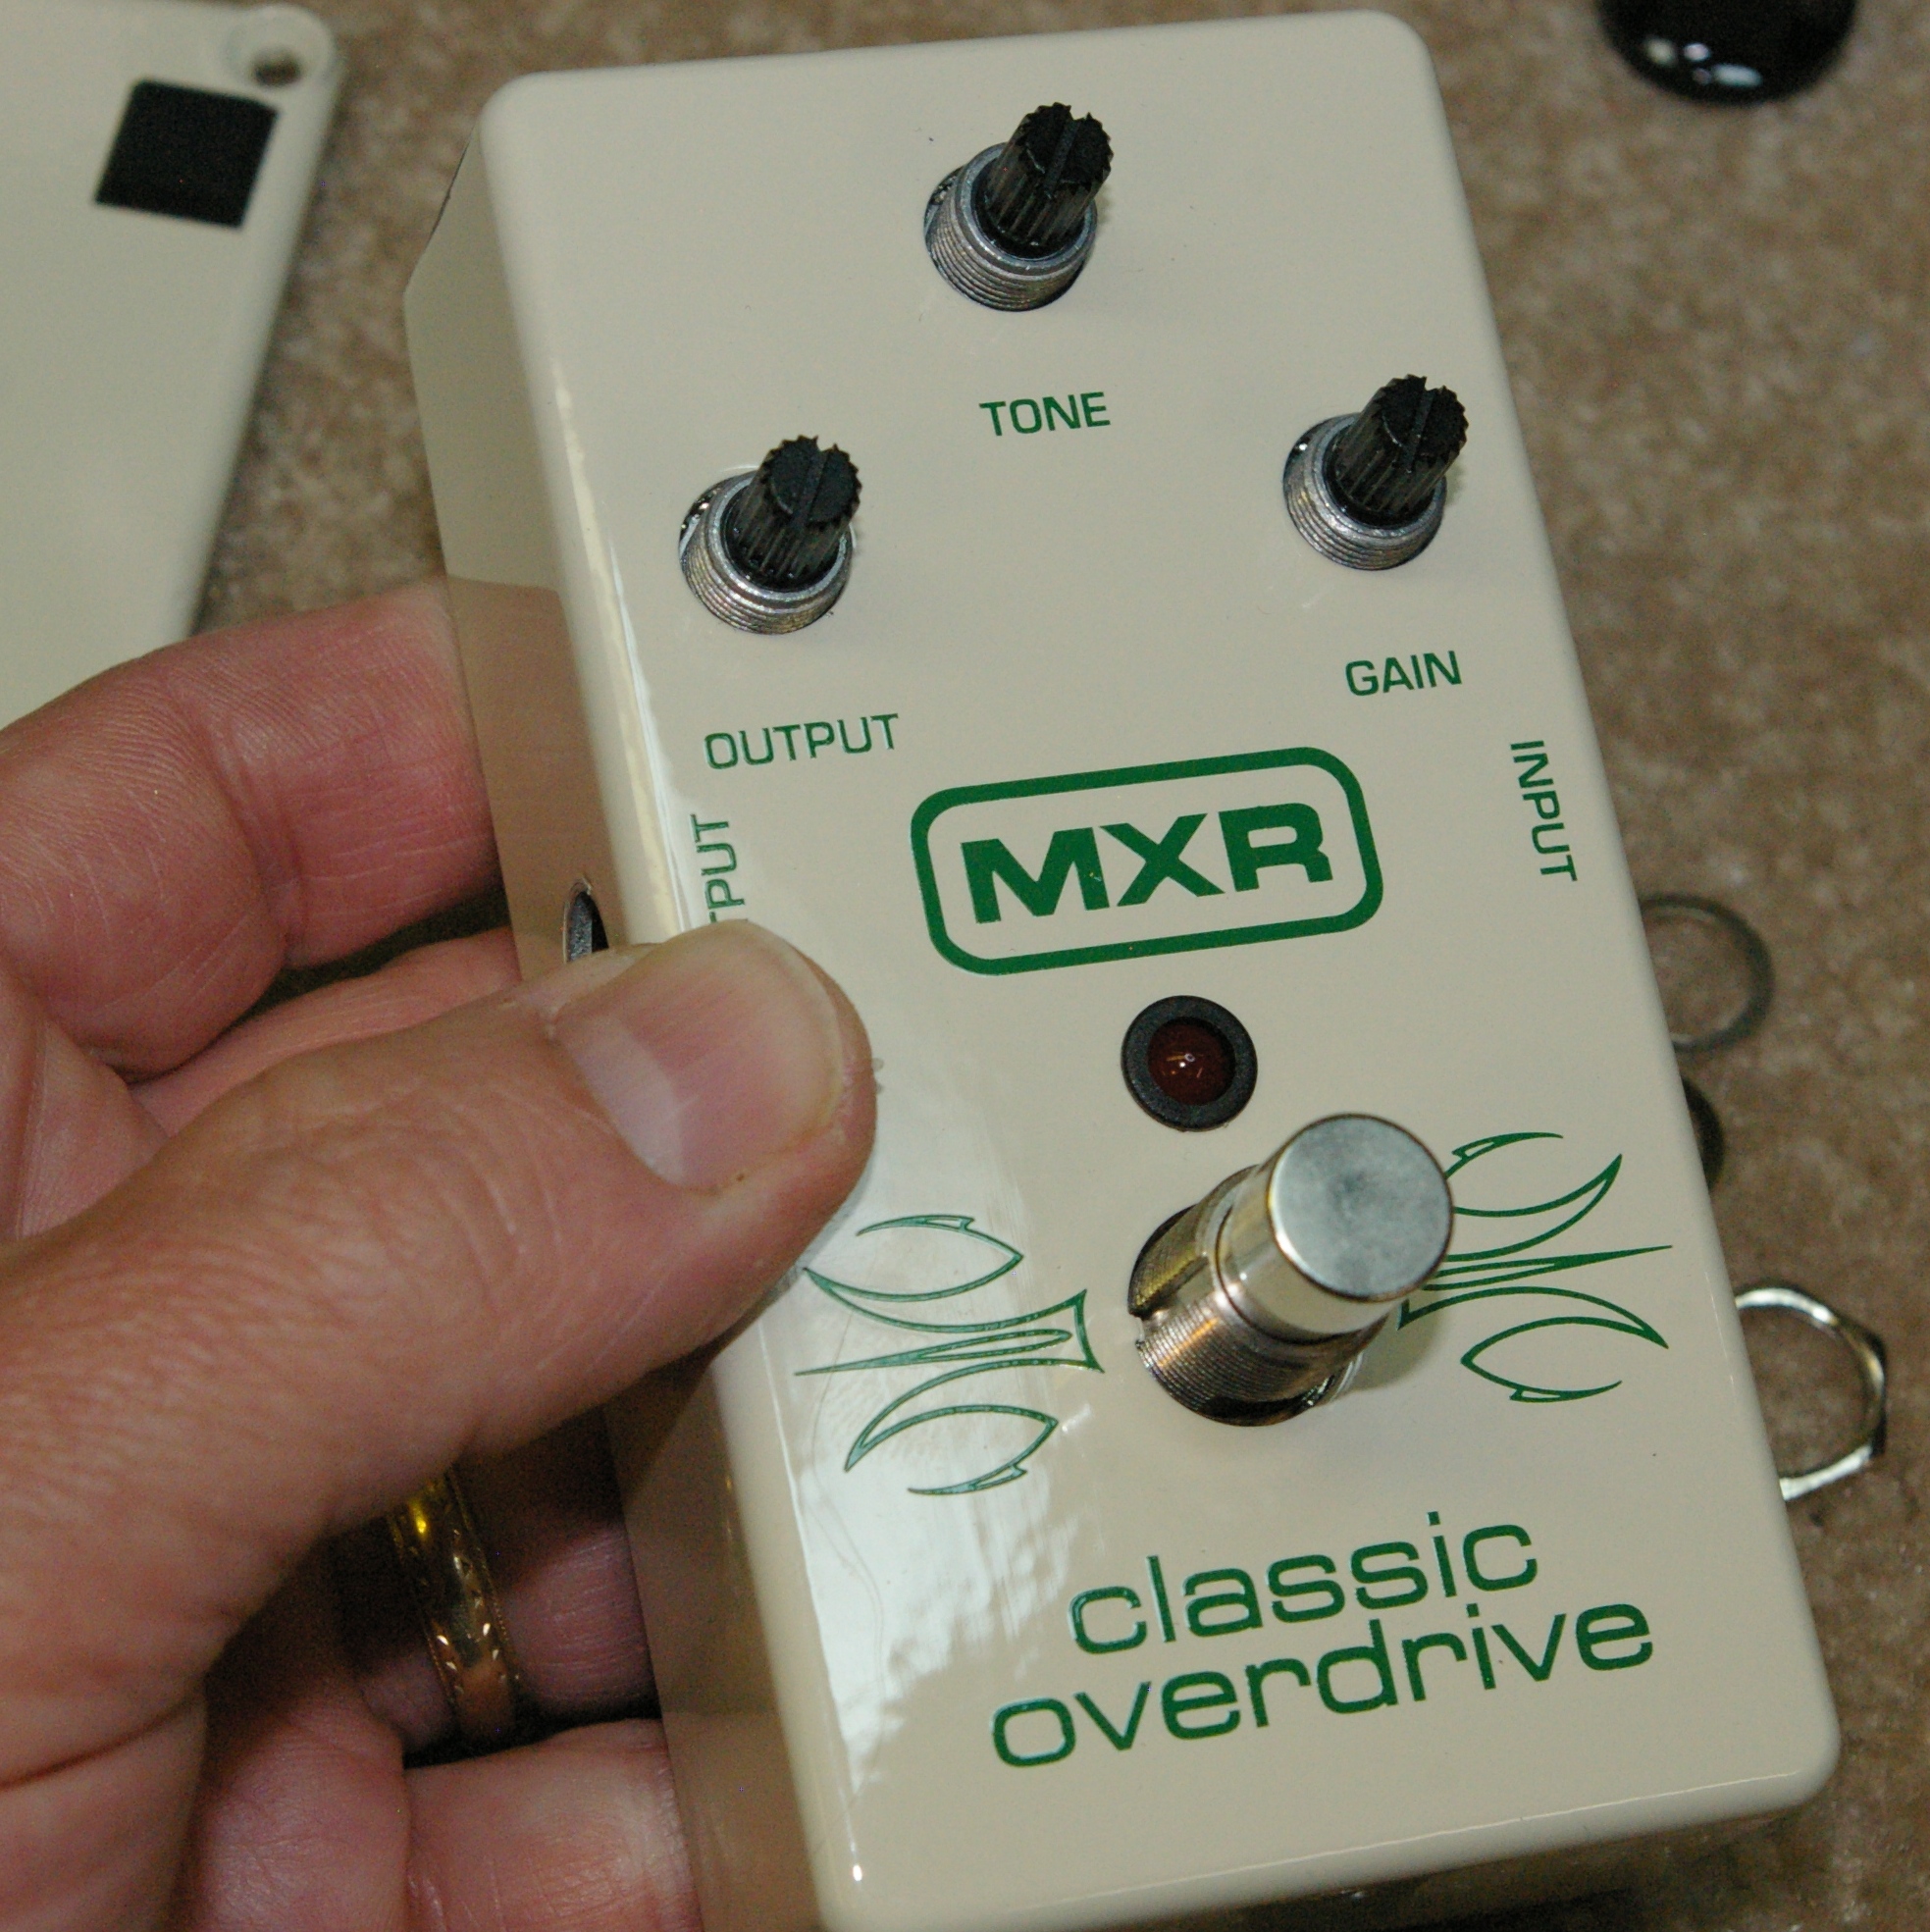
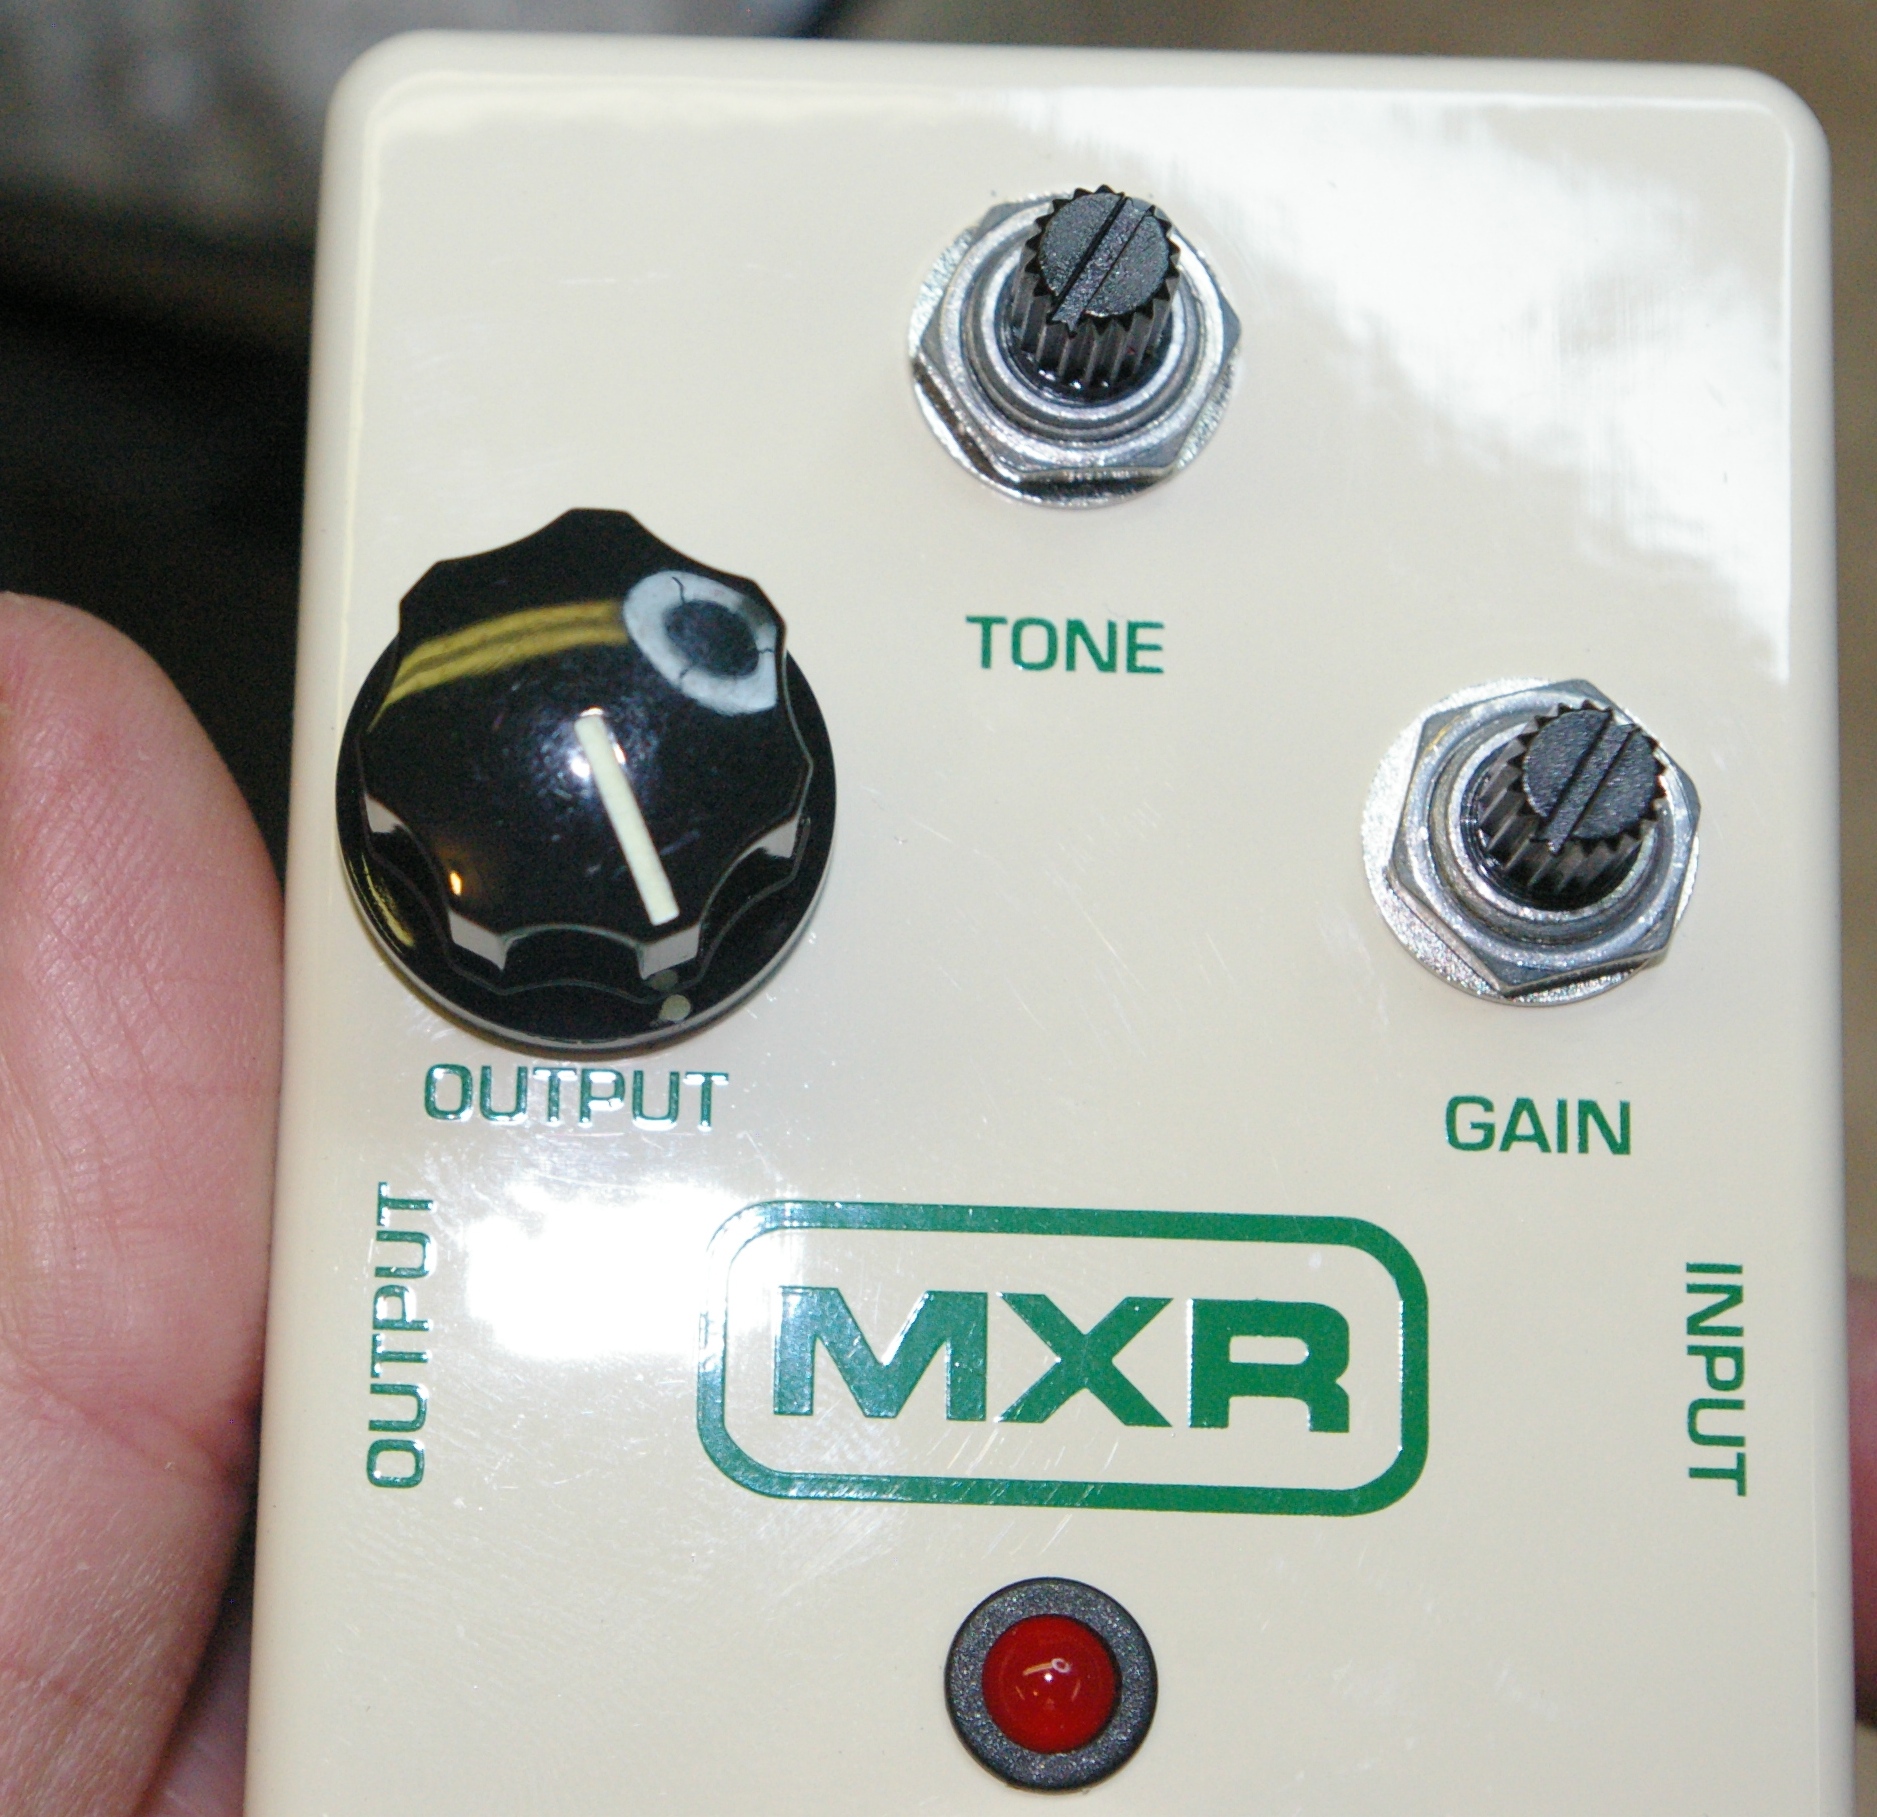
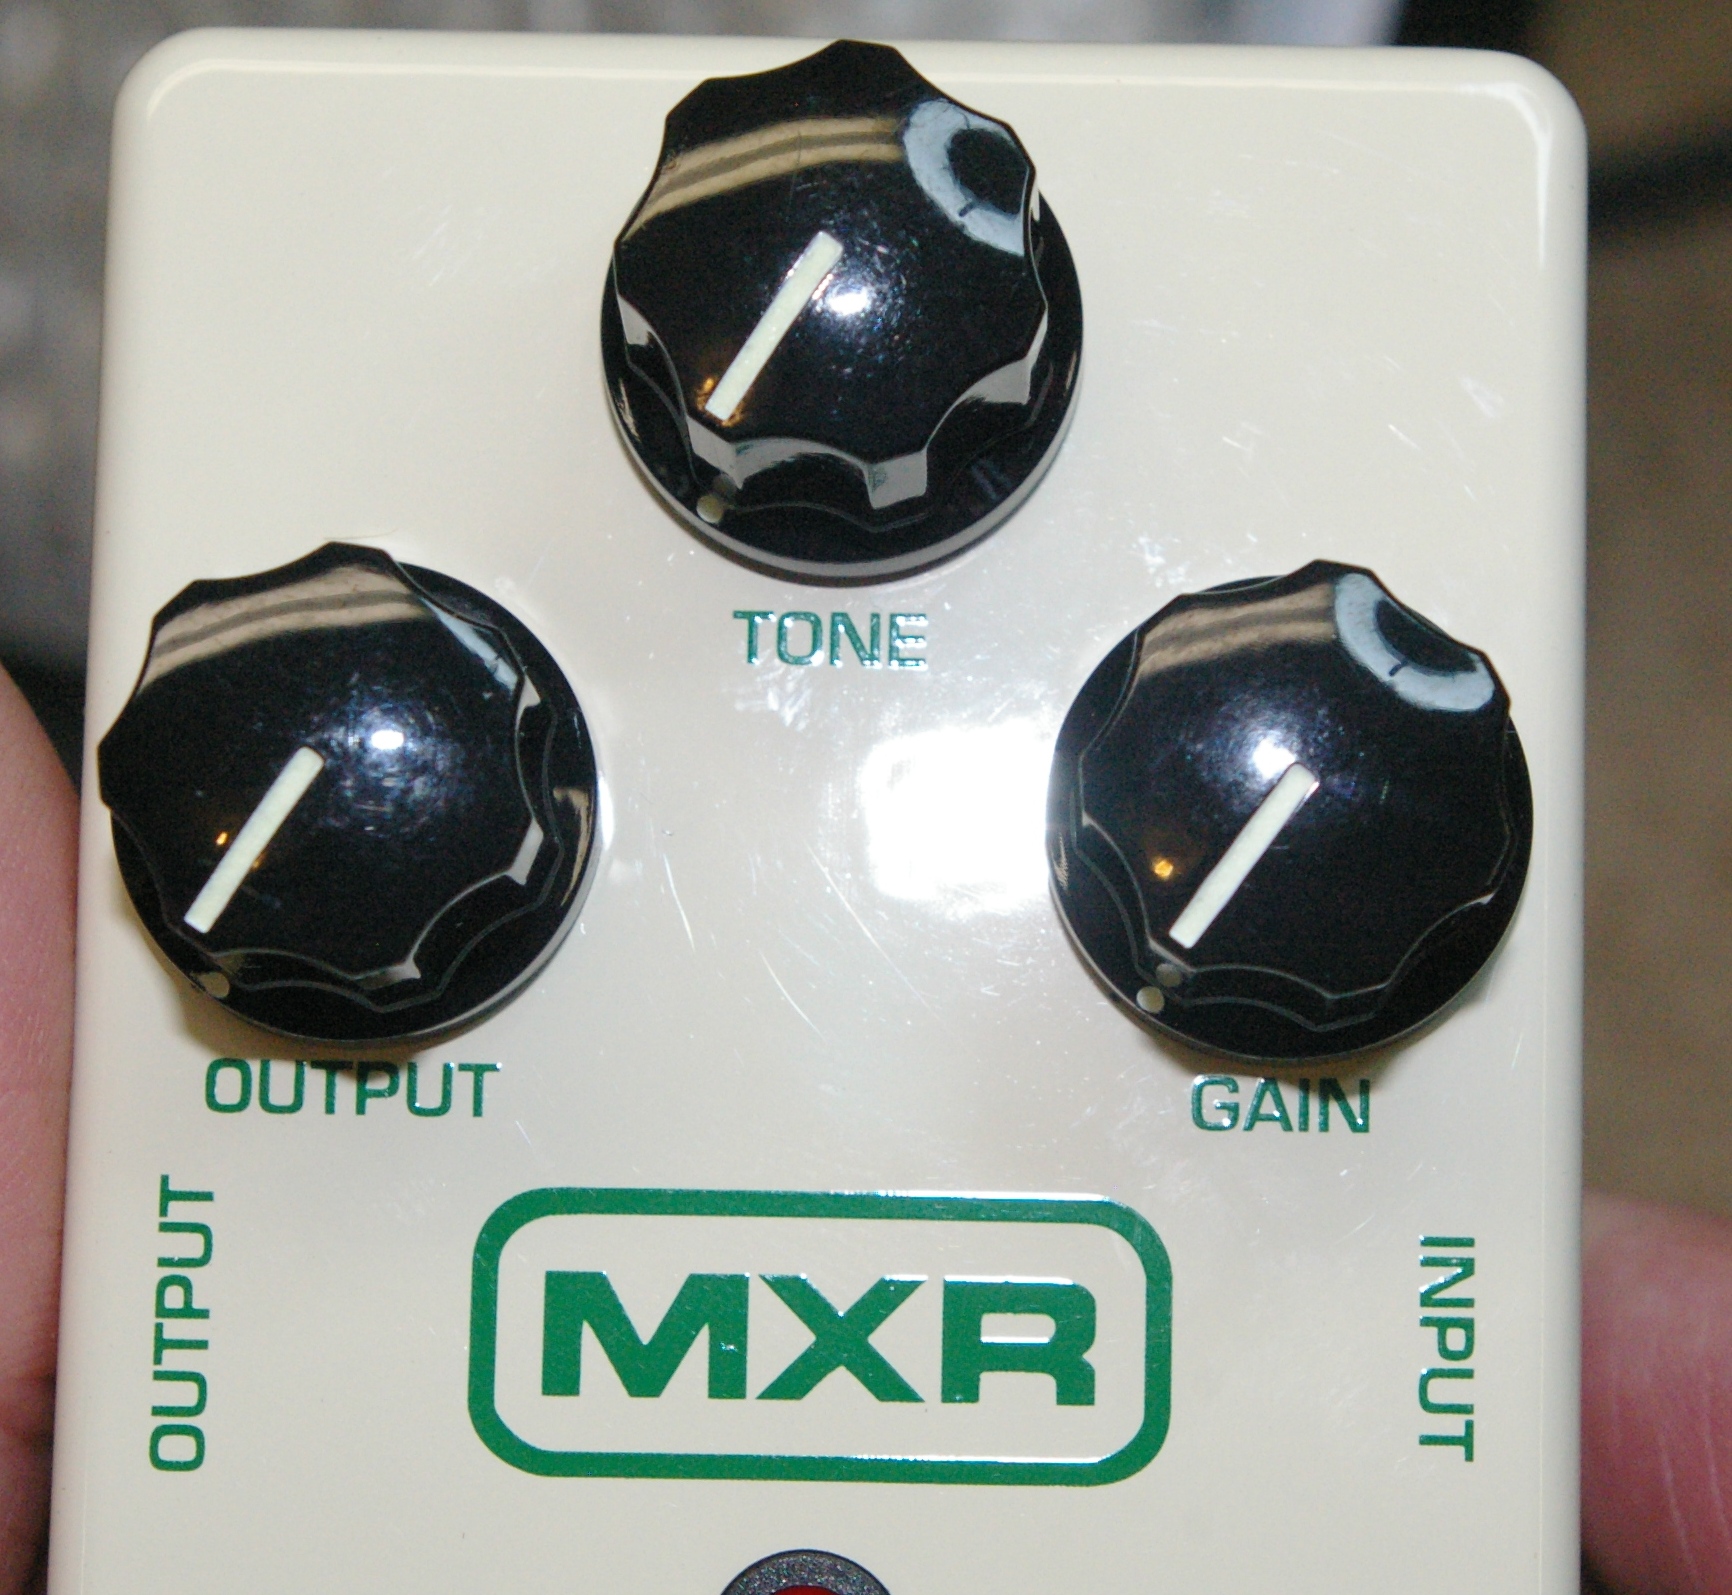
1. Make sure you still have all of your nuts, washers, etc.
2. Carefully pick up the board and place it back into the case. The only real watch out here is to make sure you get the battery cable positioned so you can still access it.
3. Put all the washer, nuts, jack inserts back on. Remember the jack inserts are going into plastic. Just make if firm, but don't get so tight that it strips the plastic threads.
4. Put the knobs back on. Here's the way I do this:
- Turn everything fully counterclockwise,
- Put the knob on with the indicator at about 7:00
- Turn the knob fully clockwise and it should be at about 5:00.
5. You're done!
Closing Thoughts
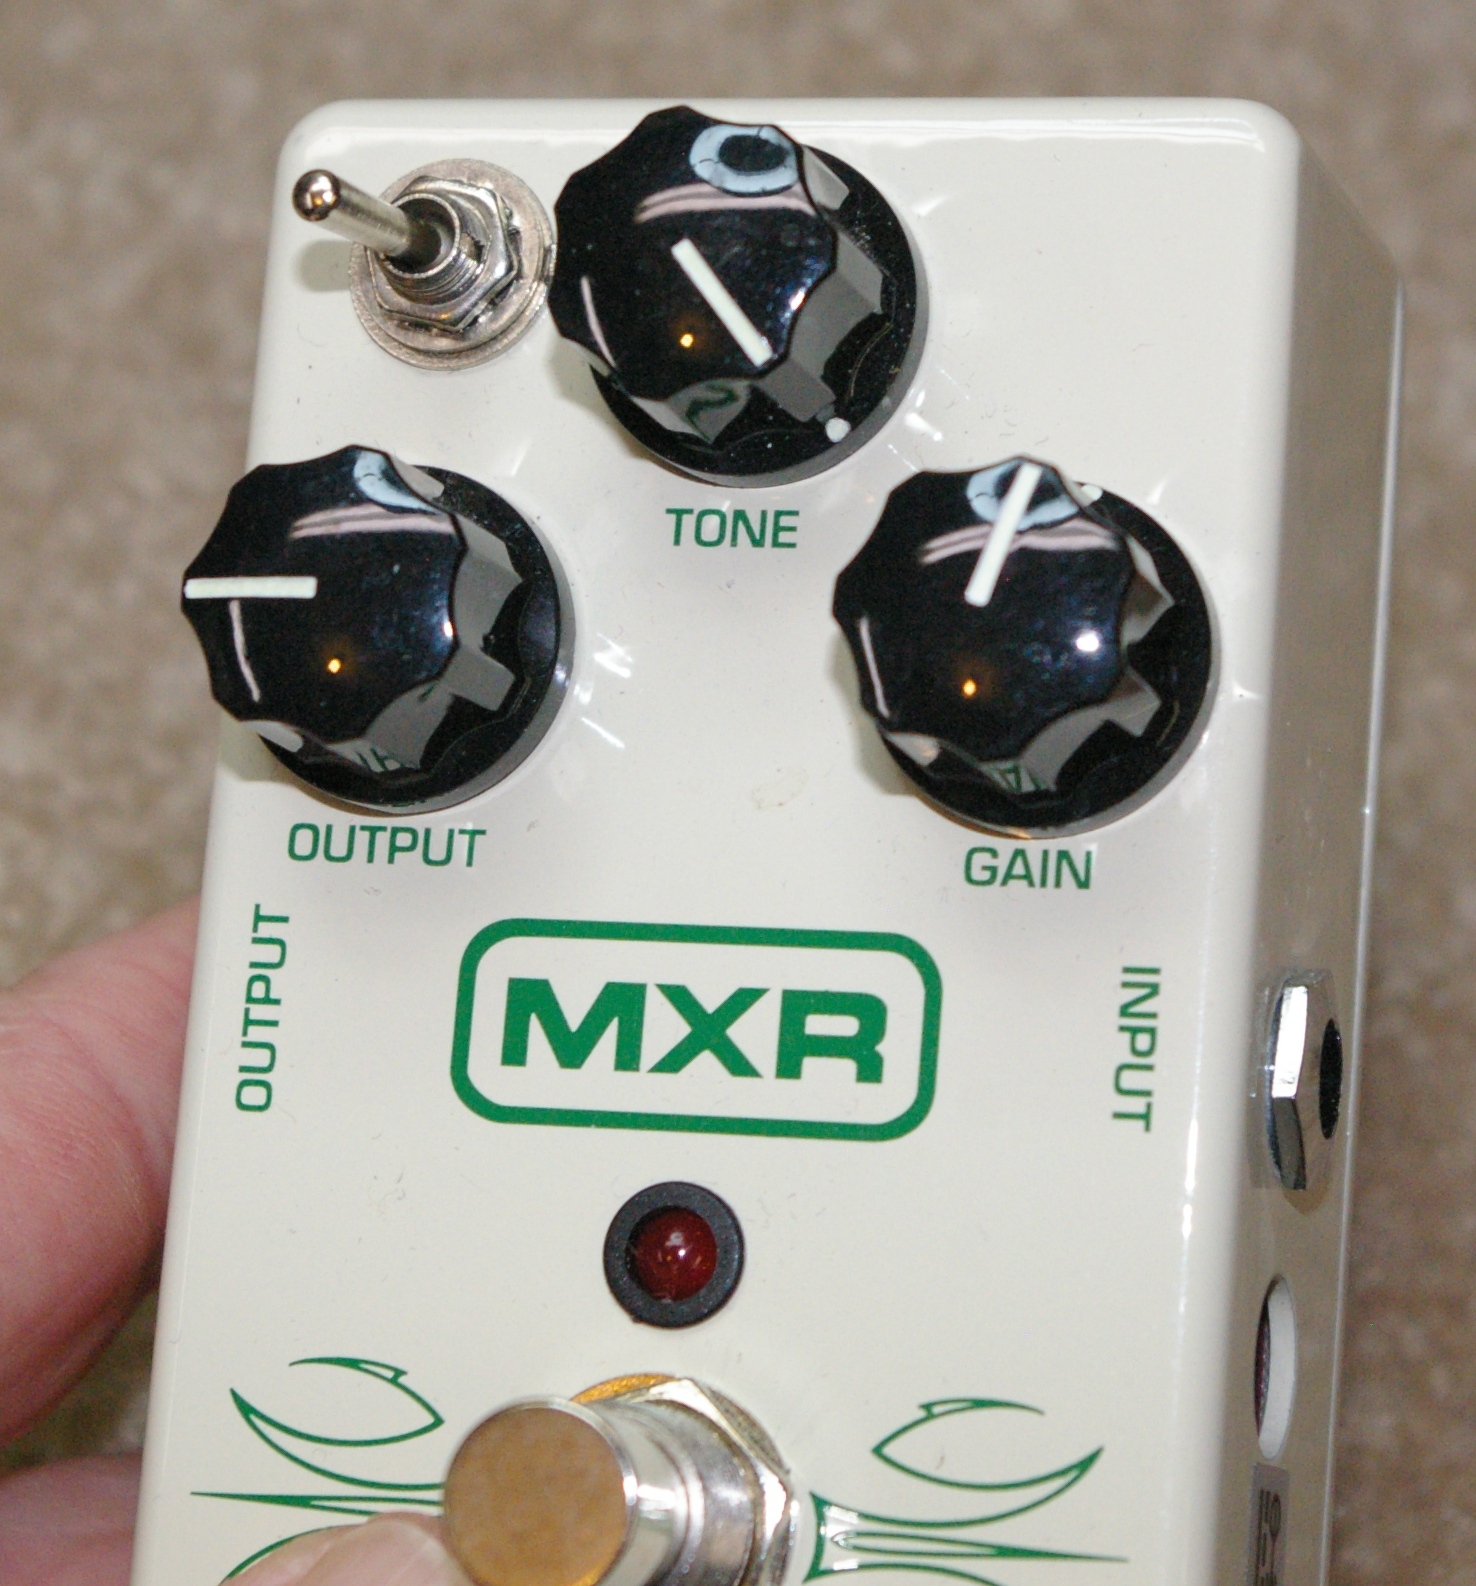
Flipping the switch is a very easy "mod" to do for most people. If you feel adventurous and have the skill, replace the slider switch inside with an external switch on the outside. Soldering in a new switch is simple enough, but finding somewhere to put it can be very tedious. I include a picture of the one I did. It turned out fine and works great - but I don't recommend doing that if you are not comfortable working in tight spaces and/or have iffy soldering skills.
Have fun with your versatile little pedal!
Please let me know if I need to make any corrections, clarifications or if you have a question. Thanks!