MLAB: INTERSTELLAR TESSERAE PLANTER
by Mbadika in Workshop > 3D Printing
12999 Views, 88 Favorites, 0 Comments
MLAB: INTERSTELLAR TESSERAE PLANTER
.JPG)
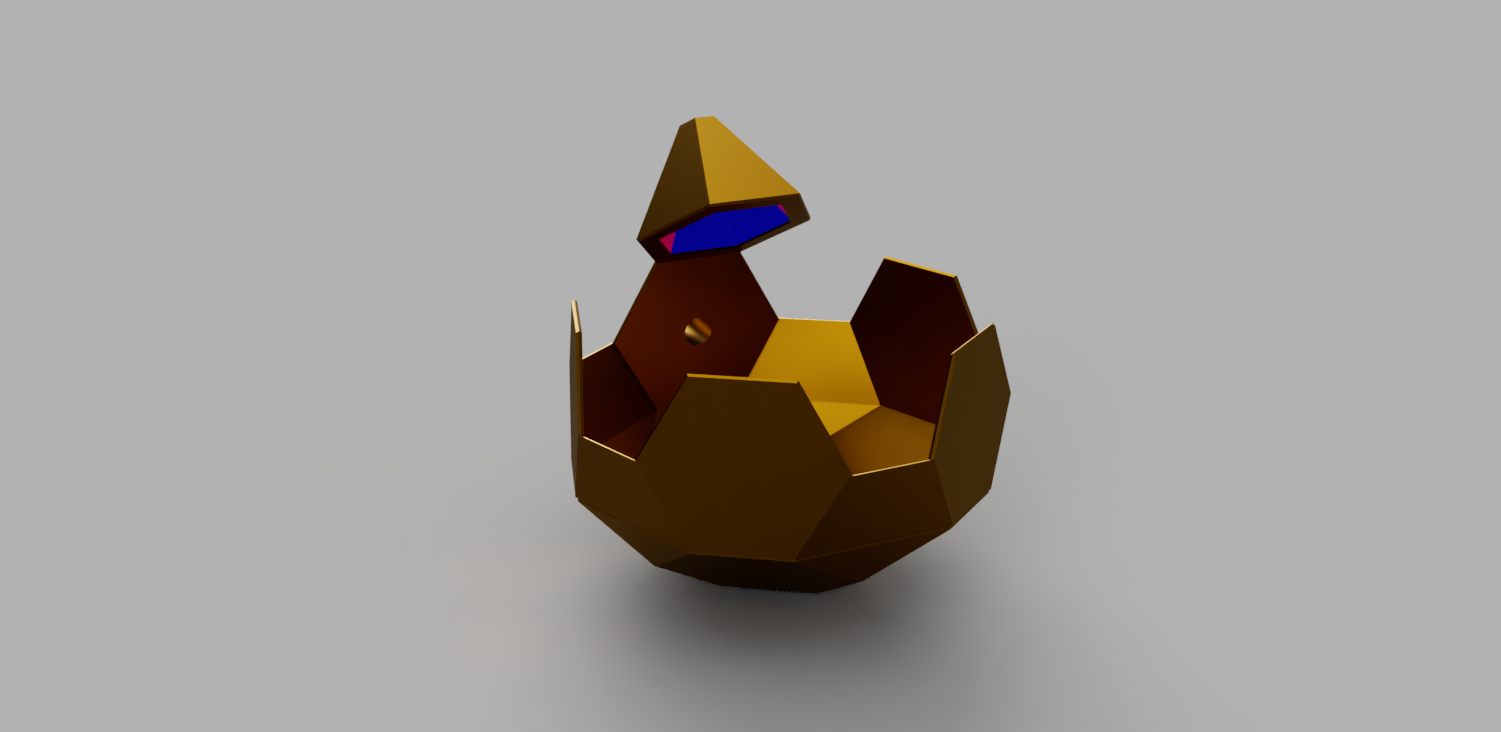
On July 20, 1969, NASA’s Apollo 11 Mission Crew stepped on the Moon and proclaimed “one small step for man, one giant leap for mankind.” Now, 50 years later, SpaceX has become the first private company to successfully deliver supplies to the International Space Station (ISS), a critical step to creating a path to Mars. Therefore, this Summer, in honor of the 50th Anniversary of the Apollo 11 Mission, mLab (Mbadika Laboratory) decided to do something truly out of this world that honors mankind’s past and future in space travel in collaboration with NASA Goddard Space Flight Center.
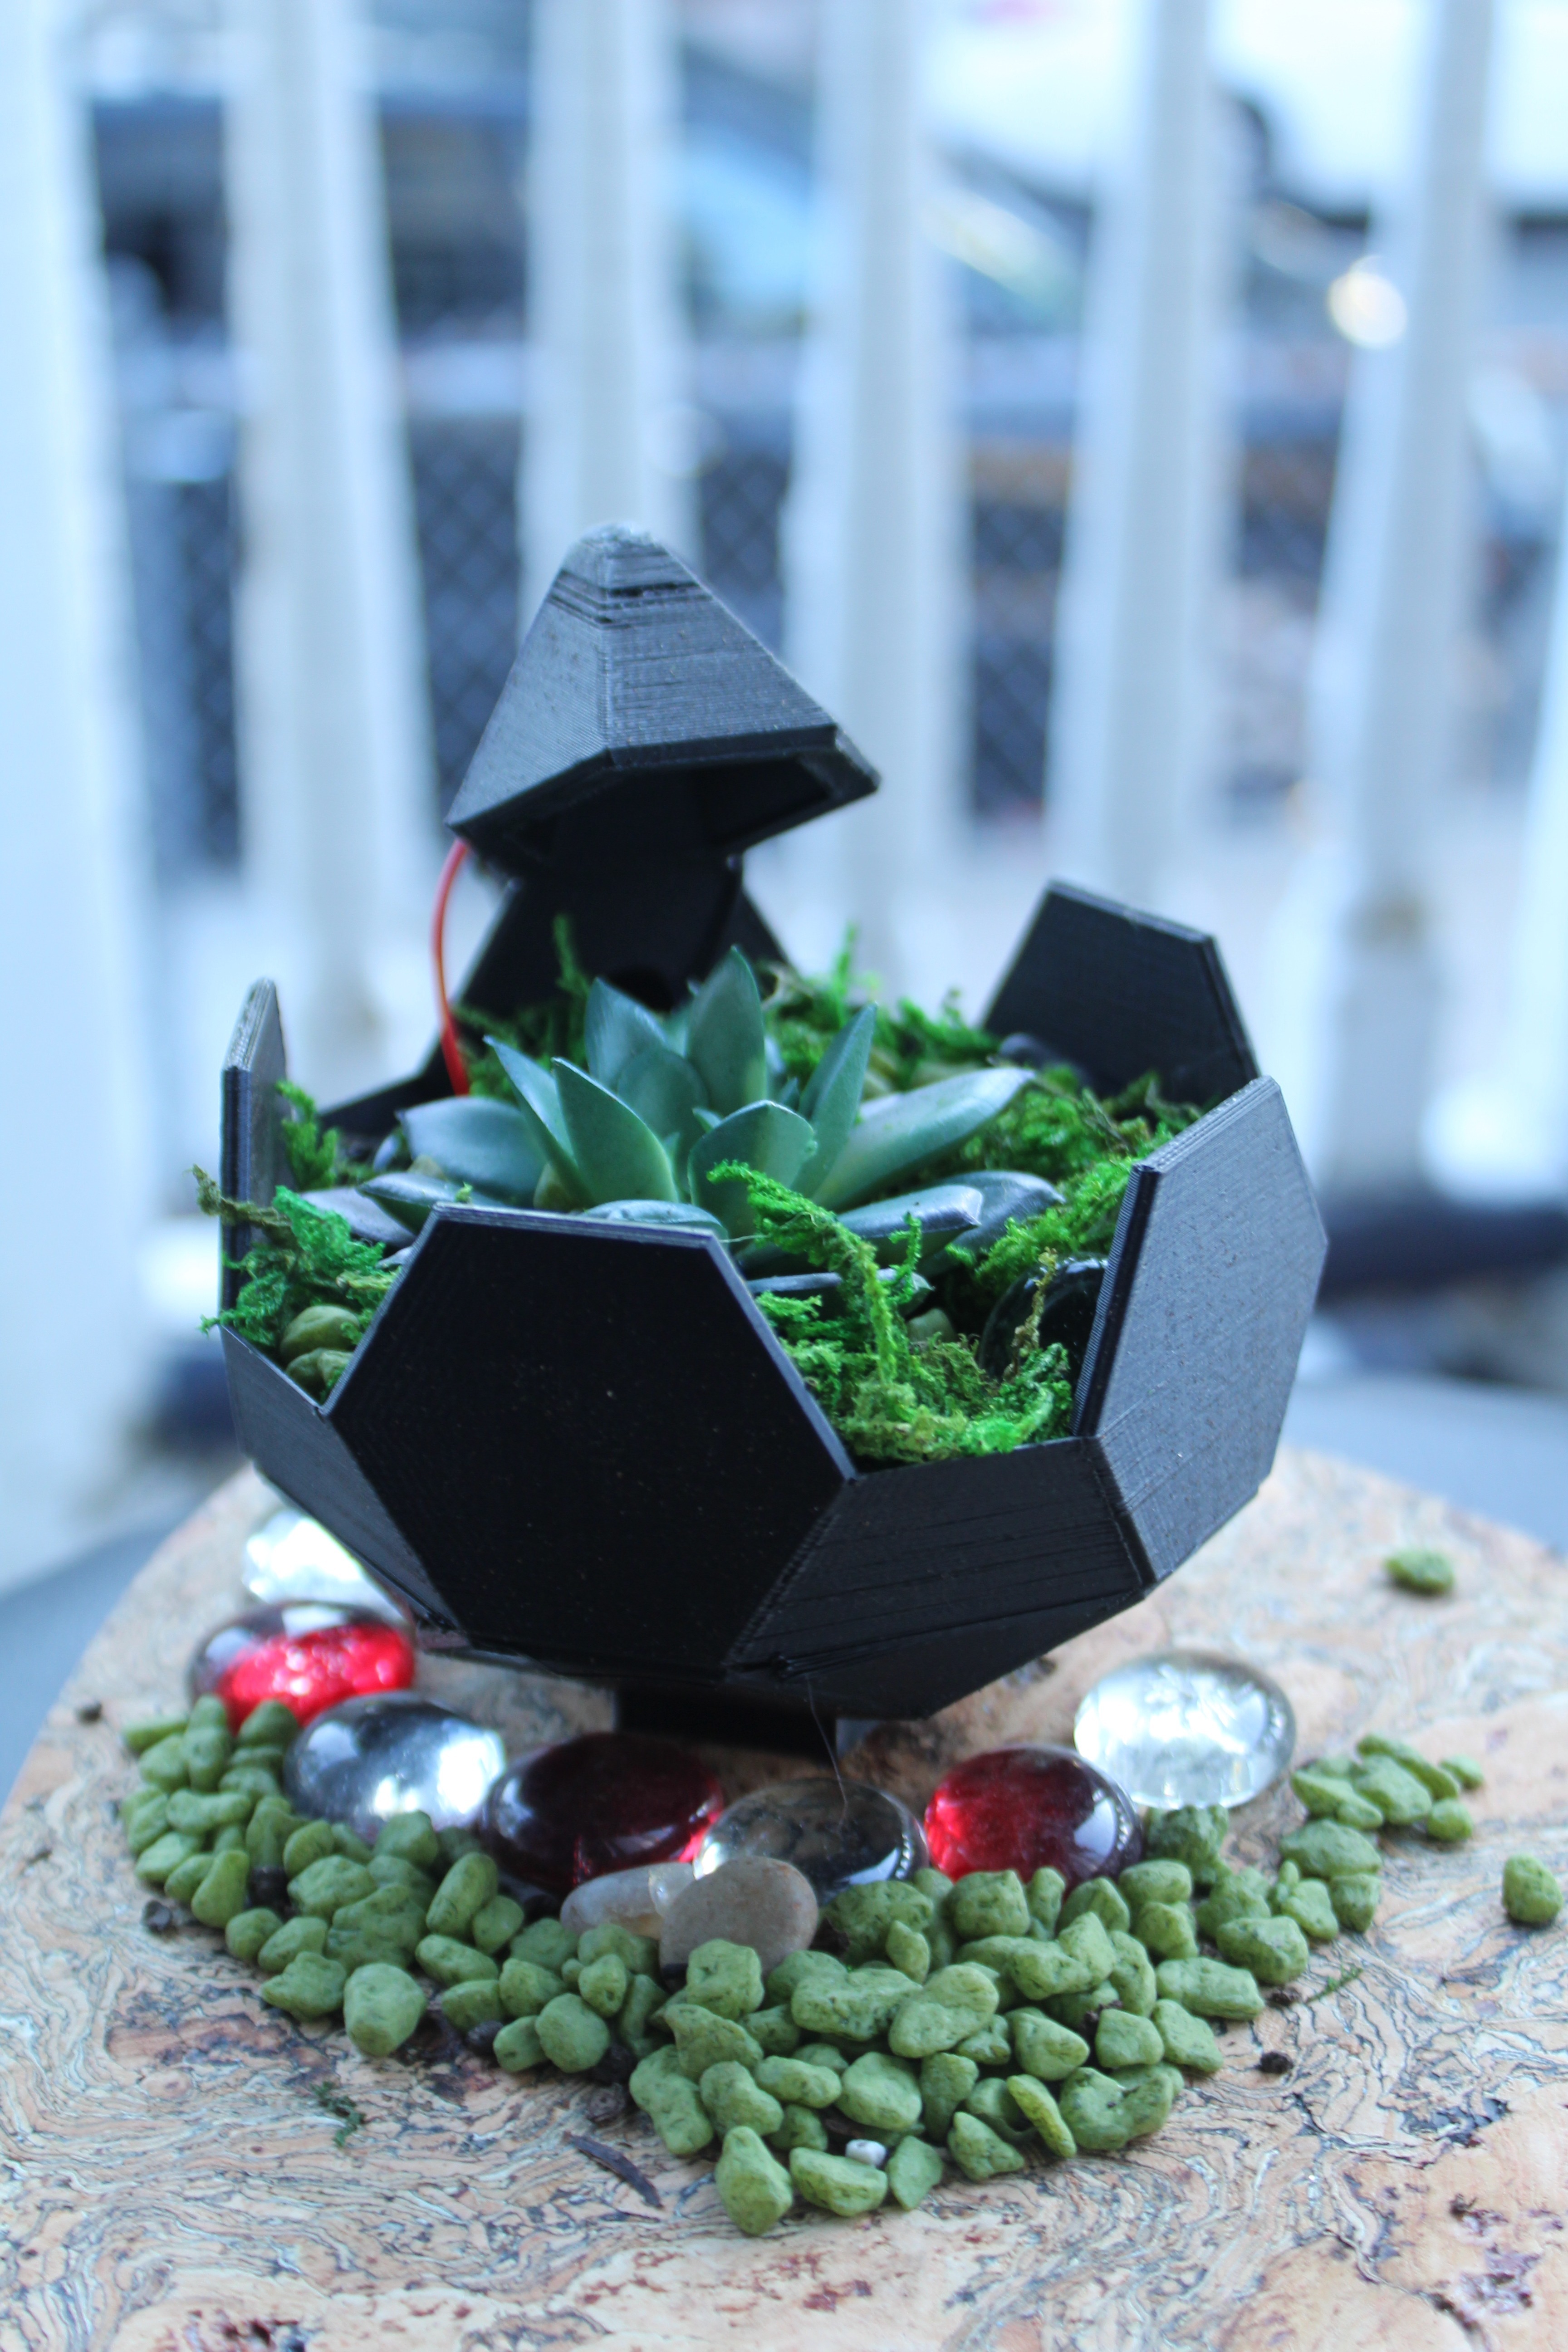
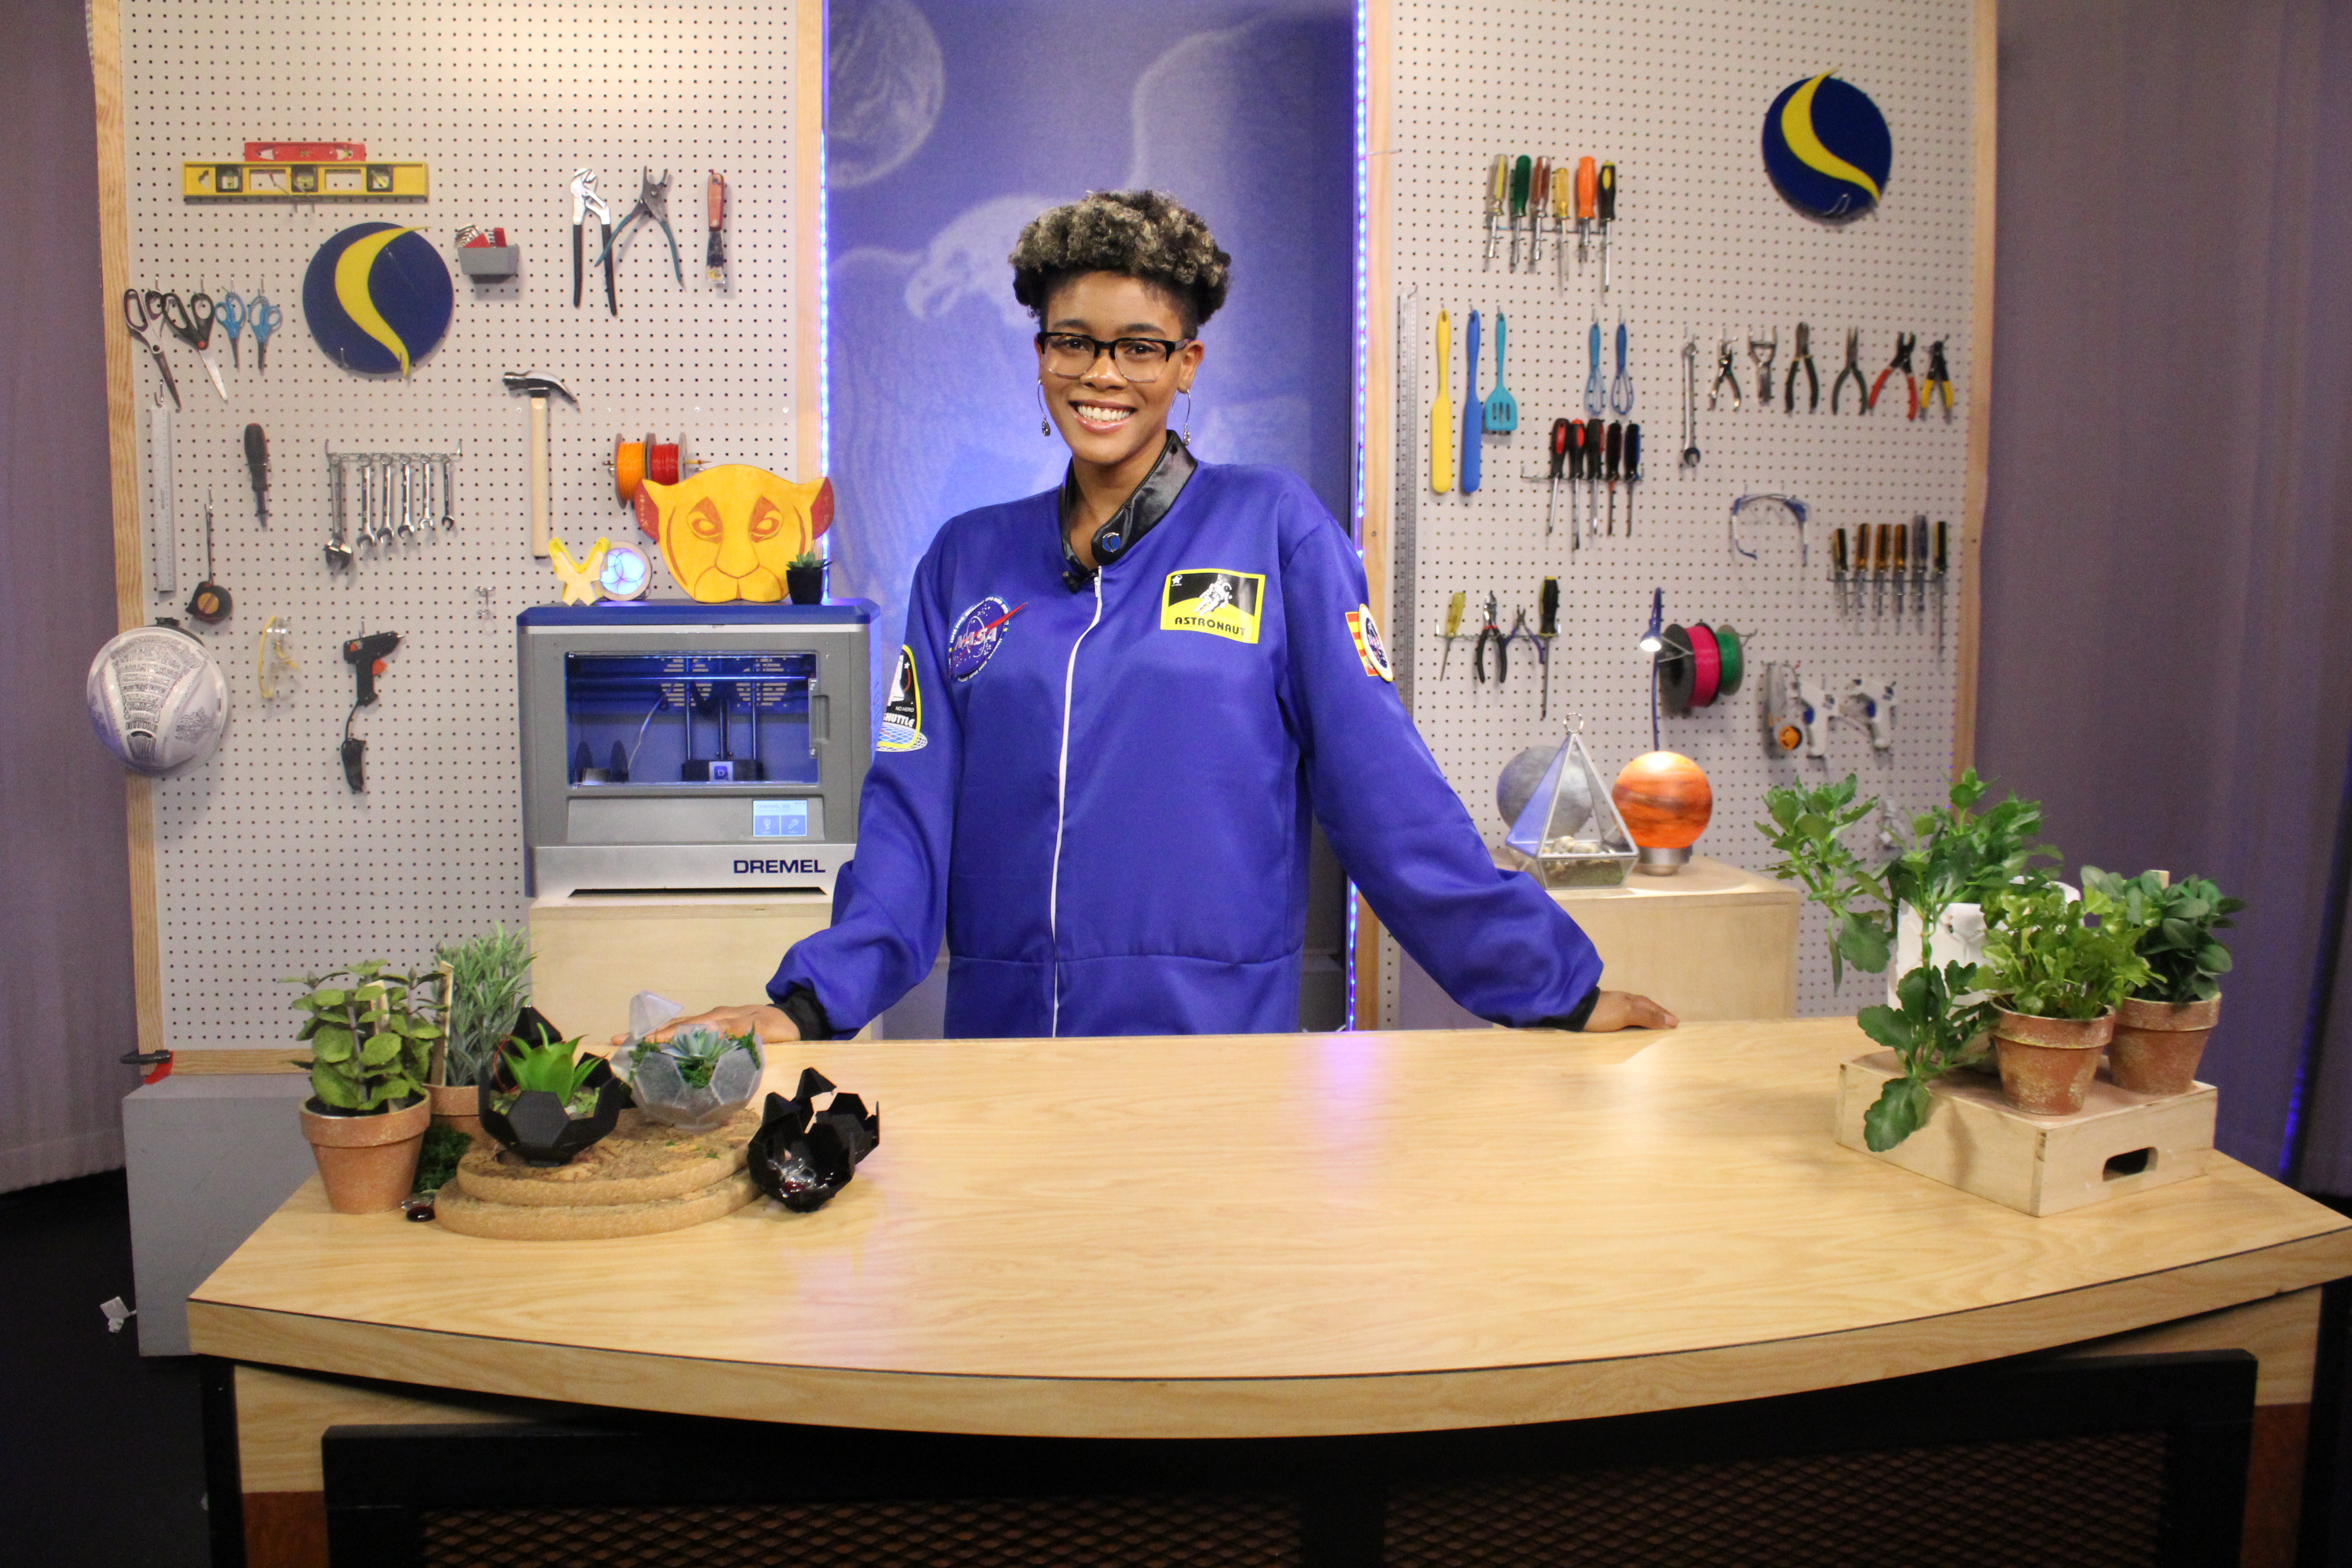
In mLab Episode #11, mLab Host Netia McCray will guide you through the process of creating your version of a succulent planter inspired by the MIT Media Lab Space Exploration Initiative TESSERAE Project, a self-assembling space architecture project to make travel to Mars and other inter-stellar destinations a reality. Through 3D Printing, Computer-Aided Design (CAD) software, electronics, and a little bit of crafting, we will show you how to bring your Tesserae planter to life.
In addition, mLab will take you to our partner program, Boston Design Academy (BDA), a STEM (Science Technology Engineering Mathematics) initiative in collaboration, with the City of Boston, the Timothy Smith Network, and Boston Public Library to expose Boston Public School (BPS) participants to career pathways in design through STEM. At Boston Public Library, BDA participants showcased their inventions, including space-friendly hygiene and medical products, to combat the challenges to astronauts as they complete the 9-month journey to the Red Planet.
In this Instructable, to accompany our mLab Episode #11, we will break down how we created our Interstellar TESSERAE Planter using Autodesk's Fusion 360 and a 3D Printer.
If you are interested in creating a different geometrically unique planter, we highly recommend checking out Becky Stern's Geometric Planter with Drainage which shows you Step by Step how to create a unique planter using Autodesk's Tinkercad and a 3D Printer.
Supplies
- 3D Printer [For Example; Dremel 3D20 3D Printer]
- 2-3" Succulent Plant
- Planting Soil
- Interstellar TESSERAE Planter: UV Light Version
- 5 mm UV Light
- CR2032 Coin Cell Batter
- Push Button
- Optional: Decorative Elements (i.e. Pebbles, translucent Glass Beads, etc.)
Inspiration for the Interstellar TESSERAE Planter
When we were looking for a unique project to remix in honor of the 50th Anniversary of NASA's Apollo 11 Mission, we became inspired by an article stating that NASA is presently exploring 3D Printing as a method to minimize cargo for Lunar (i.e. Moon) and Mars Missions and 'make on-demand' any necessary tools, replacement components, or even architecture.
Given our access to 3D Printing technology on Earth, for our mLab Project, we wanted to combine 3D Printing with another initiative being explored by NASA for their Lunar and Mars Missions; Countertop Gardens.
Whether a complete hydroponic garden supplying fresh fruits and vegetables to a community or a succulent planter on a windowsill, the same benefits we enjoy on Planet Earth could benefit those making the month-long journey to the Moon or the 9-month journey to Mars and beyond.
Hence, we decided to make an Interstellar Planter...but we had to decide on a design that was also in line with NASA and mankind's present focus on the next frontier; Mars.
As an organization that got its start at MIT, we decided to look back at our Alma Mater for inspiration at what does types of design are dominating our conversations around the Red Planet. Fortunately, at the JFK Library Apollo 11 Mission Celebration in July, we came across MIT Media Lab's Space Exploration Initiative and learned about the TESSERAE Project.

Artist's depiction of TESSERAE at scale, in orbit around Mars. Credit: Artist Rendering of TESSERAE (TU Dortmund)
The TESSERAE Project by the MIT Media Lab Space Exploration Initiative by Ariel Ekblaw is a "multi-use, low-cost orbiting modules that supply a critical space infrastructure for the next generation of zero gravity habitats, science labs, staging areas for on-surface exploration, and more" (MIT Media Lab Space Exploration Initiative).

"TESSERAE assembly concept: Flat packed for launch, tiles released to swirl and quasi-stochastically self assemble, target geometry, constellation of multiple docked TESSERAE modules." Credit: Ariel Ekblaw
Once we reviewed a few of the prototypes of the TESSERAE project, we knew we had our mLab Project;
AN INTERSTELLAR TESSERAE PLANTER!
Now, let's bring our Interstellar TESSERAE Planter to life using Fusion 360. 👩🏽🚀
Polygons, Pentagons, Hexagons, Oh My!
For this mLab Project, we've created an abbreviated version of our mLab Episode 11 with a complete breakdown of our Fusion 360 Tutorial Step by Step to help you follow along below;
Now, let's get started by sketching our design for our Interstellar TESSERAE Planter project.
Just like for our Lion King project, we are going to create a Sketch of our Tesserae Project using Autodesk’s Fusion 360.
TIP: As always, if you prefer an alternative, you can complete the next step in Adobe Illustrator, Rhino, Inkscape, or any other design software.
Using Fusion 360’s Sketch feature, we are going to create a 2D trace of a TESSERAE using a few Polygon Sketching Tools including; a Circumscribed Polygon and Edge Polygon.
First, let's prepare our Workplane for our various polygons by creating a sketch.

Now we have our Workplane, let’s start off with creating a base for our TESSERAE planter by creating a Pentagon by selecting ‘Create Sketch’...and selecting the Polygon Tool; Circumscribed Polygon, which is a fancy mathematical term for each side of the polygon touches an inner circle of a certain radius.
This will allow us to make a Pentagon or a polygon with (5) sides and a radius of ~2.00” from the center of our Workplane.

Next, we want to surround our Pentagon with Hexagons in order to complete the first layer of our TESSERAE. In order to do so, we will need to go back to our Polygon Toolkit and instead of selecting the Circumscribed Polygon, select the ‘Edge Polygon’ Tool.
Now armed with the ‘Edge Polygon’ Tool, we can select two points or vertices on our Pentagon that we would like our Hexagon or polygon with (6) sides to touch...and BOOM.

MISSION CONTROL, we have a perfectly aligned Hexagon!
Feel free to add additional Hexagons depending on how high you would like your planter to be.
Here, we are going to create two rows of Hexagons in order to ensure we sufficiently cover our plant guest in our planter. [Get it...like a house guest in your house but the guest is a plant...in a planter. Nevermind. 🤭]
Now we’ve created our desired number of Hexagons for each side of our Pentagon, it’s time to ‘Finish our Sketch’ and begin the next phase of our Planter;
Creating our CAD Model.
Turning Your Sketch Into a 3D Print
In order to create our CAD model, we will need to extrude our TESSERAE Sketch into a 3D Model for our 3D Printer to bring to life (point to 3D Printer).
Once we’ve extruded our individual components, it’s time to start assembling our Hexagons around our Pentagon. In order to form the base of our planter, we need to take a quick math break…
Given our base is a Pentagon, we will need to rotate every Hexagon along each side of our Pentagon 36 degrees in order to create our first layer of the TESSERAE, then 72 degrees for our second layer and 108 degrees for our third layer...if we decided to build that bold.

Make sure to use the ‘Align’ Tool in your ‘Modify’ Toolbar to ensure your polygons are perfectly aligned as this TESSERAE relies on precision.

Once we’ve rotated every Hexagon along each corresponding side of the Polygon, you’ll notice we have a number of inverted Pentagon-shaped gaps between our Hexagon layers.
No worries, we can easily fill those in using Fusion’s ‘Loft Tool’, which is like duct tape for CAD Models.
We simply select the two sides we want to fill, go to our ‘Create’ Toolbar, select the ‘Loft’ tool and VOILA!
Now, we will continue to use the ‘Loft’ tool in order to fill in the rest of our gaps in our TESSERAE.

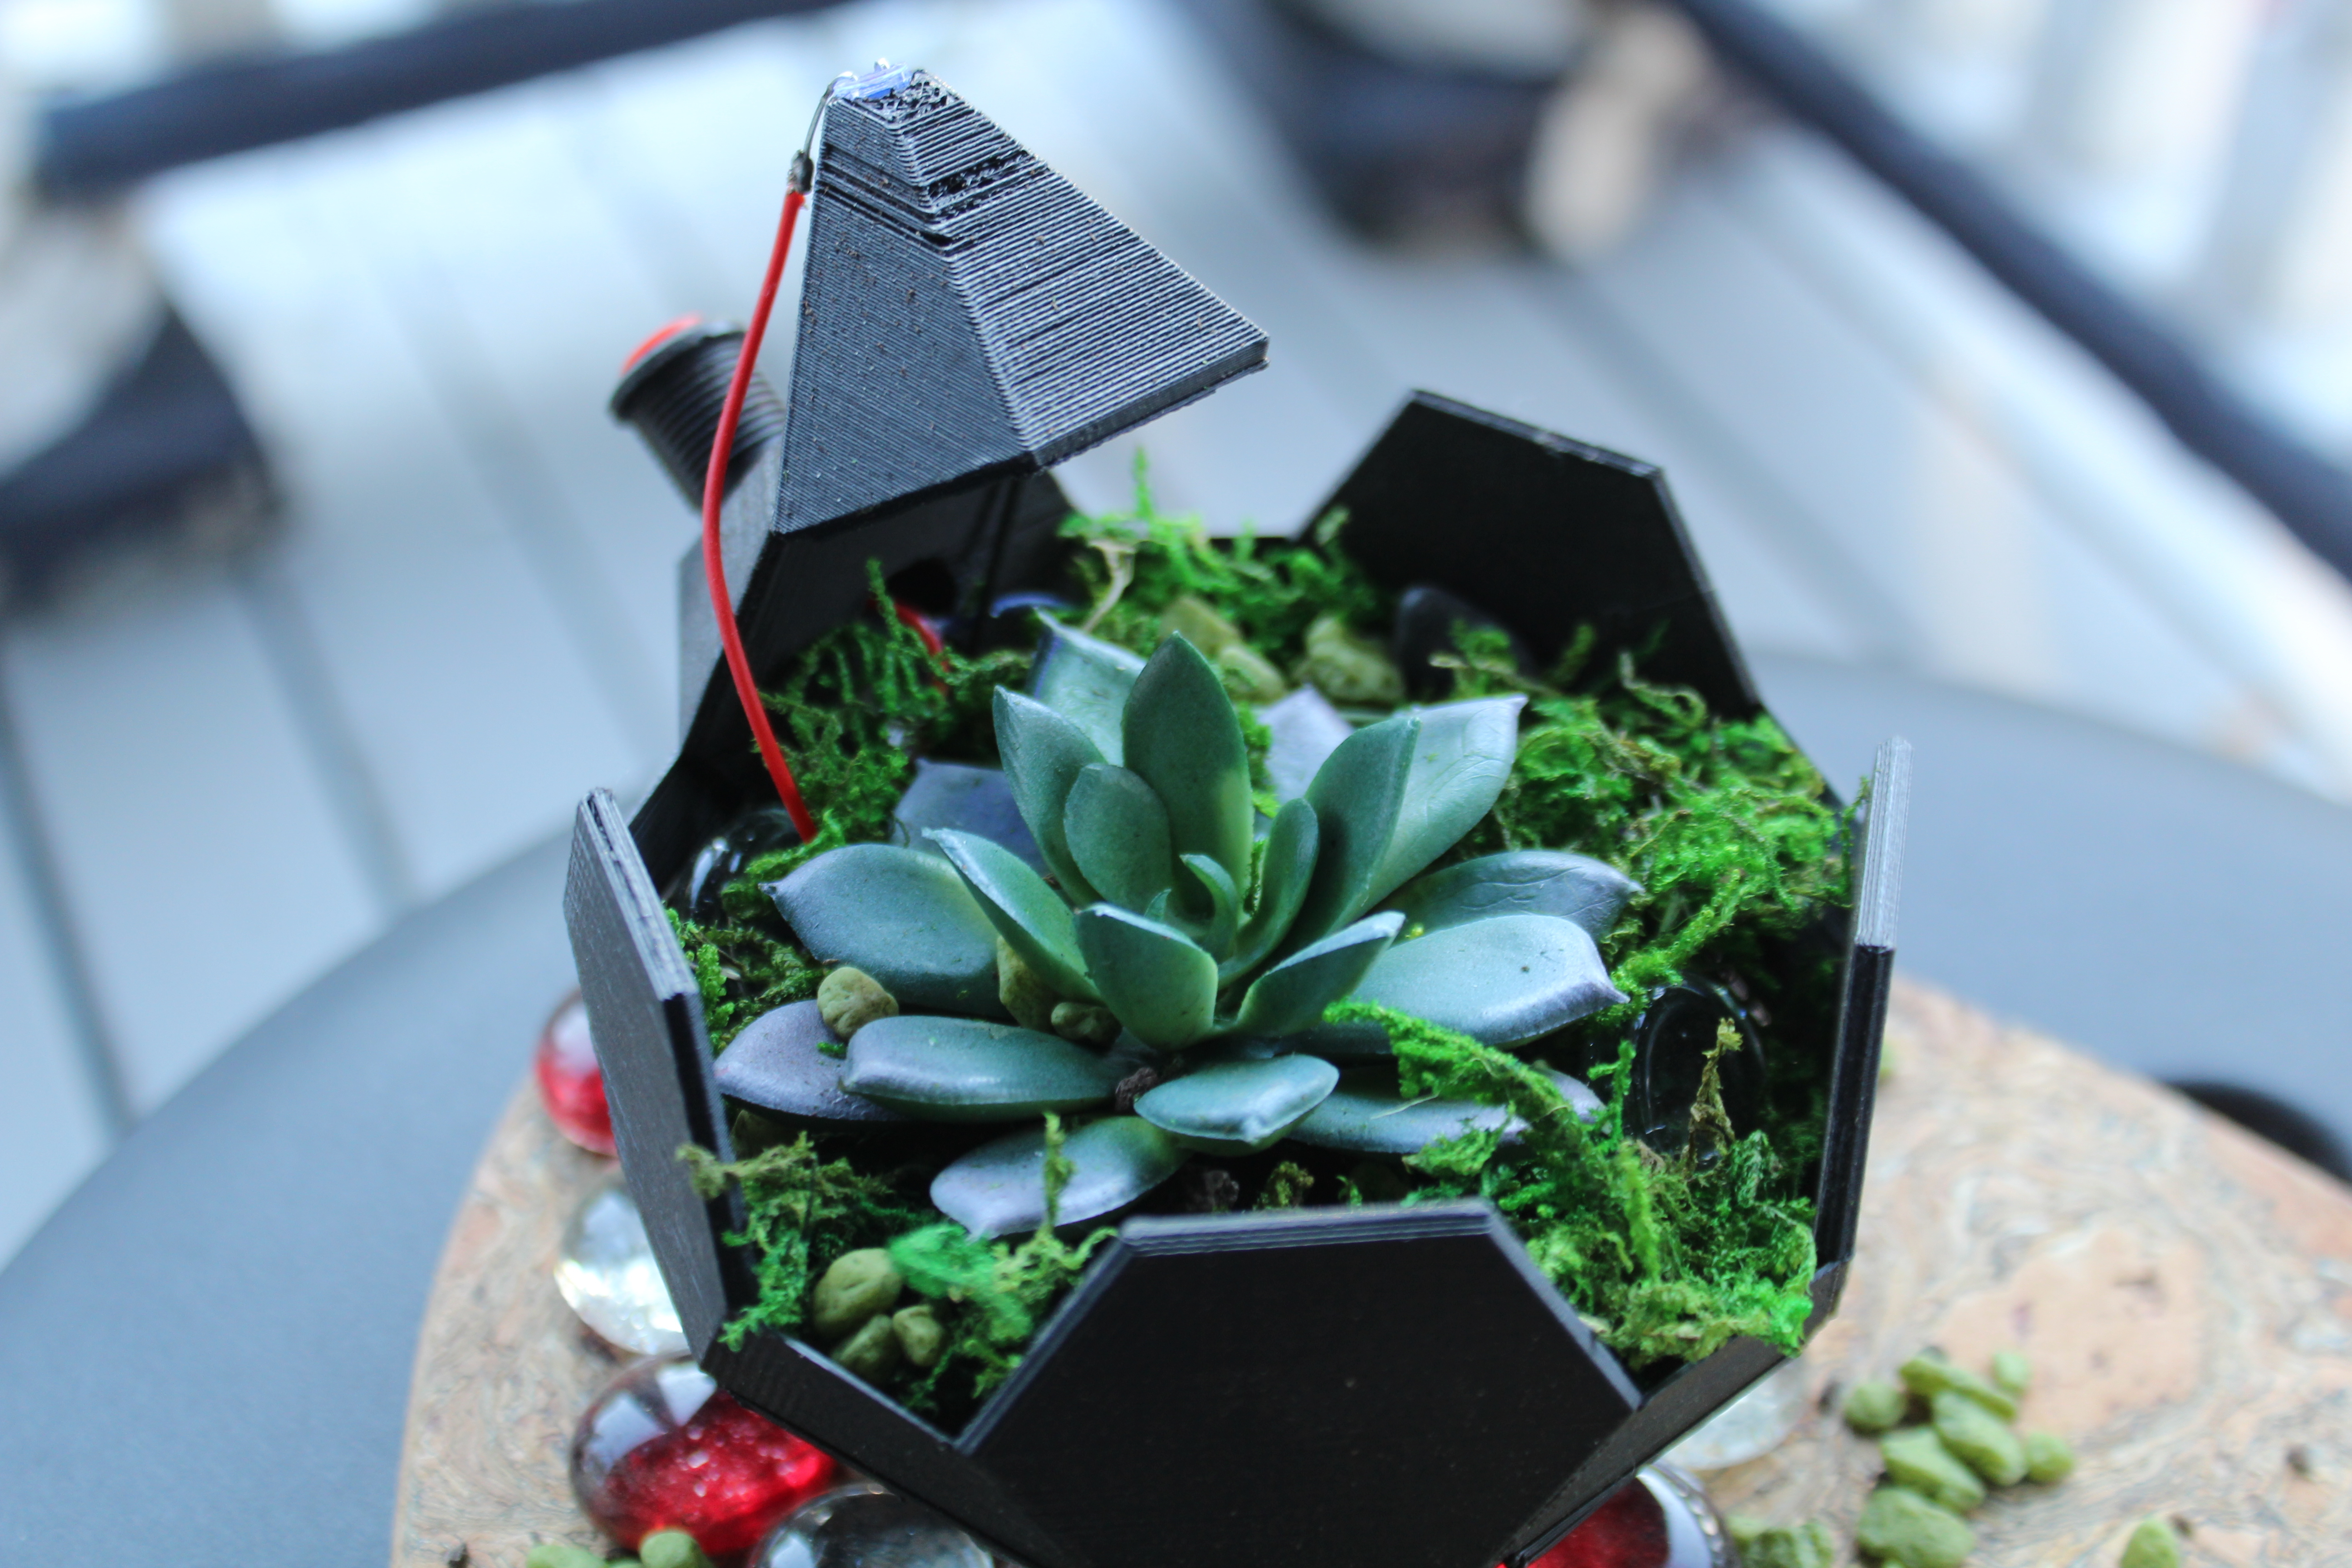
Once we have our CAD Model of our TESSERAE Planter in Fusion 360, we can send it to our 3D Printer, a Dremel 3D20, to bring to life.
CAD Model to Interstellar TESSERAE Planter
If you have access to a 3D Printer;
Congratulations!
You can make your Interstellar TESSERAE Planter CAD Model into reality.
If not, you can have your CAD Model printed at your local school, library, or maker-space with public access to a 3D Printer or you can order online and have it shipped to your home through VooDoo Manufacturing.
How do you export your CAD Model for 3D Printing? It's simple.
In Fusion 360, you can go to the upper Right-Hand Corner of the Upper Toolbar and Export your CAD Model as a .STL File or 'Send to a 3D Printer' which you can upload to the 3D Printing Software which corresponds to your specific 3D Printer.

For example, we are using a Dremel 3D20 3D Printer, so we will be using Dremel DigiLab.
If .STL sounds like an alien format, don't panic just yet. STL files are a very popular file format for 3D or CAD Models and its similar to exporting a Document as a Microsoft Word (.doc) or PDF format (.pdf).
Once you upload the .STL File to your 3D Printing Software, the software will transform your CAD model into a language that machines, in particular, 3D Printers, can understand.
So, in order to recap:
.STL = Language for 3D Modeling and Printing Software
.gCode = Language for 3D Printers to understand CAD Models
In our case, we used Dremel DigiLab, which allows you to upload .STL files and convert the file into the .gCode that corresponds to our Dremel 3D20 3D Printer.

Then bring your CAD Model to life by pressing BUILD!
In fact, if you have a bit of extra time, check out our mLab Captain Marvel Power Glove Instructable in order to create a pushbutton, CR2032 Coin Cell Battery, and UV Light setup for your Interstellar Planter.
Now, this planter truly feels worthy of being onboard a spacecraft. 👩🏽🚀
Bring a Little Space Into Your Space
It's been a very long journey, but you've created your own Interstellar TESSERAE Planter inspired by the men and women helping to make sure that mankind continues its journey to the stars.
When it comes to your TESSERAE Planter, it's very important to customize it in order to make it your very own.
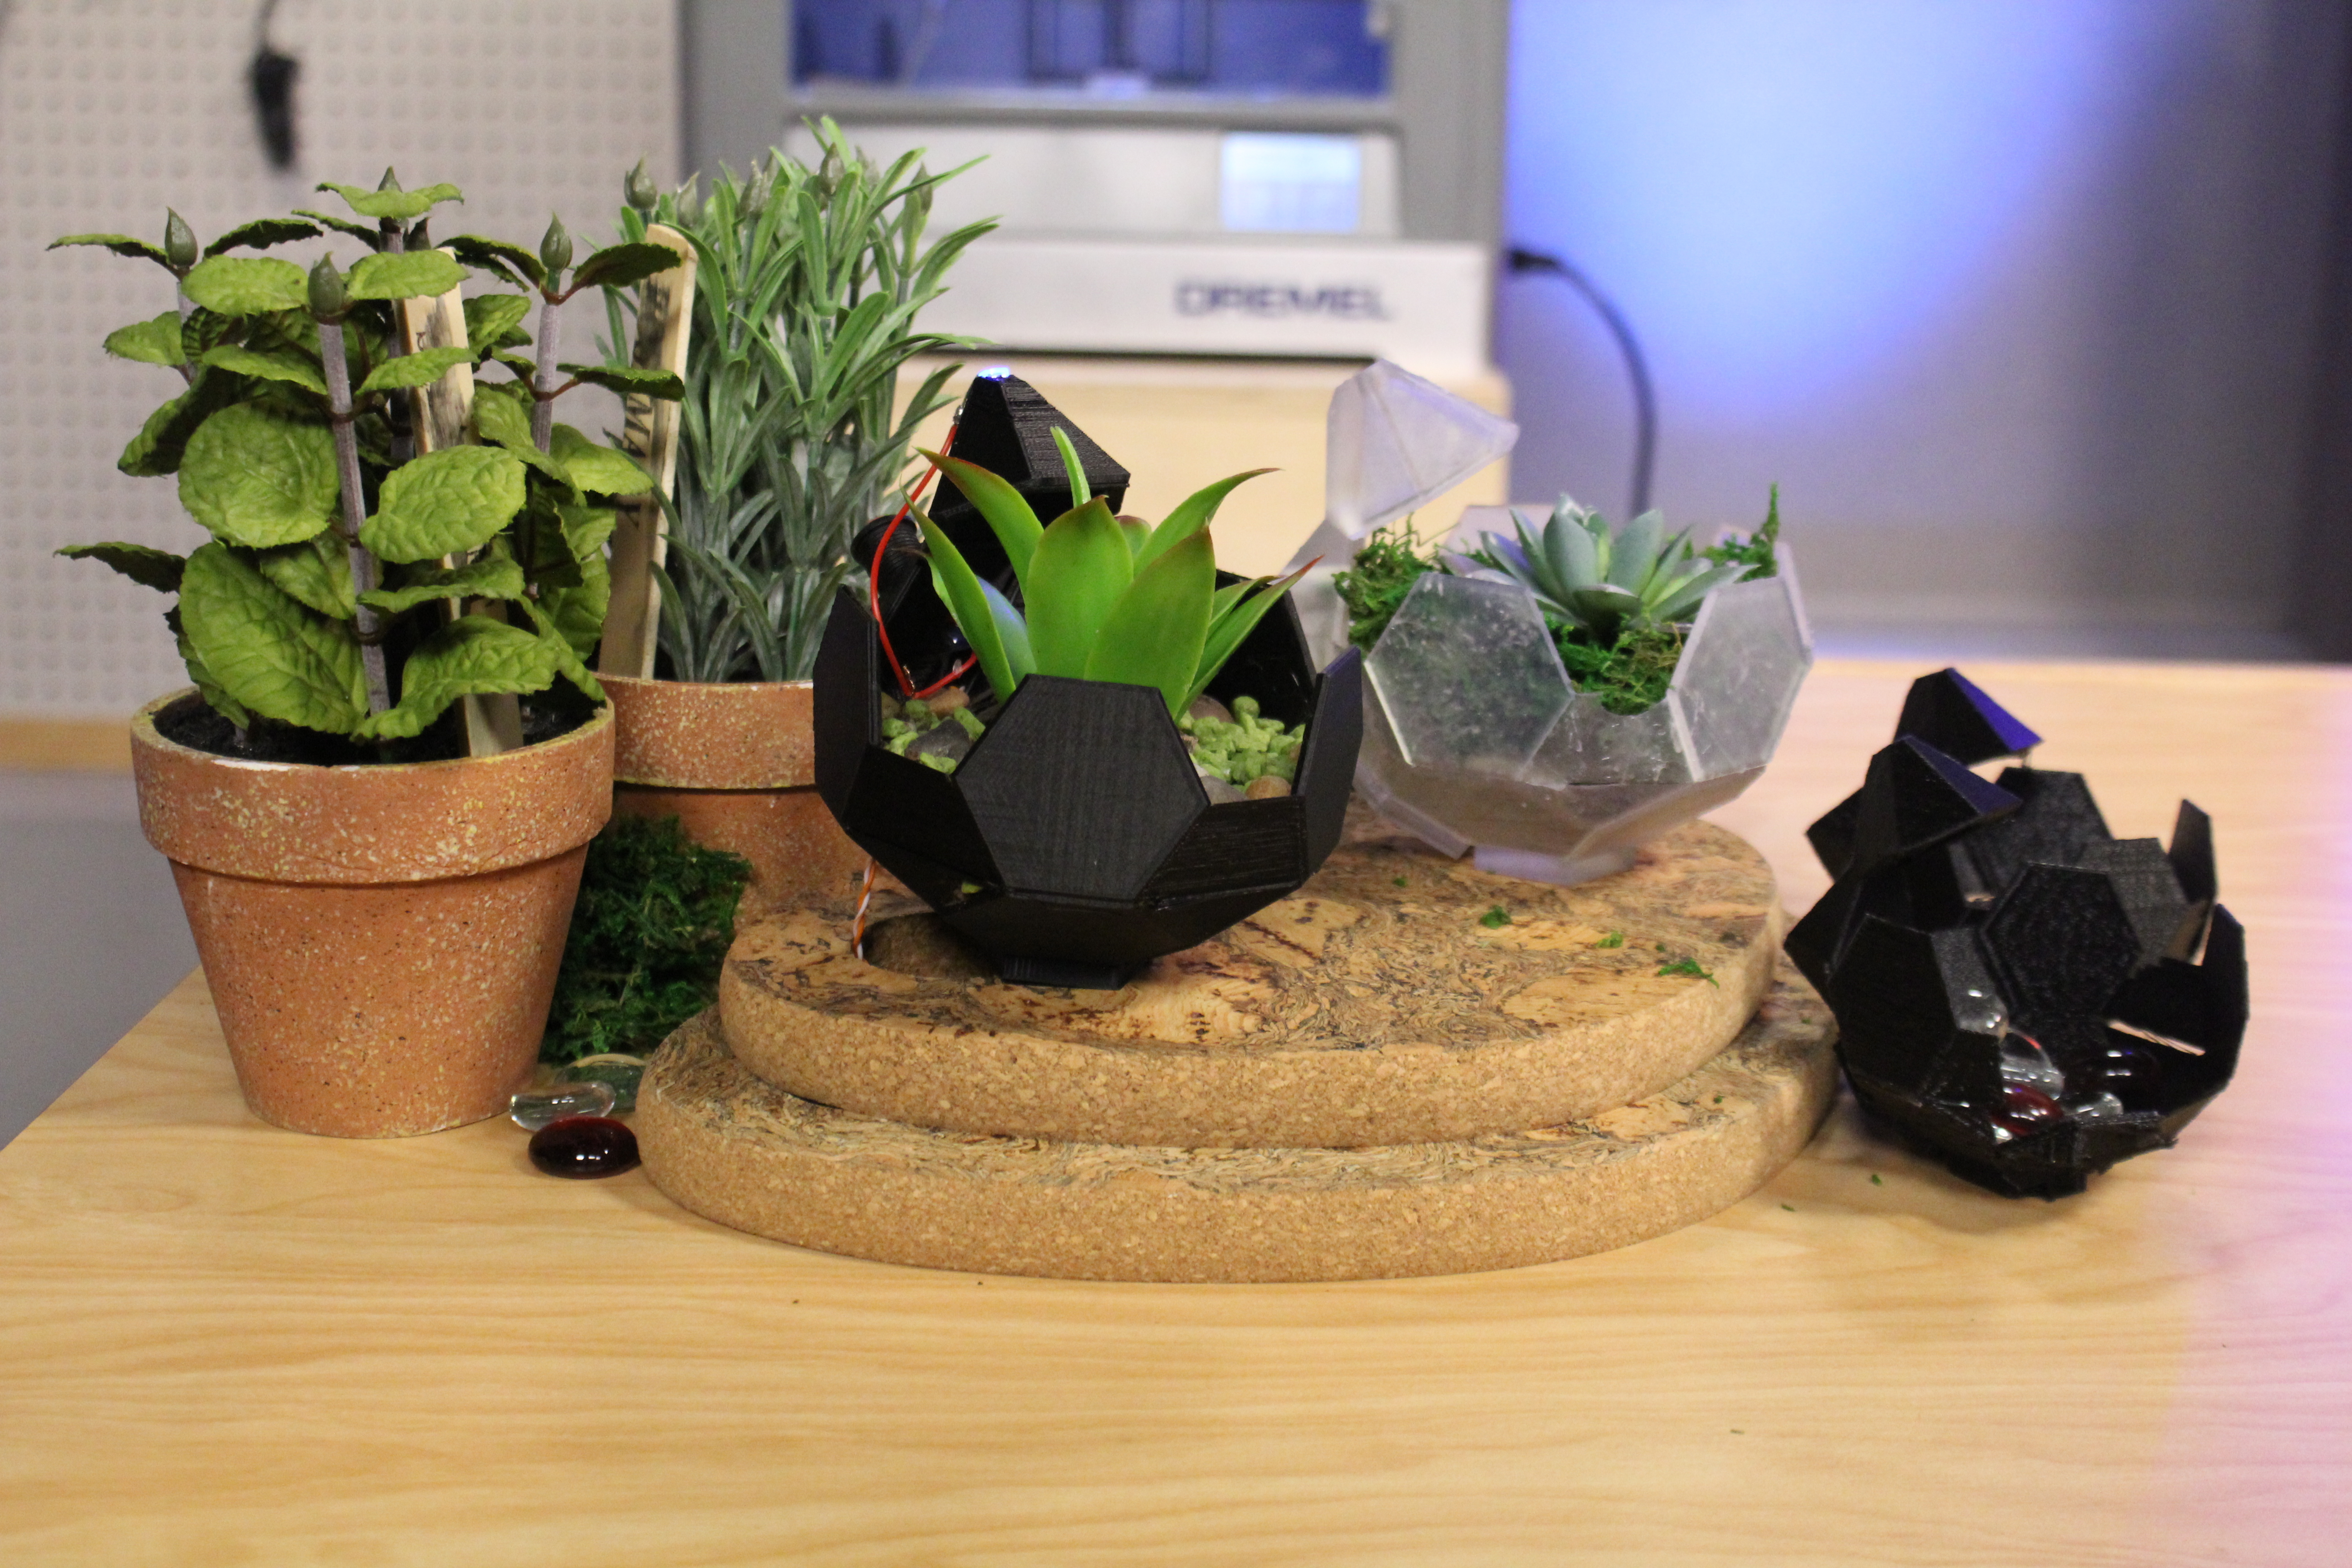
As you have seen so far, Autodesk Fusion 360 allows you to make quite advanced CAD Models using a variety of Sketching Tools and Techniques. However, you can take this a step further by customizing your Planter. For example, if you want to take your TESSERAE Planter to the next level, try different filament colors and even decorating your TESSERAE using different succulent plants, herbs, or even decorative elements.
Whatever you decide to do, simply #BuildMakeLearn.
Plus, don't forget to share snapshots of your creations with us on Social Media using the Hashtags - #MakeAnything #NASA #mLabBuilds.