MBSR


This is the Masterdude Bullpup Sniper Rifle (MBSR). It is basically my MBAR on steroids (and a whole lot of them). It is stronger, more accurate, bigger than the MBAR but it is still semi-auto. The trigger mechanism has been modified for more power and easier firing.
Pros:
-Bullpup
-Comfortable grip
-Semi-auto (you choose you ROF)
-Removable mag
-Good power
-Good range
-Trigger guard
-OK looks
-Scope
-Bi-pod
-Sturdy
-Reliable trigger mechanism
-Large ammo
Cons:
-Uses a lot of pieces
-Takes a long time to load if you don't have experience (loading gets faster with practice)
-Rather large
More Instructables by me.
Images 1-2: Loaded with additions.
Image 3: Loaded without additions.
Barrel: Step 1


Images 1-3: Make 14 of each piece.
Images 4-7: Place the parts on gray rods as shown until you get image 8.
Images 4-7: Place the parts on gray rods as shown until you get image 8.
Barrel: Step 2


Using the same technique make the part shown in image 1but instead of using parts like in image 2 use parts like in image 3.
Barrel: Step 3


Image 1: Make 2.
Image 2: Make 3.
Image 3: Add blue rod.
Image 4: Add three of the parts shown in image 2.
Image 5: Add the last part.
Image 2: Make 3.
Image 3: Add blue rod.
Image 4: Add three of the parts shown in image 2.
Image 5: Add the last part.
Barrel: Step 4


Image 1: Make 2.
Image 2: Make 3.
Image 3: Make 1.
Image 4: Add a blue rod.
Image 5: Add 3 of the earlier made parts.
Image 6: Add the other pieces.
Image 7: Place the earlier made part as shown.
Image 8: On the reverse side add a metallic blue clip as shown.
Image 2: Make 3.
Image 3: Make 1.
Image 4: Add a blue rod.
Image 5: Add 3 of the earlier made parts.
Image 6: Add the other pieces.
Image 7: Place the earlier made part as shown.
Image 8: On the reverse side add a metallic blue clip as shown.
Barrel: Putting the Barrel Together


Add the part made in Barrel: Step 4 to the part from Barrel: Step 2 as shown in Image 1. Then connect it to the part from Barrel: Step 3 as in Image 2 and then add the part from Barrel: Step 1 as shown in Image 3.
Main Body: Part 1


Image 1: Make 1.
Image 2: Add white, blue, and yellow rods as shown.
Image 2: Add white, blue, and yellow rods as shown.
Main Body: Part 2


Images 1-2: Make 1 of each.
Image 3: Place as shown and add tan clip and rods.
Image 3: Place as shown and add tan clip and rods.
Main Body: Part 3


Images 1-4: Make 1 of each.
Image 5: Add the parts you've made and a green connector as shown.
Image 5: Add the parts you've made and a green connector as shown.
Main Body: Part 4


Images 1-5: Make 1 of each.
Image 6: Add the parts you've made and add a green connector as shown.
Image 6: Add the parts you've made and add a green connector as shown.
Main Body: Part 5


Images 1-4: Make 1 of each.
Image 5: Add the parts you've made and add a green connector as shown.
Image 5: Add the parts you've made and add a green connector as shown.
Main Body: Part 6


Images 1-2: Make 1 of each.
Image 3: Add the parts you've made and a tan clip.
Image 3: Add the parts you've made and a tan clip.
Main Body: Part 7


Image 1: Make 1.
Image 2: Add the part you've made and a blue rod as shown.
Image 2: Add the part you've made and a blue rod as shown.
Main Body: Part 8

Image 1: Add yellow rod and tan clip.
Main Body: Part 9


Image 1: Make 1.
Image 2: Add as shown.
Image 3: Add metallic blue clip and gray connector.
Image 2: Add as shown.
Image 3: Add metallic blue clip and gray connector.
Main Body: Part 10


Image 1: Make 1.
Image 2: On the reverse side of the main gun body add a tan clip as shown.
Image 3: Add the part you've made as shown.
Image 4: Add Metallic blue clip and a gray connector.
Image 2: On the reverse side of the main gun body add a tan clip as shown.
Image 3: Add the part you've made as shown.
Image 4: Add Metallic blue clip and a gray connector.
Handle


Image 1: Make 2.
Image 2: Make 3.
Image 3: Add blue rods where shown.
Image 4: Add 3 of the earlier made parts as shown.
Image 5: Add the earlier made part as shown.
Image 2: Make 3.
Image 3: Add blue rods where shown.
Image 4: Add 3 of the earlier made parts as shown.
Image 5: Add the earlier made part as shown.
Magazine


Images 1-2: Make 2 of each.
Images 3-4: Make 1 of each.
Image 5: Add white rods as shown.
Image 6: Add the earlier made parts as shown.
Image 7: Add the earlier made part as shown.
Image 8: Finished magazine with ammo and pin in place.
Images 3-4: Make 1 of each.
Image 5: Add white rods as shown.
Image 6: Add the earlier made parts as shown.
Image 7: Add the earlier made part as shown.
Image 8: Finished magazine with ammo and pin in place.
Bi-pod


Image 1: Add white rods to a white connector.
Image 2: Add connectors and large ball and socket hinge with a y-clip.
Image 3: Cover with a white connector.
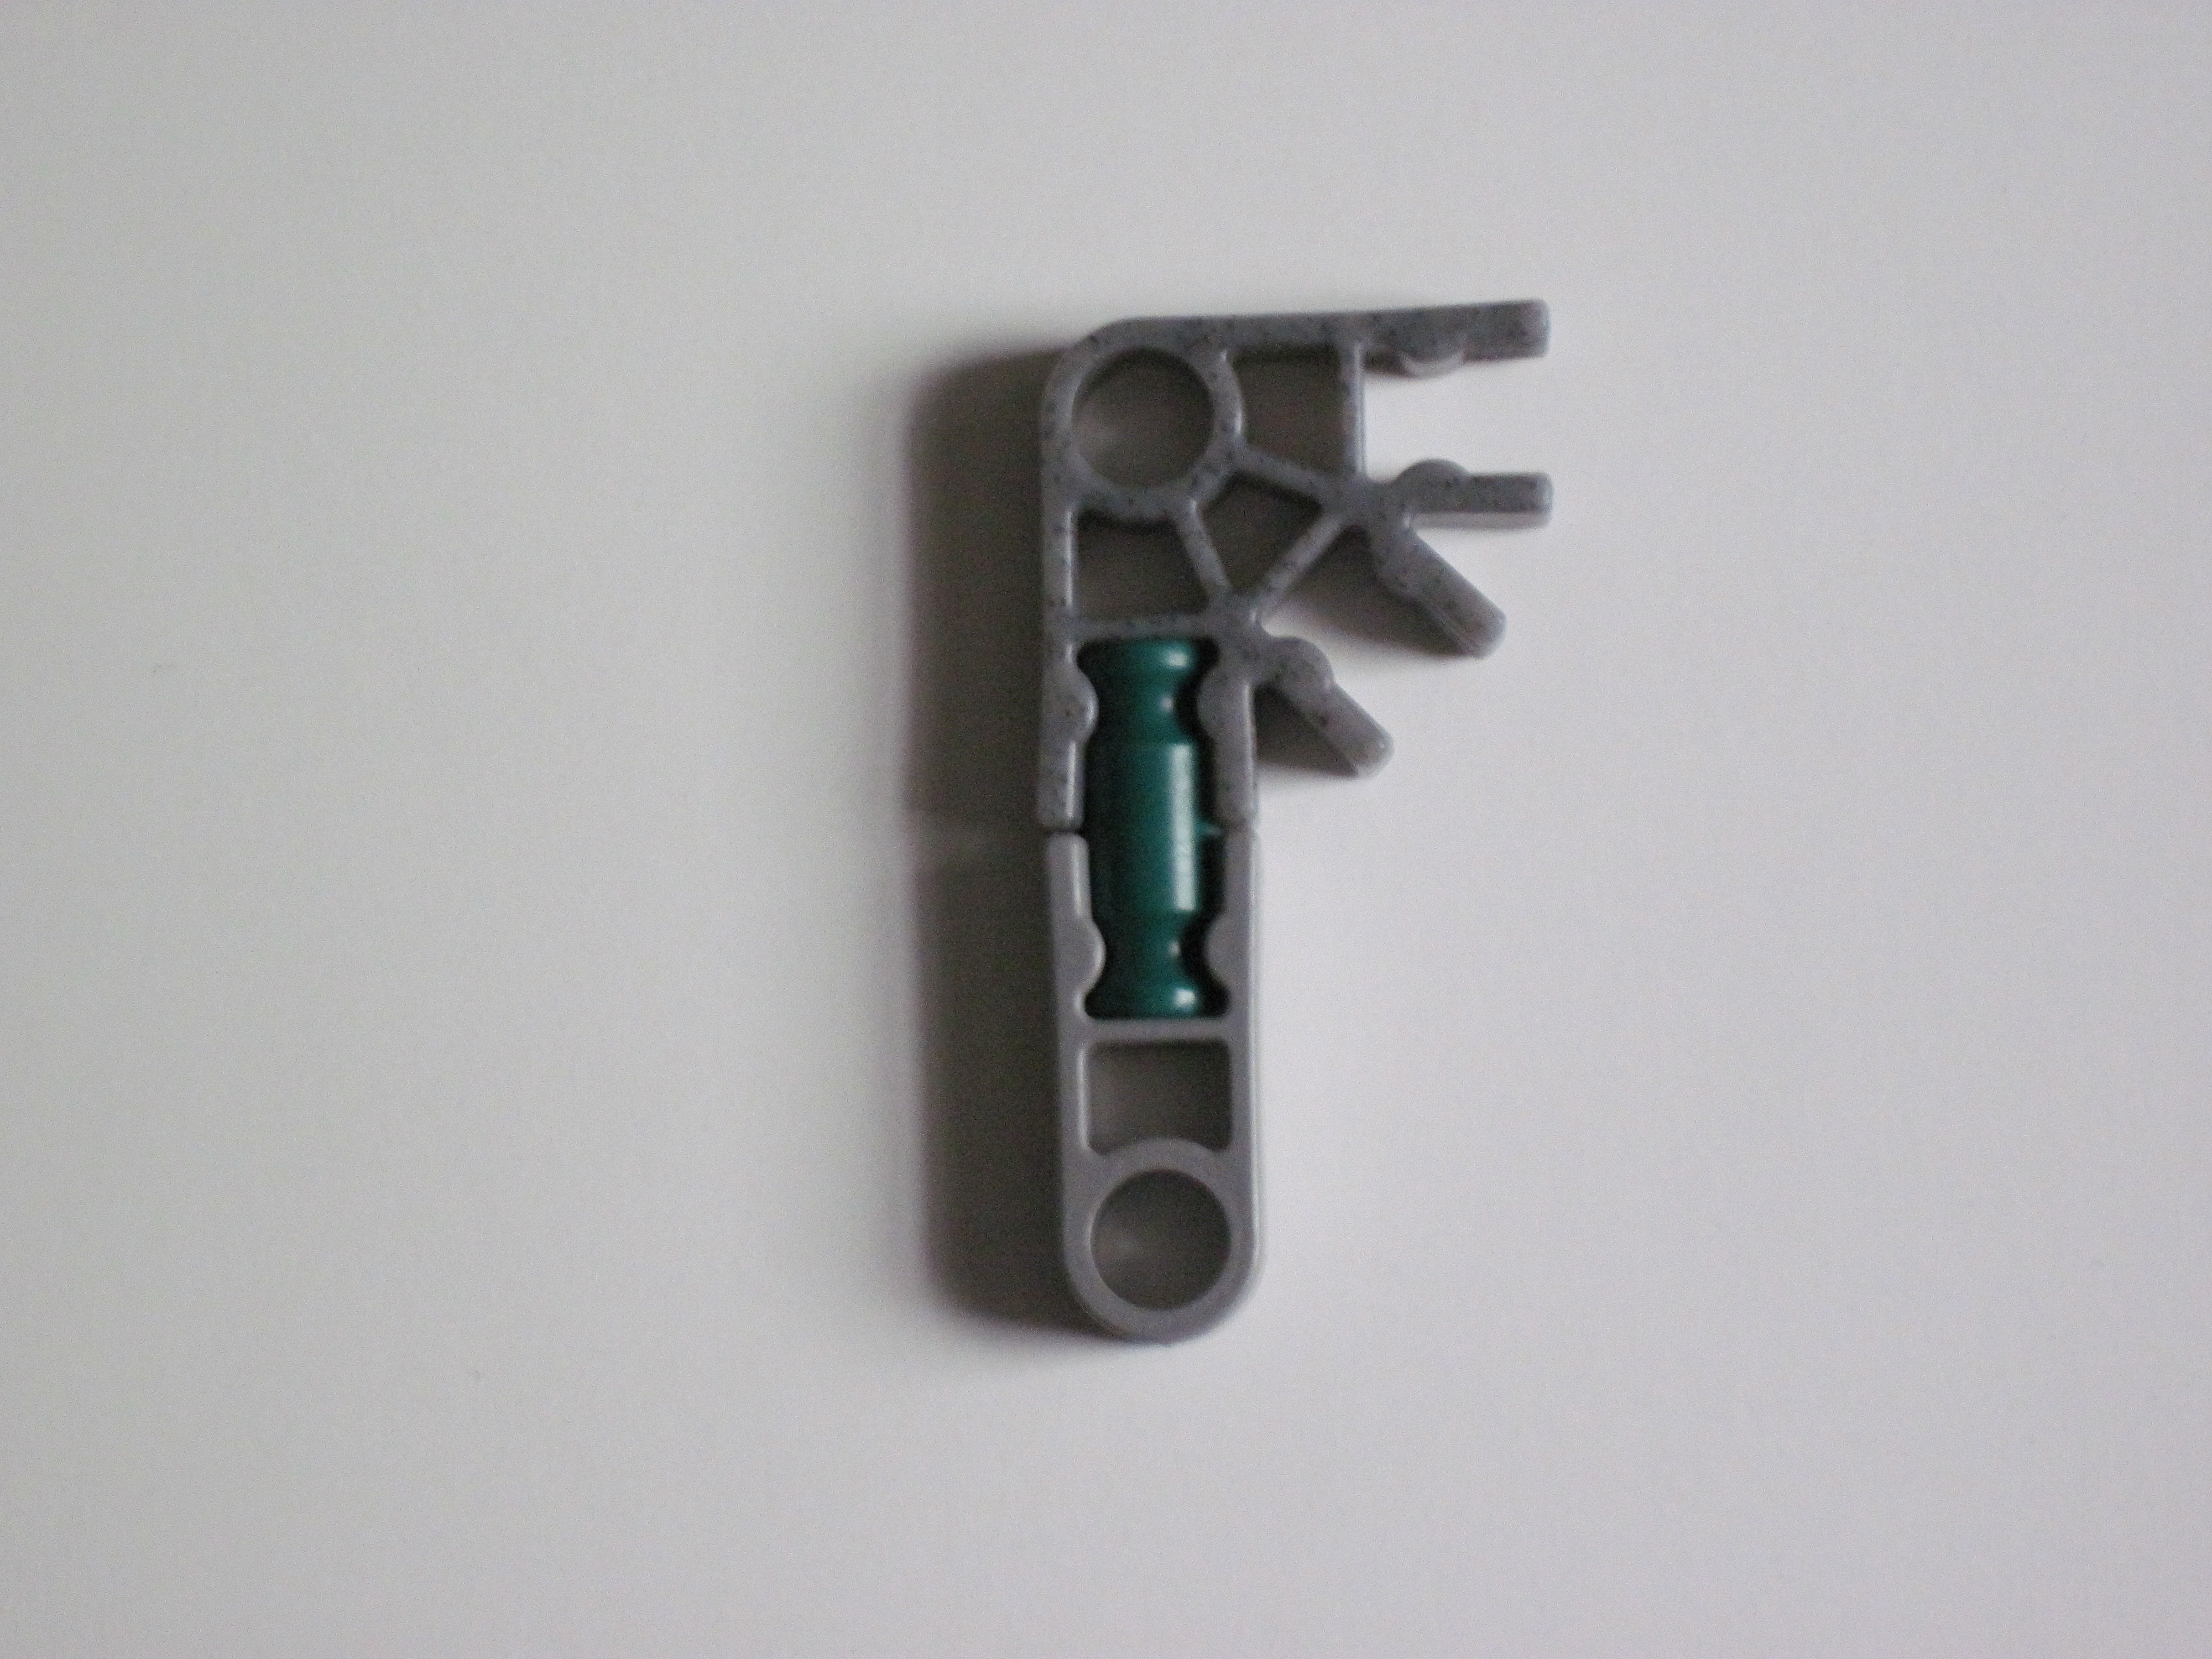
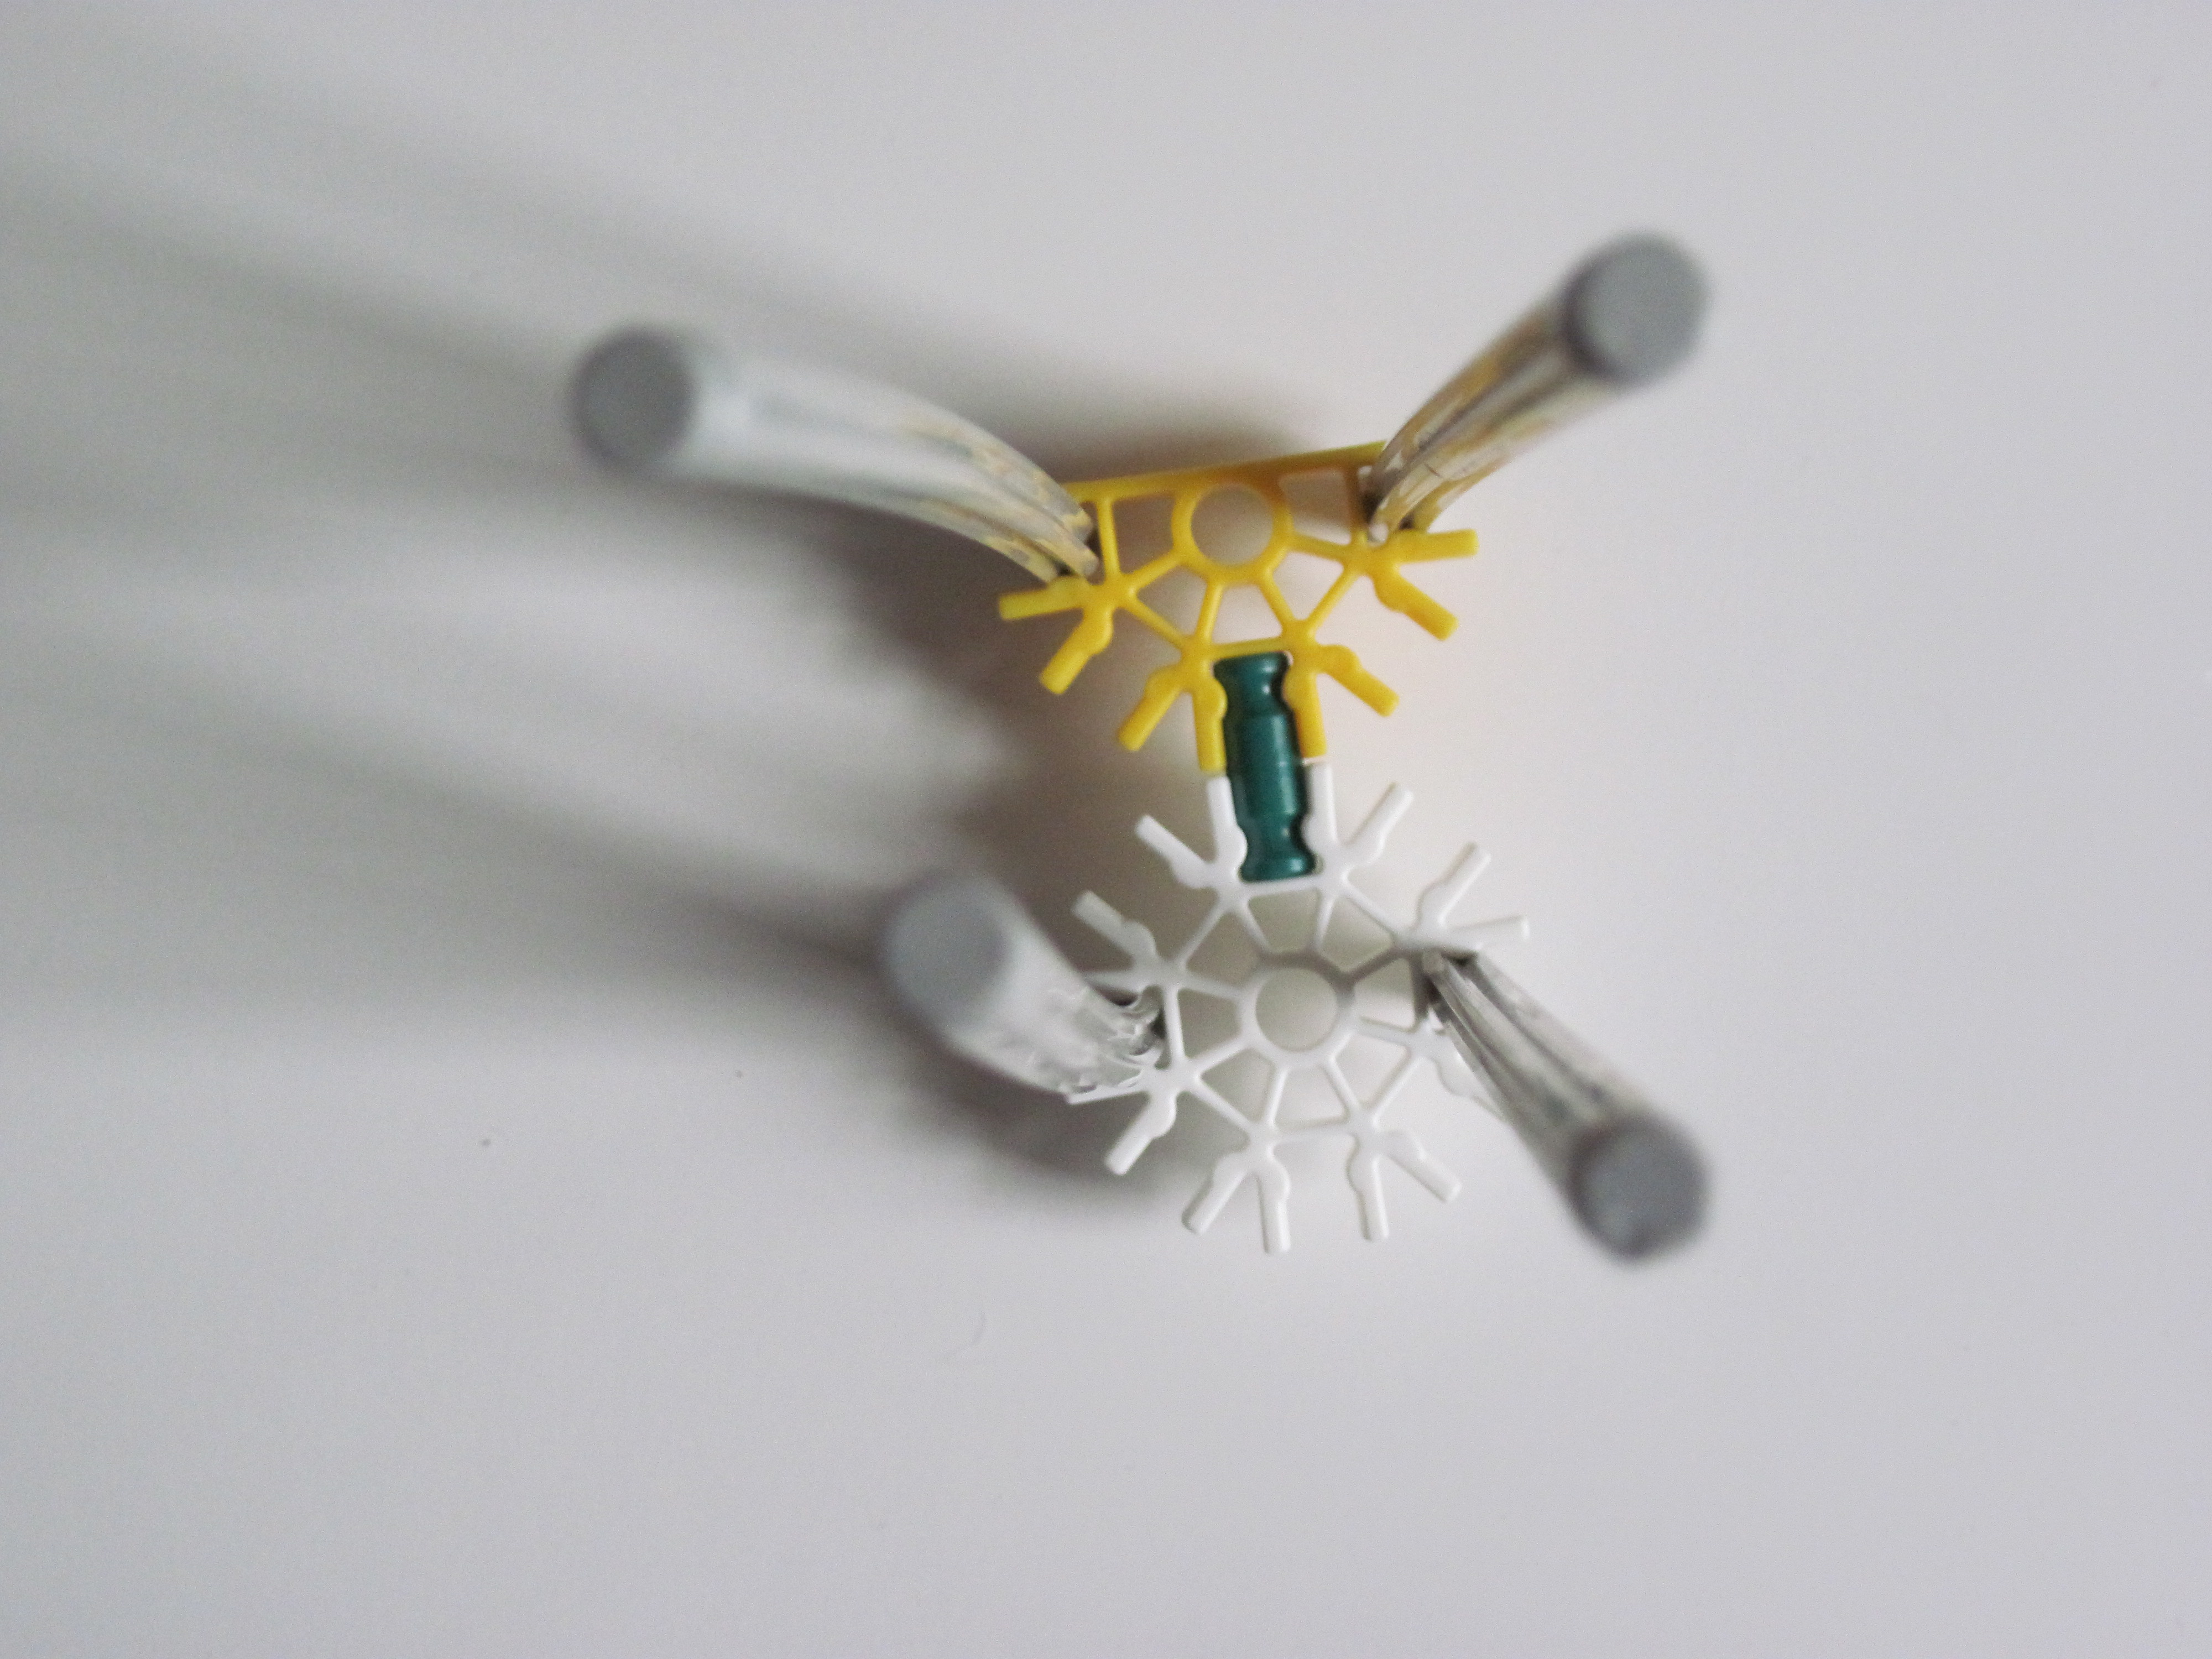
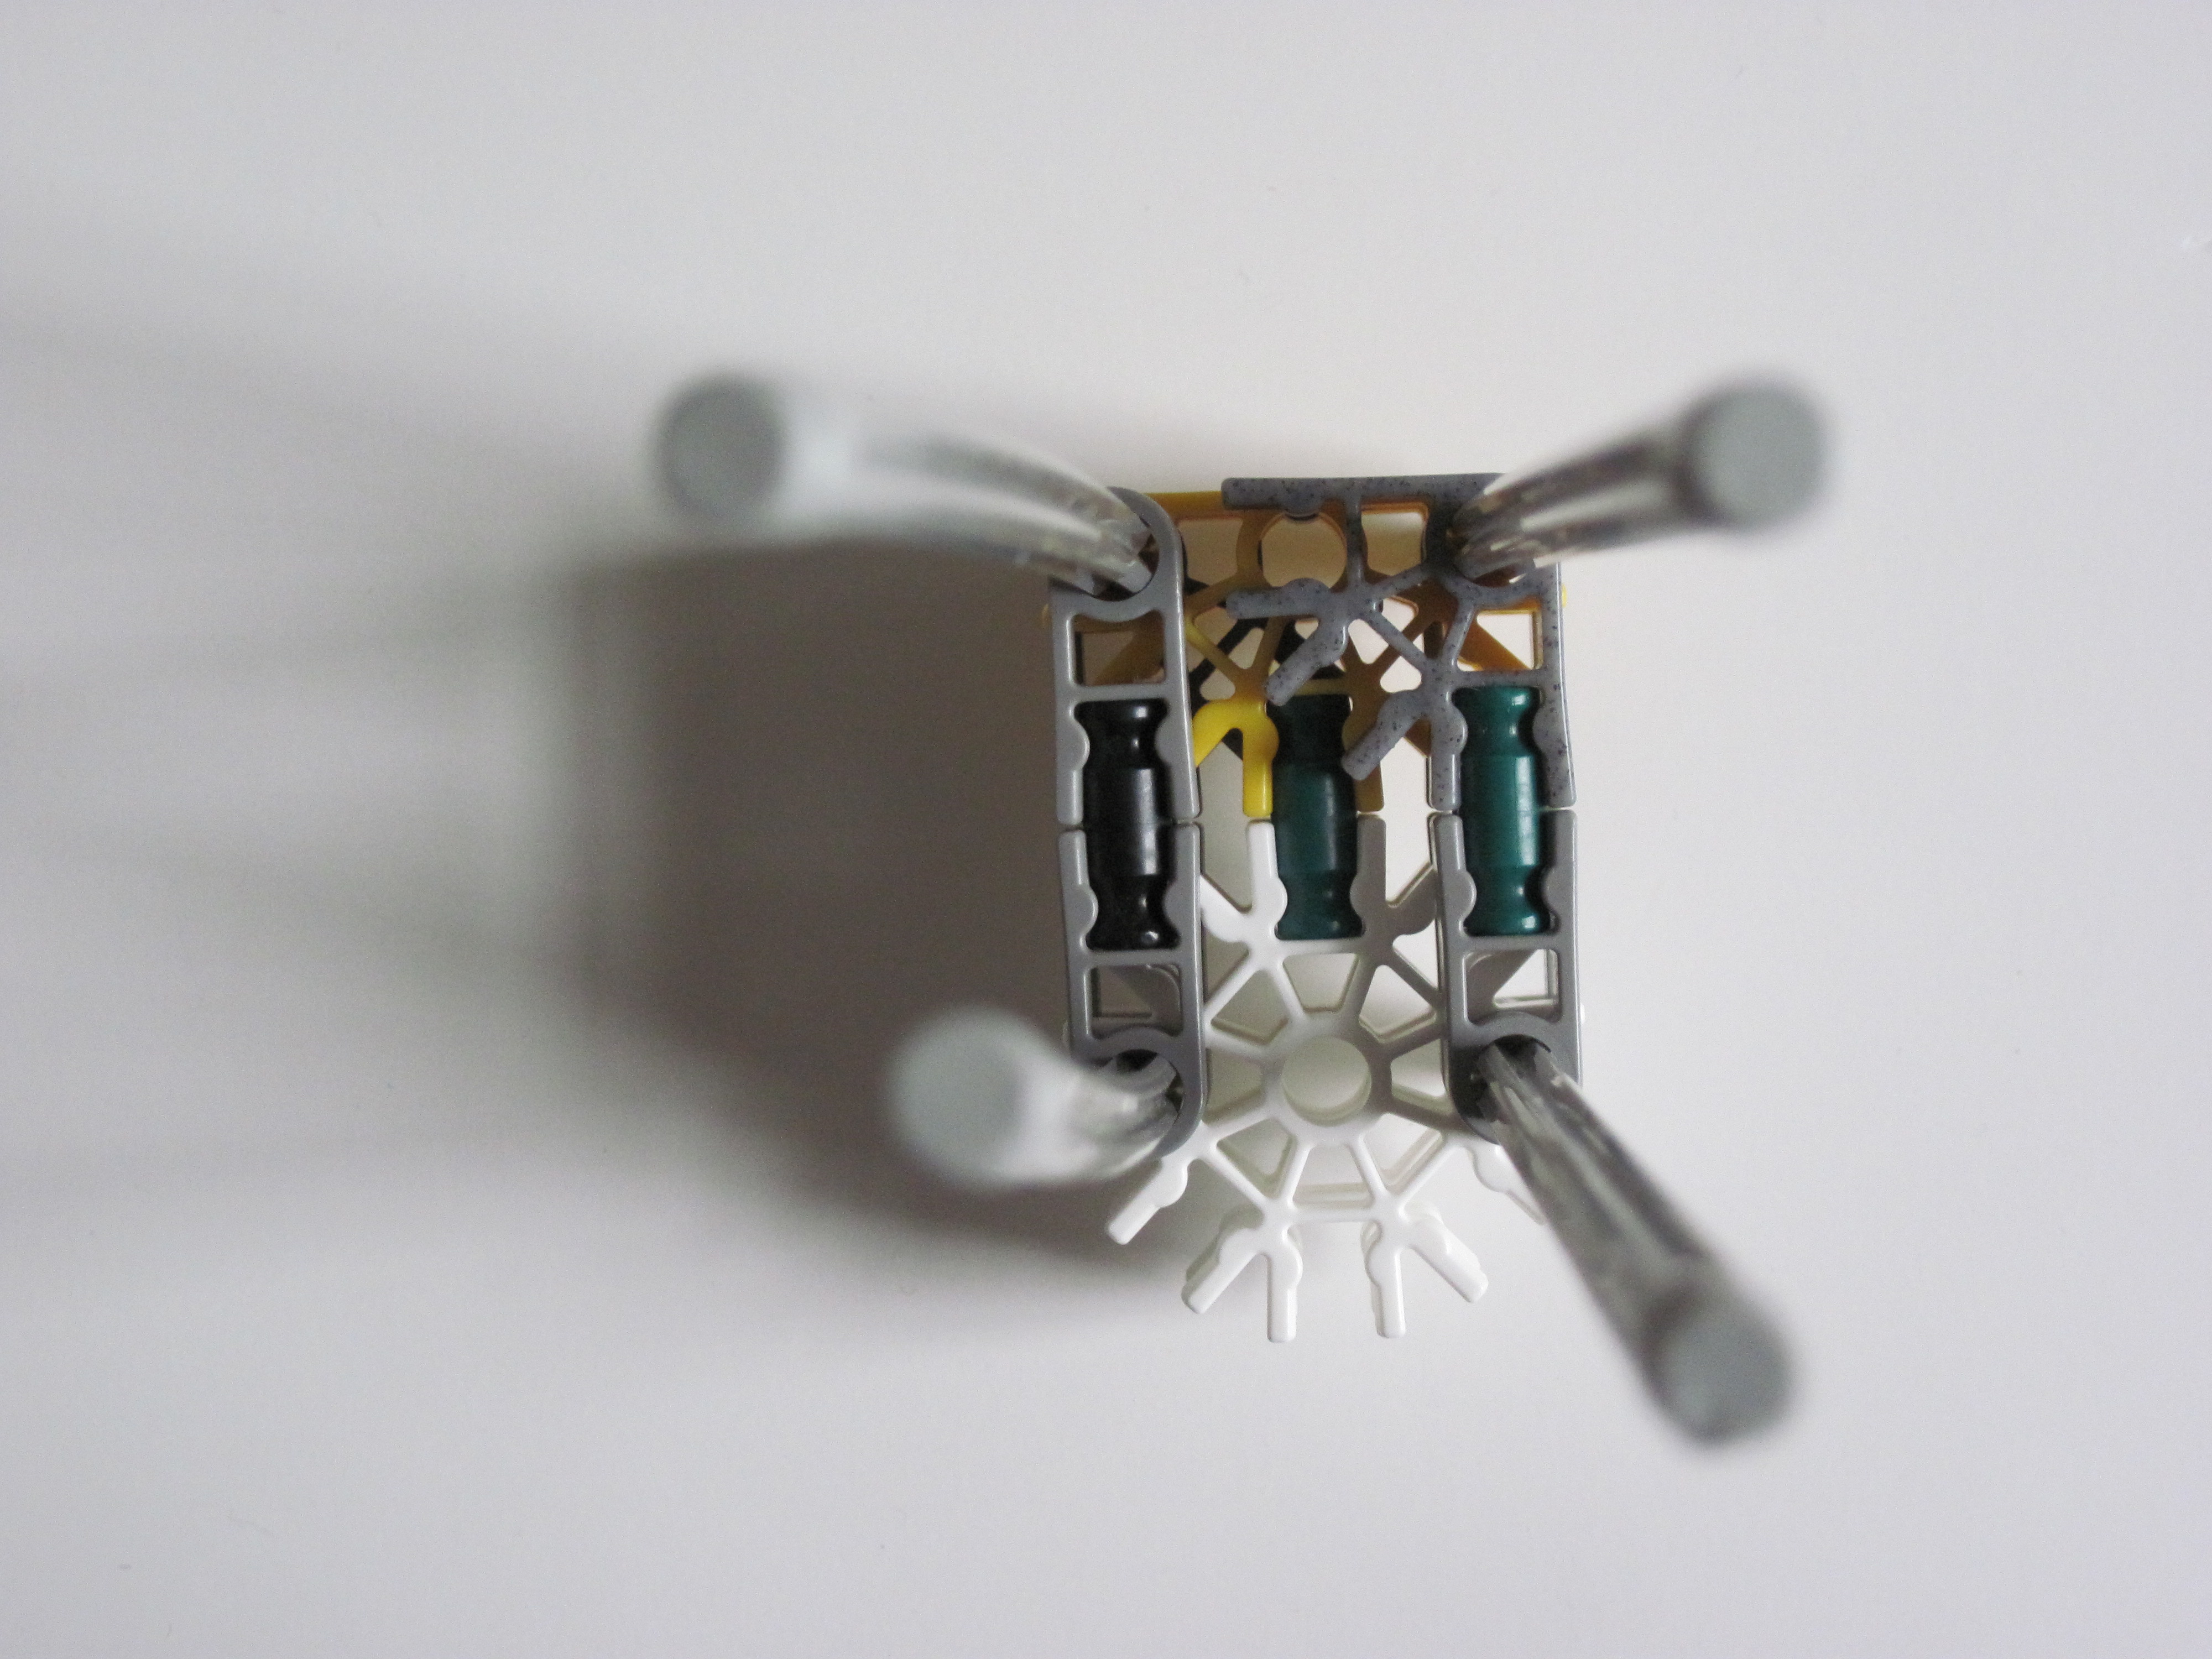
Image 4-5: Add more green connectors and connect them together with a blue rod as shown in the 2 images.
Image 6: Make the parts shown.
Image 7: Attach the parts you've made so it looks like this.
Image 8: Attach a white rod on the front grip of the barrel and attach the y-clip on the hinge to the white rod as shown.
Image 9: To fold the bi-pod when not in use connect the y-clips on the legs of the bi-pod to the white connectors on the barrel as shown.
Scope (Optional)


Image 1: Attach white connectors between 4 gray rods.
Image 2: Put tires over the white connectors.
Image 3: Add orange connectors with green rods ,and tan and metallic blue clips.
Image 4: Slide the clips over to the nearest orange connector as shown.
Note: This is just a scope I've made. You can easily make you own which is better and more realistic. I just didn't have the parts to make a very good one.
Putting the MBSR Together


Image 1: Connect the handle to the main body as shown.
Image 2: Connect the scope to the main body as shown.
Image 3: Connect the barrel to the main body as shown.
Image 4: Connect the magazine to the main body as shown.
Image 2: Connect the scope to the main body as shown.
Image 3: Connect the barrel to the main body as shown.
Image 4: Connect the magazine to the main body as shown.
Loading and Firing


To load remove the mag and place the pin in the appropriate area. Now place the ammo in the mag. insert the mag into the ammo feed. Next push the white and blue rods in the ammo feed area out to the sides. Hook the rubber bands on the end of the barrel and the trigger spoke. Make sure the rubber bands are on both sides of the ammo. Once all the rubber bands are hooked push the white and blue rods back into the center. Remove the pin. Pull the trigger to fire (in case you didn't figure that out).
Note: This gun loads and shoots like my other semi-automatic guns.
Image 1: Ammo.
Image 2: Magazine with ammo.
Image 3: Rubber band hooked on barrel.
Image 4: View of ammo feed when loaded.
Image 5: View of spoke in back when loaded.
Image 6: Magazine pin still in place.
Image 7: Magazine pin removed.
Image 8: View through the scope.
Warning- This may cause harm or injury if misused. Do not point it at people. I am not responsible for damage, injury, or death caused by this instructable.