MATLAB Controlled Roomba
by harrisoneller14 in Circuits > Robots
1011 Views, 1 Favorites, 0 Comments
MATLAB Controlled Roomba


The goal of this project is to utilize MATLAB as well as an modified iRobot programmable robot. Our group combined our coding skills in order to create a MATLAB script that uses many functions of the iRobot, including the cliff sensors, bumper sensors, light sensors, and the camera. We used these sensor and camera readings as inputs, allowing us to create certain outputs that we want using MATLAB code functions and loops. We also use the MATLAB mobile device and gyroscope as a way to connect to the iRobot and control it.
Parts and Materials


MATLAB 2018a
-The 2018 version of MATLAB is the most preferred version, mostly because it works the best with the code that connects to the mobile device. However, most of our code can be interpreted in the majority of MATLAB versions.
iRobot Create Device
-This device is a special made device that's sole purpose is for programming and coding. (It is not an actual vacuum)
Raspberry Pi (with camera)
- This is a non-expensive computer board that works as the brain of the iRobot. It may be small, but is is capable of many things. The camera is an additional add on. It also uses the raspberry pi to obtain all of its functions and commands. The camera pictured above is mounted on a 3D printed stand, created by the Engineering Fundamentals departments at the University of Tennessee
Roomba Database File

There is a main file that you will need in order to use the proper functions and commands for your roomba. This file is where you written code draws functions from in order to make operating your roomba more manageable.
You can download the file at this link or the downloadable file below
https://ef.engr.utk.edu/ef230-2017-08/projects/roomba-s/setup-roomba-instructable.php
Downloads
Connecting to Roomba
First, you must make sure that your robot is connected to your raspberry pi board by using a micro USB plug. Then you need to properly connect your computer and robot to the same WiFi. Once this has been done, you can power on your robot and connect to it using the given command in the robot database file. (Always hard reset your robot before and after you use it). For example, we use the command "r.roomba(19)" to connect to our robot, assigning the variable r to our device. This refers back to the database file, which sets up our variable as a structure that we can reference at any given moment.
The Code


We have attached the full code below, but here is a brief overview that highlights the important elements in our script. We utilized all of the sensors, as well as the camera to fully maximize our robot's potential. We also included code that allowed us to connect a mobile device to our robot and use its gryoscope to manually control it.
We started off with the simple command "r.setDriveVelocity(.06)" that sets the robot's forward velocity to .06 m/s. This is just to get the robot moving beforehand.
Then, our main script is started off with a while loop that retrieves the data of the given robot by creating structures that we can reference and use in conditional statements below, thus allowing us to tell the robot execute a certain command based off the structure data the robot reads with its sensors. We set it up so that the robot reads its cliff sensors and follows a black path.
while true % while loop goes until something "false" occurs (in this case it goes on infinitely)
data = r.getCliffSensors; data2 = r.getBumpers;% retrieves data continuously about the cliff sensor values and assigns them to a variable % img = r.getImage; % Takes a picture from the mounted camera % image(img); % Shows the image that was taken % red_mean = mean(mean(img(:,:,1)));% Takes the average value for the green color if data.rightFront < 2000 r.turnAngle(-2); % turns the Roomba approximately .2 degree CW once the value for the right front cliff sensors fall below 2000 r.setDriveVelocity(.05); elseif data.leftFront < 2000 r.turnAngle(2); % turns the Roomba approximately .2 degree CCW once the value for the left front cliff sensors fall below 2000 r.setDriveVelocity(.05); elseif 2000 > data.leftFront && 2000 > data.rightFront r.moveDistance(.1); % tells the Roomba to keep going forward at approximately .2 m/s if both values from the right front and left front sensors fall below 2000 % r.turnAngle(0); % tells the Roomba to not turn if the above mentioned conditions are true
elseif data2.right == 1 r.moveDistance(-.12); r.turnAngle(160); r.setDriveVelocity(.05); elseif data2.left == 1 r.moveDistance(-.2); r.turnAngle(5); r.setDriveVelocity(.05); elseif data2.front == 1 r.moveDistance(-.12); r.turnAngle(160); r.setDriveVelocity(.05);
After this while loop, we enter another while loop that triggers the data obtained through the camera. And we use an if statement inside this while loop that recognizes an image using a specific program (alexnet), and once it identifies the image it immediately triggers the mobile device remote control.
anet = alexnet; % Assigns alexnet deep learning to a variable
while true % Infinite while loop img = r.getImage; img = imresize(img,[227,227]); label = classify(anet, img); if label == "paper towel" || label == "refrigerator" label = "water"; end image(img); title(char(label)); drawnow;
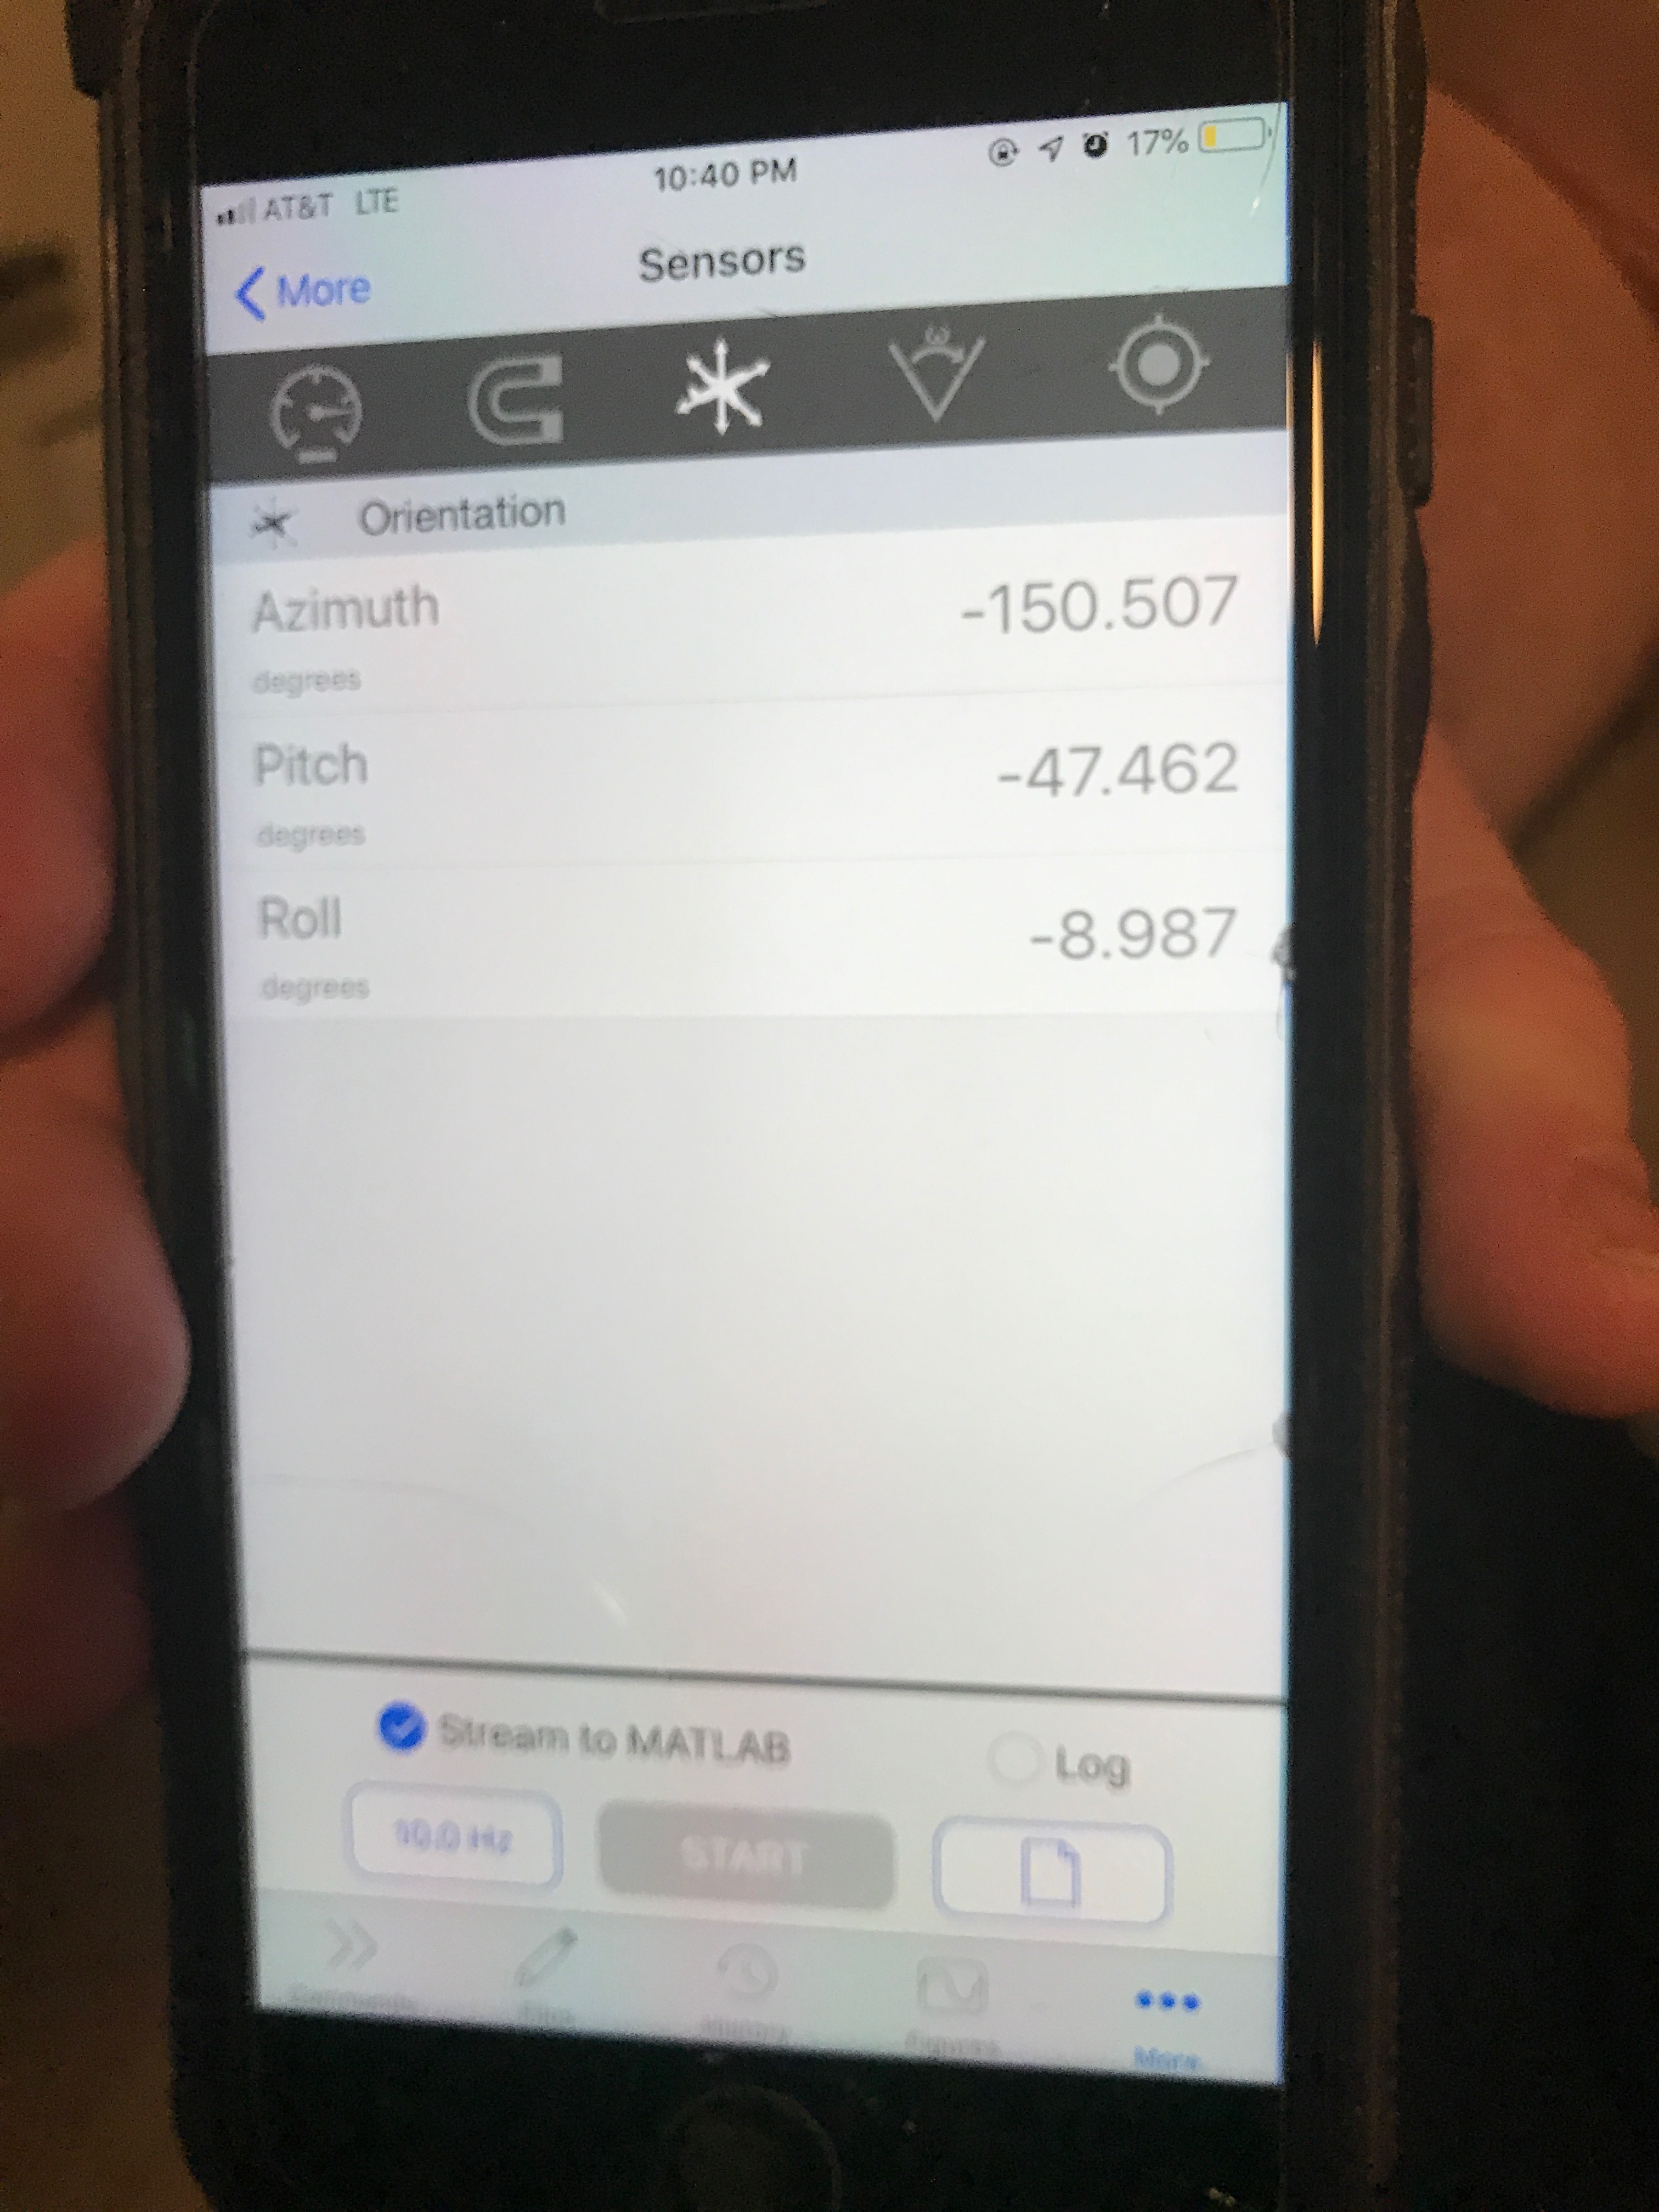
The while loop that allows us to control the device with our phone retrieves that data from the phone's gyroscope and we plug it into a matrix that continuously streams data back into MATLAB on the computer. We use an if statement that reads the data of the matrix and gives an output that moves the device based on certain values of the phone's gyroscope. It is important to know that we used the Orientation sensors of the mobile device. The one by three matrix mentioned above is categorized by each element of the orientation sensors of the phone, which is azimuth, pitch, and side. The if statements created conditions that stated when the side exceeds the values 50 or falls below -50, then the robot moves a certain distance forward (positive 50) or backward (negative 50). And the same goes for the pitch value. If the the pitch value exceeds the value of 25 of falls below -25, the robot turns at an angle of 1 degrees (positive 25) or negative 1 degrees (negative 25).
while true
pause(.1) % Pause of .5 seconds before each value is taken Controller=iphone.Orientation; % Assigns the matrix for the values of the orientation of the iPhone to a variable Azimuthal=Controller(1); % Assigns the first value of the matrix to a variable Pitch=Controller(2); % Assigns the second value of the matrix to a variable (tilt forwards and backwards when iPhone is held sideways) Side=Controller(3); % Assigns the third value of the matrix to a variable (tilt left and right when iPhone is held sideways) % Causes an output based on the orientation of the phone if Side > 130 || Side < -130 % If the phone is flipped face down, it stops the Roomba and exits the loop r.stop break elseif Side > 25 r.moveDistance(-.1) % Moves the Roomba backwards approximately .1 meters if the iPhone is tilted backwards at least 25 degress elseif Side < -25 r.moveDistance(.1) % Moves the Roomba forwards approximately .1 meters if the iPhone is tilted forwards at least 25 degrees elseif Pitch > 25 r.turnAngle(-1) % Turns the Roomba approximately 1 degree CCW if the iPhone is tilted left at least 25 degrees elseif Pitch < -25 r.turnAngle(1) % Turns the Roomba approximately 1 degree CW if the iPhone is tilted at least 25 degrees end
These are just the highlights of the major pieces of our code, which we included if you need to quickly copy and paste a section for your benefit. However, our entire code is attached below if needed.
Conclusion
This code that we wrote is specifically designed for our robot as well as our overall vision of the project. Our goal was to use all of our MATLAB coding skills in order to craft a well design script that utilizes most of the robot's features. Using the phone controller is not as difficult as you may think, and we hope our code can help you better understand the concept behind coding an iRobot.