MAR-3
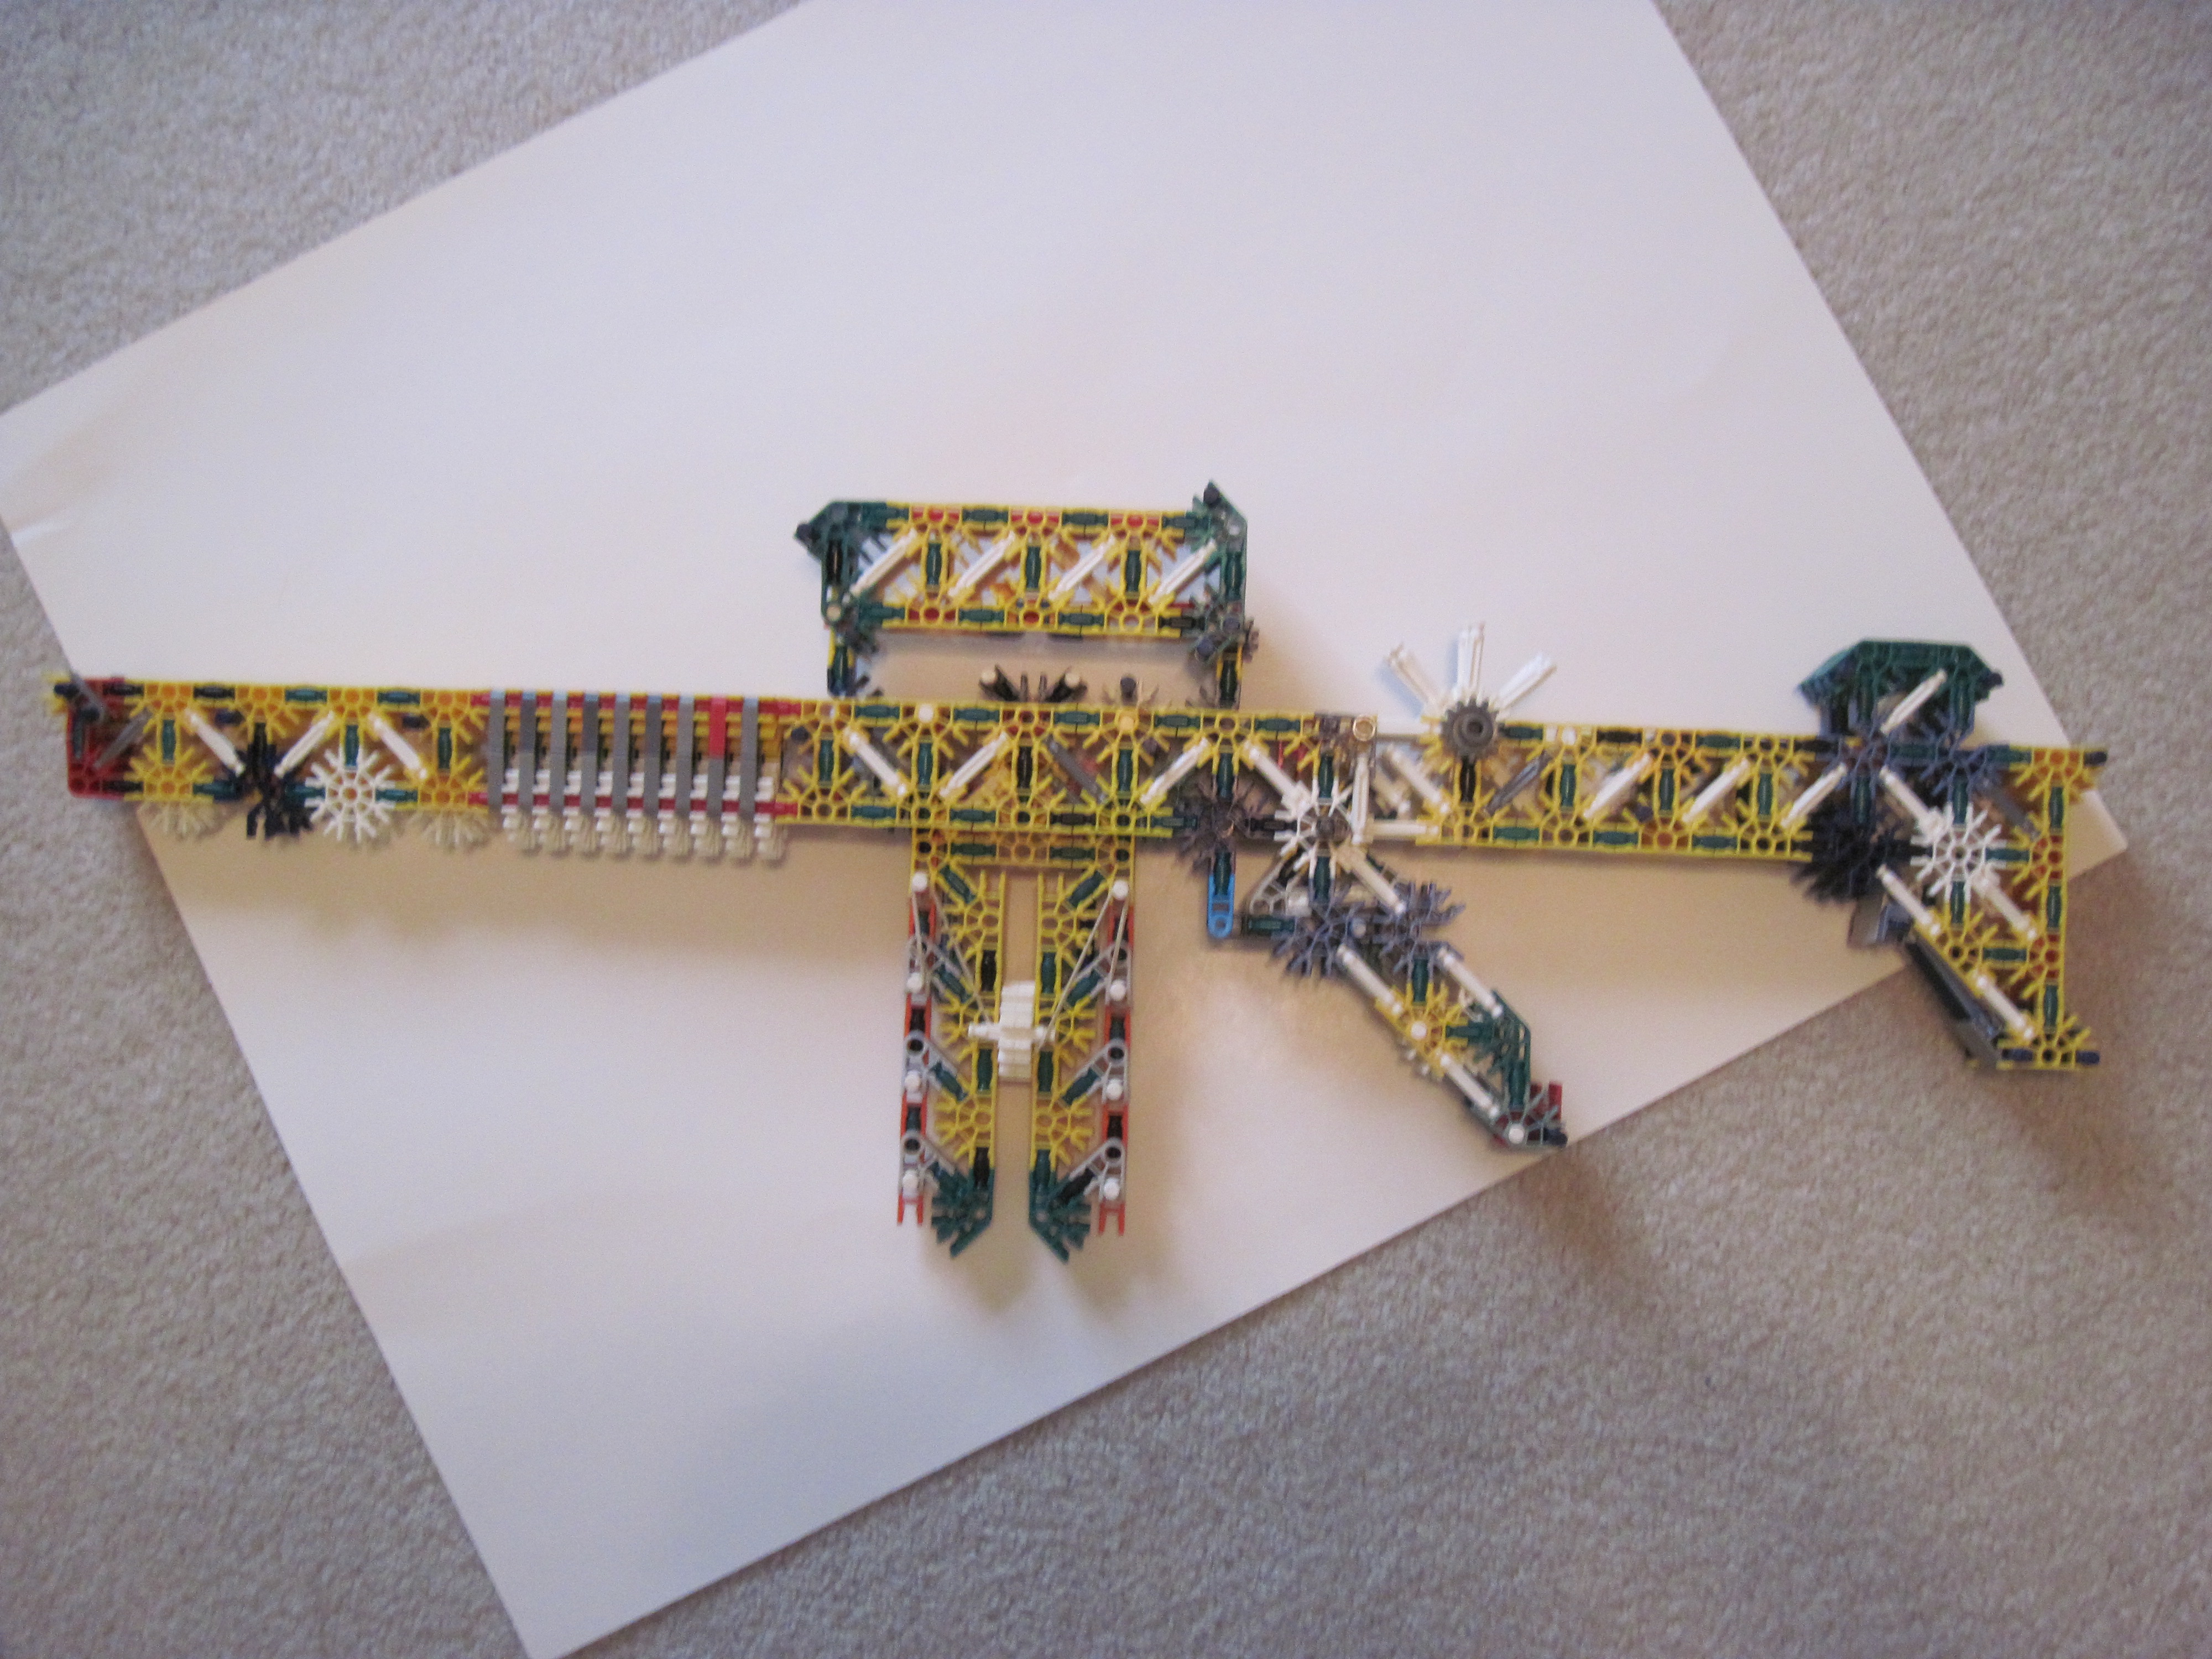

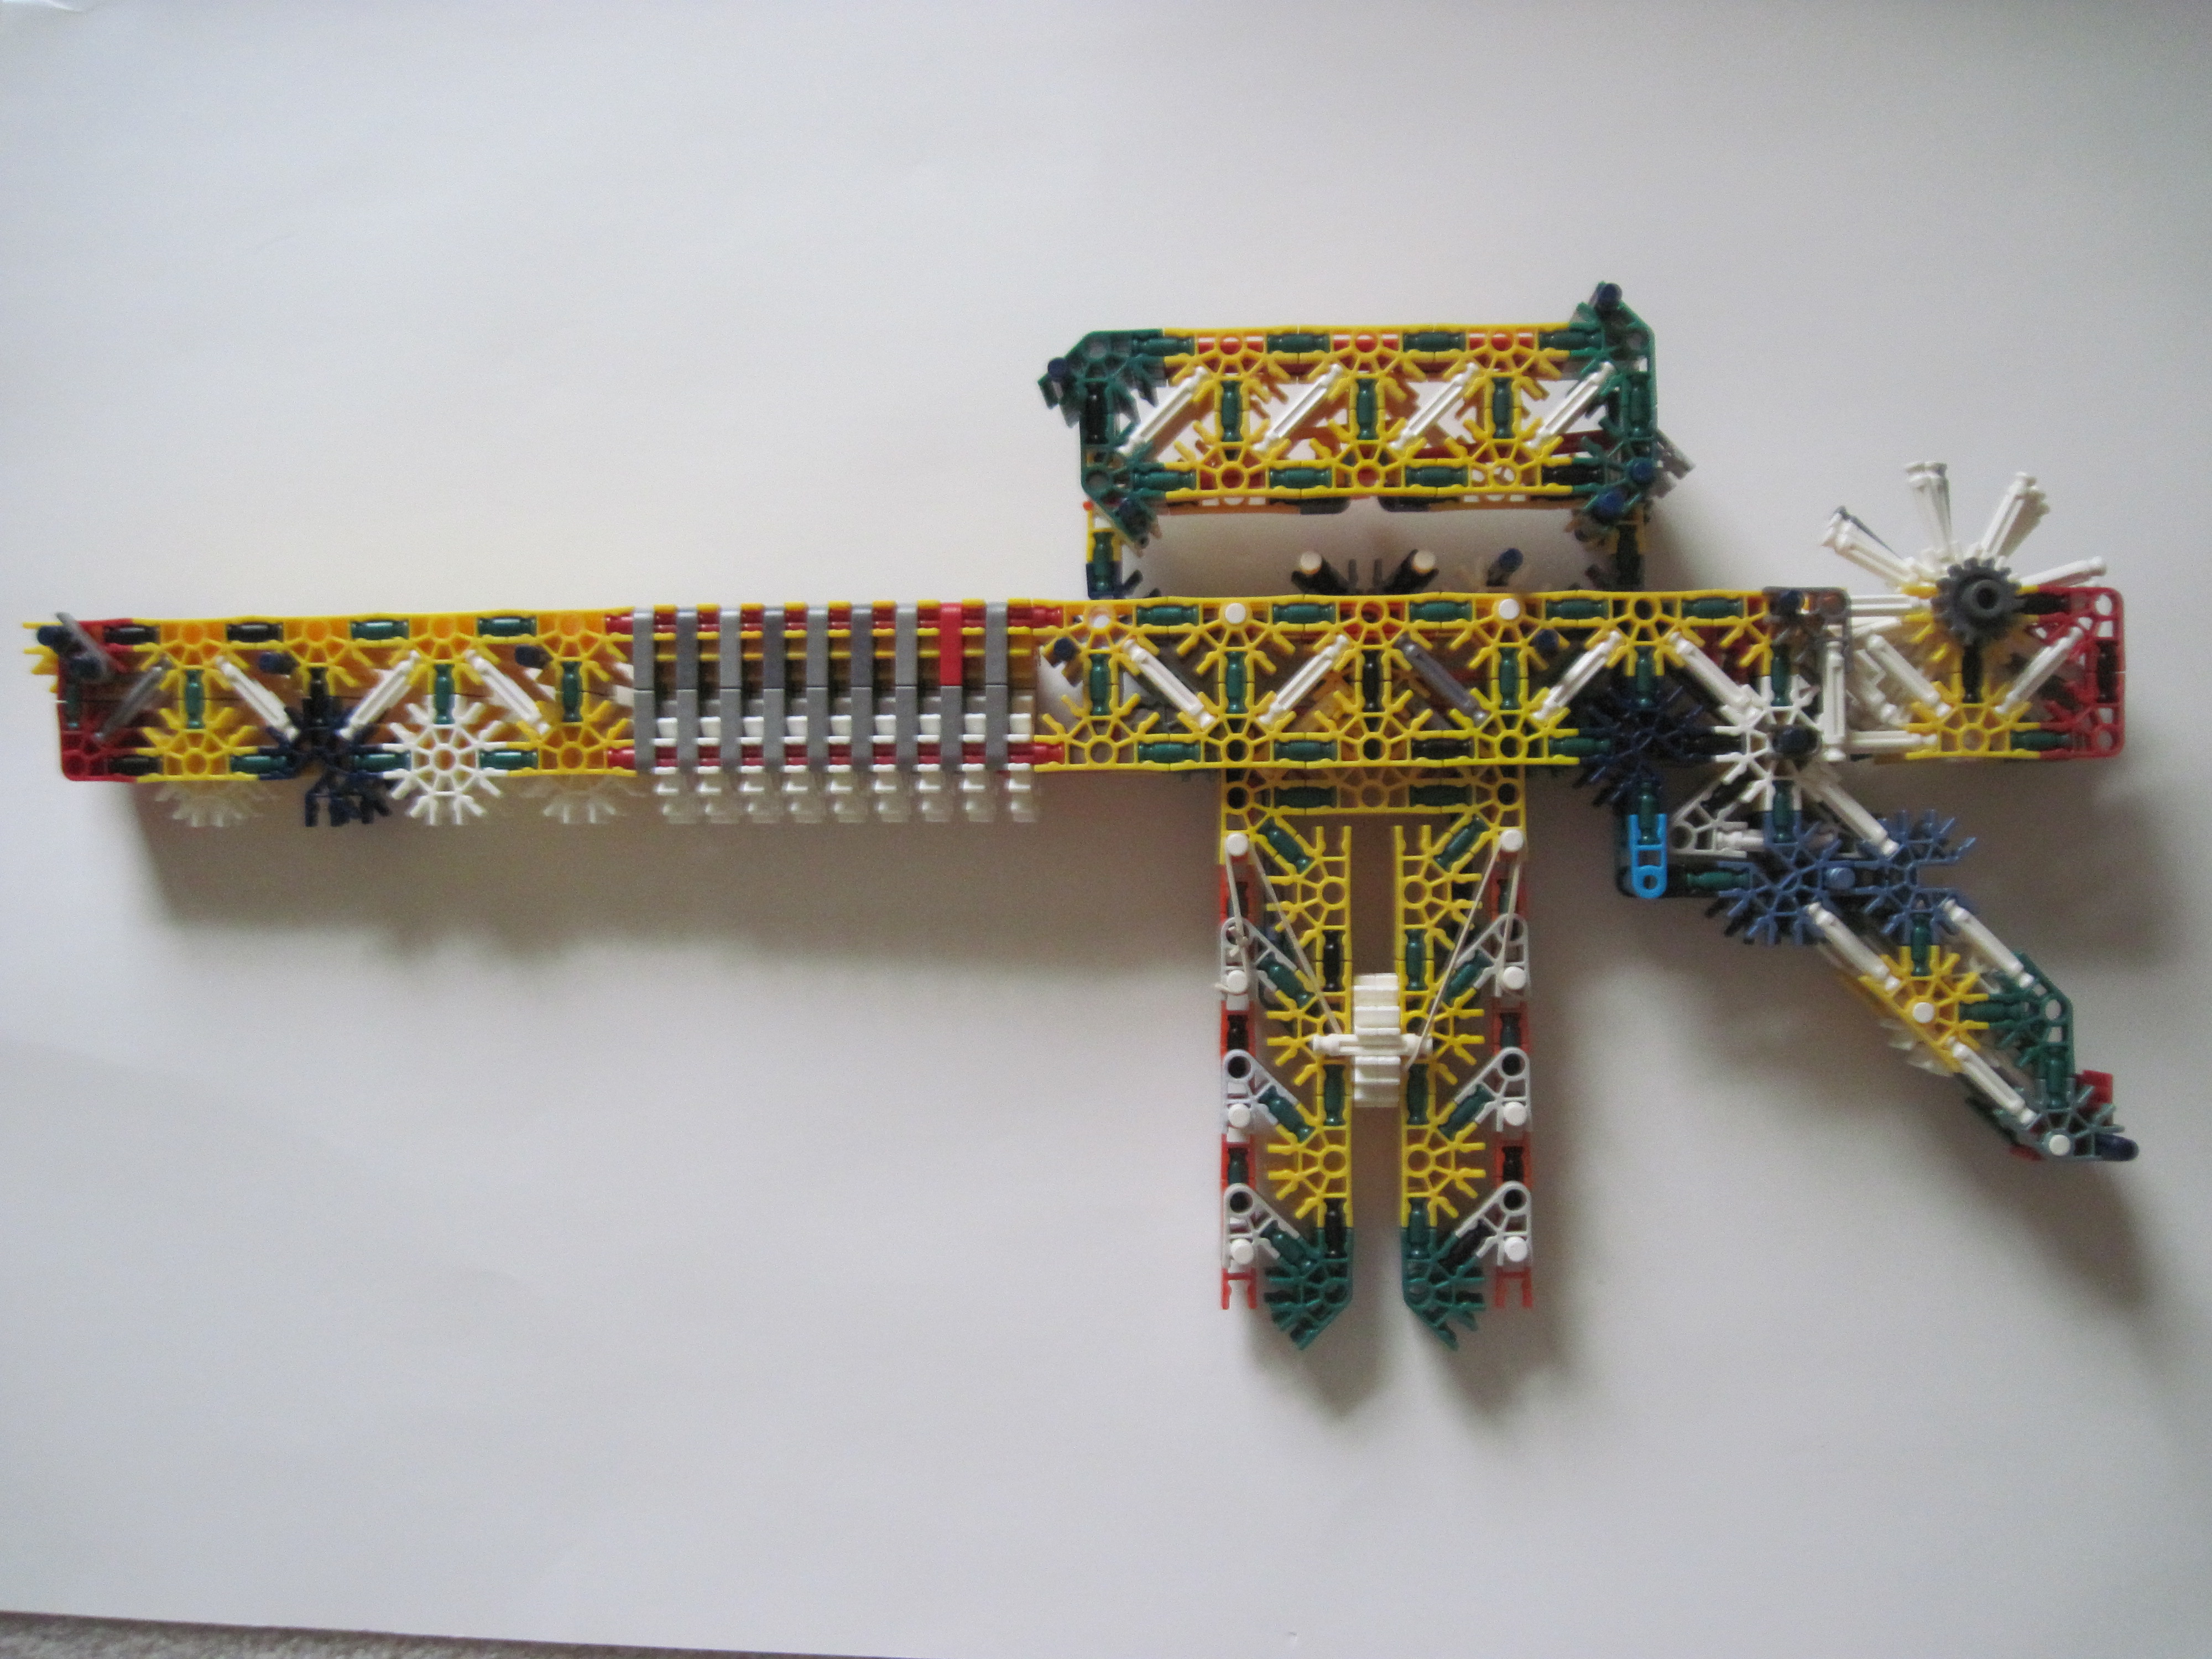
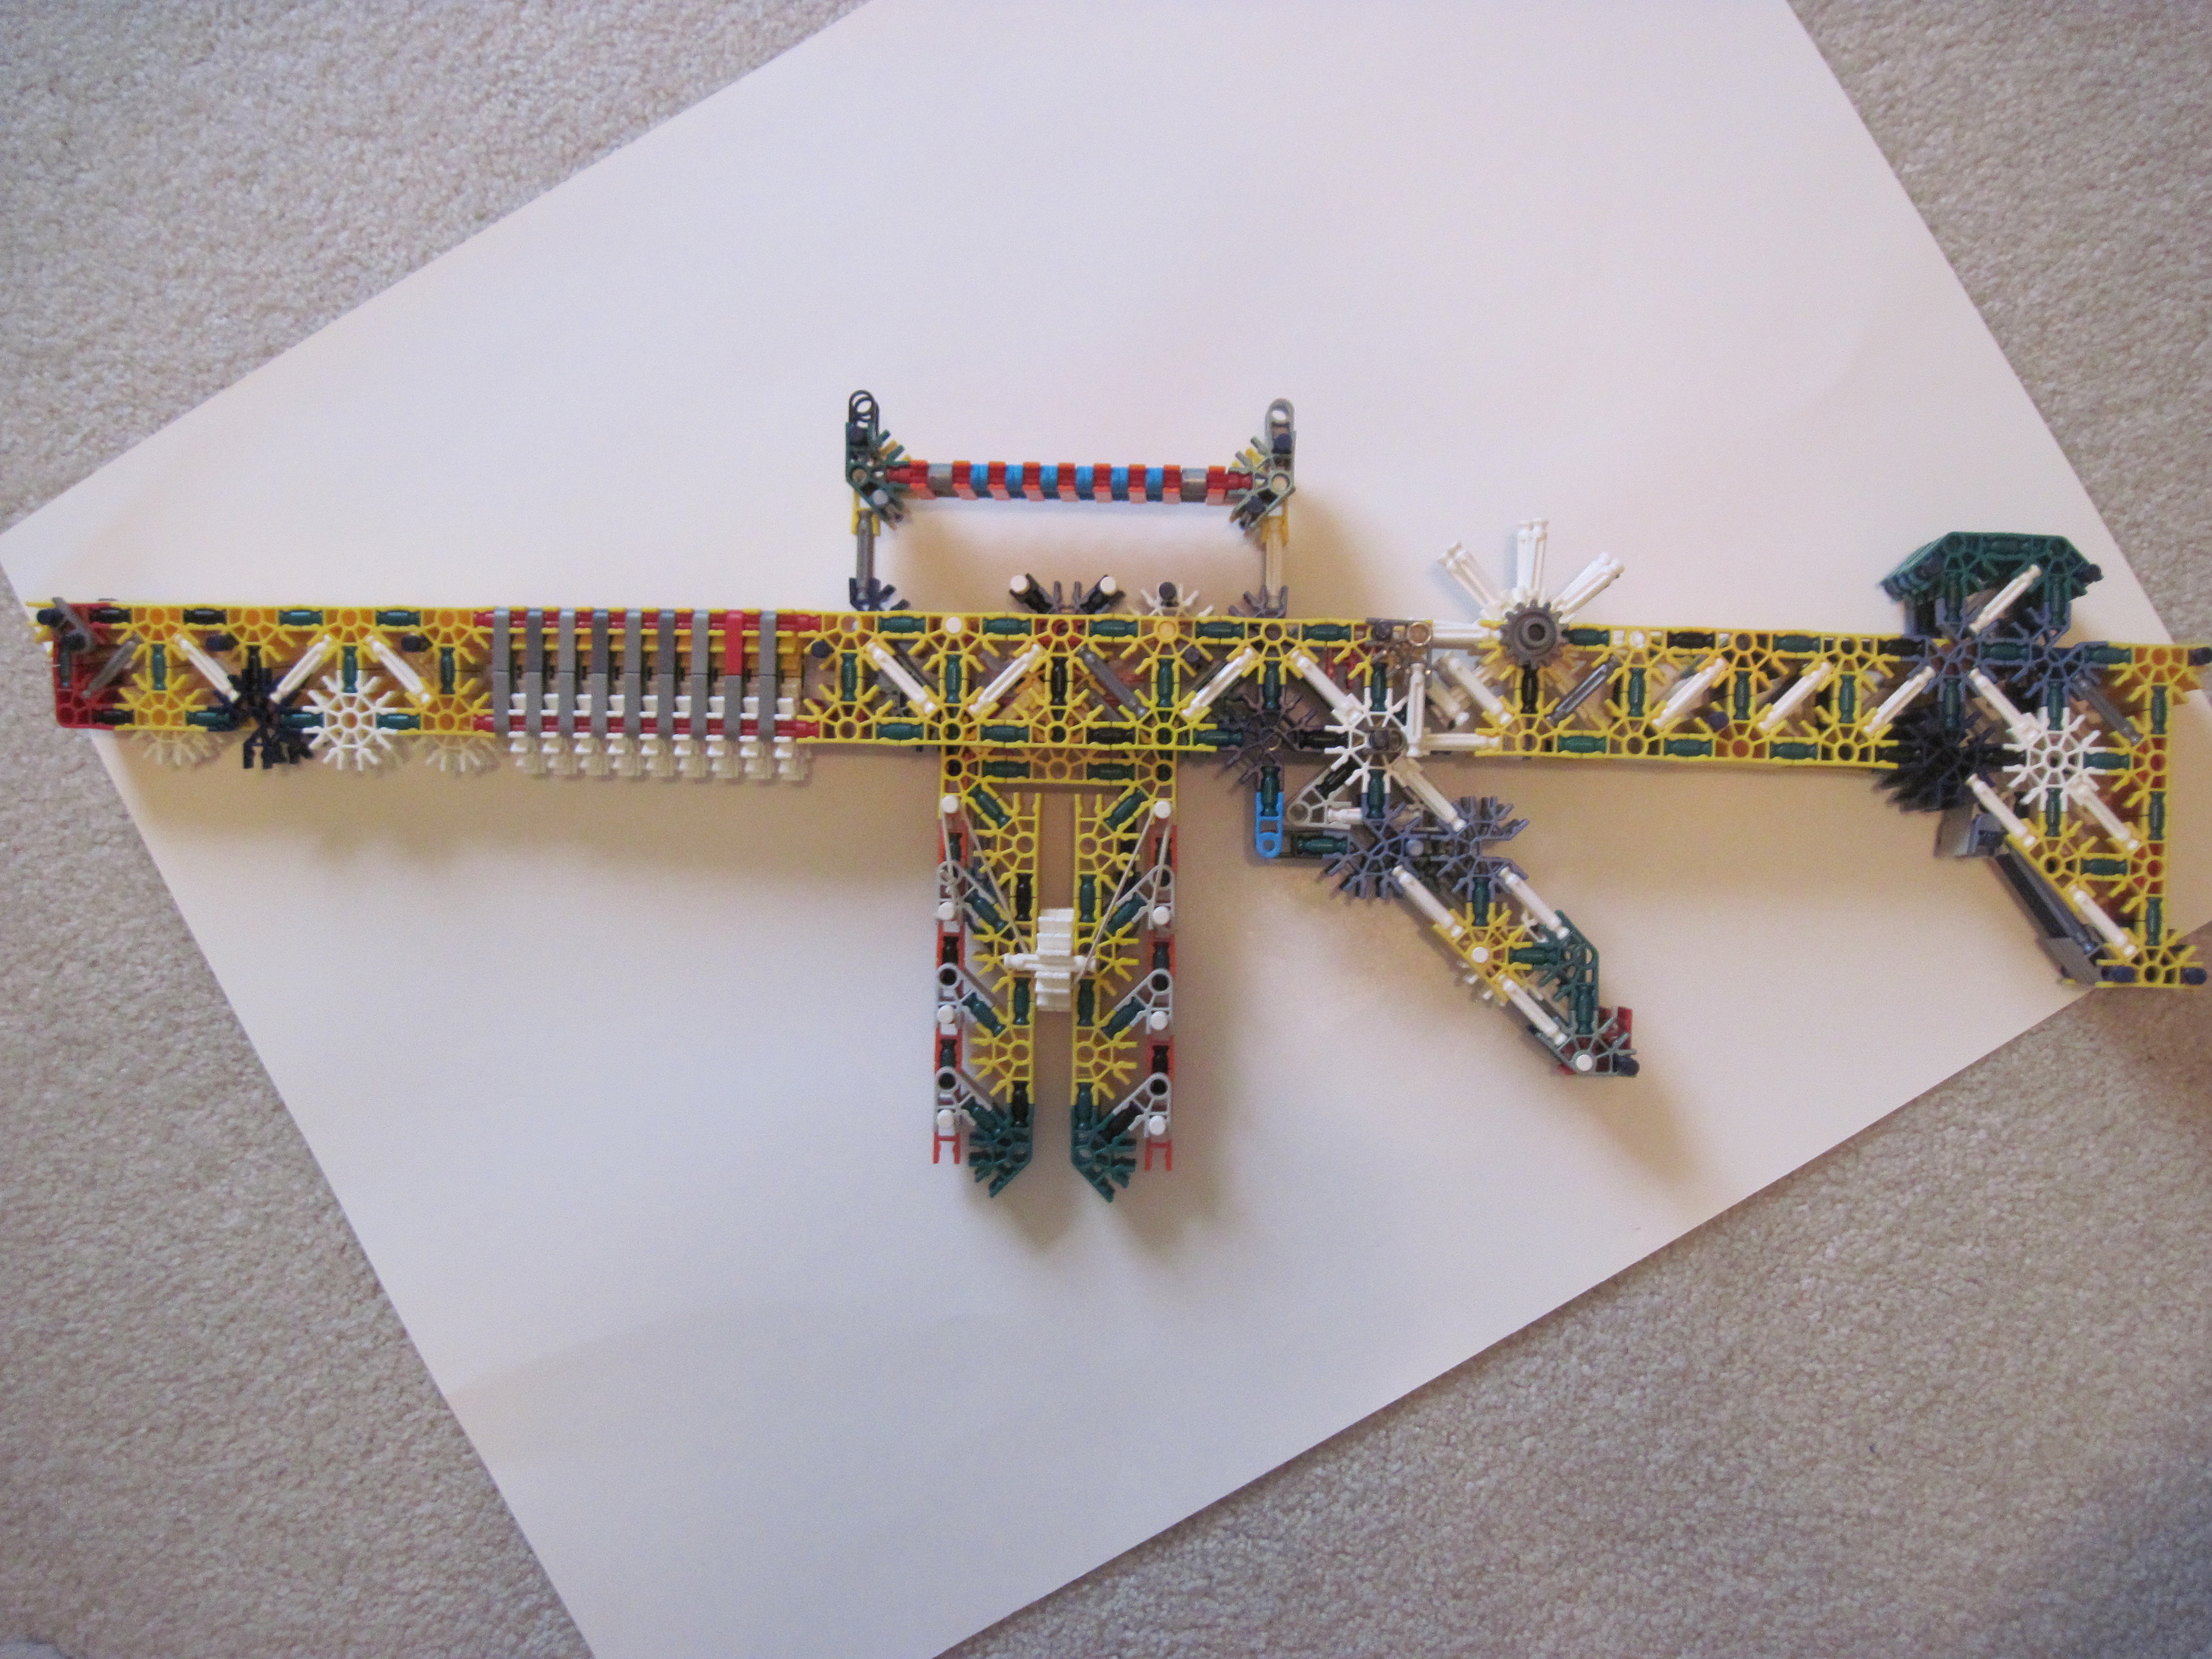
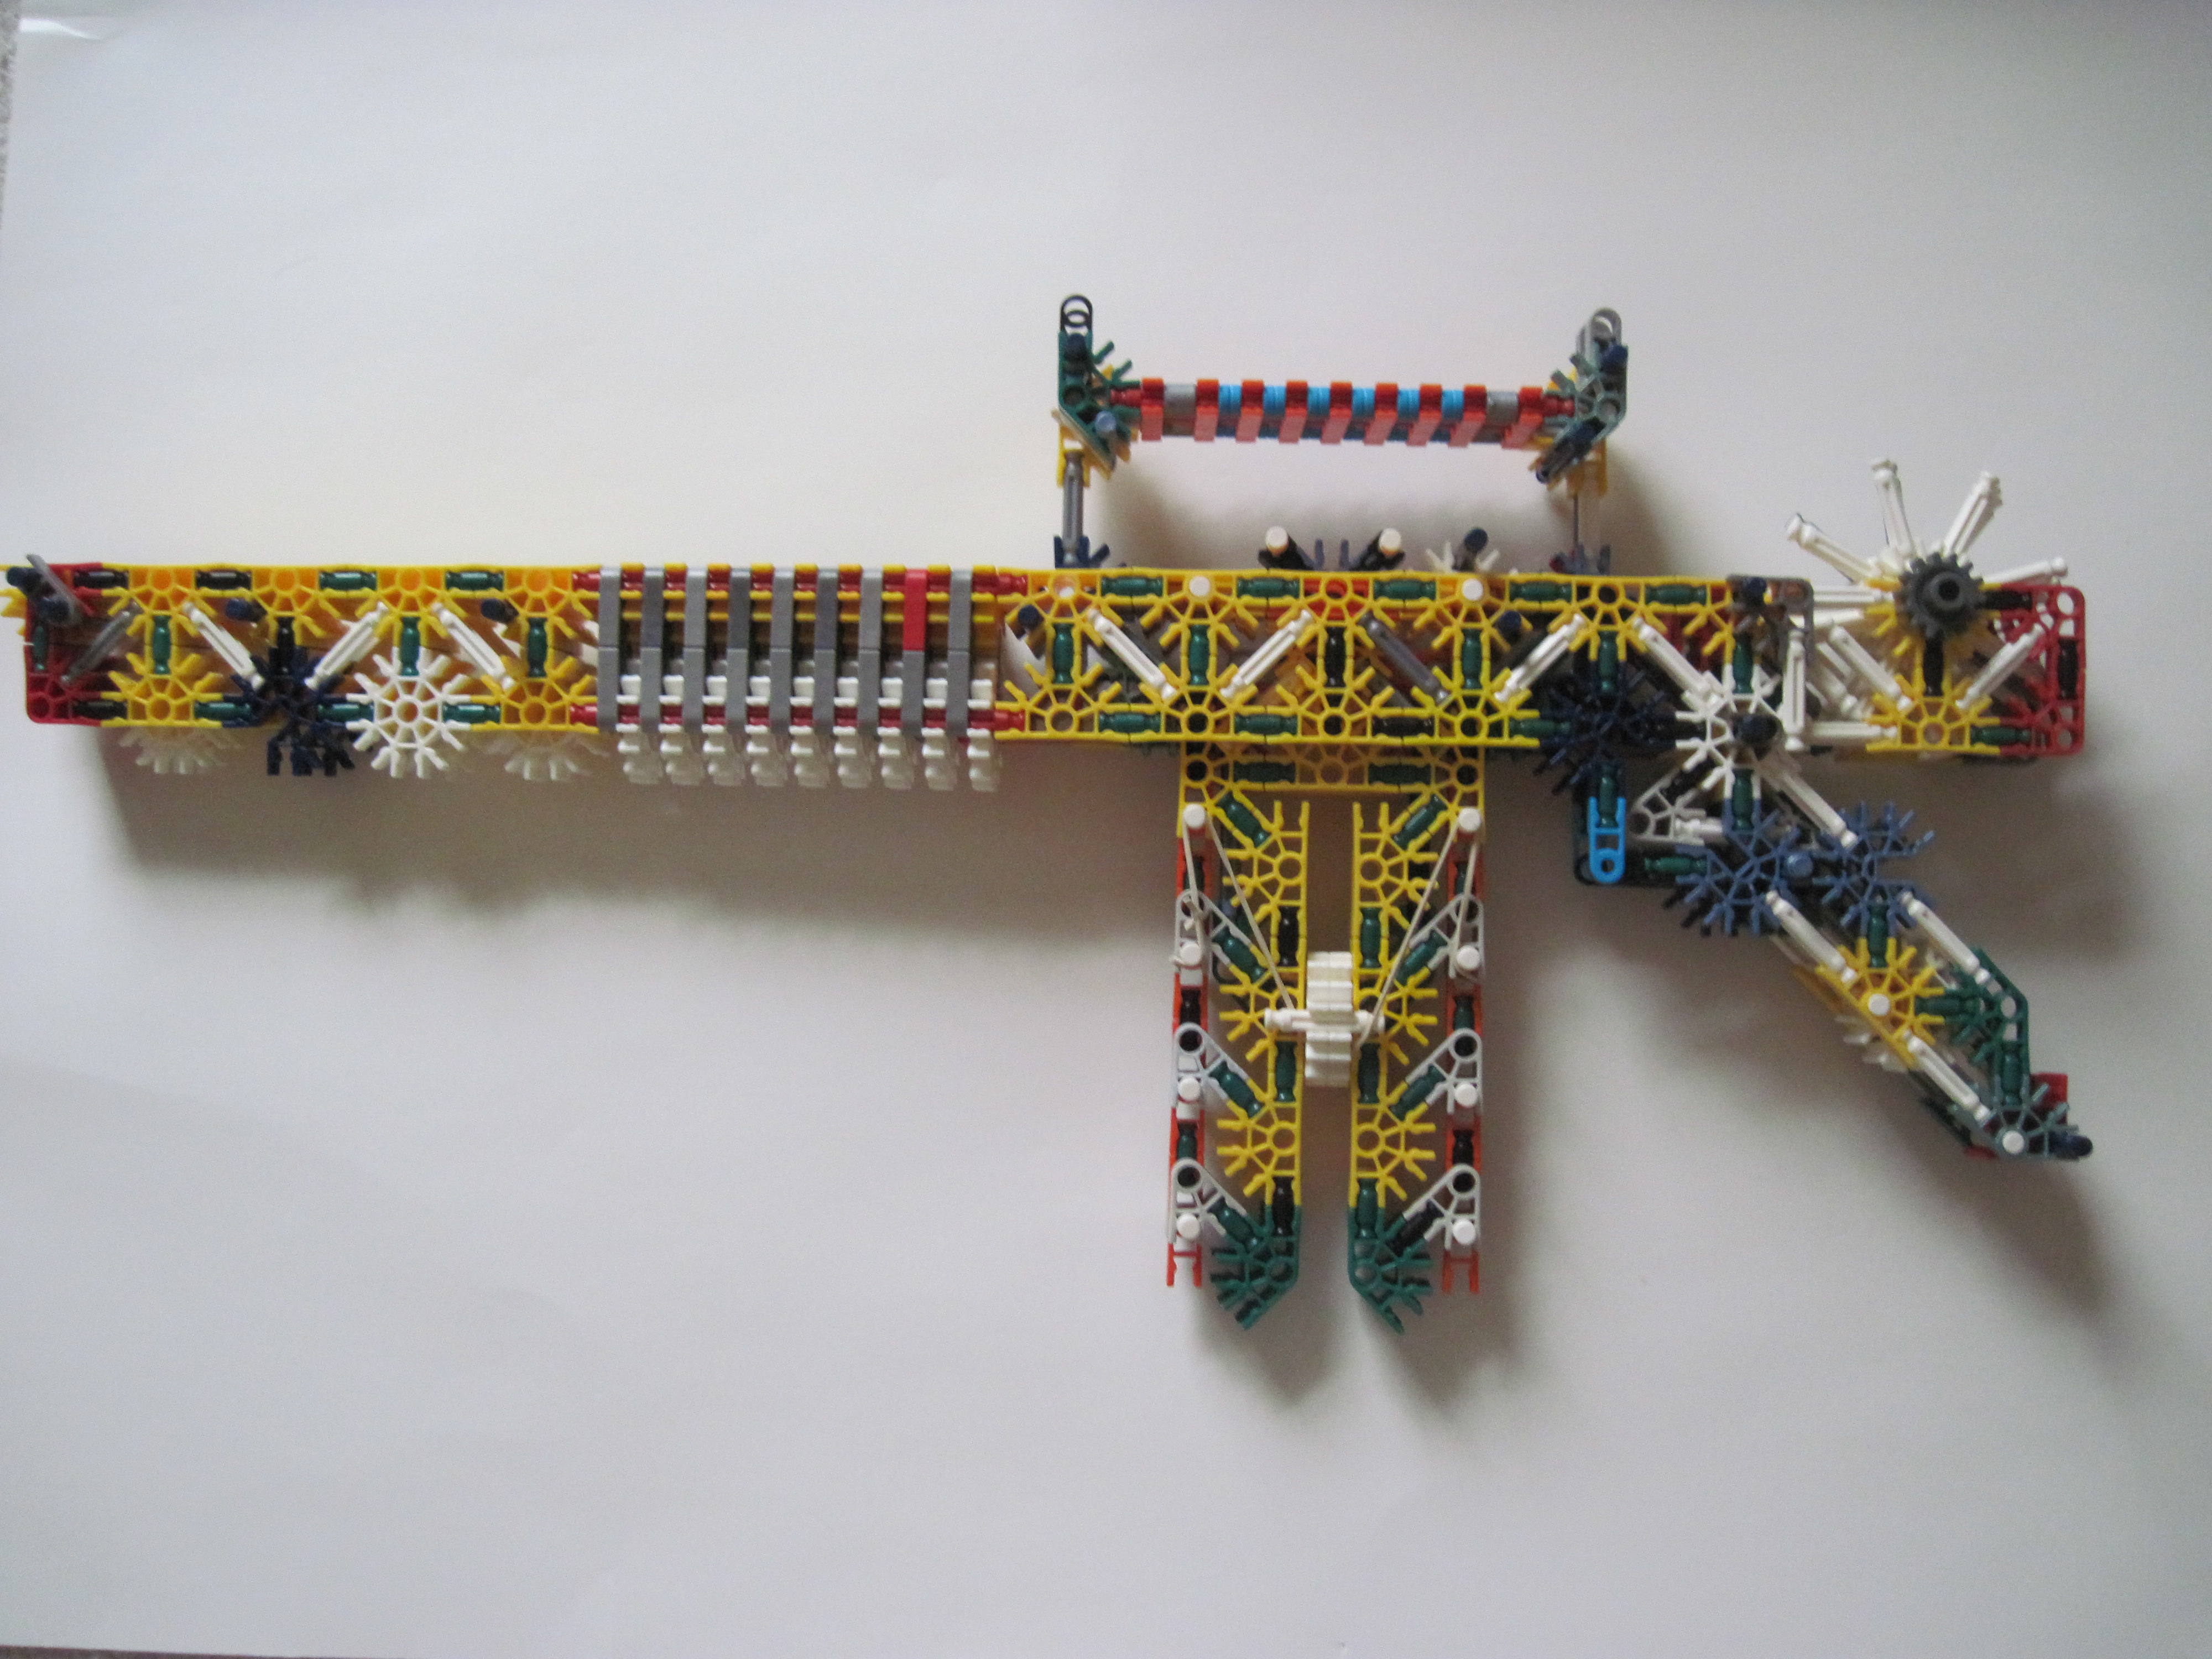

This is the third model of the MAR (Masterdude Assault Rifle). It has many new features and is compatible with the MBAR-2 gear/additions. Like the rest of my guns it is semi-auto.
New Things:
-Innovative sight which is adjustable (maybe the first)
-Also rather innovative flip safety
-Side extra ammo storage
-In-stock rubberband/whatever-fits storage
Pros:
-Strong
-Accurate
-Comfortable
-Removable mag
-Cheek rest
-True trigger
-Better than before sight
-Lots of possible additions(compatible with MBAR-2 gear)
-Semi-Auto
-Reliable
-Safety
-Side ammo storage
-Extra compartment
-Trigger guard
Cons:
-Uses a lot of pieces
-Can be complicated to load for some
More Instructables by Me
Image 1: New sight with stock
Image 2: New sight with stock and with bayonet, vertical grip, and extra ammo storage
Image 3: New sight no stock
Image 4: Old sight with stock
Image 5: Old sight no stock
Image 6: Look down the new sight
Barrel Part 1: Components


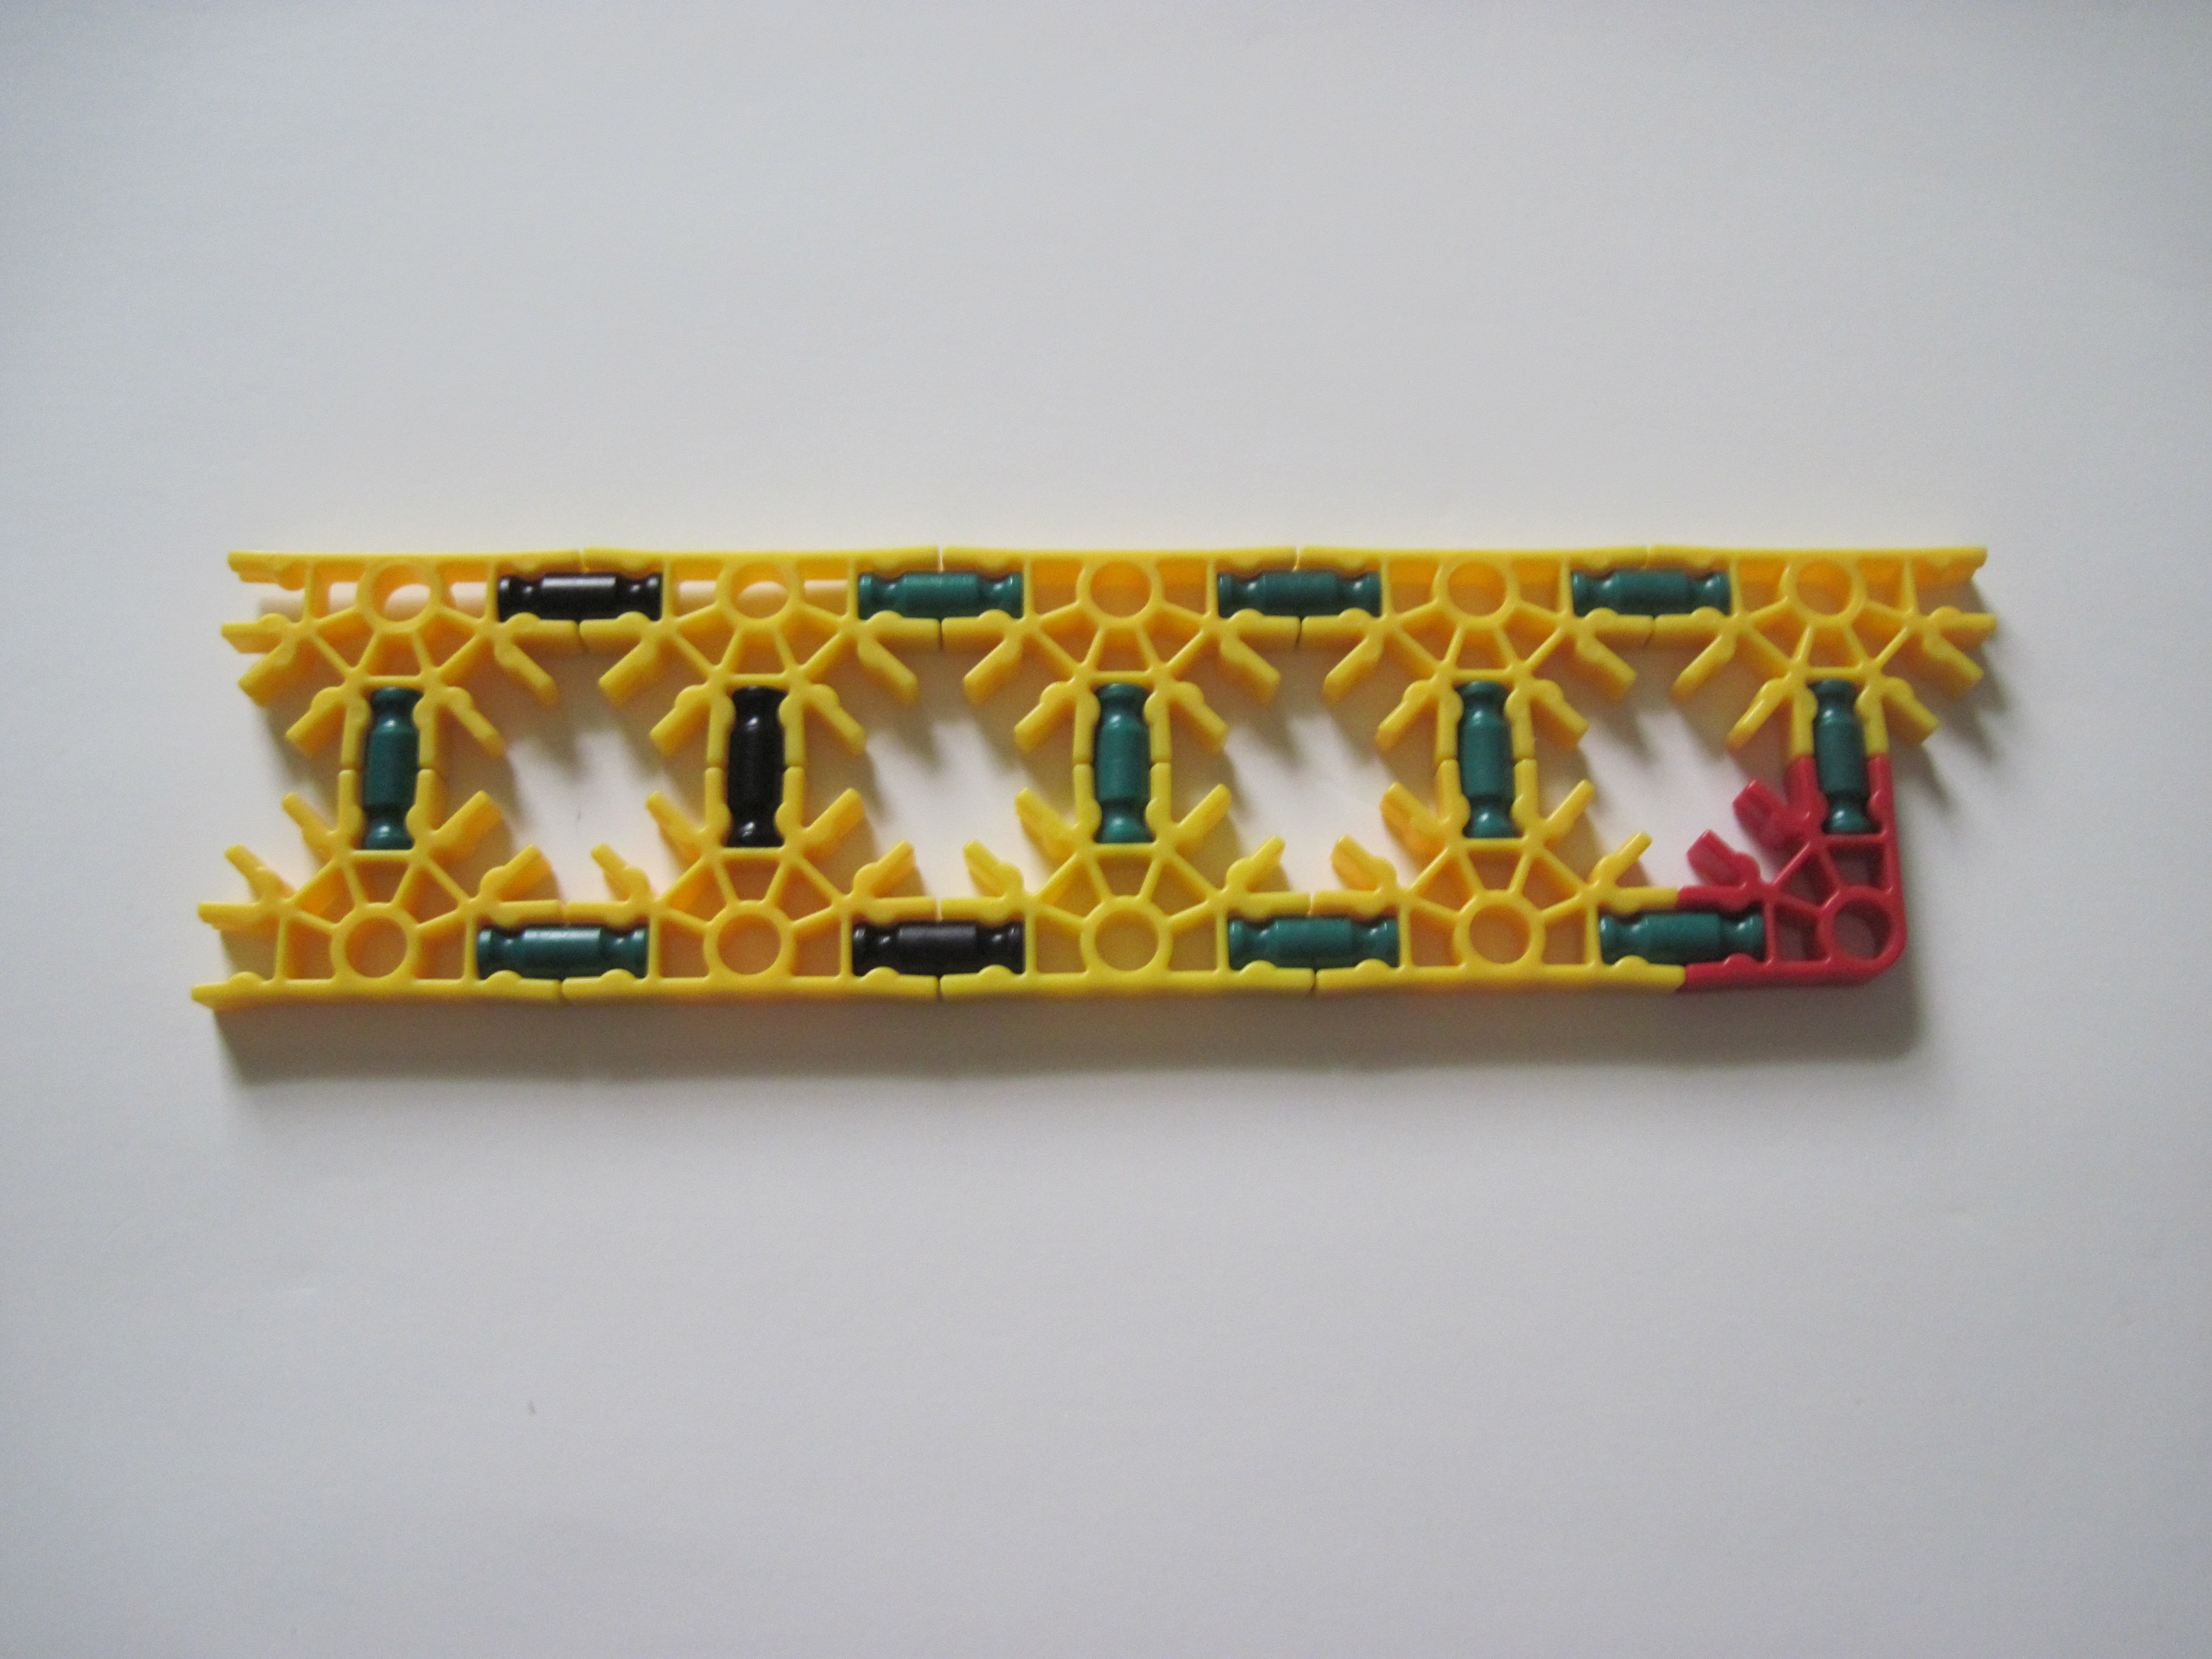

Make the following components. They are given a name which shall be referred to the next step:
Image 1: Make 2(Part A)
Image 2: Make 2(Part B)
Image 3: Make 1(Part C)
Image 4: Make 1(Part D)
Image 1: Make 2(Part A)
Image 2: Make 2(Part B)
Image 3: Make 1(Part C)
Image 4: Make 1(Part D)
Barrel Part 1: Construction
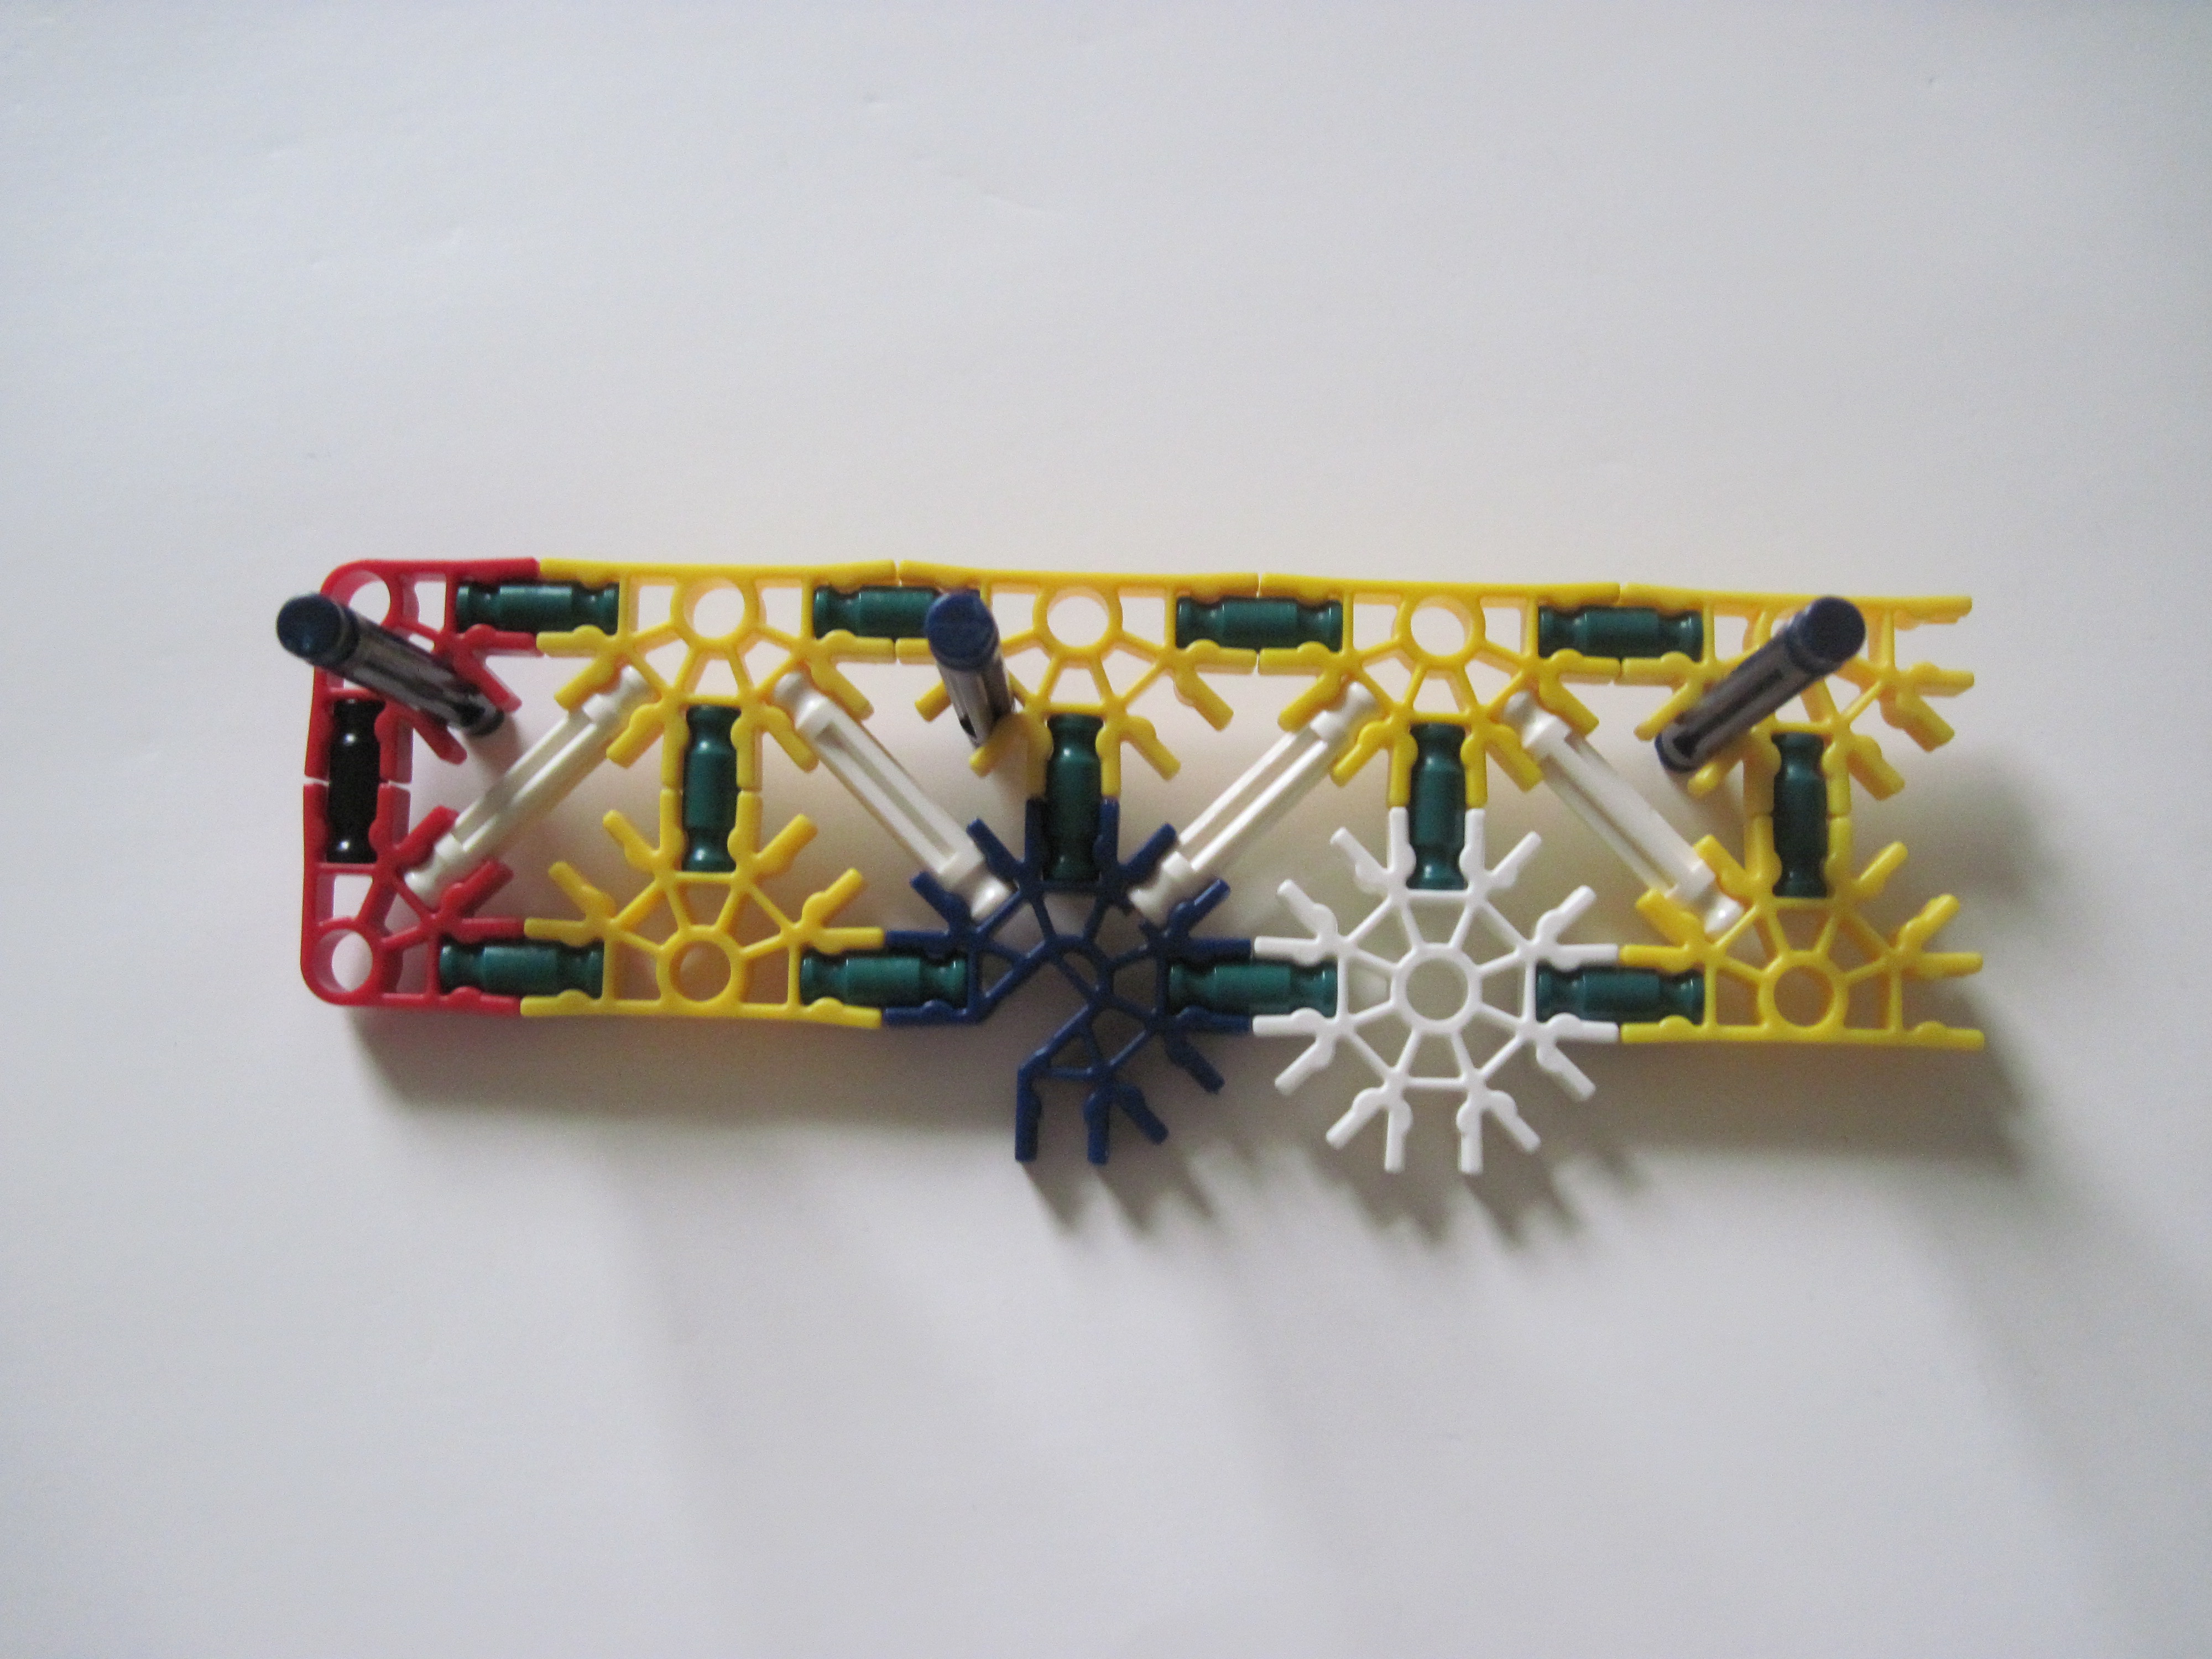

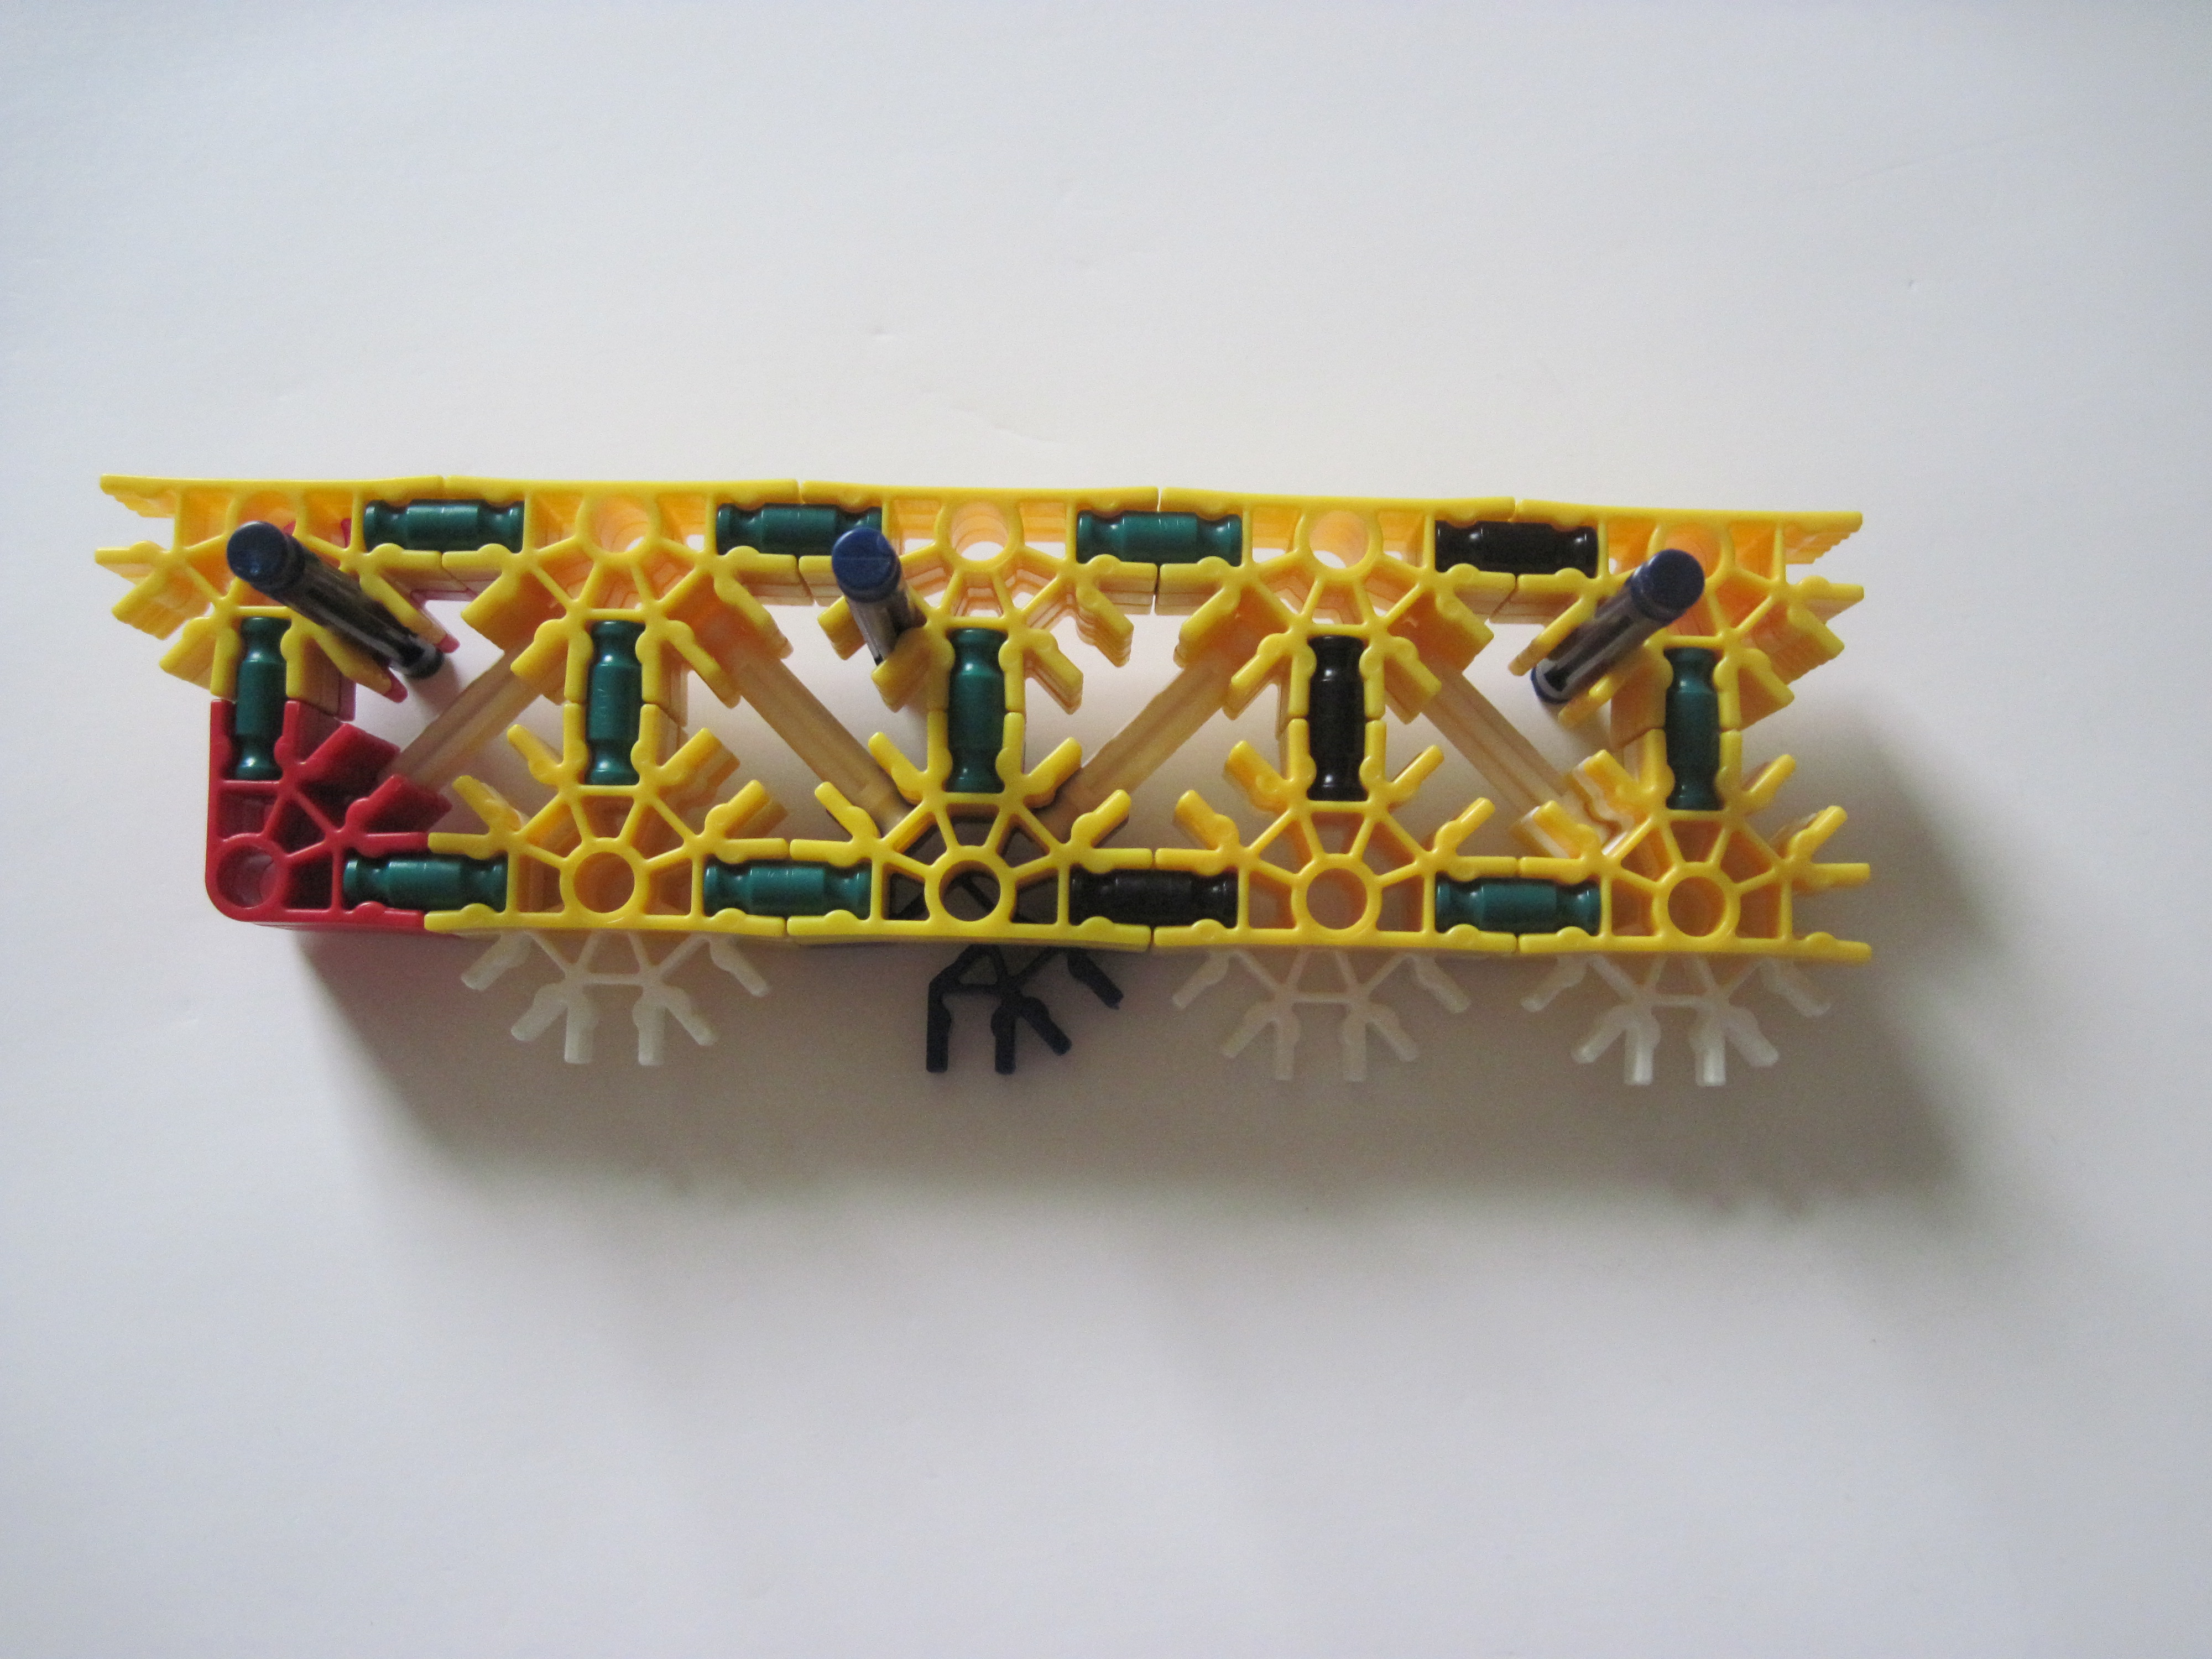


Follow the images:
Image 1: Take Part A and add blue rods as shown.
Image 2: Add Part B.
Image 3: Add Part C.
Image 4: Add Part B.
Image 5: Add Part A.
Image 6: Place Part D where shown.
Image 7: On other side place metallic blue clip as shown.
Image 1: Take Part A and add blue rods as shown.
Image 2: Add Part B.
Image 3: Add Part C.
Image 4: Add Part B.
Image 5: Add Part A.
Image 6: Place Part D where shown.
Image 7: On other side place metallic blue clip as shown.
Barrel Part 2: Components
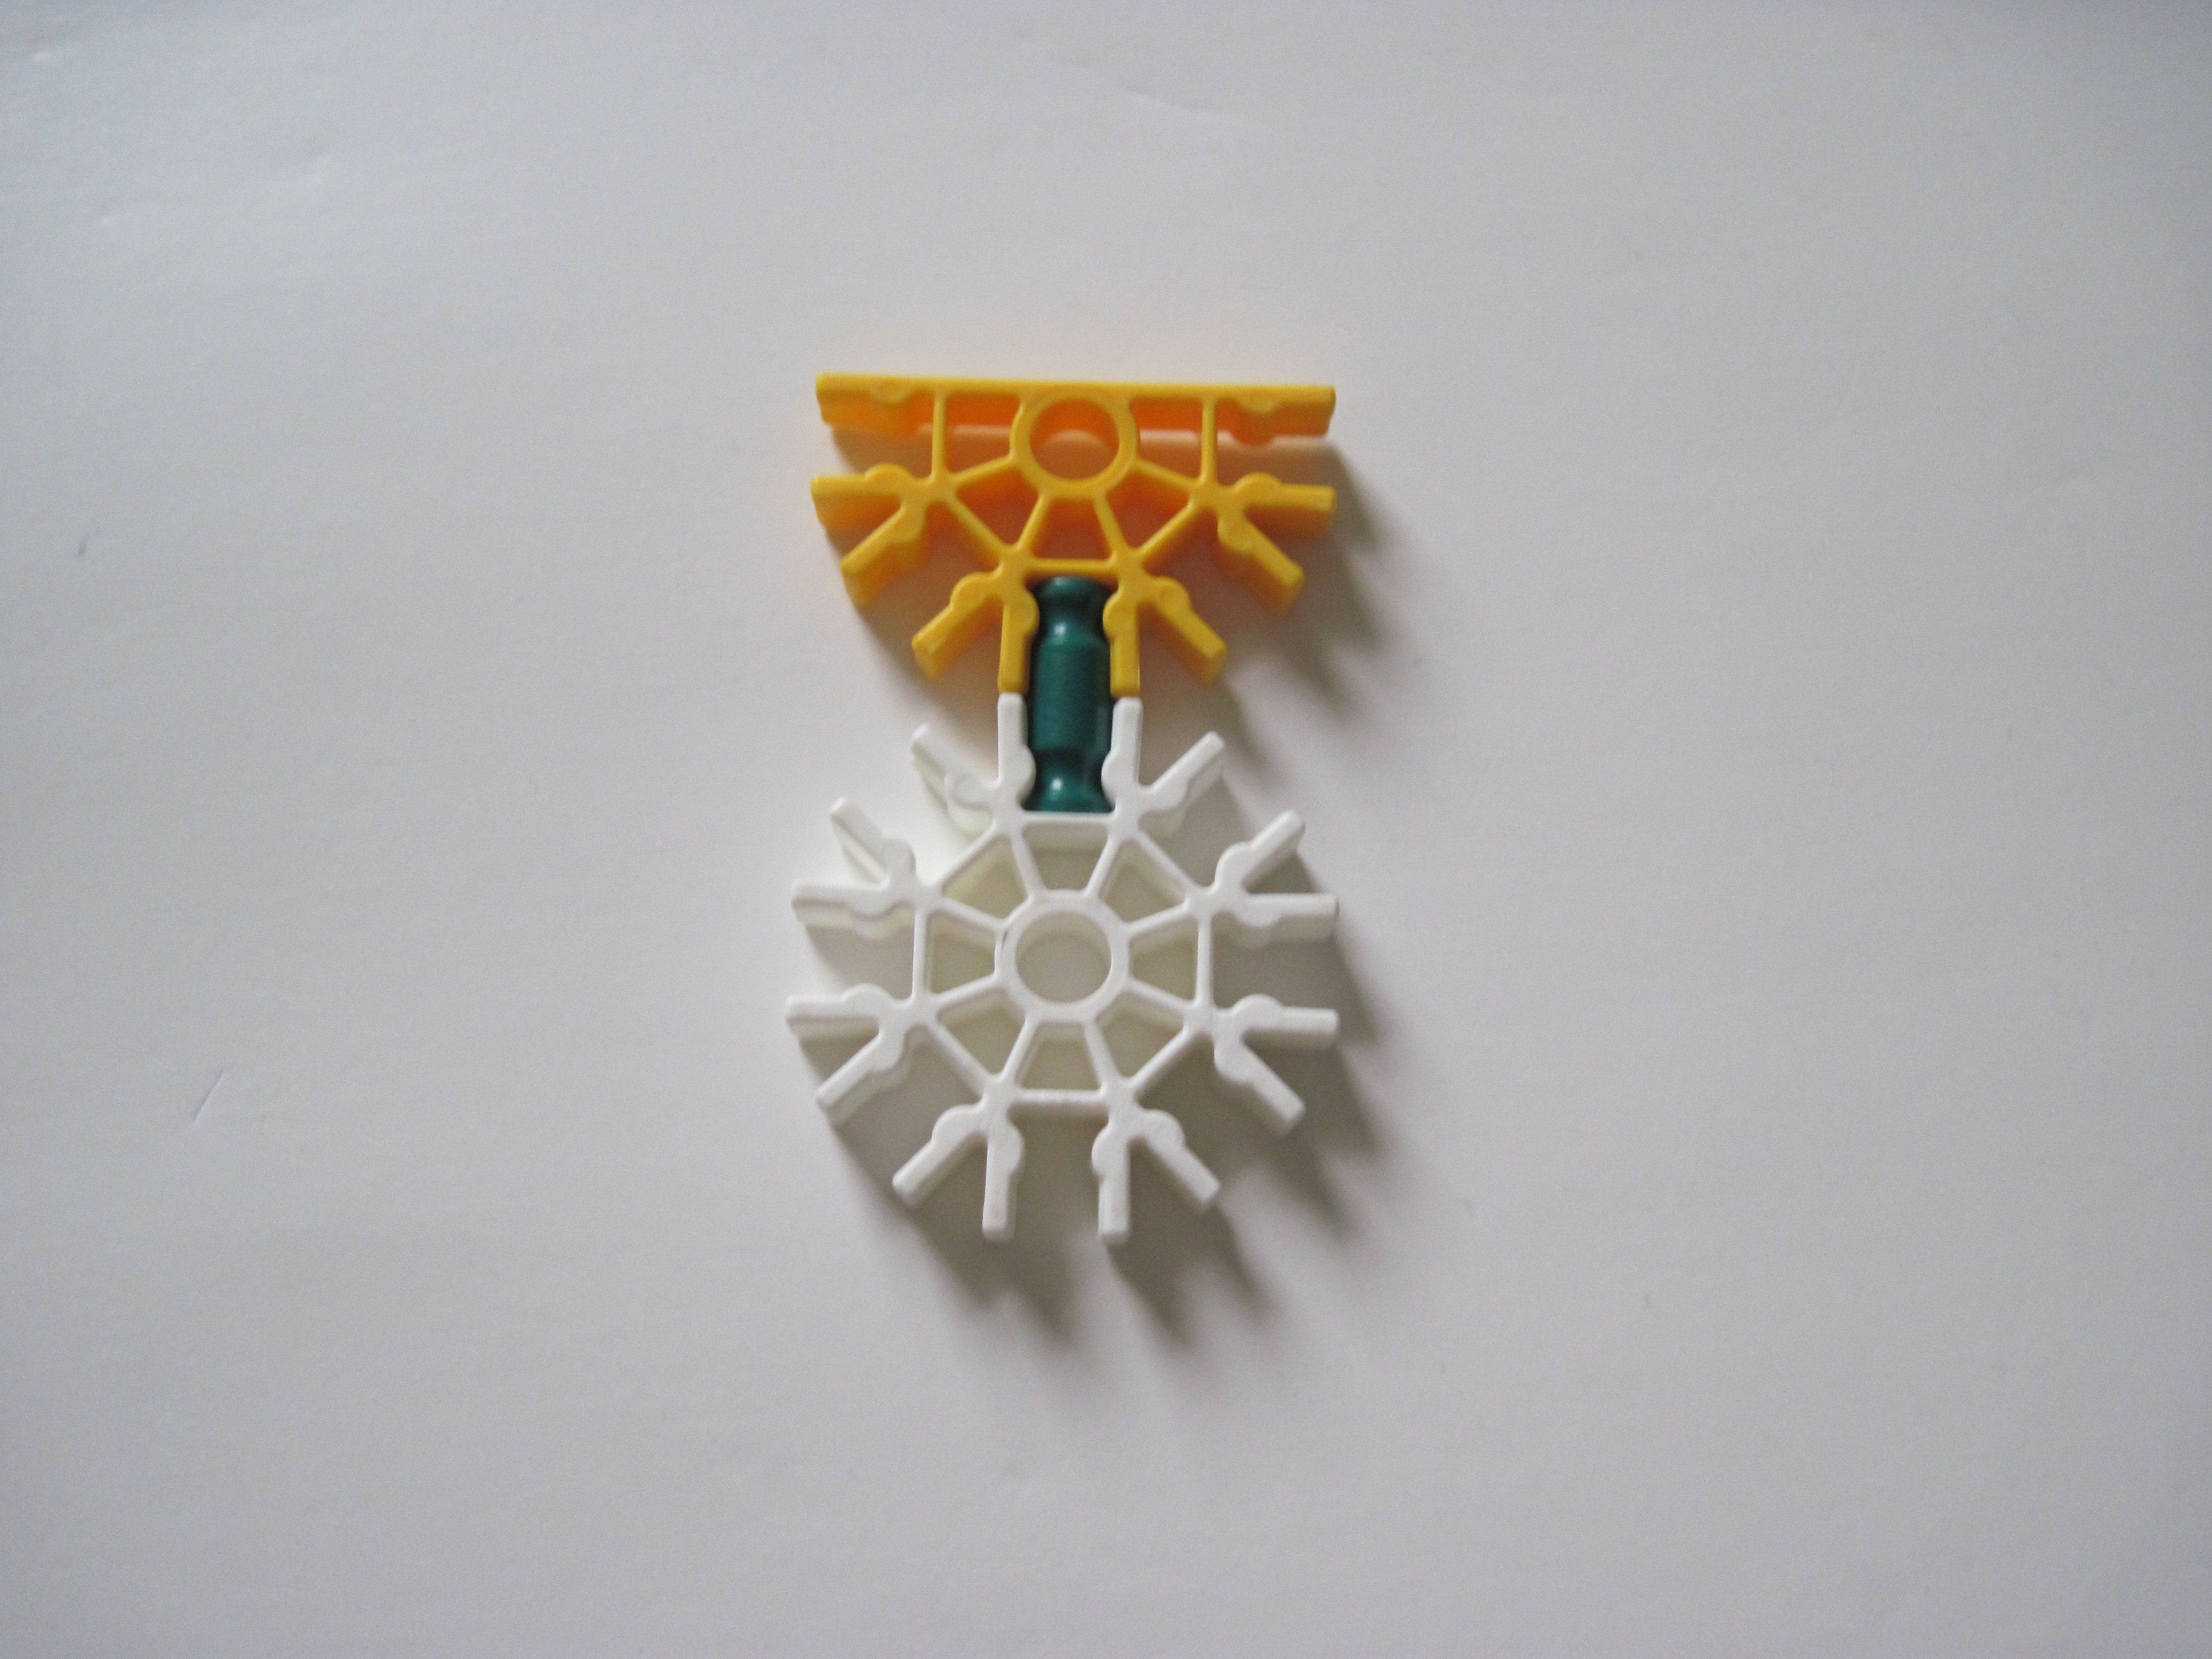


Make the following components. They are given a name which shall be referred to the next step:
Image 1: Make 9(Part A)
Image 2: Make 8, If not making side ammo storage then 9(Part B)
Image 3: Make 9(Part C)
Image 4: Make 1 if making side ammo storage, if not then 0(Part D)
Image 1: Make 9(Part A)
Image 2: Make 8, If not making side ammo storage then 9(Part B)
Image 3: Make 9(Part C)
Image 4: Make 1 if making side ammo storage, if not then 0(Part D)
Barrel Part 2: Construction


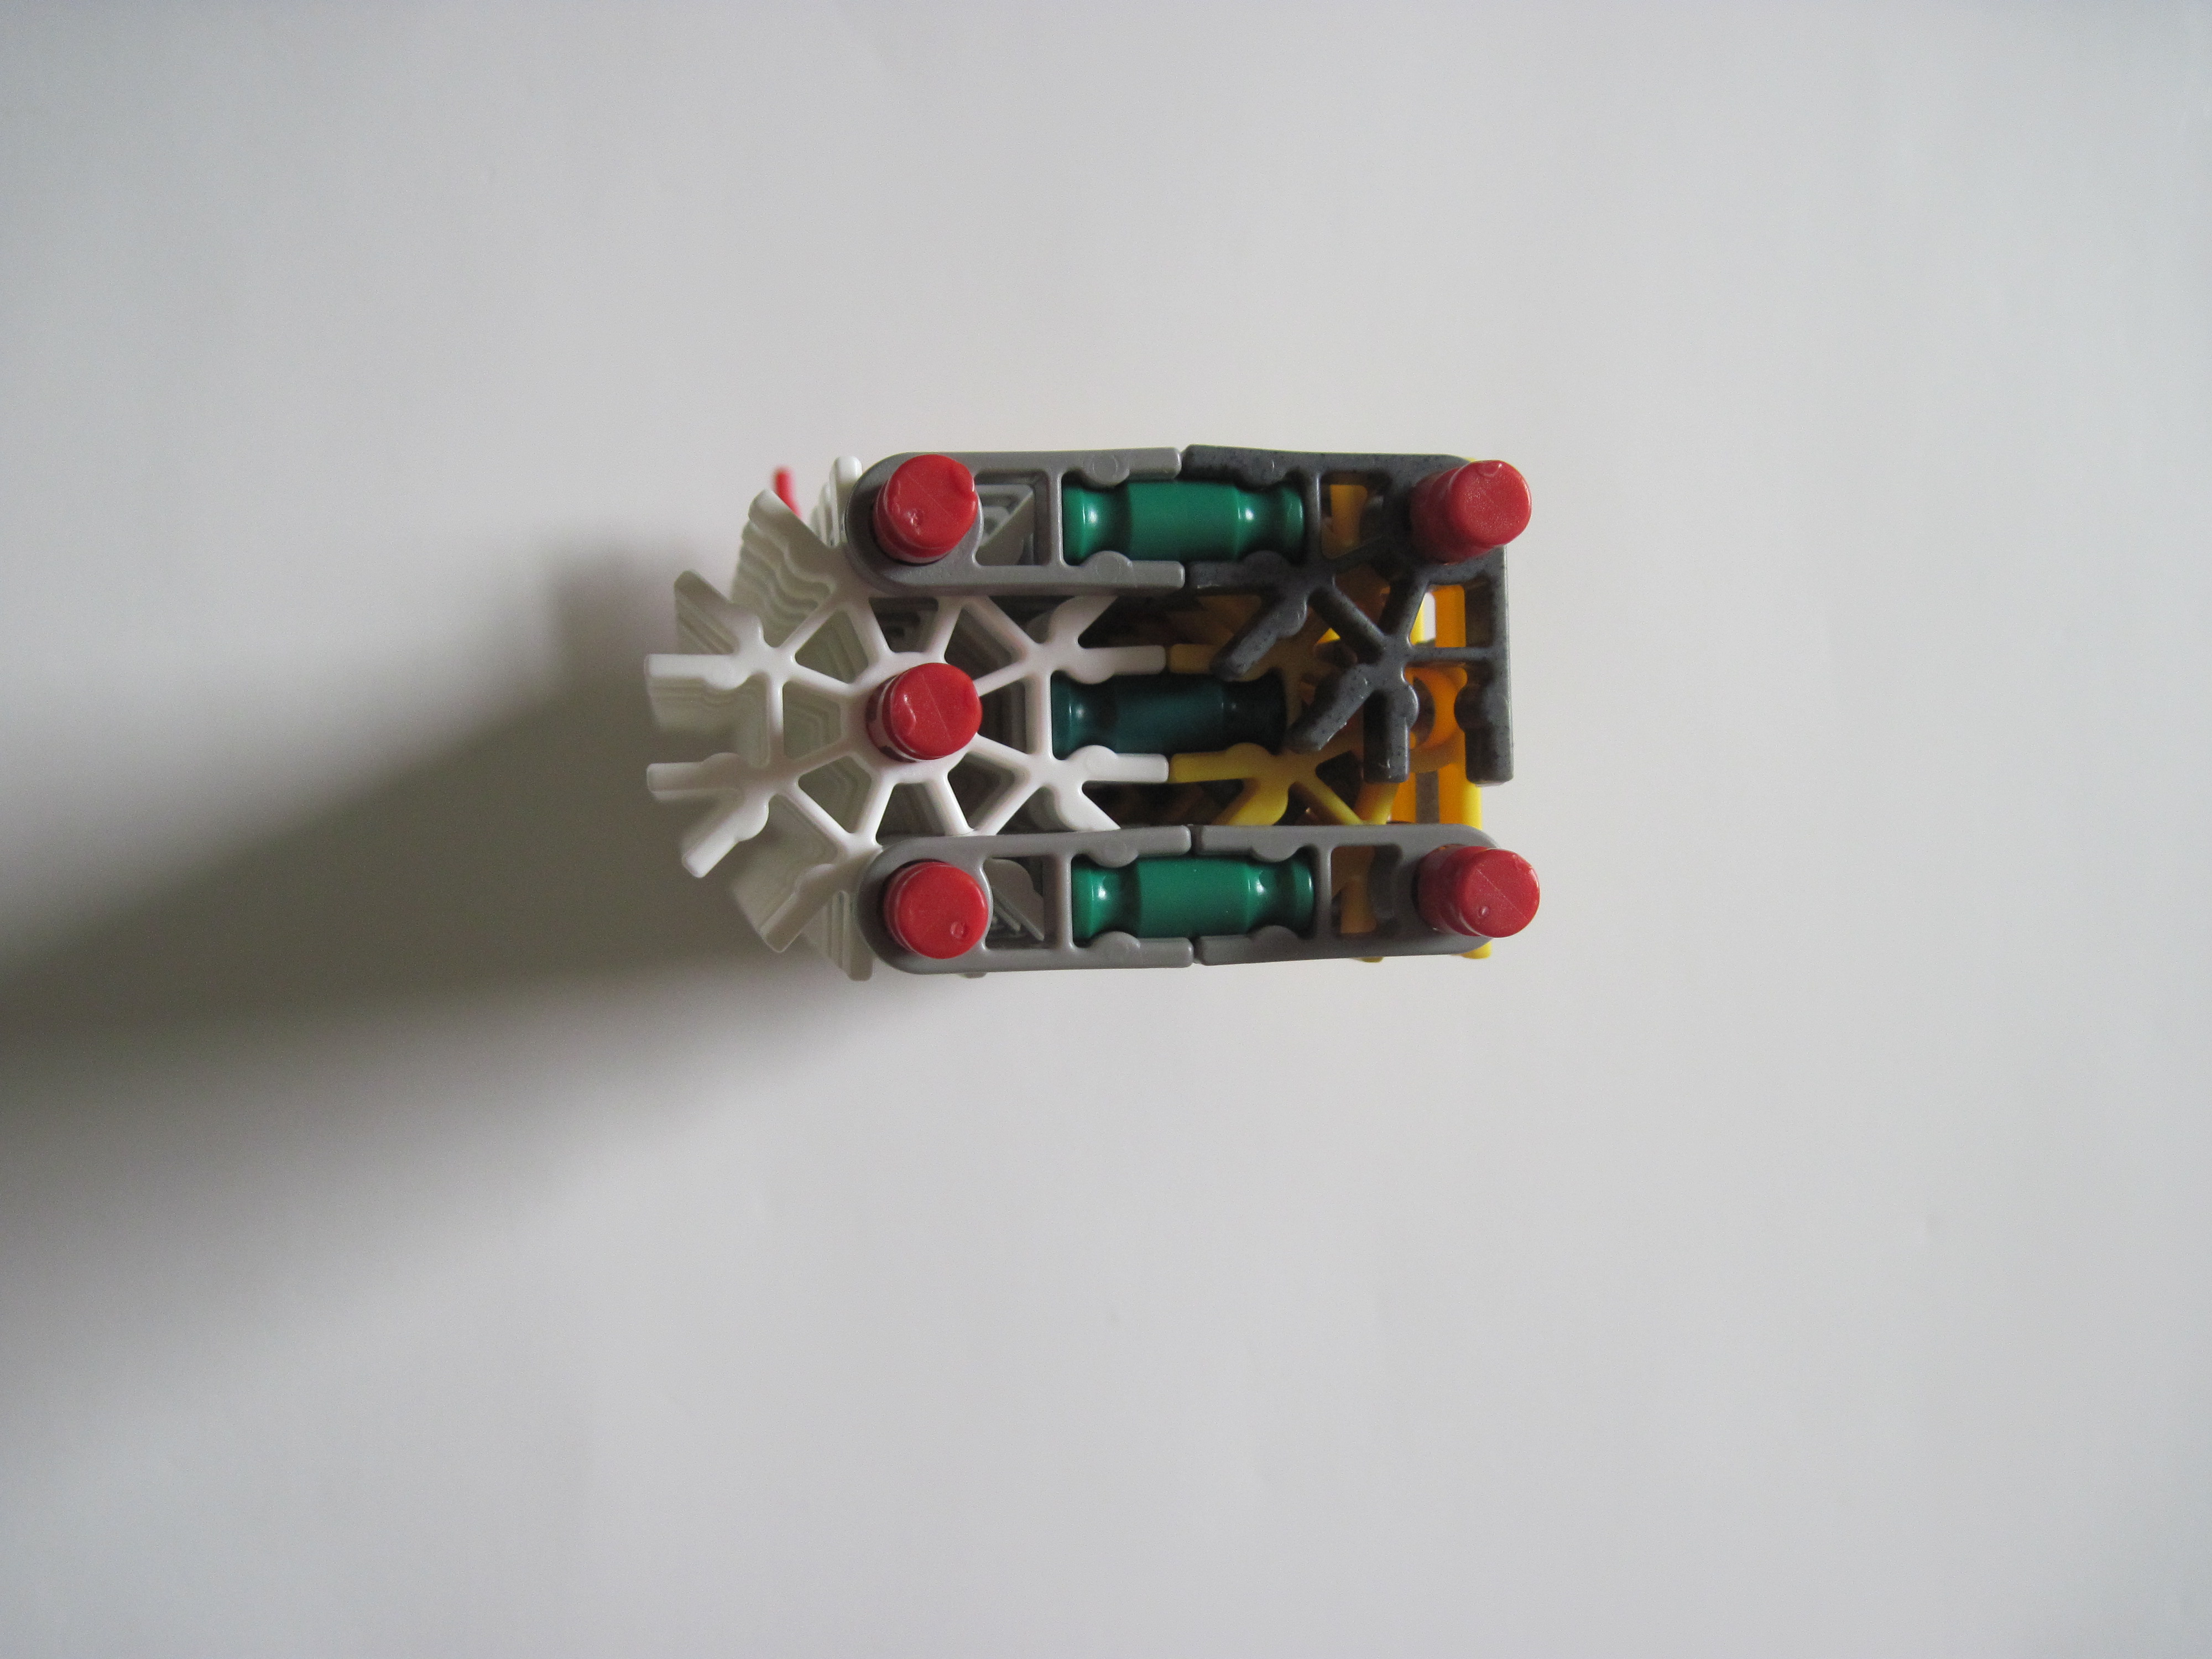
Follow the images:
Image 1: Place red rods on Part A.
Image 2: Add Parts C and D as shown. If not making side ammo storage, replace D with a B.
Image 3: Place Part A.
Image 4: Add Parts B and C.
Image 5: Keep repeating steps 3-4 until you get this.
Image 6: Place a red rod as shown.
Image 1: Place red rods on Part A.
Image 2: Add Parts C and D as shown. If not making side ammo storage, replace D with a B.
Image 3: Place Part A.
Image 4: Add Parts B and C.
Image 5: Keep repeating steps 3-4 until you get this.
Image 6: Place a red rod as shown.
Main Body: Components


Make the following components. They are given a name which shall be referred to the next step:
Image 1: Make 1(Part A)
Image 2: Make 1(Part B)
Image 3: Make 2(Part C)
Image 4: Make 3(Part D)
Image 5: Make 1(Part E)
Image 6: Make 3(Part F)
Image 7: Make 3(Part G)
Image 8: Make 1(Part H)
Image 9: Make 1(Part I)
Image 10: Make 1(Part J)
Image 1: Make 1(Part A)
Image 2: Make 1(Part B)
Image 3: Make 2(Part C)
Image 4: Make 3(Part D)
Image 5: Make 1(Part E)
Image 6: Make 3(Part F)
Image 7: Make 3(Part G)
Image 8: Make 1(Part H)
Image 9: Make 1(Part I)
Image 10: Make 1(Part J)
Main Body: Construction
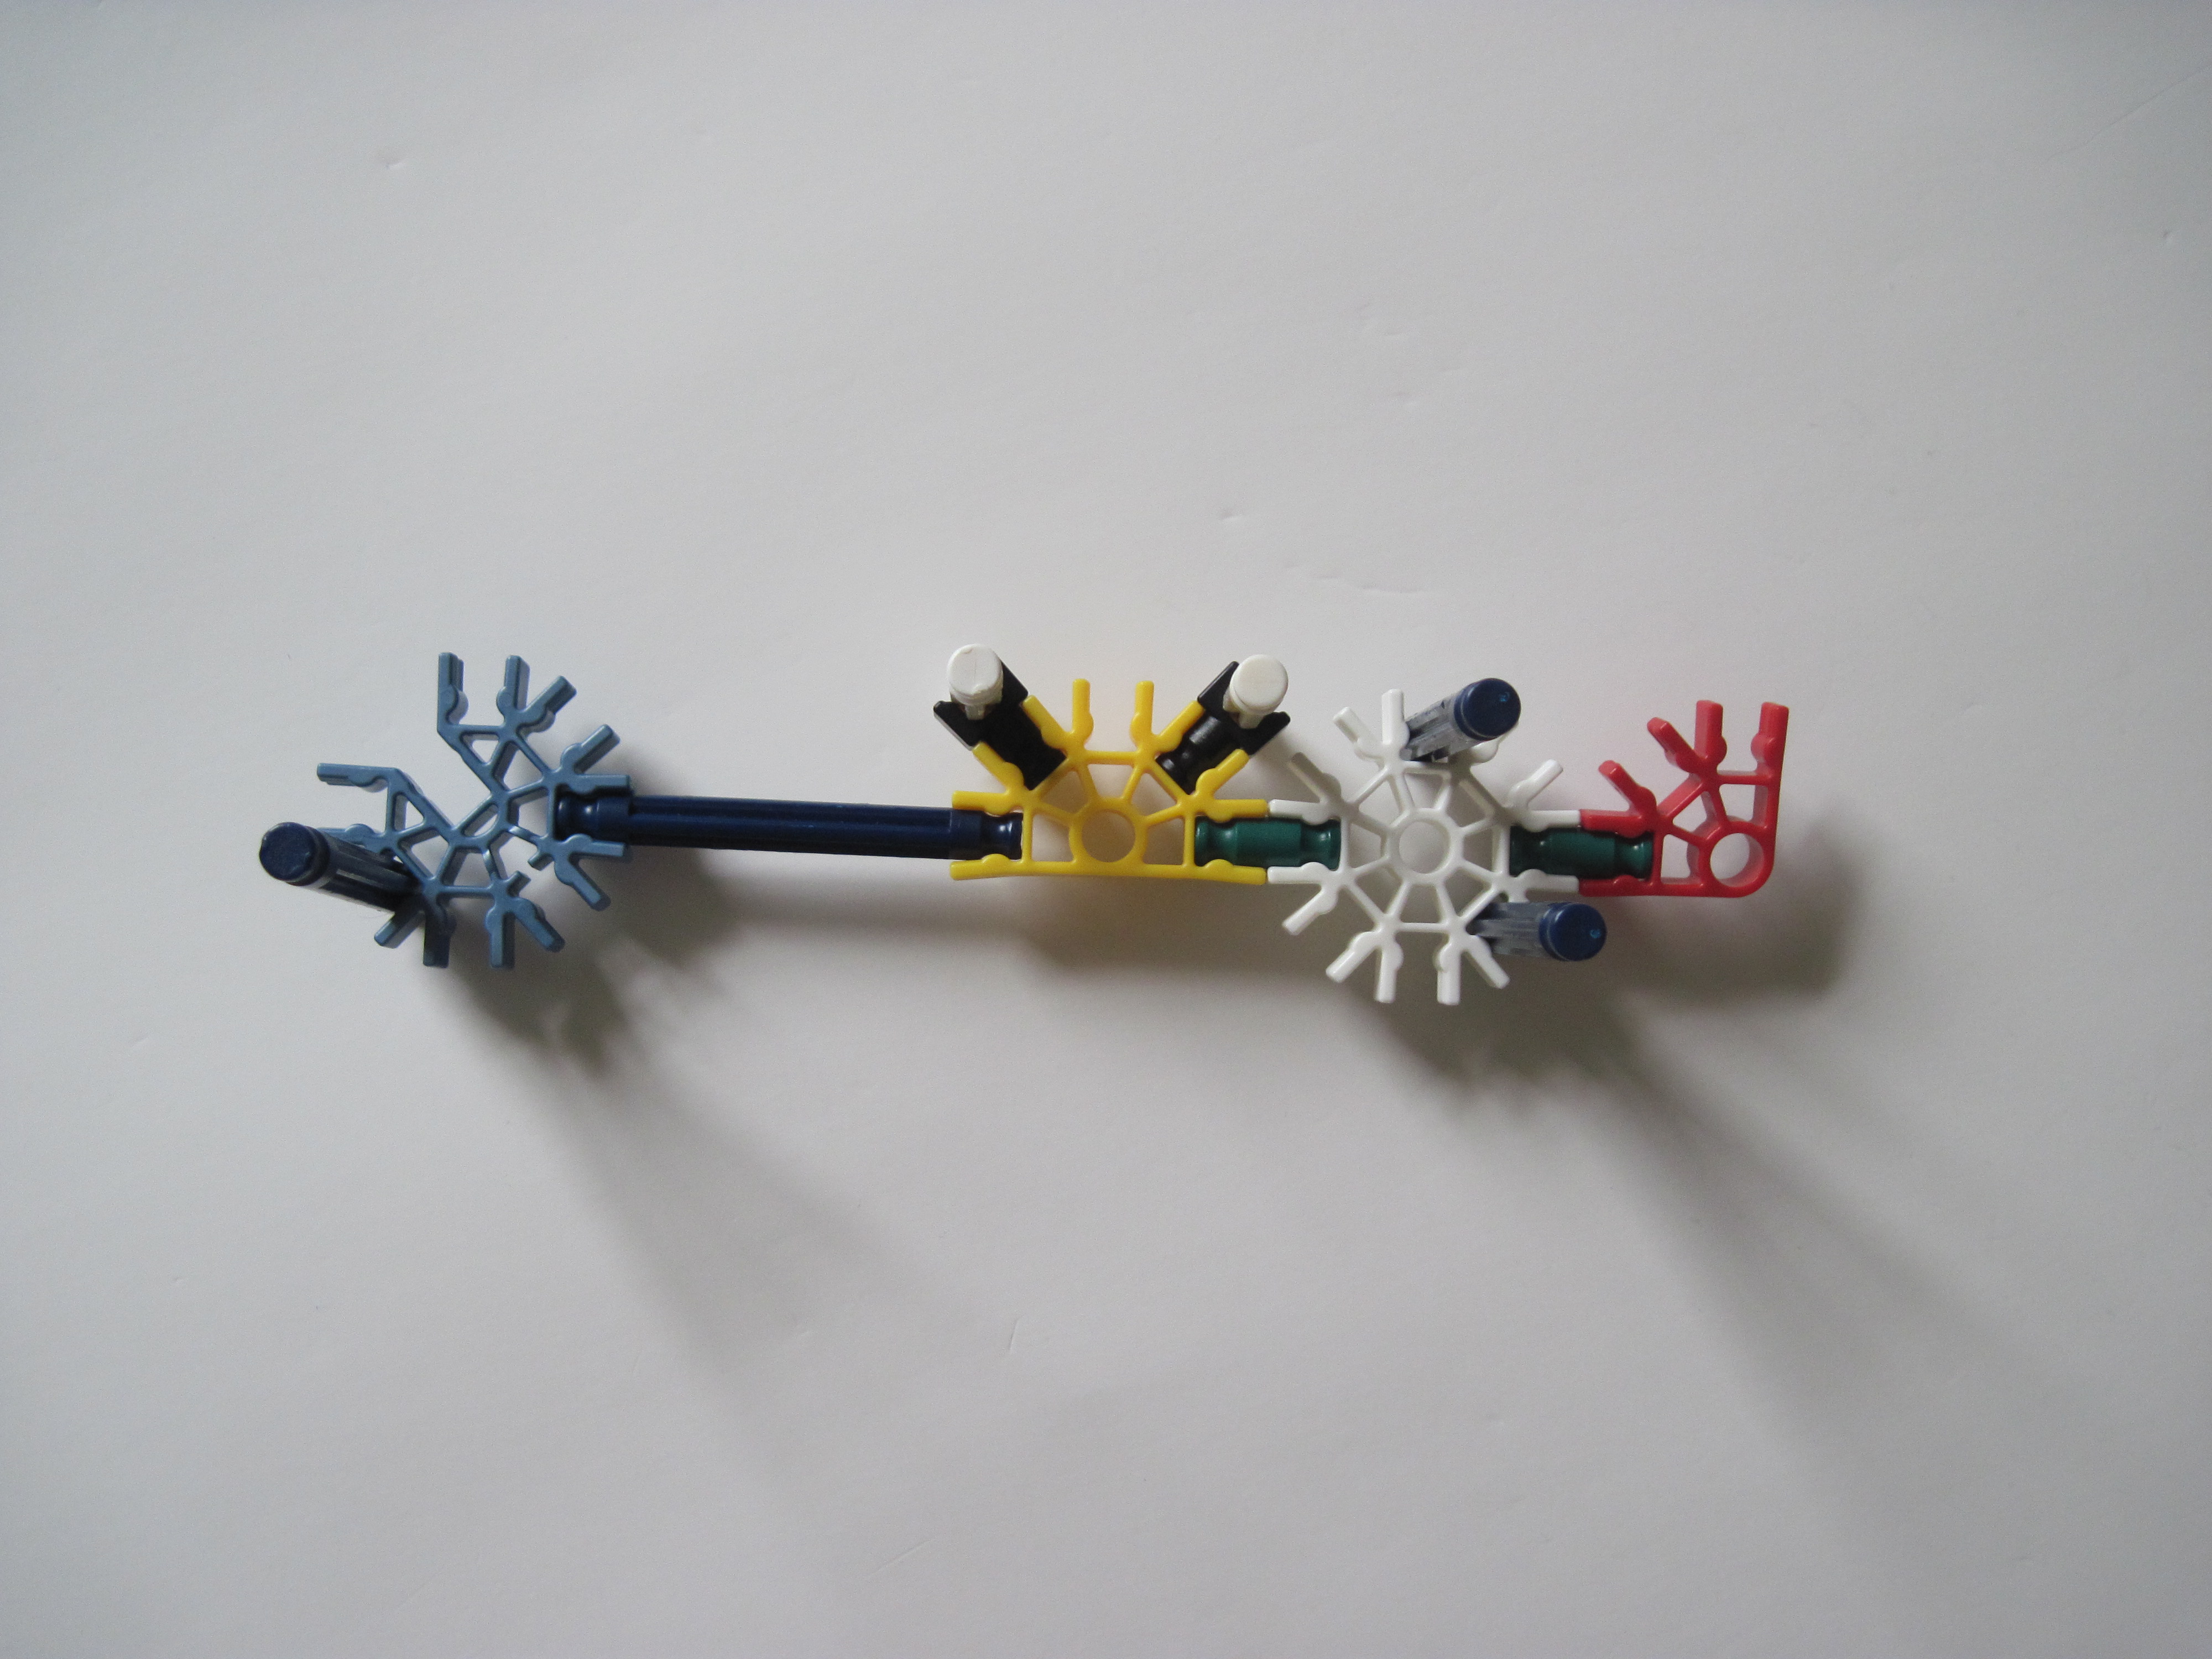


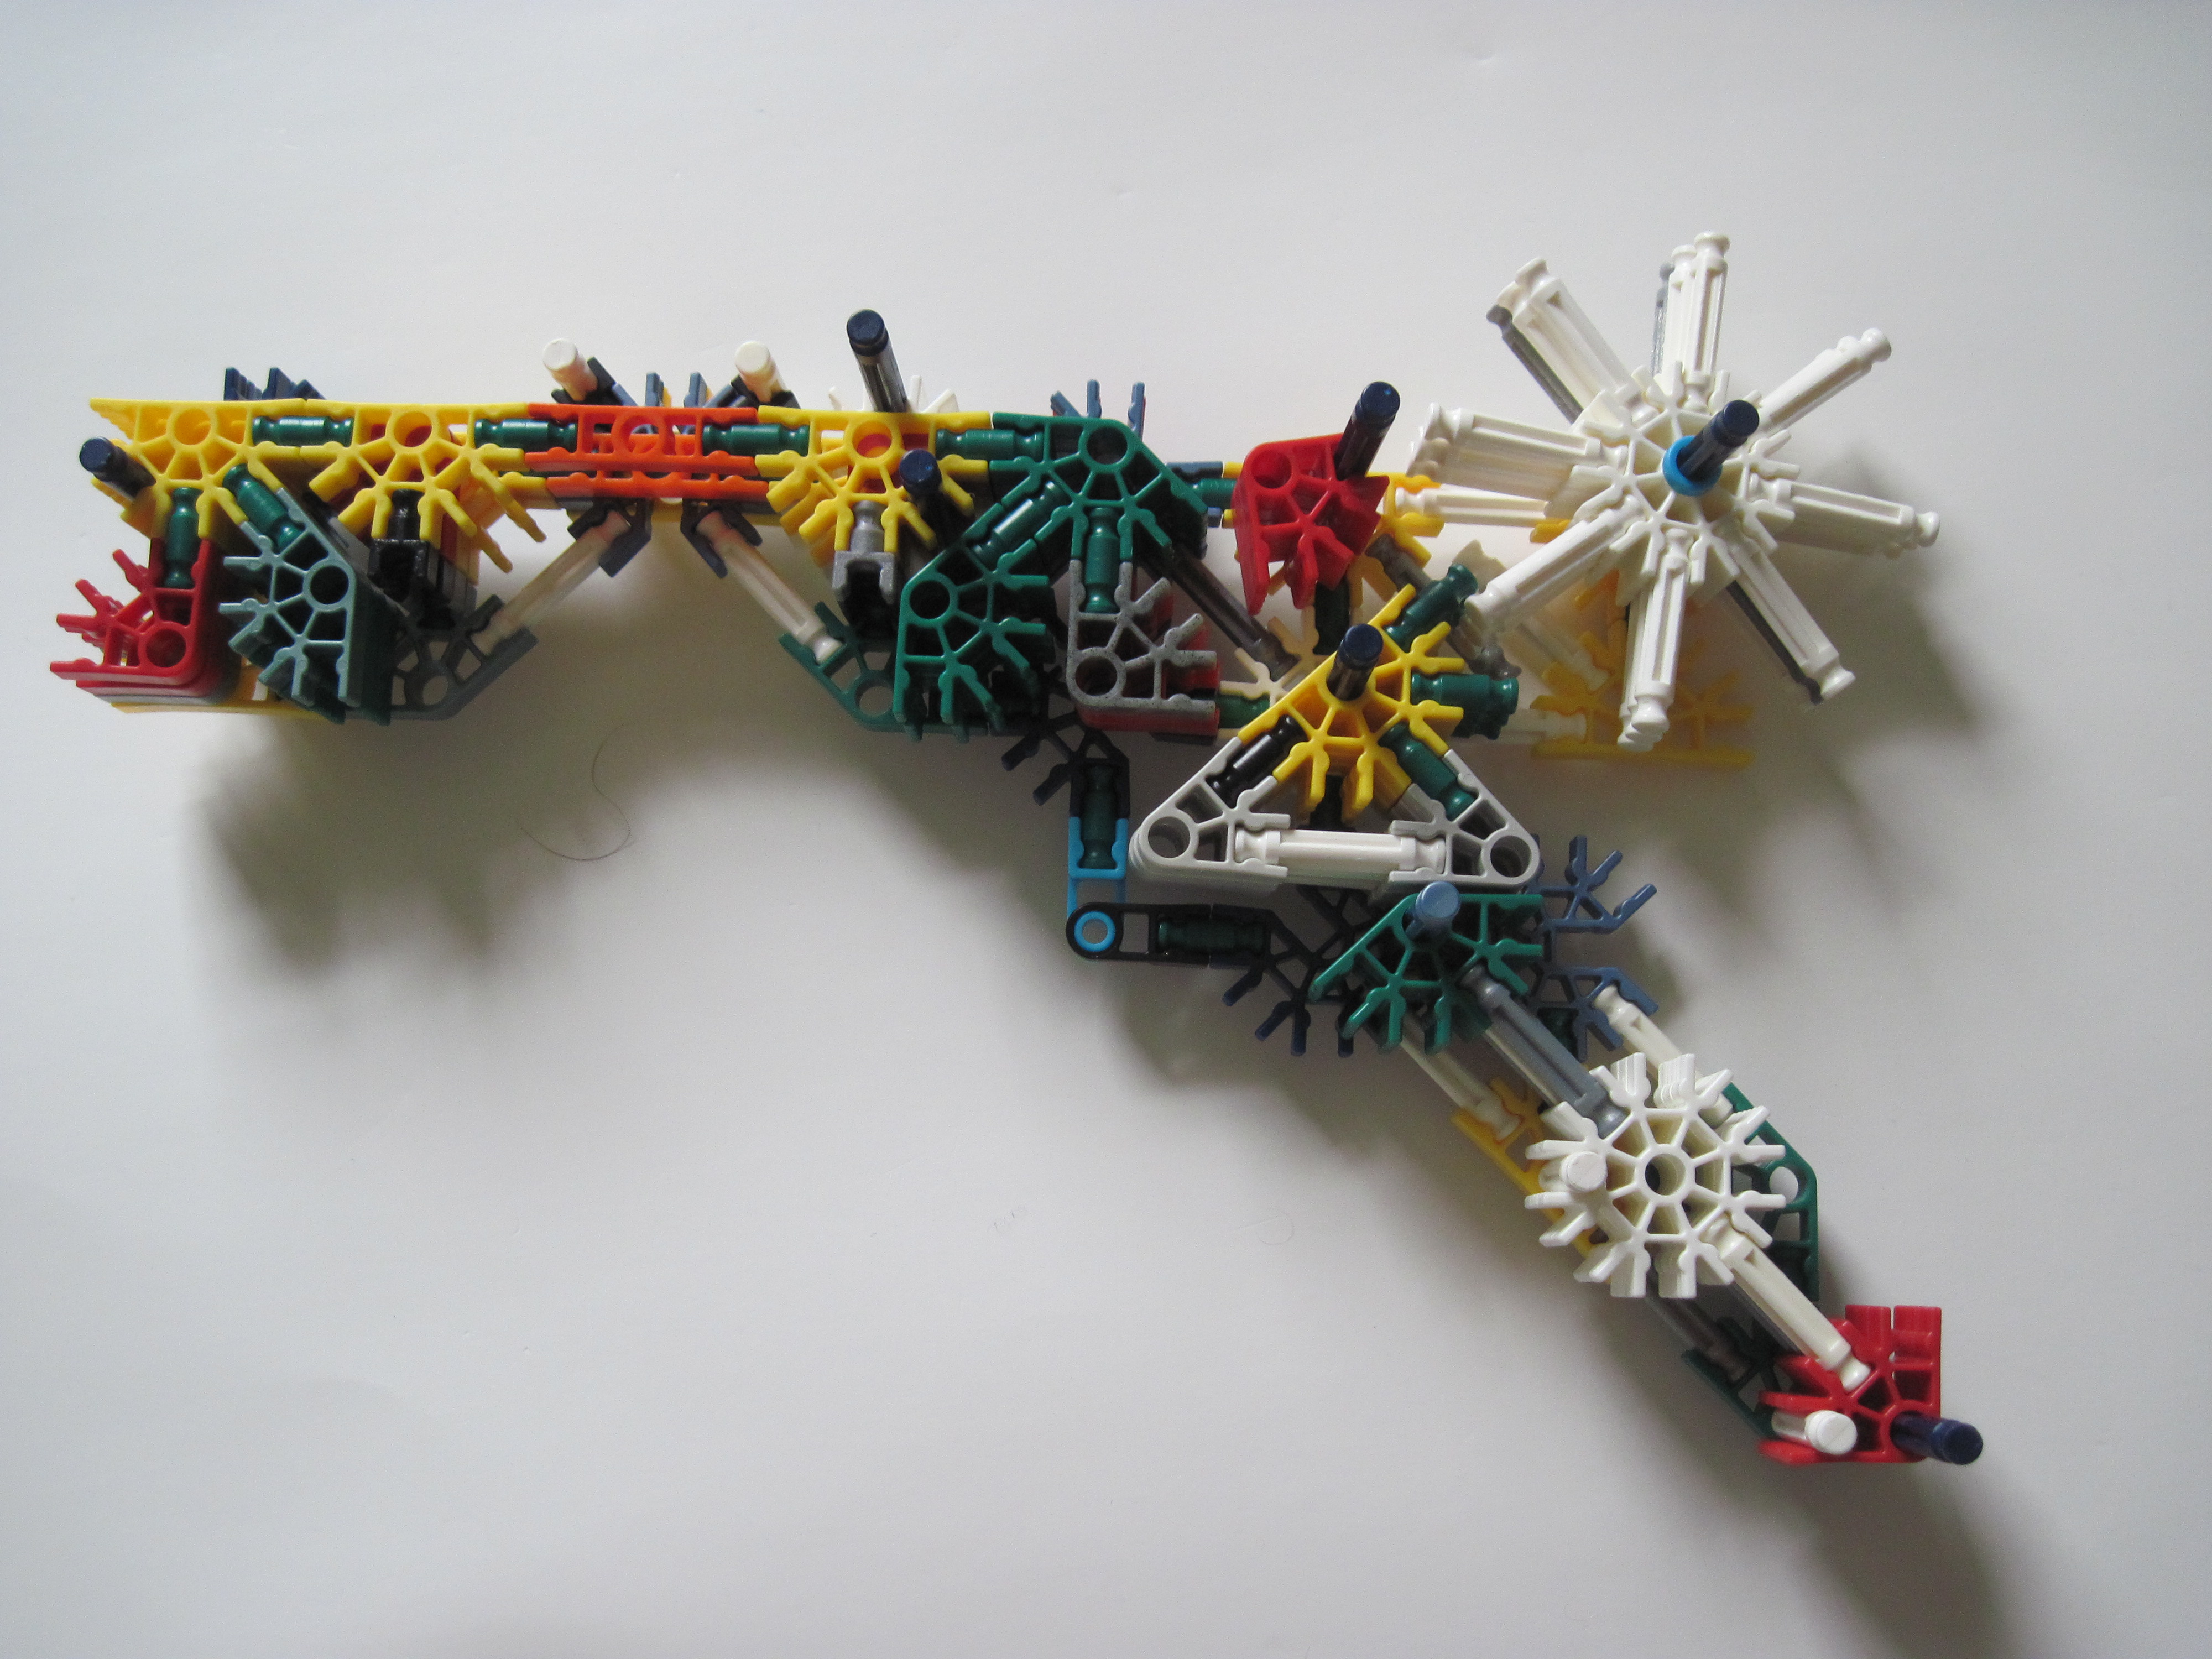
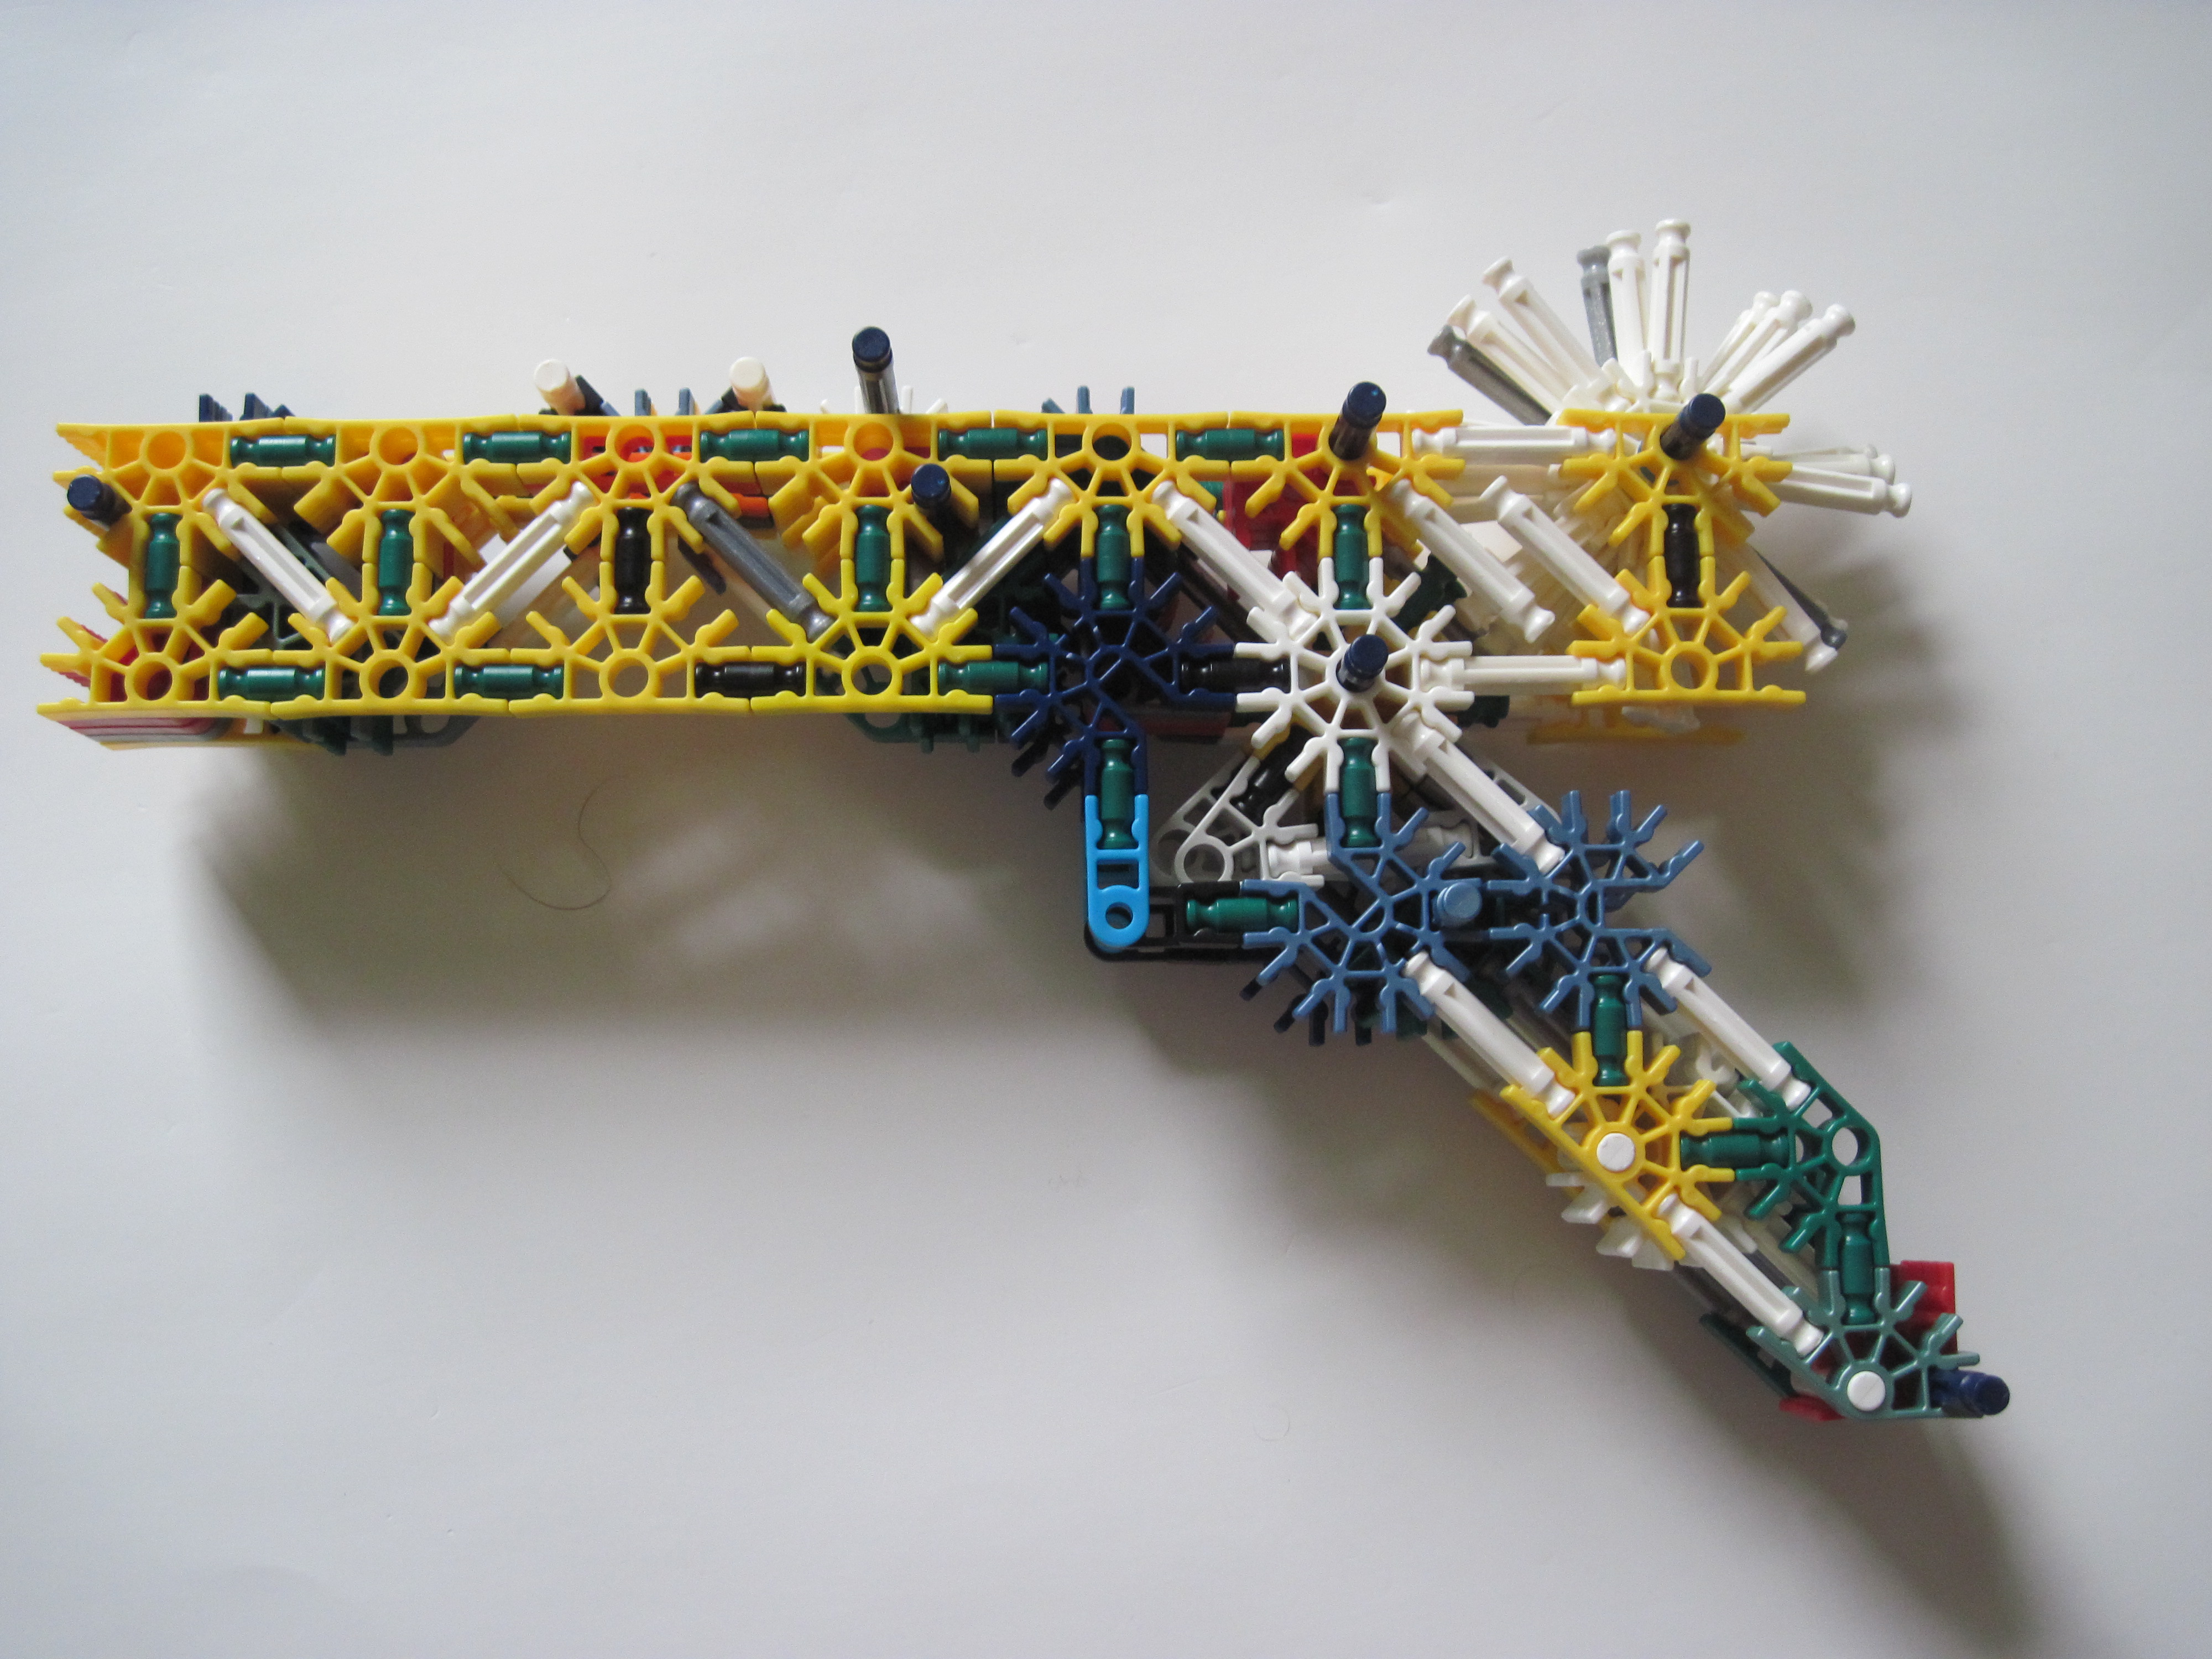


Follow the images:
Image 1: Add blue and white rods to Part A.
Image 2: Place Part B and blue spacers and rods.
Image 3: Add Parts C, D, F, and G, and white rods and a red connector.
Image 4: Add Parts D, E, F, G, and H, and a red connector.
Image 5: Add Parts C, D, F, and G, a blue spacer, and a red connector.
Image 6: Add Part J.
Image 7: Add Part I, tan clip, small gear, and white rods as shown.
Image 8: On other side add metallic blue clips and small gear.
If you aren't planning on making the stock then skip on to step #9.
Stock: Components


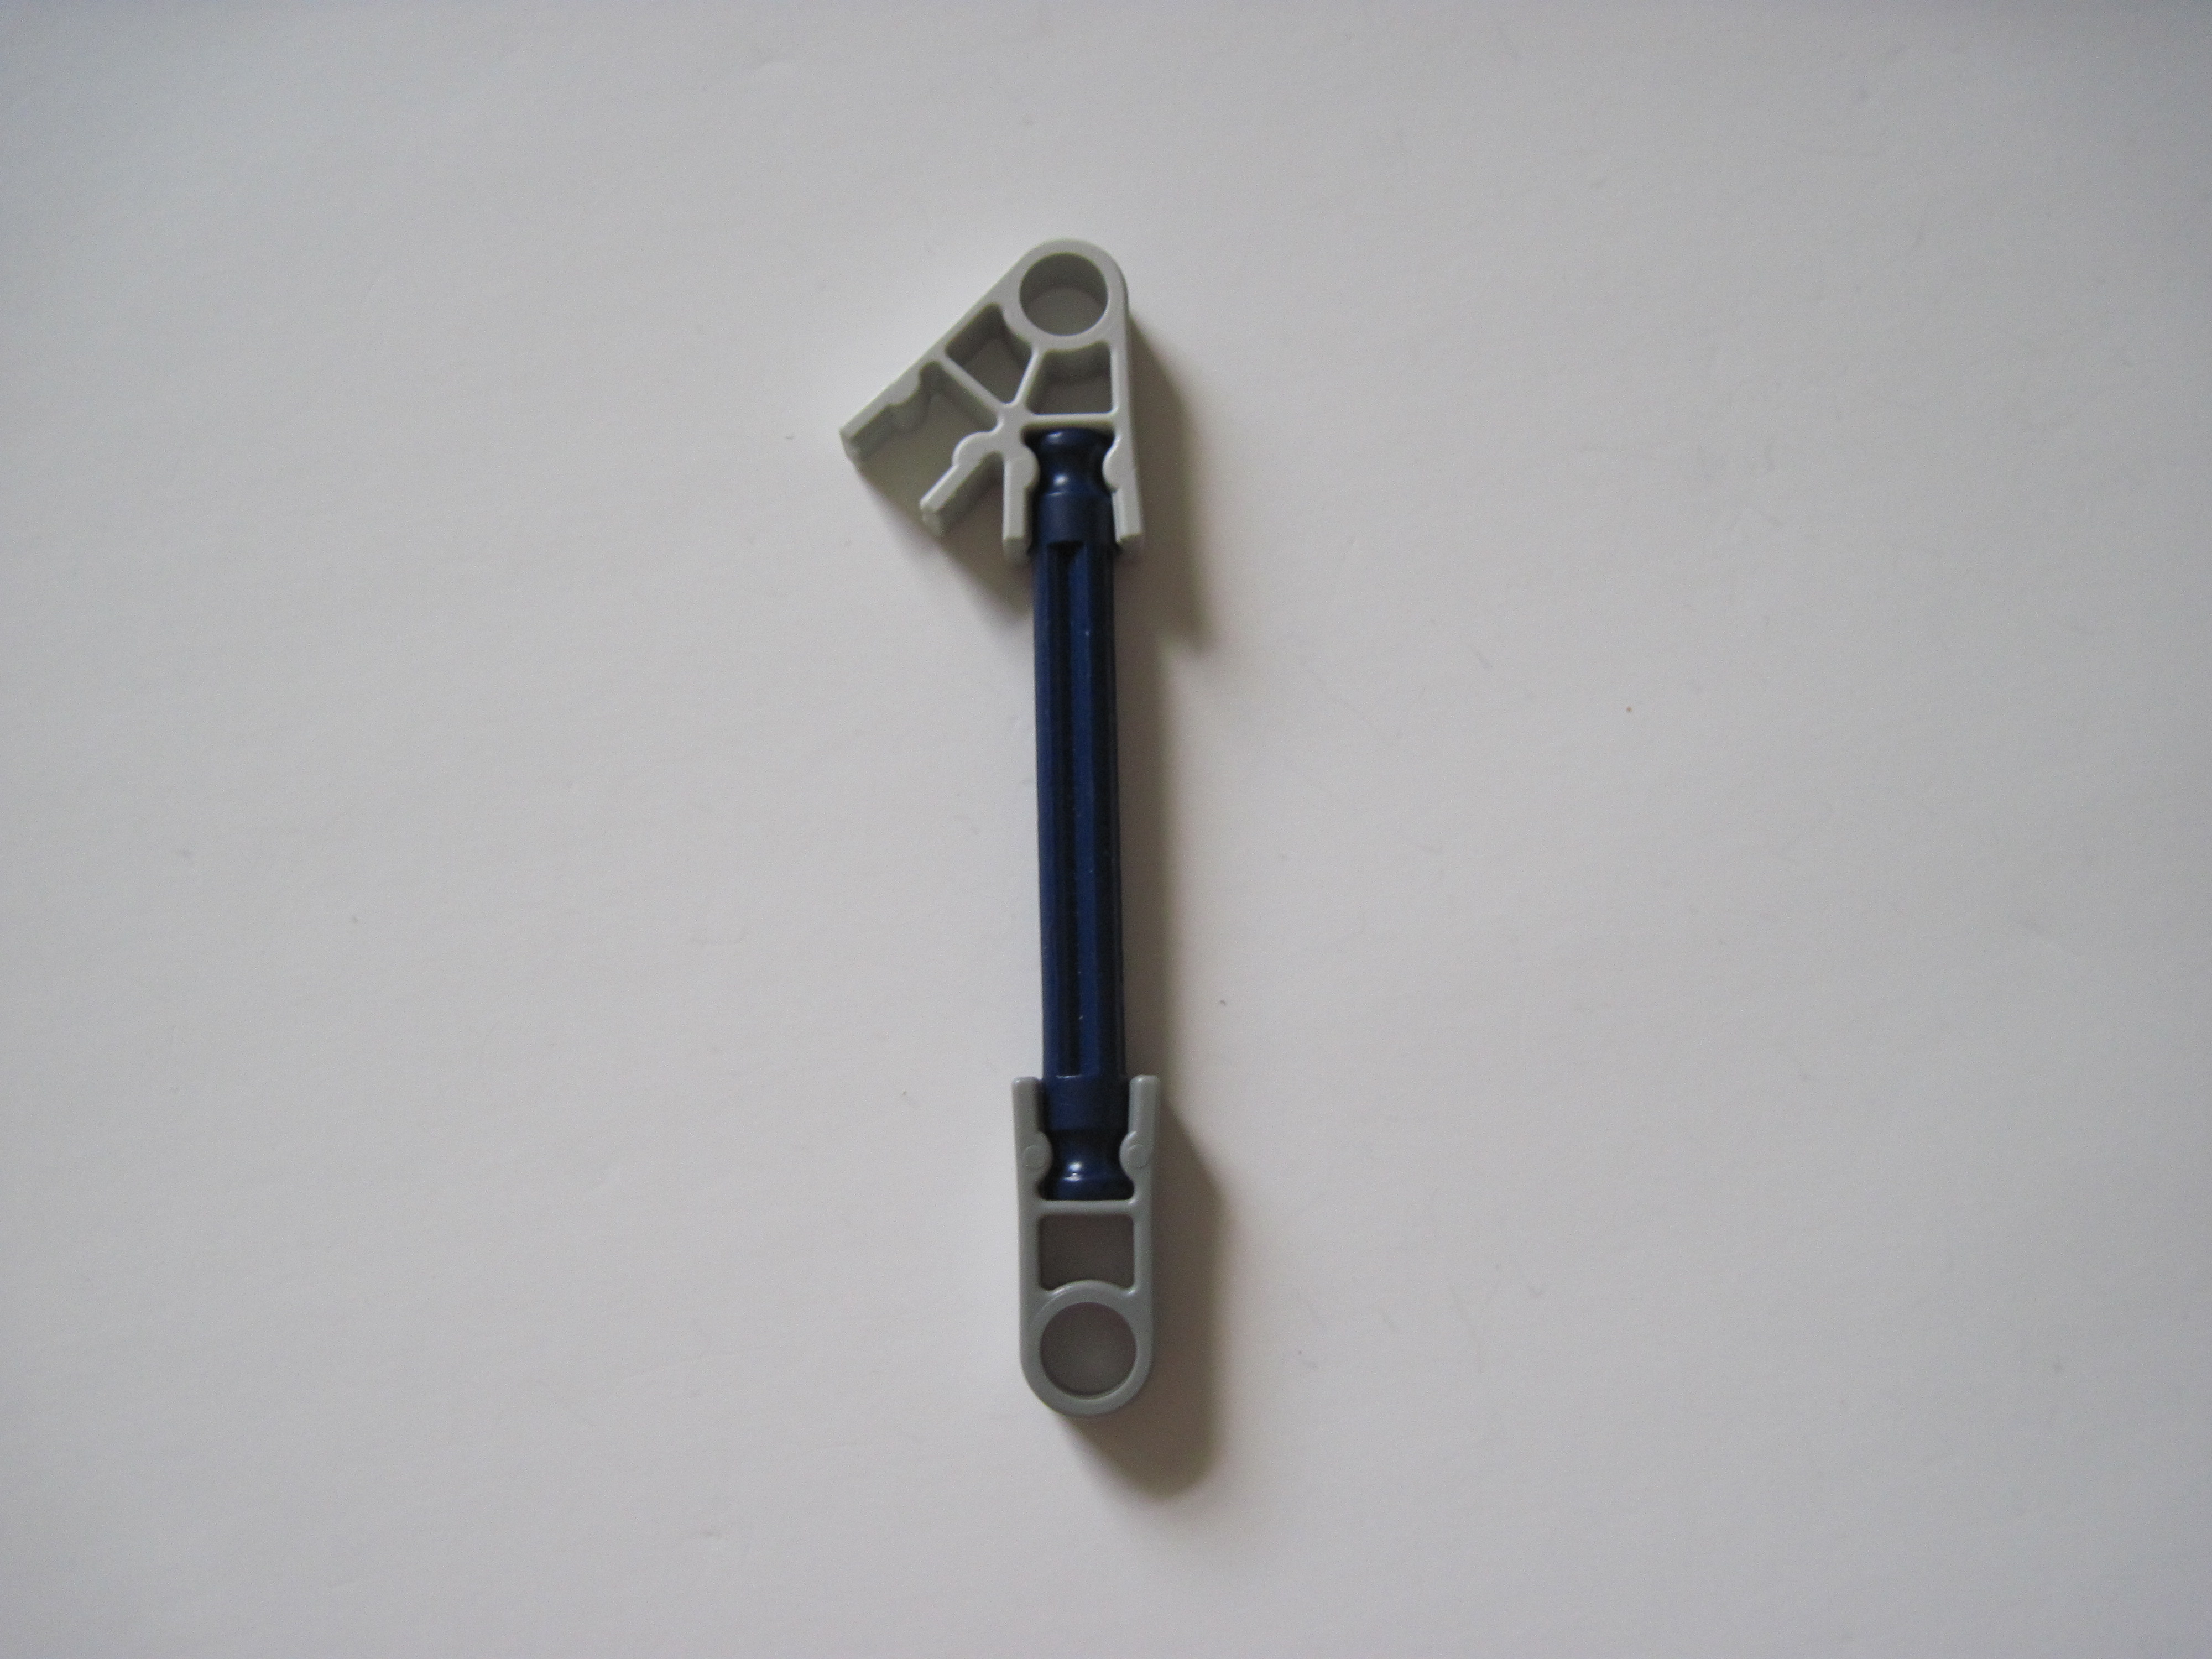
Make the following components. They are given a name which shall be referred to the next step:
Image 1: Make 2(Part A)
Image 2: Make 4(Part B)
Image 3: Make 2(Part C)
Image 4: Make 4(Part D)
Image 1: Make 2(Part A)
Image 2: Make 4(Part B)
Image 3: Make 2(Part C)
Image 4: Make 4(Part D)
Stock: Construction

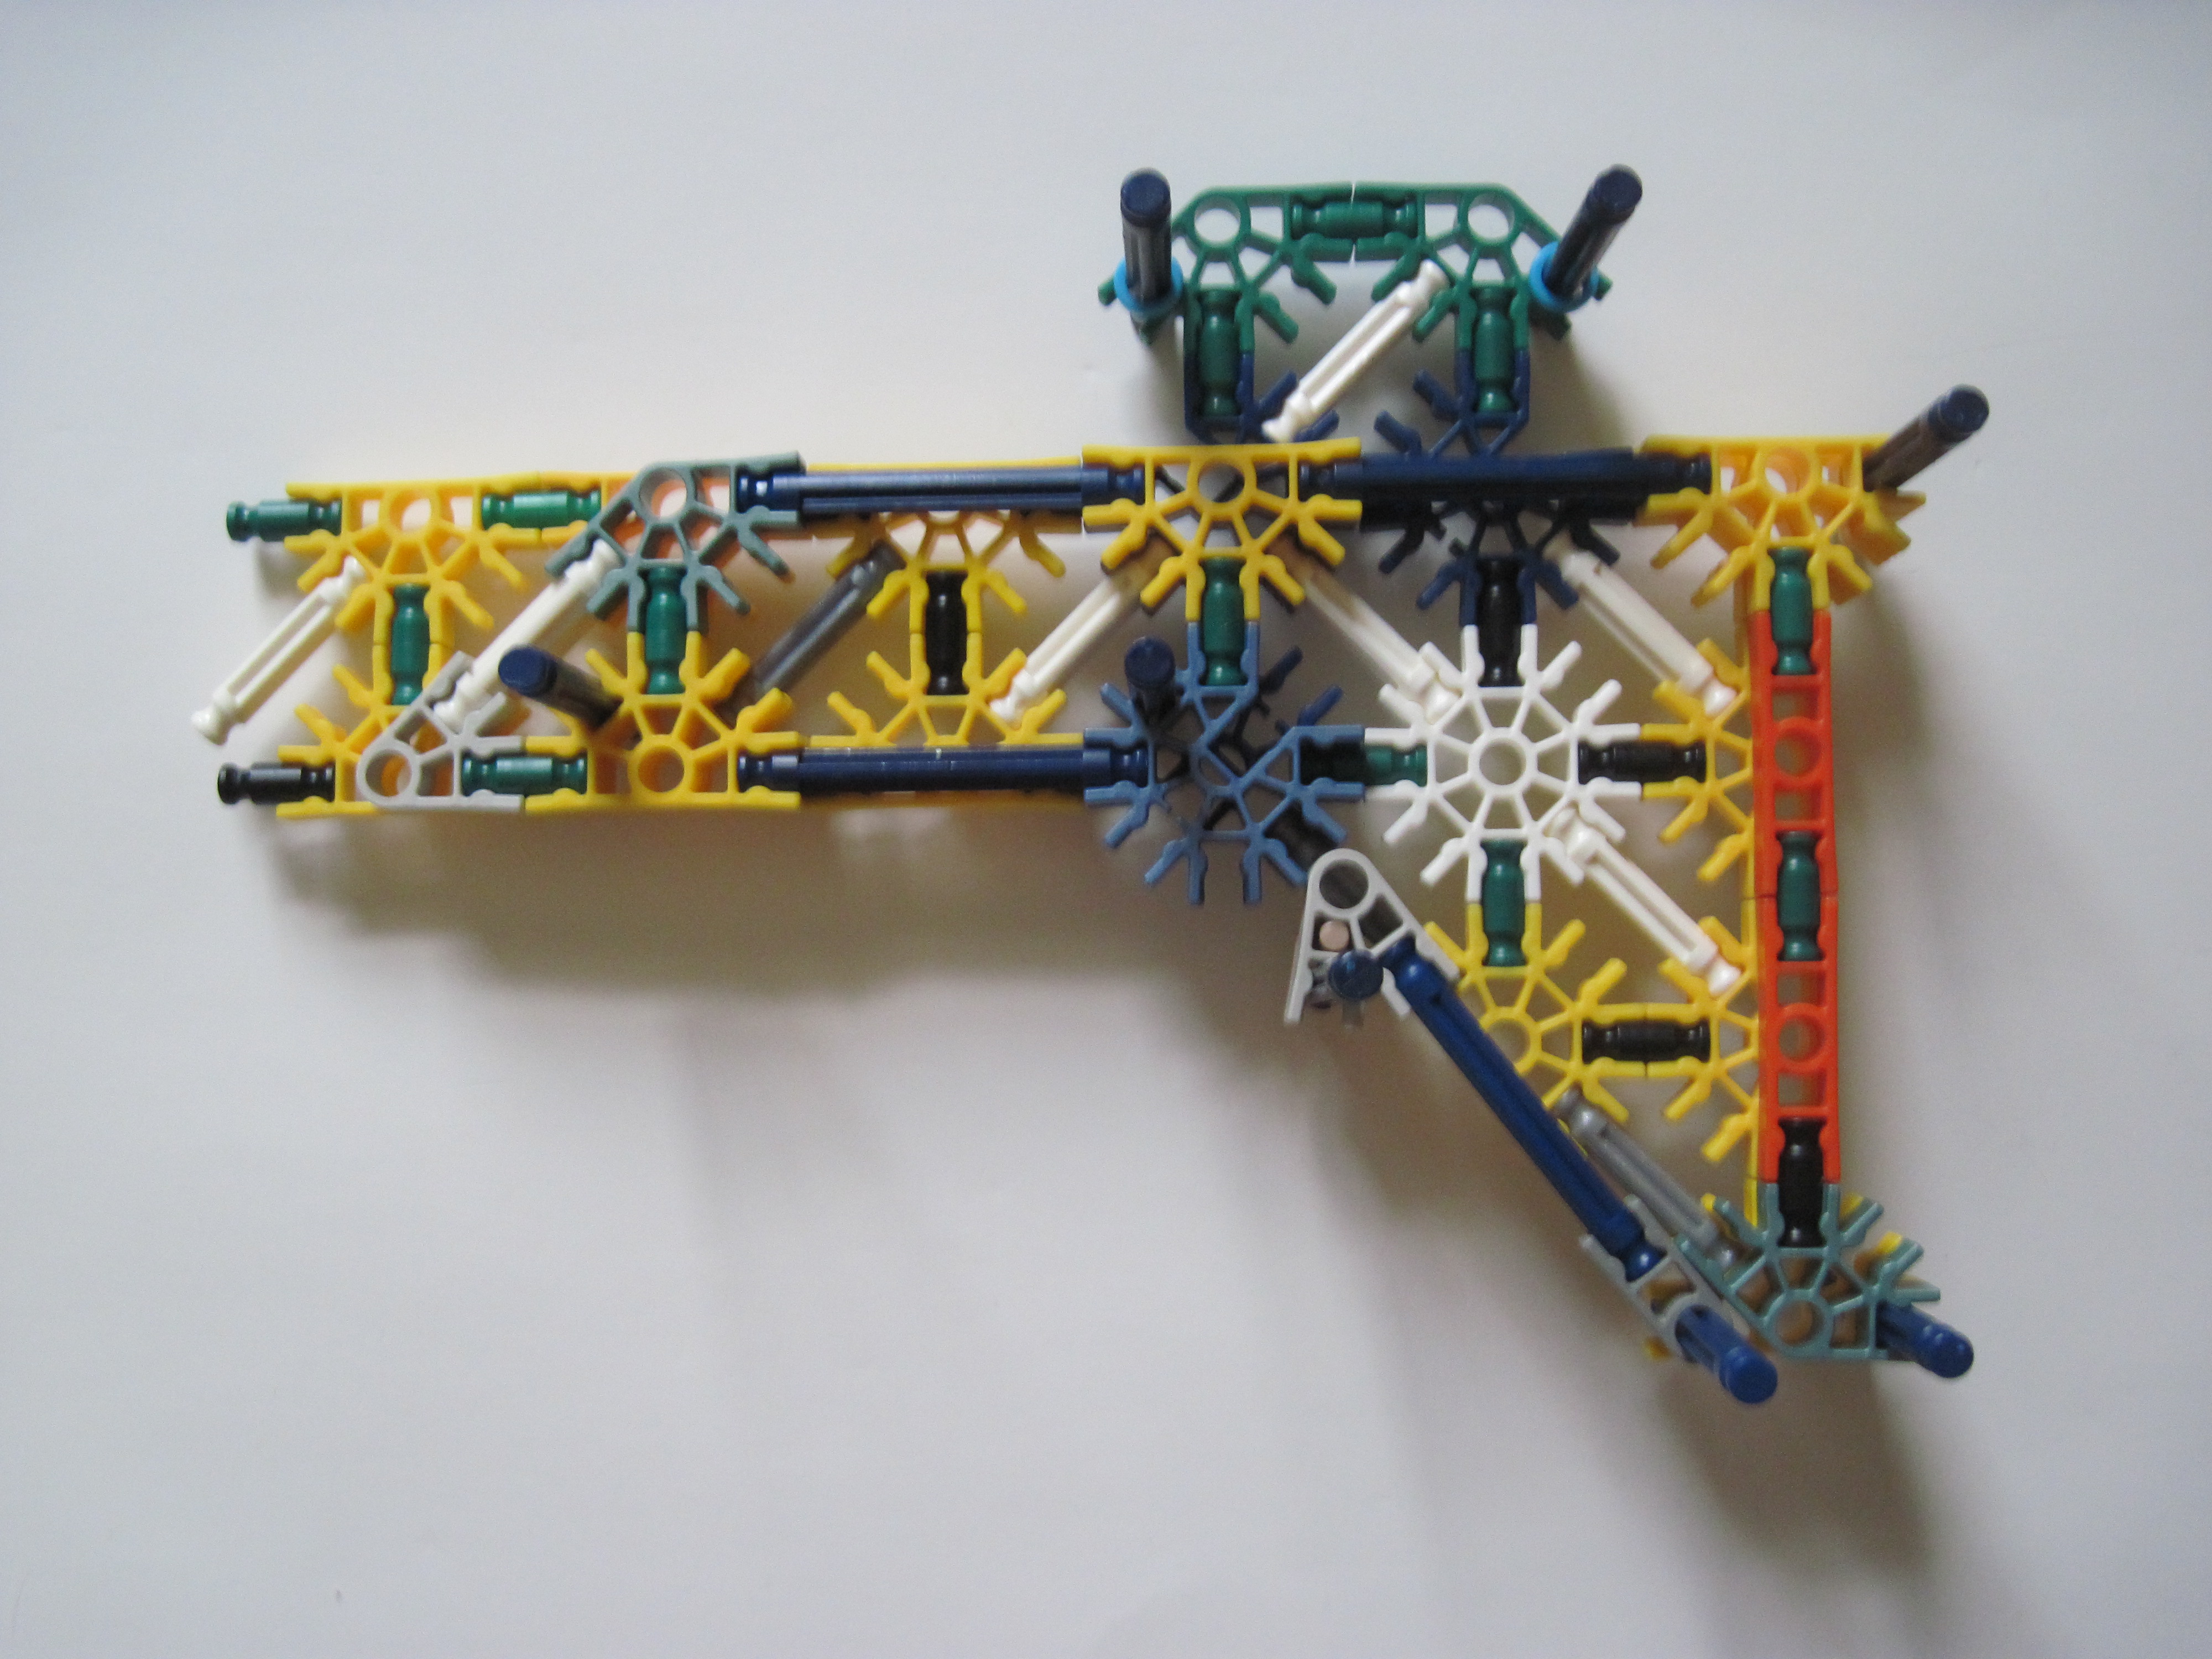

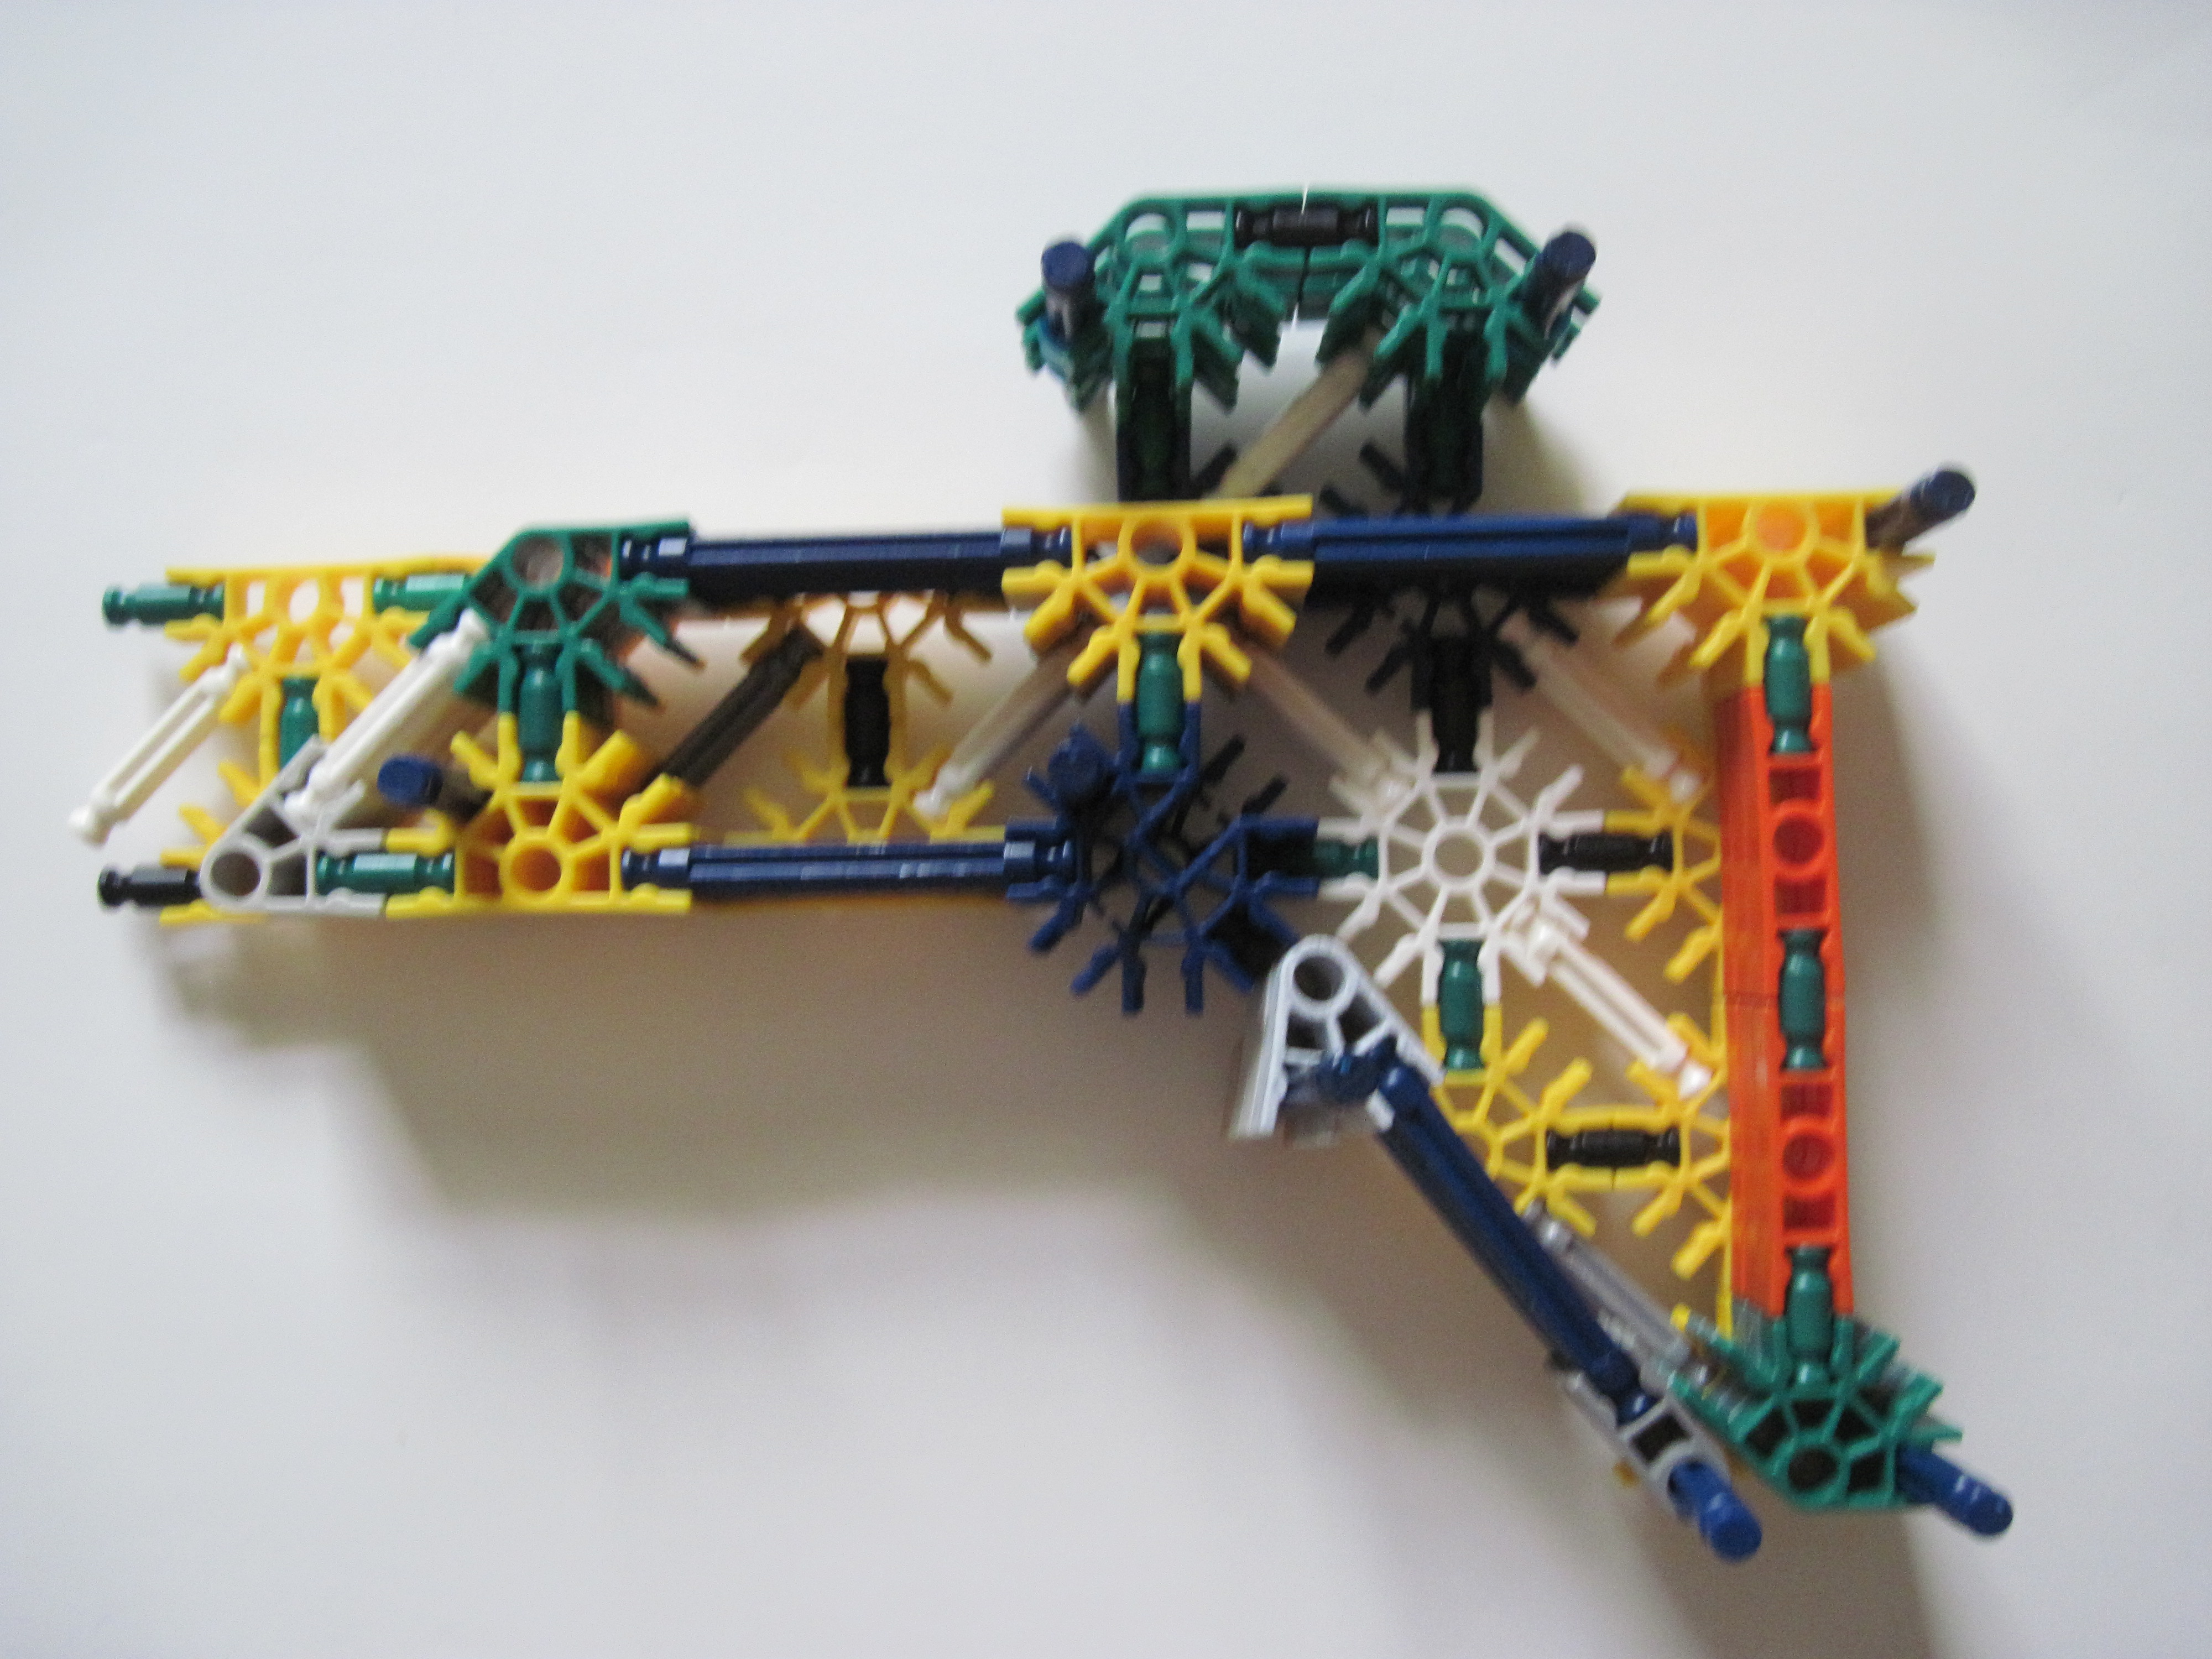


Follow the images:
Image 1: Take Part A and add blue rods as shown, also make the part below it.
Image 2: Place Parts B and D, and blue spacers.
Image 3: Add Parts B, C, and D, and blue spacers.
Image 4: Add Parts B, C, and D.
Image 5: Add Parts B, C, and D, and blue spacers.
Image 6: Place Part A and a metallic blue clip as shown.
Image 7: Storage compartment open(can be used to store extra rubberbands).
No-Stock

Make this is you don't want a stock. Then later substitute these for the stock when assembling the gun.
Magazine: Components
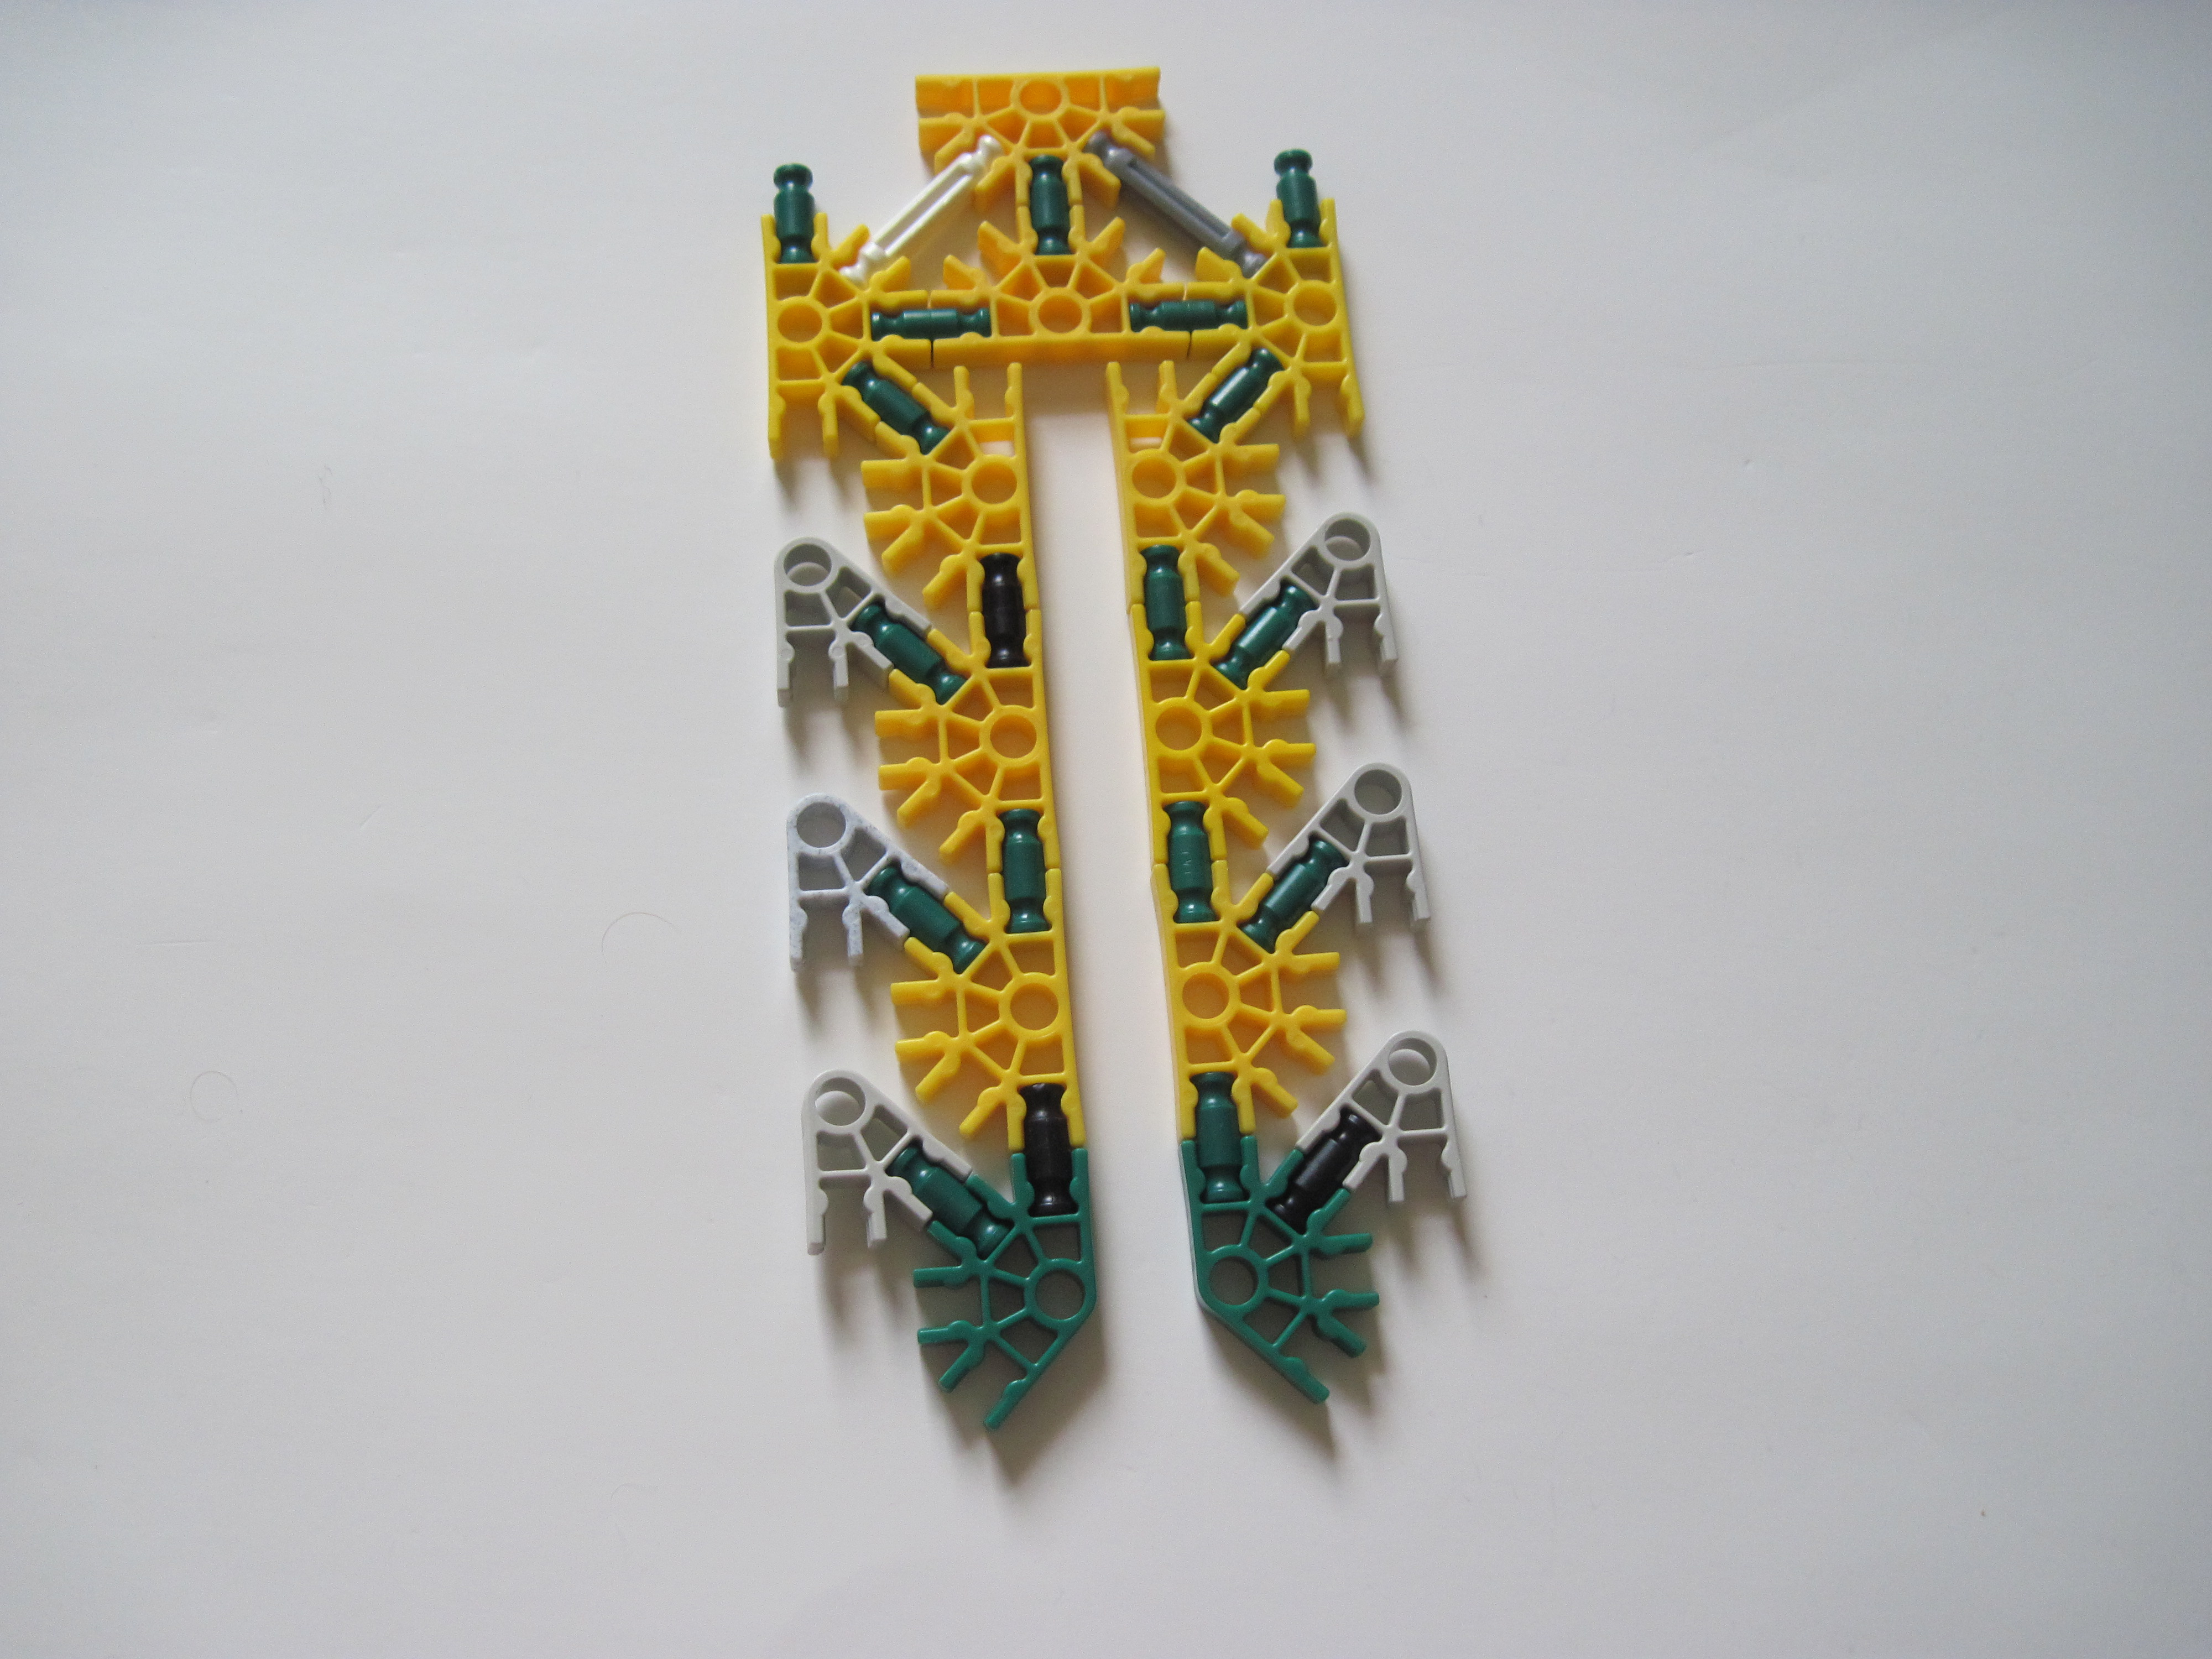
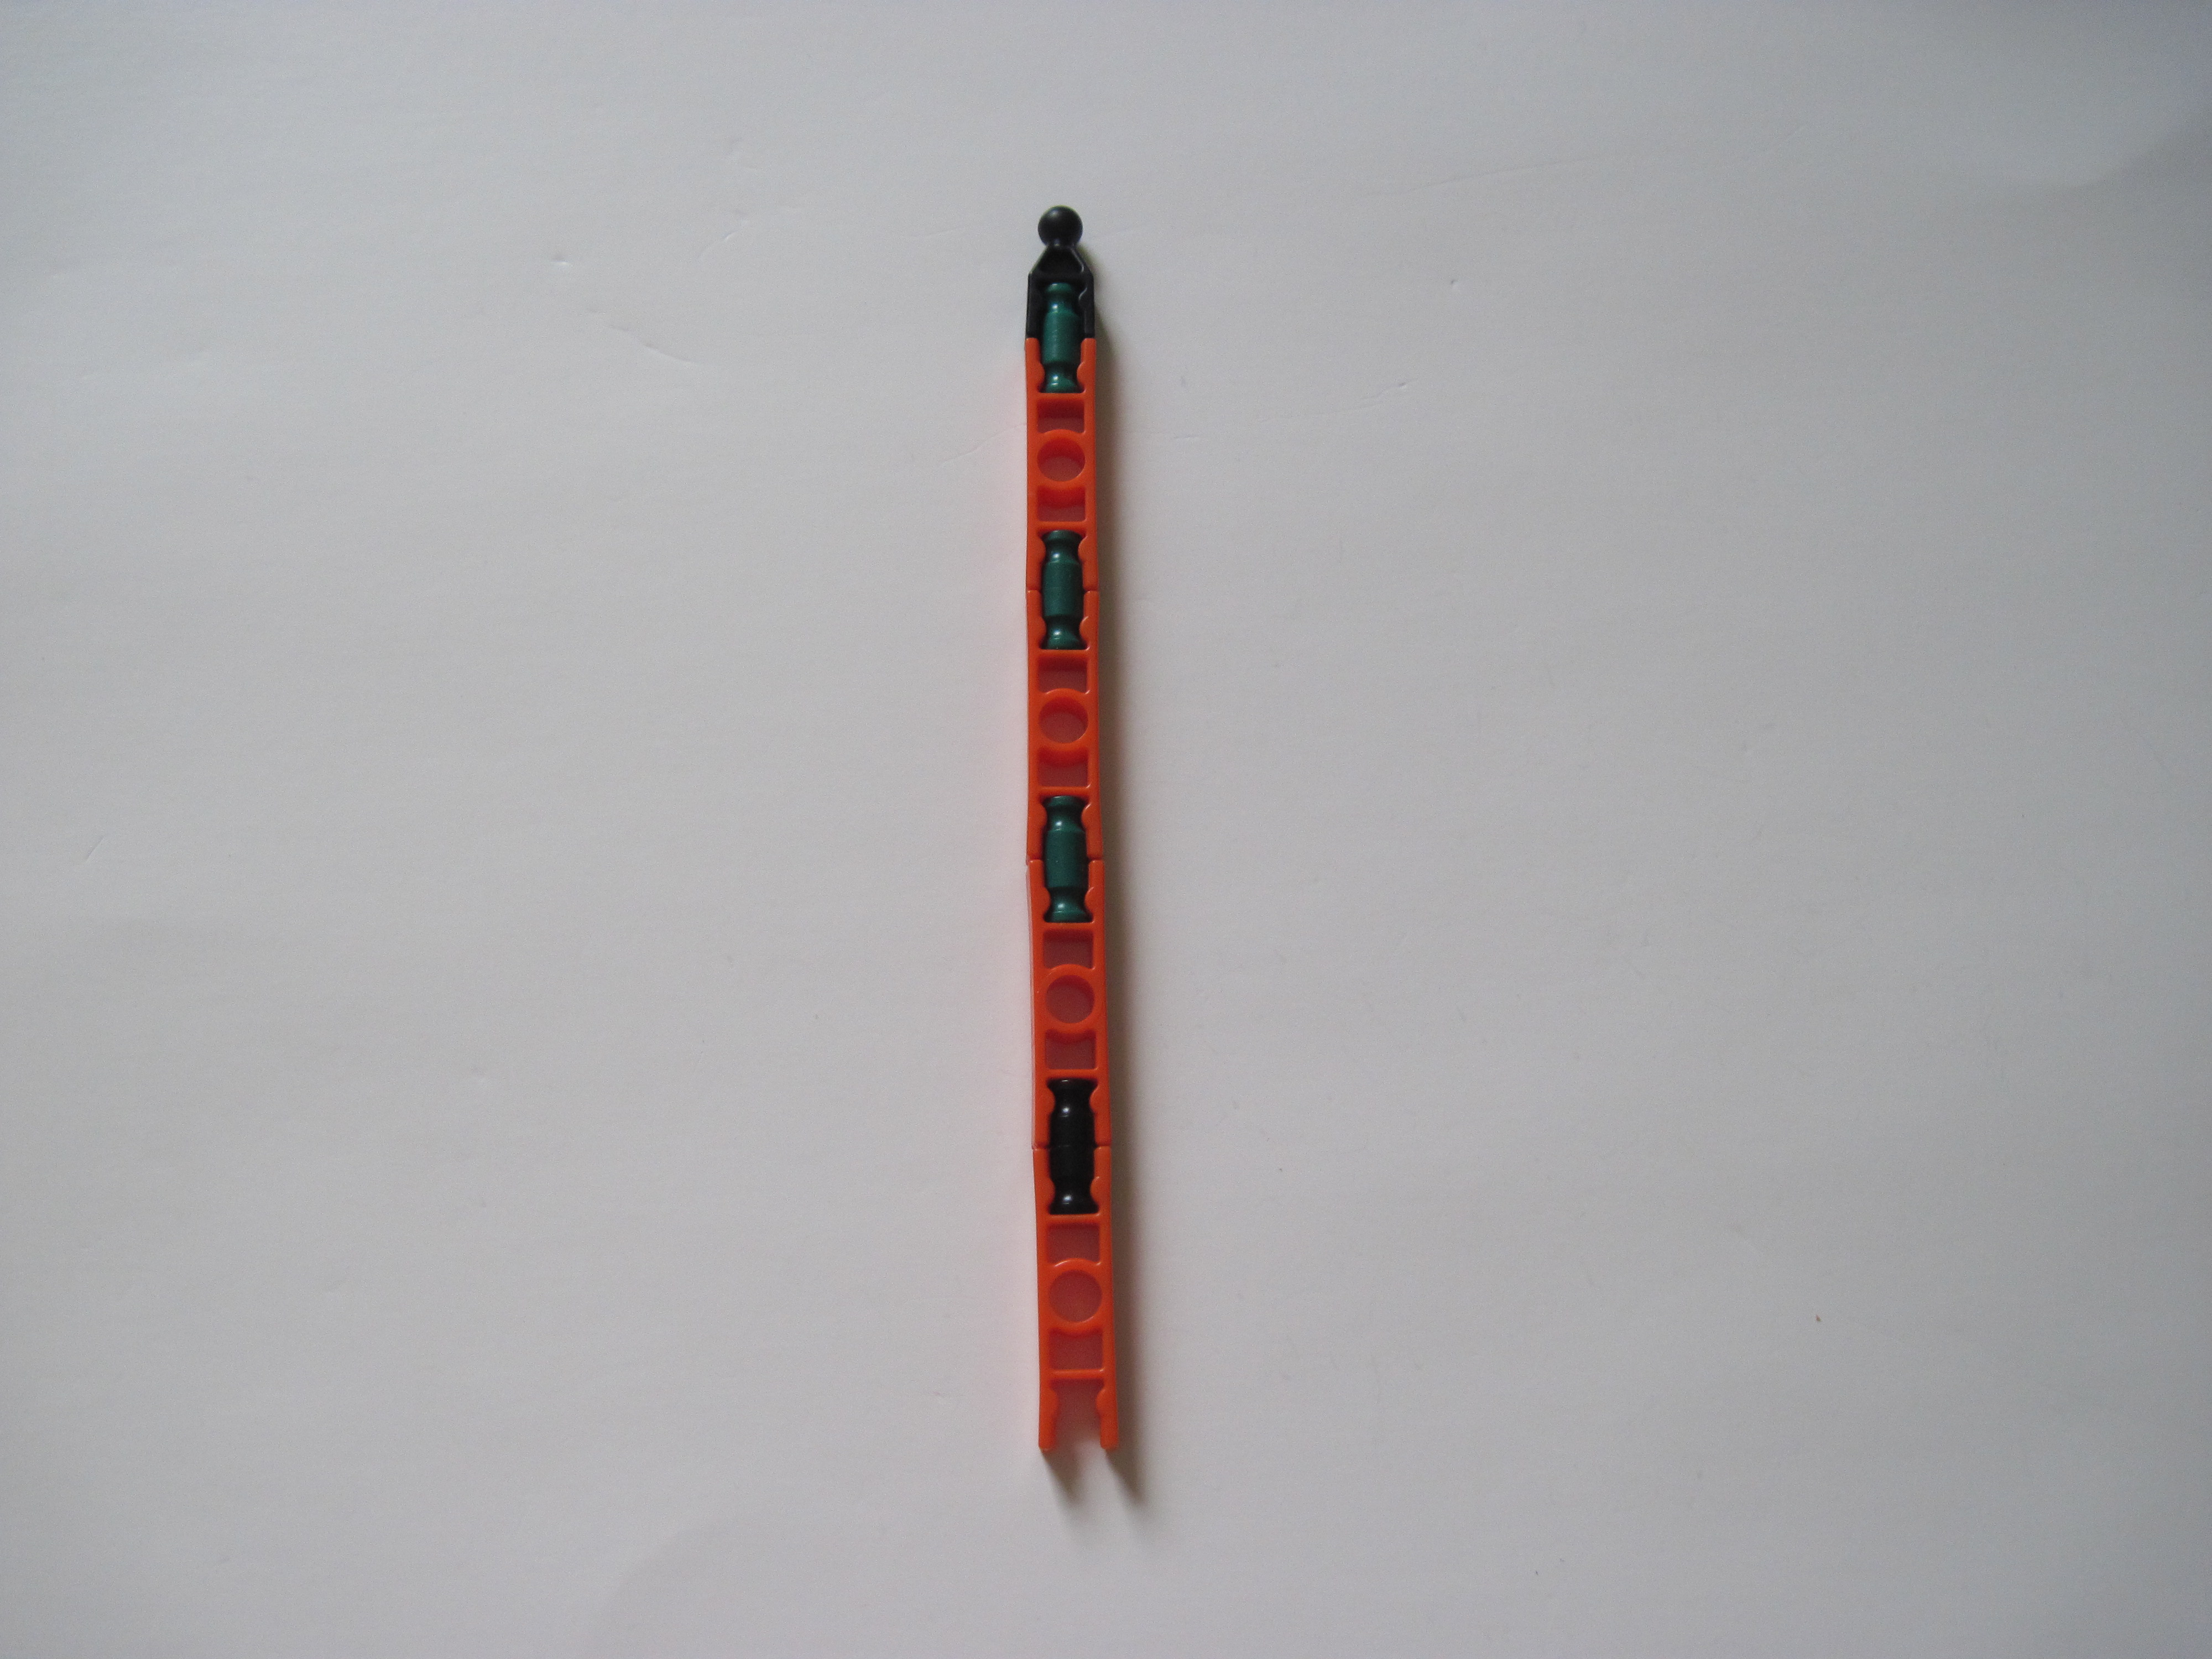
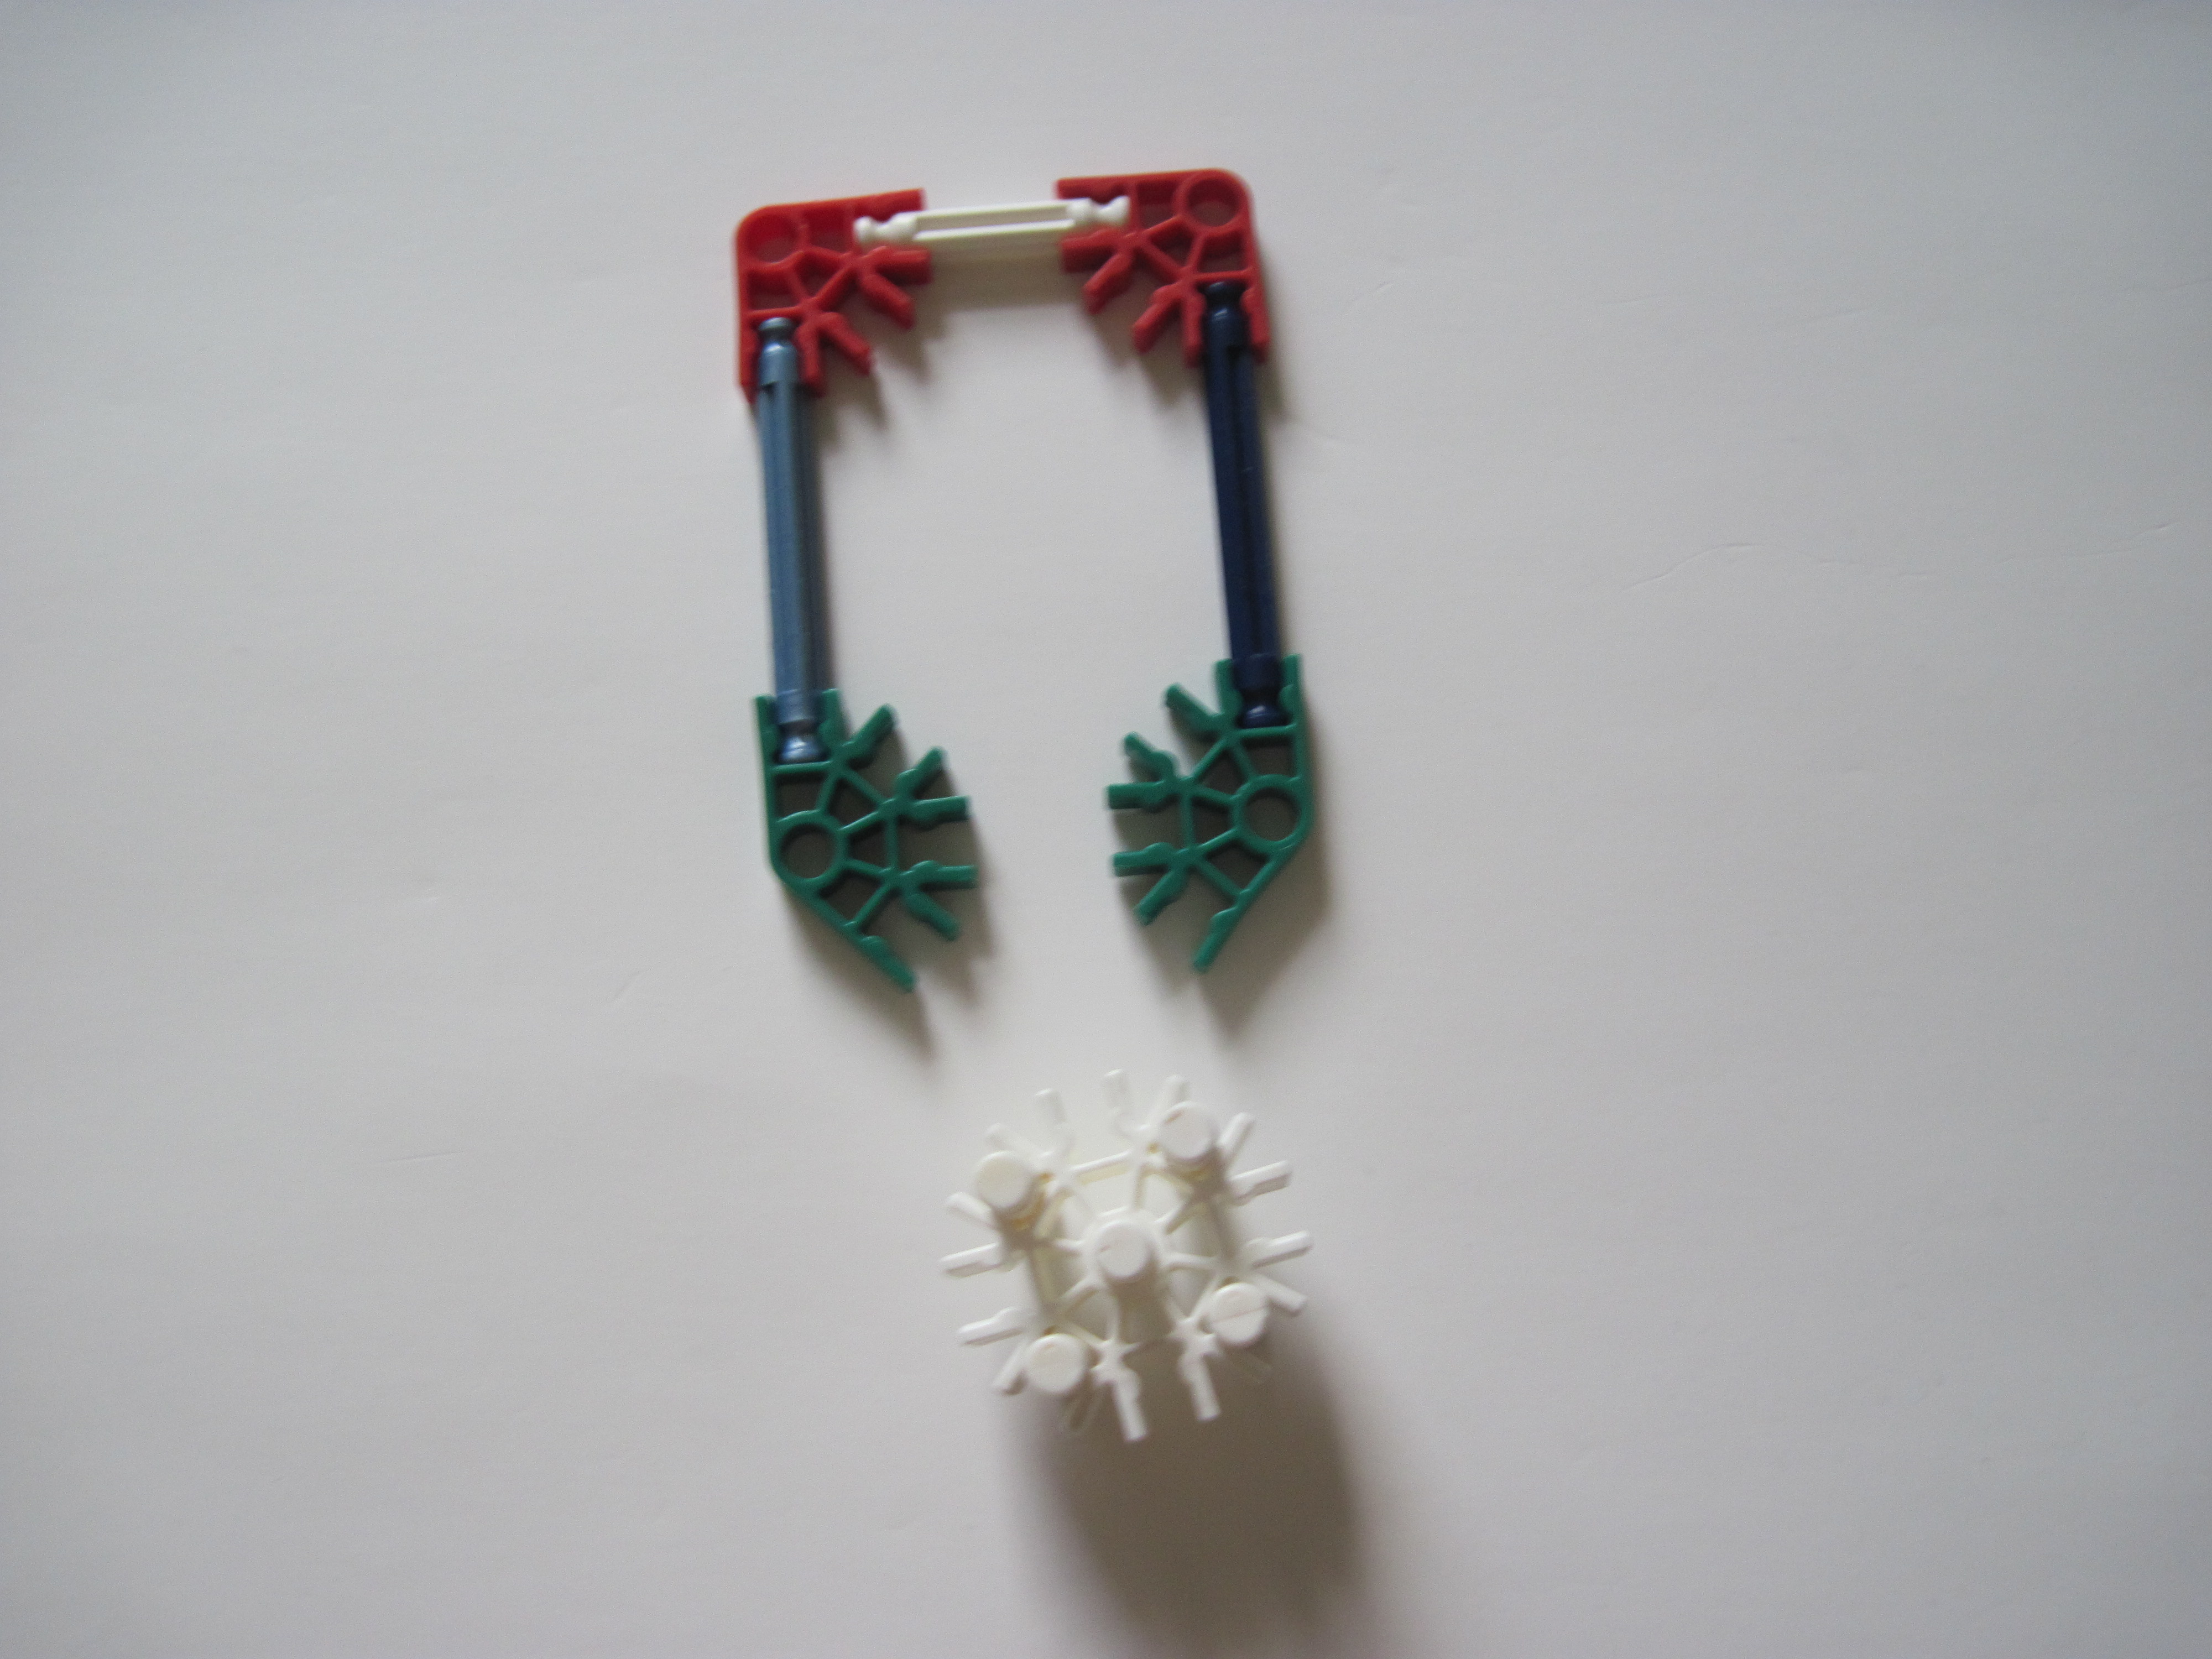

Make the following components. They are given a name which shall be referred to the next step:
Image 1: Make 2(Part A)
Image 2: Make 2(Part B)
Image 3: Make these parts(Parts C)
Image 4: Make one(Part D)
Image 1: Make 2(Part A)
Image 2: Make 2(Part B)
Image 3: Make these parts(Parts C)
Image 4: Make one(Part D)
Magazine: Construction


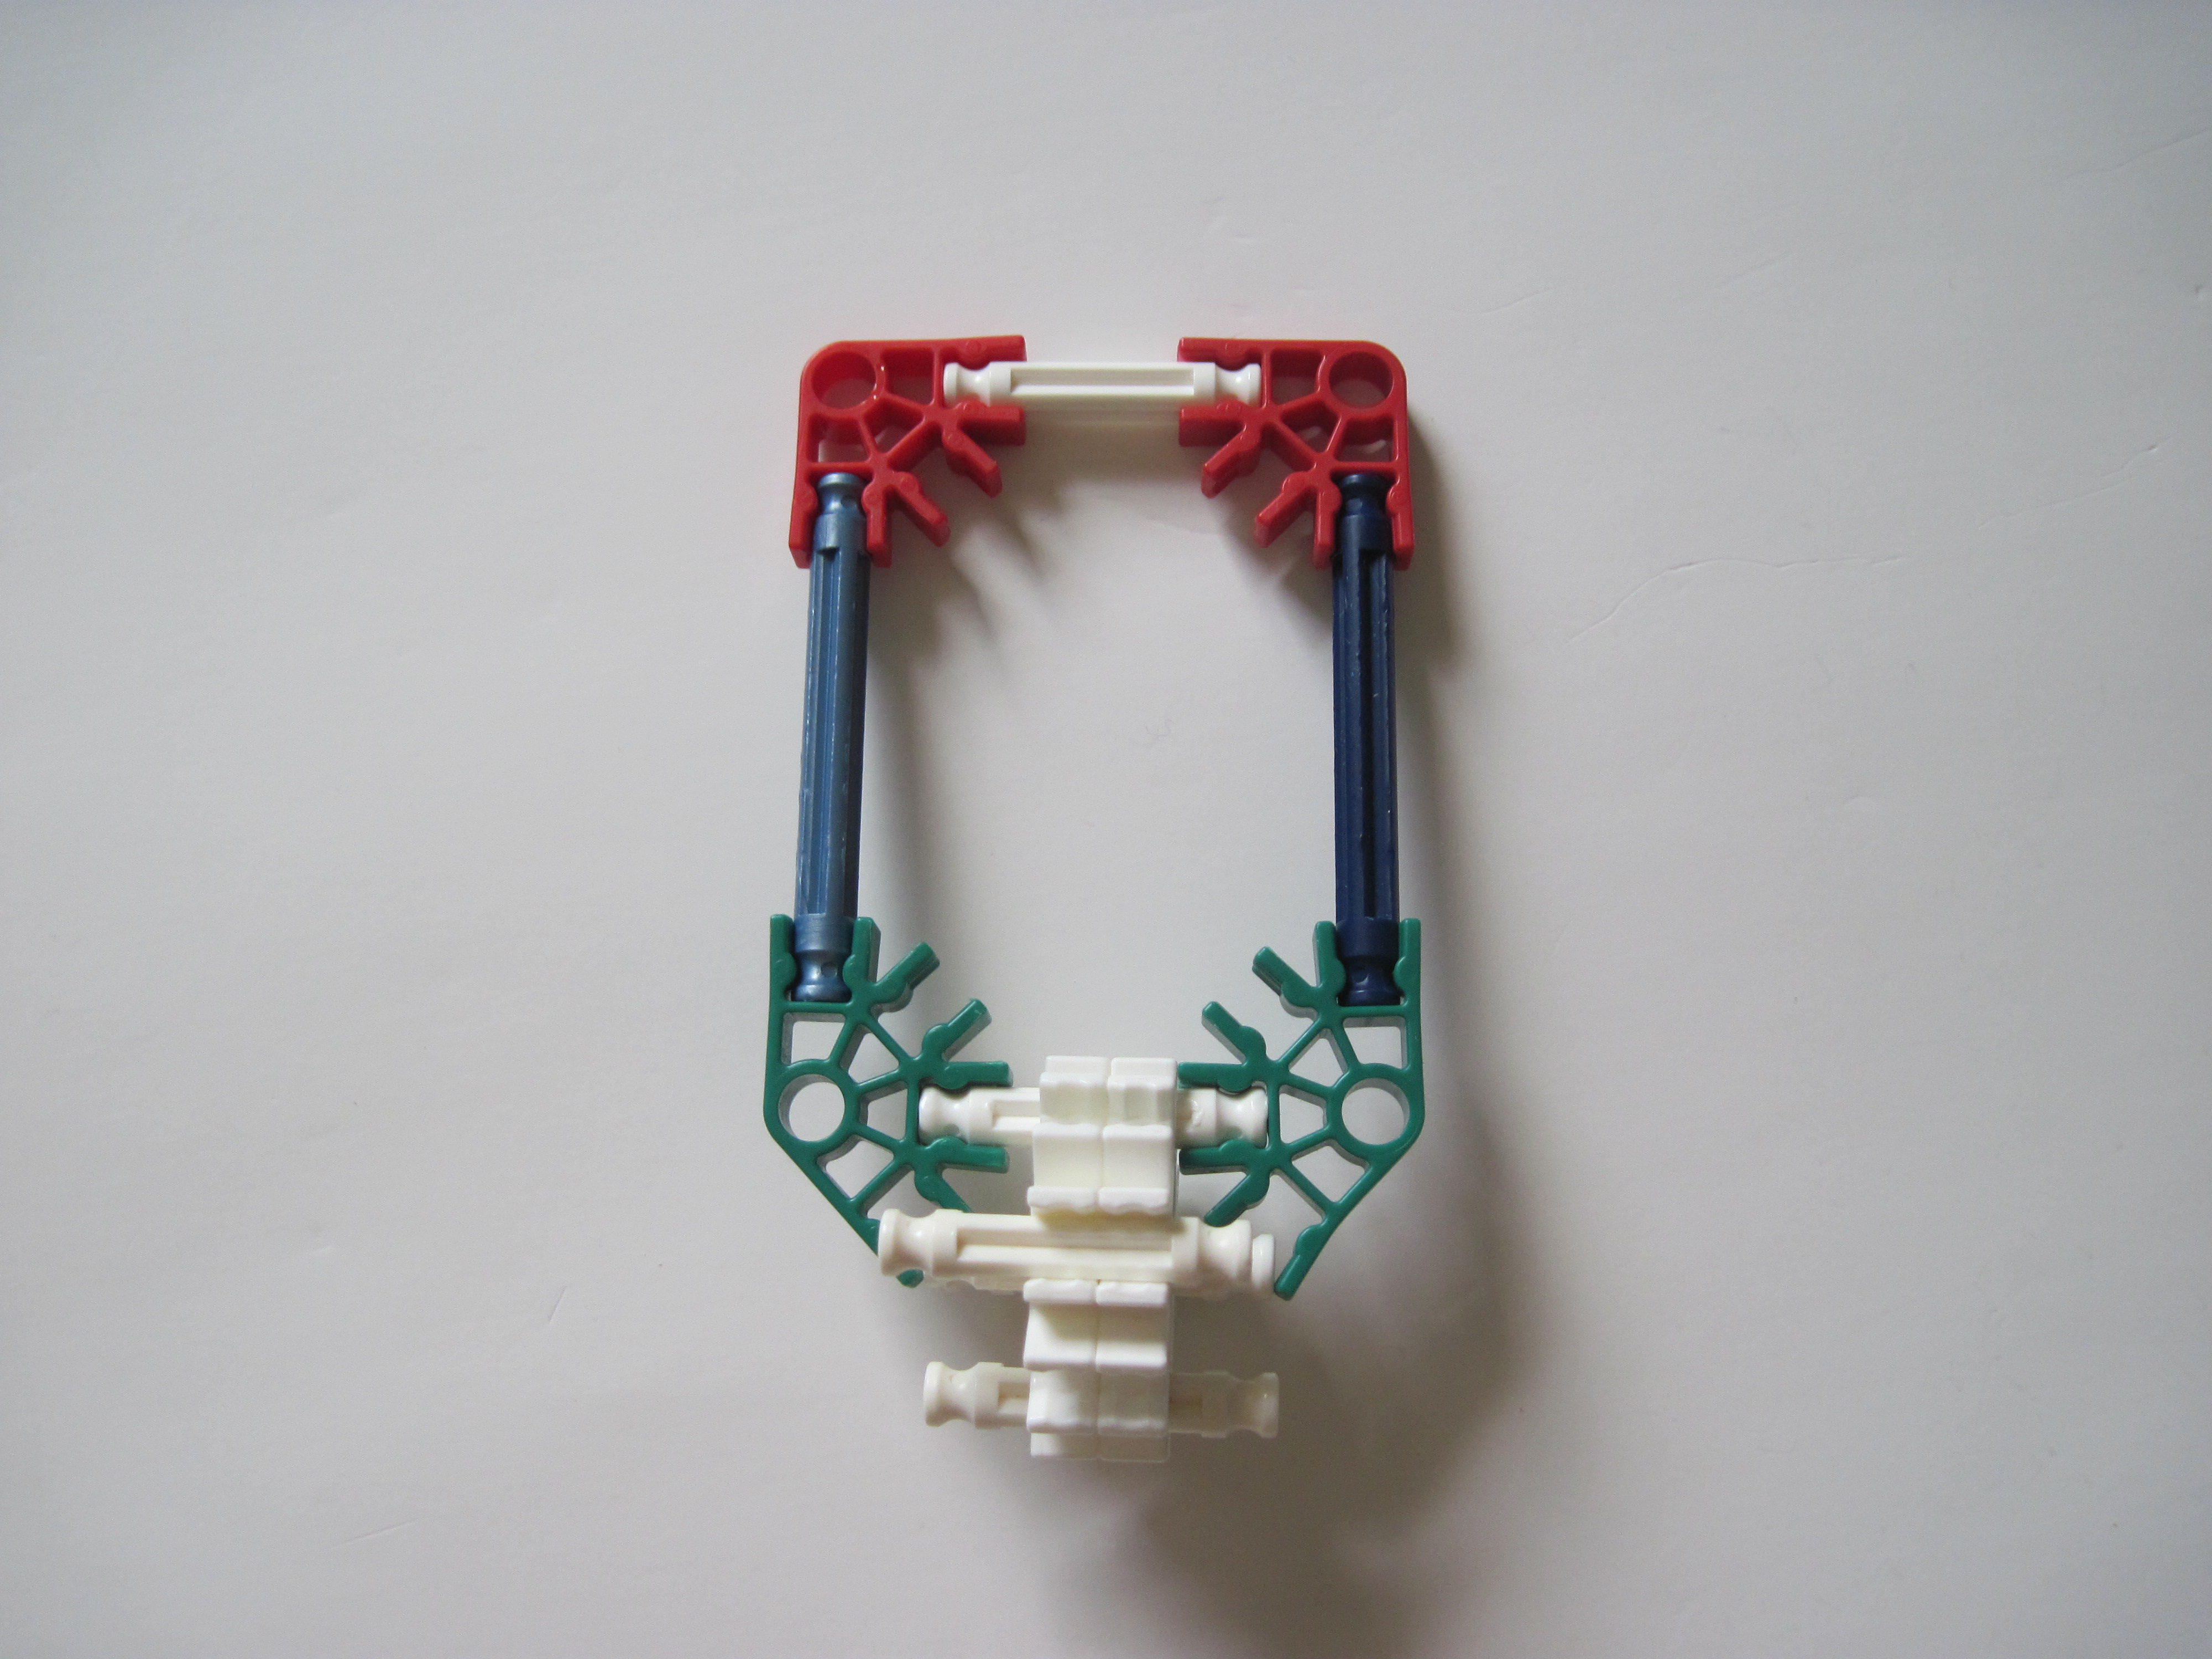
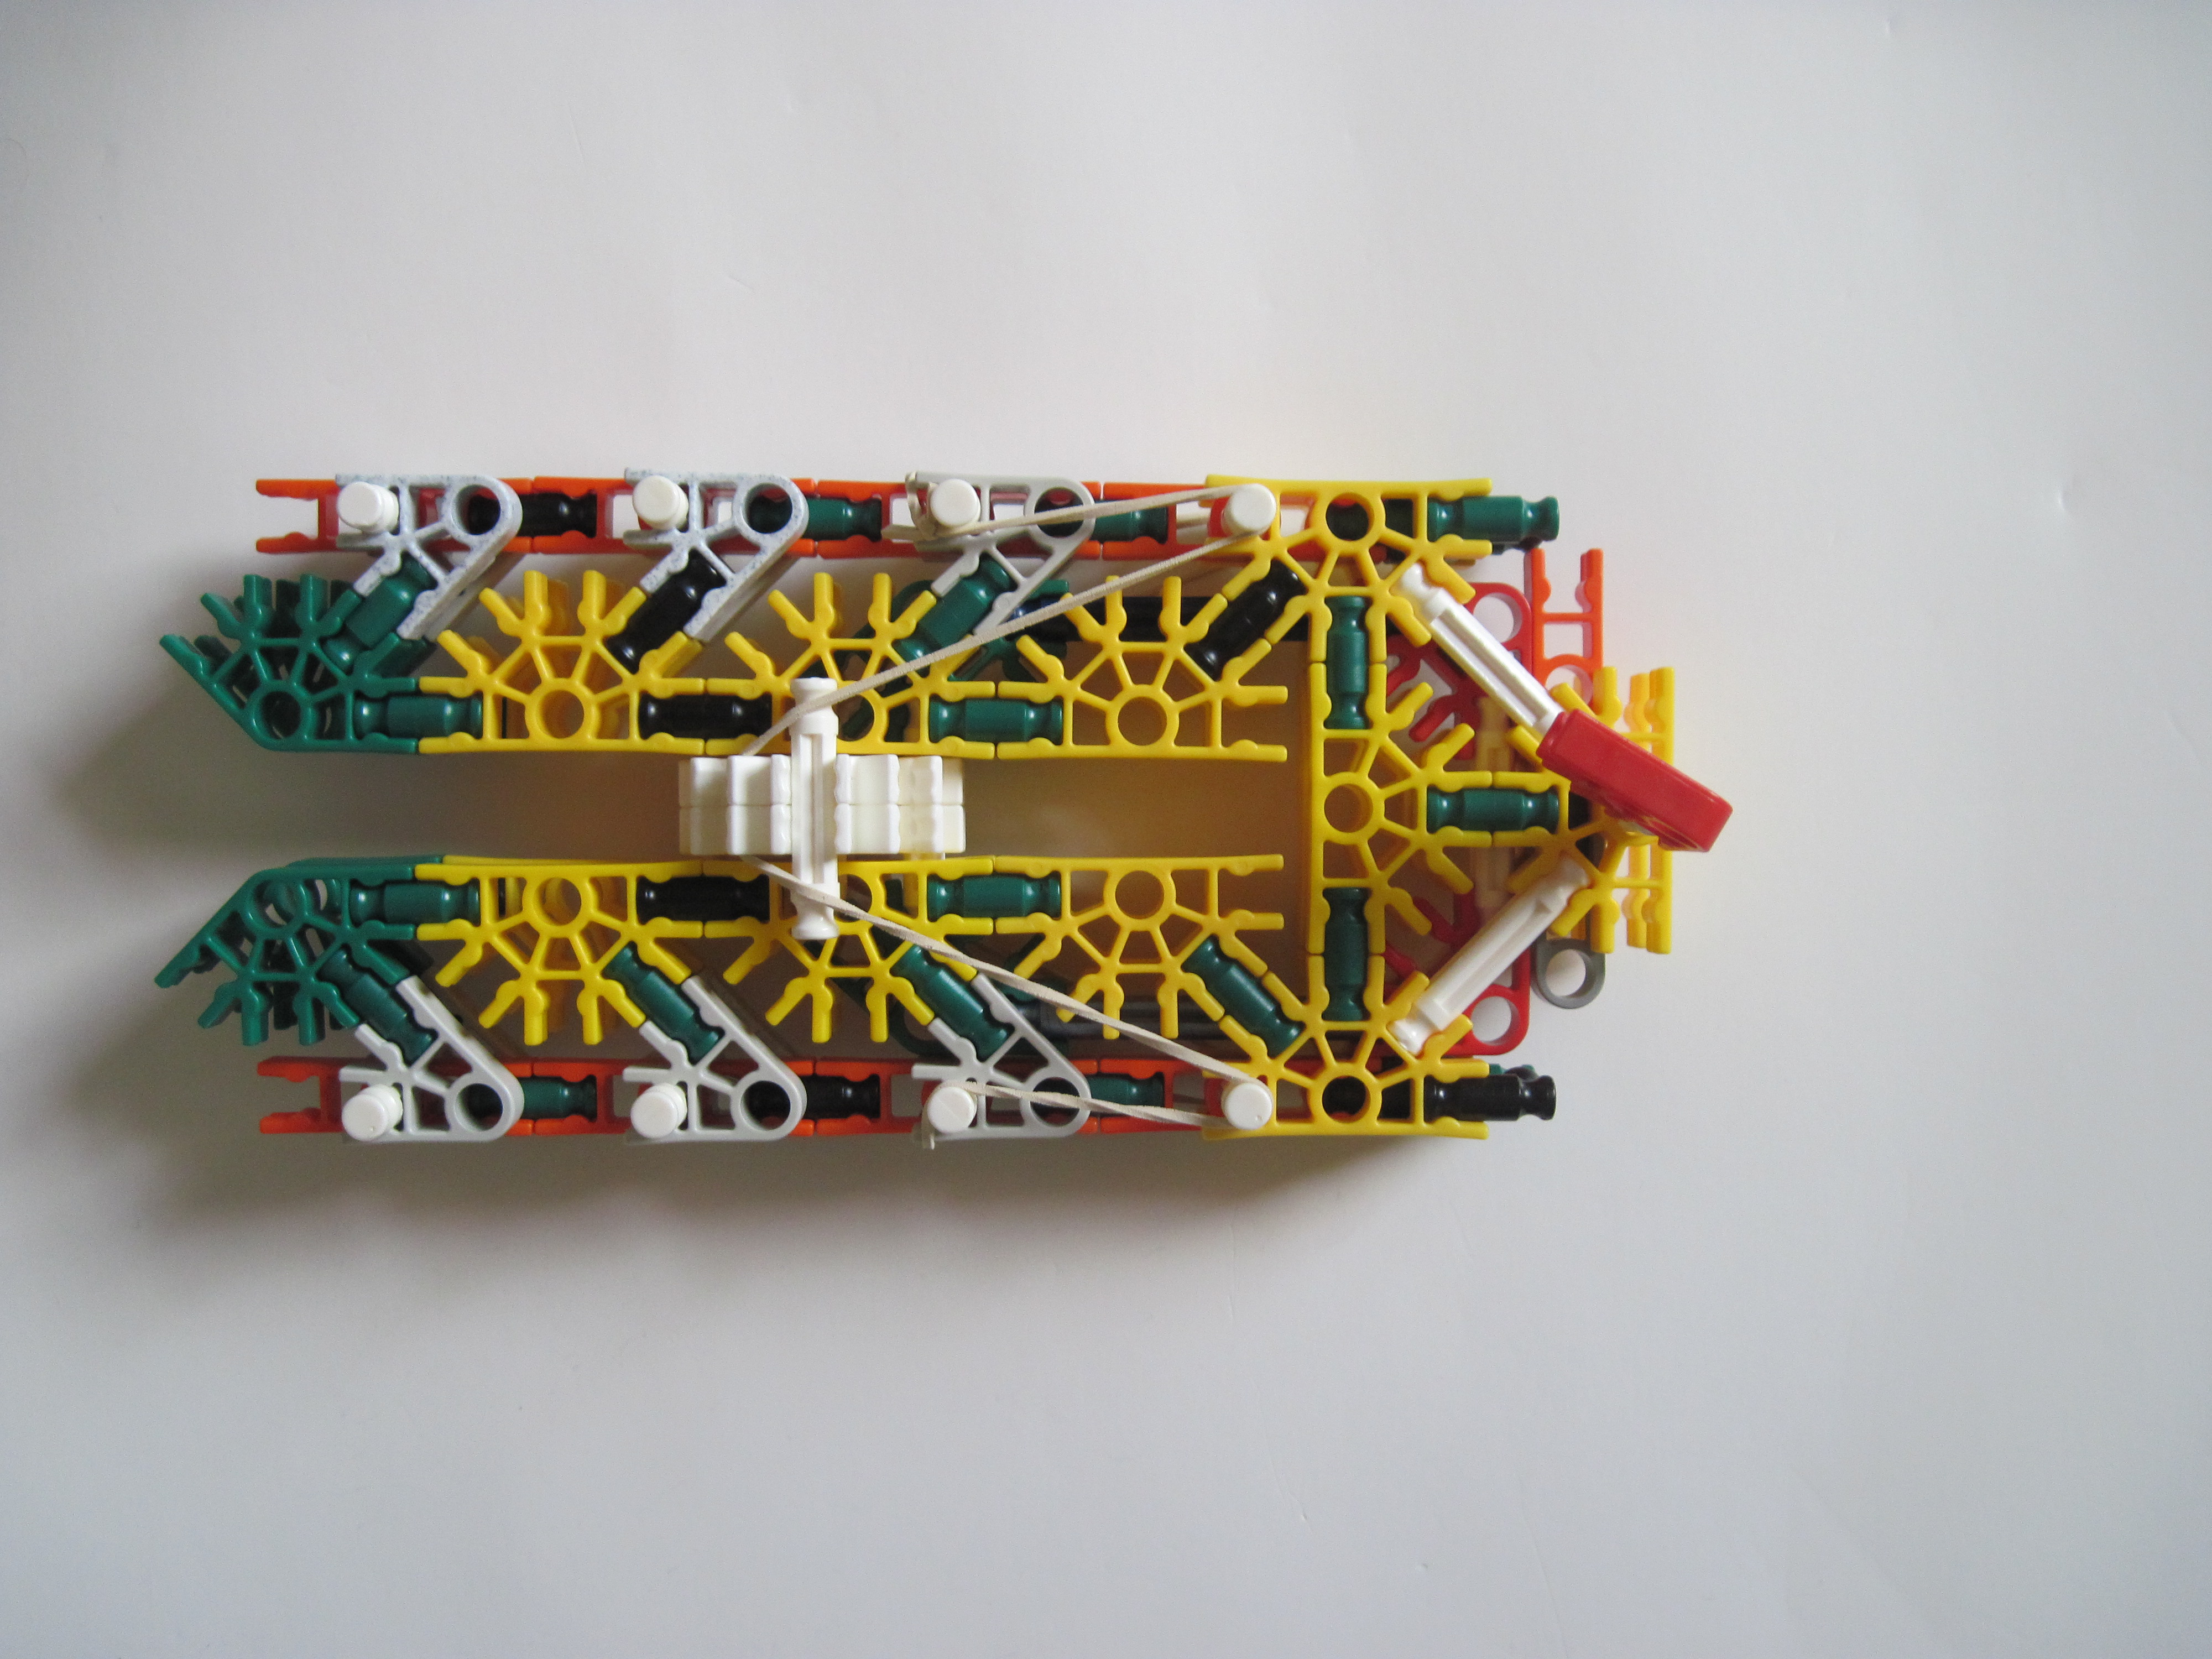
Follow the images:
Image 1: Attach white rods to Part A.
Image 2: Add Parts B to this as shown.
Image 3: Cover with Part A.
Image 4: Put Parts C together like shown.
Image 5: Insert Part C into the main magazine and attach rubberbands. Add the pin (Part D) and insert the ammo. Shown loaded with a single bullet.
If you wish to use the old sight skip the next to steps to step #14.
Sight: Components

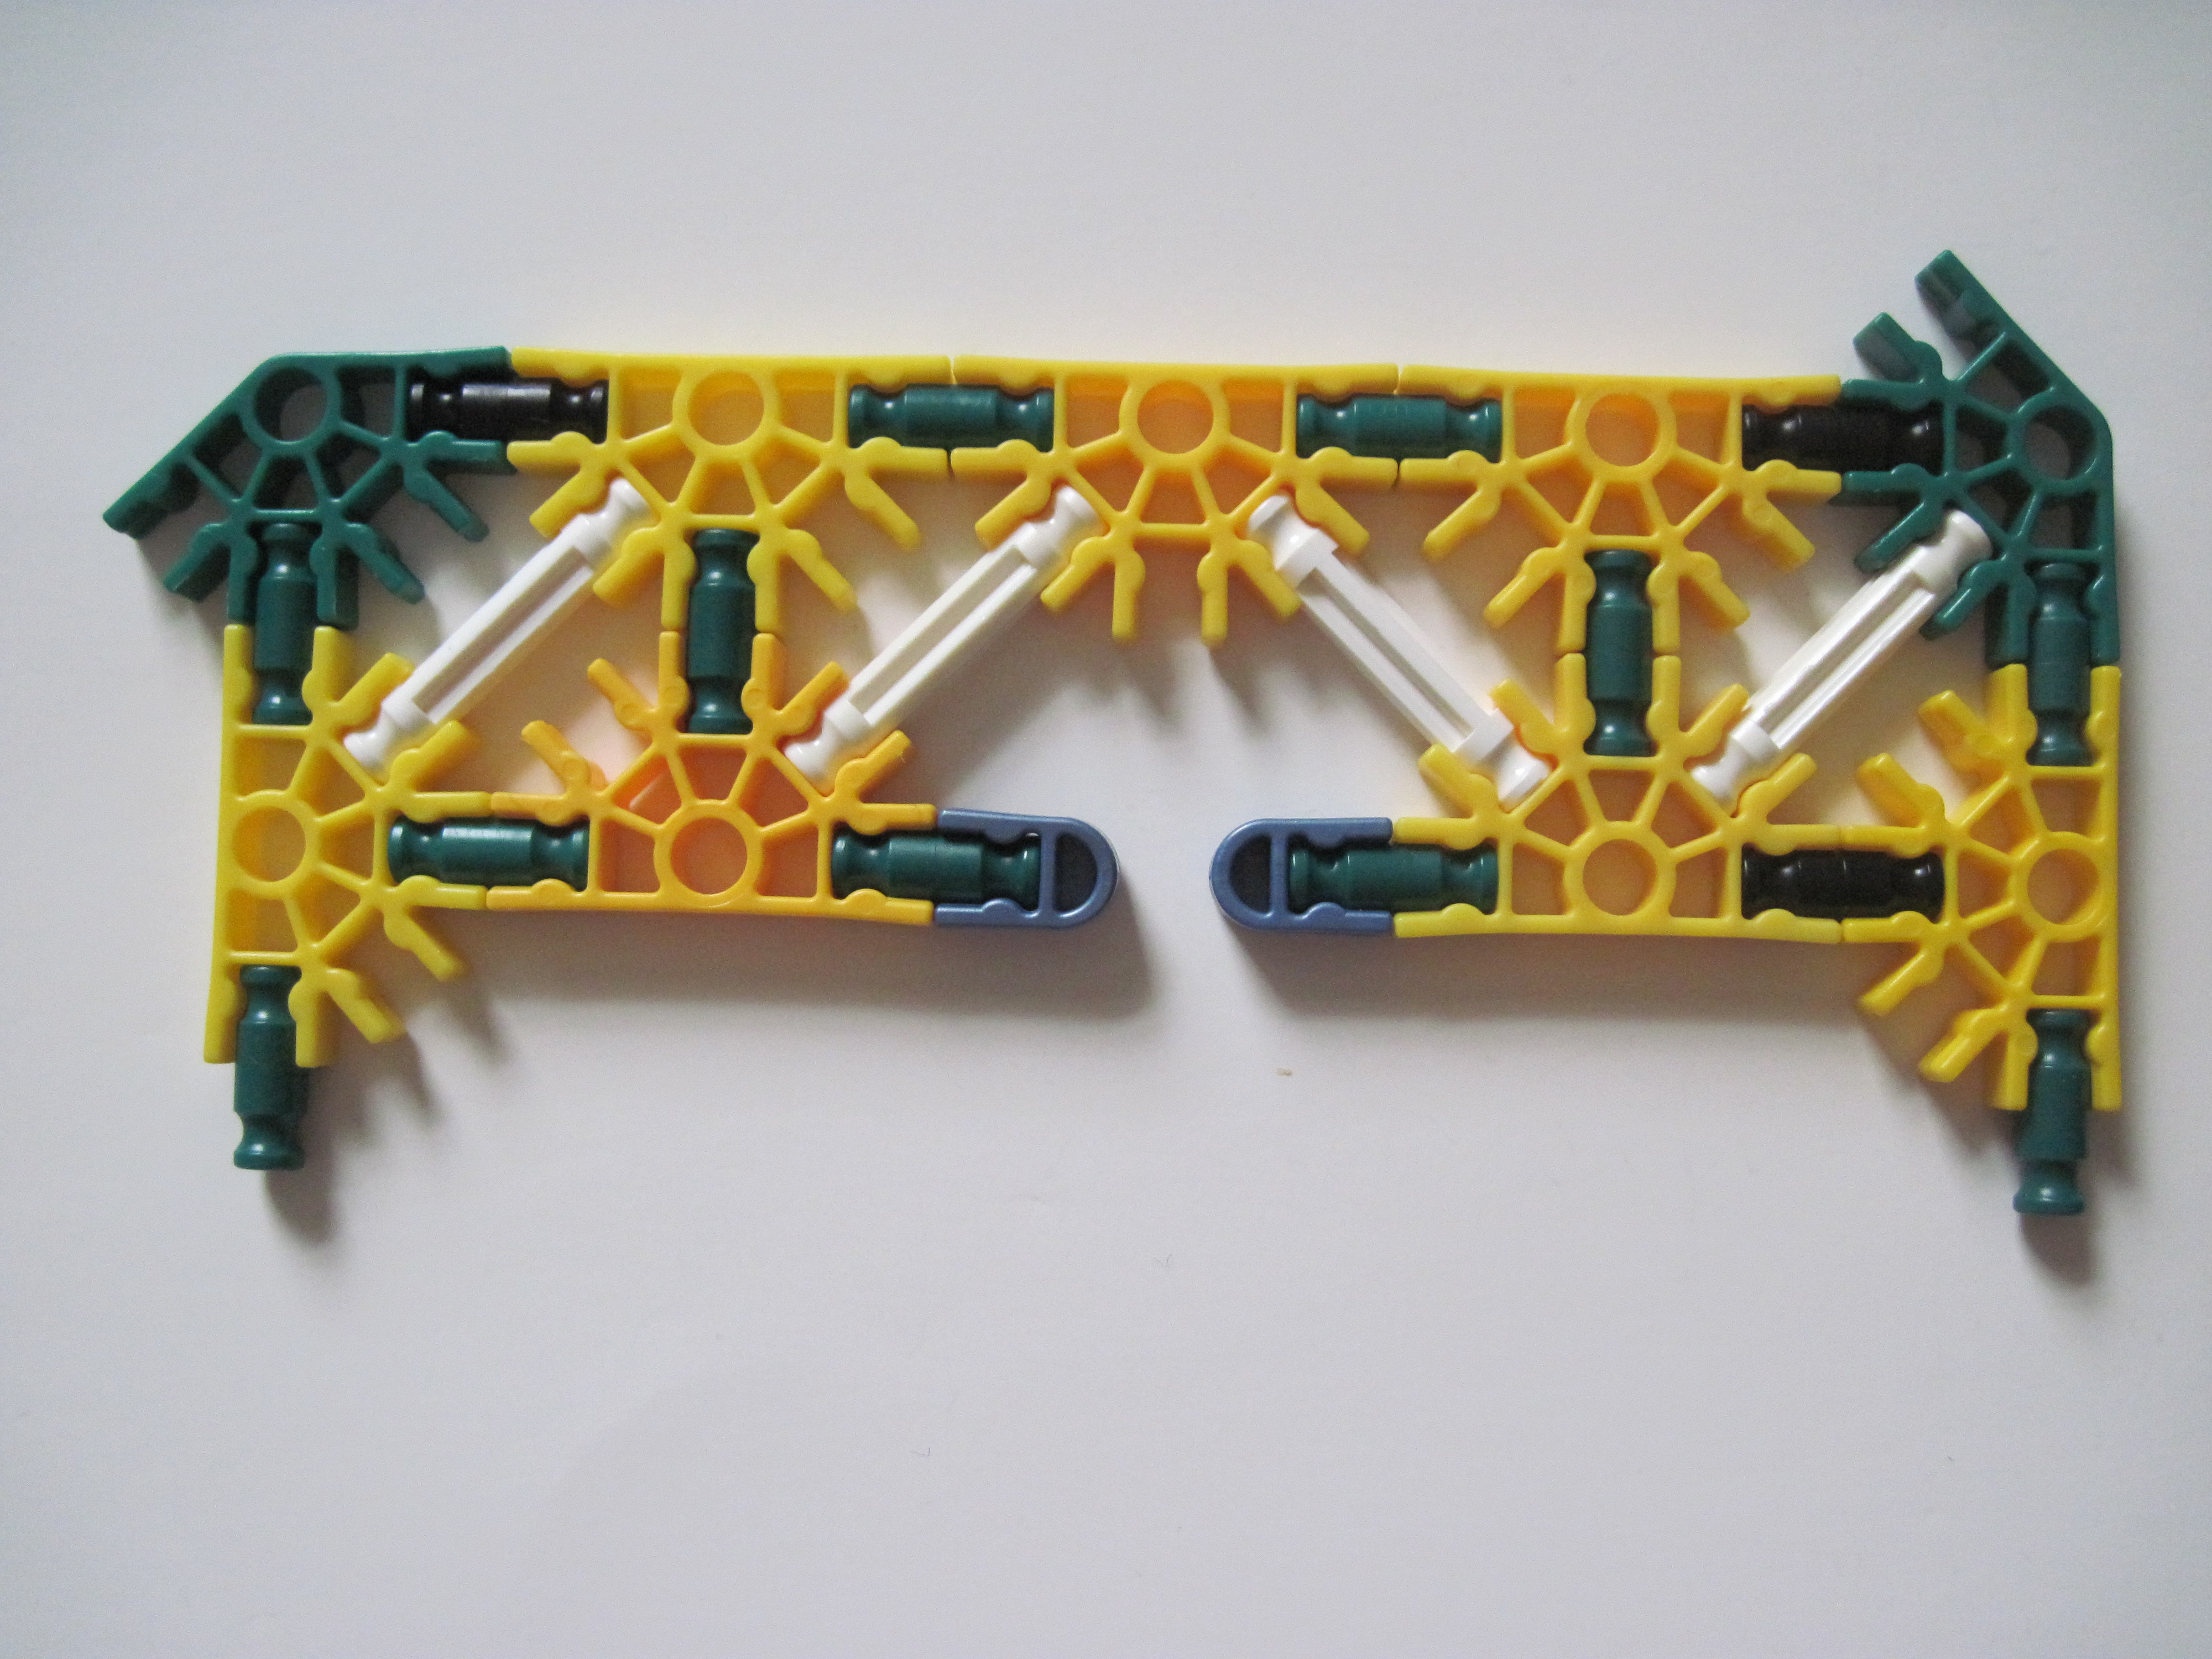


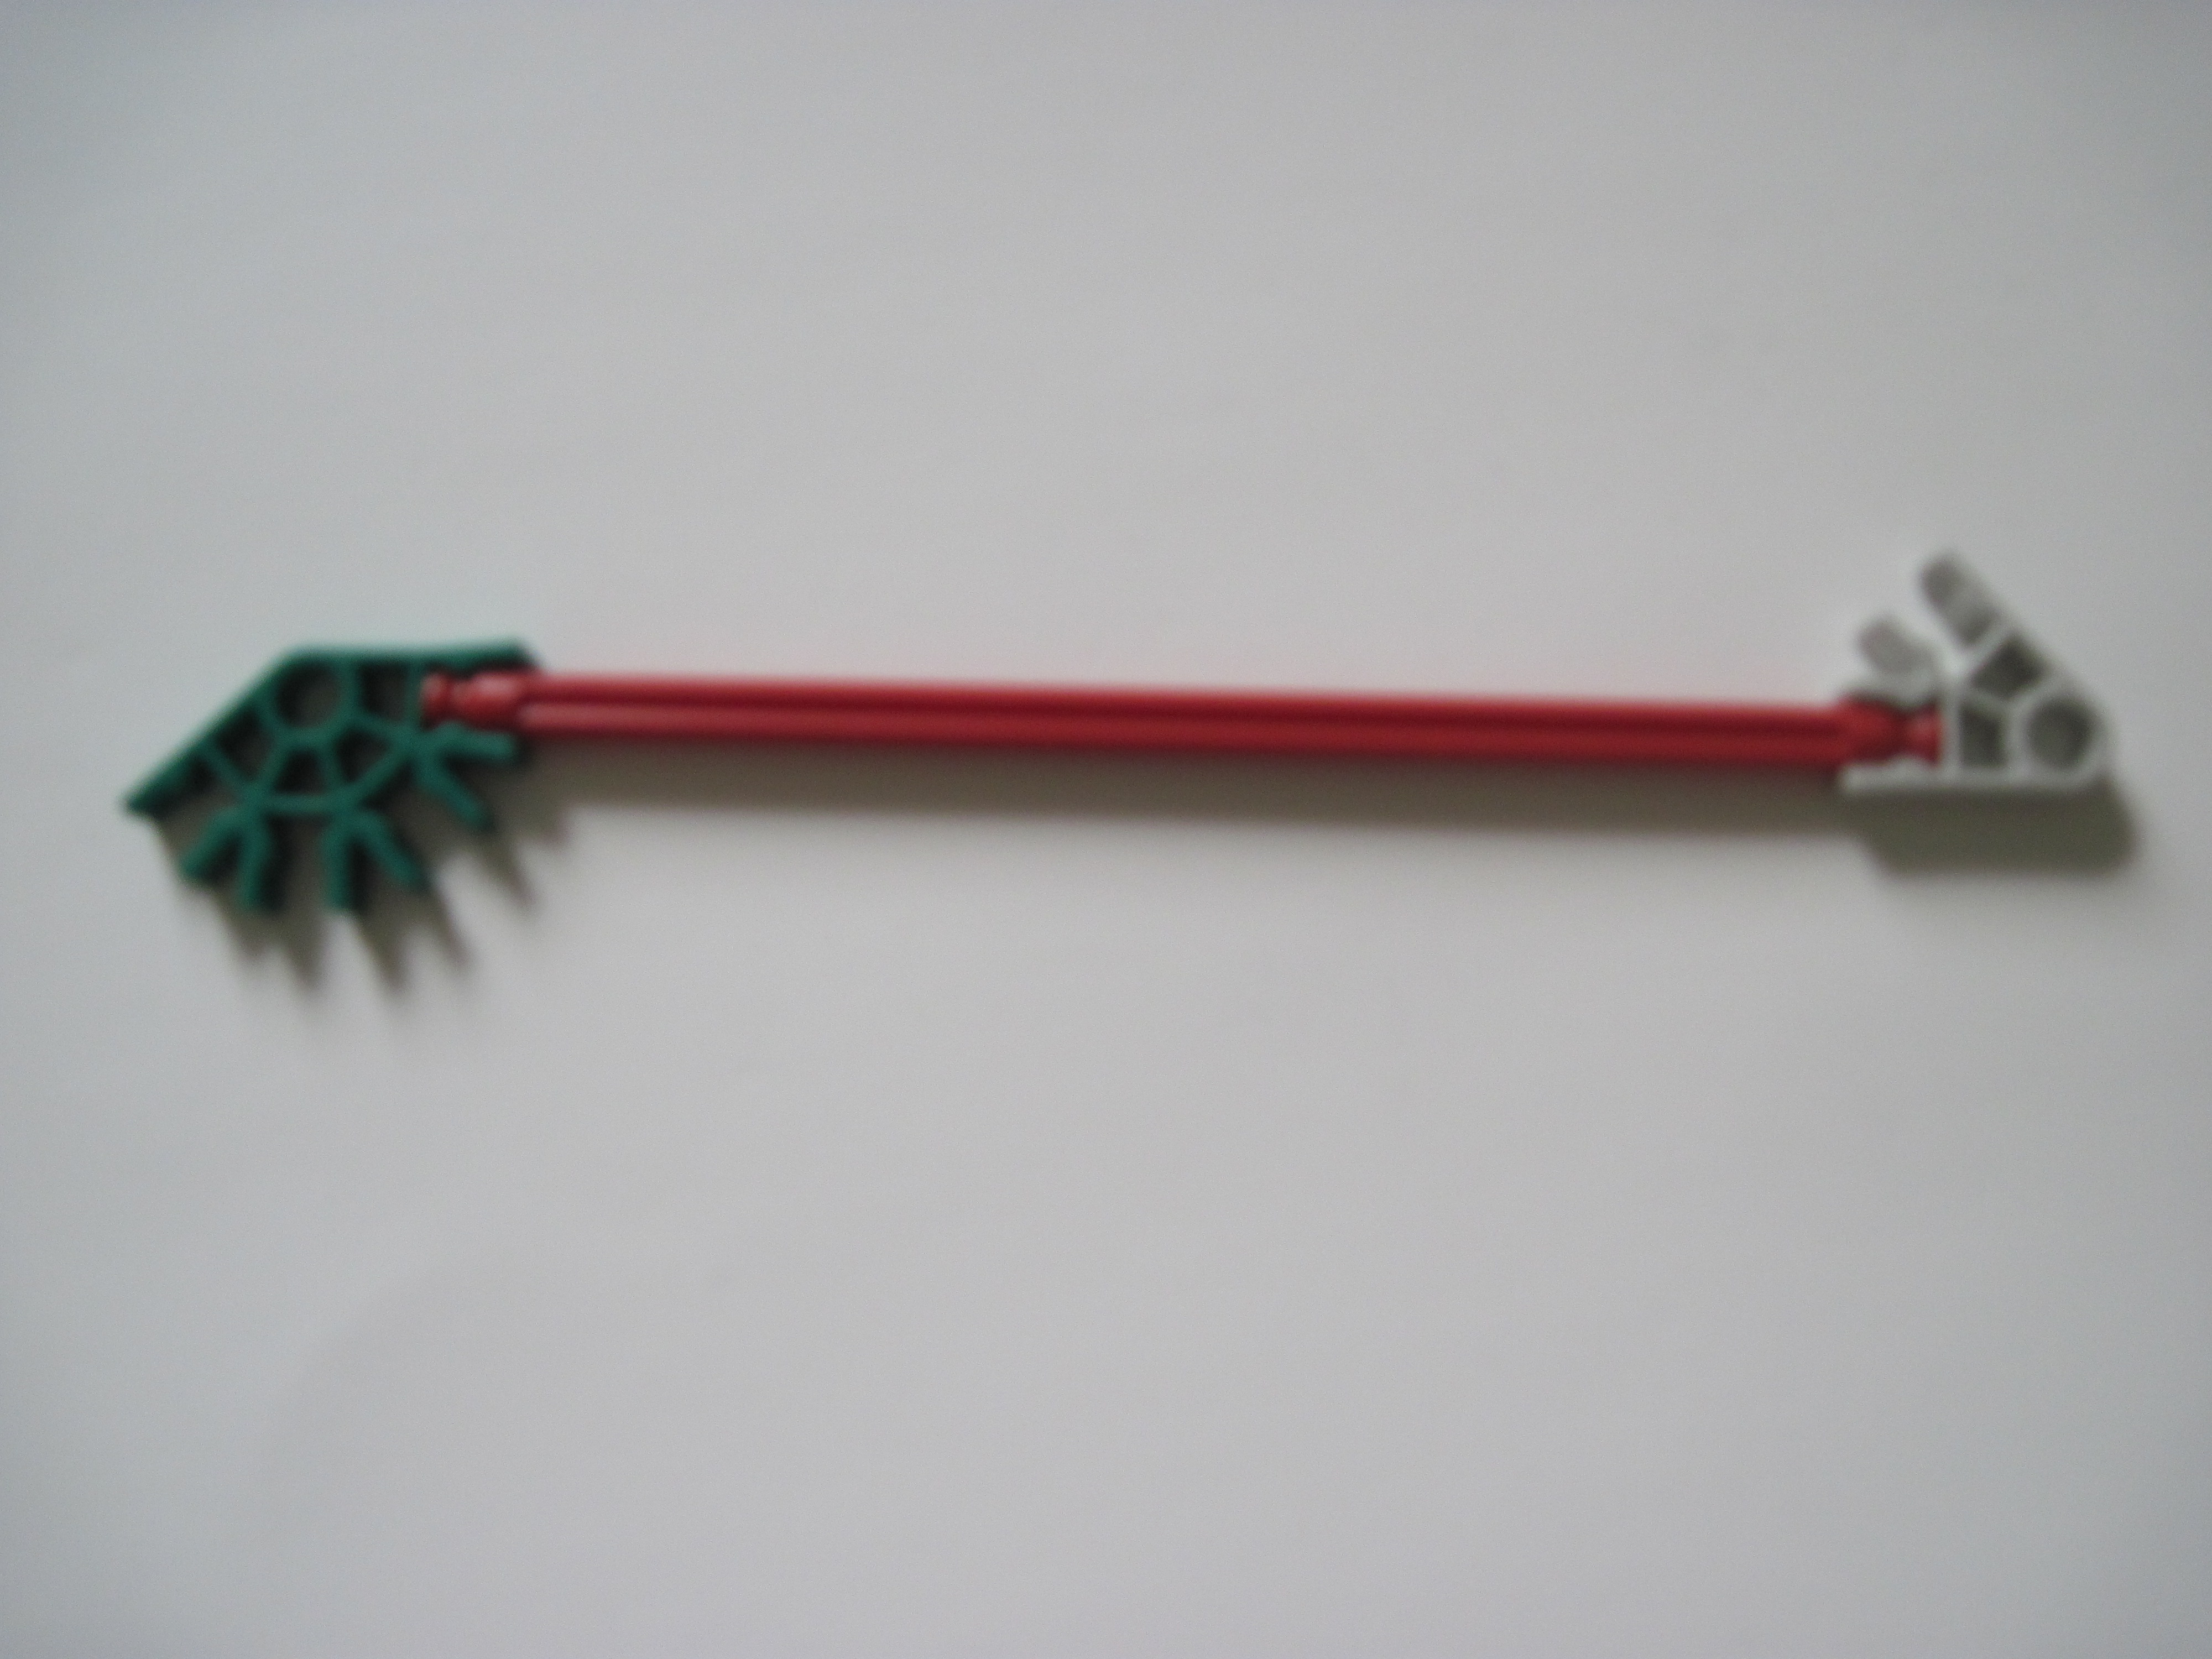
Make the following components. They are given a name which shall be referred to the next step:
Image 1: Make these(Part A)
Image 2: Make 1(Part B)
Image 3: Make 1(Part C)
Image 4: Make 1(Part D)
Image 5: Make 3(Part E)
Image 1: Make these(Part A)
Image 2: Make 1(Part B)
Image 3: Make 1(Part C)
Image 4: Make 1(Part D)
Image 5: Make 3(Part E)
Sight: Construction


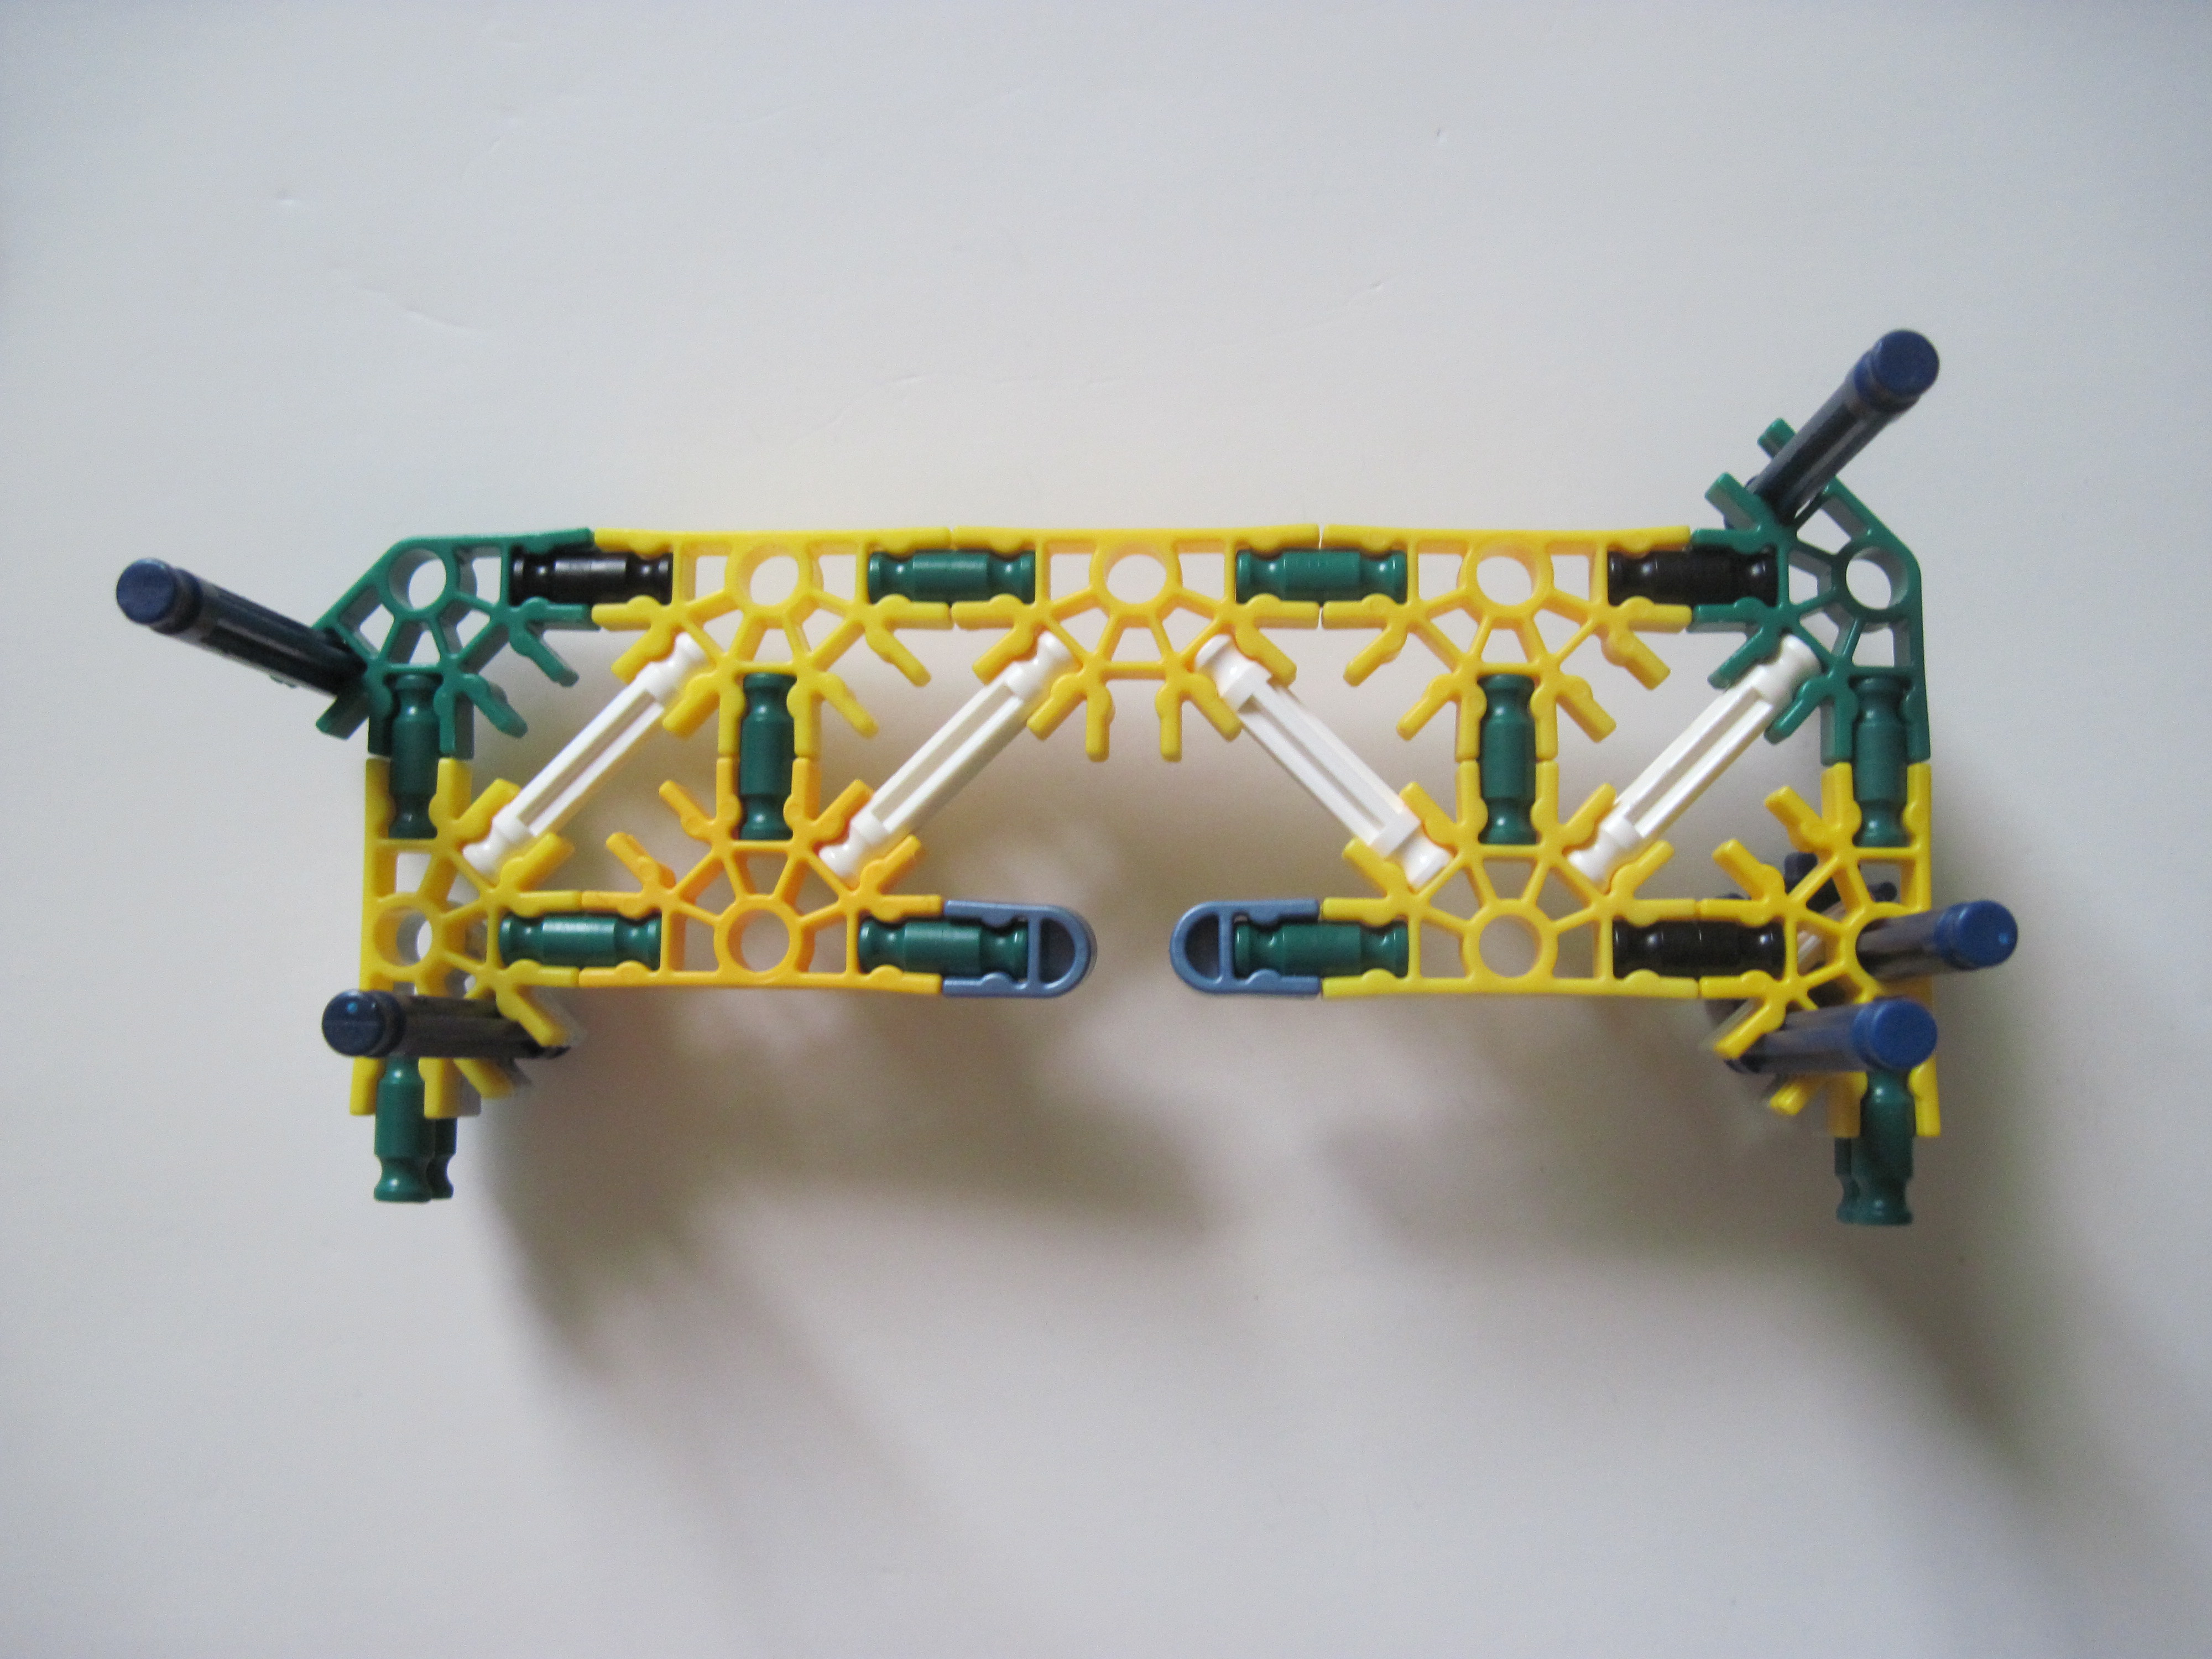


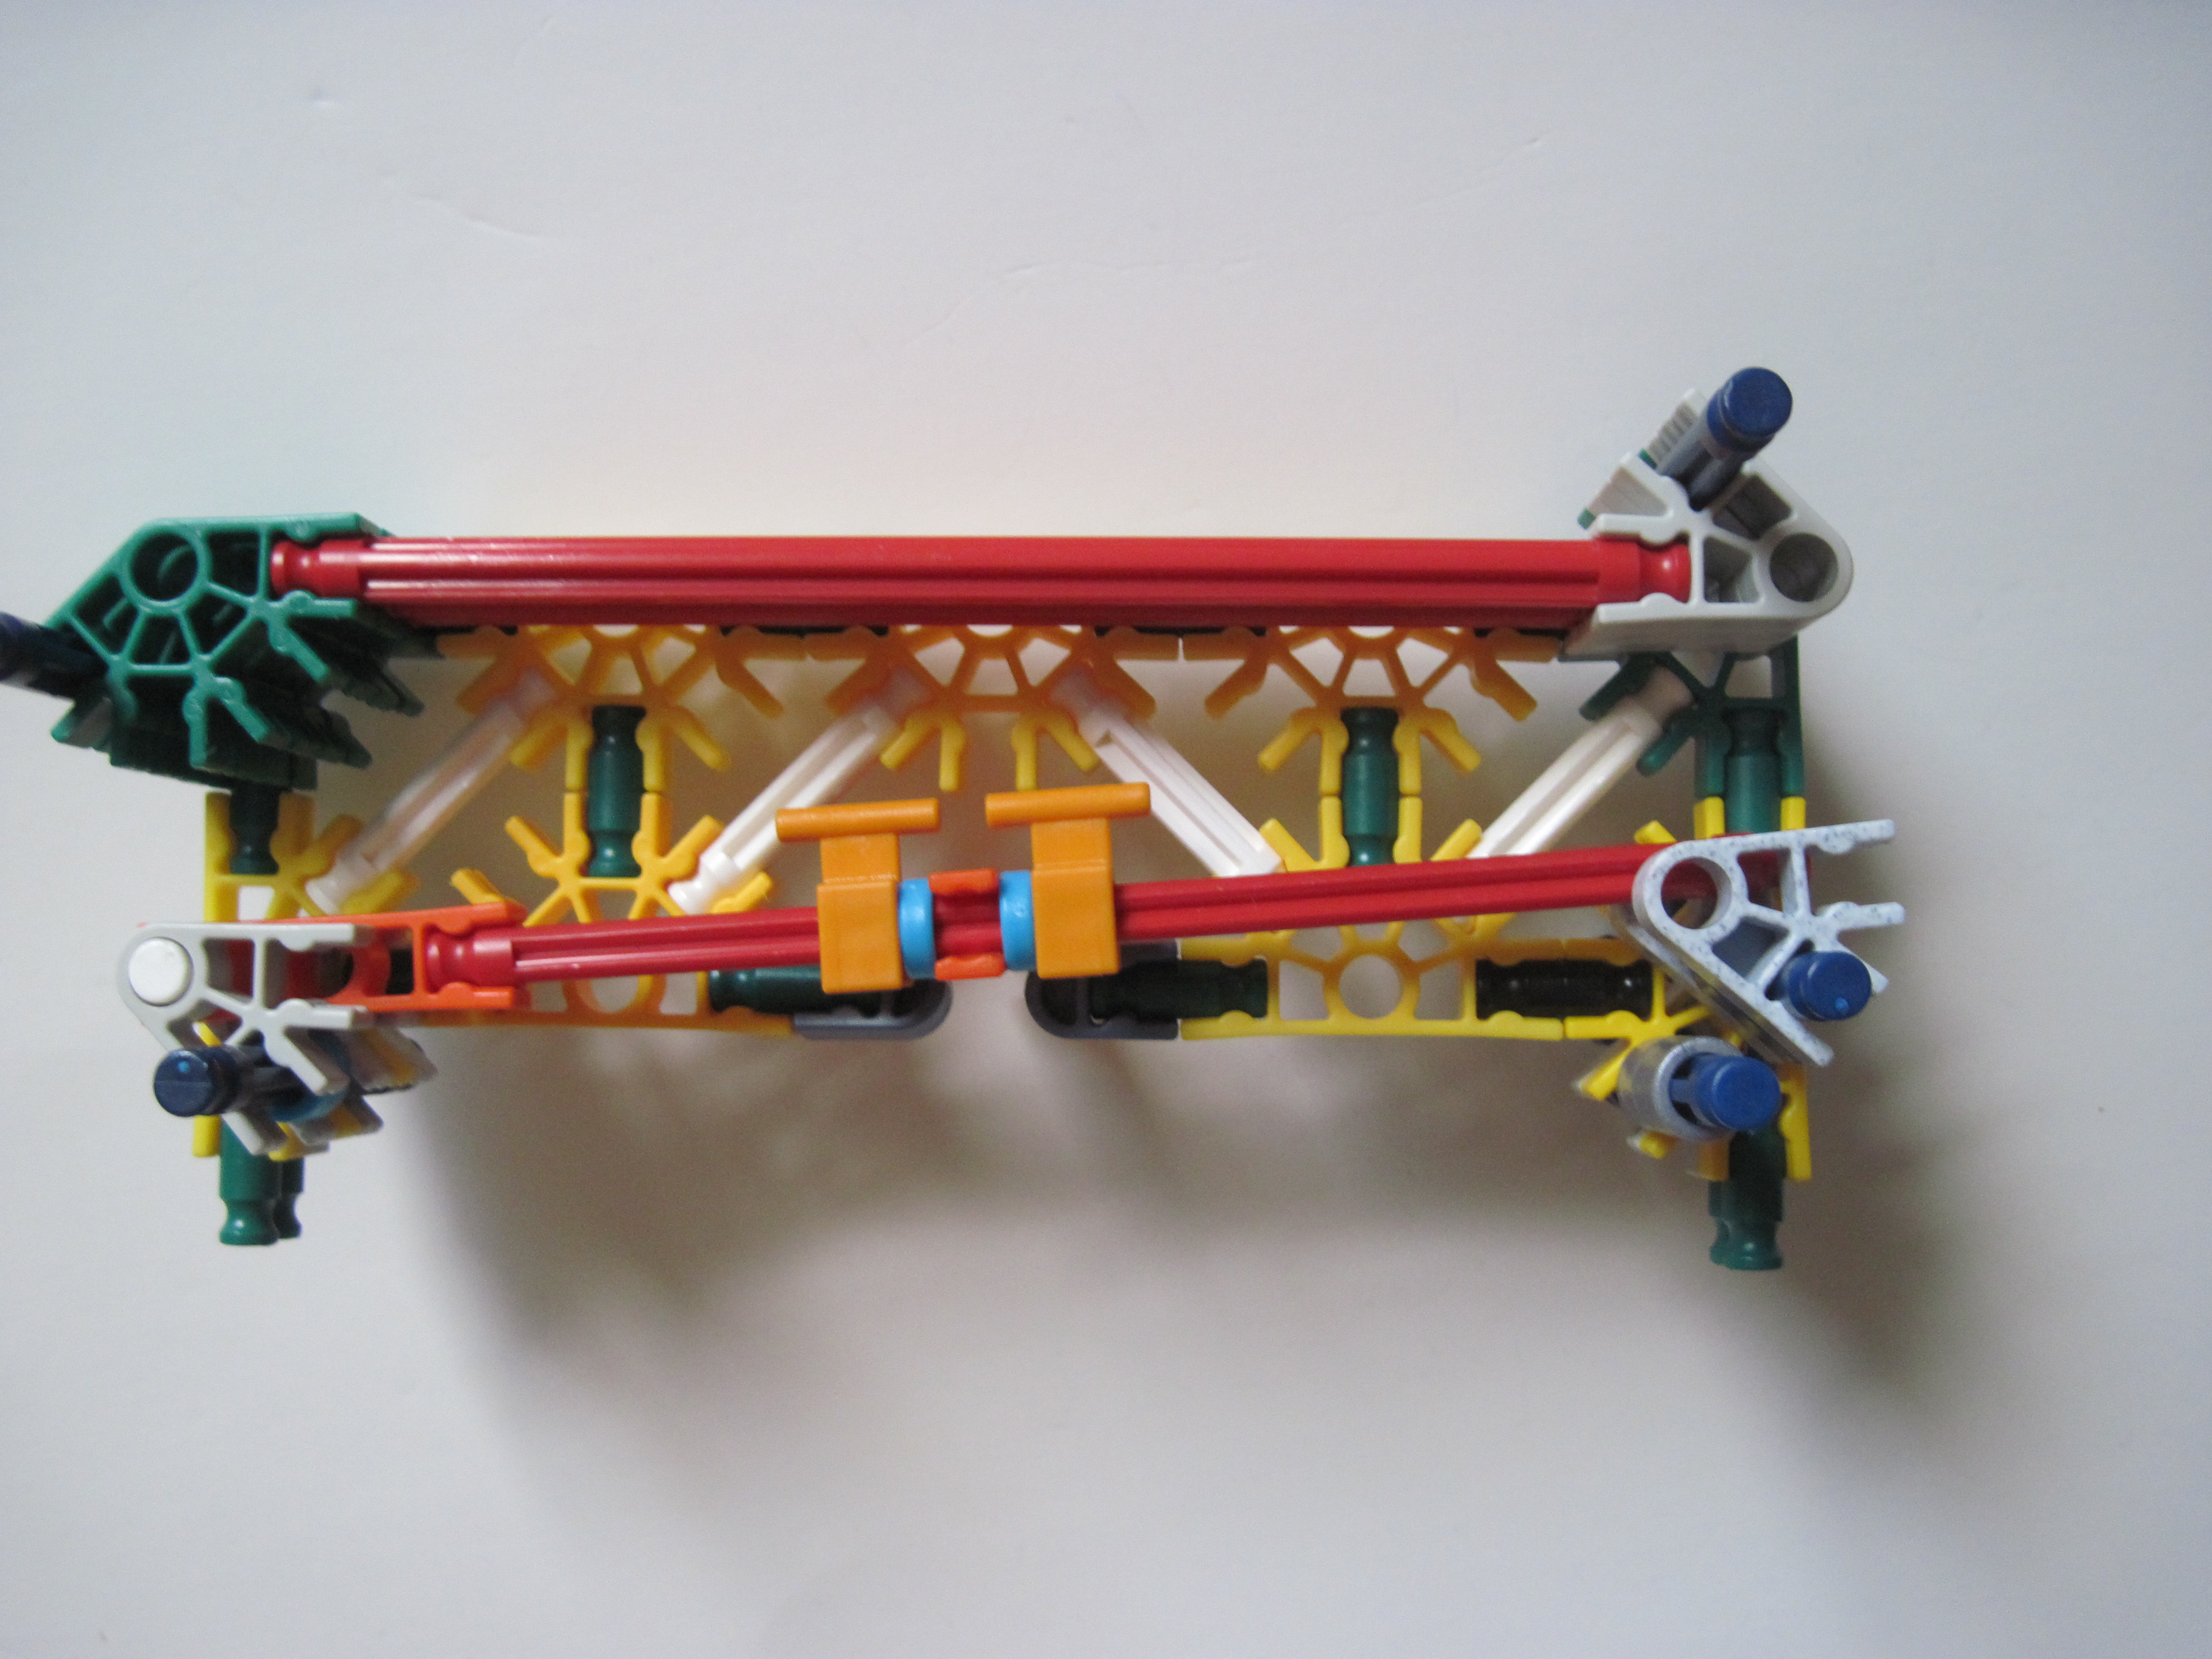
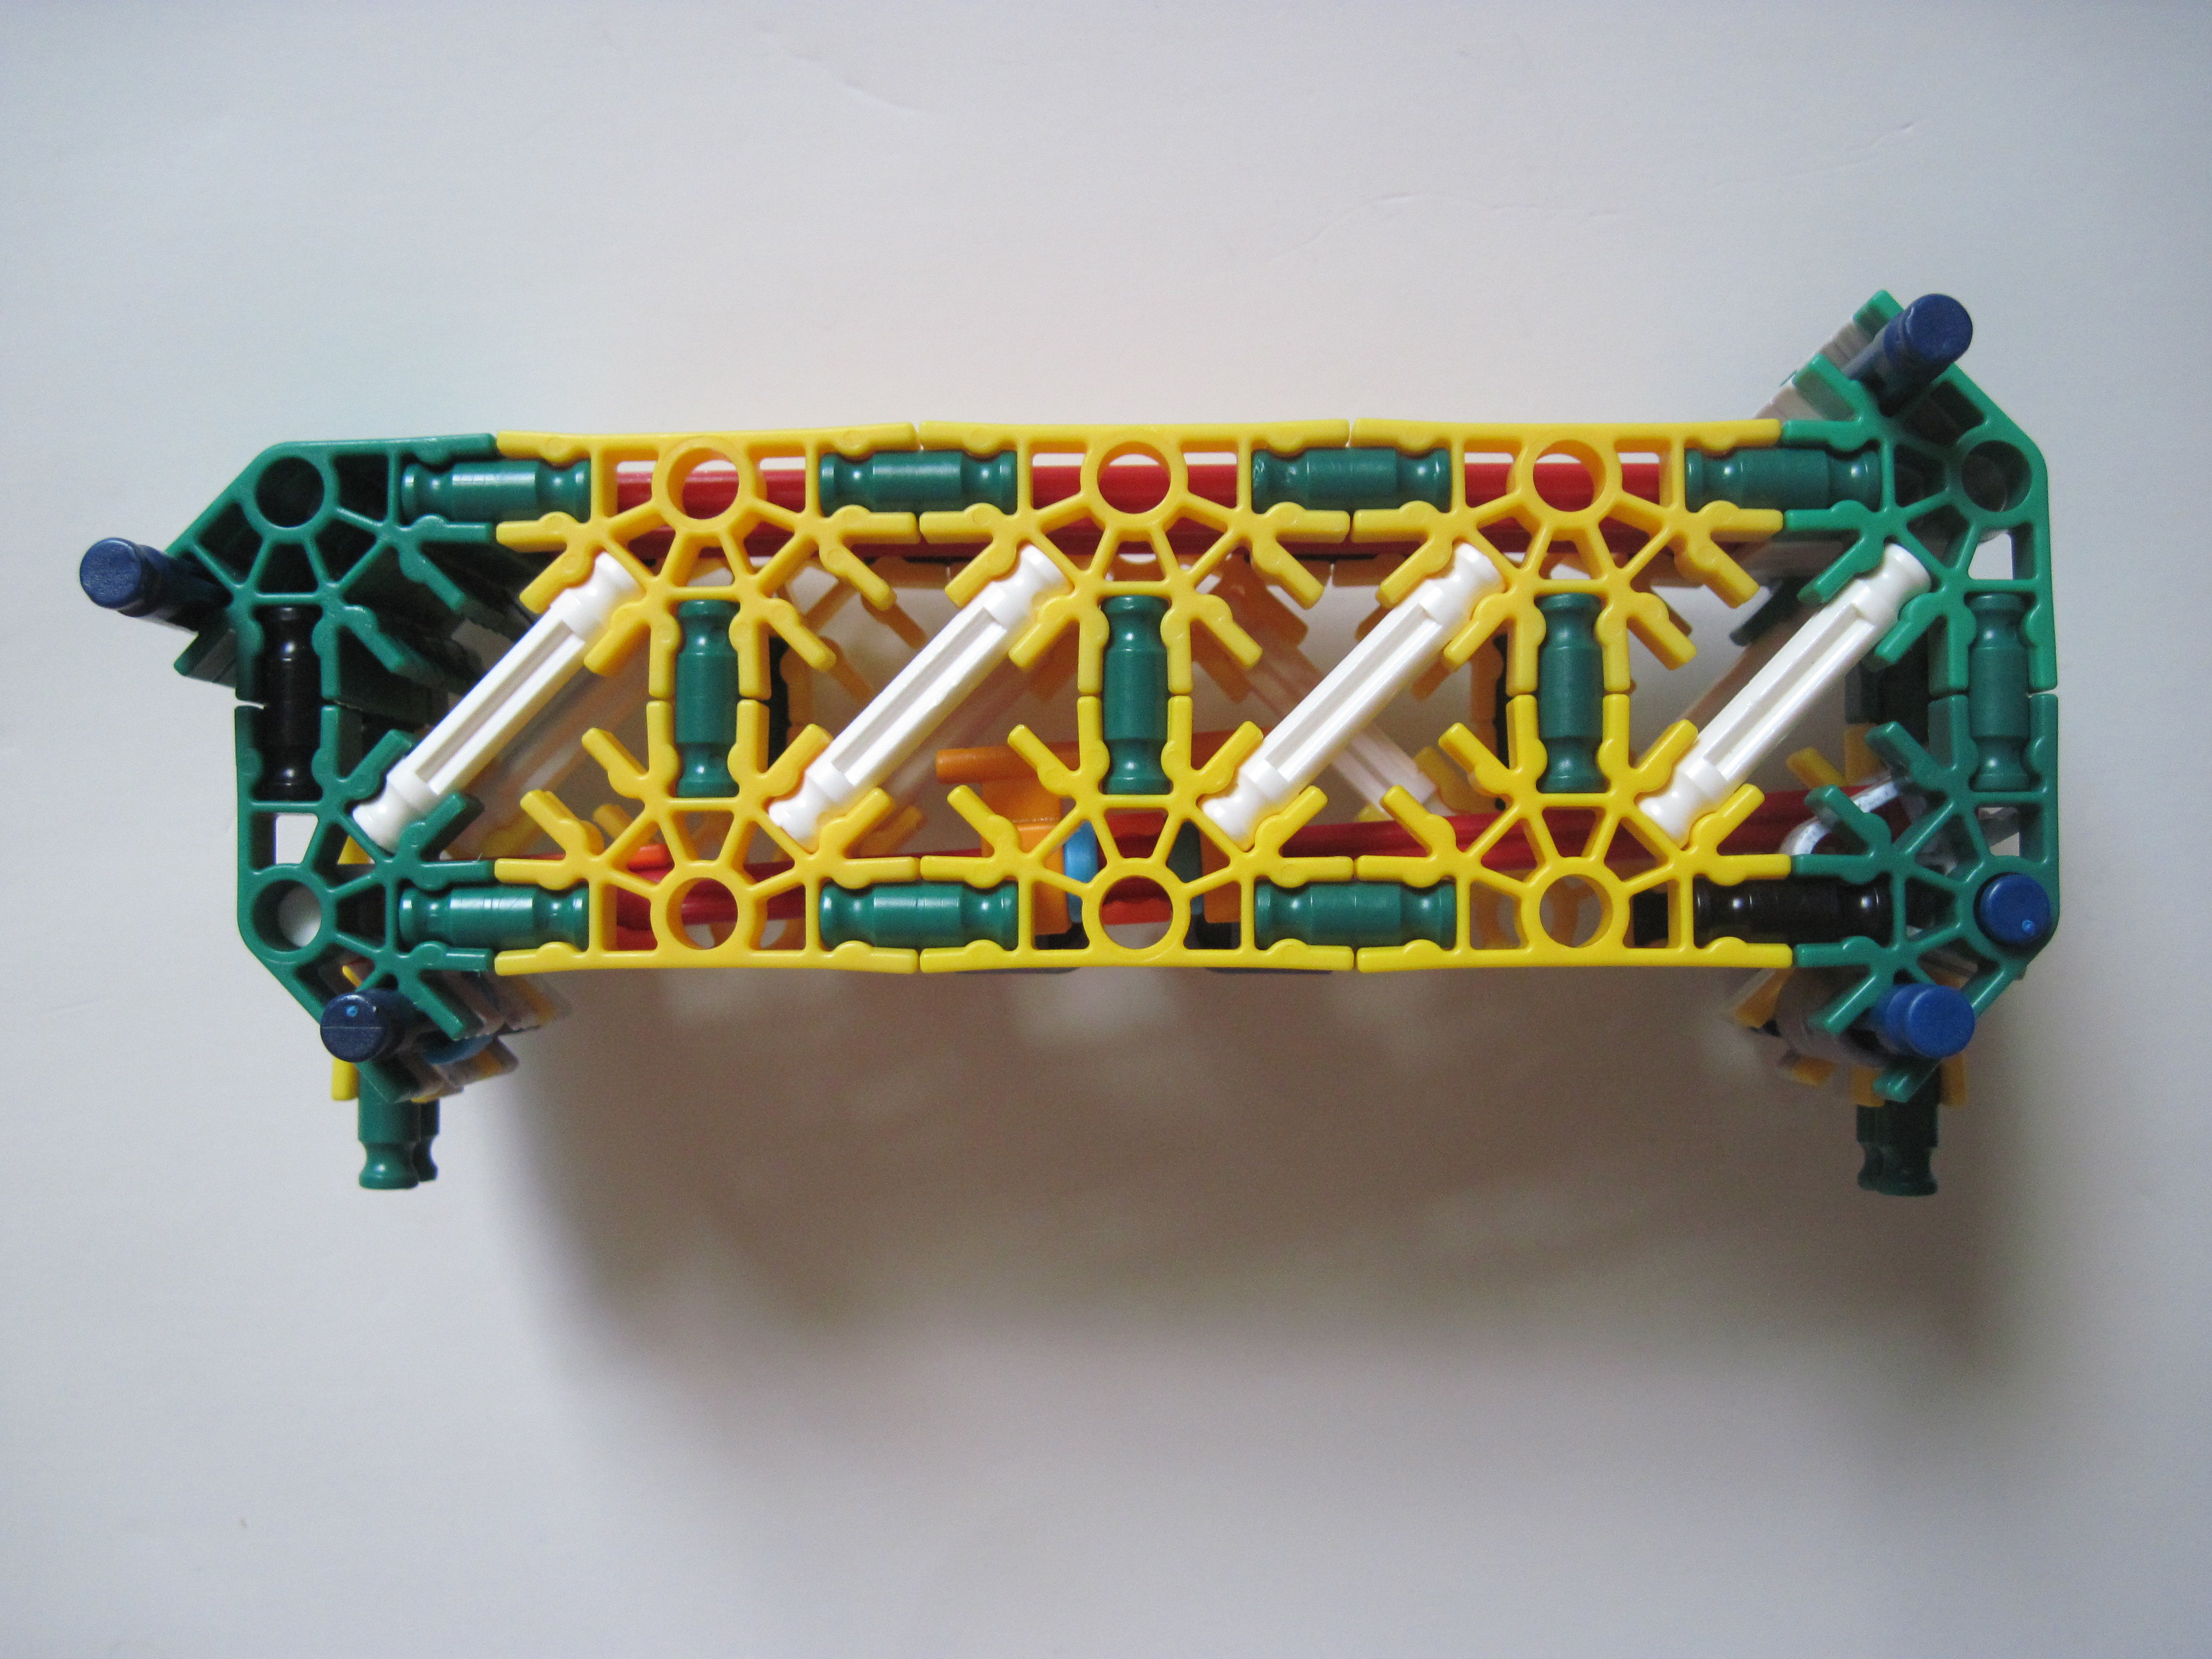
Follow the images:
Image 1: Make this.
Image 2: Place Parts A and add blue rods as shown.
Image 3: Add Part B and blue rods.
Image 4: Add Part E, gray connectors, and gray spacers
Image 5: Add Parts C, E, metallic blue clip, and blue spacers.
Image 6: Add Part E, gray connectors, and gray spacers
Image 7: Cover with Part D.
Side Ammo Storage


If you are making the side ammo storage, follow this step, if not skip it.
Follow the images:
Image 1: Make 2 of these.
Image 2: Put these through the ammo (up to 16 pieces) as shown.
Image 3: Clip to the barrel parts which stick out as shown.
Follow the images:
Image 1: Make 2 of these.
Image 2: Put these through the ammo (up to 16 pieces) as shown.
Image 3: Clip to the barrel parts which stick out as shown.
Assembly


Follow the images:
Image 1: Barrel Part 1 and Barrel Part 2
Image 2: Barrel Part 2 and Main Body
Image 3: Main Body and Magazine
Image 4: Main Body and Sight
Image 5: Main Body and Stock (or if no stock then the parts from step 9)
Image 1: Barrel Part 1 and Barrel Part 2
Image 2: Barrel Part 2 and Main Body
Image 3: Main Body and Magazine
Image 4: Main Body and Sight
Image 5: Main Body and Stock (or if no stock then the parts from step 9)
Loading and Firing


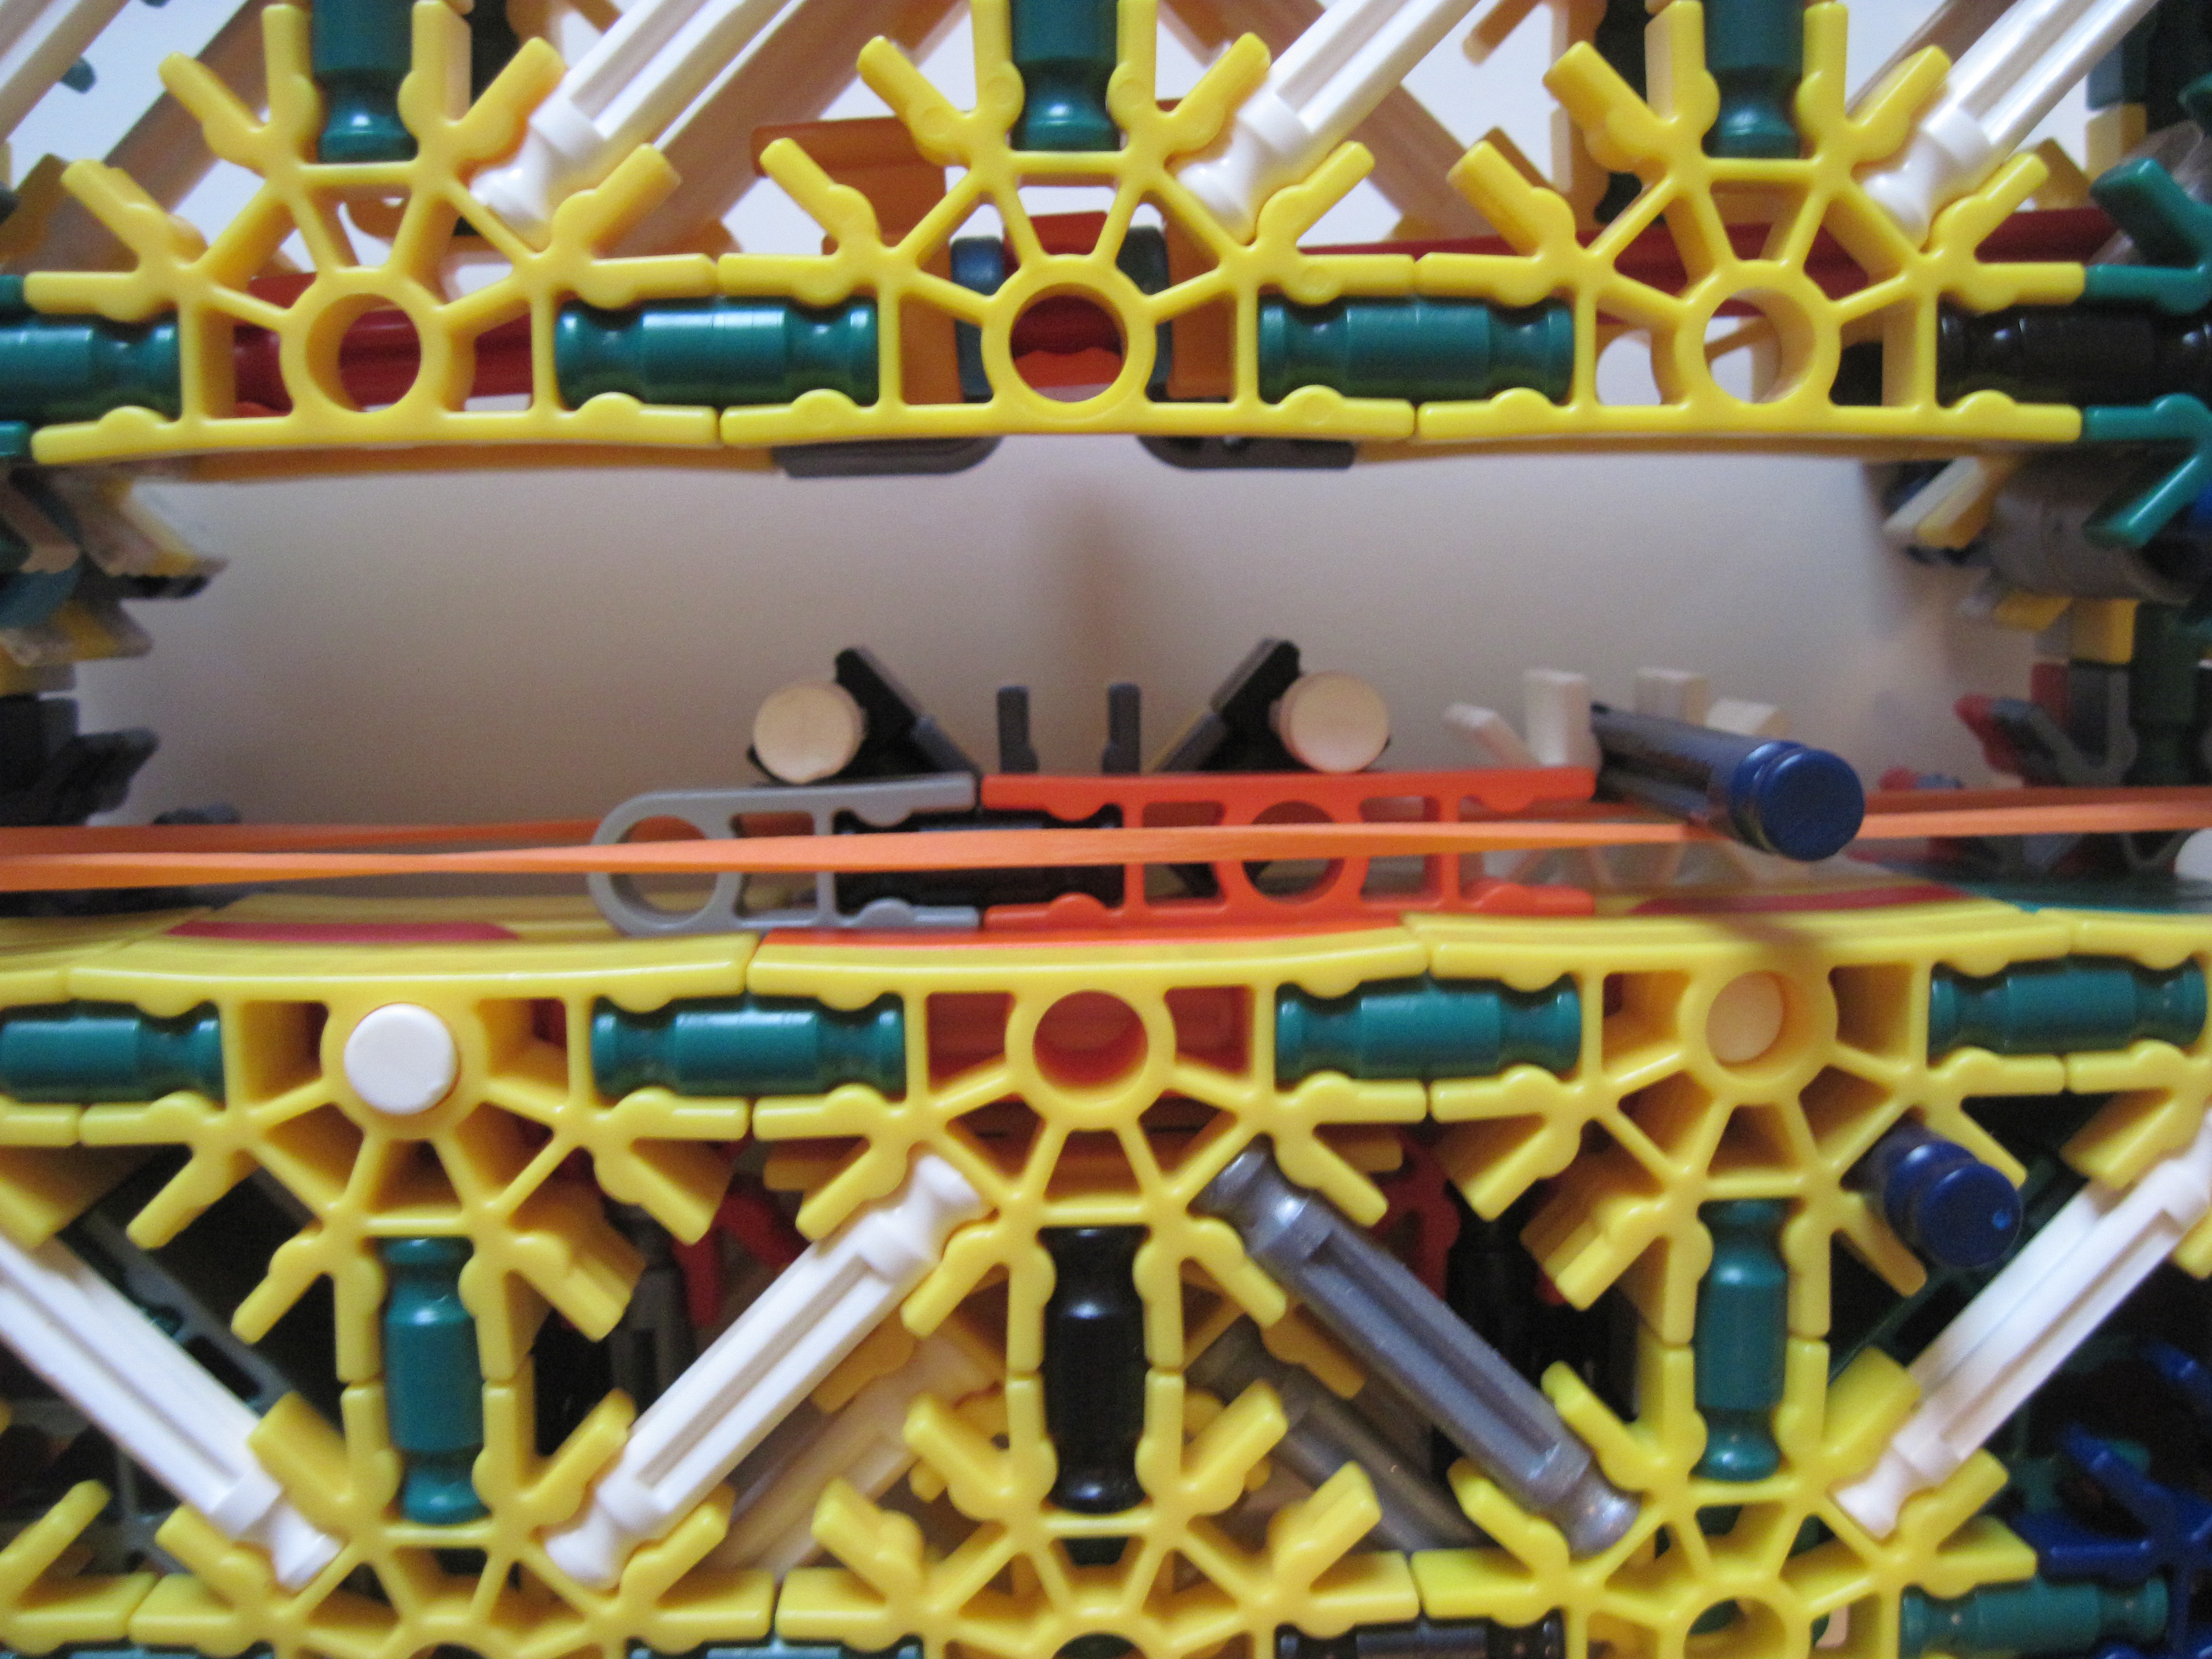


To load remove the mag and place the pin in the appropriate area. Now place the ammo in the mag. Insert the mag into the ammo feed. Next push the white and blue rods in the ammo feed area out to the sides. Hook the rubber bands on the end of the barrel and the trigger spoke. Make sure the rubber bands are on both sides of the ammo. Once all the rubber bands are hooked push the blue and white rods back into the center. Remove the pin. Pull the trigger to fire (in case you didn't figure that out).
Image 1: Ammo.
Image 2: Magazine with ammo.
Image 3: Rubber band hooked on barrel.
Image 4: Loaded, view of midsection.
Image 5: View of spoke with rubberband, safety engaged.
Image 6: View of spoke with rubberband, safety disengaged.
Warning- This may cause harm or injury if misused. Do not point it at people. I am not responsible for damage, injury, or death caused by this instructable.