MAR 2

This is an upgraded version of my earlier MAR (Masterdude Assault Rifle).
New:
-Sturdier construction
-More comfortable handle
-Removable magazine
-More compact
-Safety relocated
Pros:
-Semi-auto
-Sturdy
-Powerful
-Accurate
-Comfortable
-Carry handle
-Good front grip
-Removable magazine
-Safety
Cons:
-Uses quite a bit of pieces
-Hard to reload at first
More Instructables by me.
Barrel: Making the Components

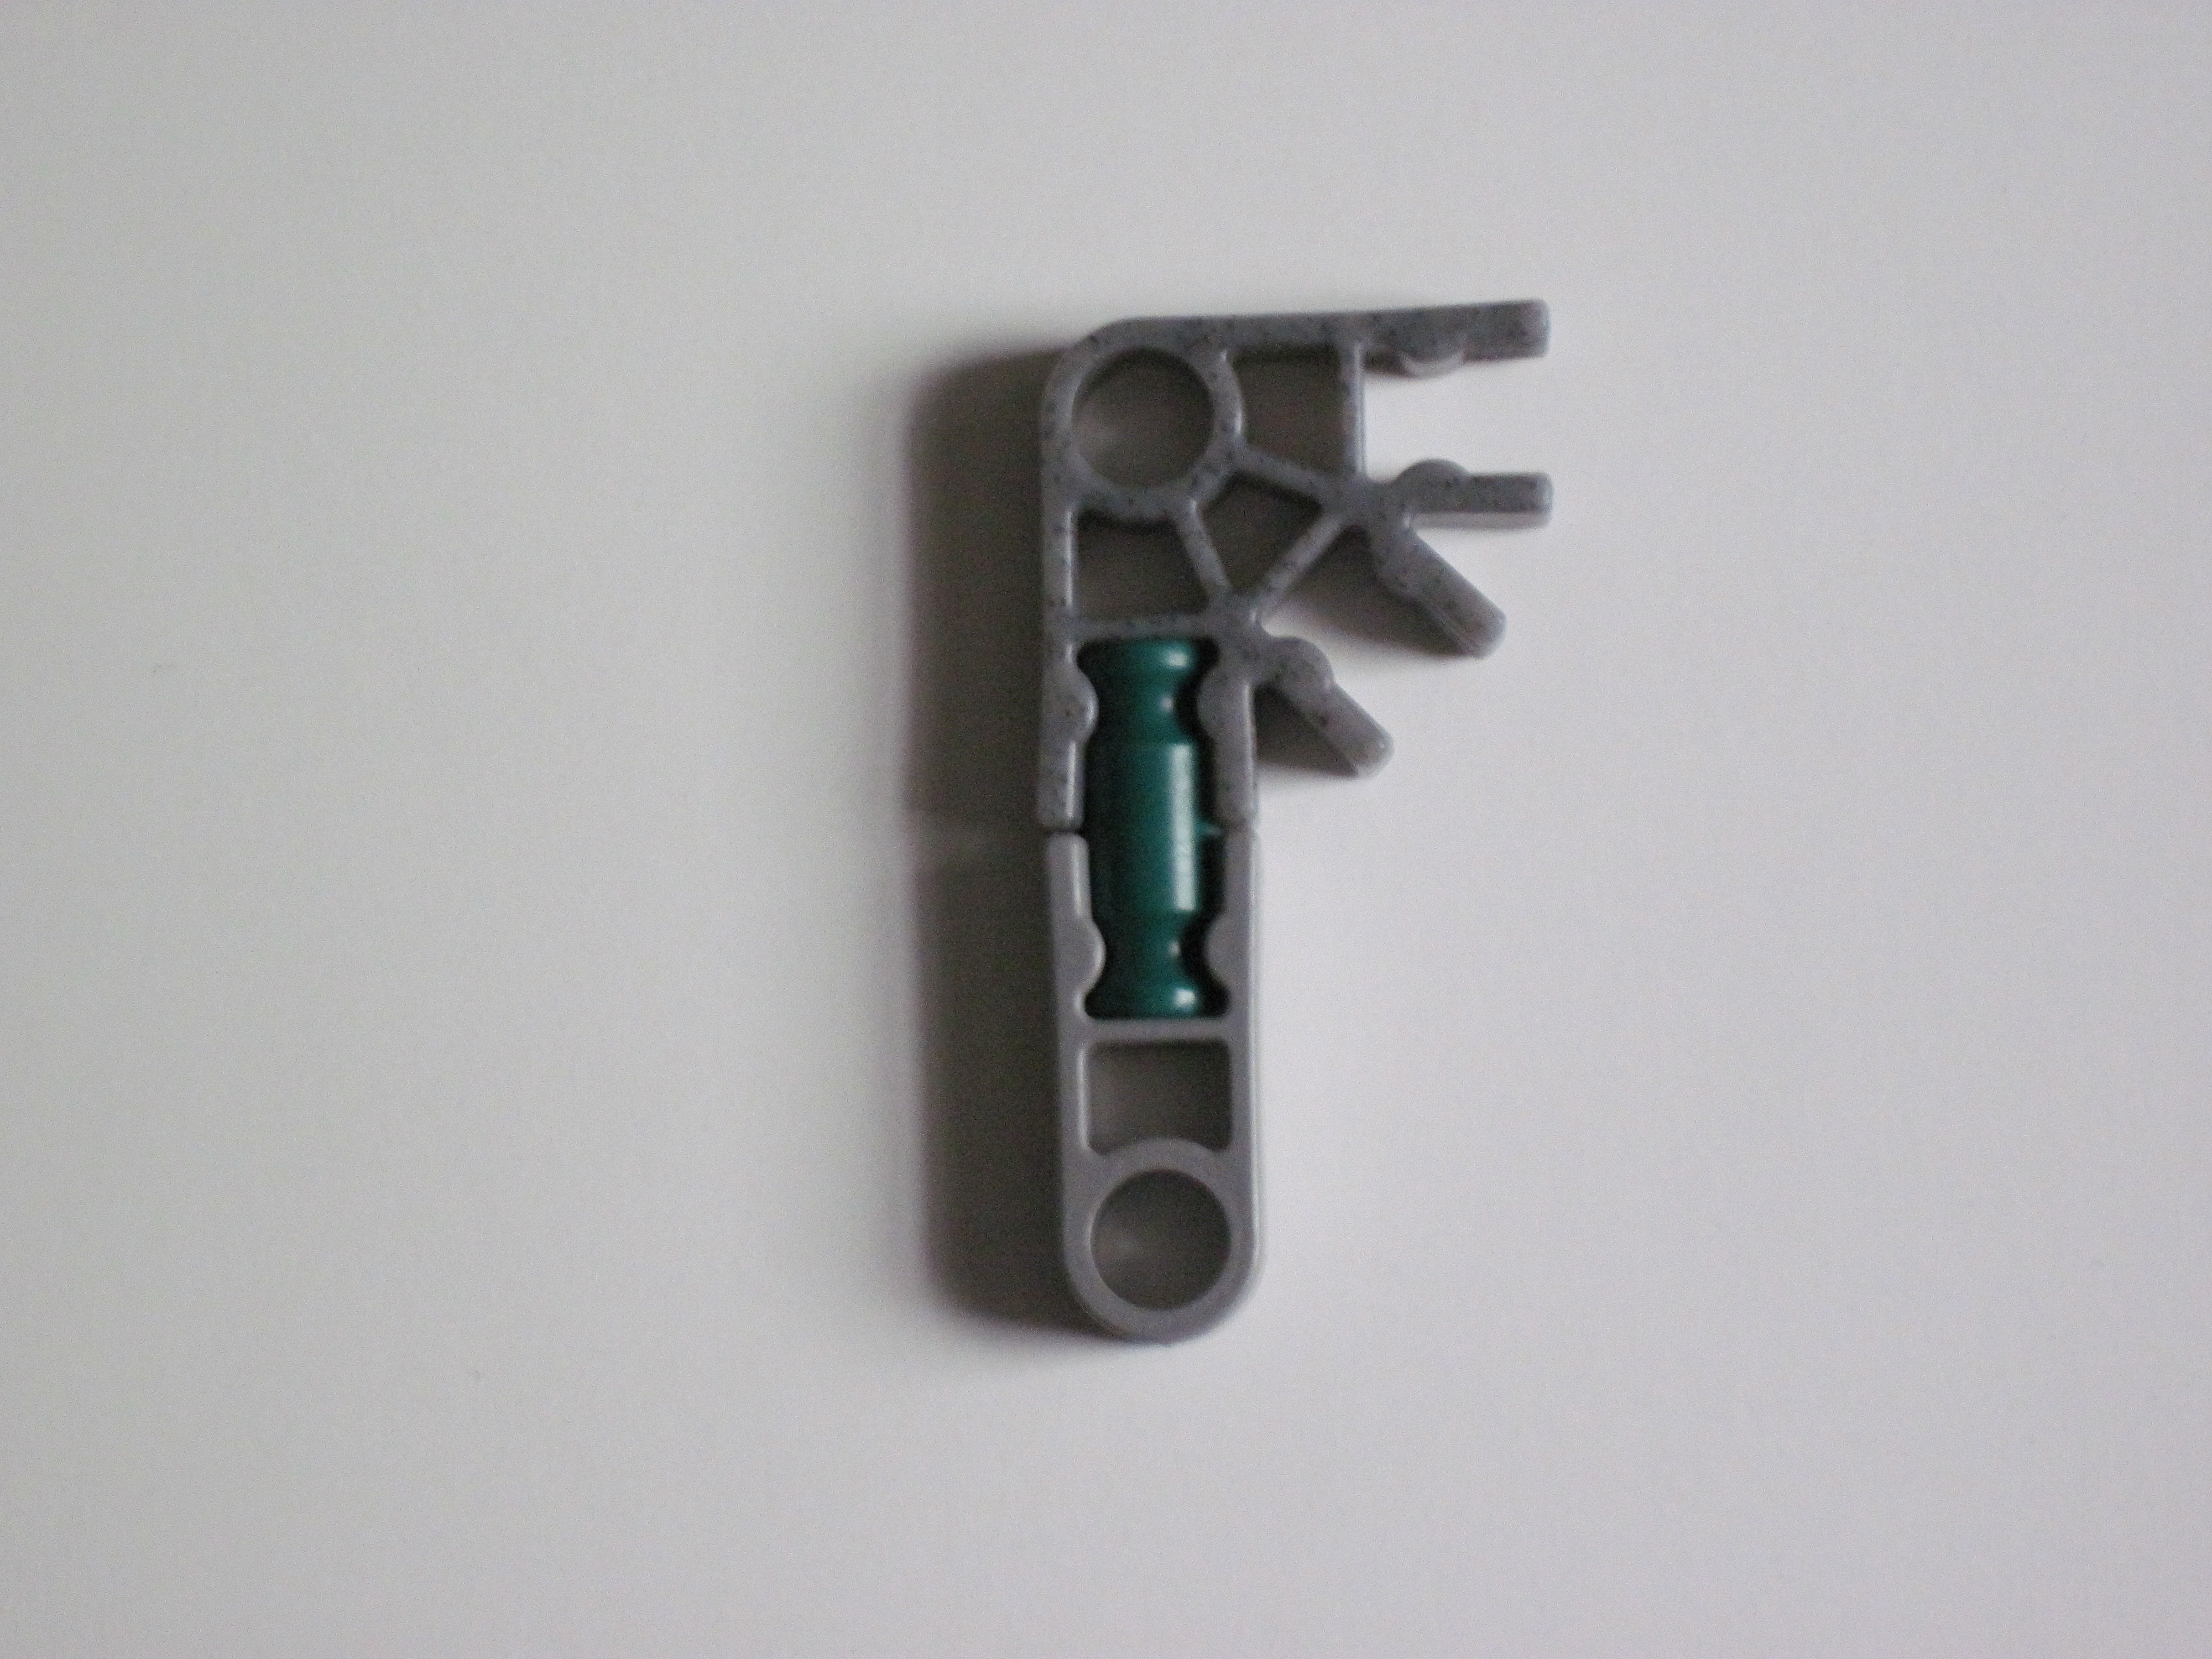


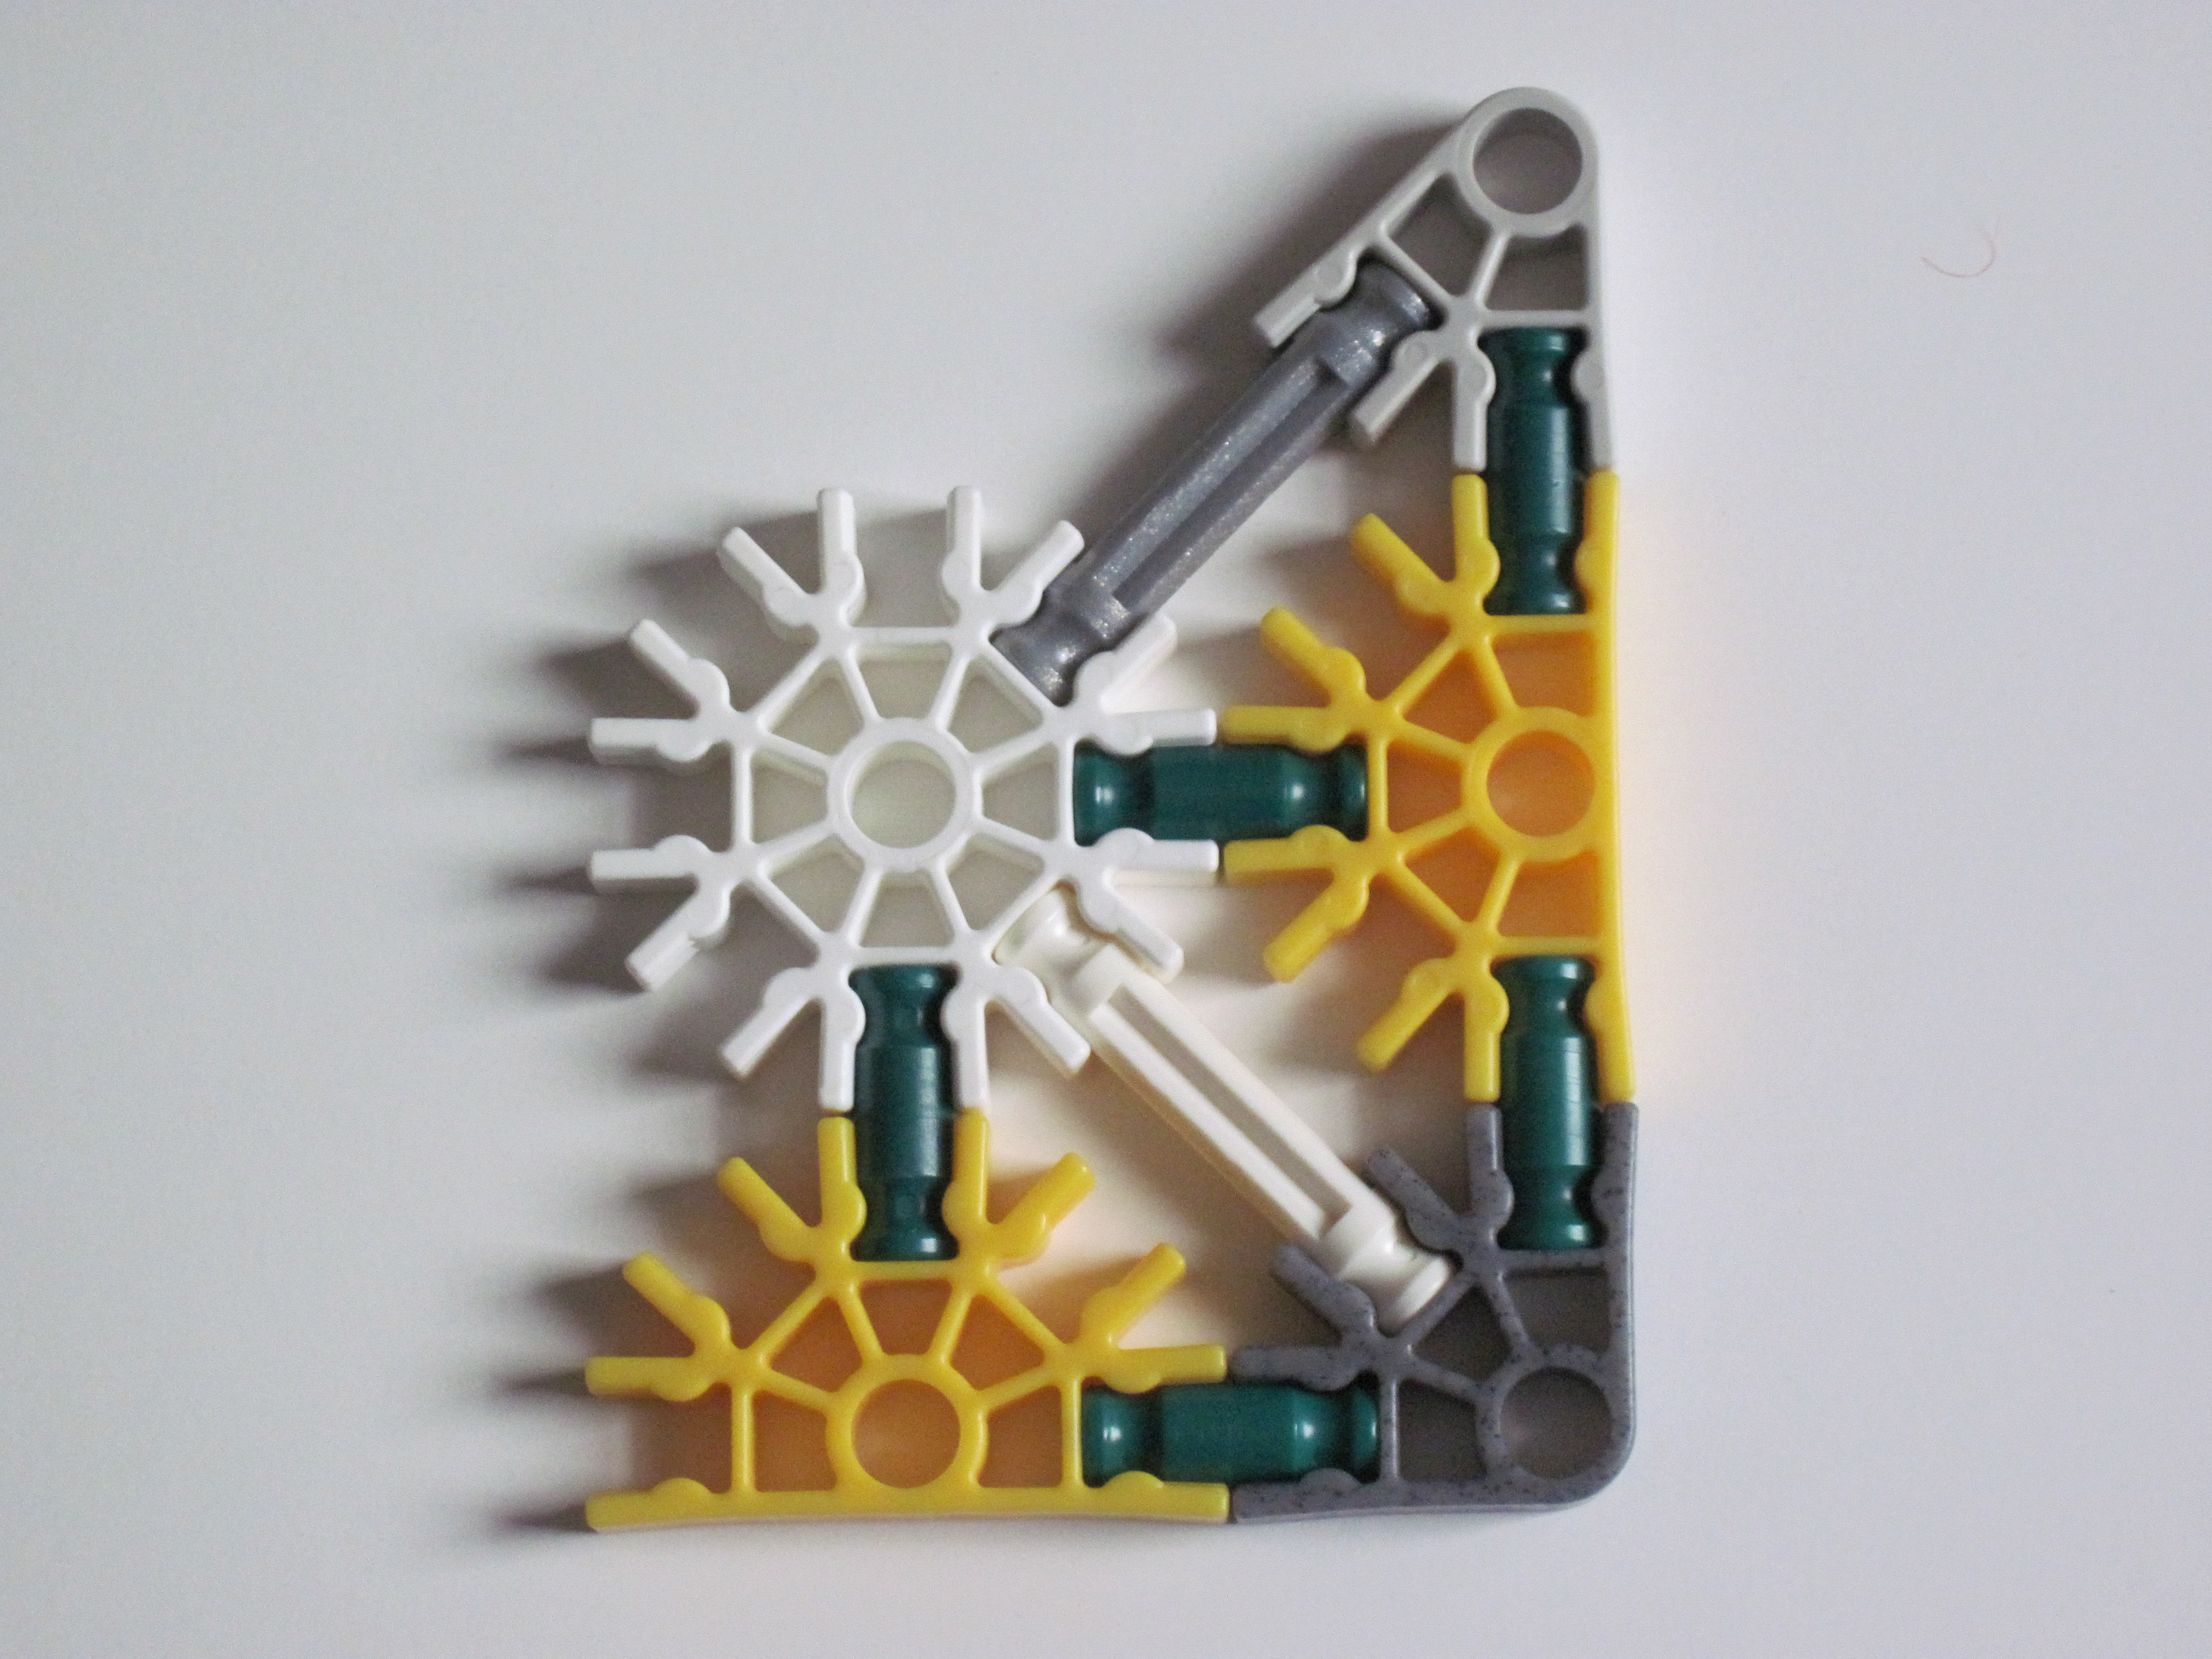
Make the following:
Picture 1: Make 14.
Picture 2: Make 14.
Picture 3: Make 14.
Picture 4: Make 3.
Picture 5: Make 2.
Picture 1: Make 14.
Picture 2: Make 14.
Picture 3: Make 14.
Picture 4: Make 3.
Picture 5: Make 2.
Barrel: Construction

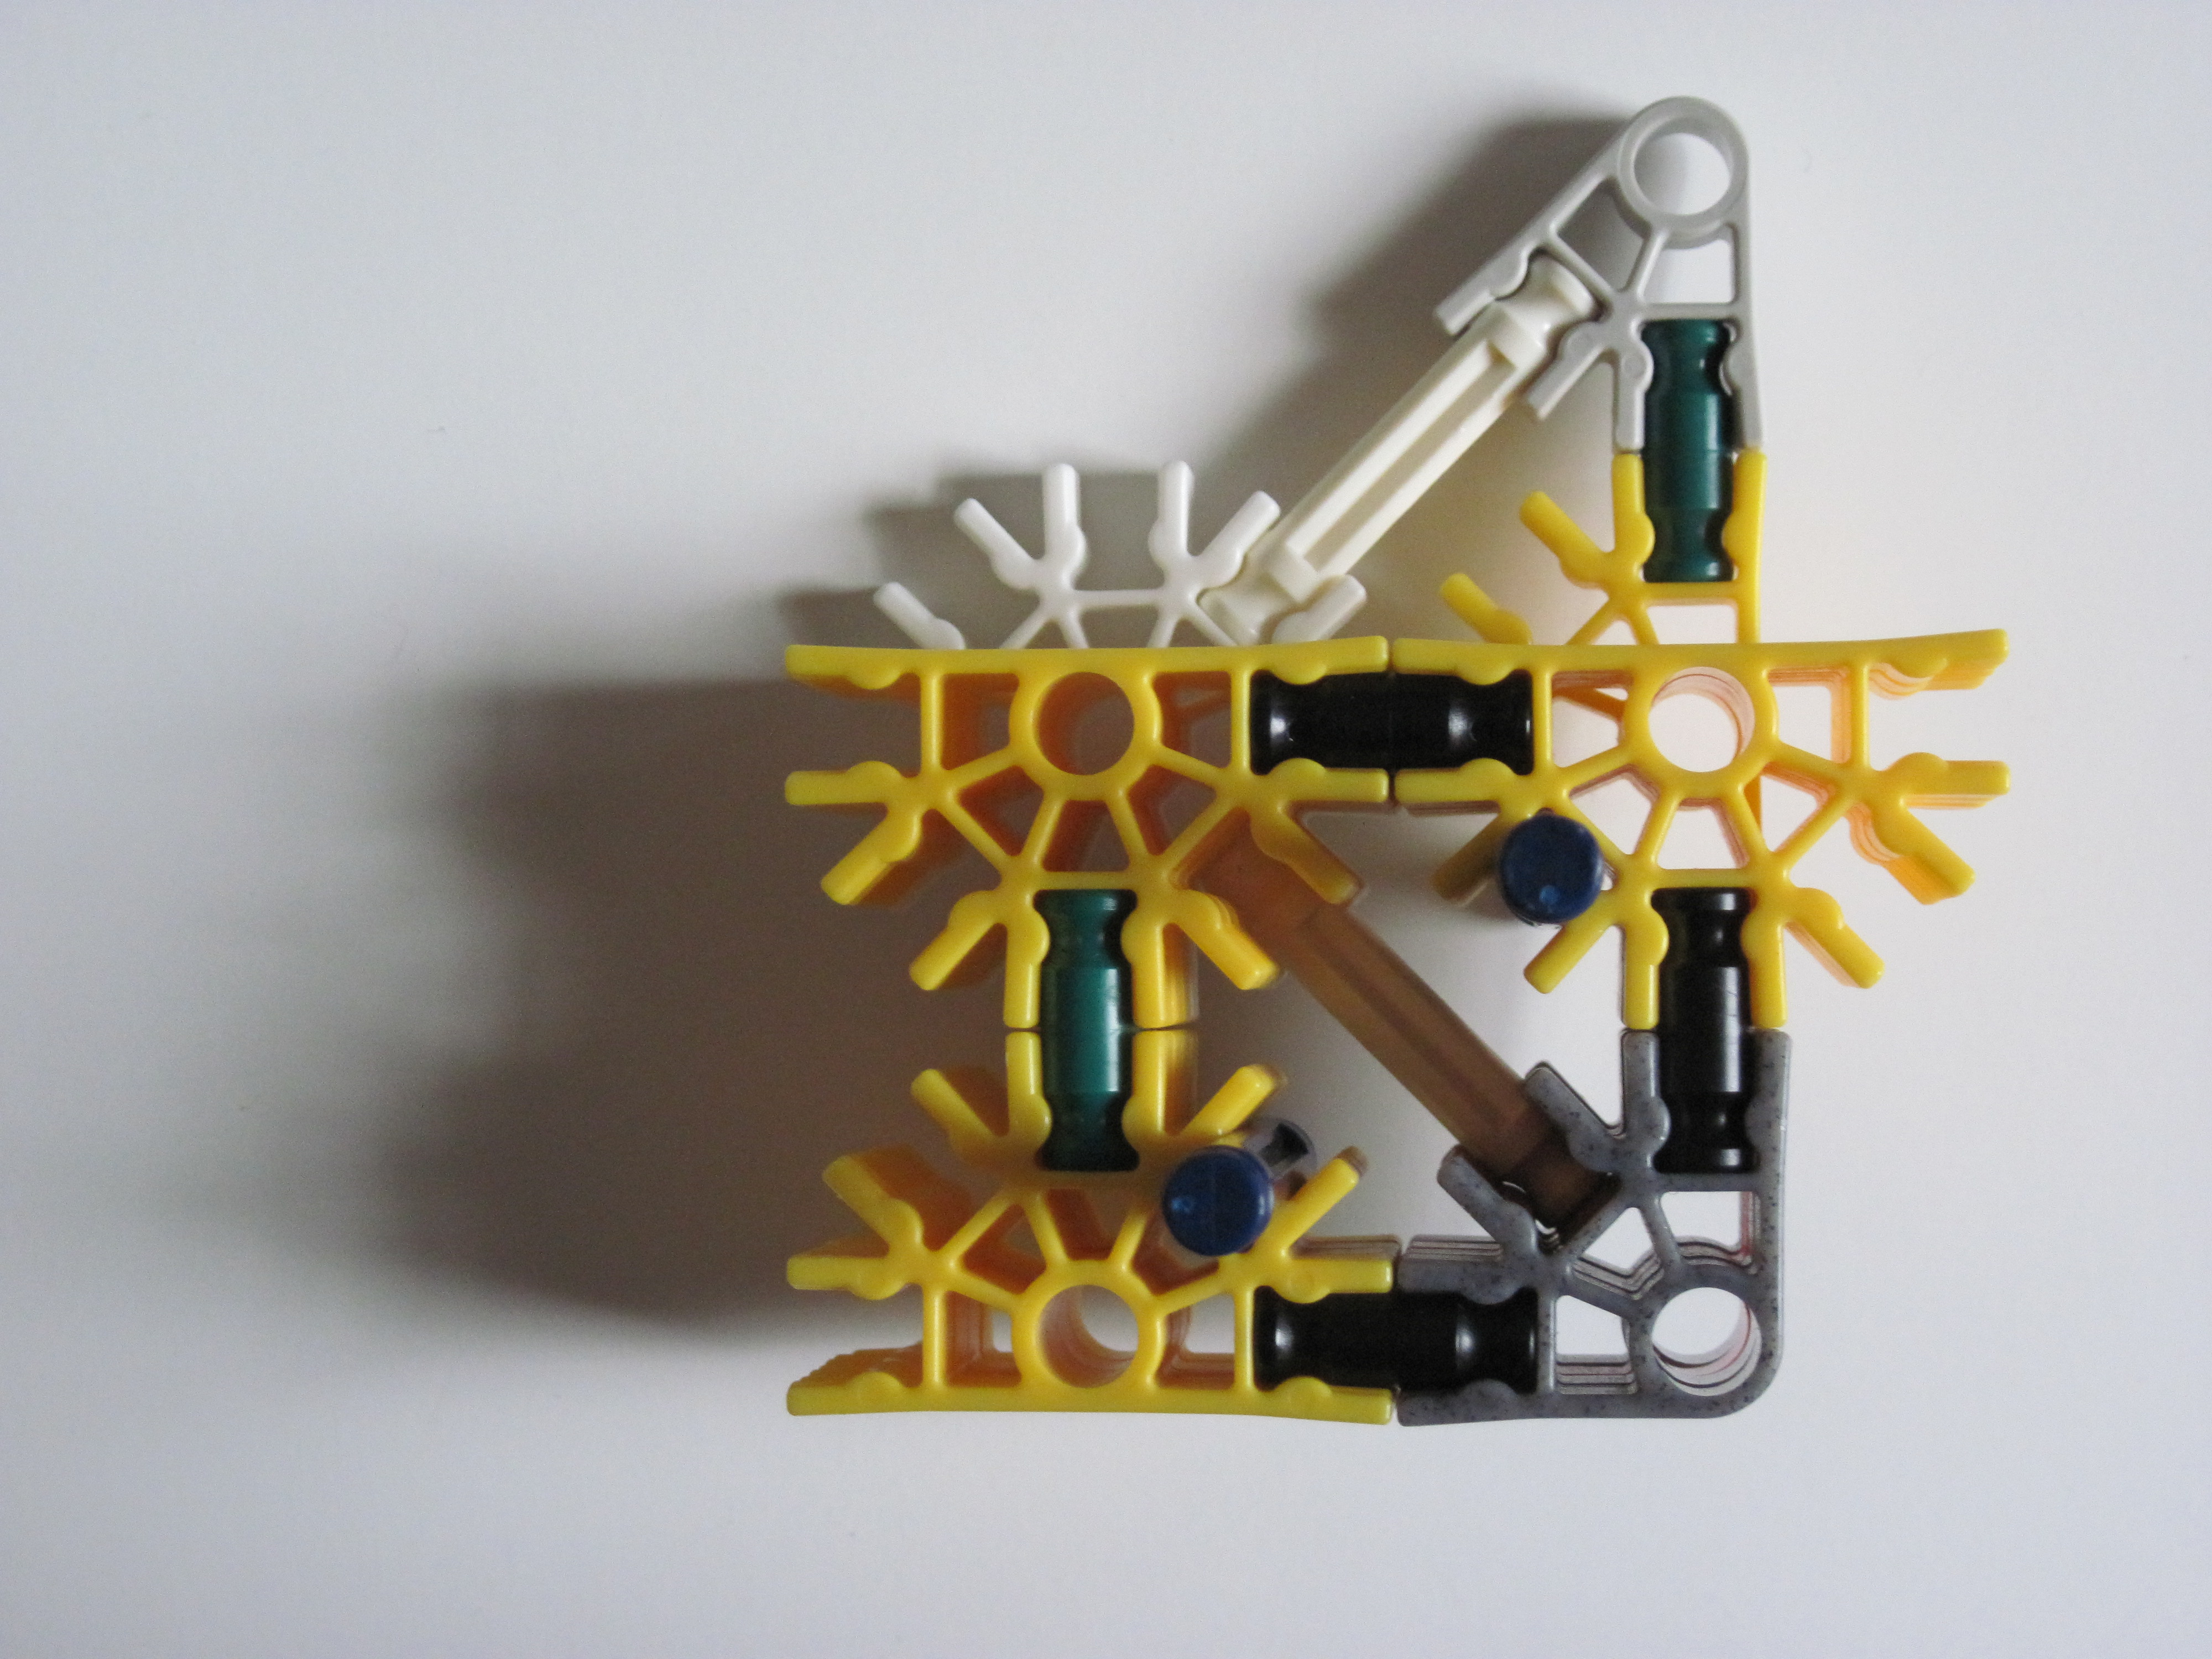

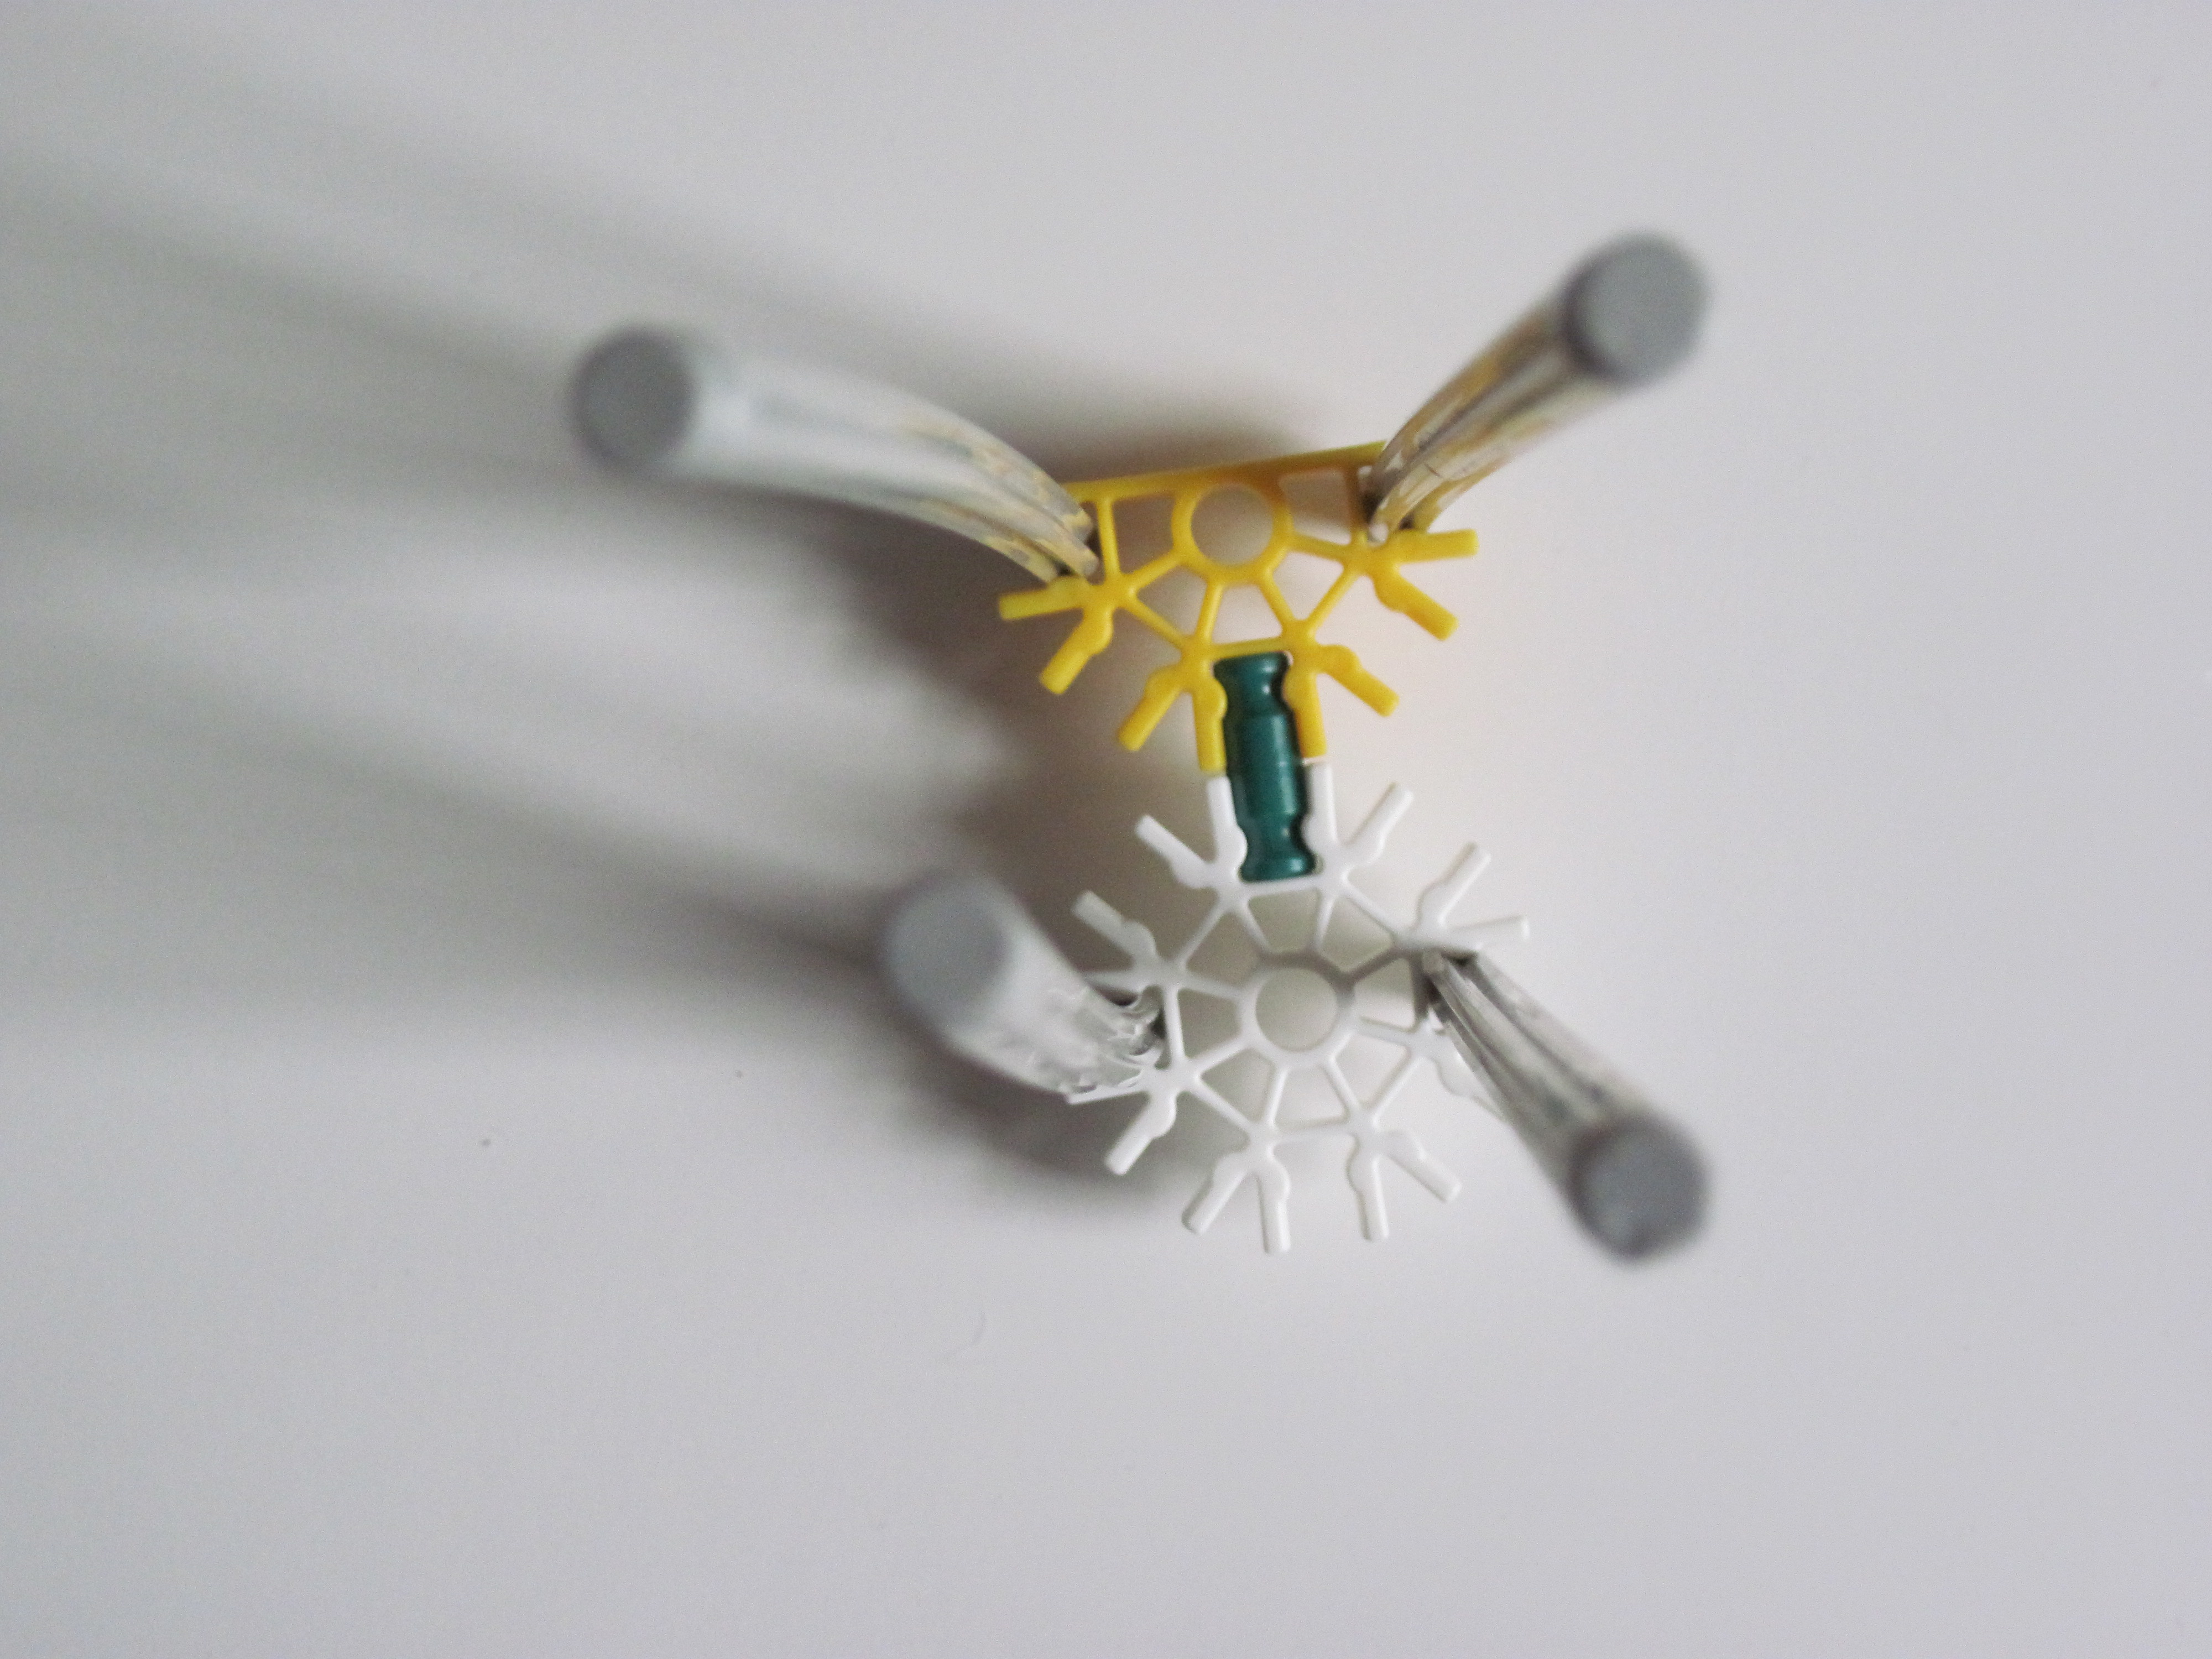


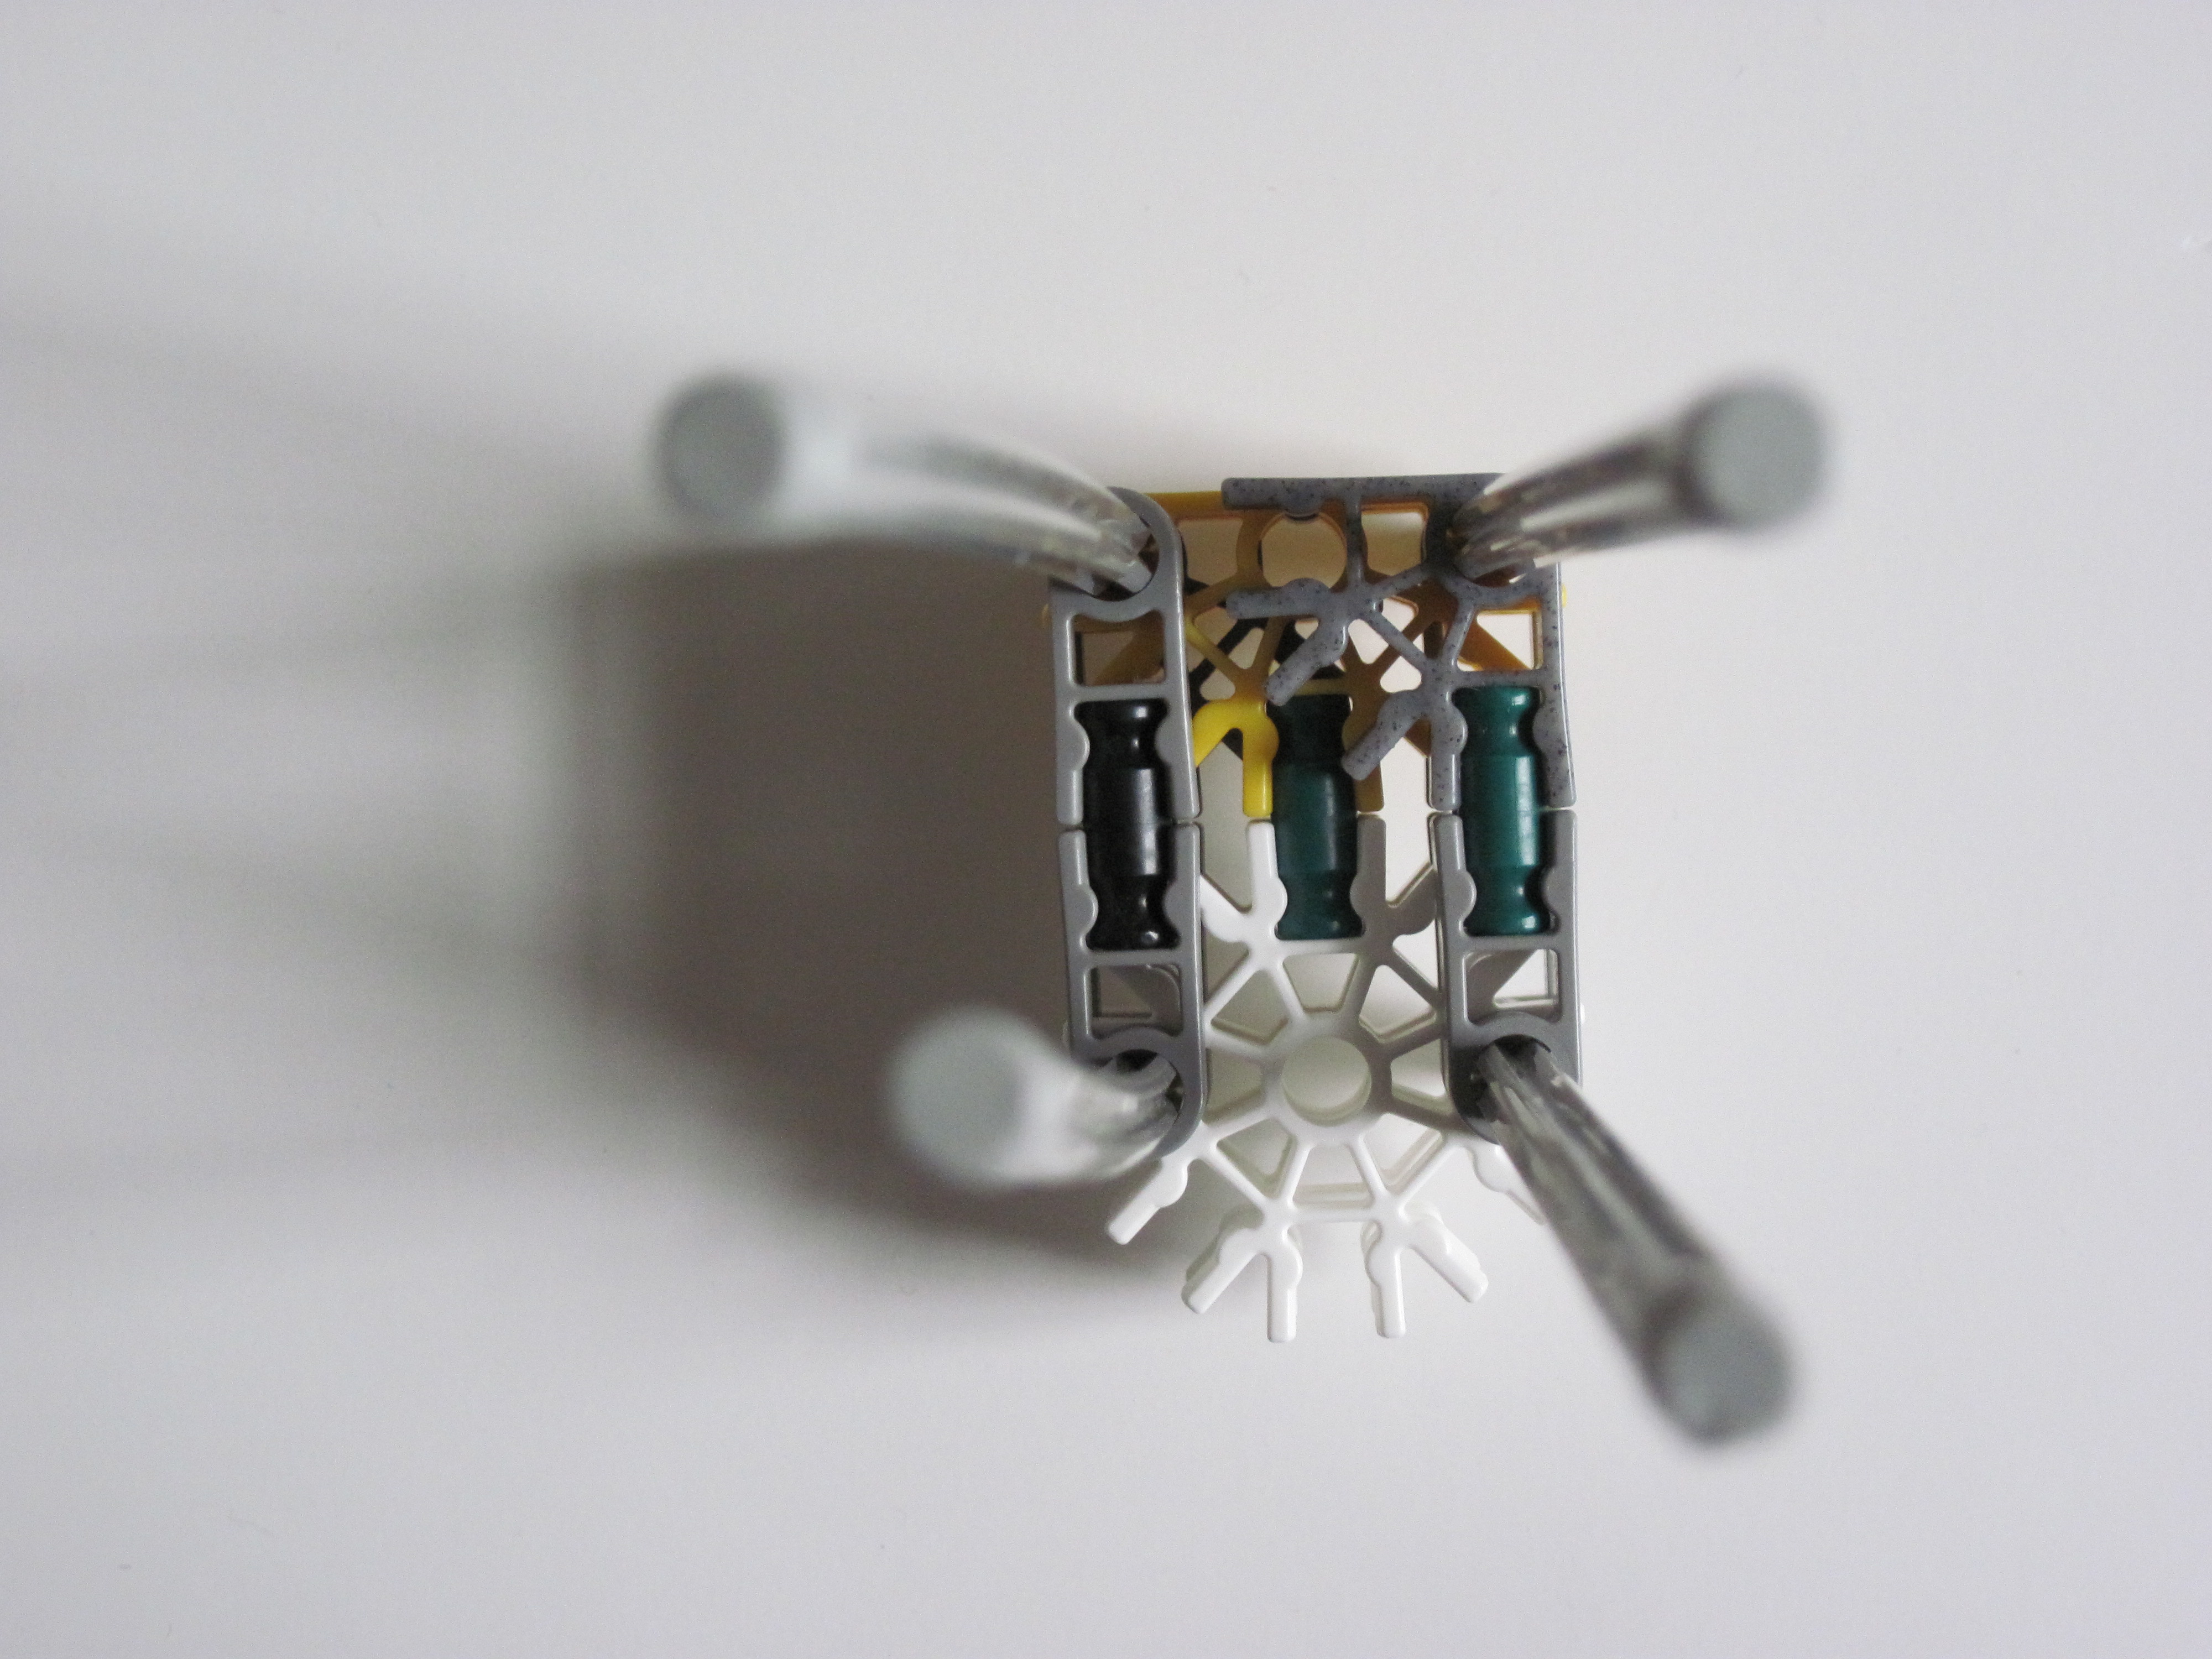

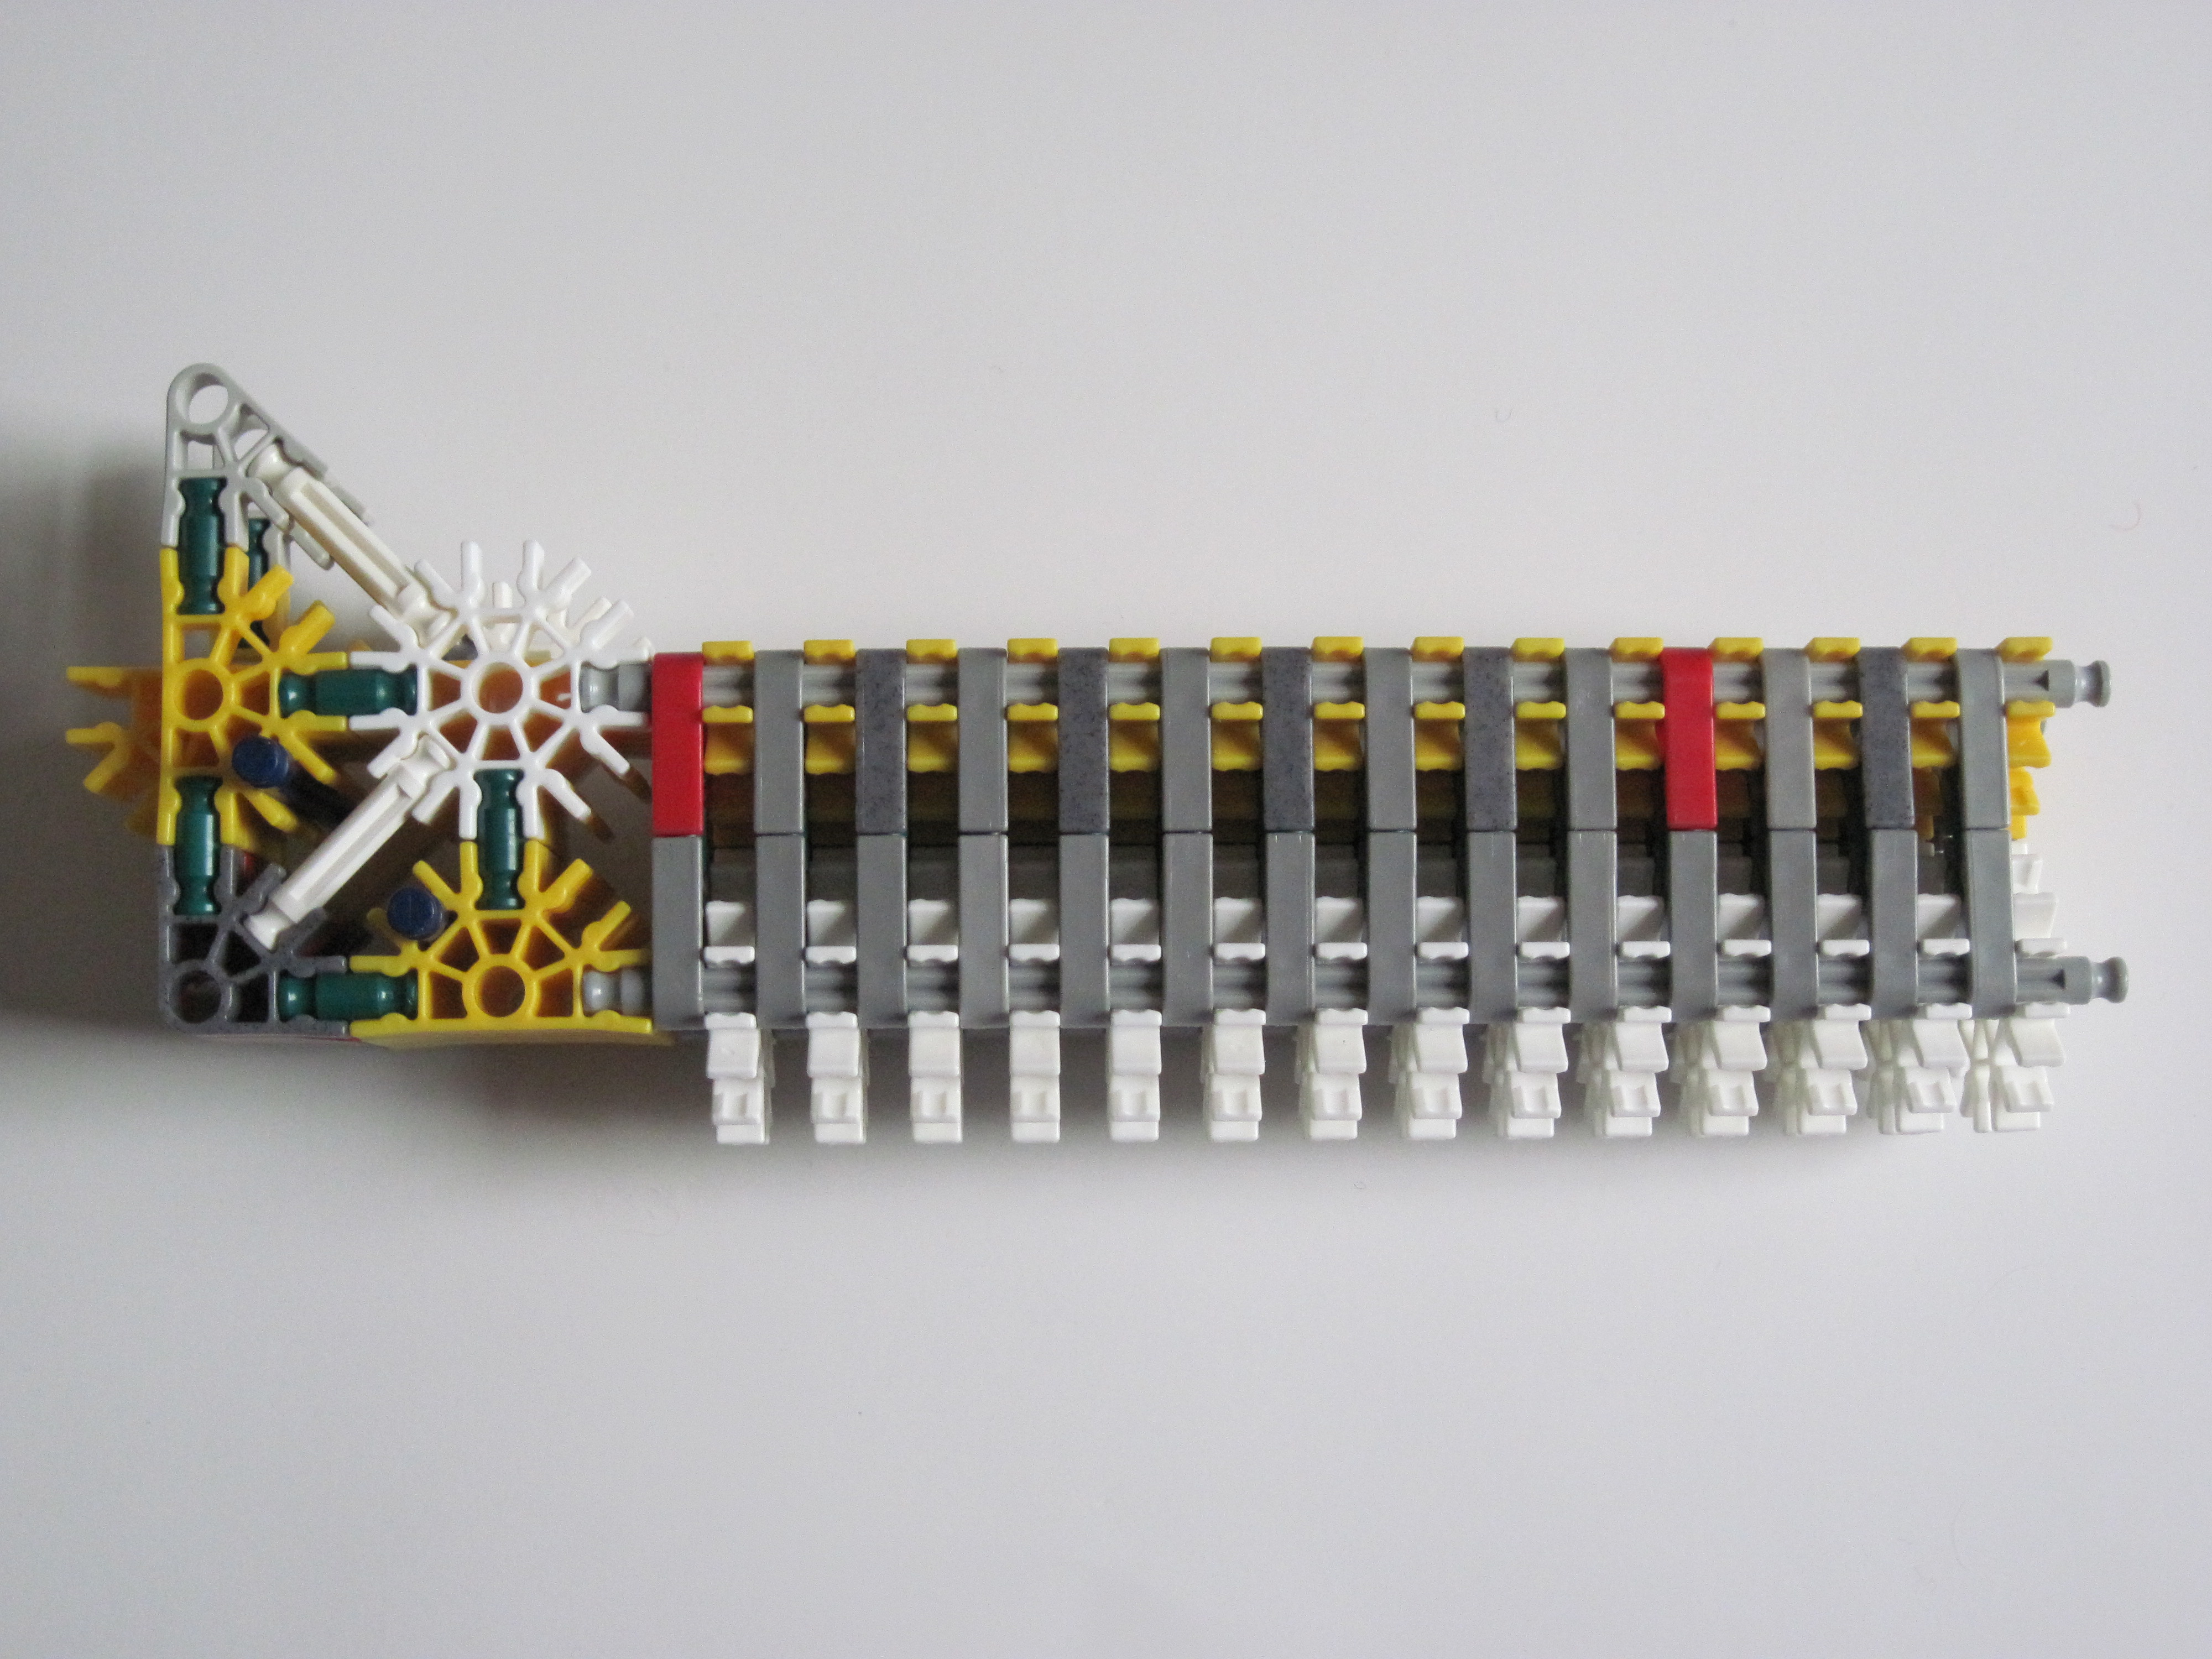
Follow the images:
Picture 1: Place blue rods as shown.
Picture 2: Place three of the earlier made parts as shown.
Picture 3: Cover as shown.
Picture 4: Add four gray rods the the piece as shown.
Picture 5: Place the earlier made parts as shown.
Picture 6: Now add another piece like the first.
Picture 7: Again add the earlier constructed pieces but with their places switched.
Picture 8: When finished it should look like this.
Picture 9: Attach the two parts you've made so it looks like this.
Stock: Making the Components

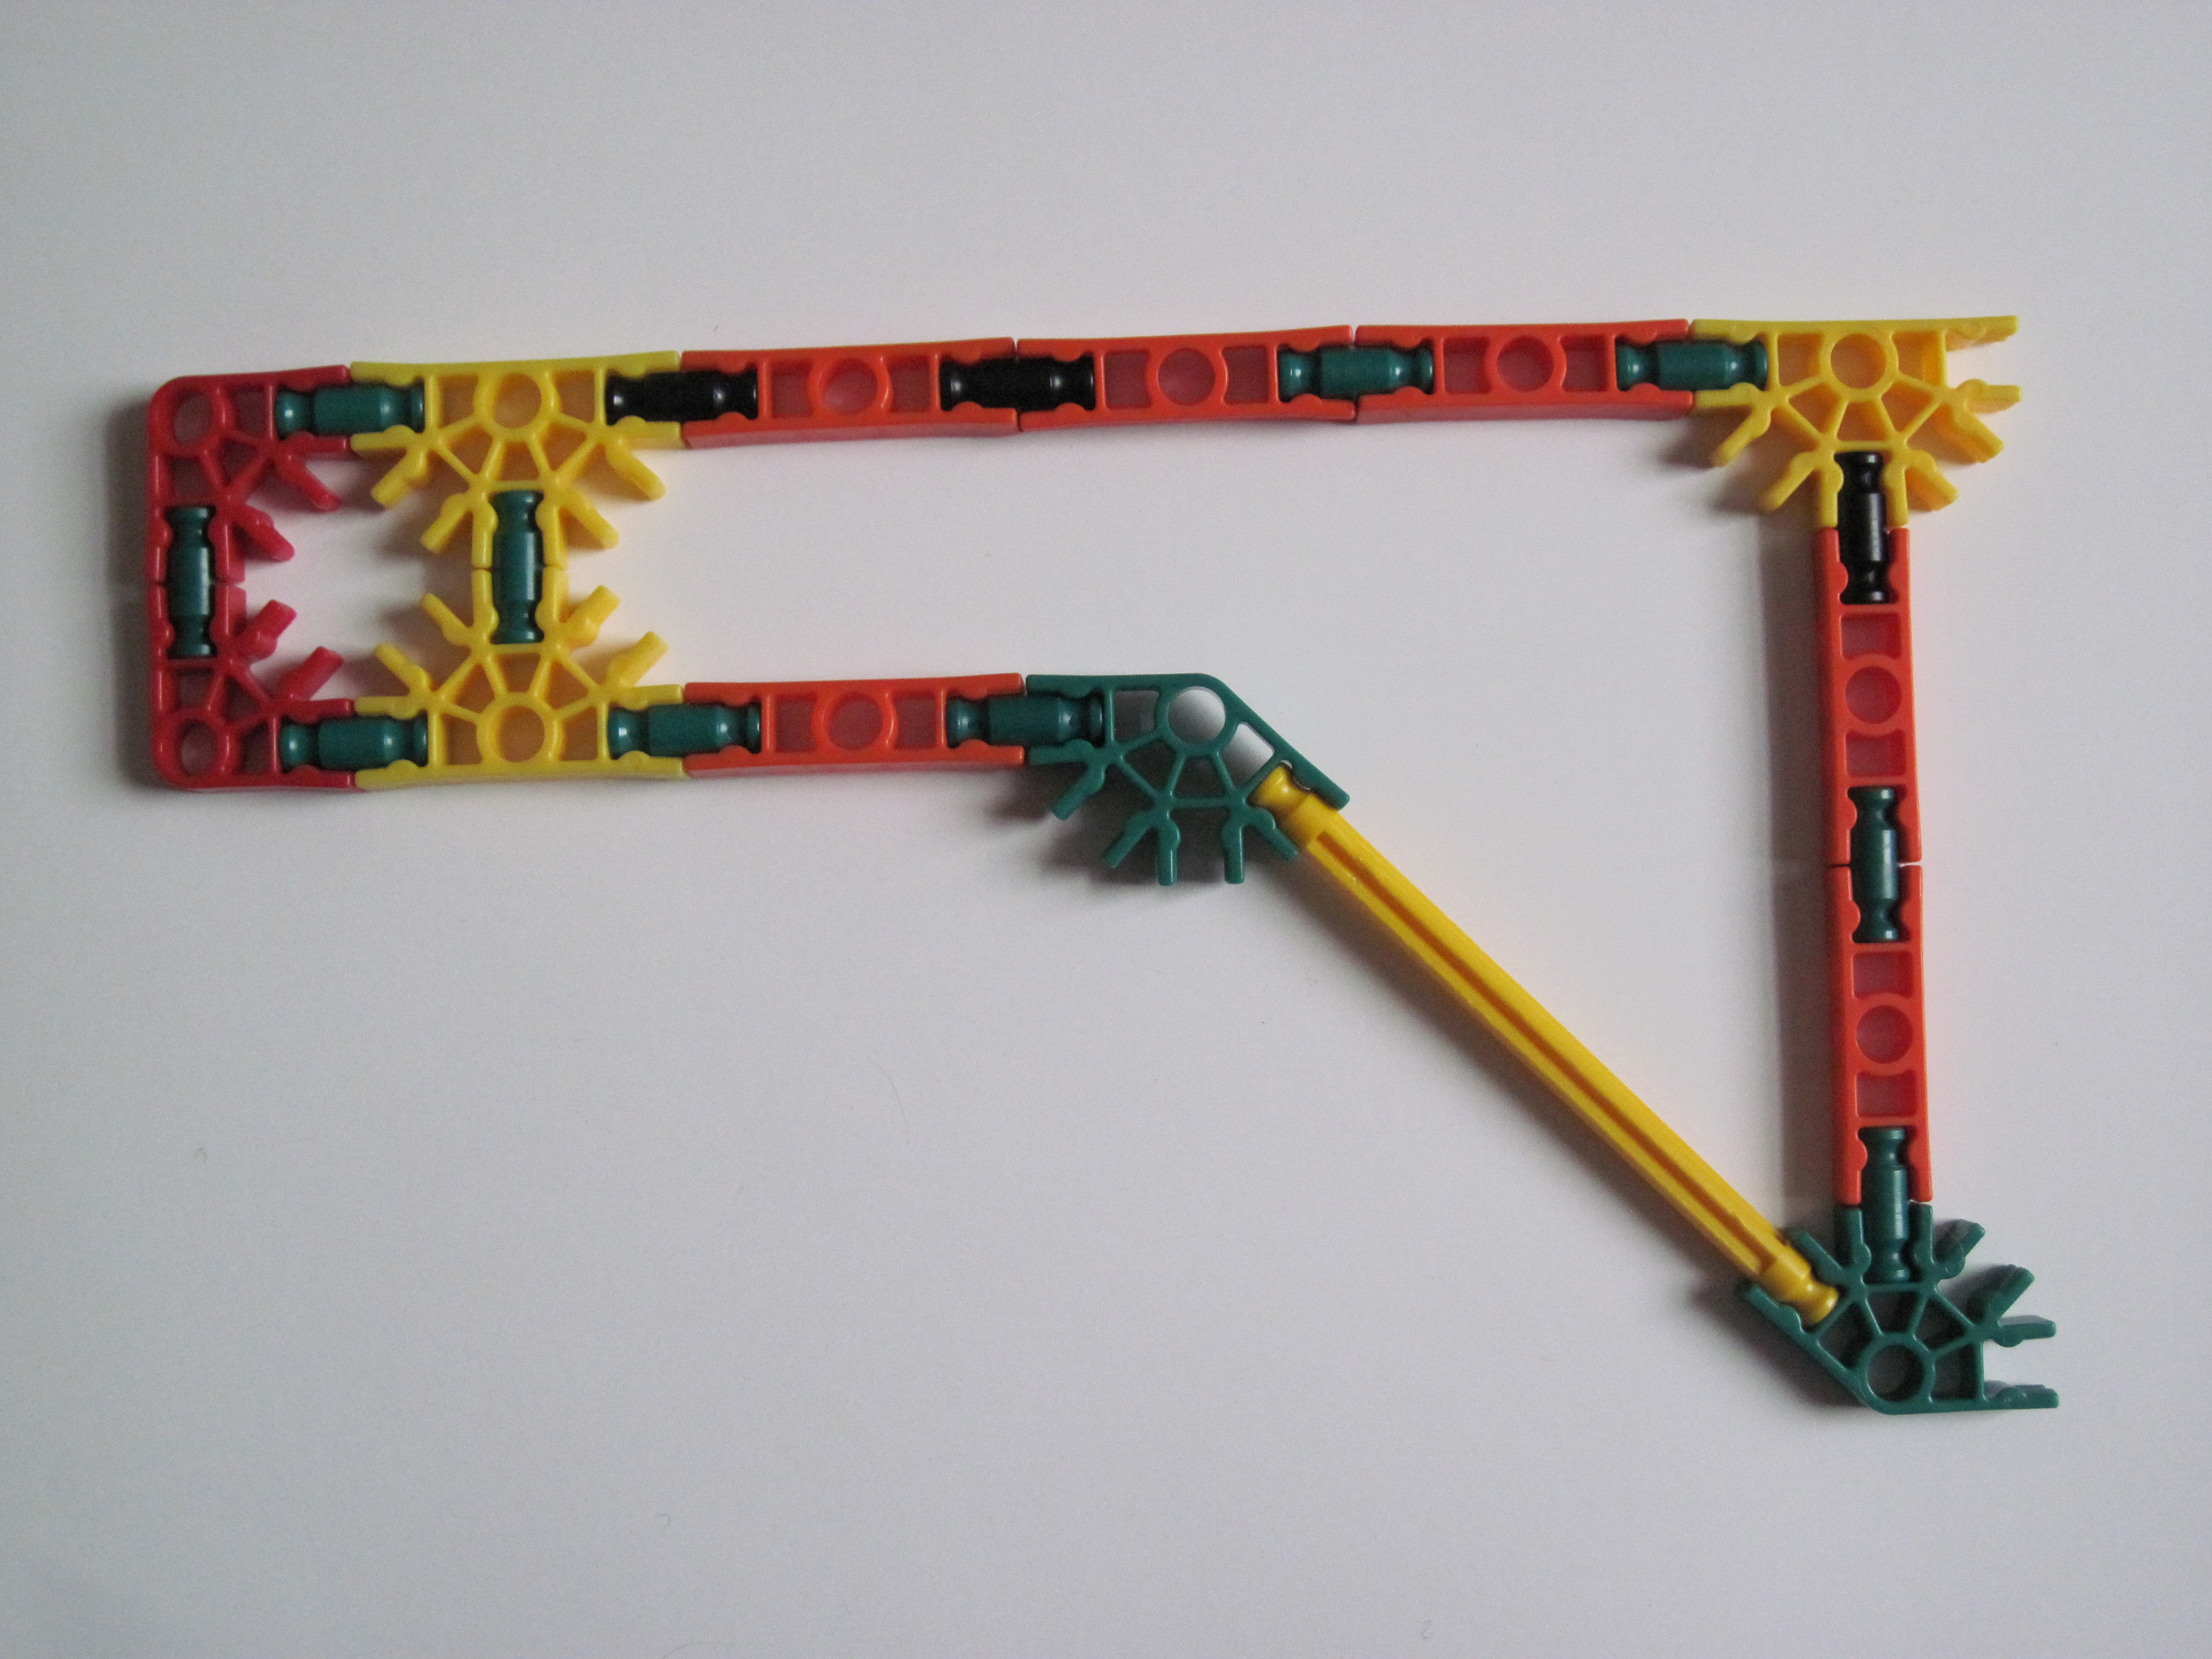
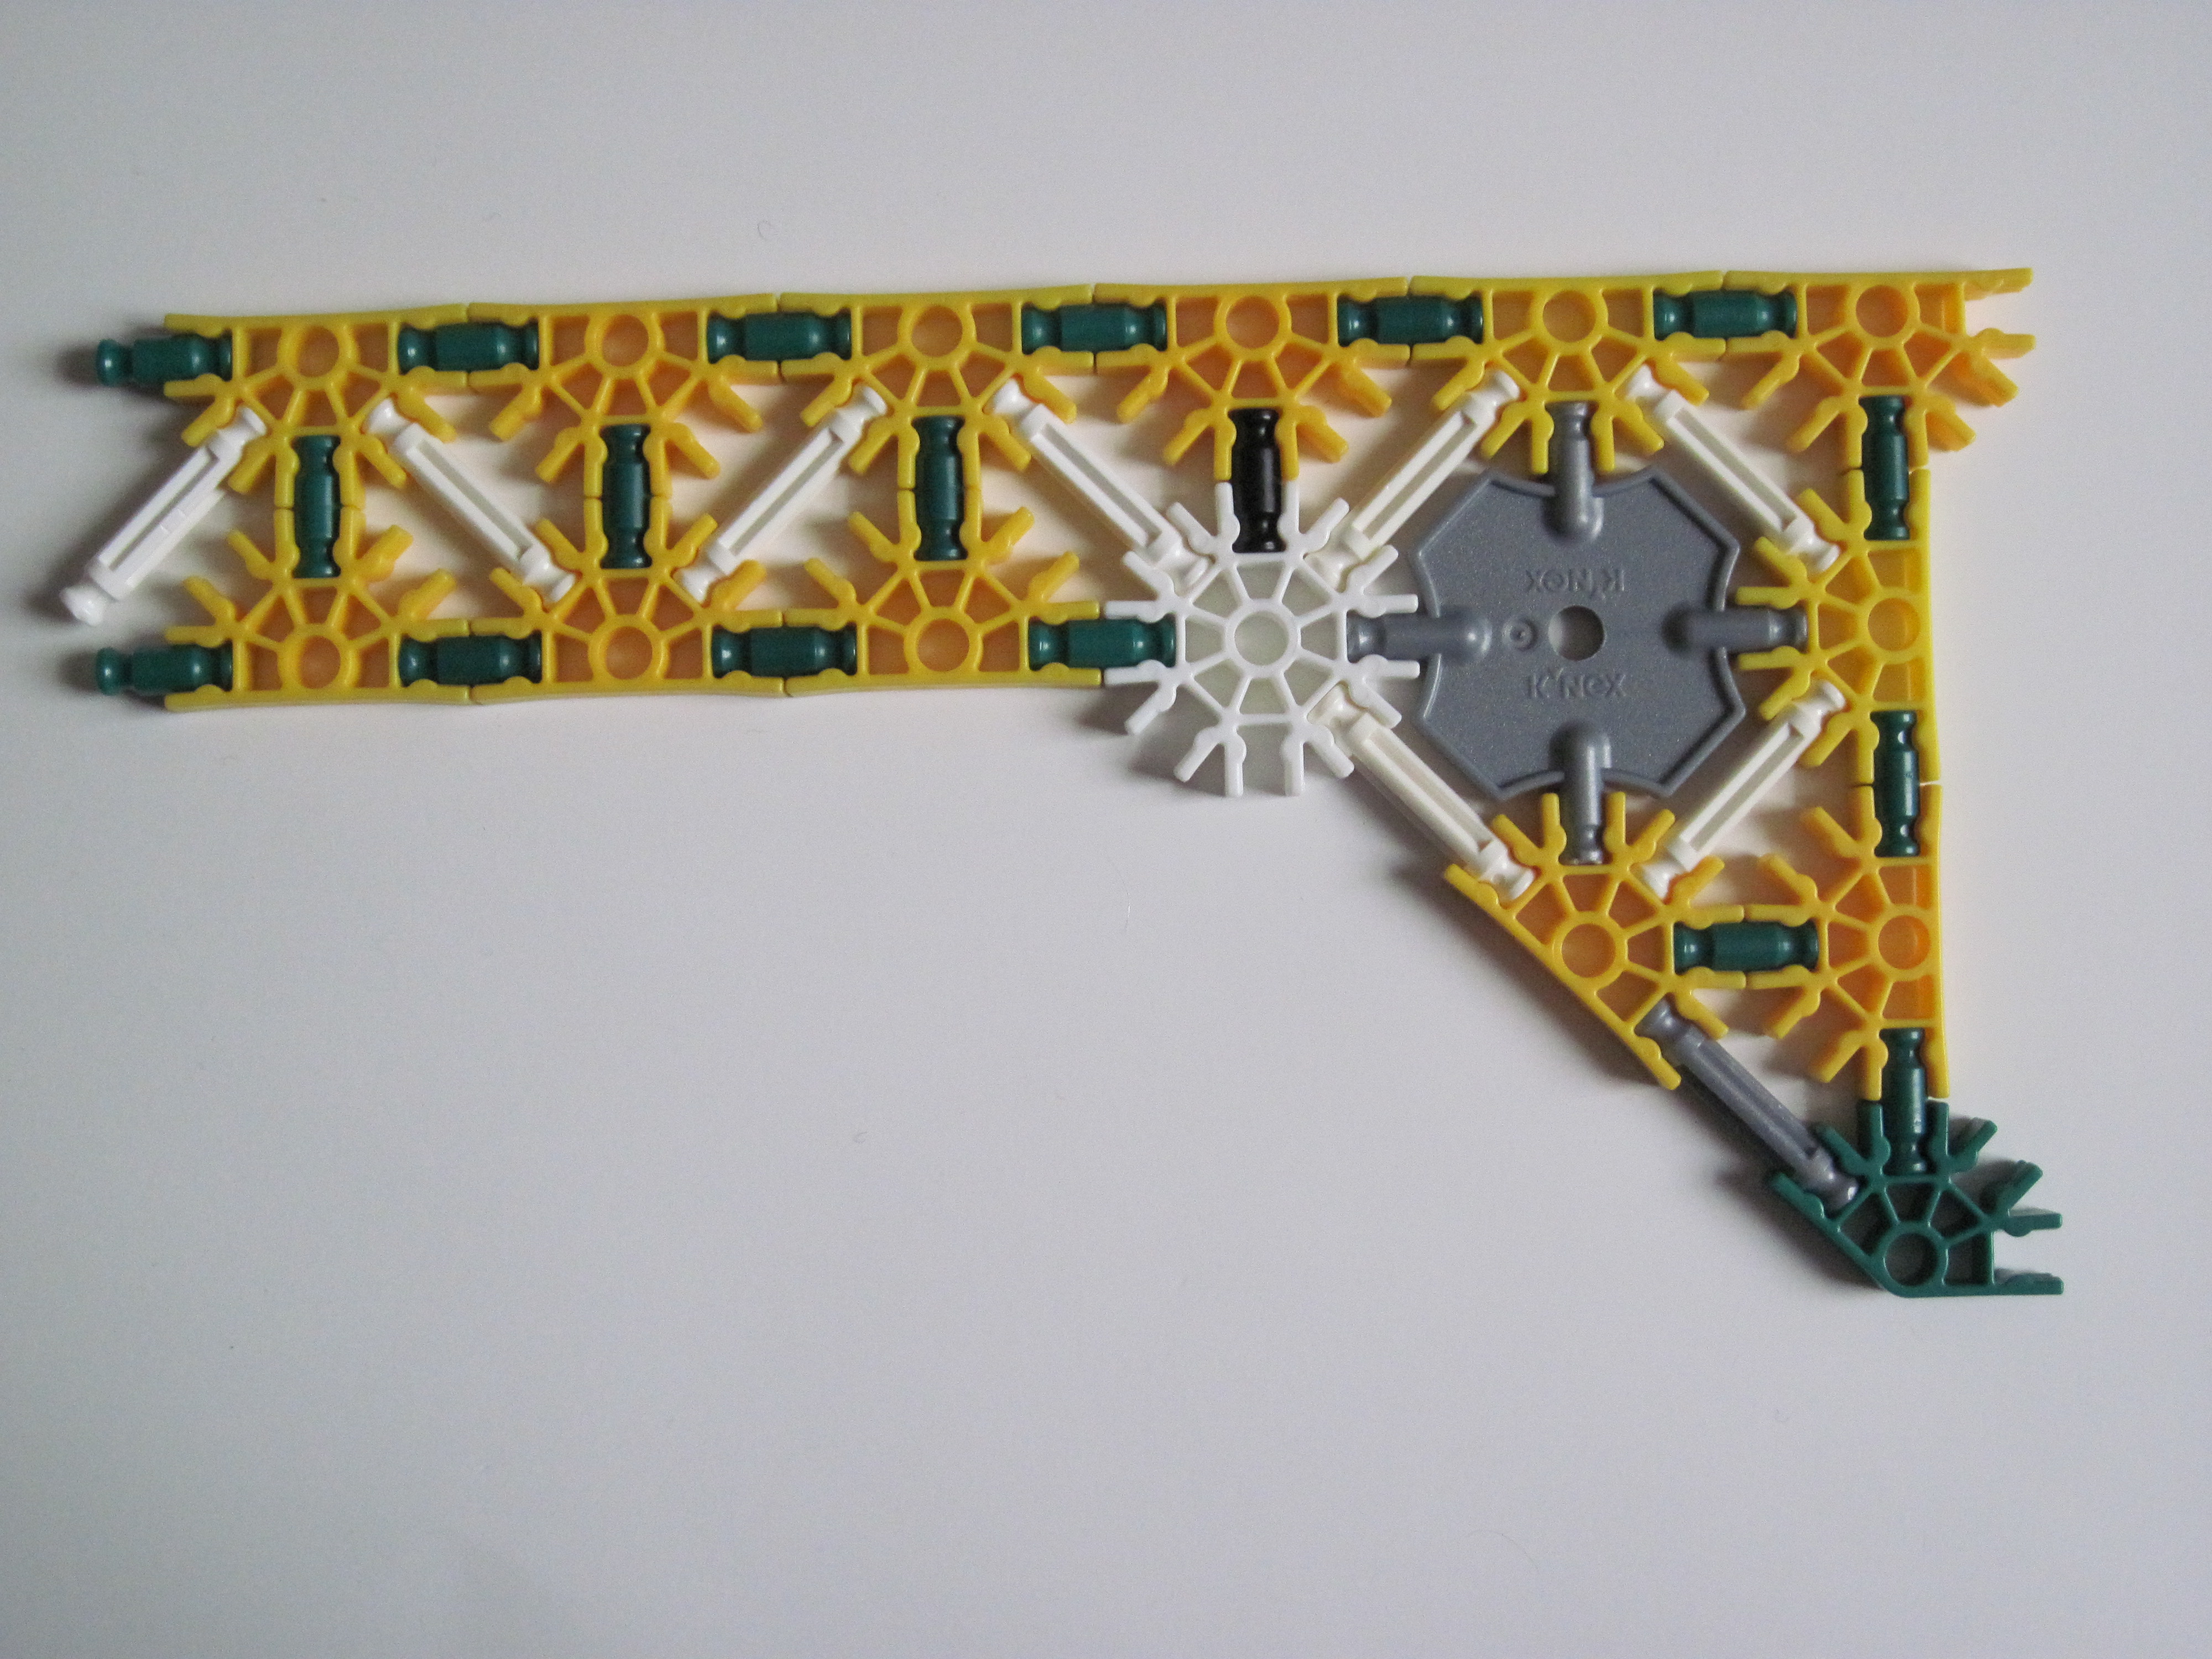
Make the following:
Picture 1: Make 1.
Picture 2: Make 2.
Picture 3: Make 2.
Picture 1: Make 1.
Picture 2: Make 2.
Picture 3: Make 2.
Stock: Construction


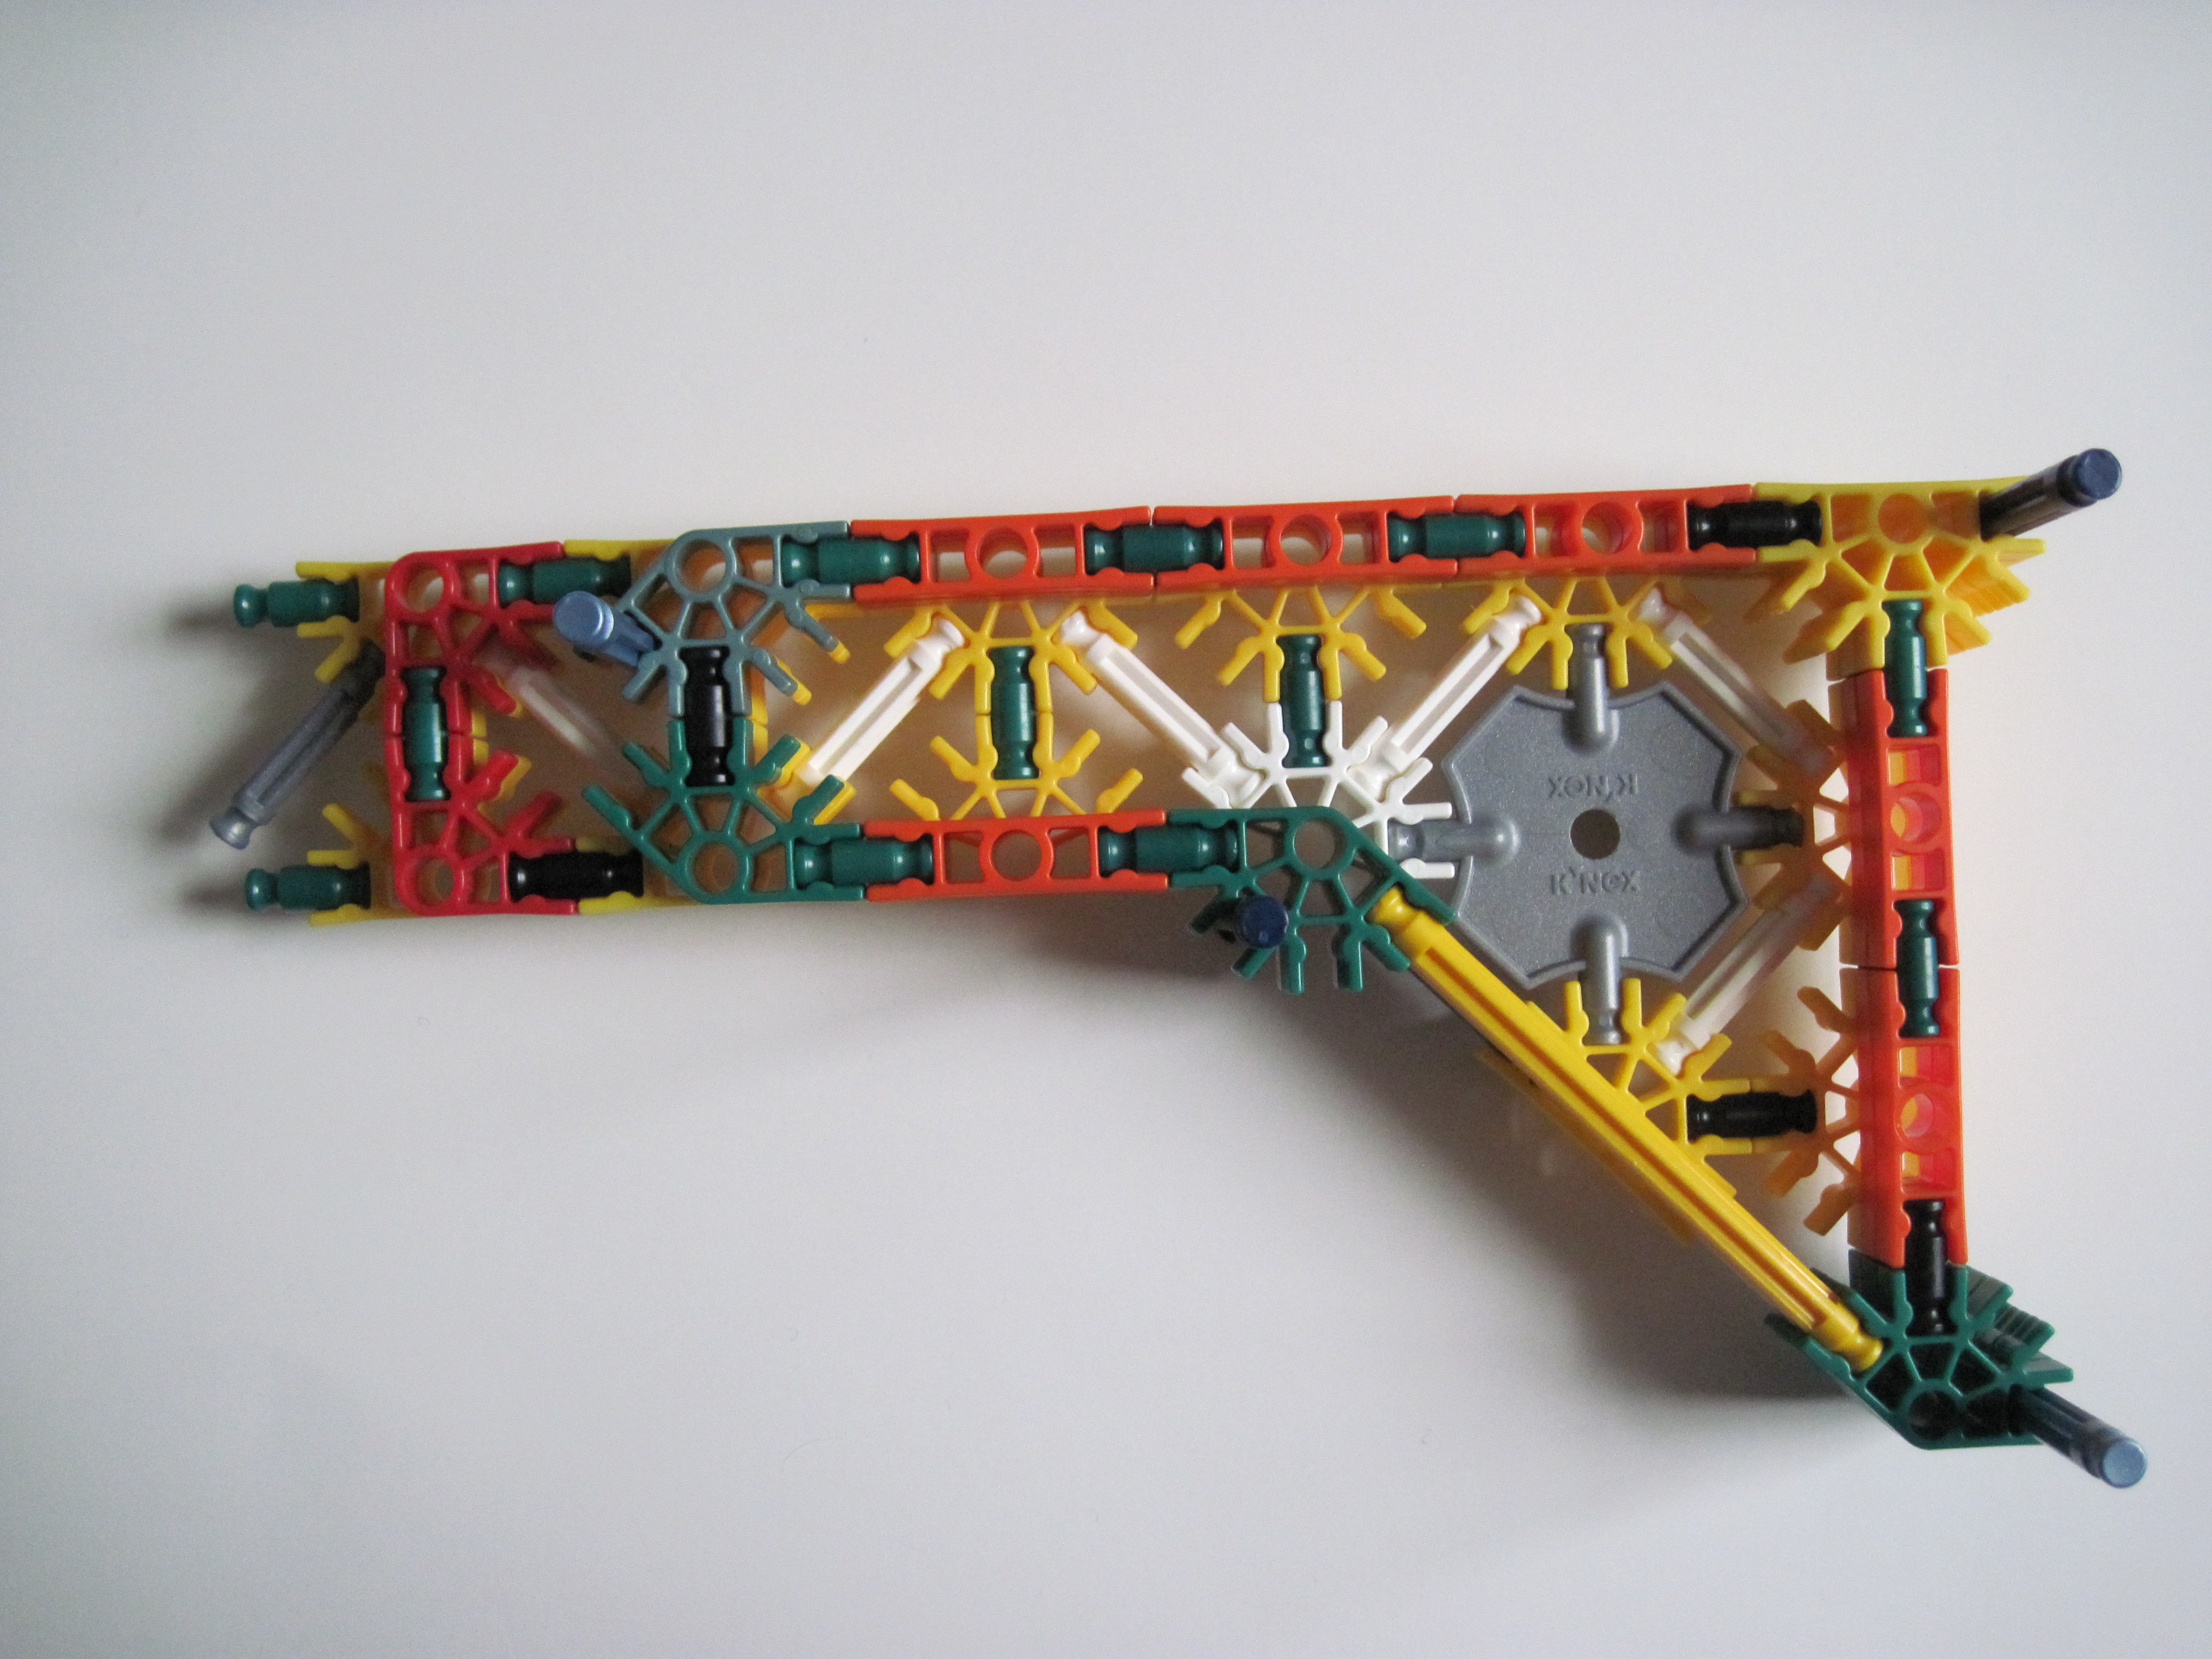
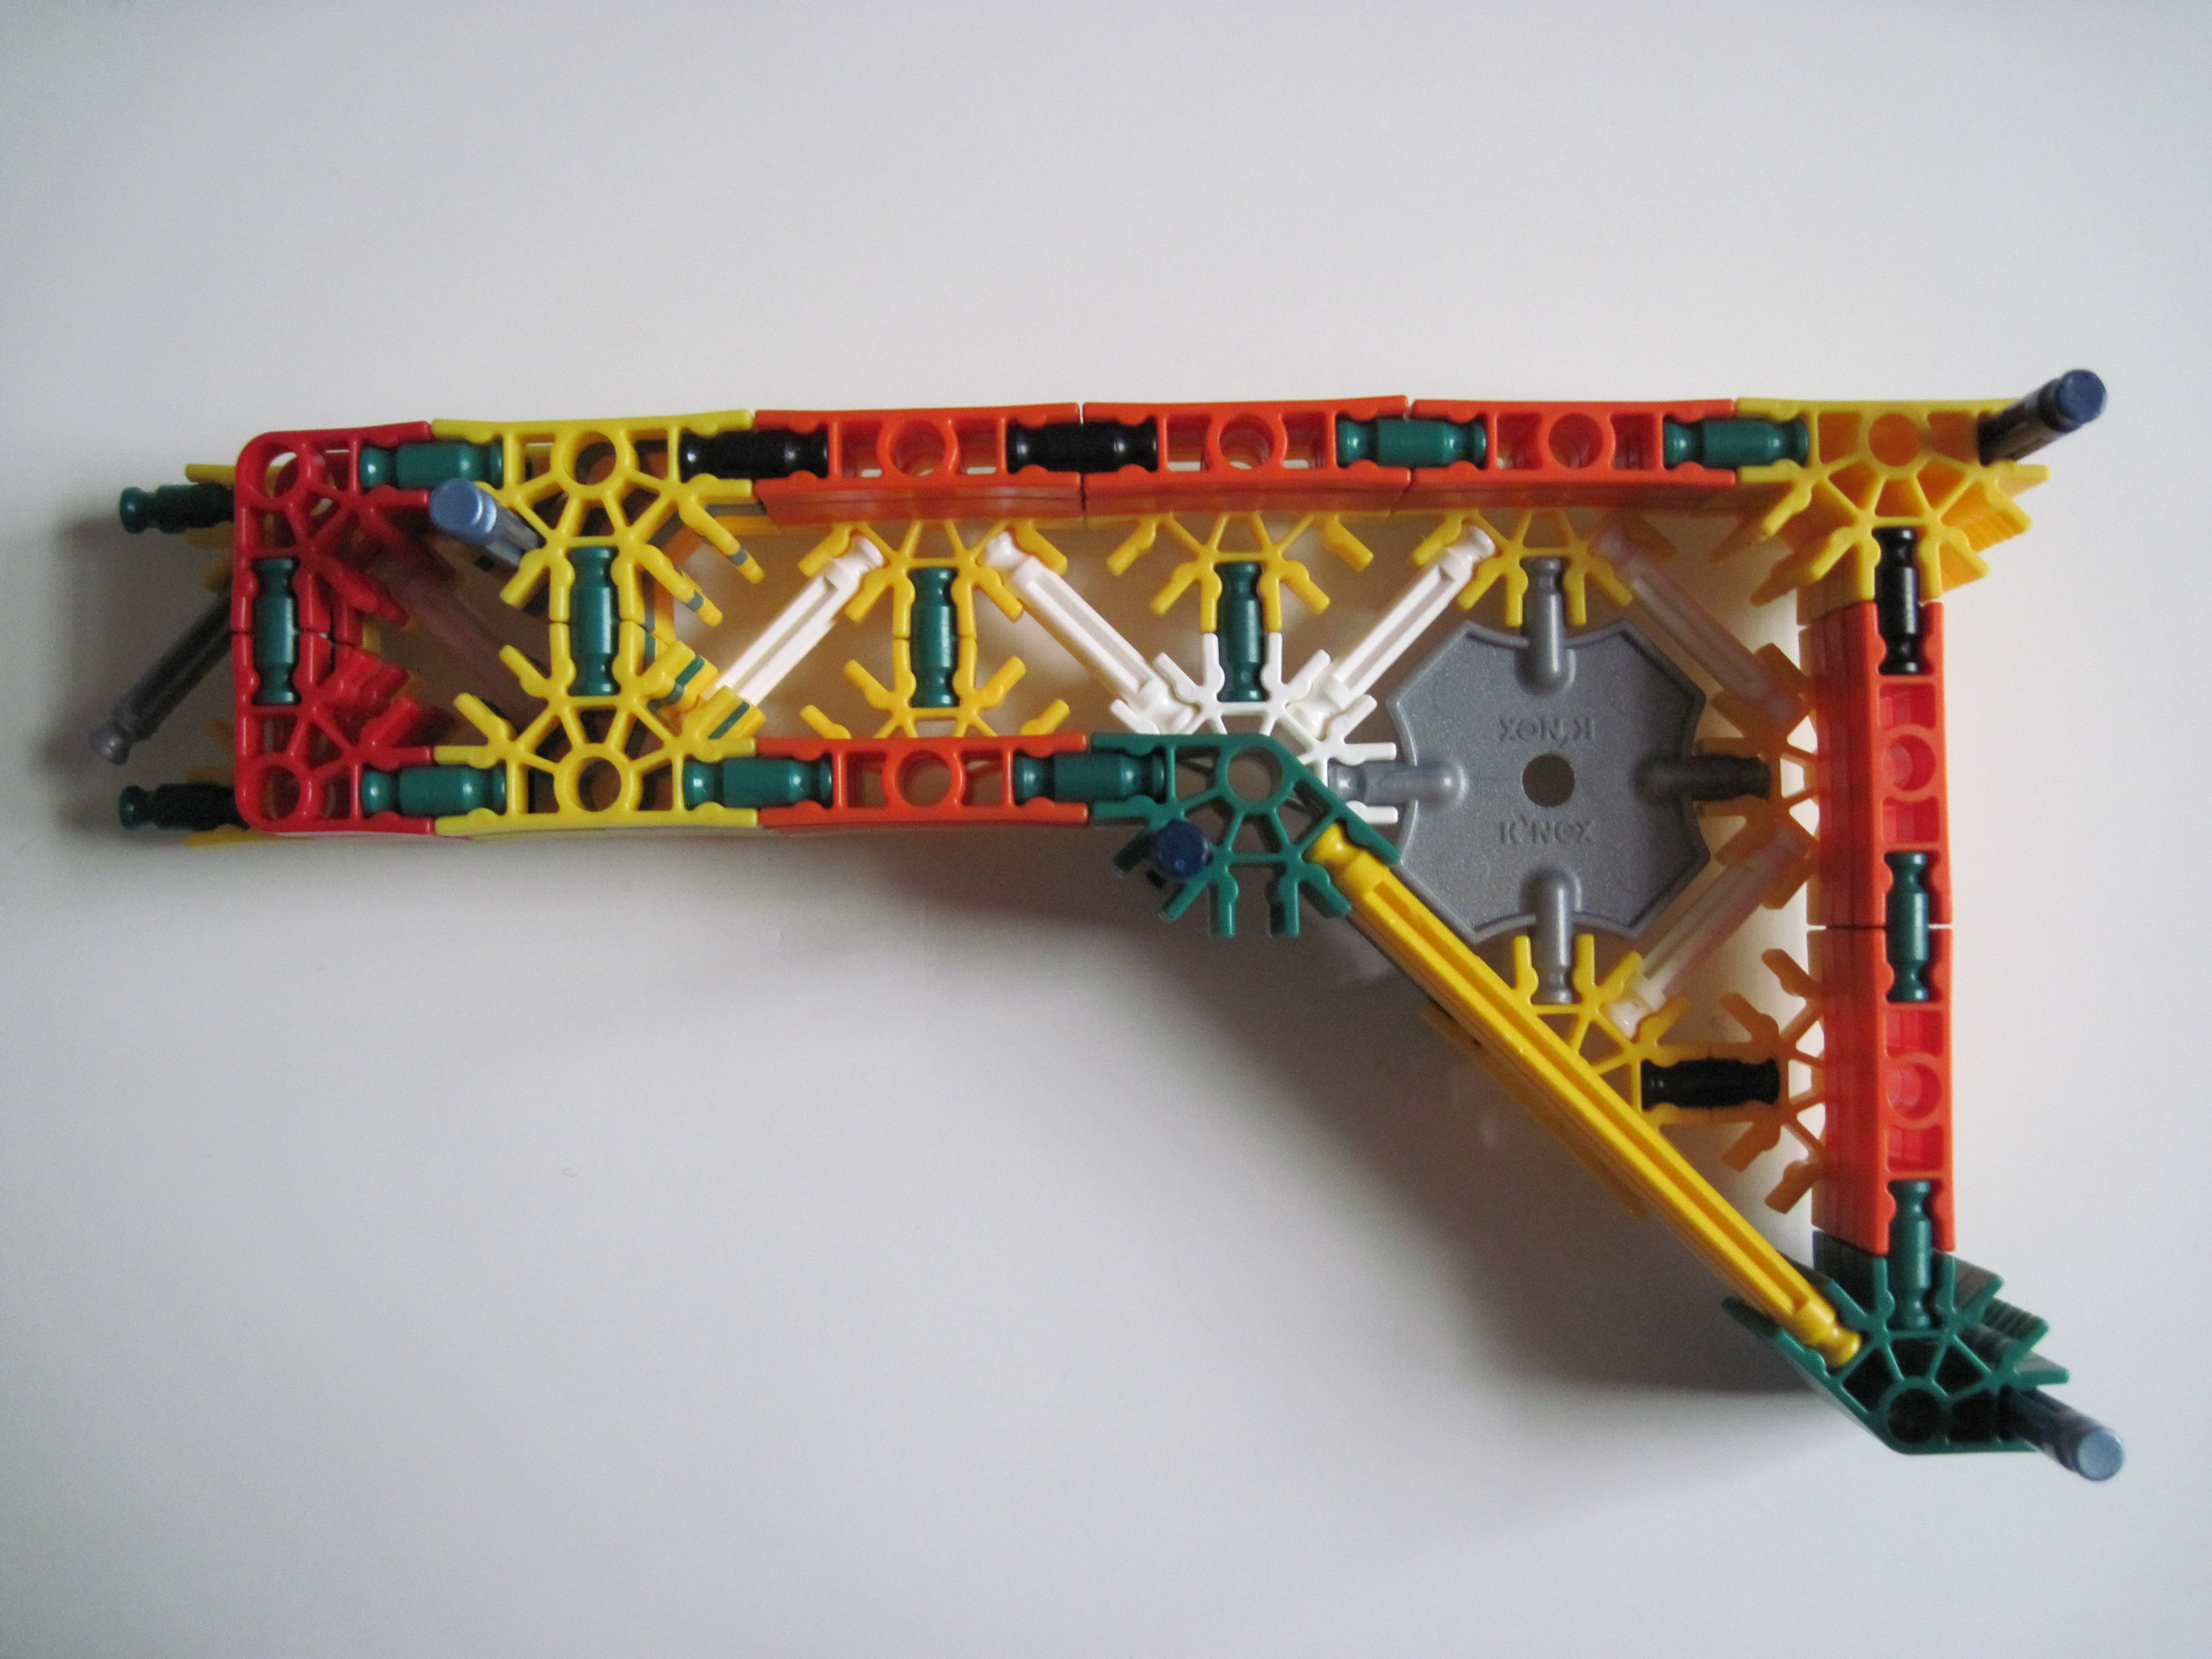
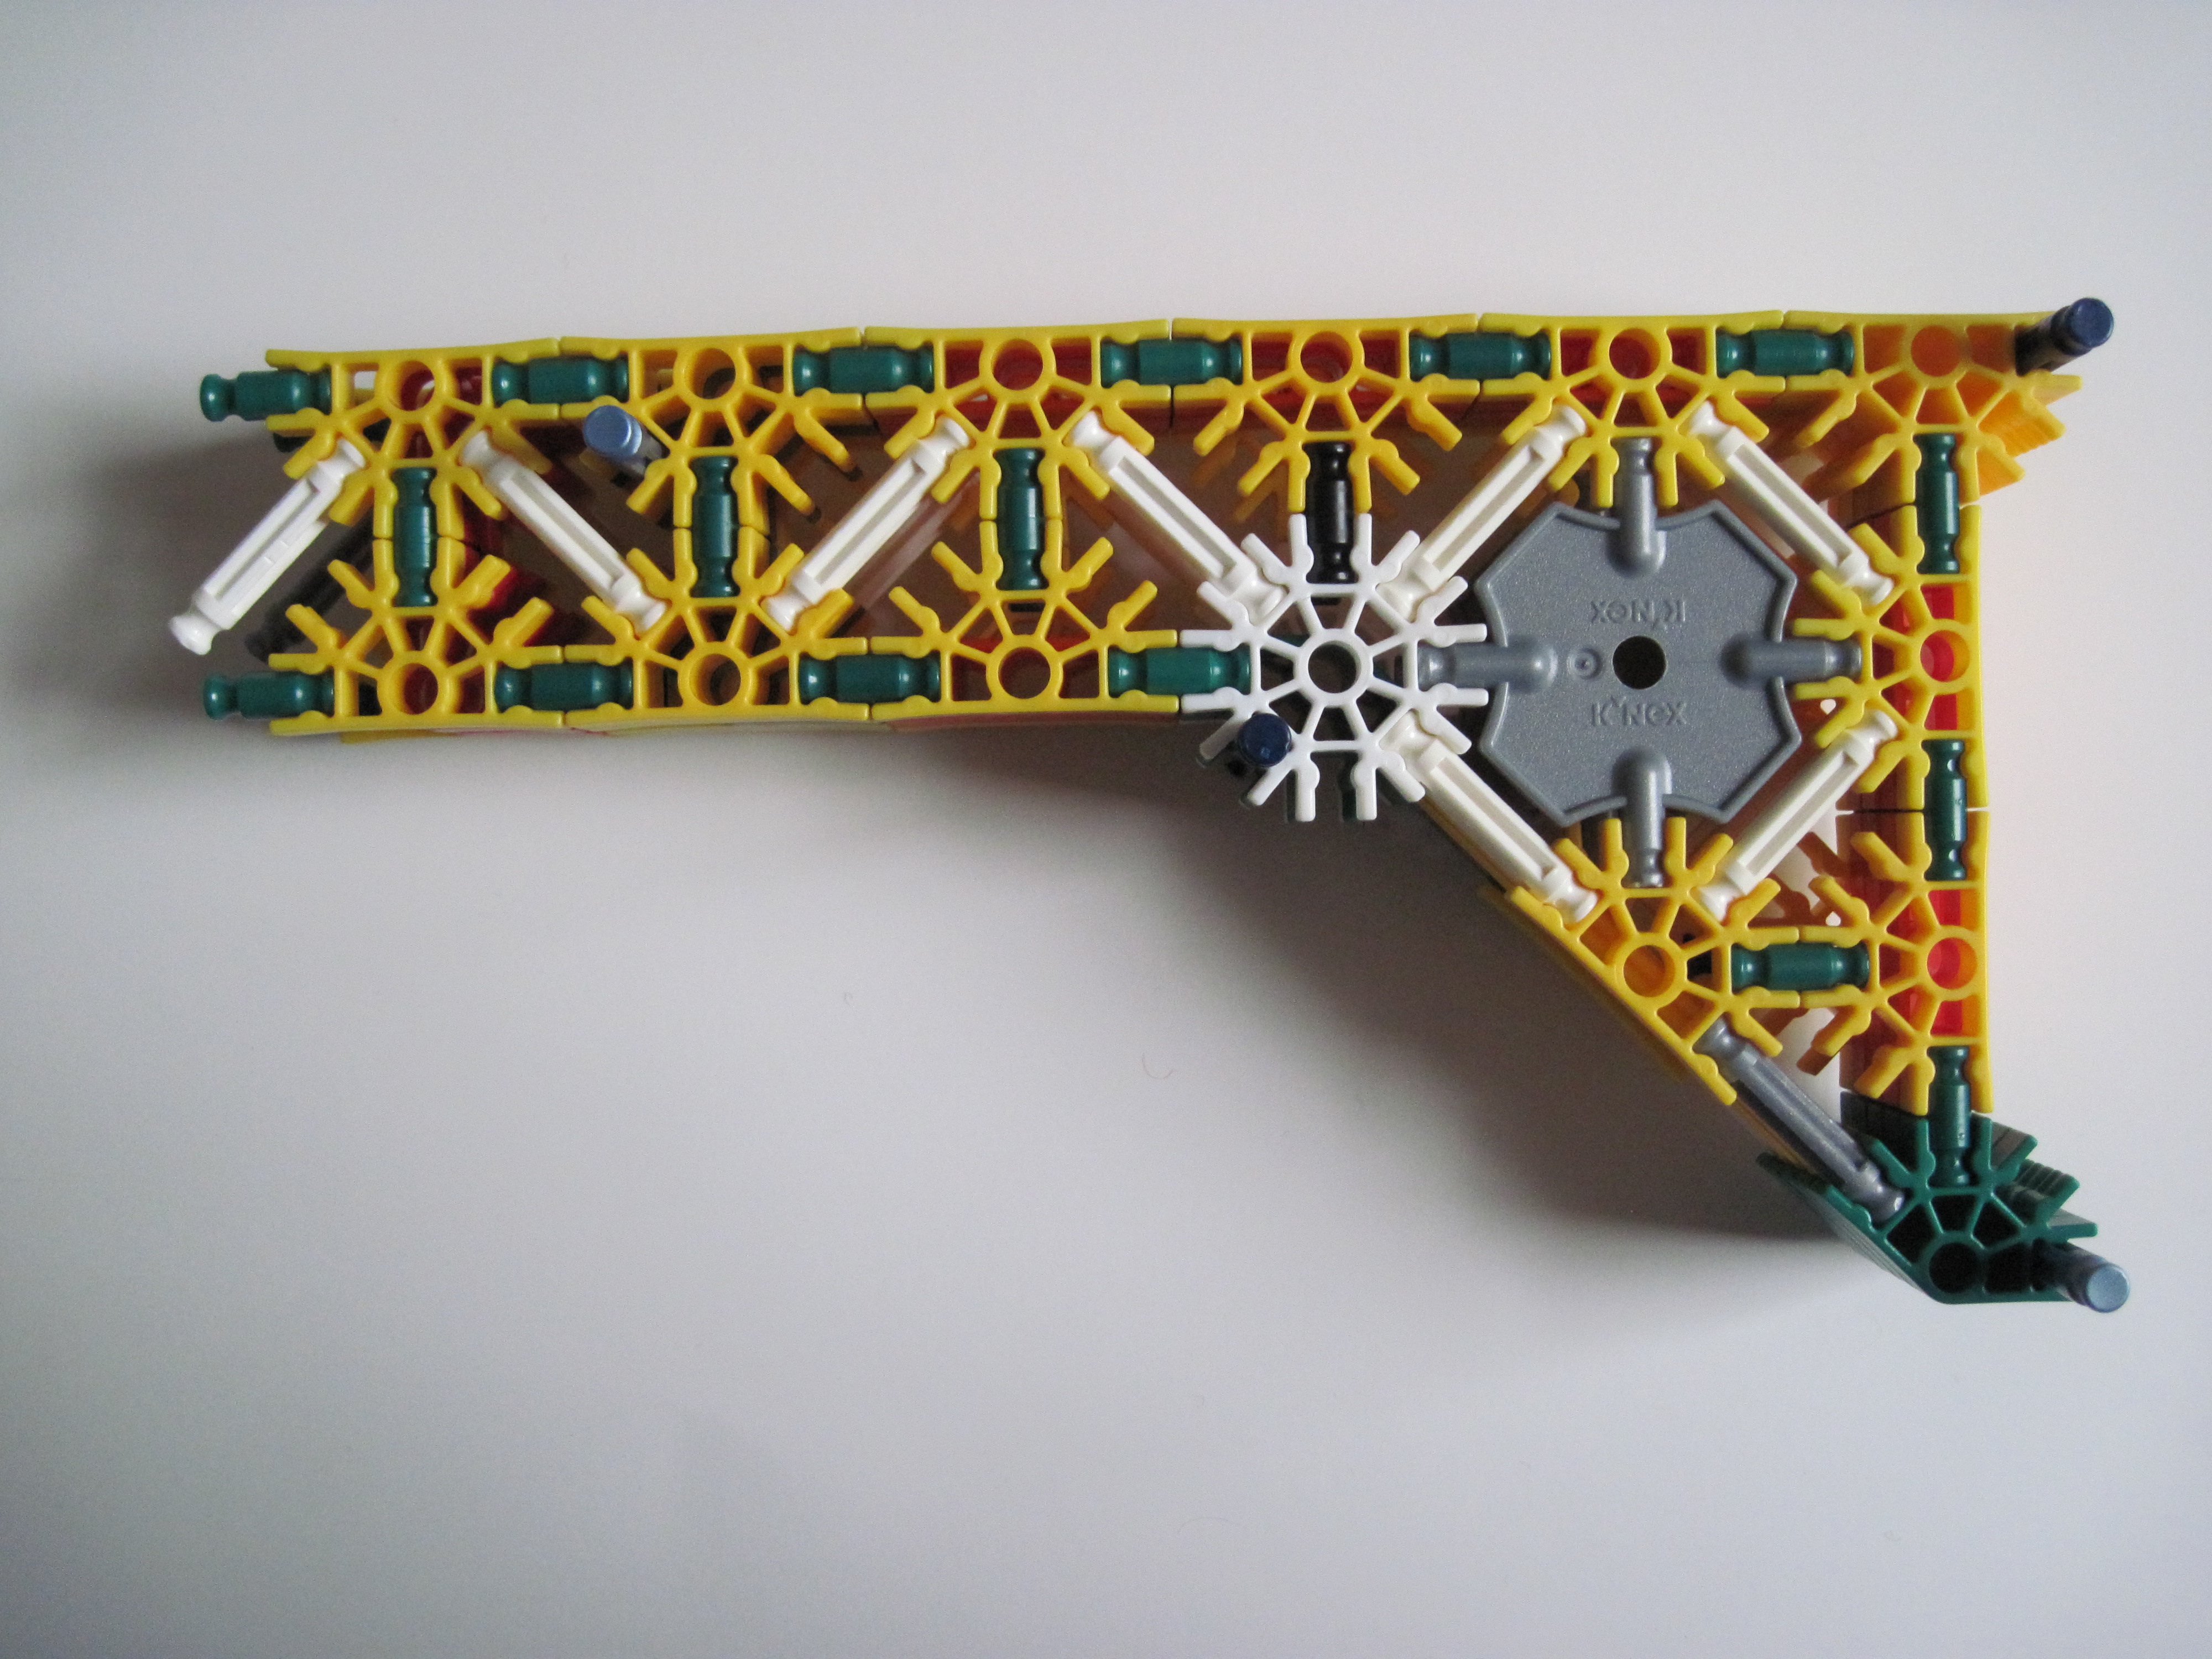
Follow the images:
Picture 1: Place blue rods where shown.
Picture 2: Place the earlier made part as shown.
Picture 3: Place the earlier made part as shown.
Picture 4: Place the earlier made part as shown.
Picture 5: Place the earlier made part as shown.
Picture 1: Place blue rods where shown.
Picture 2: Place the earlier made part as shown.
Picture 3: Place the earlier made part as shown.
Picture 4: Place the earlier made part as shown.
Picture 5: Place the earlier made part as shown.
Trigger/Ammo Feed: Making the Components

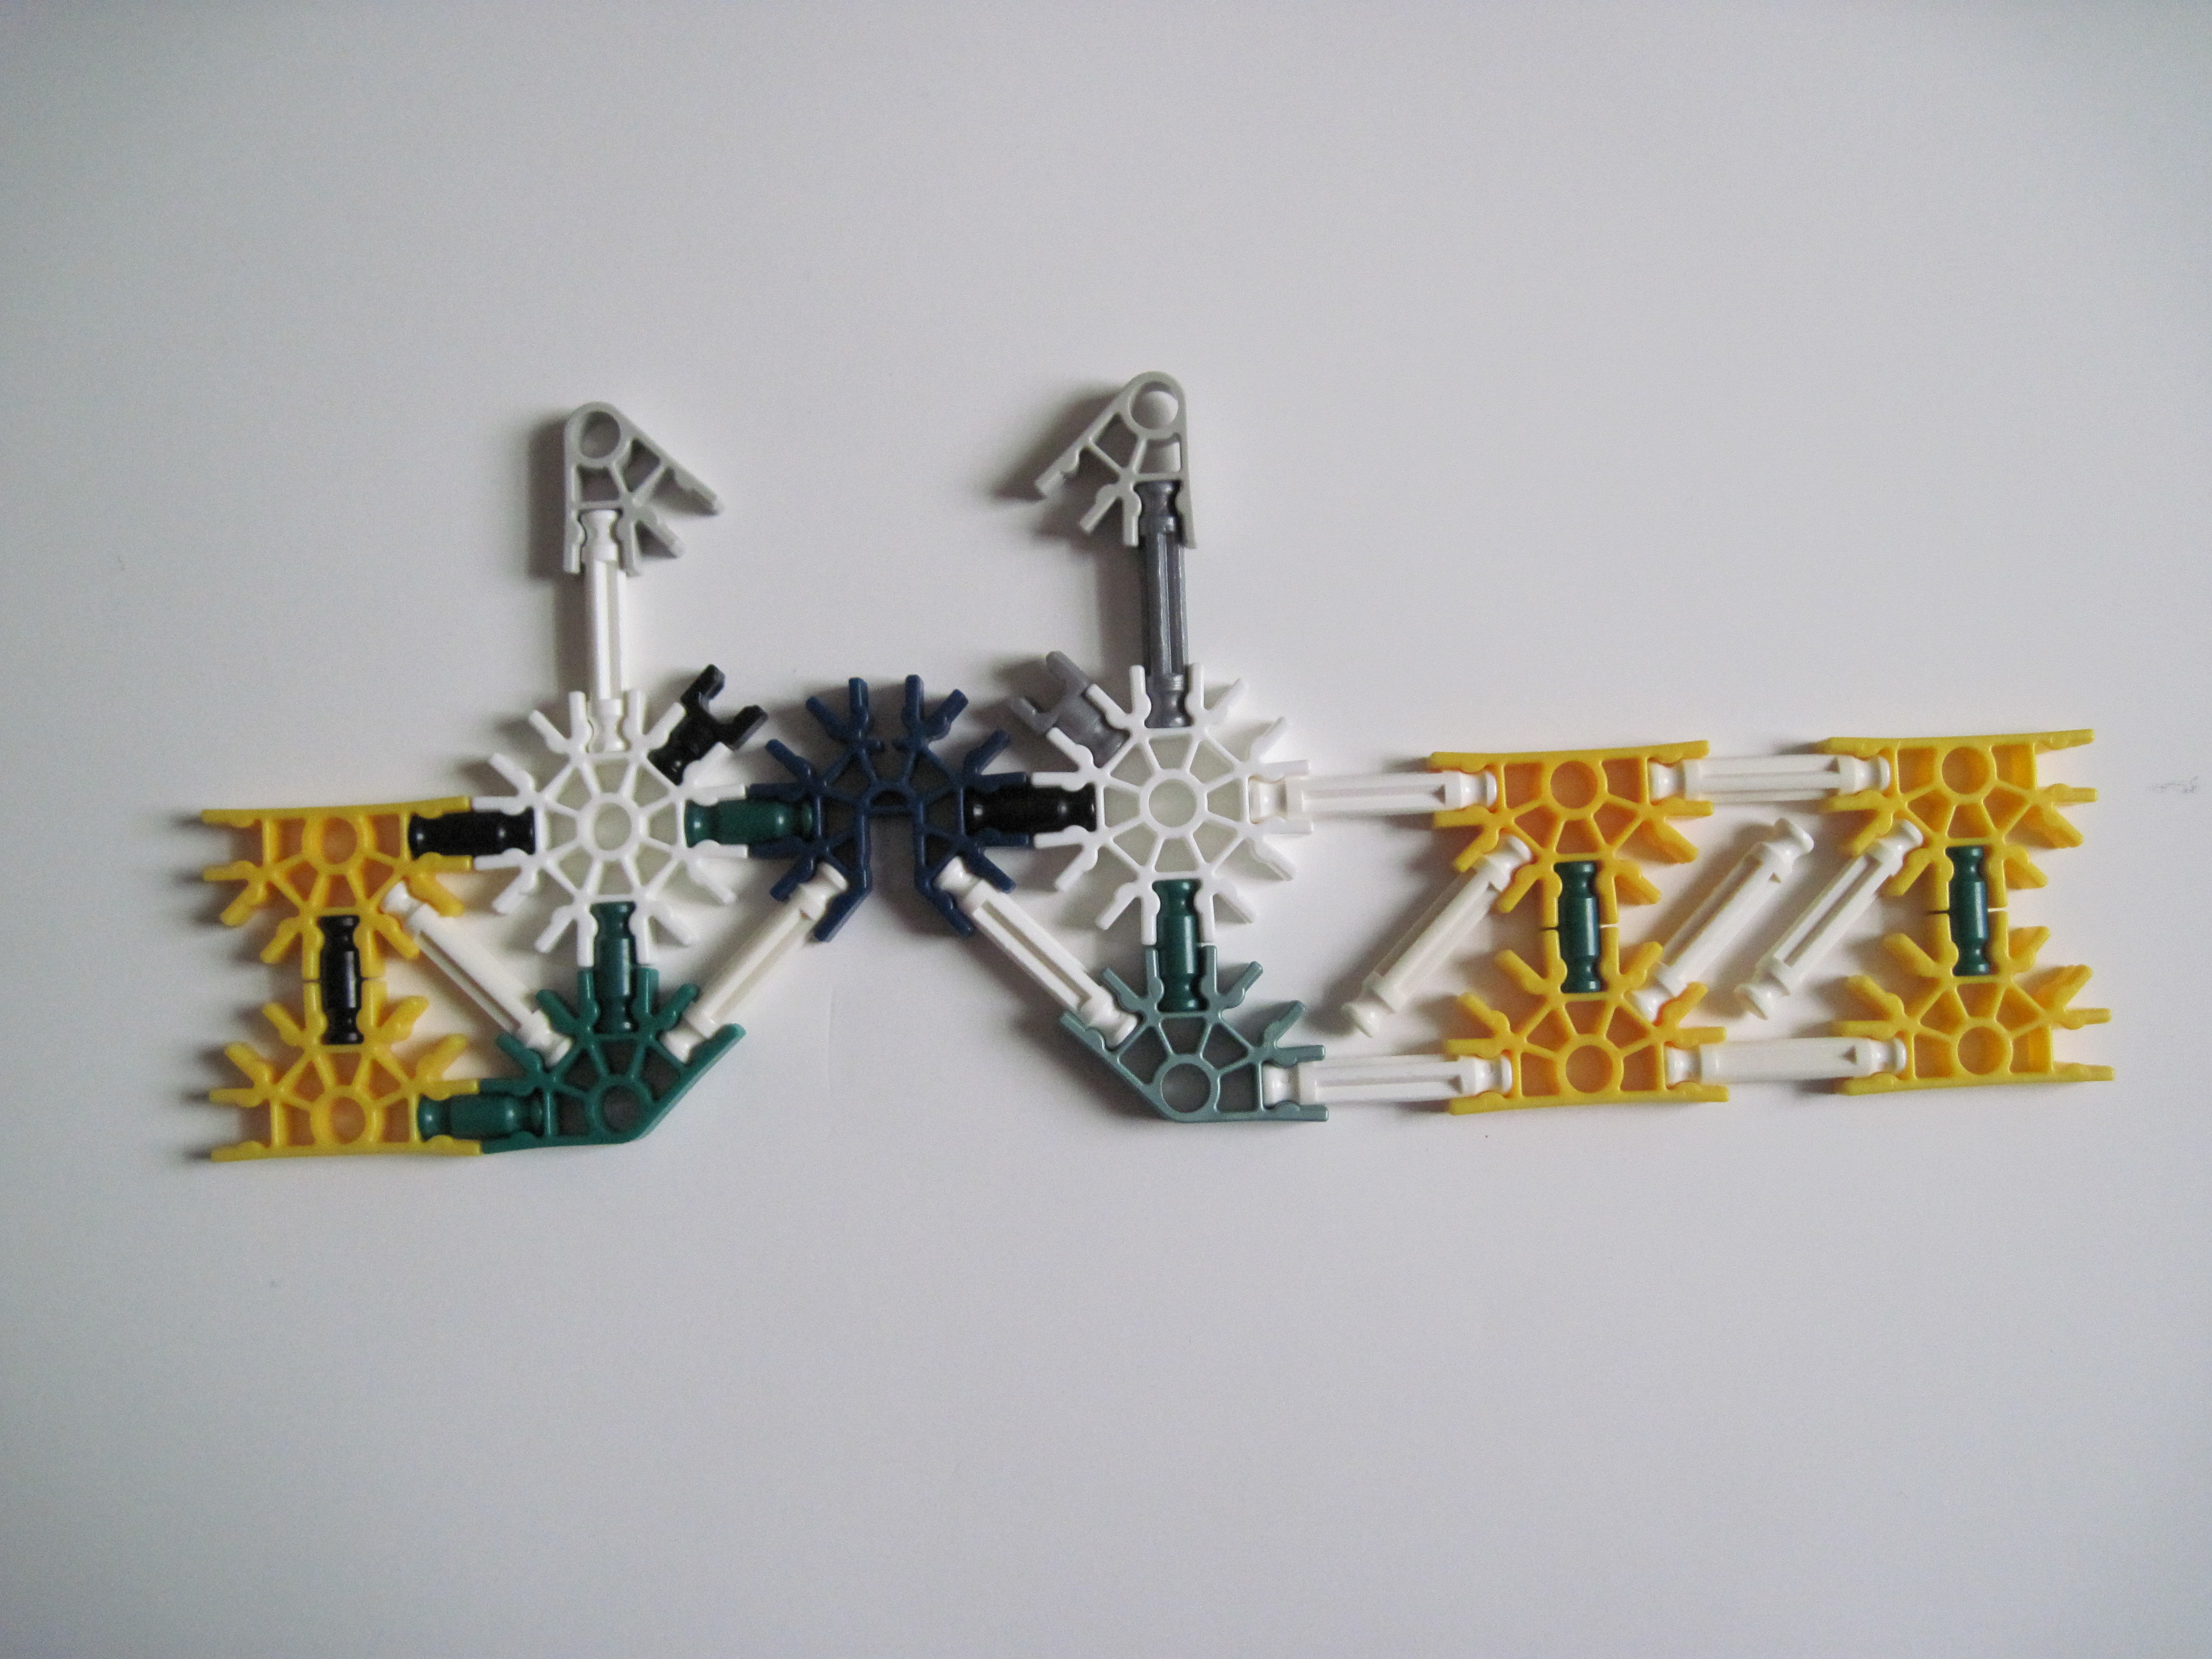
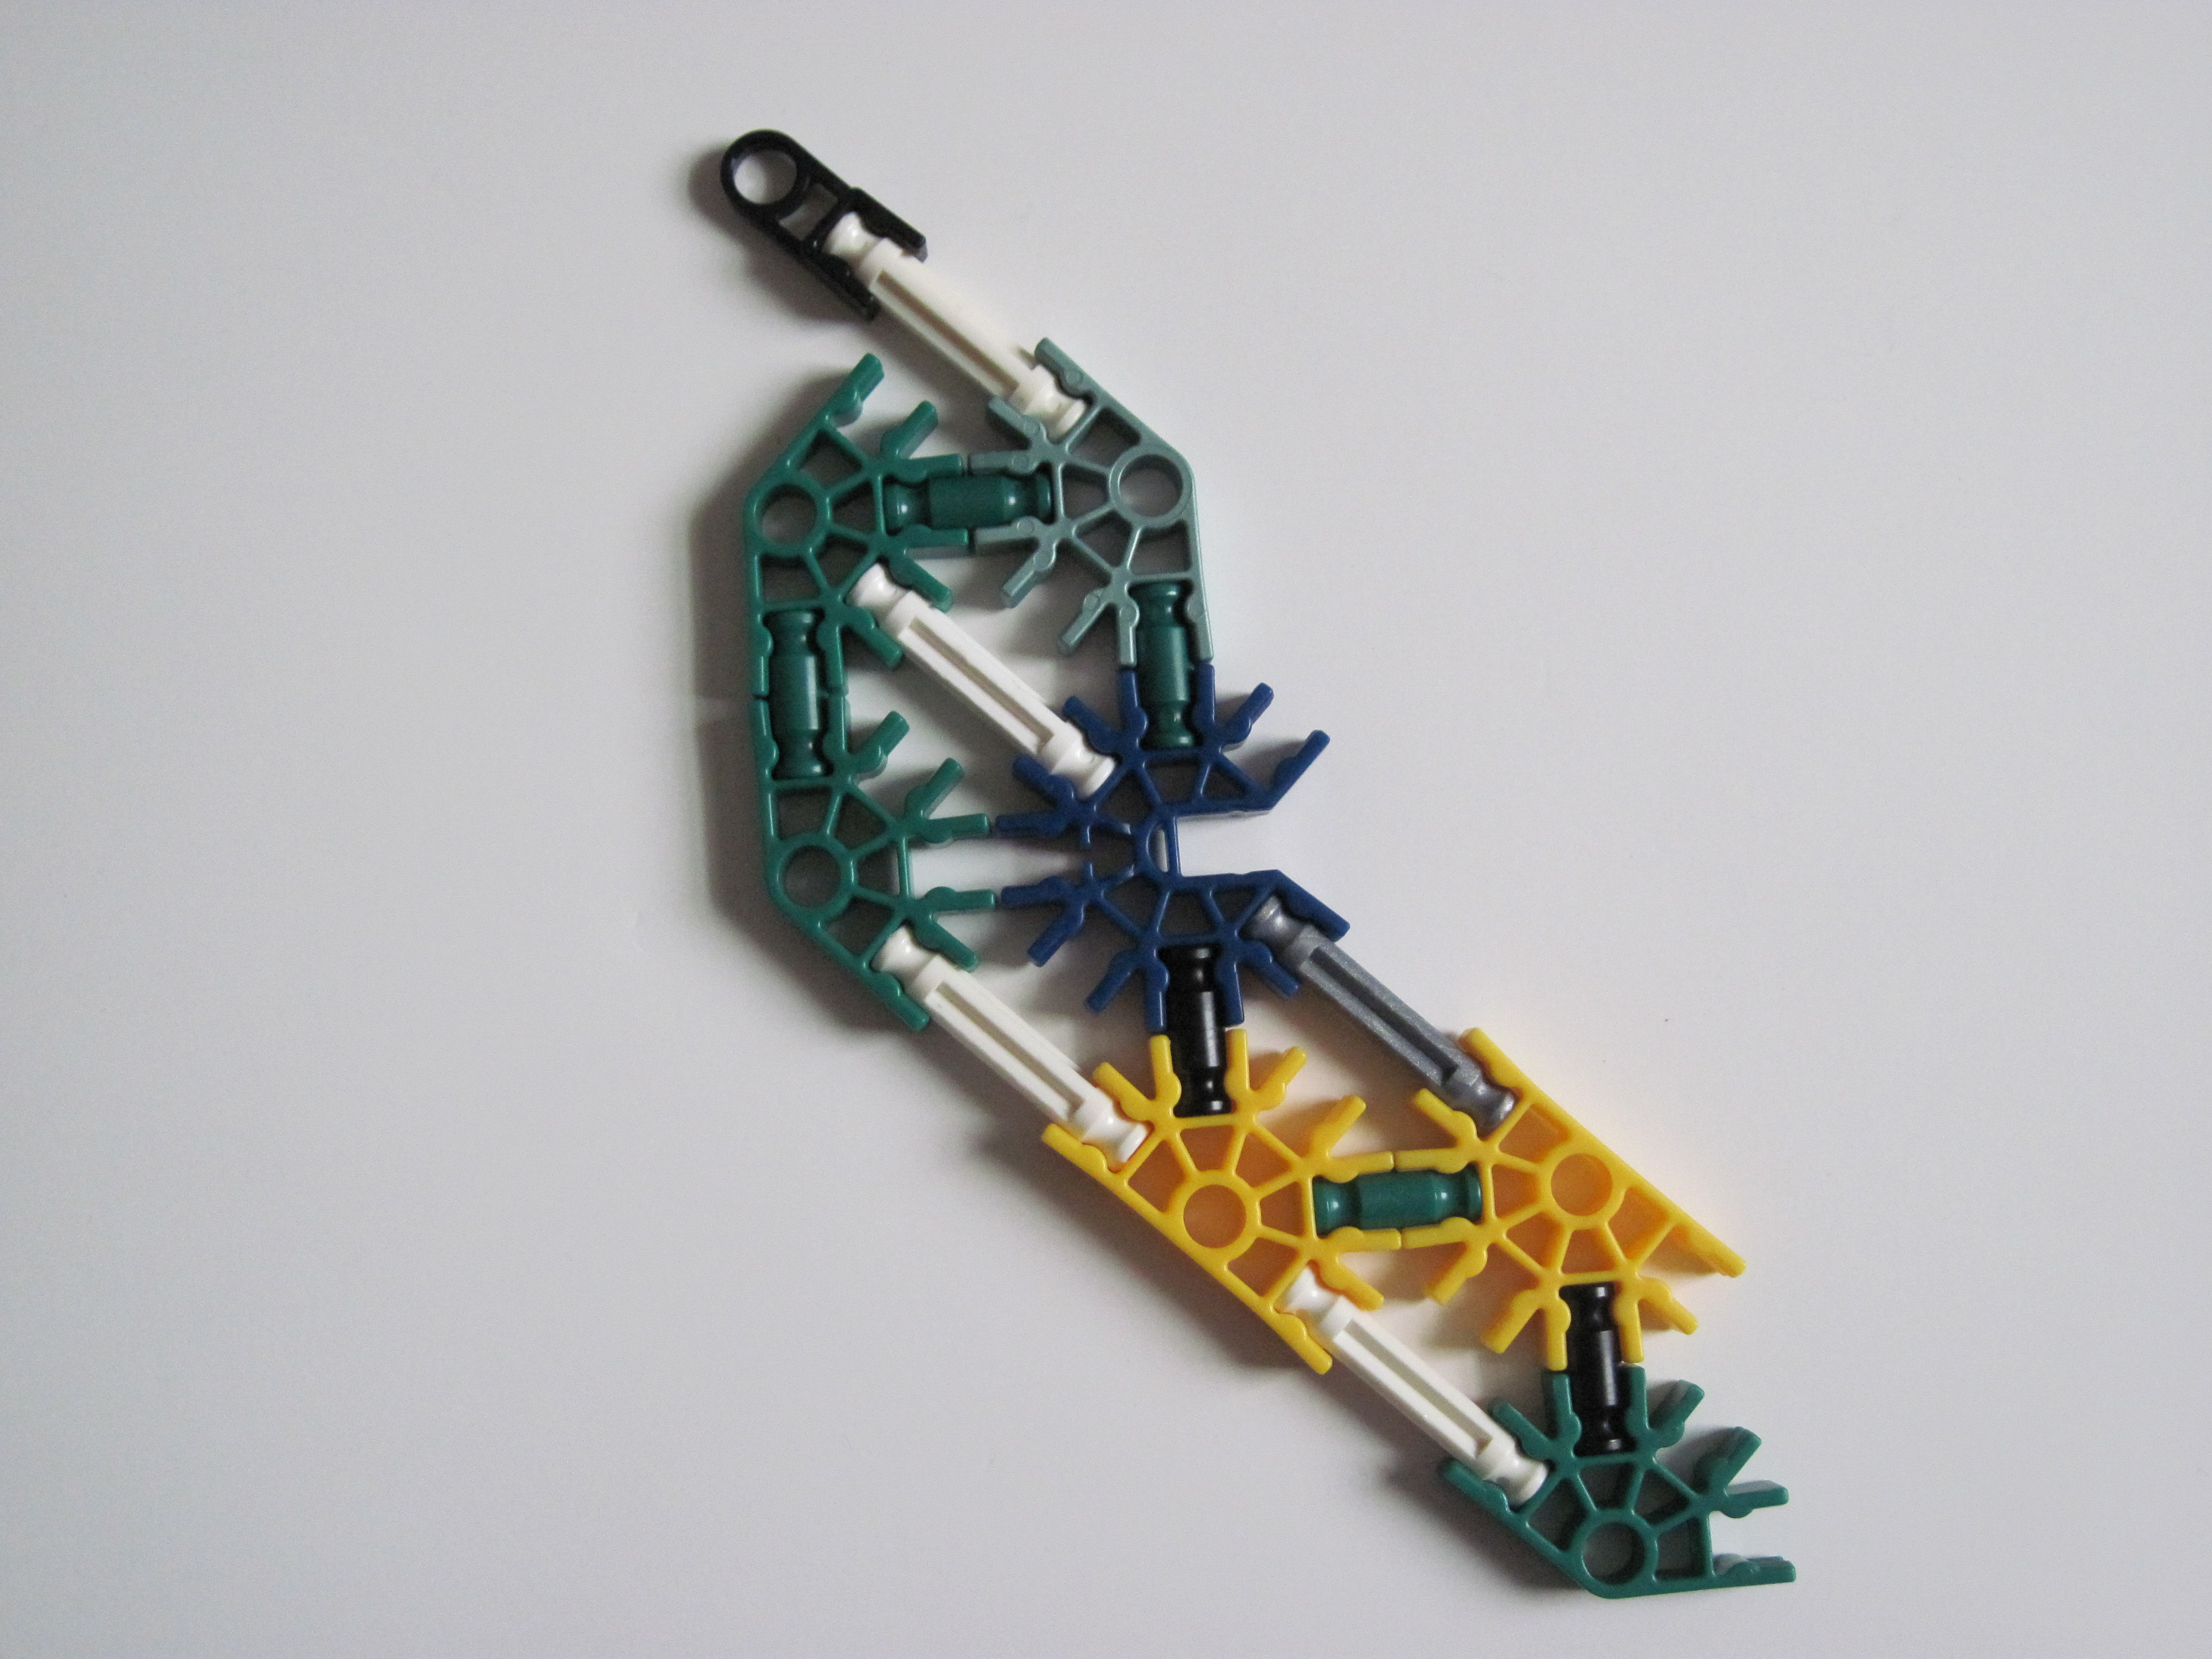
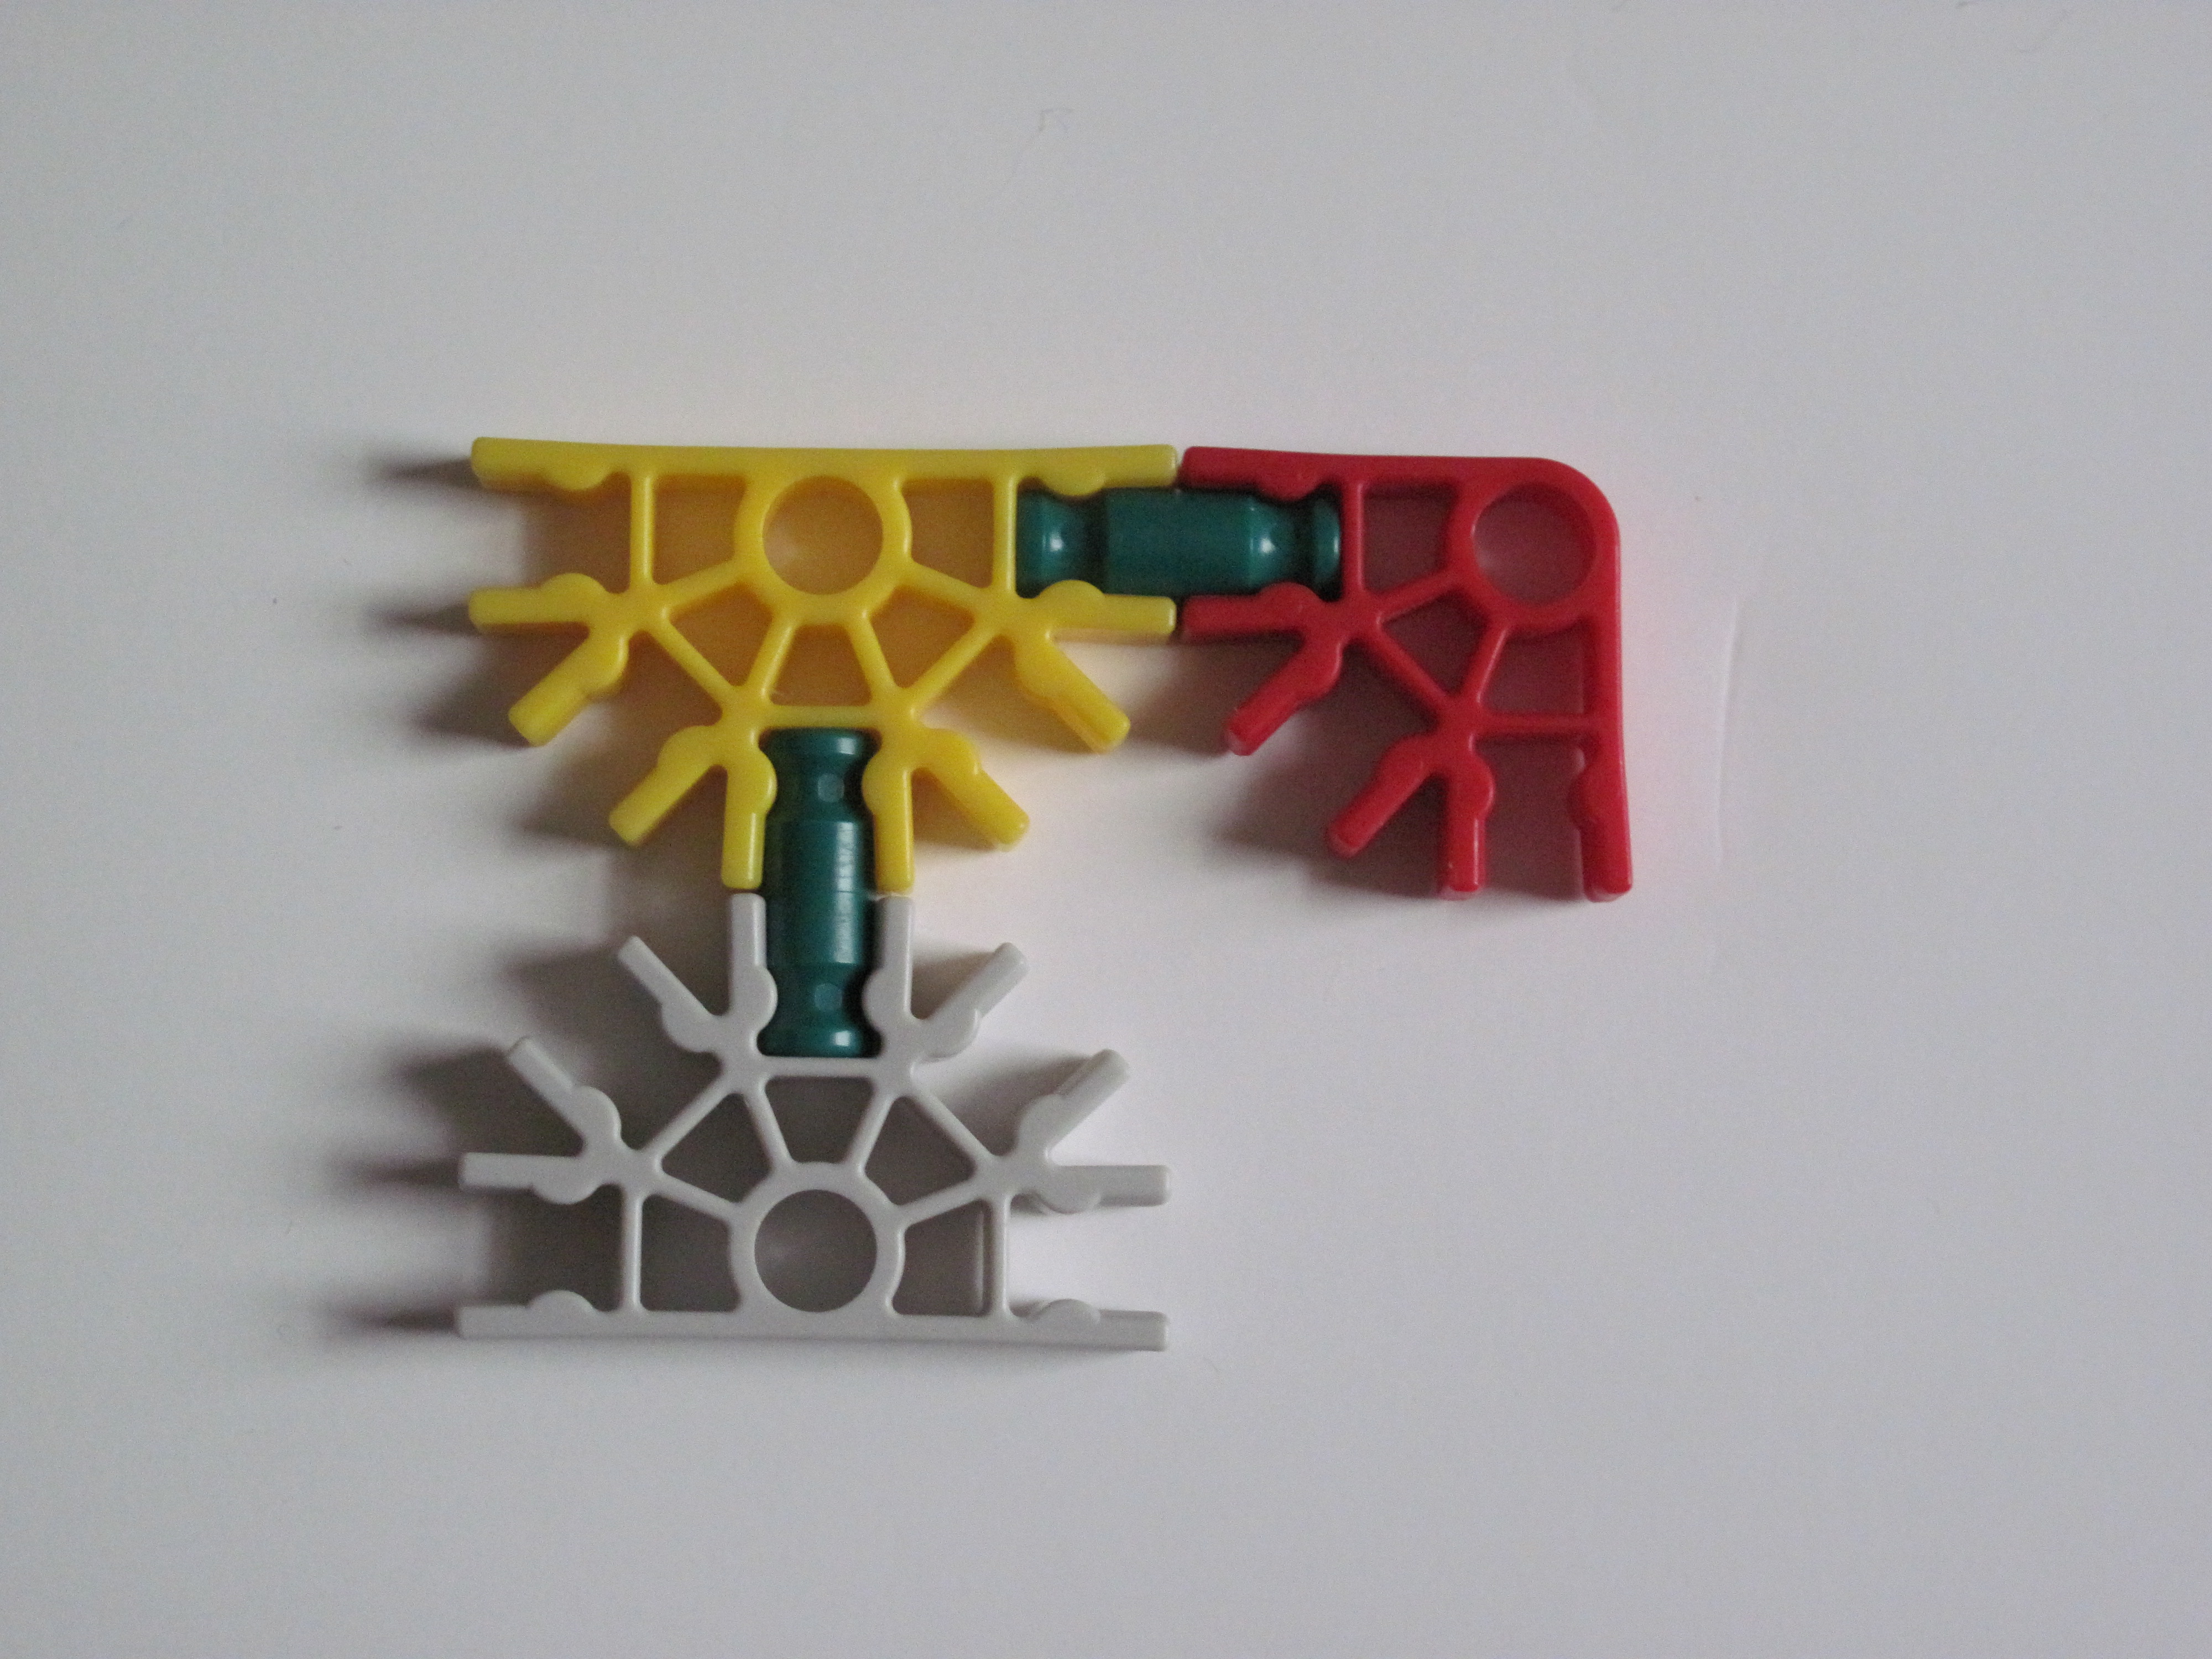

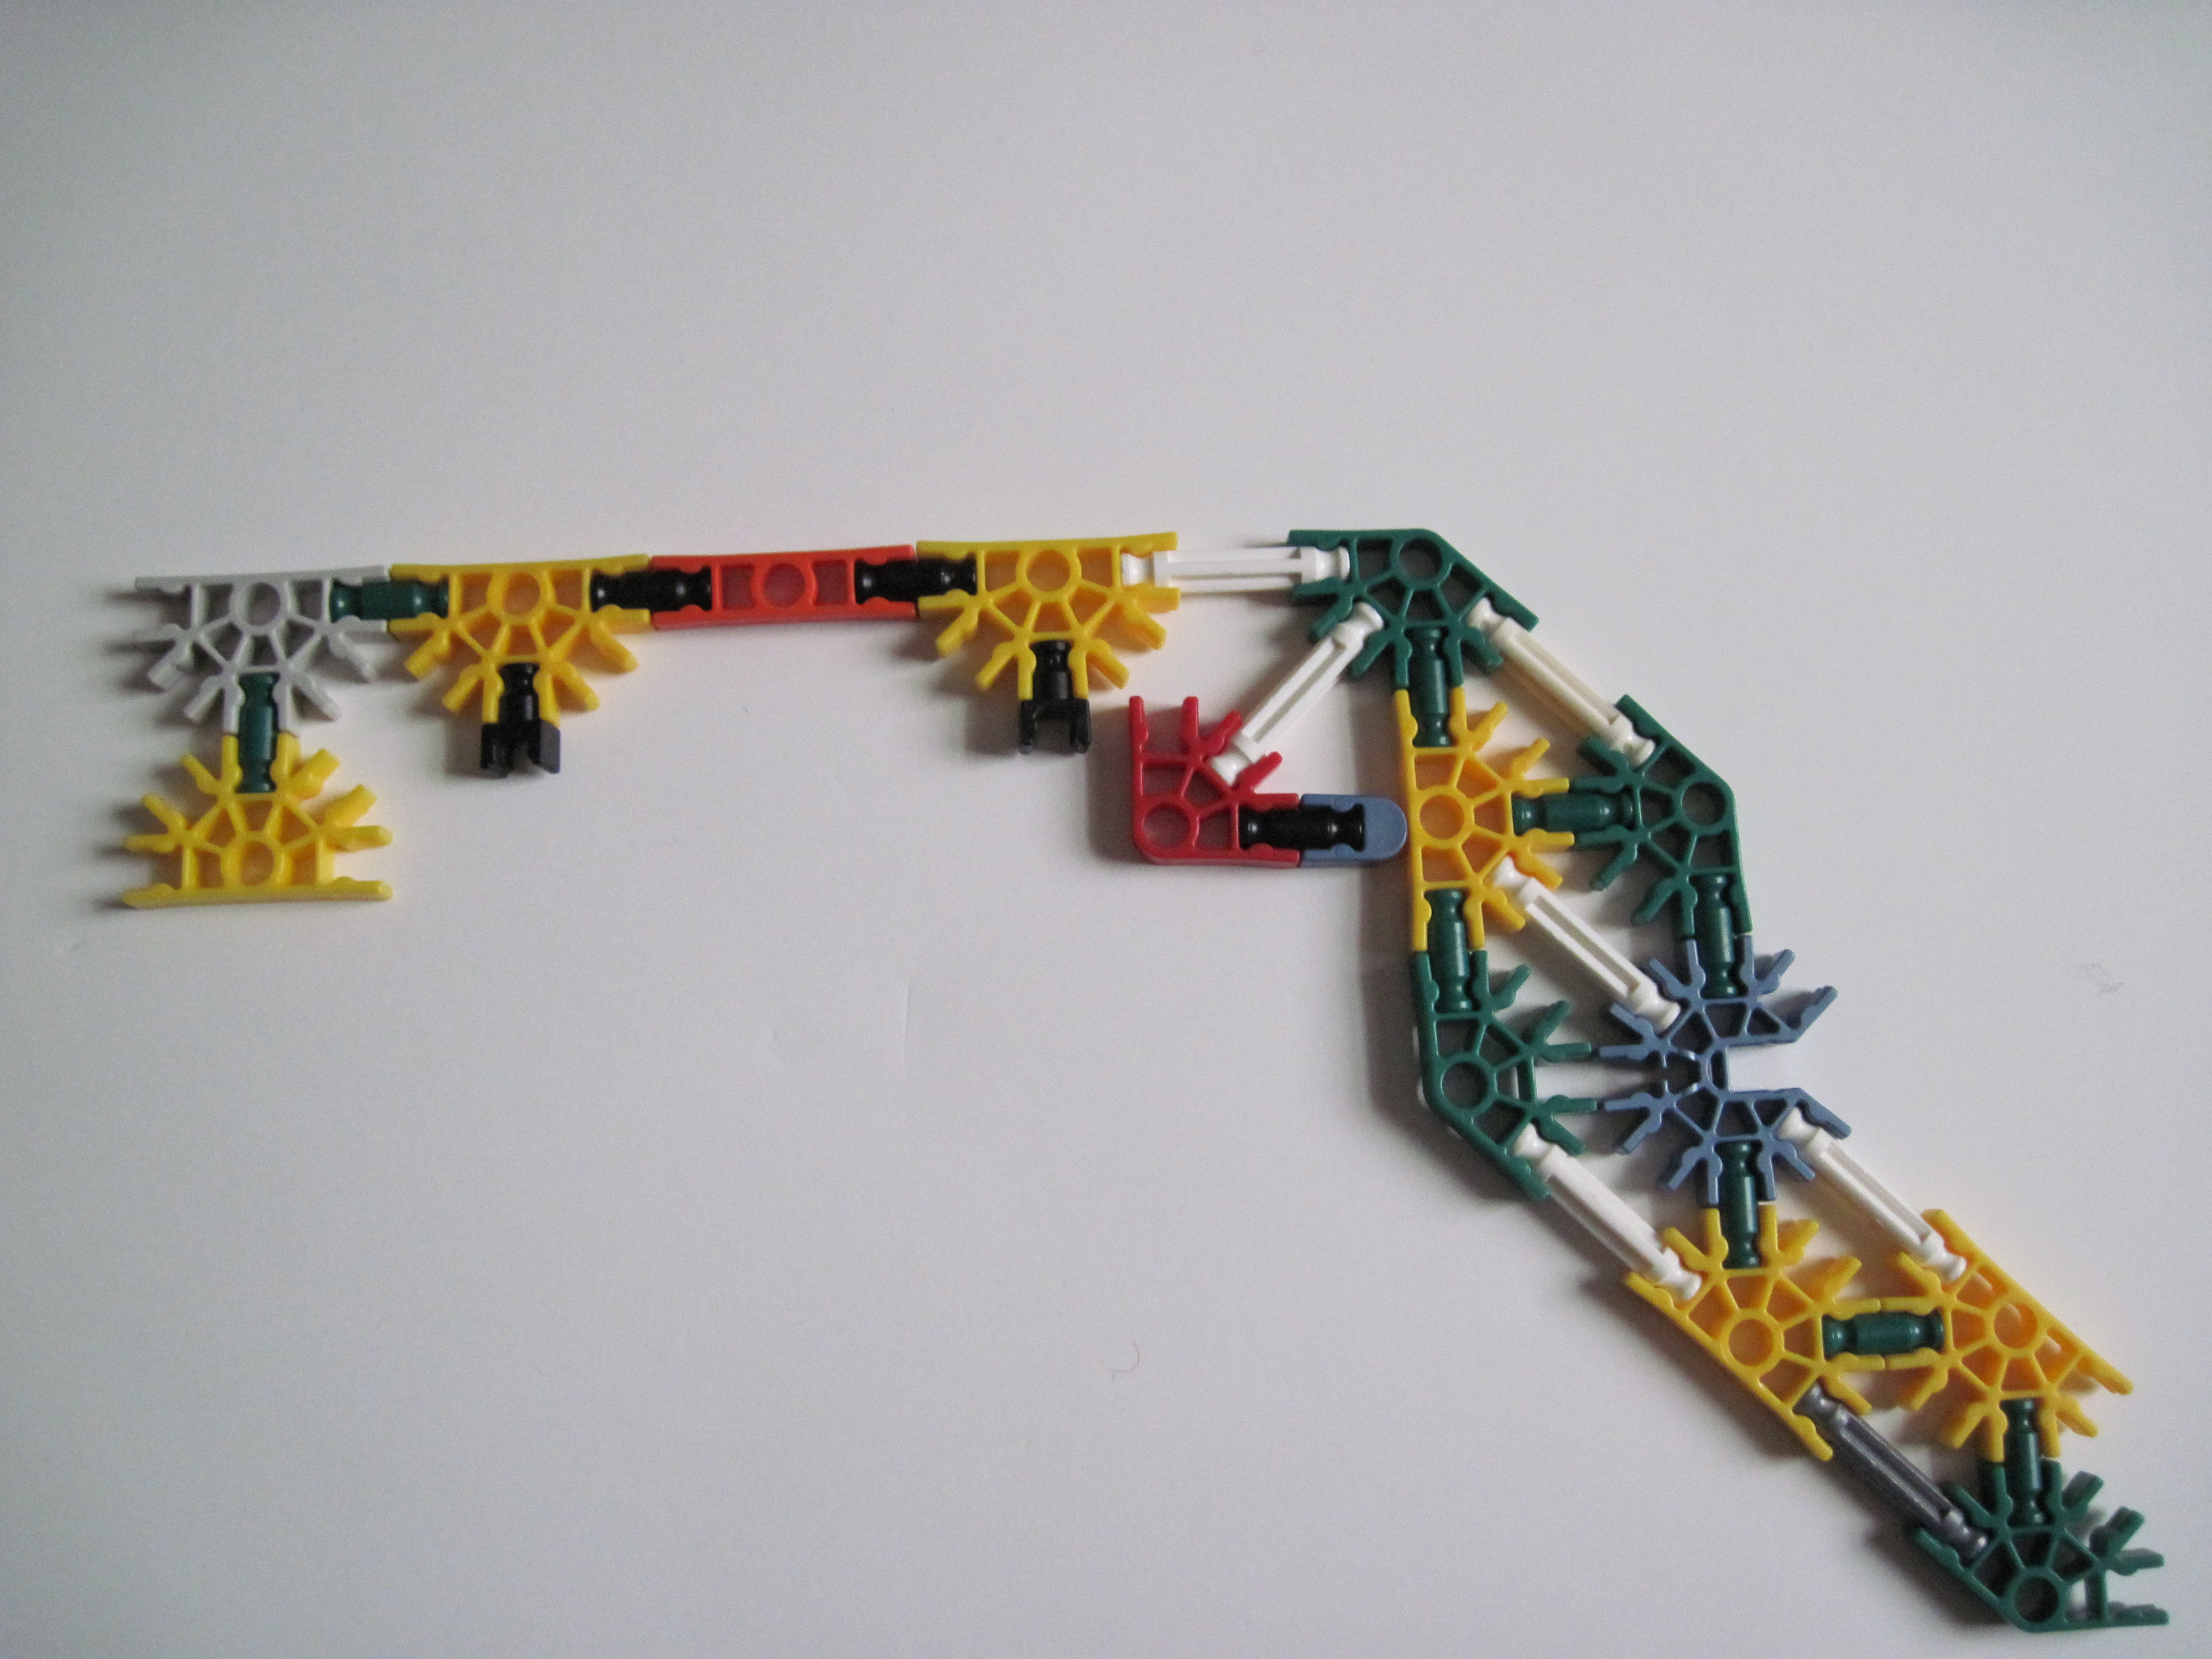
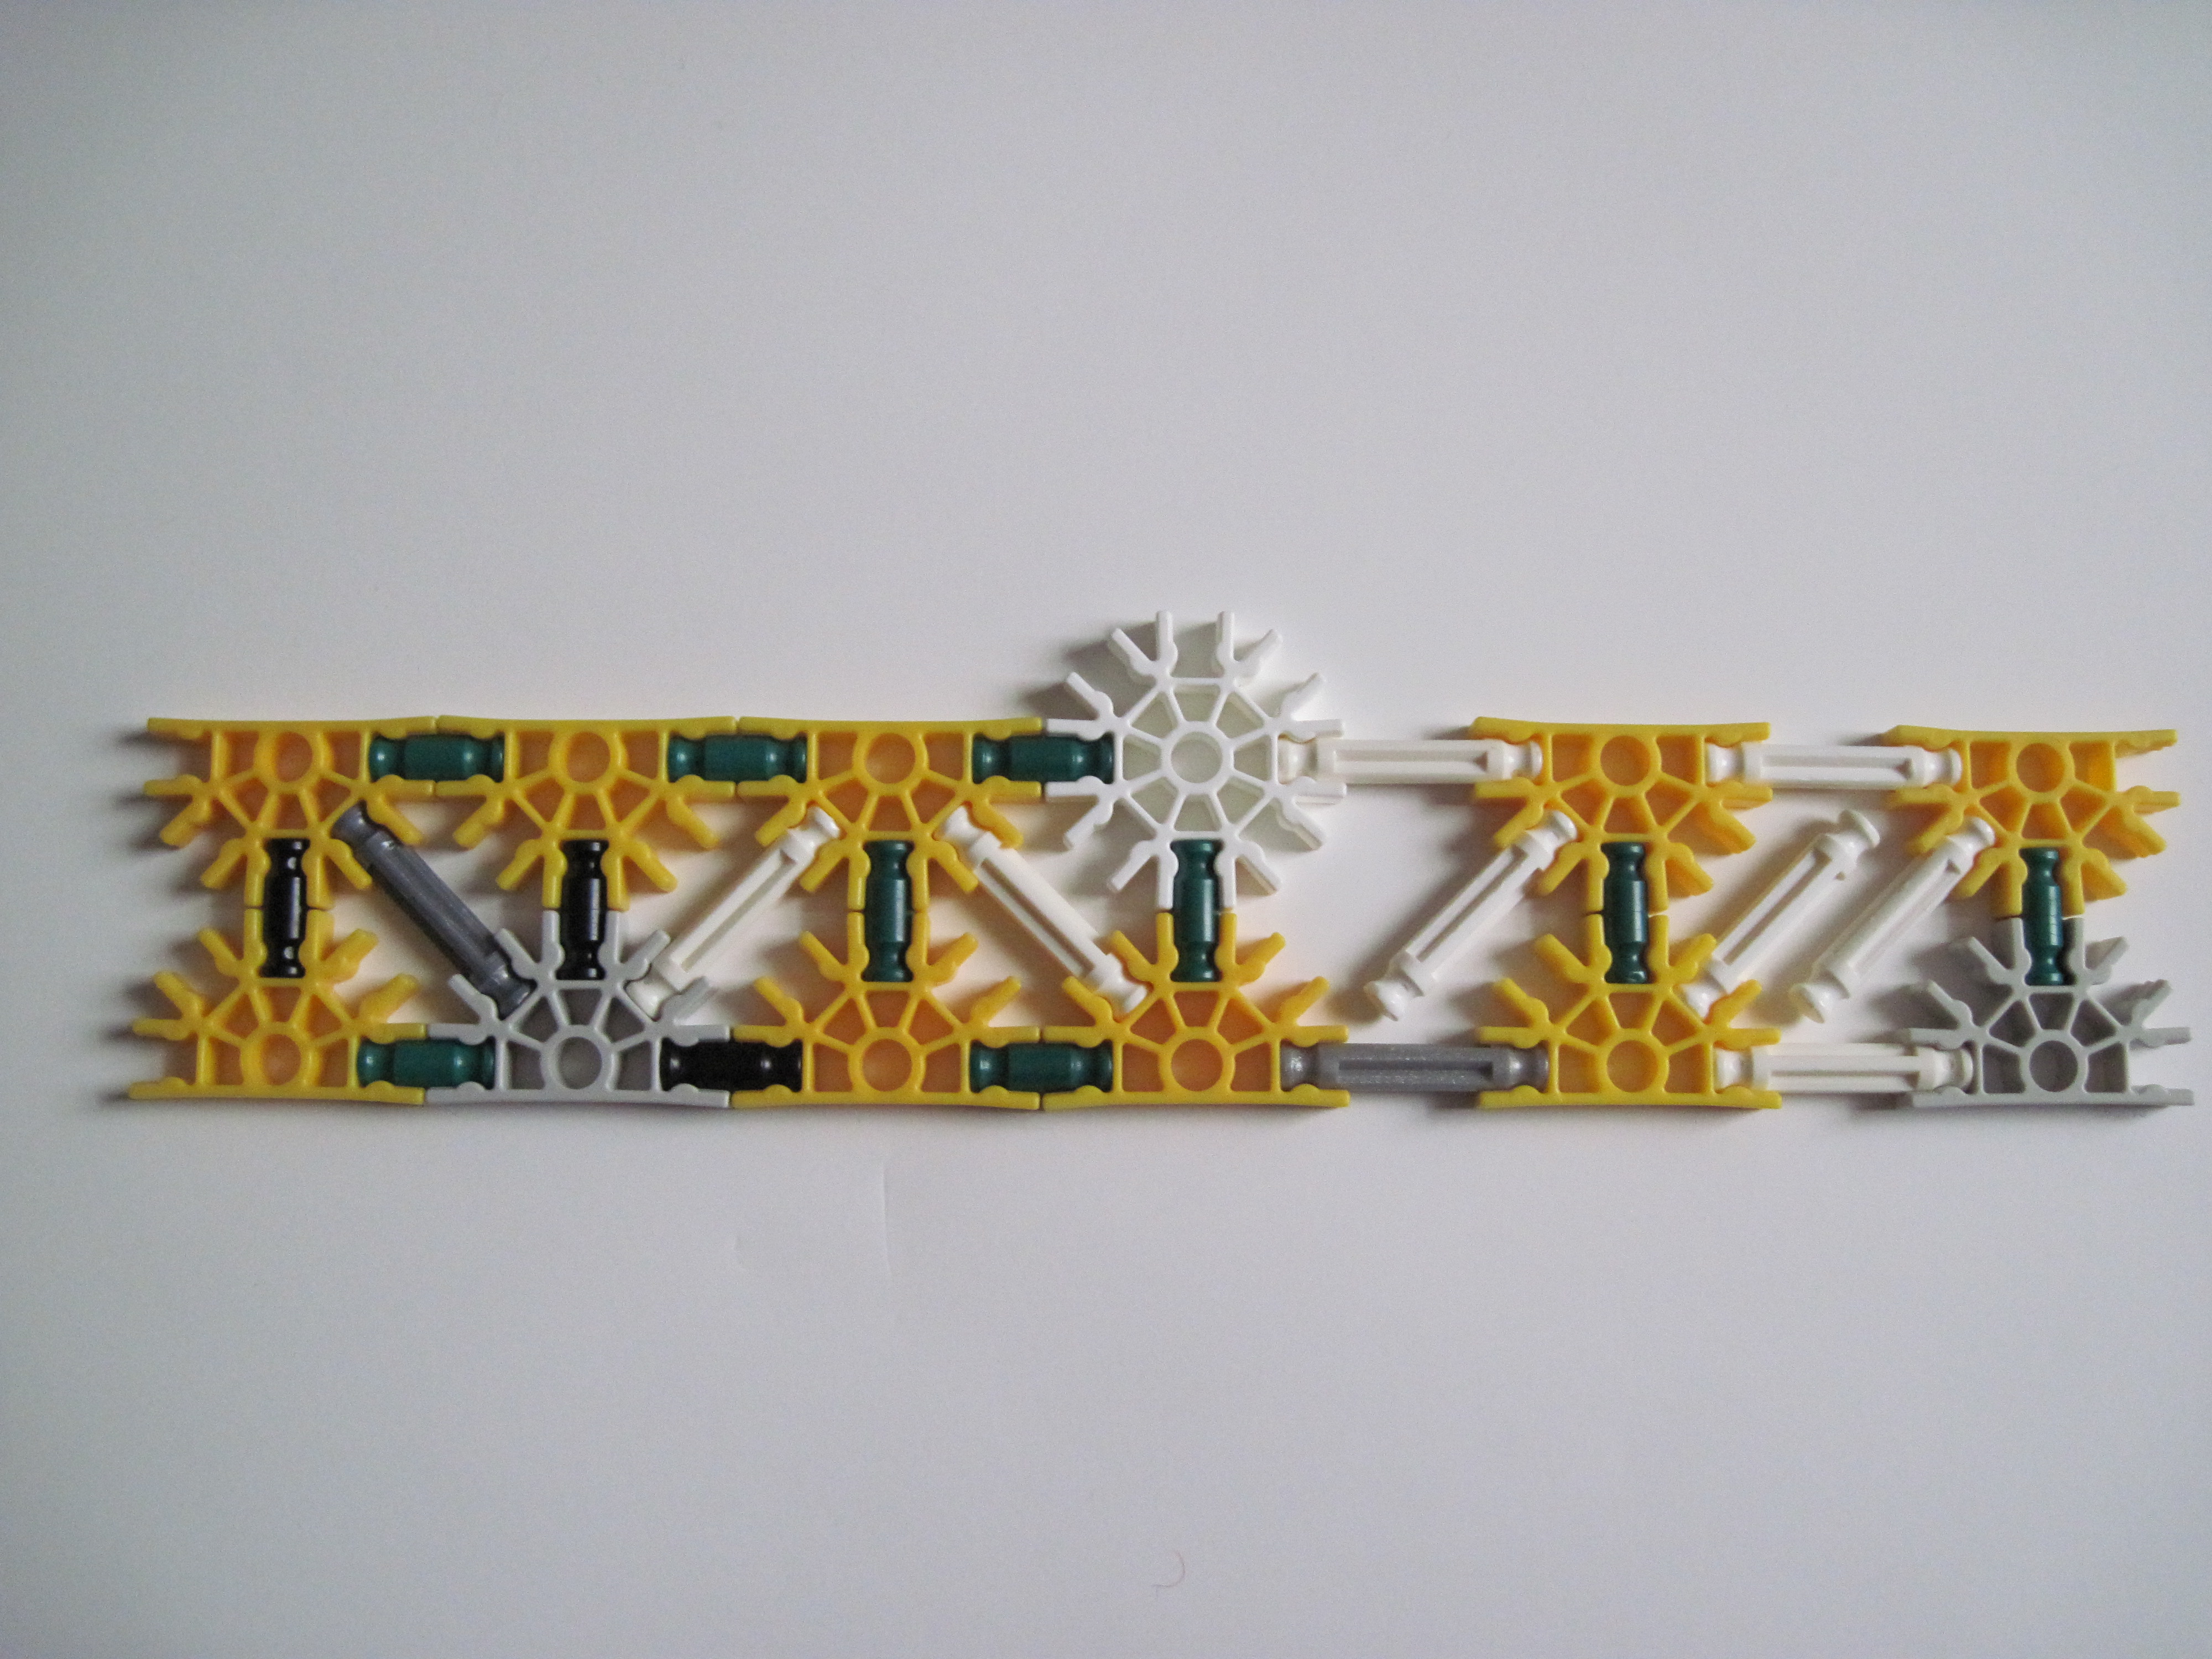


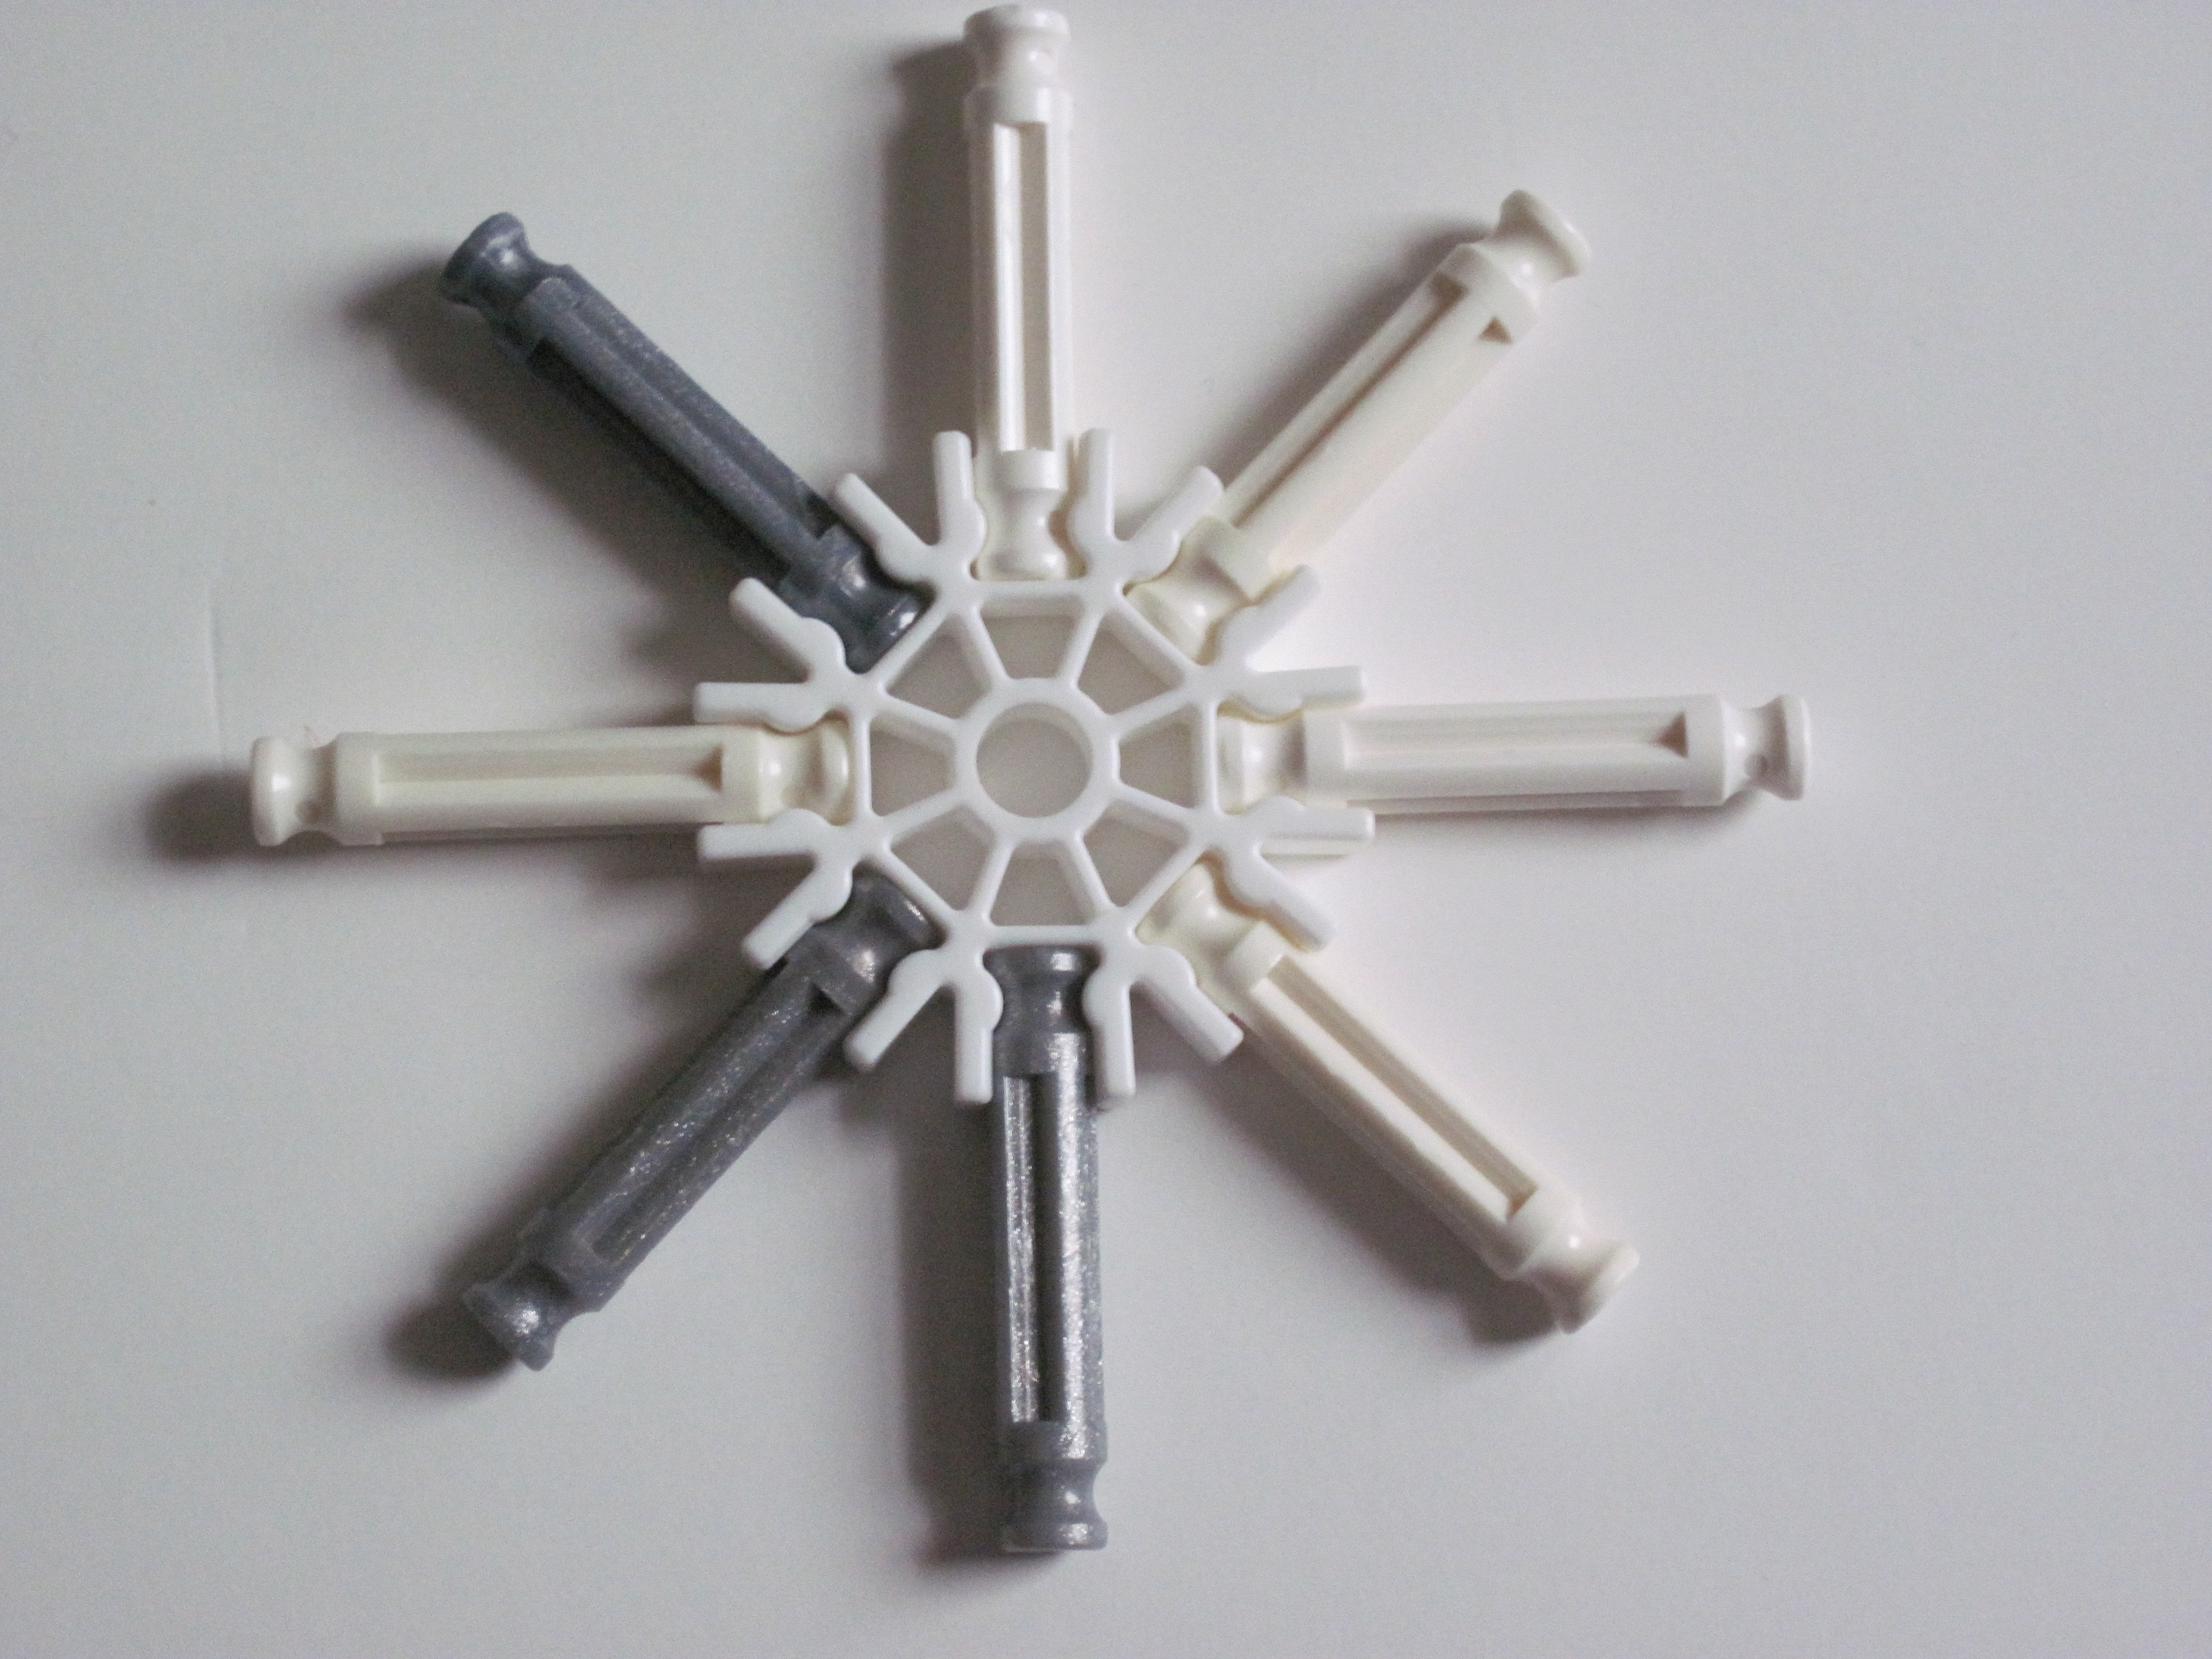
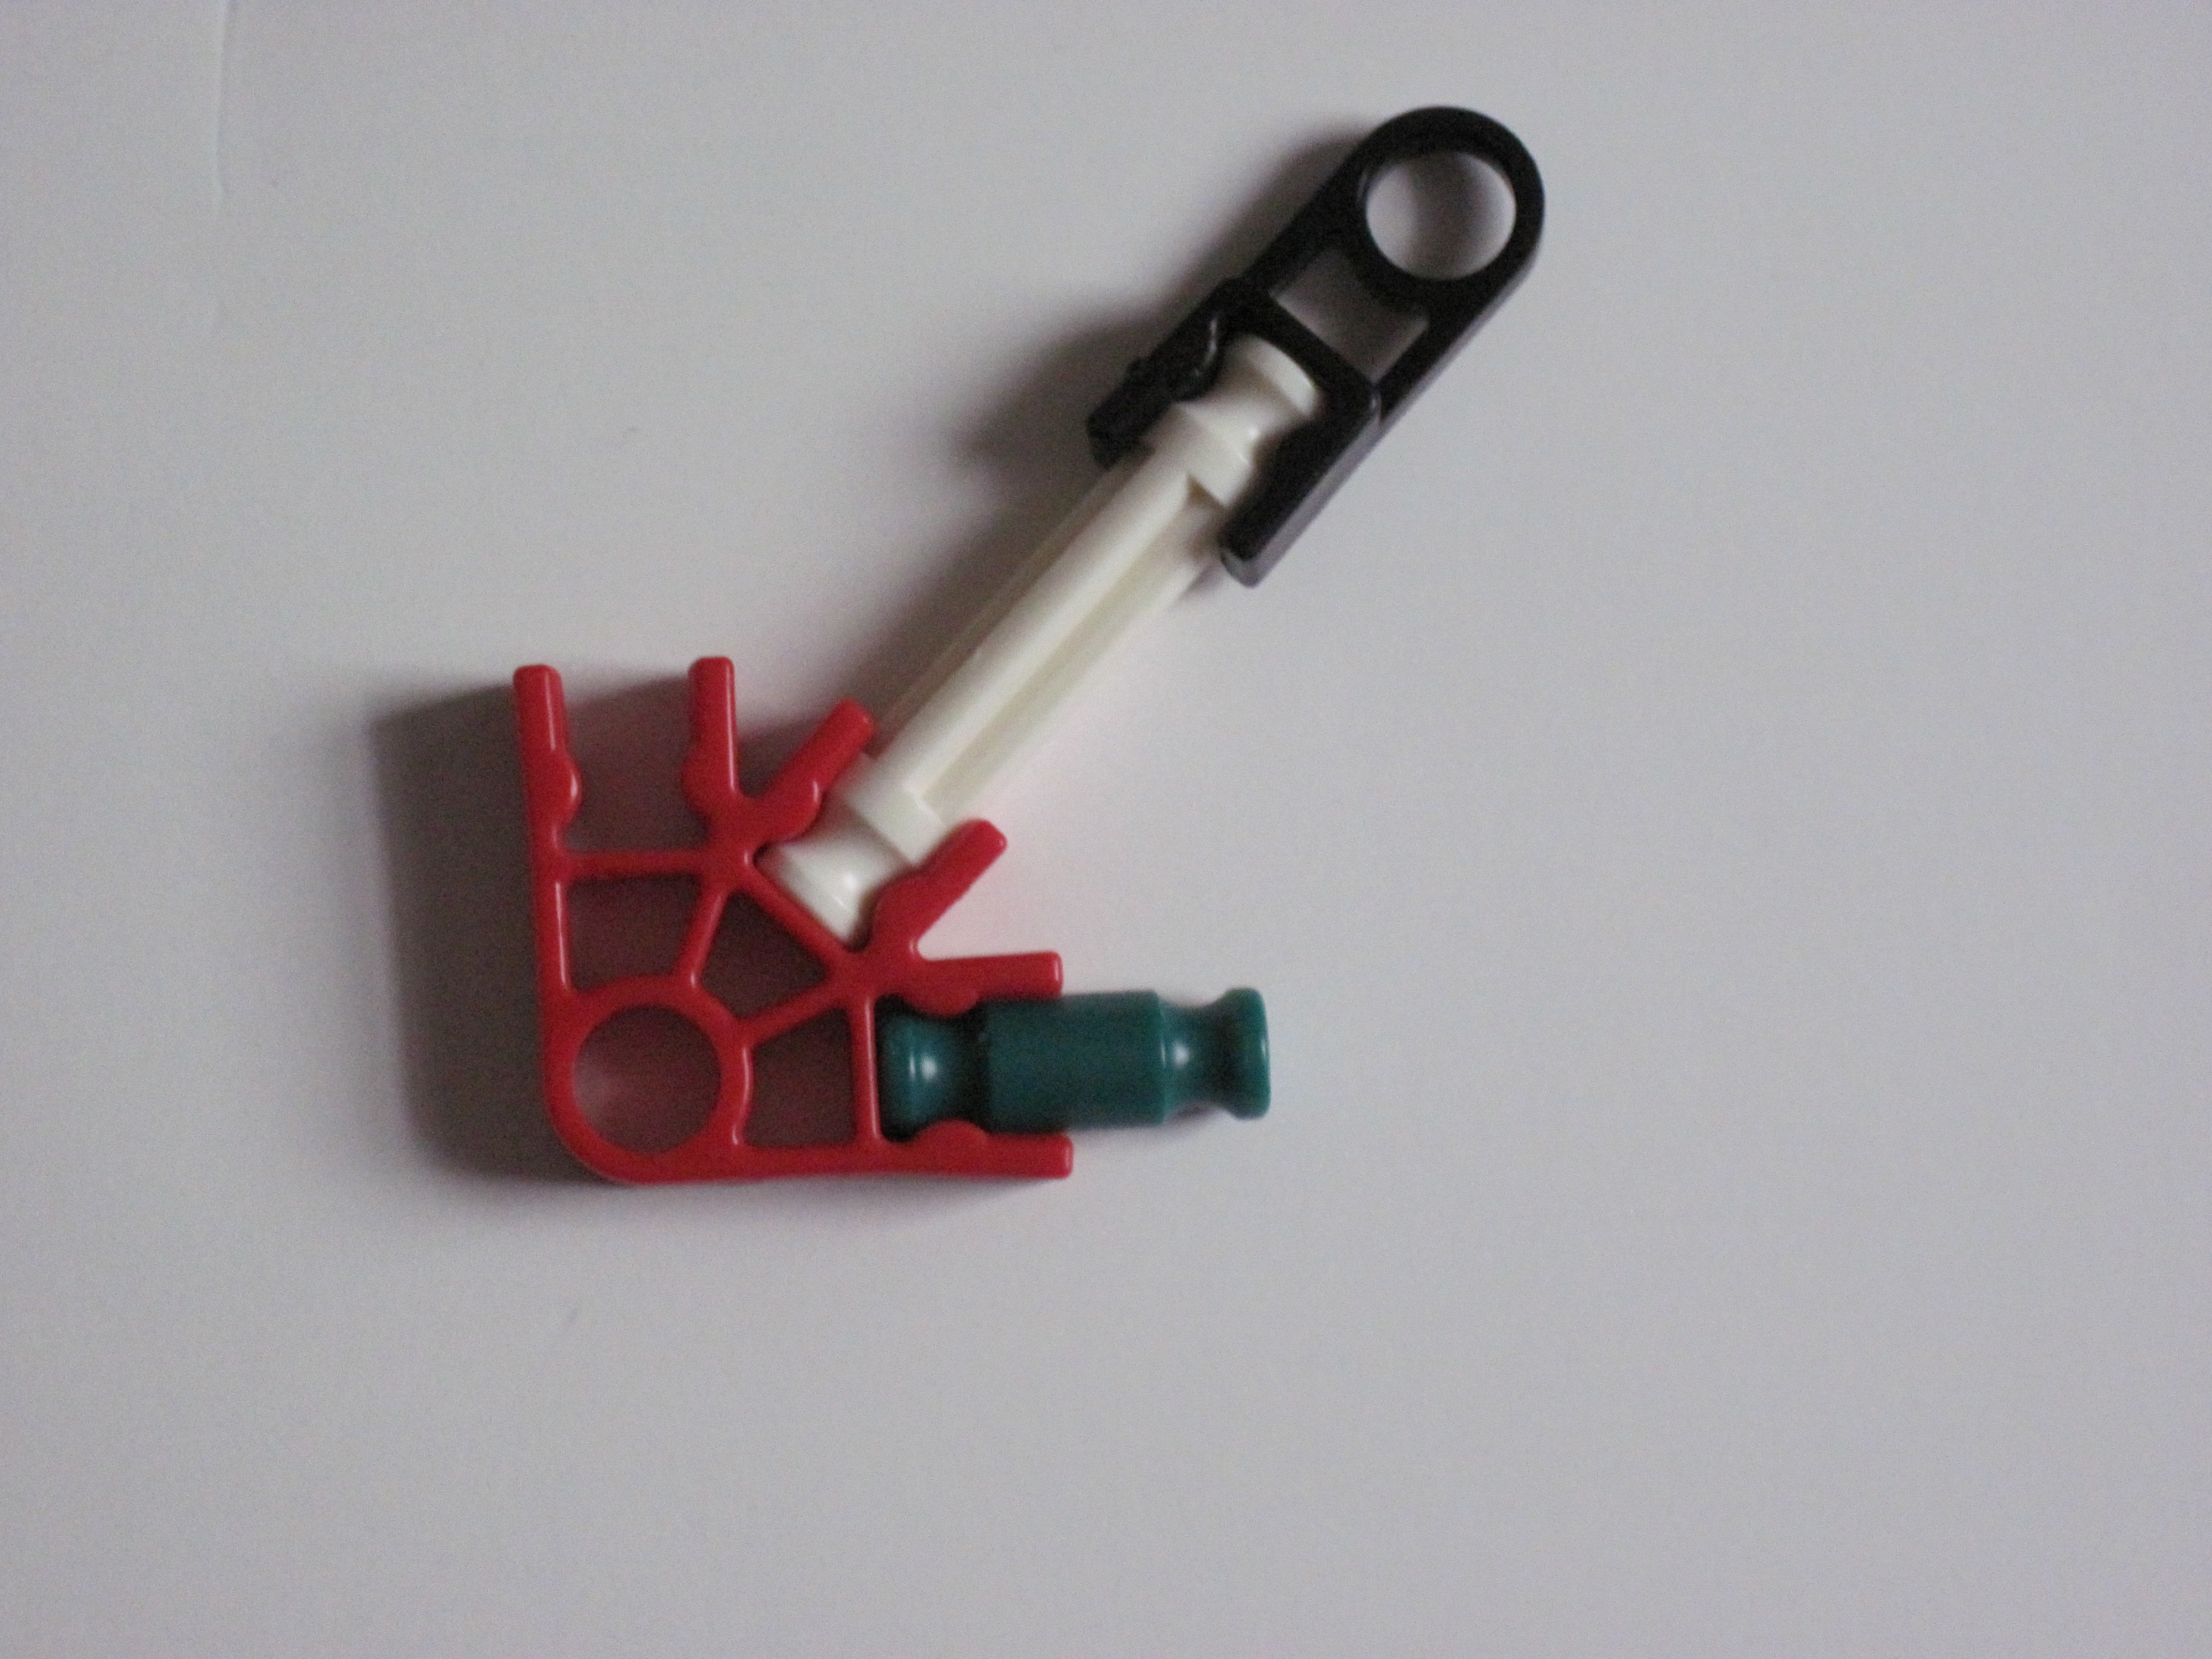
Make the following. Due to the large amount of parts each part will be assigned a letter:
Picture 1: Make 1. (Part A)
Picture 2: Make 1. (Part B)
Picture 3: Make 1. (Part C)
Picture 4: Make 1. (Part D)
Picture 5: Make 1. (Part E)
Picture 6: Make 1. (Part F)
Picture 7: Make 1. (Part G)
Picture 8: Make 1. (Part H)
Picture 9: Make 1. (Part I)
Picture 10: Make 1. (Part J)
Picture 11: Make 1. (Part K)
Picture 12: Make 1. (Part L)
Picture 13: Make 1. (Part M)
Trigger/Ammo Feed: Construction

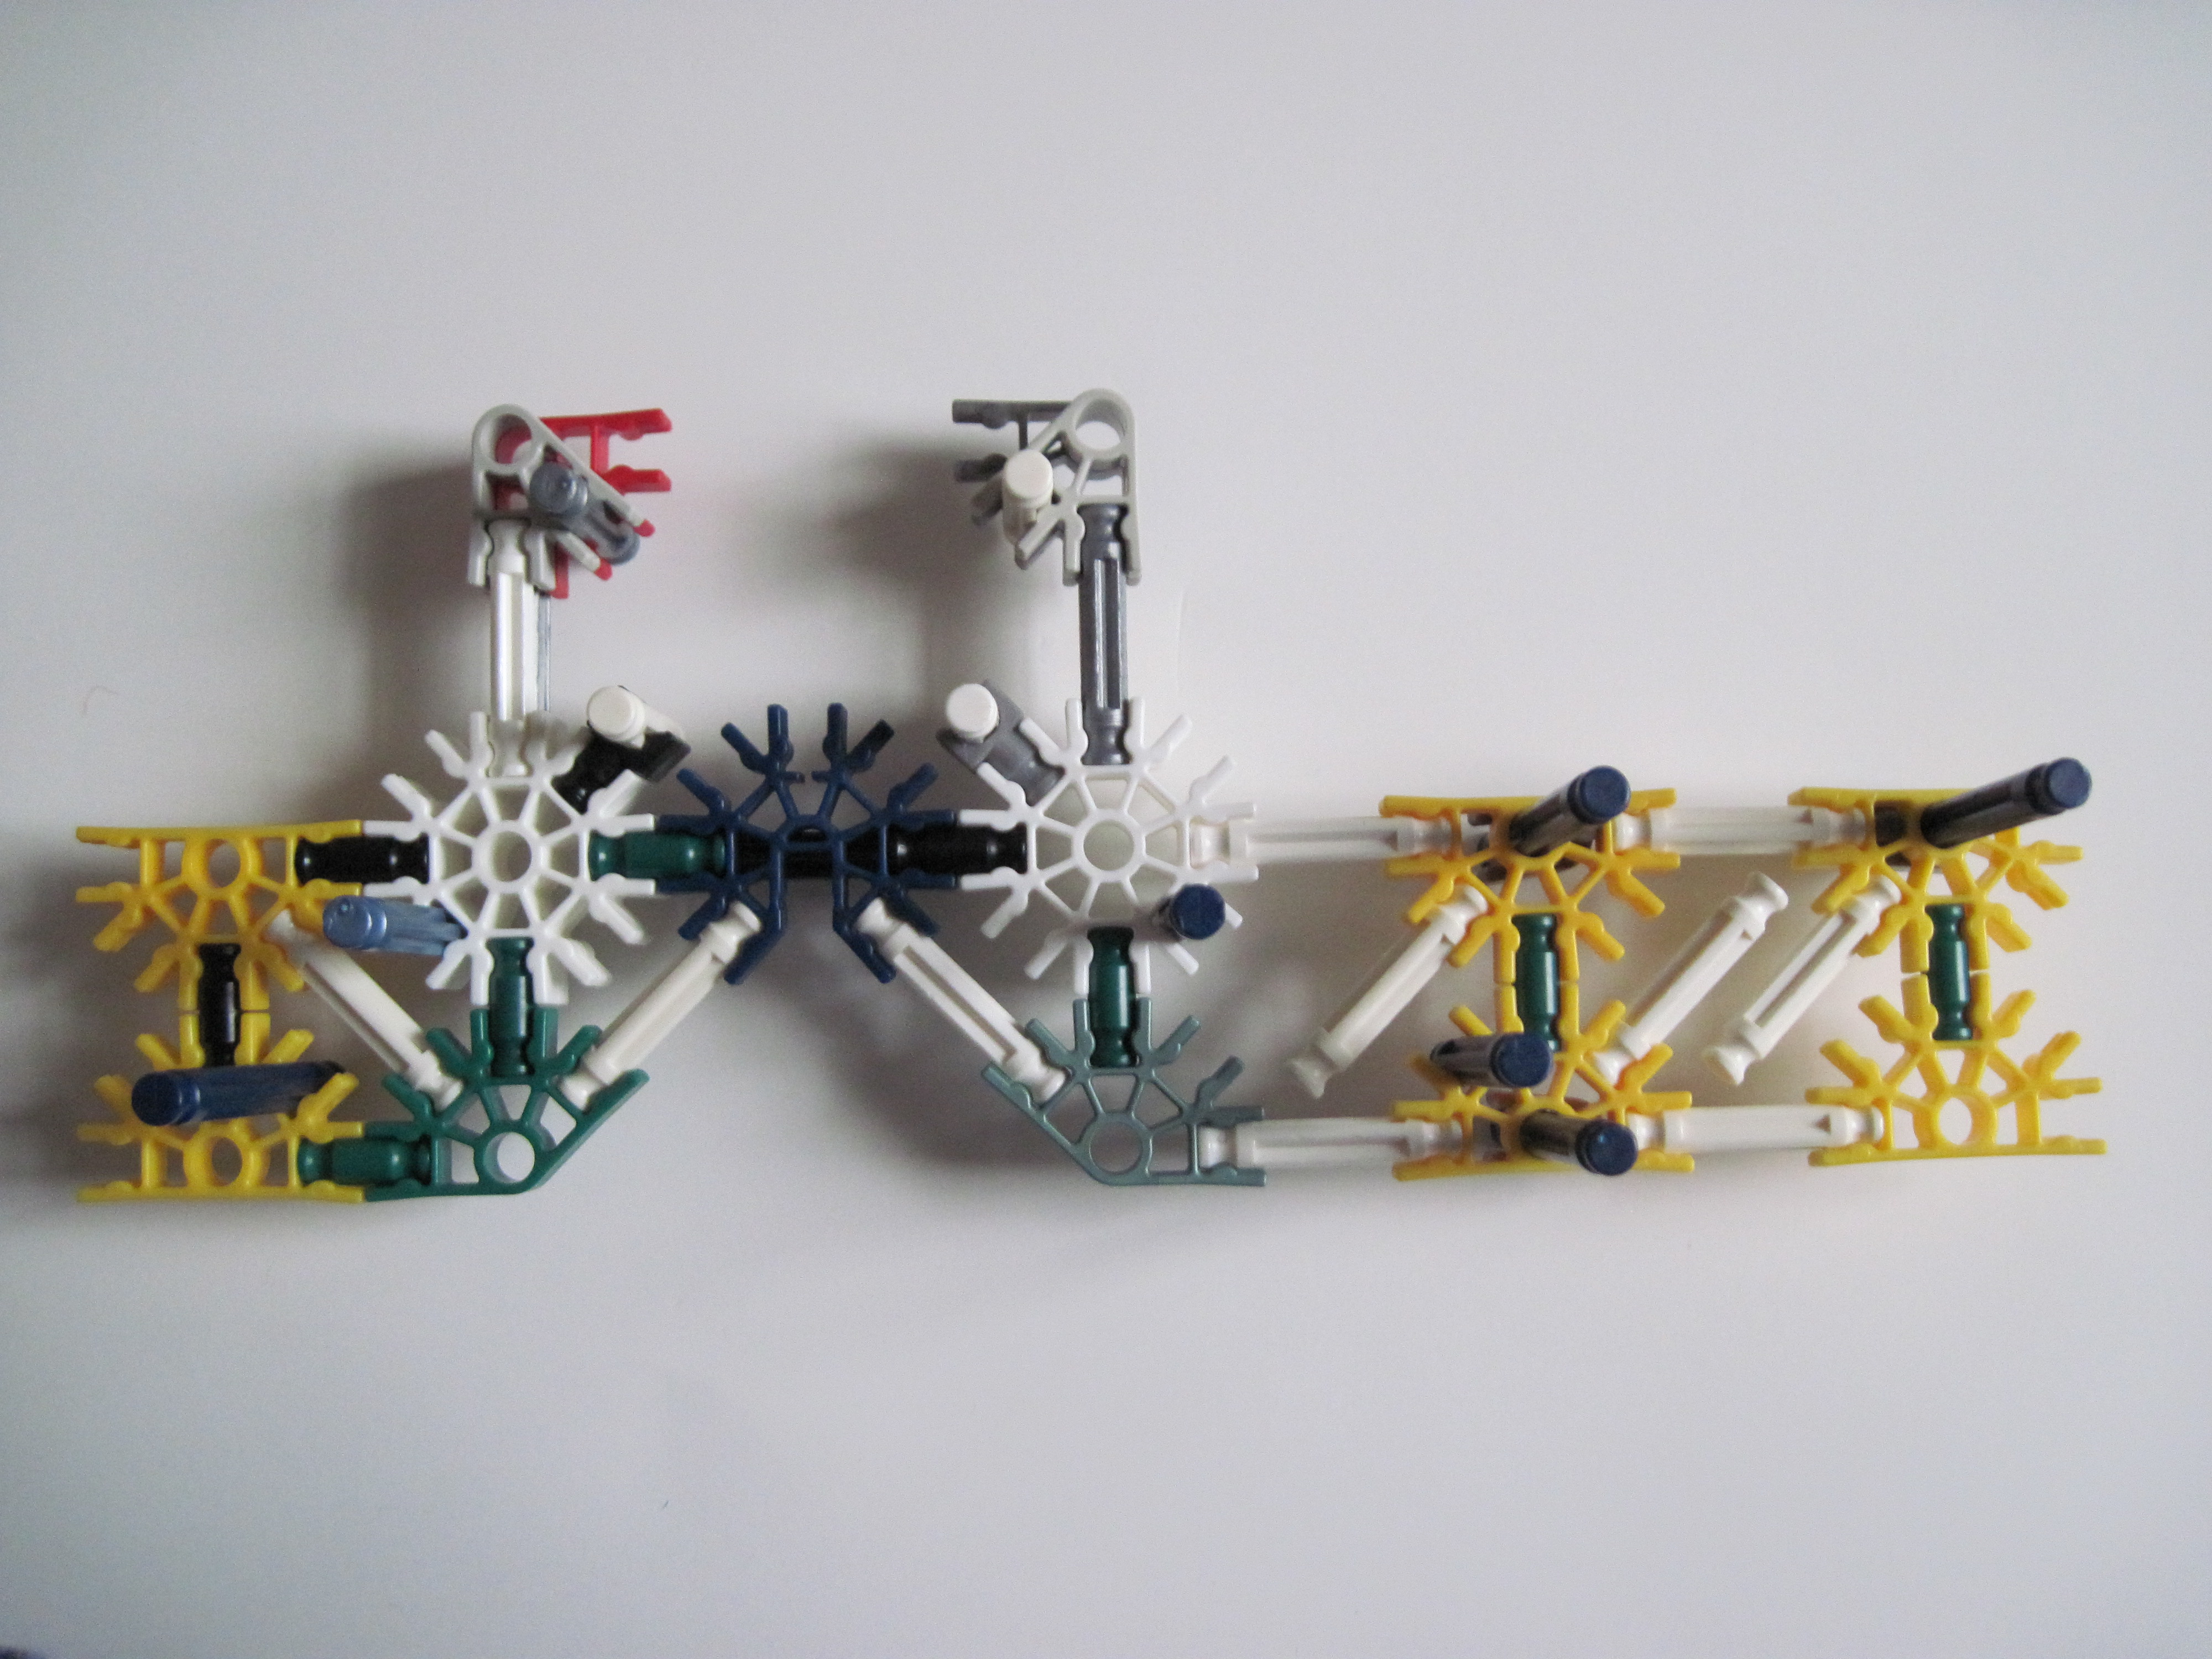
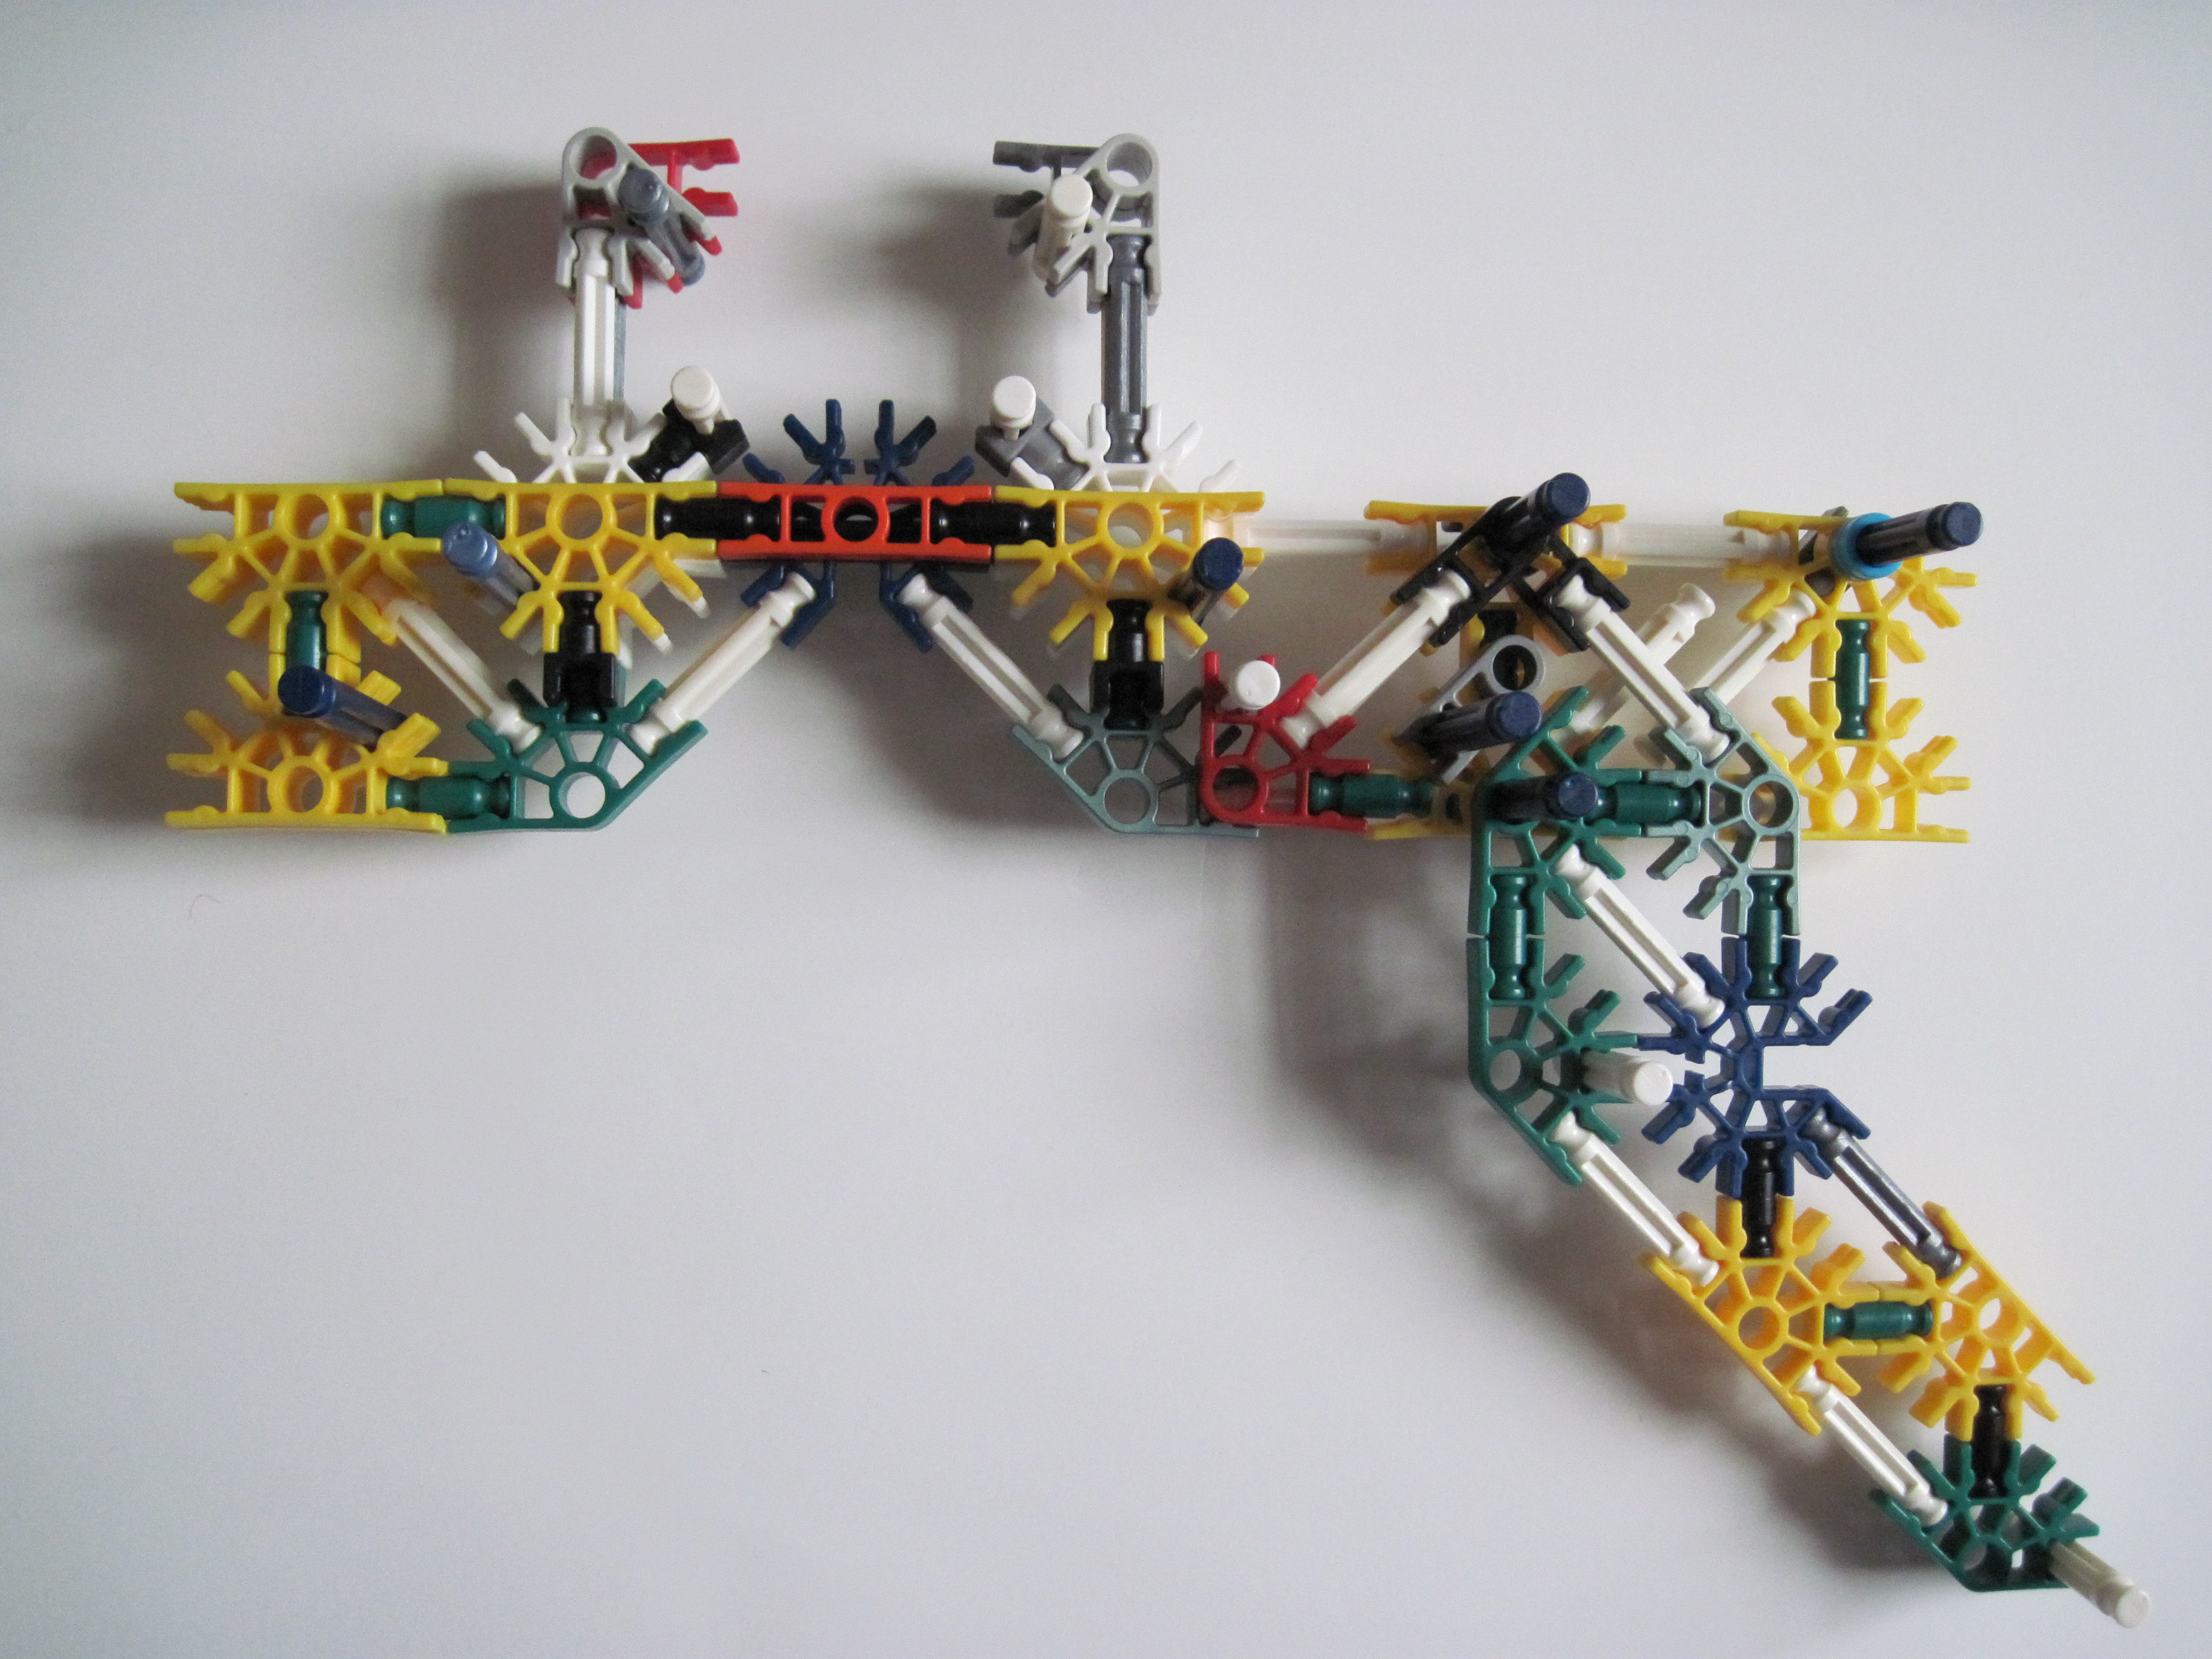
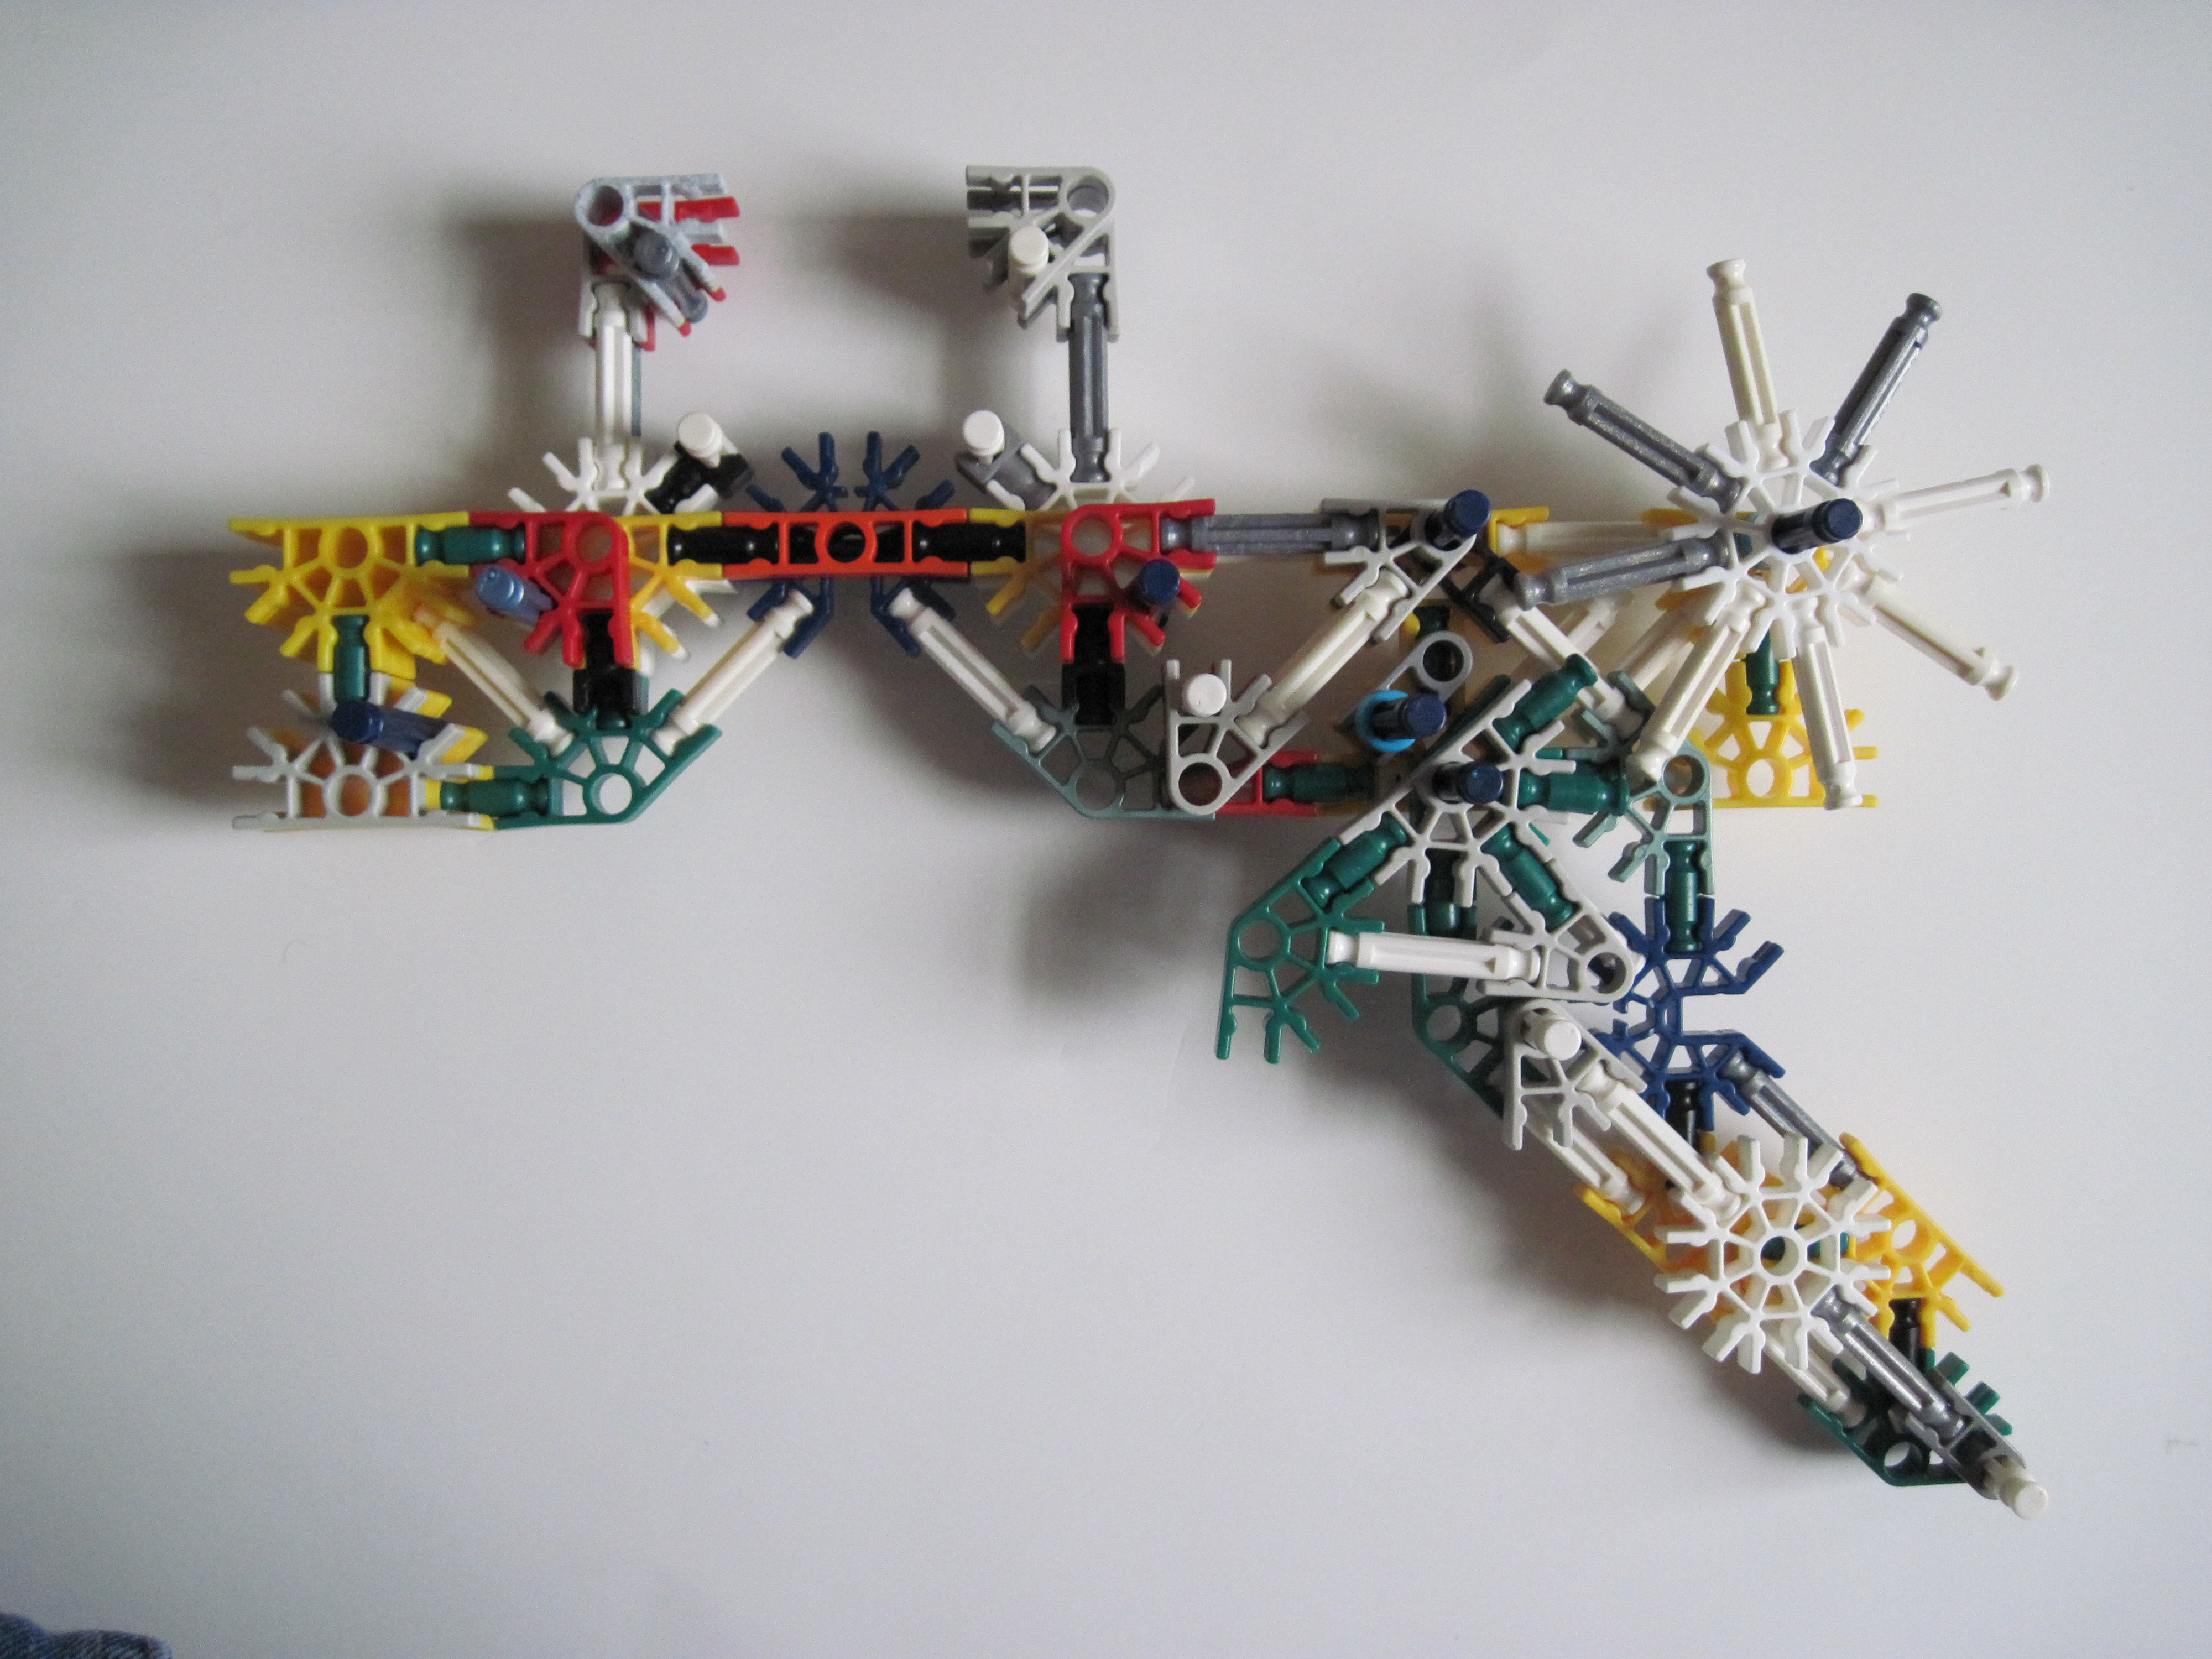
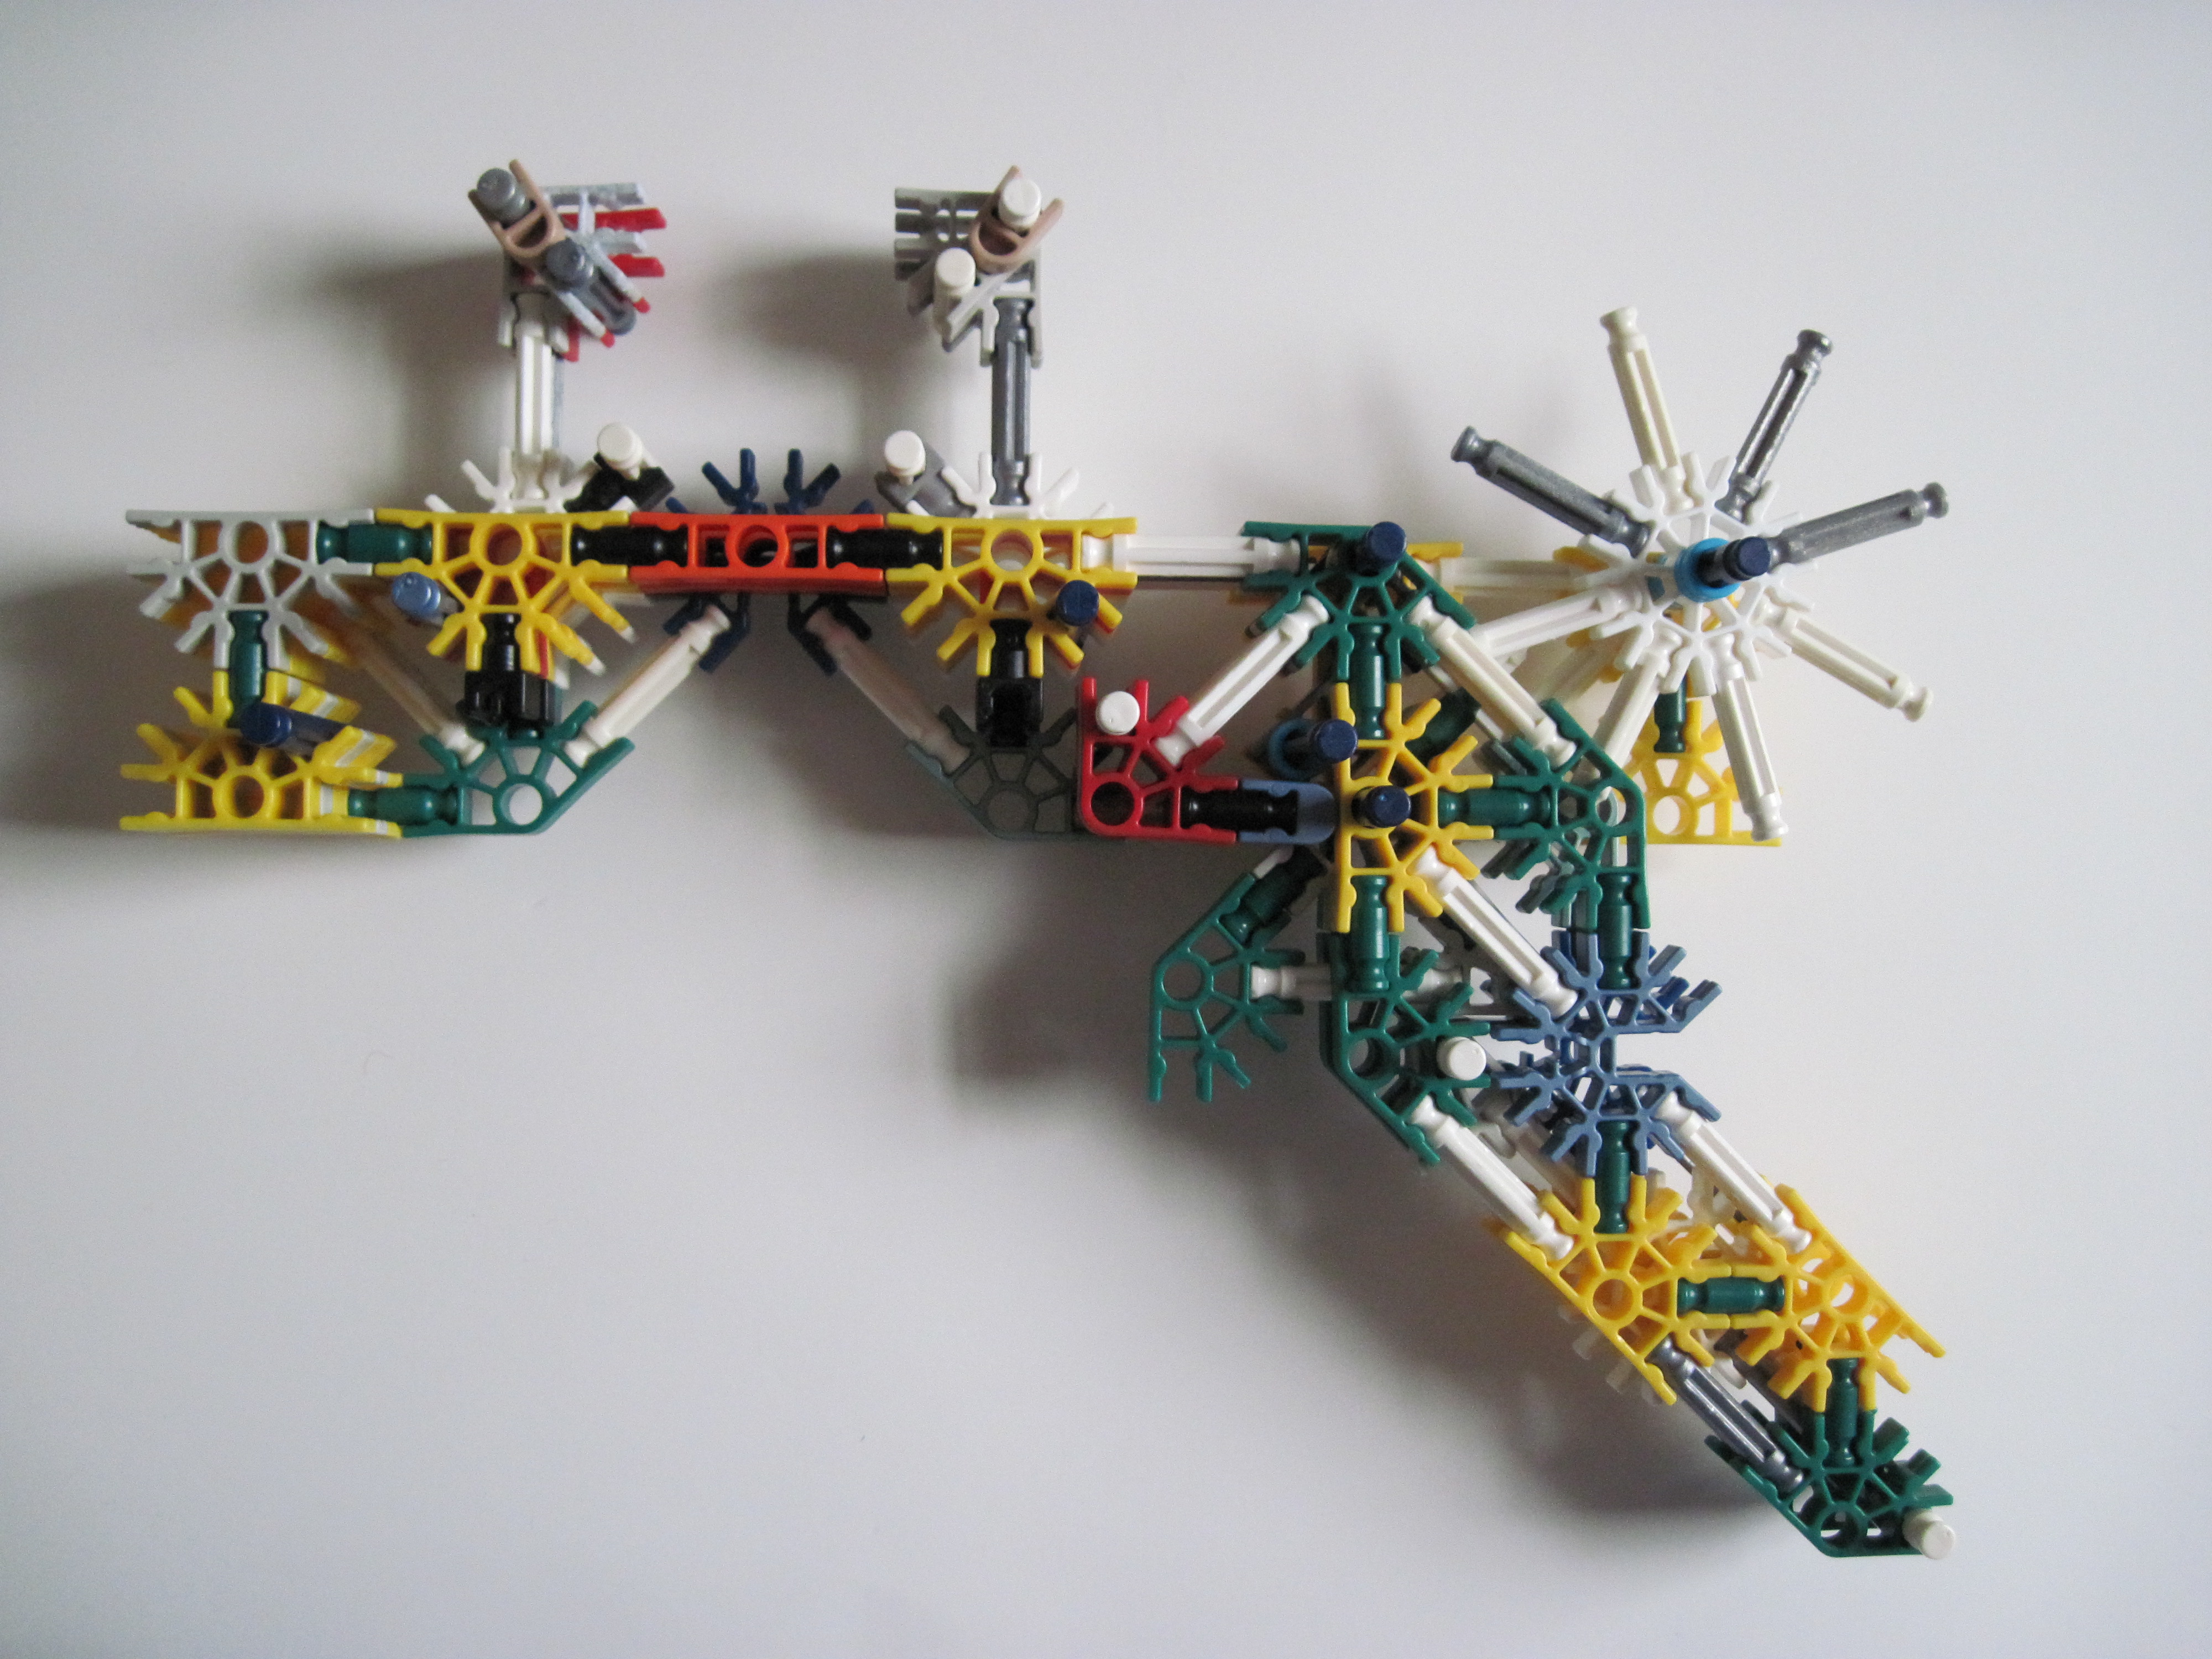


Follow the images:
Picture 1: Place blue and white rods as shown on Part A.
Picture 2: Place Part B on Part A and add blue rods and blue rods with tan connectors.
Picture 3: Place Parts C, E, and M as shown and add a gray connector and blue spacers where shown
Picture 4: Place Parts D, H, I, K, L and add gray connectors and blue spacers where shown.
Picture 5: Place 2 white rods with tan clips and 2 blue spacers, and add Part F.
Picture 6: Place Part G.
Picture 7: Add Part J and metallic blue clips.
Magazine: Making the Components


Make the following:
Picture 1: Make 2.
Picture 2: Make 2.
Picture 3: Make 1.
Picture 4: Make 1.
Picture 1: Make 2.
Picture 2: Make 2.
Picture 3: Make 1.
Picture 4: Make 1.
Magazine: Construction


Follow the images:
Picture 1: Add white rods.
Picture 2: Add the two earlier made parts.
Picture 3: Cover with the other part.
Picture 4: Finished mag with ammo, ammo pusher, and pin in place.
Picture 1: Add white rods.
Picture 2: Add the two earlier made parts.
Picture 3: Cover with the other part.
Picture 4: Finished mag with ammo, ammo pusher, and pin in place.
Putting It All Together

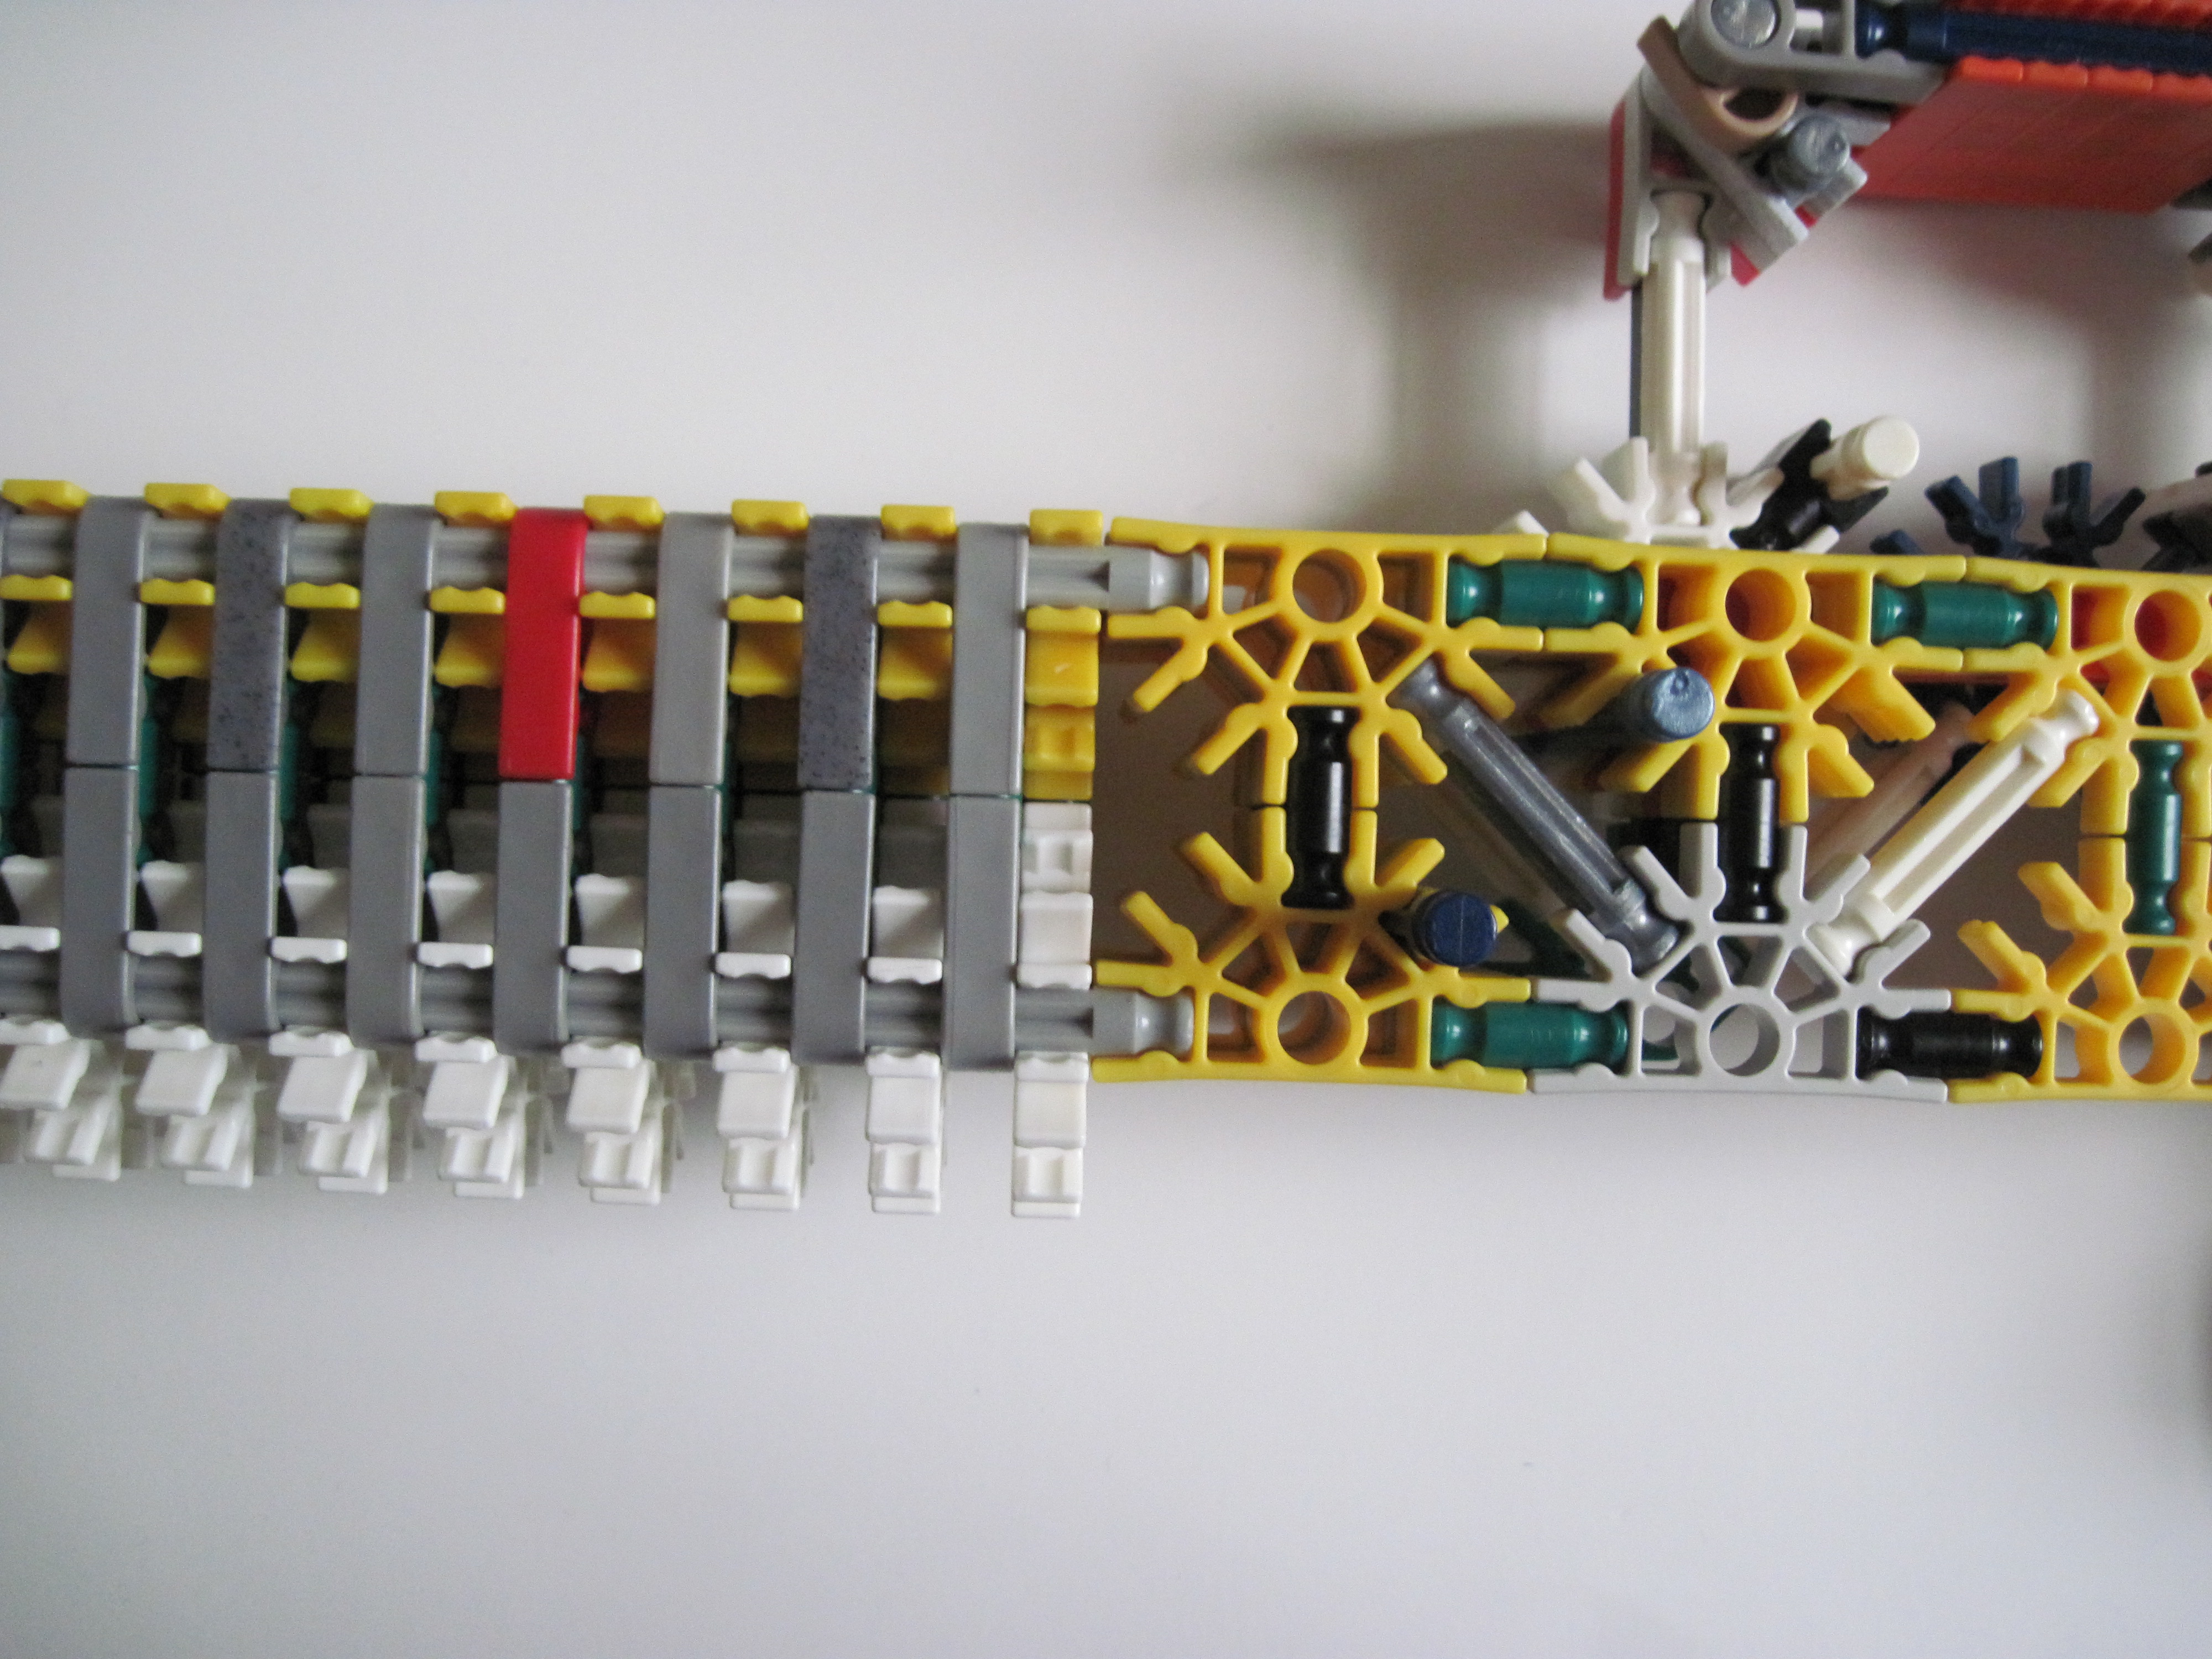
Follow the images:
Picture 1: Attach the stock to the trigger/ammo-feed as shown.
Picture 2: Attach the barrel to the trigger/ammo-feed as shown.
Picture 1: Attach the stock to the trigger/ammo-feed as shown.
Picture 2: Attach the barrel to the trigger/ammo-feed as shown.
Loading and Firing


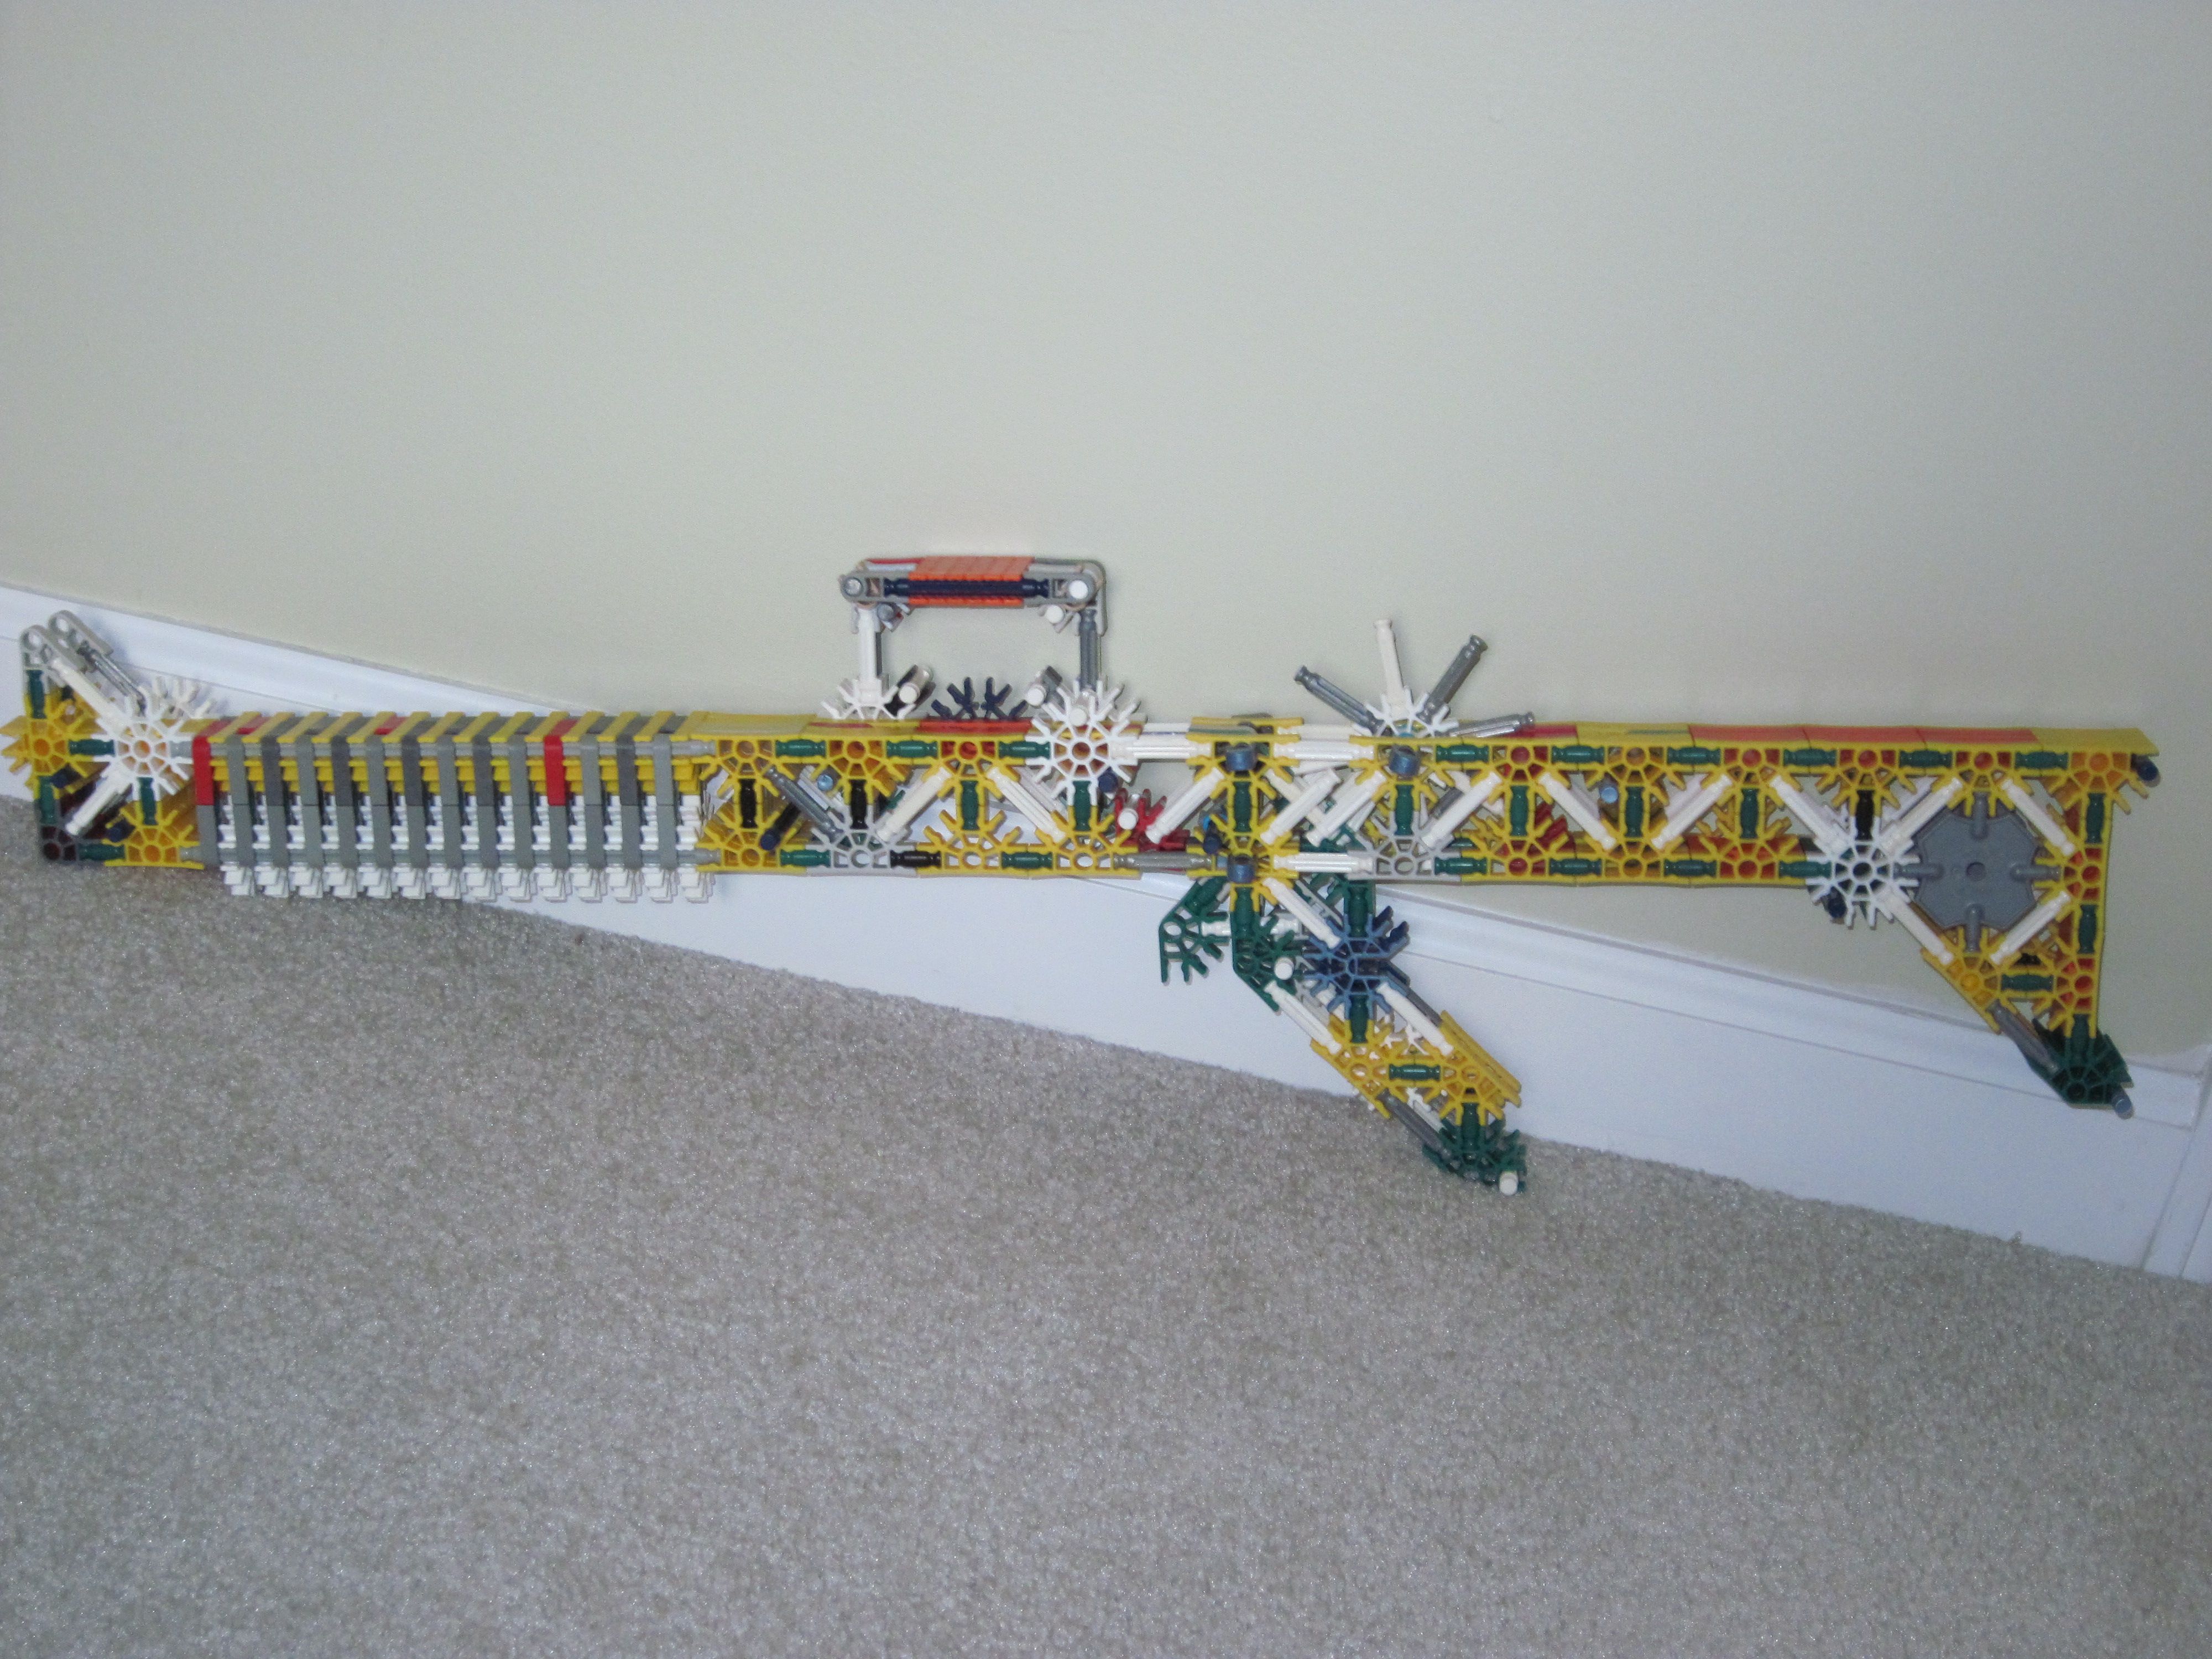

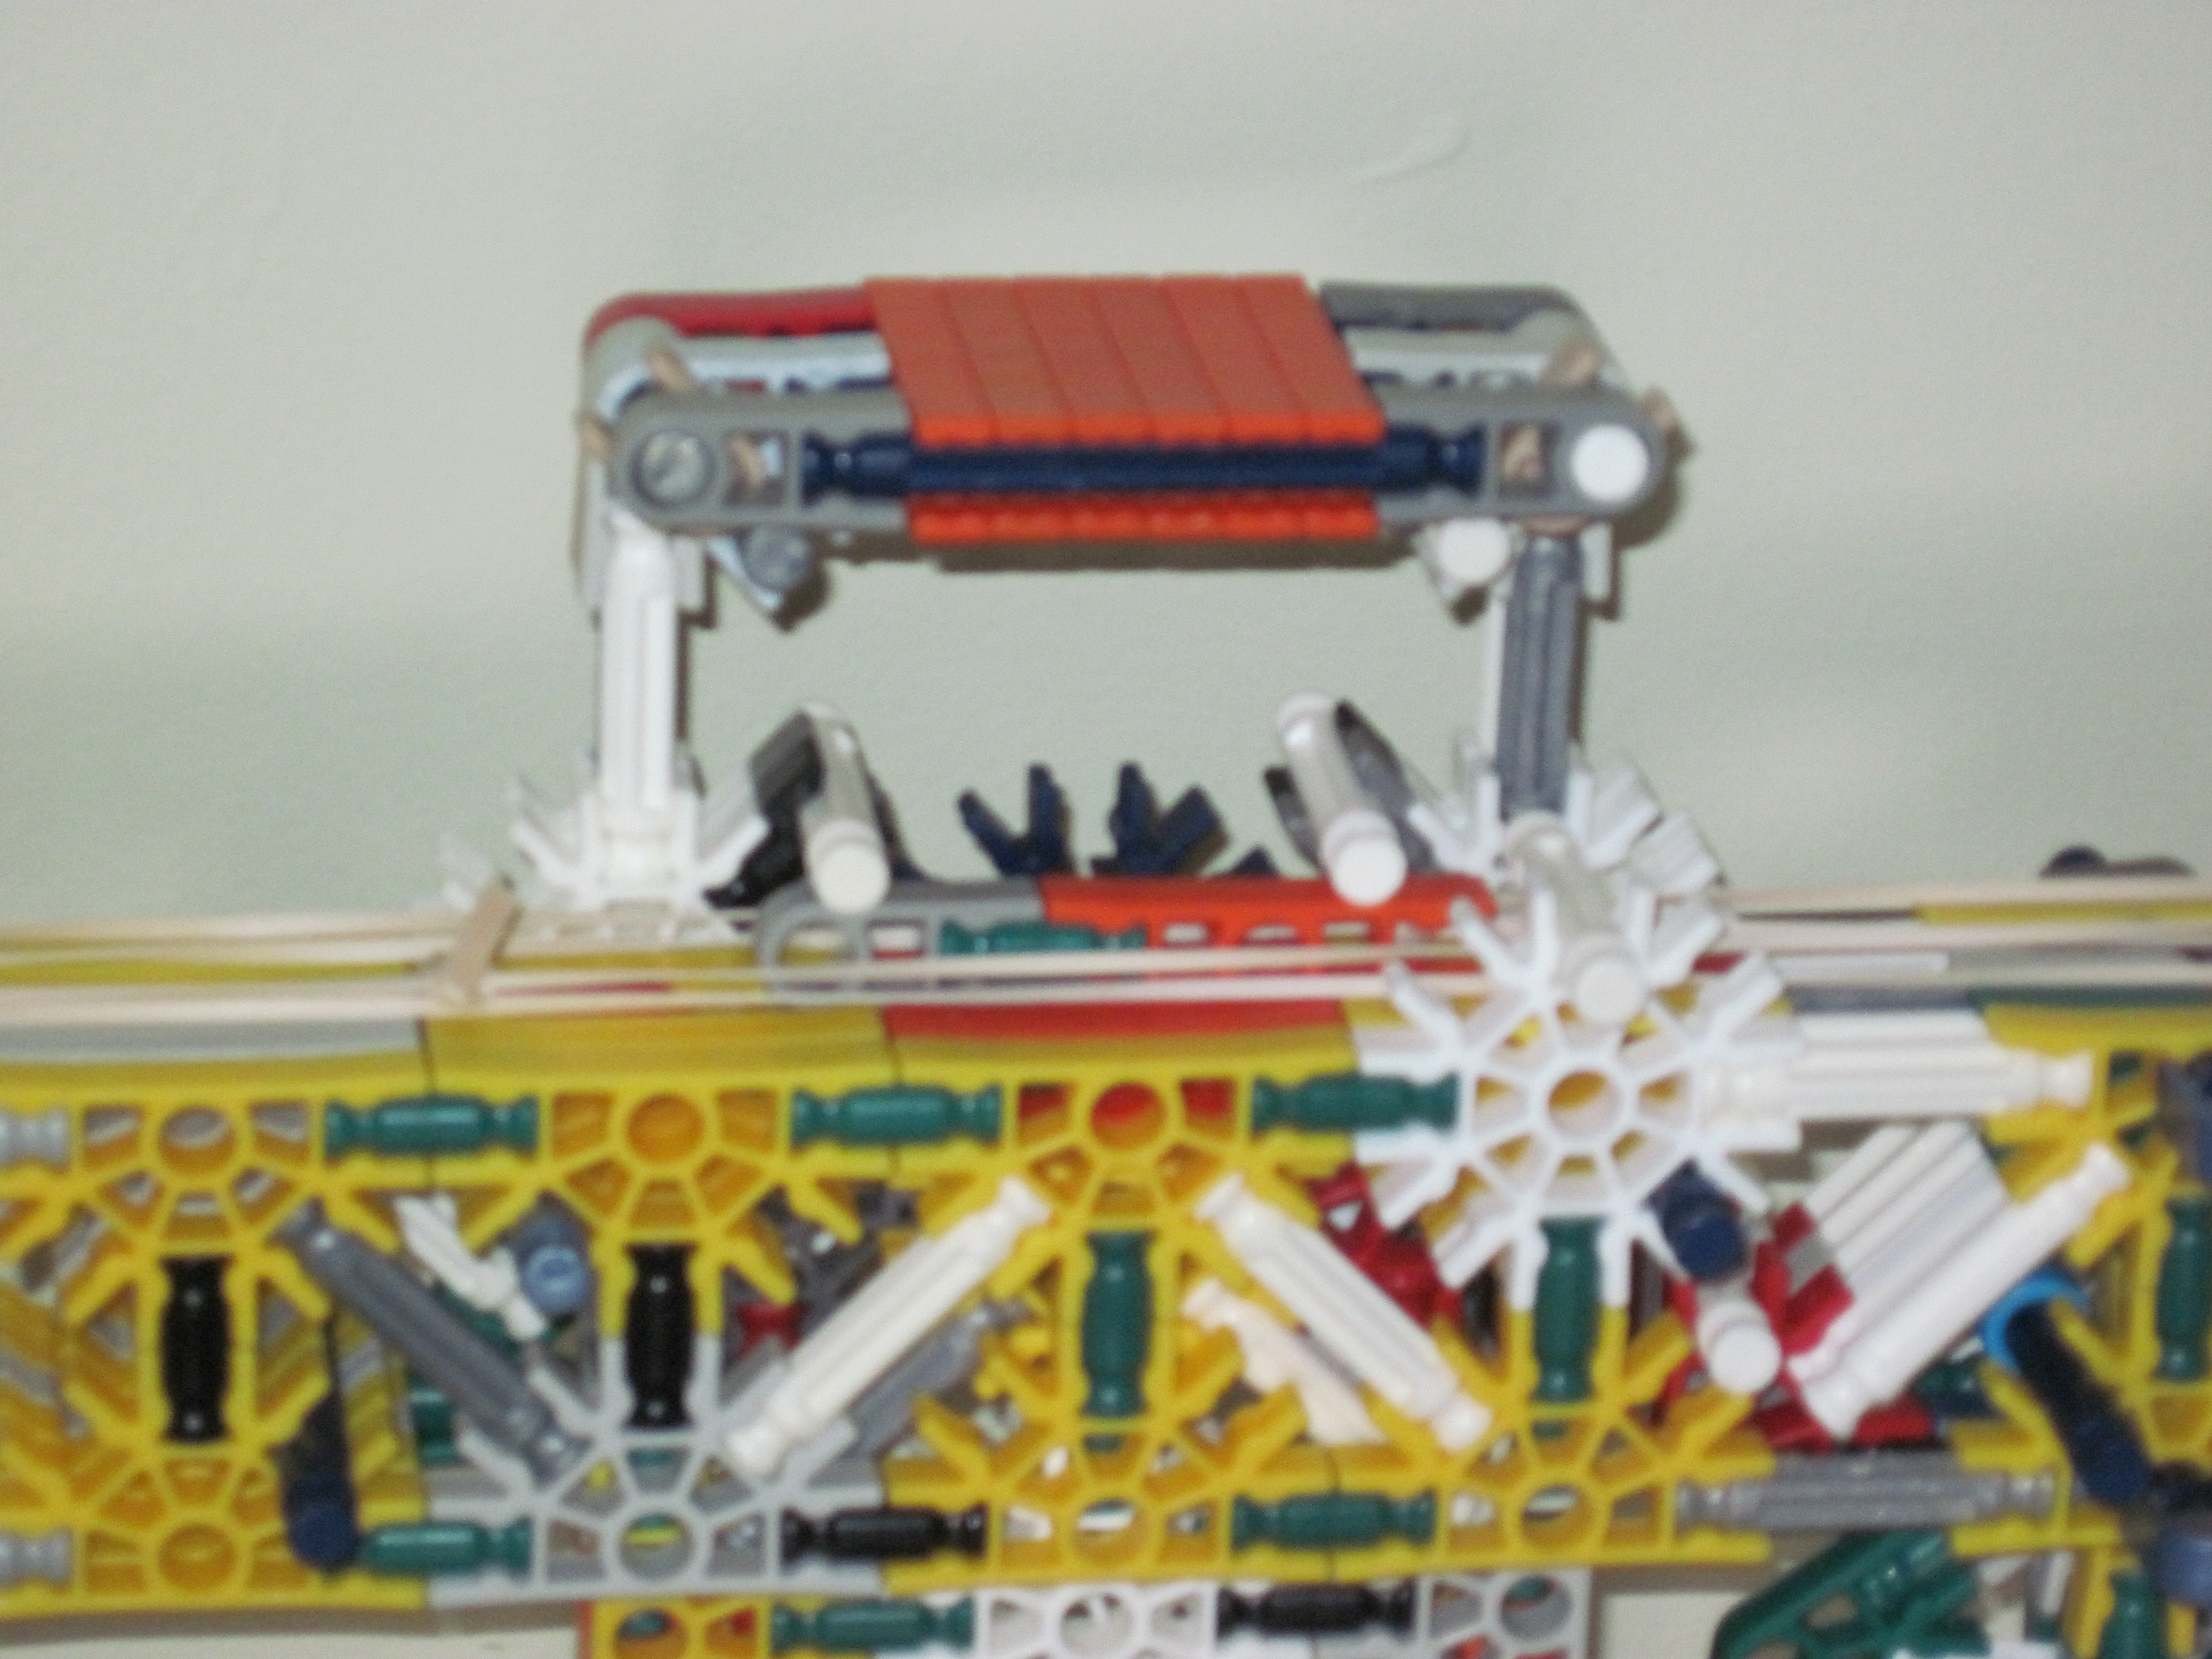
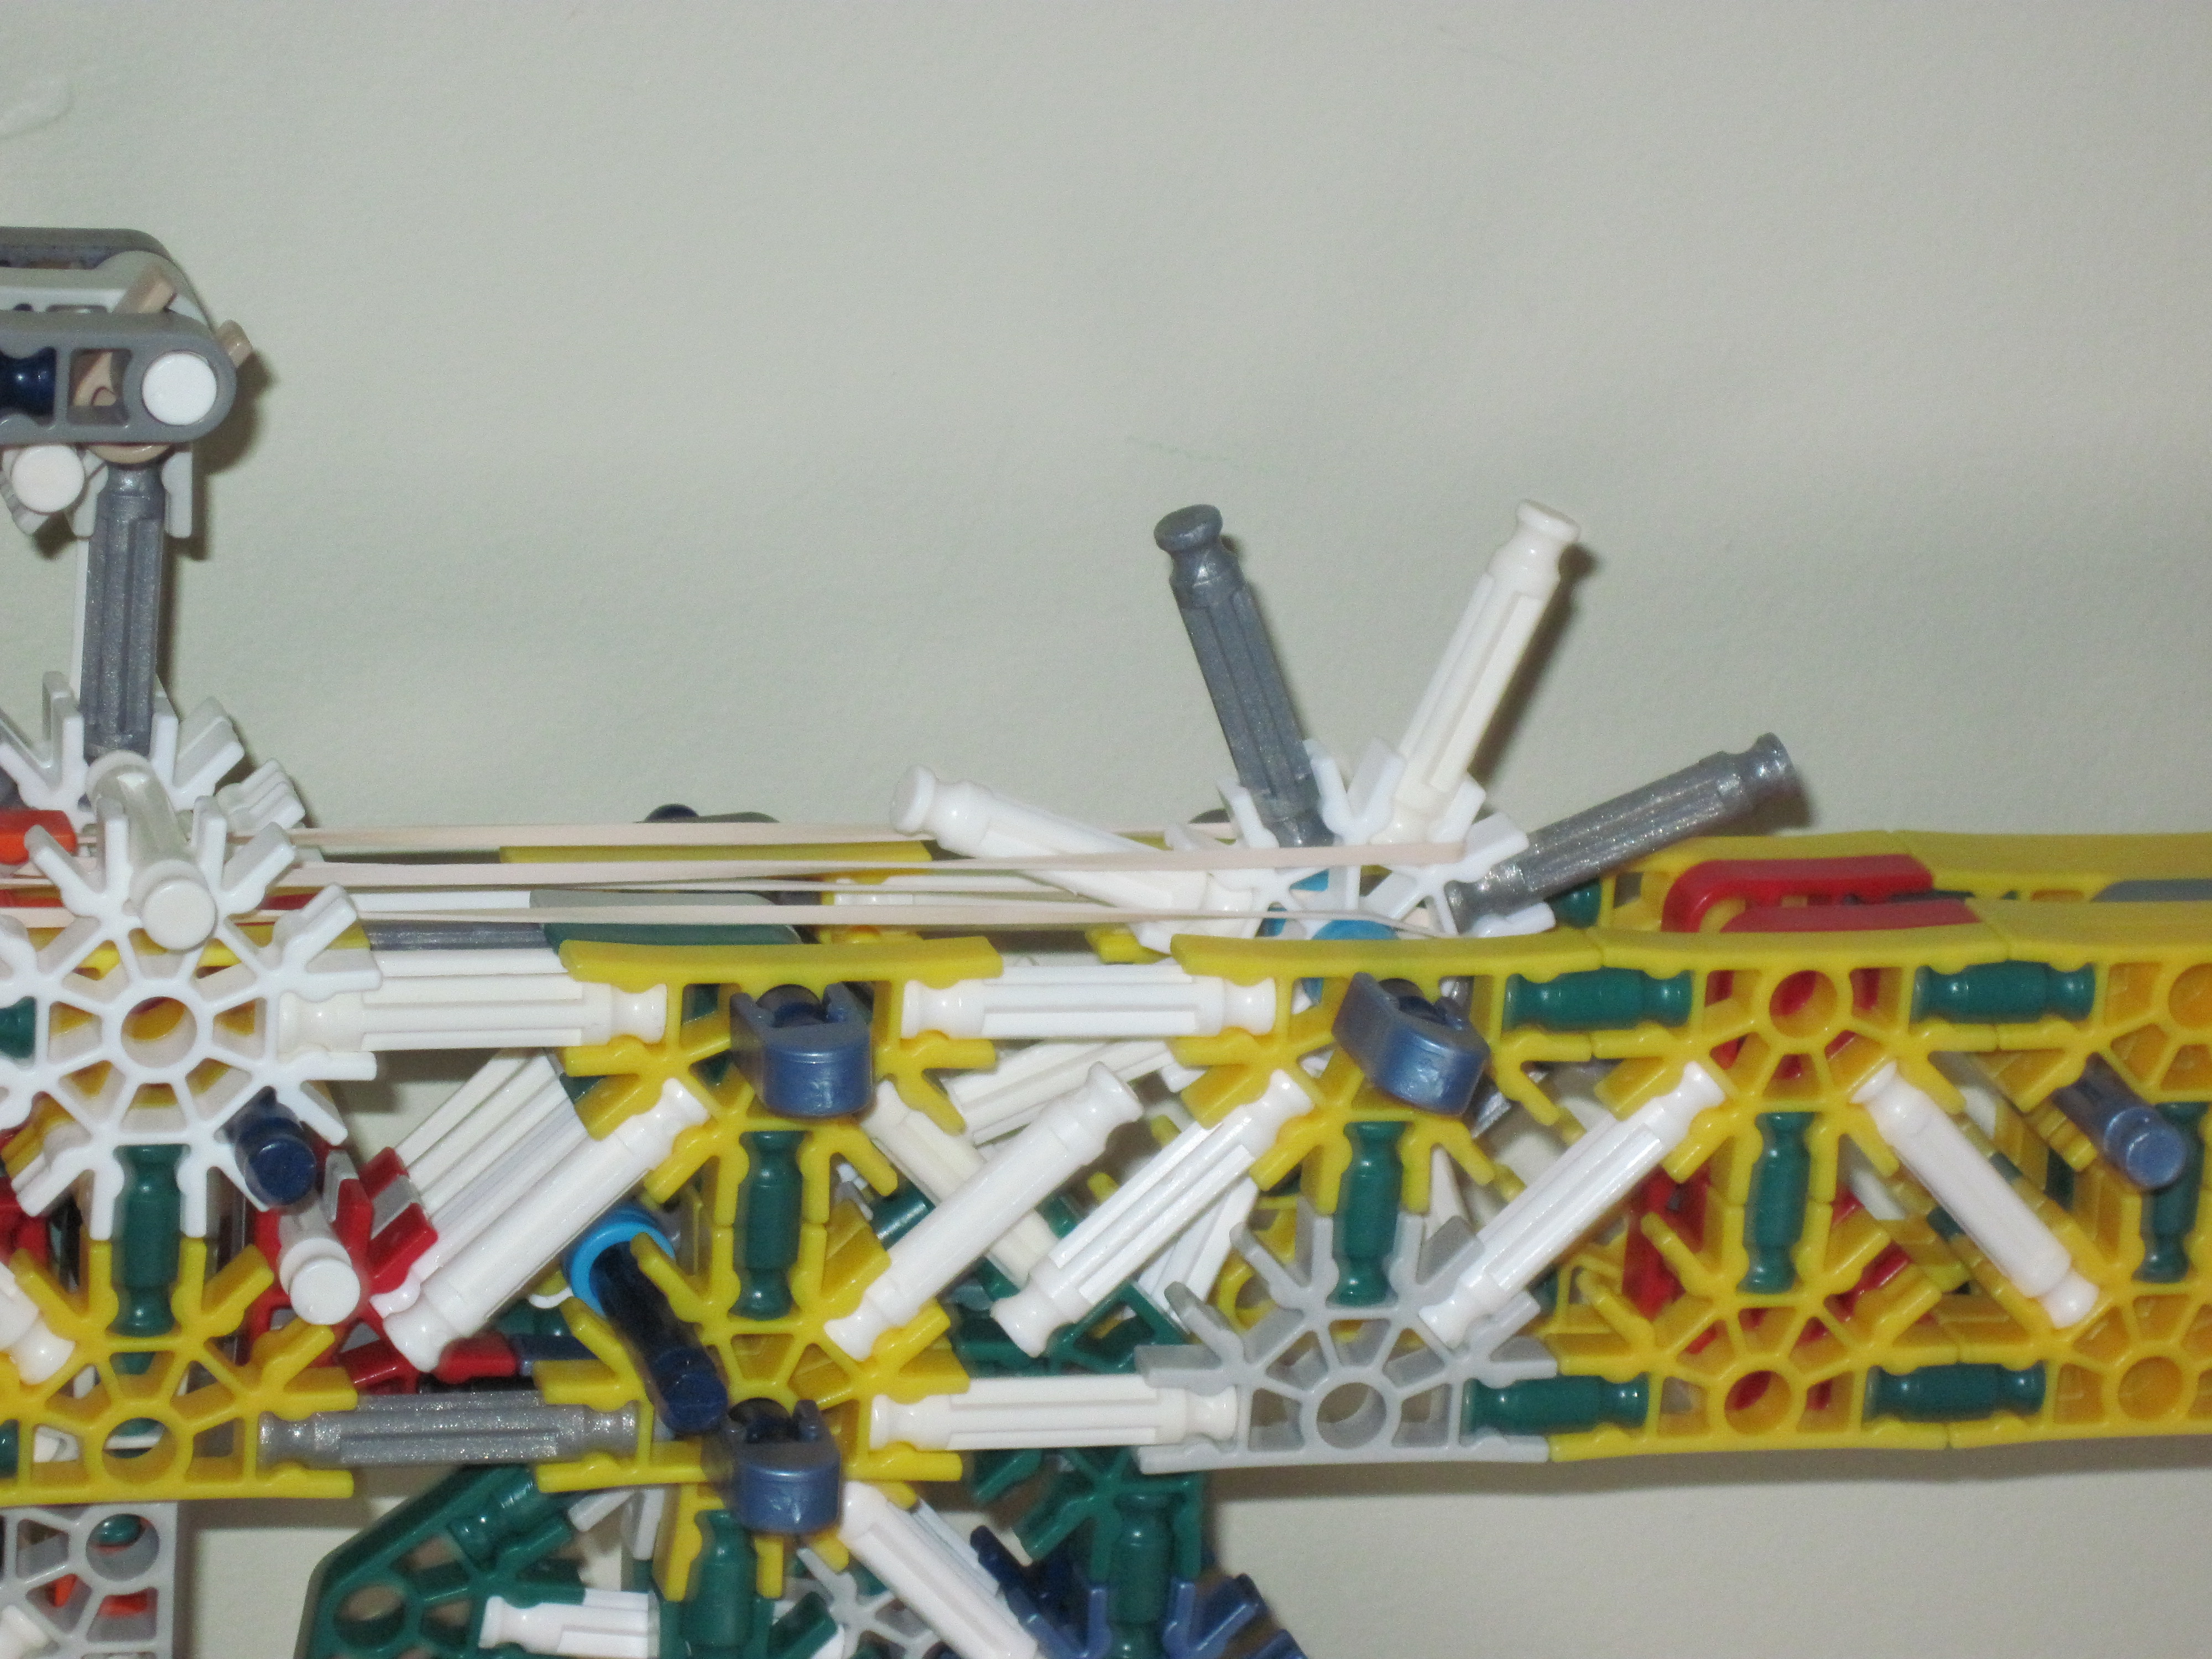
To load remove the mag and place the pin in the appropriate area. Now place the ammo in the mag. insert the mag into the ammo feed. Next remove the pin. Hook the rubber bands on the end of the barrel and the trigger spoke. Make sure the rubber bands are on both sides of the ammo. Remove the pin. Make sure the safety is off before you shoot. Pull the trigger to fire (in case you didn't figure that out).
Picture 1: Mag in place.
Picture 2: Mag in place with pin pulled out.(Note: Pin must be pulled out for the gun to shoot)
Picture 3: Assembled gun without mag.
Picture 4: Assembled gun with mag.
Picture 5: View of ammo feed when loaded.
Picture 6: Rubber bands hooked on to the spoke in the back.
Picture 7: Ammo.
Warning- This may cause harm or injury if misused. Do not point it at people. I am not responsible for damage, injury, or death caused by this instructable. The safety may fail to work properly under certain circumstances so always treat the gun as if the safety was off.