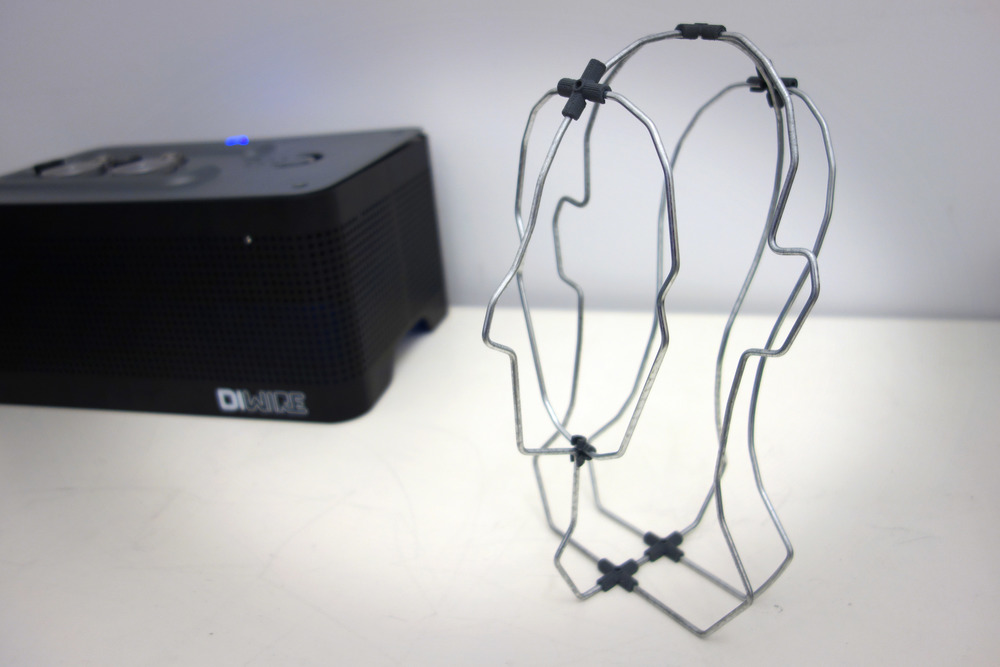
MANIKIN HEAD
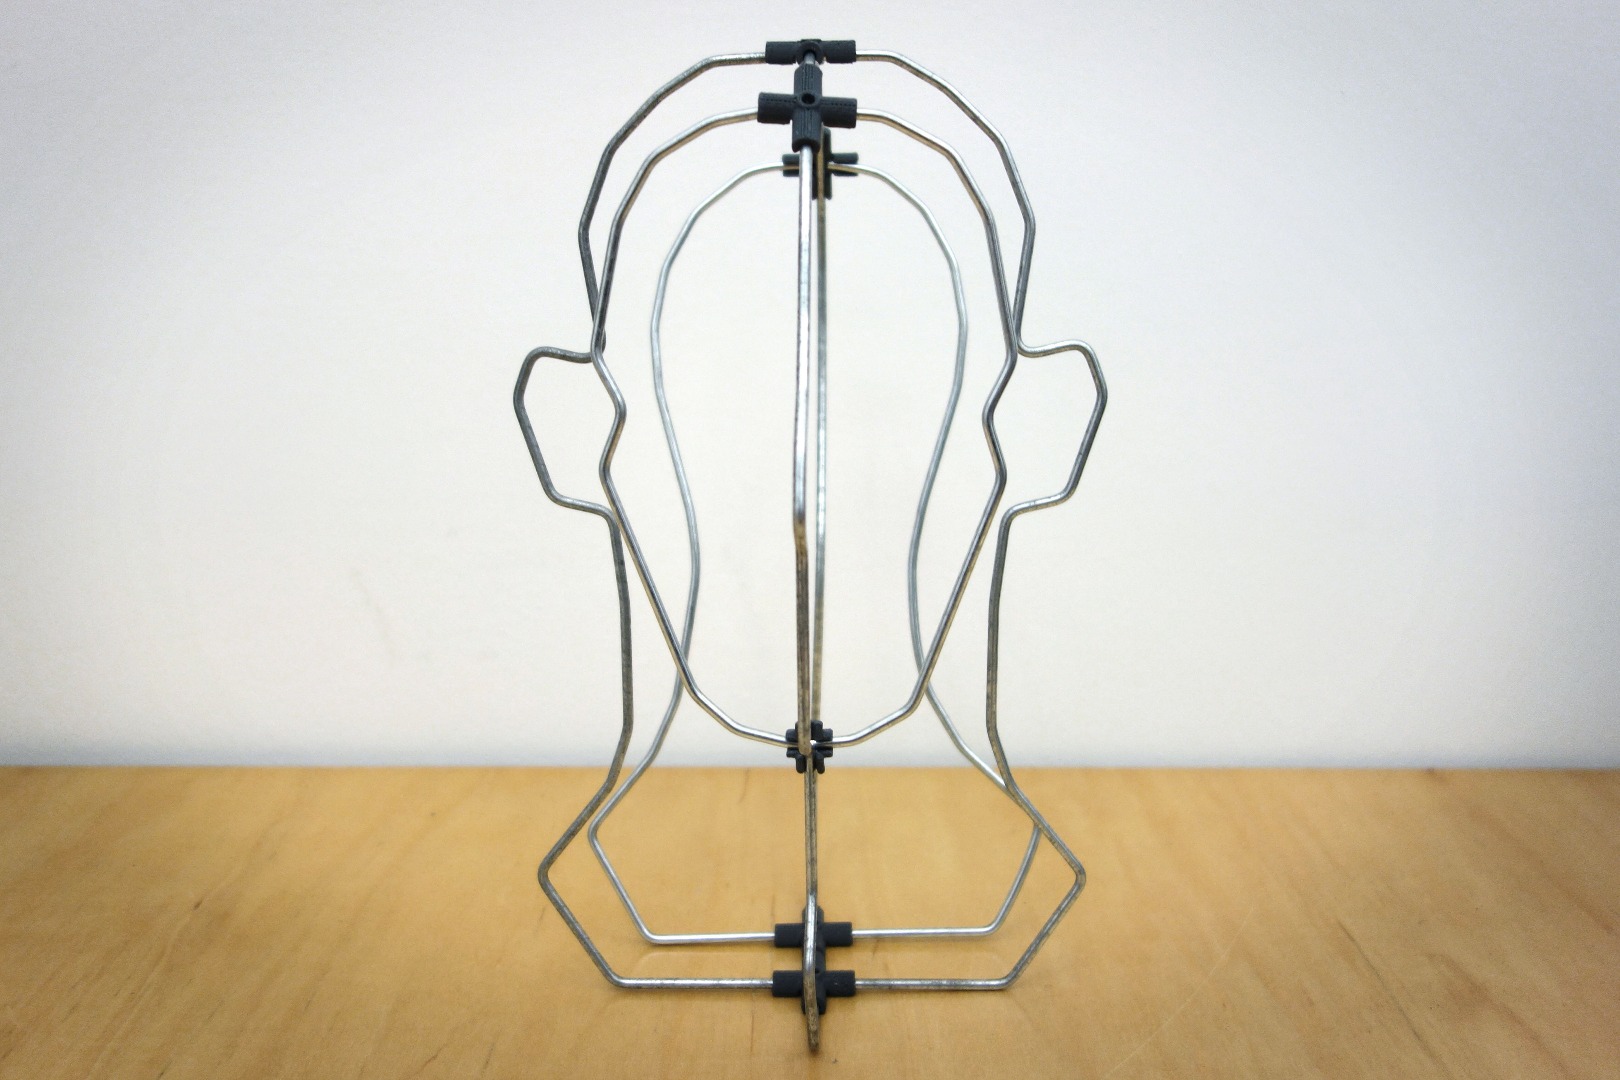
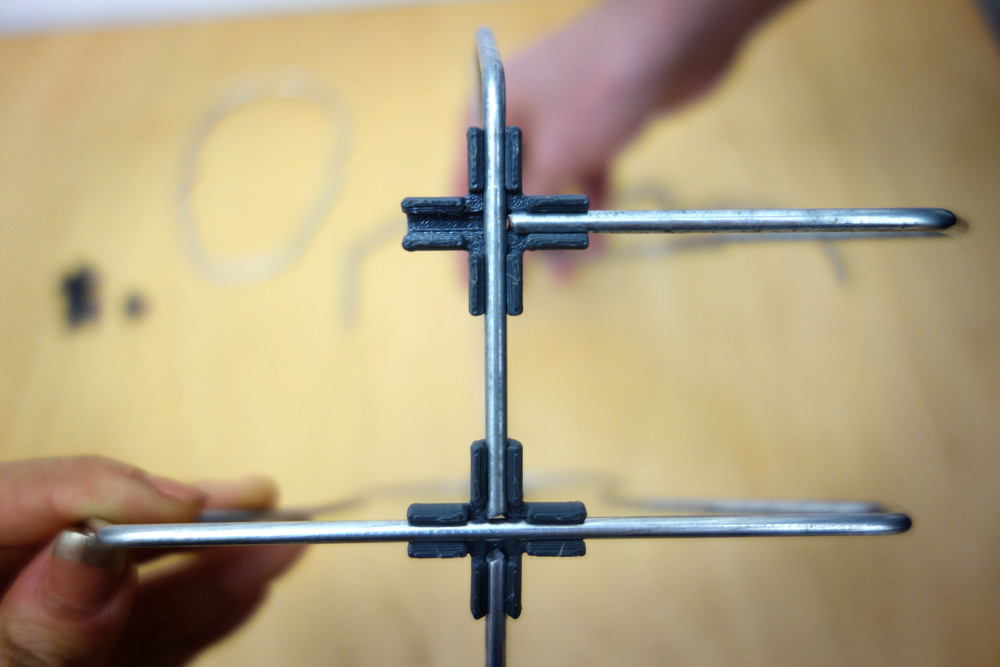
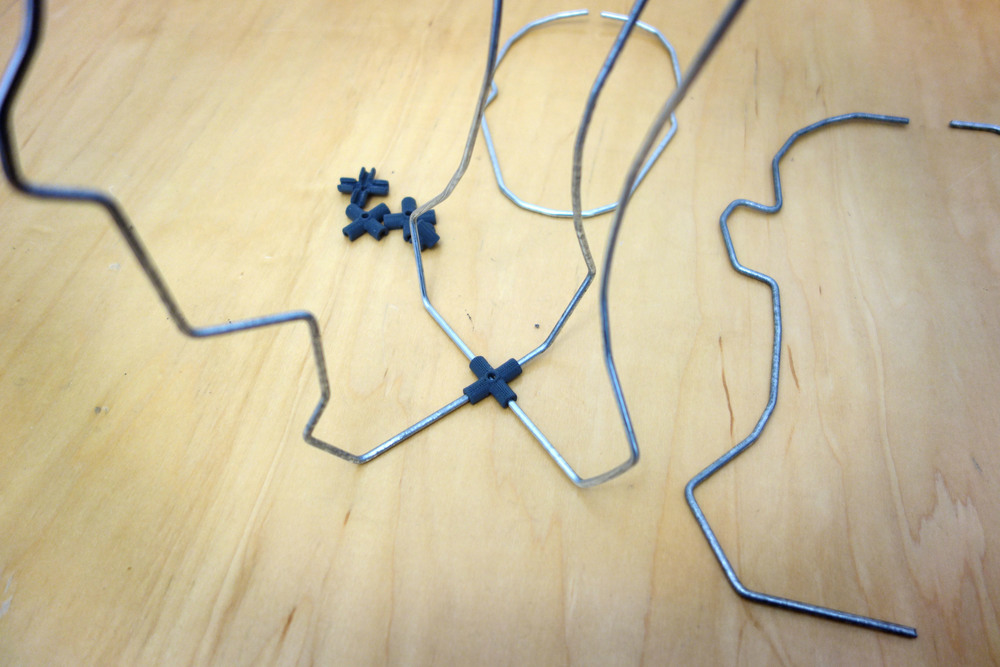
When was the last time you needed a manikin head? Probably yesterday. Here's your fix! We used Autodesk's 123D Make to turn a solid CAD model into cross-sectional lines for the DIWire to bend. For our joinery, we used some 3D printed clips to assemble the sections into a functional volume. Scroll through our instructable and try it for yourself. Bend and assemble a manikin head at home or create your own cross-sectional Bendable and share it with us!
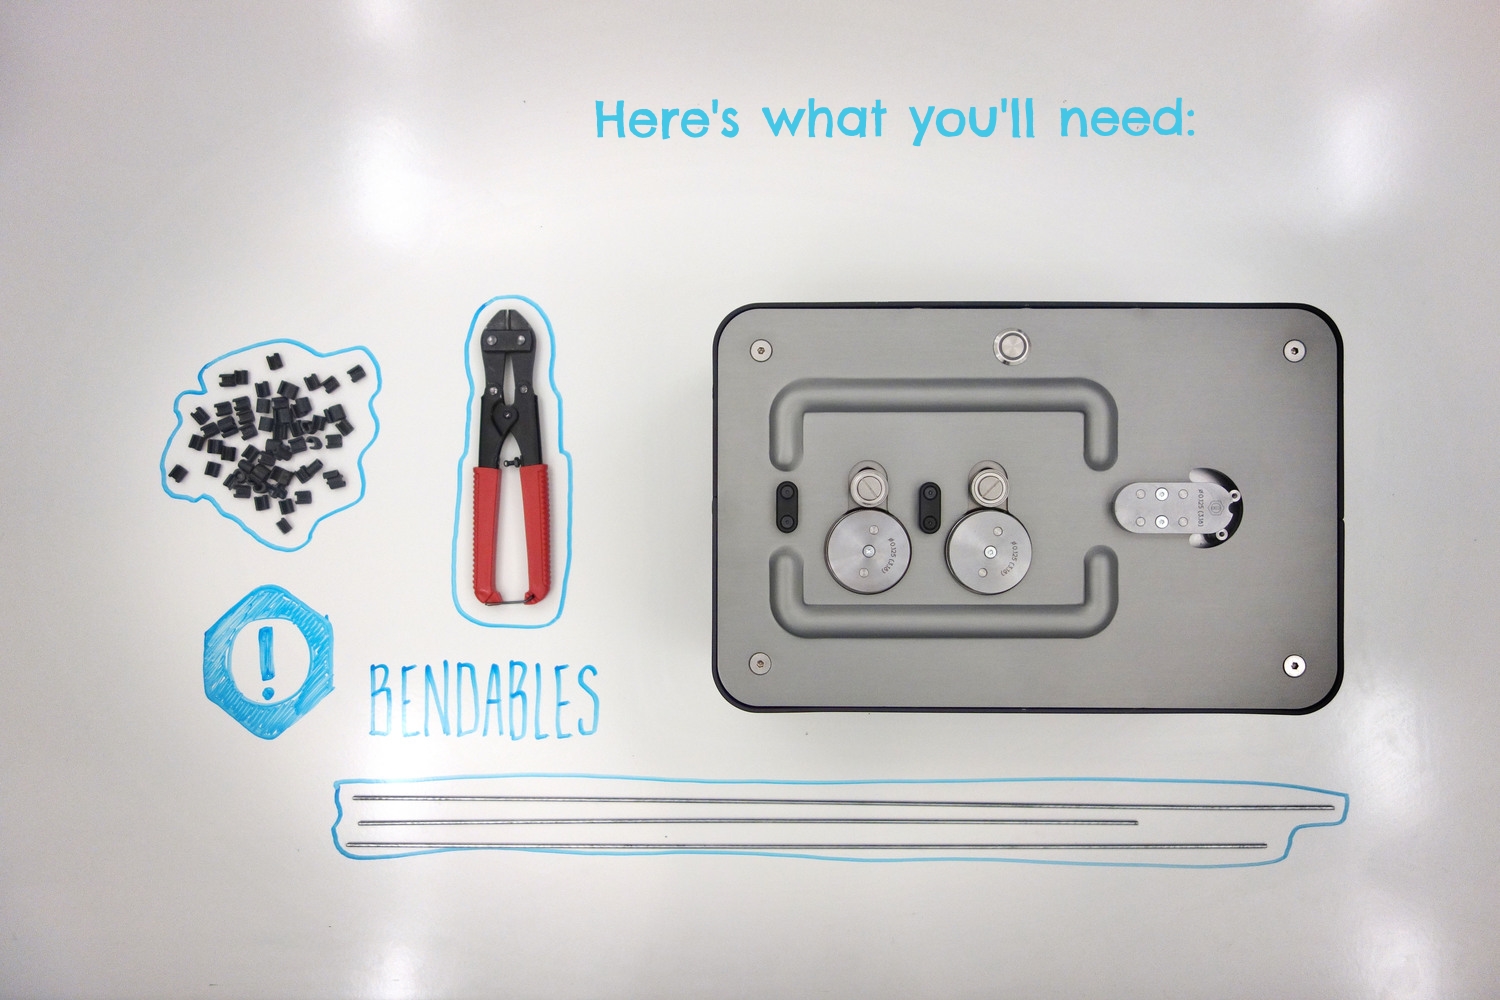
Gather the Necessary Materials and Tools
Start With a Solid Model in 123D Make
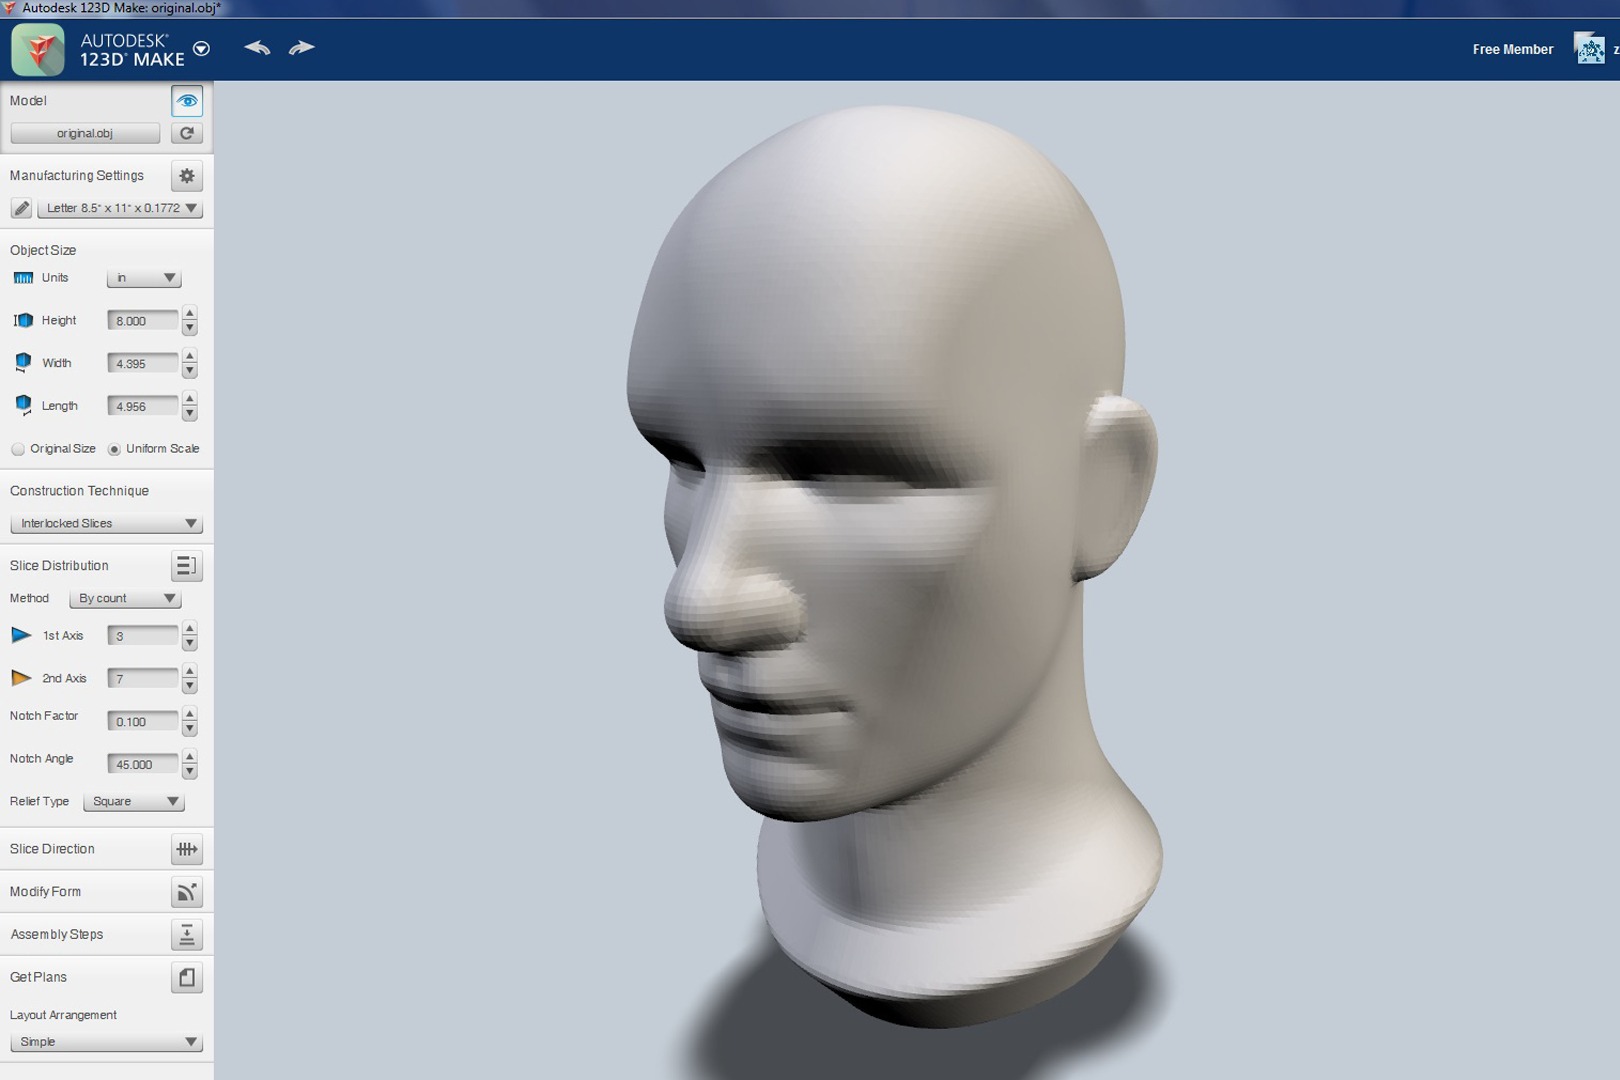
Slice
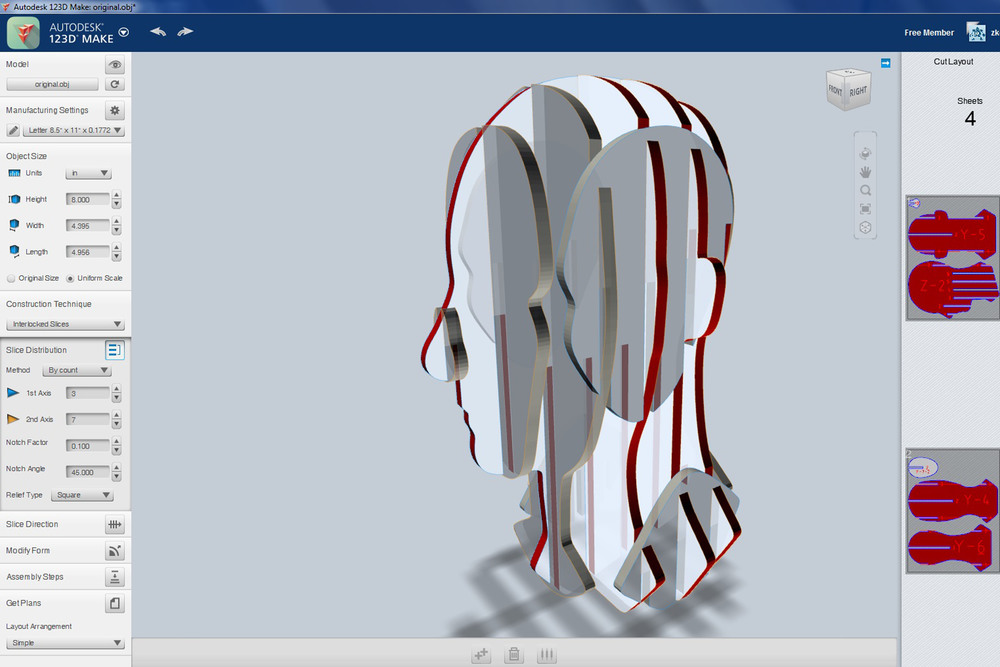
Use "Interlocked Slices" to split your volume into the sections you'd like.
Export
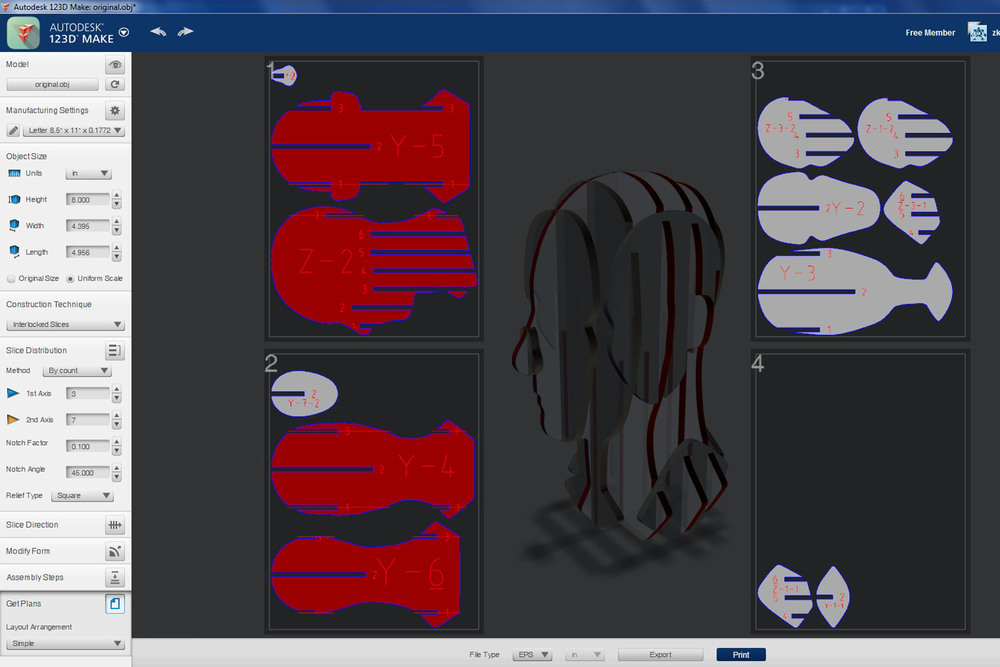
Select "Get Plans" and save them as a DXF.
Double Check the Files
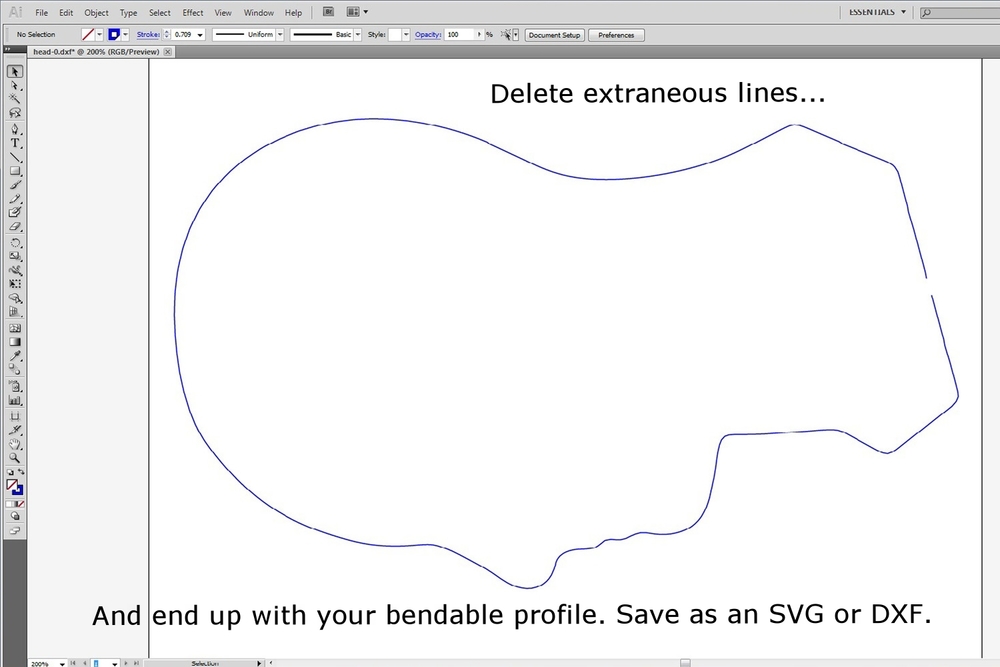
Bend the Cross-Sections
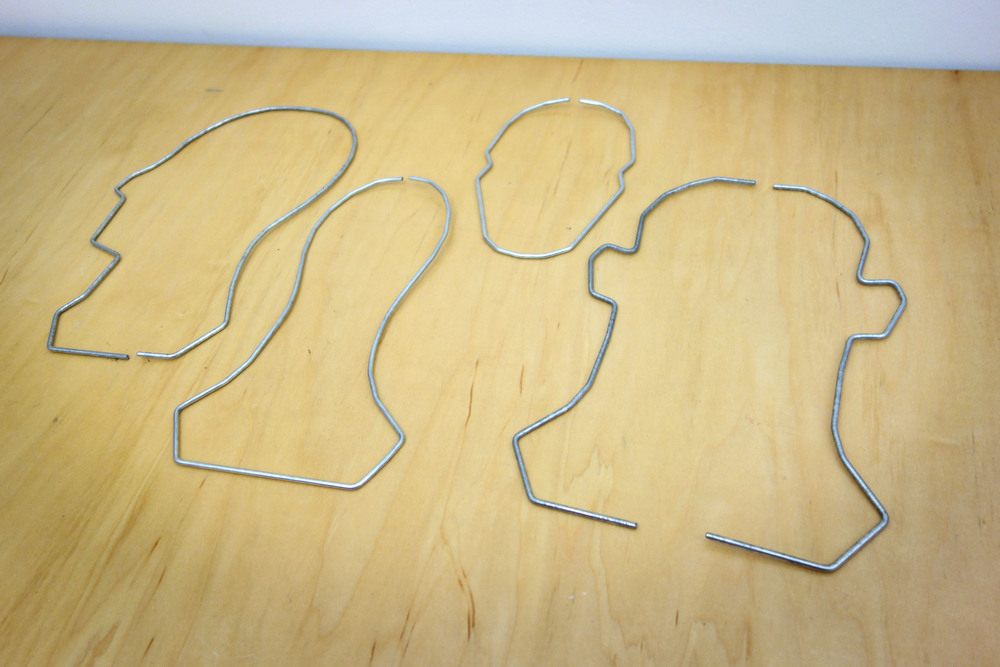
Add Clips
Enjoy
