MAKE a LASER CUT ACRYLIC SMART PHONE STAND
by HandmadeByDroids in Circuits > Mobile
11826 Views, 34 Favorites, 0 Comments
MAKE a LASER CUT ACRYLIC SMART PHONE STAND
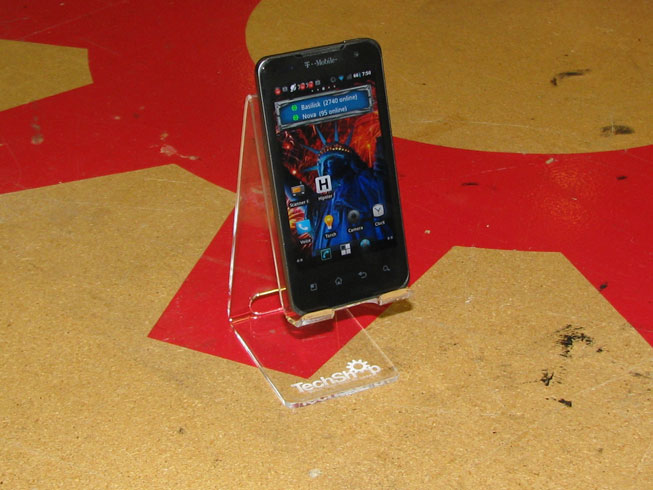
In this instructable, I'll show you how I made an acrylic stand to hold my Android phone. "Universal" is probably an overstatement, but I did try to design this so that it would hold a wide variety of phone models. It works well with both of the phones I have (an LG G2X and an HTC EVO) and will probably work with many others. If your phone is different, feel free to make adjustments as needed.
Equipment you will need:
1. A graphics workstation with Corel Draw*
2. A laser cutter*
3. A heat strip bender and angle bending fixture*
Supplies you will need:
1. A piece of clear acrylic at least 3" x 16"**
* Available for use at TechShop San Jose
** Frequently available in the scrap bin at TechShop
I made this at TechShop San Jose, so I was able to use one of their computers with Corel Draw and one of their 60 Watt Epilog lasers. All TechShop members have access to the computer workstations, but you will need to take the Laser Cutter SBU (LAS101) class before you can use a laser at TechShop.
PREPARE YOUR FILE FOR LASER CUTTING
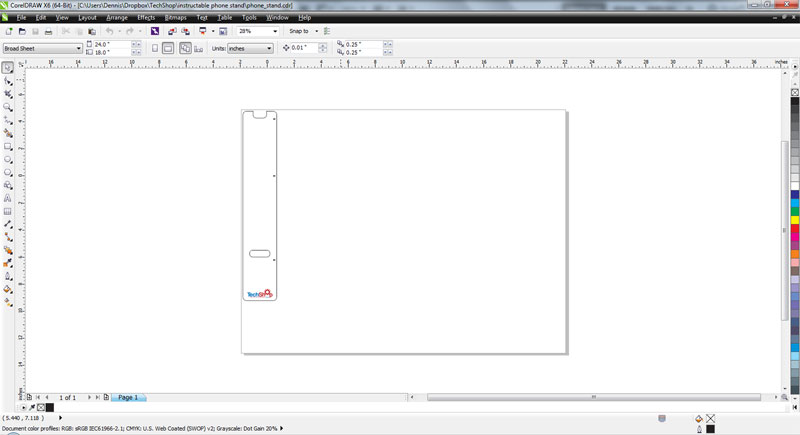
I created the file here using Corel Draw. Feel free to use my file if you are satisfied with the design, but don't be afraid to customize it or make your own.
I started by sketching what I wanted the finished stand to look like, and then drew it in Corel Draw.
The included pattern that I created is marked with small (etched) arrows at the bend locations and the TechShop logo. If you want to change any of this, now is the time.
I started by sketching what I wanted the finished stand to look like, and then drew it in Corel Draw.
The included pattern that I created is marked with small (etched) arrows at the bend locations and the TechShop logo. If you want to change any of this, now is the time.
Downloads
ETCH AND LASER CUT THE ACRYLIC SHEET
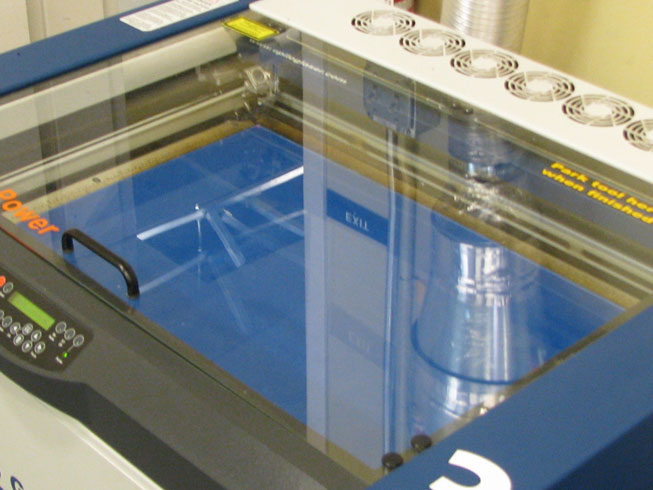
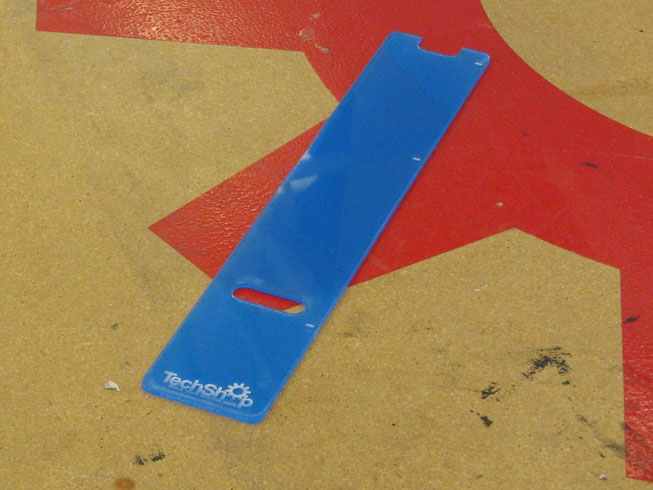
Now it's time to etch and laser-cut the acrylic sheet.
1. Open the pattern file (phone_stand.cdr) in Corel Draw.
2. Place your acrylic sheet on the bed of the laser cutter.
3. Focus the laser on the upper surface of the acrylic
4. Set the laser's "zero" (origin point)
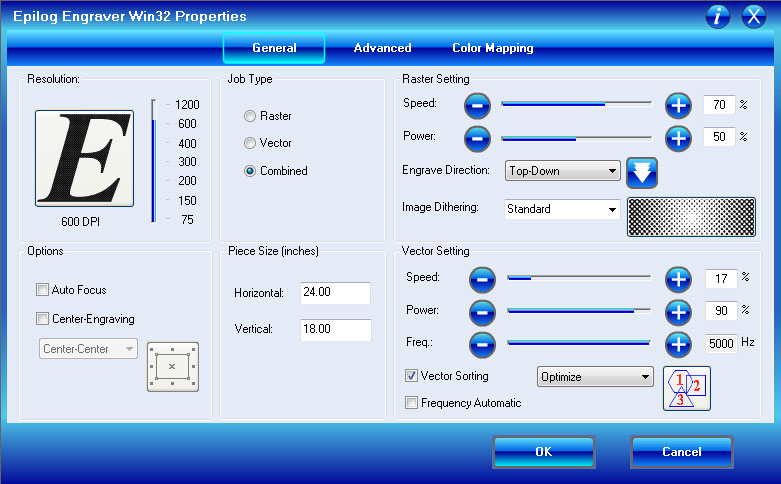
5. Print to the laser and in the print properties dialog, set the vector cutting settings for your laser. For the raster elements use 30/30 (speed/power). If you are using 1/8" inch acrylic sheet set the vector settings for 15/90/5000 (speed/power/frequency). If you are using 1/4" sheet use 10/90/5000.
7. Press "GO" on the laser and watch as it etches and cuts the acrylic sheet.
The settings listed above are good for any of the 60 Watt Epilog lasers at TechShop San Jose. You may need to use different settings if you are using a different laser.
Now you have a flat version of your phone stand. All that remains is to make four bends. Remove your part from the laser and follow the established protocols for cleaning your laser.
NOTE: Lasers can start fires! It is your responsibility to know the safety procedures for your laser. As always, when operating a cutting laser, you must monitor the work as it progresses. If you observe a fire or other potentially unsafe condition, follow the established procedures.
BEND THE FLAT USING THE HEAT STRIP BENDER
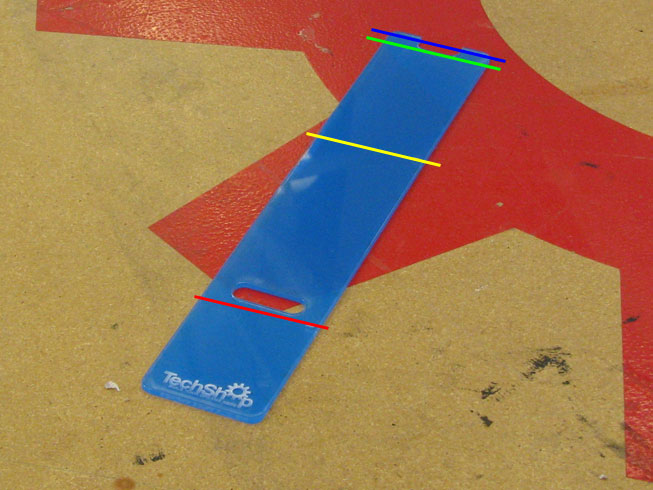
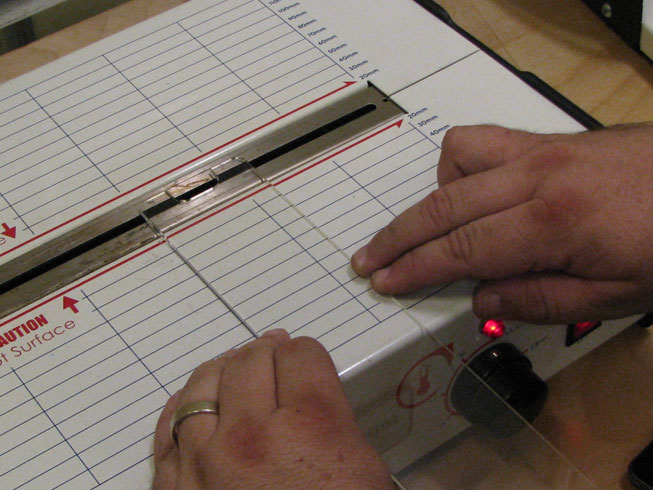
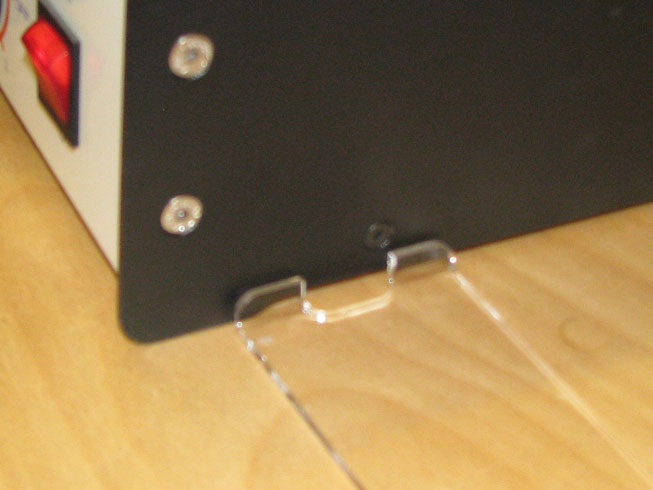
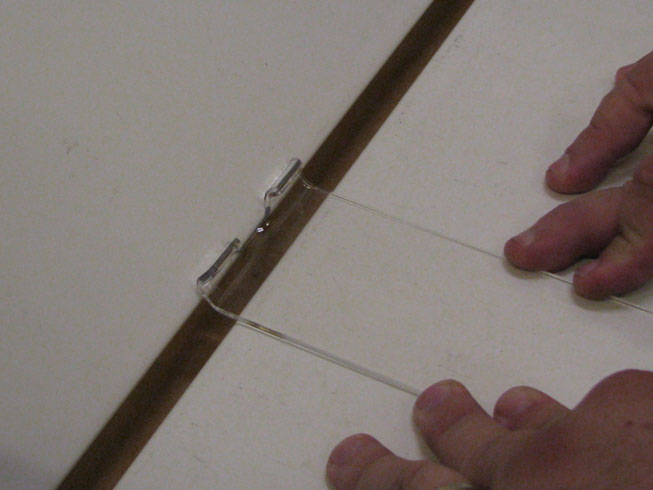
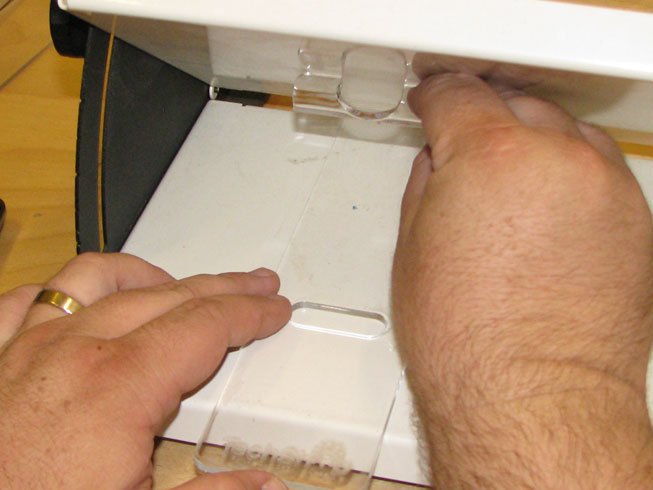
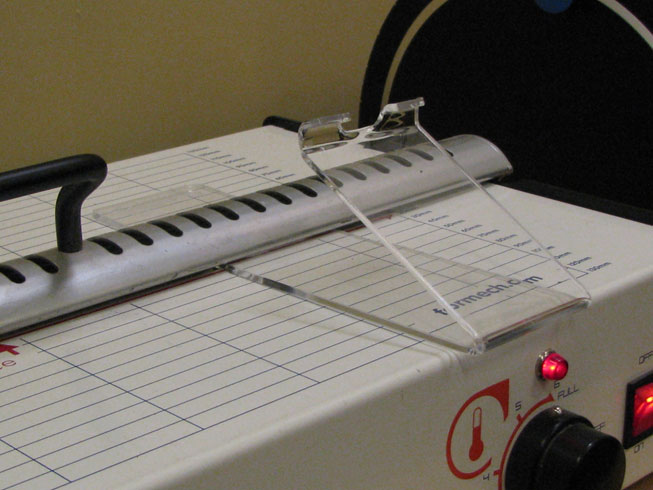
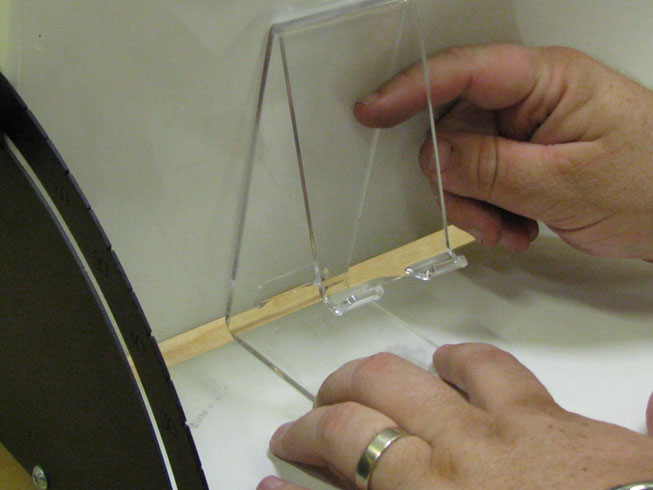
Turn on the heat strip bender, set it to maximum temperature and let it warm up for ten minutes or so. You are going to make a series of four bends, starting at the end farthest from the TechShop logo.
Important: Before using the heat strip bender, you need to remove the protective backing from the acrylic flat.
Bend #1
Place your acrylic flat on the heat strip bender so that the blue line in the first photo is over the slit. Wait a minute or two for the acrylic to soften, then make a 90 degree bend as shown in the second image. Hold the acrylic sheet in place while it cools.
Bend #2
Place the acrylic on the heat strip bender and start softening it at the point marked with the green line in the first photo. Once the acrylic has softened, make another 90 degree bend the same direction at this location.
Bend #3
Set the angle bender to 35 degrees. Place the acrylic on the heat strip bender so that the area indicated by the yellow line is over the slit. Once the acrylic has had time to soften bend it against the angle bender as shown. Allow the acrylic to cool completely before proceeding.
Bend #4
Set the angle bender to 75 degrees. Place the final bend (indicated in the photo by a red line) on the heat strip bender. Once it has warmed up, bend it on the angle bender as shown. Hold the piece firmly in position while it cools (and hardens).
That's all there is to it. You've completed your phone stand.
I hope you've found this instructable informative. If you'd like to see some of the things I make, check out my Etsy store at: http://www.etsy.com/shop/HandmadeByDroids