MAGNETIC SNAIL: Self Assembling Origami
by Renard_Bleu in Craft > Paper
2094 Views, 10 Favorites, 0 Comments
MAGNETIC SNAIL: Self Assembling Origami

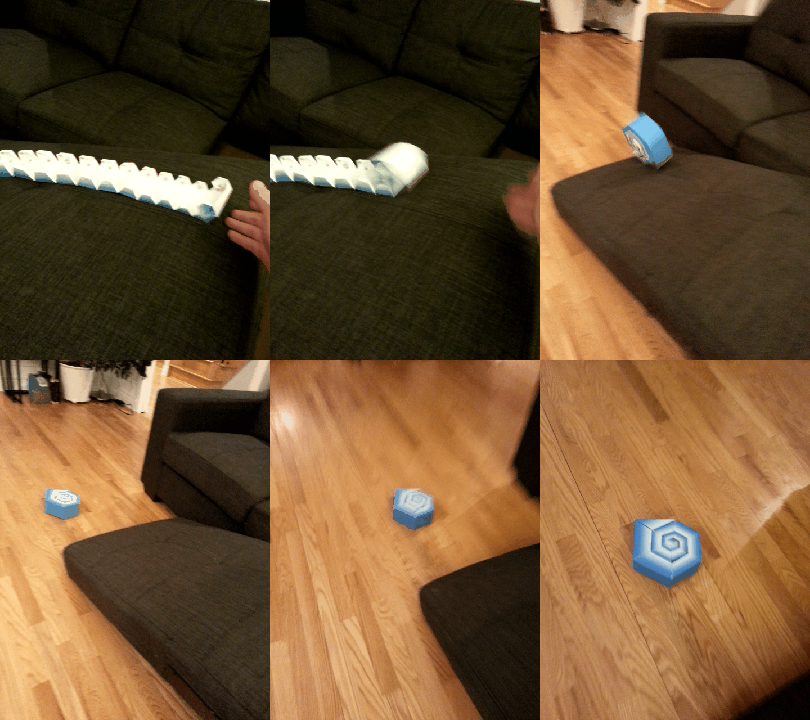
I was trying to think of an original way of assembling origami and I've been using Nd-magnets for several other projects. There were so many prototypes; but I finally was able to make a spiral origami that uses hidden magnets to cling together. I used Corel Draw to create a spiral pattern and divide it into 6 equal sections which defined the trapezoidal shapes for the snail shell. I've included the templates in case you were willing to take a crack at it yourself.
Self-assembling is somewhat of an overstatement; I had hoped that there would be sufficient magnetic attraction to snap together on flat land. In the end it needs a little help from gravity to wind up (see the GIF). Unraveling it, and rolling it back together has a rewarding feel to it, and my kids love to play with the Big Snail.
Self-assembling is somewhat of an overstatement; I had hoped that there would be sufficient magnetic attraction to snap together on flat land. In the end it needs a little help from gravity to wind up (see the GIF). Unraveling it, and rolling it back together has a rewarding feel to it, and my kids love to play with the Big Snail.
ITEMS
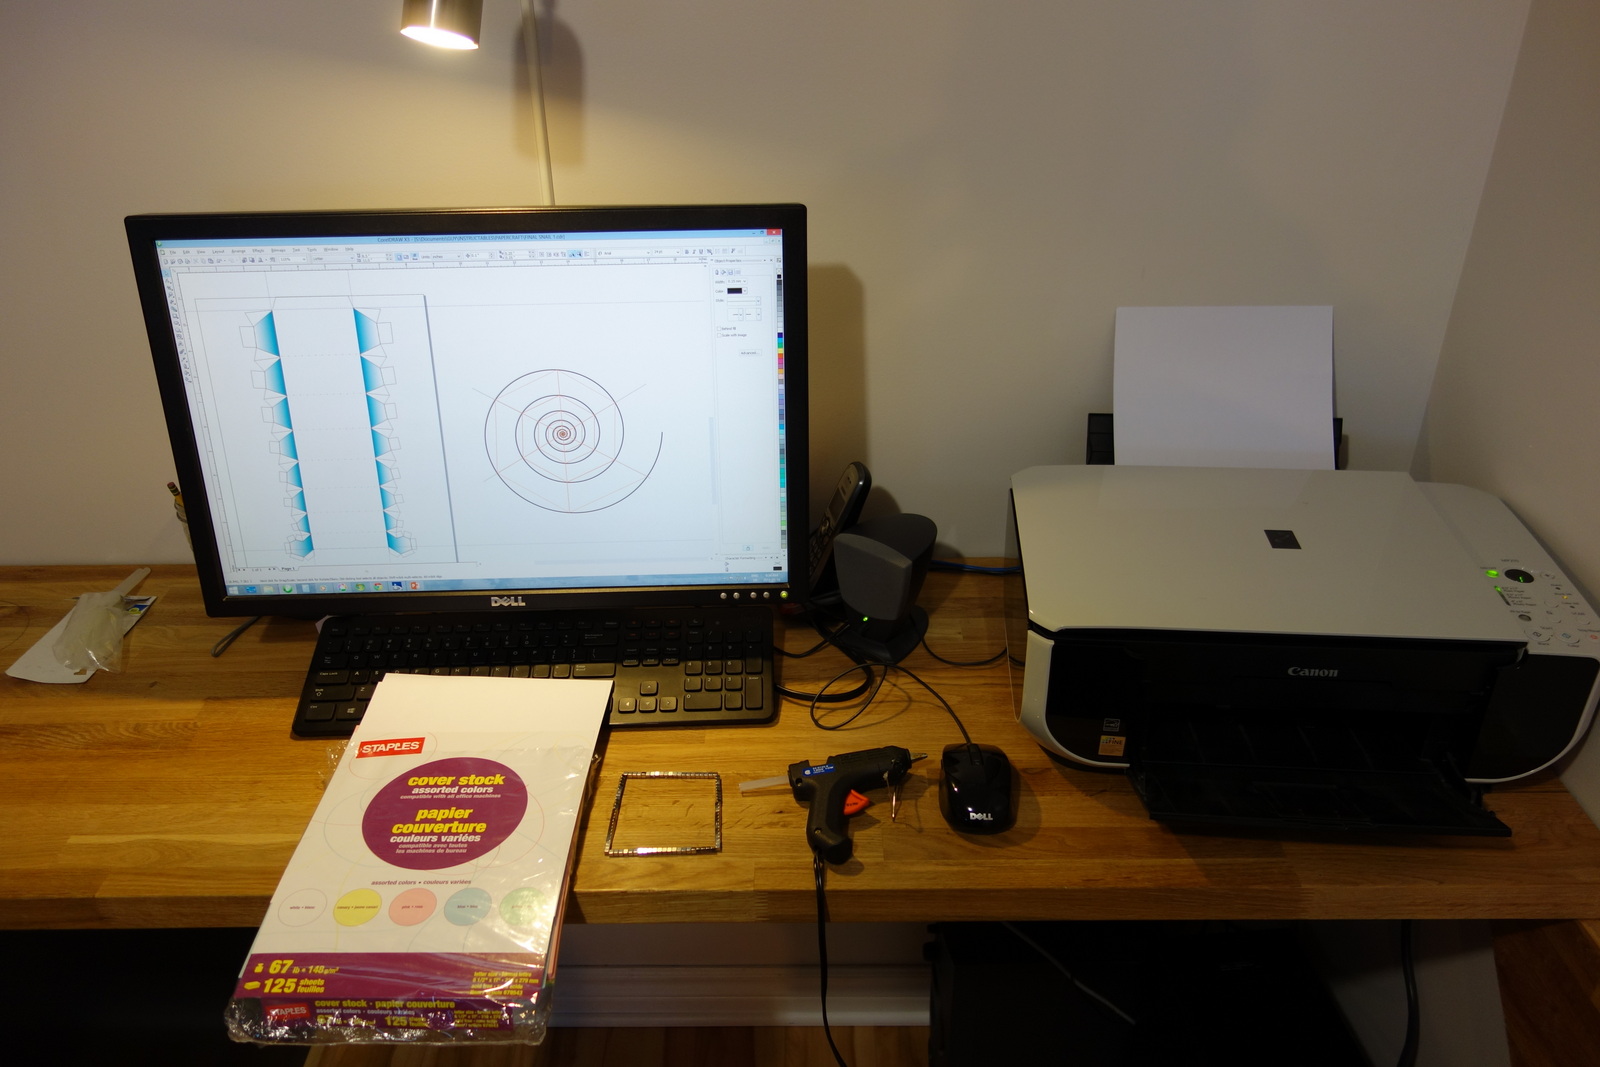
I encourage you to try designing this project from scratch, I went through many iterations and failures before getting to a workable unit.
You will need the following:
You will need the following:
- A computer to print the included PDFs. WARNING: I made some a corrections in the digital files following geometrical issues I had with the printed products. I expect that I corrected the issues, but I cannot guarantee it.
- If you are designing from scratch you will need a drawing software (Corel Draw in my case, please suggest a free alternative if you know of one). The key here is that you need a tool to draw a spiral shape and alter its growth rate. I have also included DWG, DXF and original CDR file types if you want to alter what I have done. Let me know if you think I should export the files in another useful format.
- Printer (inkjet will do)
- Cover stock paper (67lb or 148g/m²)
- Paint Marker (to mark up the magnets)
- ~100 x 4mm Neodymium-Magnet cubes. (10$)
Create the Spiral and Trapezoids
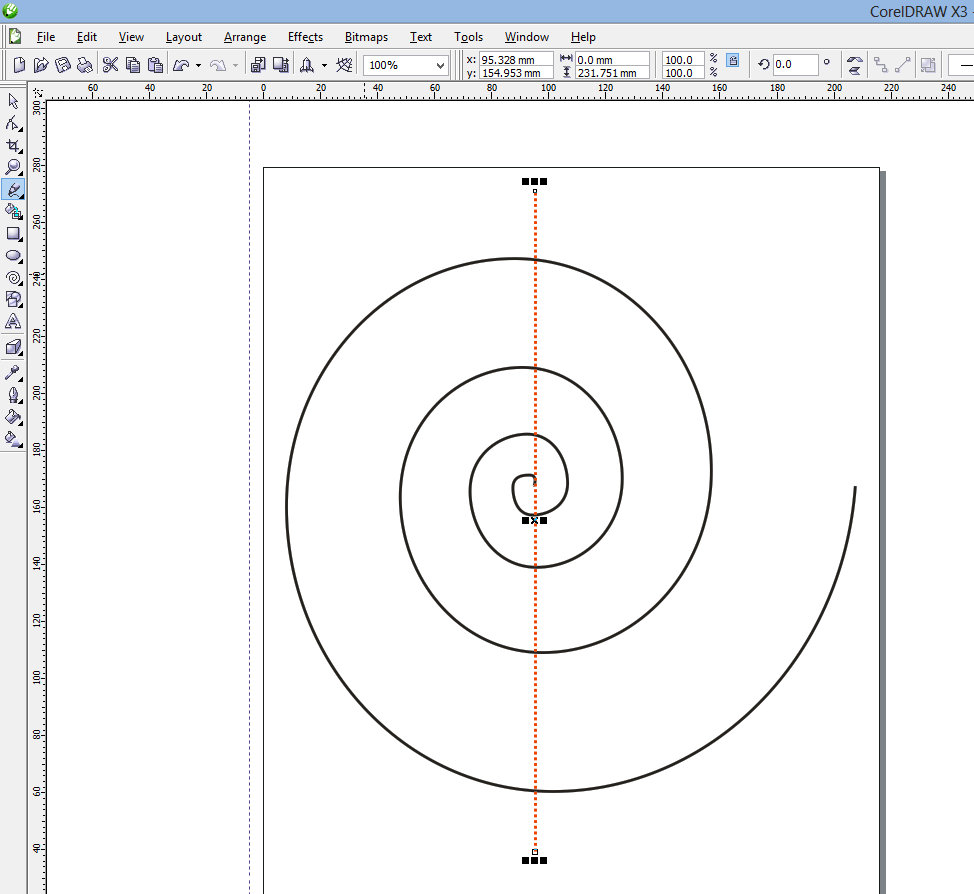
If you have printed the PDF, please skip to the next step: we are starting from scratch here.
I am providing the instructions for Corel Draw (V13, 2005); I don't want to go into too much detail because you are unlikely to be using this software, but if you are using something comparable, then you should have similar options. I learnt many lessons along the way, that will make the workflow much smoother for you.
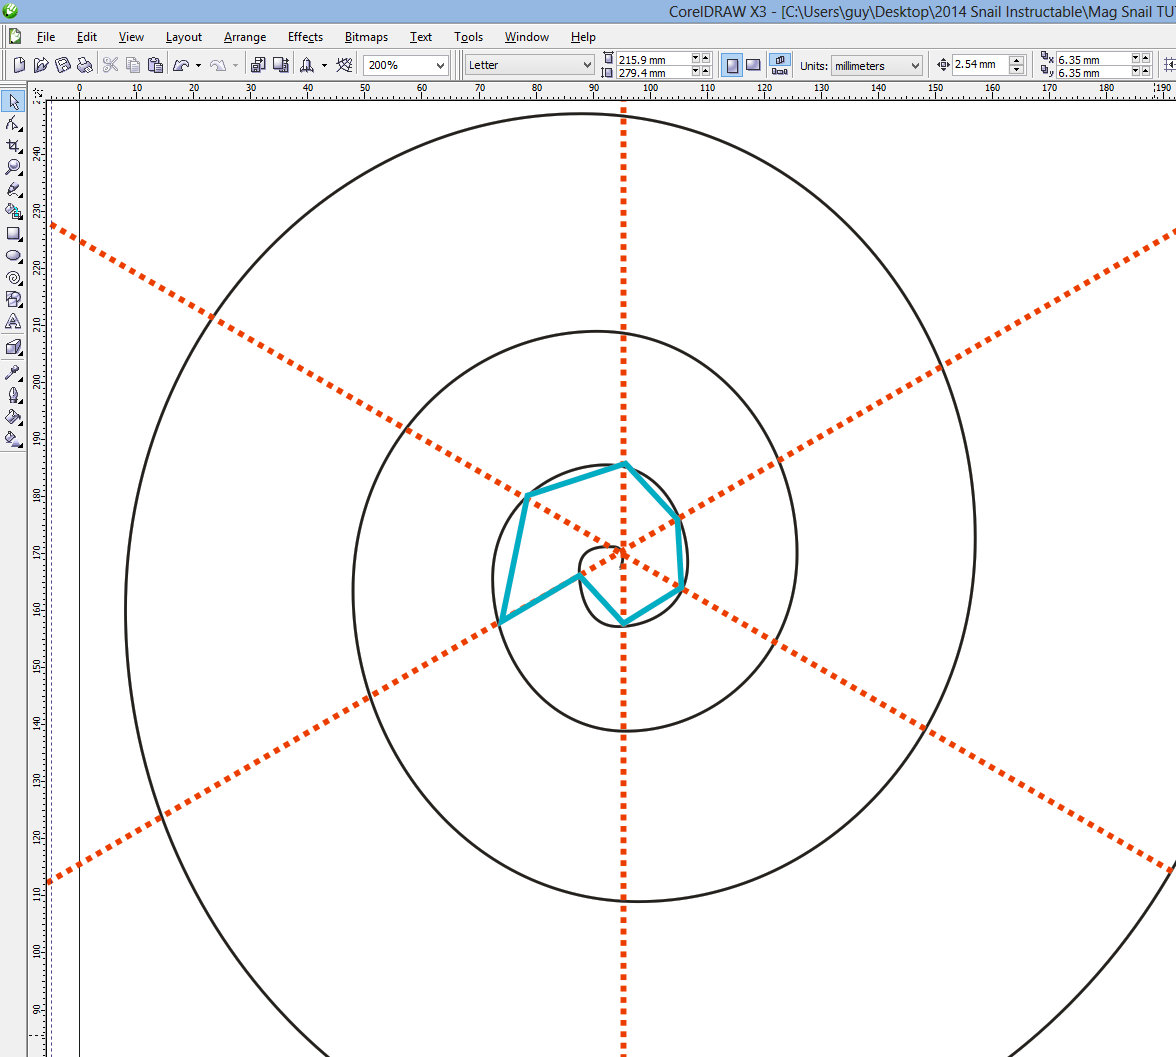
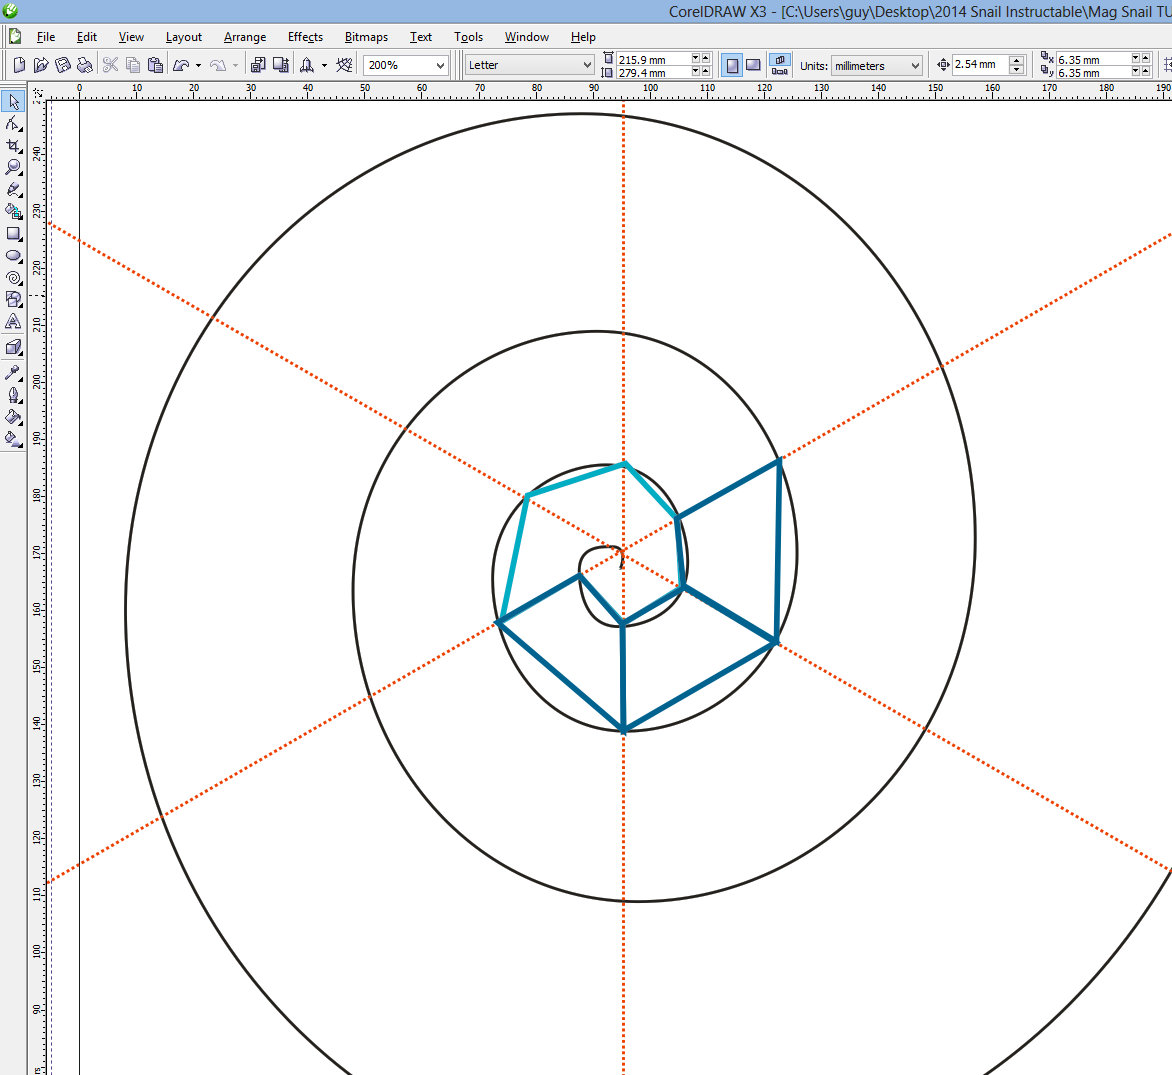
You have now split your spiral into 6 equal regions. The intersections of the straight lines with the spirals now represent the corners of the trapezoids that will make up the sections of the snail shell. I initially started using small triangles for the core of the snail shell but realized that these pieces are crazy tiny and practically impossible to work with. I therefore combined several of the initial triangles into a 7-sided polygon so that the next shape in the sequence is a trapezoid (no triangles).
I am providing the instructions for Corel Draw (V13, 2005); I don't want to go into too much detail because you are unlikely to be using this software, but if you are using something comparable, then you should have similar options. I learnt many lessons along the way, that will make the workflow much smoother for you.
- Create new file: letter size template.
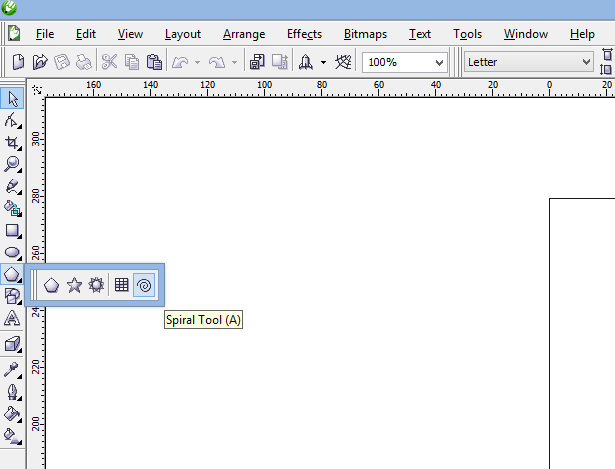
- Find the Spiral drawing tool.
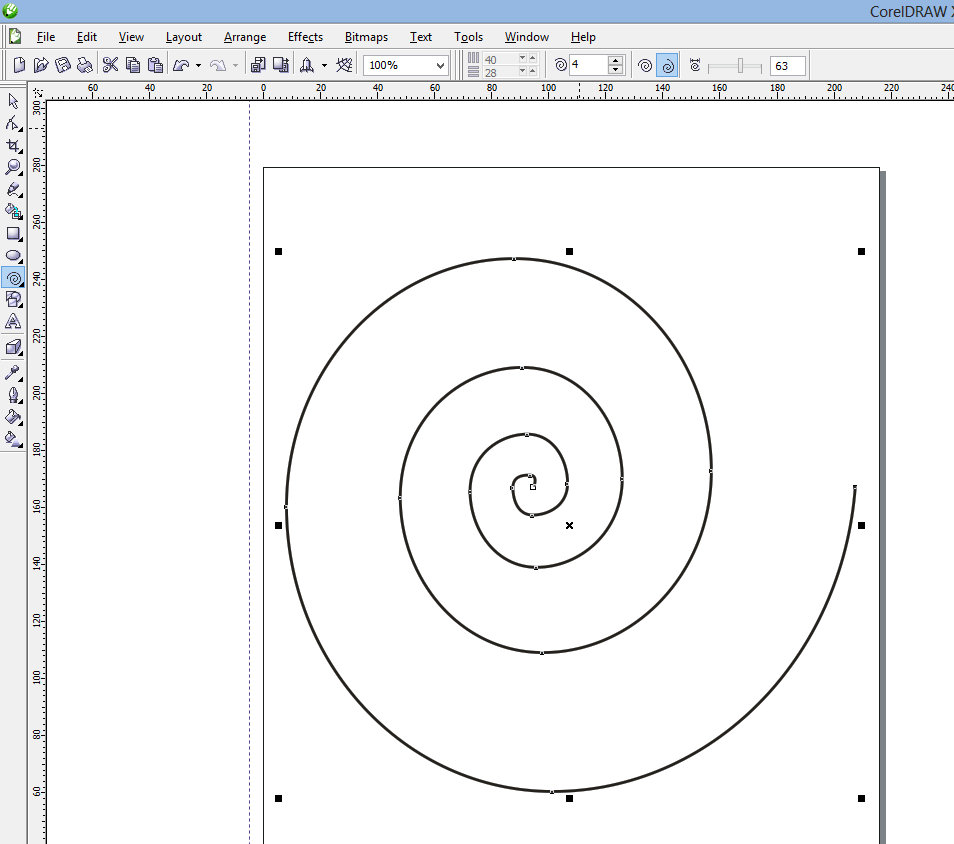
- Adjust the number of loops to 4 (or more)
- Adjust the "Spiral Expansion Factor" to around 63.
- Draw the spiral and expand it to fit the paper with a equal radius aspect ratio (not elongated).
- Open the line drawing tool, draw a vertical line across the center of the spiral (press "Control" to snap to vertical).
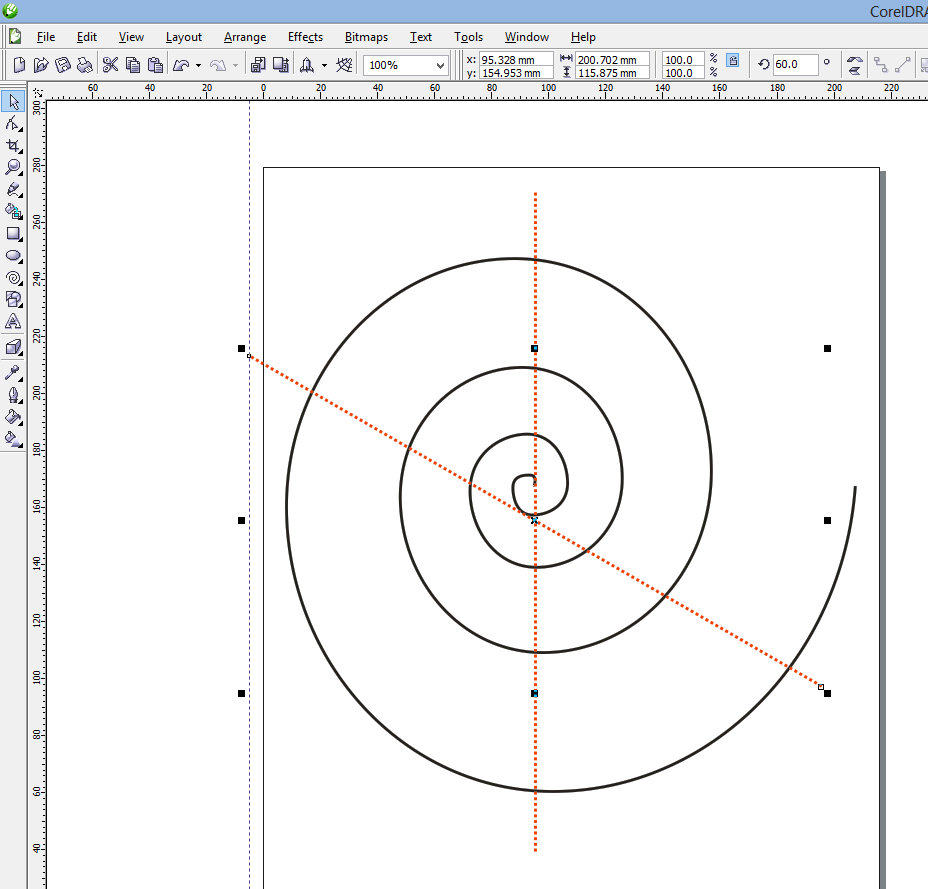
- Make a copy of the line by selecting it and using Ctrl C, Ctrl V
- Rotate it with the toolbar menu "Angle of Rotation" and enter +60 degrees
- Place the rotated line so that it crosses at the center of the spiral
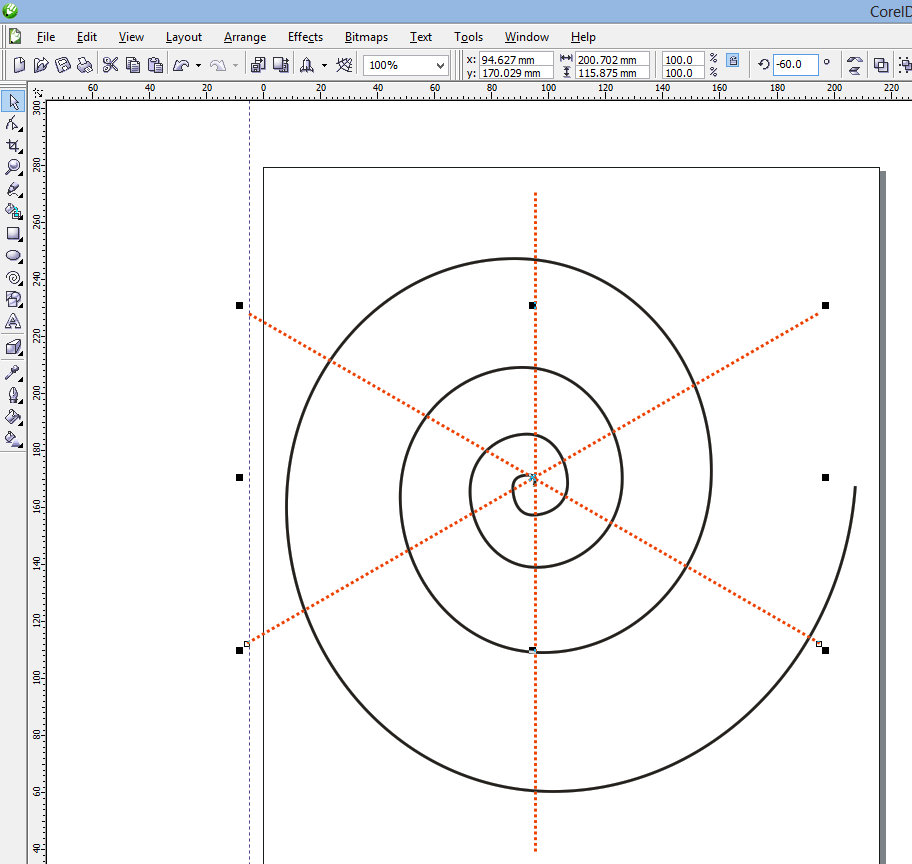
- Repeat steps 7, 8 and 9 but rotate -60 degrees.
You have now split your spiral into 6 equal regions. The intersections of the straight lines with the spirals now represent the corners of the trapezoids that will make up the sections of the snail shell. I initially started using small triangles for the core of the snail shell but realized that these pieces are crazy tiny and practically impossible to work with. I therefore combined several of the initial triangles into a 7-sided polygon so that the next shape in the sequence is a trapezoid (no triangles).
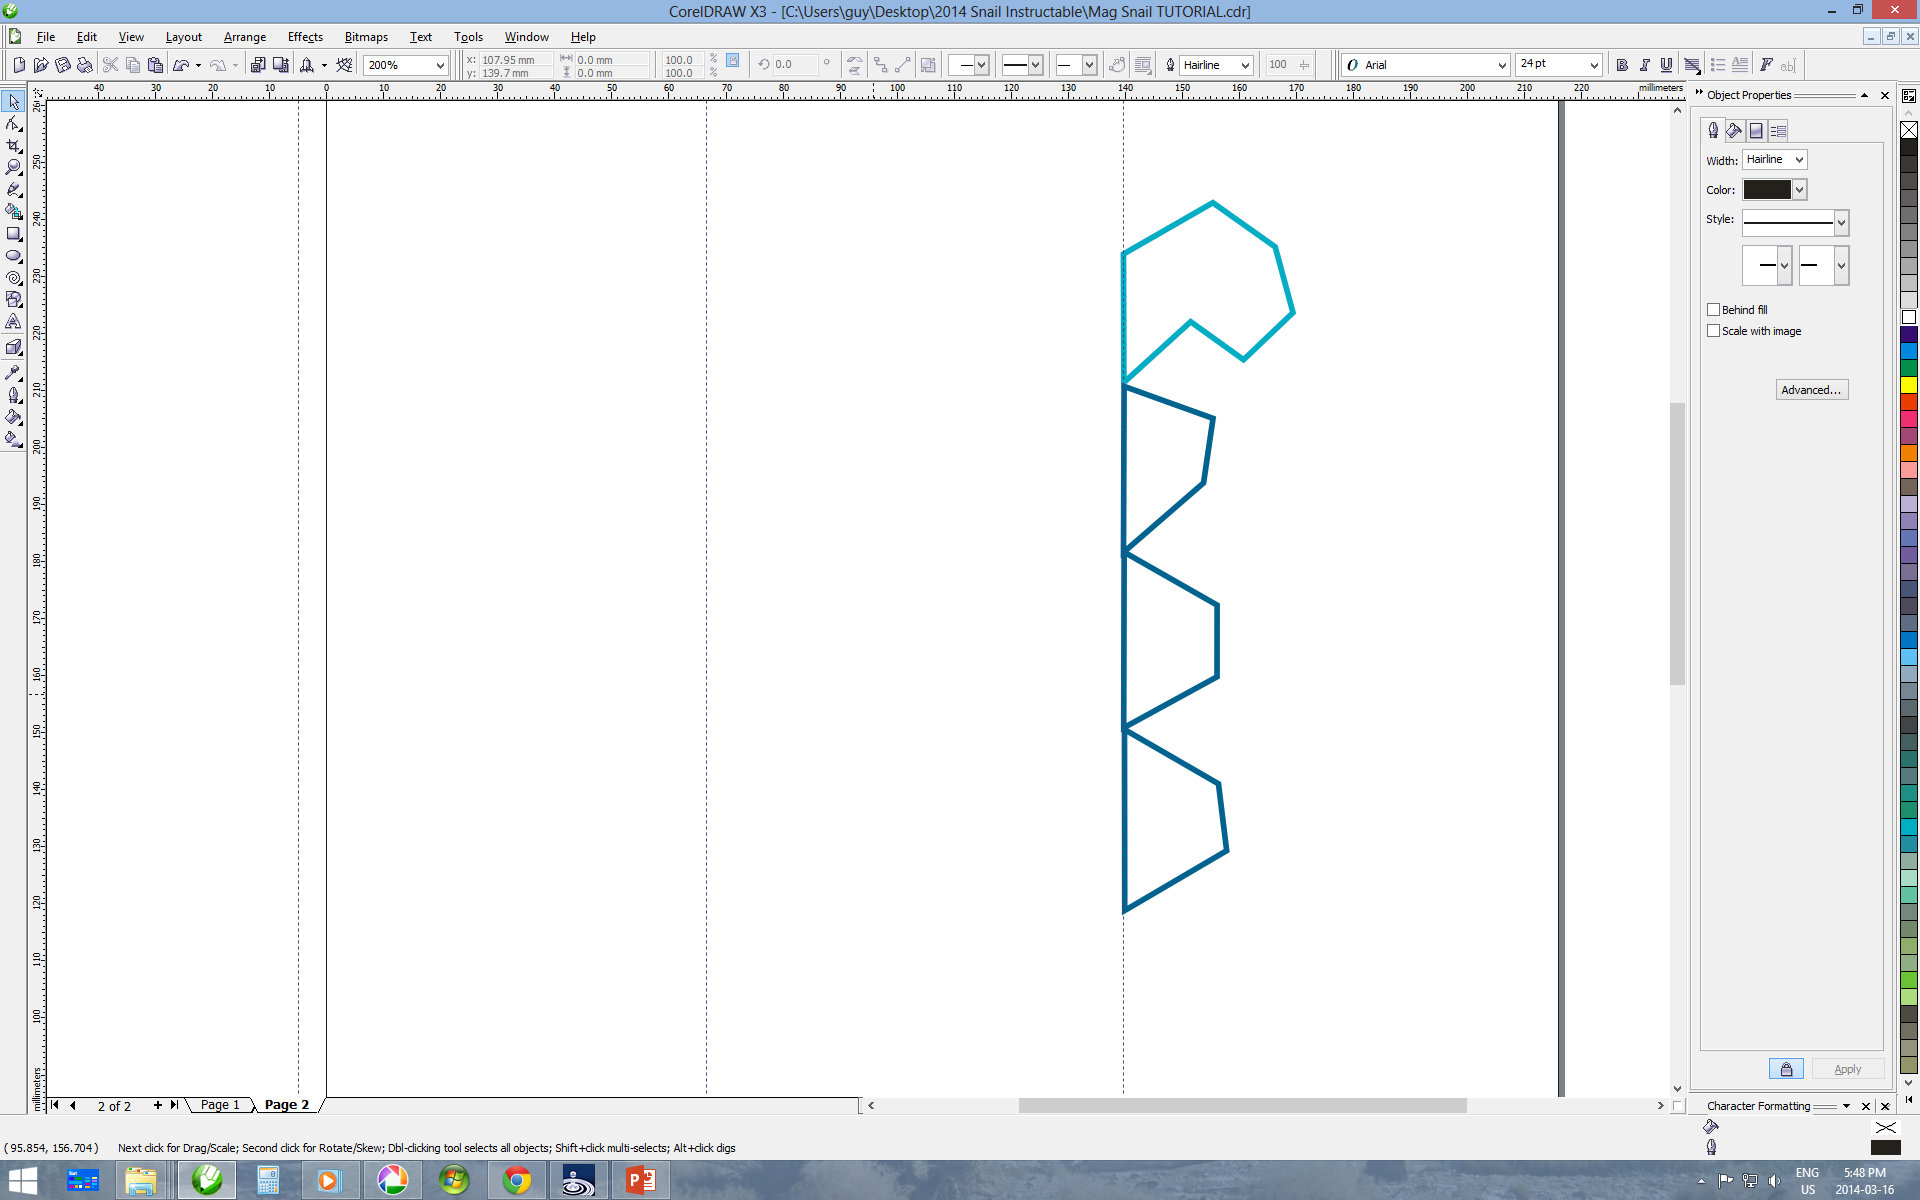
- Select the line drawing tool and draw the first 7-sided polygon at the center of the spiral as seen in the image.
- Moving from the center to the outside of the spiral, draw the trapezoids by using the intersections of the guidelines with the spirals.
- Continue till you have reached the end of the spiral.
- Select the polygons you have created (excluding the spiral and guidelines) and copy them onto a new page.
- Click onto the scaled sections on the left edge of the working area and drag a guide-line at 2/3 width of the page.
- Create another guide-line at 1/3 of the page and drag one near the top of the page.
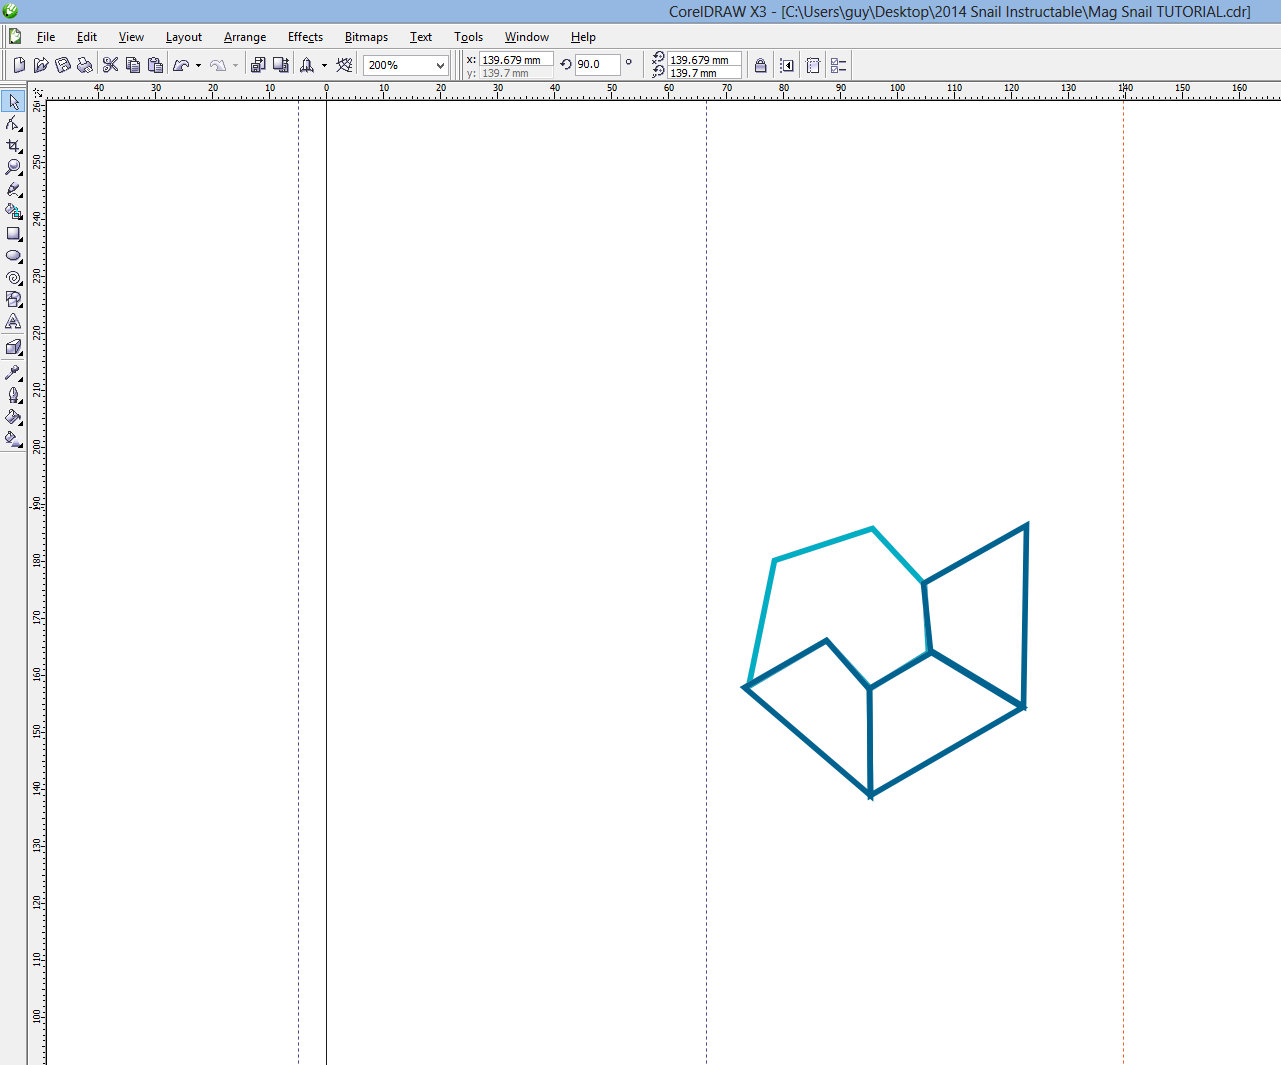
- Drag your center polygon (7 sided) so that the node that is furthest down the spiral (closest to exiting) is on top of your first guide-line.
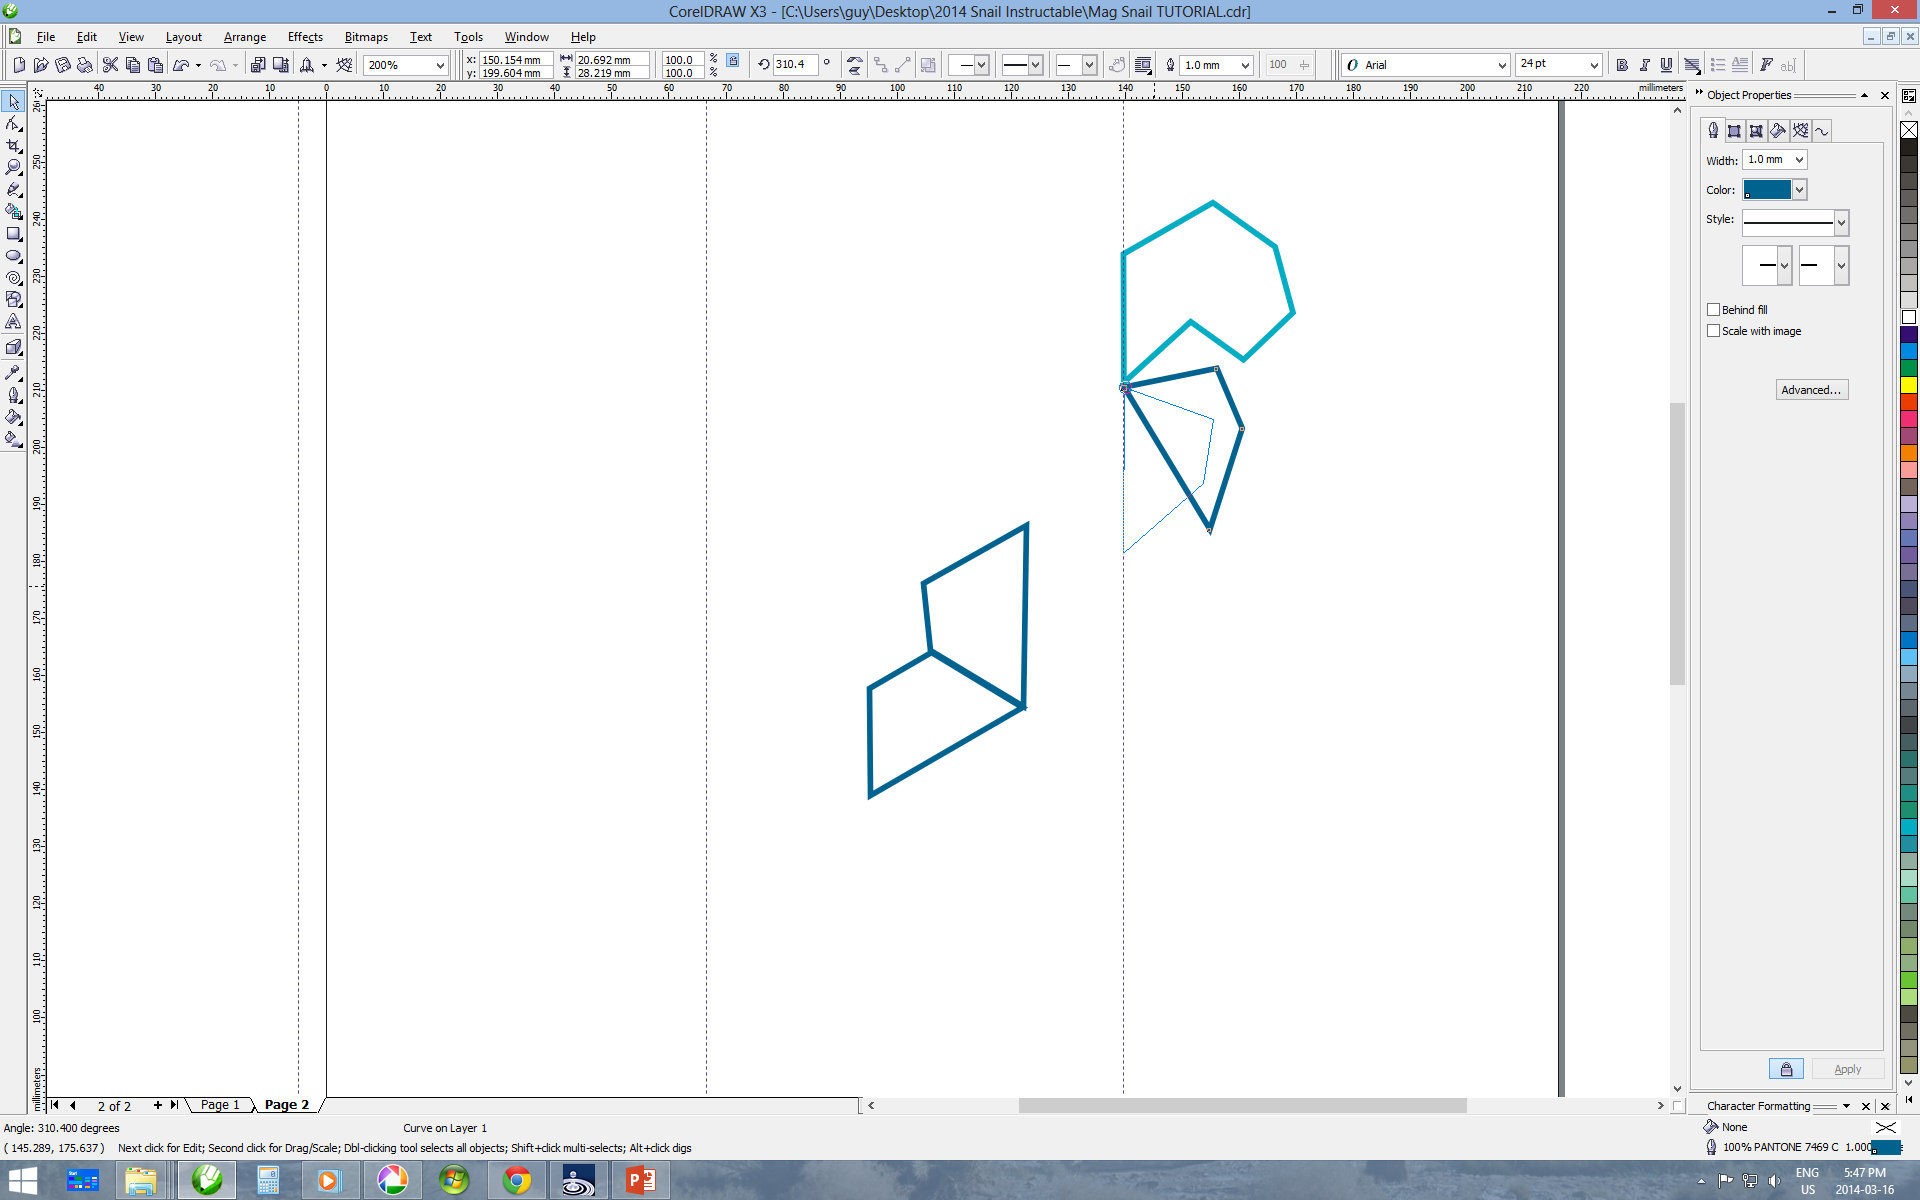
- Click once more onto the polygon to enable rotation mode.
- Drag the point of rotation (point and circle) so that it is on top of the node you placed on the guide-line.
- Rotate the polygon so that it resembles the image (fat part up).
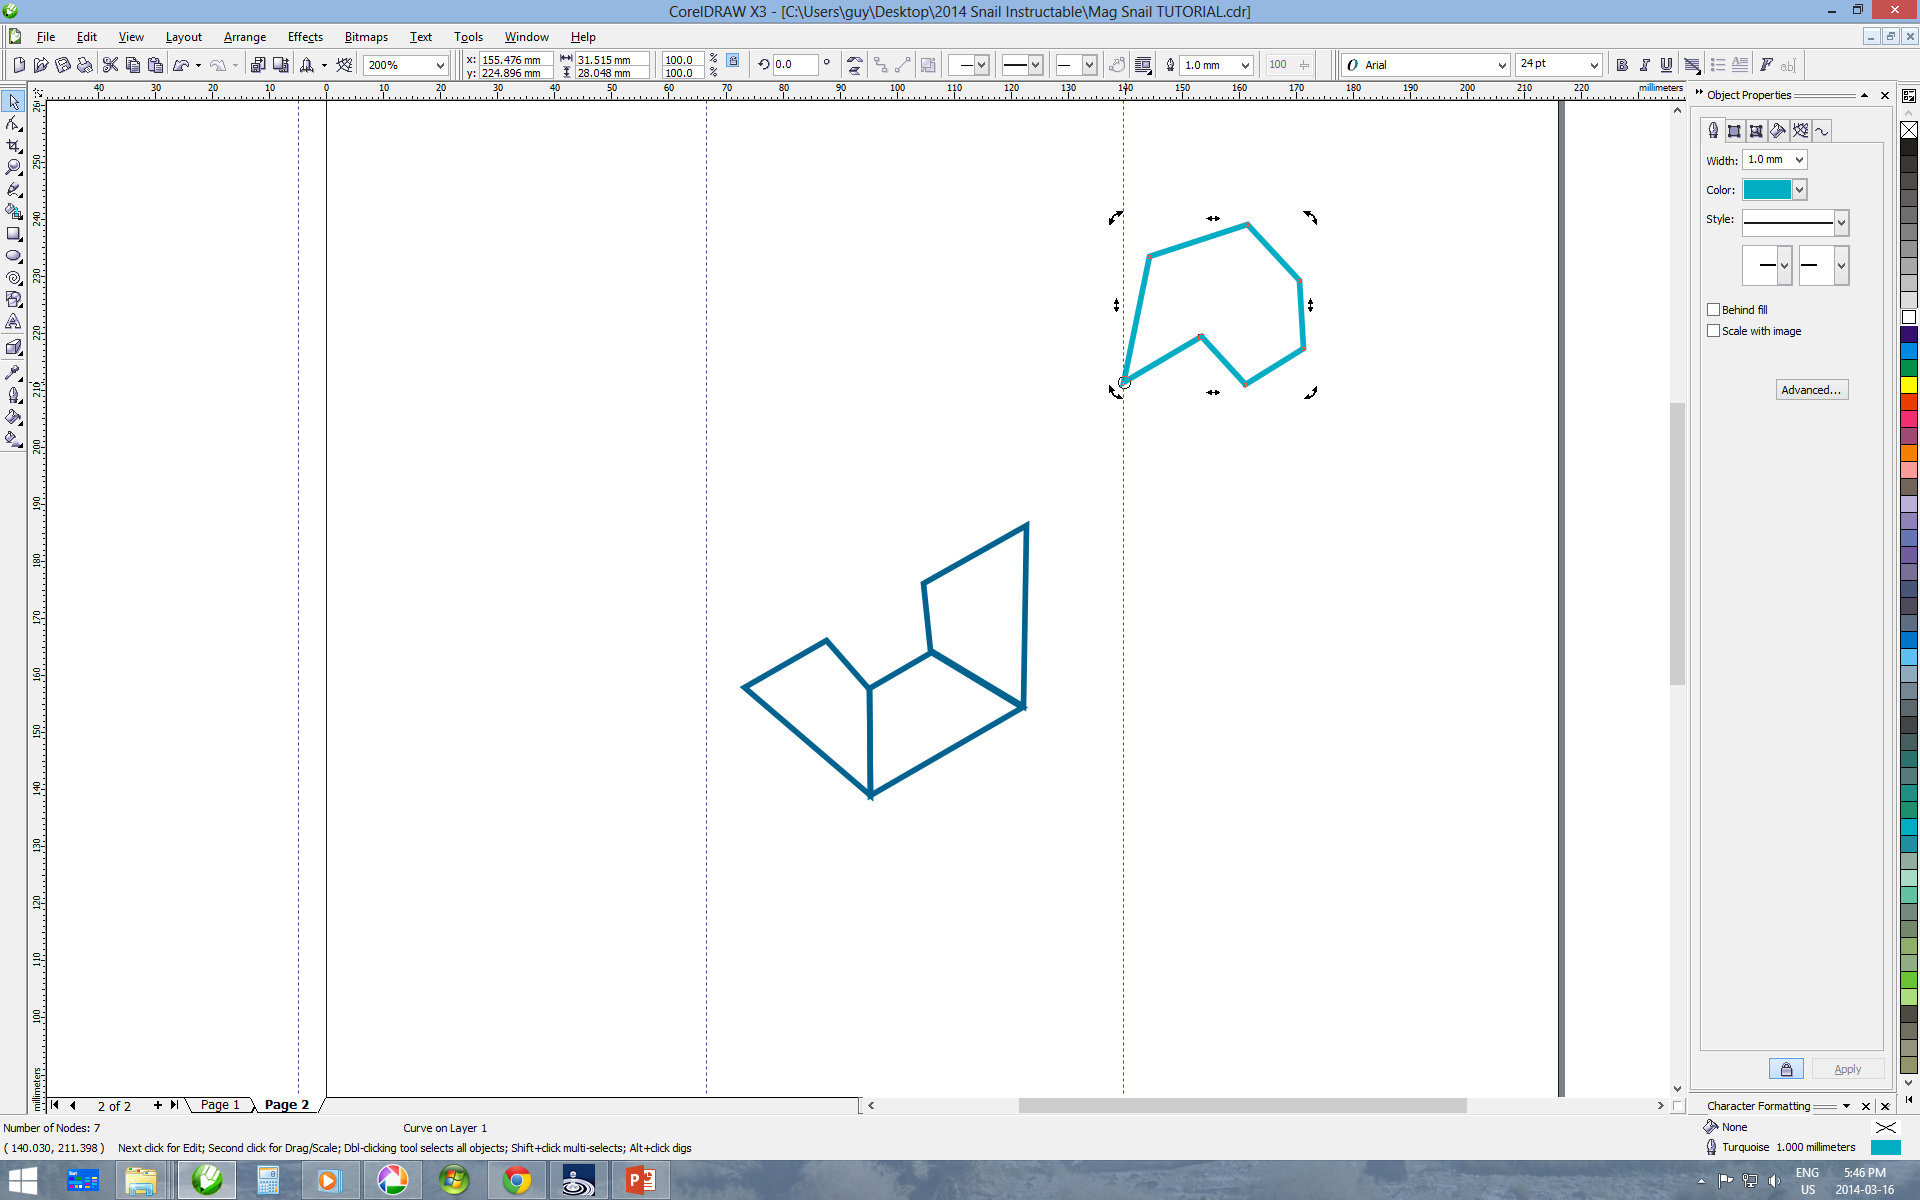
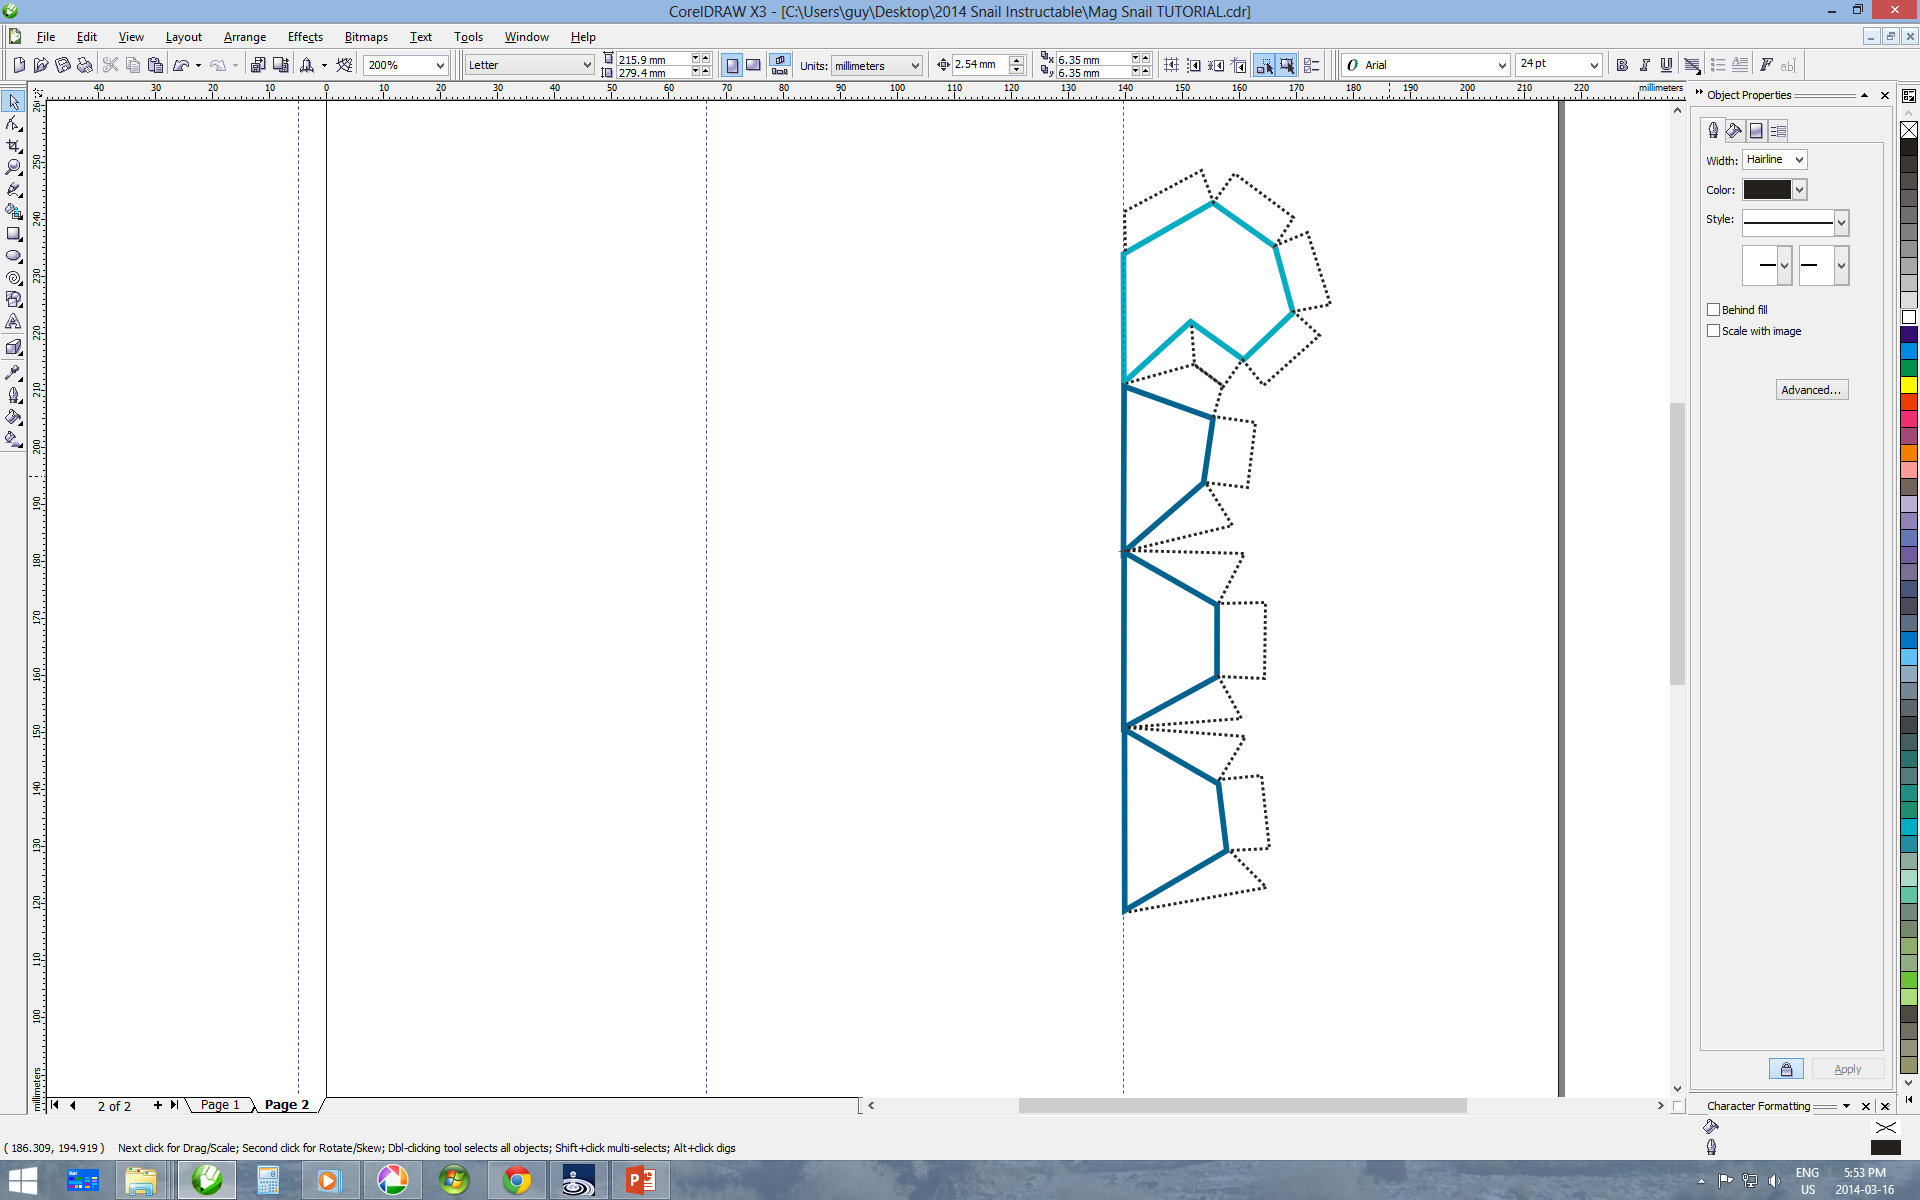
- Drag the next polygon (smallest remaining trapezoid) so that the lower left node if the trapezoid is long side down (this is the node that was in contact with the previous polygon) is on the guideline and on top of the lowermost node of the last shape you placed. I cant think a simpler way of explaining this: imagine you are unrolling the spiral, and check the images.
- Repeat step 11 until you have lined up all the trapezoids along the guideline.
- Add color to the polygons, I used a linear fountain fill.
- Using the line drawing tool, create tab shapes that will be used to glue the magnets onto.
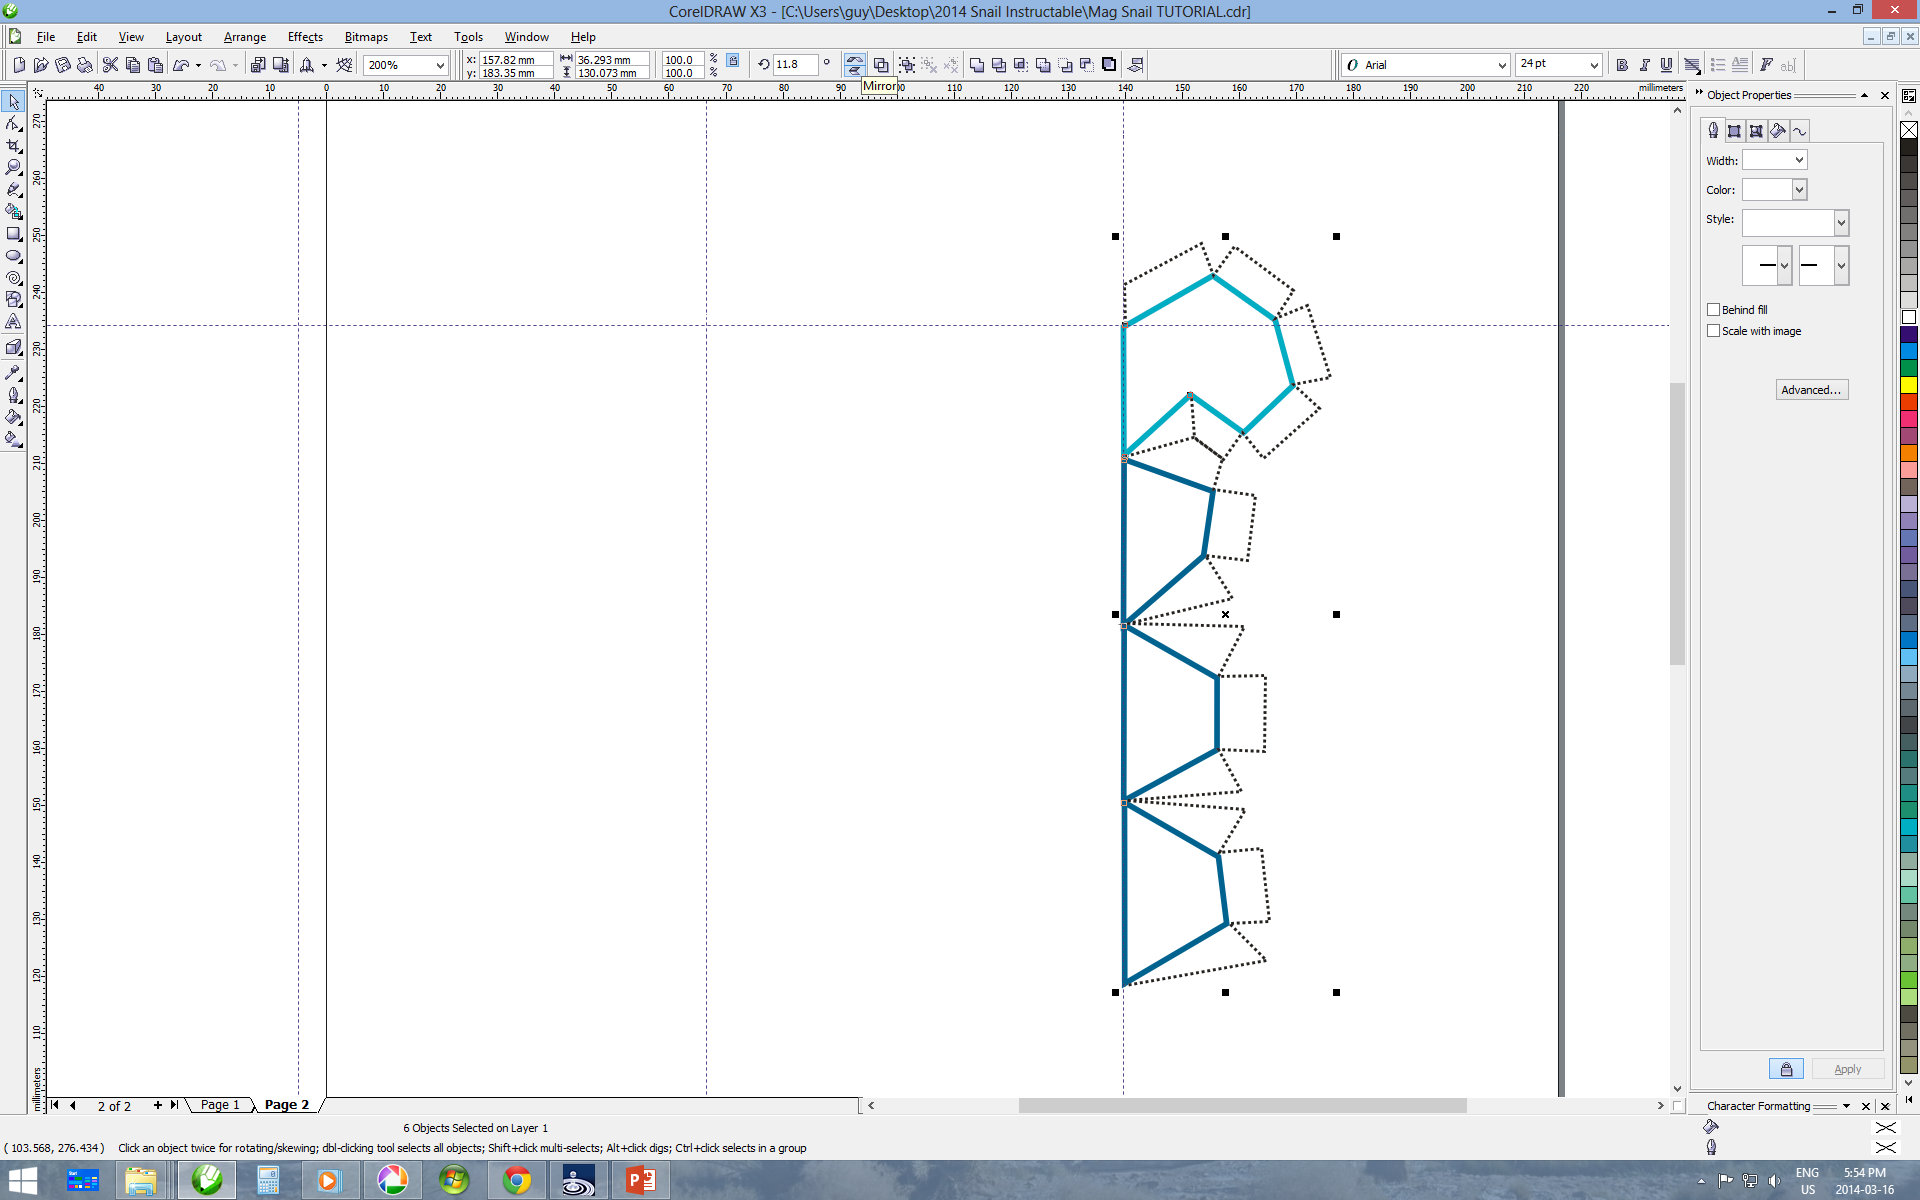
- Select all the drawings along this line. Copy and paste.
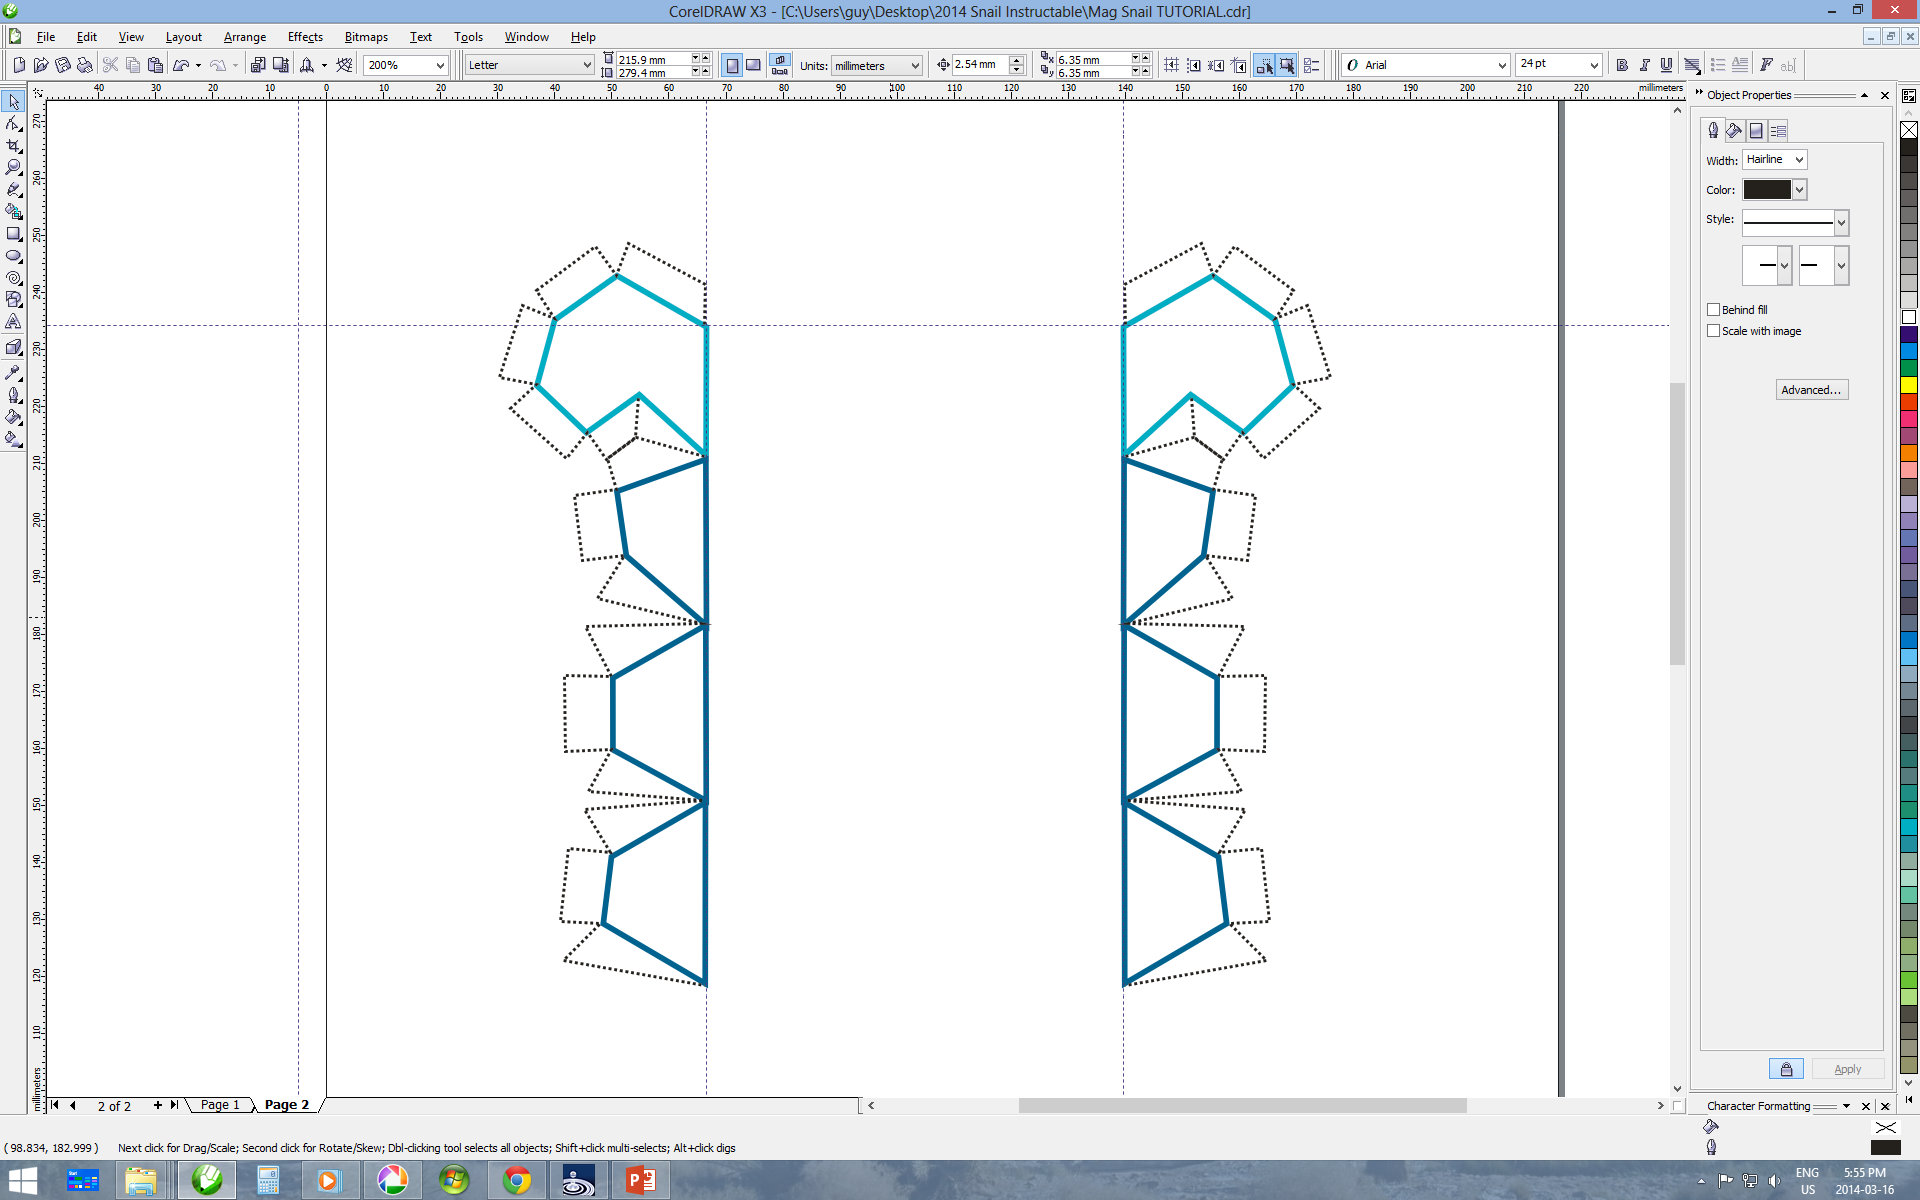
- Flip the new copy using the horizontal "mirror" command.
- Drag the new flipped series onto the other guideline you had created (1/3) carefully lining up the piece along the horizontal guide-line (top) you had made in step 3.
- Fit as many tabs on the current page leaving space for a tab at the base to connect with the next series.
- Cut and paste the remainder onto another page.
- Repeat steps 17 and 18 until you have all your tabs on individual printable pages.
Print and Cut
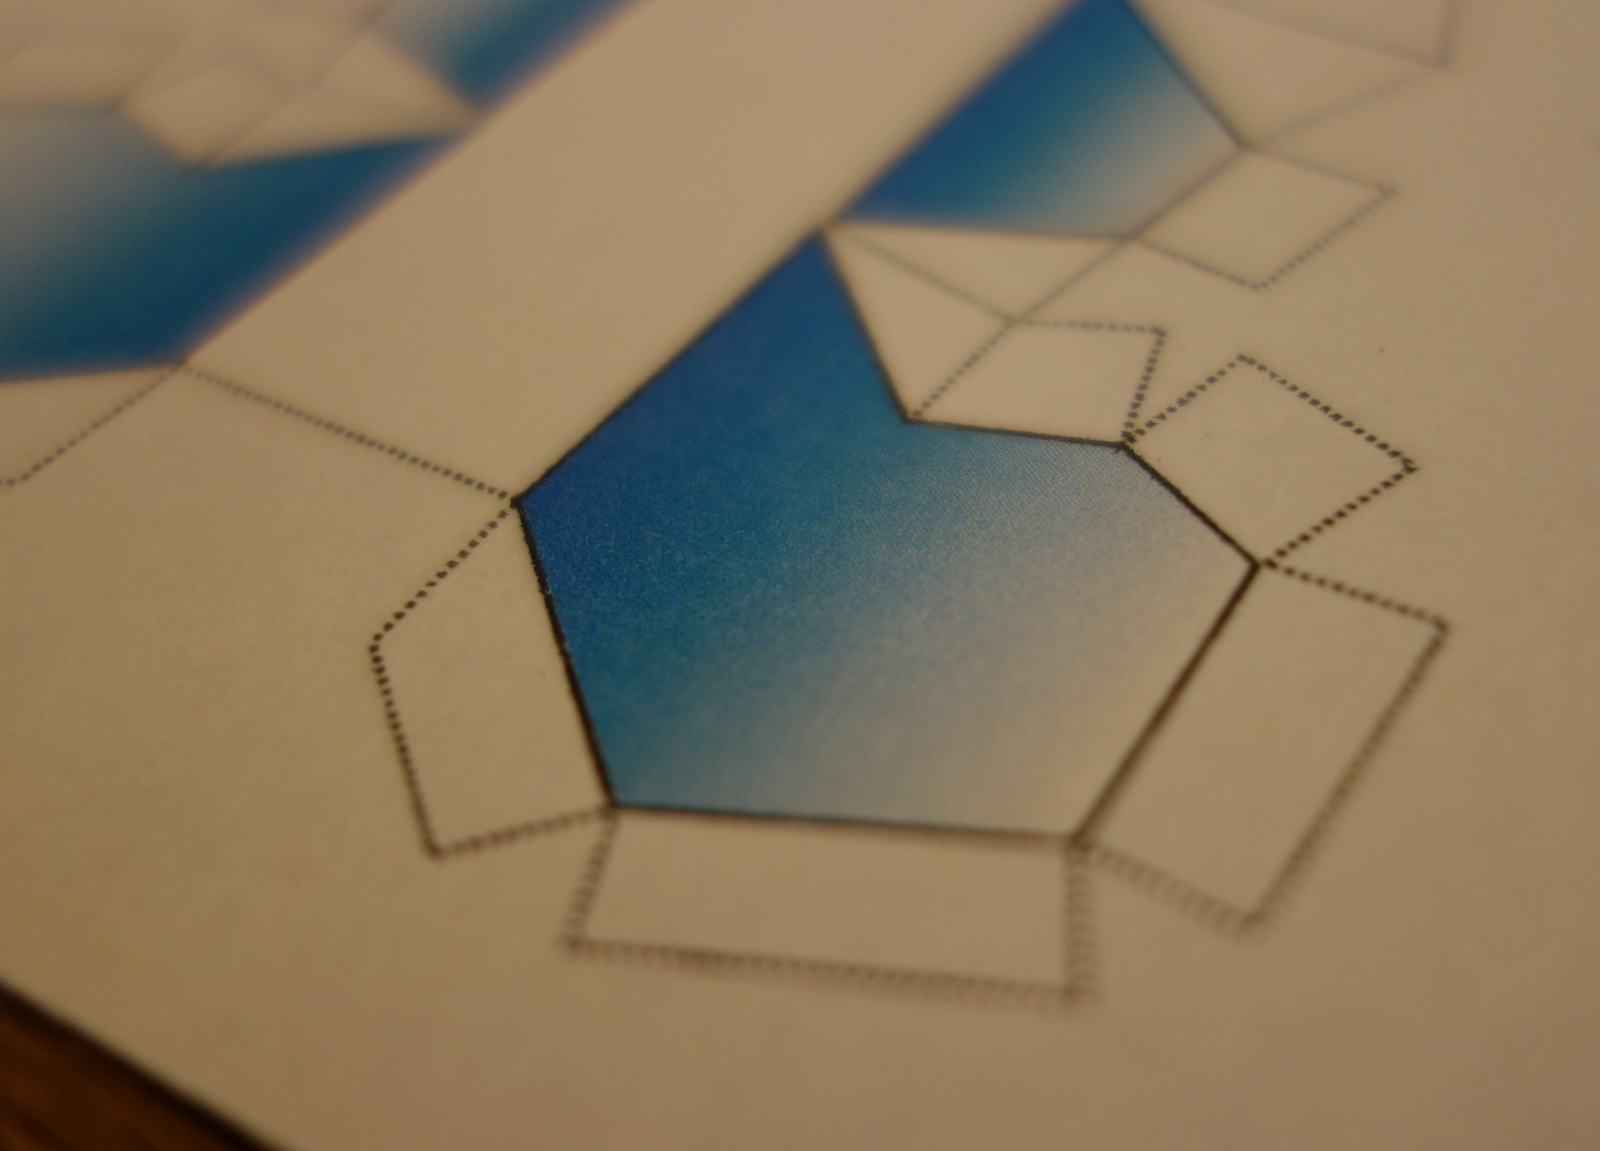
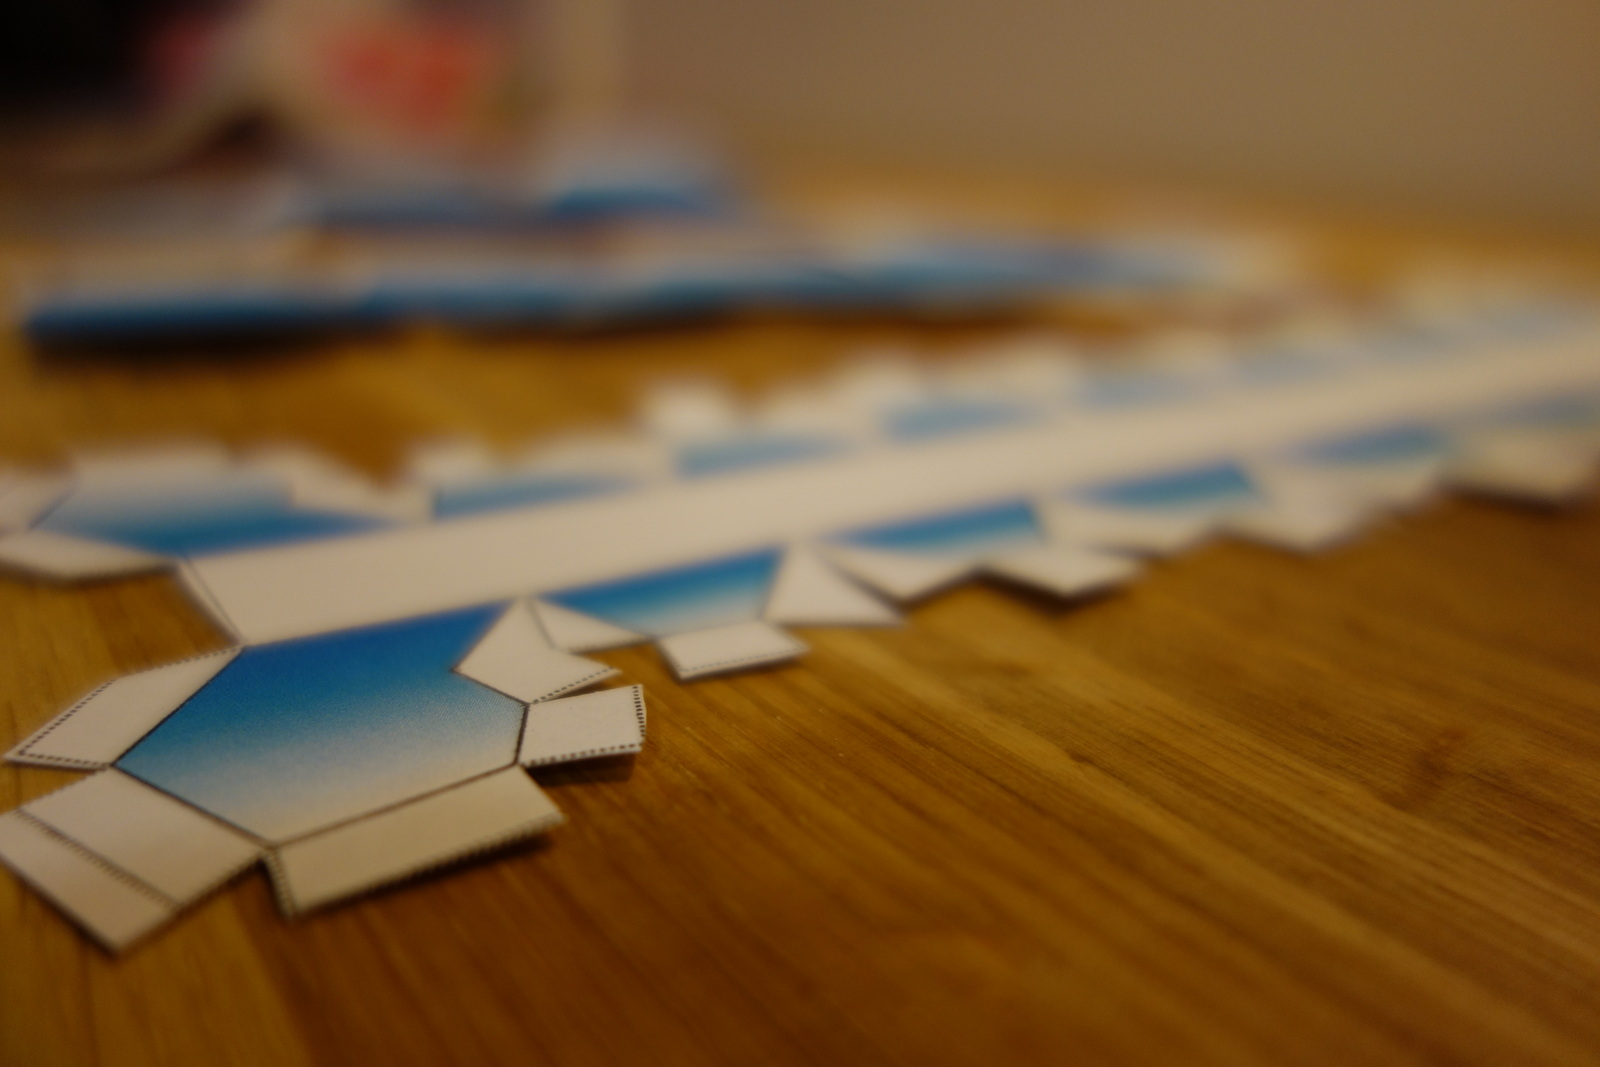
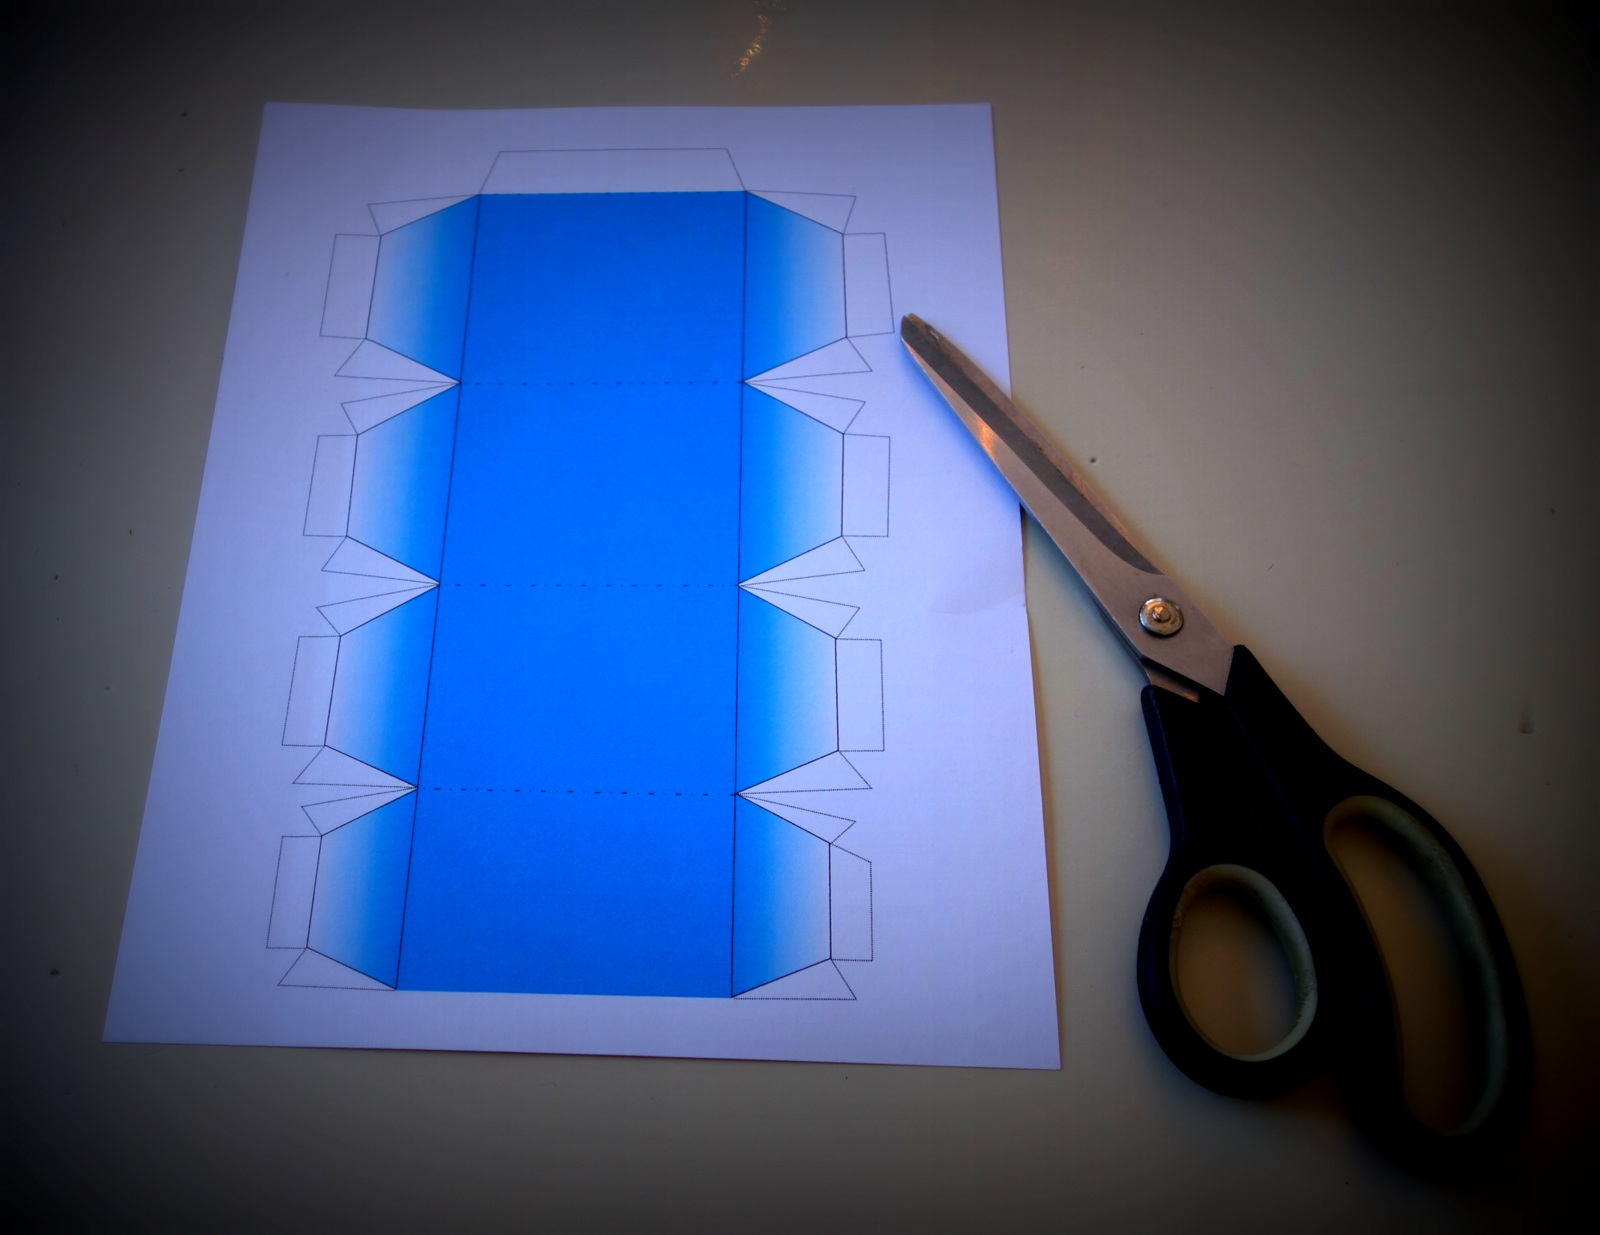
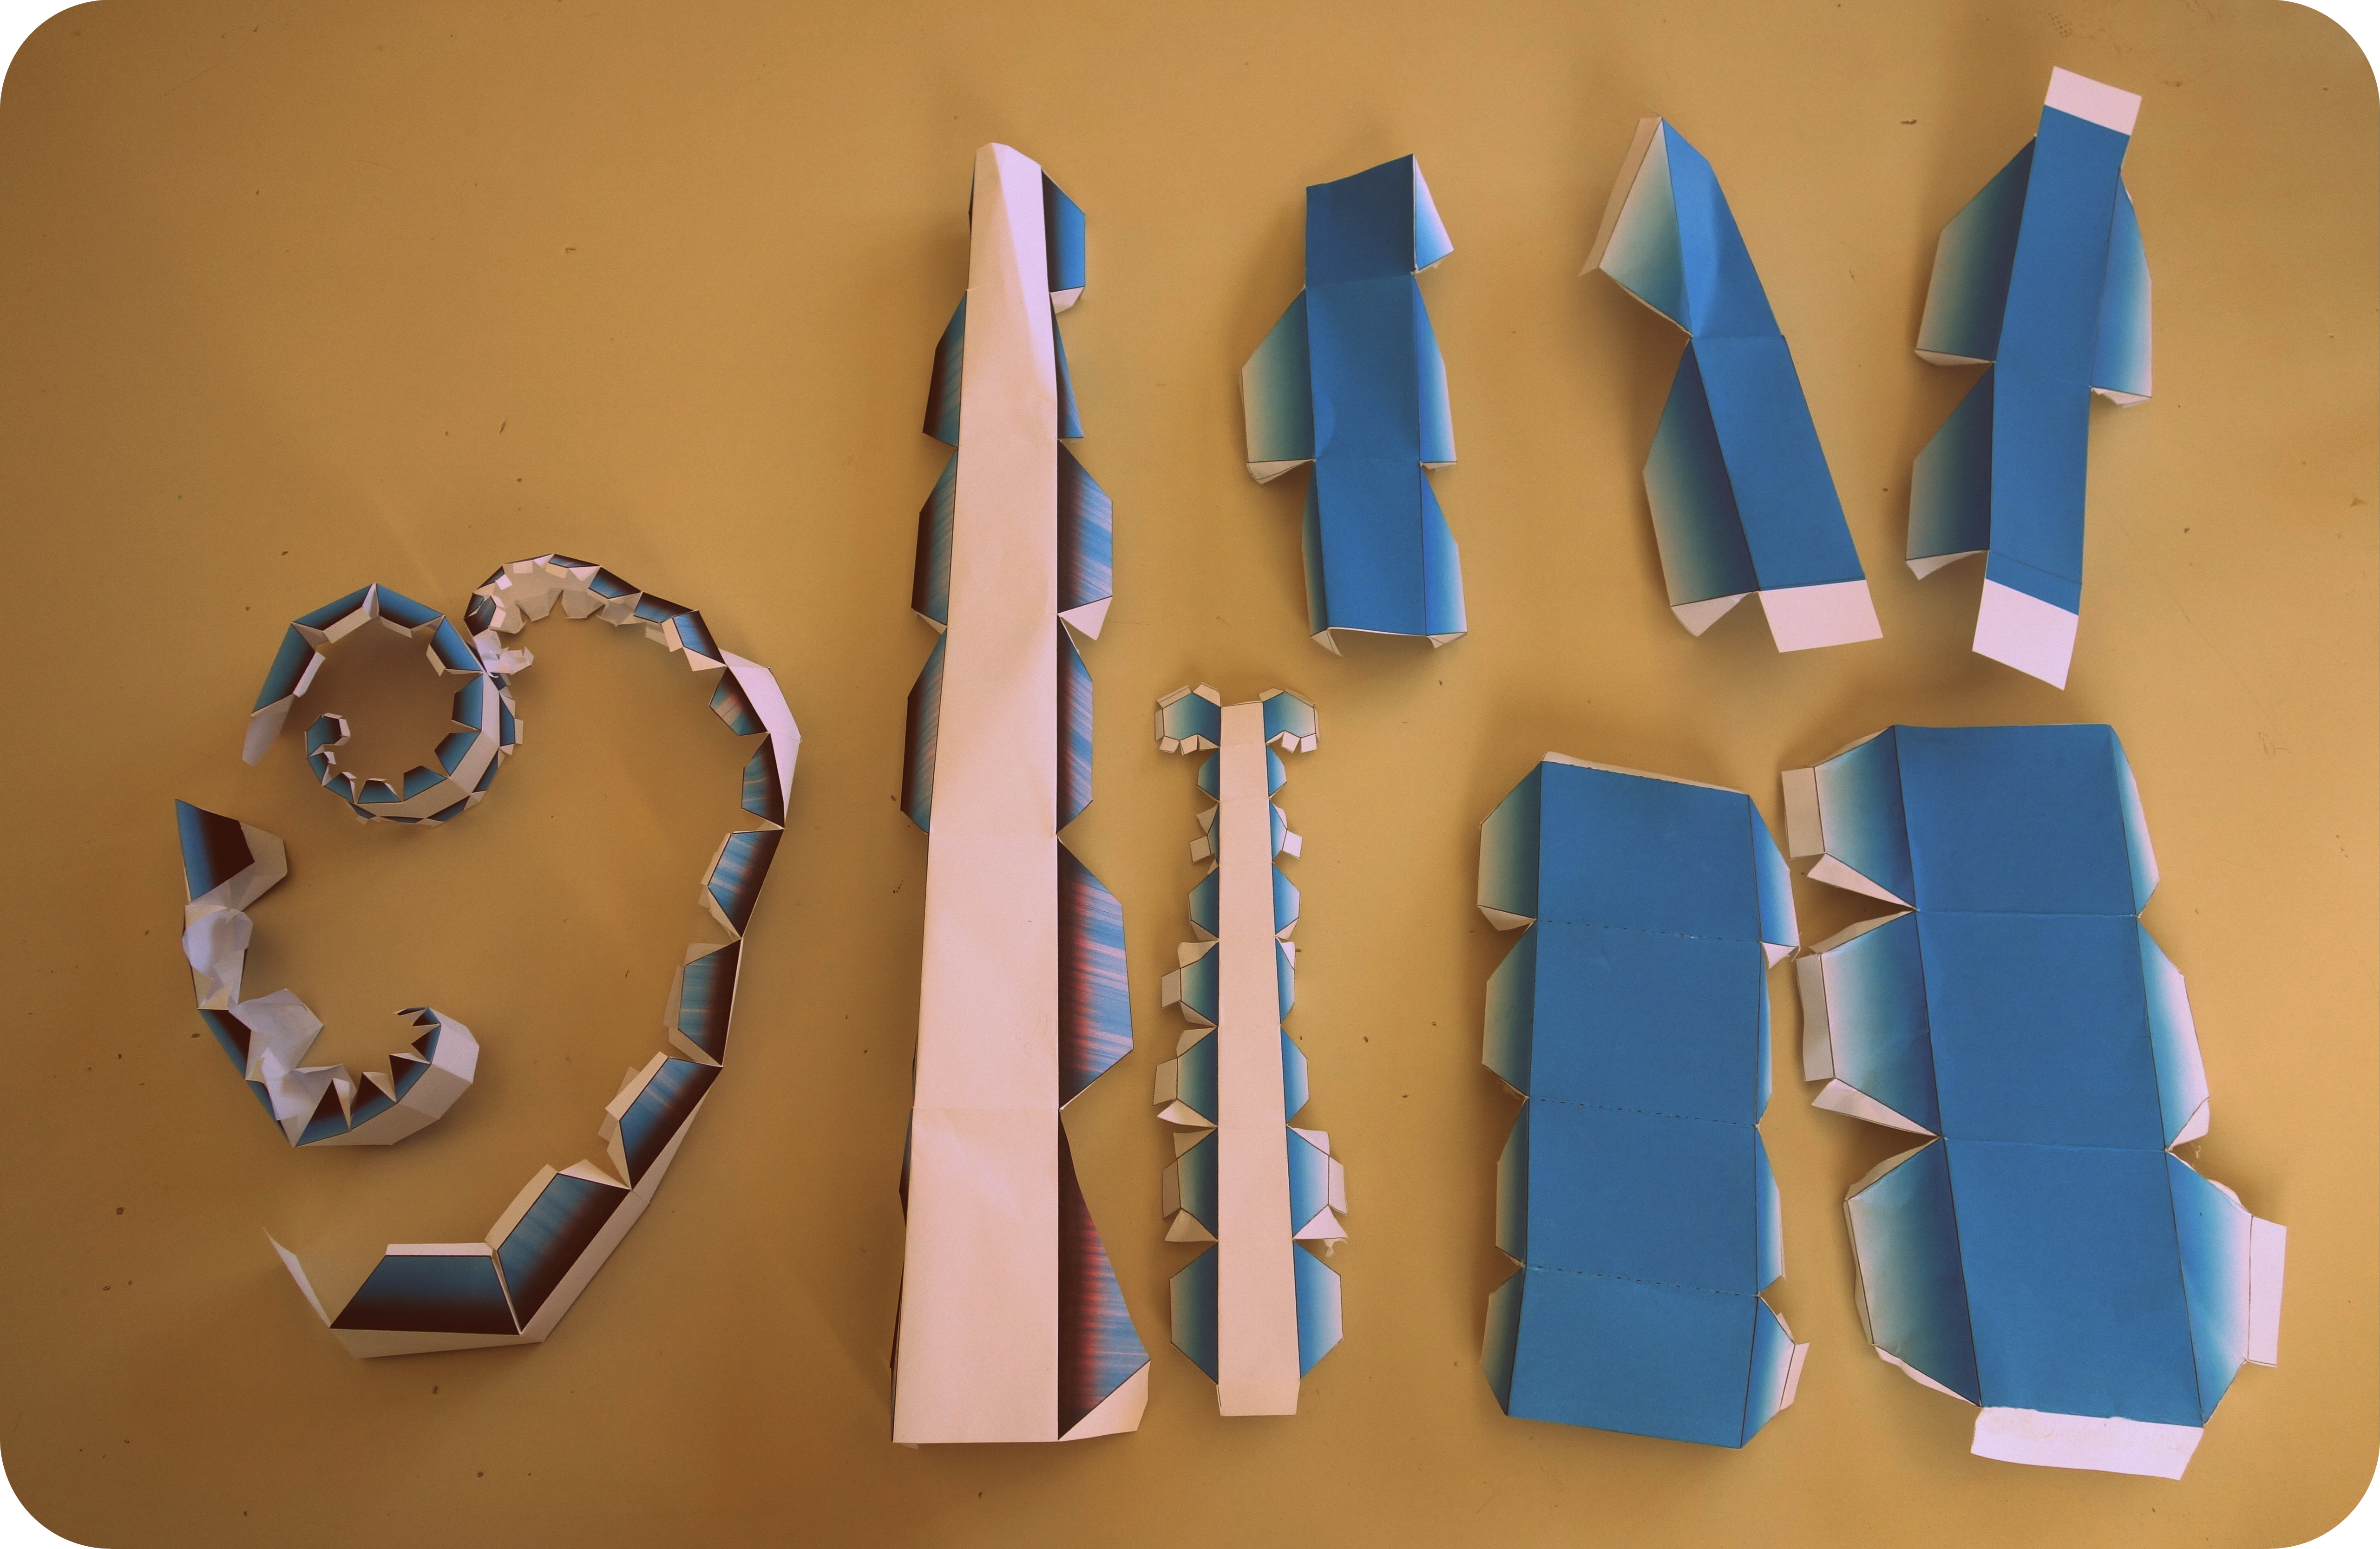
You will want to print on some solid cover stock; my initial prototypes were on regular paper which proved too flimsy.
Settle in for cutting, there are many angles here; particularly on the first page. As you can see from my many failed attempts, I have gotten my fill of cutting and folding.
You cut around all exterior lines.
Settle in for cutting, there are many angles here; particularly on the first page. As you can see from my many failed attempts, I have gotten my fill of cutting and folding.
You cut around all exterior lines.
Folding
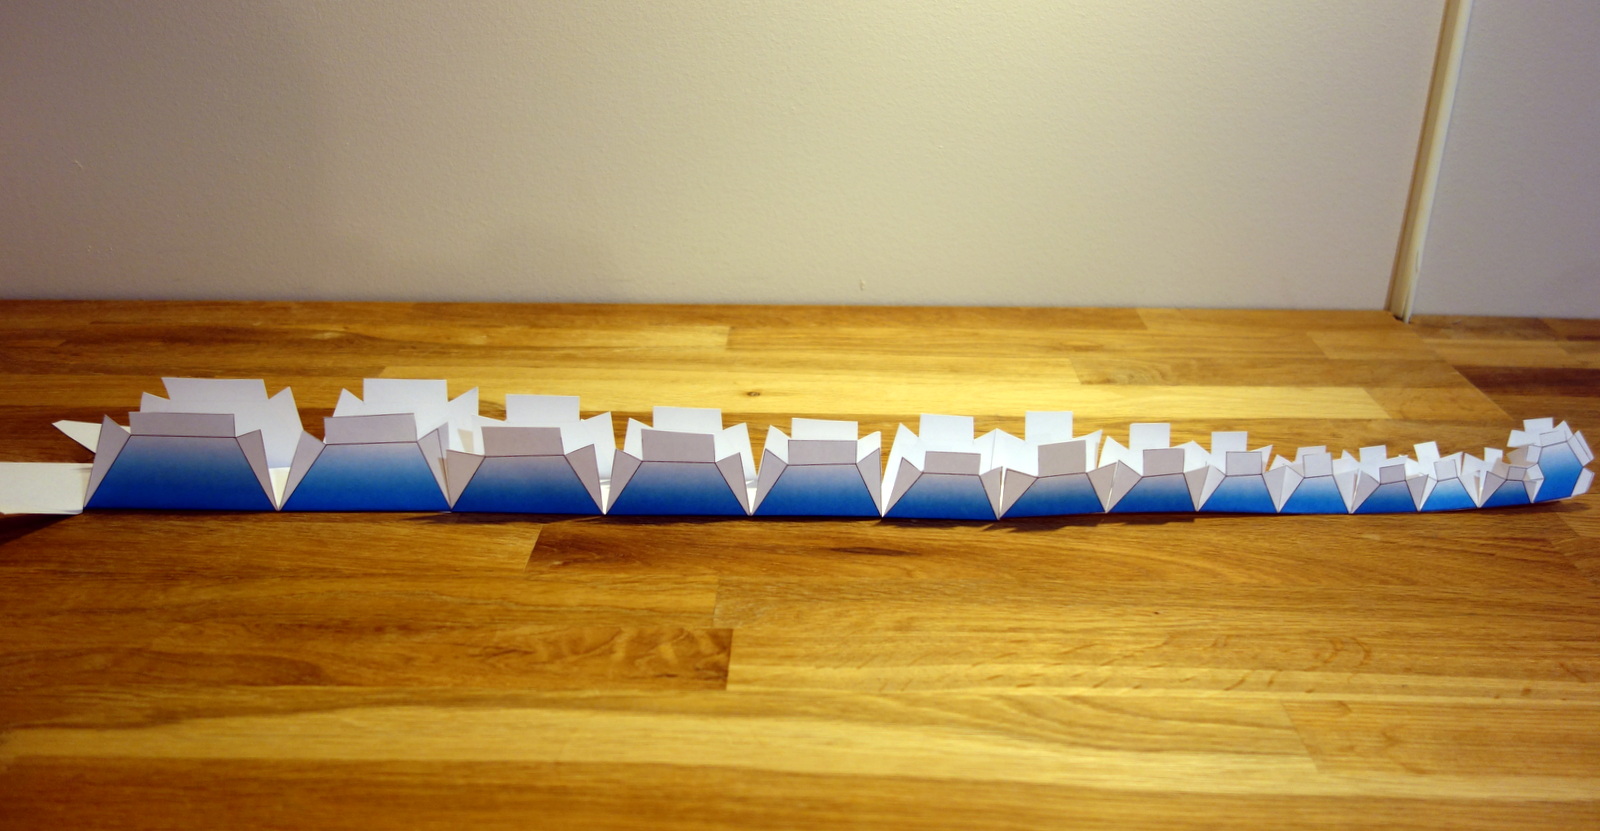

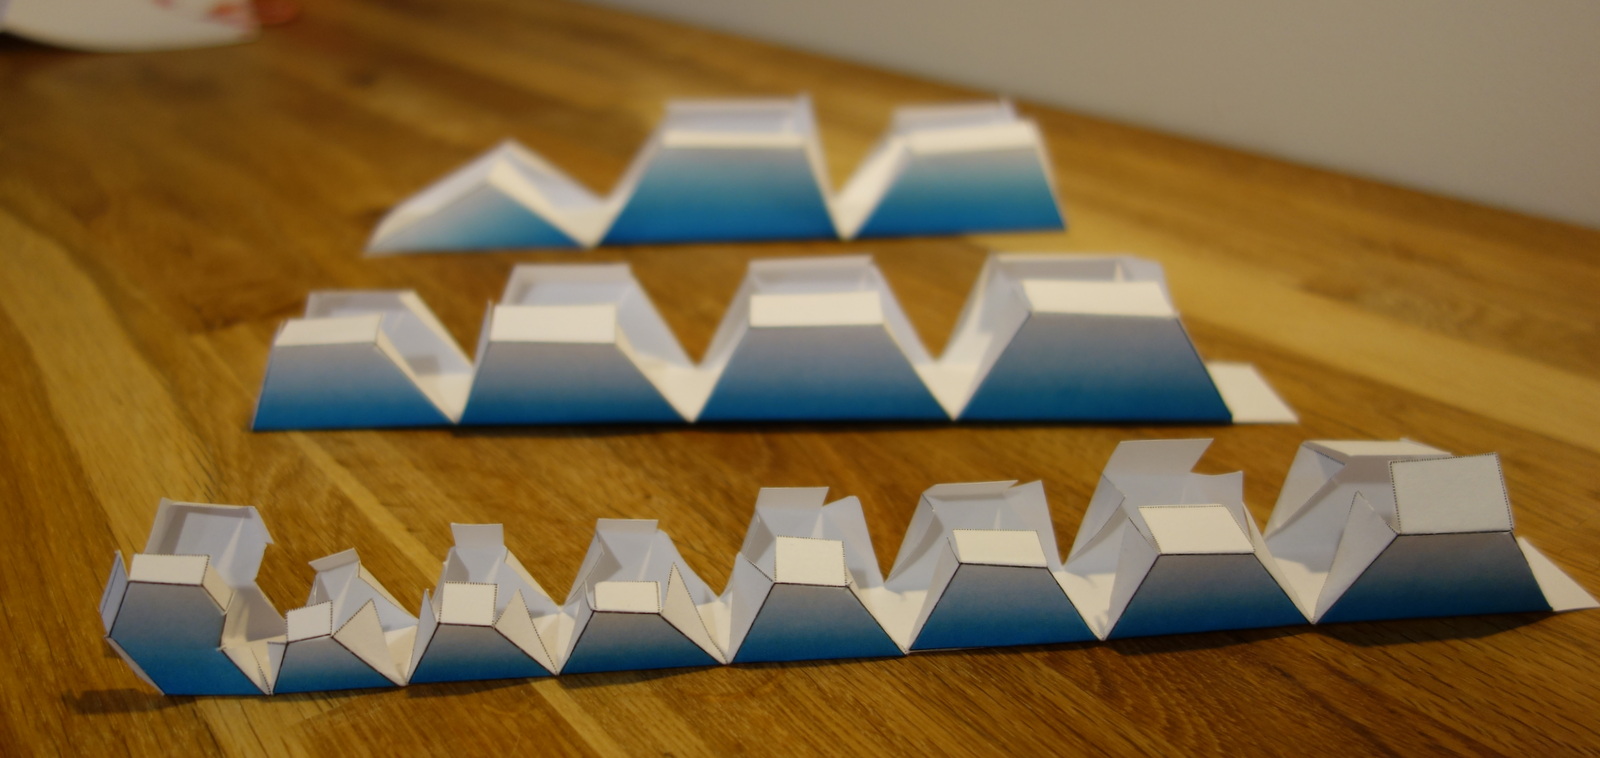
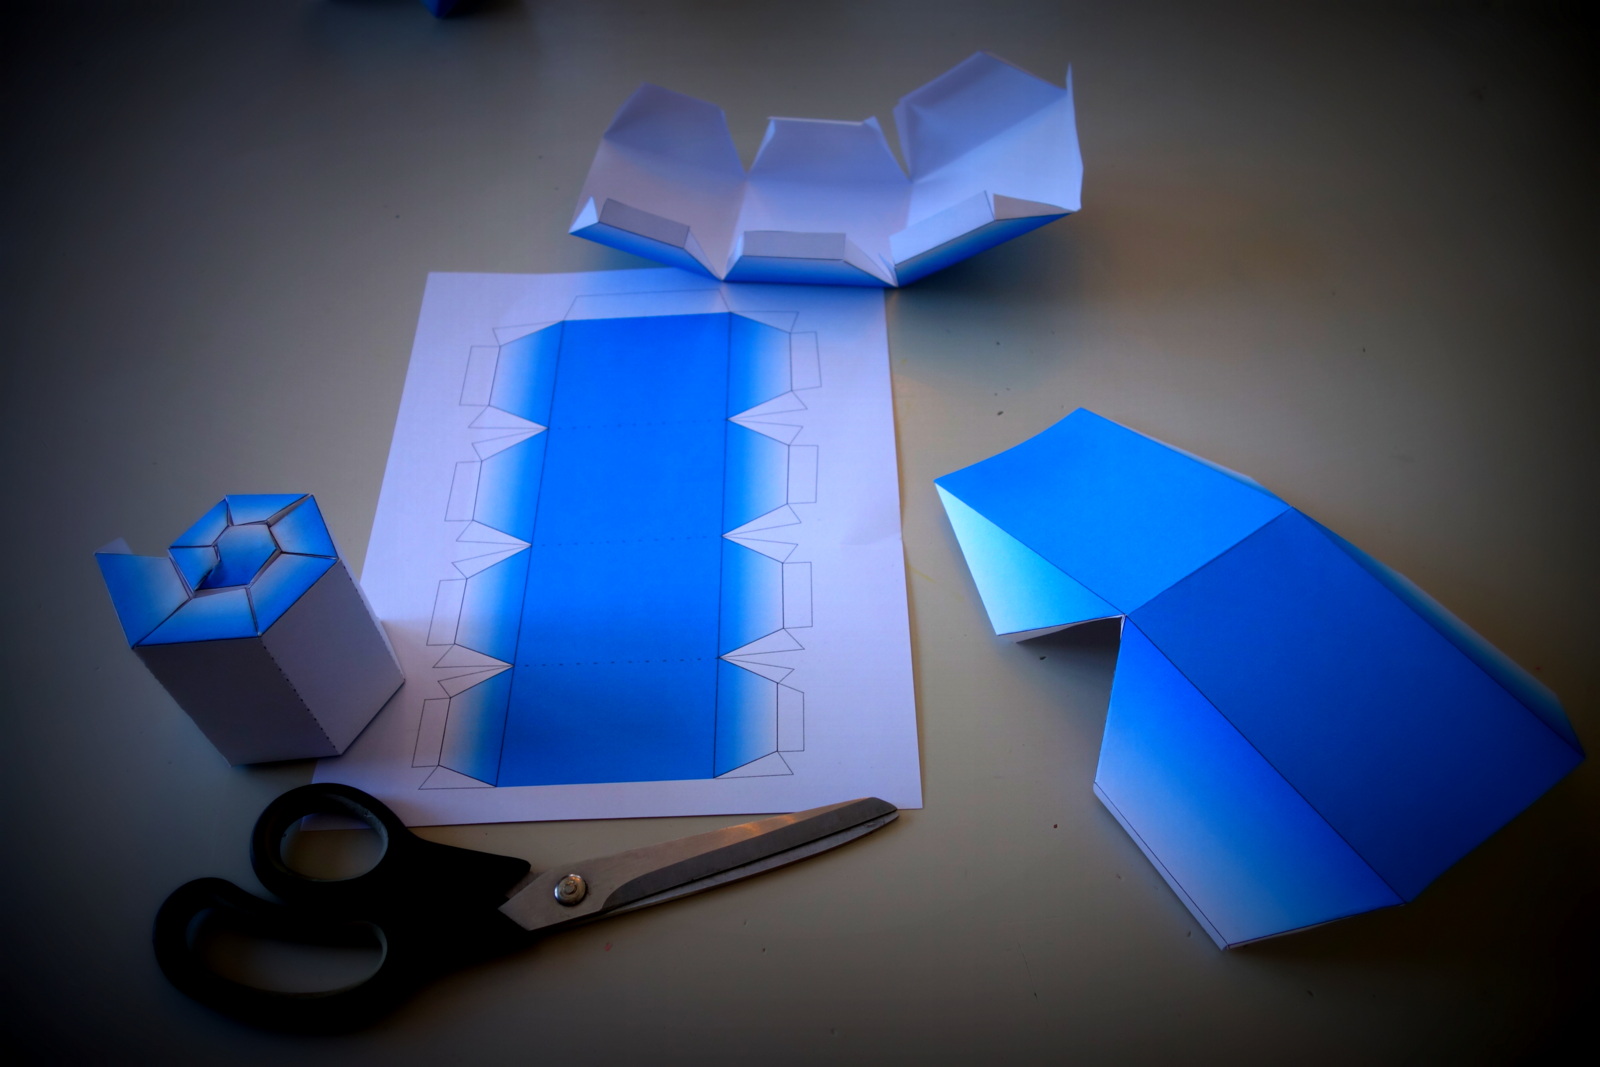
Not much to say here. They are basically ALL mountain folds; see the images and video on Step 1.
Mark Up Magnets
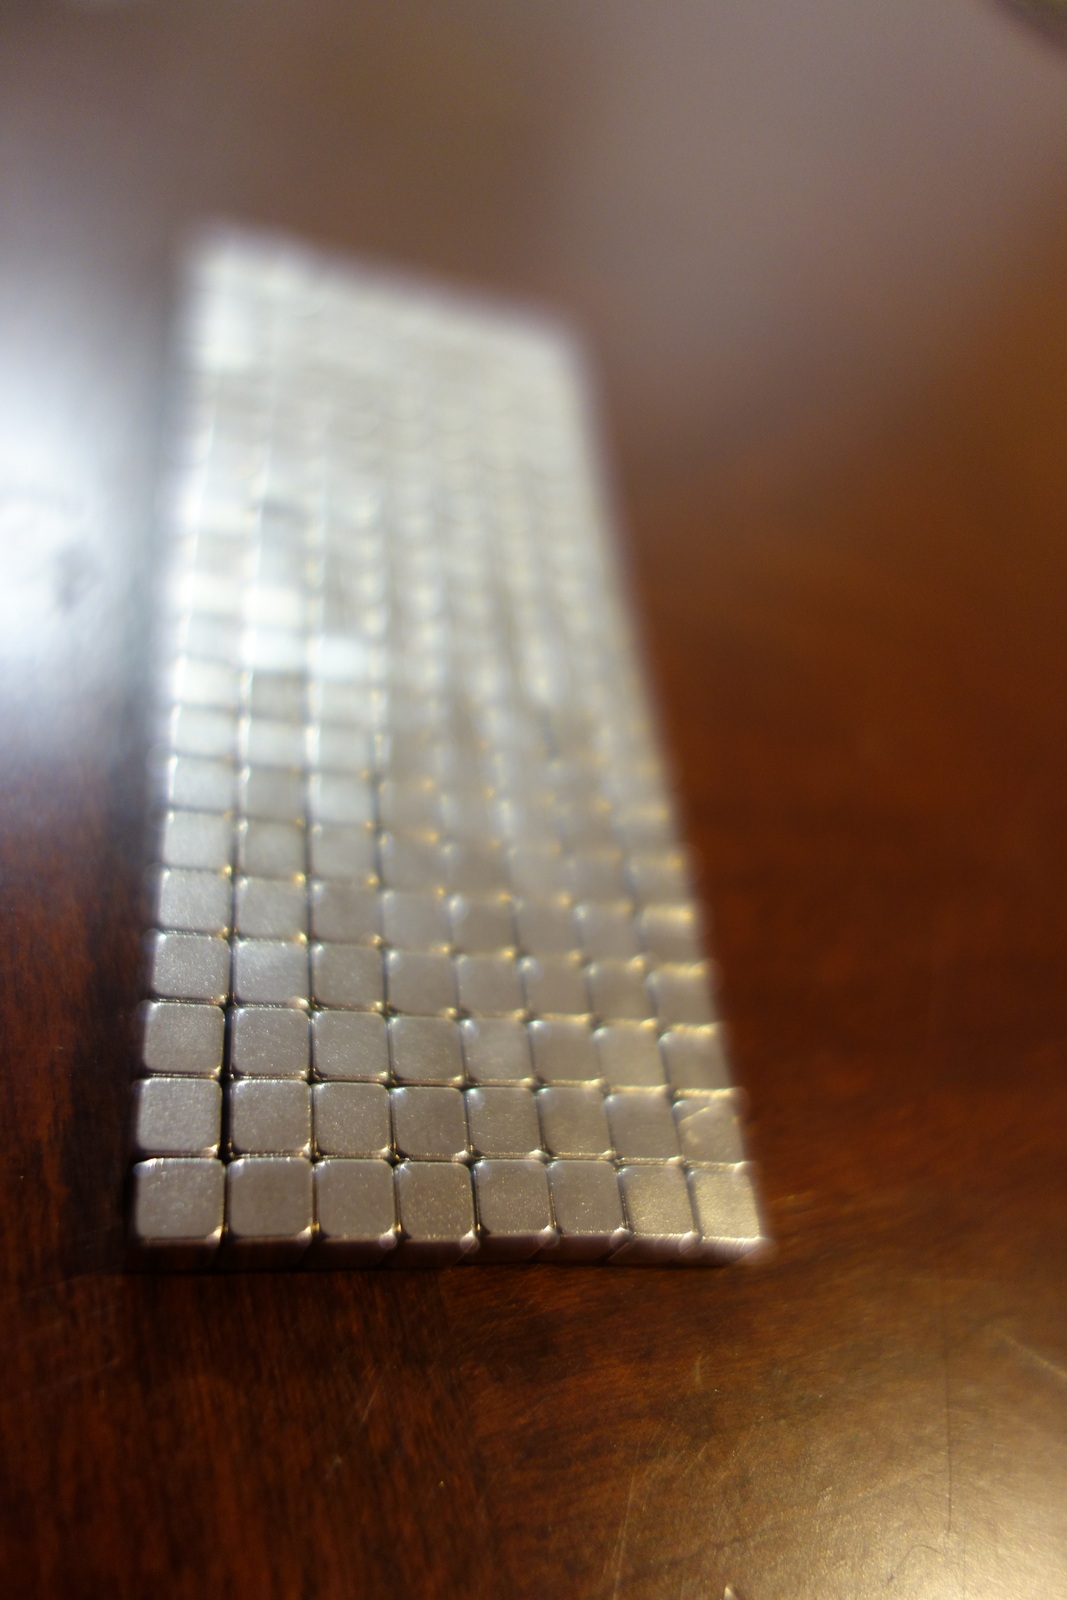
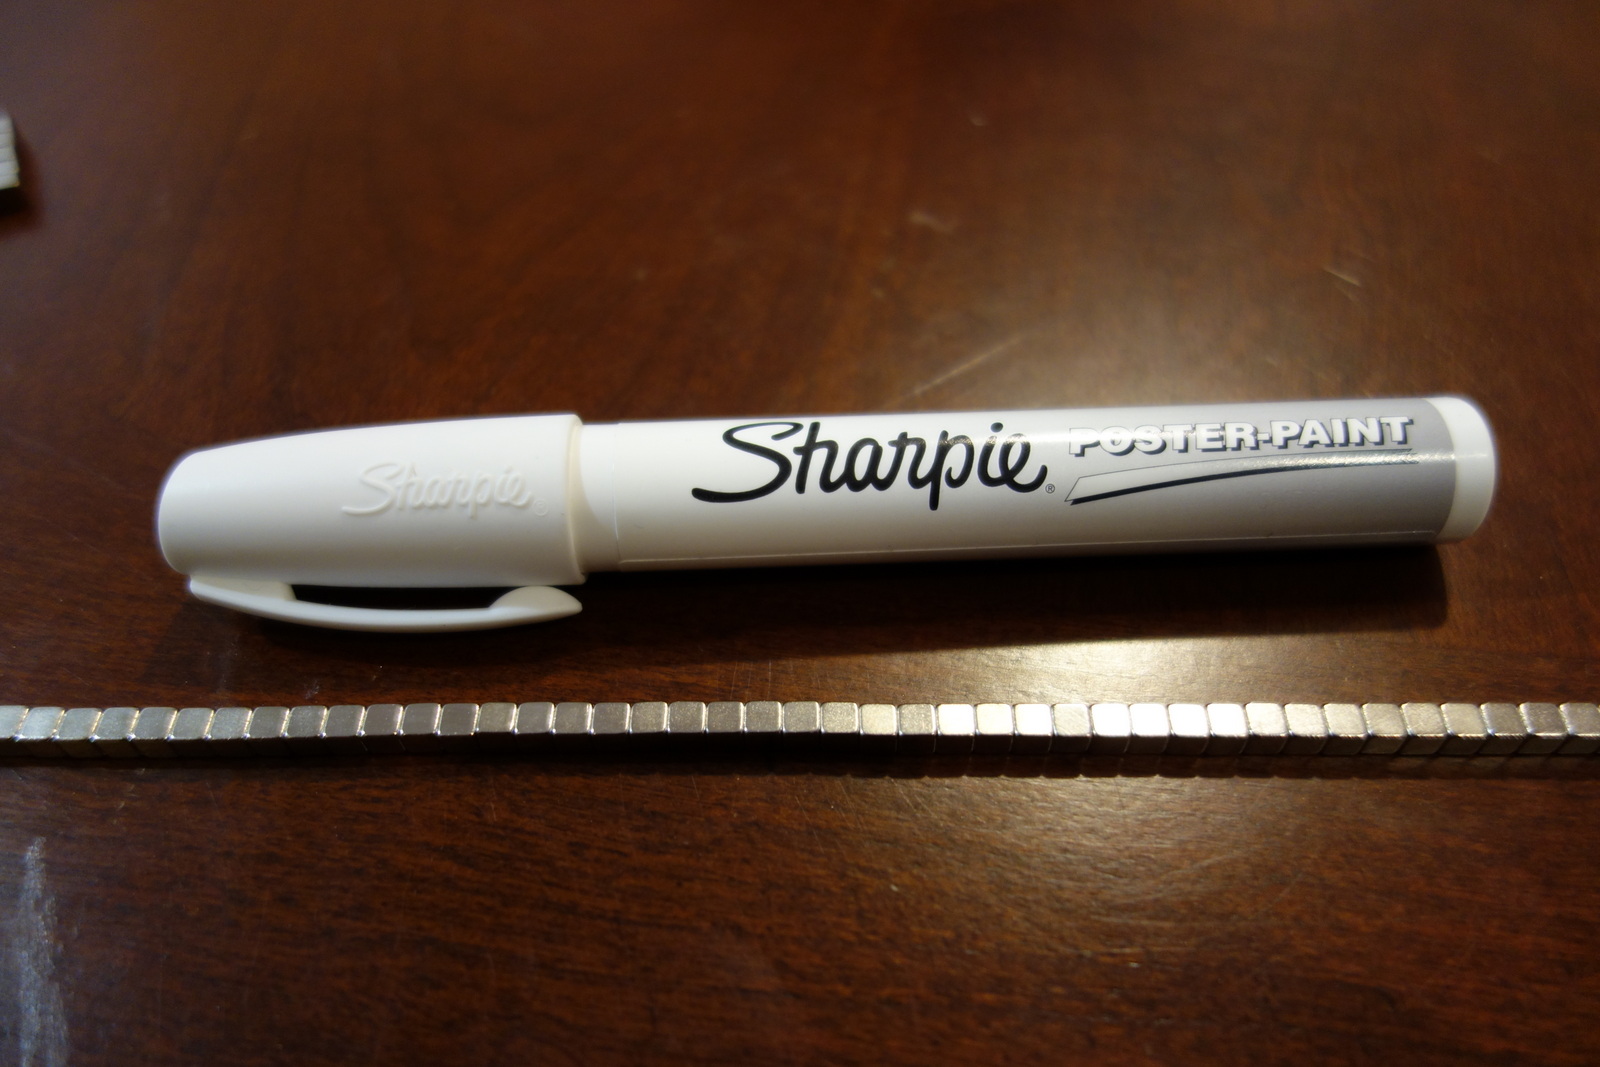
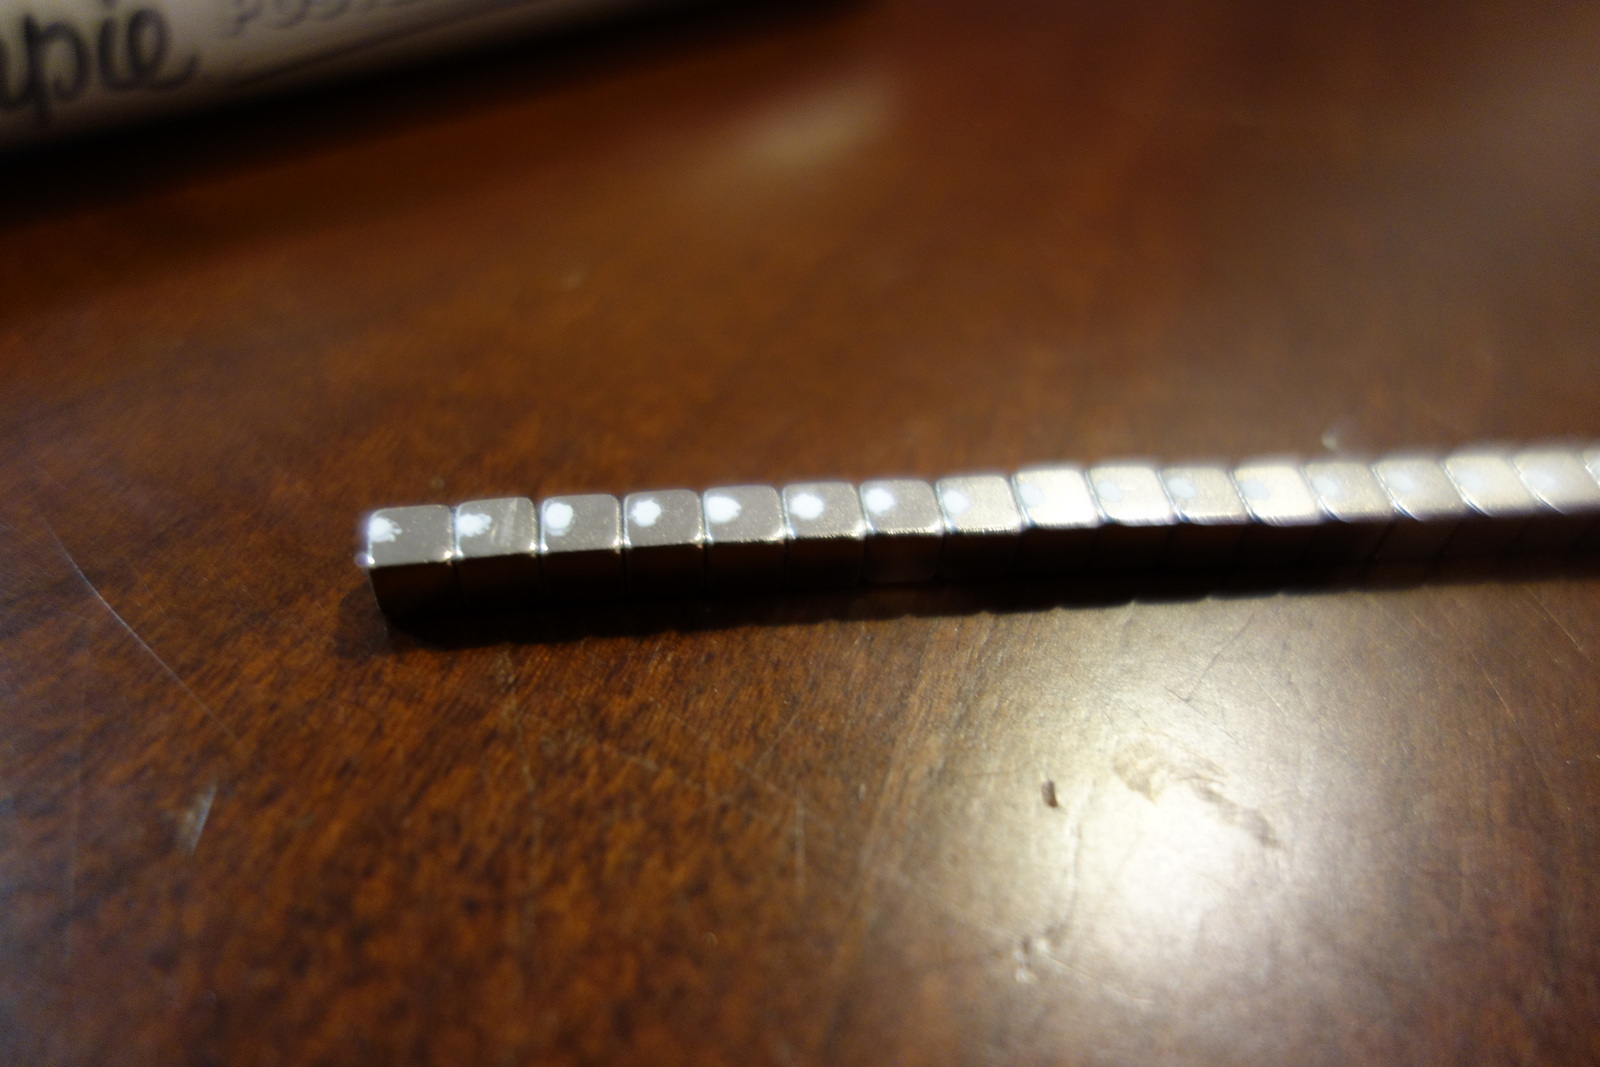
I purchased several geometries and sizes of magnets for this project; not knowing what would work best. After some testing I settled on the 4mm cubes because they had just the right strength and were relatively easy to handle. One issue I had right away was that I never knew which side was the positive or negative pole. This is key, because you want adjacent pieces to be attracted to each other. If you glue one magnet in sideways or backwards, you are not getting the desire effect. To resolve this issue I lined up all the magnets and painted a single dot on the top center of each cube. I used a paint marker I had on hand, regular markers were not effective. Of course top is relative here; but all that matters is that you are constant in your dot application.
Glue the Magnets
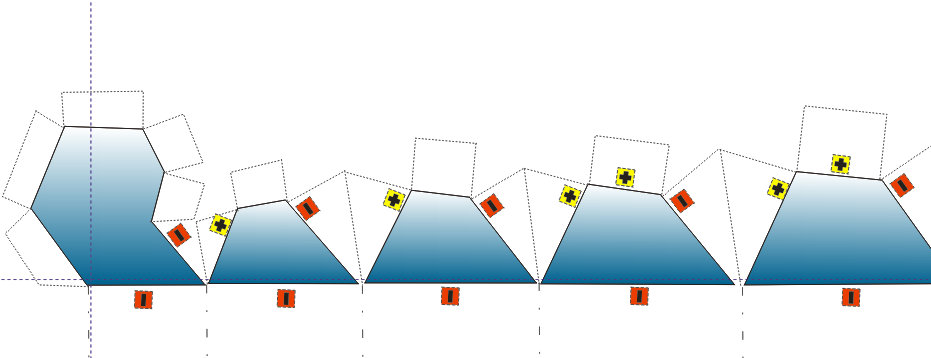
I used a mini glue gun for sticking the magnets to the paper, this was relatively easy to do. The most important part is ensuring that you glue to the magnets on with the right polarity (the actual pole doesn't matter, just be consistent). See the basic pattern below. I started by gluing the magnet on the tab, adding a dab of glue on the back of the trapezoid and folding the magnet onto it. See the video in Step 1. In some cases I glued the magnets just to hold the folds in place as they were not otherwise necessary.
I also used a few dabs from glue gun to assemble the 5 separate sheets.
This project ended up being far more challenging than I had expected. I am definitely NOT a paper-craft guy, so I am certain that you pros out there will be able to get a more refined final product. Please let me know if you have attempted this and by clicking the "I Made It" button.