Lyric/Quote Gimp Project
.png)
Hello!!
Welcome to my first EVER Instructable! I'm Maya but I go by How Do You Do here on Instructables!
This Instructable should be completed using GIMP 2. I have never tried the first GIMP so I'm not for sure if it will contain the required capabilities.
This Instructable is easy and I would say anyone from 10 years and older should be able to do this.
So, without further ado, let's go!
Find a Song/Quote
For this first step you need to find a song or quote to inspire you. I suggest something not too long for reasons that will be discussed later. For this Instructable I chose the lyrics to the song My Heart Will Go On by Céline Dion.
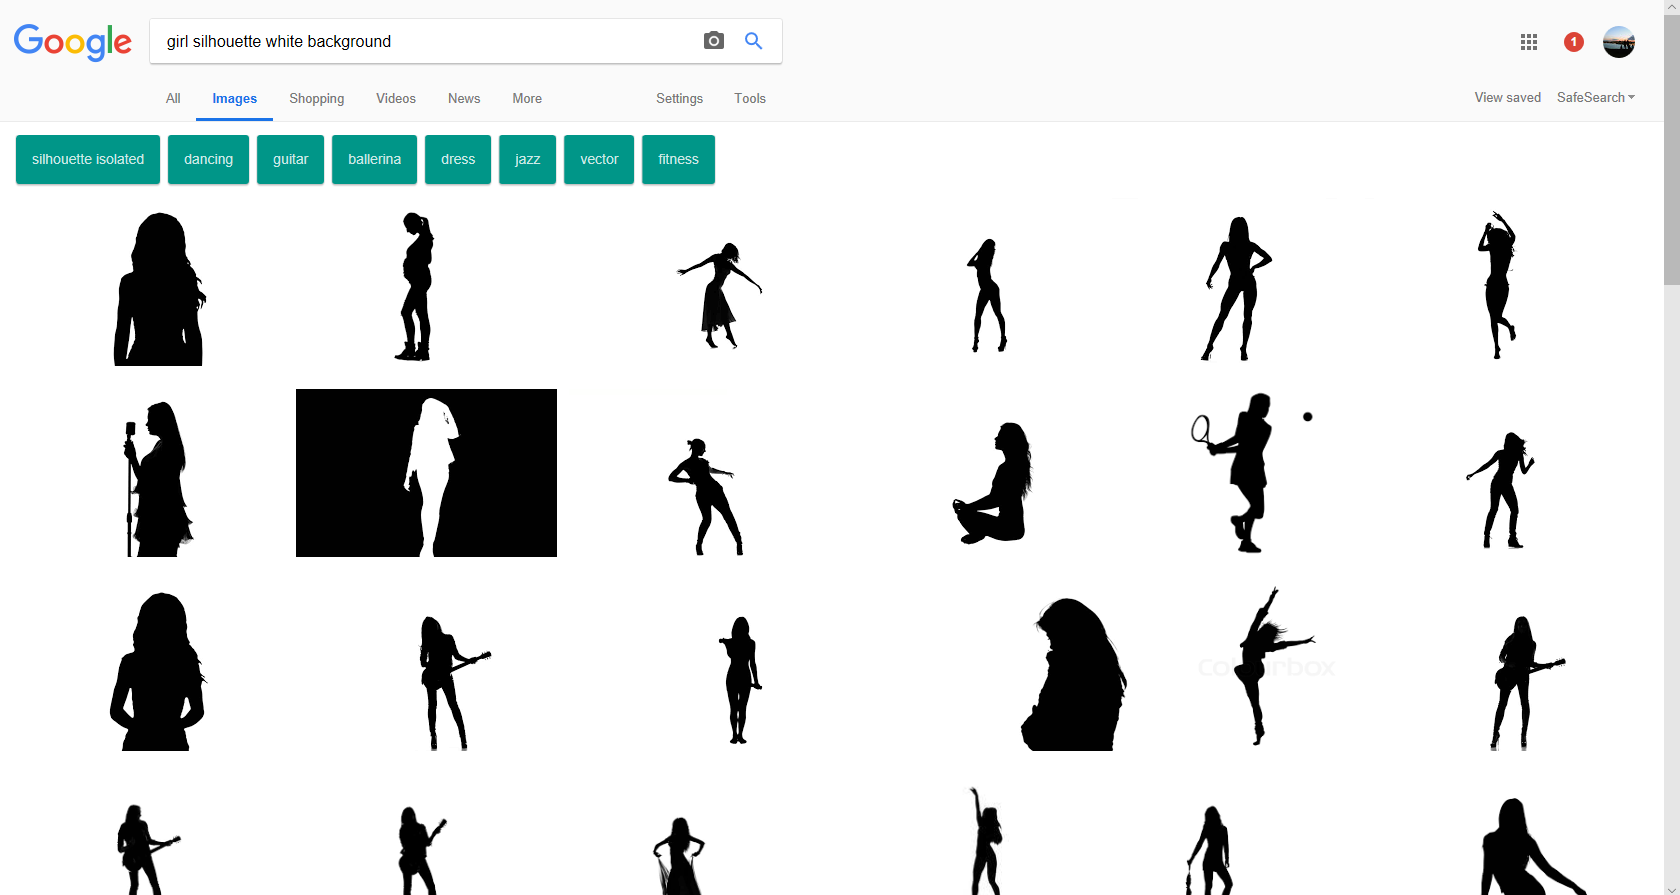
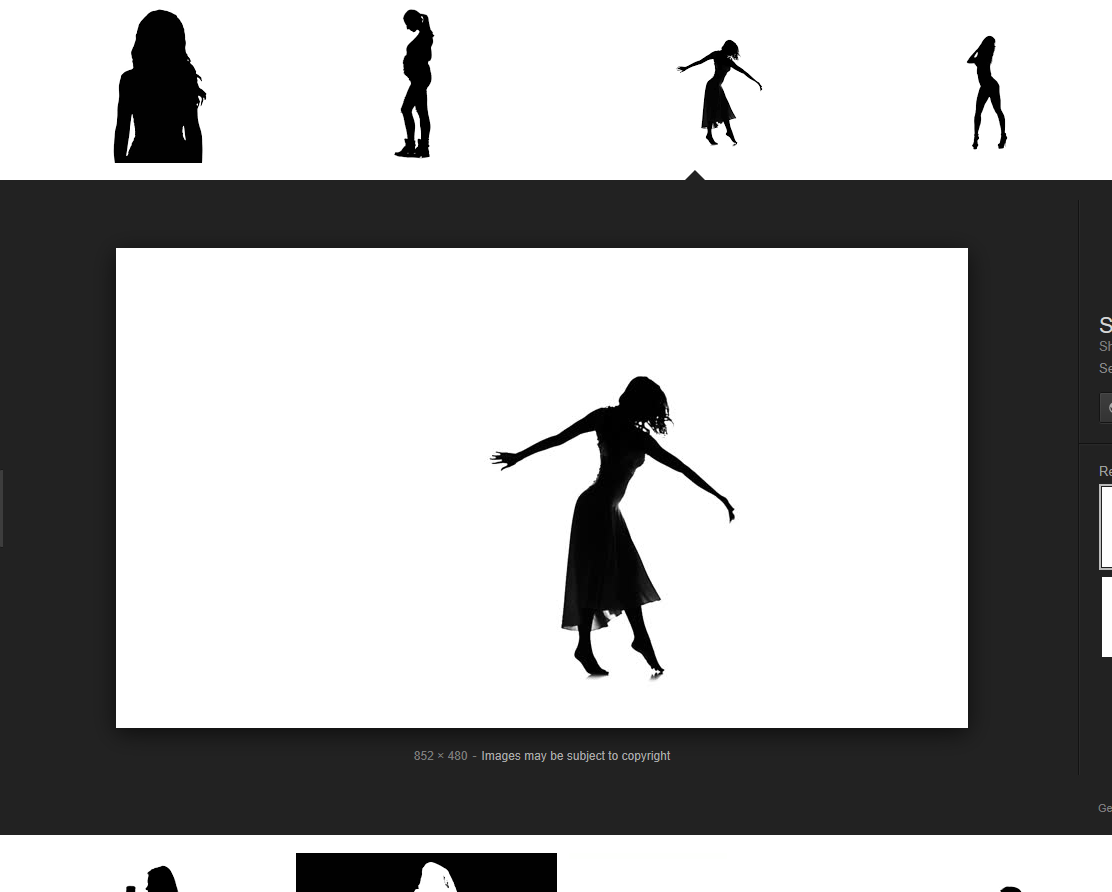
Search for a Picture
.png)
.png)
Search Google for a silhouette that could possibly relate to your topic. I just chose to use a girl to represent Rose from the Titanic. I recommend a black silhouette with a white background, but if it is white with a black background, it can be changed later. Save your picture to a file that should be easily accessible and give it a recognizable name.
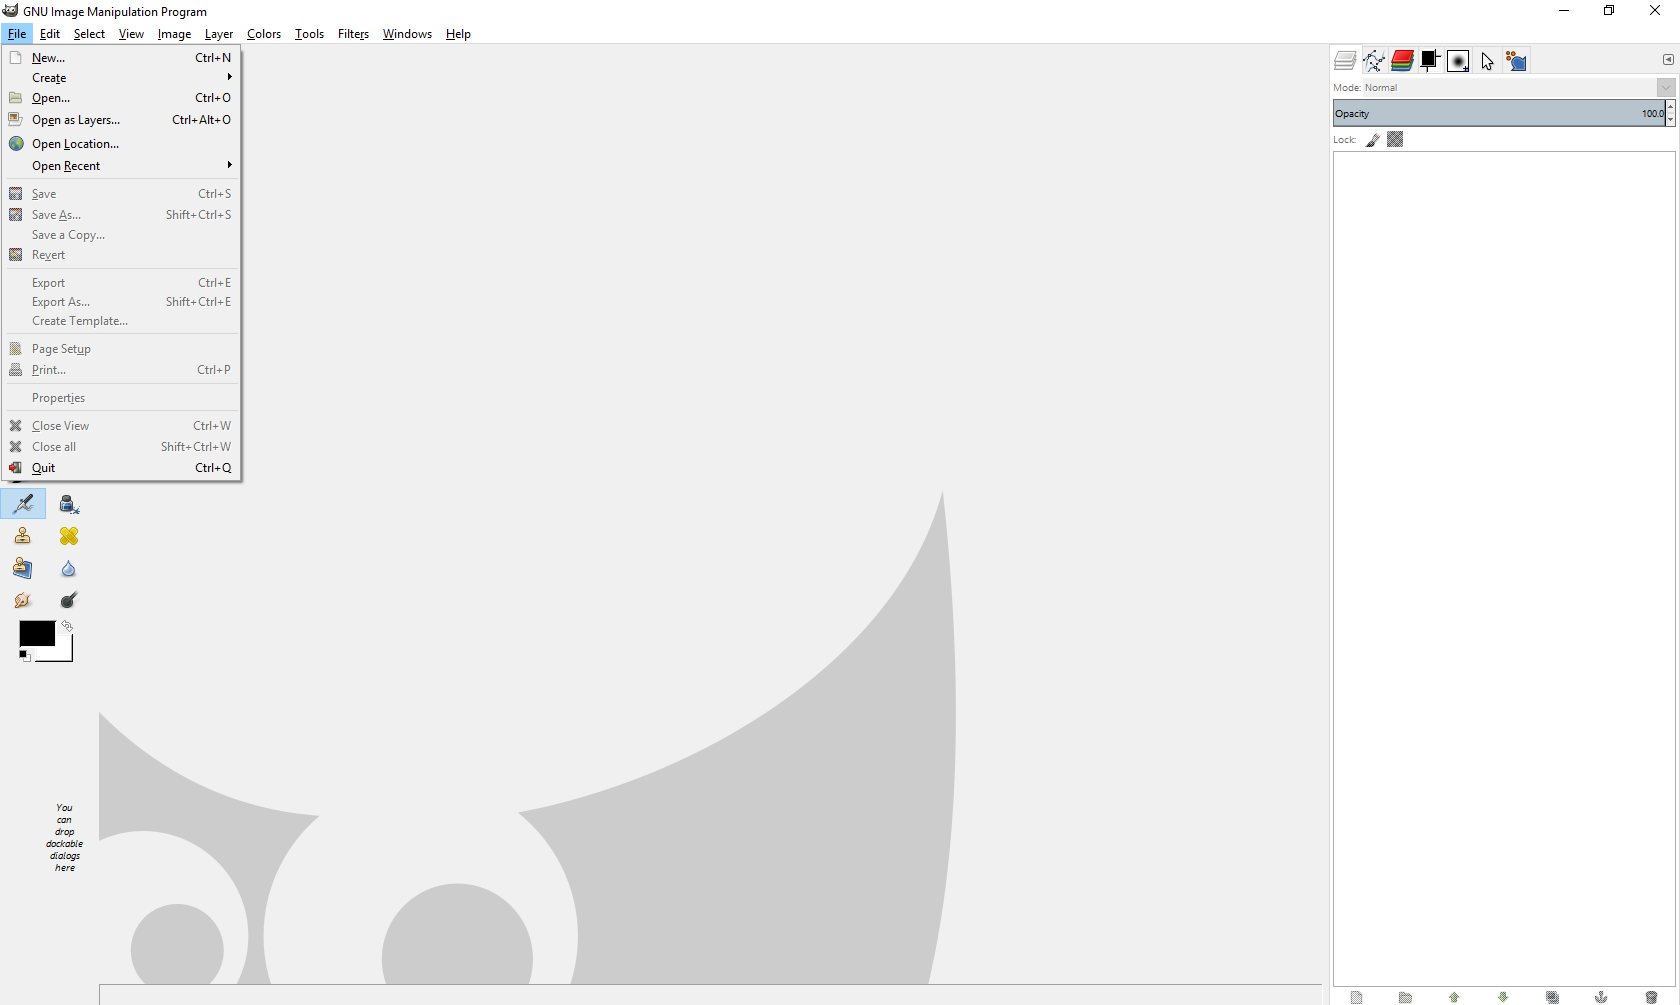
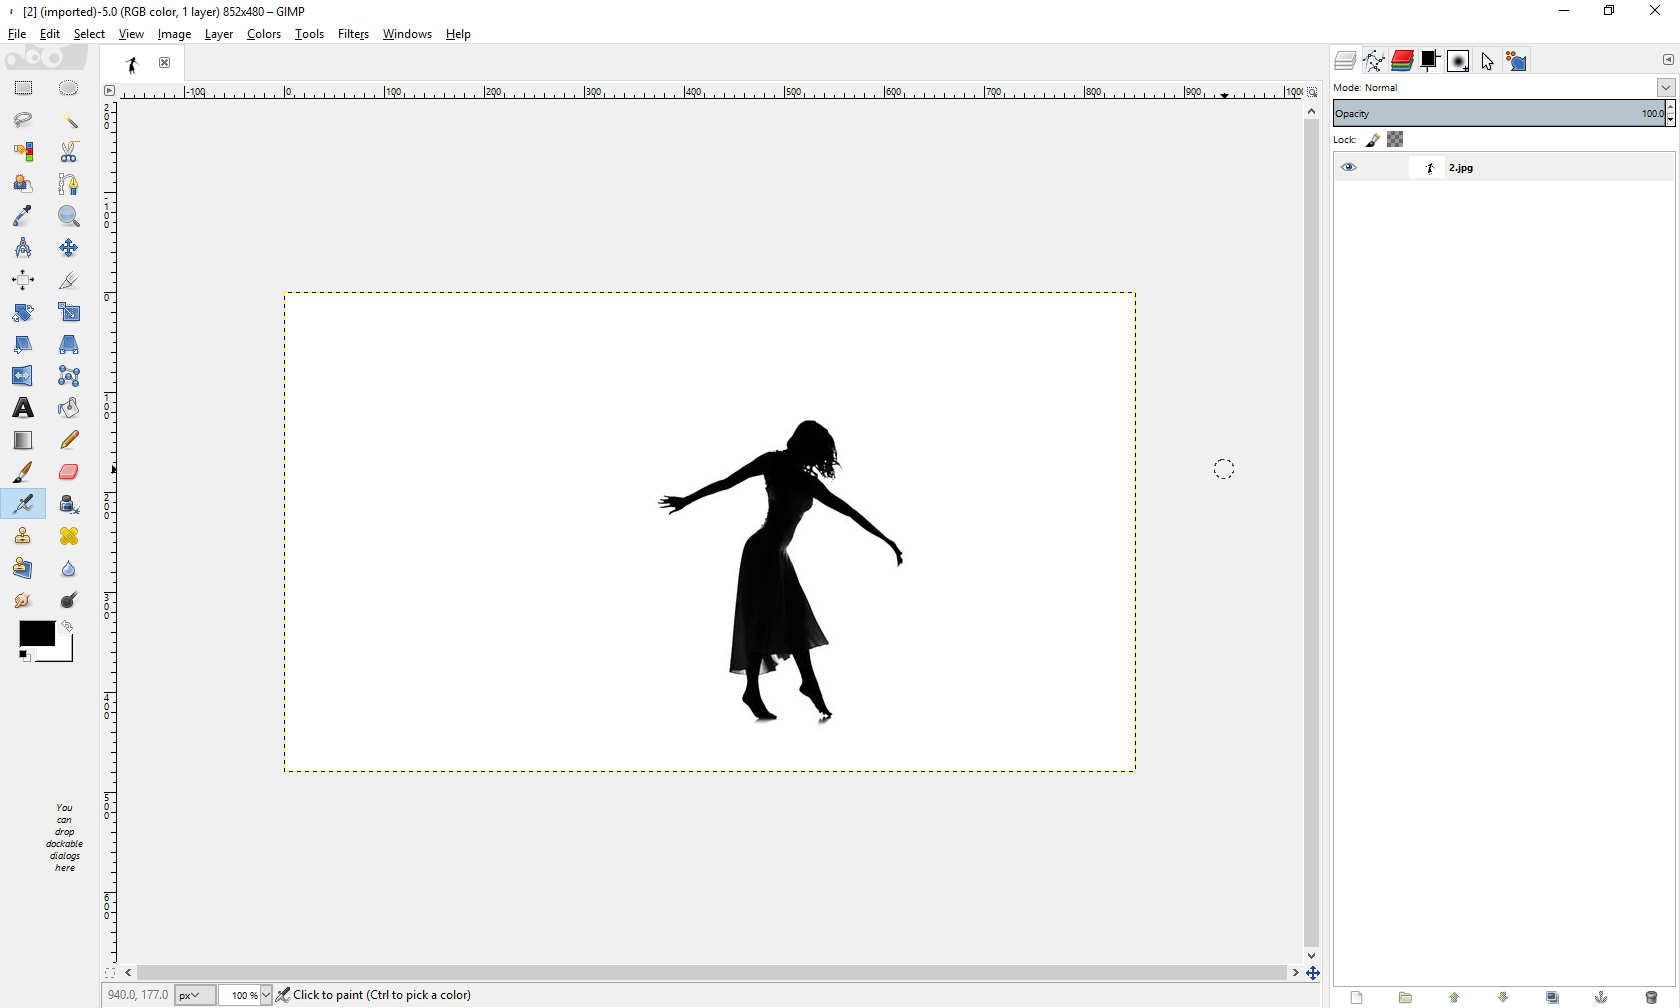
Open Gimp and Your Picture
.png)
_LI.jpg)
For this next step, you need to open GIMP editor. Click on the File tab in the top left-hand corner. Then select Open. Search for your photo and click Open.
Editing Your Photo
.png)
.png)
.png)
.png)
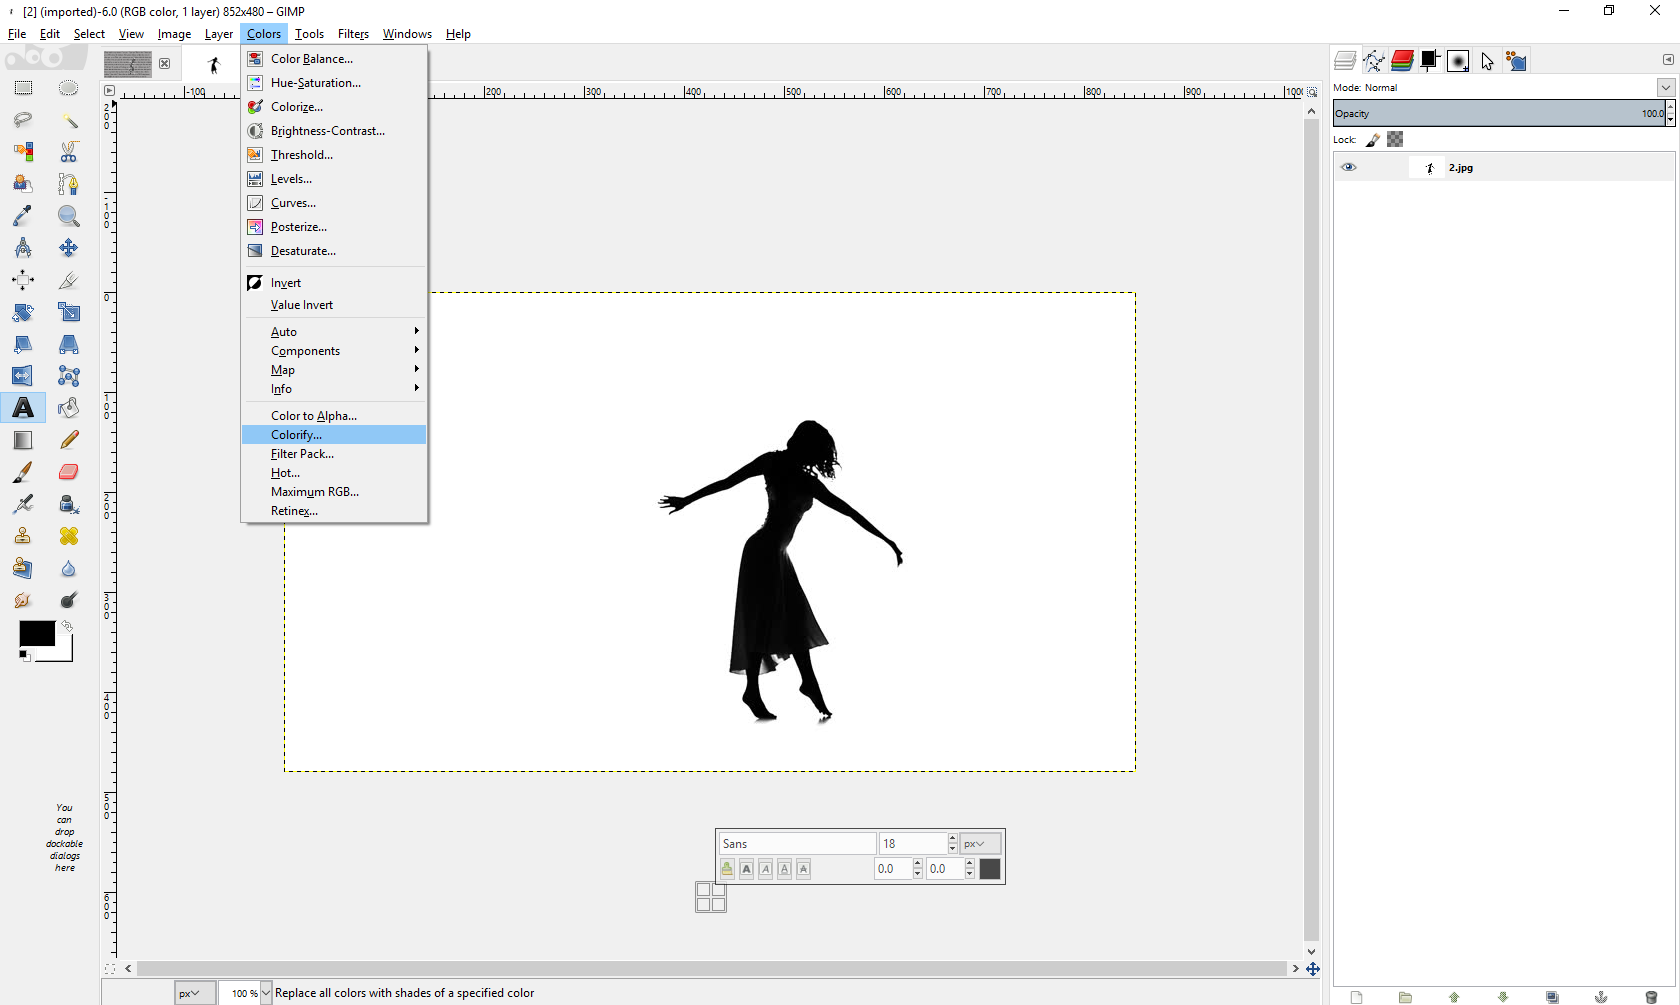
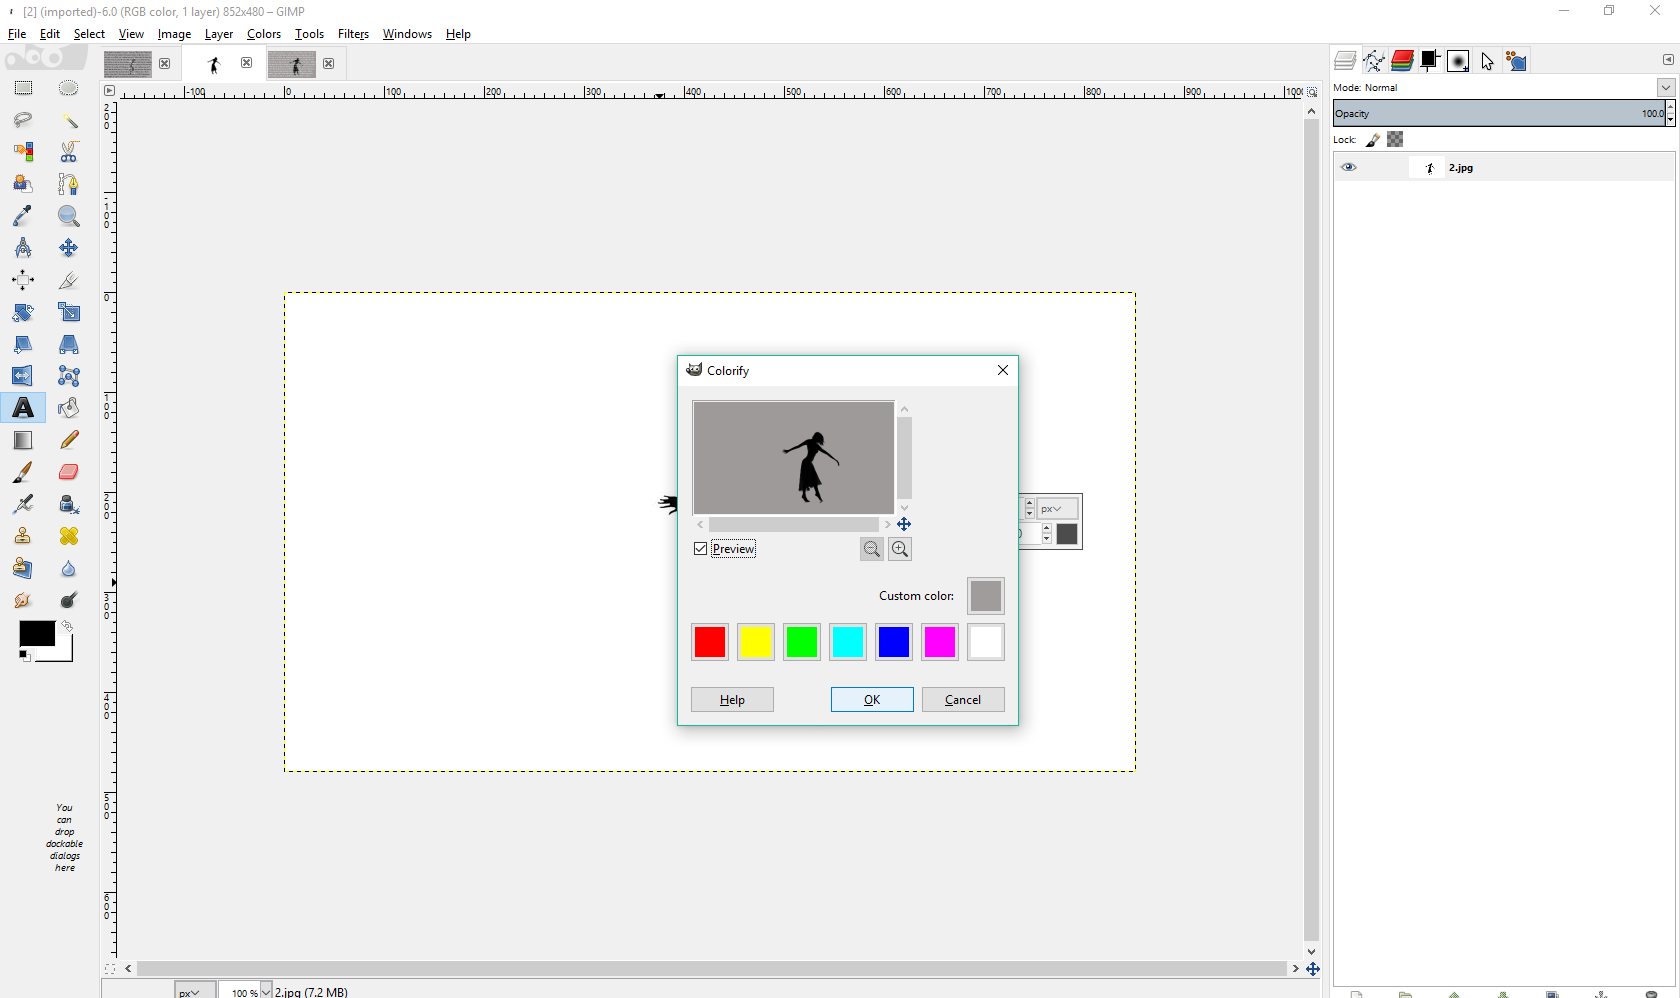
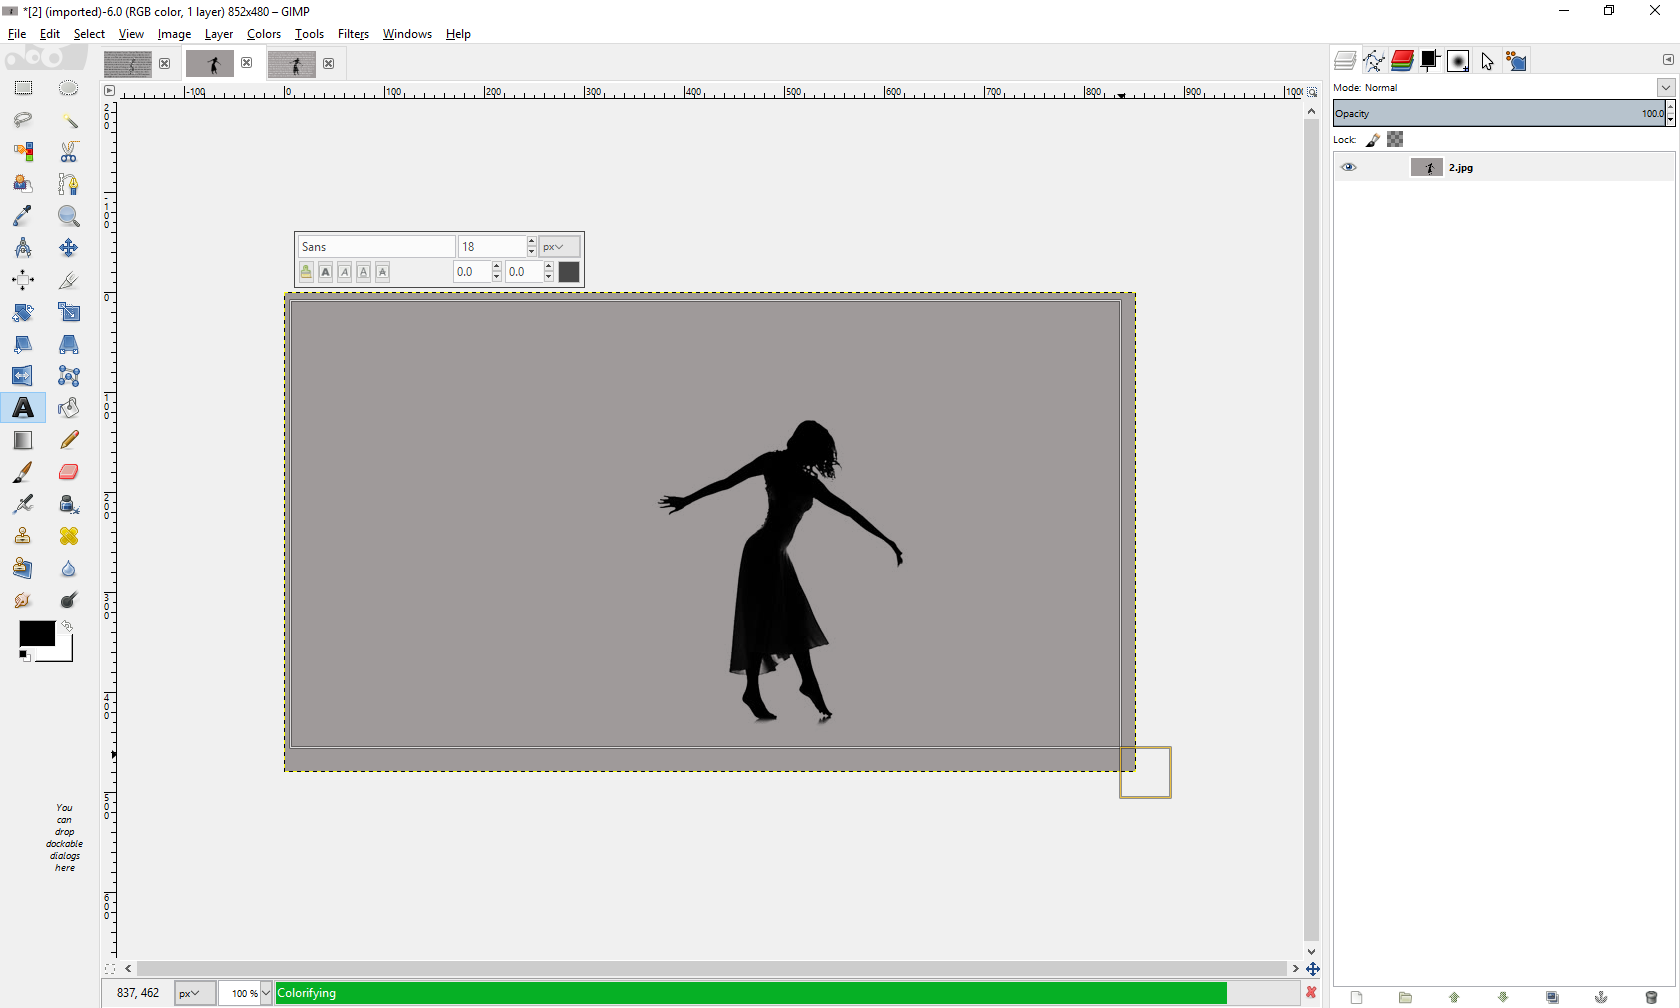
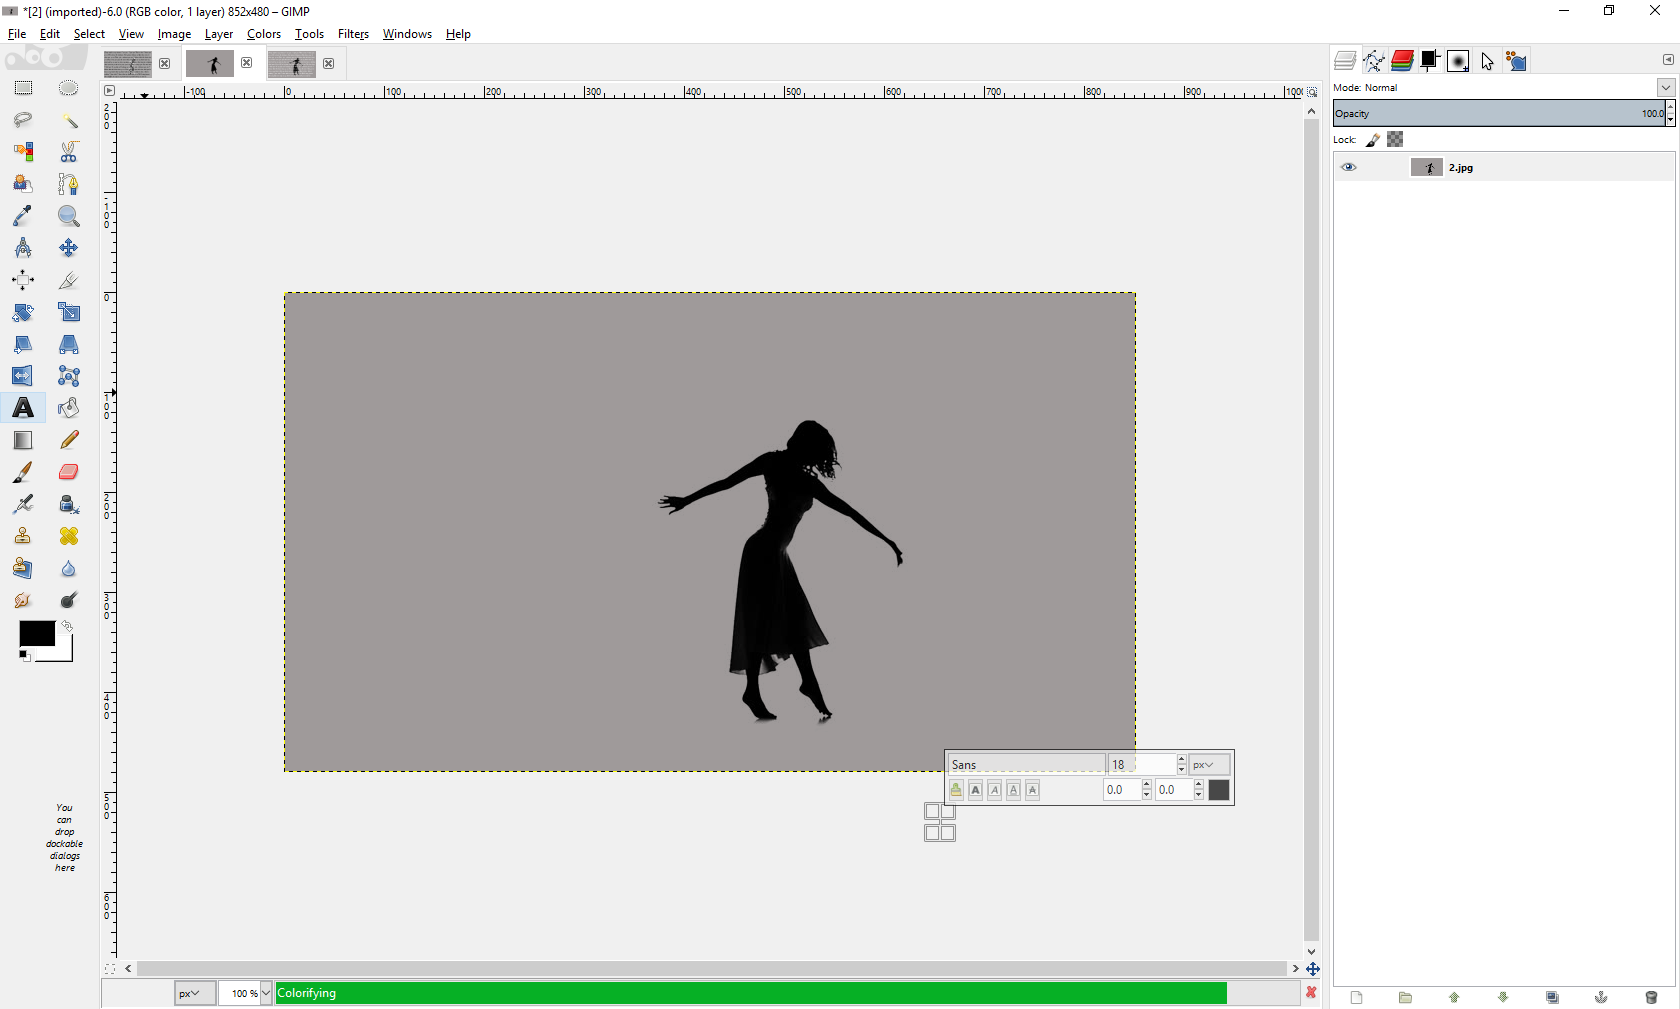
Now your photo should be on your screen (if you have a black background/white silhouette, see below before proceeding). Select the Color tab and press Colorify. Pick a color for your background. For this part, I do highly suggest you don't keep it white, because you will have to make your wording compatible with white and black. I chose grey. Select ok, and the image should appear 'Colorified' on your screen.
For Black Background/White Silhouette: Press the Colors tab and select Invert. Easy as pie! Continue with the above directions.
Adding Lyrics/Quote
.png)
.png)
.png)
Select the Text Tool in the toolbox (the one that is shaped like an A).
For a quote: Depending on how long the quote is, click and drag to make a text box. Type your quote inside.
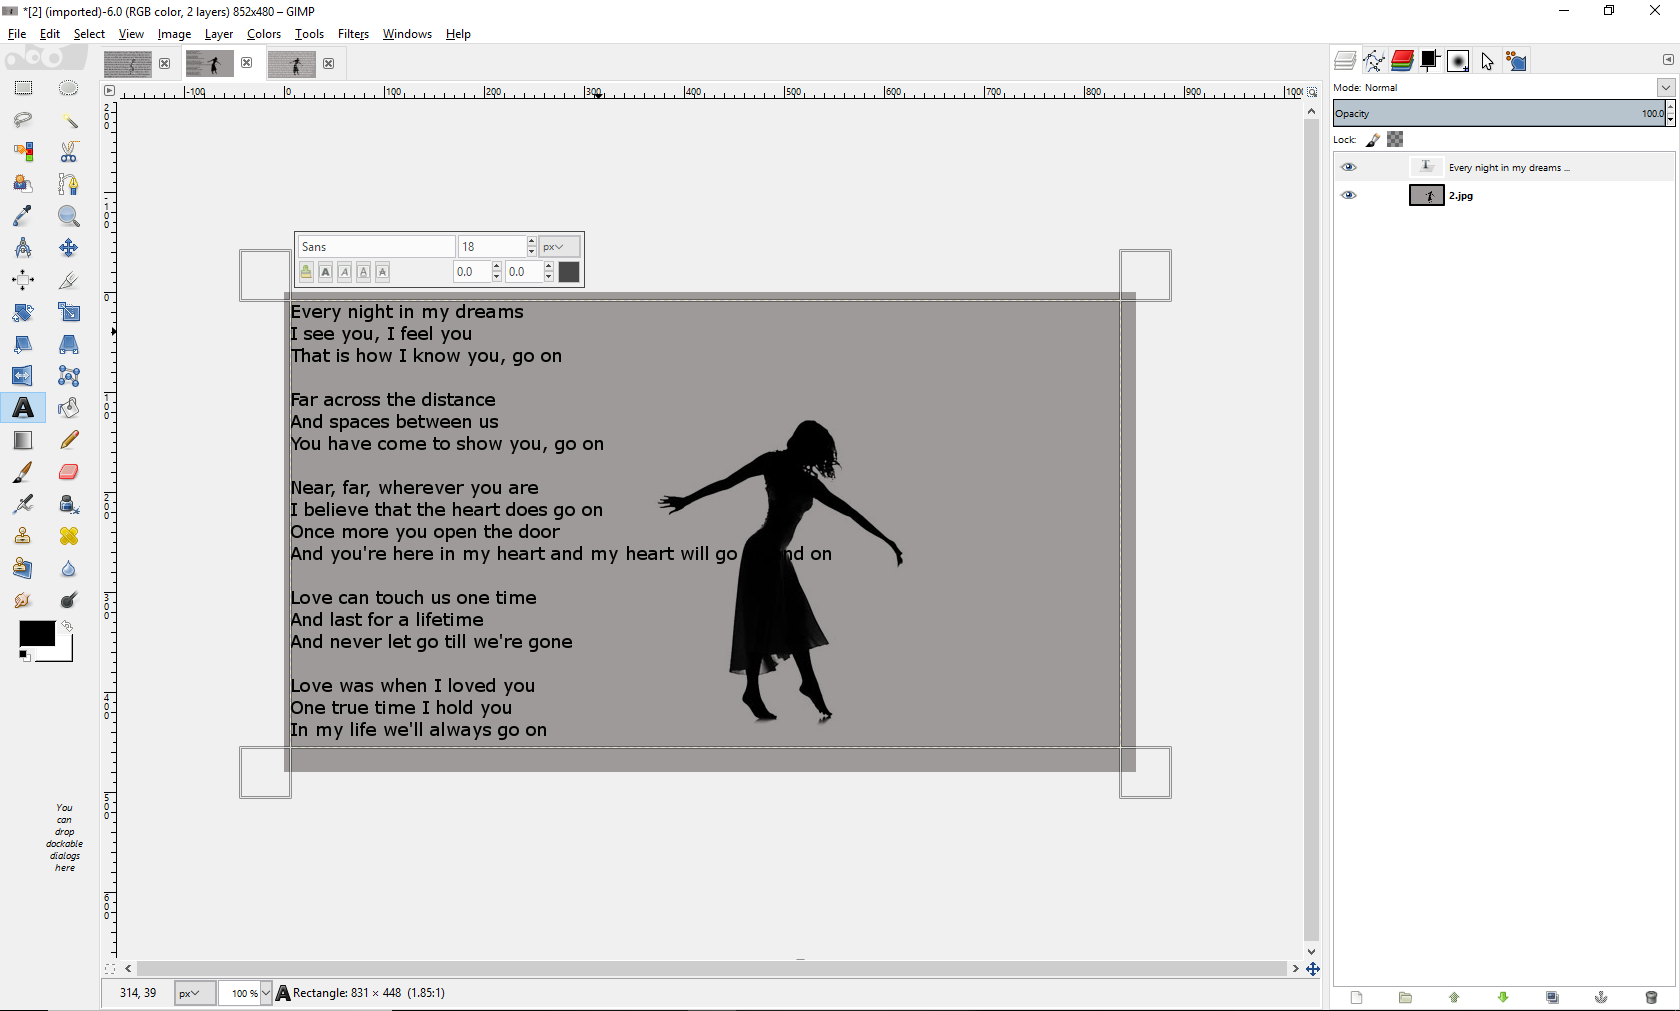
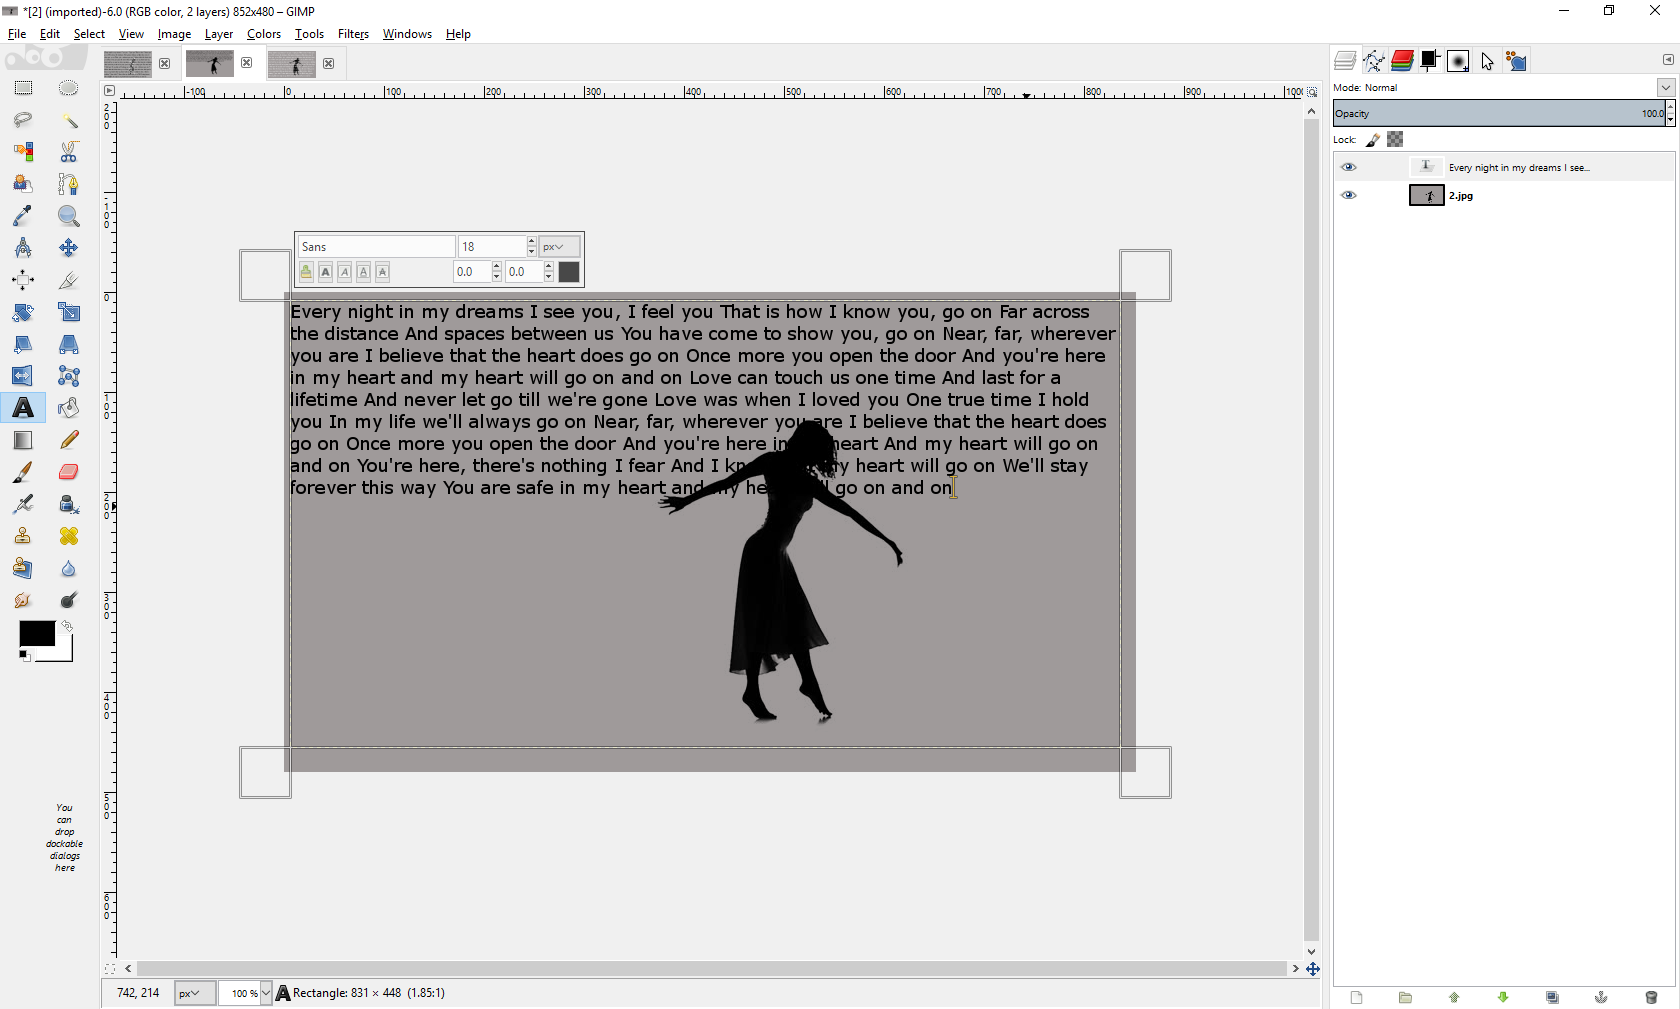
For lyrics: Click and drag from the corner to opposite corner to create a large text box. Paste or type your song into the large box. If you type it, do NOT space out lines/verses. If you copy it, you will have to scrunch all of the lines together by hand. This is where having a short song/excerpt comes in.
Editing Lyrics/Quote
.png)
.png)
.png)
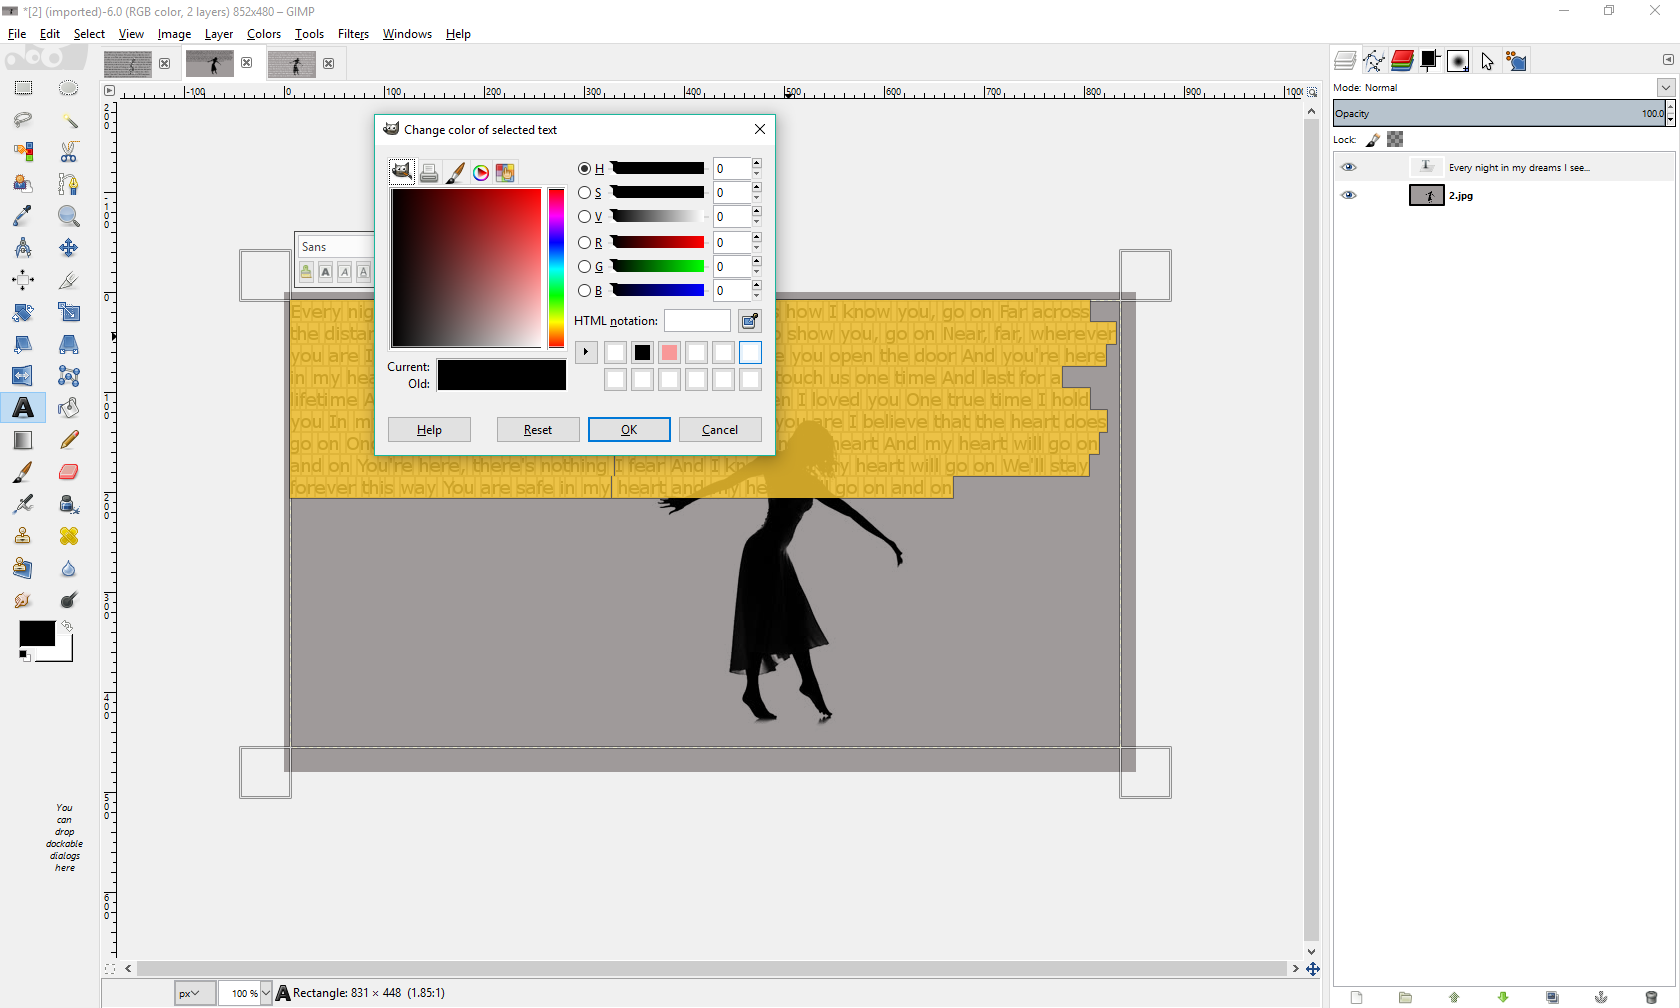
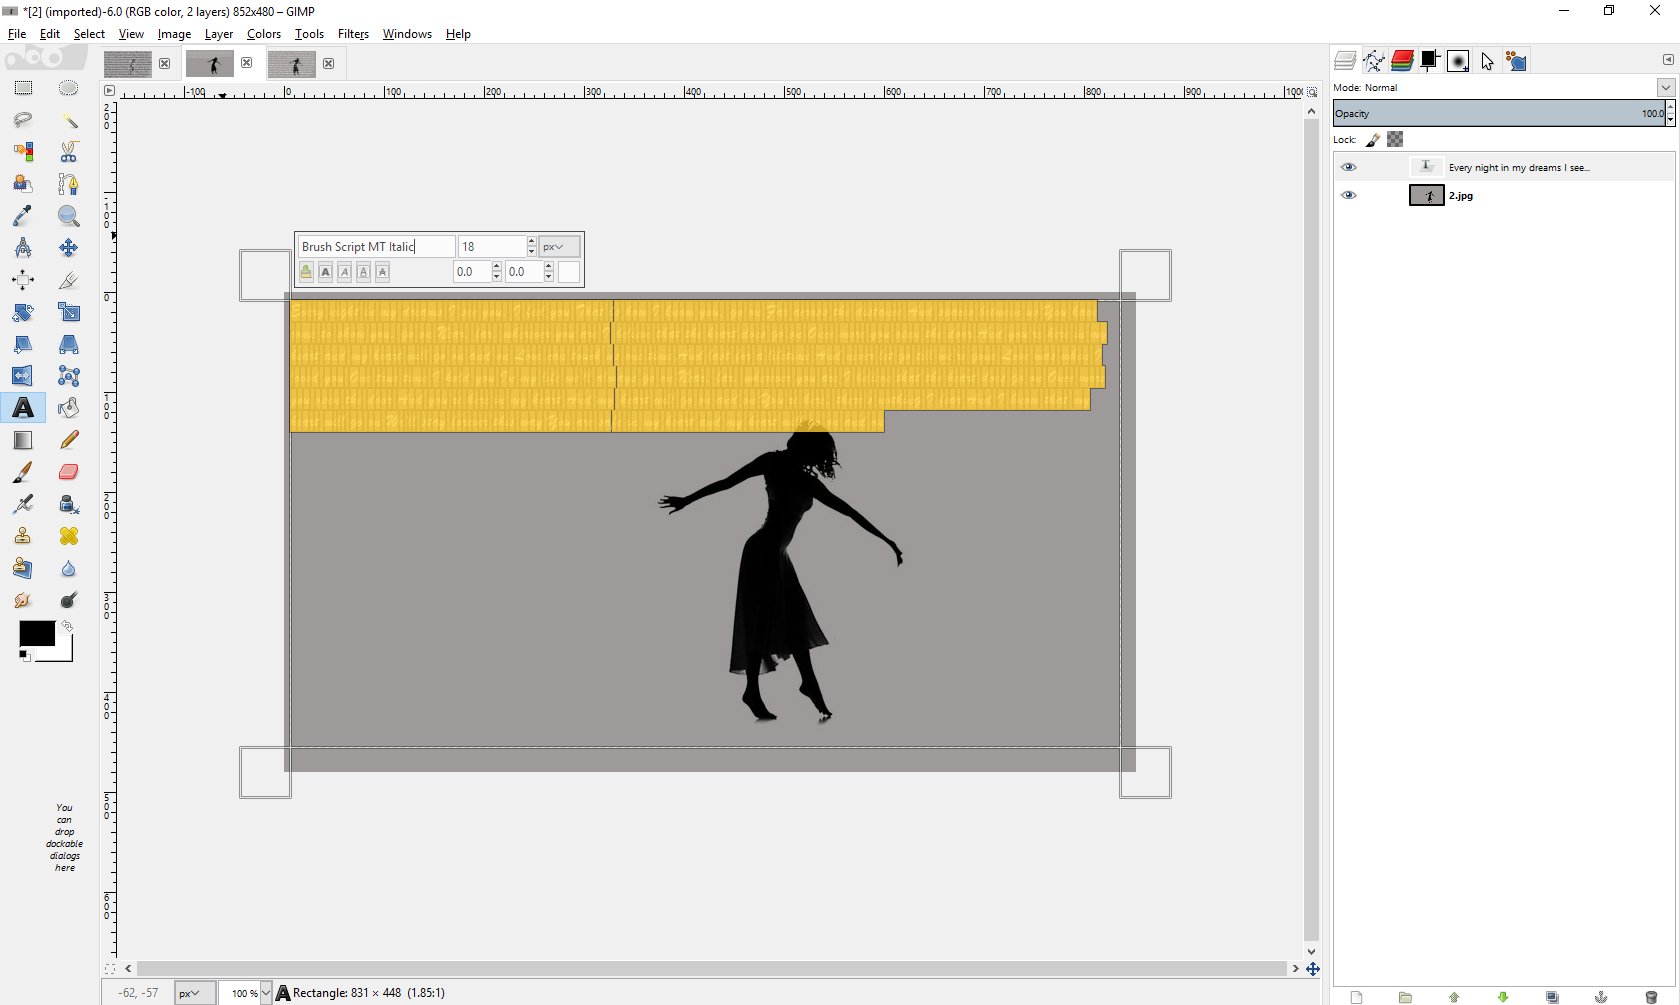
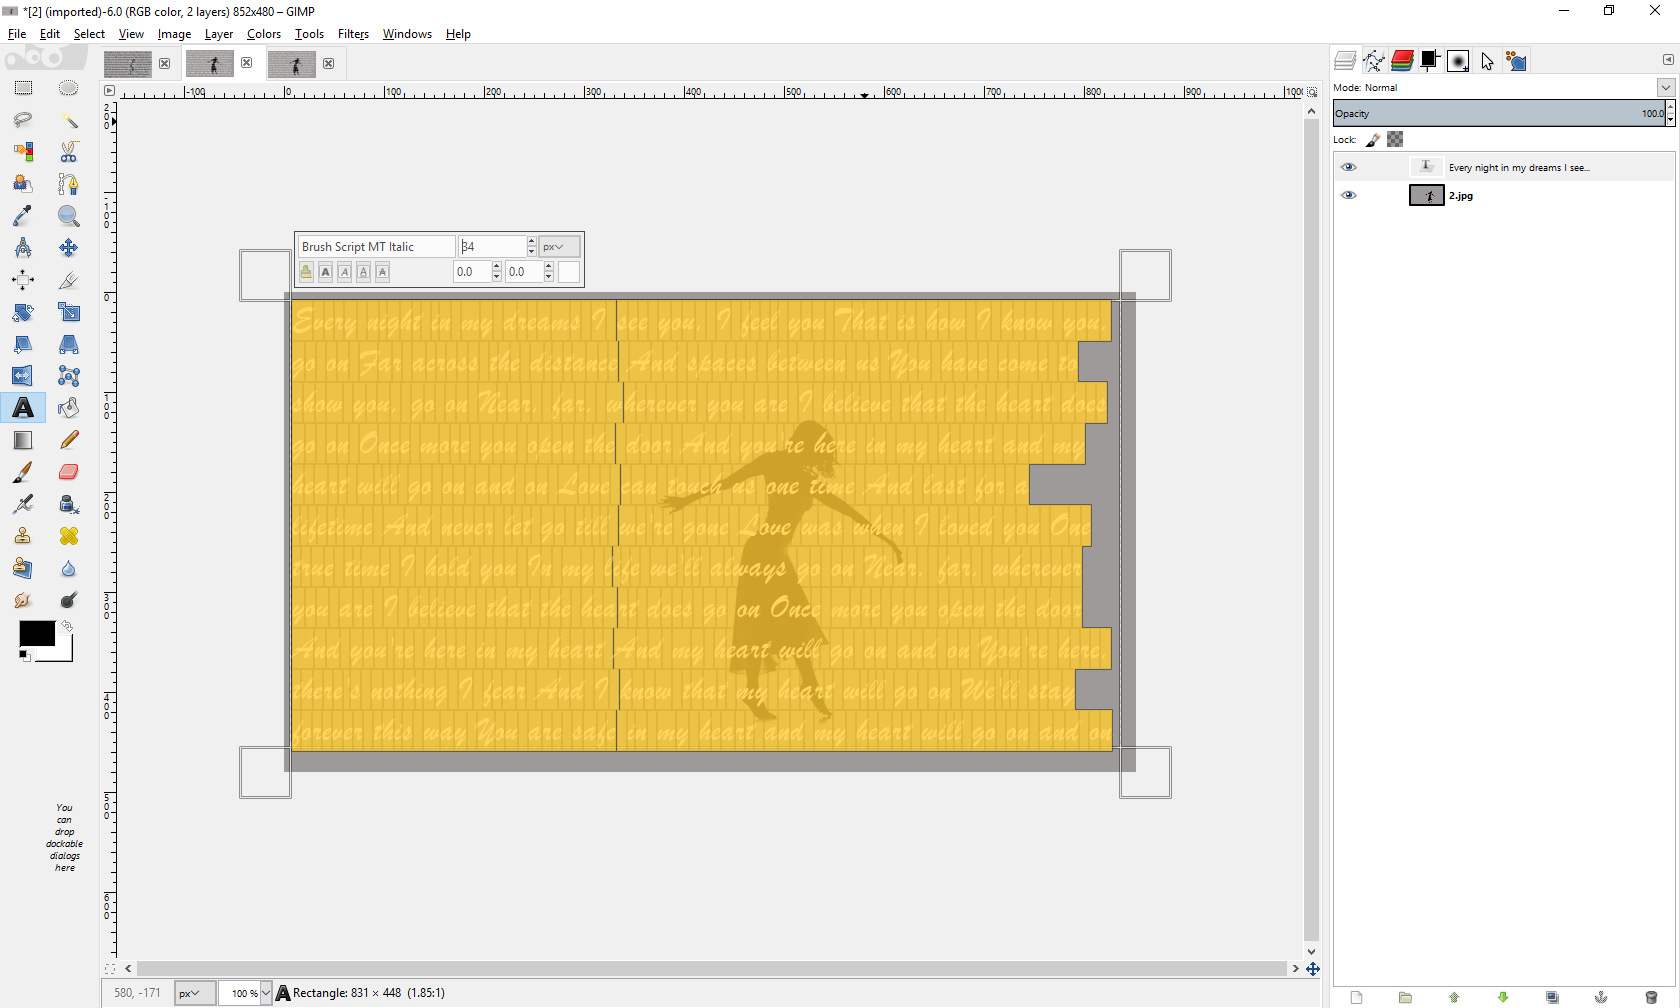
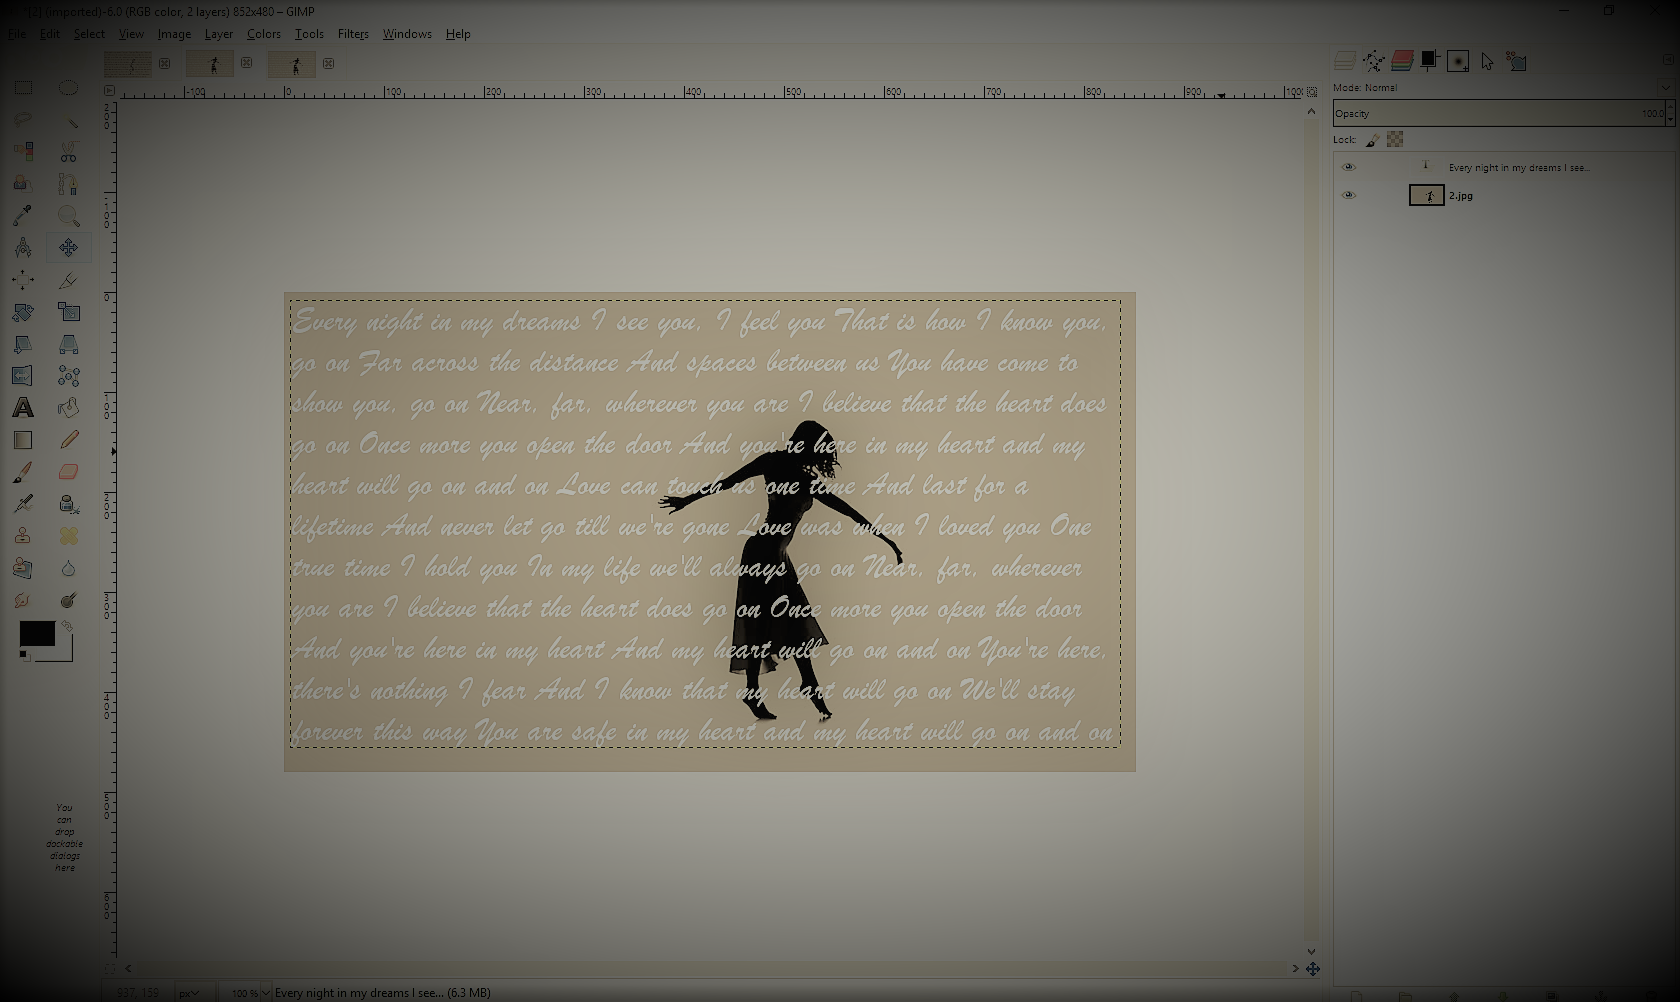
Select the entire chunk of text and then click the square with the color black in it. Change the color of your words, but make sure that when it overlaps the black silhouette, the words can still be clearly seen. Then, with the text still selected, change the font. I used a more dainty approach, but it all depends on the quote/song that you are using. Lastly, change the font size. For a quote, just use a decent size. For a song, make sure that the lyrics cover the entire picture.
Saving/Printing
With your finished photo, select the File tab. Either click Save and be done, or print. If you want to print, make sure to select Page Setup beforehand and check the landscape/portrait box depending on your picture. Next, go back to File and press Print. Select the printer that you will be using and hit Print.
Done!
.png)
Congratulations! You've successfully created a cute quote/lyric picture using GIMP! I hope you enjoyed this Instructable, and if you decide to try this out, comment below and send me your creations! Talk to you next time!!!!!