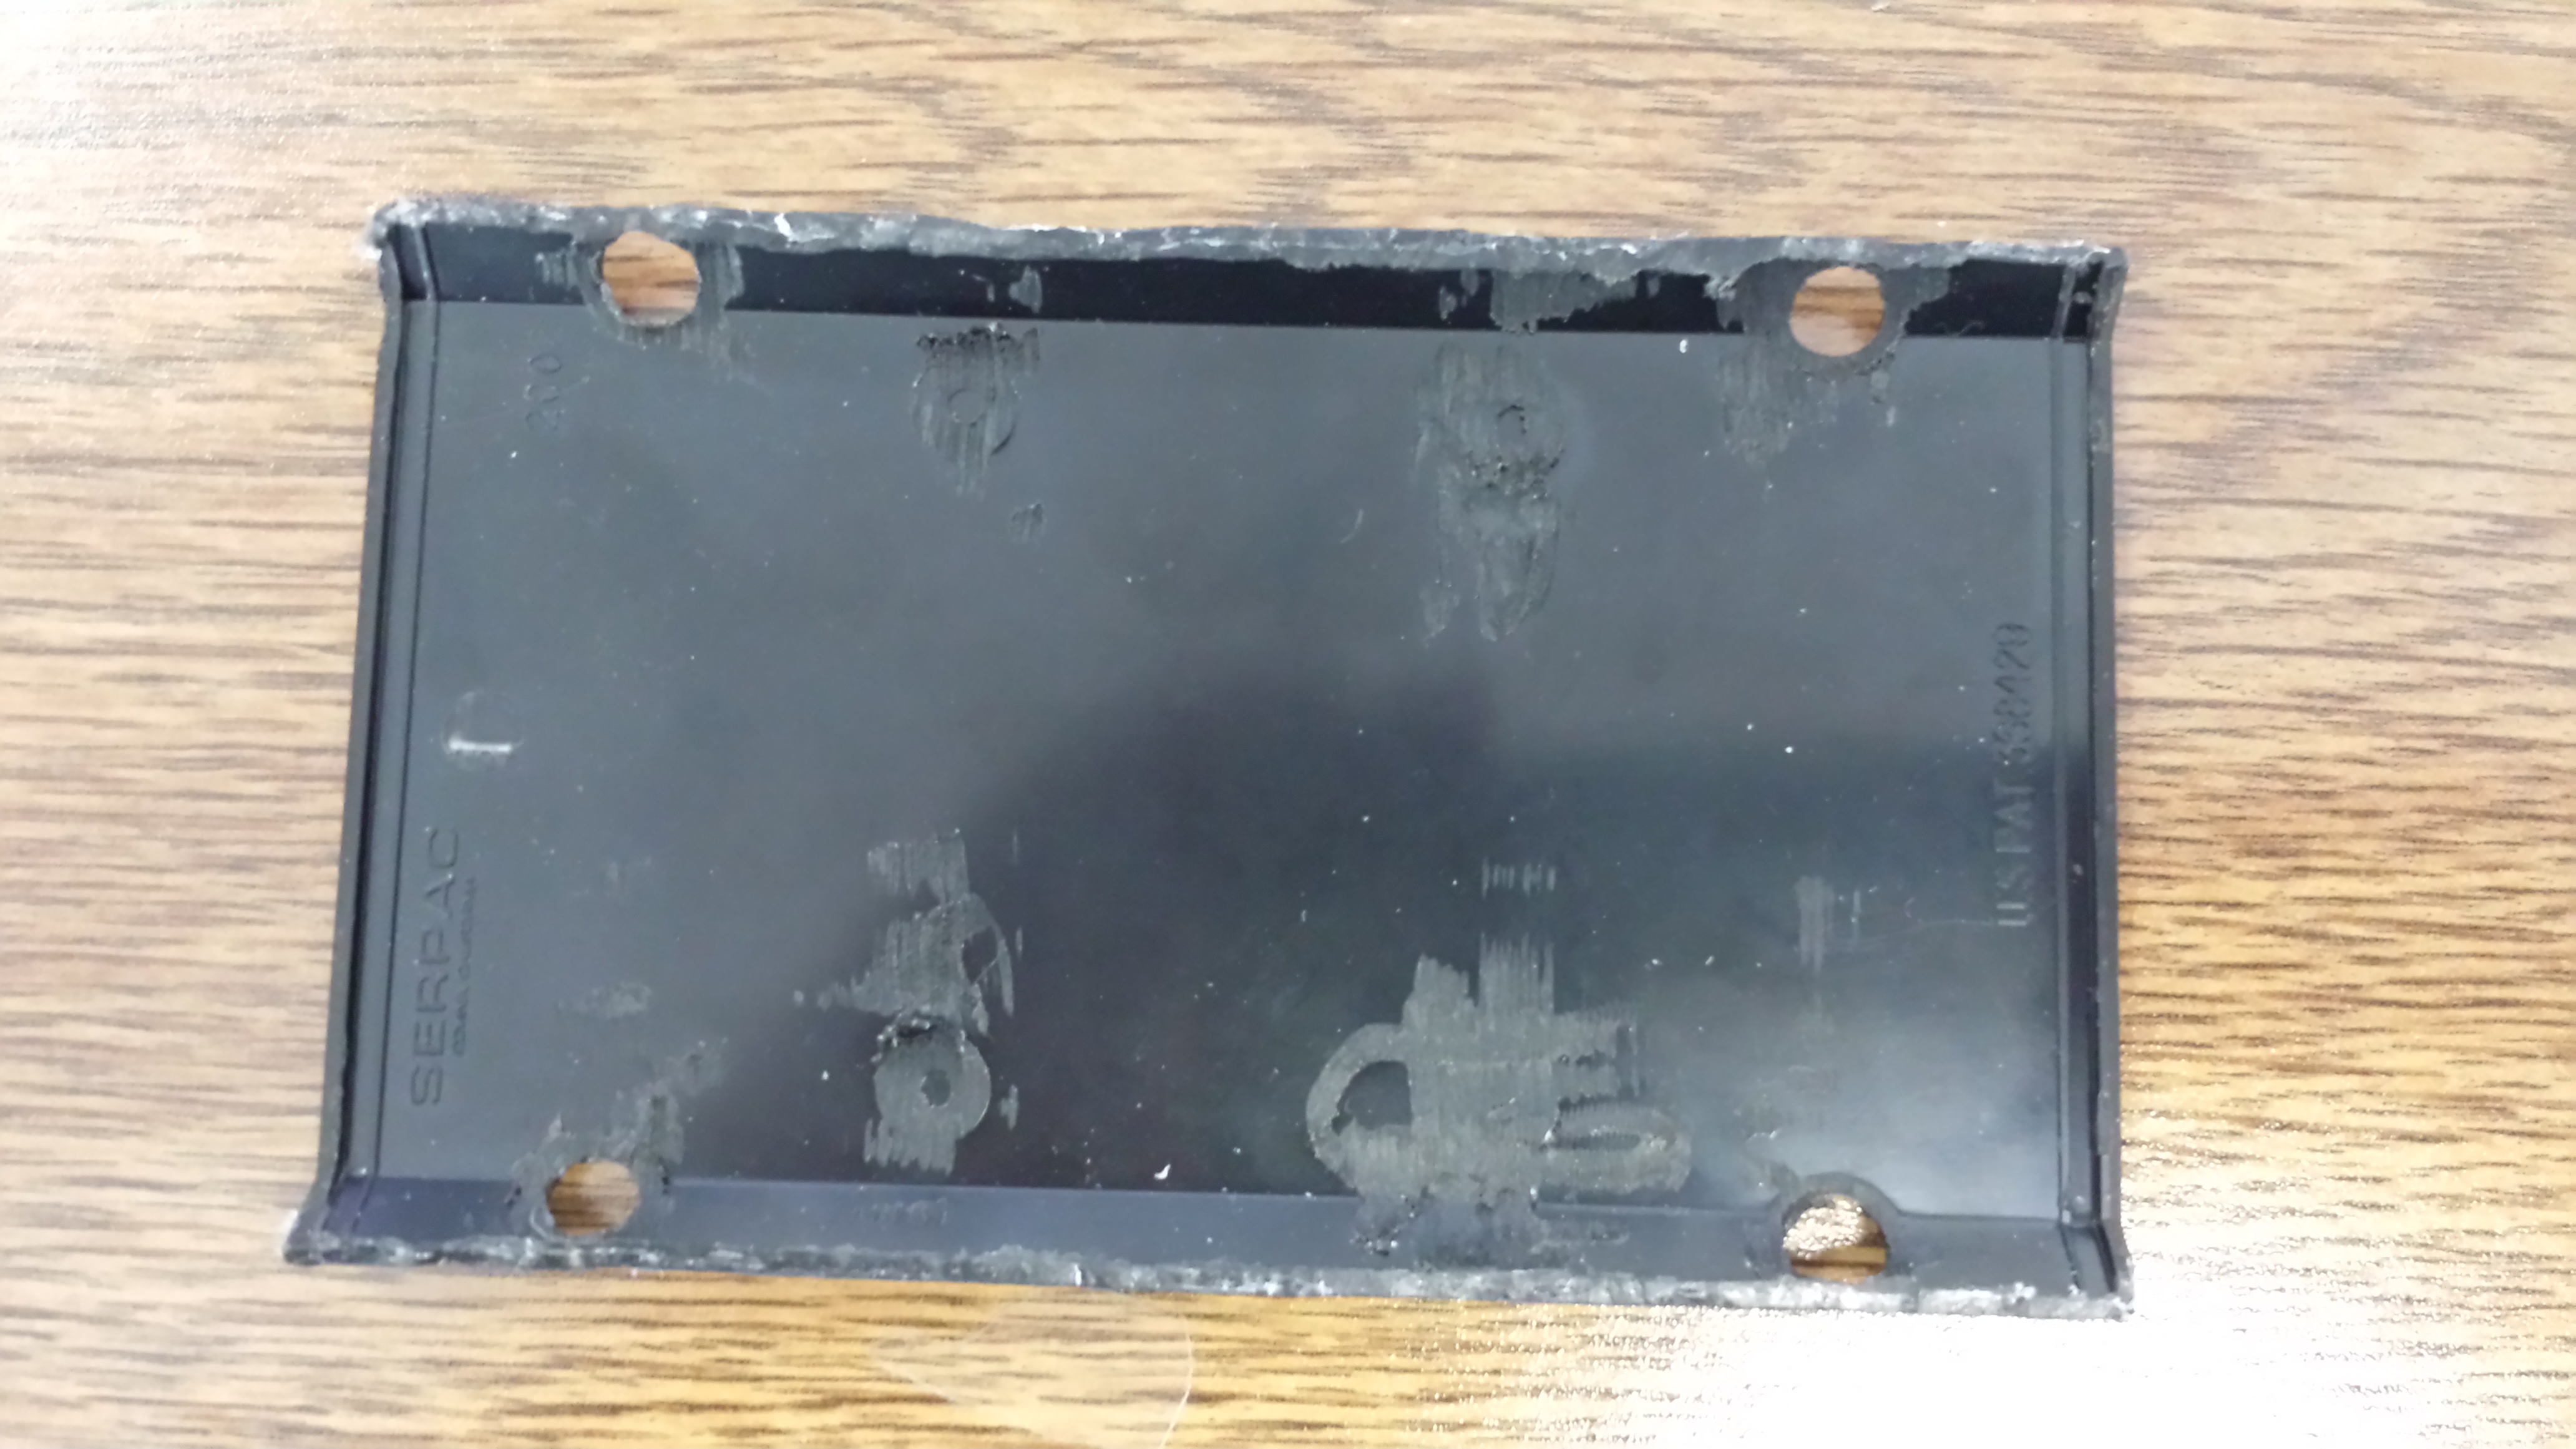
Lynx (Offline Password Keeper)
by davidhend in Circuits > Arduino
9332 Views, 28 Favorites, 0 Comments
Lynx (Offline Password Keeper)
Check out Version 2 at : https://www.instructables.com/id/Password-Keeper/
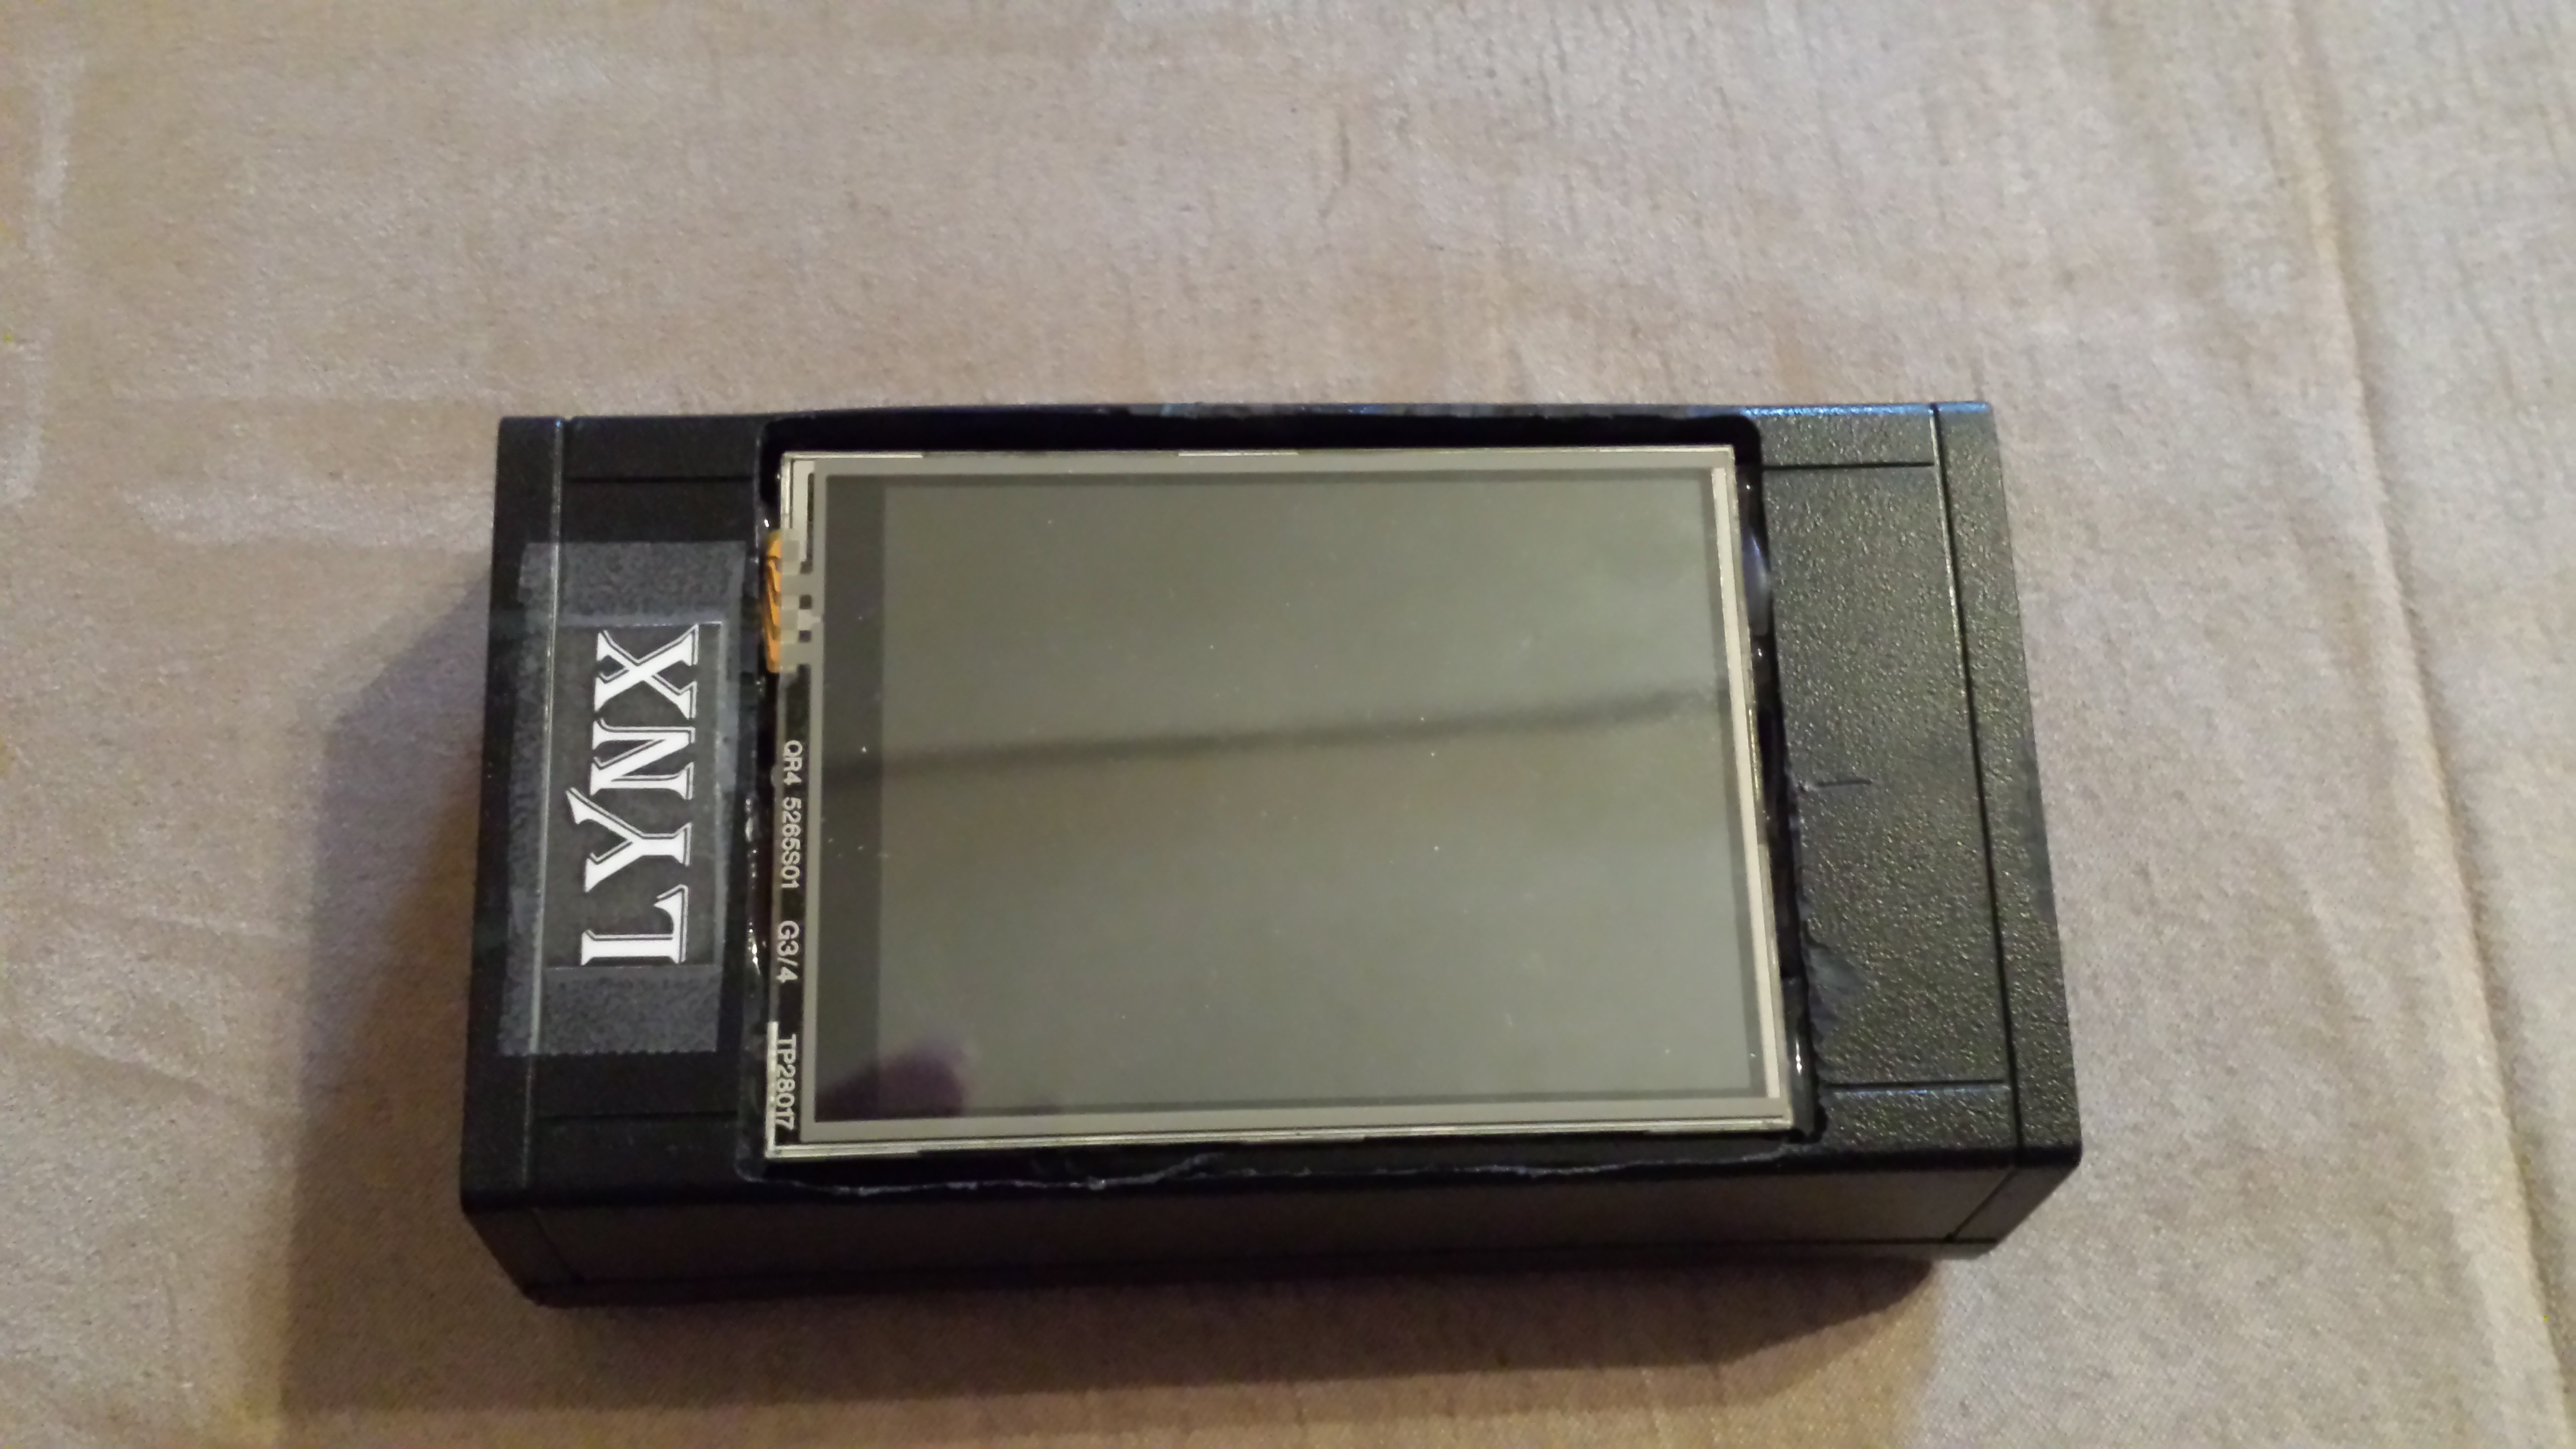
Meet Lynx, my offline password keeper. Lynx generates it's own passwords using an entropy library. This ensures that sufficiently strong passwords are created. You control lynx through it's touch screen. In this version there are five password slots; but that is only a software limitation.
All the password data is stored on an internal SD card. The passwords are encrypted using XOR encryption and uses three separate keys. As an added level of protection, lynx wont allow you to view or change a password, without the correct rfid card present.
If you would like to change your password, lynx will generate a new password and overwrite the existing one.
Lynx doesn't store any account information; I also don't label any of the password entries. This was intentional because it acts as a another level of protection. Although if you wanted to change the buttons to display other text you can.
Lynx is powered by a lithium polymer battery and has a charger built in. The device requires a power booster circuit that increases the 3.3 volts from the battery to 5 volts. There are always more features I would like to add but the project is far enough along to share the code and build details.
The motivation for this project came from the, "mooltipass", project on hackaday.com. The "mooltipass" is a community created offline password keeper; and in my opinion is looking really great so far. It seemed like a good project to undertake; so I got to work trying to implement my own design.
Gather Materials
Part 1: 2.8'' TFT Touch Shield V2.0
Web URL: http://www.seeedstudio.com/depot/28-TFT-Touch-Shield-V20-p-1286.html?cPath=34_36
Price: $54.90
Part 2: Arduino Pro 328 - 5V/16MHz
Web URL: https://www.sparkfun.com/products/10915
Price: $14.95
Part 3: USB LiPoly Charger - Single Cell
Web URL: https://www.sparkfun.com/products/10161
Price: $14.95
Part 4: LiPower - Boost Converter
Web URL: https://www.sparkfun.com/products/10255
Price: $14.95
Part 5: Polymer Lithium Ion Battery - 2000mAh
Web URL: https://www.sparkfun.com/products/8483
Price: $16.95
Part 6: RFID Card Reader - Serial
Web URL: http://www.parallax.com/product/28140
Price: $44.99
Part 7: FTDI Basic Breakout - 3.3V
Web URL: https://www.sparkfun.com/products/9873
Price: $14.95
Part 7: Plastic Enclosure box
Web URL: http://www.frys.com/search?search_type=regular&sqxts=1&cat=&query_string=1669338
Price: $6.99
Part 8: 3/4" Double-Sided Foam Tape
Web URL: http://www.radioshack.com/product/index.jsp?productId=2103341
Price: $2.99
The other things you will need are : Black electrical tape, Dremel, Calibers or Ruler & eye protection.
Step 1: Get Arduino Ready
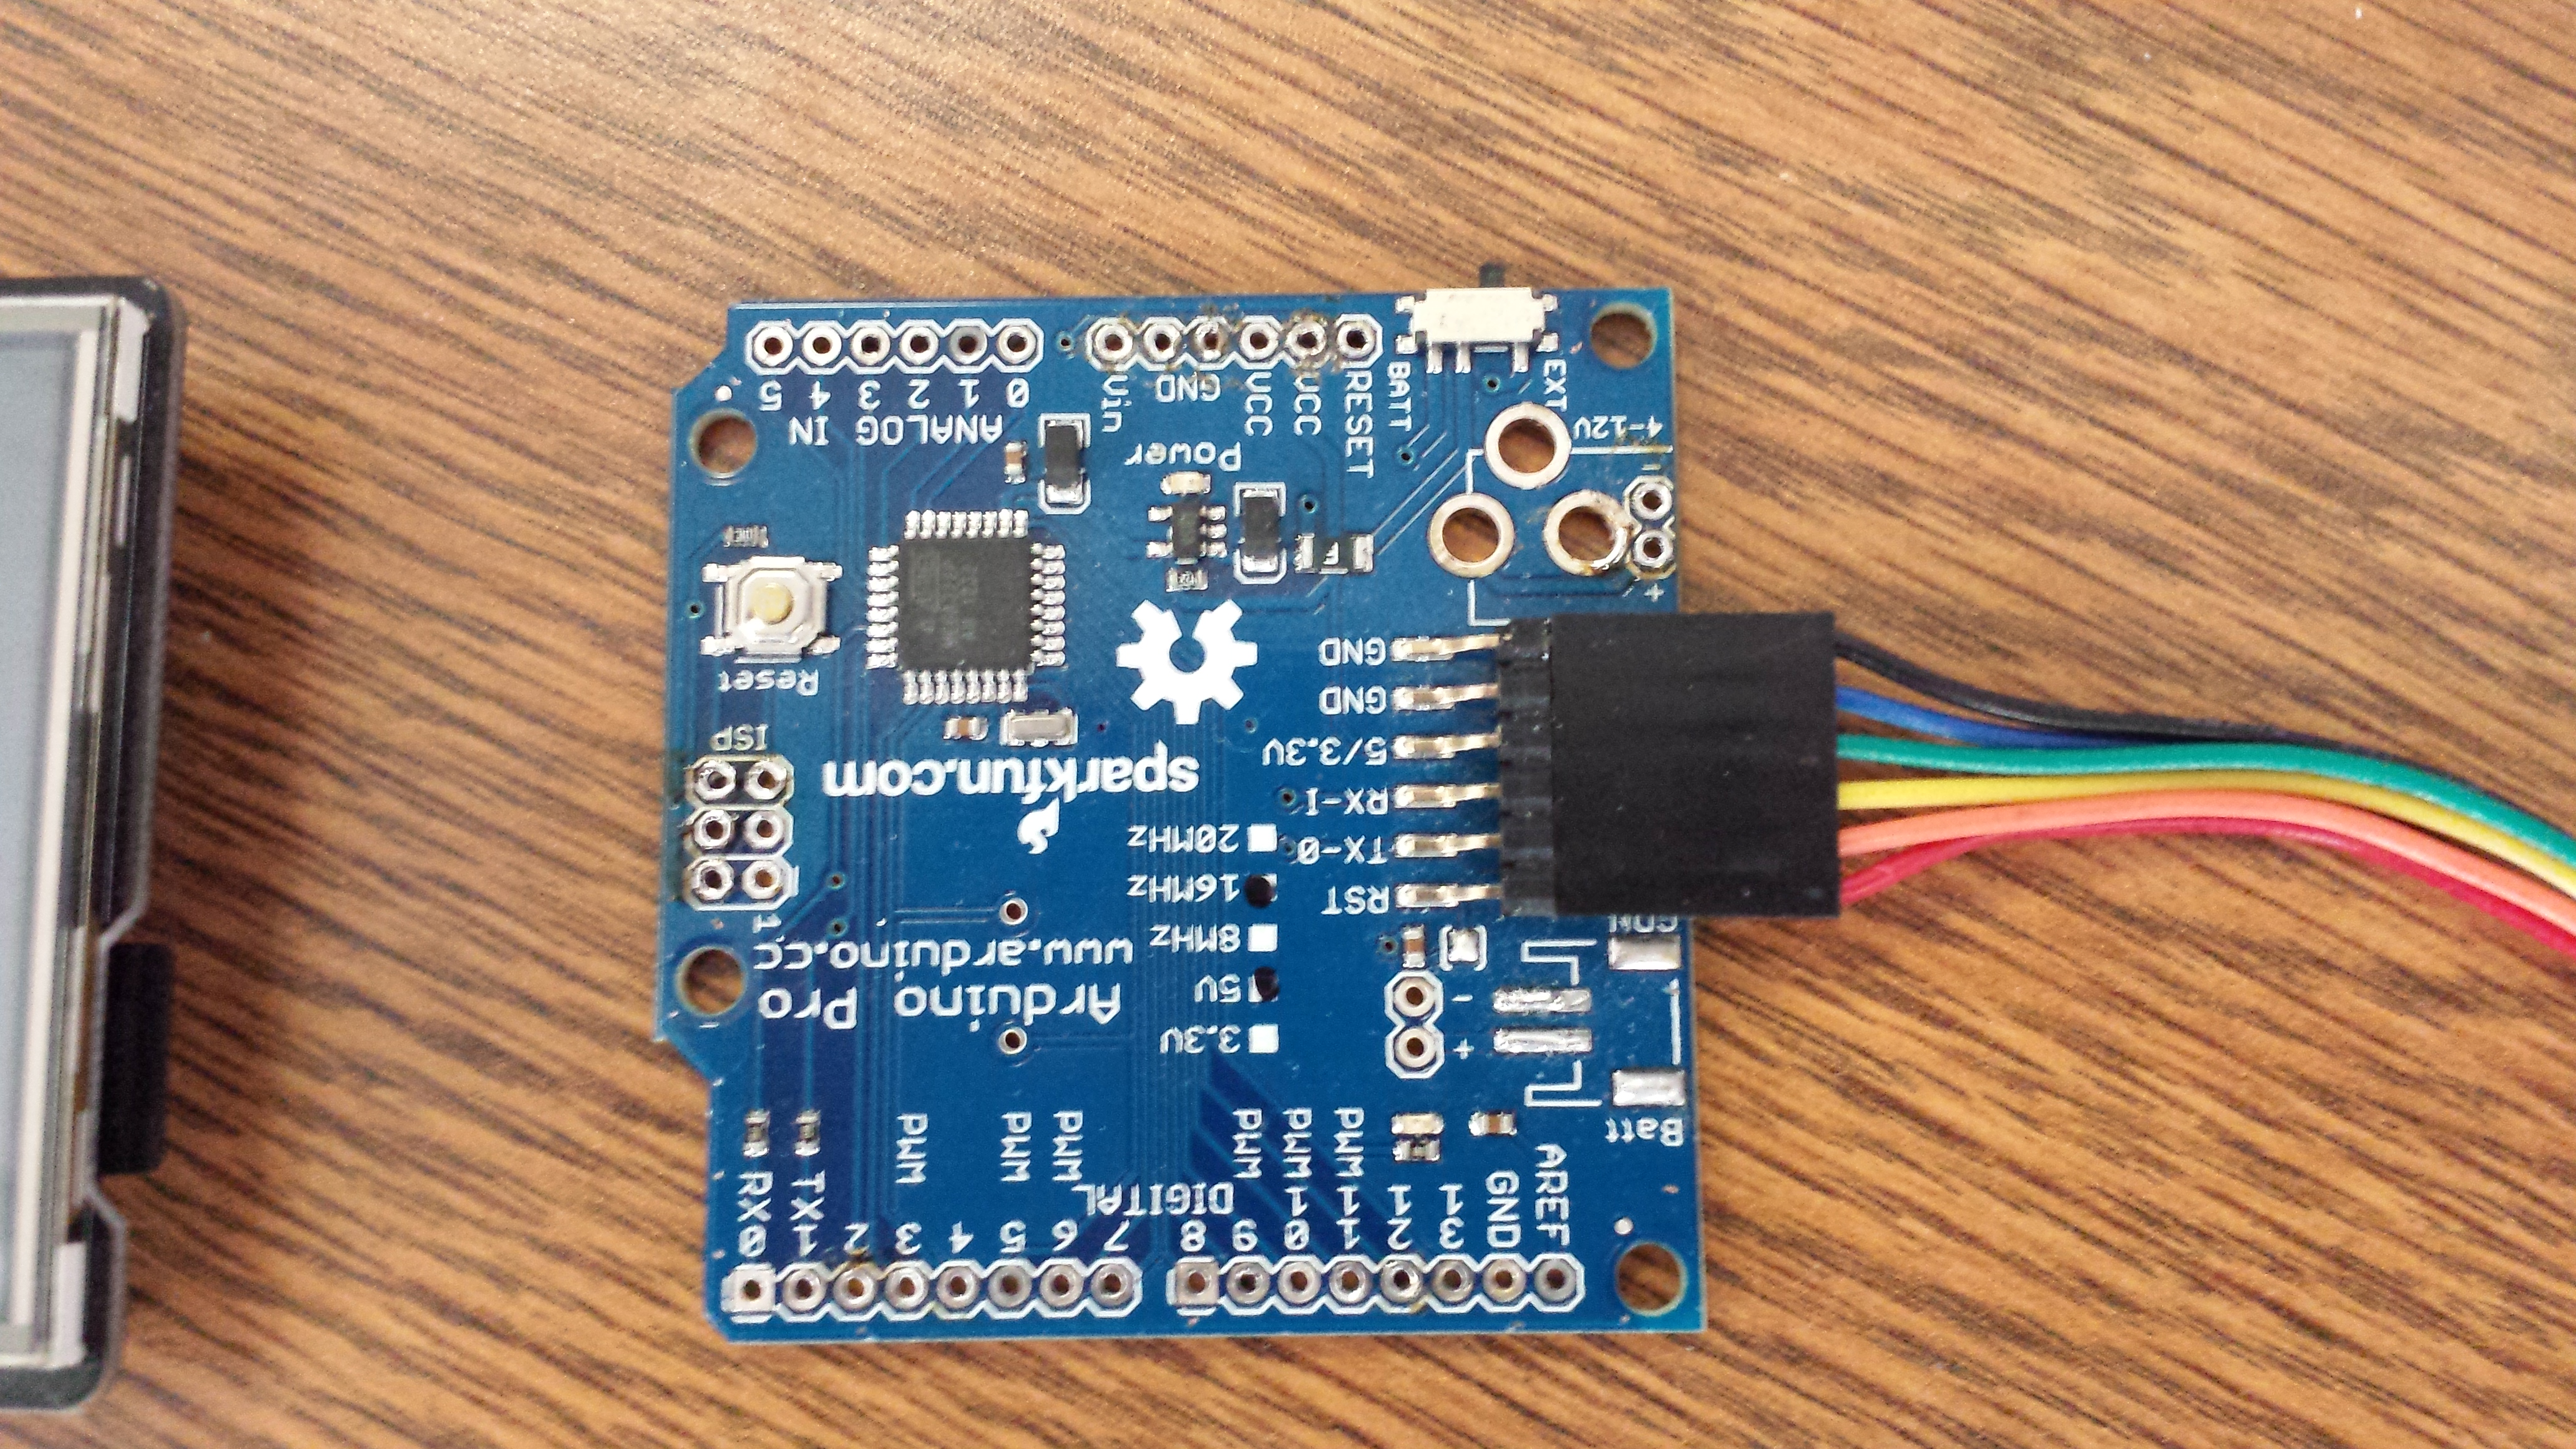
I am using version 1.0.1 of the Arduino IDE and would suggest getting the same version; that way the libraries will be compatible. You will want to go ahead and download the source code and libraries for the project from github. You will want to copy the libraries from the zip file into your library folder for your IDE.
The program & libraries are available at the following link:
https://github.com/davidhend/Lynx
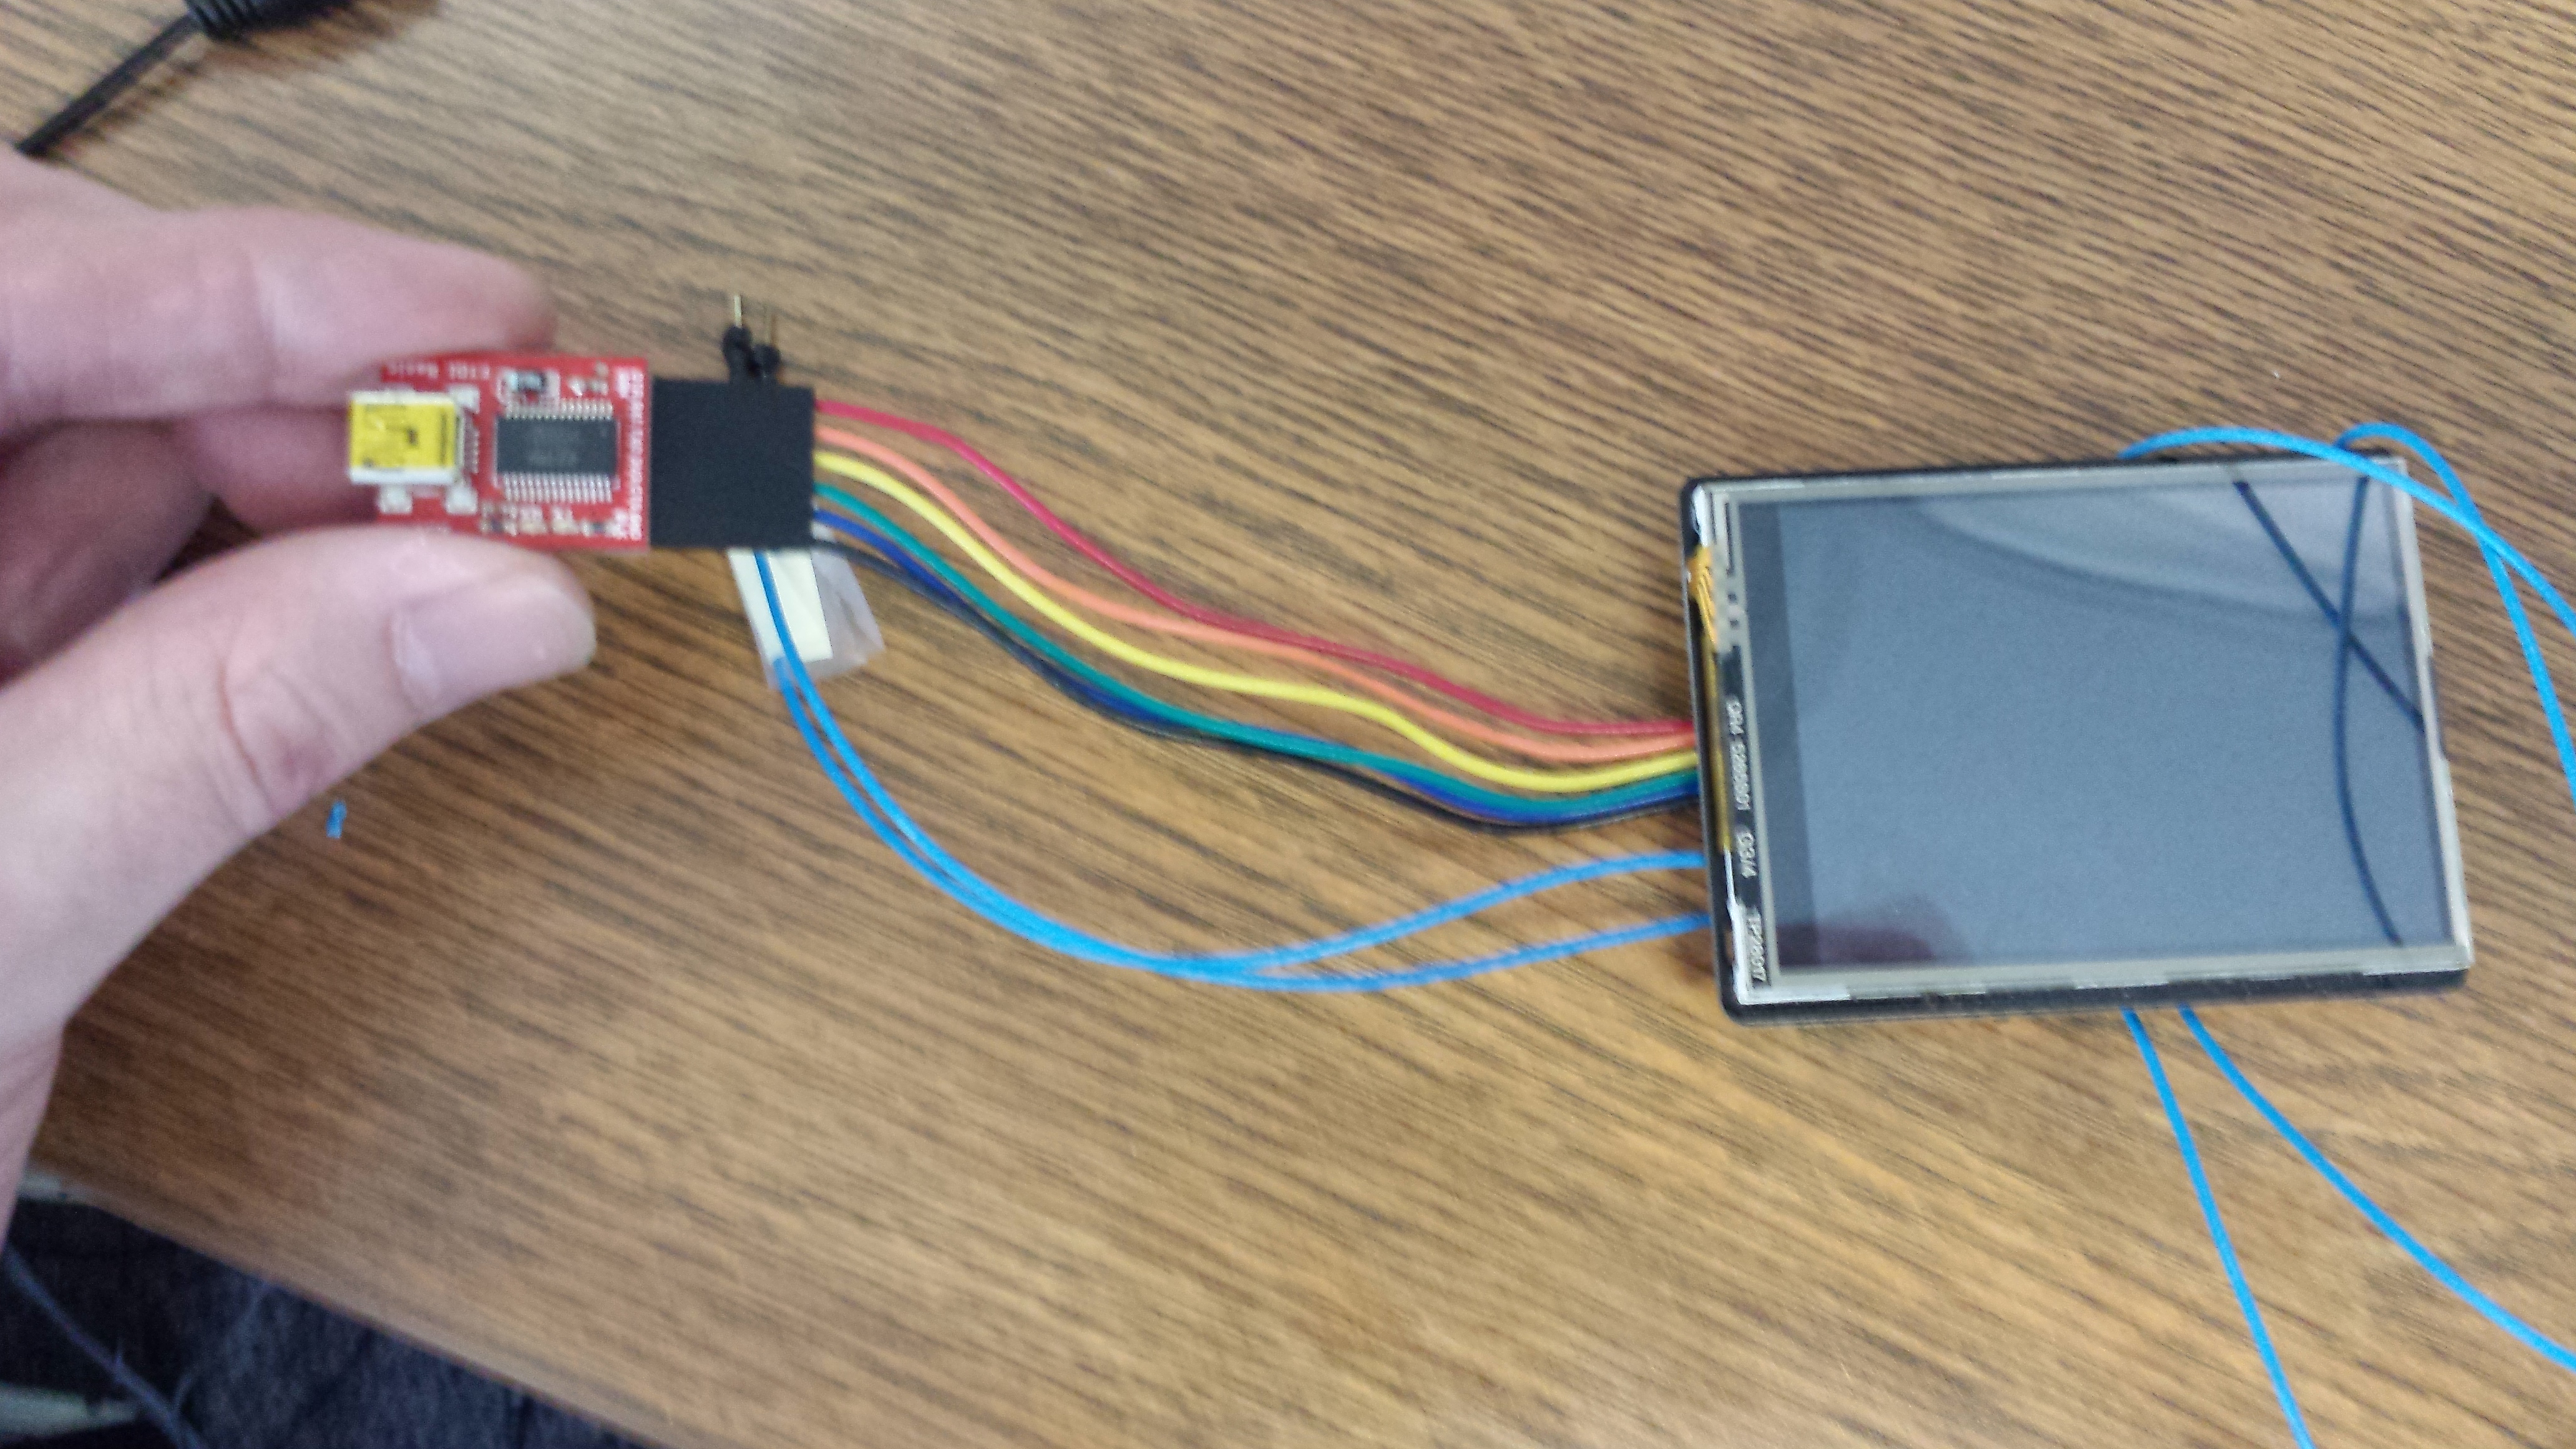
Now that this is done; it's time to program the Arduino. Connect the FTDI programming board to the Arduino, then plug it into your computer. Set the board to, "Arduino Pro 5v,16MHZ" and select the following programmer, "AVR ISP V2". Next select the correct com port then click upload. If the upload completes this step is done; otherwise make sure you have the correct selections.
Step 2: Attach LCD and RFID Wires
The four wires connect to the following pins on the Arduino, D9, RX, 5V, GND. You will want to use stranded wire that is flexible and easy to work with. Once again, you will want to label these wires for easy installation later. Also the RFID reader connects to the RX pin on the arduino; you cannot upload sketches with this wire attached. I used jumper wires that allow me to unplug the connection in case I need to make software changes.
Pin Diagram:
Arduino RFID Reader
D9 ---------- /ENABLE
RX ---------- SOUT
GND -------- GND
5V ----------- VCC
After you have finished soldering all the connections go ahead and connect the RFID reader. I would suggest using another arduino or 5v power source to power the unit; it is good to make sure everything works before you start your build.
Step 3: Prepare the Case
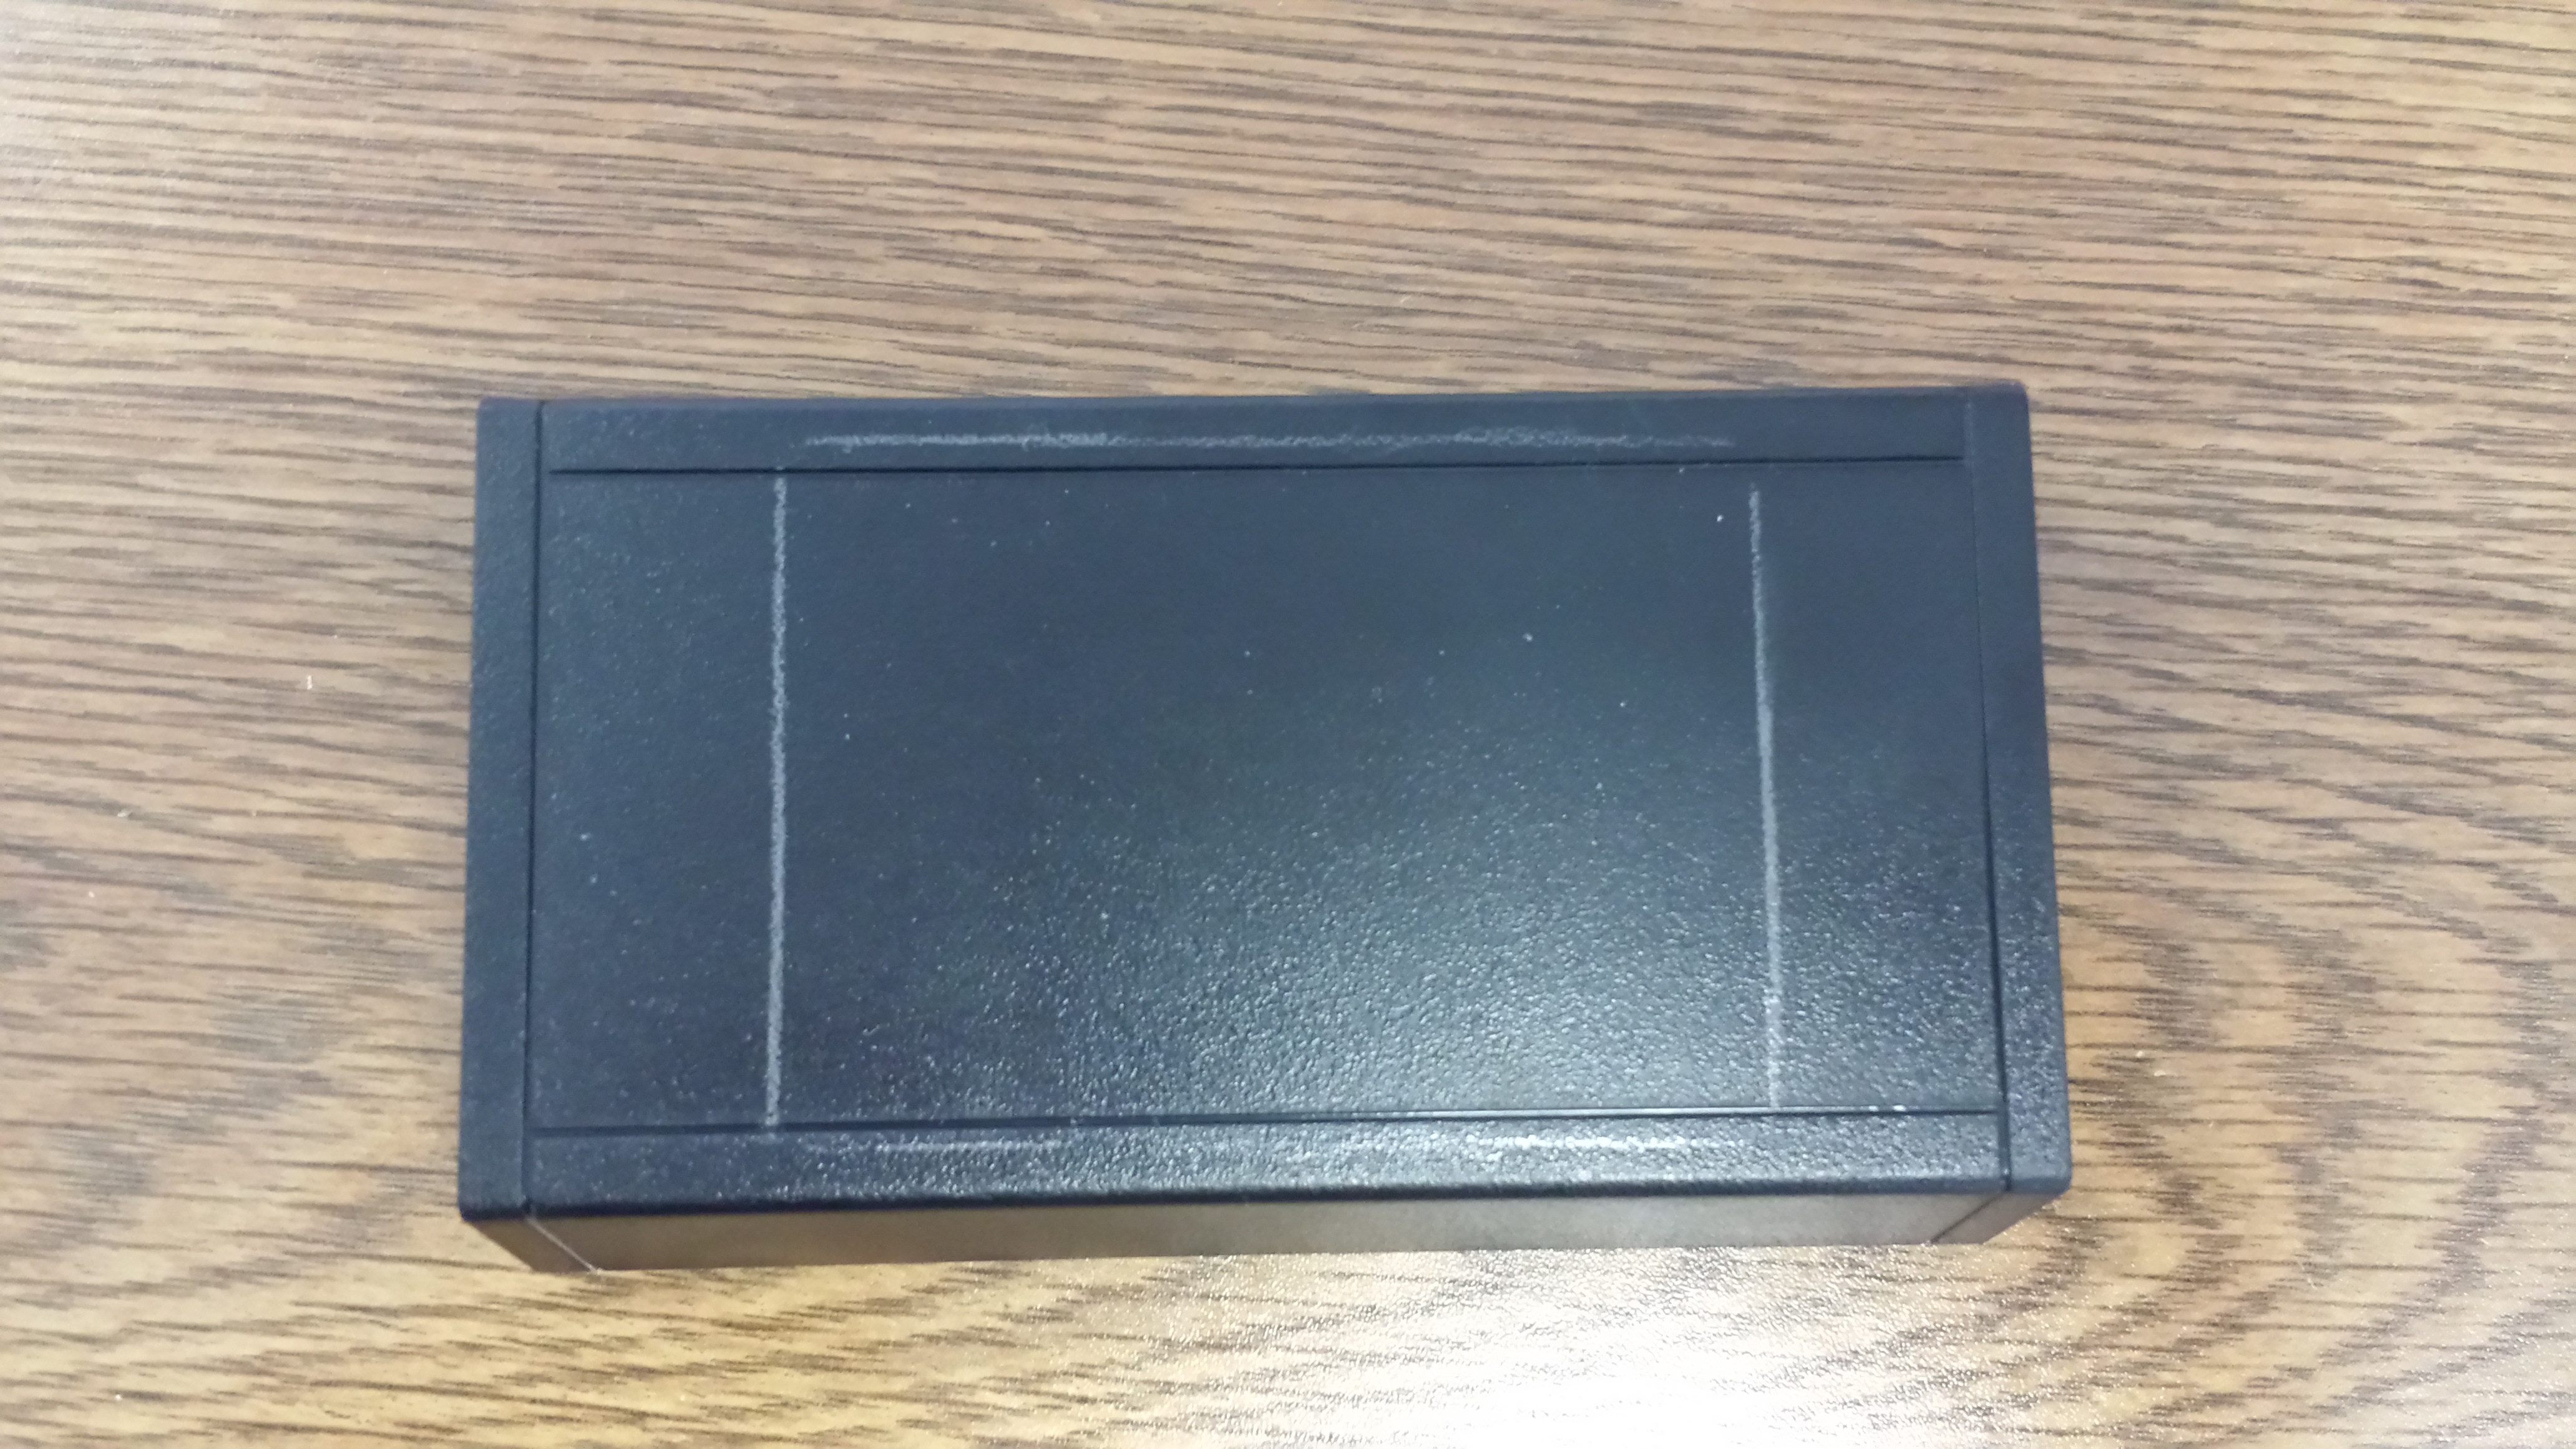
Go slow and take off little bits at a time; you can always take off more but you cannot add any. You will also want to wear eye protection & gloves while dremeling.
Step 4: Attach the LCD & Microprocessor
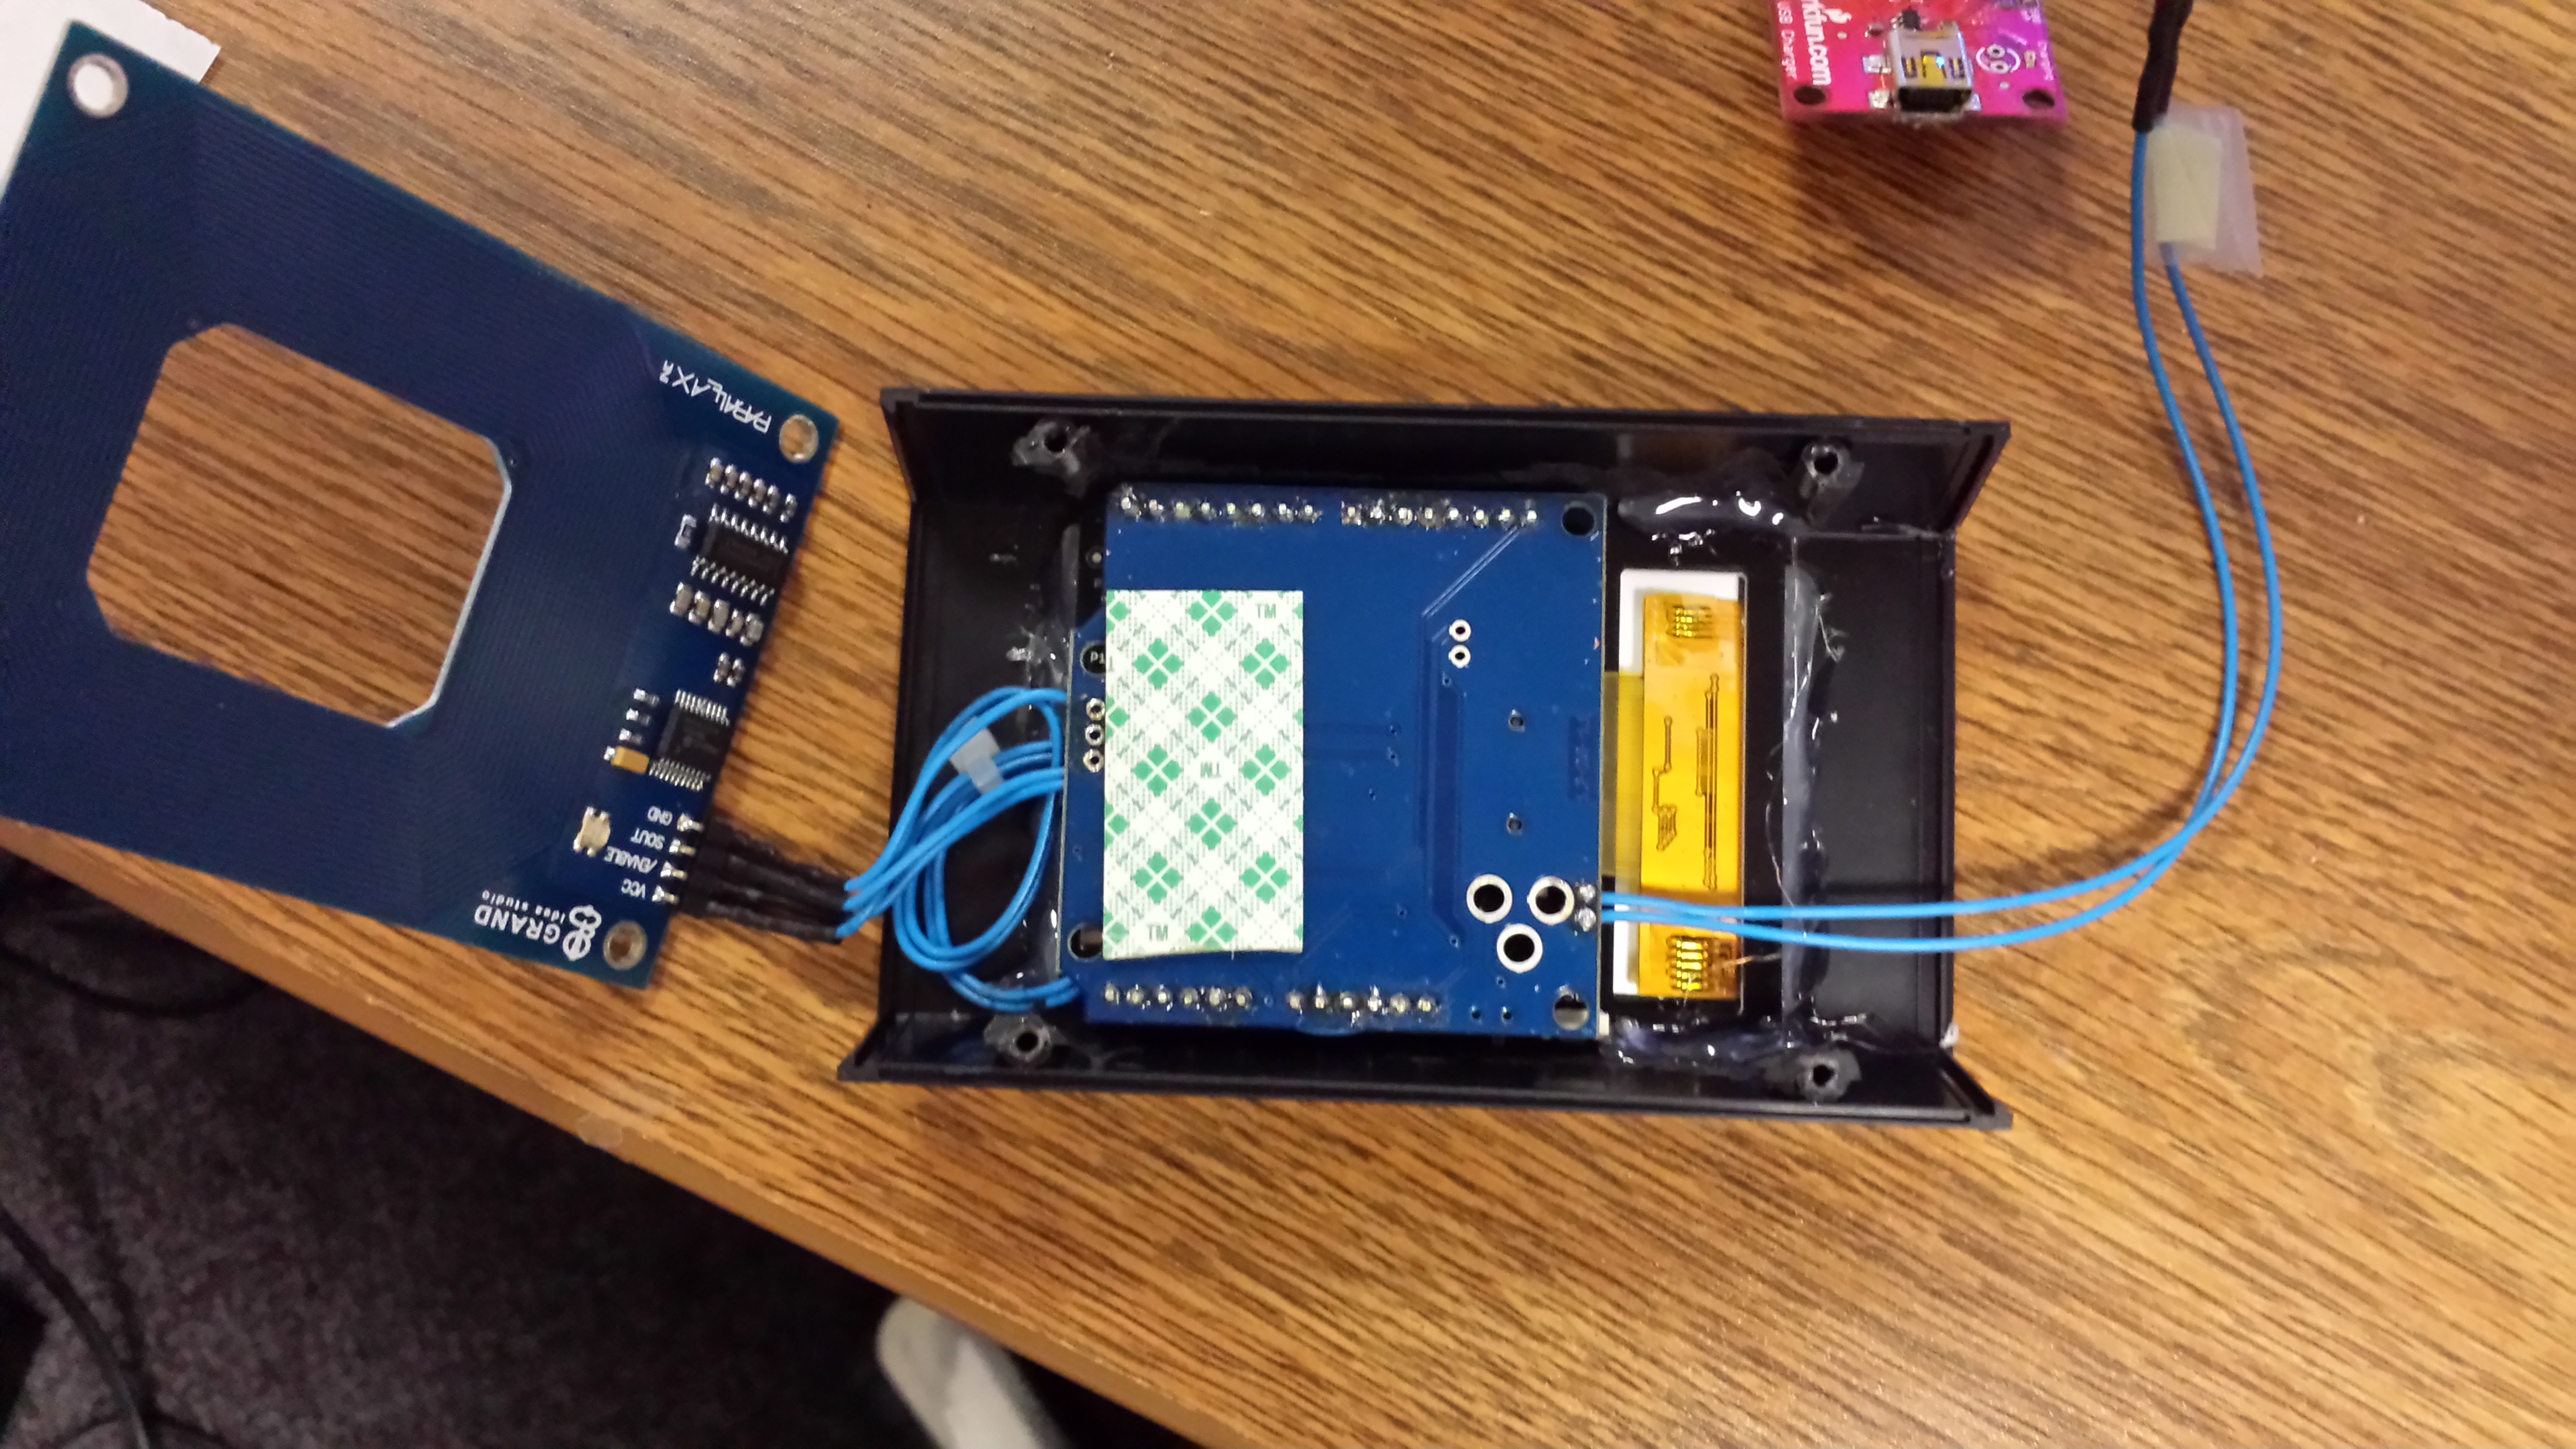
The tape you see is one of two pieces that hold that battery in place. You can install them now or in the next step; it is totally up to you.
I also have the wires ran to the RFID reader and is ready for install after the battery. I curl up the wires and place them between the LCD & Arduino to make side panel fit right.
Step 5: Install Battery & Attach RFID
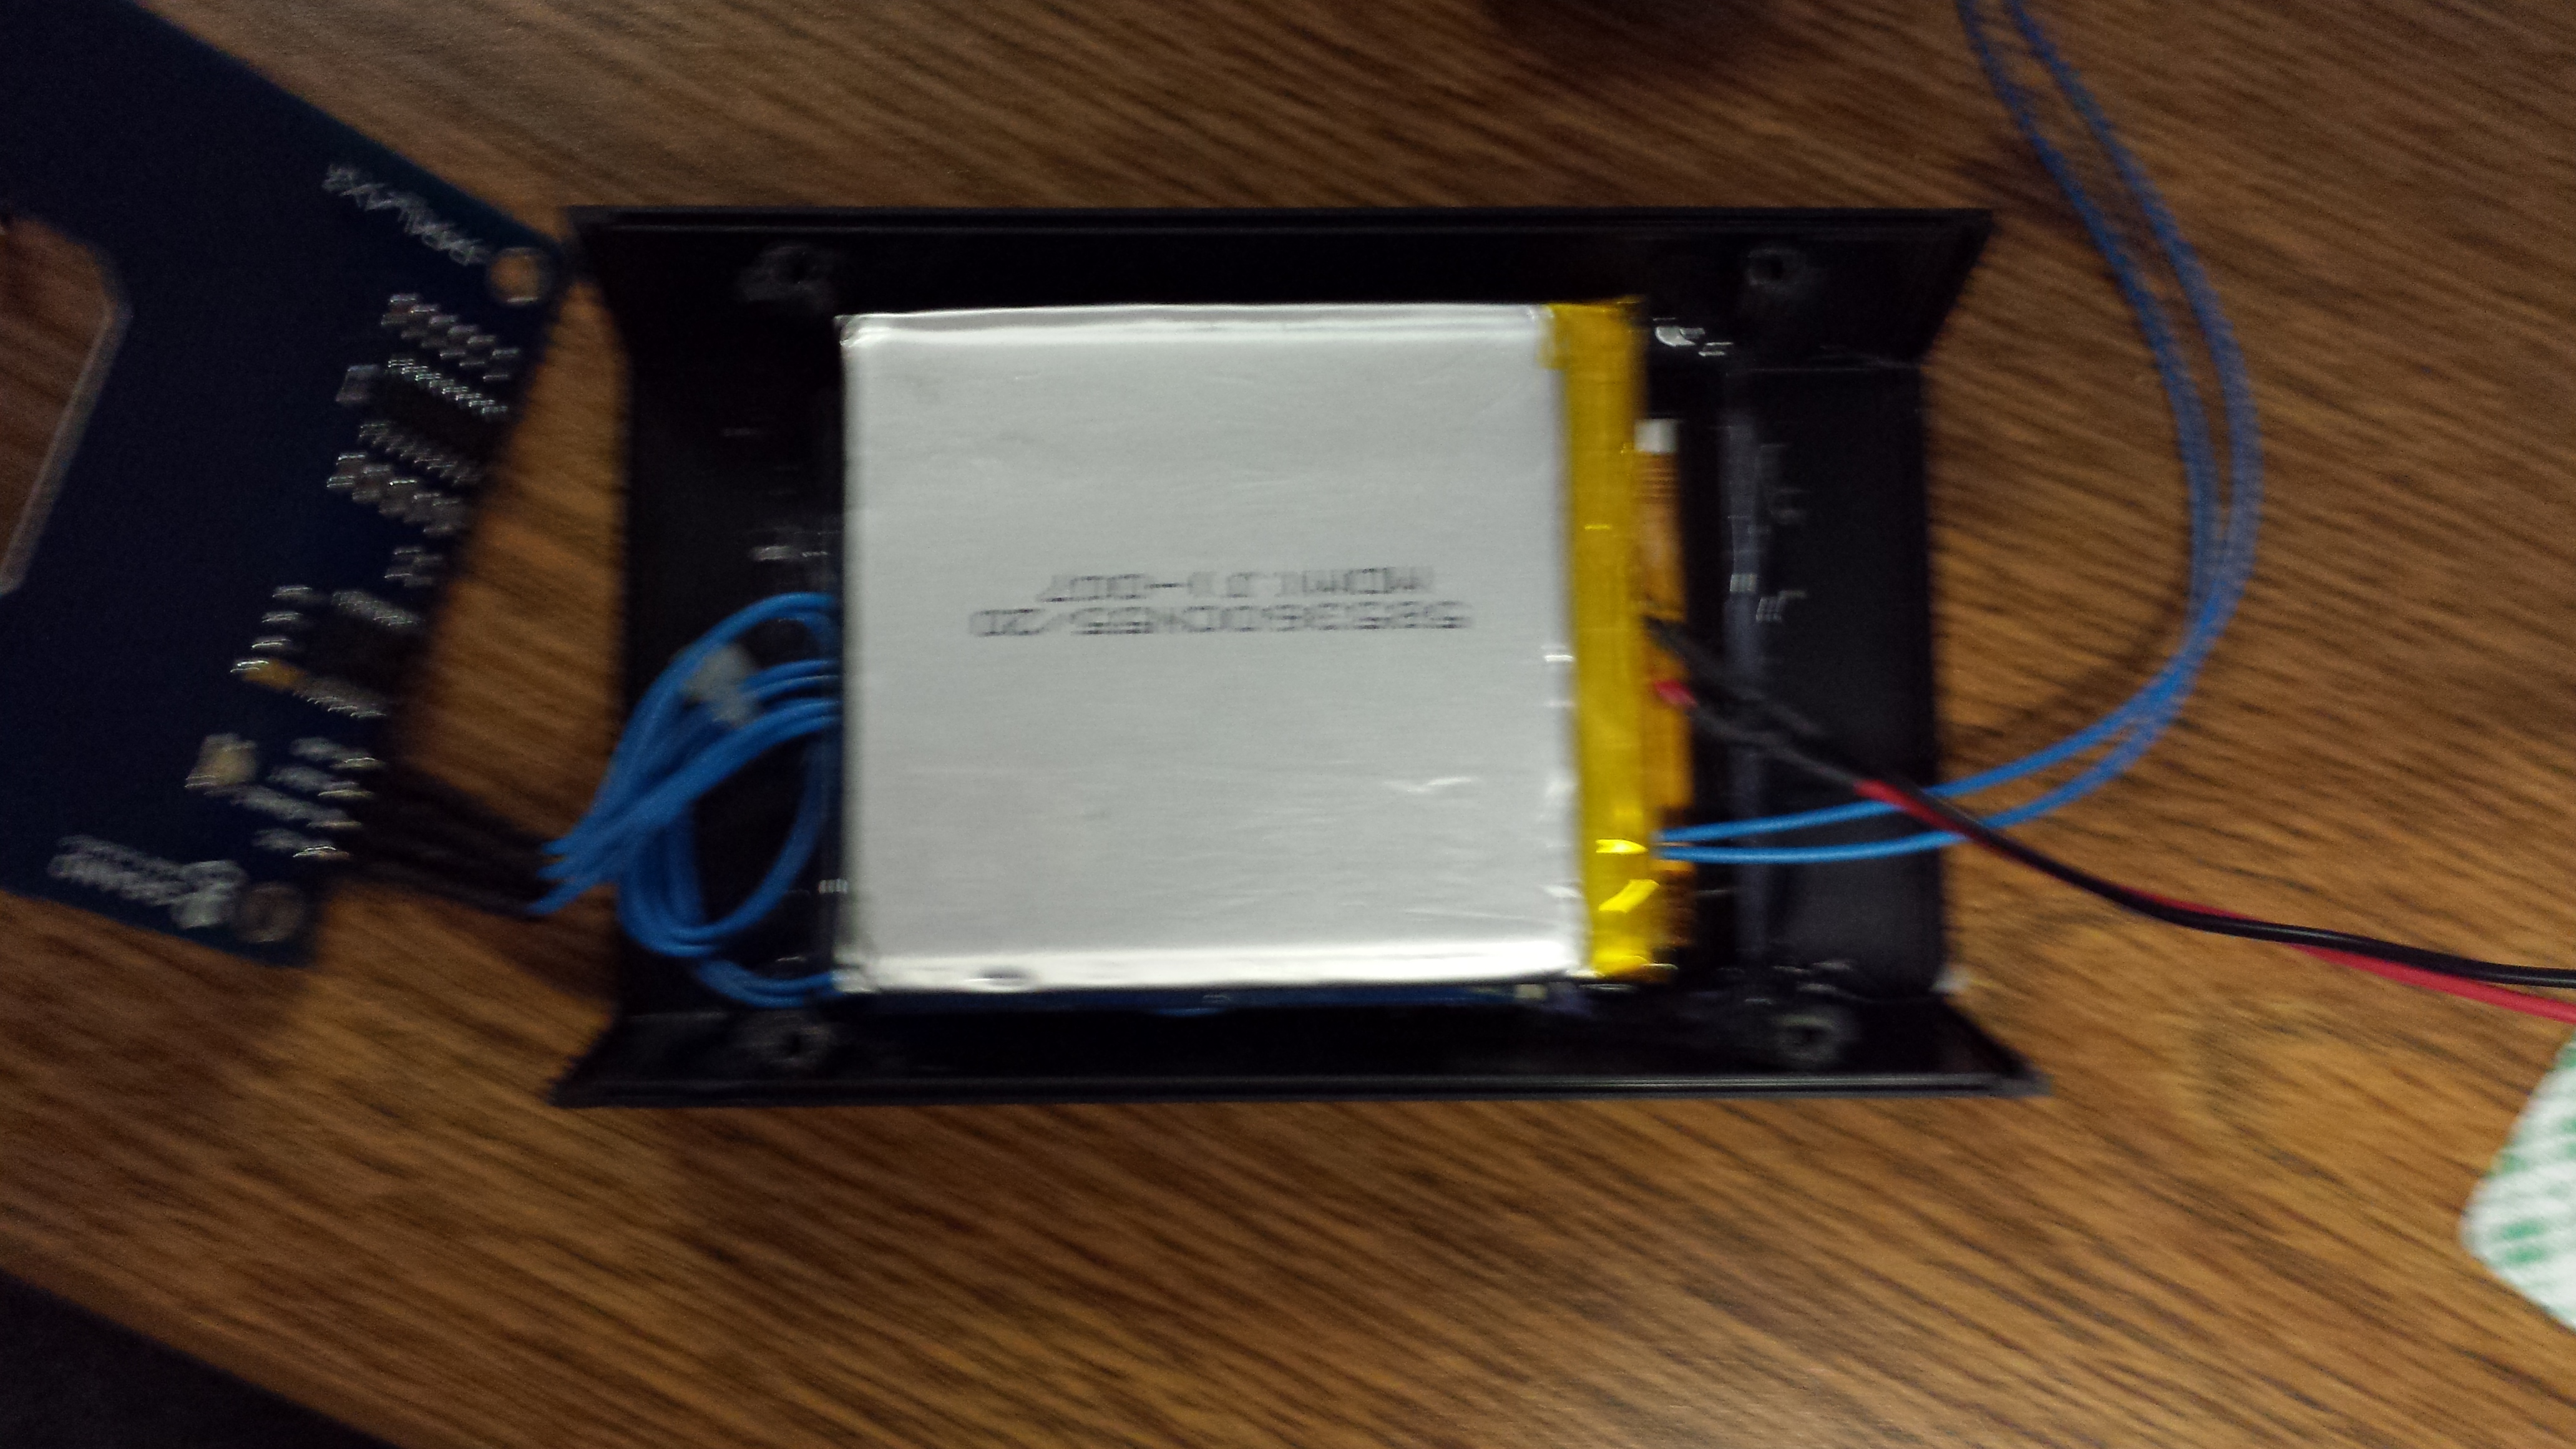
You will also have to press the sides in slightly as you attach the RFID reader. The back plate is held on by black electrical tape; this might not be ideal for you. If that is the case, you can change the type of enclosure you use.
Step 6: Setup Power System
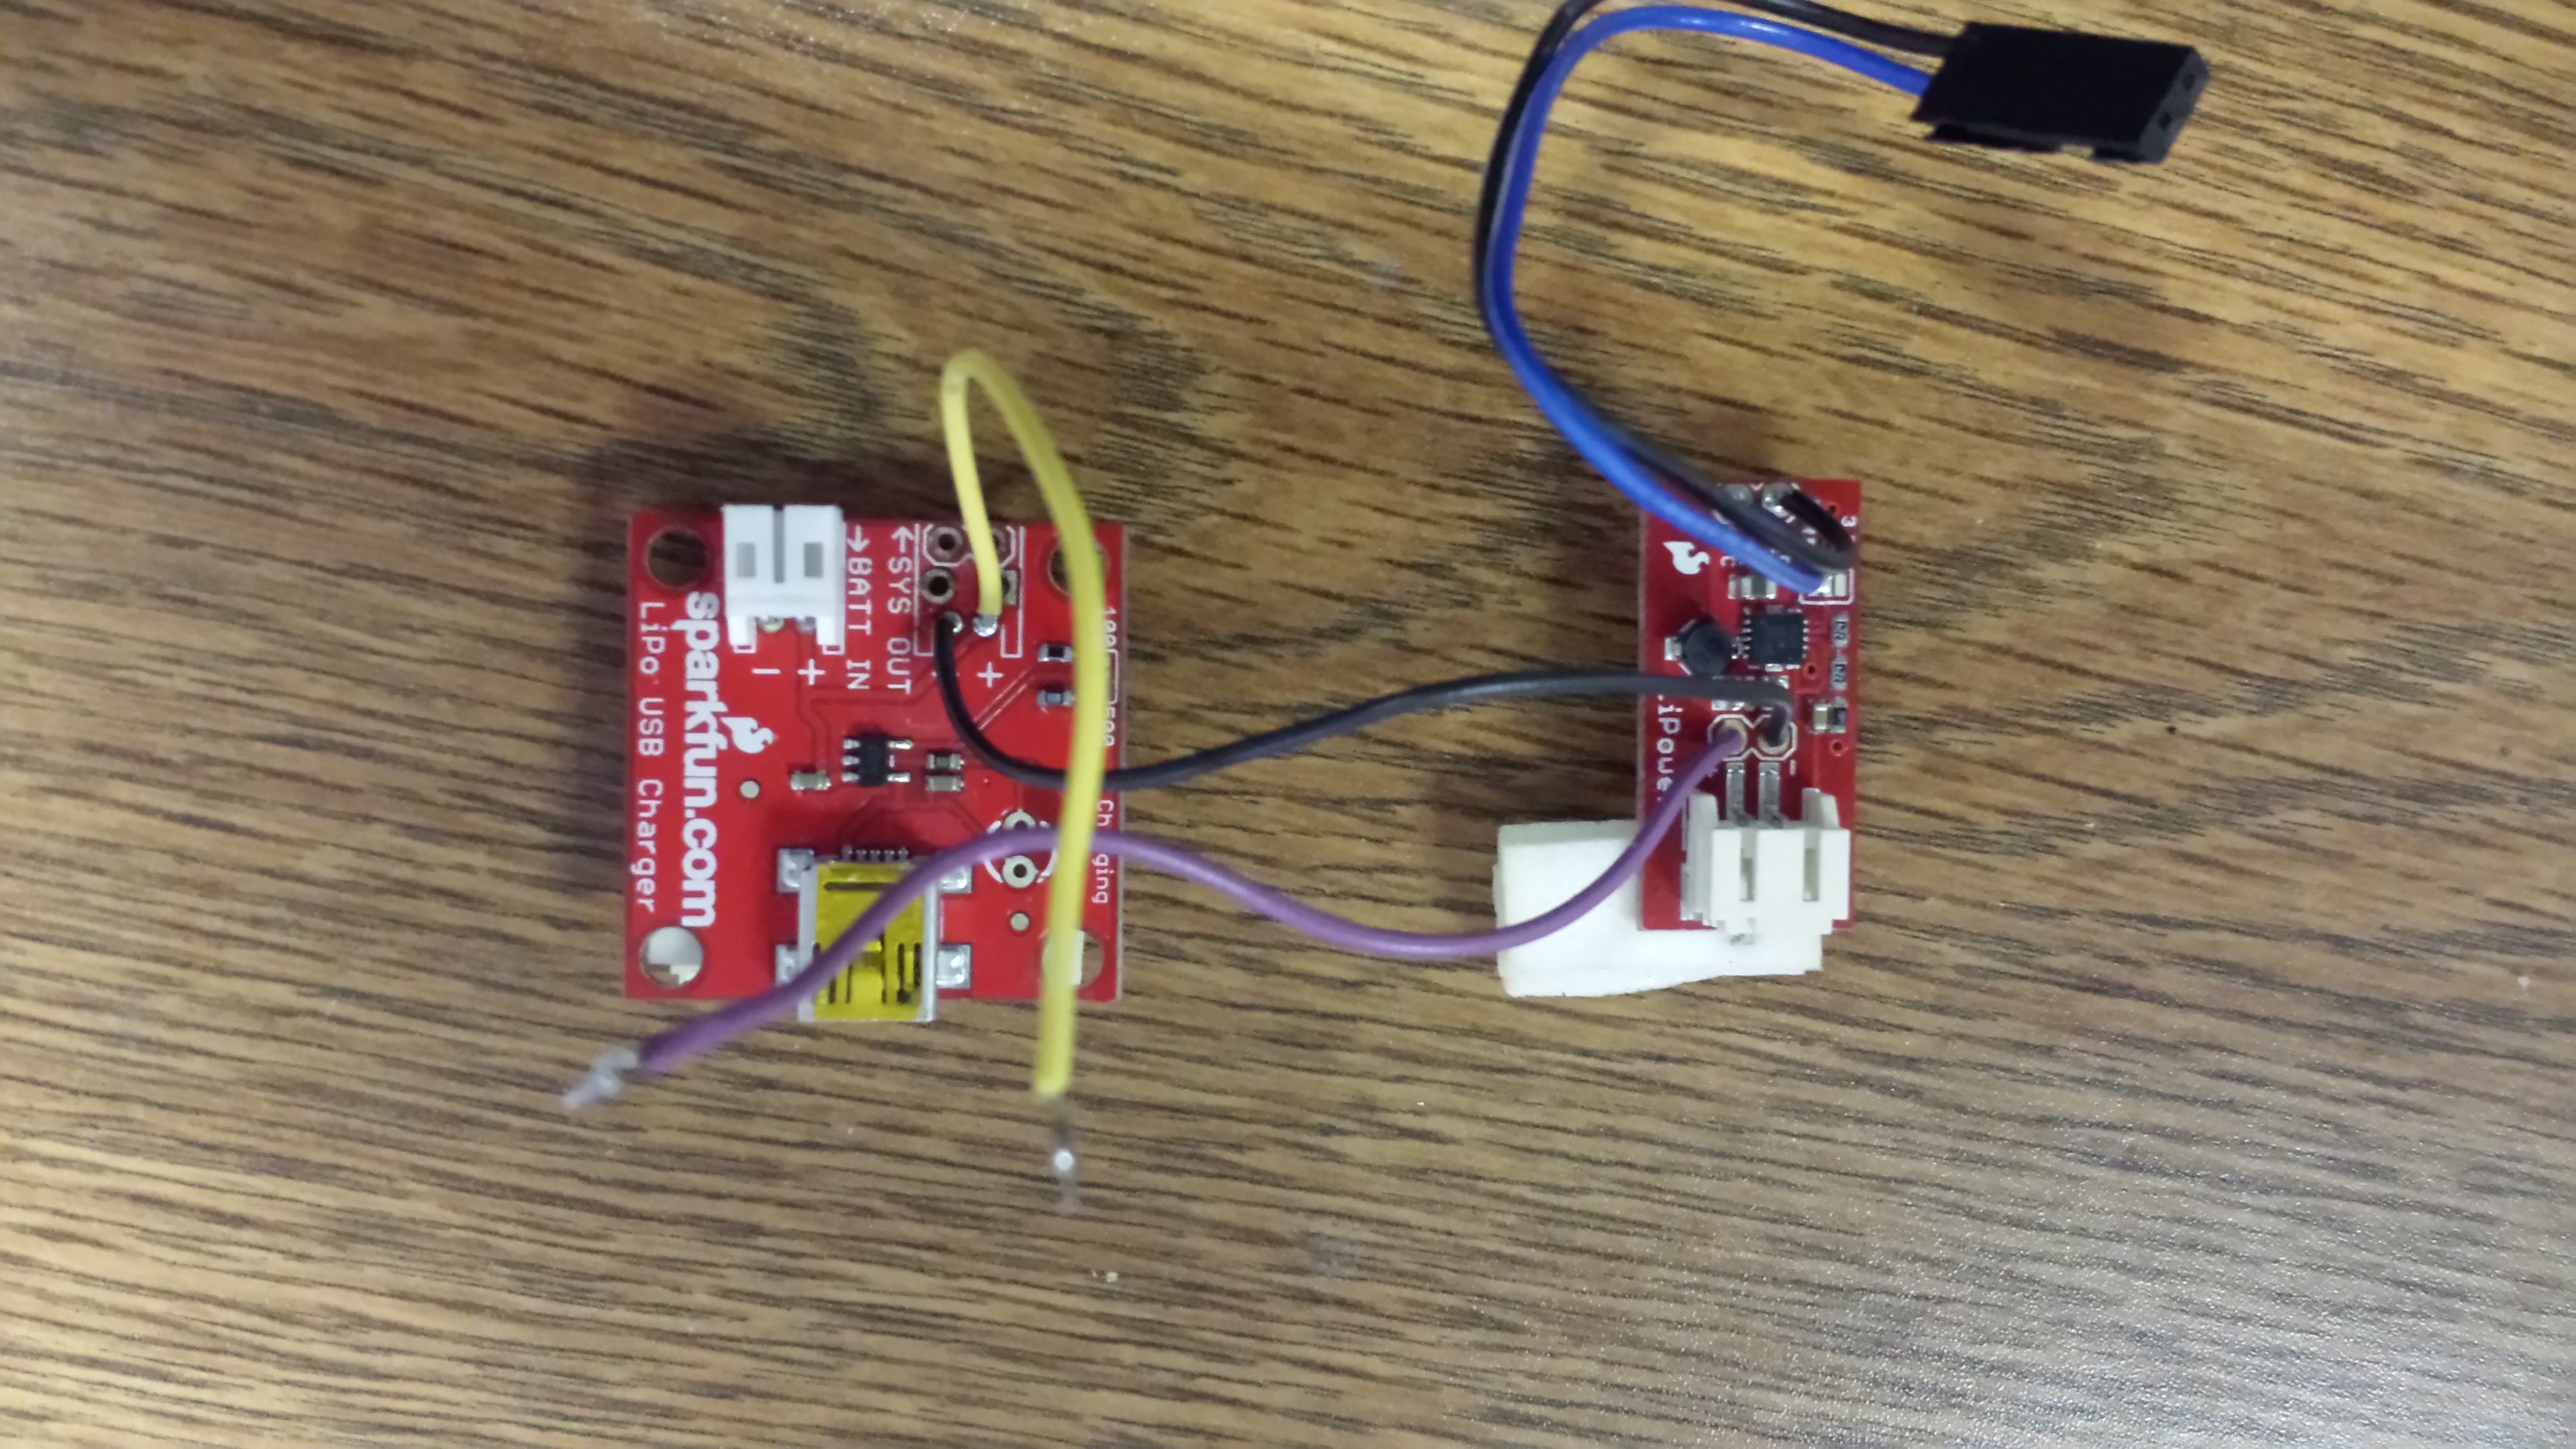
A picture is provided as reference; sometimes it is easier with a picture to visualize the connections.
Step 7: Install Power System
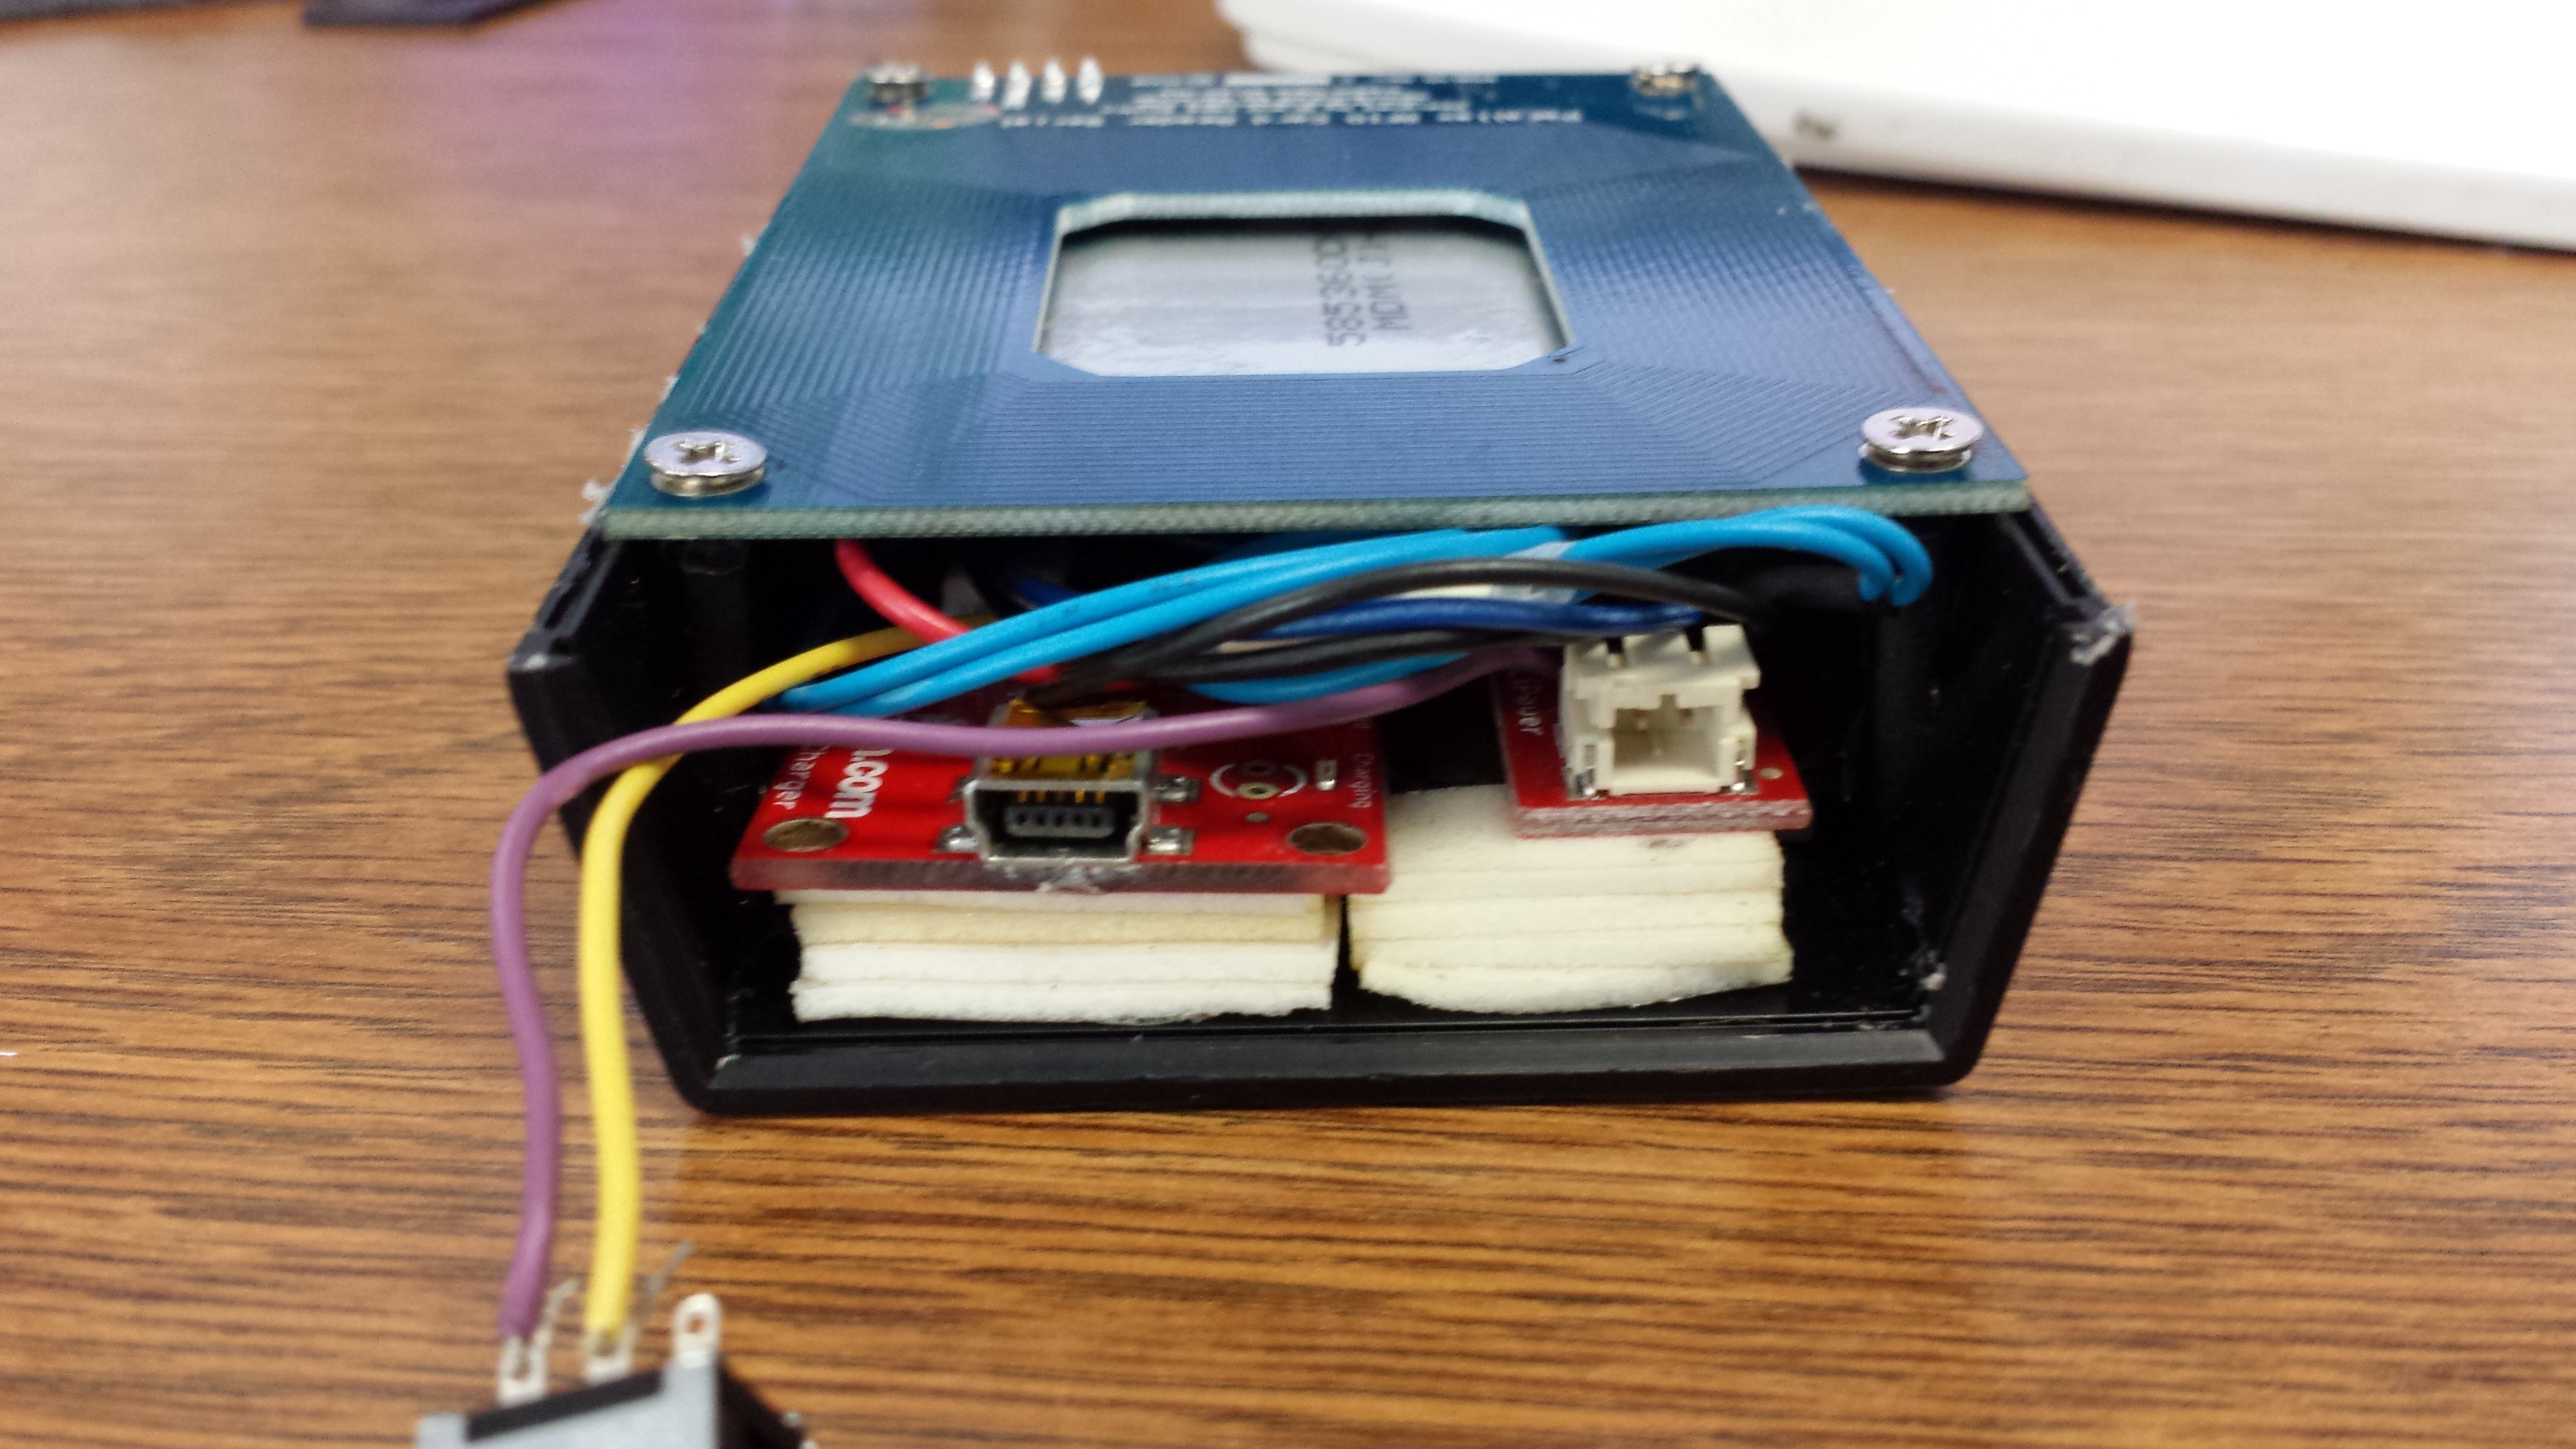
Step 8: Drill Holes for Charging Port & Switch
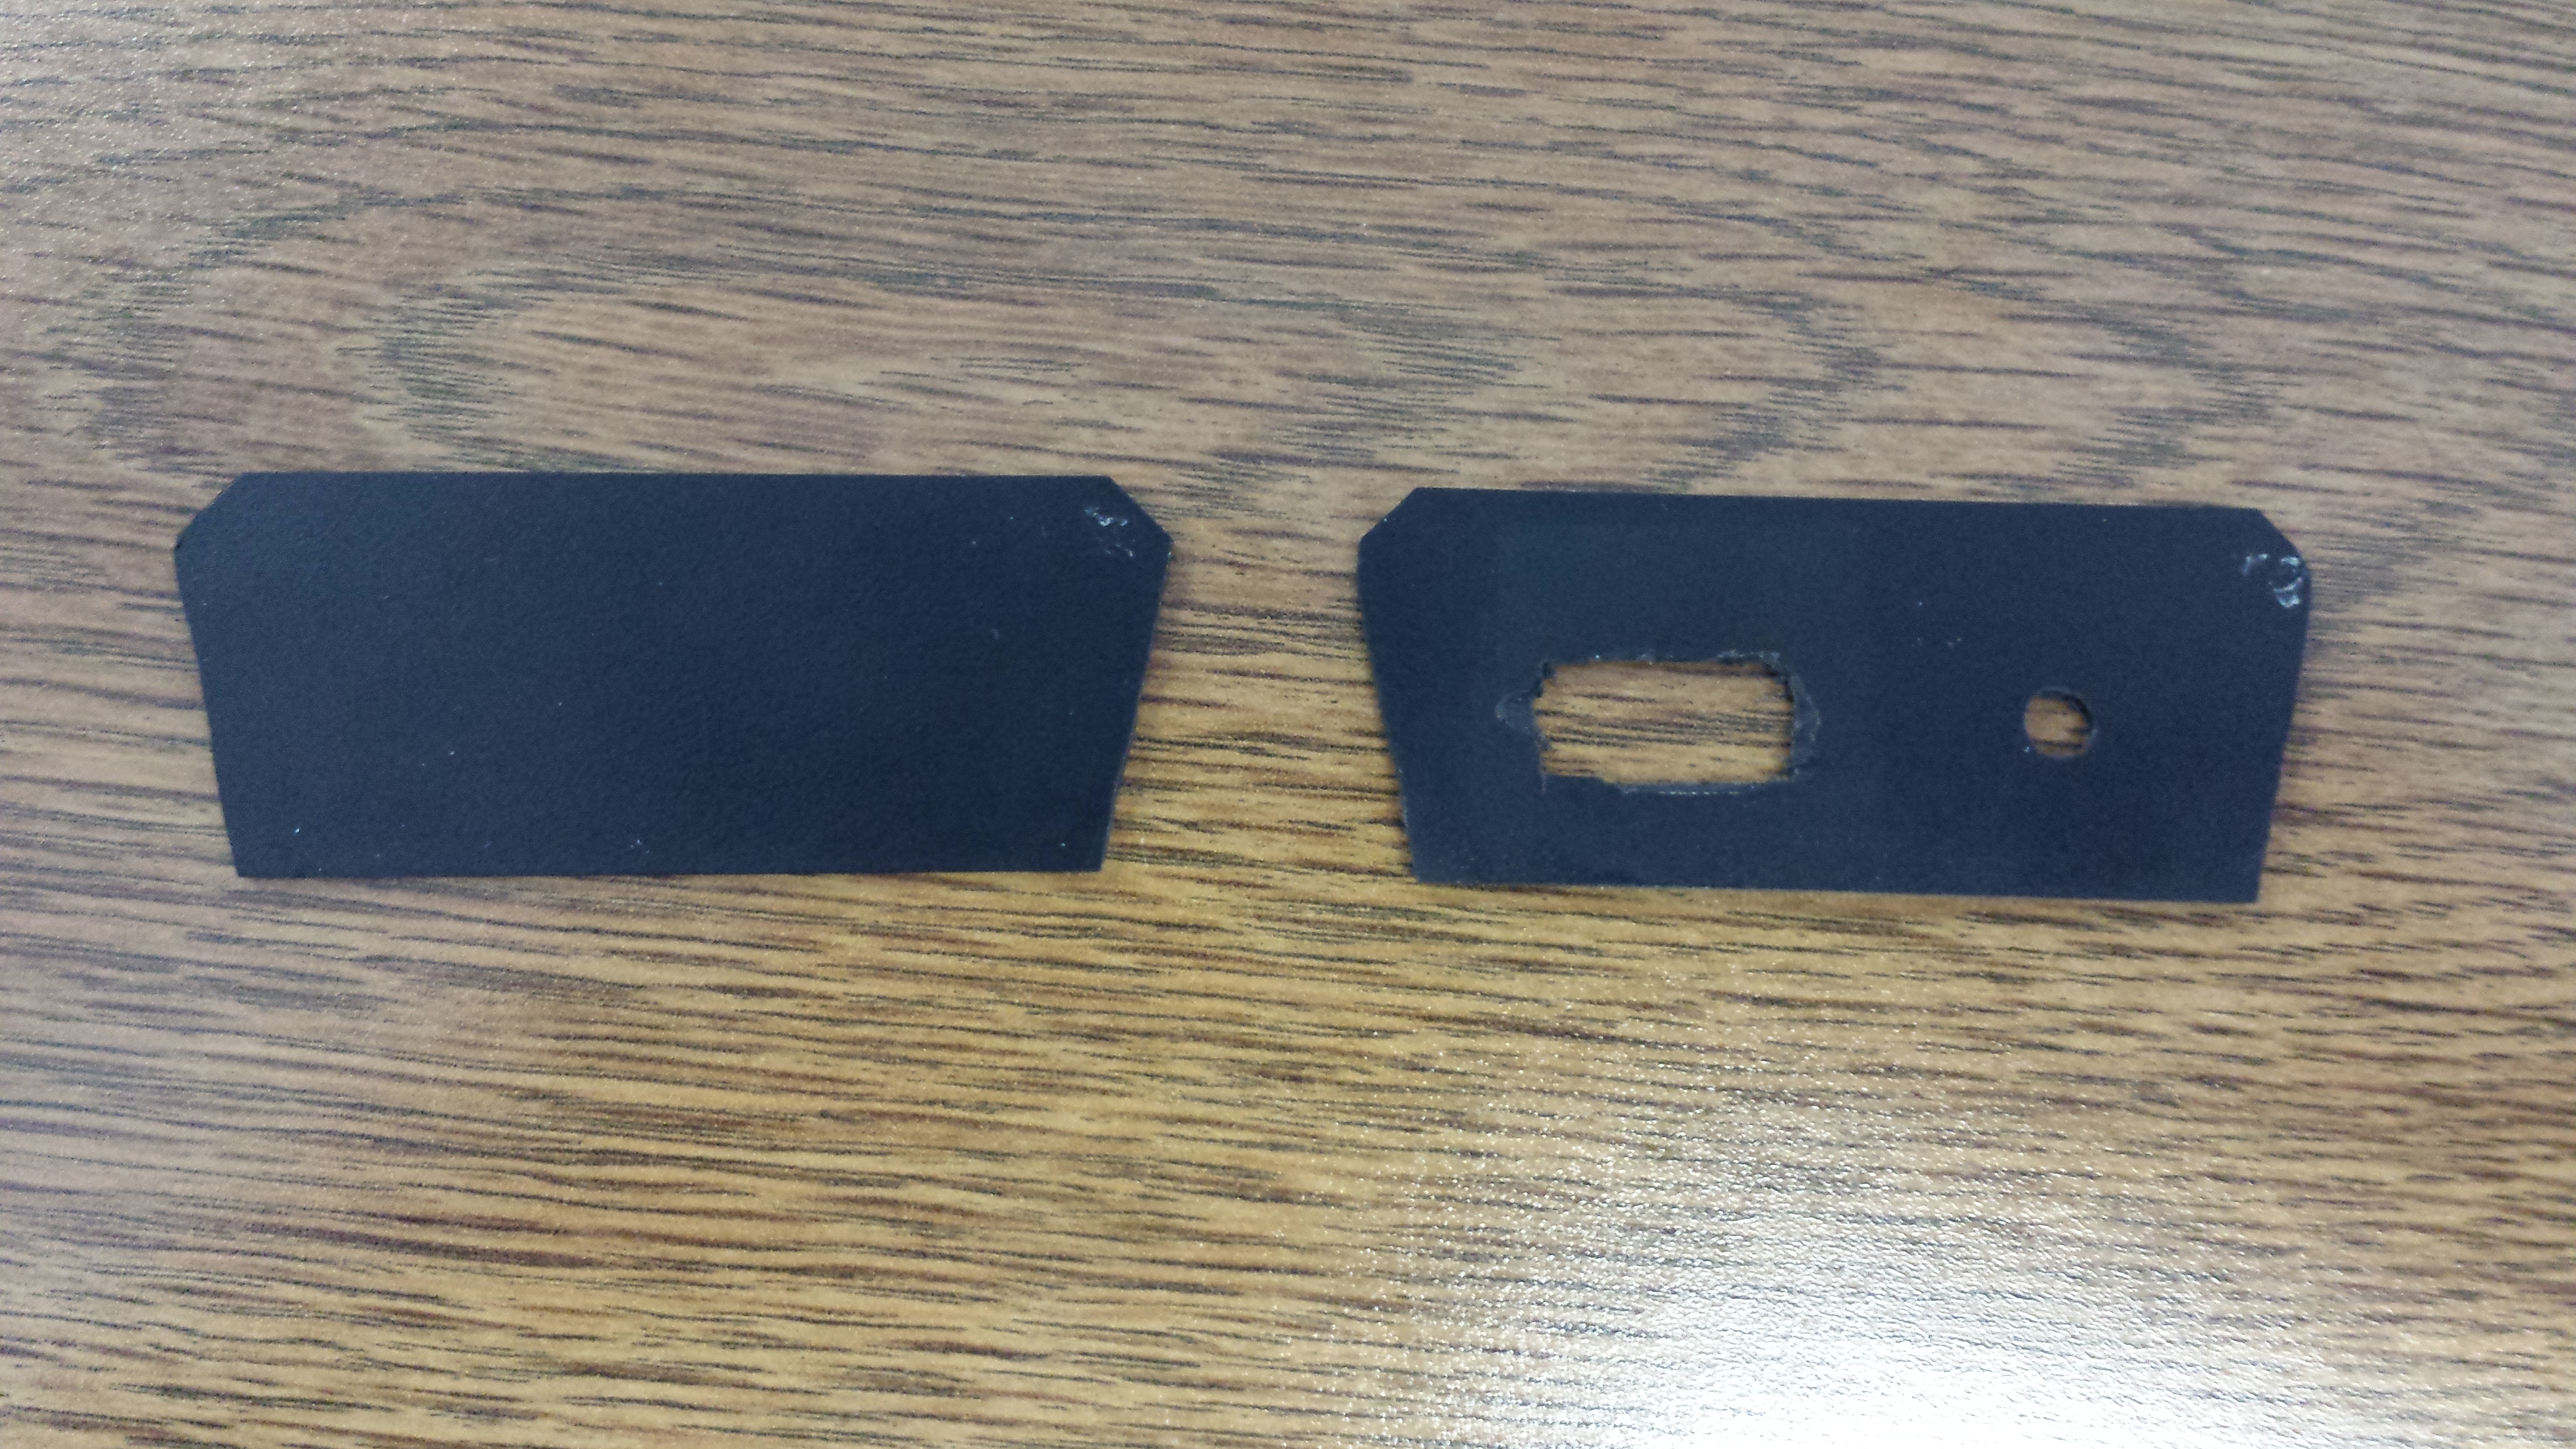
Final Step: Install Side & Back Plates
