LunaR

Say hi to LunaR!
A gaming robot that can move around and change its face according to its mood and status (fully charged to low battery). LunaR can walk to their charging station and place itself in the port to recharge. LunaR's face is influenced by the Nintendo switch and its body is influenced by BMO from the show Adventure Time.
Supplies
Scissors
Stick glue
LunaRobot Template

Download and print this template. Scale in the printer settings to your paper size.
The template has added guides that are not visible in the instructions (orange dots and "x").
Supplies

Sit comfortably and put the printed template on a table in front of you. Set your scissors and glue on the side of your dominant hand. Use small scissors if possible for precision.
Preparing the Pieces


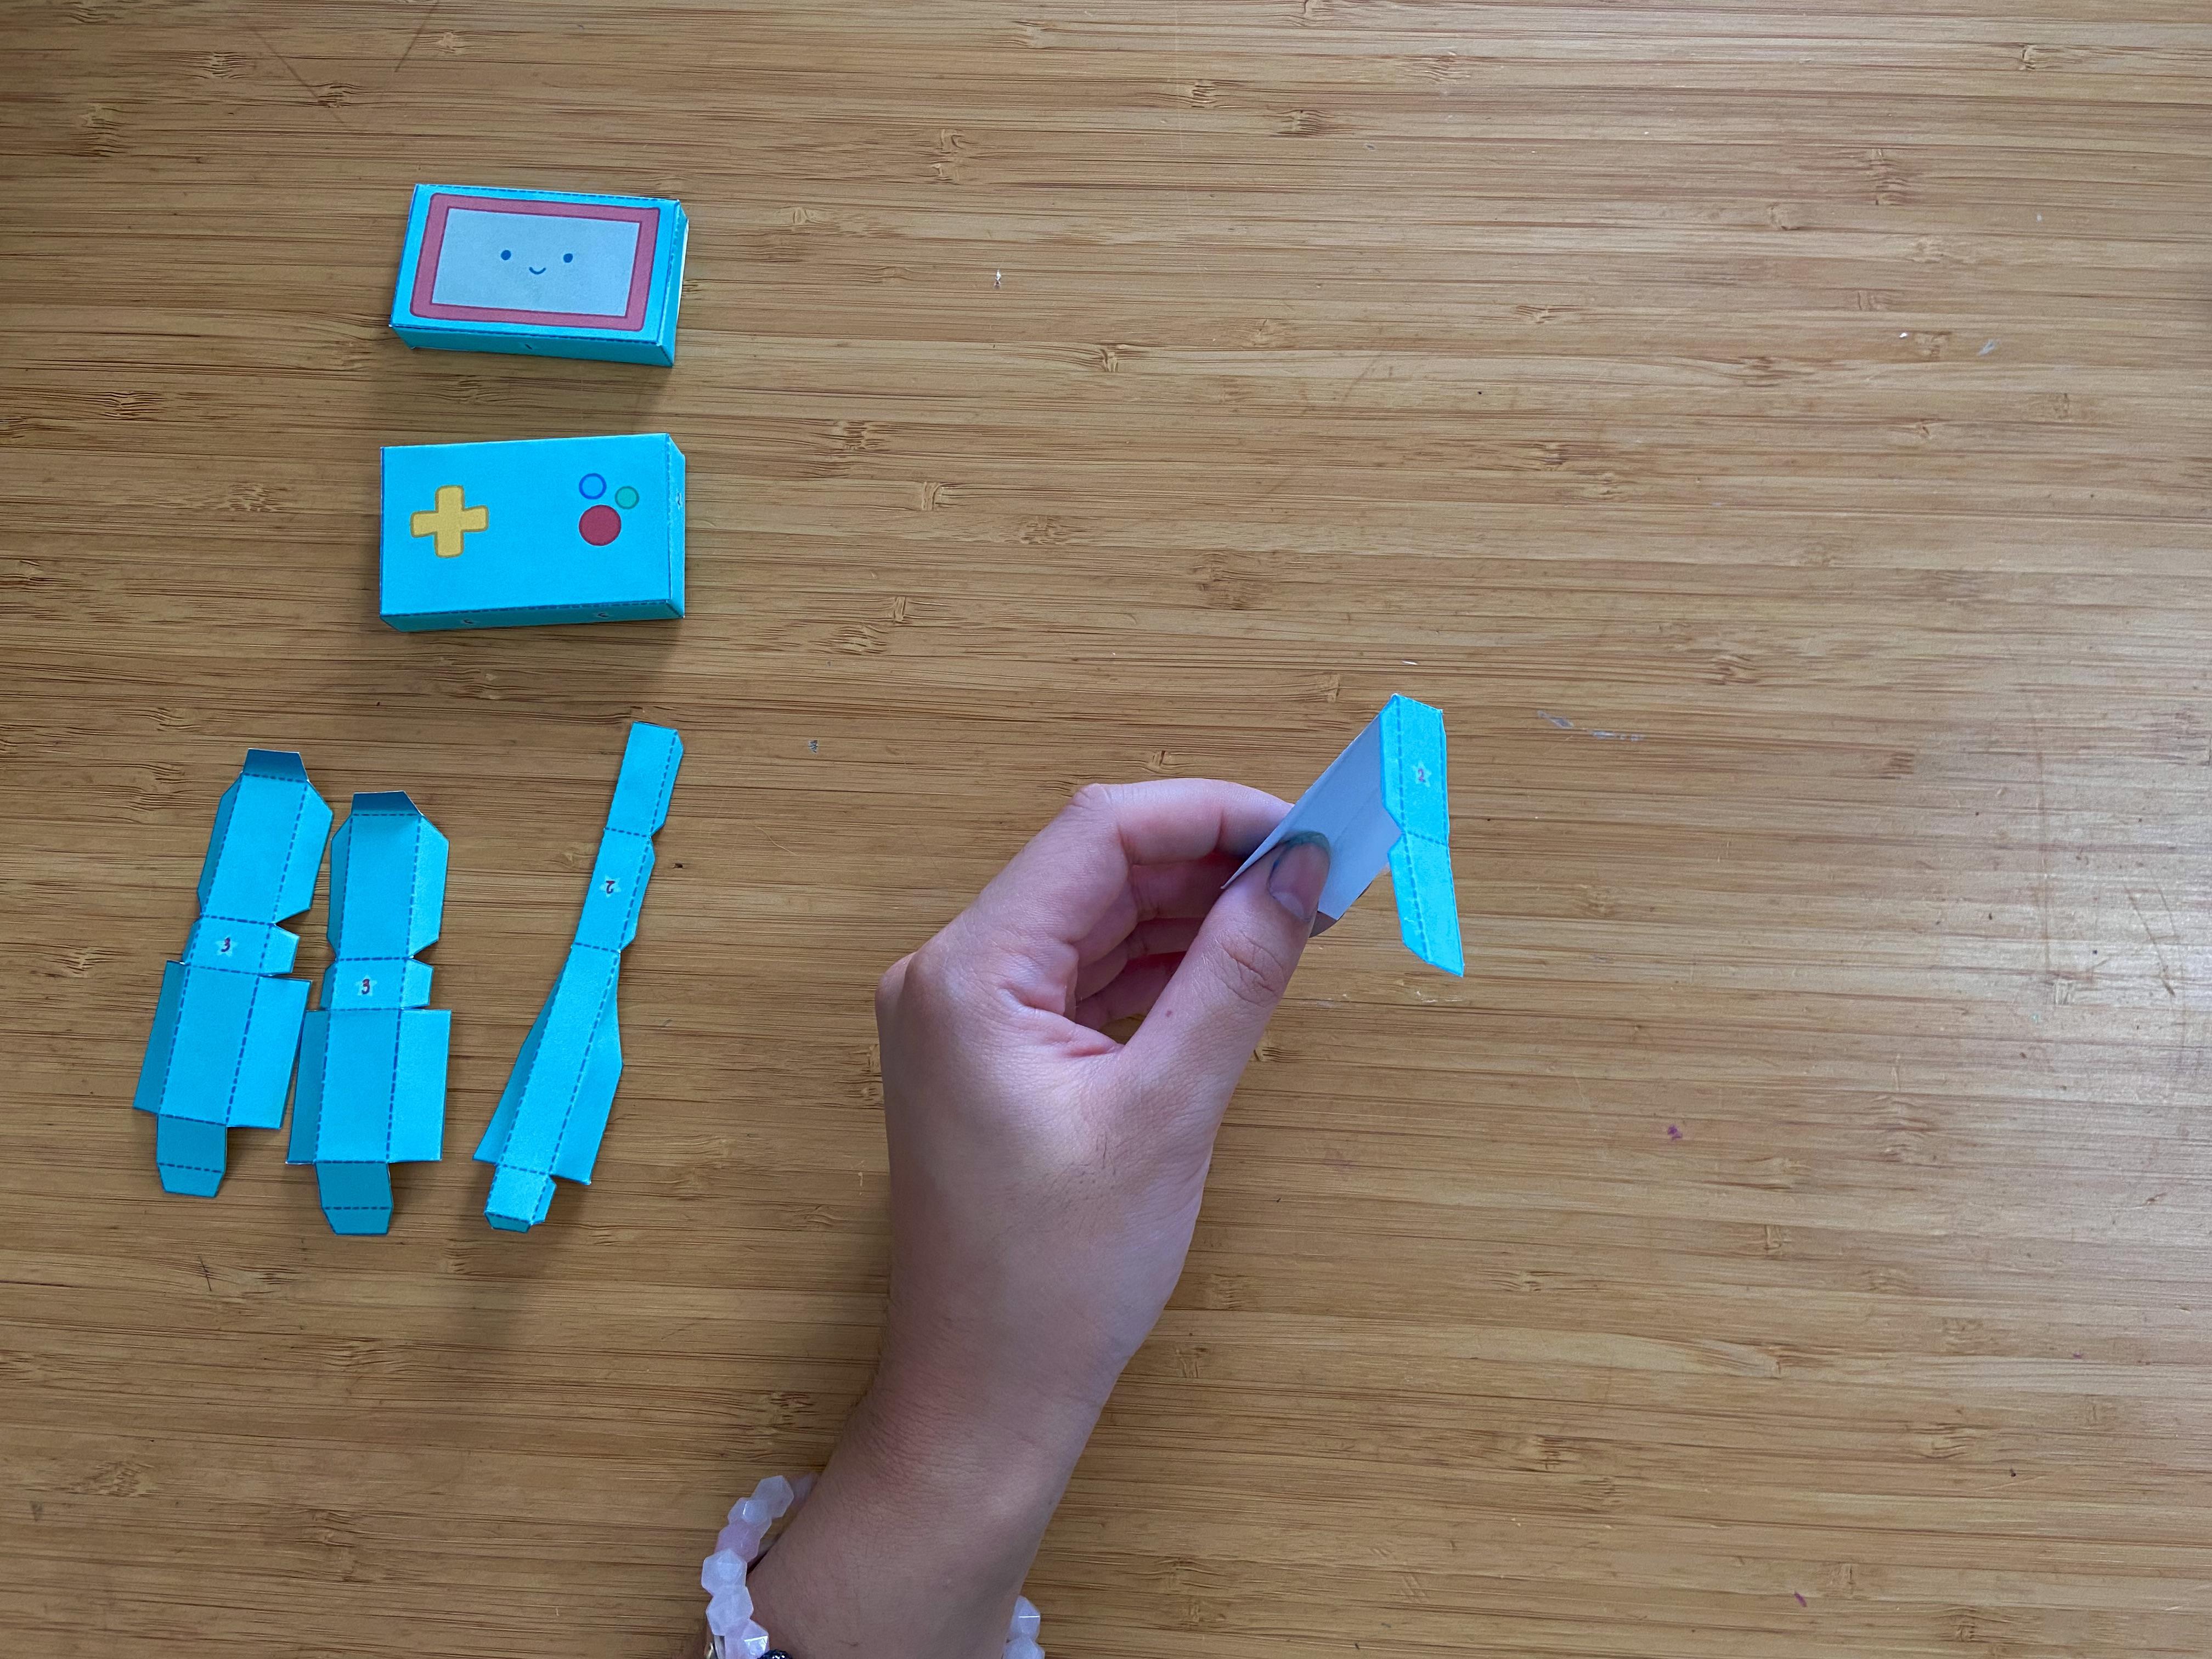
There will be six pieces: a head, body, two arms, and two legs. Cut along the outside lines of the pieces avoid cutting any dotted lines.
Folding
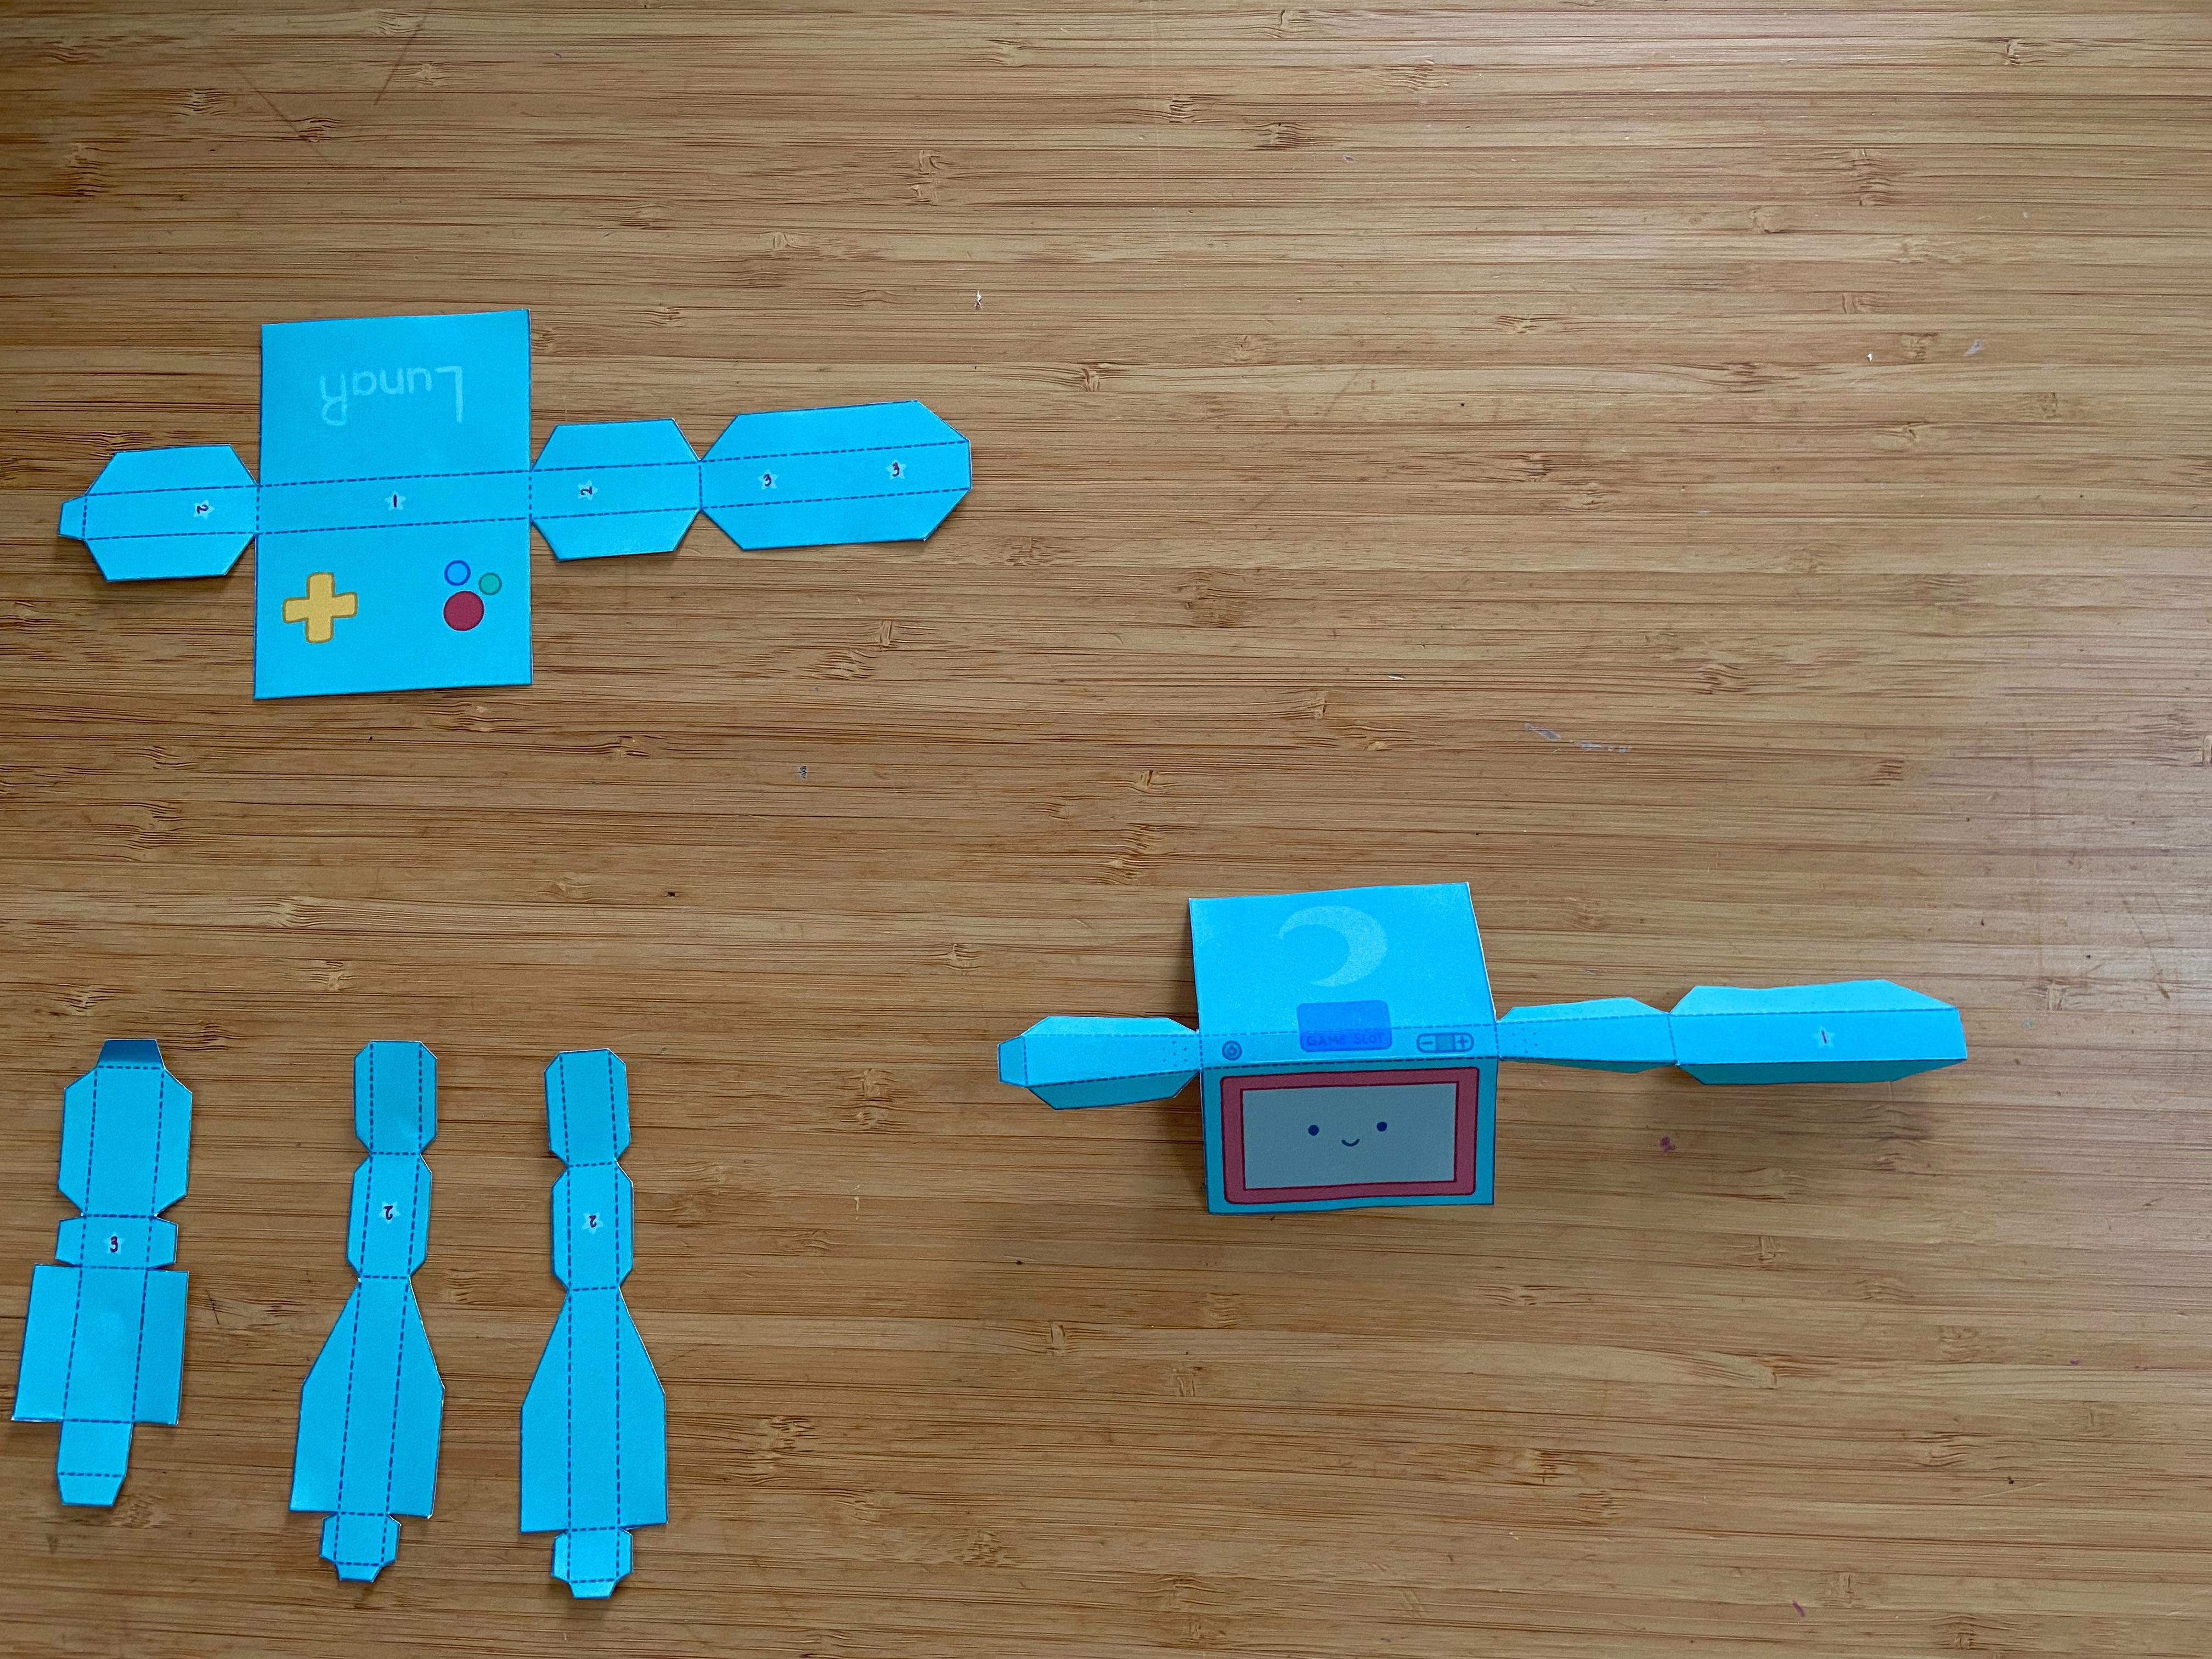
All flaps will be folded along the dotted line. Start folding from the outside of the piece and work towards the middle. Fold all flaps inward (towards the side with no template) except the darker flap for the legs, which will be folded outward (towards template).
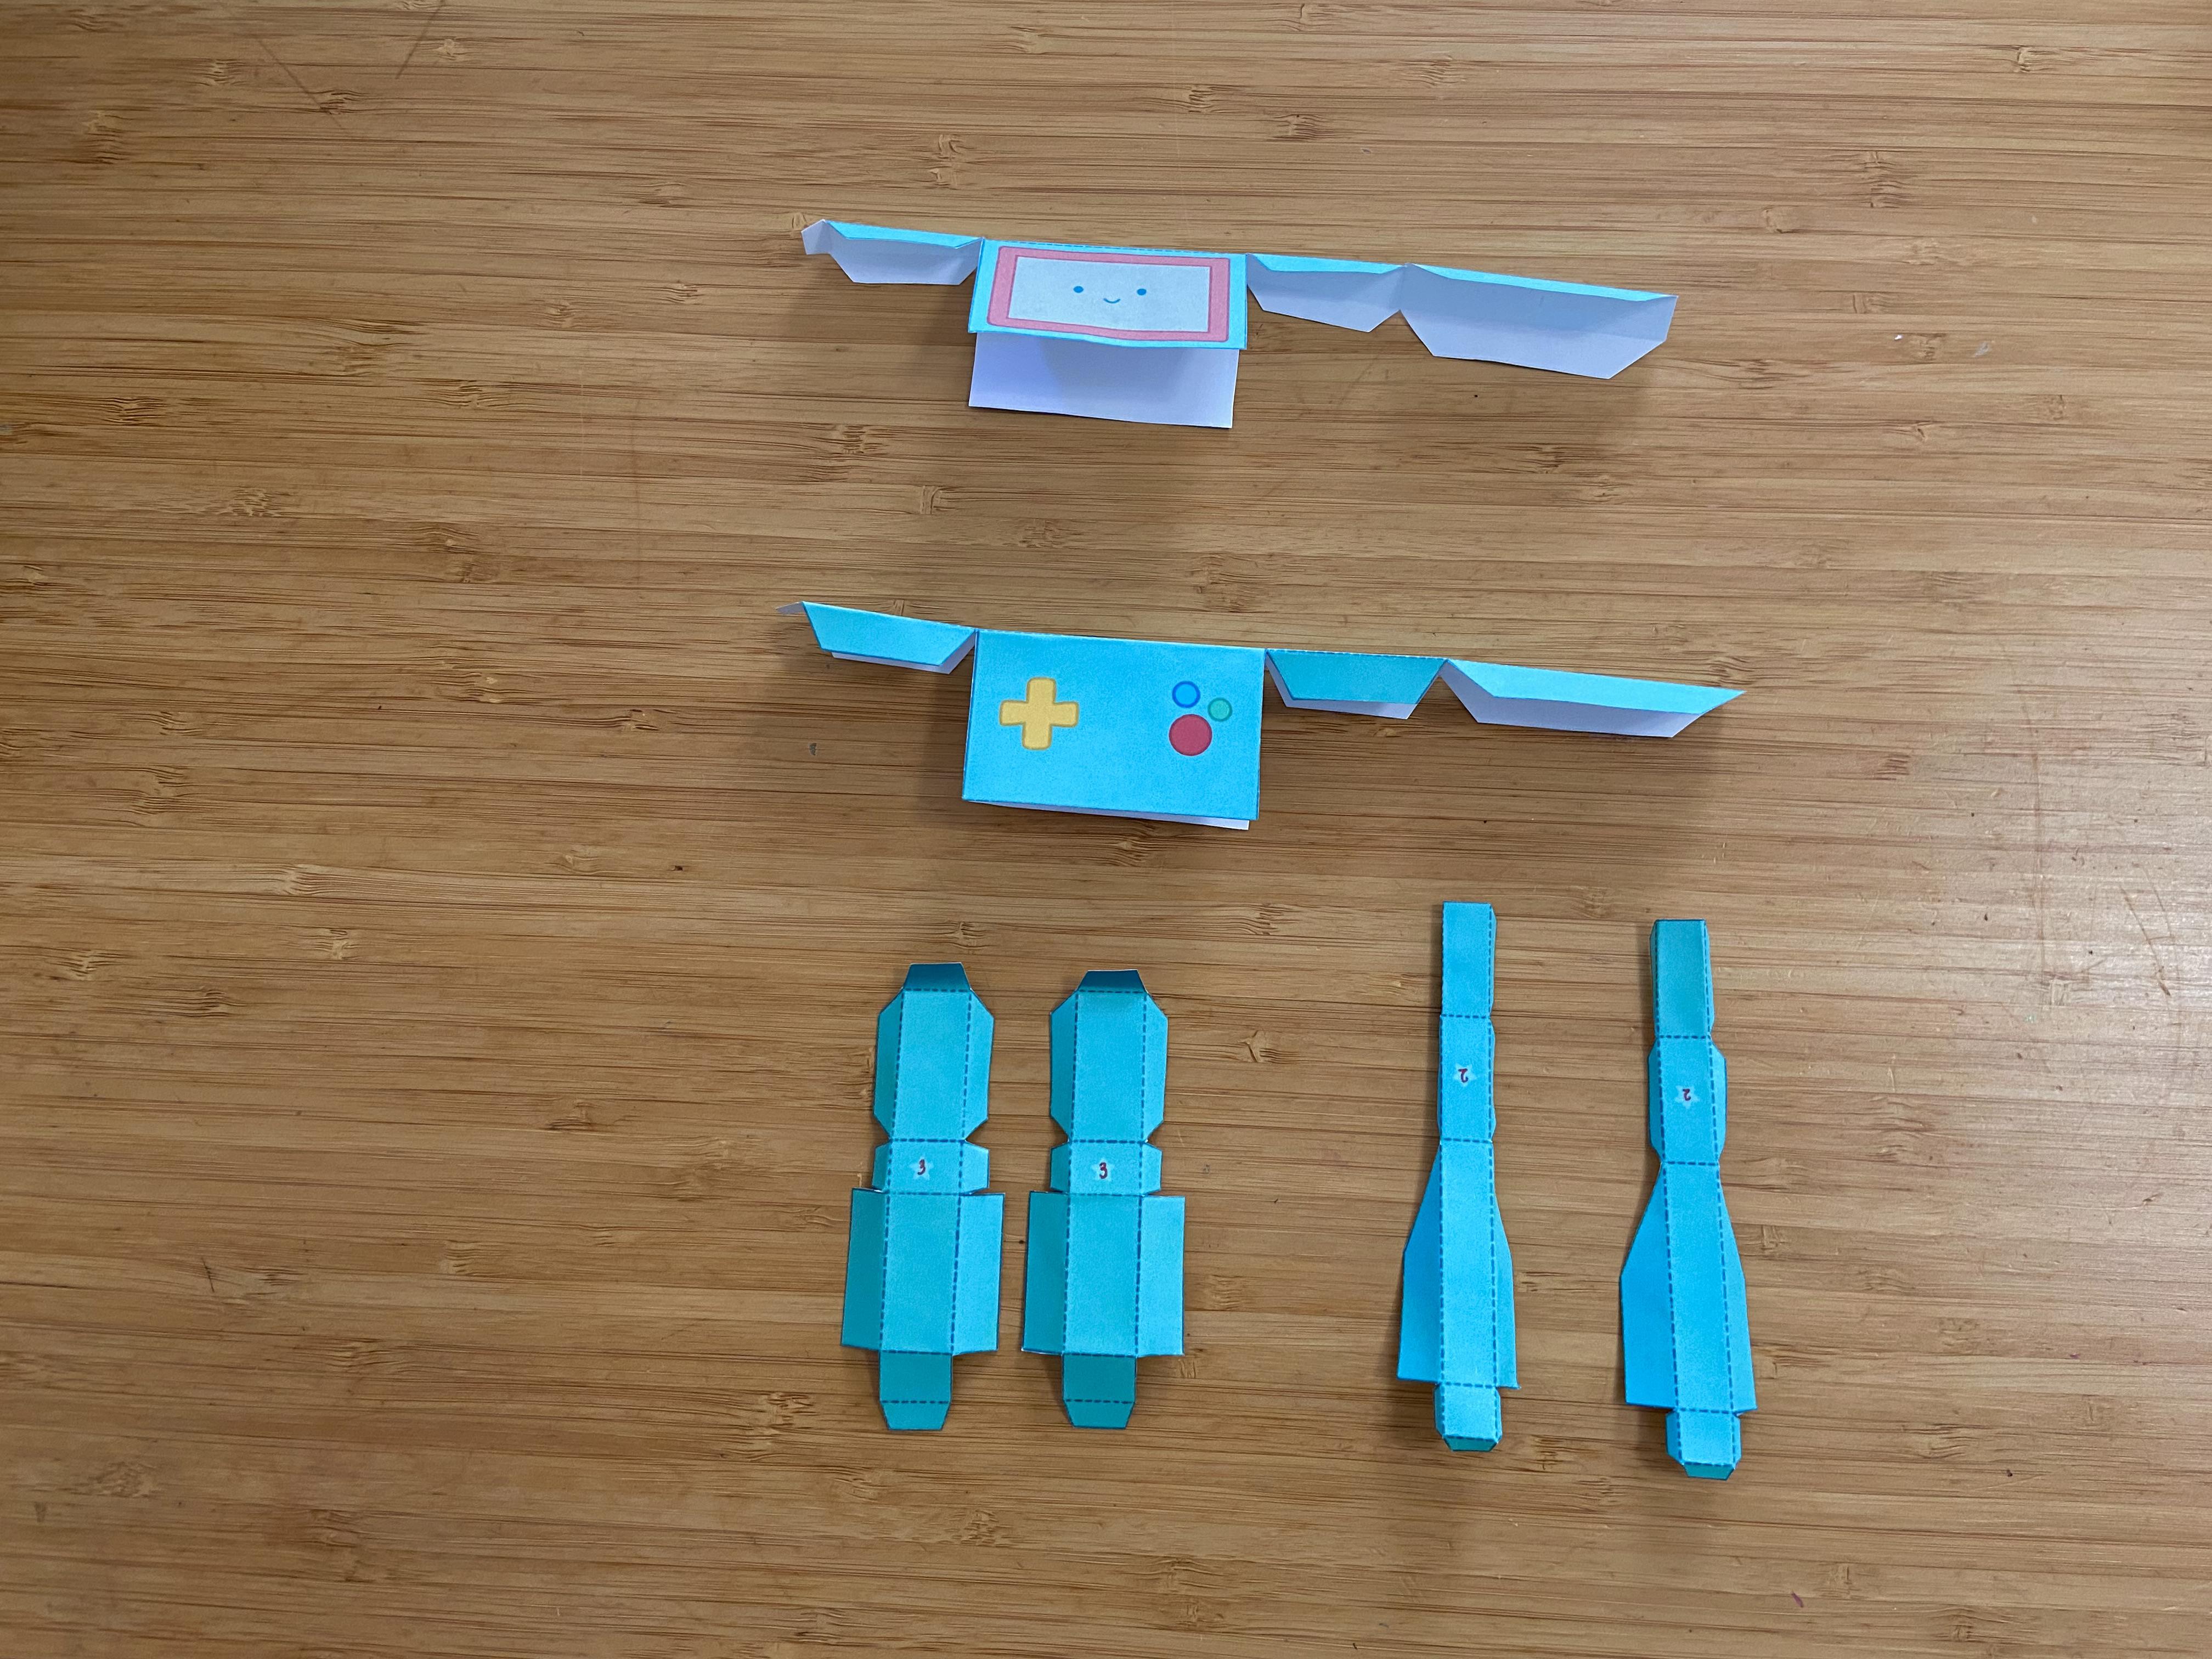
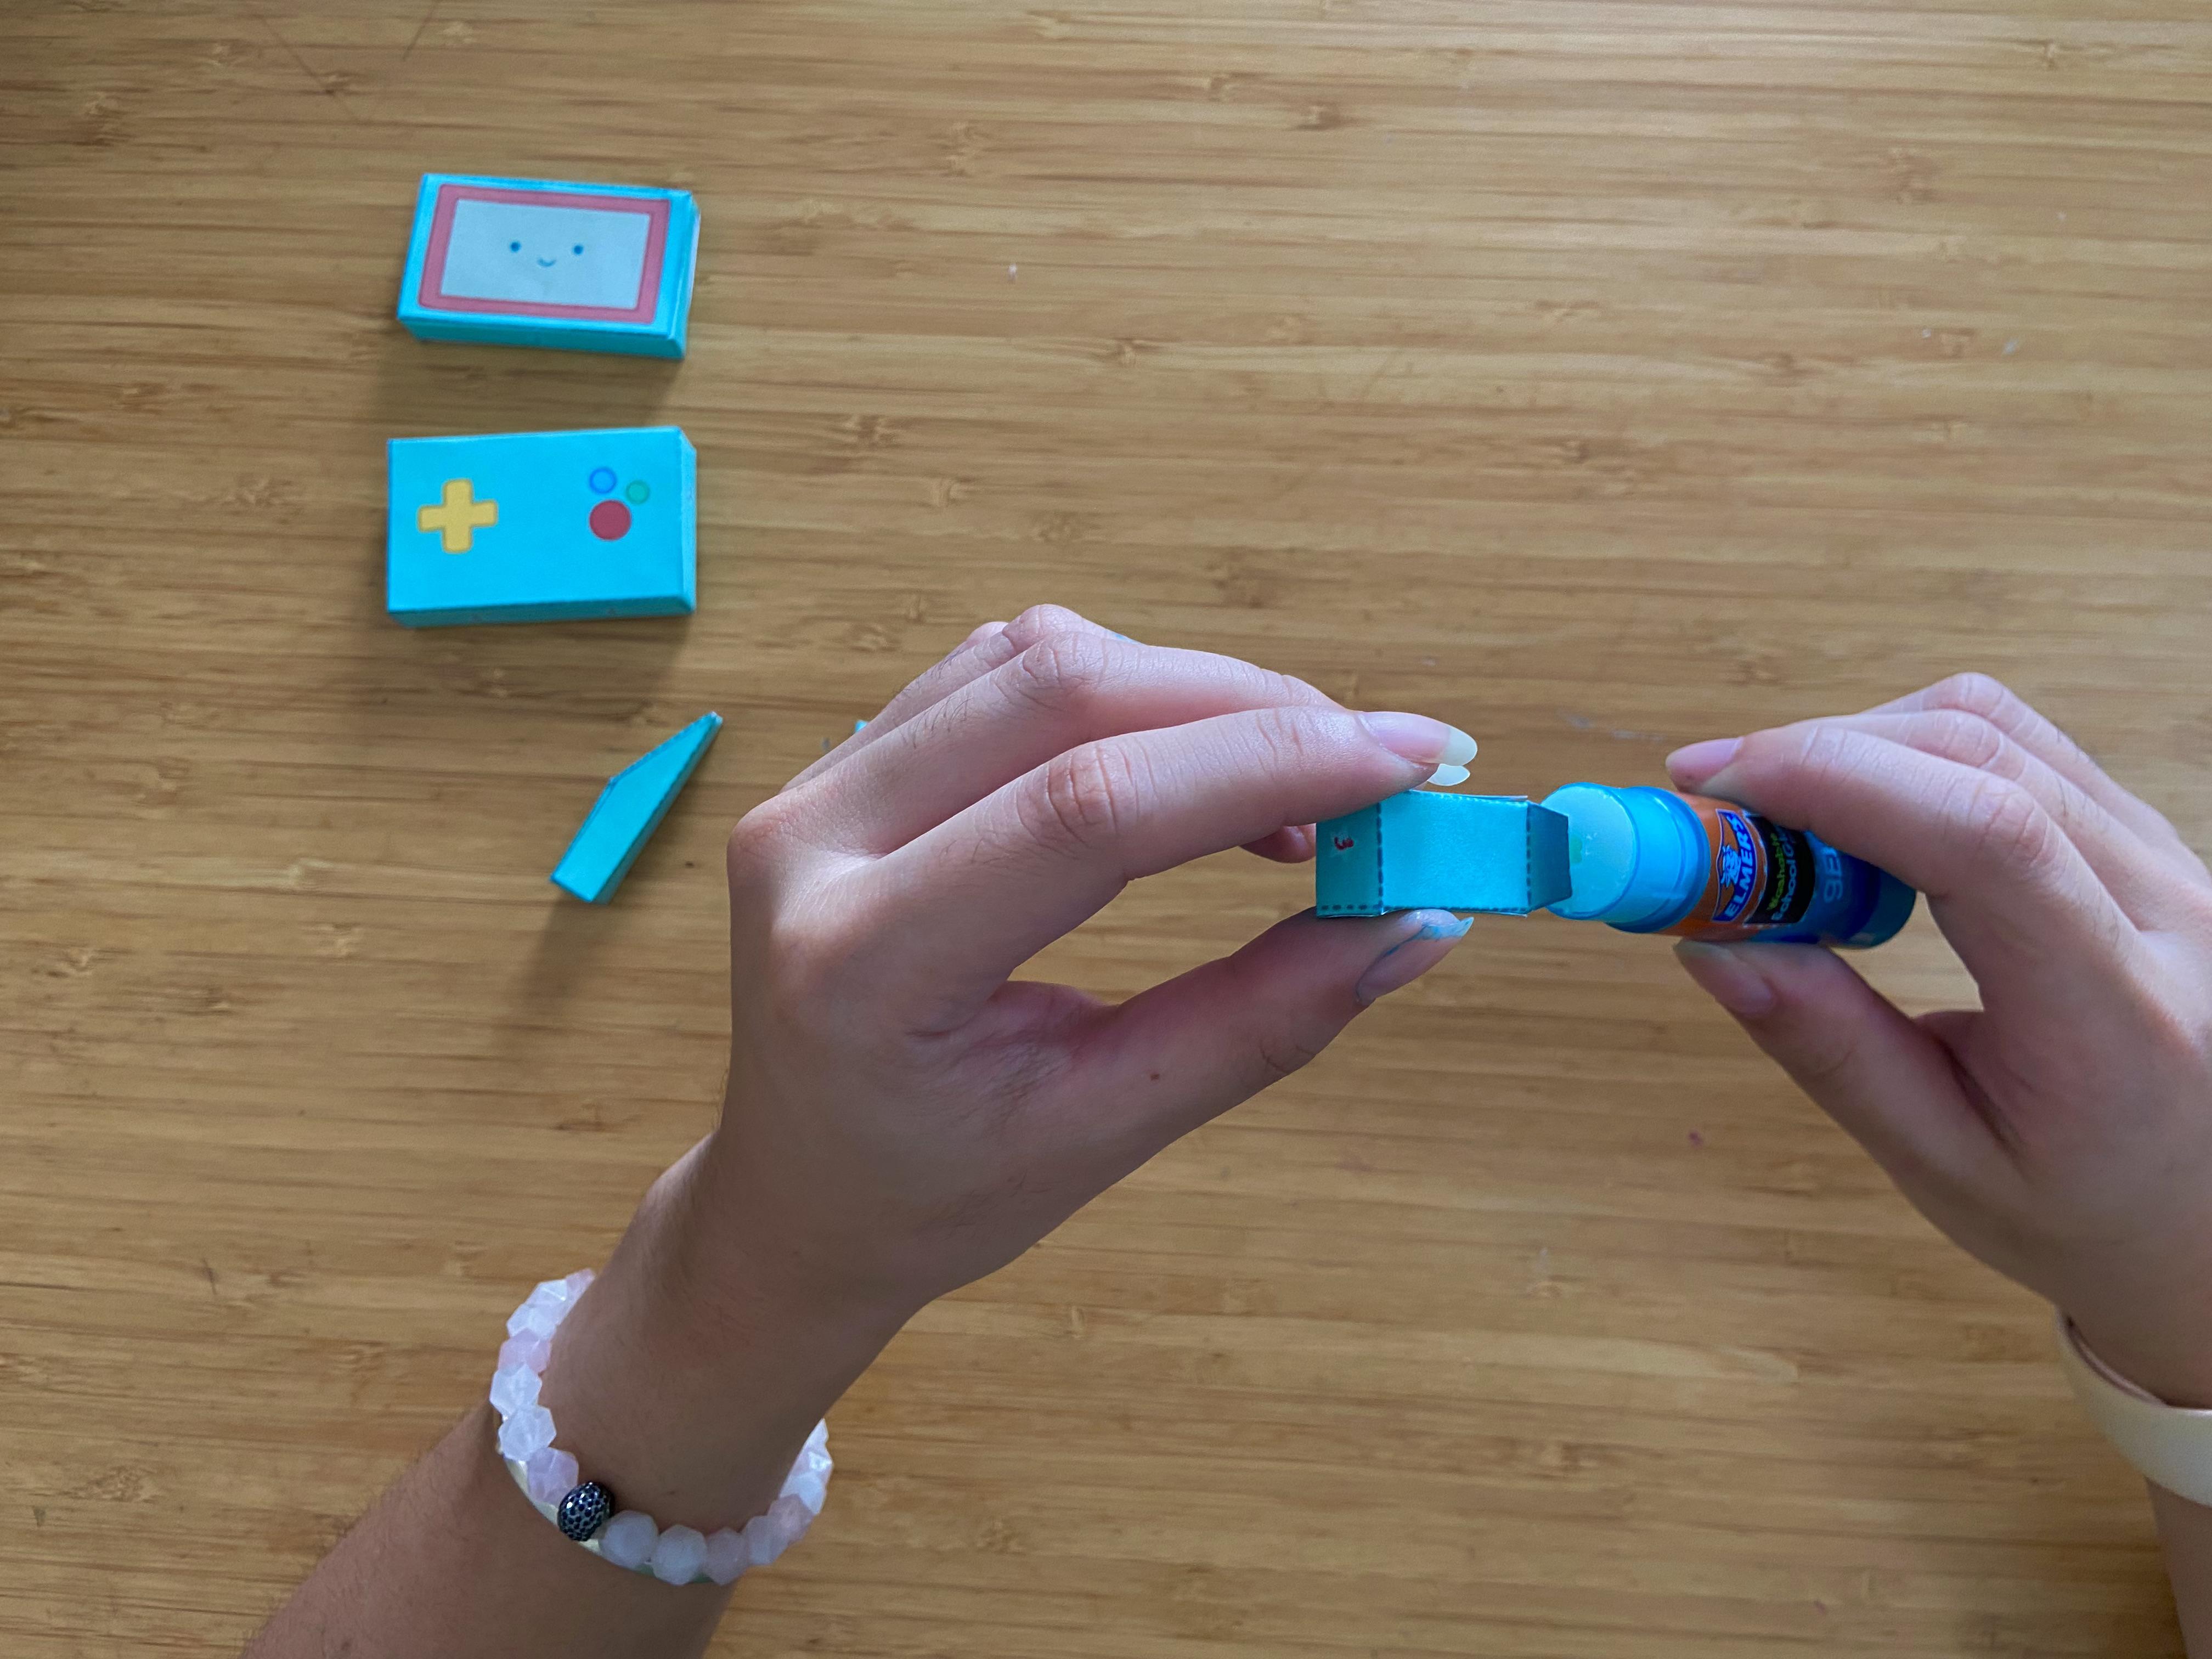
Creating the Head and Body
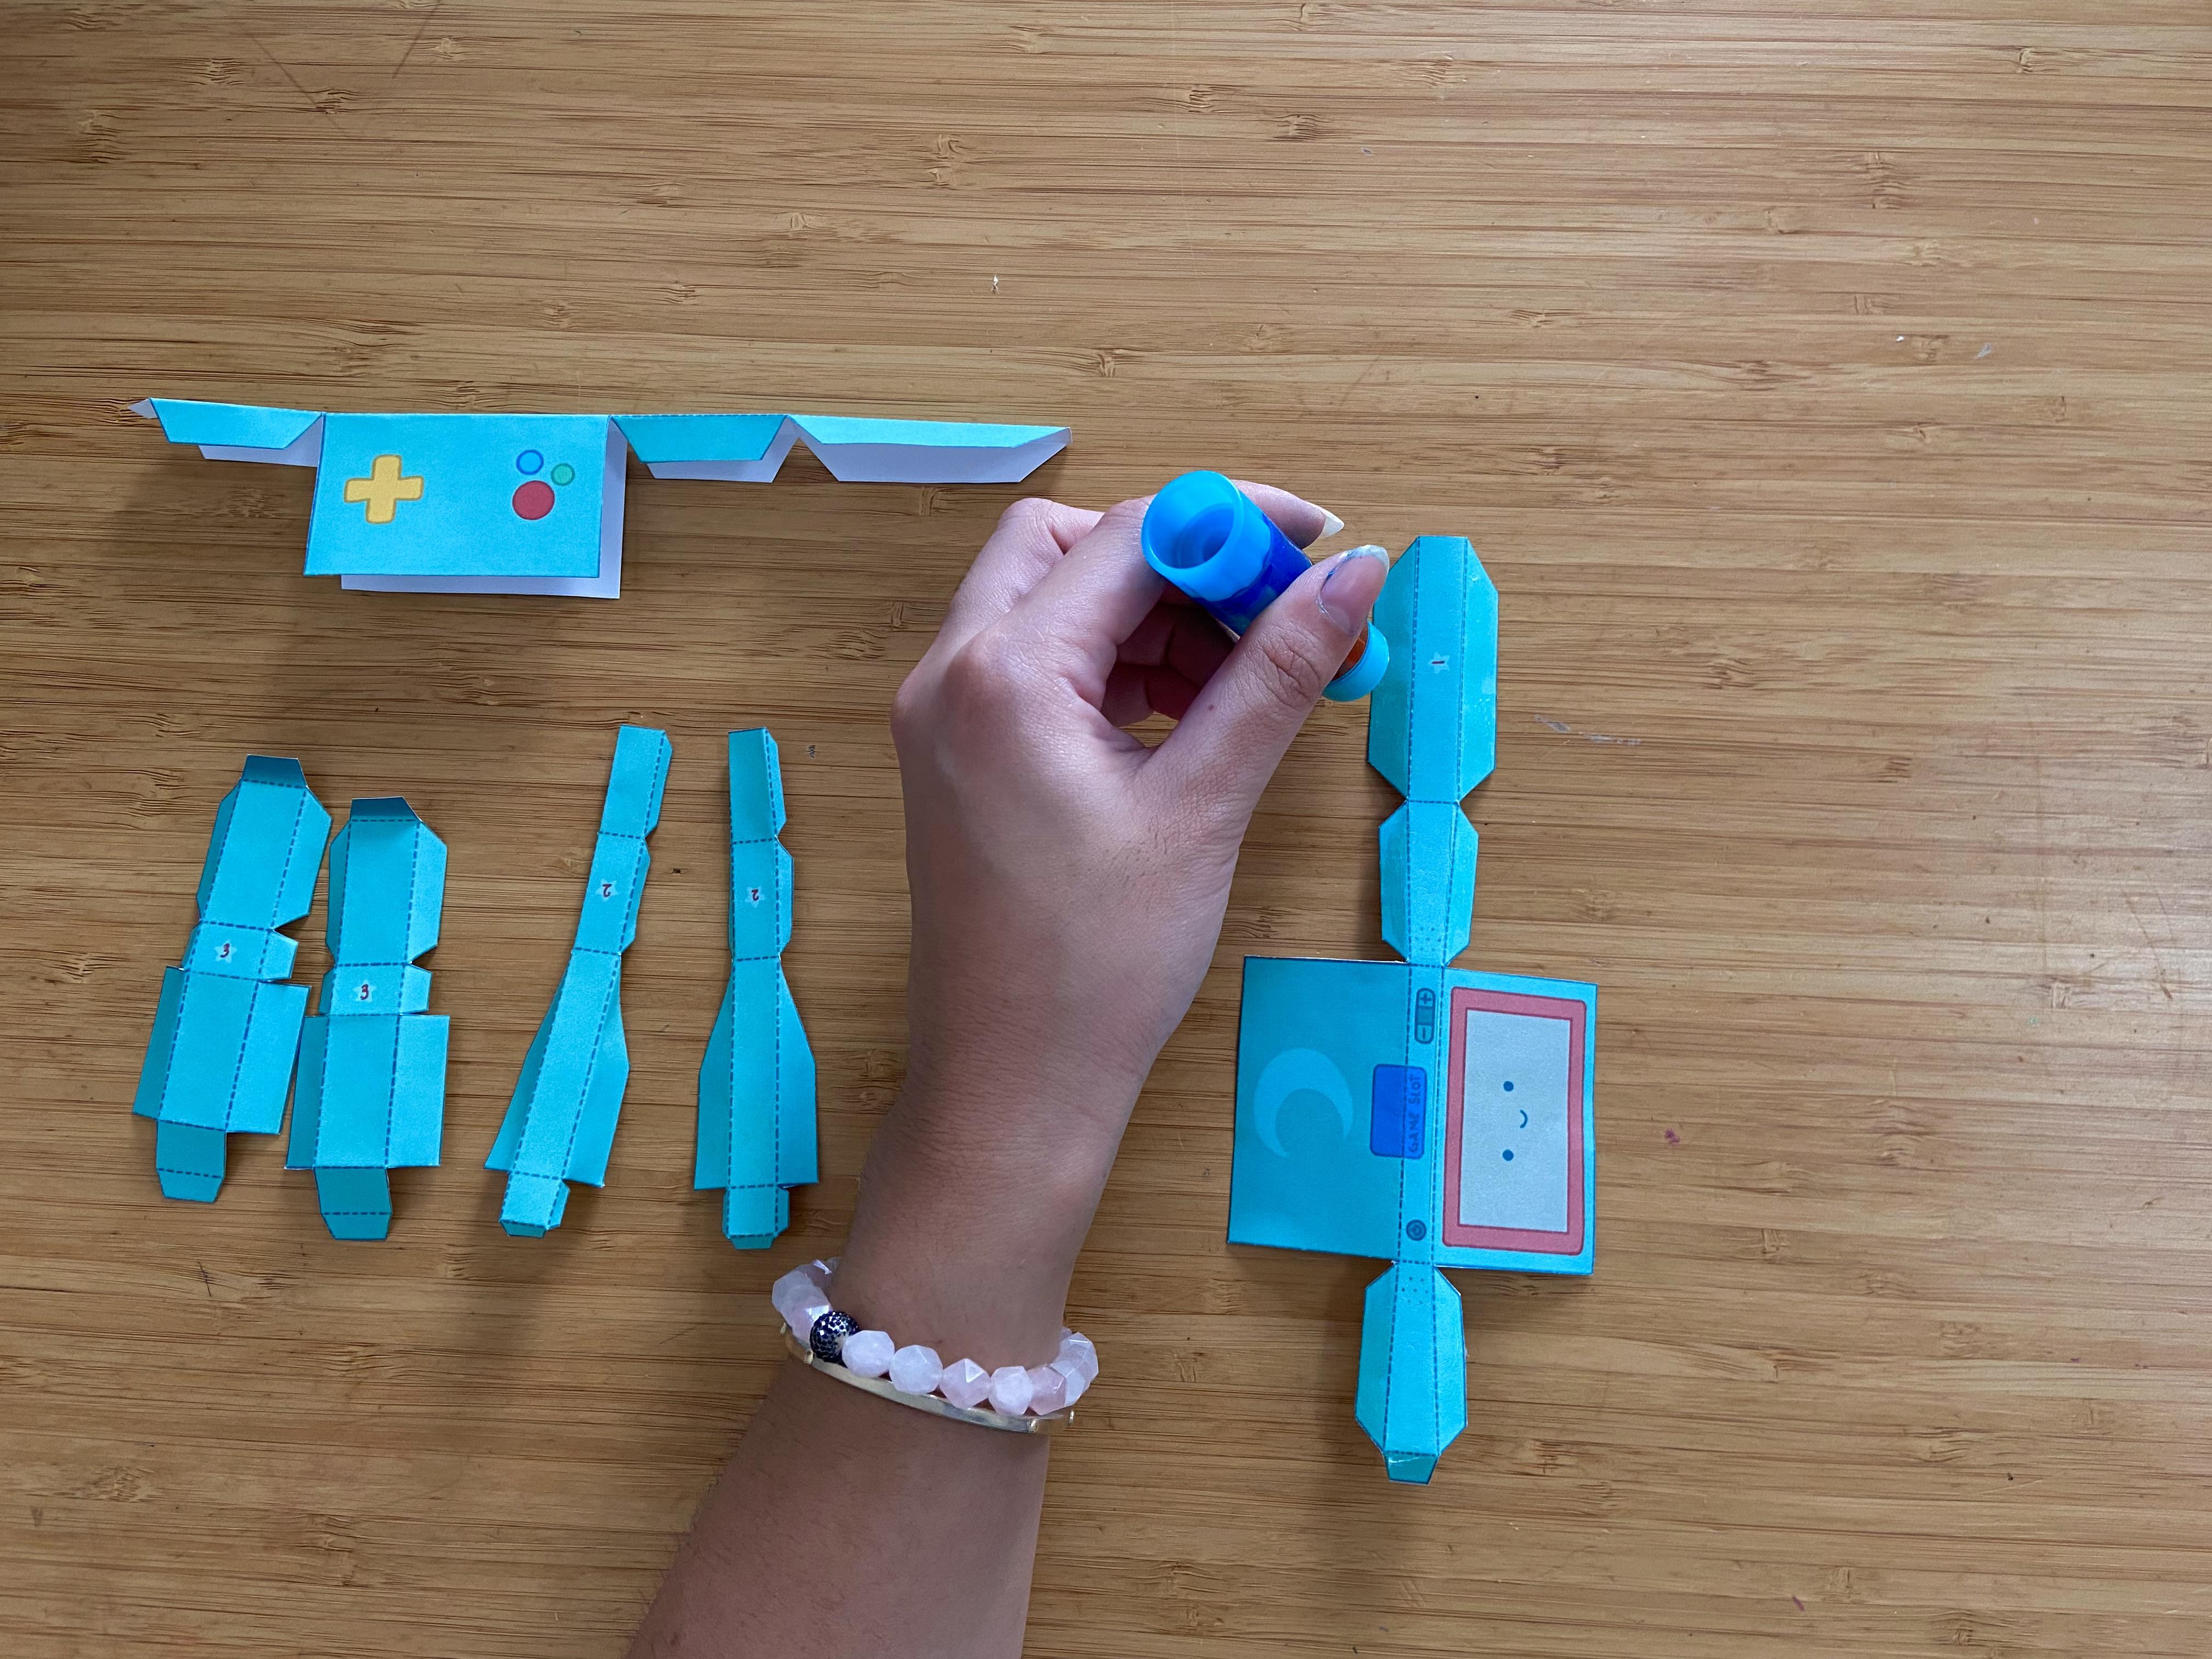


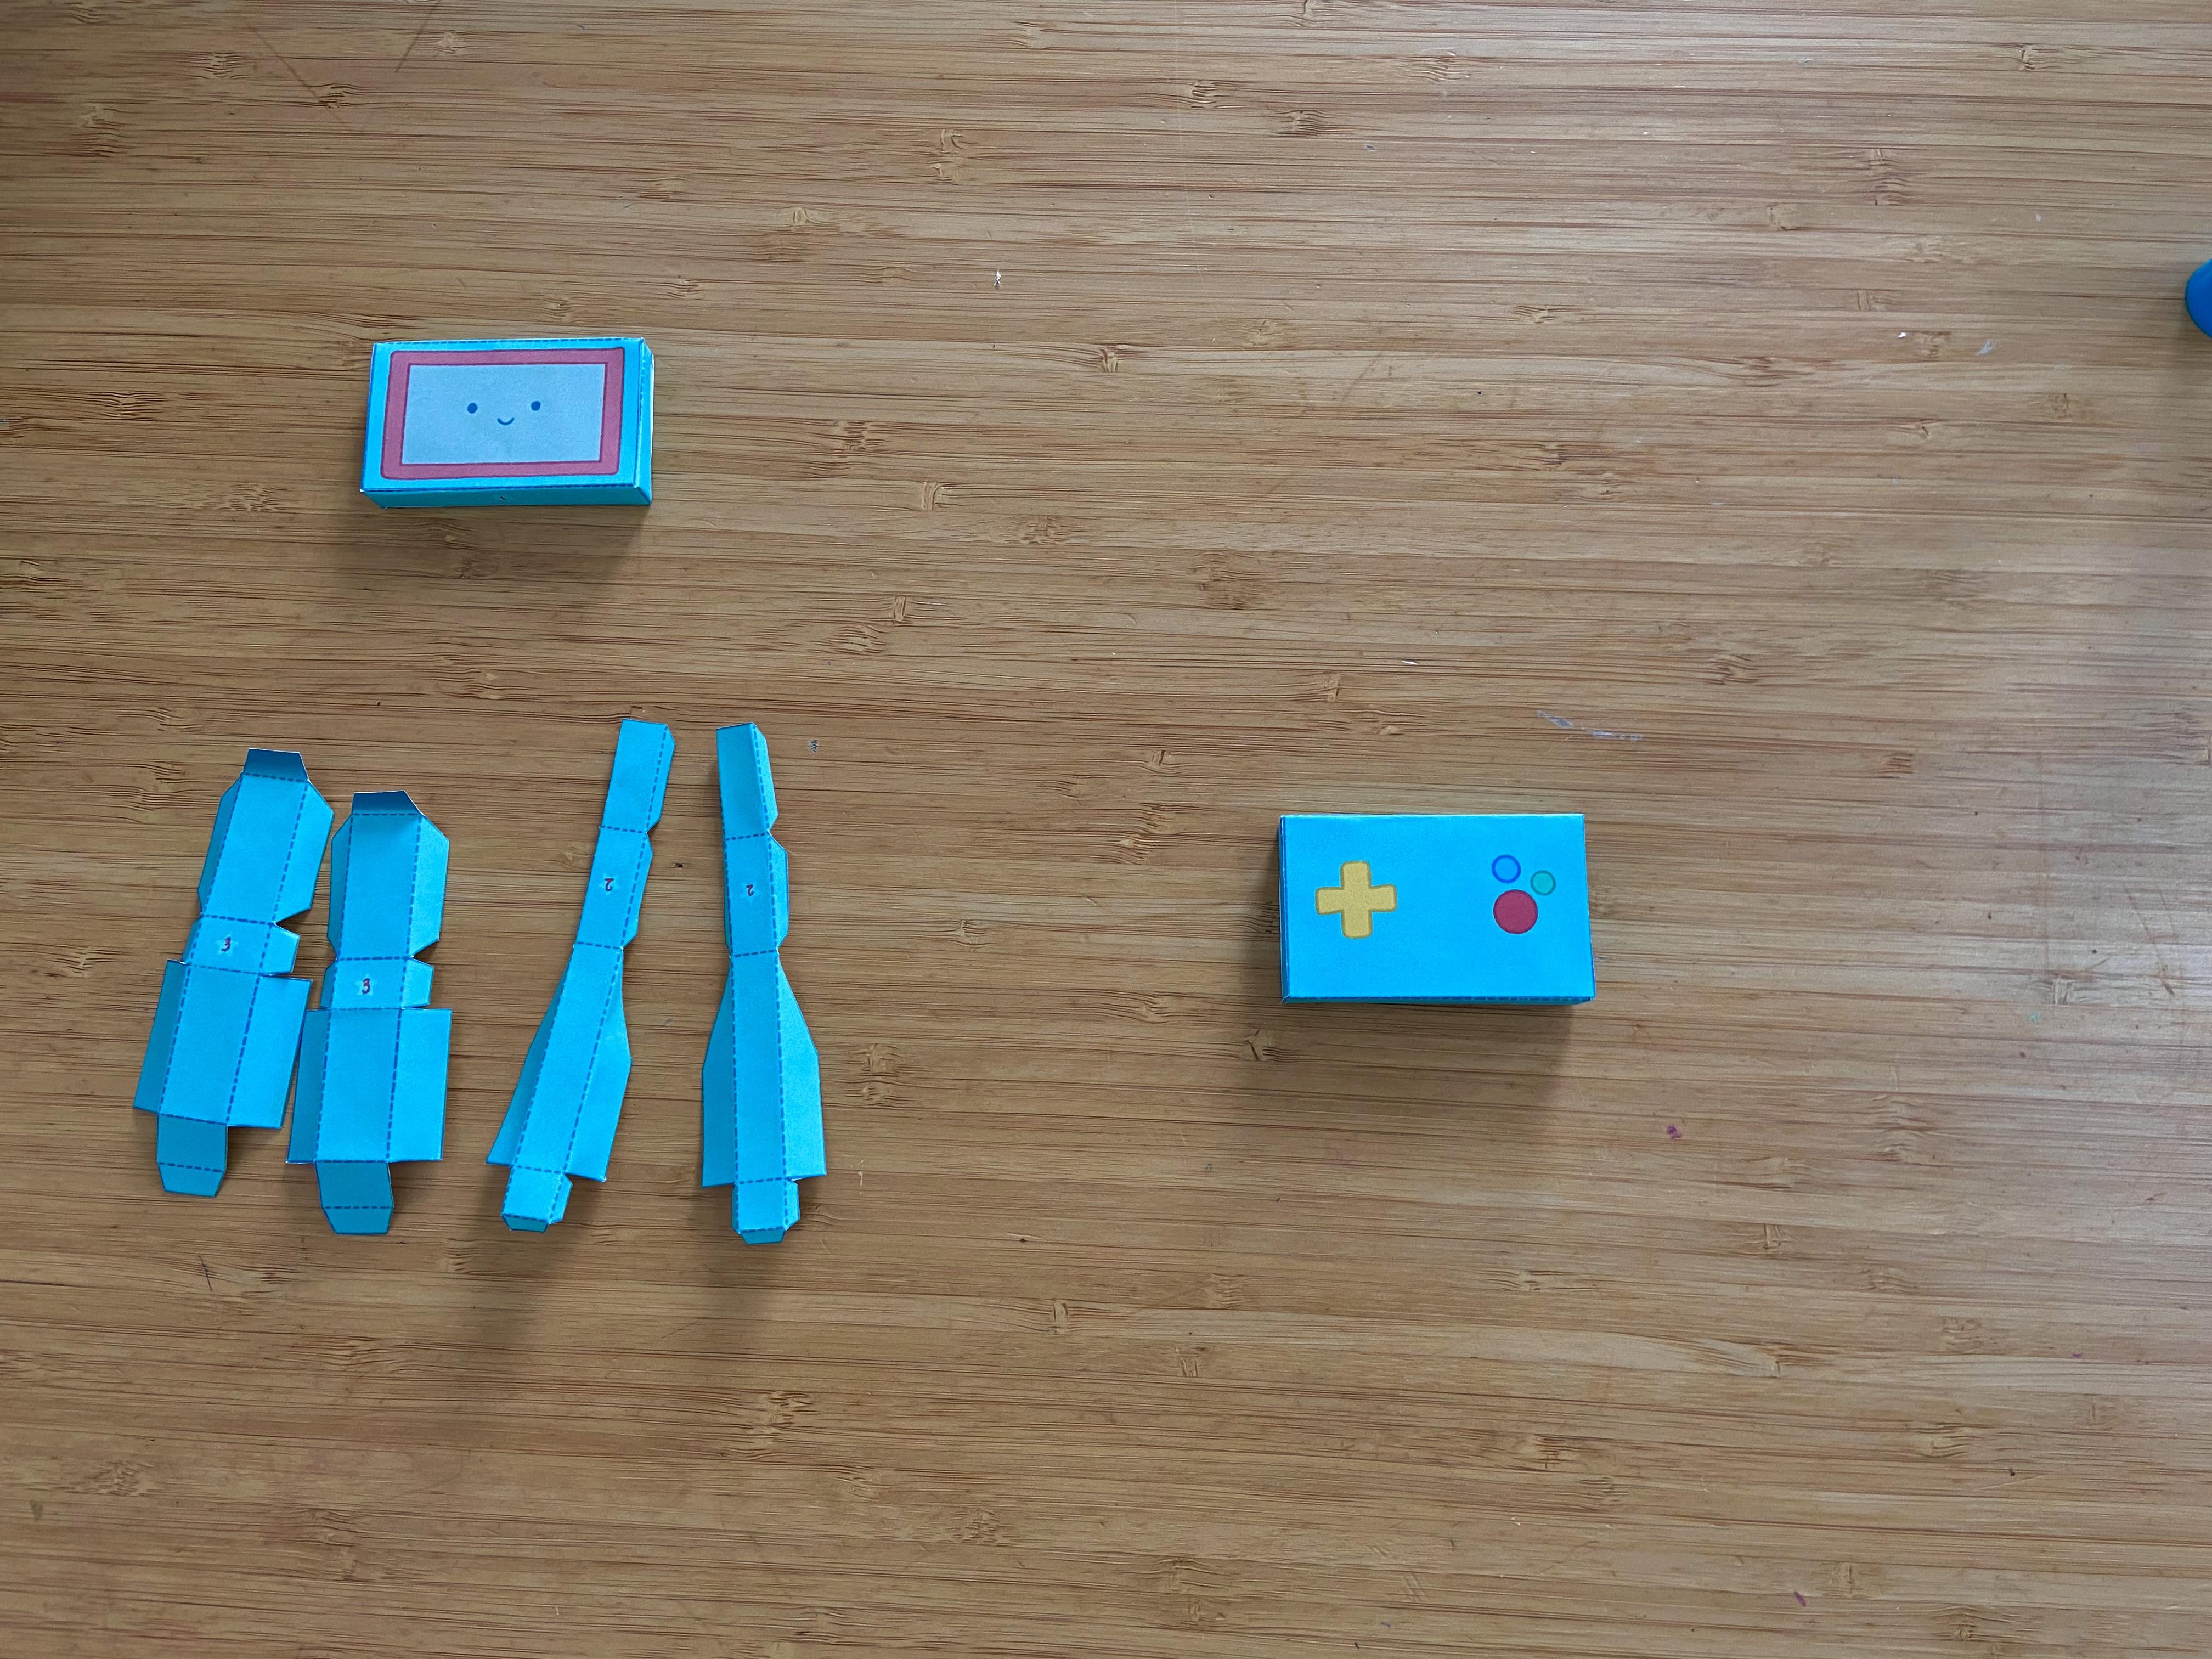
Starting with the head, apply glue to the flaps with orange dots. Fold the piece along the dotted line and connect the pieces. The same process will be done to the body. There should be no visible flaps with orange dots.
Creating the Arms


Apply glue to the flaps with orange dots. Fold the piece in half along the dotted line and connect the pieces. There should be no visible flaps with orange dots.
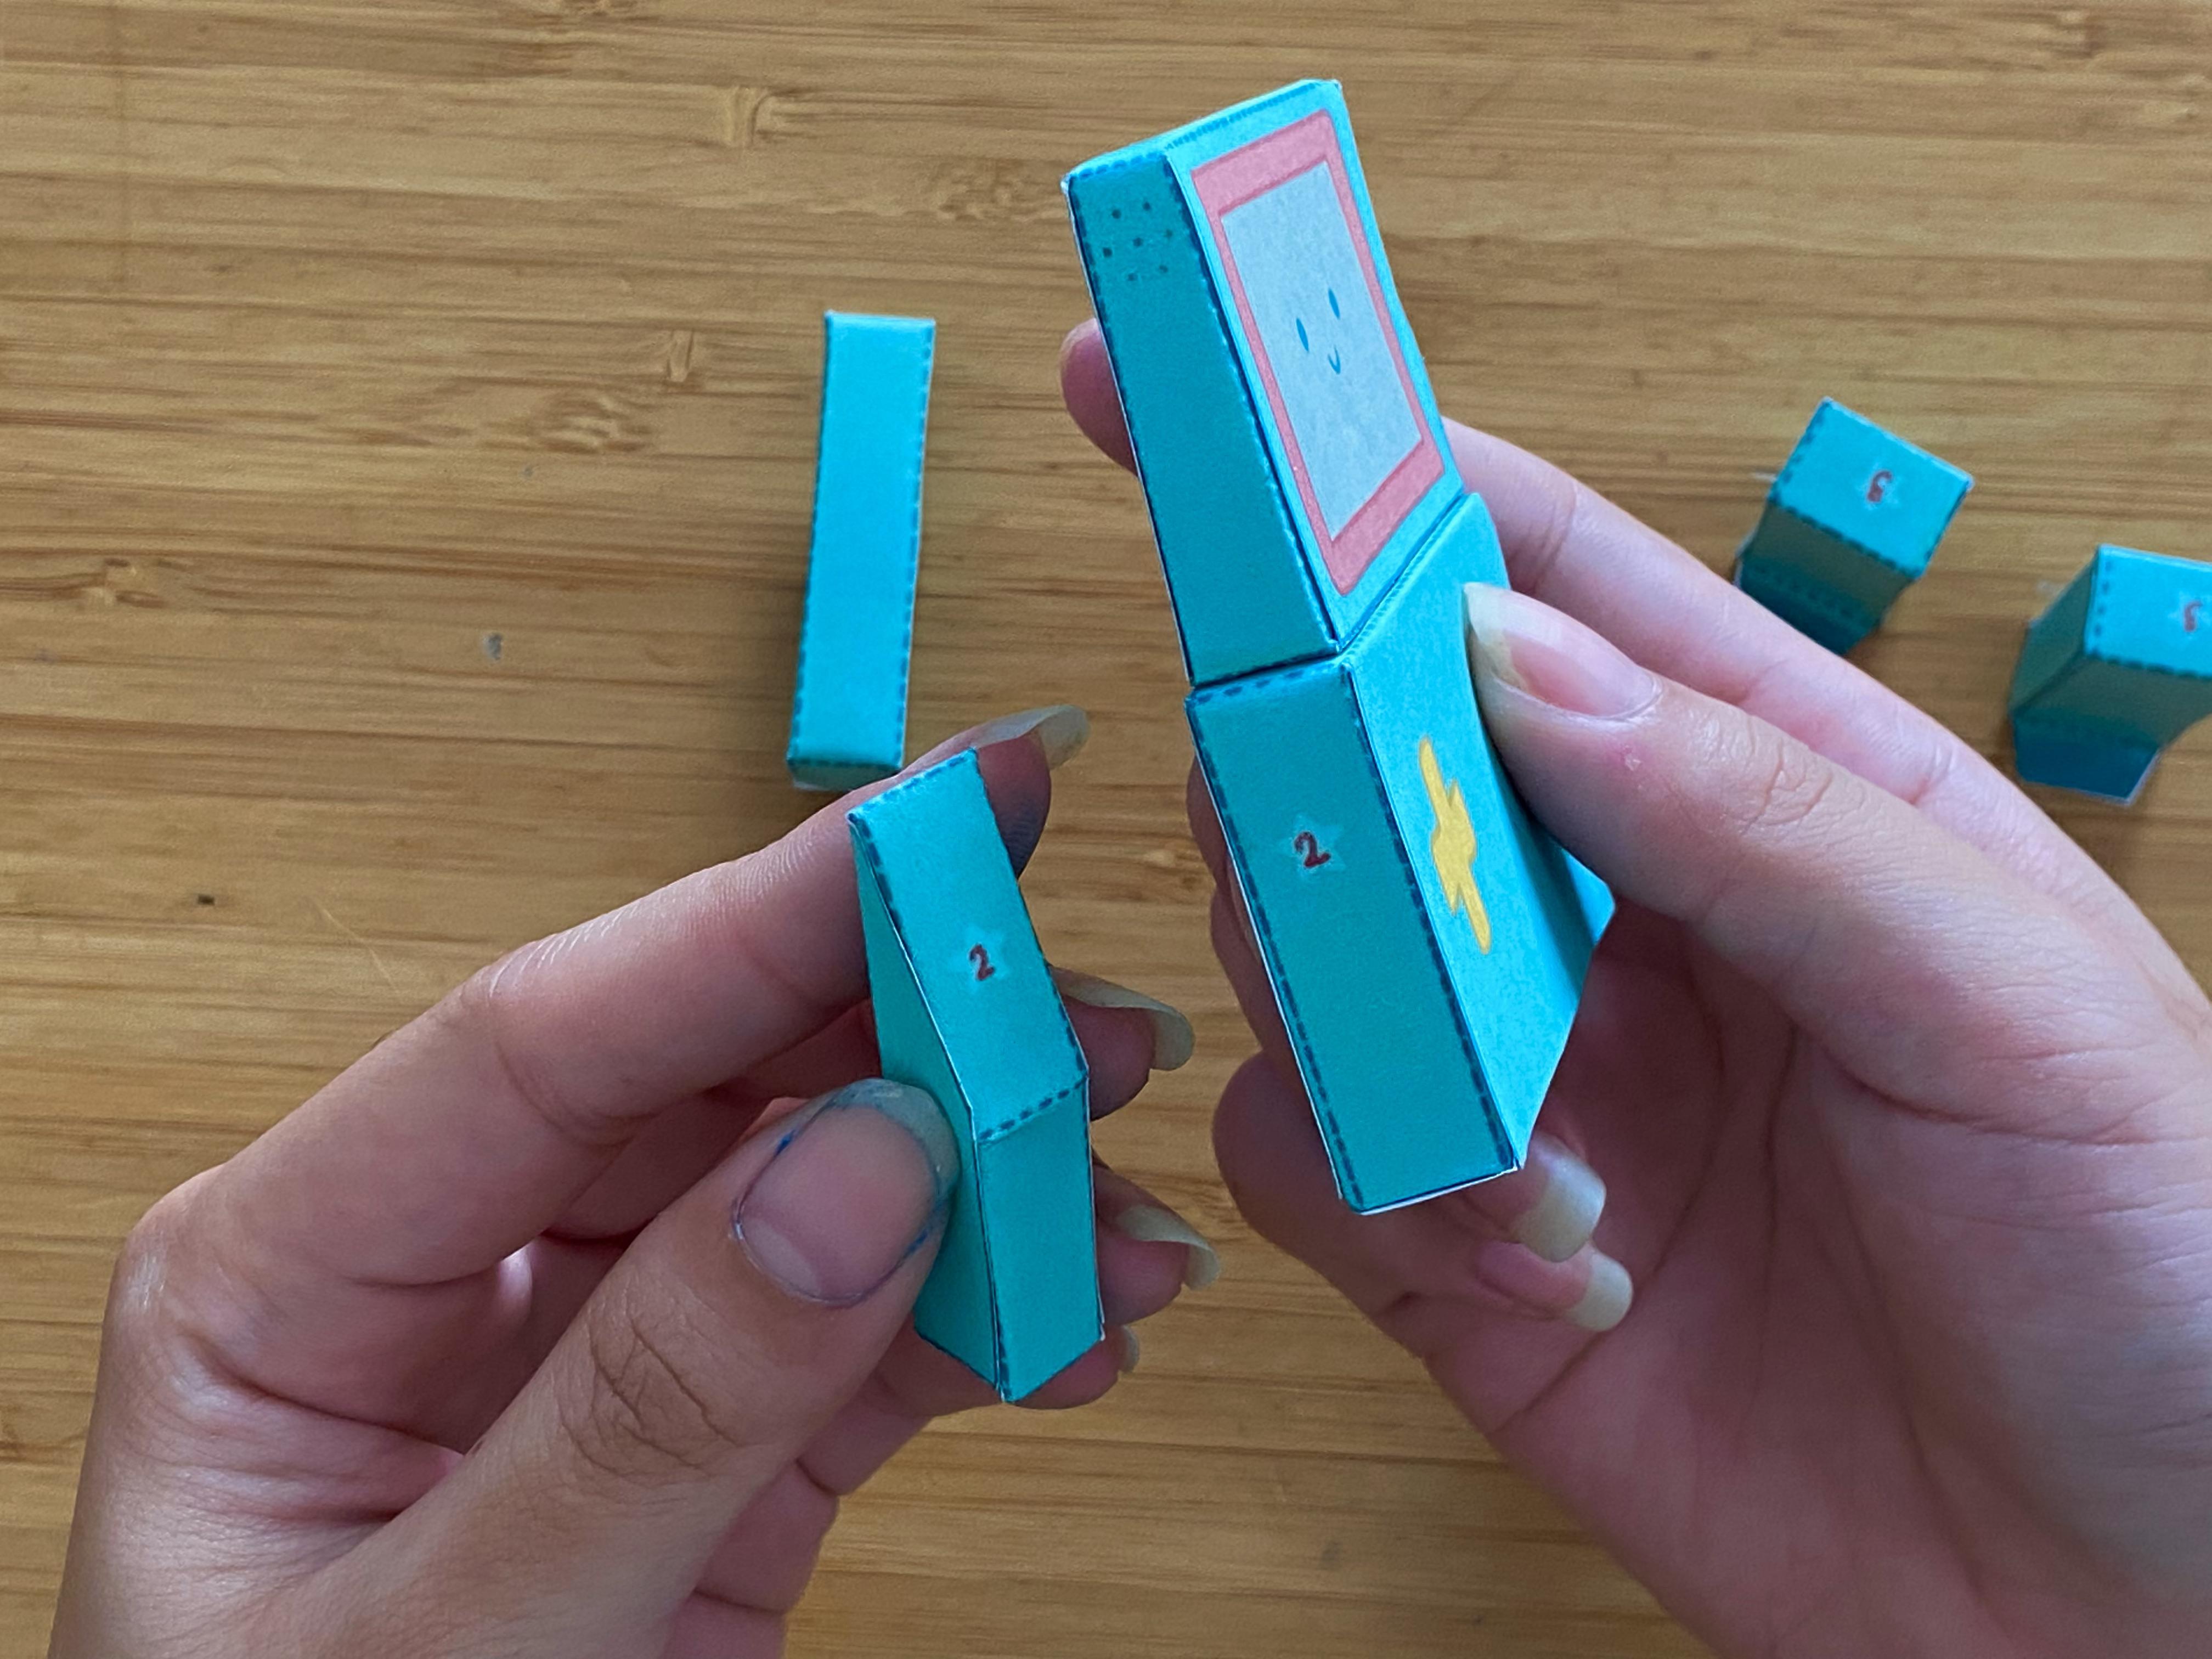
Creating the Legs


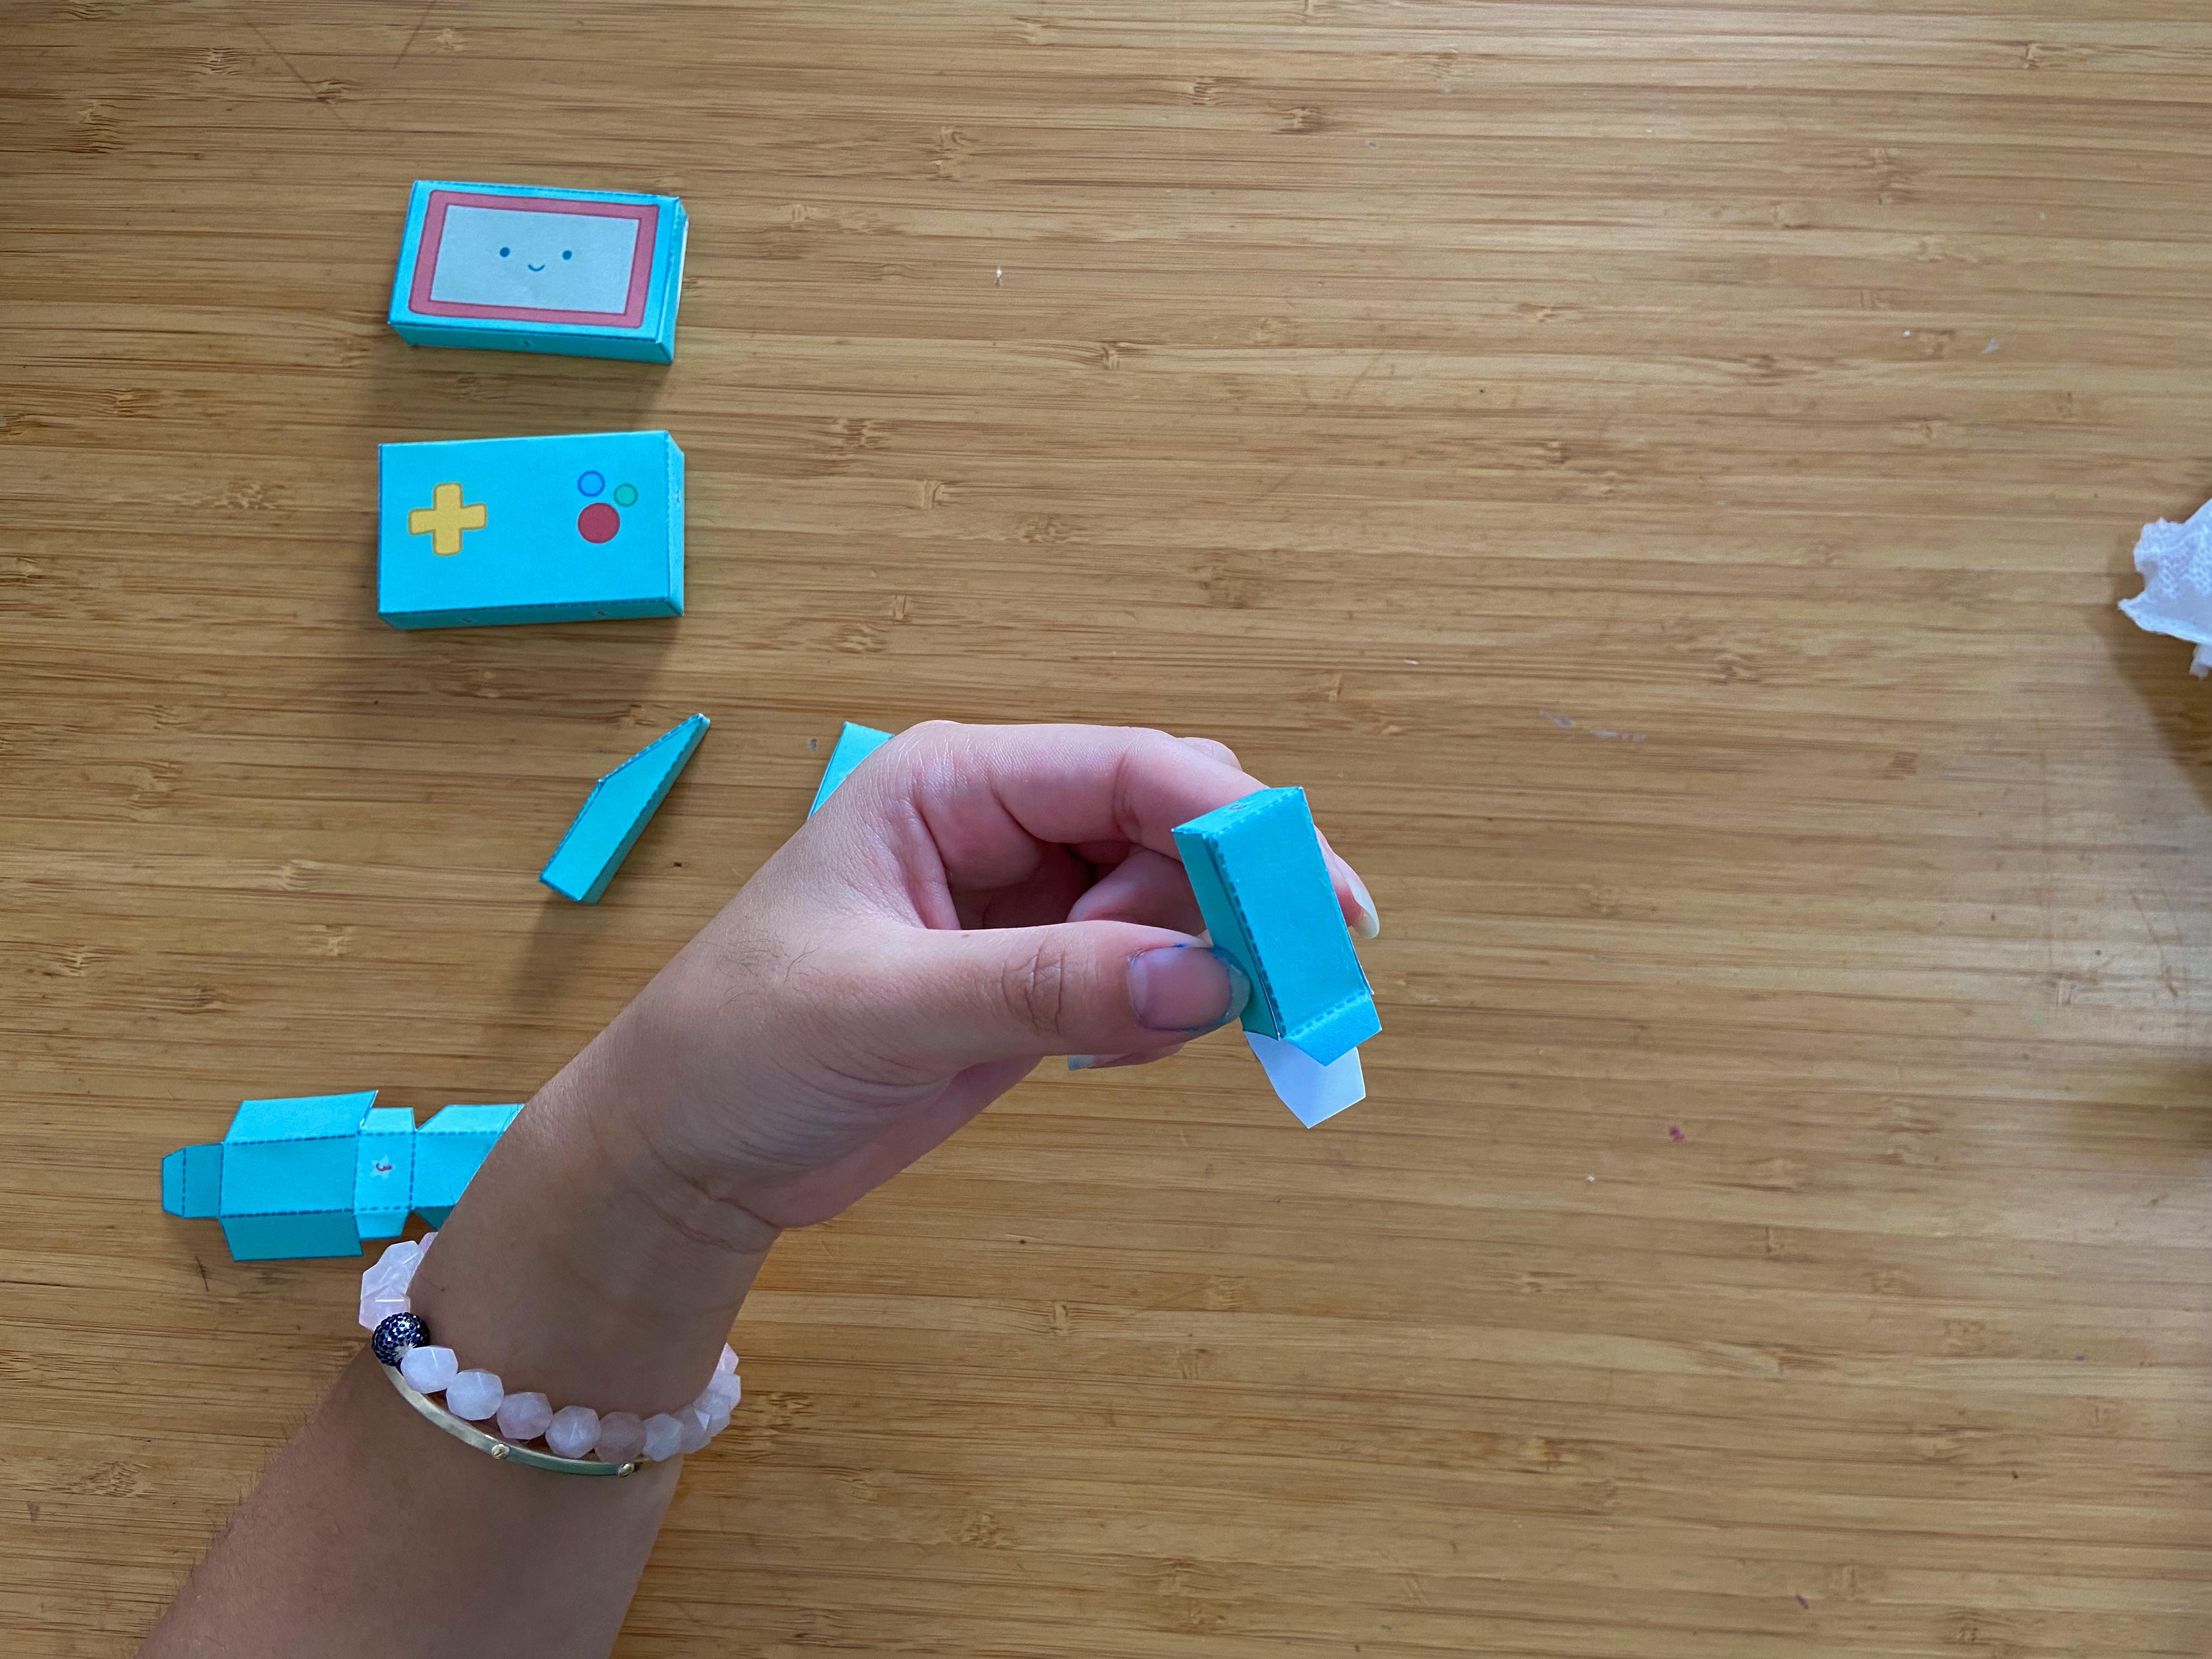

Apply glue to the flaps with orange dots. Fold the piece along the dotted lines so that the "3" is on the top. Connect the pieces. There should be no visible flaps with orange dots. Apply glue under the dark flap and connect it wrong-sides with the flap with an "x". The flap with an "x" should be visible on the bottom of the piece.
Connecting the Pieces
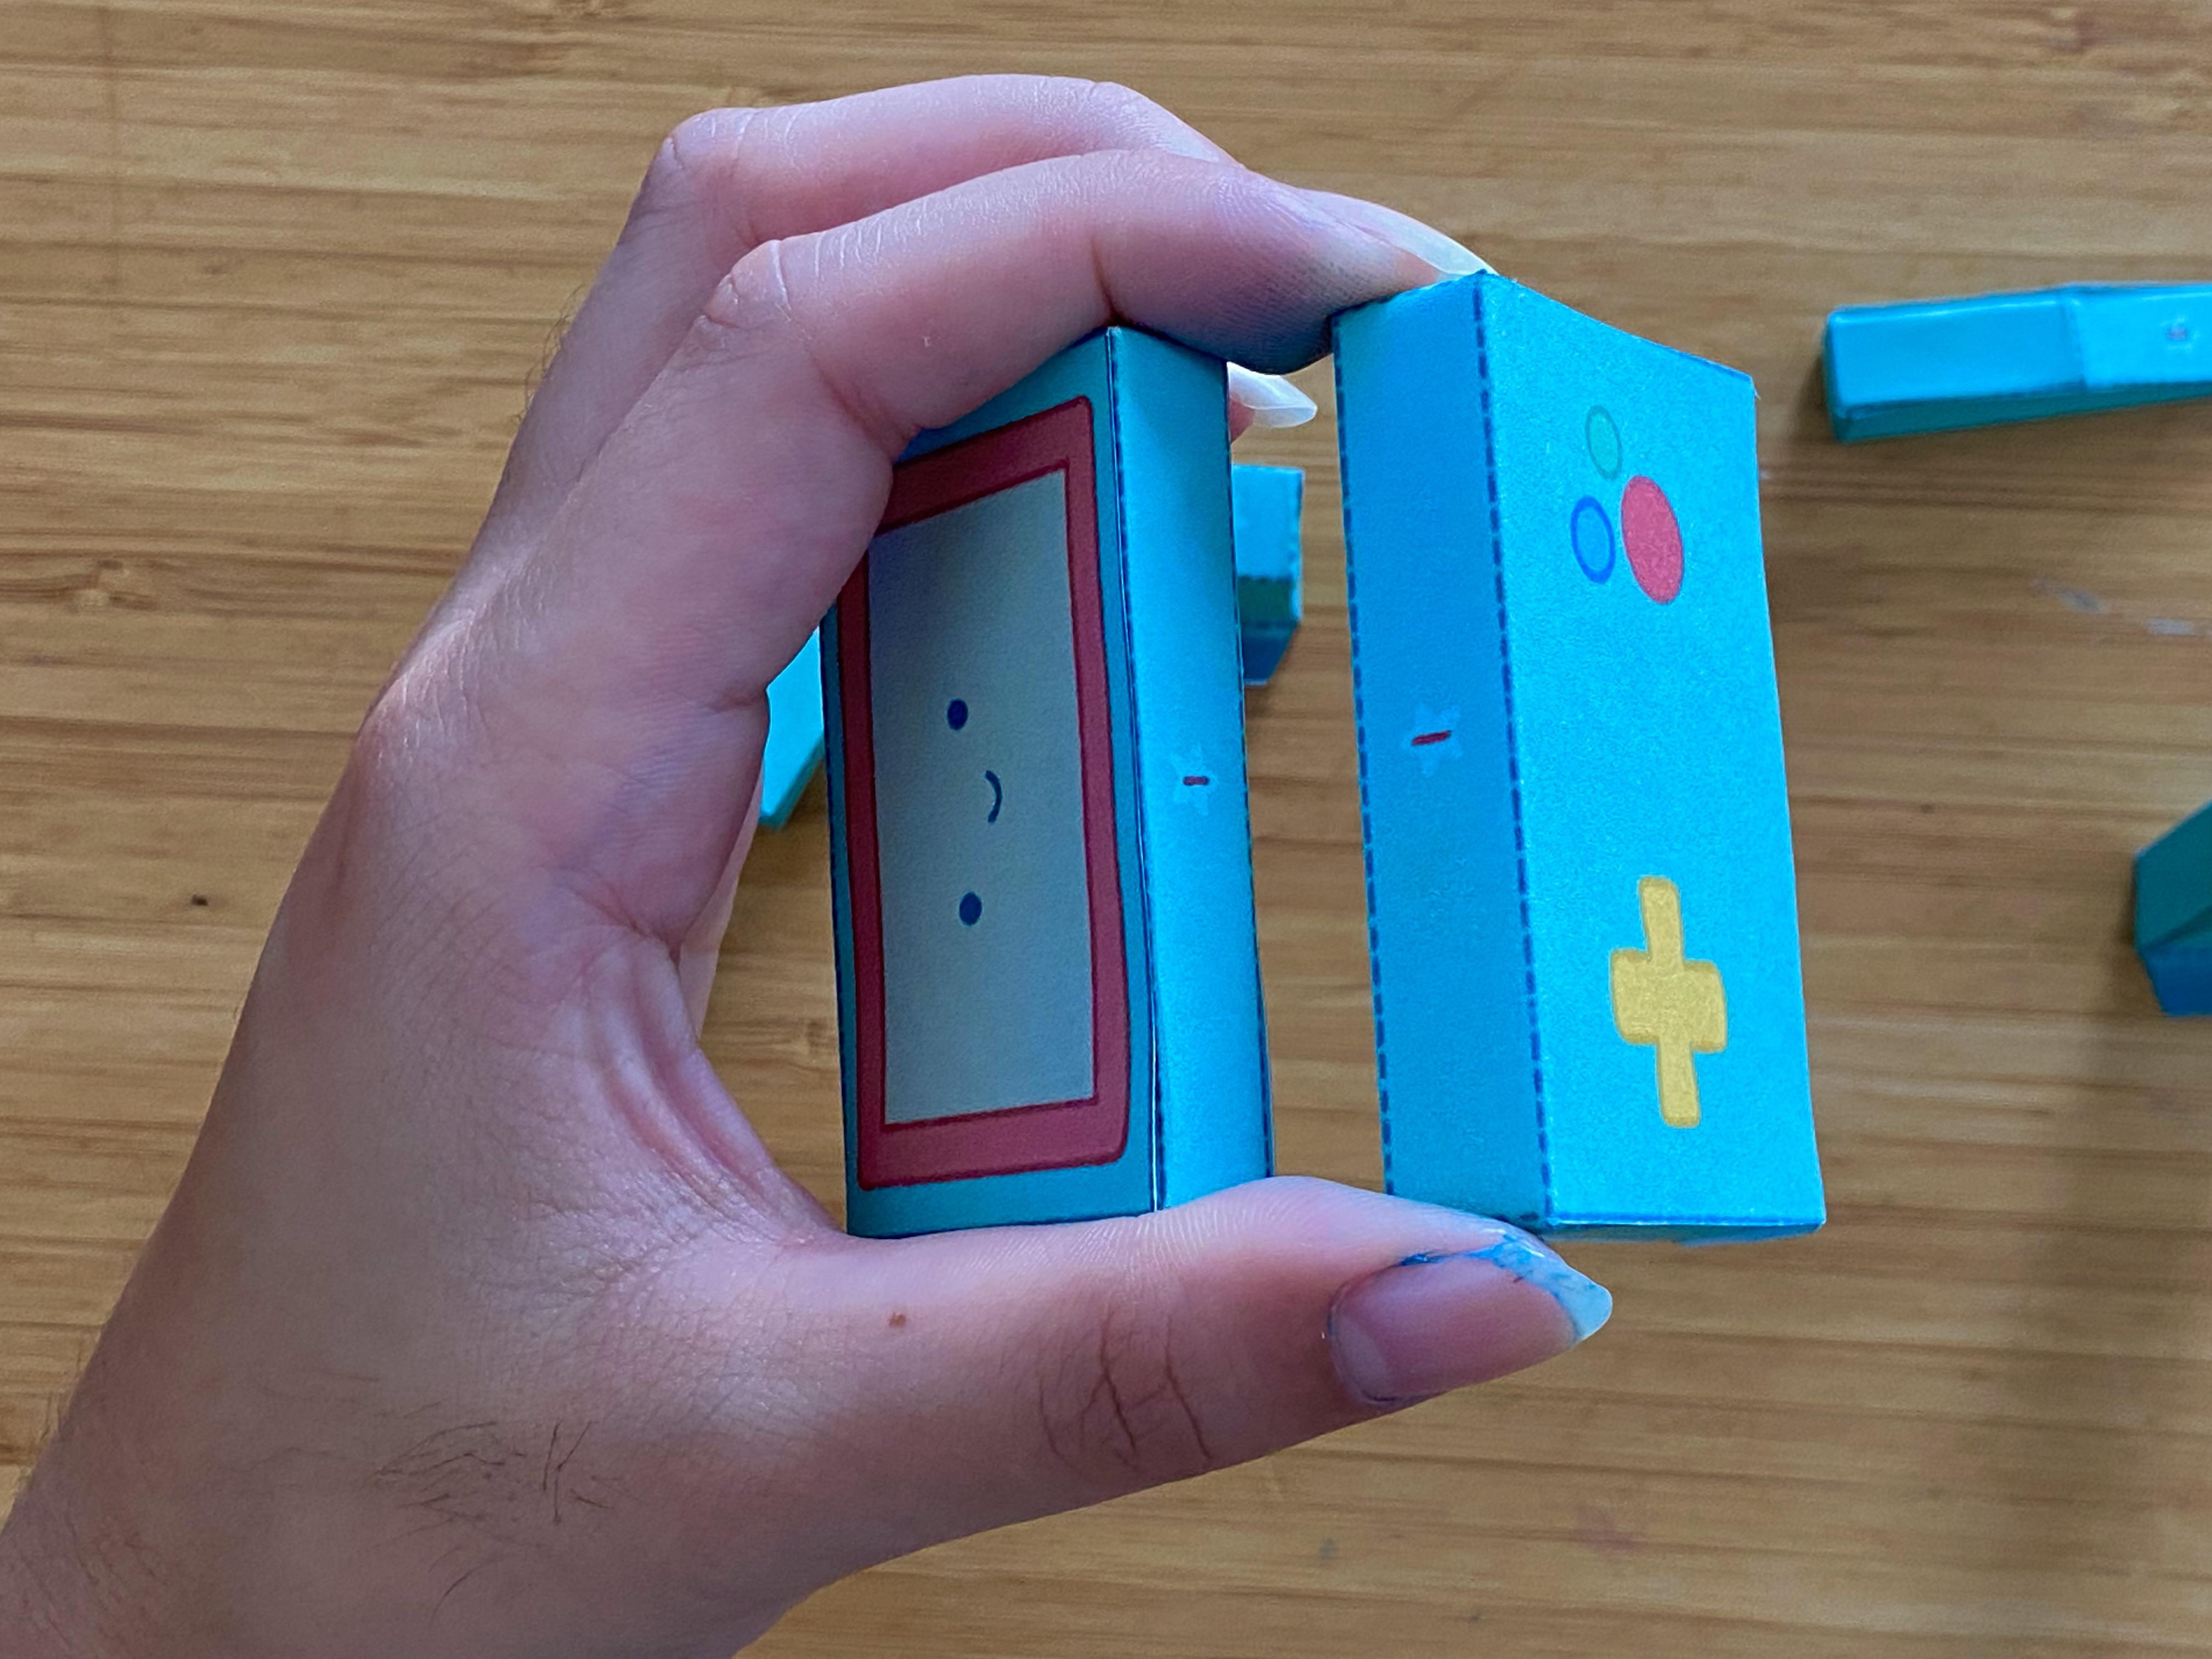


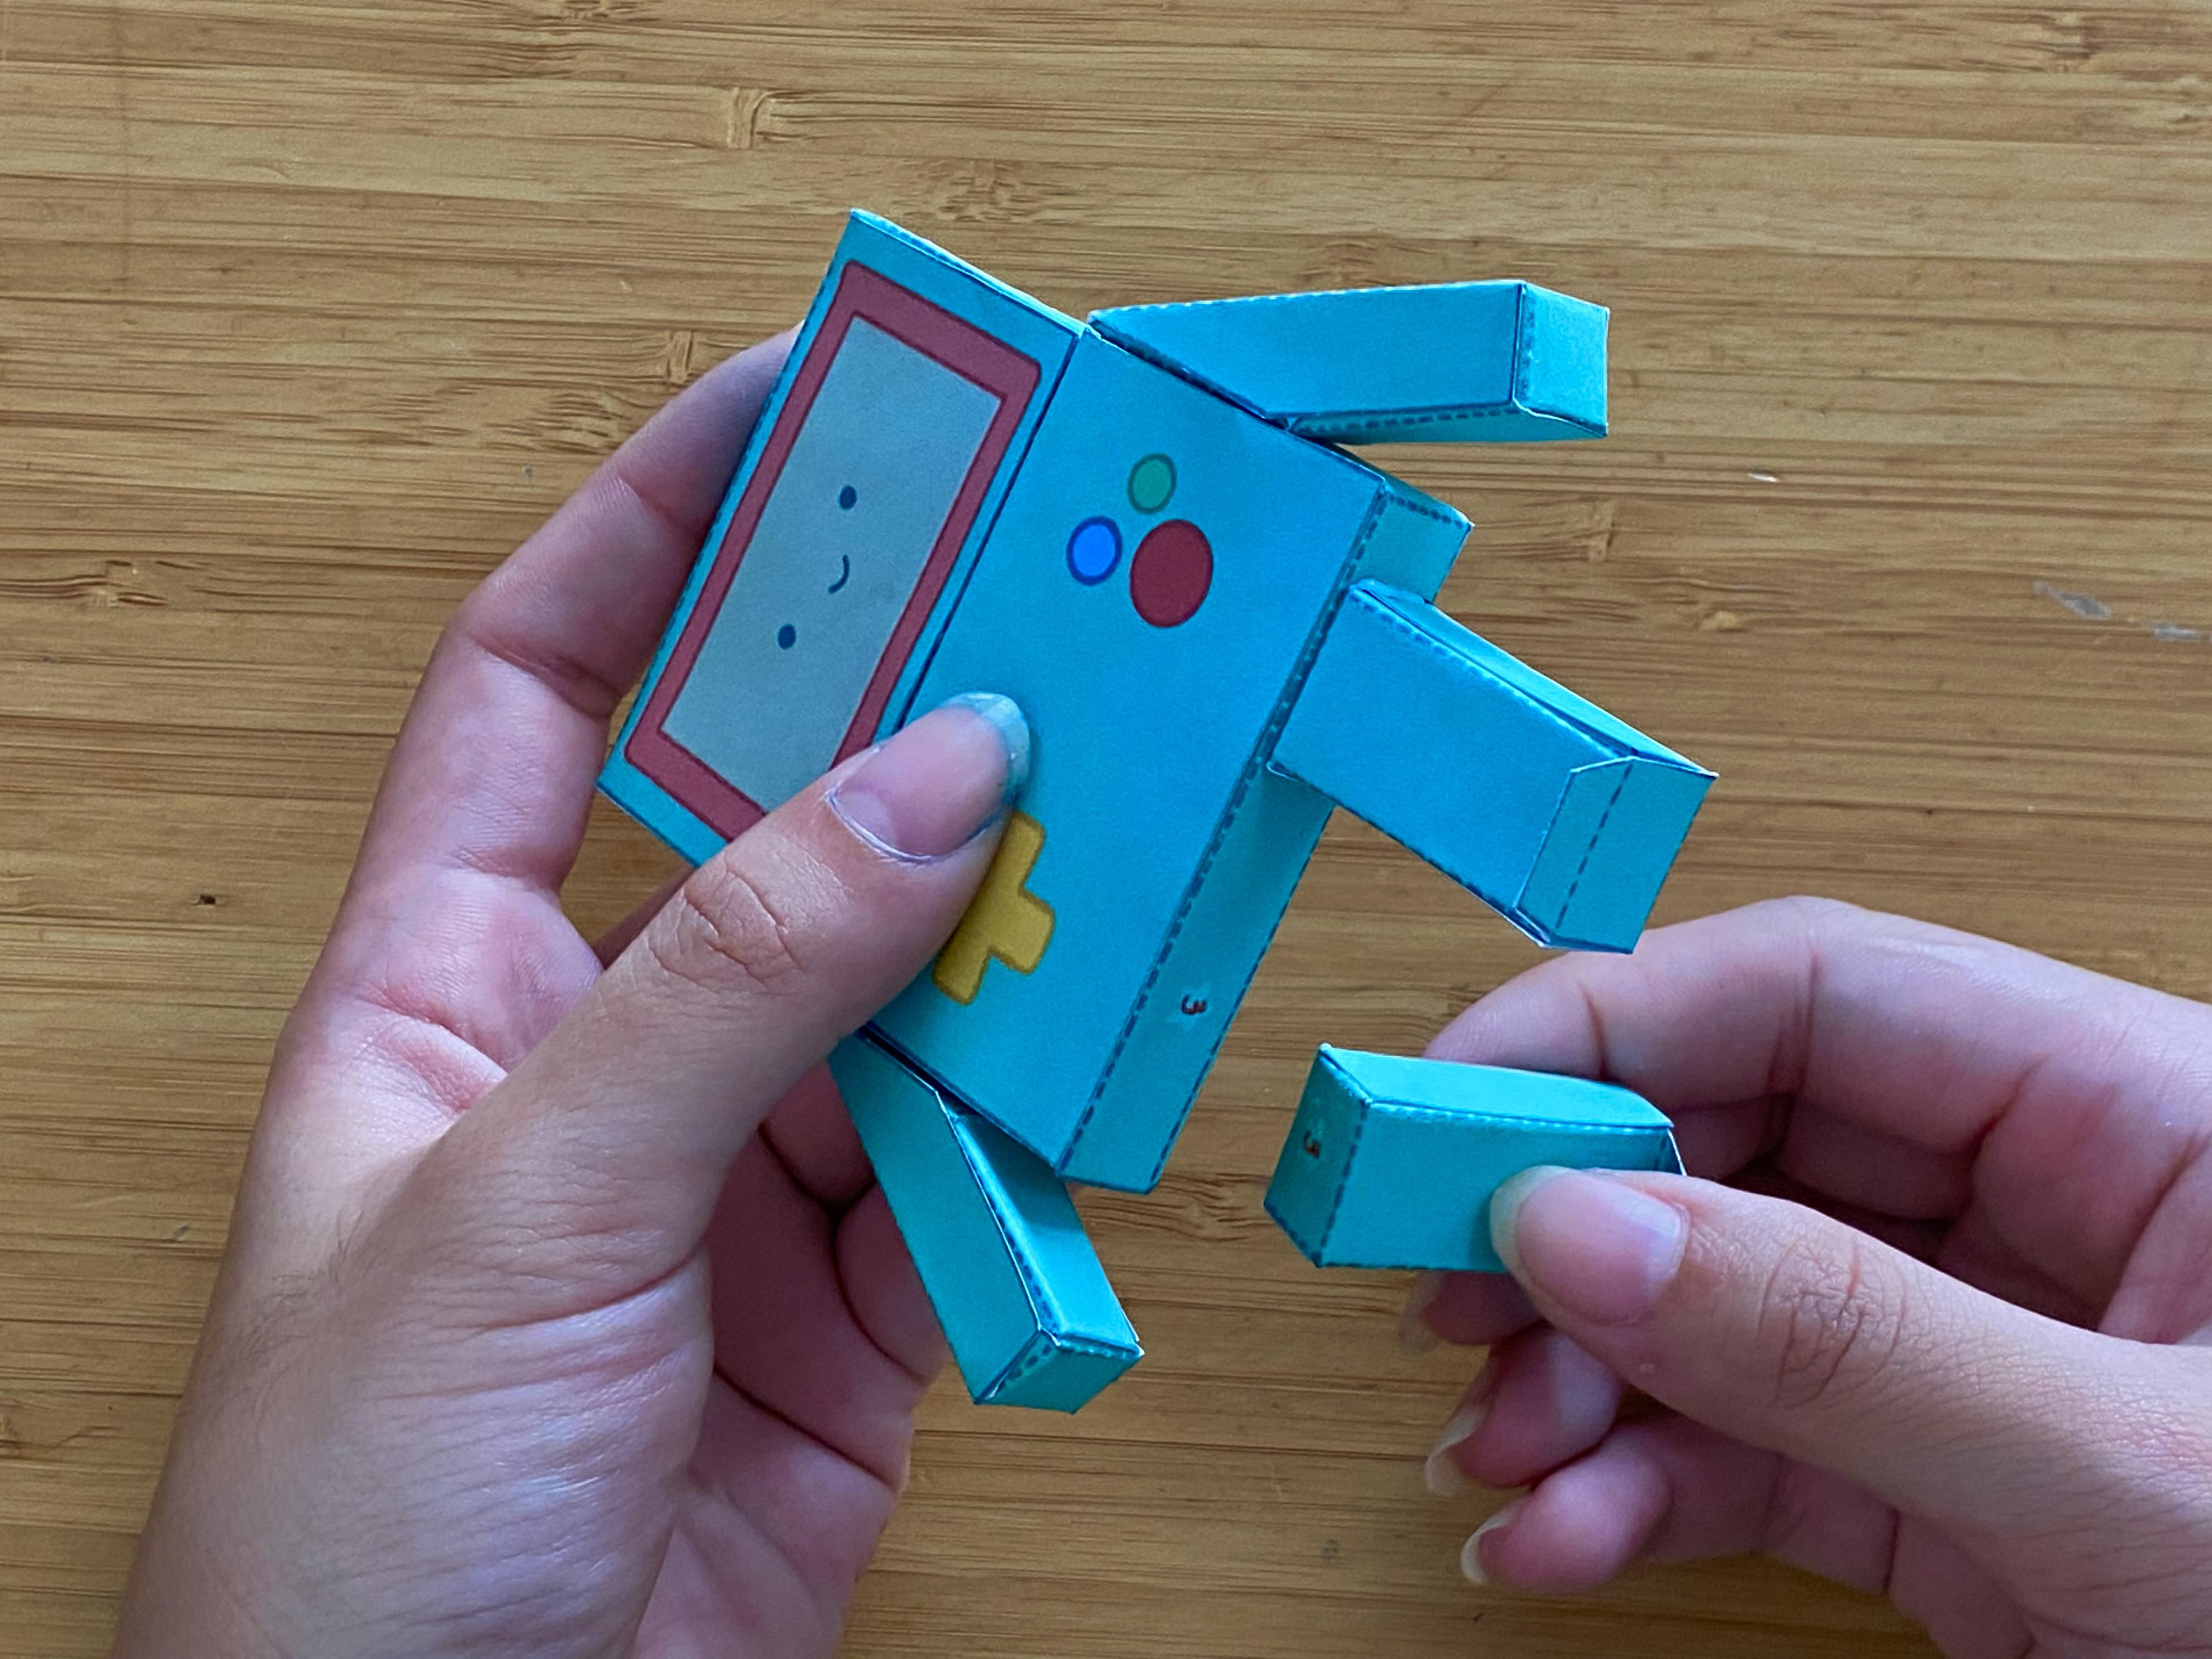
Apply glue where there is a star number and connect all pieces with the corresponding number.
Your LunaRobot Is Complete!

