Lumi Inkodye Negative Prints
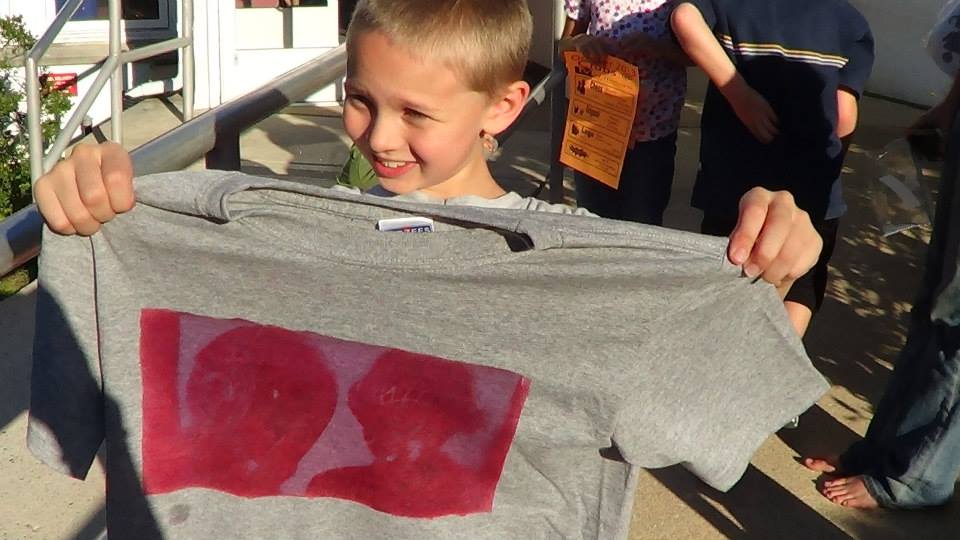
This project was one of the projects the families worked on at our Instructables Build Night at the library in September. The kids looked for photos on the internet, created negatives and then printed them onto t-shirts or canvas bags.
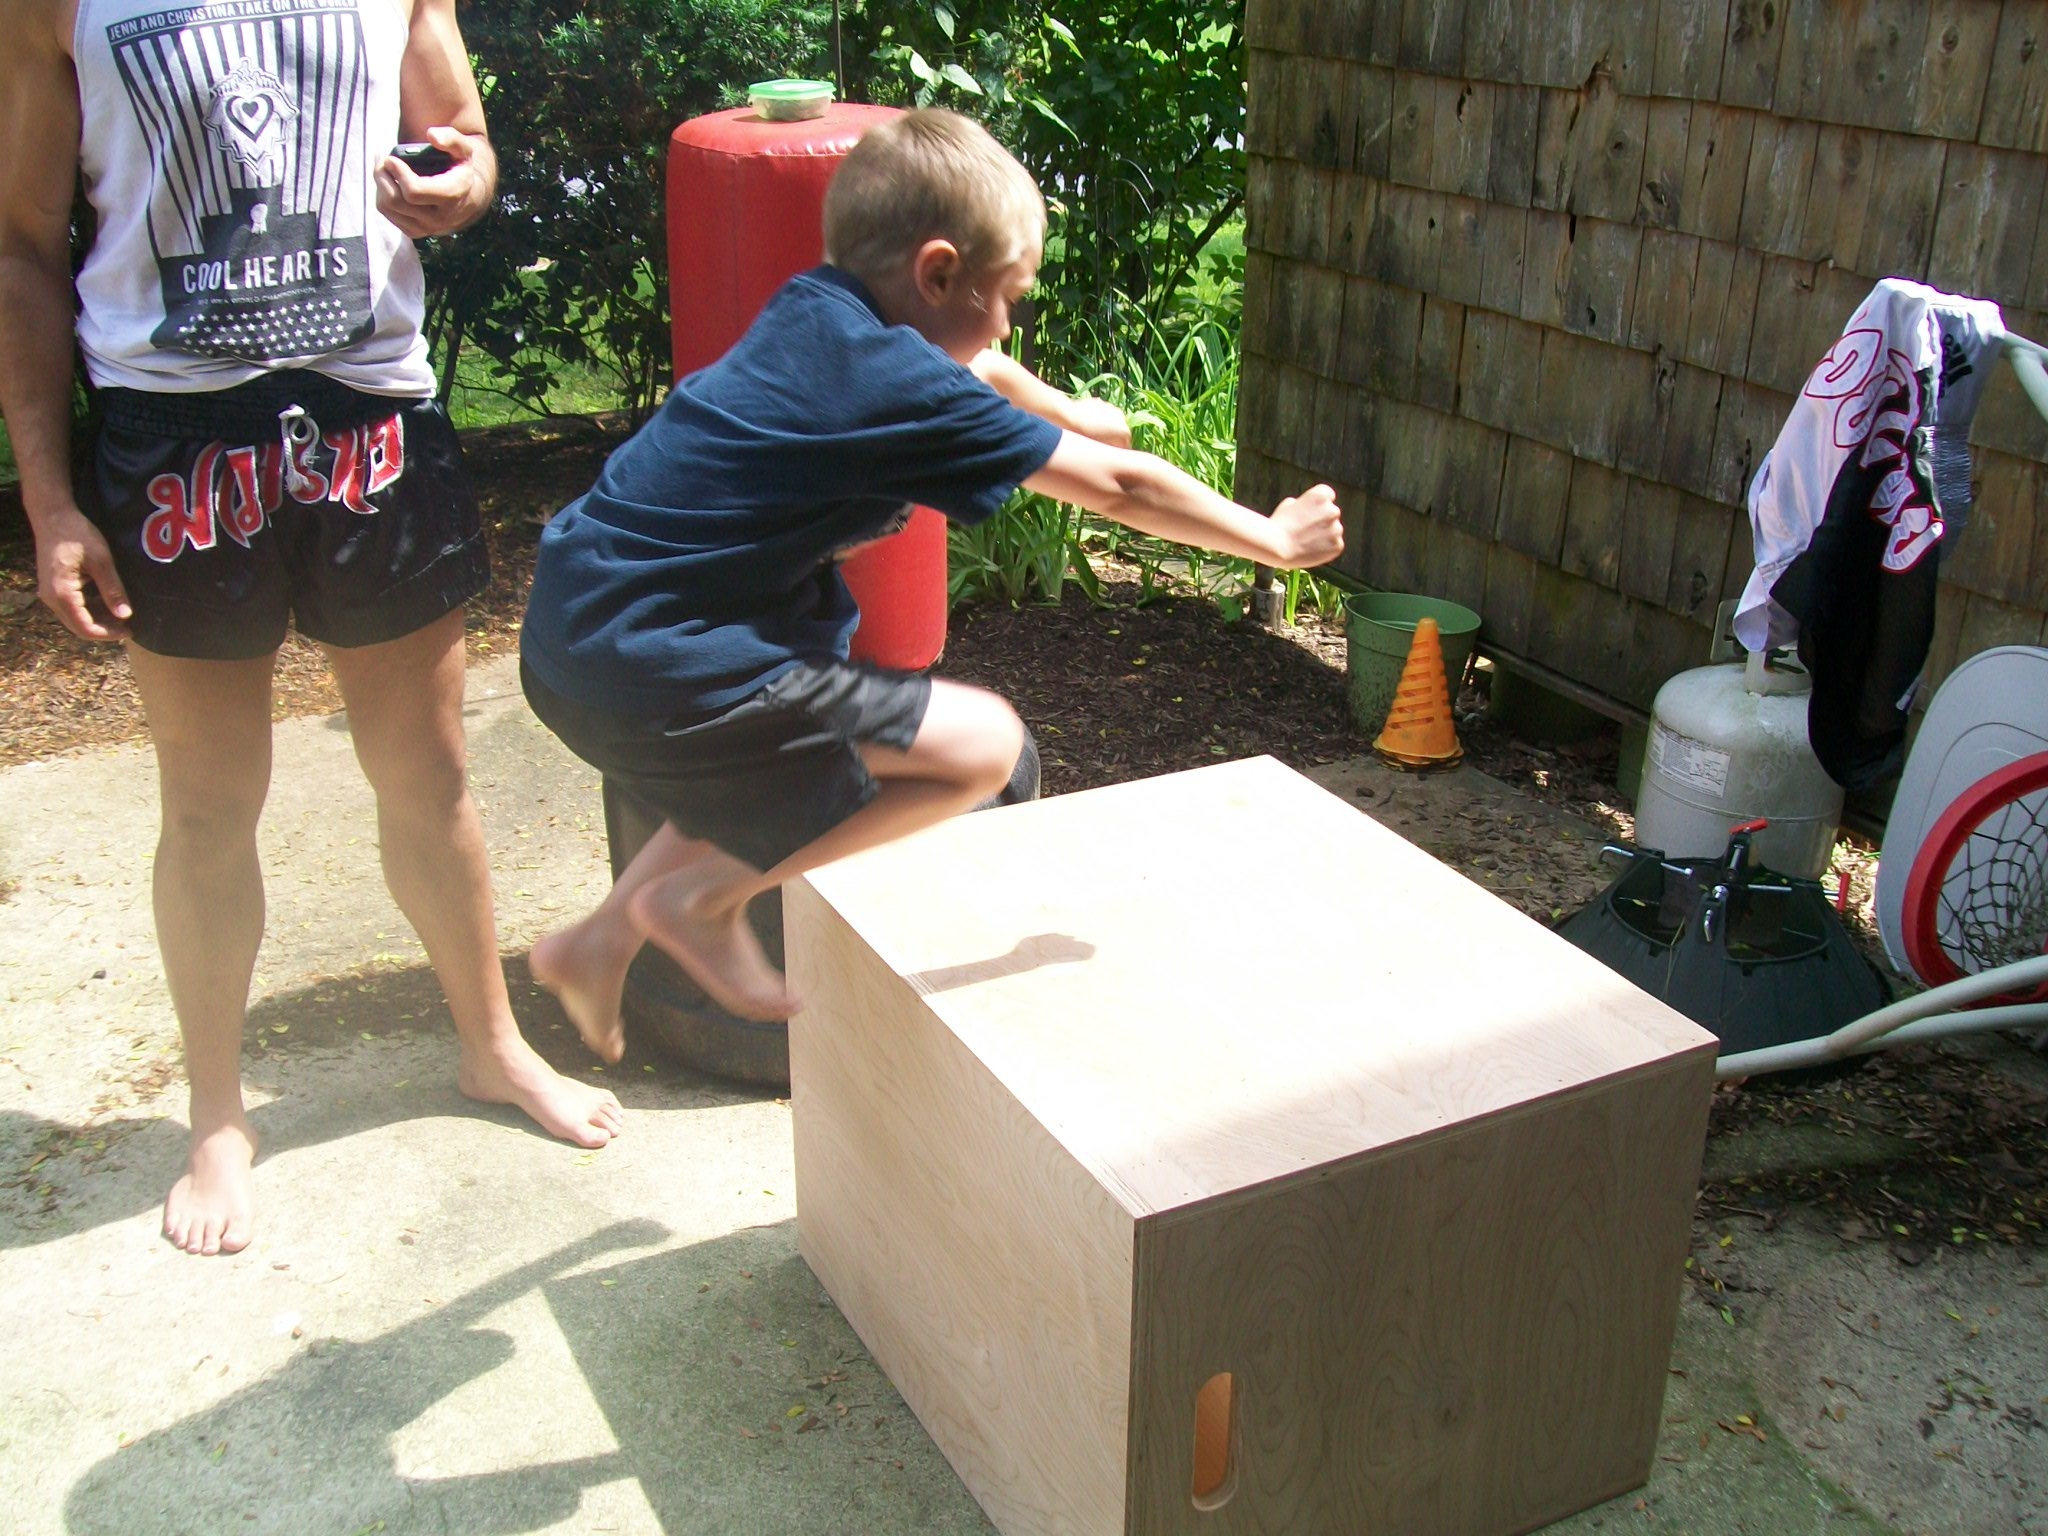
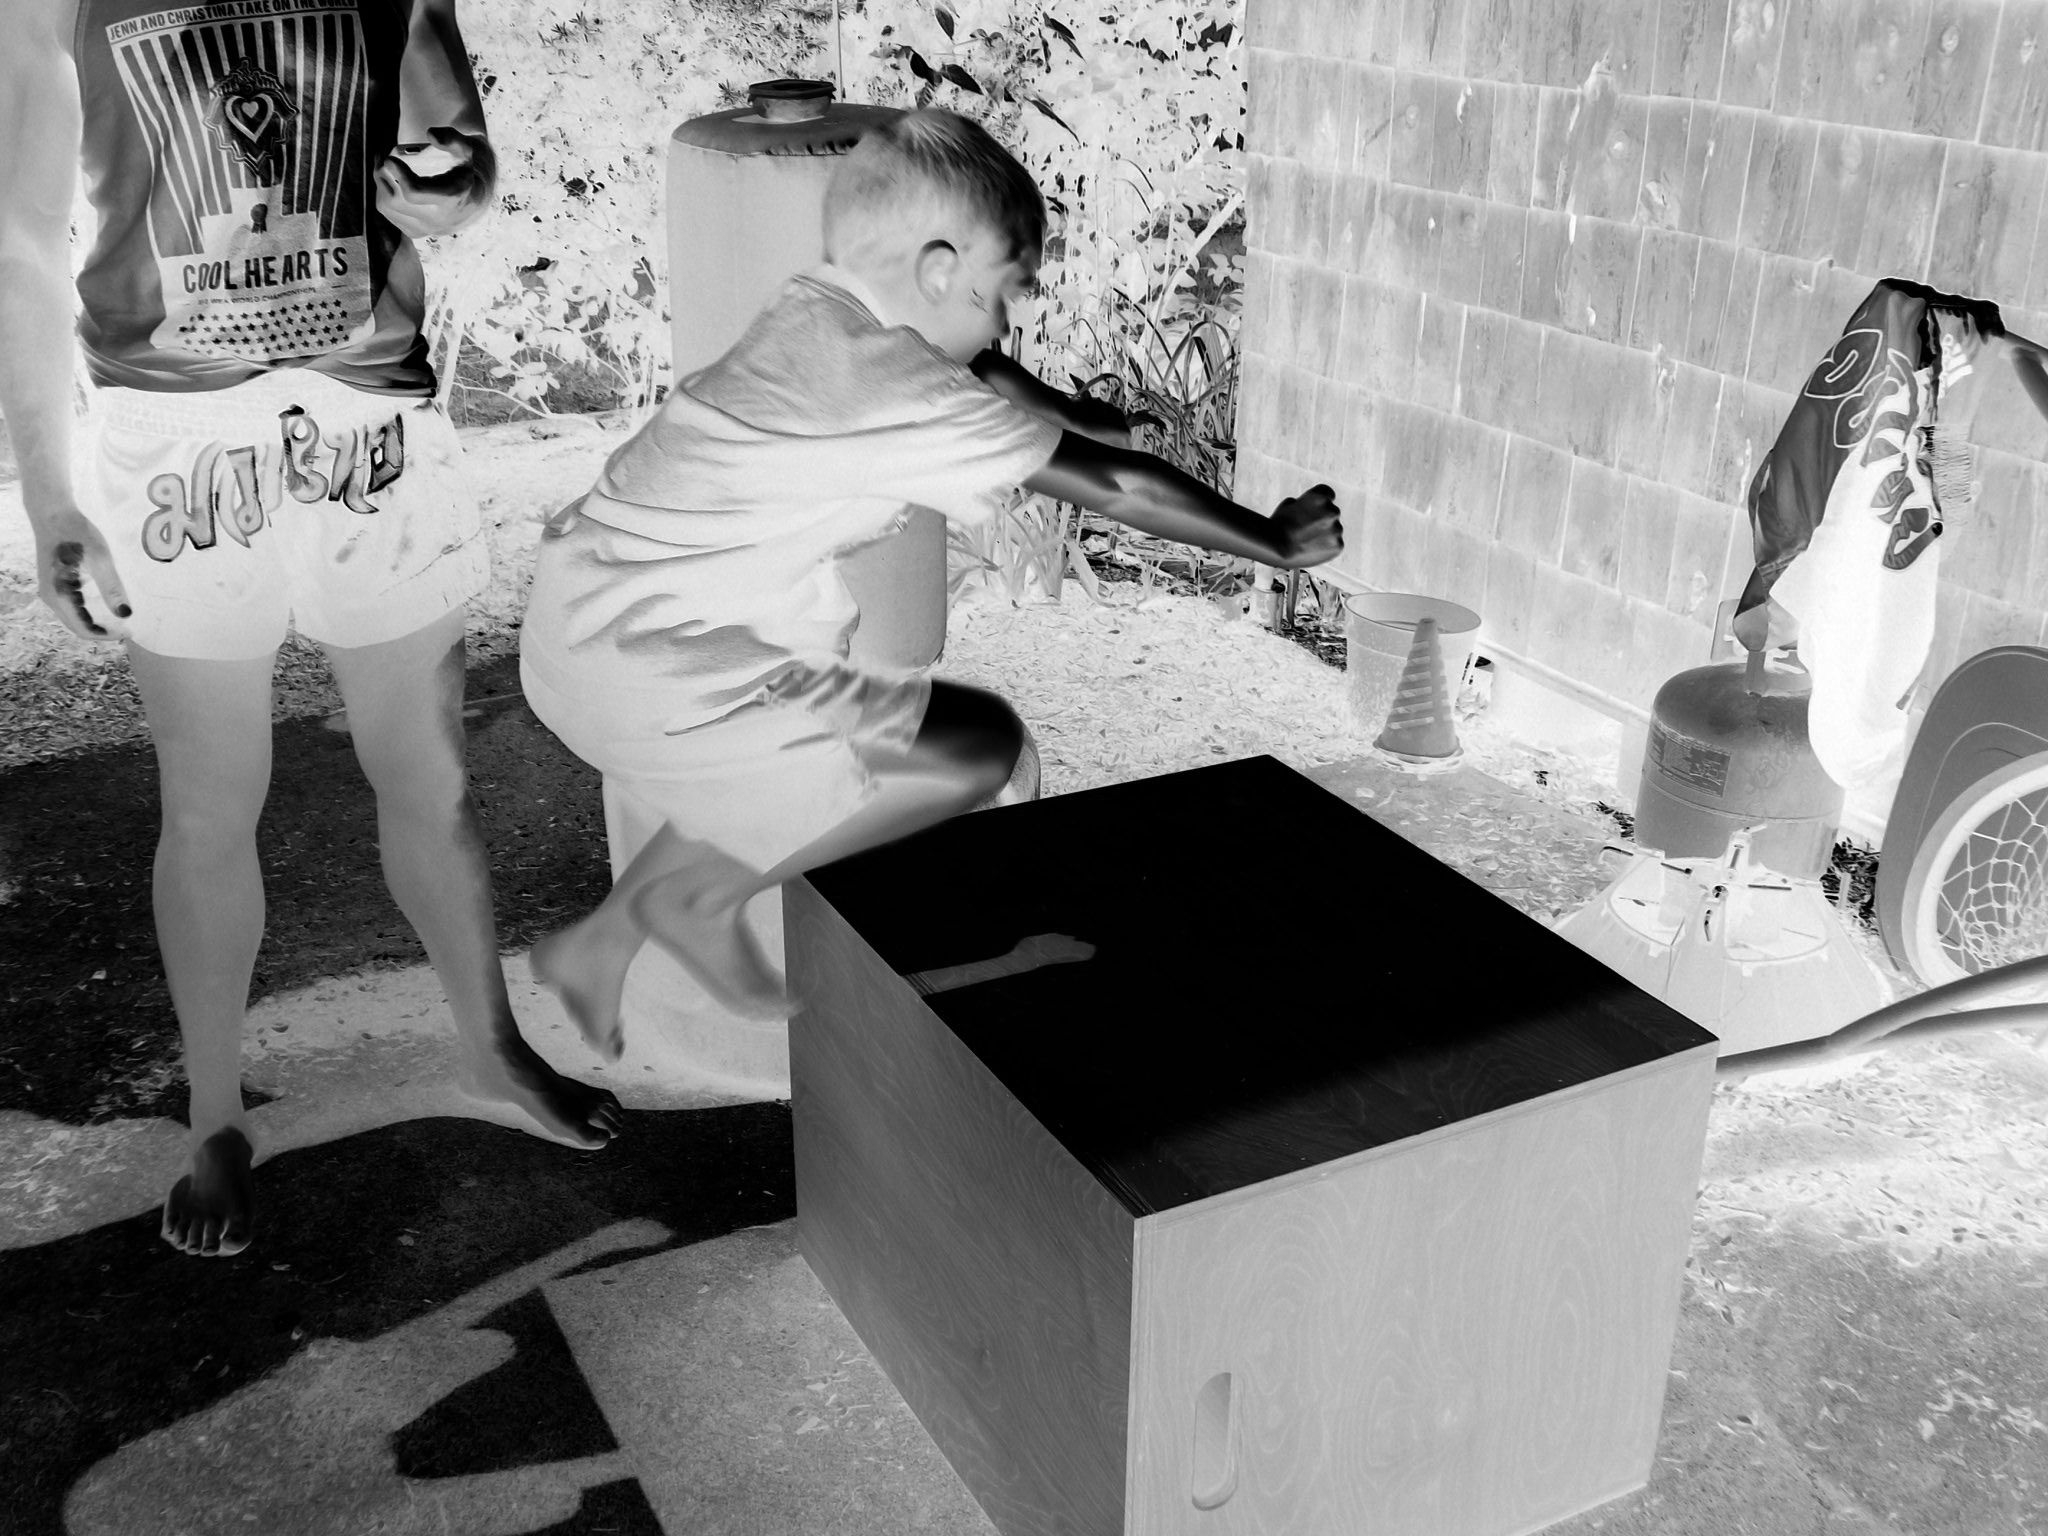
The first step is selecting the image you wish to turn into a negative. Choose a photo you have taken or find one you wish to use and save the image to your computer so you can open it in the photo editor.
We used http://pixlr.com/editor to make the negatives for our project. In pixlr, choose "Open Image from computer" and select the photo you want to work on.
Once your image is open, choose "Adjustment" and then choose "Desaturate" to turn it into a black & white photo.
Next, choose "Adjustment" and then choose "Invert" to convert the image to a negative.
You are now ready to print your negative.
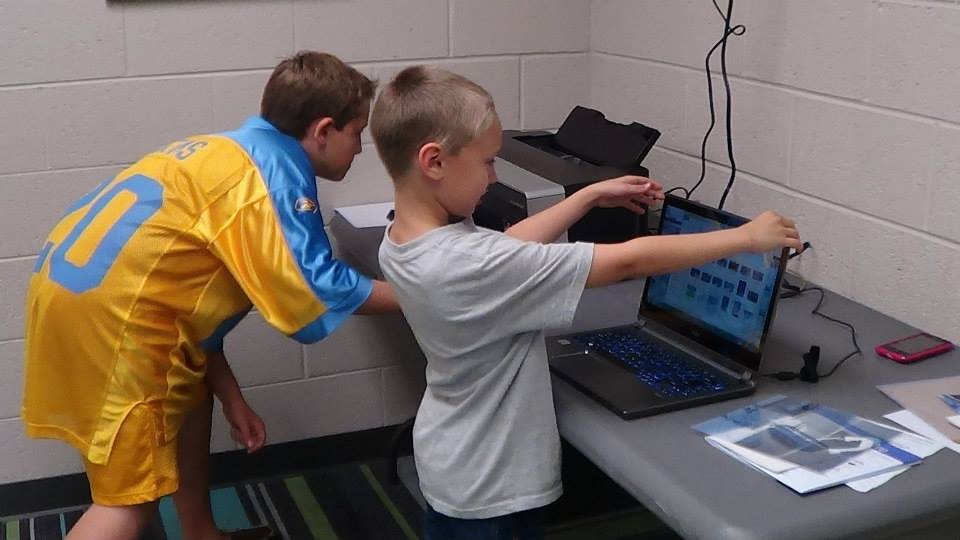
To print the negative, insert your negative into your printer so that it will print on the sticky side of the negative. If you can't figure out which side is the sticky side, just wet your finger a little and touch the negative lightly. Your finger will stick to the right side.
Before you print, make sure to set up your printer's settings to print in greyscale or black & white. You do not want any color ink to print onto your negative.
Print the negative & you are ready for the next step.
Before you print, make sure to set up your printer's settings to print in greyscale or black & white. You do not want any color ink to print onto your negative.
Print the negative & you are ready for the next step.
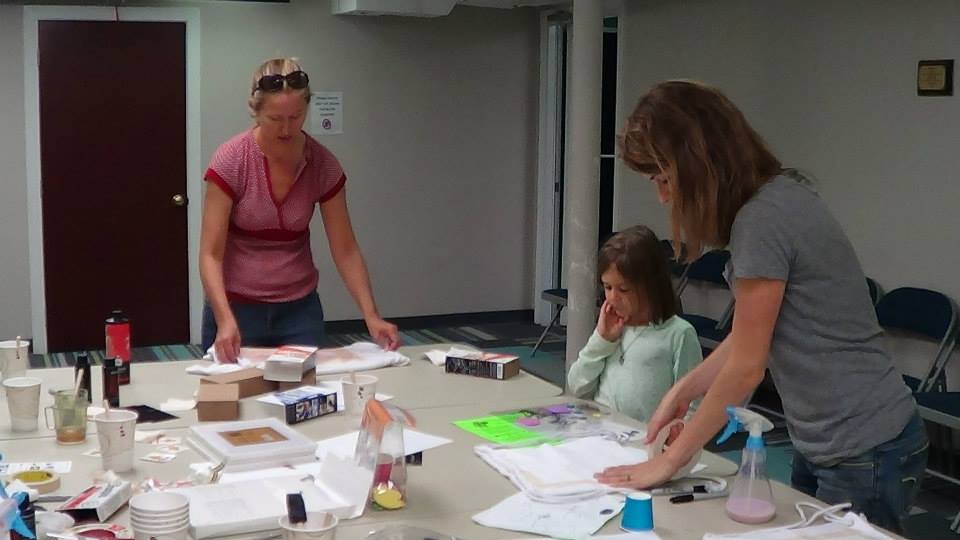
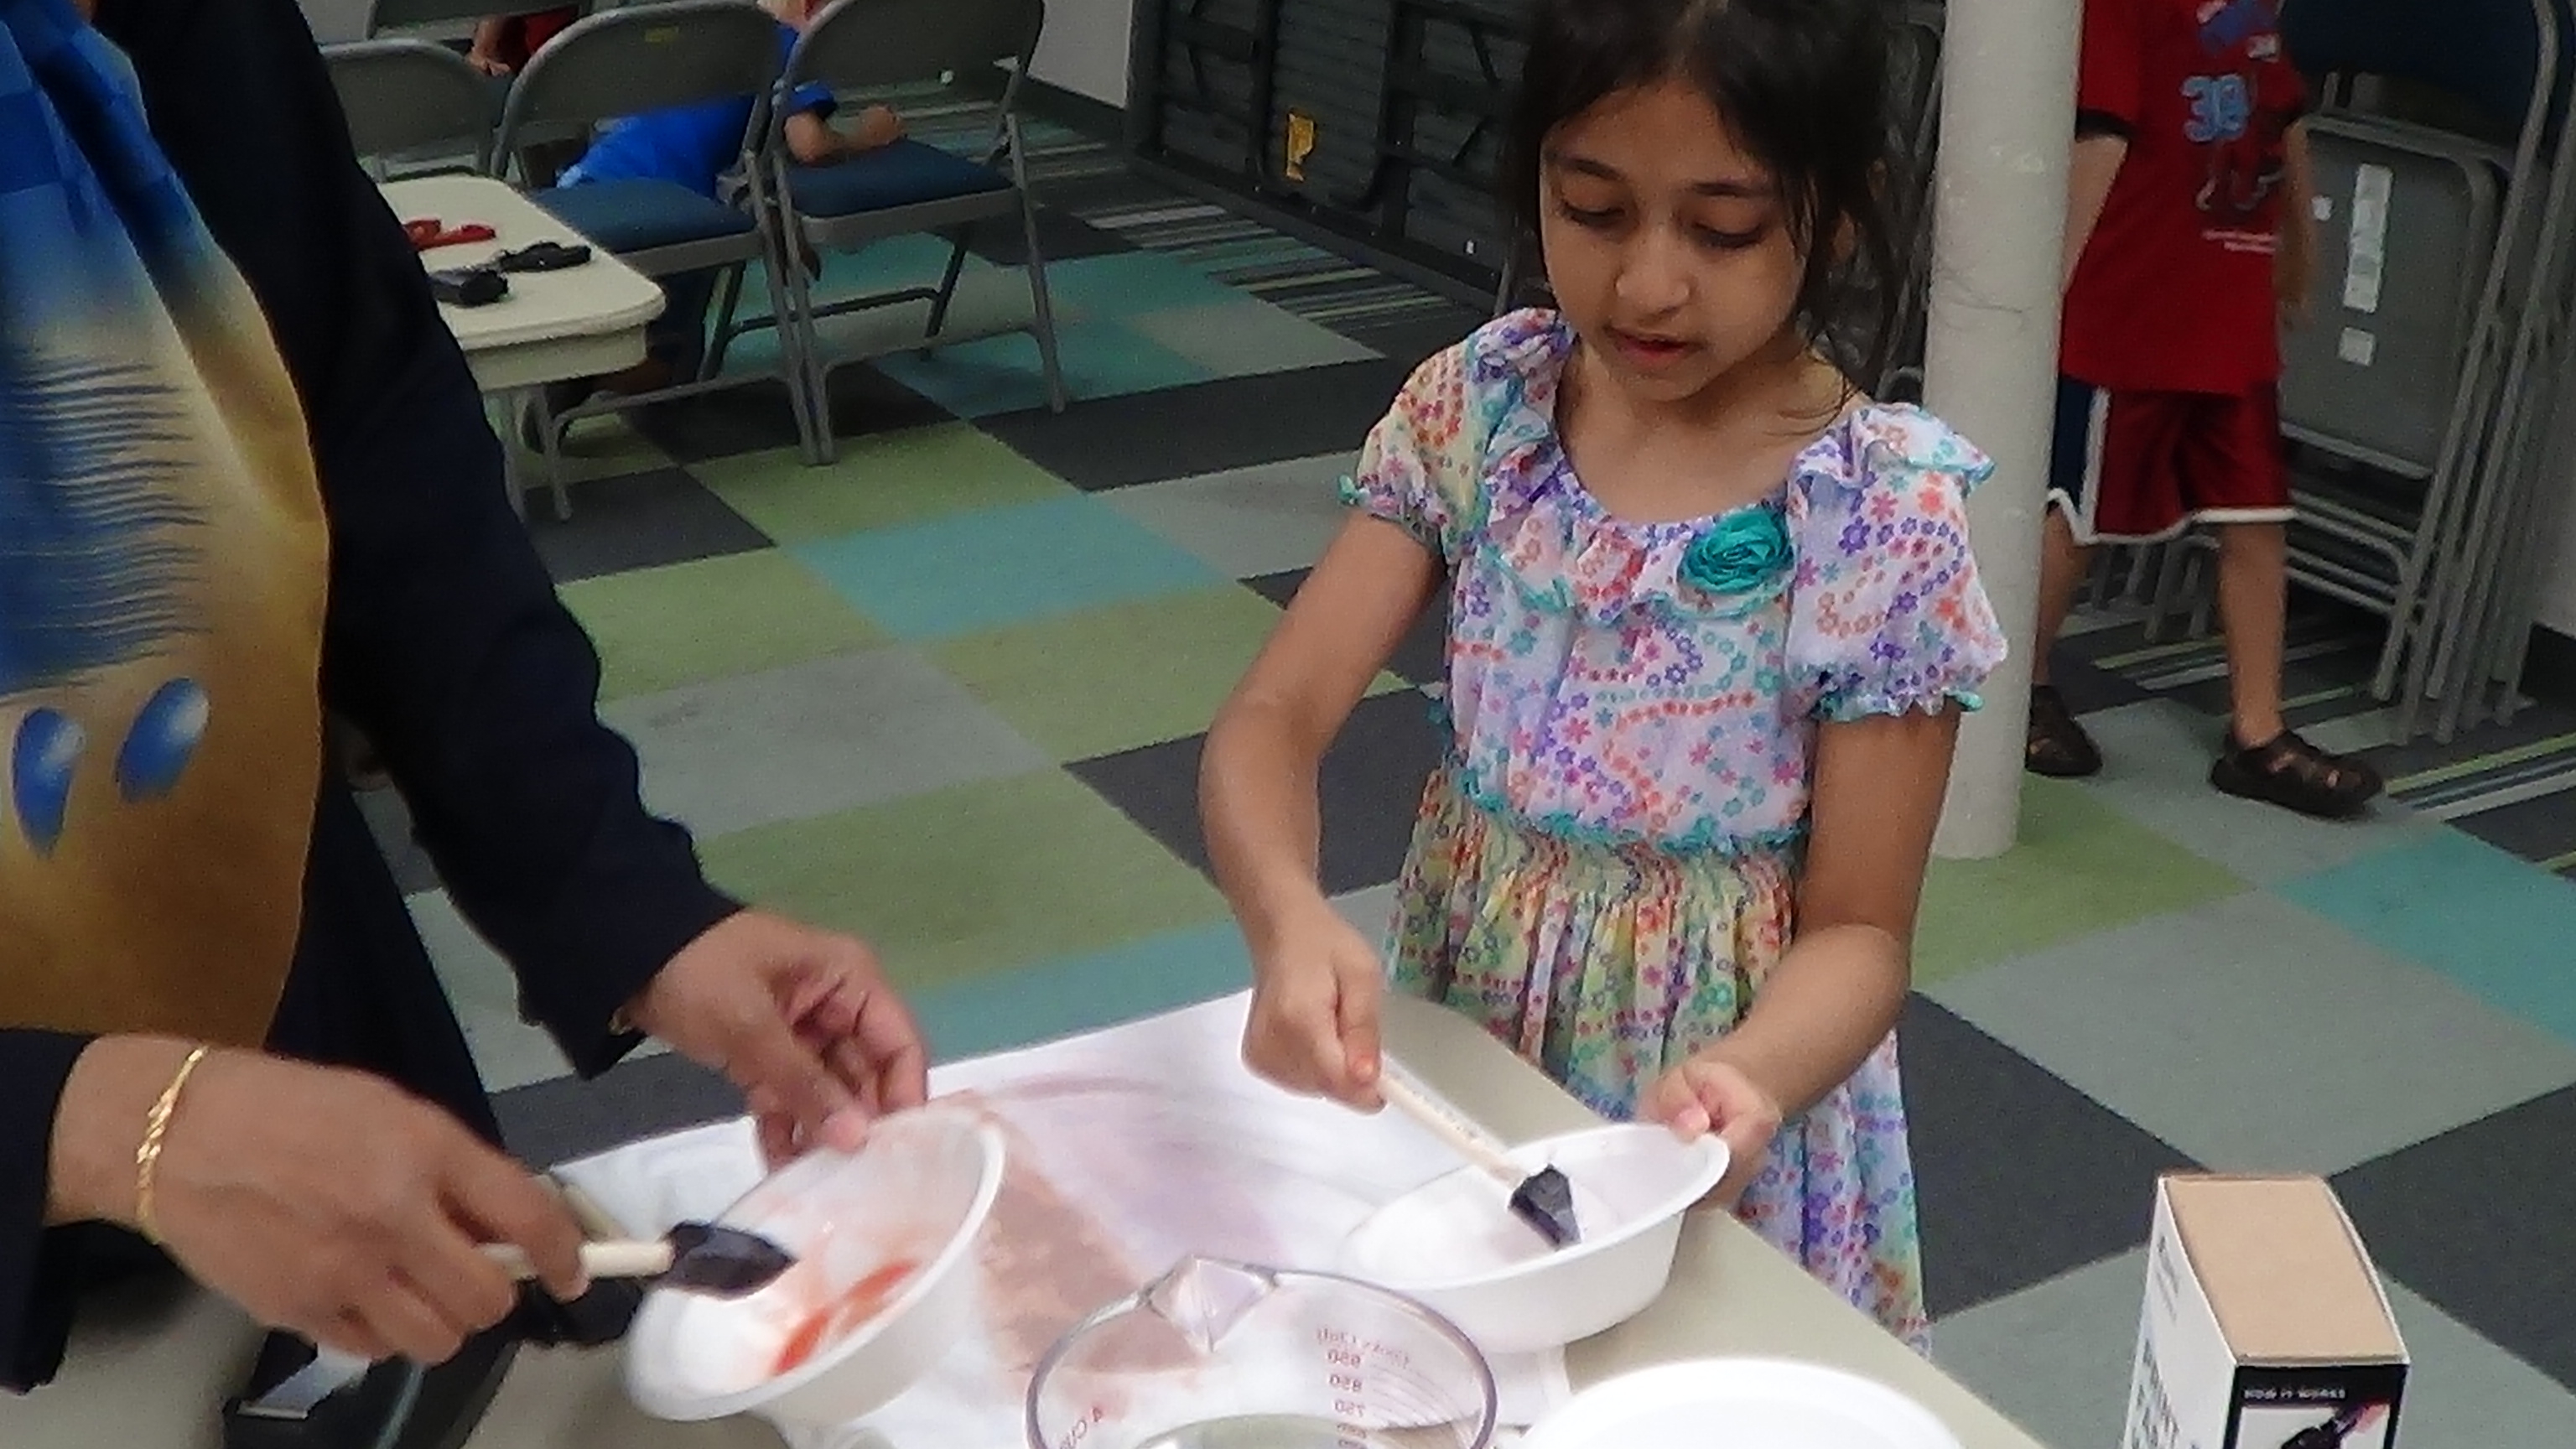
Prepare you t-shirt for printing by placing a square piece of cardboard inside your shirt. This will give you a flat surface to work on and the dye won't seep through onto the back of your shirt.
We used foam brushes to spread the dye onto the t-shirts. You may wish to tape out your printing area so you have straight lines and so you don't have dye outside the printing area. You don't need to do this though, it's personal preference.
Once you have applied the dye to your shirt, dab the excess up with a paper towel.
Place your negative on your t-shirt with the sticky/printed side down. Use masking tape or clear tape on all sides of your negative to make sure your negative is making contact with the surface you are printing on. Leave no gaps to get the best print possible.
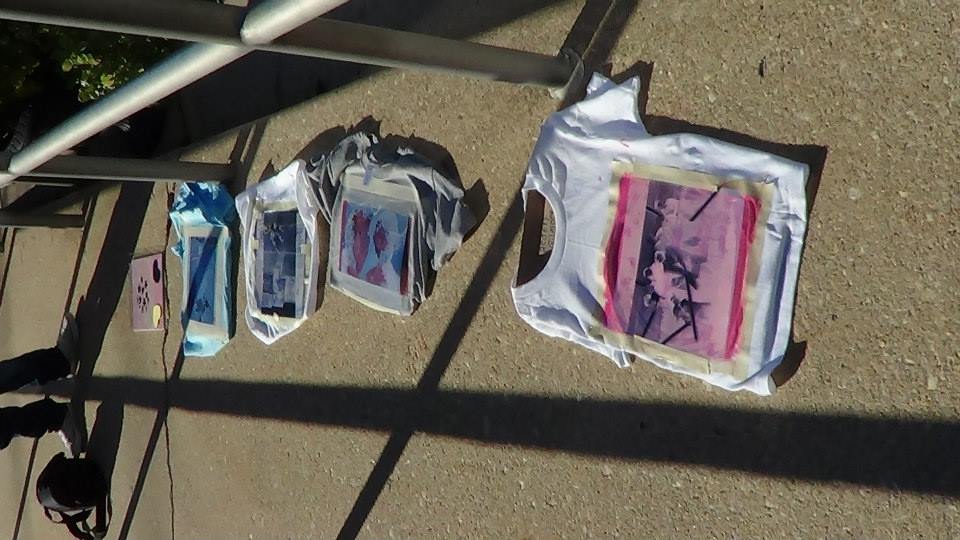

Carefully take your t-shirt outside and place on a table or hard surface to complete the printing process.
After about 10-15 minutes your shirt is ready to go!
Run your shirt through a hot wash using a couple of capfuls of the Inkowash. You do not have to wait for your shirt to dry completely before running it through the wash.
After about 10-15 minutes your shirt is ready to go!
Run your shirt through a hot wash using a couple of capfuls of the Inkowash. You do not have to wait for your shirt to dry completely before running it through the wash.