Lucky Cat & Spinning Duck

The objectives of this project are to make changes to our previous design to create a safe, marketable, design that’s eye-catching, easy to use, and easy to design with 3D printing and coding. The design must include sound, light, and movement with the usage of 3 buttons. And all of these components are obtainable using a CPX kit, servo motor, 3D printed parts, and using Python to make a specific design.
Supplies


- Adafruit Circuit Playground Express (CPX) - Base Kit
- Servo motor
- Tinkercad (to 3D Print)
- Makerbot
- Code With Mu
- Computer/Laptop
- 3D Printer
- 3D Printed parts
Tinkercad
- Create the design on Tinkercad
- Download the Tinkercad file as an STL


These images show the duck and cat in TinkerCad
3D Printing
- Download the duck and cat STL files from Instructables (attached)


- Slice in the desired program (Ex; MakerBot)
- Print from your 3D Printer
Coding
- Download Code With Mu
- Download the CircuitPython Bootloader
- Drag to your CPX
- Download the CircuitPython Library from https://circuitpython.org/libraries (Follow instructions/learn about Python from adafruit )
- Copy this code into Python:
- Save the code onto your CPX

What the code does:
- When button A is pressed:
- The Servo Motor will rotate
- One sound goes off
- When button B is pressed:
- The Servo Motor will stop
- A different sound goes off
- When touched, each CPX input lights up a different color (rainbow)
Assembly/Testing

- Use the wire connected to the battery pack to connect the CPX to the battery pack and clip the CPX onto the front of the lucky cat (*you will need two AA batteries to power the battery pack*)
- Place the servo motor in the cut-out in the hand of the cat
- String the wire behind the cat from the servo motor to the front
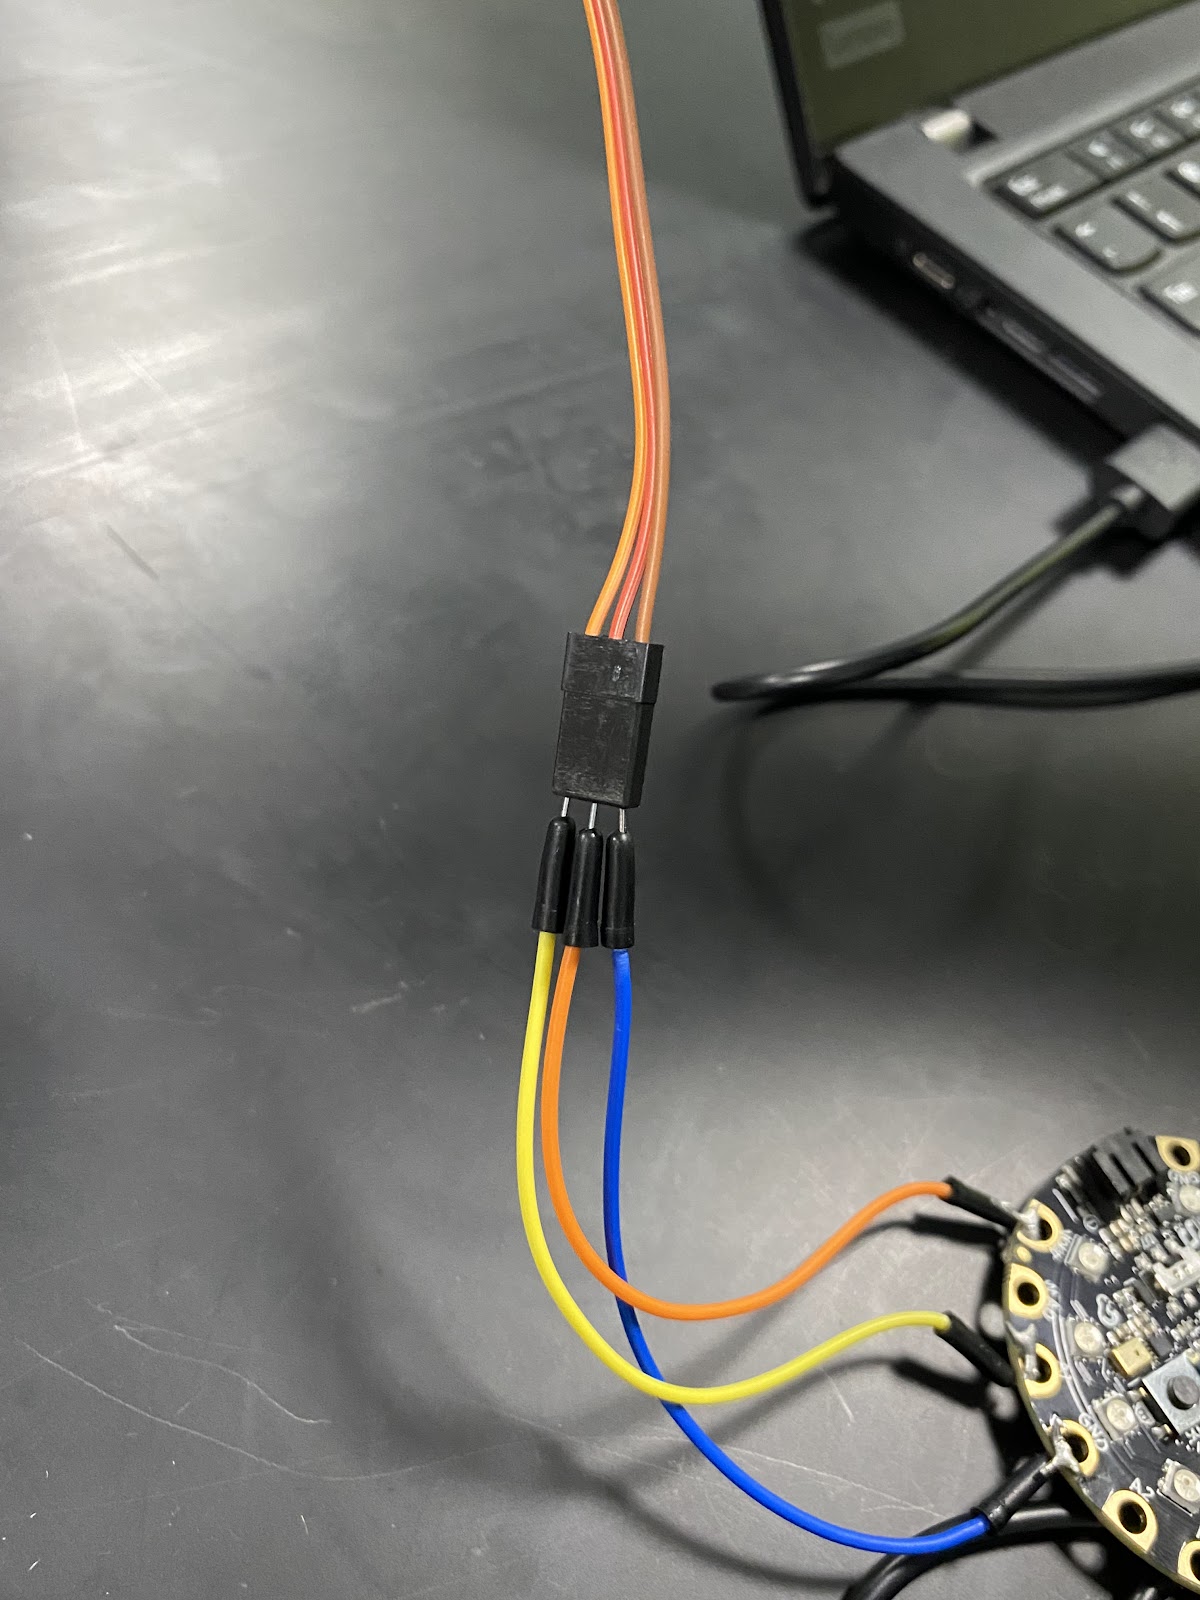
- Use the three wires (Blue, Orange, & Yellow) to connect the servo motor to the CPX; attach them according to the function
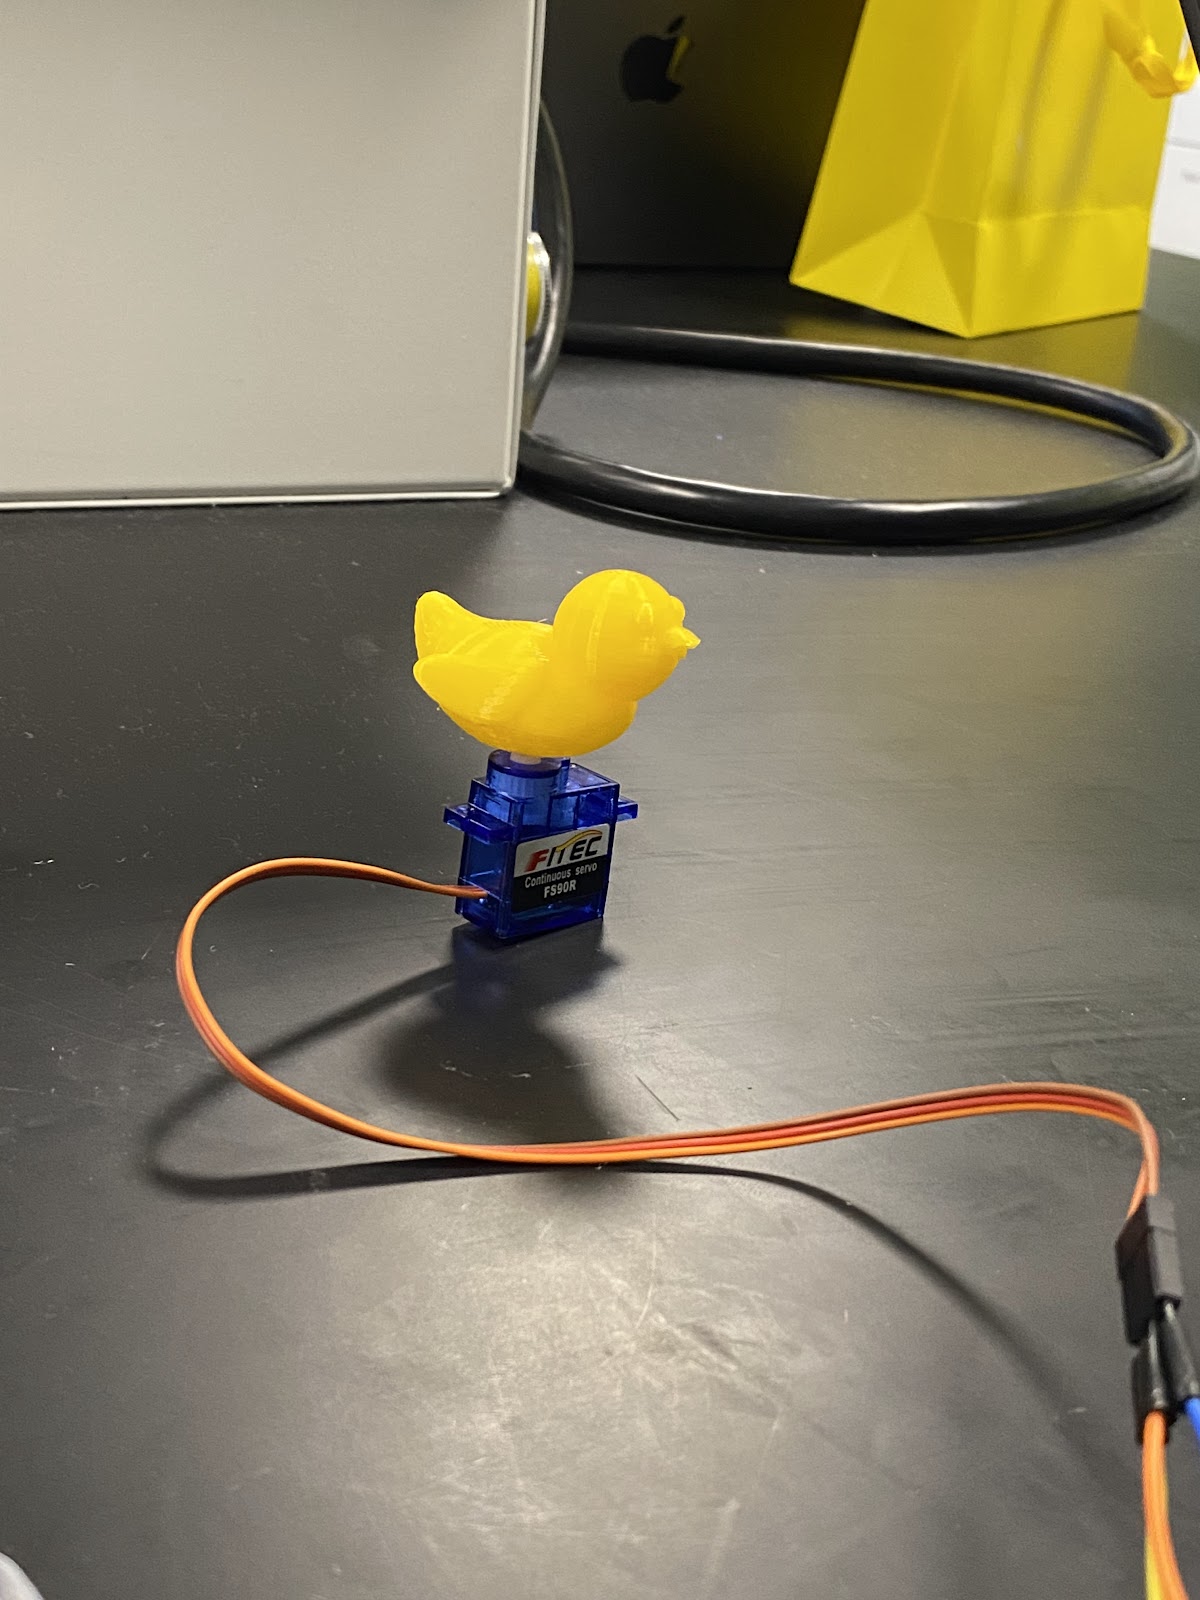
- Attach the 3D-printed duck to the servo motor by placing it on top of the moving part of the servo
- Press buttons and touch around the CPX to make sure it makes noise, the duck moves, and the CPX lights up


References
Adafruit Industries, “Unique & fun DIY electronics and kits.” (2005).
Adafruit MakeCode (n.d.). Adafruit Circuit Playground Express - Blocks /
Javascript Editor. https://makecode.adafruit.com
Code With Mu. (2022). Python Code. https://codewith.mu
Dym, C. L., Little, P., & Orwin, E. J. (2013). Engineering design: a
project-based introduction (4th ed.). Wiley.
Tinkercad, “From mind to design in minutes.” (2019). Tinkercad.
3D Printers for Educators & Professionals. (2009). MakerBot.