Low Poly Campsite
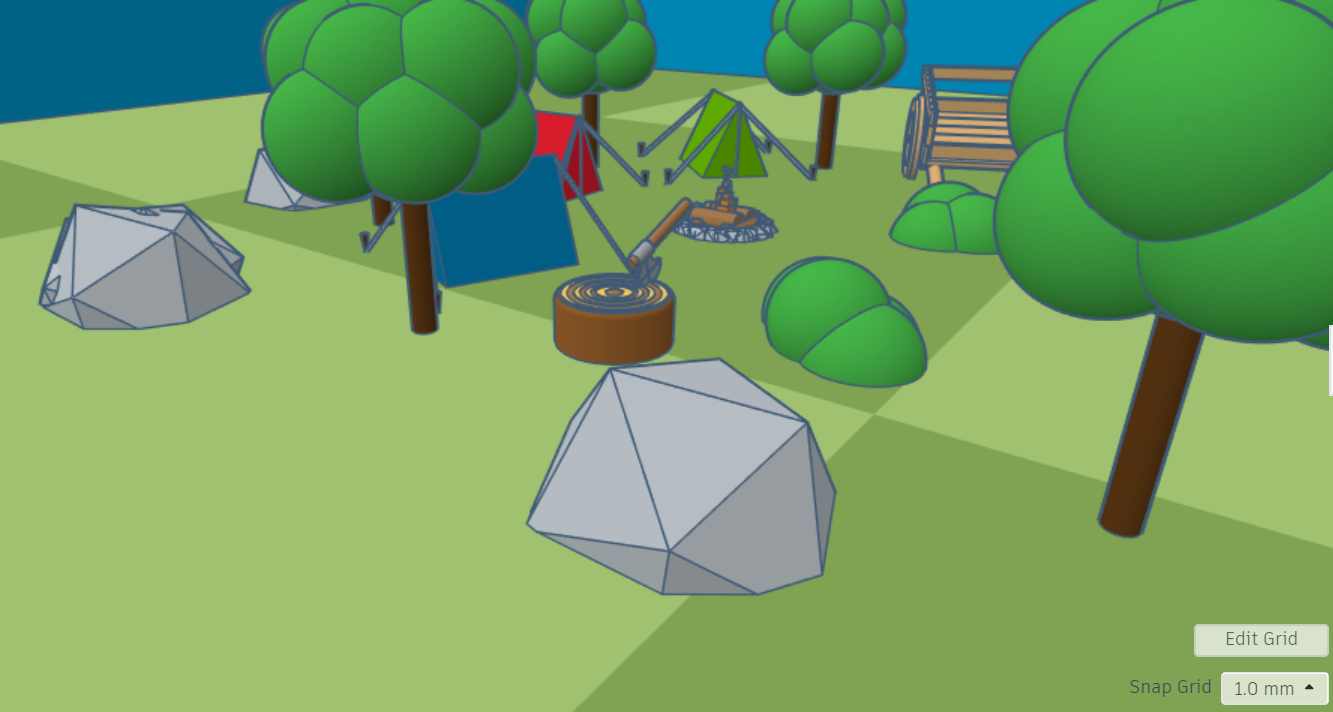
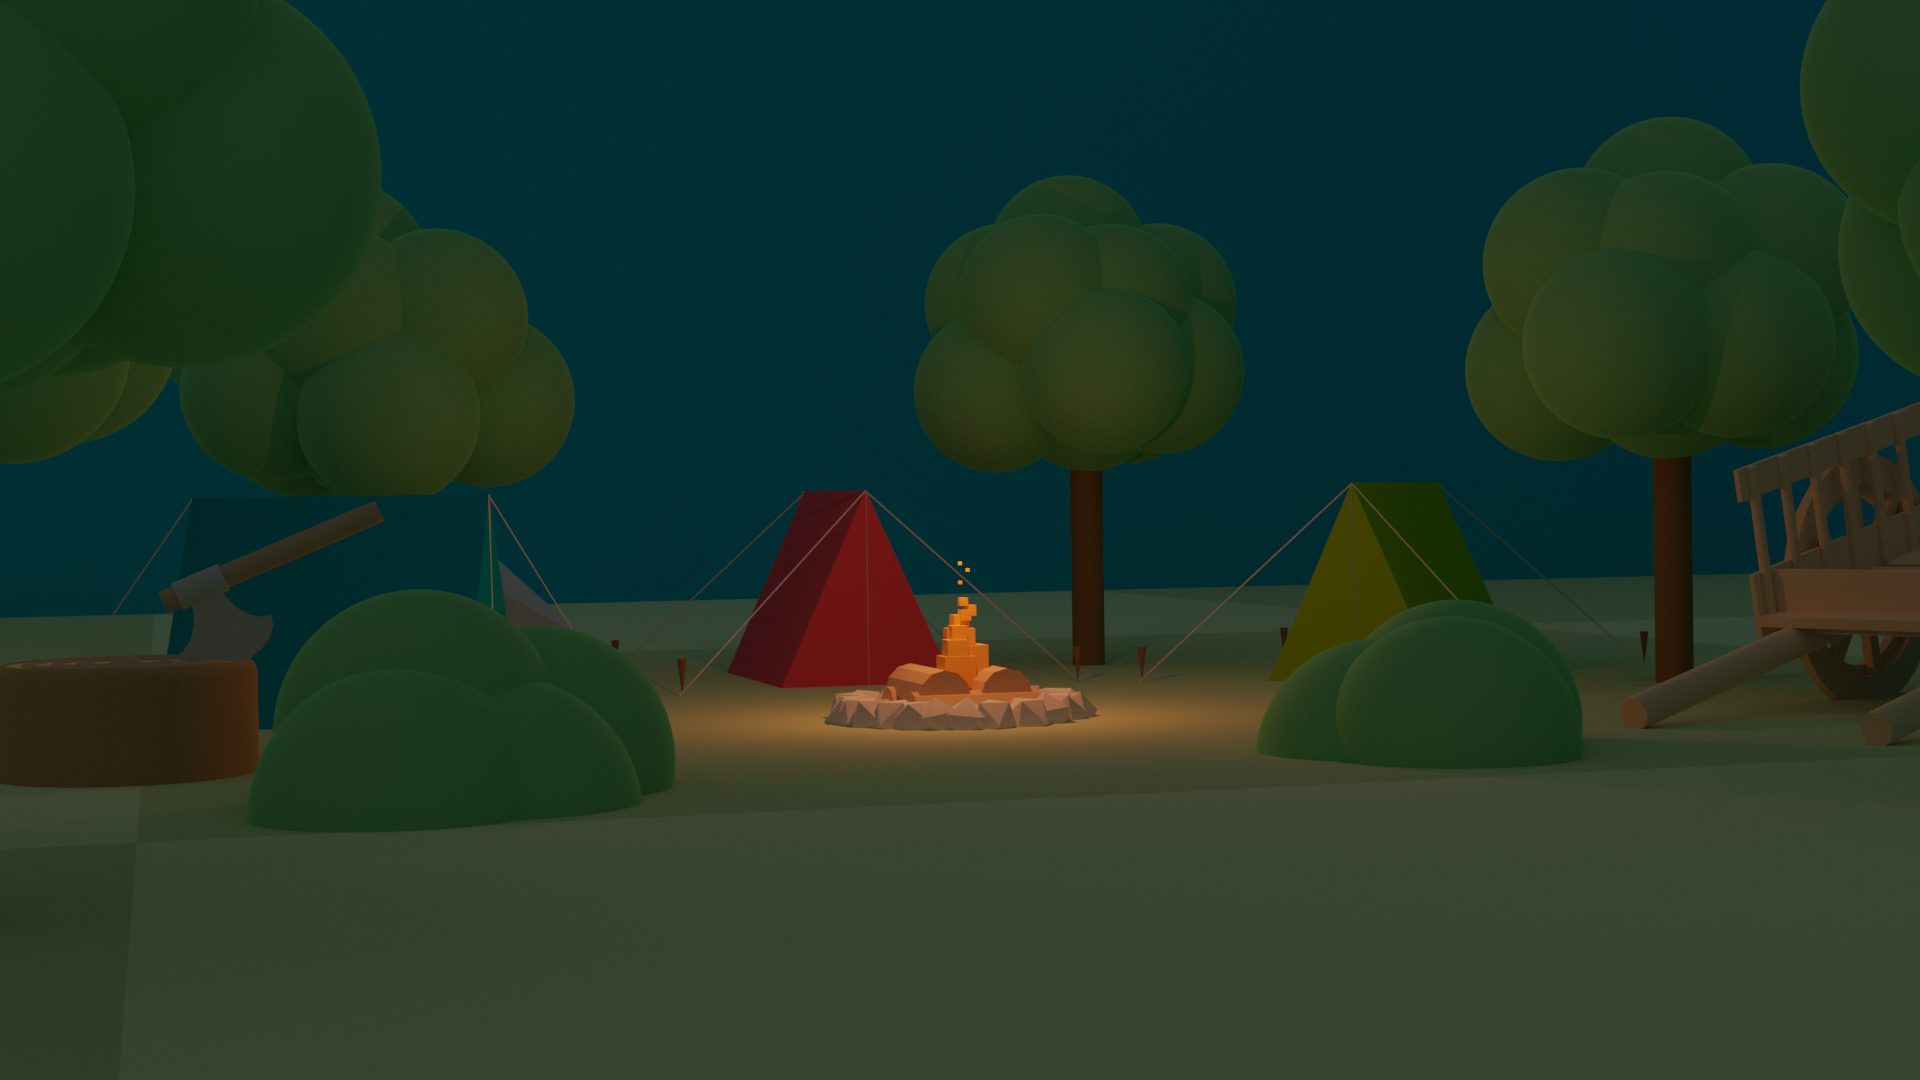
This is a cool, low poly campsite, made on Tinkercad. This scene, includes many things, including a wagon, campfire, tents, trees, and rocks. Here are the steps!
Or, if you like, take a look at what I made: https://www.tinkercad.com/things/hiOGbIVQTiC-scene
Supplies
You will need:
- A tinkercad.com account
- About an hour
You can also download the OBJ and MTL file on my Thingiverse:
Making the Grass Floor
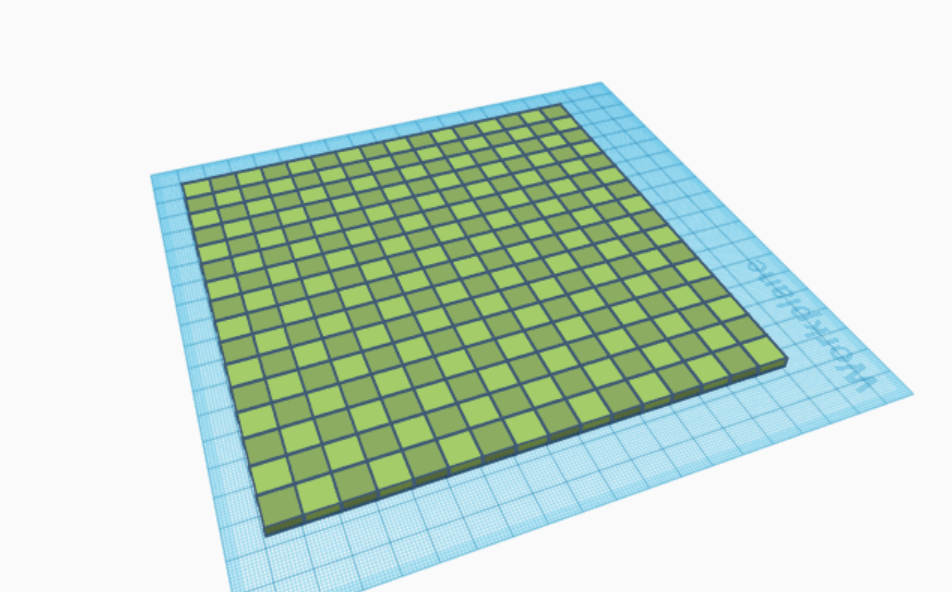
To make the grass floor, start by adding the following:
- A cube, adjusted to 20wx20dx5h, set the color to #abd66d
-
A cube, adjusted to 20wx20dx5h, set the color to #92b366
Now, align the squares next to each other and duplicate them, until you end up with an 8x8 grid of grass. Once this has been achieved, group all the cuboids together, then tick "Multicolored" in the color interface.
Make the Trees
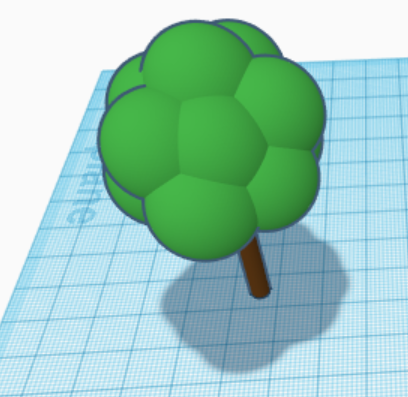
You might want to drag the grass away for this, but anyways:
Start by adding a cylinder, set the color to brown. For the green part of the tree, we are going to use a special shape! Change the drop-down box from "basic shaped" to "all". Search for the pages for "Hi-res sphere ii". Drag in the sphere, set the color to green, and duplicate it around the top of the tree. I recommend you group these together and set the color to "multicolored".
Make the Tents
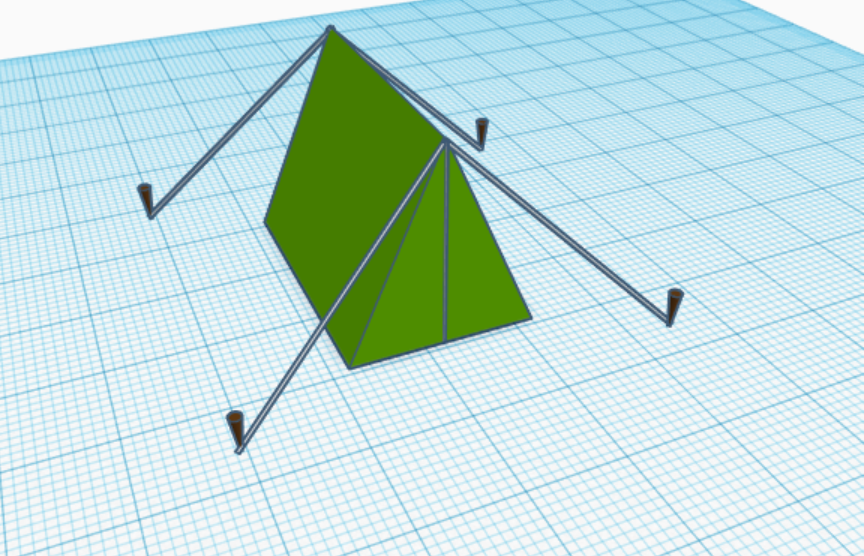
Ah yes! Another object!
Start by adding a roof object, and make it tall enough to be tent-shaped. Now, this is the tricky part, maybe the hardest of them all. making the strings. Start by adding cylinders and making them as small as what you think looks good. now, rotate them to align one side with somewhere through the floor, the other end meeting the top of the tent. Once you have done 1, duplicate and use the reverse tool to flip it on a specific axis. Once done, a nice touch is tent pegs, use upside-down cones to make it look like tent pegs. Using a similar method to before, add another cylinder with a similar width to before, then add it to the center of the front of the tent. It is KEY you group these, since it will be very hard to move it all then we need to.
Making the Wagon
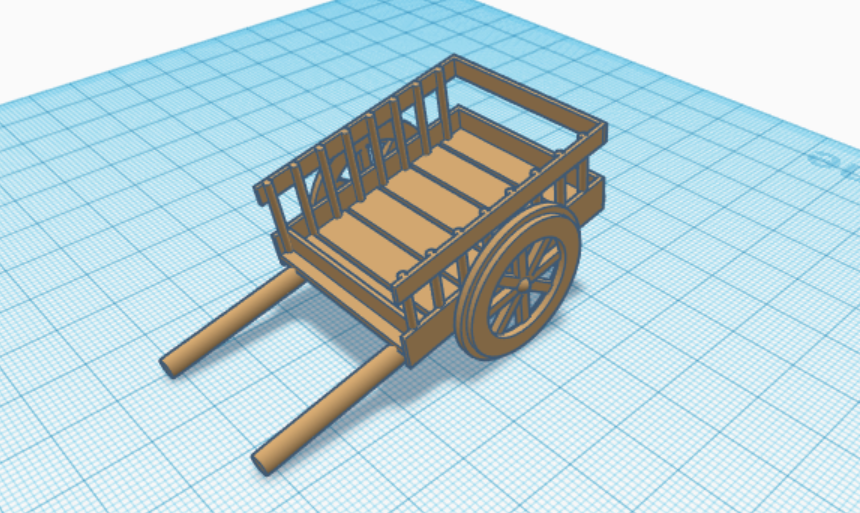
Now, this one will seem complicated, but, don't worry, I'll walk you through the process.
Start by adding cubes to the scene, then reshape them to look like planks of wood. Duplicate this and align them like the bottom of the wagon. Now add cylinders 2x2mm, and shape them to whatever size you like. Duplicate around 7 of them for each side of the wagon. Drag in 2 more cubes, shape 1 to be the same width as the width of the planks, this will be the back of the wagon, do the same for the sides. You can duplicate these back and sides to go around the top, remember to let the bars be visible between them! Now, your wagon will still be flat on the ground, go ahead and group everything together, before moving it to the side.
For the wheel, go ahead and add a new cylinder, rotate it on its side, and resize it to 3 high, 3 wide, and about 20 deep. Duplicate this, then rotate it forming the inside of the wheel. For the outside, use 2 tubes with the sizes adjusted to how you like. You can add a third for the very inner circle, and maybe try adding a sphere to it, making it look like a perfect wheel! Now group the wheel and stand it up. Move your wagon body up to the same height, and duplicate the wheel. Put a wheel on each side, and group the wheels and body together. For the 2 poles, add another cylinder, and add a bevel. reshape and size to make it fit with the wagon. Now group everything together, and rotate the wagon to make it look like it is resting on the ground.
Wahoo! Done!
Making the Log
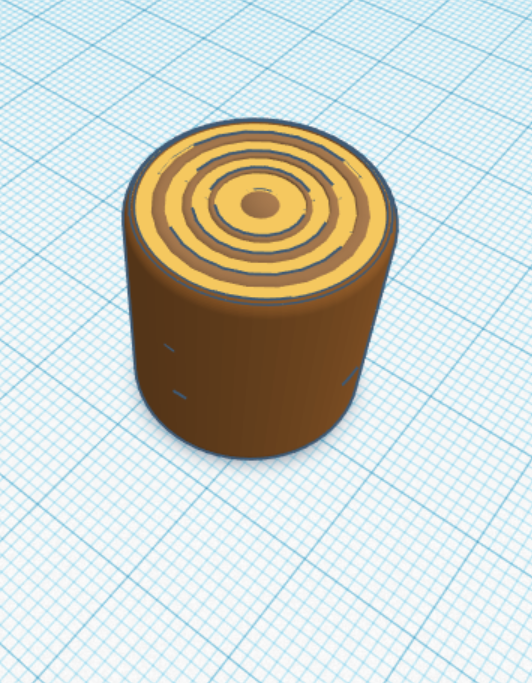
Quite a simple one here:
Add a brown cylinder, add a bevel to it, you might want to increase the steps and segments. Duplicate this, and align them both inside each other. Click one, and move it up, so they are stacked on top of each other. Set the top one to "Hole" and move it down one millimeter, also, make it 1m smaller in each direction. Group them together, and you are on your way to get a log! Add a new cylinder, set the width to 19.5 in all directions. Highlight both shapes, and use the align tool to place them inside each other. Set the smaller one to a light color, then group both the shapes together, and set them to multicolored. For the rings, we literally will use "Rings" import the shape and duplicate do you have 3. Make them vary in size to give the ring's effect, before aligning and positioning them in the log. For the very center, use a "Half-sphere".
BONUS STEP!
If you want a 2 sided log, go ahead and use a "Hole cube" To chop off the bottom of the log. Then duplicate the top half, flip it upside-down, and align them. Once again, group and set the color to "Multicolored".
Making the Campfire
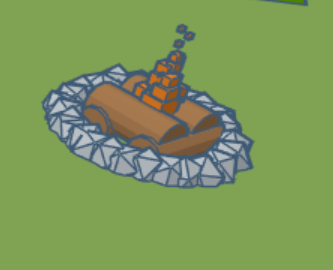
Easy one here:
Add an iso-sphere and make it 5x5x5, then duplicate and rotate randomly, to form a circle. Add 4 cylinders to form the logs, and place orange cubes that progressively get smaller, the higher you go.
Moving Everything Into Place!
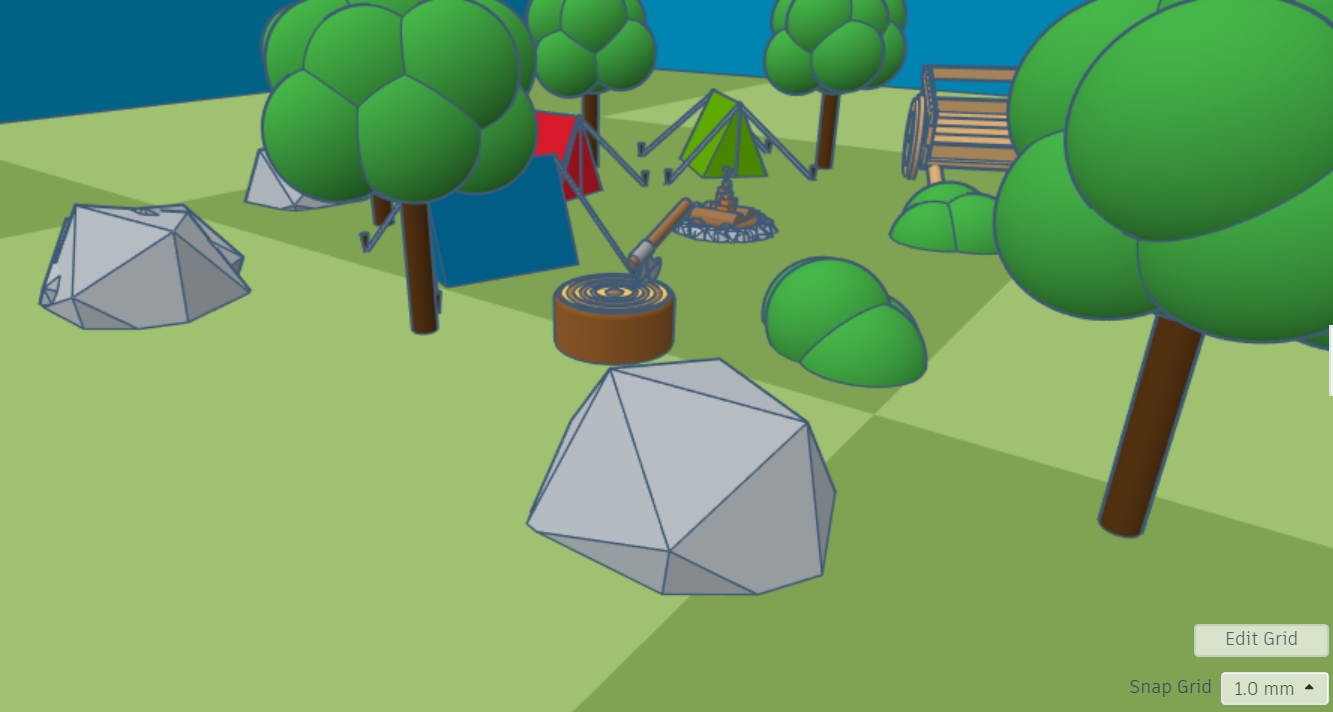
This is the part for you! Go ahead and move your grass to the center, and start arranging your objects! How many tents do you want? 3? 5? 10? It's up to you! Add trees, the campfire, the wagon, and lots of cool stuff. Extra things like grey iso-spheres for rocks, and green spheres for bushes, really look good! You could consider a background plane for the sky, or even add some clouds. The possibilities are endless, maybe even add some sleeping bags! Let your inspiration run wild! Thanks for making.
BONUS STEP
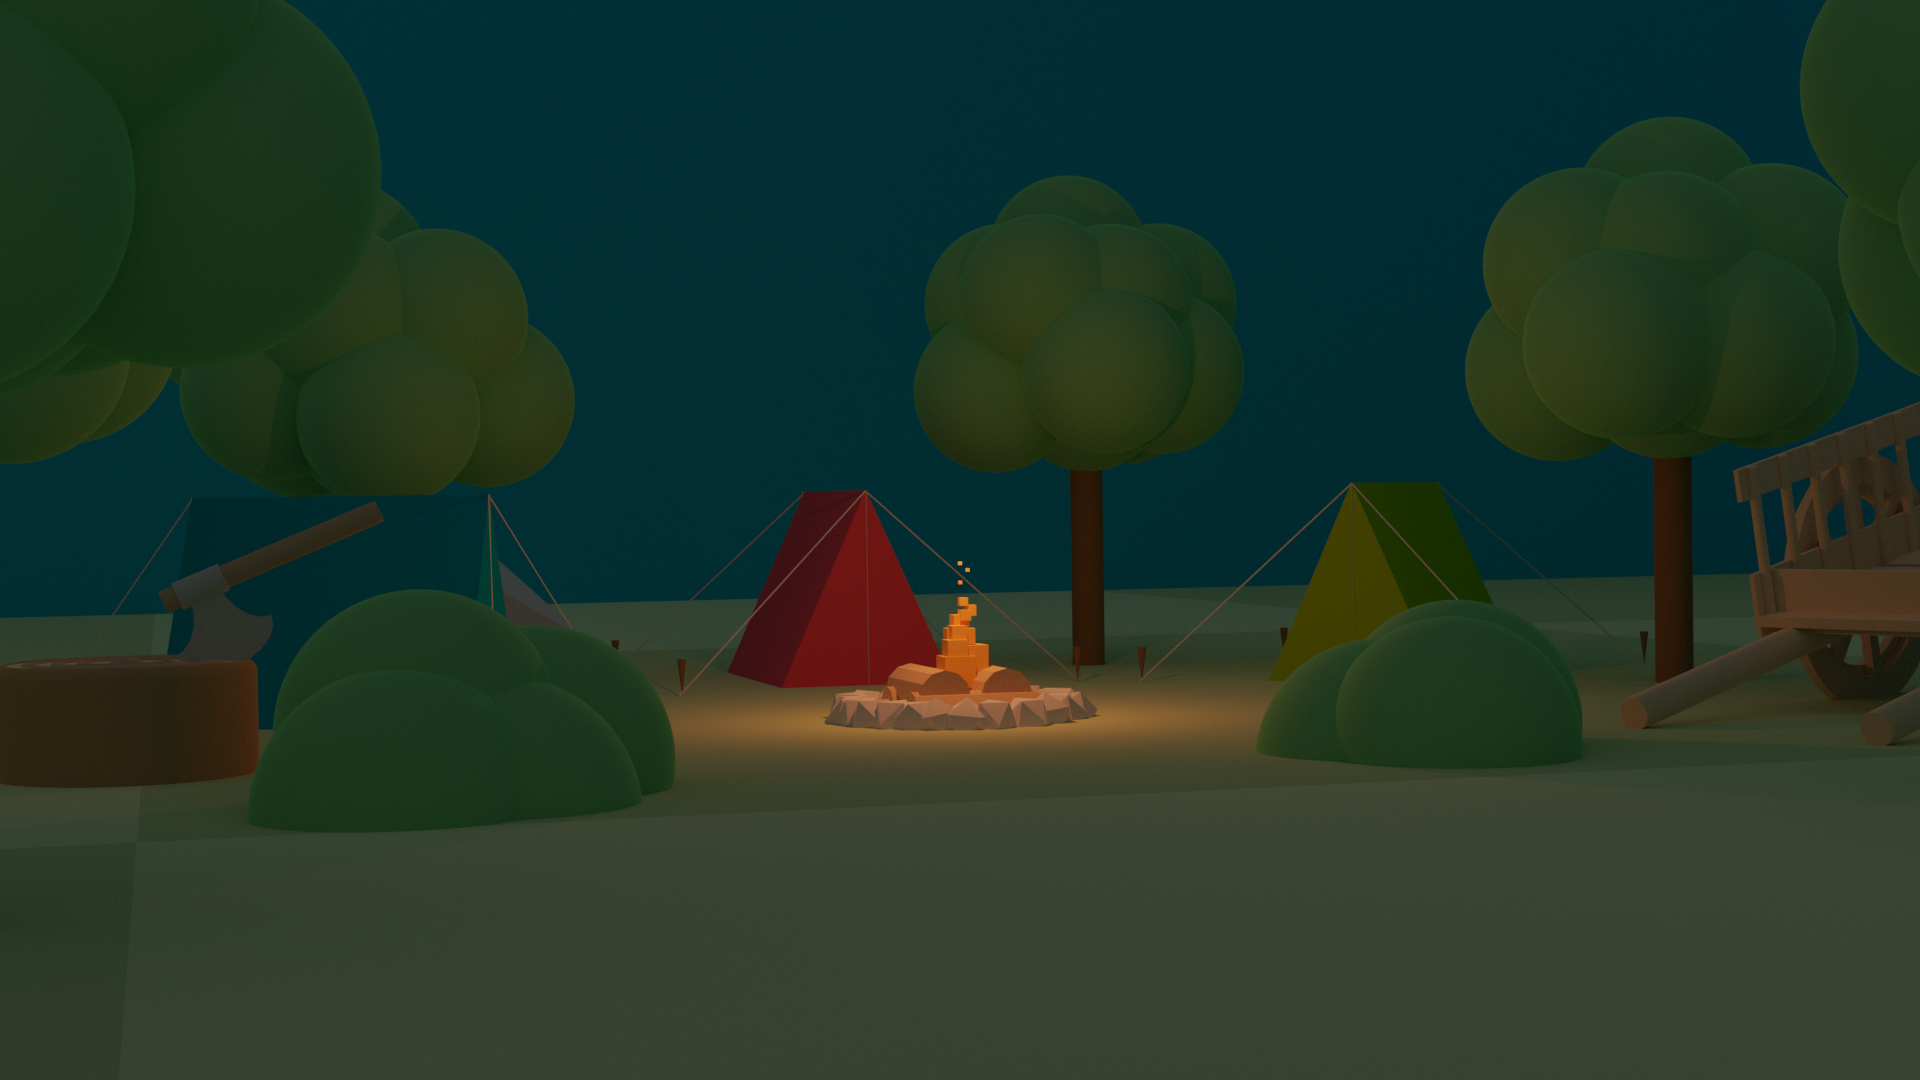
Do you want picture-perfect images? Do you want a more final image? Tinkercad has helped me in so many ways over the past few years, I do all my modeling on it, looking at other software, it just seems impossible, due to how easy Tinkercad makes it, plus, it's fully portable! With your brand new scene, maybe you want to render it, to make it look like it has been taken from the real world, go ahead and import it to some cool, free software called blender! It's as simple as Import, render, save!
Here are the steps:
- Download https://www.blender.org/
- Install
- Make a new file
- Goto file>Import>Obj
- Import the obj you download from tinkercad
- Change the engine to "Cycles" Look at this image for a guide
- At the top, click render > render image.
- Wait for it to render, then save! (Image >save as)
BONUS BONUS STEP:
Add a light over the campfire:
Click here for steps
Then move it over the campfire!
These last steps weren't required, but it's a good idea to see your creations in a different light!